Homemade Pumpkin Puree

pumpkin puree

I love eating pumpkin flavored things – all the things from Trader Joe’s, cookies, bread, spiced lattes, and more. My CSA had plenty of pumpkins to give out so I had to be creative with what I could do with a pumpkin: enter pumpkin puree.

I have two methods for making puree, pick either depending on what you’re intending to use the puree for.

Instant Pot/Pressure Pot Method

This is the best method if you’re in a pinch. You can have pumpkin puree ready in less than 20 minutes if you need to make a quick weeknight soup. You can also use this method for a flour based baked good.

In a flour based baked good, you usually don’t really taste much of the pumpkin. The spices typically overwhelm the pumpkin flavor. The sugar content of the baked good also makes up for not roasting the pumpkin. If you’re making something dairy/custard (cheesecake, pie) based where the pumpkin shines through more, I would recommend roasting for these kinds of items (see below).

Method:

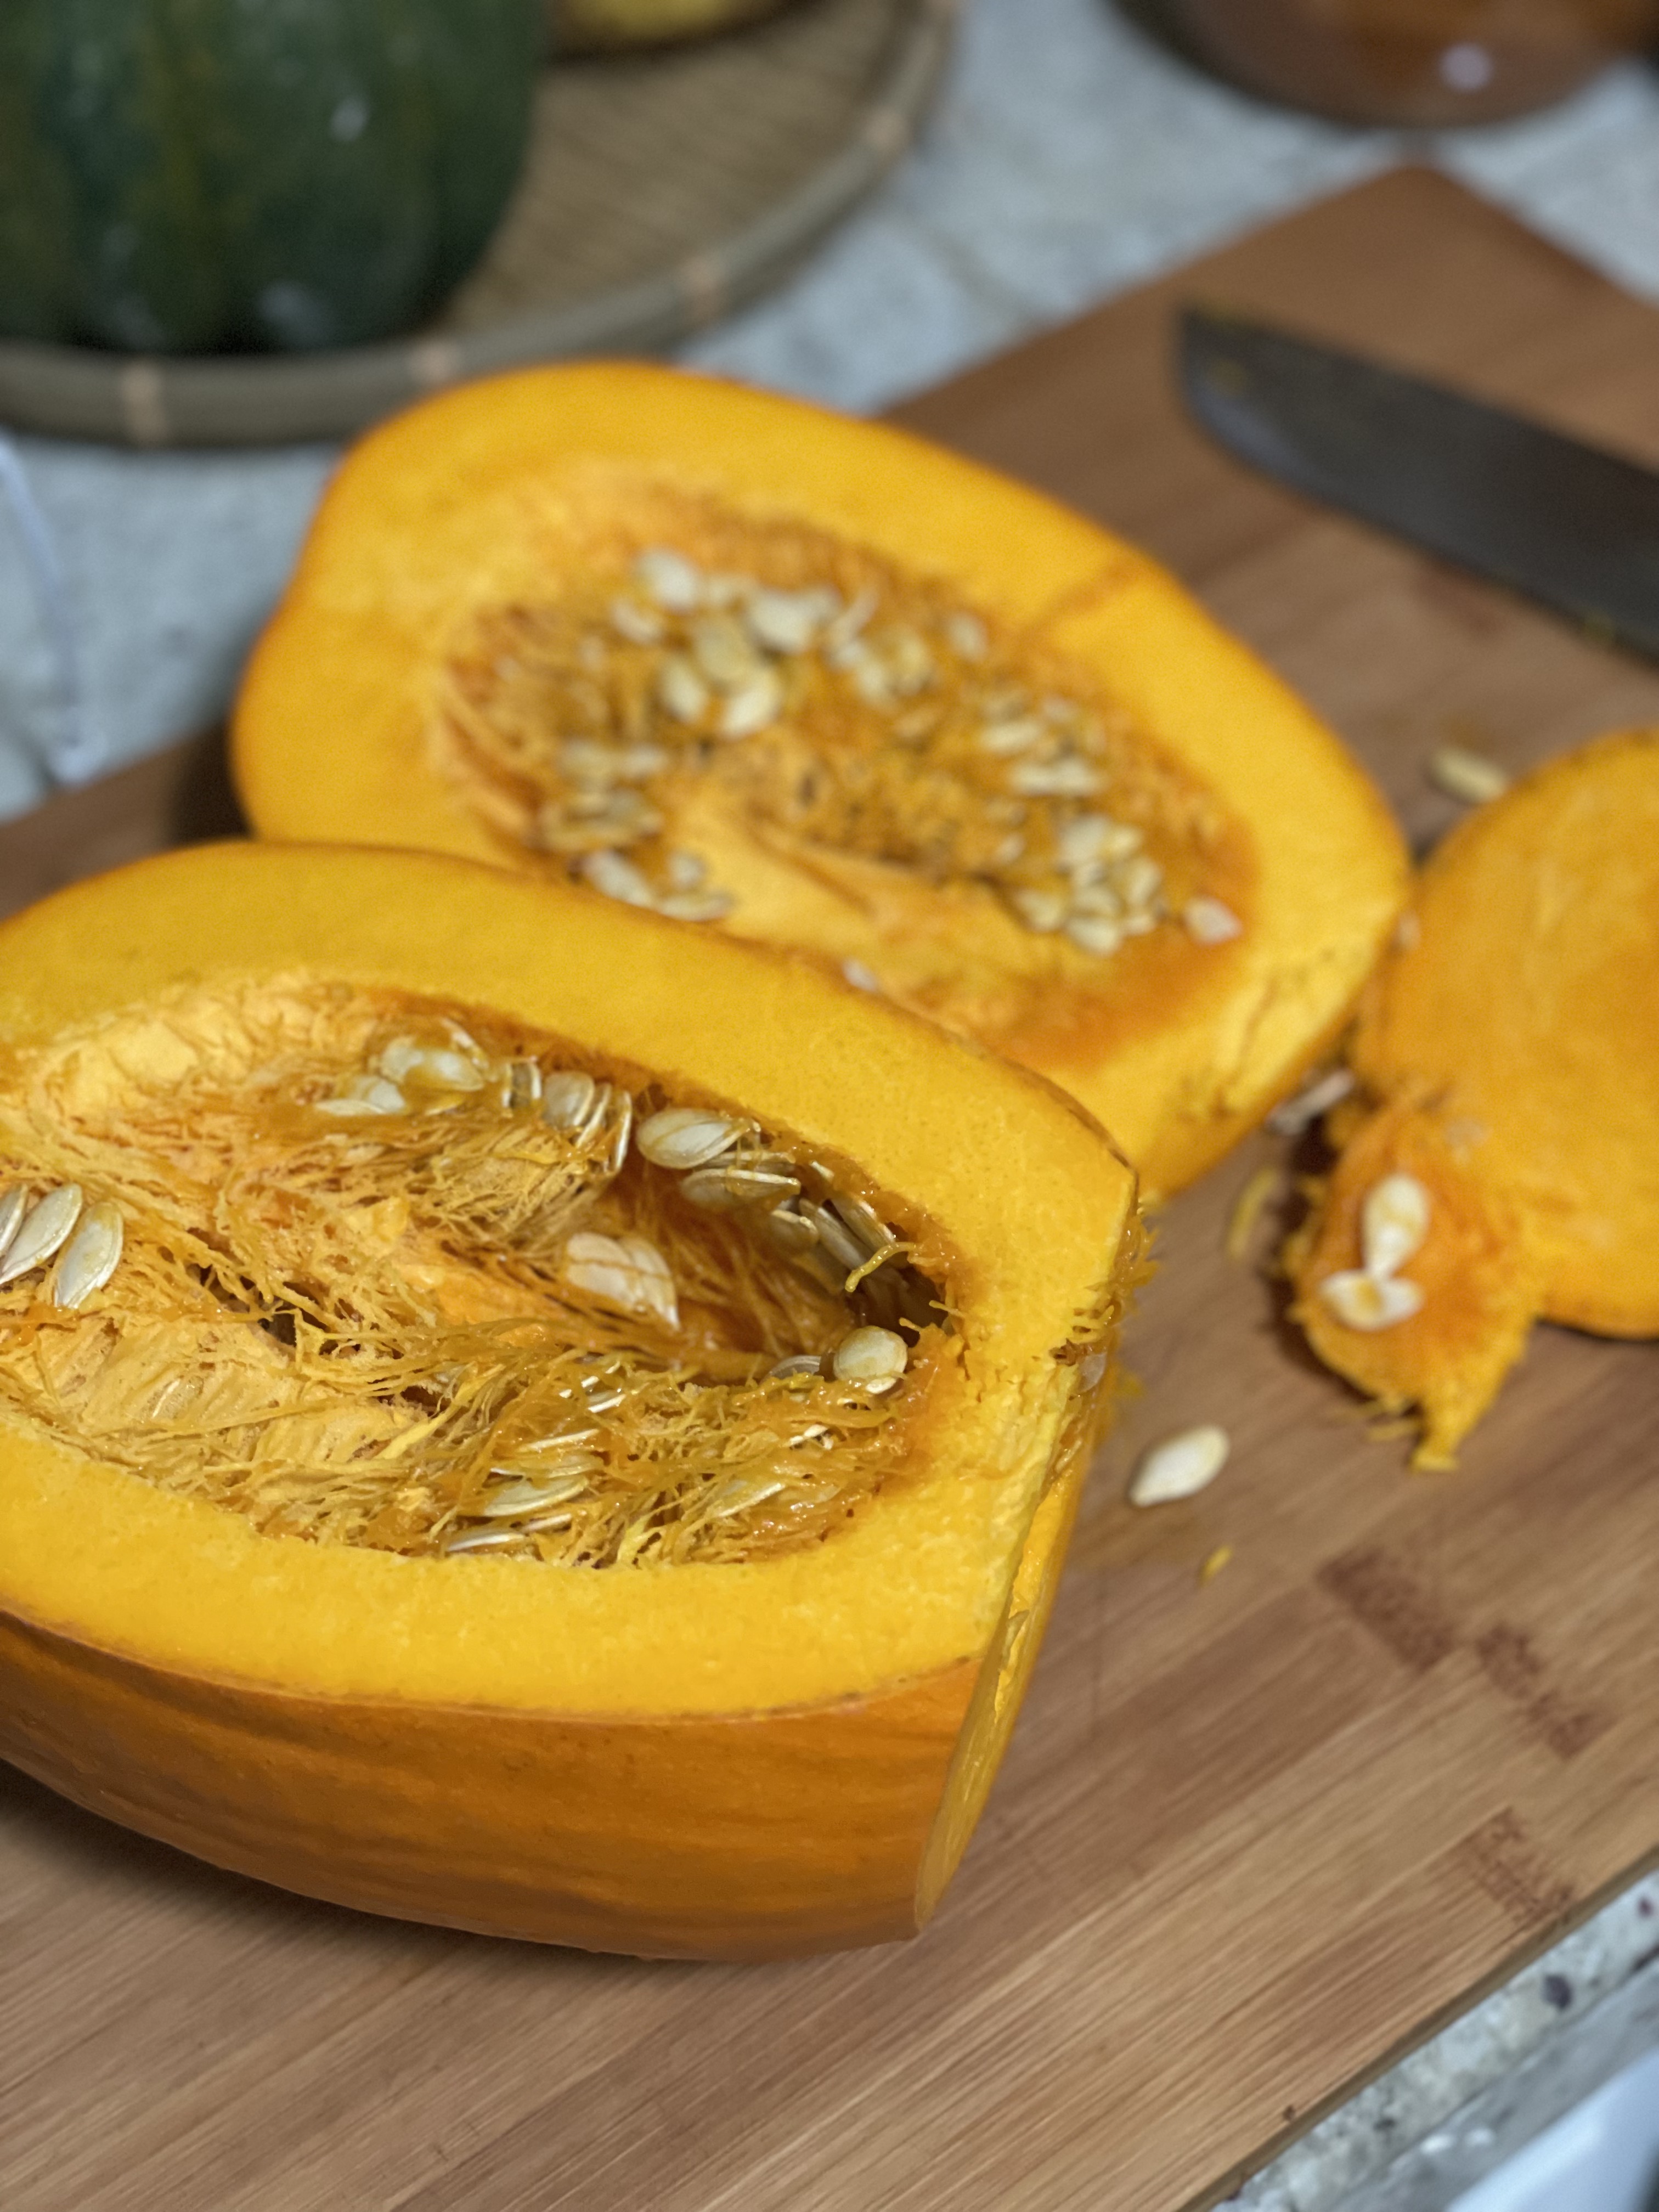
  • Cut the top of your pumpkin.
  • If your pumpkin can fit in the instant pot/pressure pot, you can keep it whole. If it’s too big, you can split it in half like I did.
  • Scoop all the seeds out of the pumpkin.
  • Add 1 cup to water to the instant pot and put the steaming attachment inside.
  • Put your pumpkin on the steam attachment, put on the lid, and pressure cook for 15 minutes.
  • After cook time ends, you can let the pressure naturally release or open the pressure vent. Do whichever works with your schedule!
  • Carefully remove the pumpkin from the pot and scoop out the flesh.
  • Puree to desired texture!

Roasting Method

Use this method if you have the time to spare and you really want the pumpkin flavor to shine through. Super yummy if you’re making anything savory to highlight the pumpkin flavor or if you want the puree to be sweeter and develop more flavor.

Method:

  • Cut the top of your pumpkin and cut in half. It doesn’t matter which way you cut it in half, as long as you can get the seeds out.
  • Scoop all the seeds out of the pumpkin.
  • Place the pumpkin halves on a baking sheet cut side up.
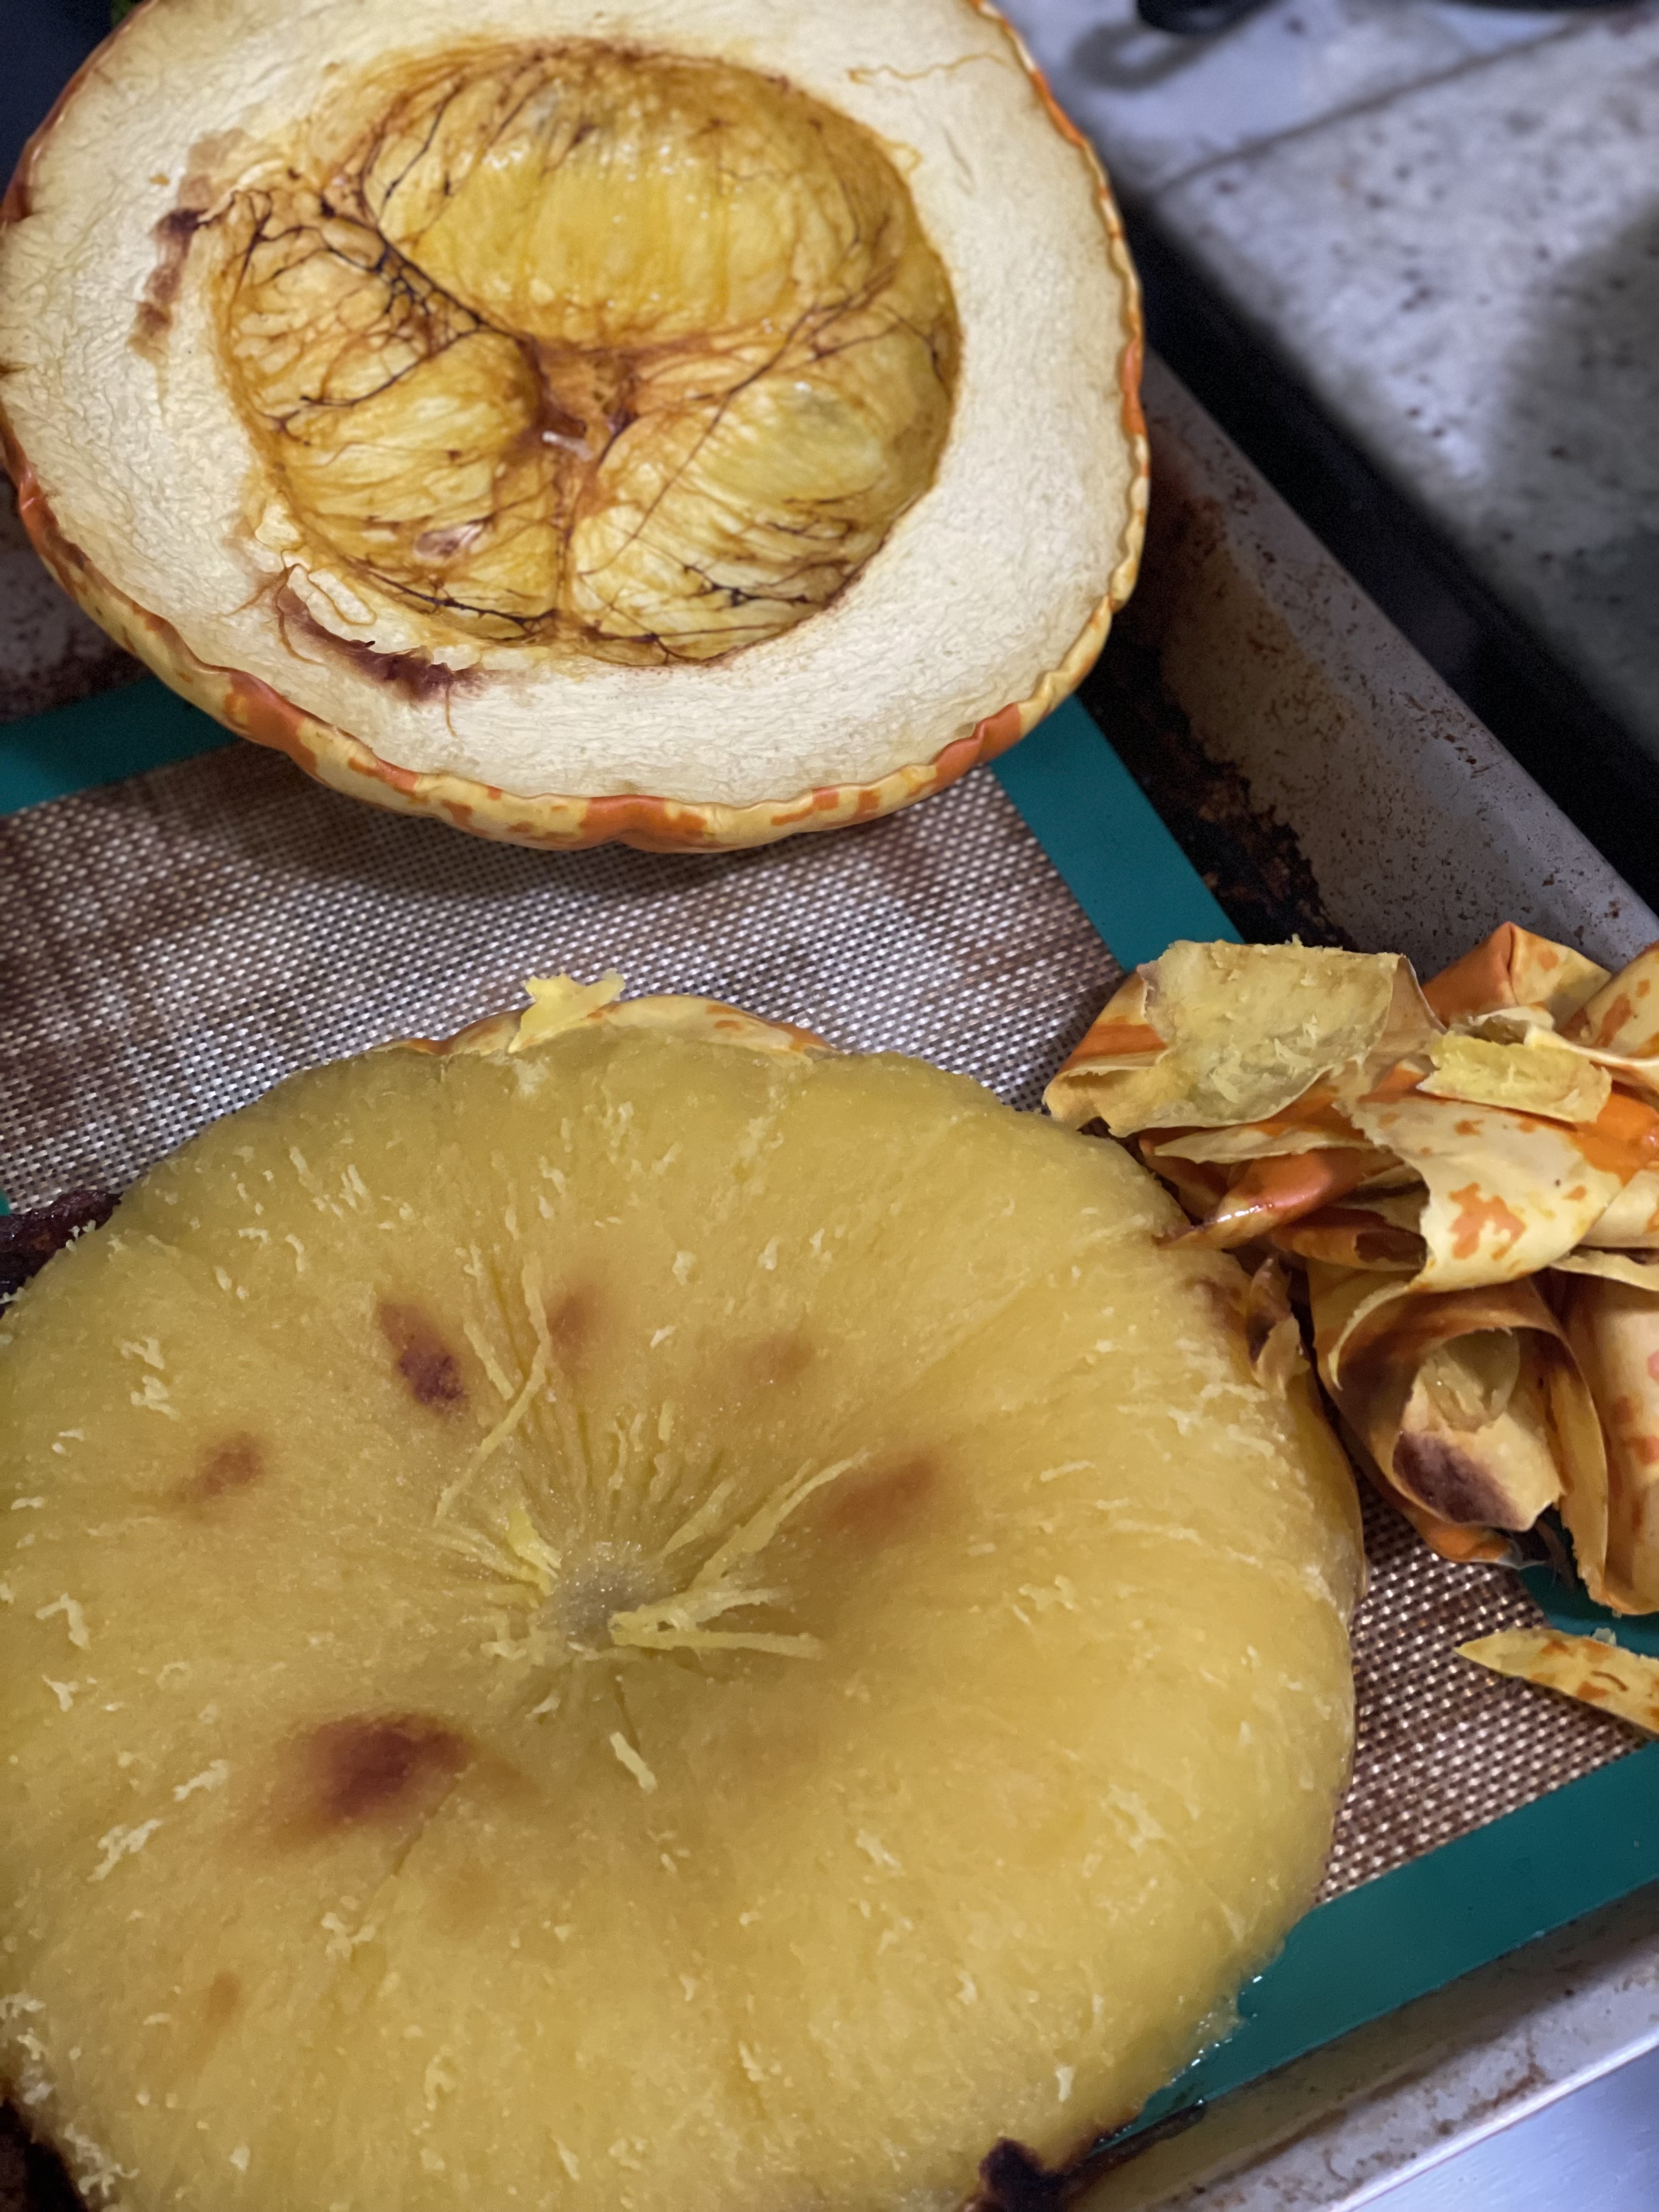
  • Baking at 400F for ~60 minutes until pumpkin has lightly browned and is soft throughout.
  • Once cooled to handle, you can either peel away the skin on the pumpkin or scoop the flesh out.
  • Puree to desired texture!

Have your pumpkin puree ready to go?

Try my Pumpkin Pull Apart Bread or Pumpkin Panang Curry with Spinach and Paneer.
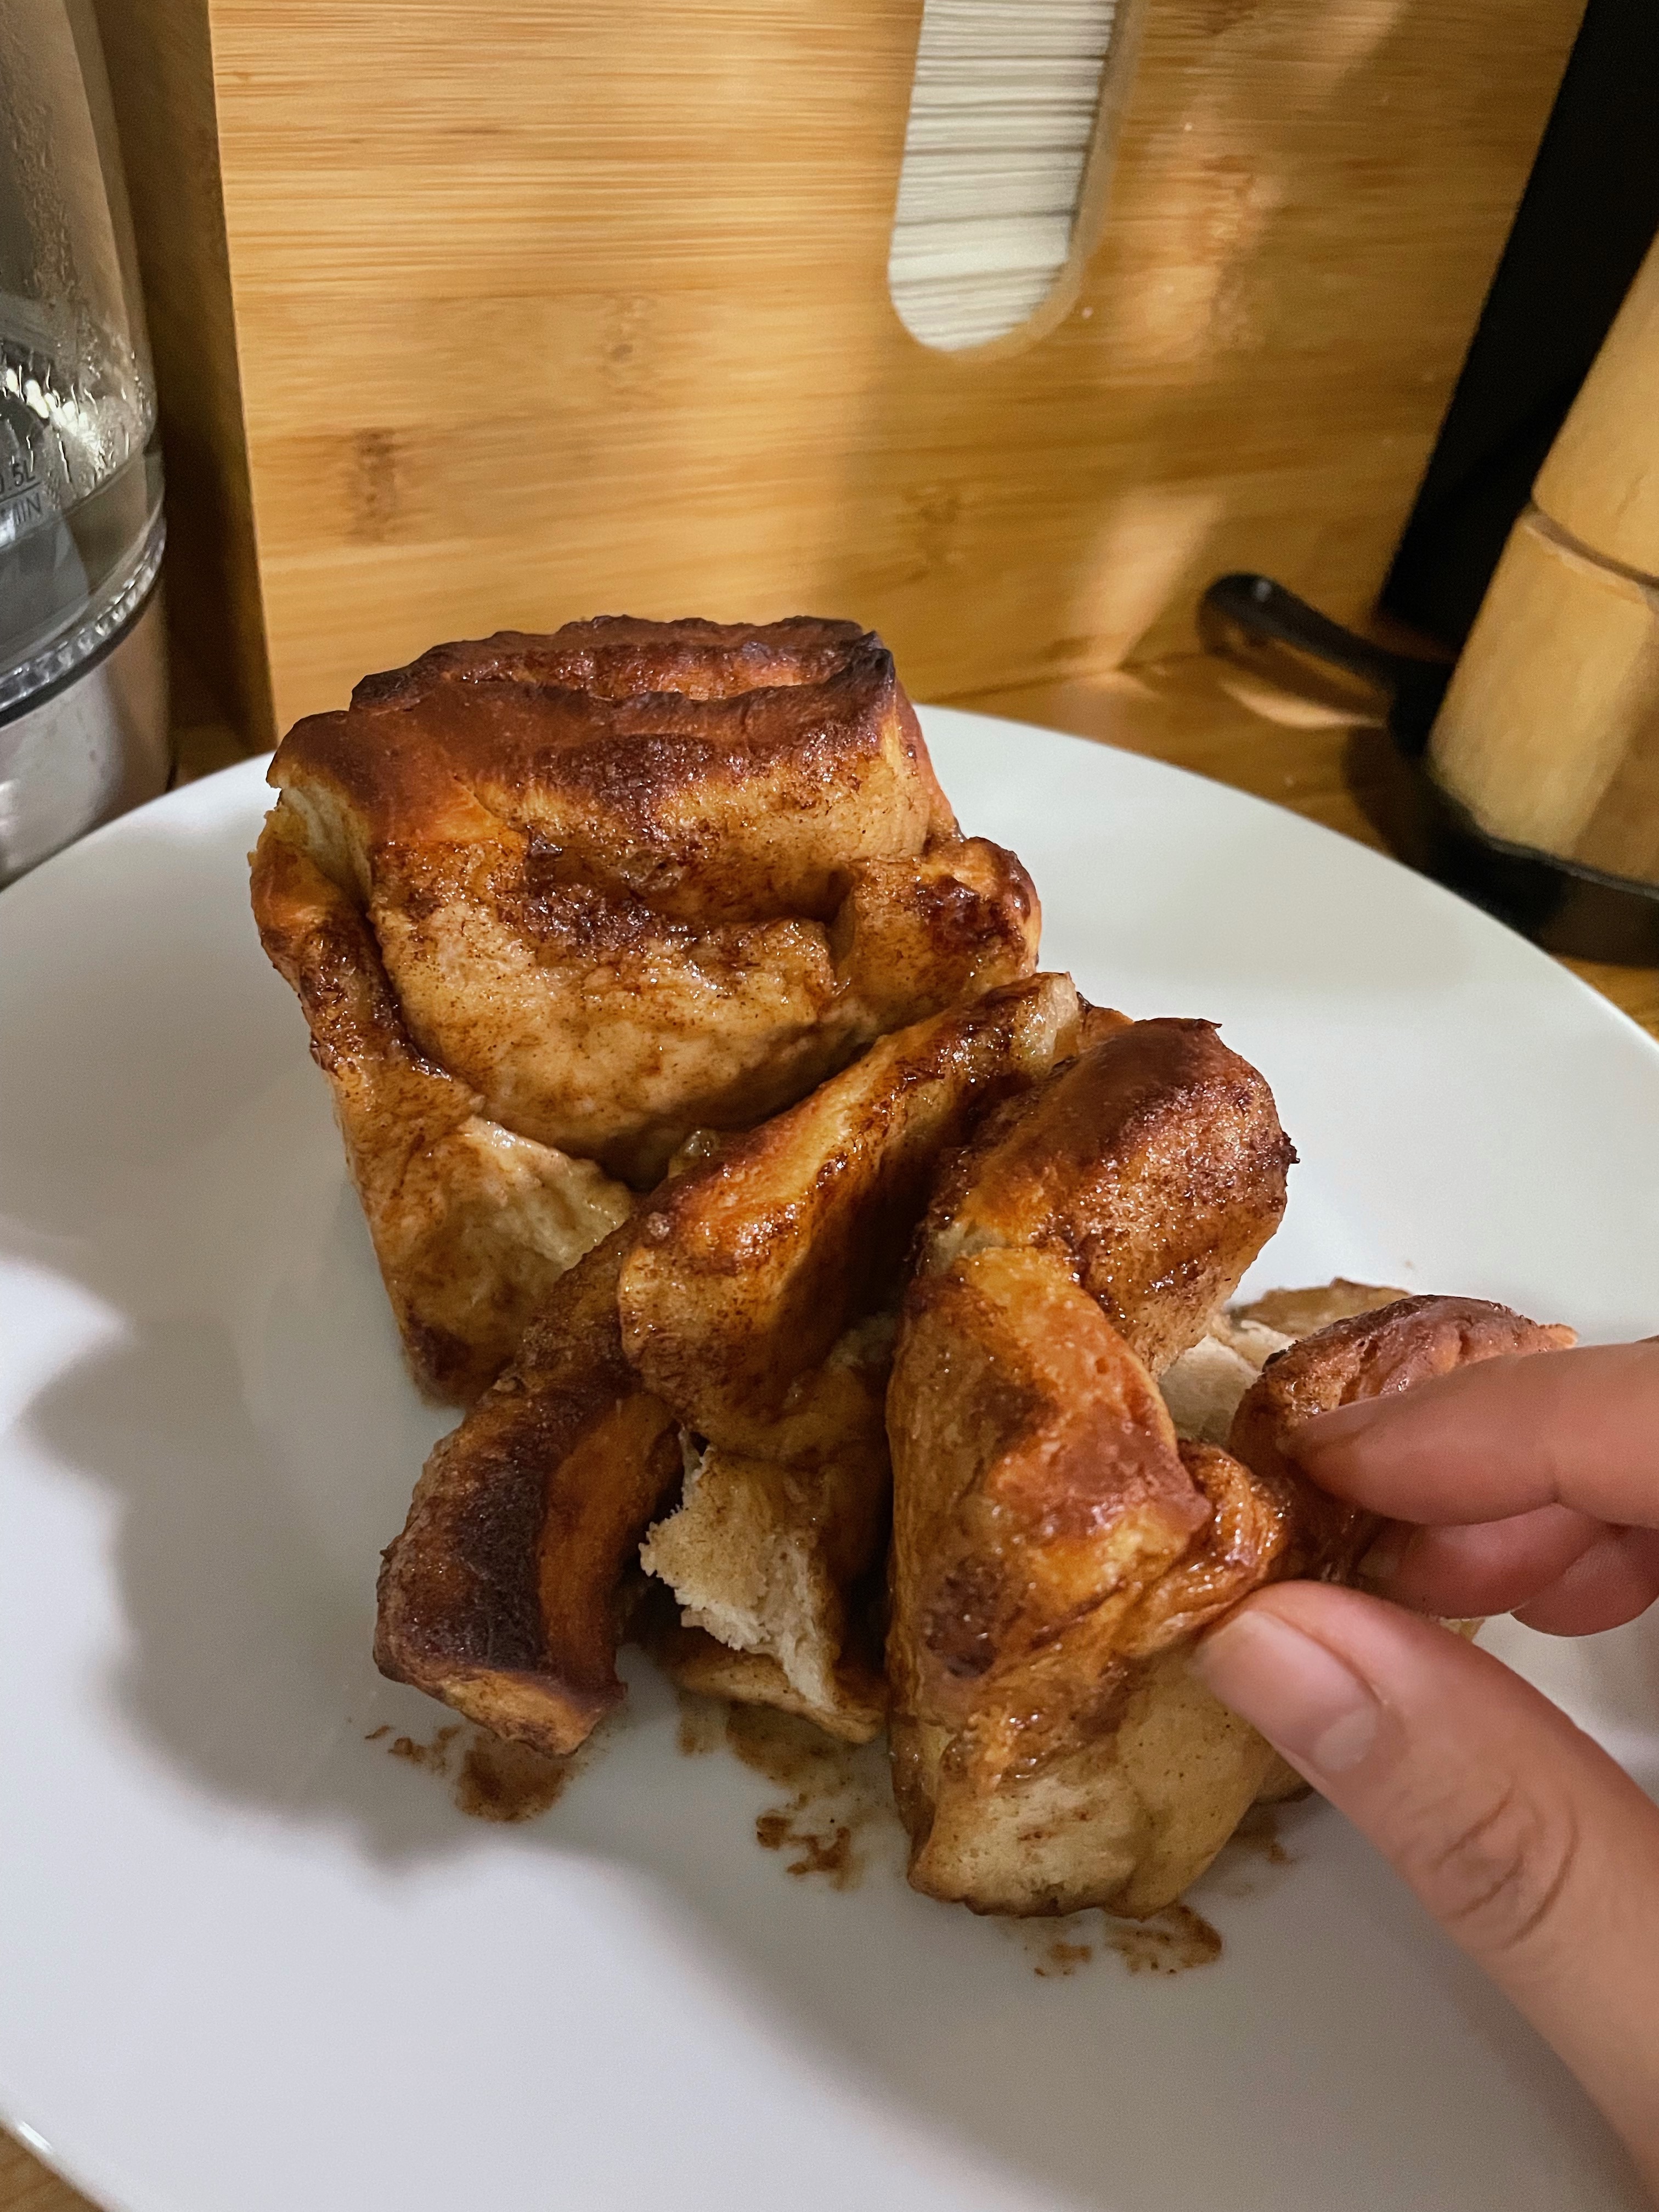
Pumpkin Pull Apart Bread

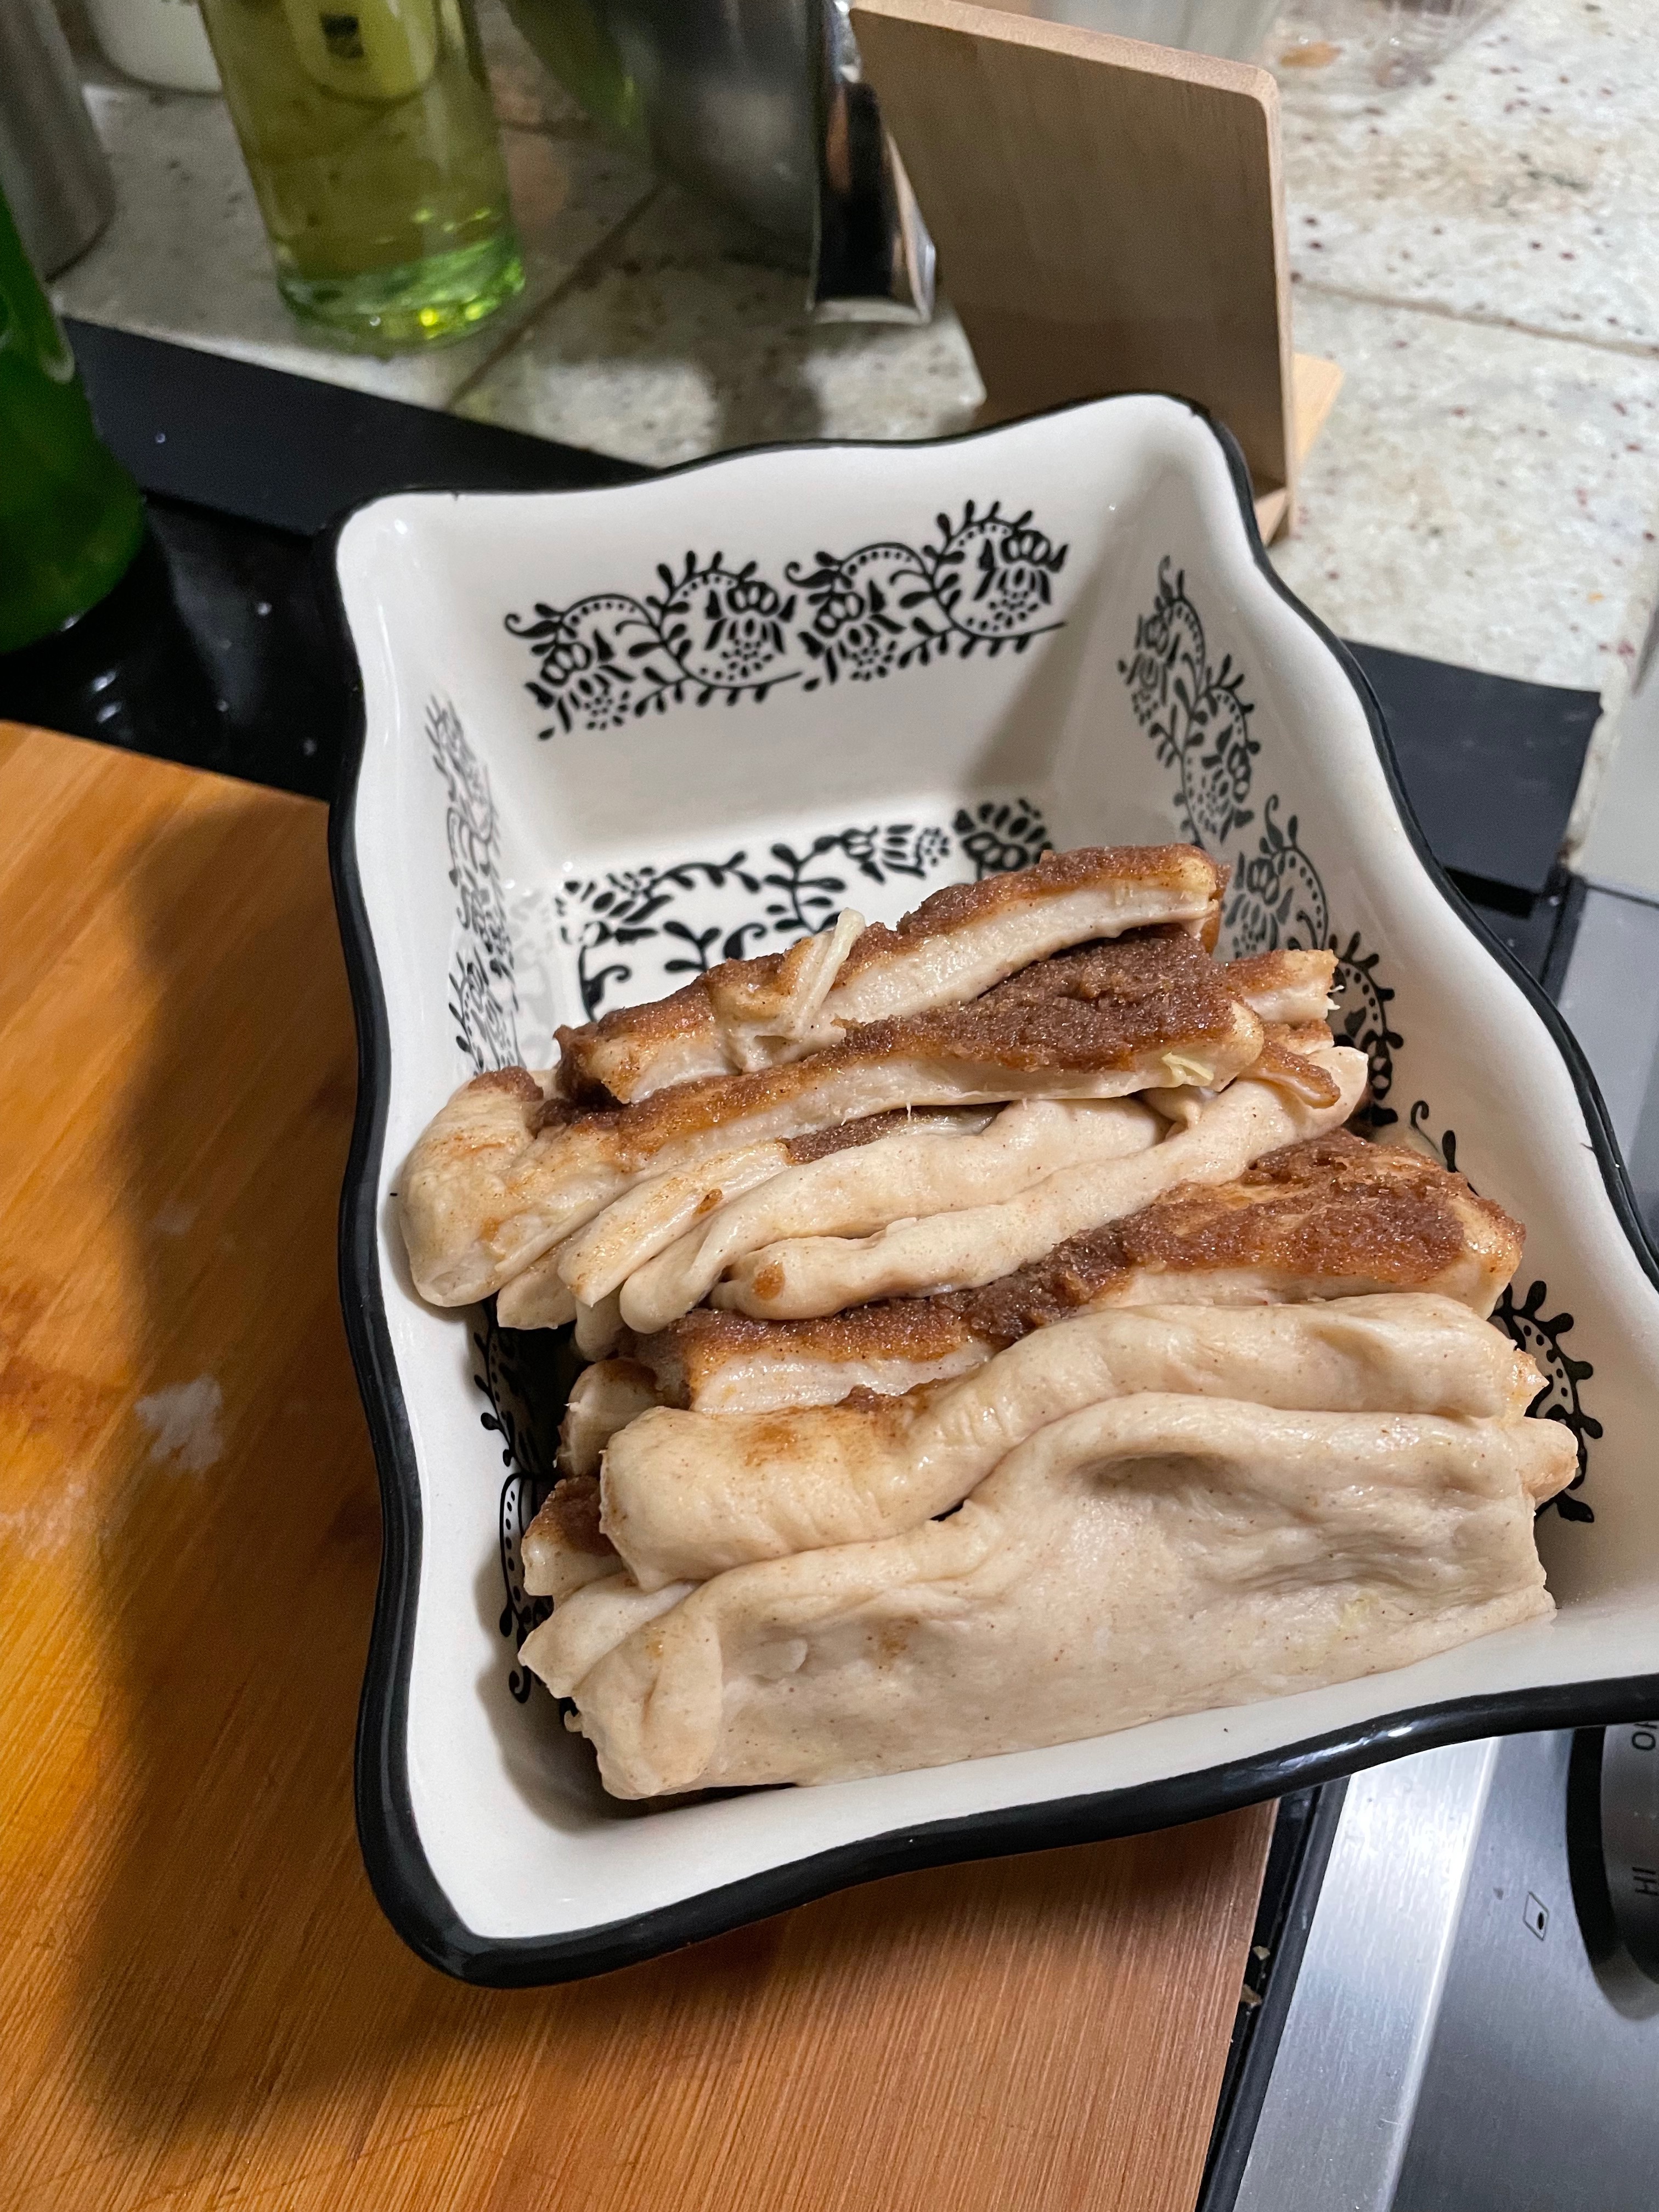
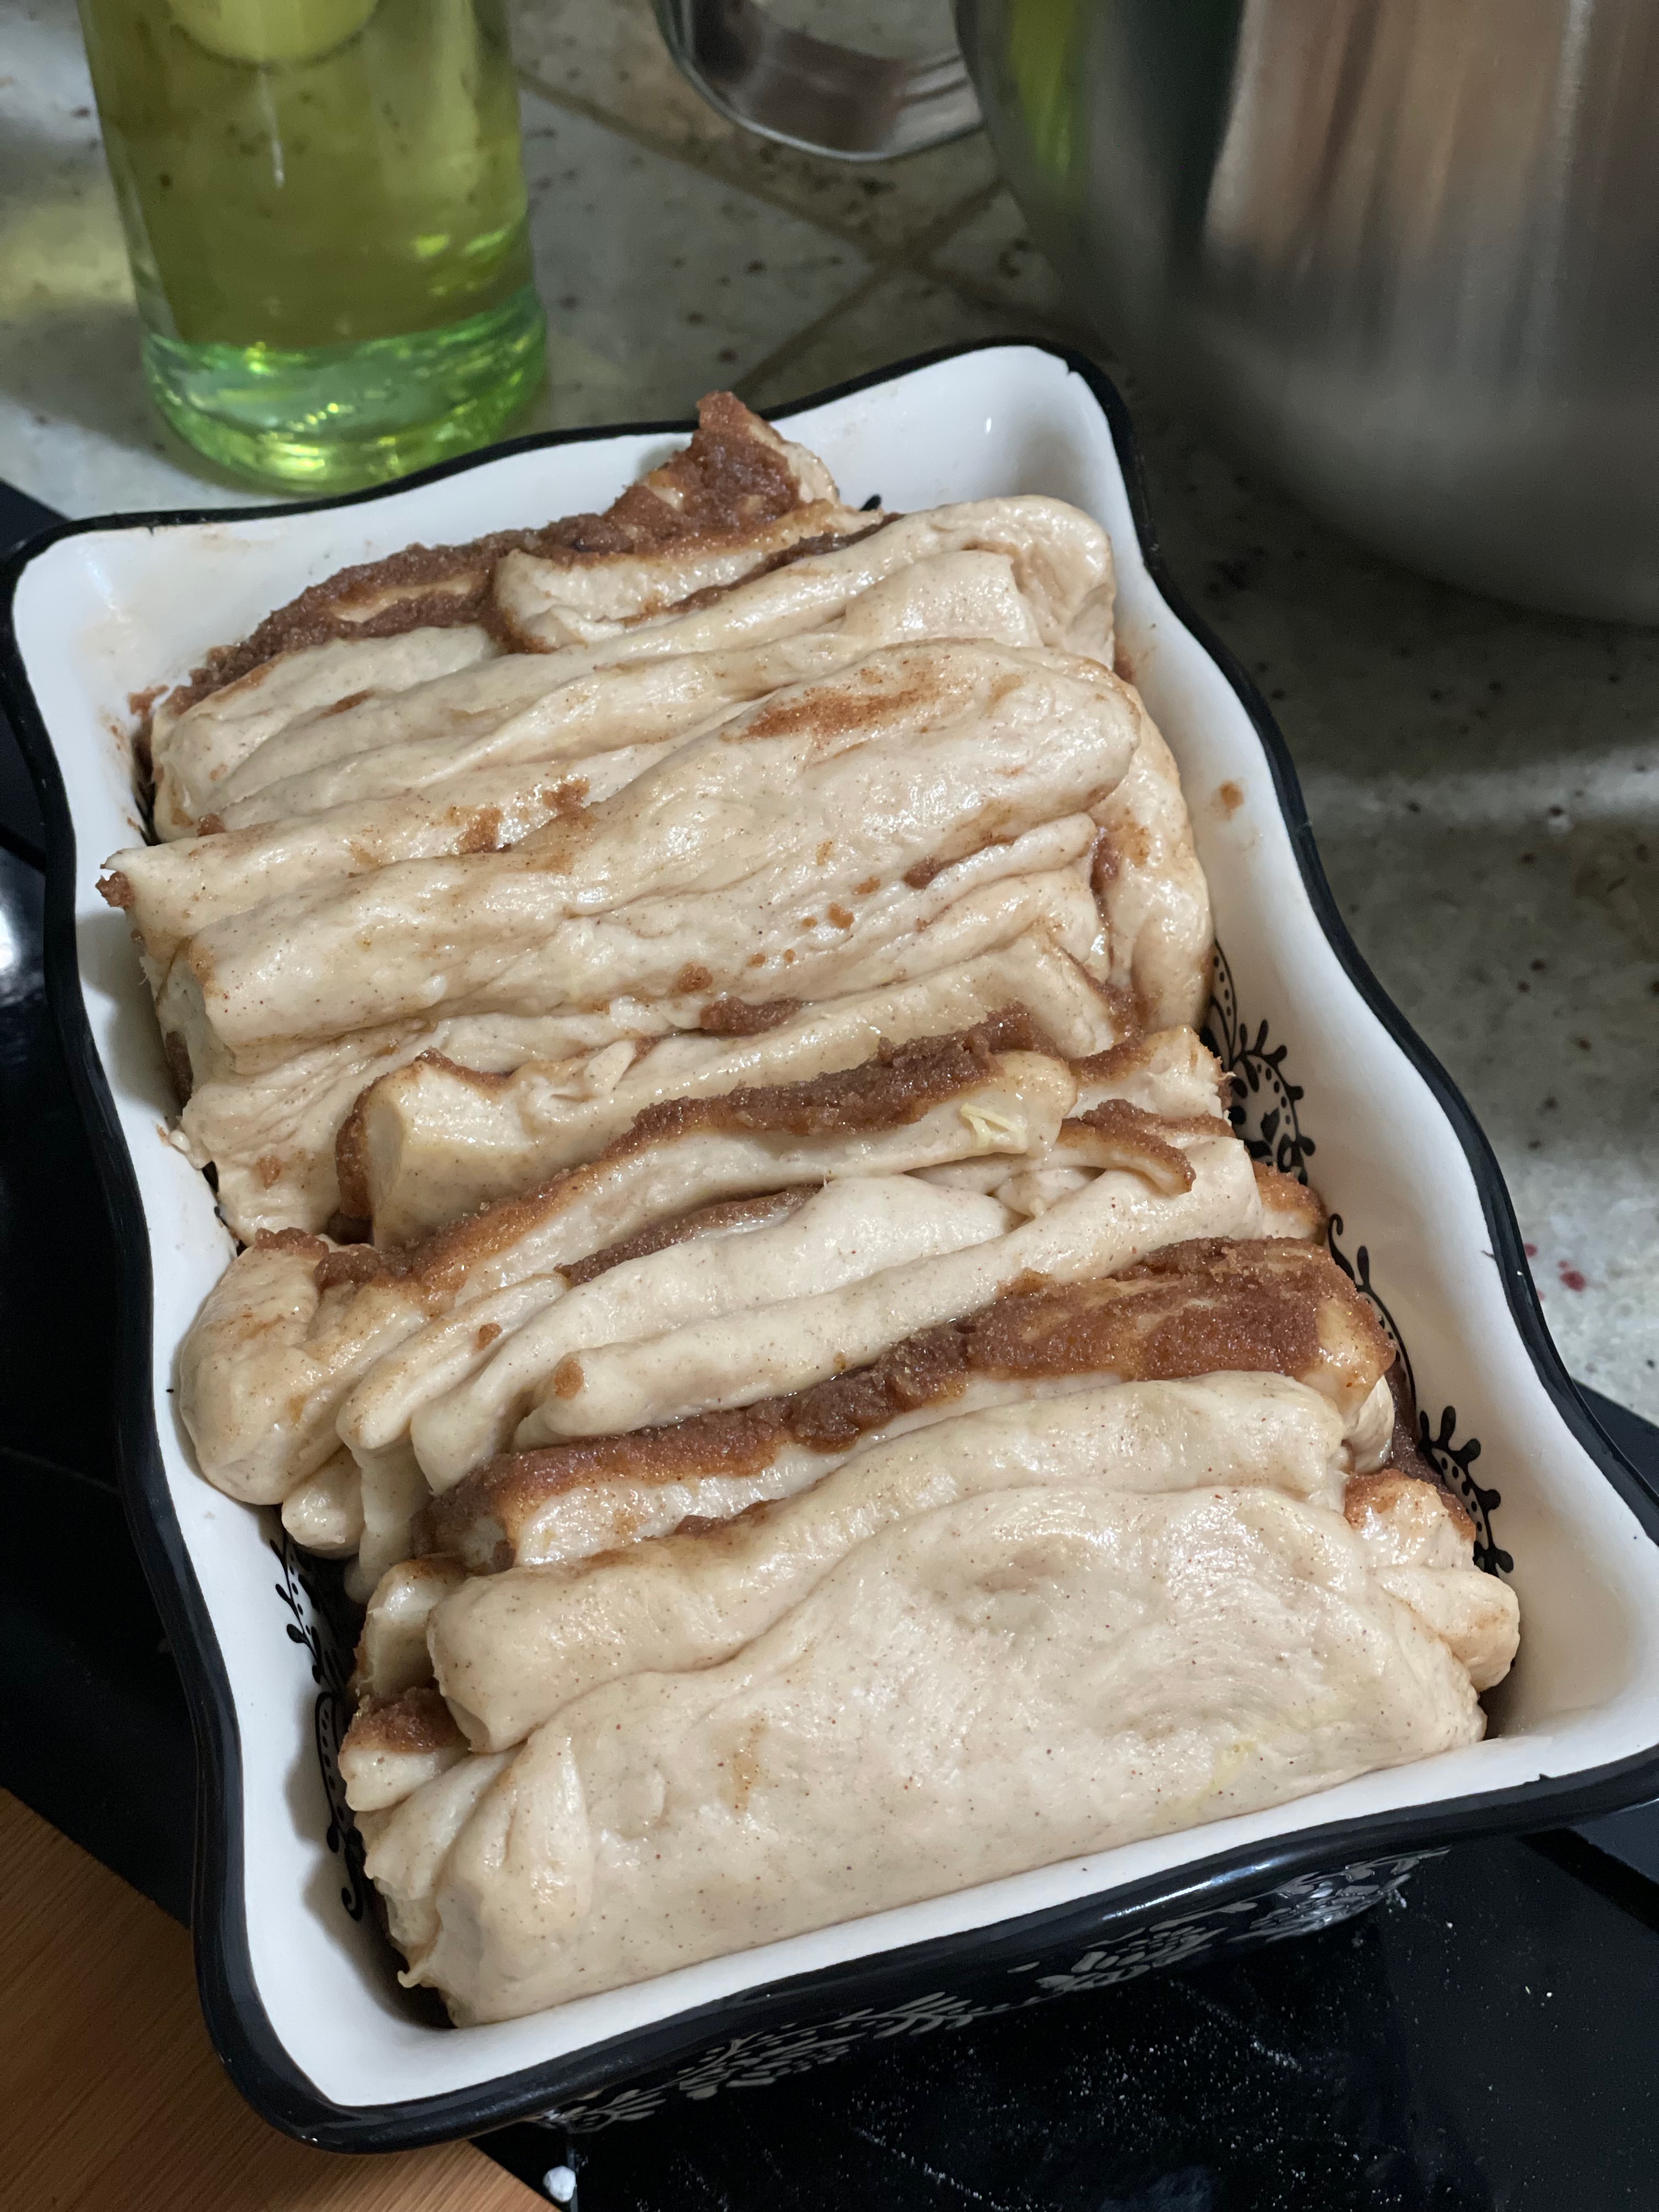
pumpkin pull apart bread

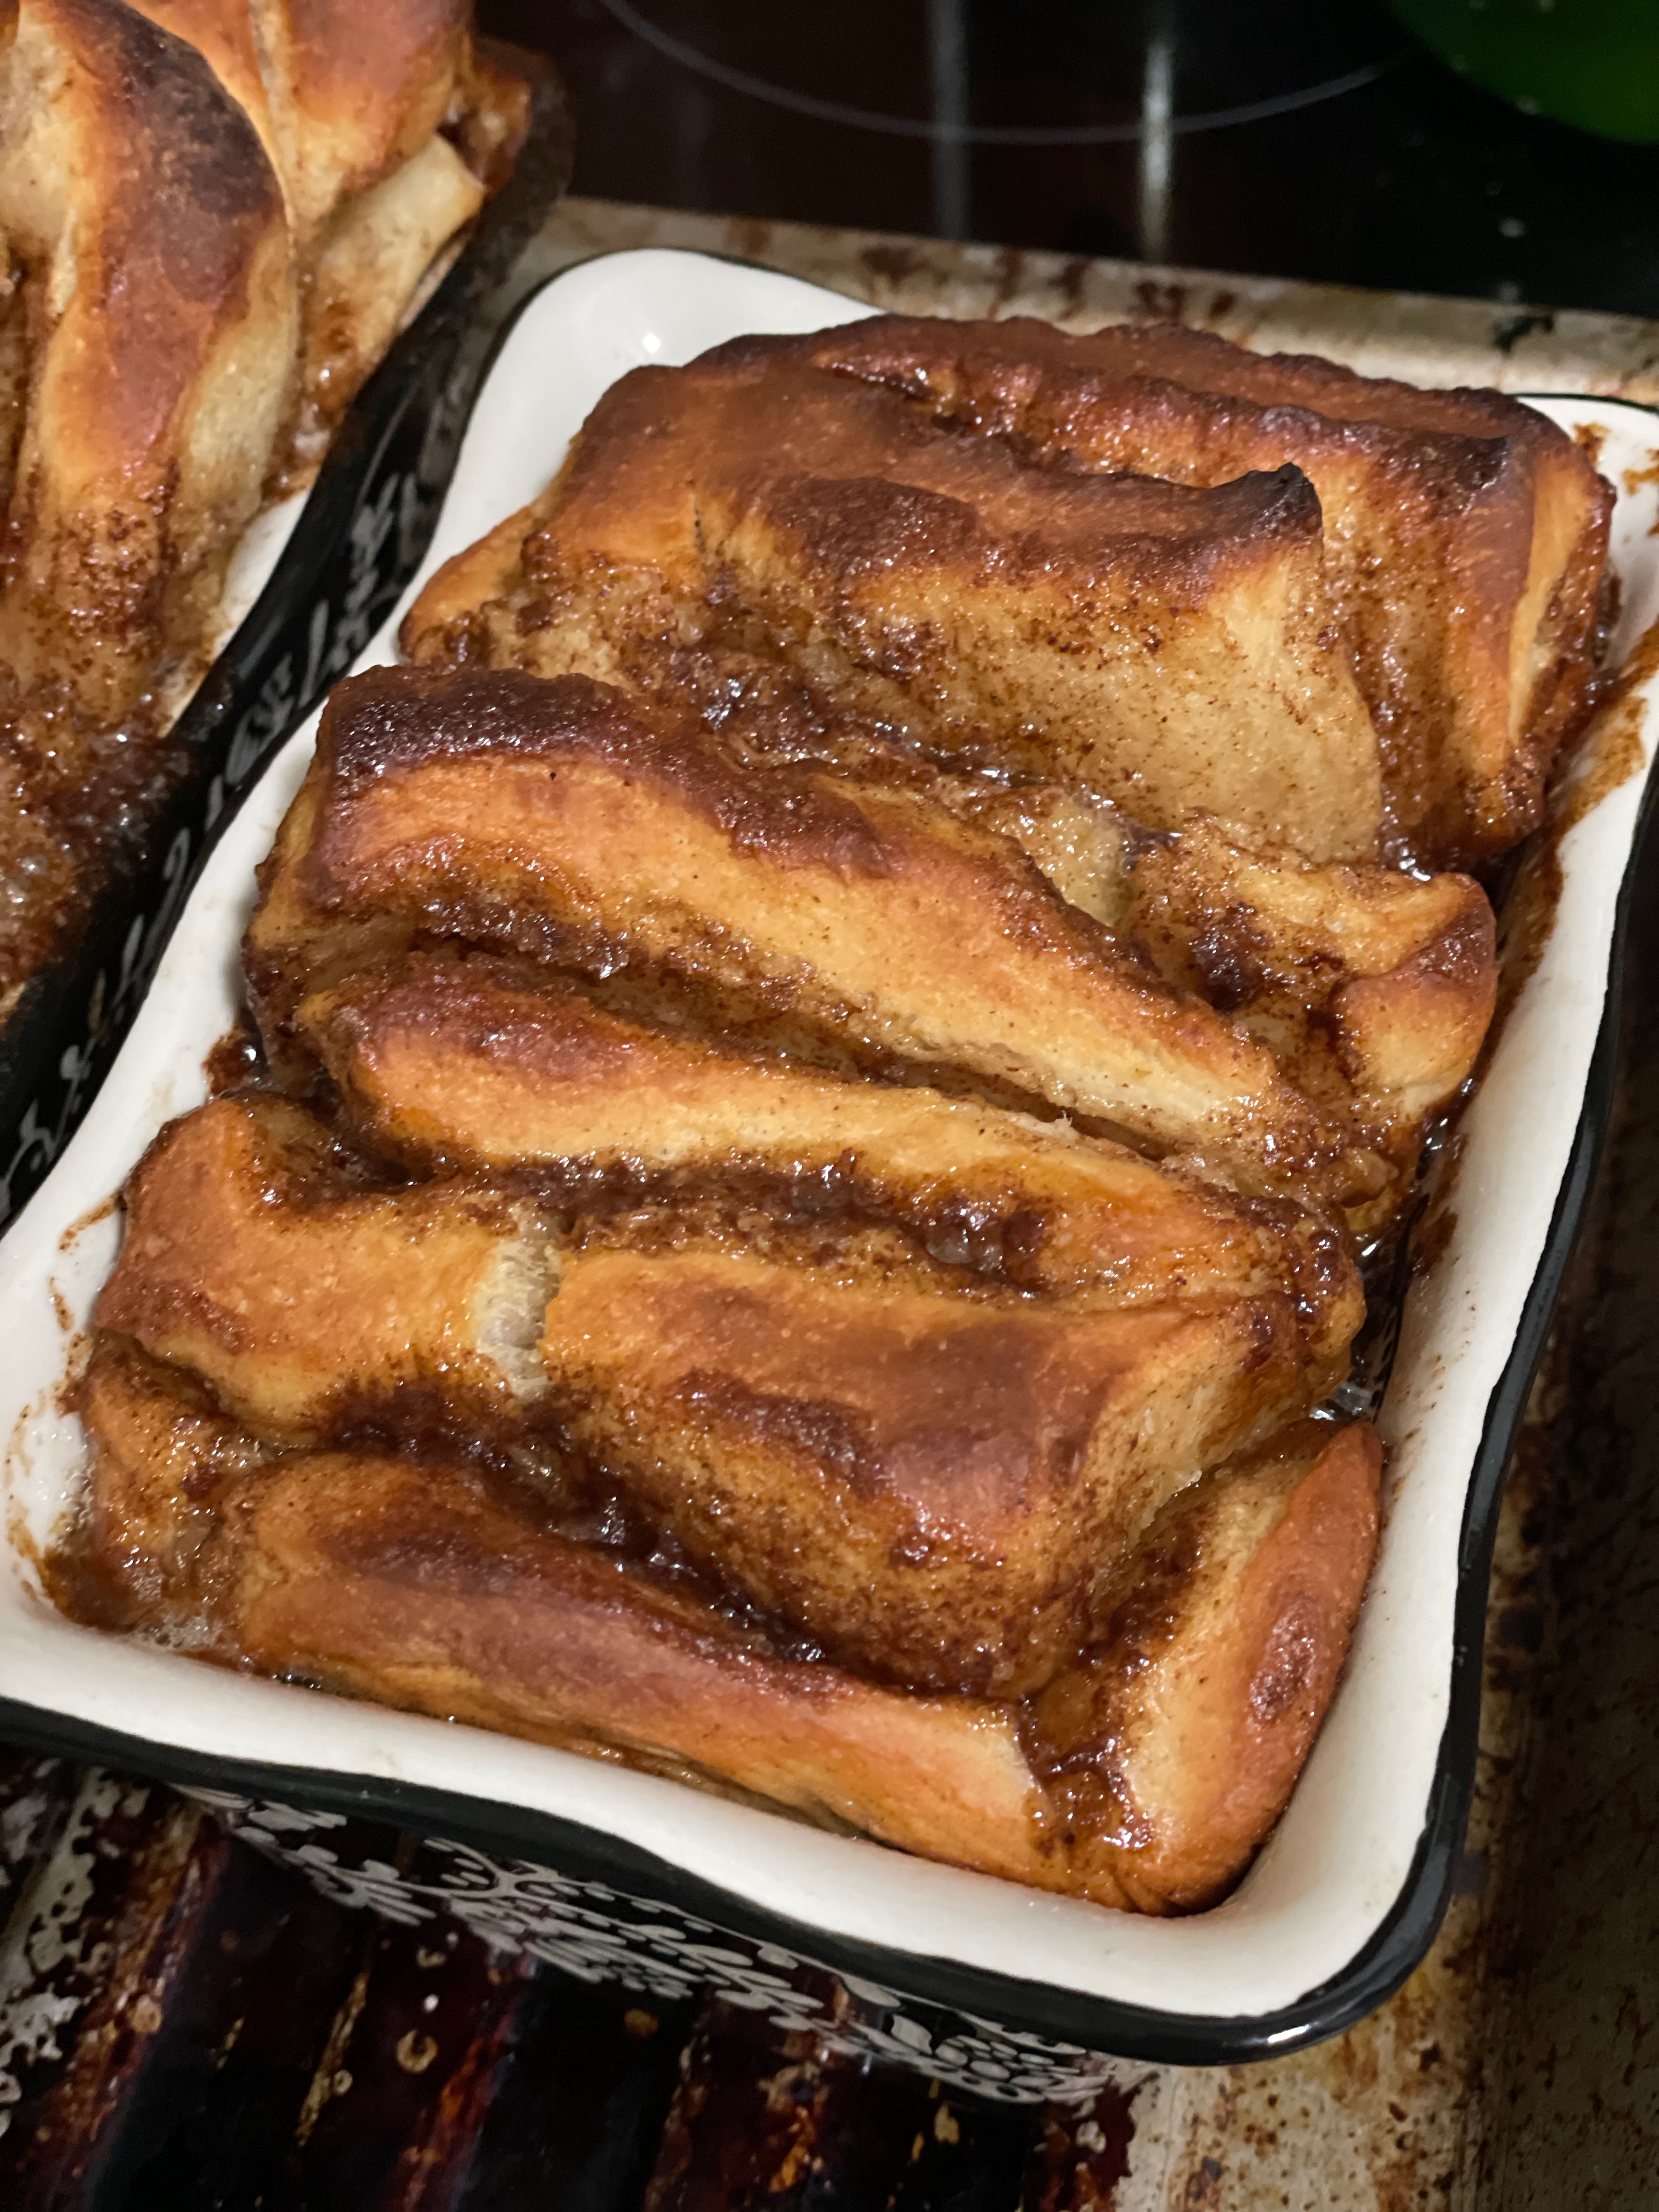
I think most people associate pumpkin with pumpkin spice, not necessarily pumpkin itself. This pumpkin pull-apart bread has the essence of real pumpkin with a hint of cinnamon. None of that pumpkin spice blend. This bread is super moist, but not too sweet. I like having it for breakfast with a cup of hot tea or for as a treat to reward myself for working out. Great for freezing for later too.

I like a recipe where you can make two loaves at once so that you can have one for yourself and another to gift to a friend!

Ingredients

Pumpkin – I used fresh pumpkin puree for this bread, but you can most definitely use canned.

Buttermilk – The buttermilk adds an extra richness and moistness to the bread, but you can also swap it with any milk alternative.

Spices – I only use cinnamon in this, but you can emphasize the pumpkin in this by using pumpkin pie spice instead.

Butter –  If you don’t have time to let your butter soften, a good trick is to fill a glass with hot water, dump out the water, and then invert it over your sticks of butter. The steam and heat from the warmed glass will gently soften the butter without melting it.

Method

pumpkin pull apart bread

Pumpkin Cinnamon Pull Apart Bread

Print Recipe
Cinnamon in the filling and the dough, buttermilk for extra moisture, and some pumpkin puree for extra flavor.
Course Breakfast, Dessert
Keyword bread, cinnamon, dessert, pumpkin
Prep Time 3 hours
Cook Time 20 minutes
Servings 2 loaves

Equipment

  • Stand mixer optional
  • loaf pans

Ingredients

Dough

  • 4.5 tsp yeast dry active
  • 1/4 cup warm water
  • 1 tsp honey
  • 1 cup buttermilk
  • 1 cup pumpkin puree
  • 1 egg
  • 1/2 cup sugar
  • 1/4 cup vegetable oil
  • 1 tsp salt
  • 1 tbsp cinnamon
  • 6 cups flour all purpose

Filling

  • 6 tbsp butter softened
  • 1 tbsp cinnamon
  • 3/4 cup brown sugar

Instructions

  • Bloom yeast in warm water and honey. Mix all together and allow to sit until mixture is foamy.
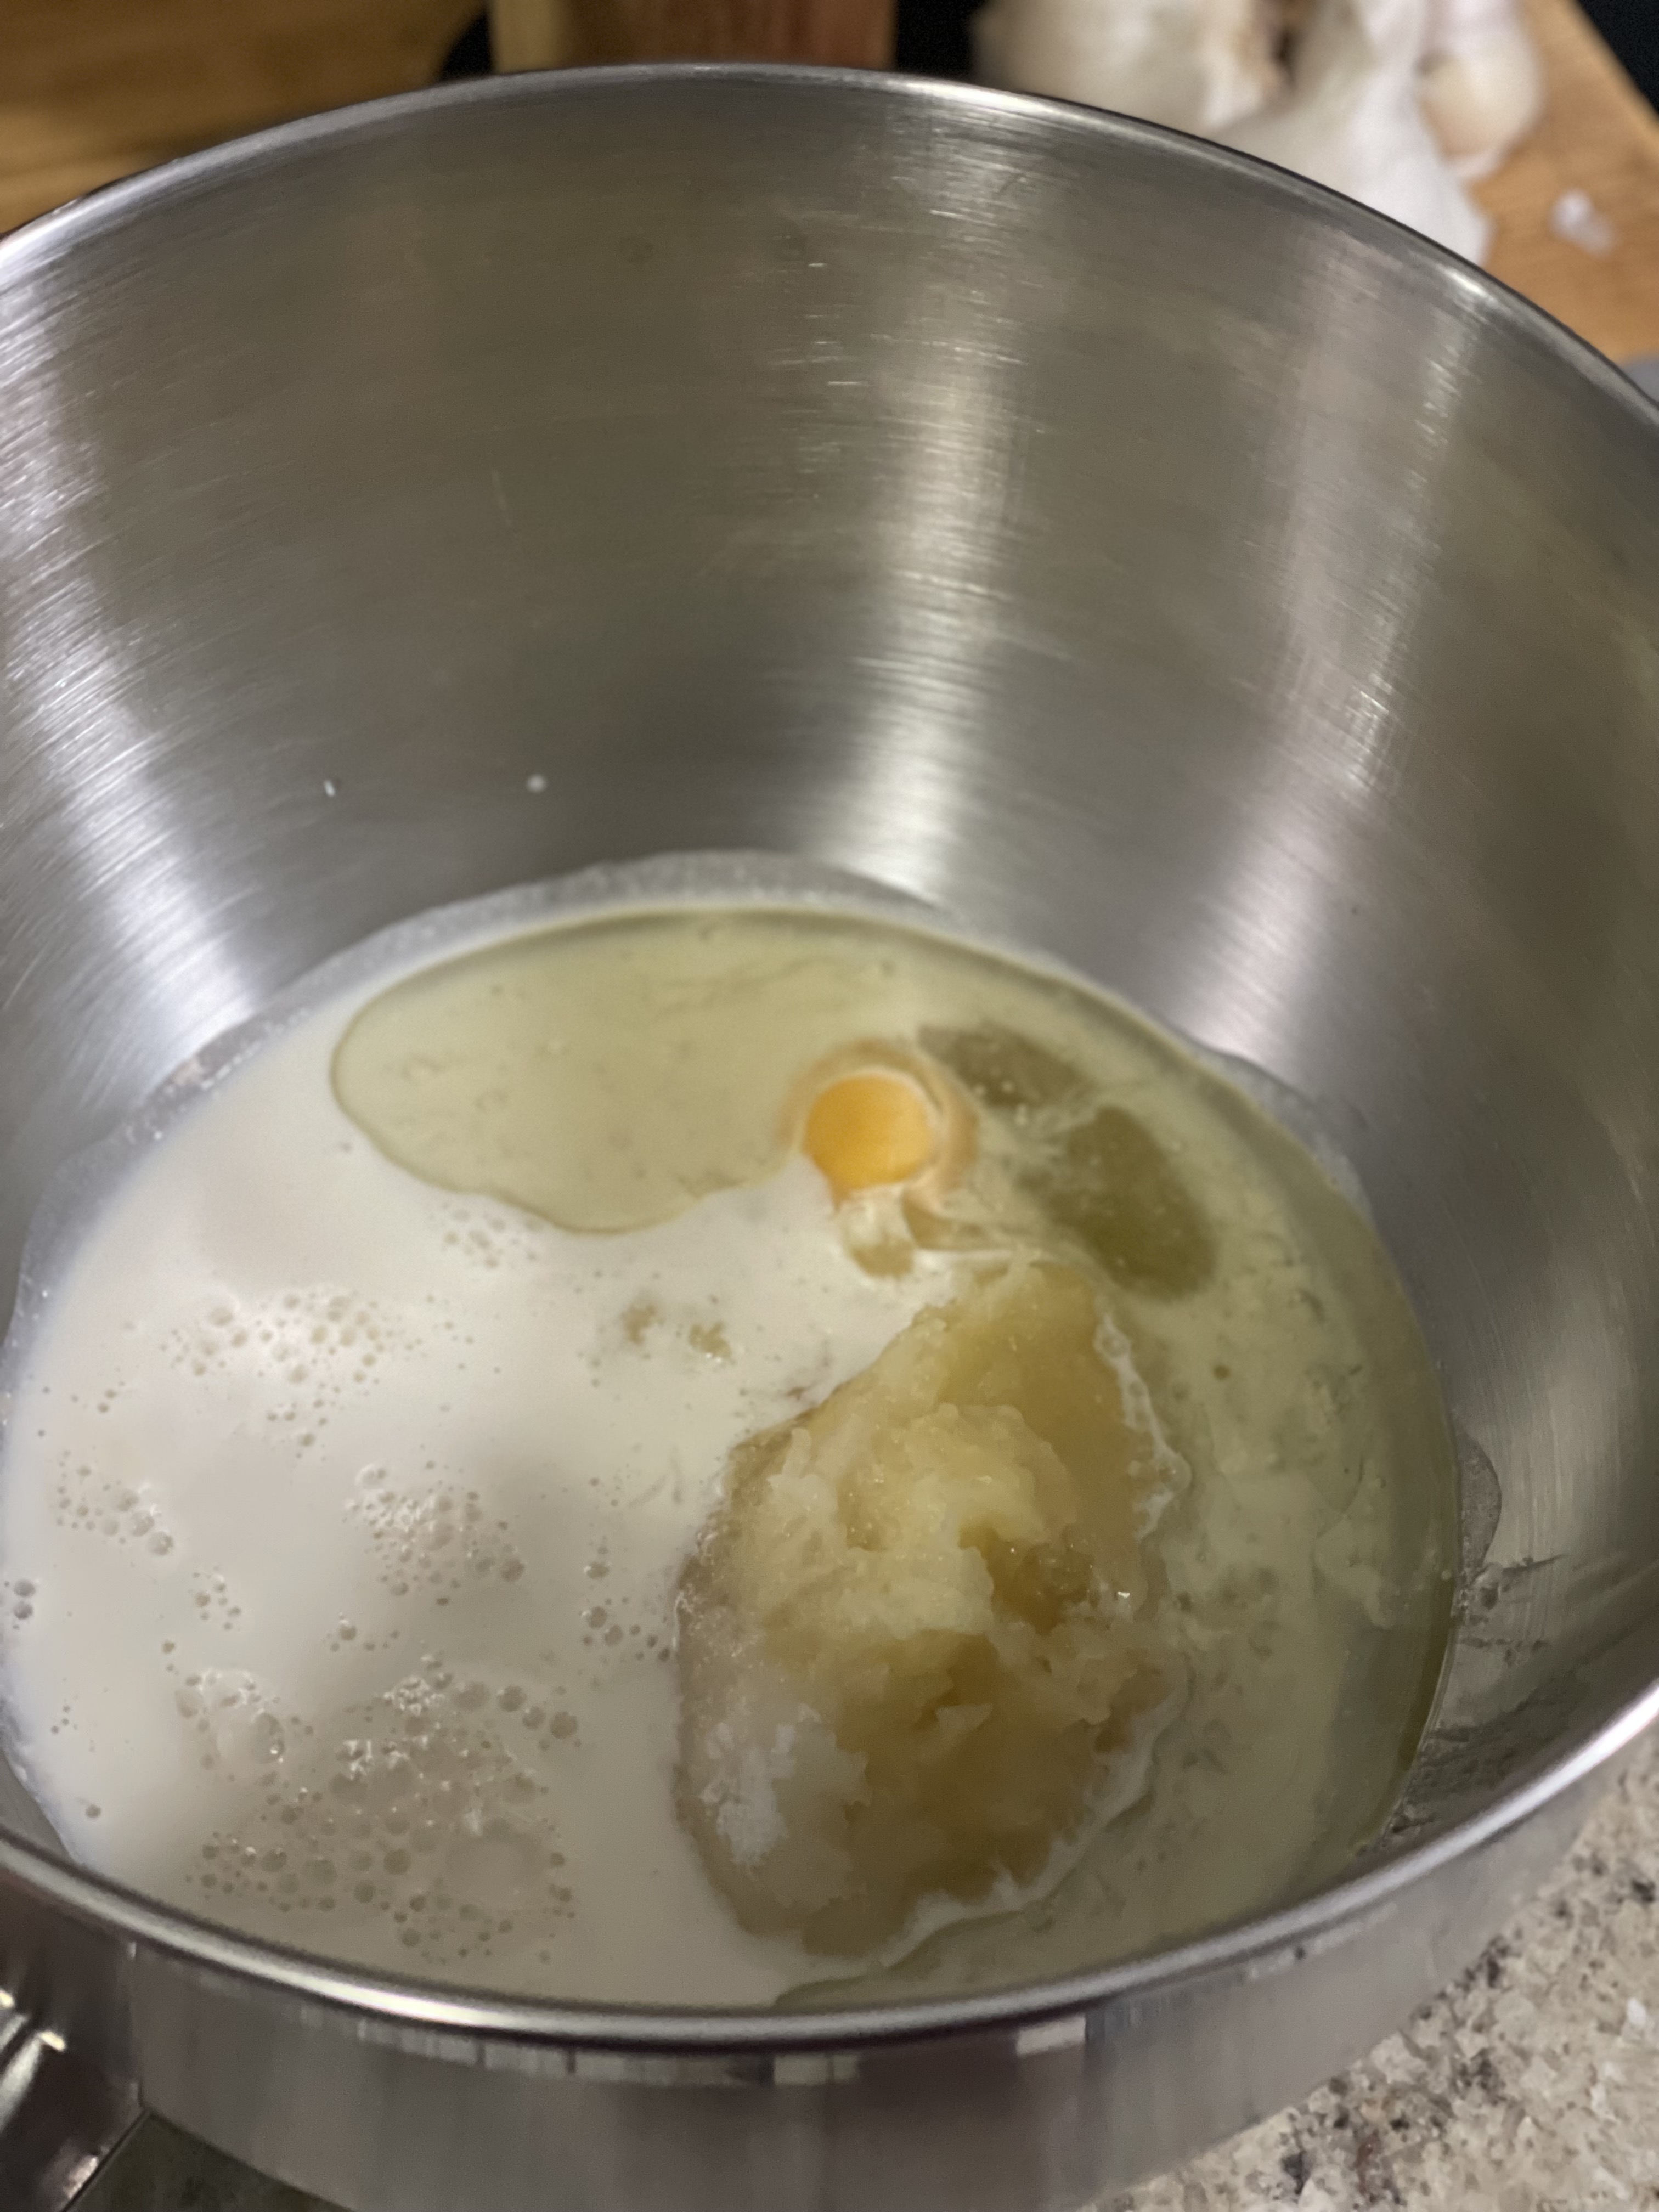
  • Mix yeast mixture with remaining "wet" ingredients: pumpkin puree, buttermilk, egg, sugar, oil, and cinnamon.
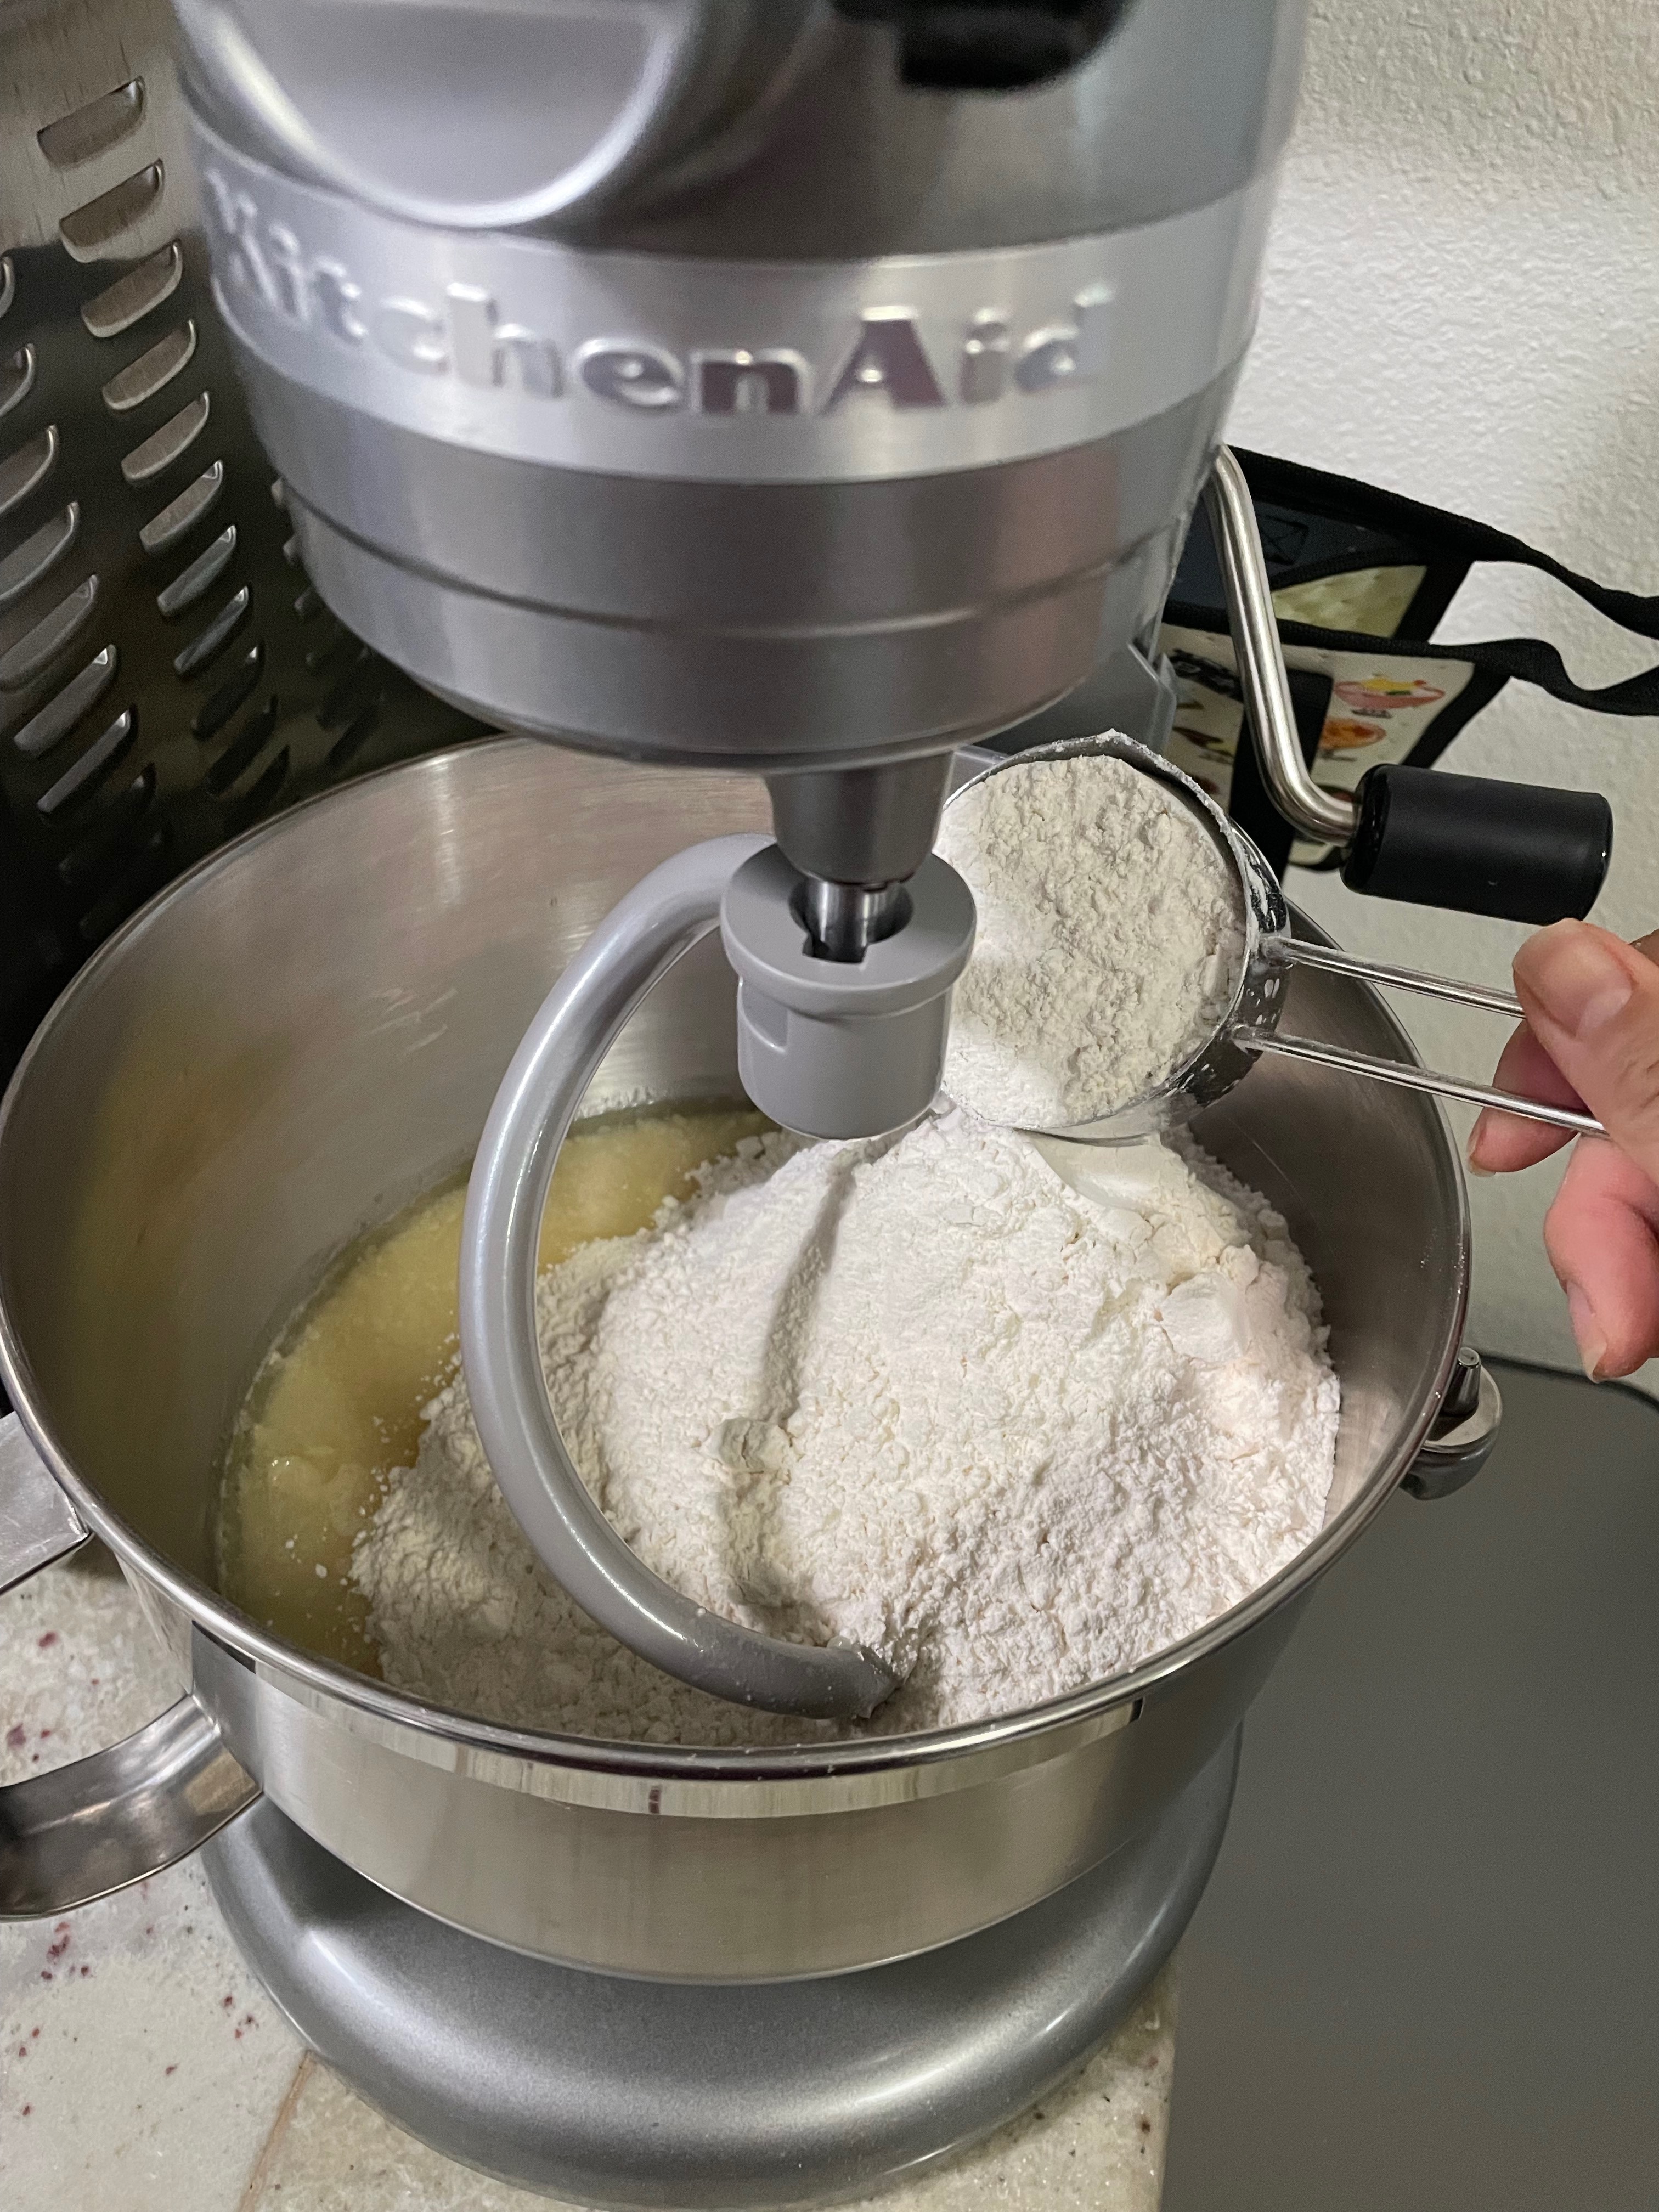
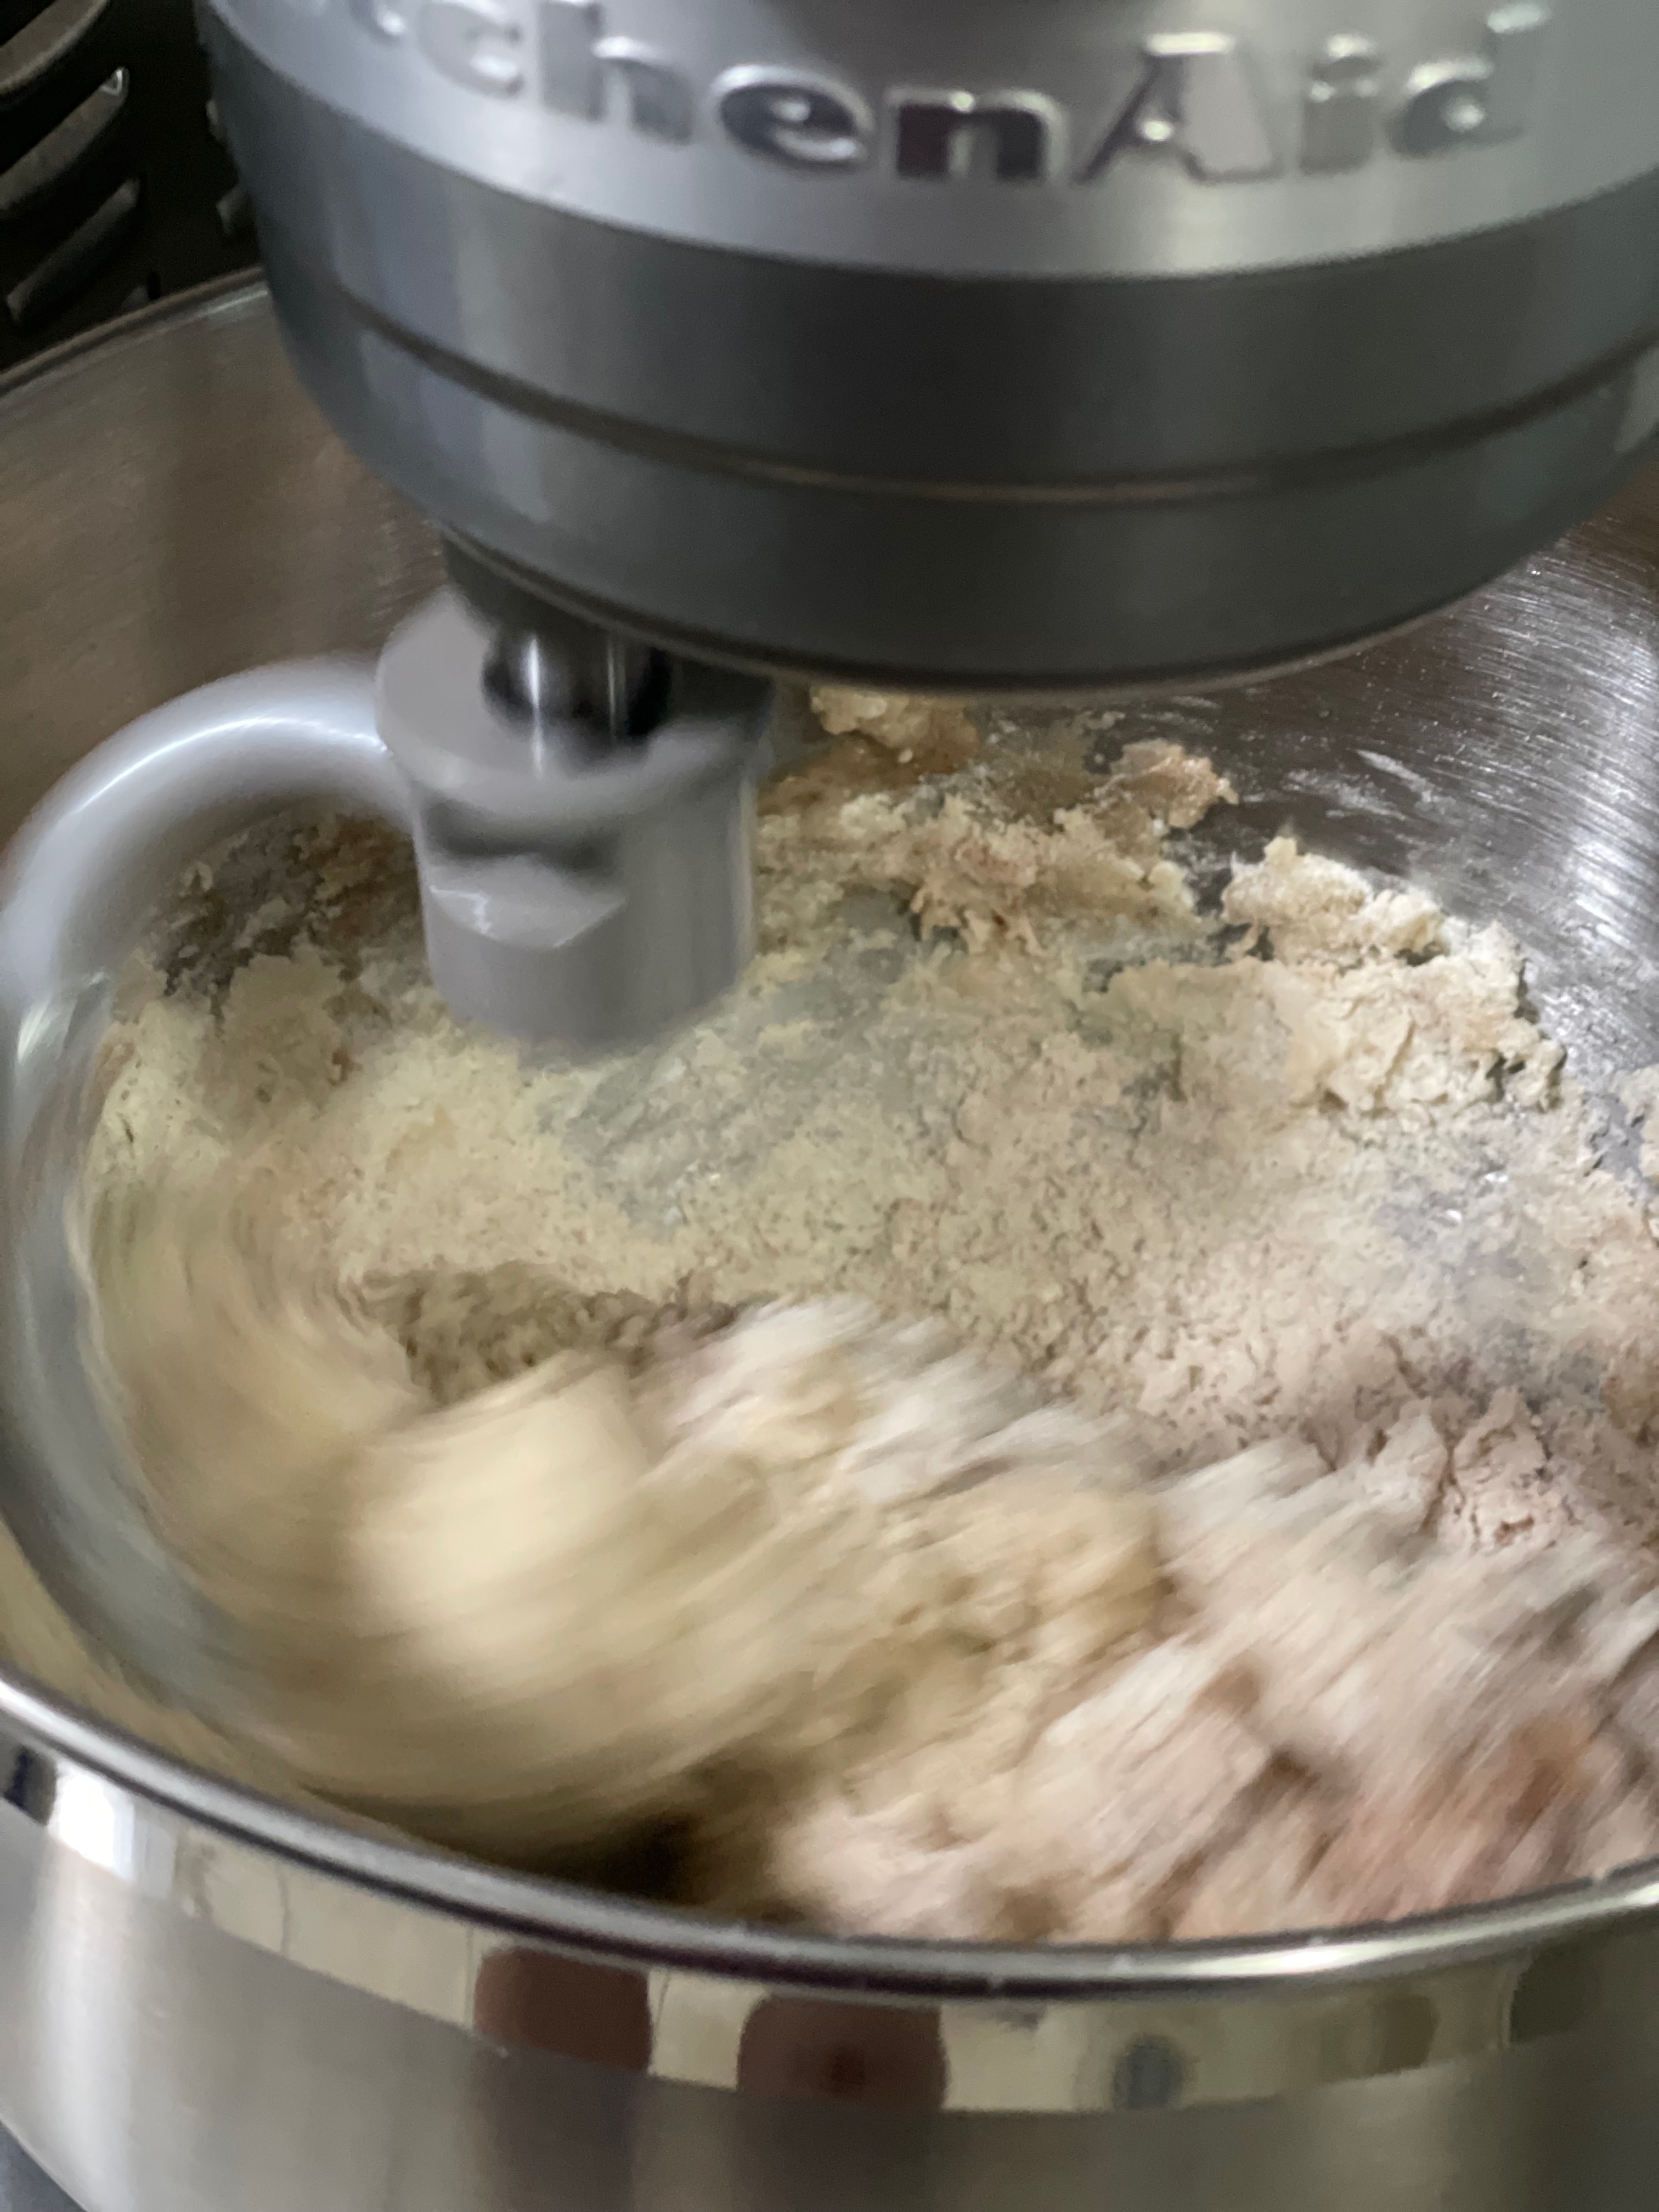
  • When wet mixture is fully combined, add flour and salt, and mix using the hook attachment until combined.
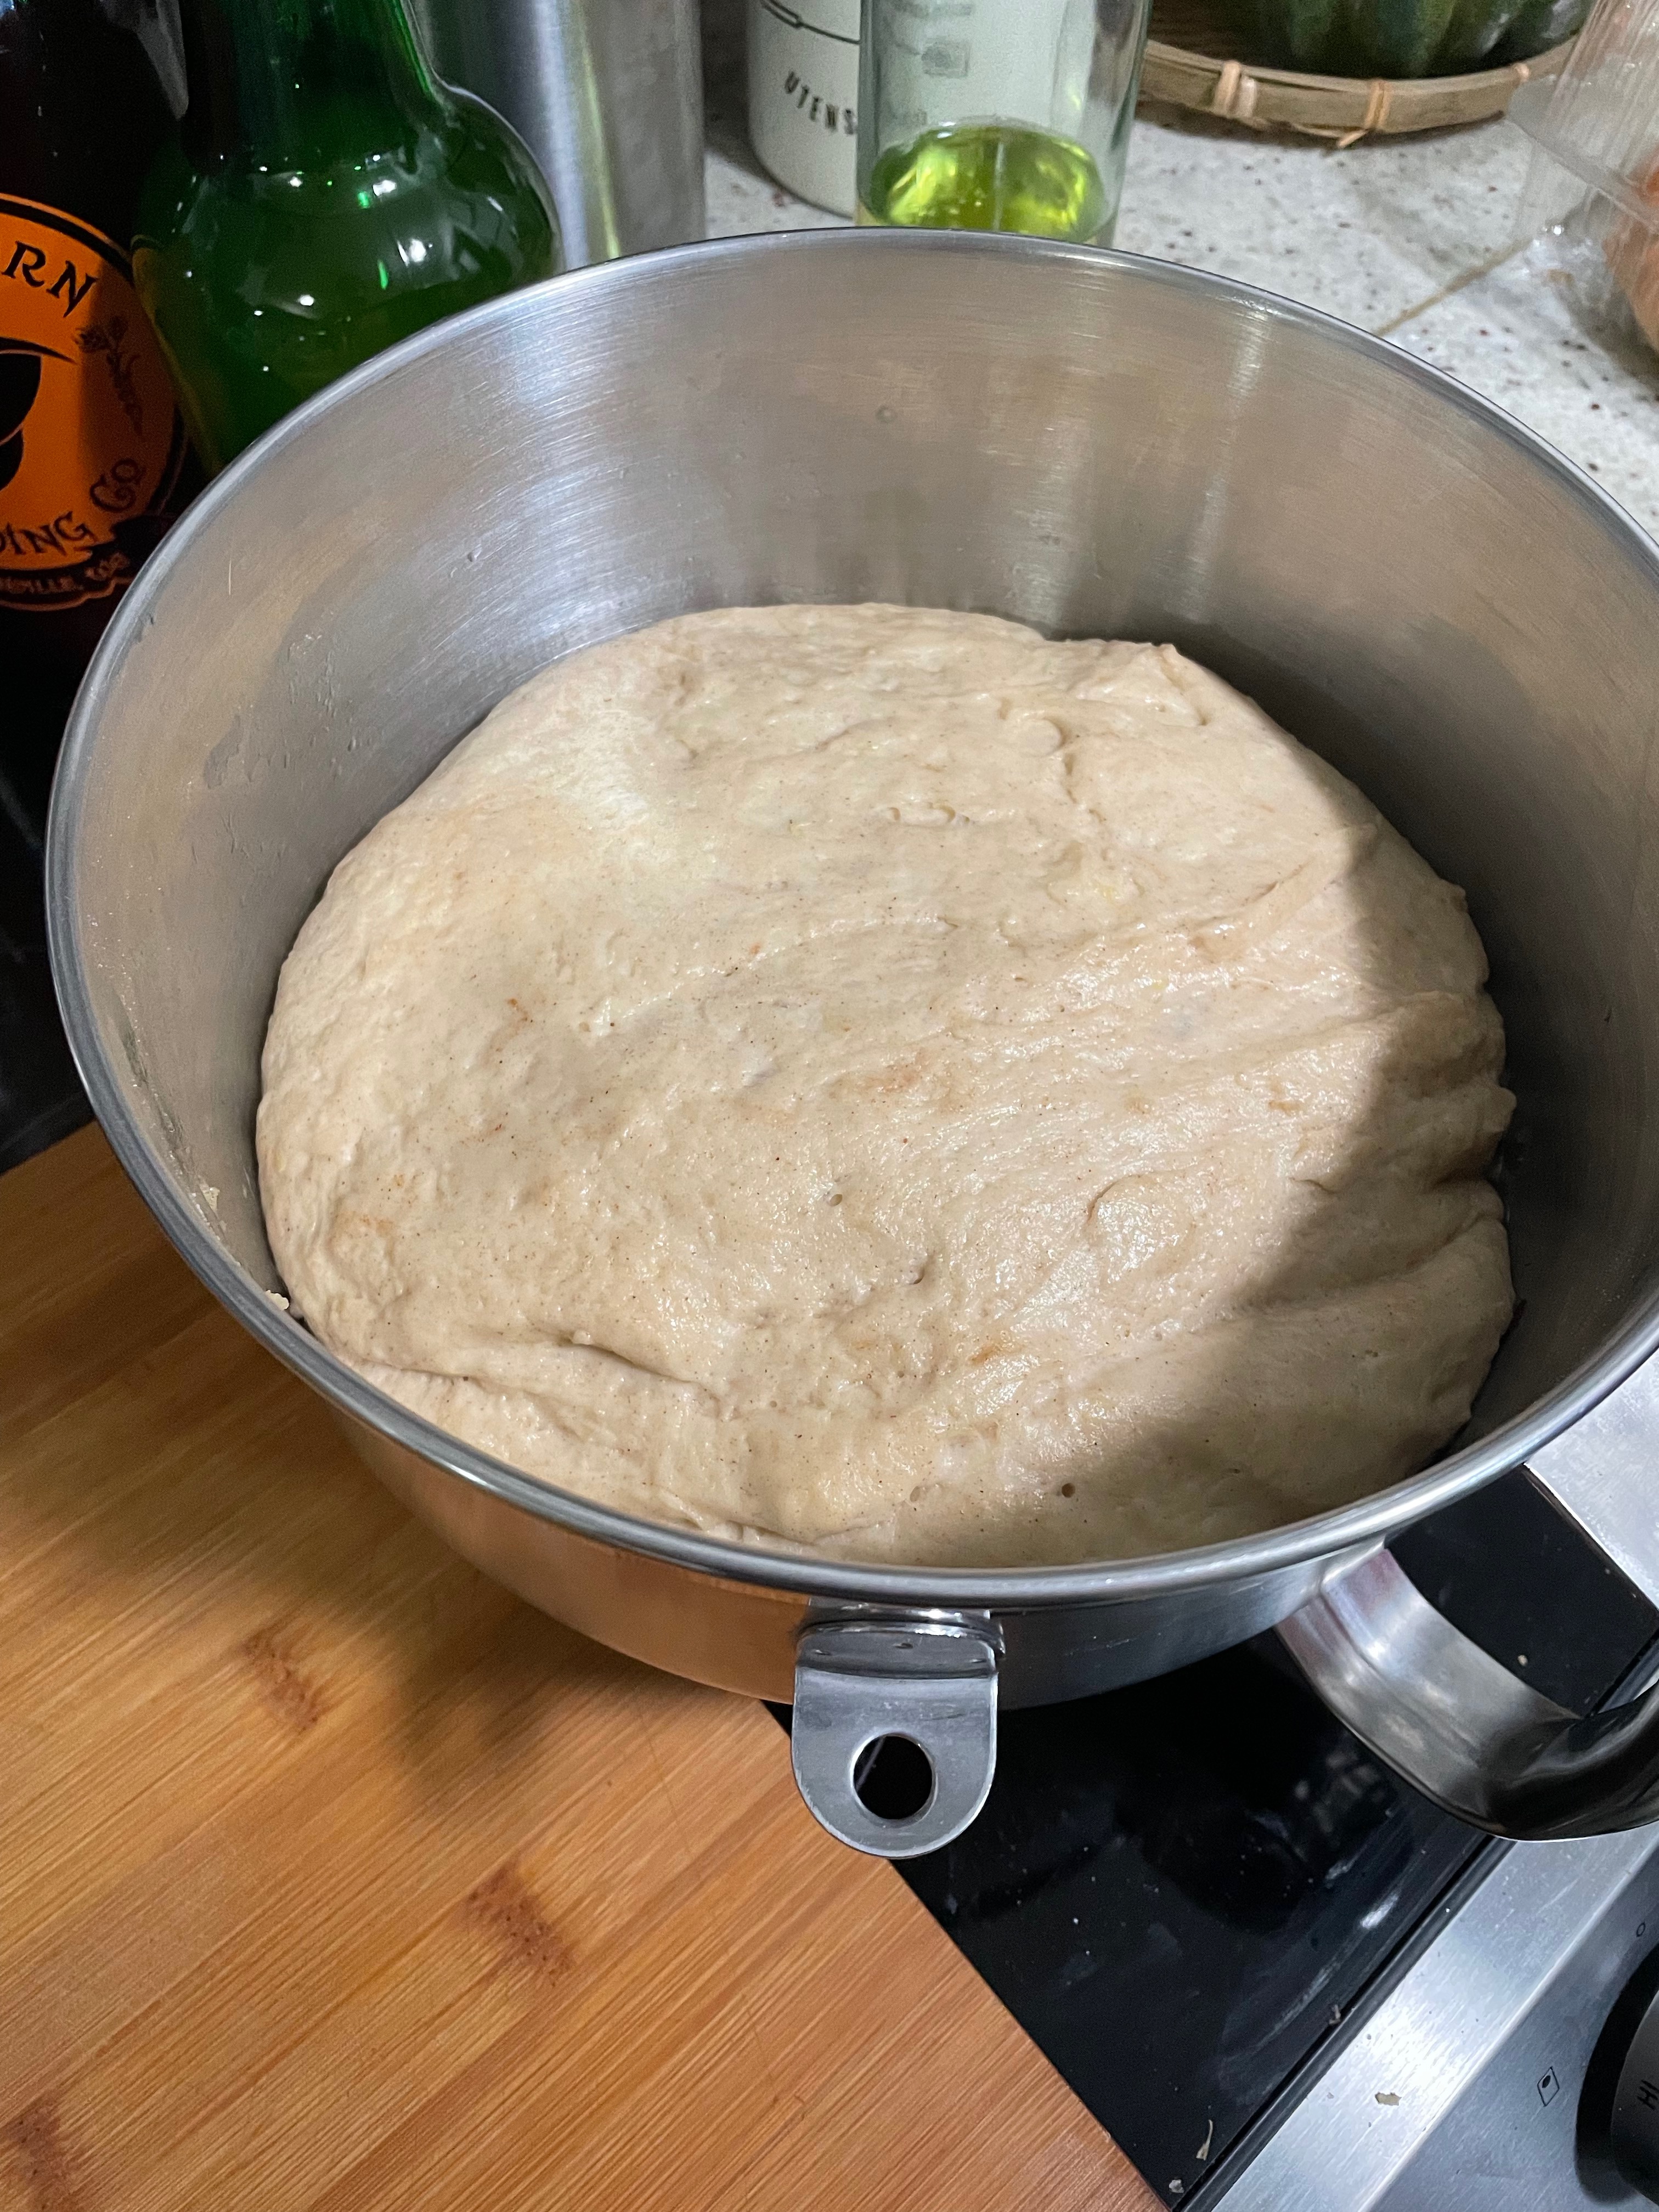
  • Coat dough/bowl in neutral oil and leave to rise until doubled, about 2 hours.
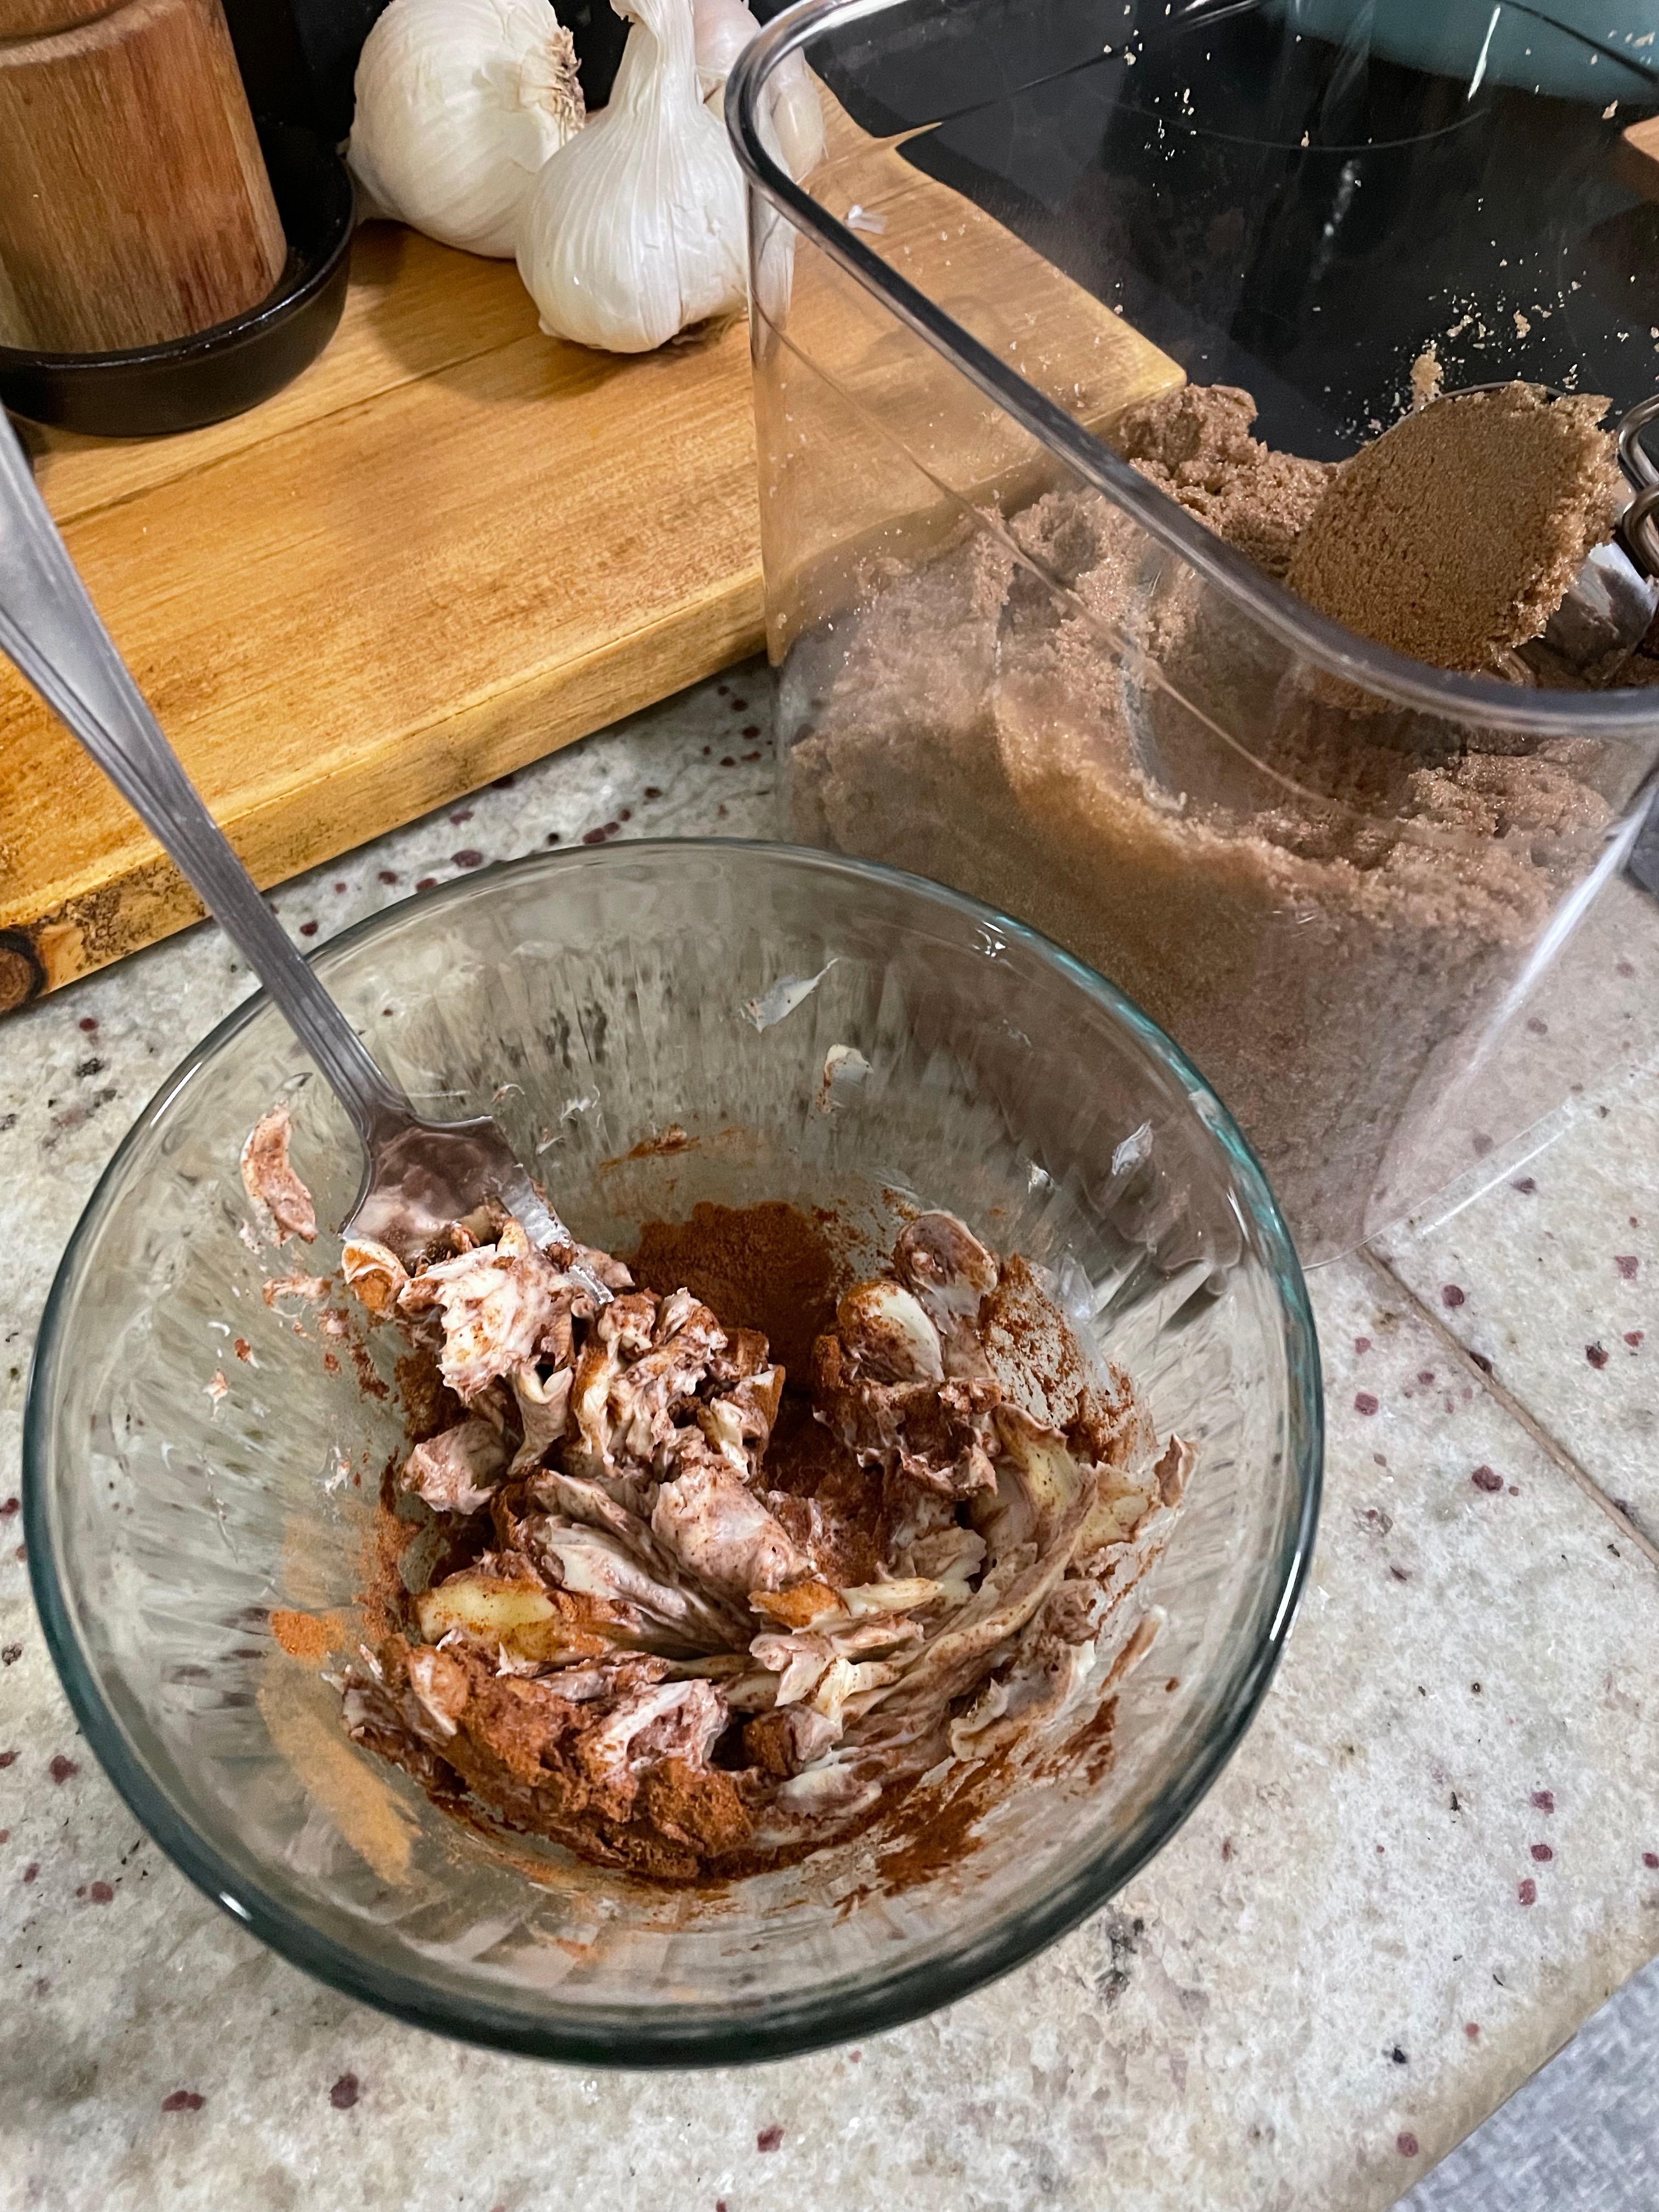
  • To make filling, mix softened butter, cinnamon, and brown sugar until combined. Set aside.
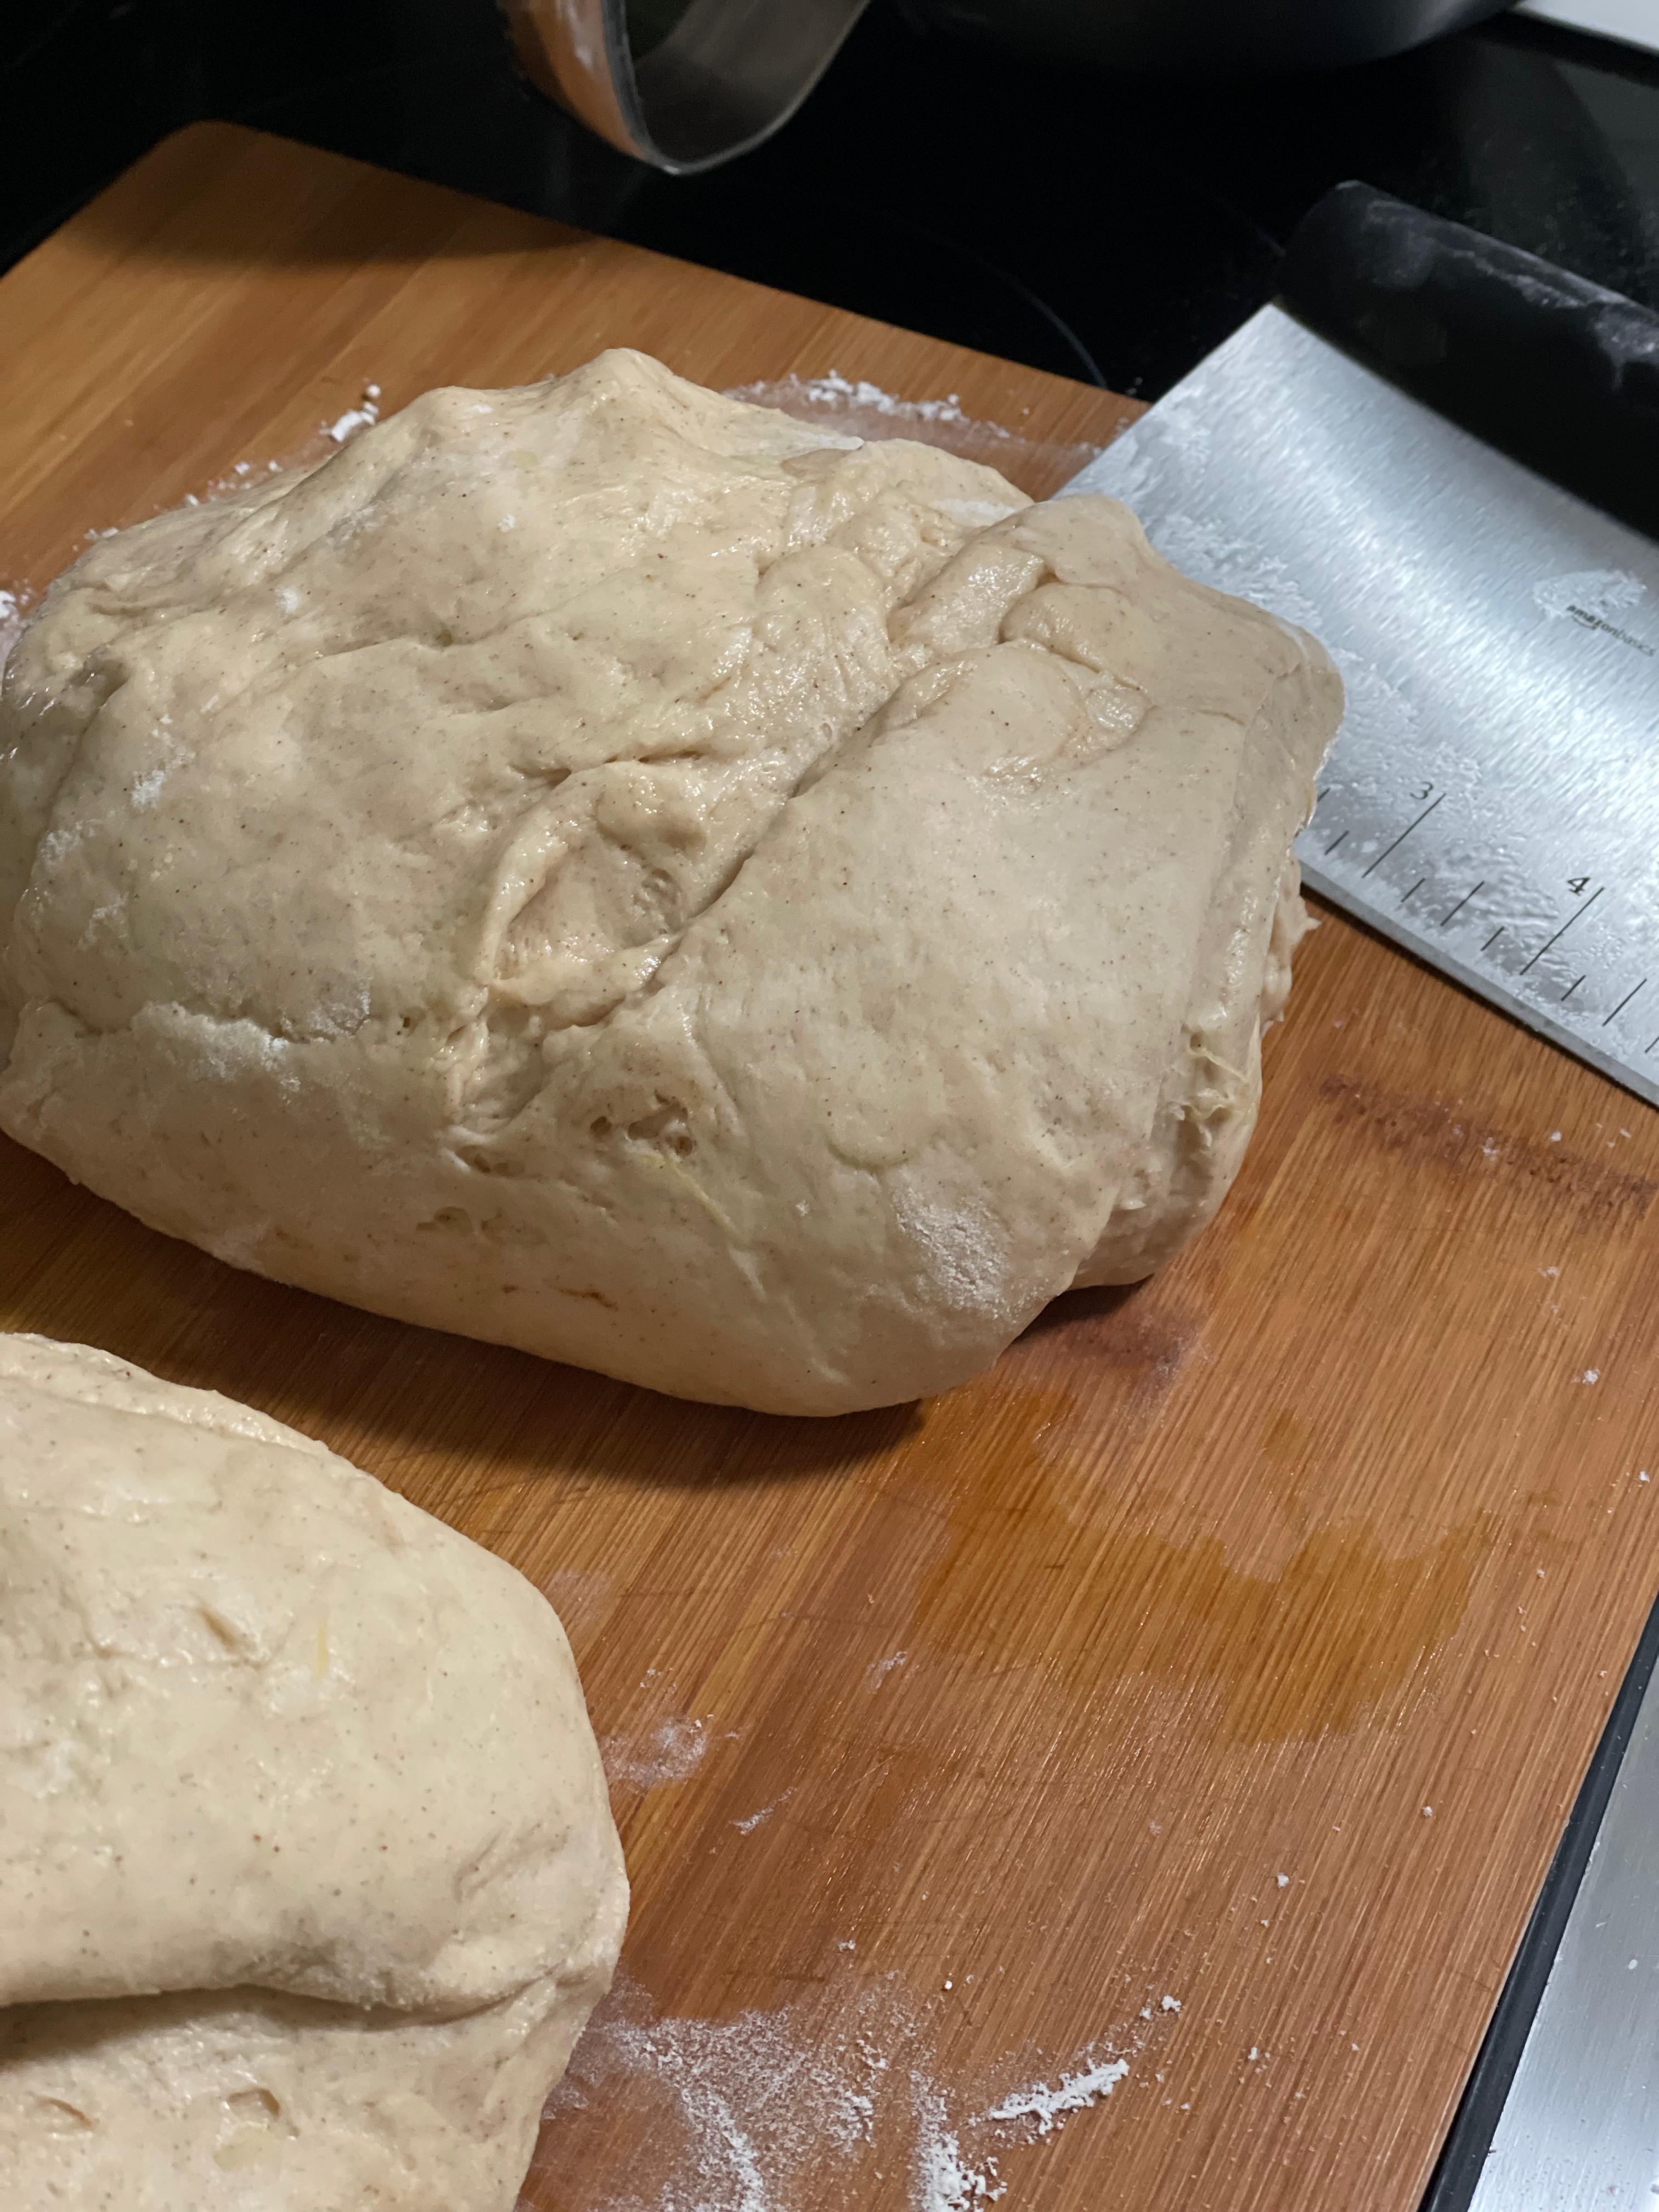
  • After dough has doubled, split in half and roll out into an approximate 12" x 18" rectangle.
  • Spread half of the filling mixture evenly onto the rectangle.
  • Cut the rectangle into 3" x 3" squares. You should have 24 squares.
  • Stack squares in loaf pan.
  • Repeat with with second half of dough.
  • Let rise additional 30 minutes.
  • Bake for 15-20 minutes at 400F until lightly browned and fluffy.

Want to try some other desserts? Check out Beet Cinnamon Rolls or Crispy Gooey Chocolate Chip Cookies.

Have extra pumpkin? Try Pumpkin Panang Curry with Spinach and Paneer.

Pumpkin Panang Curry with Spinach and Paneer

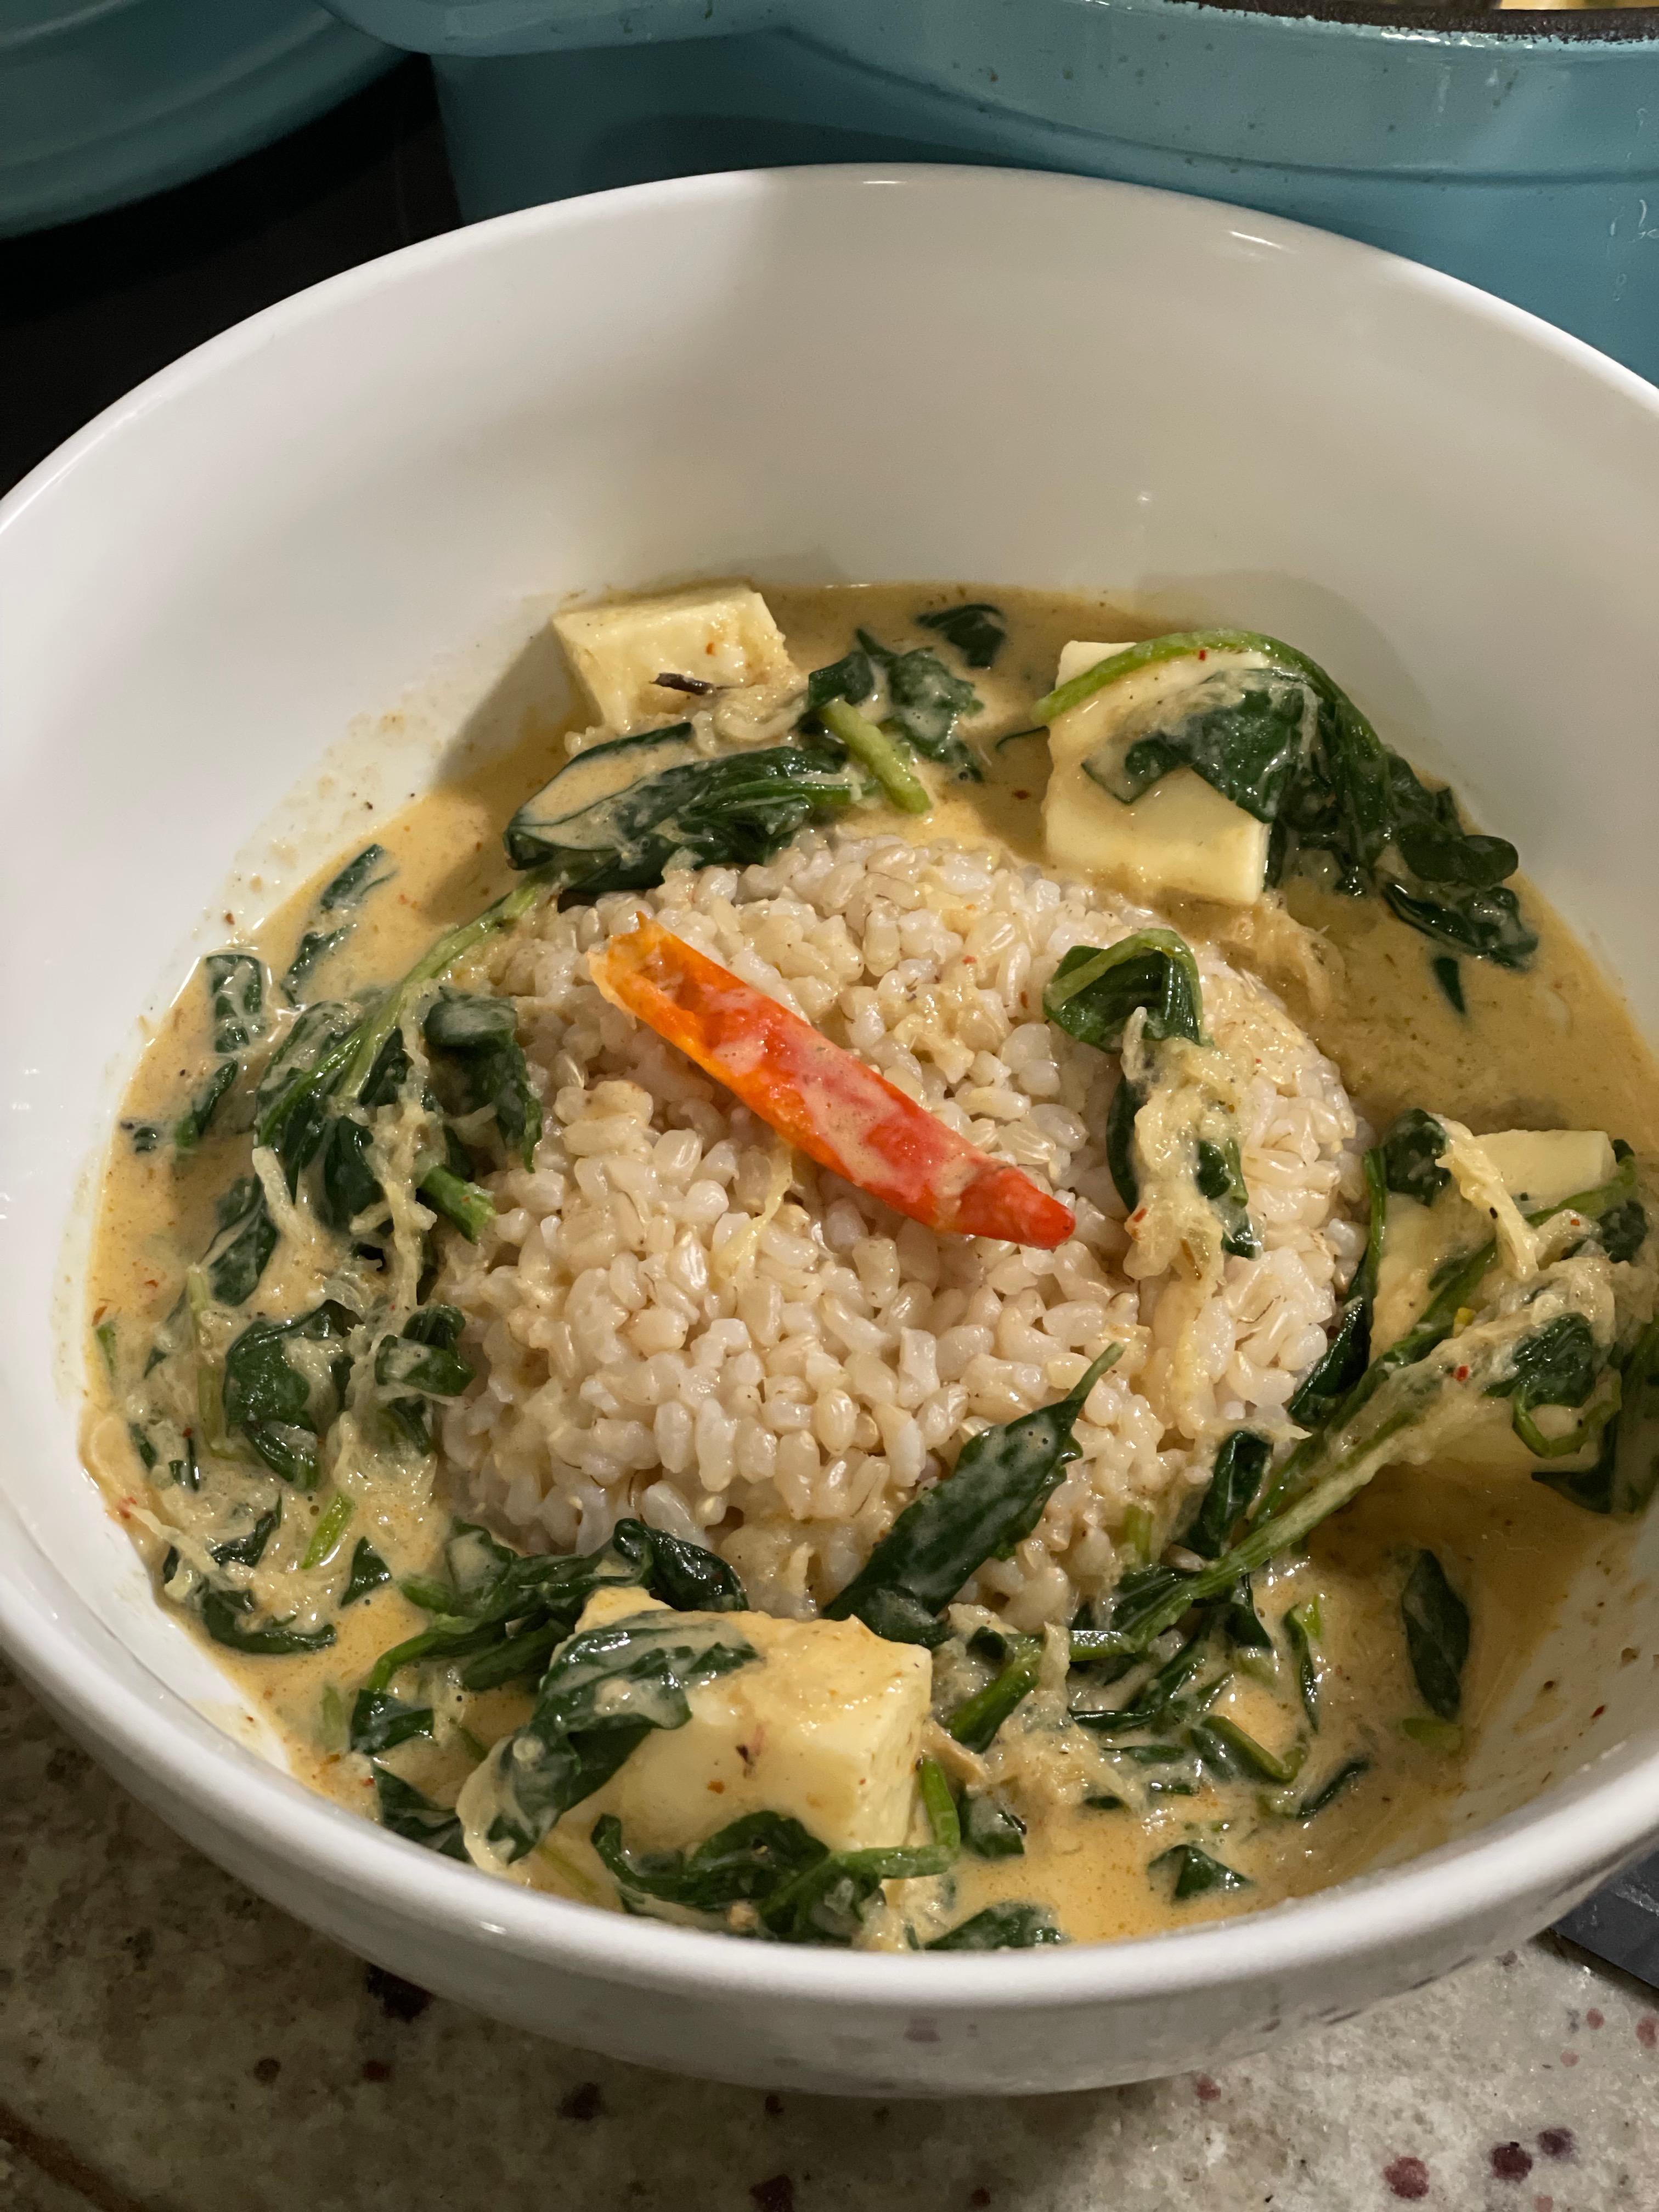
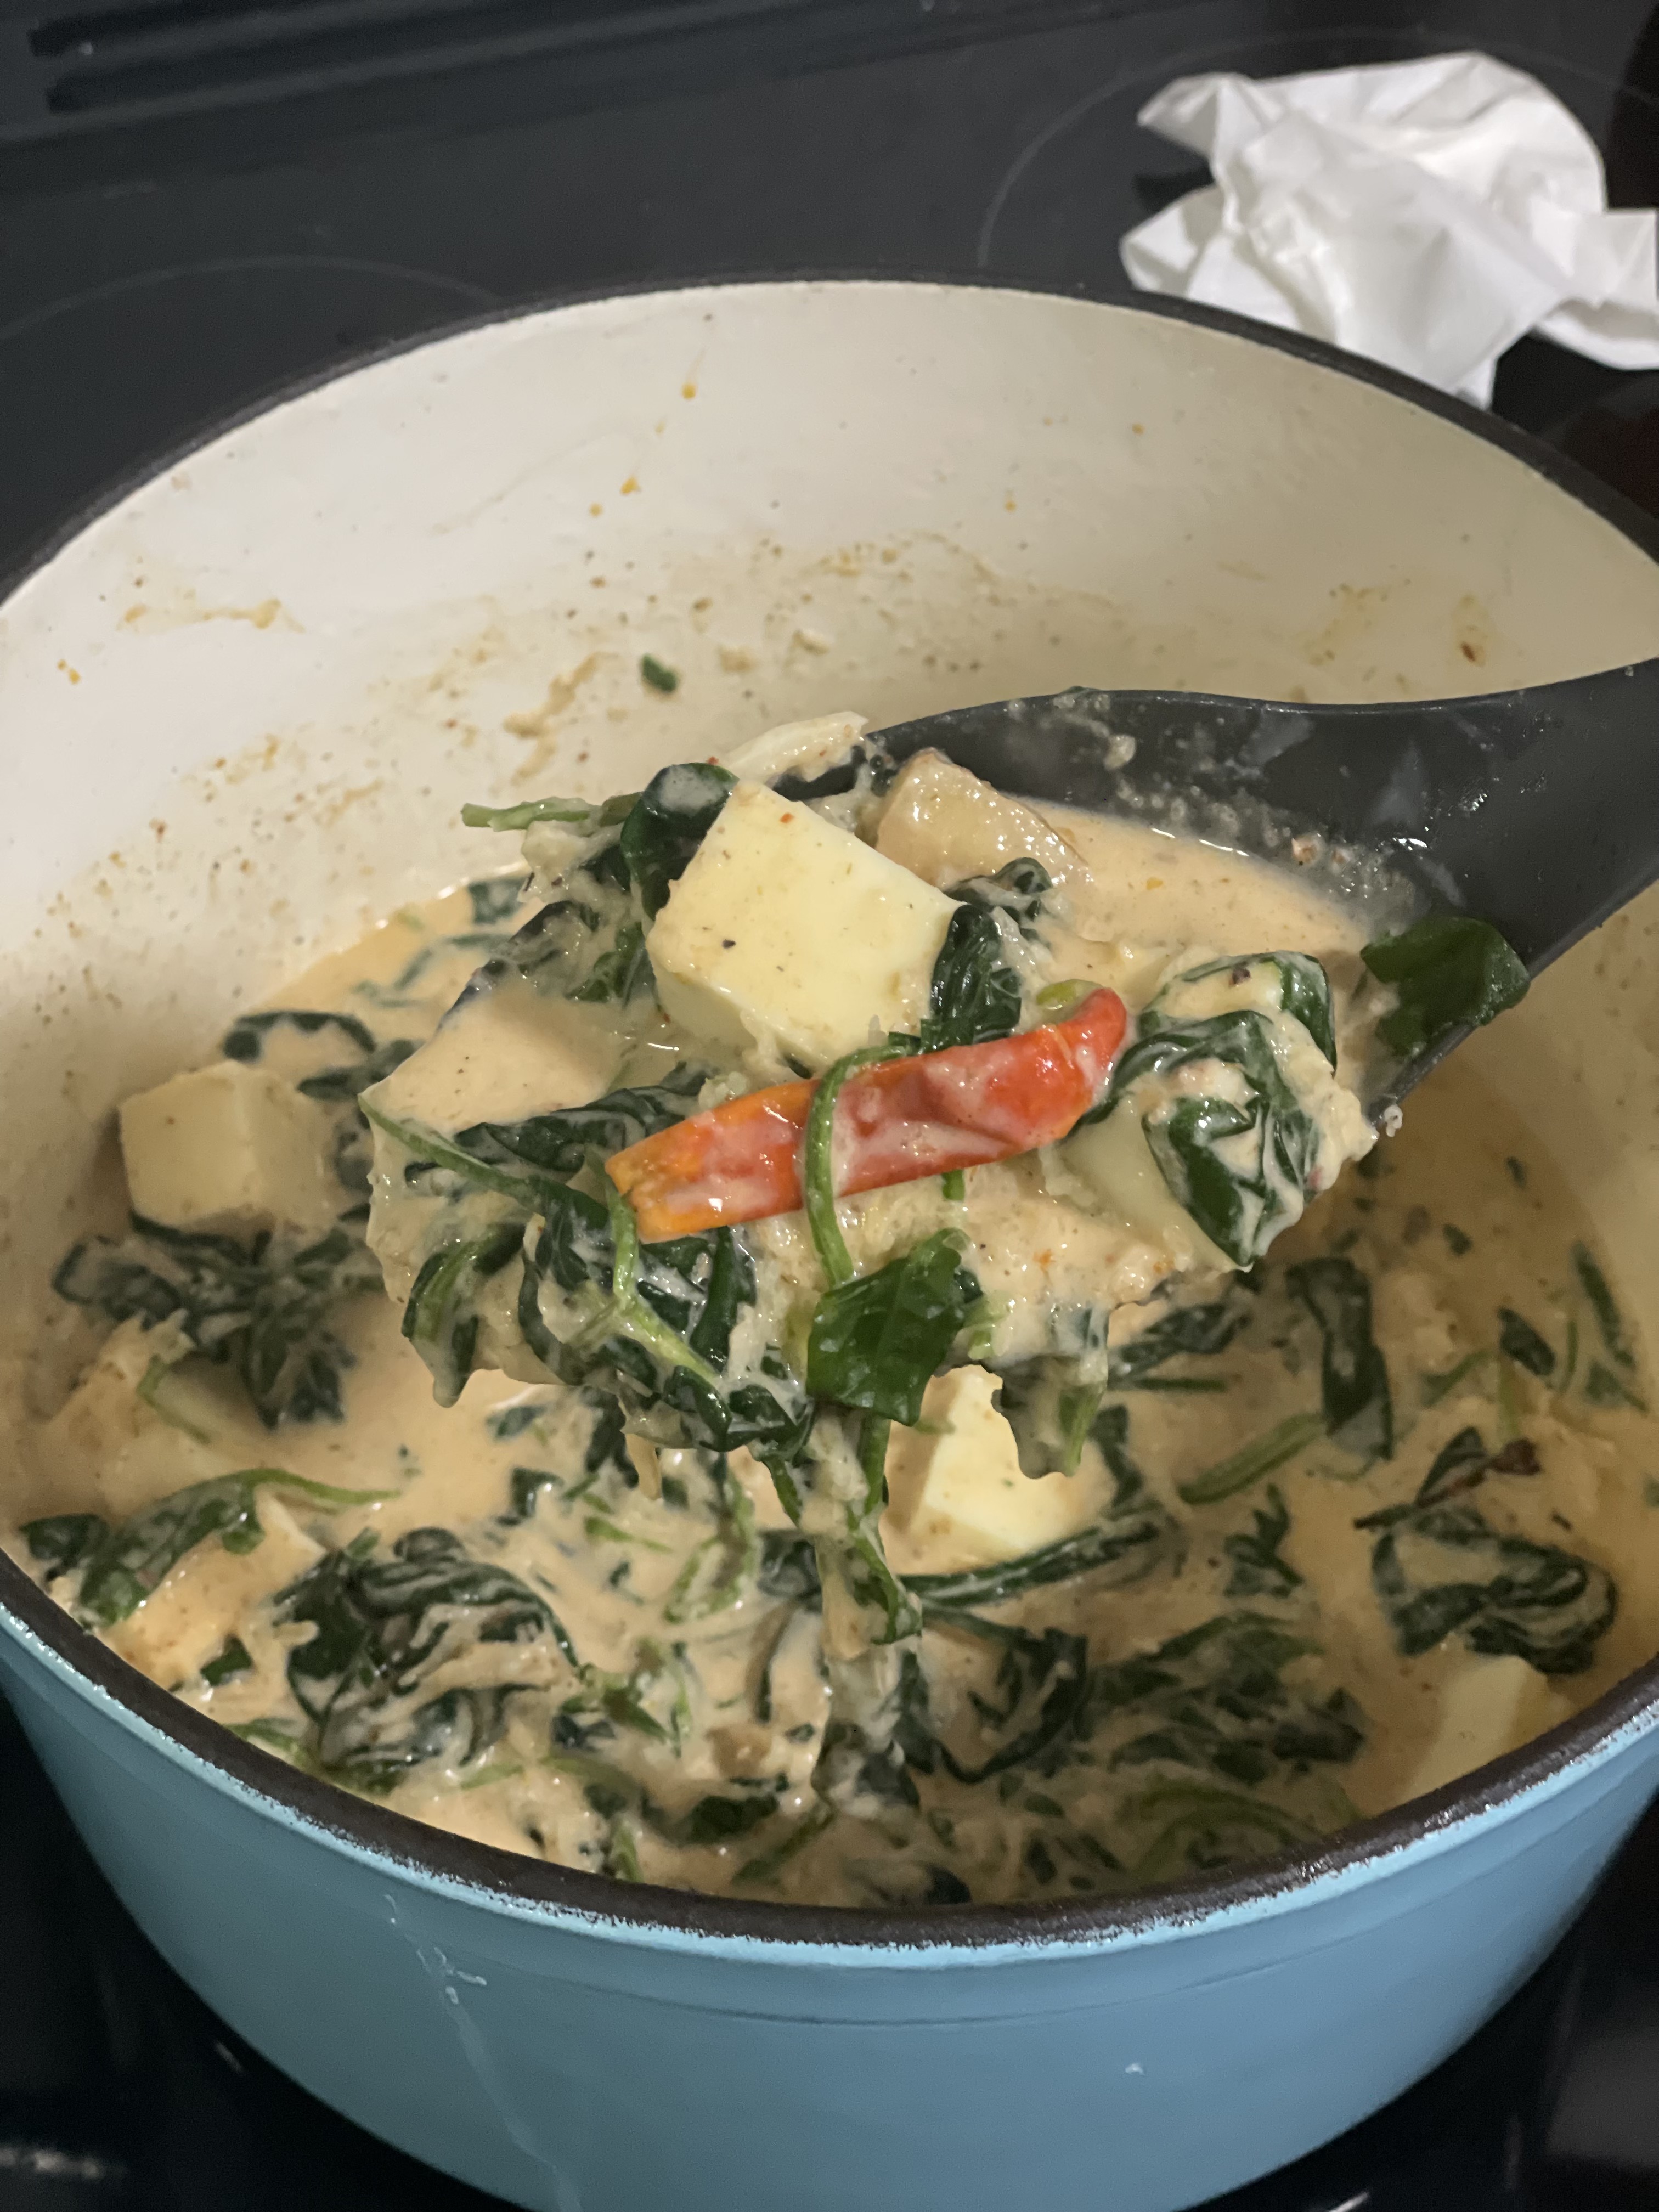
panang curry

Curries are one of my favorite dishes to make when you need something warm and filling, especially panang curry. They are easy to riff on and combinations are really endless of types of curry, veg, and proteins you can use. You can make curries as sweet, spicy, or salty as you like. They can also be served in a multitude of ways: rice, noodles, bread, even on its own!

Ingredients

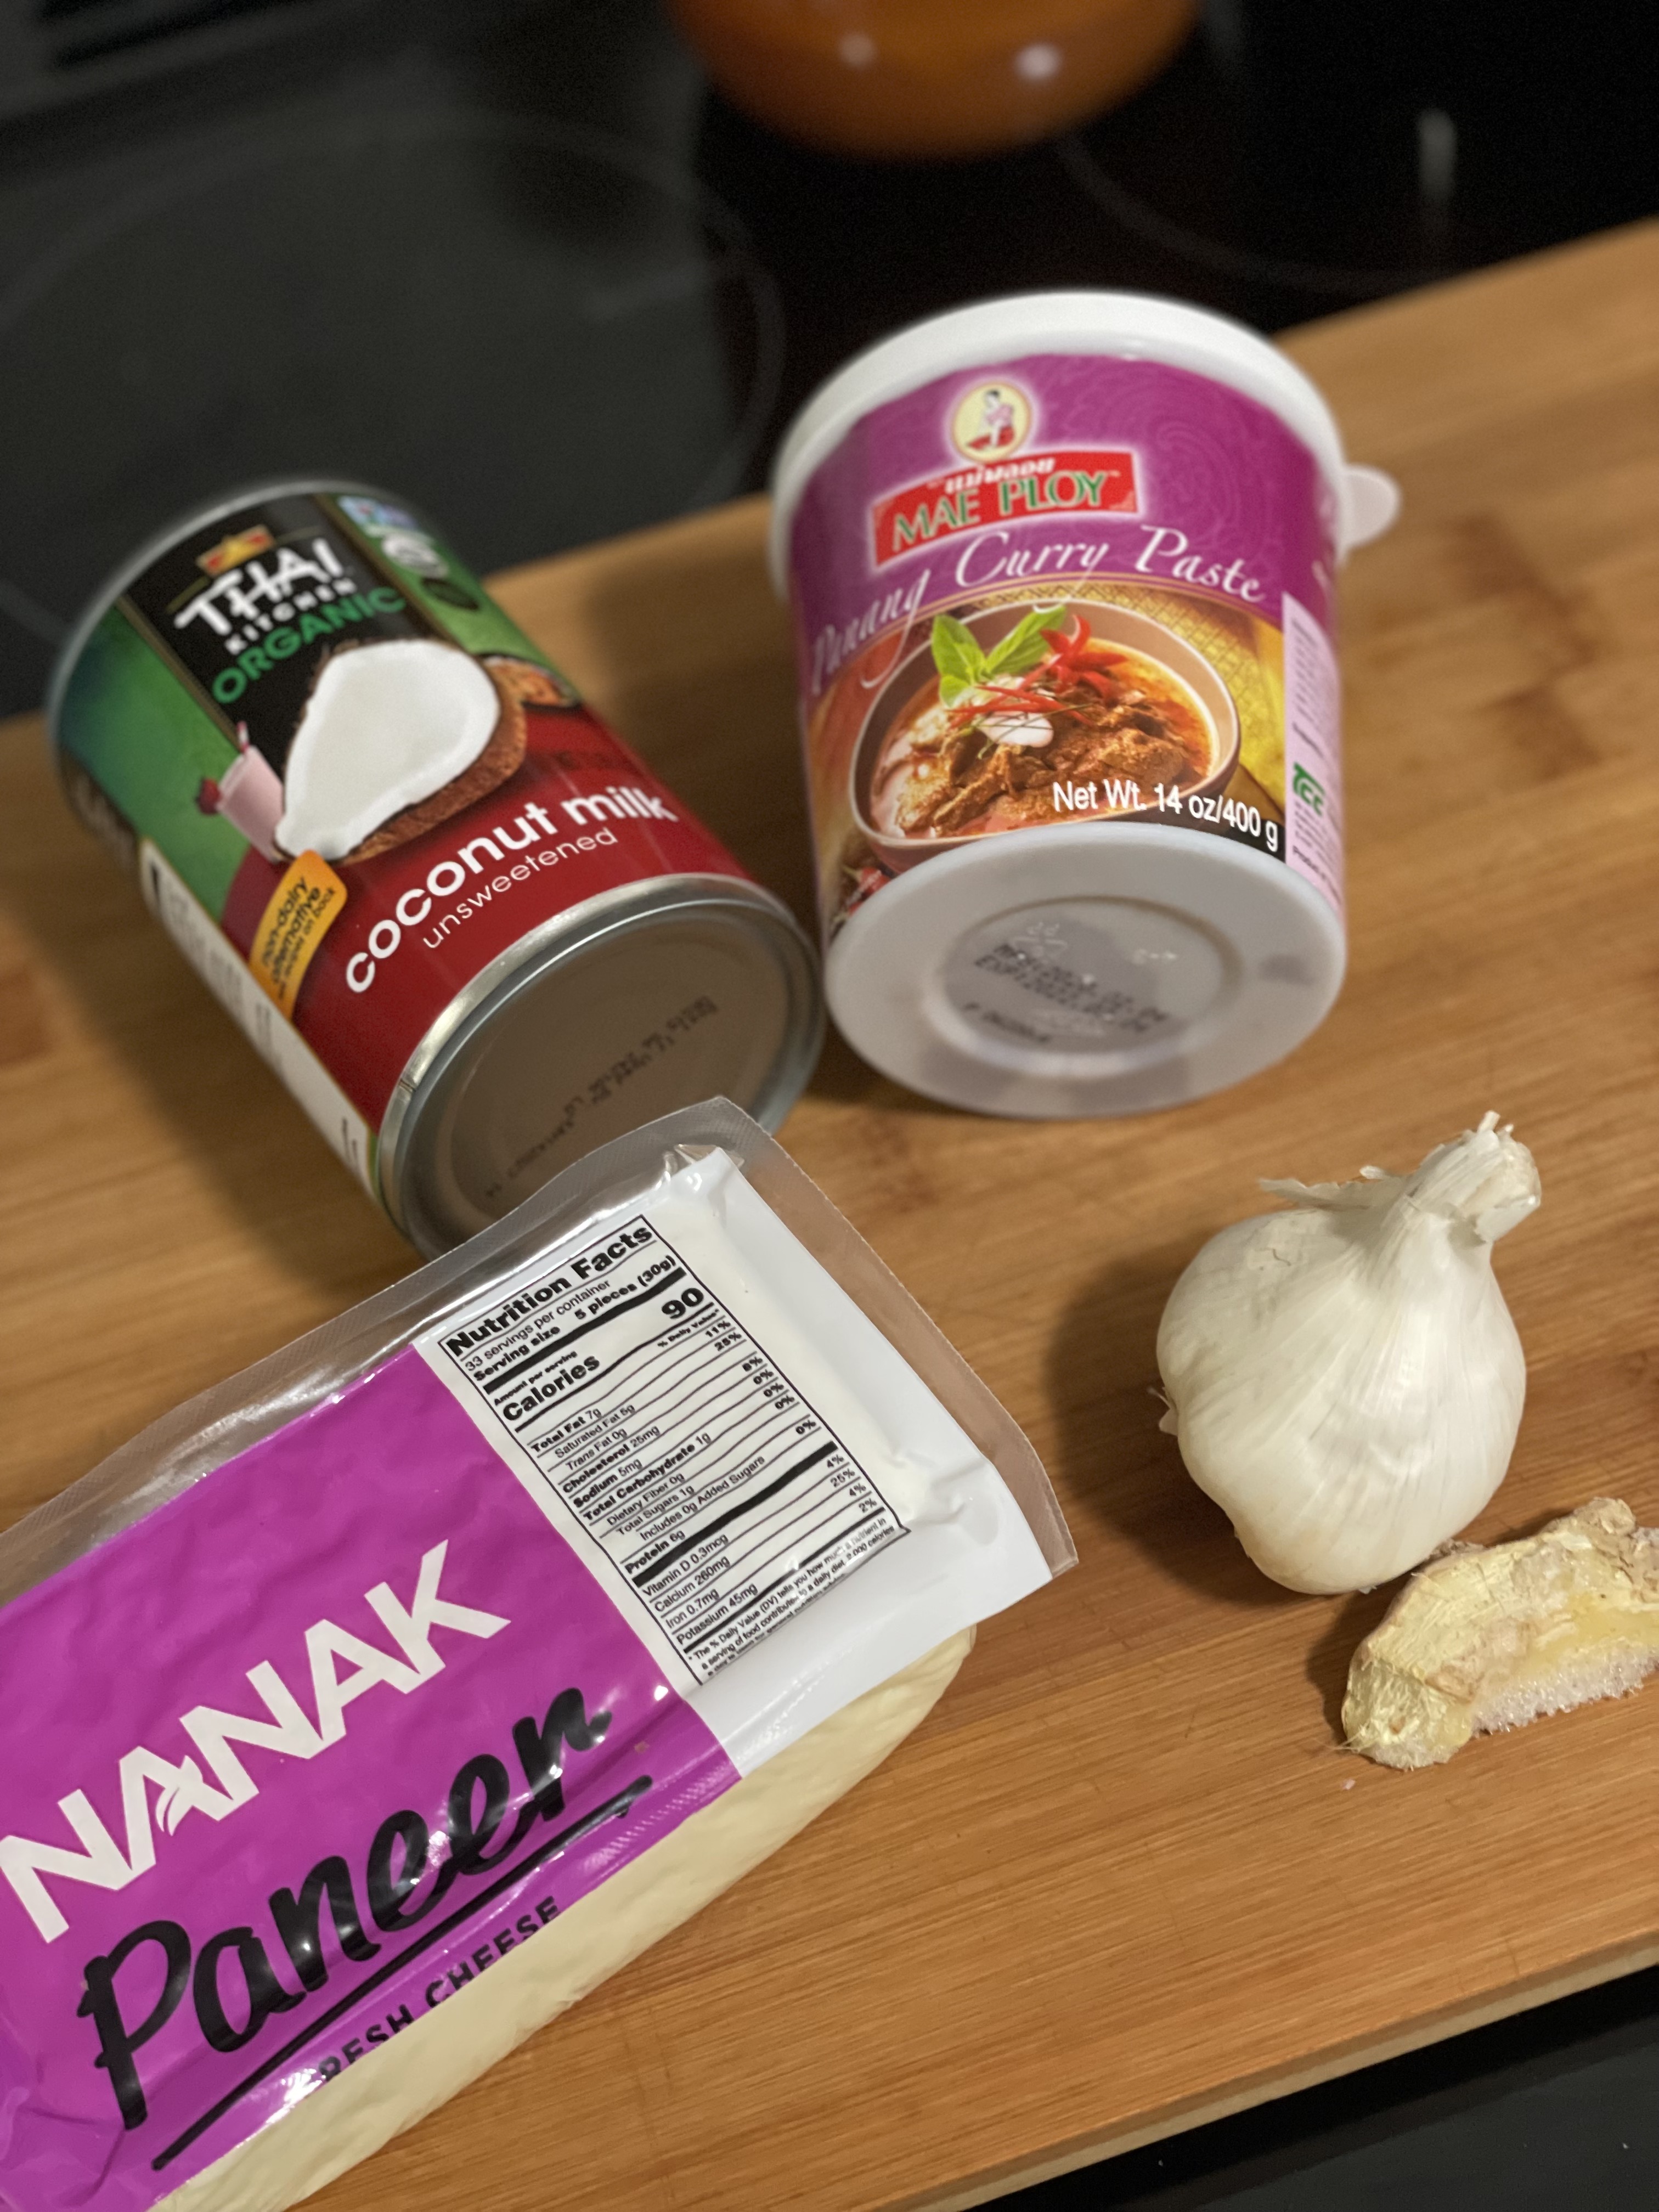
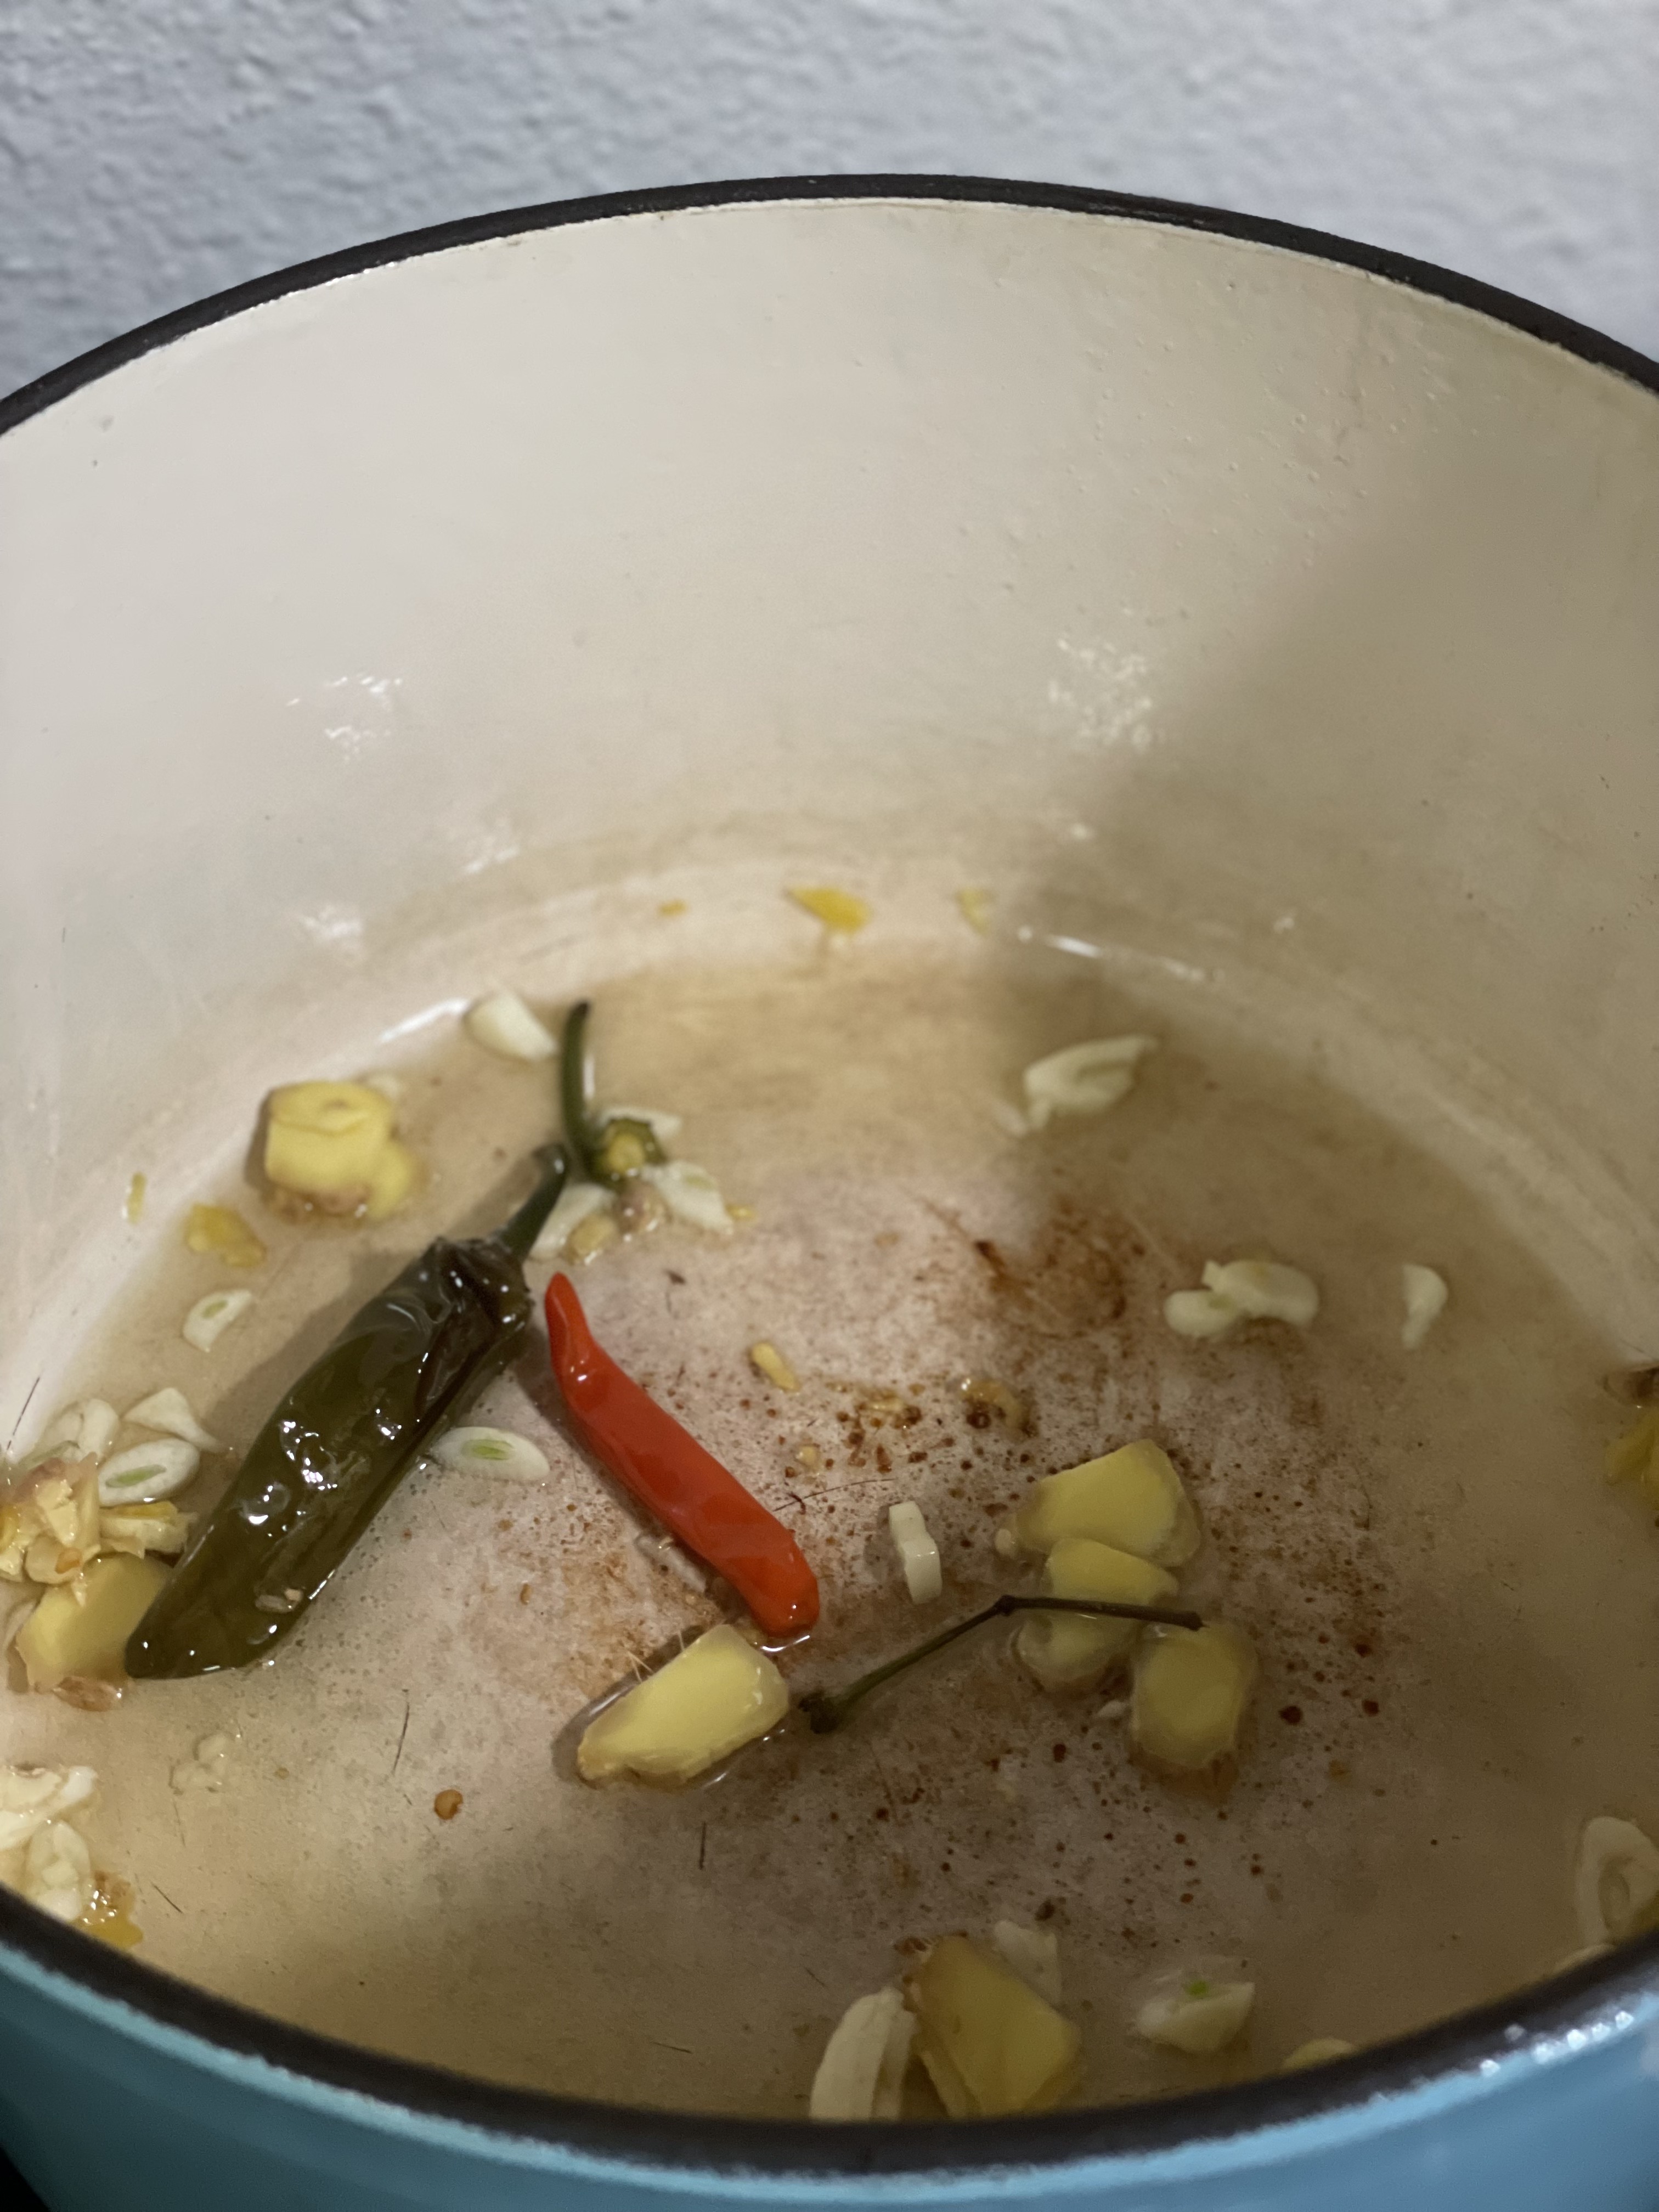
Curry paste – Regardless of the curry paste I use, I always like to start with my own base of chilis, garlic, and ginger. I think it adds a lot more flavor to the curry overall and I like mine extra spicy. Omit the extra chilis if it’s too spicy for you. I recommend the Mae Ploy brand for panang curry paste.

Protein – I like experimenting with different variations of protein, so choose whatever you like best. I do suggest if you use other proteins (tofu, chicken, beef, pork, seafood) that you cook them through first, and then add to your curry towards the end, like the paneer. 
Veg – Sauteed/wilted spinach is one of my favorite cooked vegetables and it’s also so easy. Pumpkin is also widely available due to the season. Use any vegetables that you may find in season like kale, peppers, onions, kabocha squash, or bokchoy, to name a few.

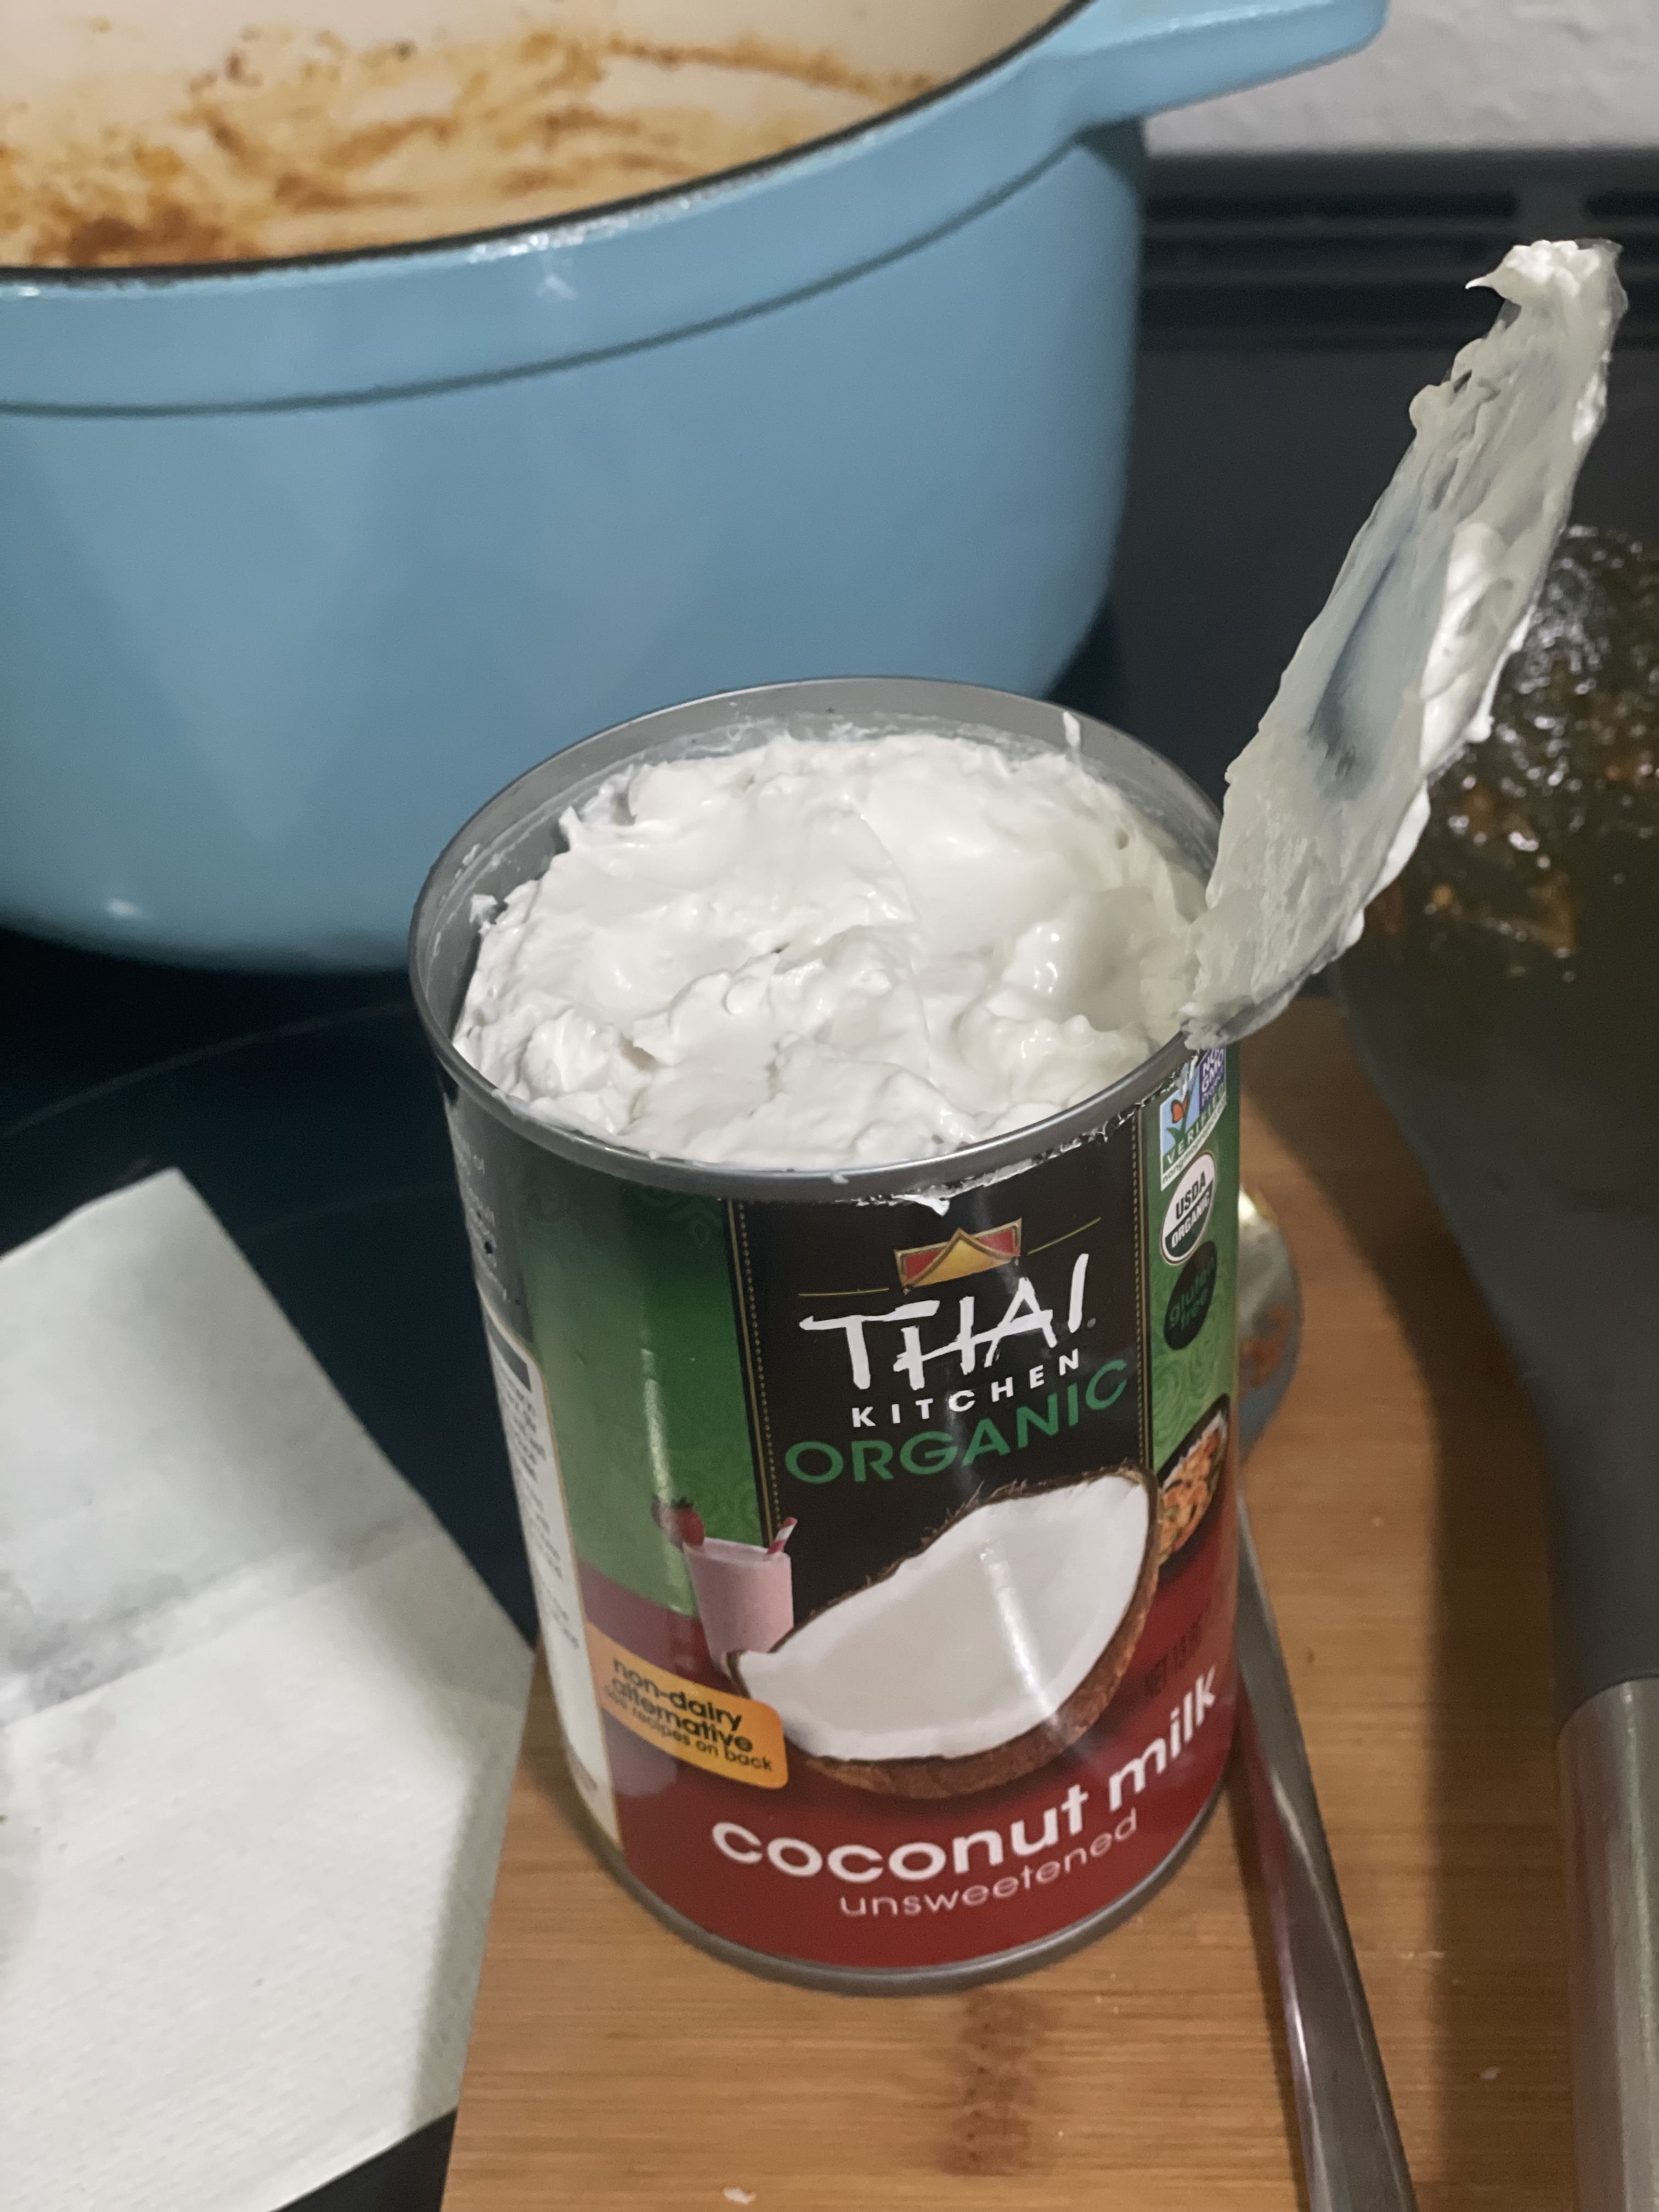
Coconut milk – Buy the canned coconut milk, not the one you see in in the cardboard or plastic containers you might see near the cow milk. When you open it, you may see that the coconut cream has separated from the milk. Don’t worry. Just mix it all together and you have your fatty coconut milk!

Side – Rice is the classic side to a curry but try it with a noodle! The curry makes for a luxurious sauce and it’s also not bad to dip a crusty piece of bread into.

Method

panang curry

Pumpkin Panang Curry with Spinach and Paneer

Print Recipe
A spicy, warm curry perfect for fall & winter. Service over rice, noodles, or with a bread for sipping.
Course Main Course
Keyword curry, paneer, spinach
Prep Time 10 minutes
Cook Time 20 minutes
Servings 4

Ingredients

  • 2 tbsp olive oil
  • 2 Thai chilis optional
  • 2 cloves minced garlic
  • 1 tbsp minced ginger
  • 1 tbsp panang curry paste
  • 1 cup pumpkin pureed
  • 1 can coconut milk
  • 16 oz spinach fresh or frozen
  • 8 oz paneer
  • 1 tsp fish sauce

Instructions

  • Sauté chilis, ginger, and garlic in olive oil on medium heat.
  • After it all starts getting fragrant, add in curry paste and mix.
  • While spices are sautéing, cut paneer in desired shape. I like cubes.
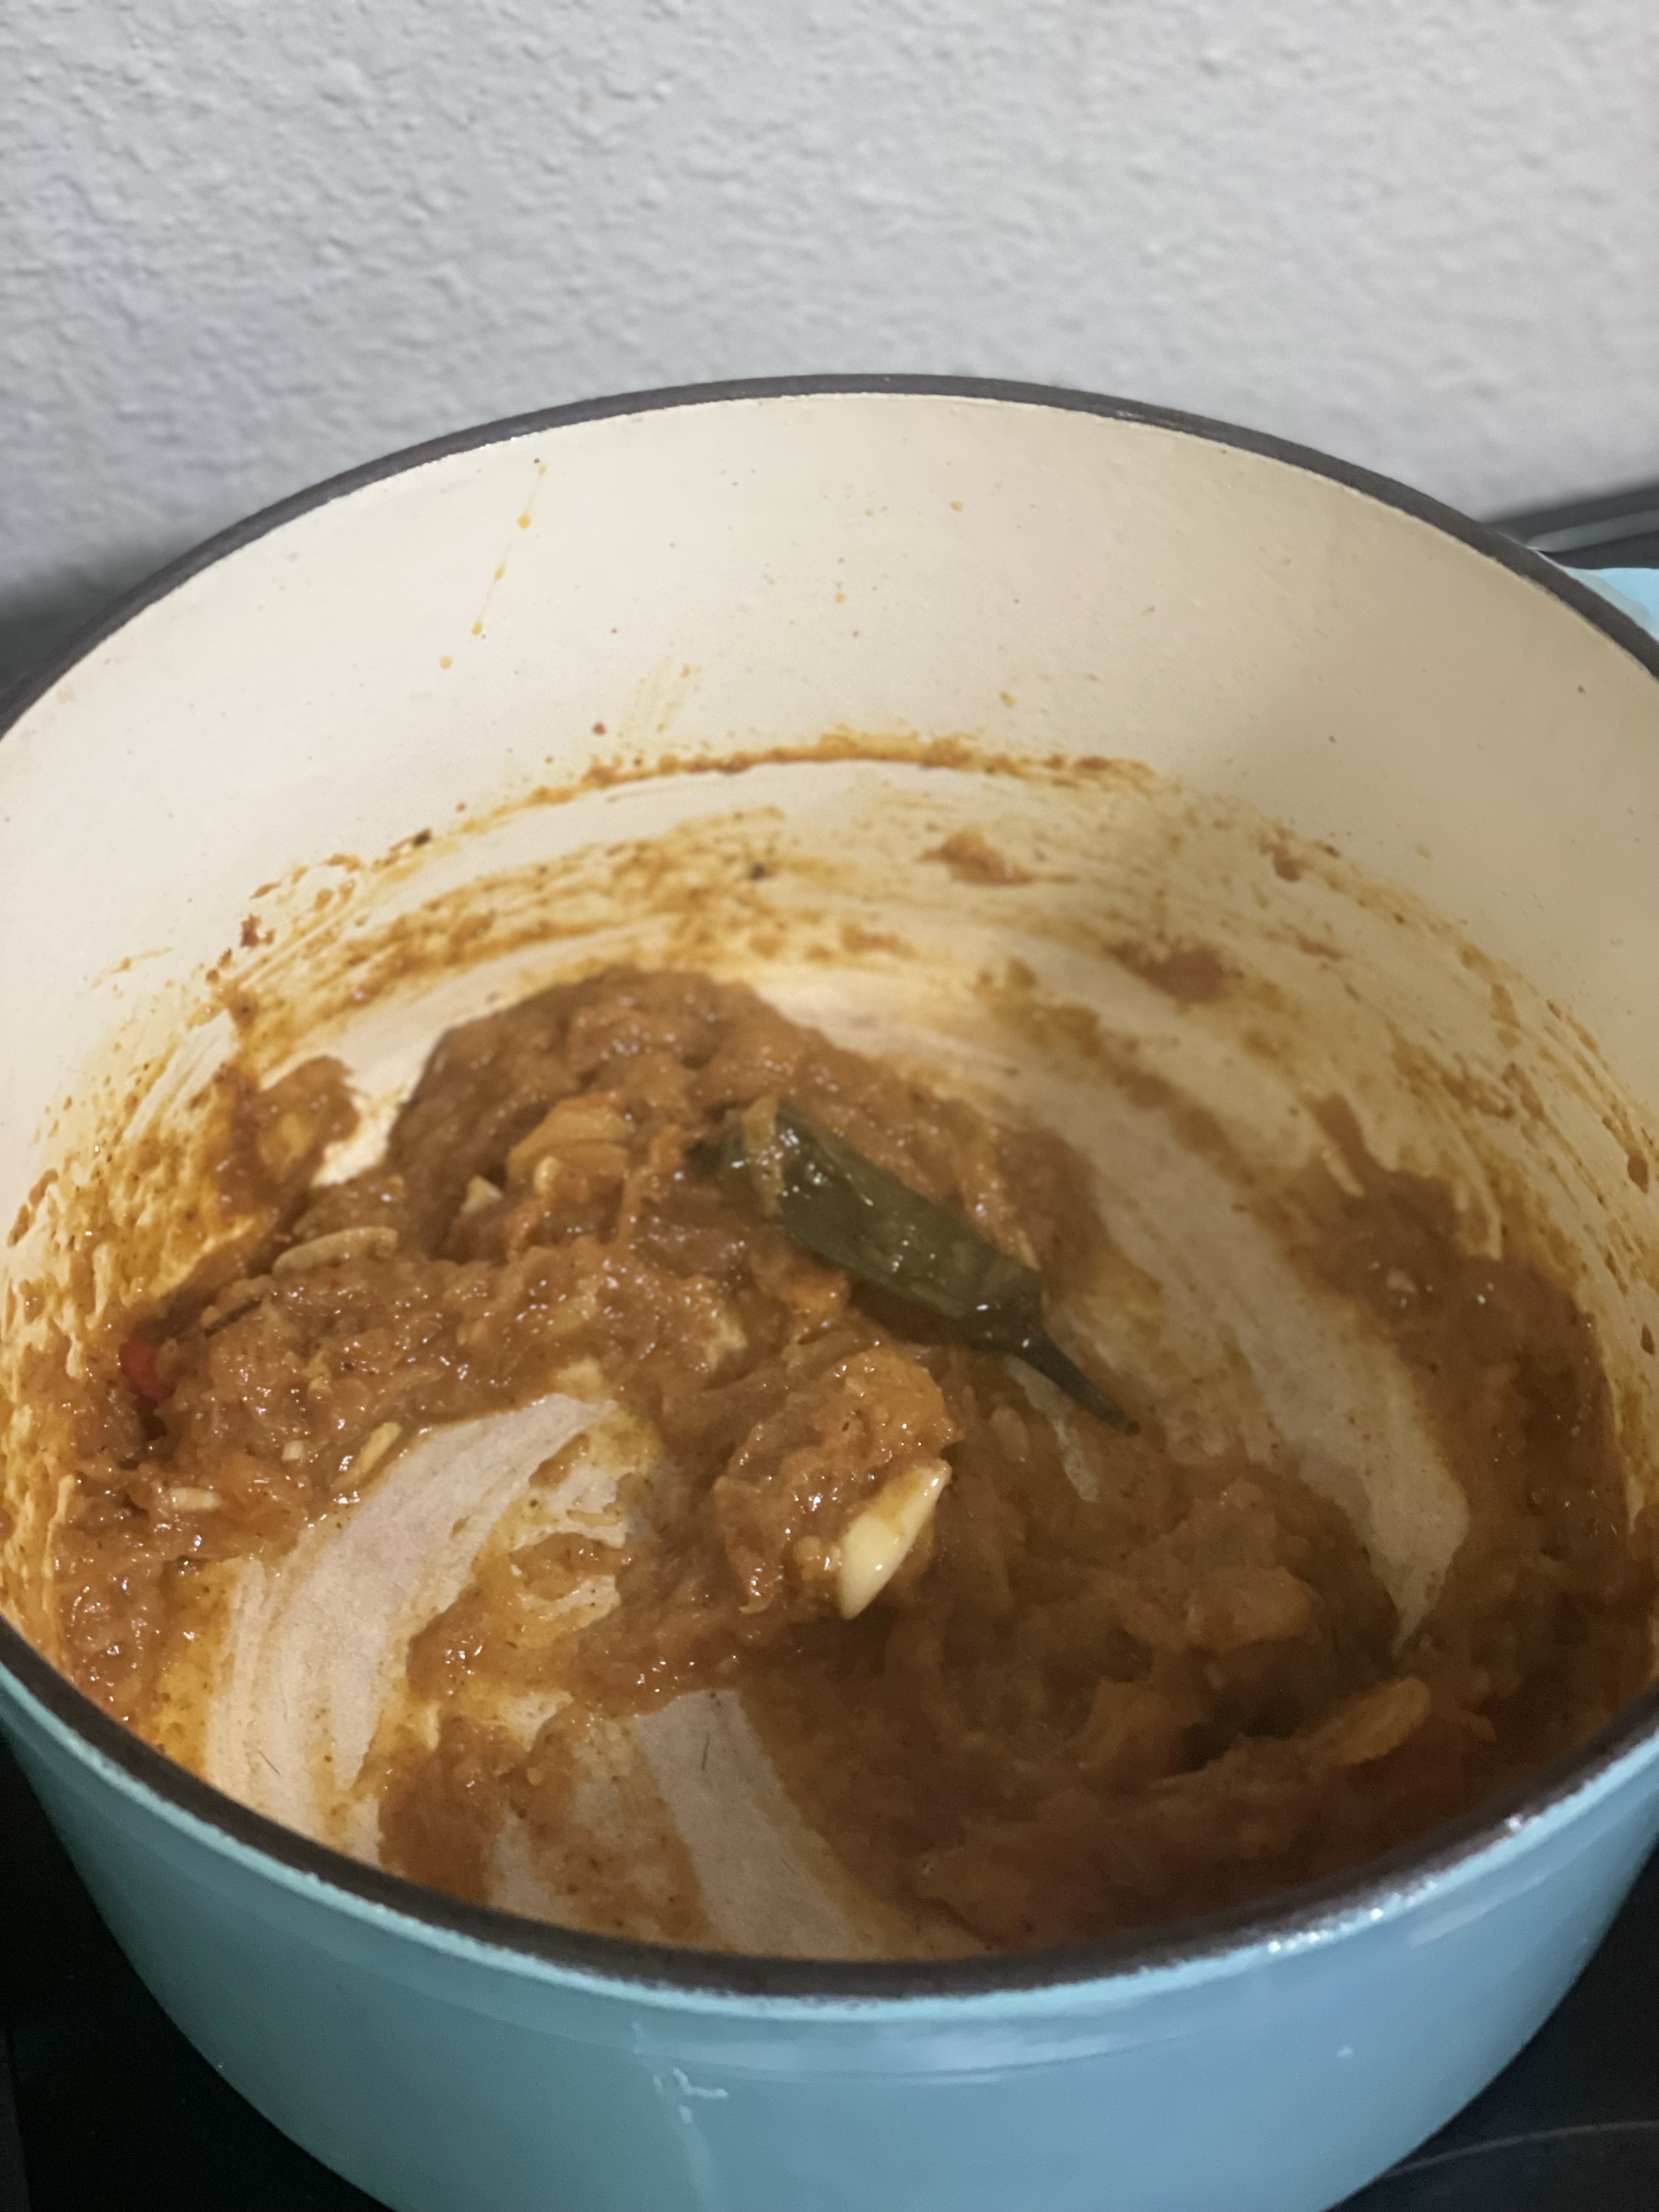
  • Add pumpkin and mix into curry paste.
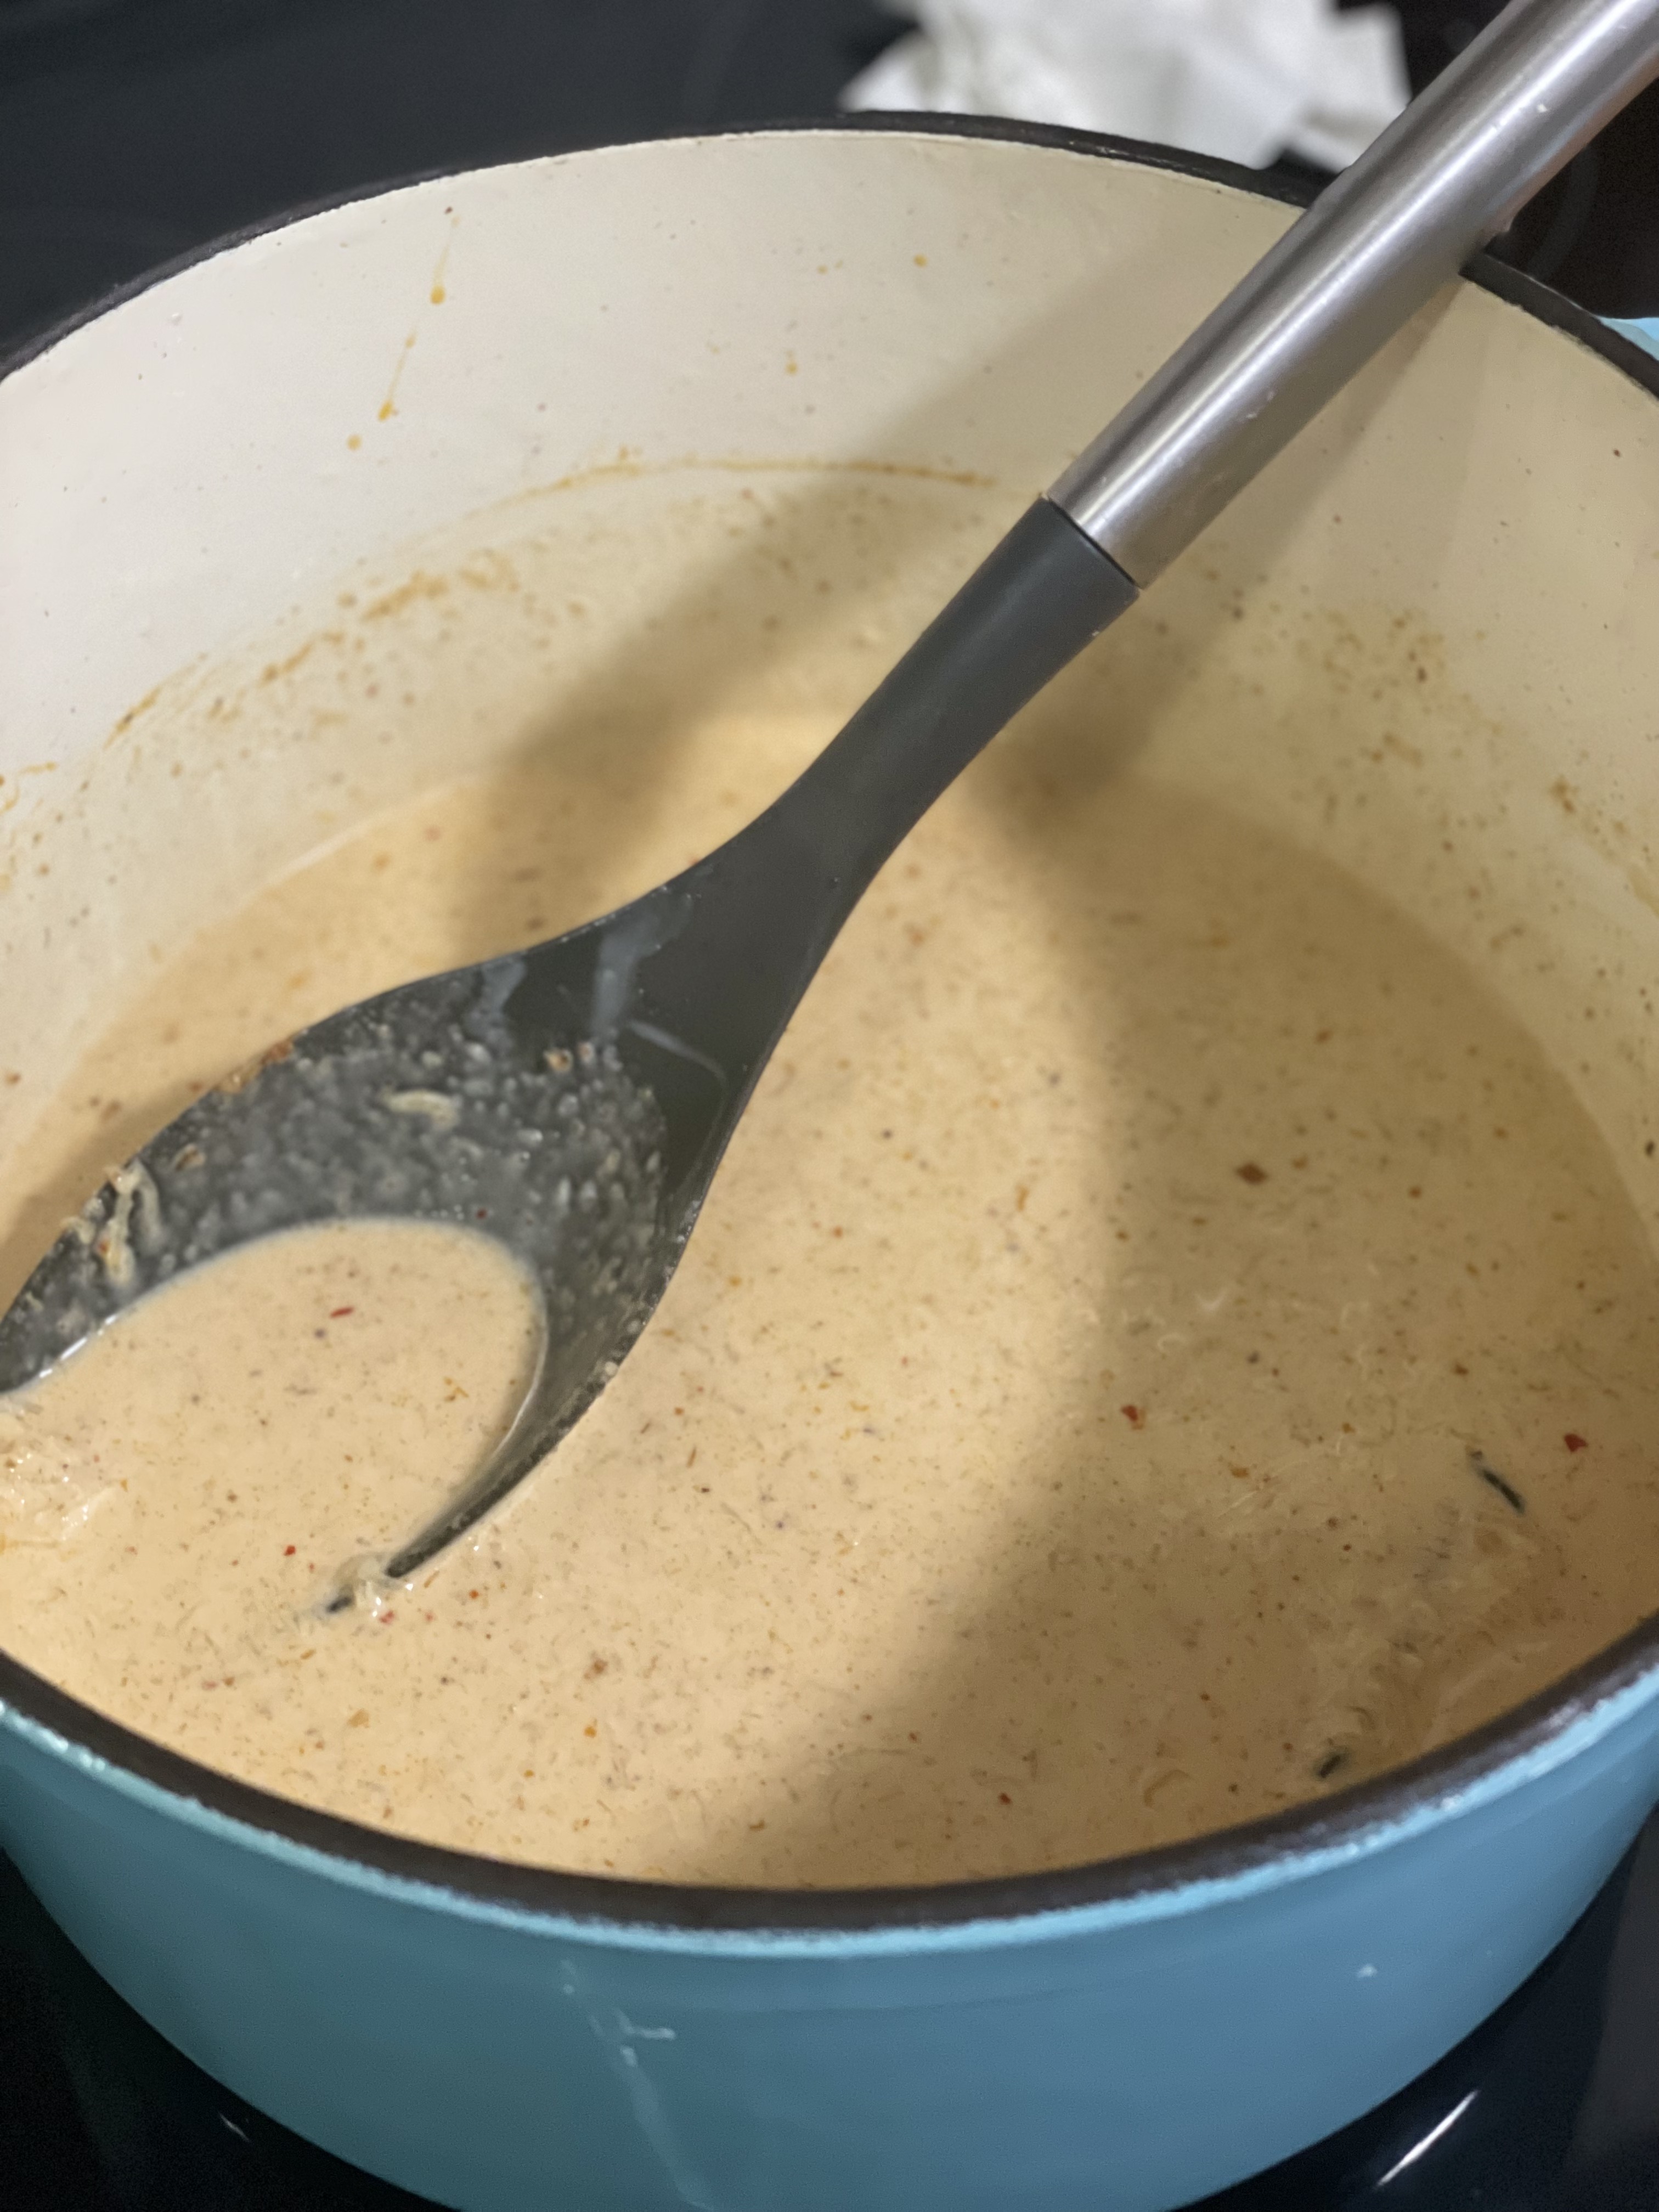
  • Once curry-pumpkin paste has slightly darkened in color, add in coconut milk. Turn heat to medium-low.
  • If coconut milk has separated, mix spices with coconut until re-combined. Make sure to scrape the can!
  • Add 1 tbsp fish sauce and mix.
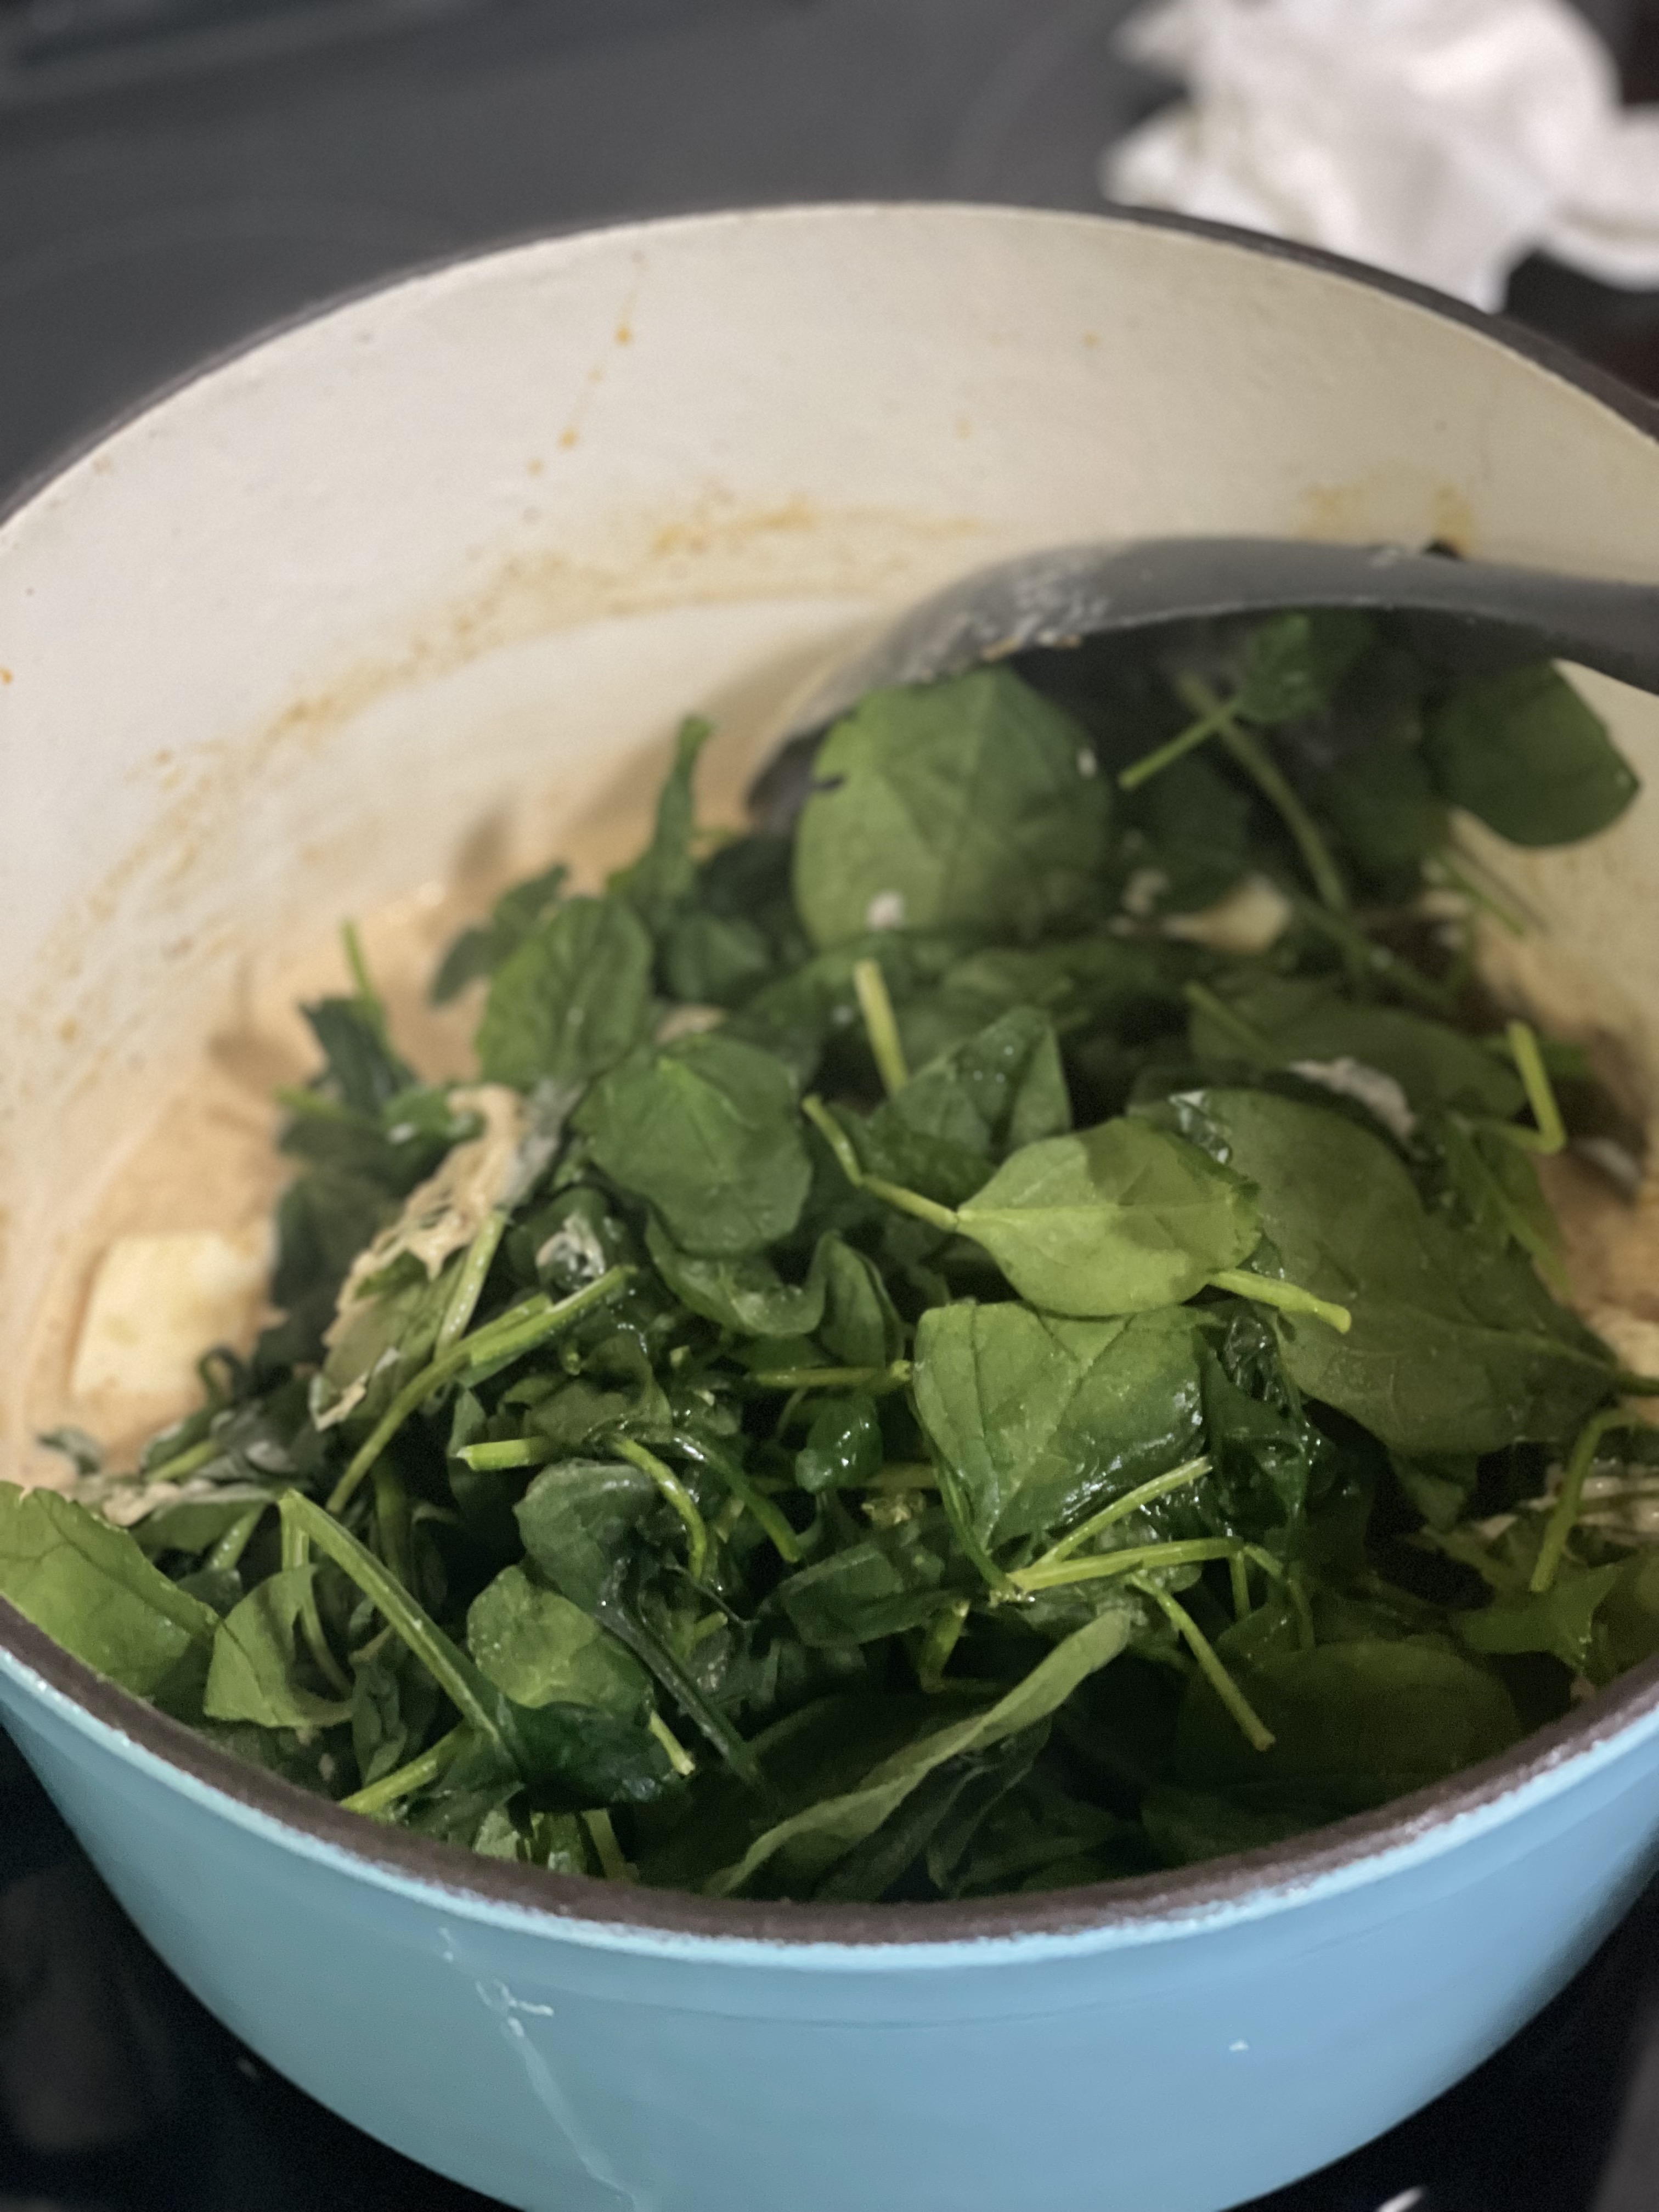
  • When curry starts simmering, add spinach and paneer.

  • Mix and continue cooking until spinach has wilted and paneer is warmed through.
  • Enjoy over rice, with noodles, or with some bread for dipping!

Try out a dessert for after like Beet Cinnamon Rolls or Crispy Gooey Chocolate Chip Cookies.

Maybe an appetizer? Chicken & Cabbage Dumplings.

Crispy Gooey Chocolate Chip Cookies

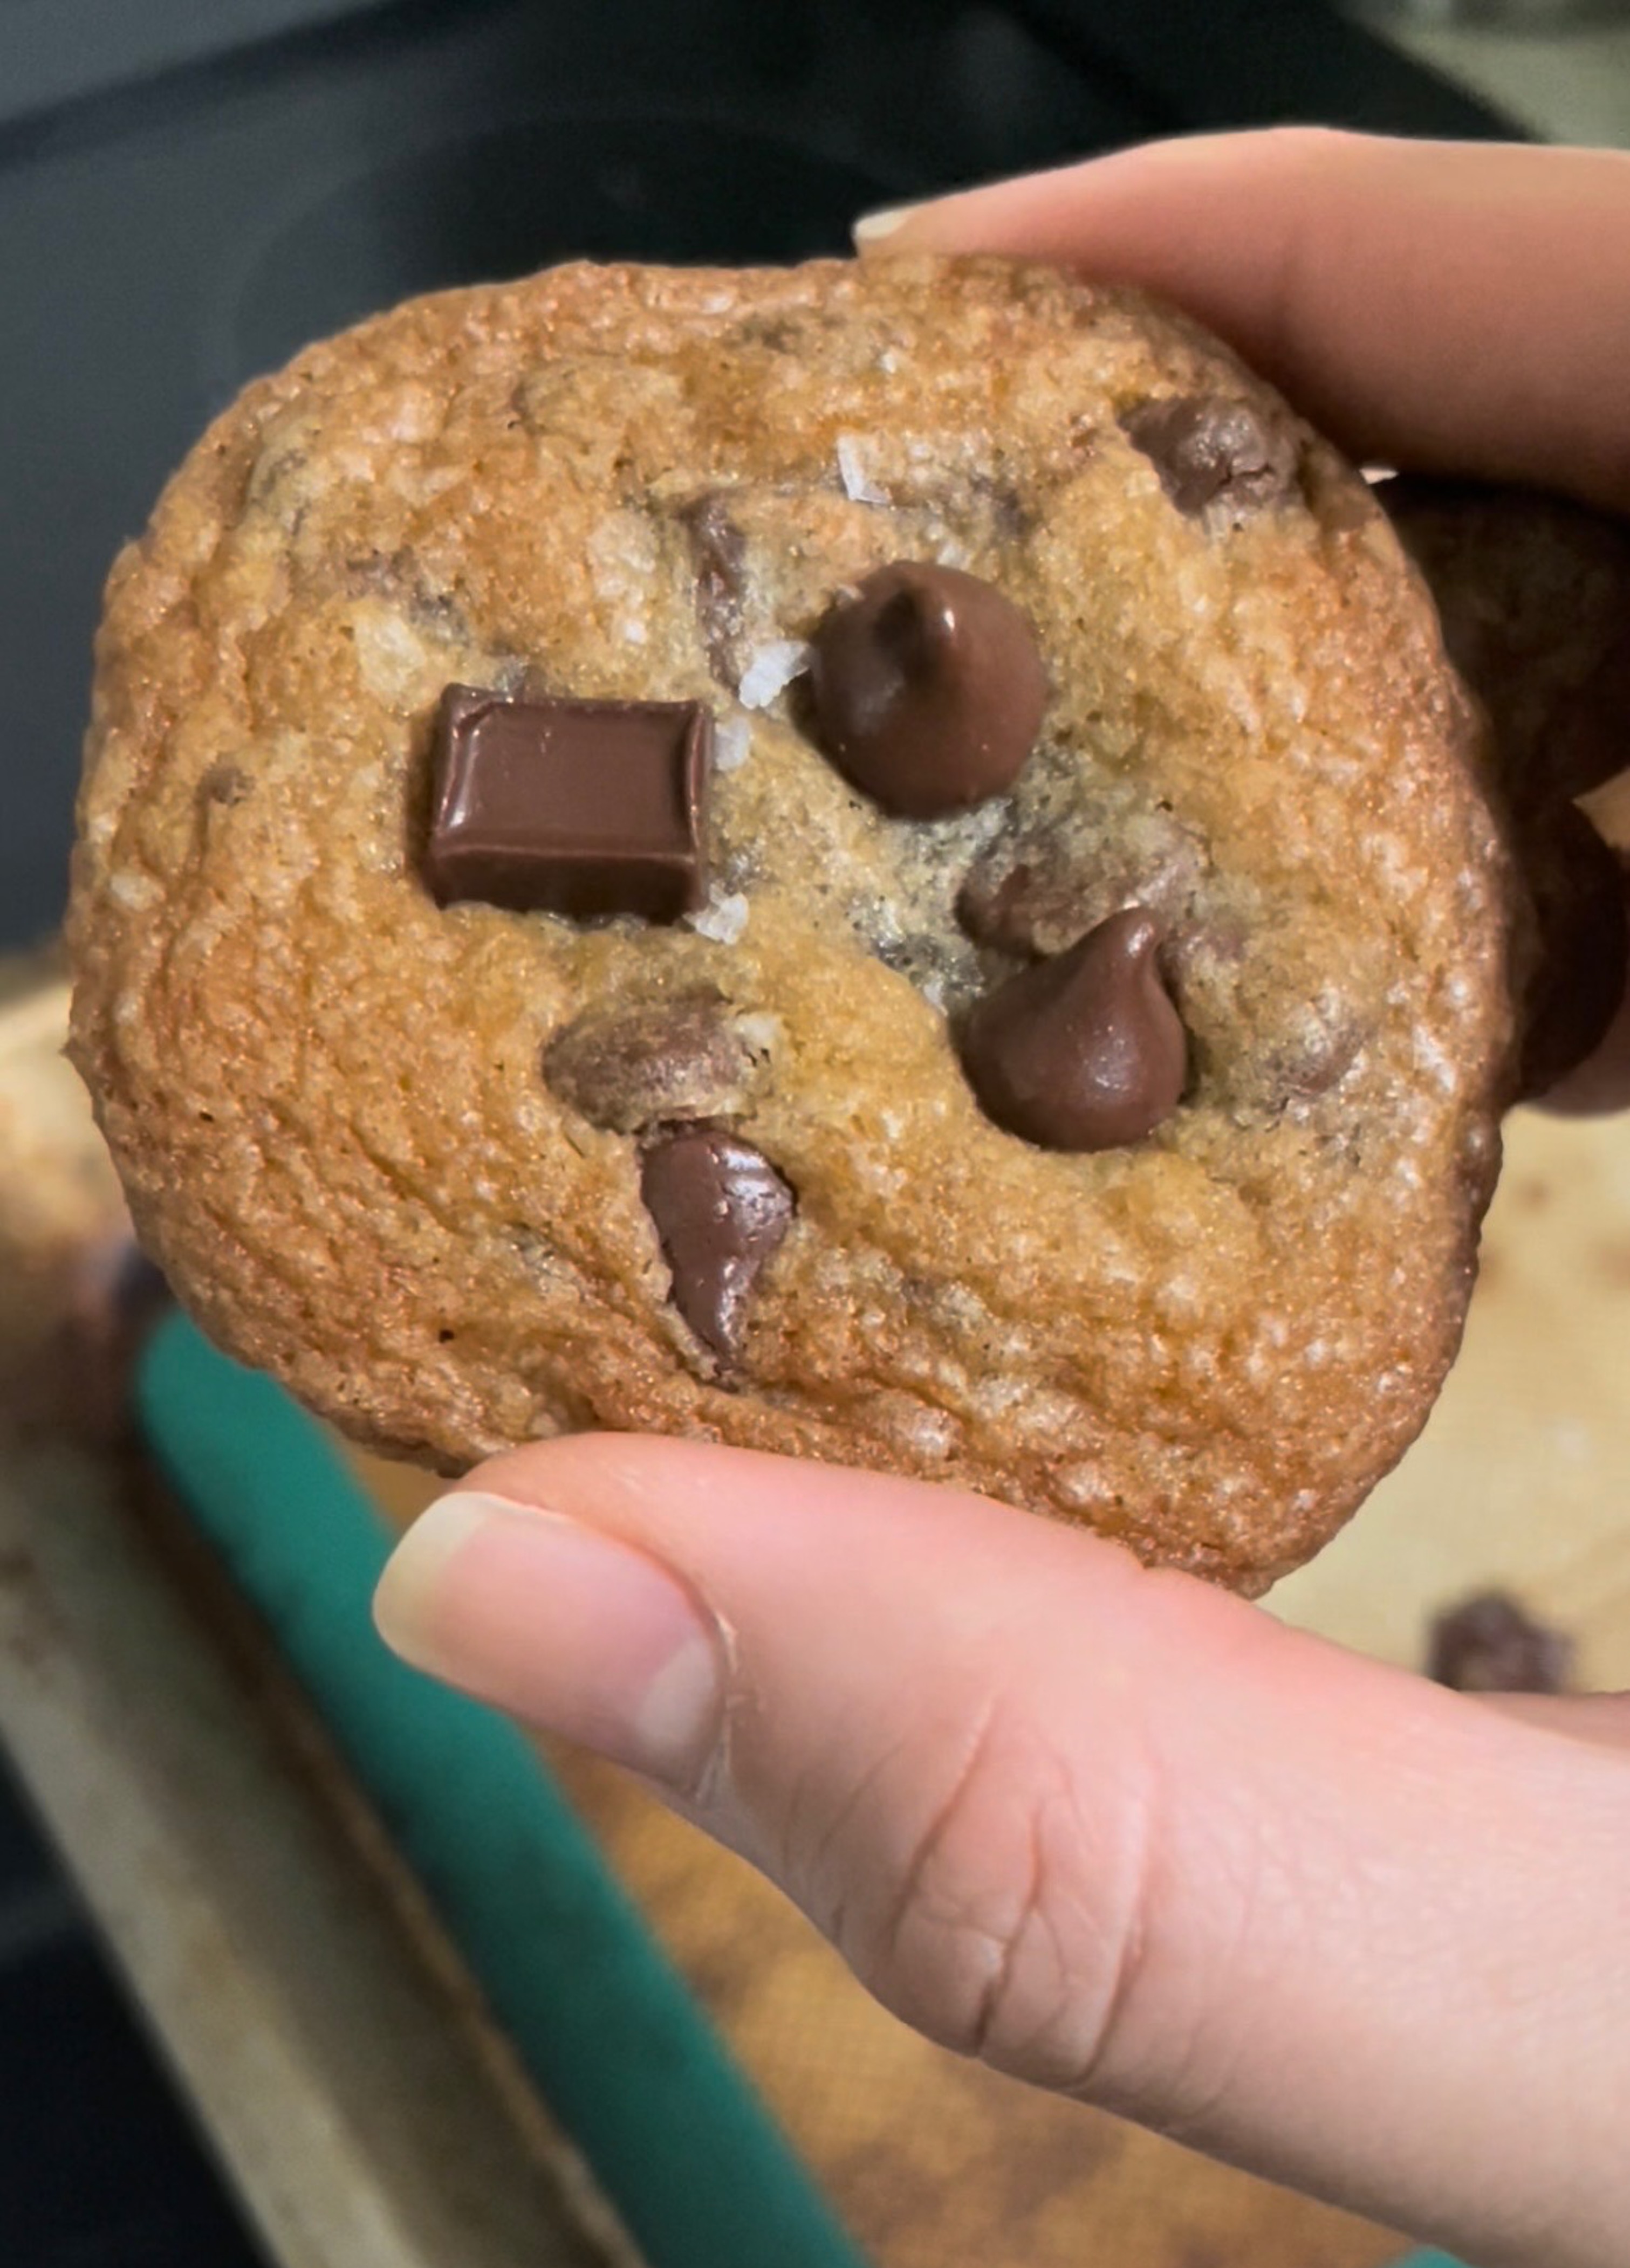
chocolate chip cookies

If you like crispy, gooey chocolate chip cookies with plenty of chocolate, these cookies are perfect for you. They’re quick to make and are balanced with a little extra salt. This is my go-to chocolate chip cookie recipe when I need to make a large quantity for a crowd.

This is also a great recipe to make extra dough for freezing later (add 2-3 mins cooking time for frozen dough). Frozen cookie dough hits different when you get a craving out of nowhere. You can save this dough for later by pre-scooping cookie balls onto a baking sheet and putting this in the freezer. You can also put the cookie dough into a container and freeze the entire thing (I do this because lazy). If you choose the container method you just have to remember to thaw the dough a bit before you can scoop.

Try these cookies with a glass of milk (classic) or just eat them alone!

Materials:

I used a stand mixer when making these cookies, but they can most definitely be made by hand with just a bowl and spatula. If using a stand mixer, don’t forget to SCRAPE SCRAPE SCRAPE the paddle to ensure everything is evenly mixed.

Ingredients:

Butter – make sure you use softened butter! The use of softened butter instead of melted butter makes sure that the cookies don’t spread too much and crisp up. I always have butter on hand in the freezer so I can take it out in the morning, leave it on the counter, and I’ll have perfectly softened butter for cookies in the evening. If you don’t have time to let your butter soften, a good trick is to fill a glass with hot water, dump out the water, and then invert it over your sticks of butter. The steam and heat from the warmed glass will gently soften the butter without melting it.


Sugar – classic white and brown sugar. You can use light brown or dark brown sugar, but they will yield different textures. Dark brown sugar will give a darker, crisper cookie.

Vanilla – use the whole tablespoon. Haters will say it’s too much, but I think it makes a difference.

Salt – yes, put salt inside and on top! The flakey salt on top adds more texture and helps to further balance the sweetness.

Chocolate – I’ve used semi-sweet and dark chocolate to make these before and either work fine. Choose what you like! I like to use a mix of semi-sweet chocolate chunks and chip for everyday baking. They look cute mixed and give different textures too. I also like to top my cookies at the end of baking with some extra chocolate so they get cute.

Flour – make sure to scoop and level! If you have too much flour you’ll end up with an extra doughy cookie.

chocolate chip cookies

Crispy Gooey Chocolate Chip Cookies

Print Recipe
My favorite cookie recipe! A sprinkle of salt at the end makes them extra tasty.
Course Dessert
Cuisine American
Keyword chocolate chip, cookies, dessert
Prep Time 20 minutes
Cook Time 10 minutes
Servings 24 cookies

Ingredients

  • 1.5 sticks butter softened
  • 3/4 cup brown sugar
  • 1/2 cup white sugar
  • 1 tsp salt
  • 1 tbsp vanilla
  • 2 eggs
  • 1 3/4 cup all purpose flour
  • 1/2 tsp baking soda
  • 1 cup chocolate chips + extra for topping
  • flakey salt

Instructions

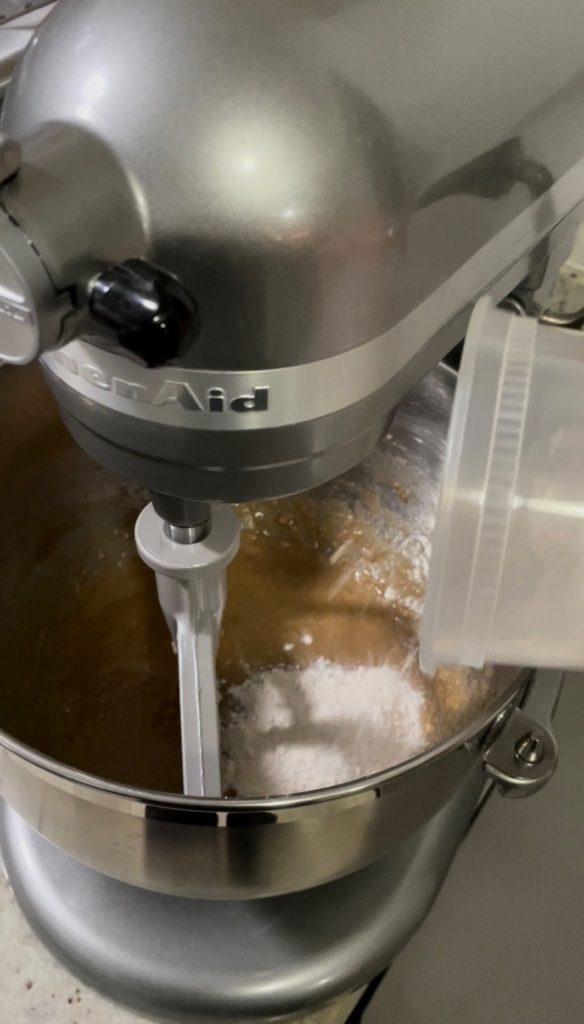
  • Beat softened butter, brown sugar, white sugar, 1 tsp of salt, and vanilla until light and fluffy. Make sure to scrape the paddle every few minutes if using a stand mixer.
  • Add 2 eggs and mix until well combined.
  • Mix together AP flour and baking soda, ensuring there are no lumps.
  • Add in AP flour/baking soda mix and mix until barely combined. You will keep mixing this when you add the chocolate chips.
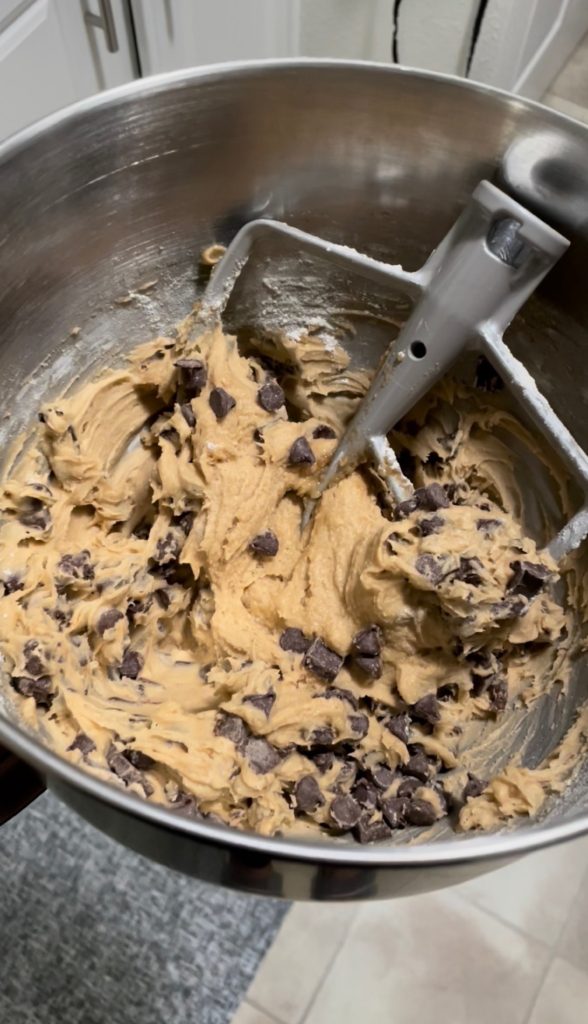
  • Mix in the chocolate chips and stop when no flour streaks remain and chocolate chips are fully dispersed.
  • Chill dough in the fridge while the oven preheats to 375.
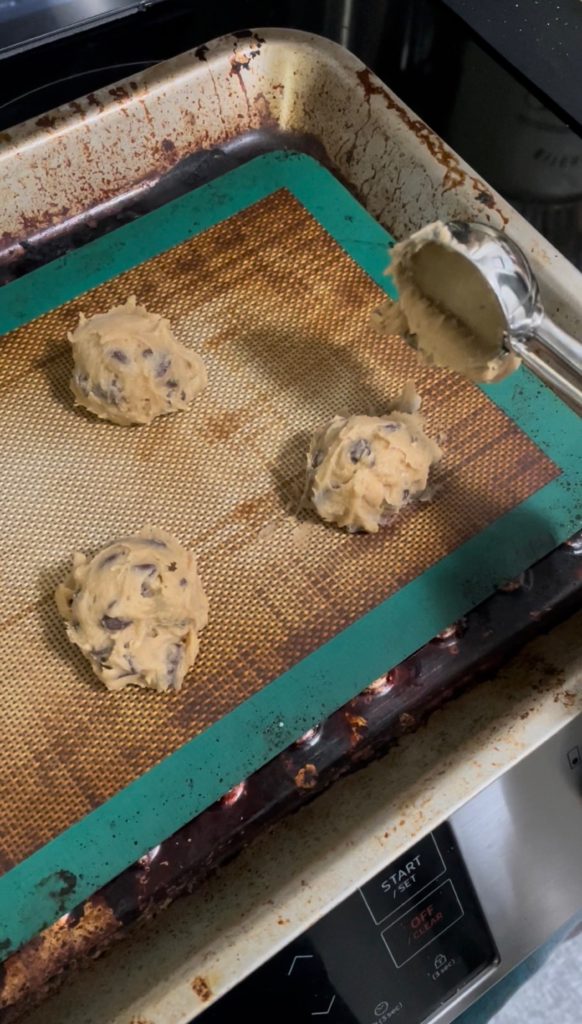
  • Scoop cookies in 2 tbsp scoops, leaving about 2 inches between each cookie.
  • Bake for 8-10 minutes until edges are browned and crispy and centers are still soft.
  • Top with additional chocolate chips and flakey salt after removing from the oven.
  • Let cookies cool for 5 more minutes.
  • Then enjoy!!

Check out some of my other recipes too!

More labor intensive – Beet Cinnamon Rolls

Maybe something savory? – Chicken & Cabbage Dumplings

Chicken & Cabbage Dumplings

makes ~100 dumplings

I love a good dump. I think most people would agree. There are many schools of thought when it comes to dumpling preparation: steamed, pan-fried, deep-friend, or boiled. Personally, I love a boiled dumpling. I think the dumpling skins have the best texture this way and everything is extra moist, but I don’t judge. It’s what’s on the inside that matters most. These dumplings have a satisfying filling and are great no matter the preparation.

Make sure to enjoy your dumps with a good dipping sauce. Try mine or go with some basics like soy sauce or Maggi sauce, sriracha or chili crisp, and red or rice vinegar.

These chicken and cabbage dumplings are juicy, flavorful, and fun to make if you’re having guests over. Host a dumpling party and put everyone to work! Assembly line your dumpling skins, filling, and cooking to maximize output. If you have extra dumplings from the production day, line them in a single layer so they don’t stick together and throw them in the freezer for a rainy day! If you’re folding alone, make sure you have a good set-up with everything you need set up around you. I caught up on the most recent season of Master Chef when folding mine.

Materials

Nothing special required here to fold dumplings! Just your hands!

Ingredients

Filling – feel free to mix it up! Any great filling just needs to include a protein (like chicken, pork, tofu), an aromatic (like onions, garlic, chives), and a binder (eggs, flax, chia). I like buying chicken thighs and then grinding it myself in my food processor so I have more control over what pieces of chicken is making its way into my grind. I try to add lots of shredded vegetables (like carrots, cabbage, bokchoy, spinach, kale) to increase my vegetable intake too.

Dumpling wrappers – Dumpling skins can be purchased at any grocery store or can be made by hand. Check out my recipe for dumpling wrappers for the full experience.

Chicken and Cabbage Dumplings

Print Recipe
The most juicy and flavorful dumpling to suit any palate.
Course Appetizer, Main Course
Keyword cabbage, chicken, dumplings
Prep Time 2 hours
Cook Time 15 minutes
Servings 100 dumplings

Ingredients

  • 100 dumpling wrappers
  • 2 lbs chicken ground
  • 2 cups cabbage shredded
  • 1 sweet onion
  • 1 bunch green onions
  • 3/4 cup woodear mushrooms dried
  • 2 eggs
  • 3 tbsp sesame oil
  • 3 tbsp soy sauce
  • 1 tbsp black pepper
  • 3 tbsp sugar
  • 1 tbsp fish sauce

Instructions

  • Finely chop sweet onion and green onions.
  • Chop dried woodear mushrooms into small pieces if not already cut. 
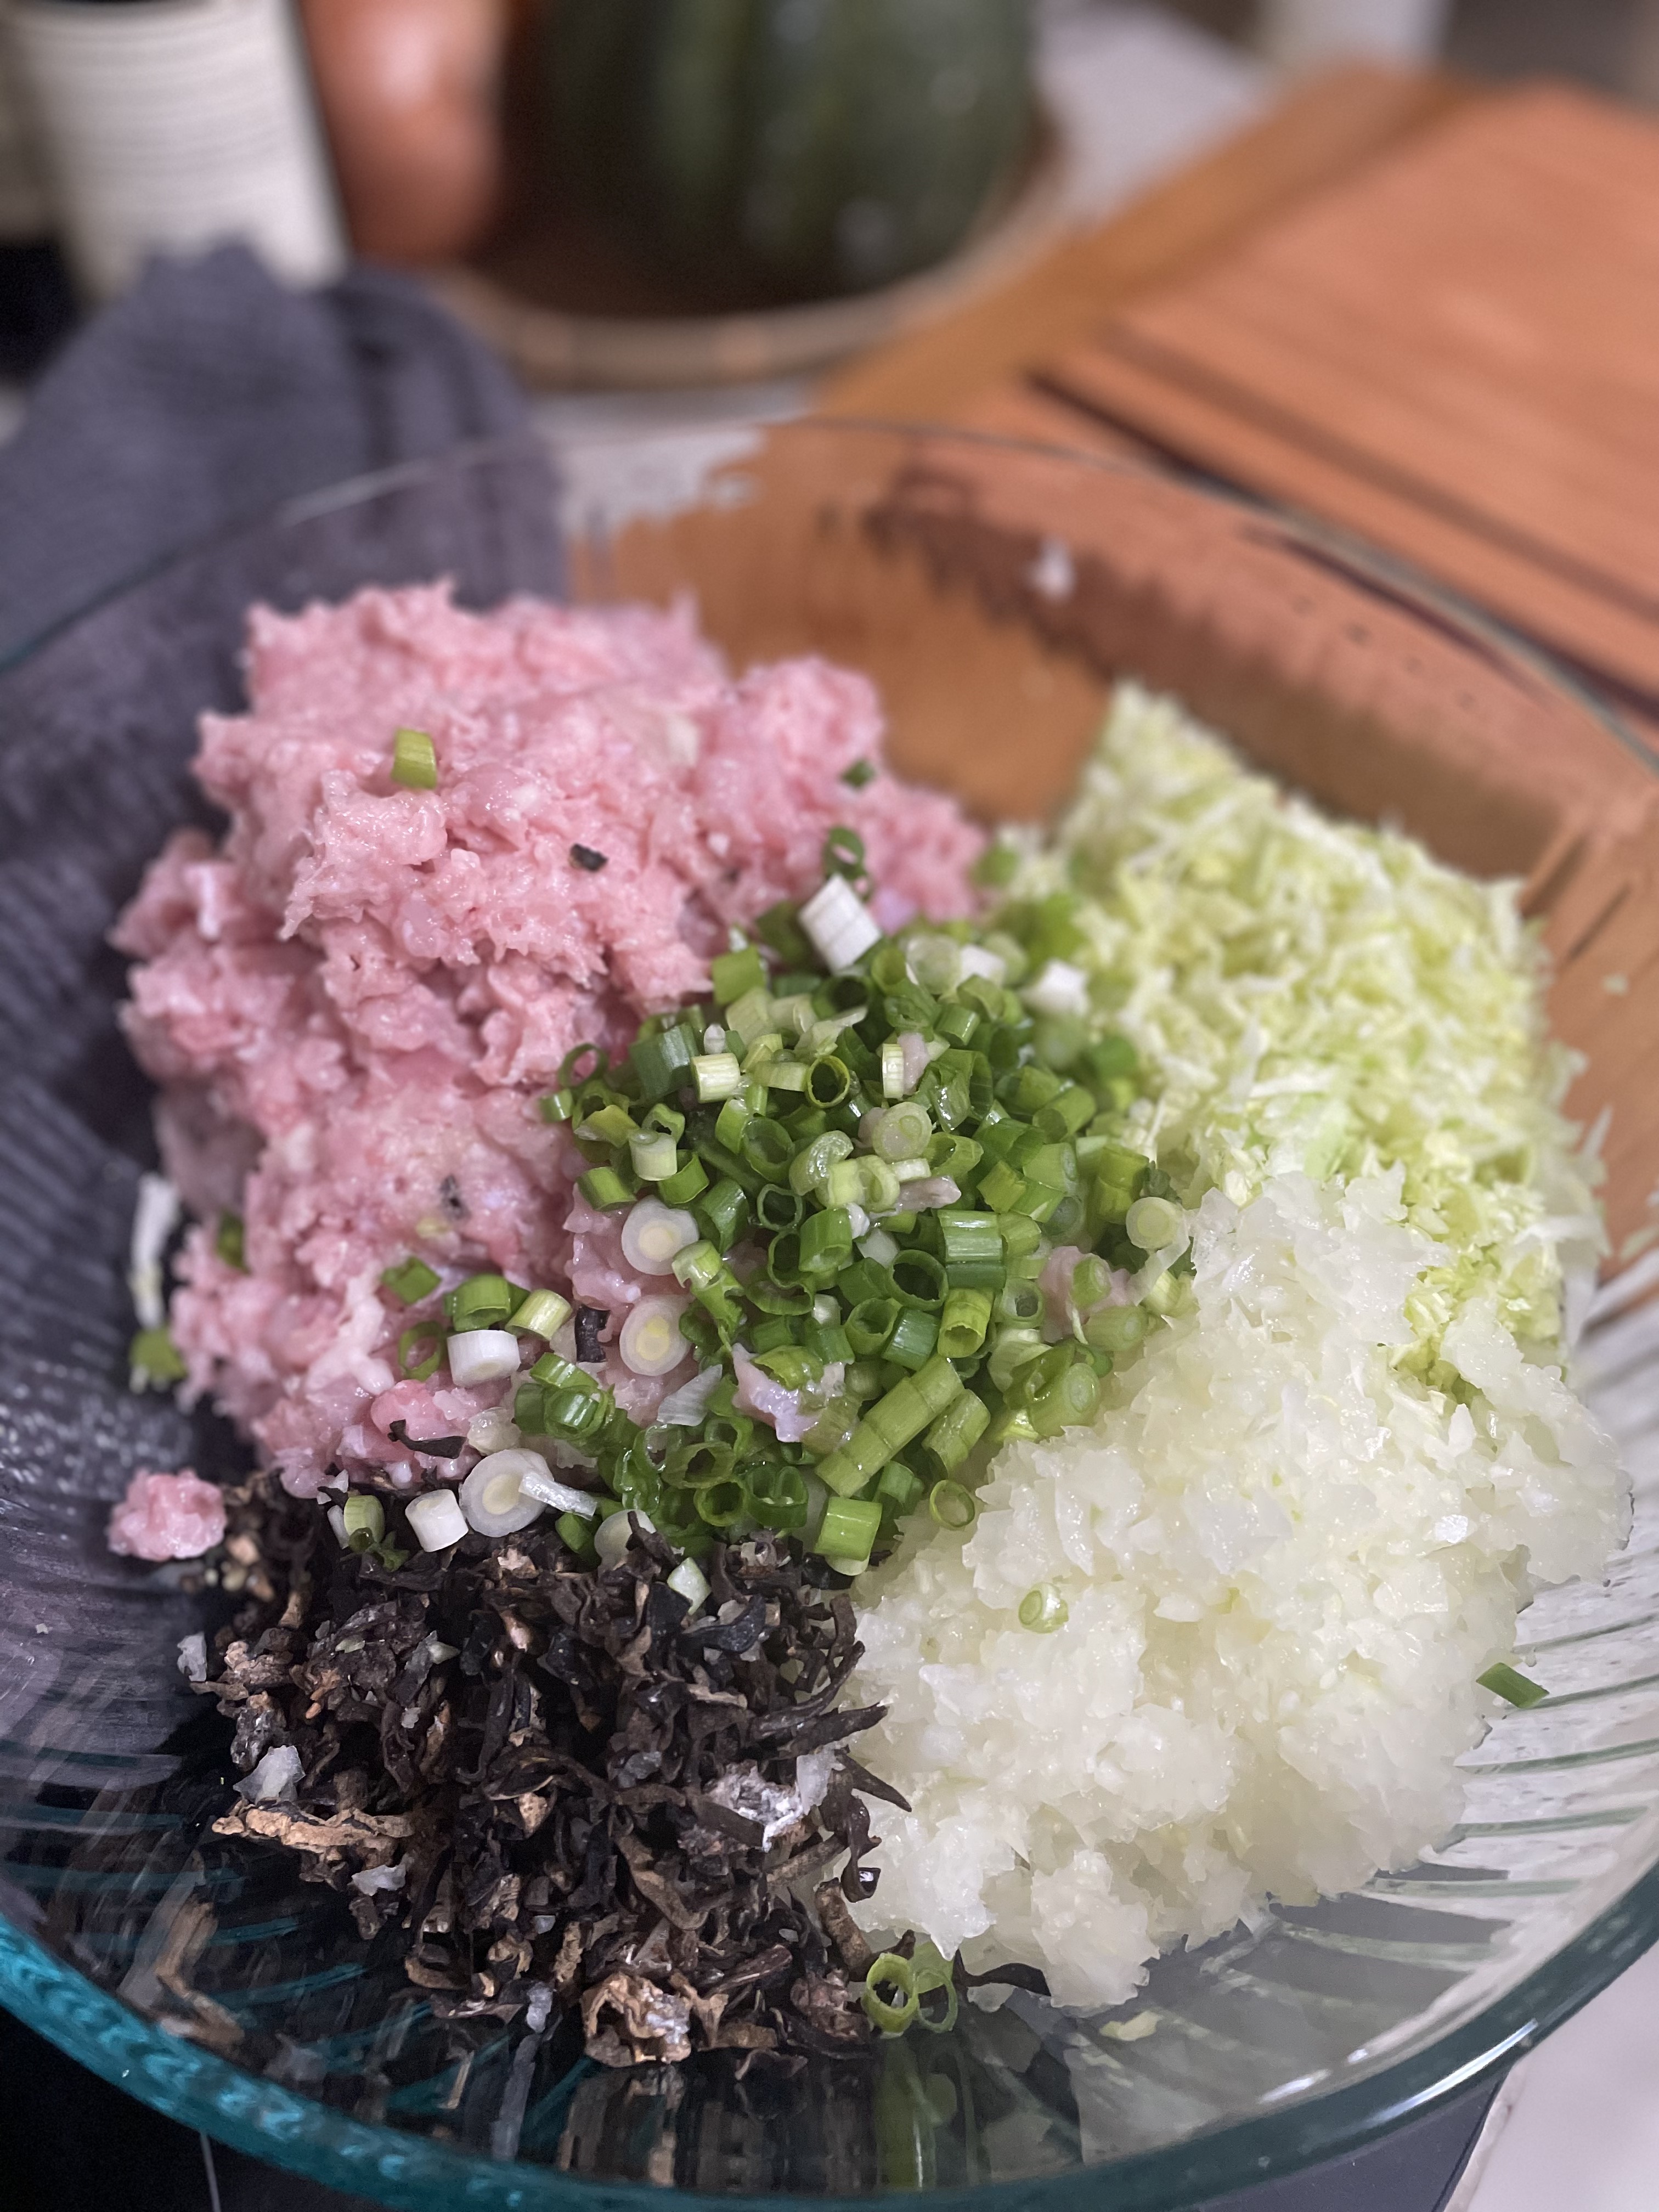
  • Add all ingredients together and mix until just combined. Do not overmix. 
  • Add about 2 tbsp of filling in the center of each dumpling wrapper.
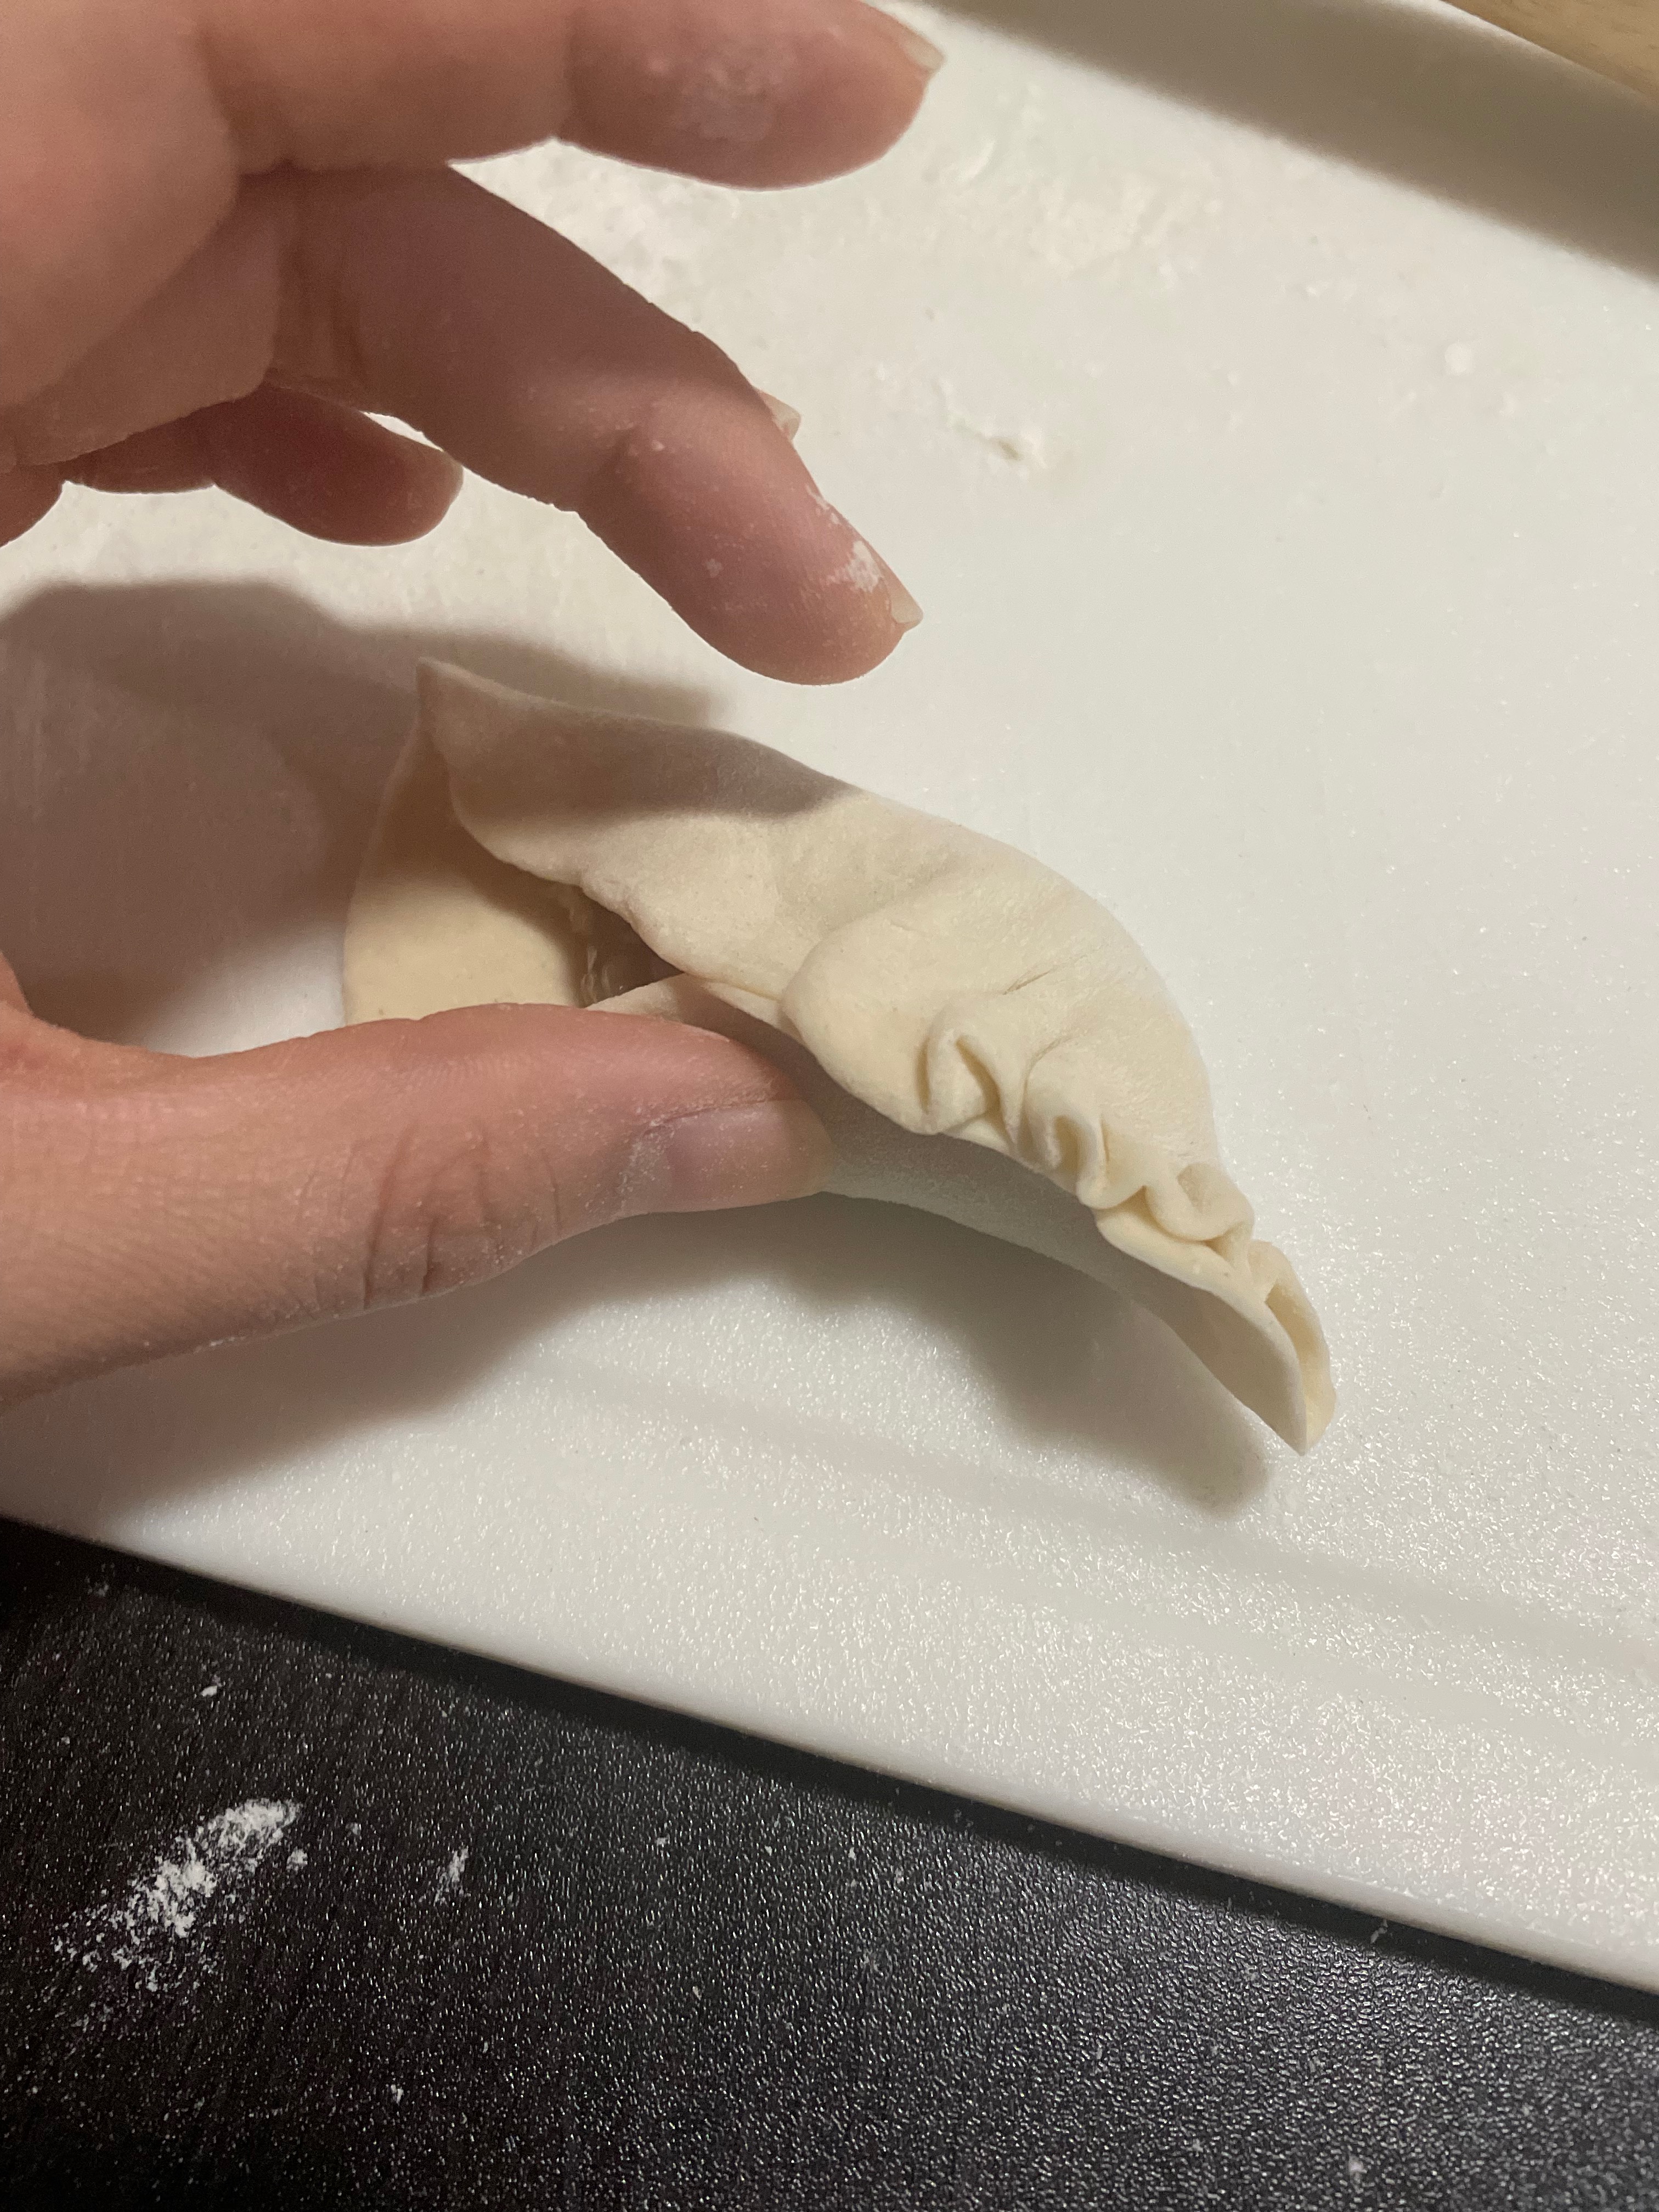
  • Fold and pleat dumpling shut making sure to squeeze all of the air out from the filling area. If there is still air inside the dumpling, it may explode during cooking.
  • Cook your dumplings your preferred method. If boiling, fresh dumplings only take about 7 minutes and frozen take about 15 minutes.

Homemade Dumpling Wrappers & Dumpling Folding Guidance

Hot take: I think homemade dumpling wrappers taste better than the store bought ones. There’s more of a bite or QQ texture to them that the store bought ones just don’t have. If I have the time (and people to help), I’d much rather make my own. Consider the trade-offs: less expensive, more texture/taste, but much more time-consuming. It is an easy enough activity to do while catching up on some shows, podcasts, or audiobooks!

Dumpling Folding Guidance

  • Try to roll your wrappers thinner on the edges than in the center.
  • In the center of the dumpling wrapper, place 1-2 tbsp of filling, leaving an even sized gap on all sides of the filling. 
  • When in doubt, use less filling than more filling.
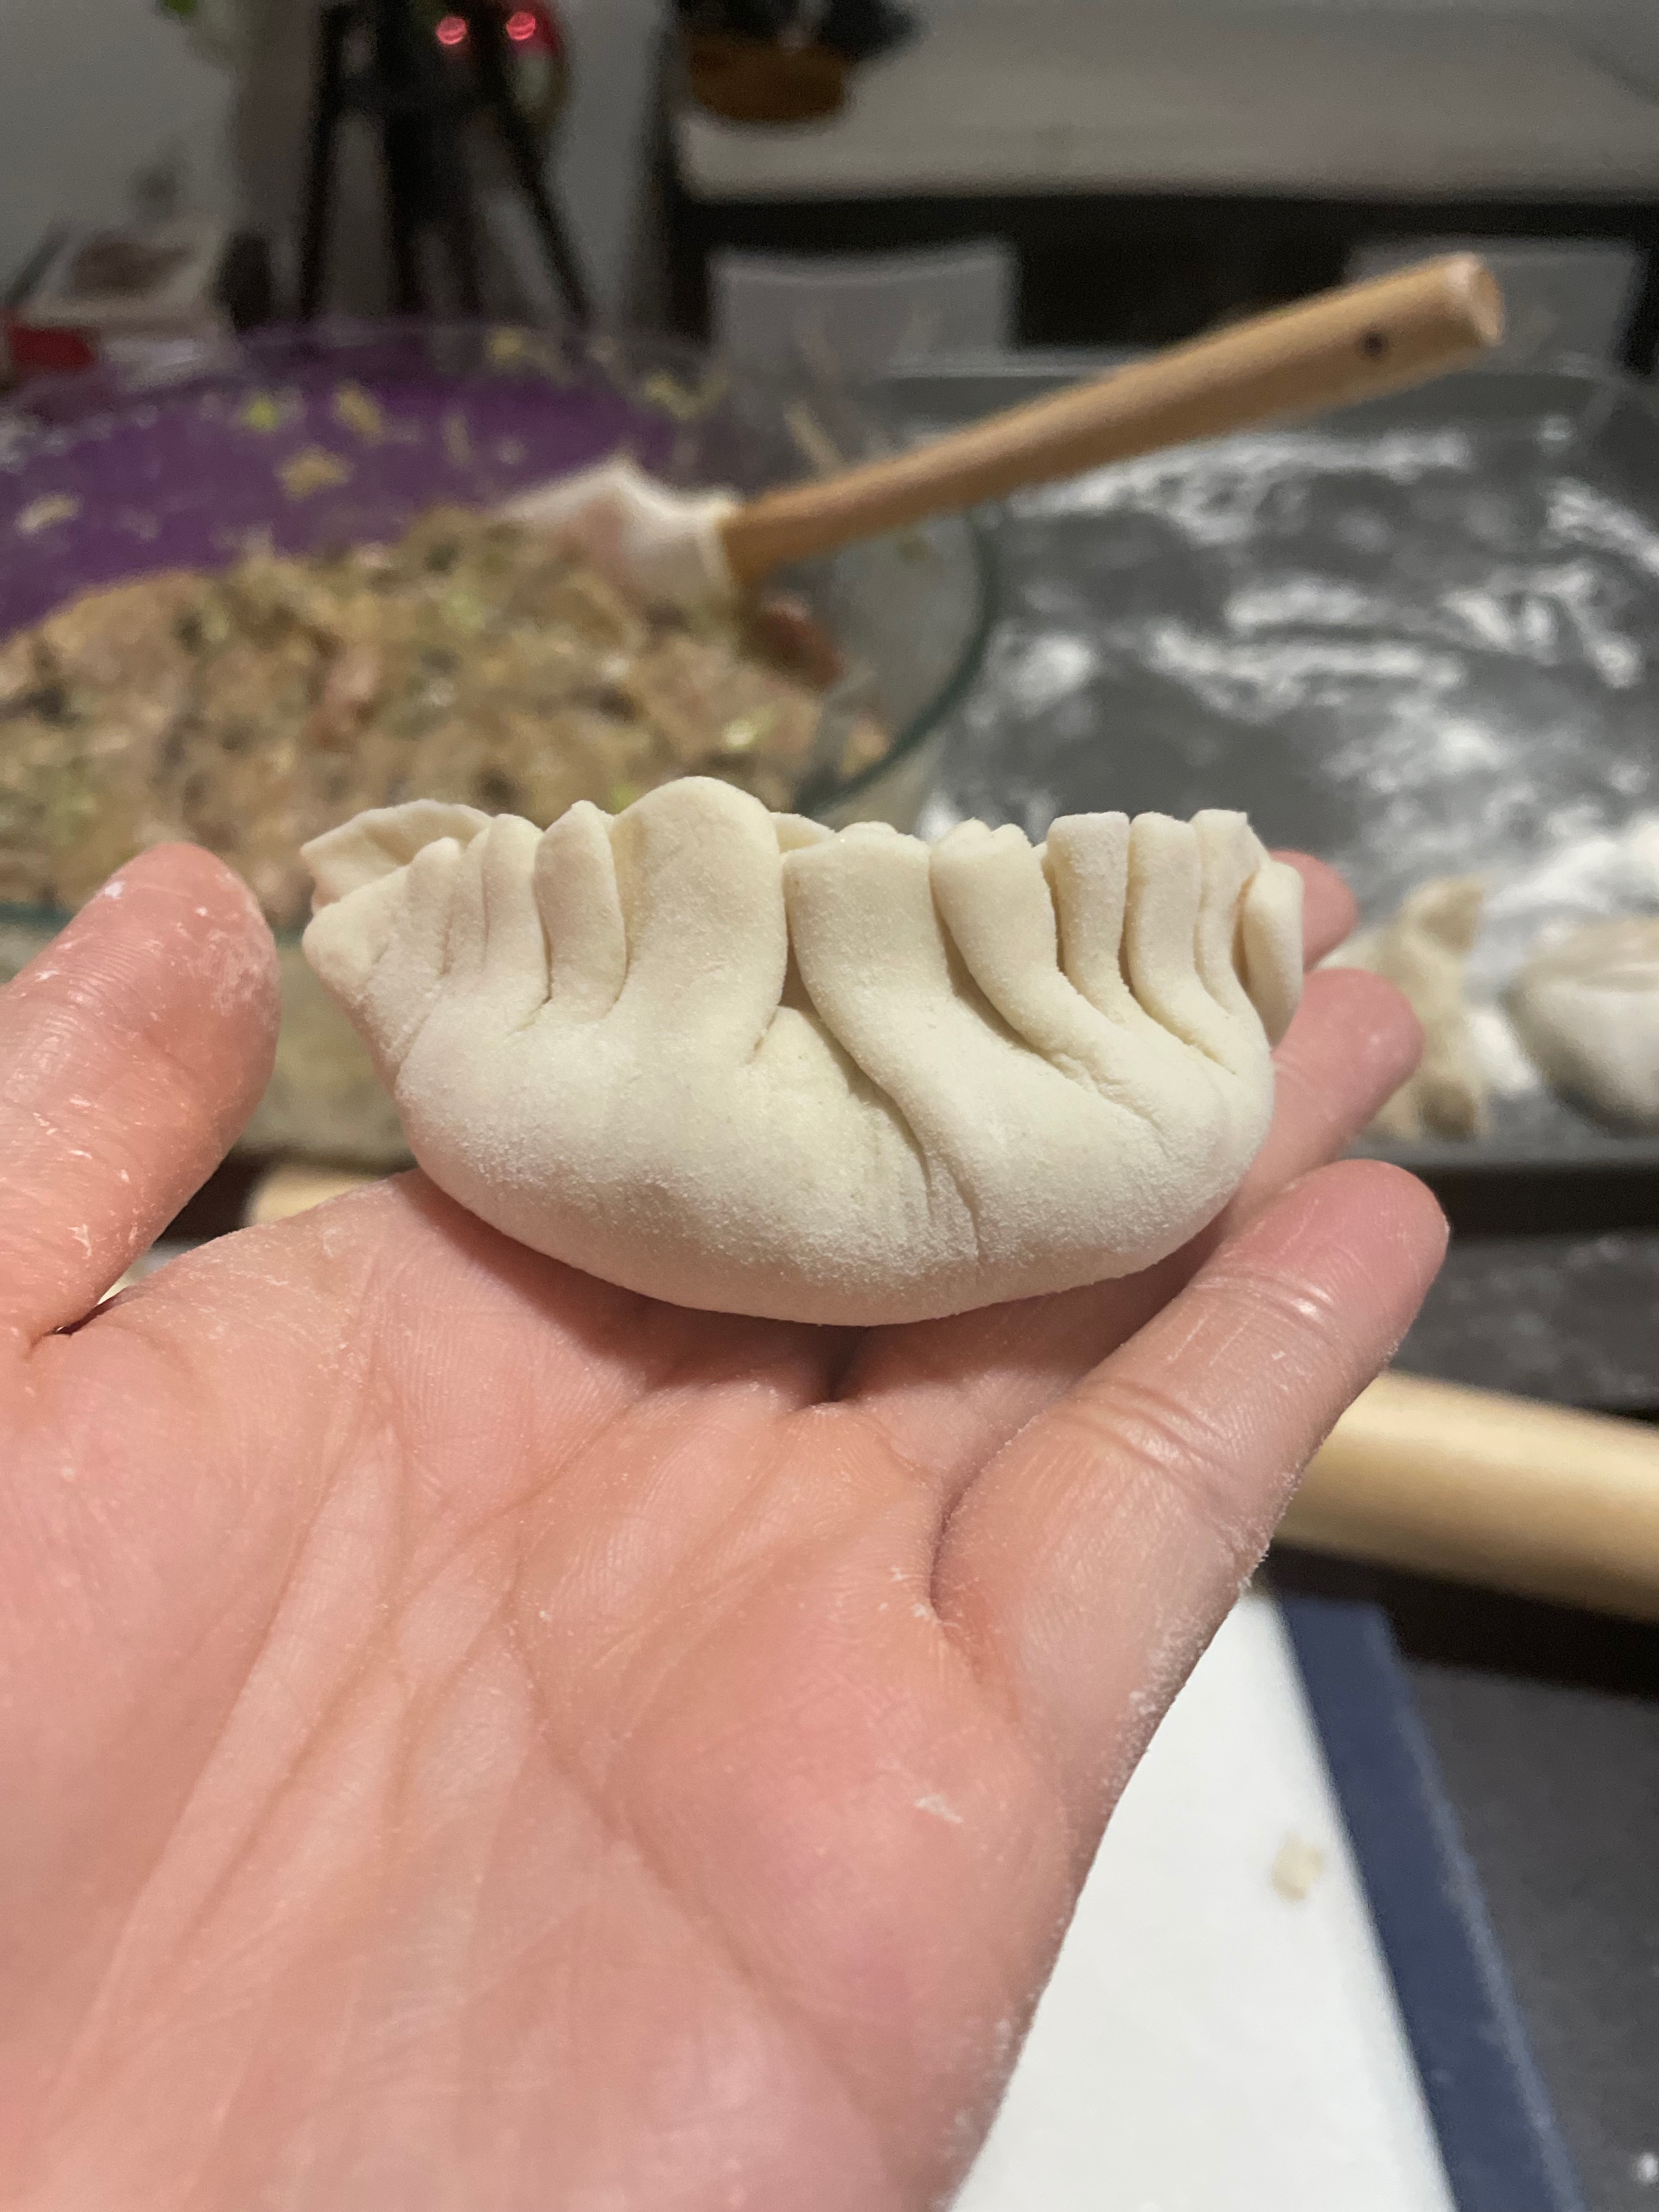
  • Pull opposite sides towards each other and press down to create a half moon sealed at the top of the dumpling where the two sides were pressed together.
  • The pleats are really just for looks, so if it’s not working, just squish the two sides of the wrapper together.
  • Pleat your dumpling, one side at a time, towards the center-pressed area. Ensure as you are pleasting all of the air is pushed out. If not, your dumpling may explode during cooking.
  • Press hard to seal! If the wrapper is too dry, use water or egg to seal it shut.
  • Dust your folded dumpling in flour to prevent sticking.

Dumpling Wrappers/Dumpling Skins

Print Recipe
Homemade dumpling wrappers have a chewier texture than ones you get at the grocery store. Minimal ingredients required to really up the quality of your dumplings!
Cuisine Asian
Keyword dumpling, dumplings, wrappers
Servings 100 wrappers

Equipment

  • Stand mixer optional

Ingredients

  • 2 1/3 cups flour all purpose
  • 3/4 cup water warm + 3 tbsp extra
  • 1 tsp salt

Instructions

  • Slowly stream in ¾ c of water into AP flour and continuously mix. The dough will get shaggy. You can do this by hand or with a dough hook in a stand mixer.
  • Continue mixing until the dough forms a ball. Add additional water as necessary. You may need to knead the dough with your hands if all the water and flour is not all combining.
  • Once combined, allow to rest at least 20 minutes.
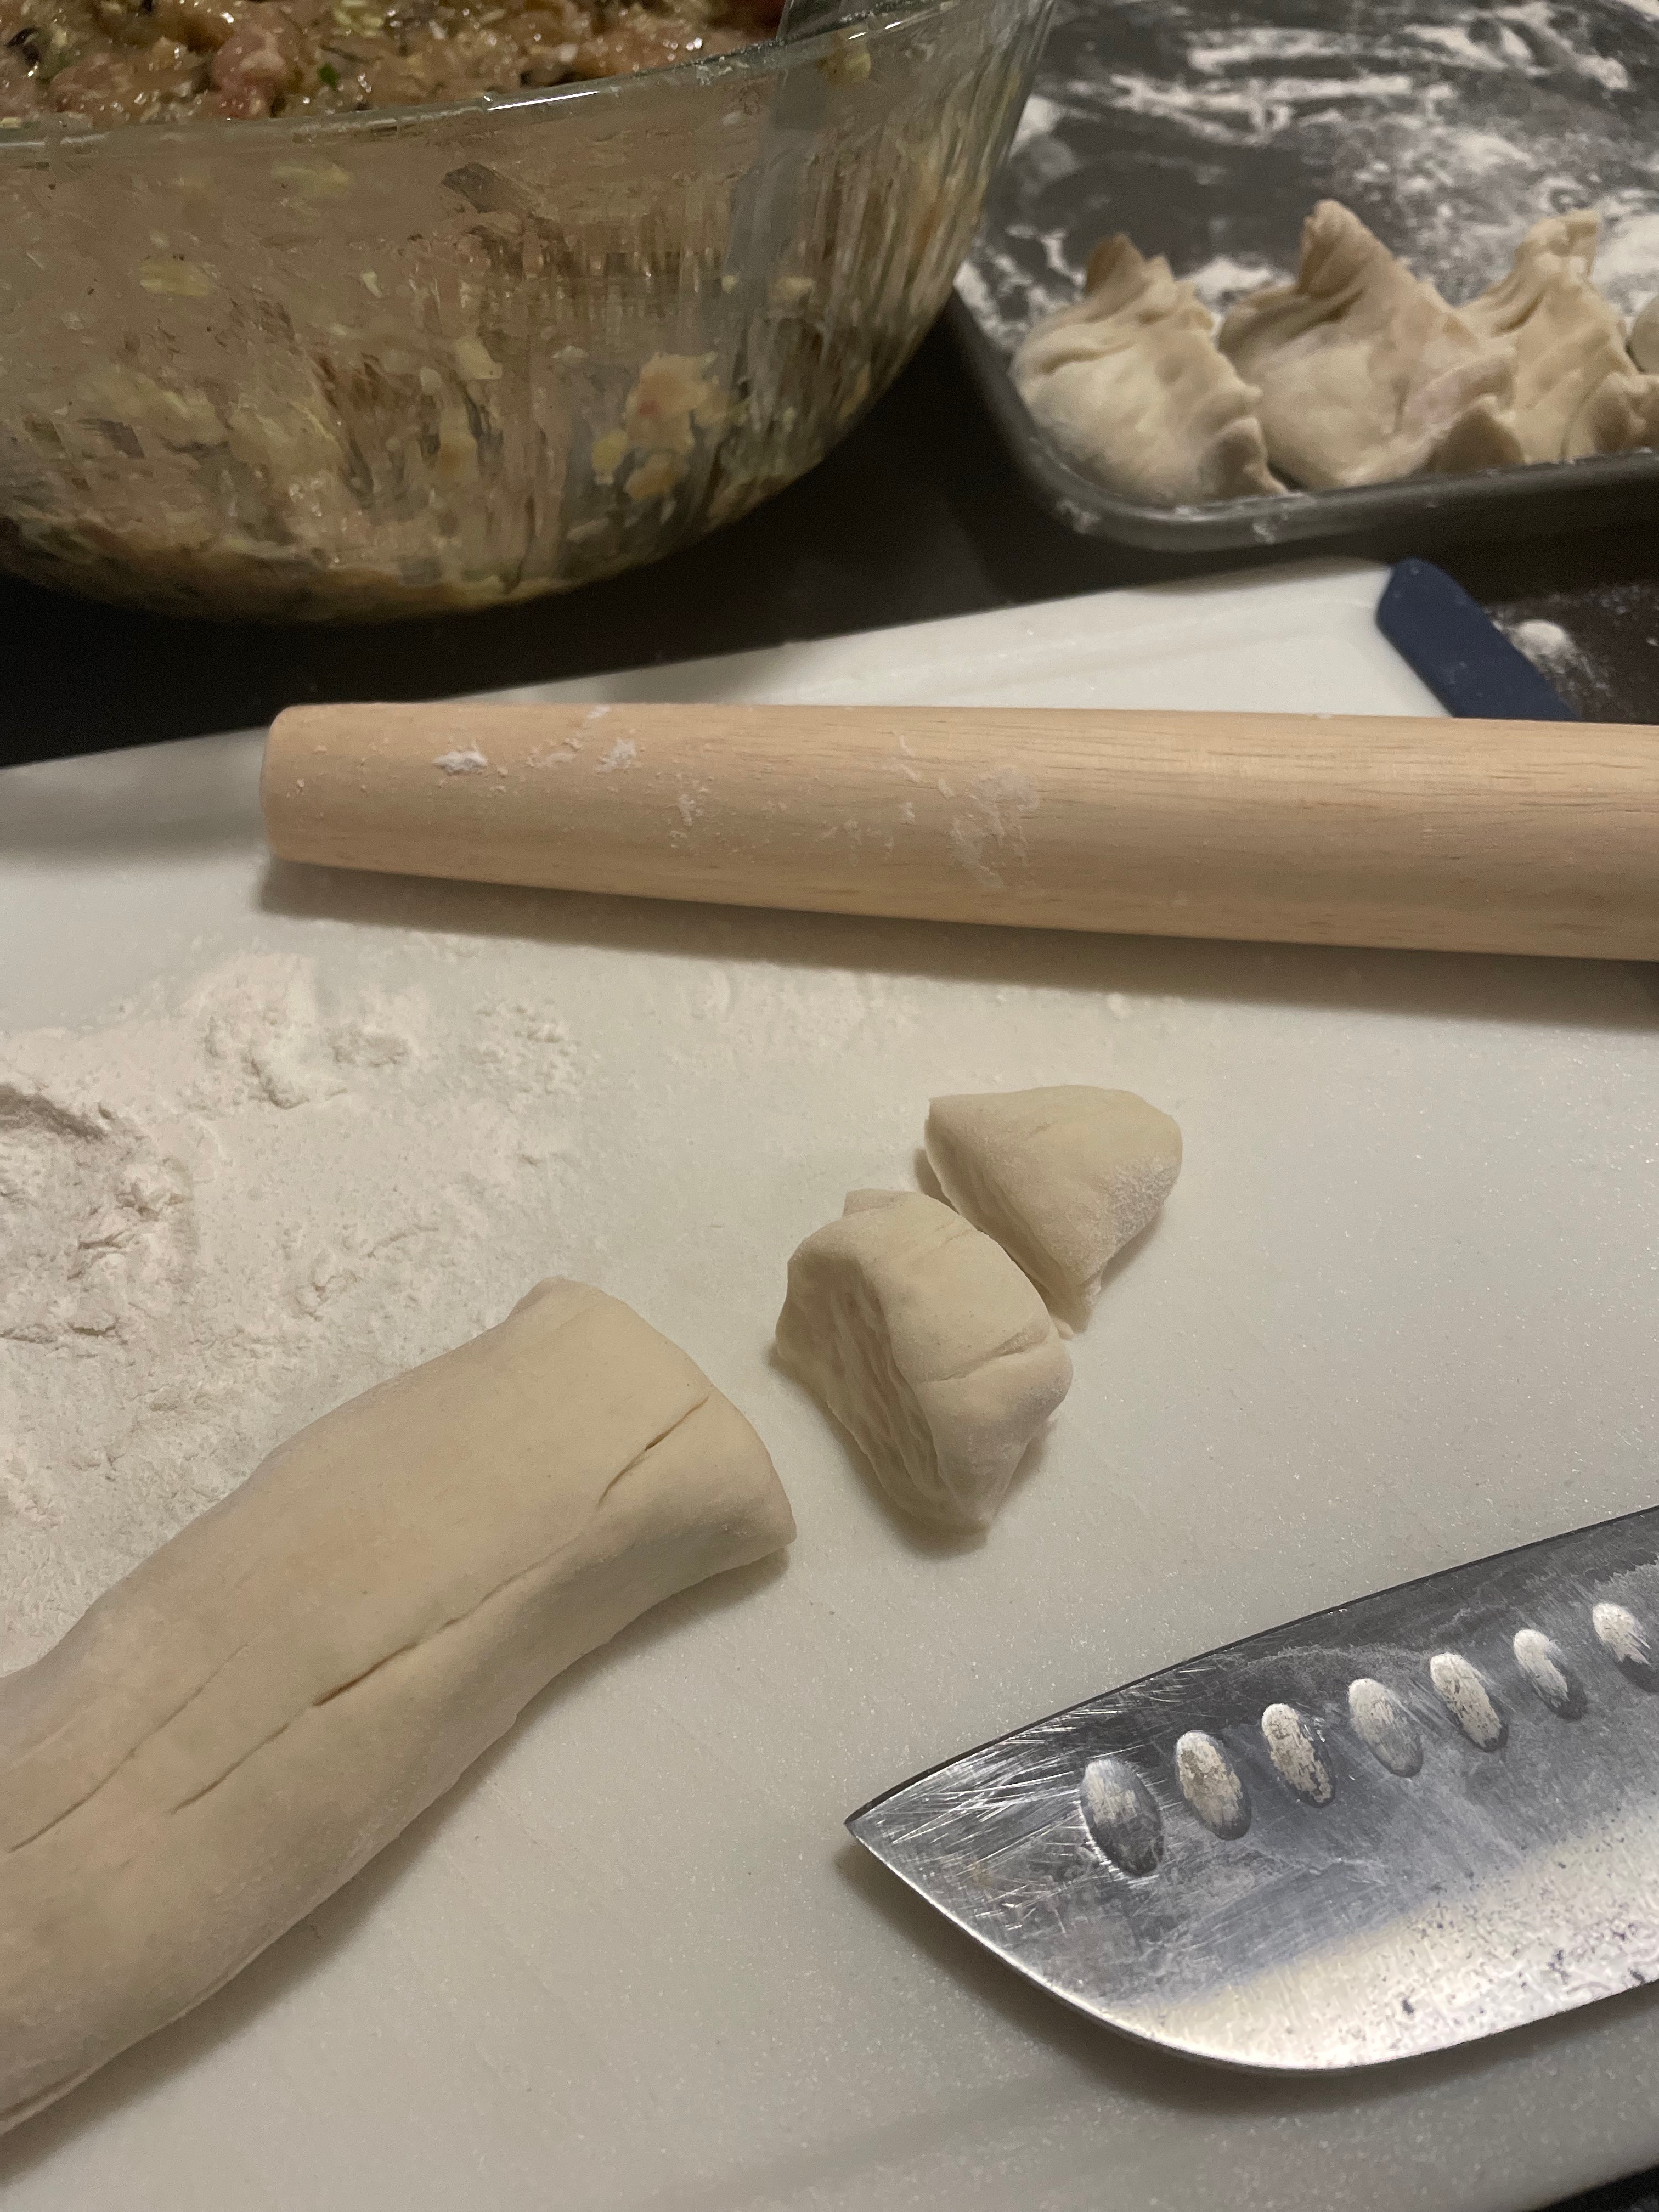
  • Grab a chunk of dough and roll into a thumb-thickness log.
  • Cut the log into sections about the size of a quarter, maintaining the thumb-sized thickness.
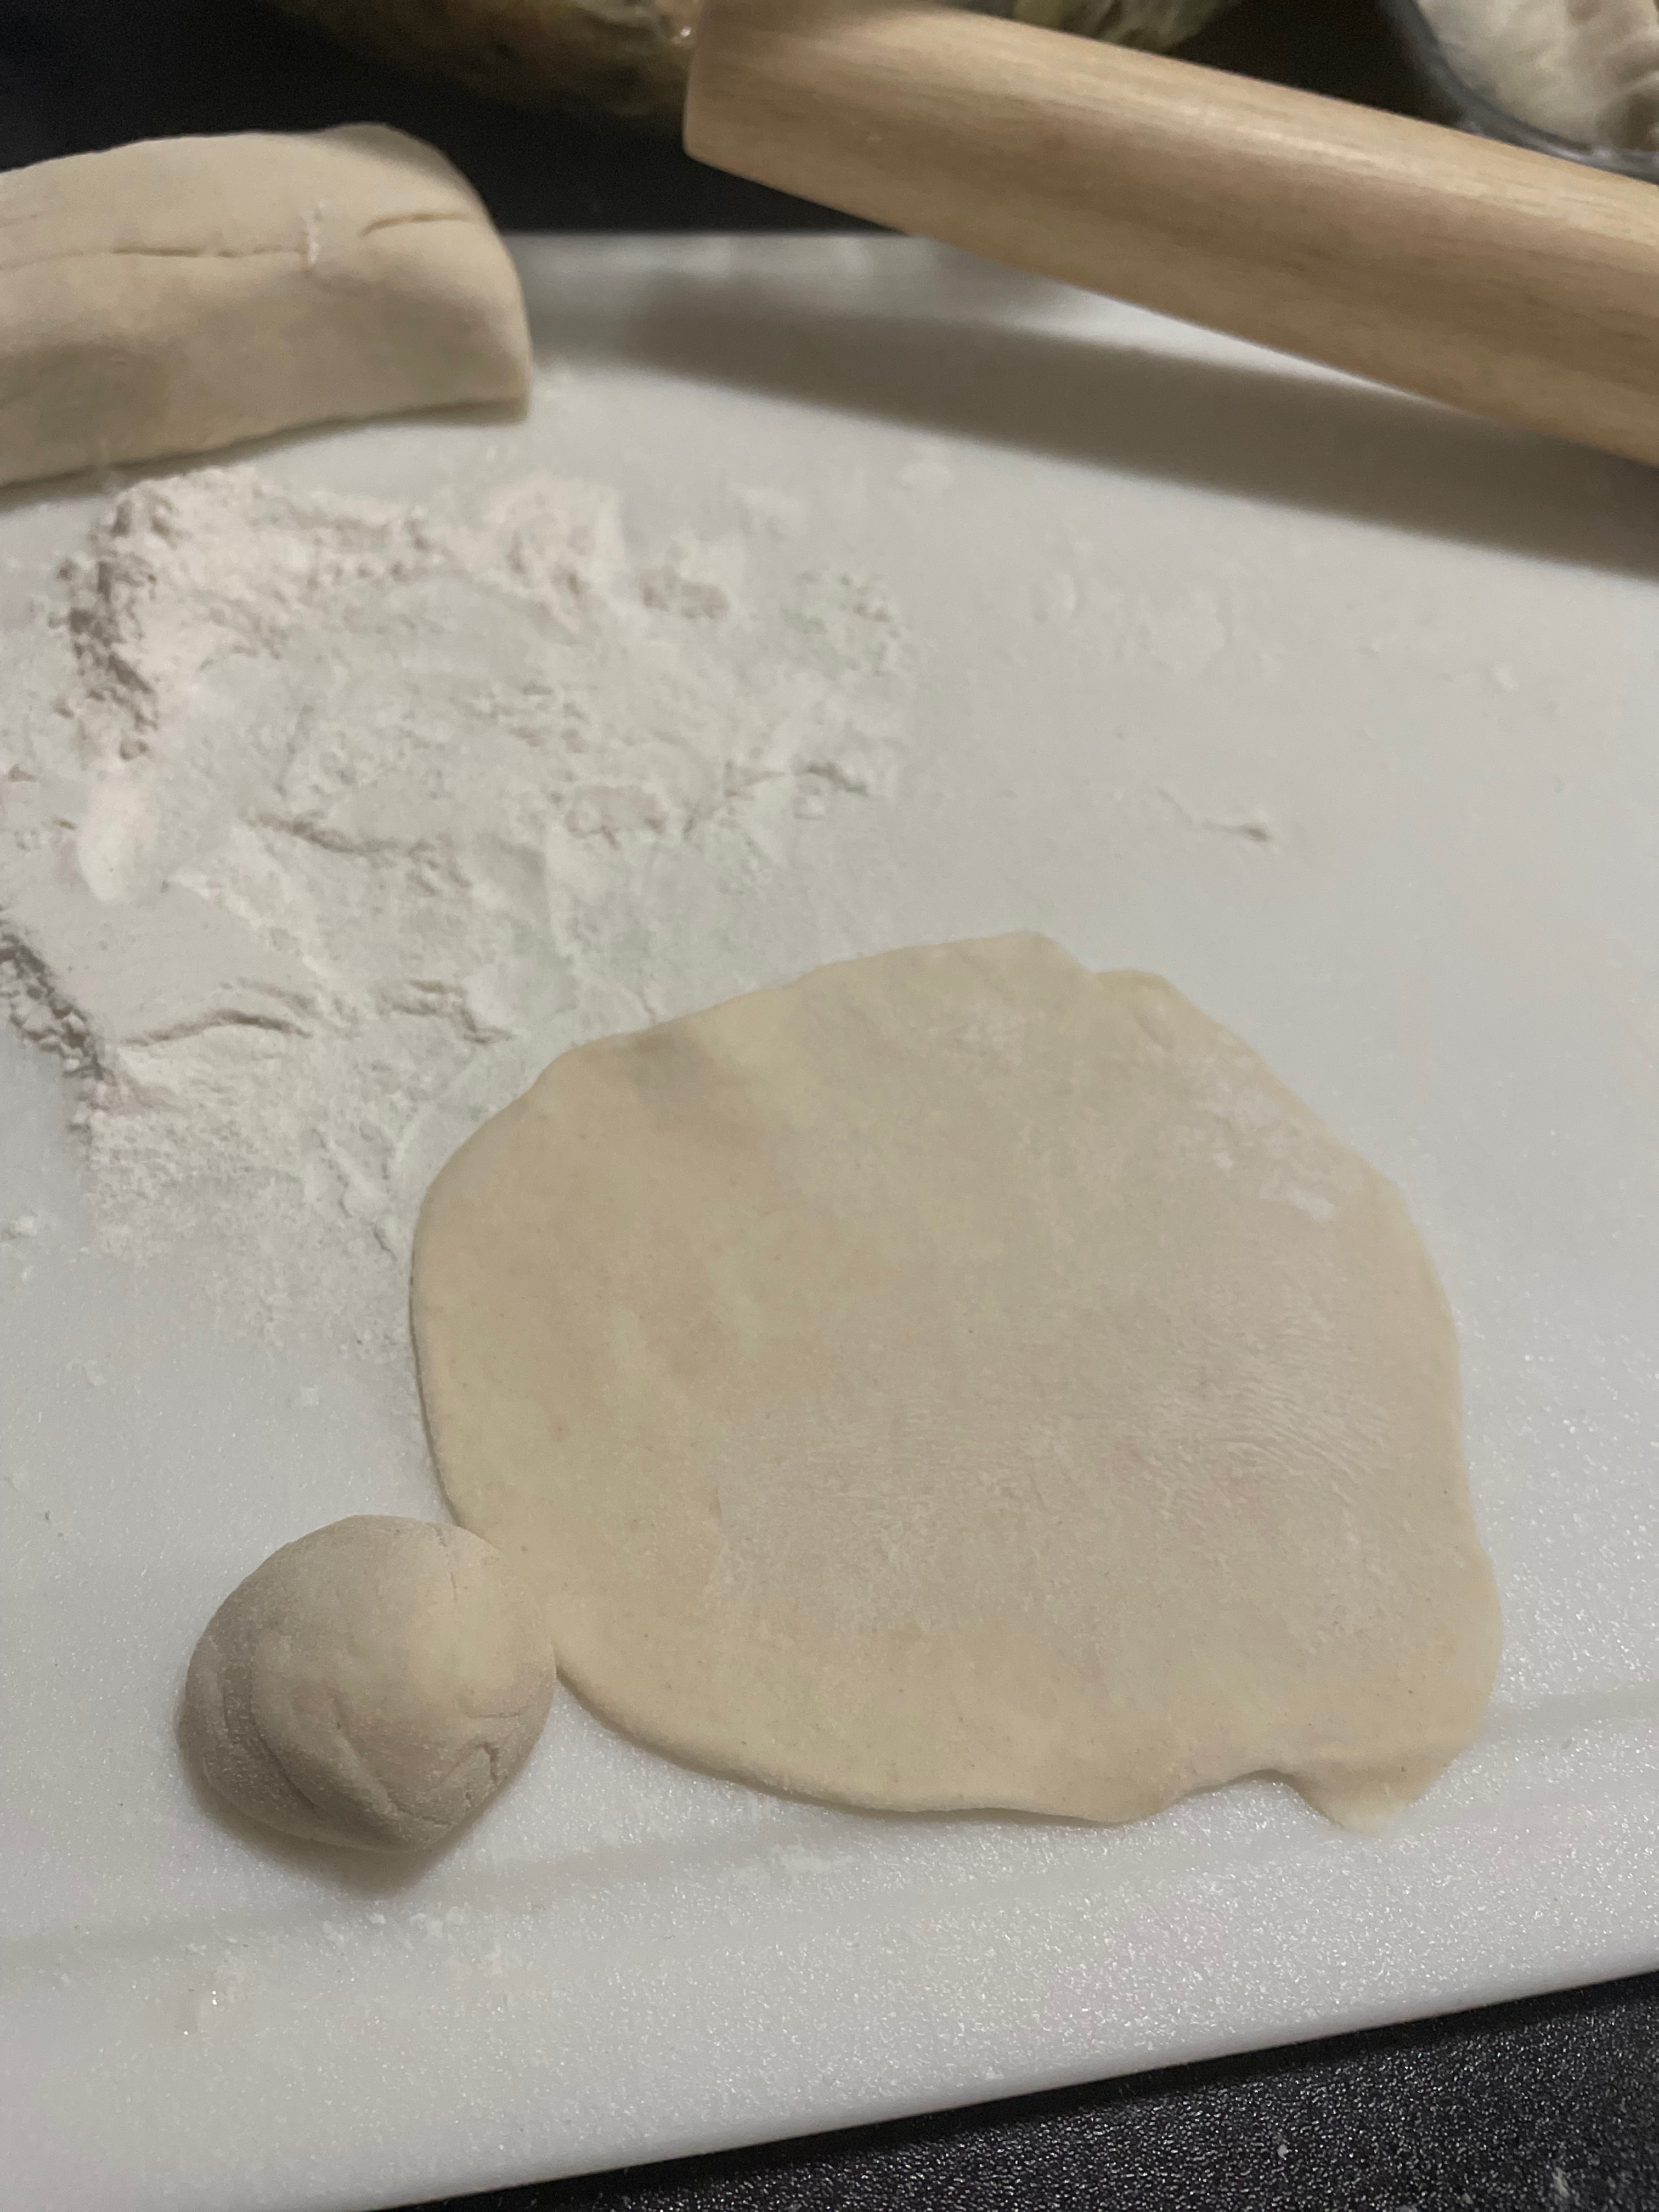
  • Roll each mini-section into a ball.
  • Flatten the ball, and roll into a flat wrapper, getting it as thin as possible. Try to get the edges of the wrapper thinner than the center.
  • Roll out all the dough into wrappers.
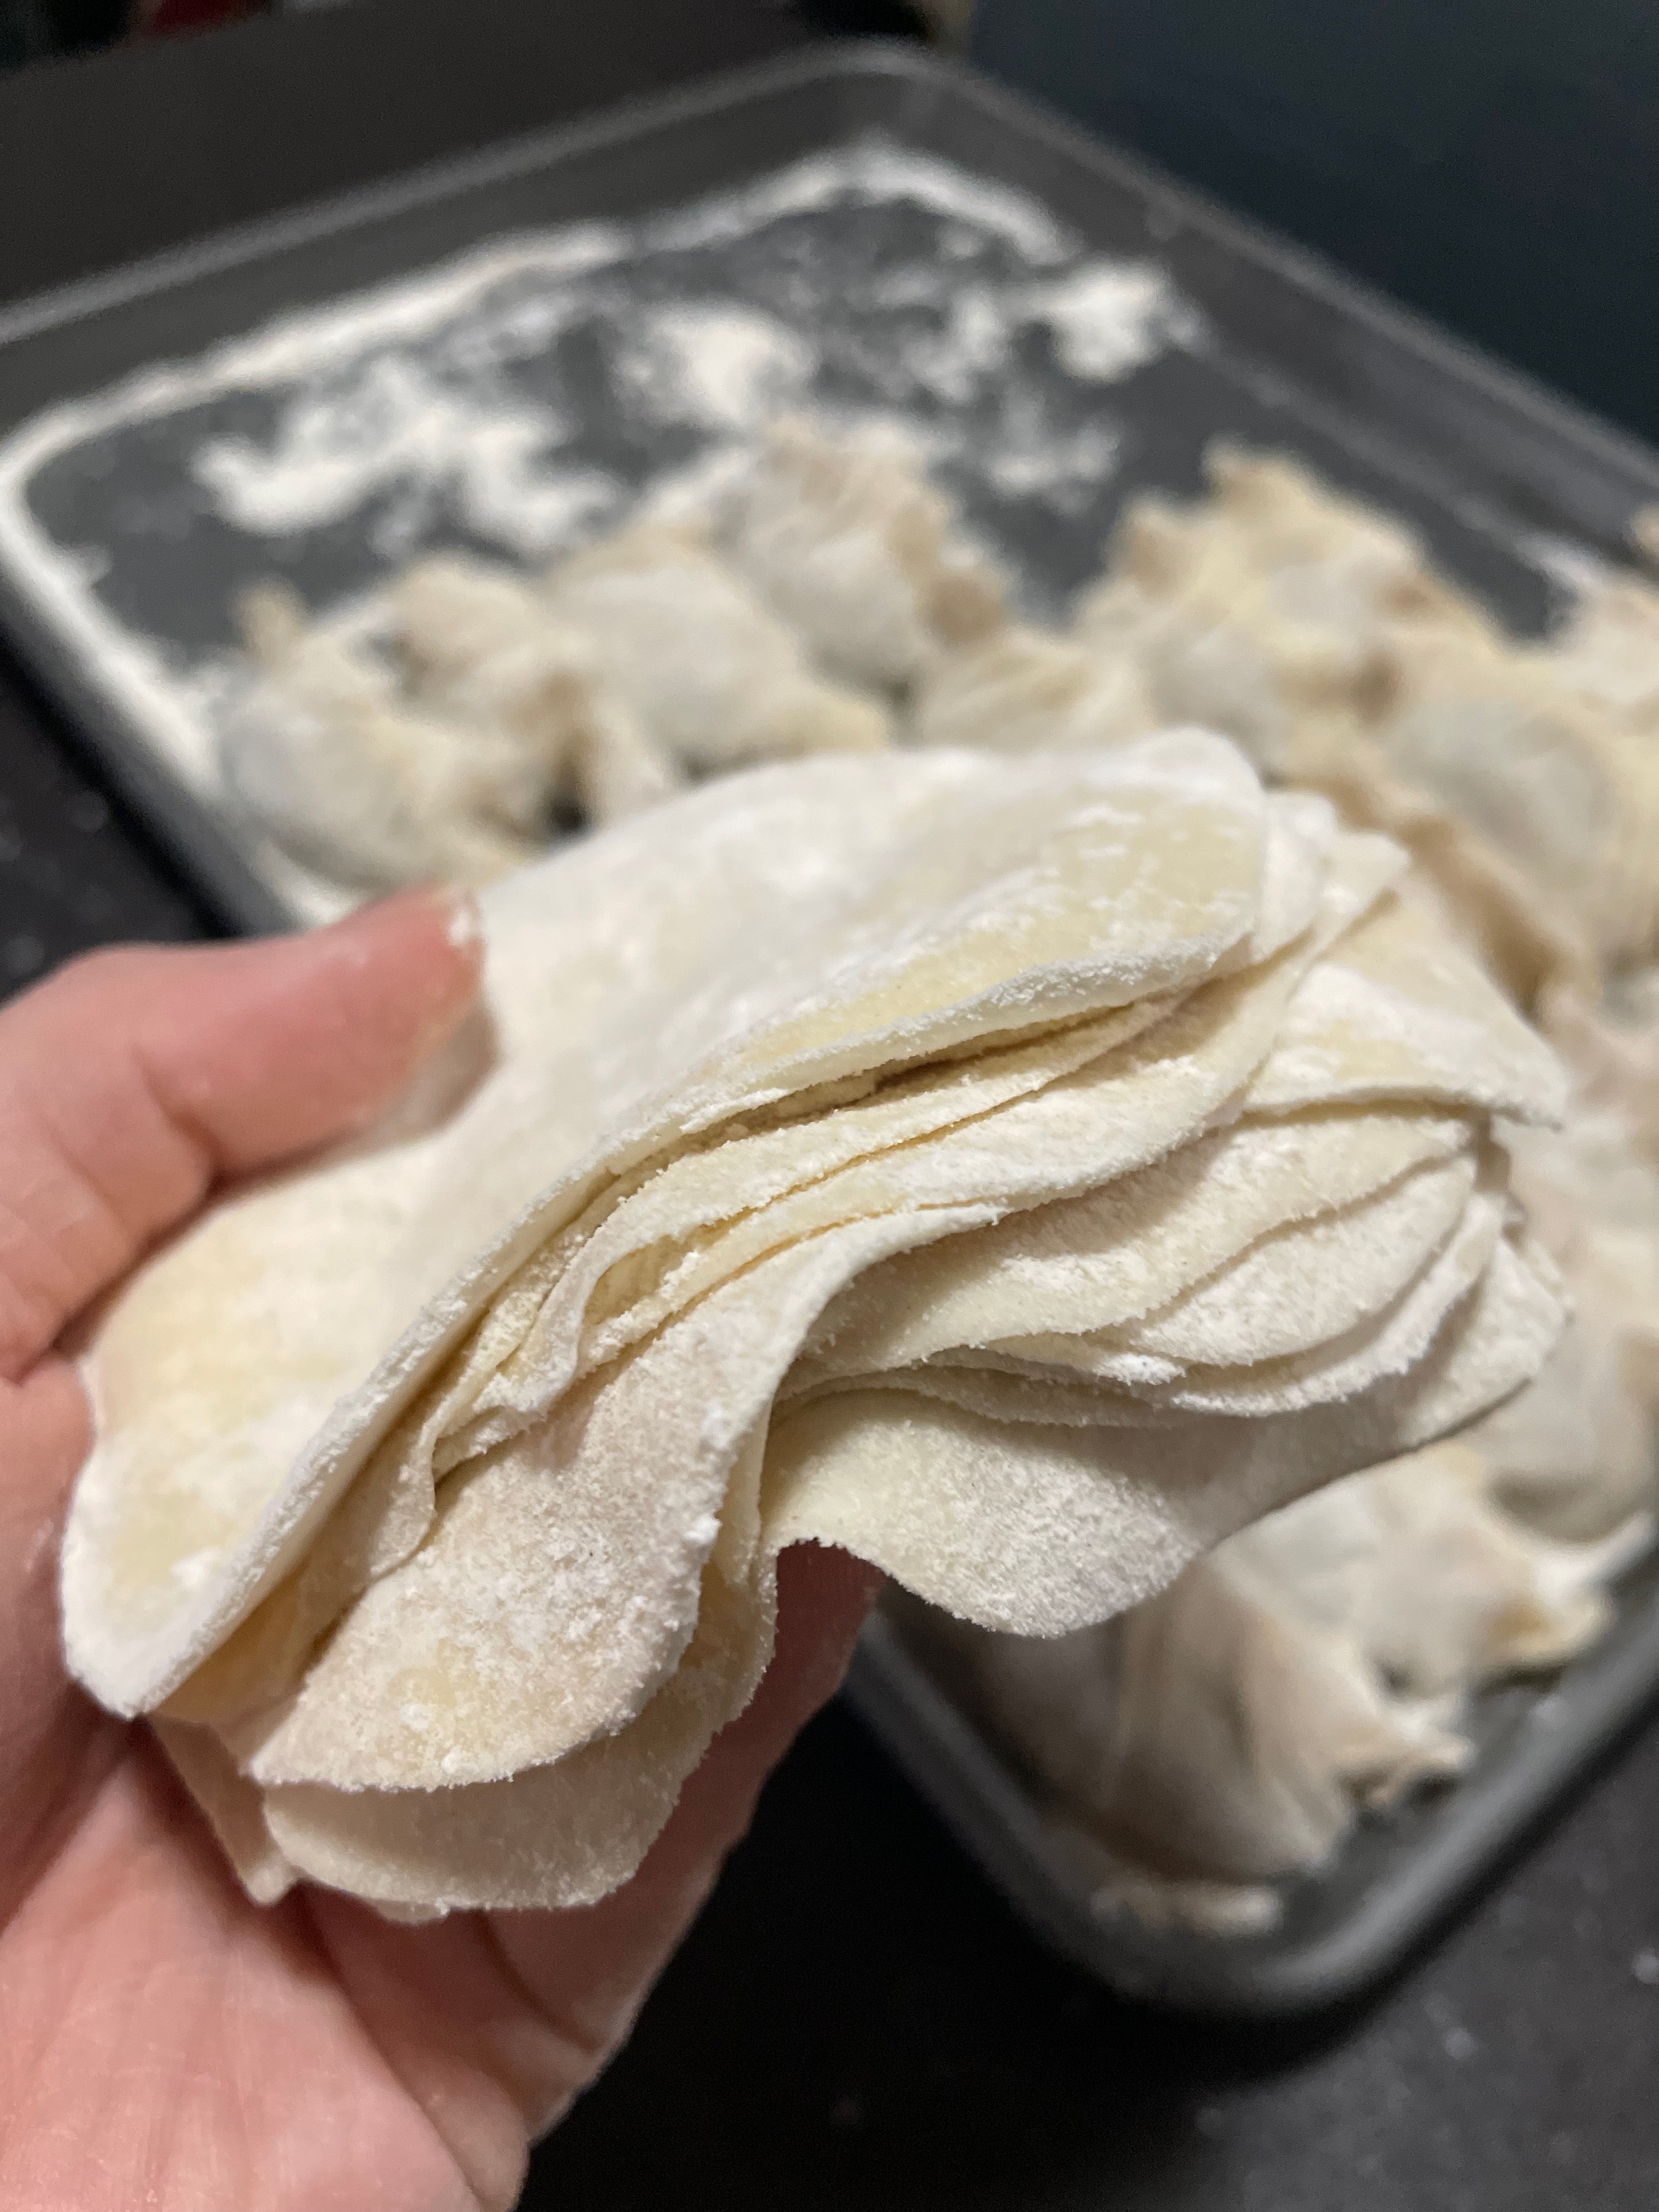
  • Leftover wrappers can be floured on each side, stacked, and then frozen.

Try making my Chicken & Cabbage Dumplings and have them with my My Signature Dumpling Dipping Sauce.

My Signature Dumpling Dipping Sauce

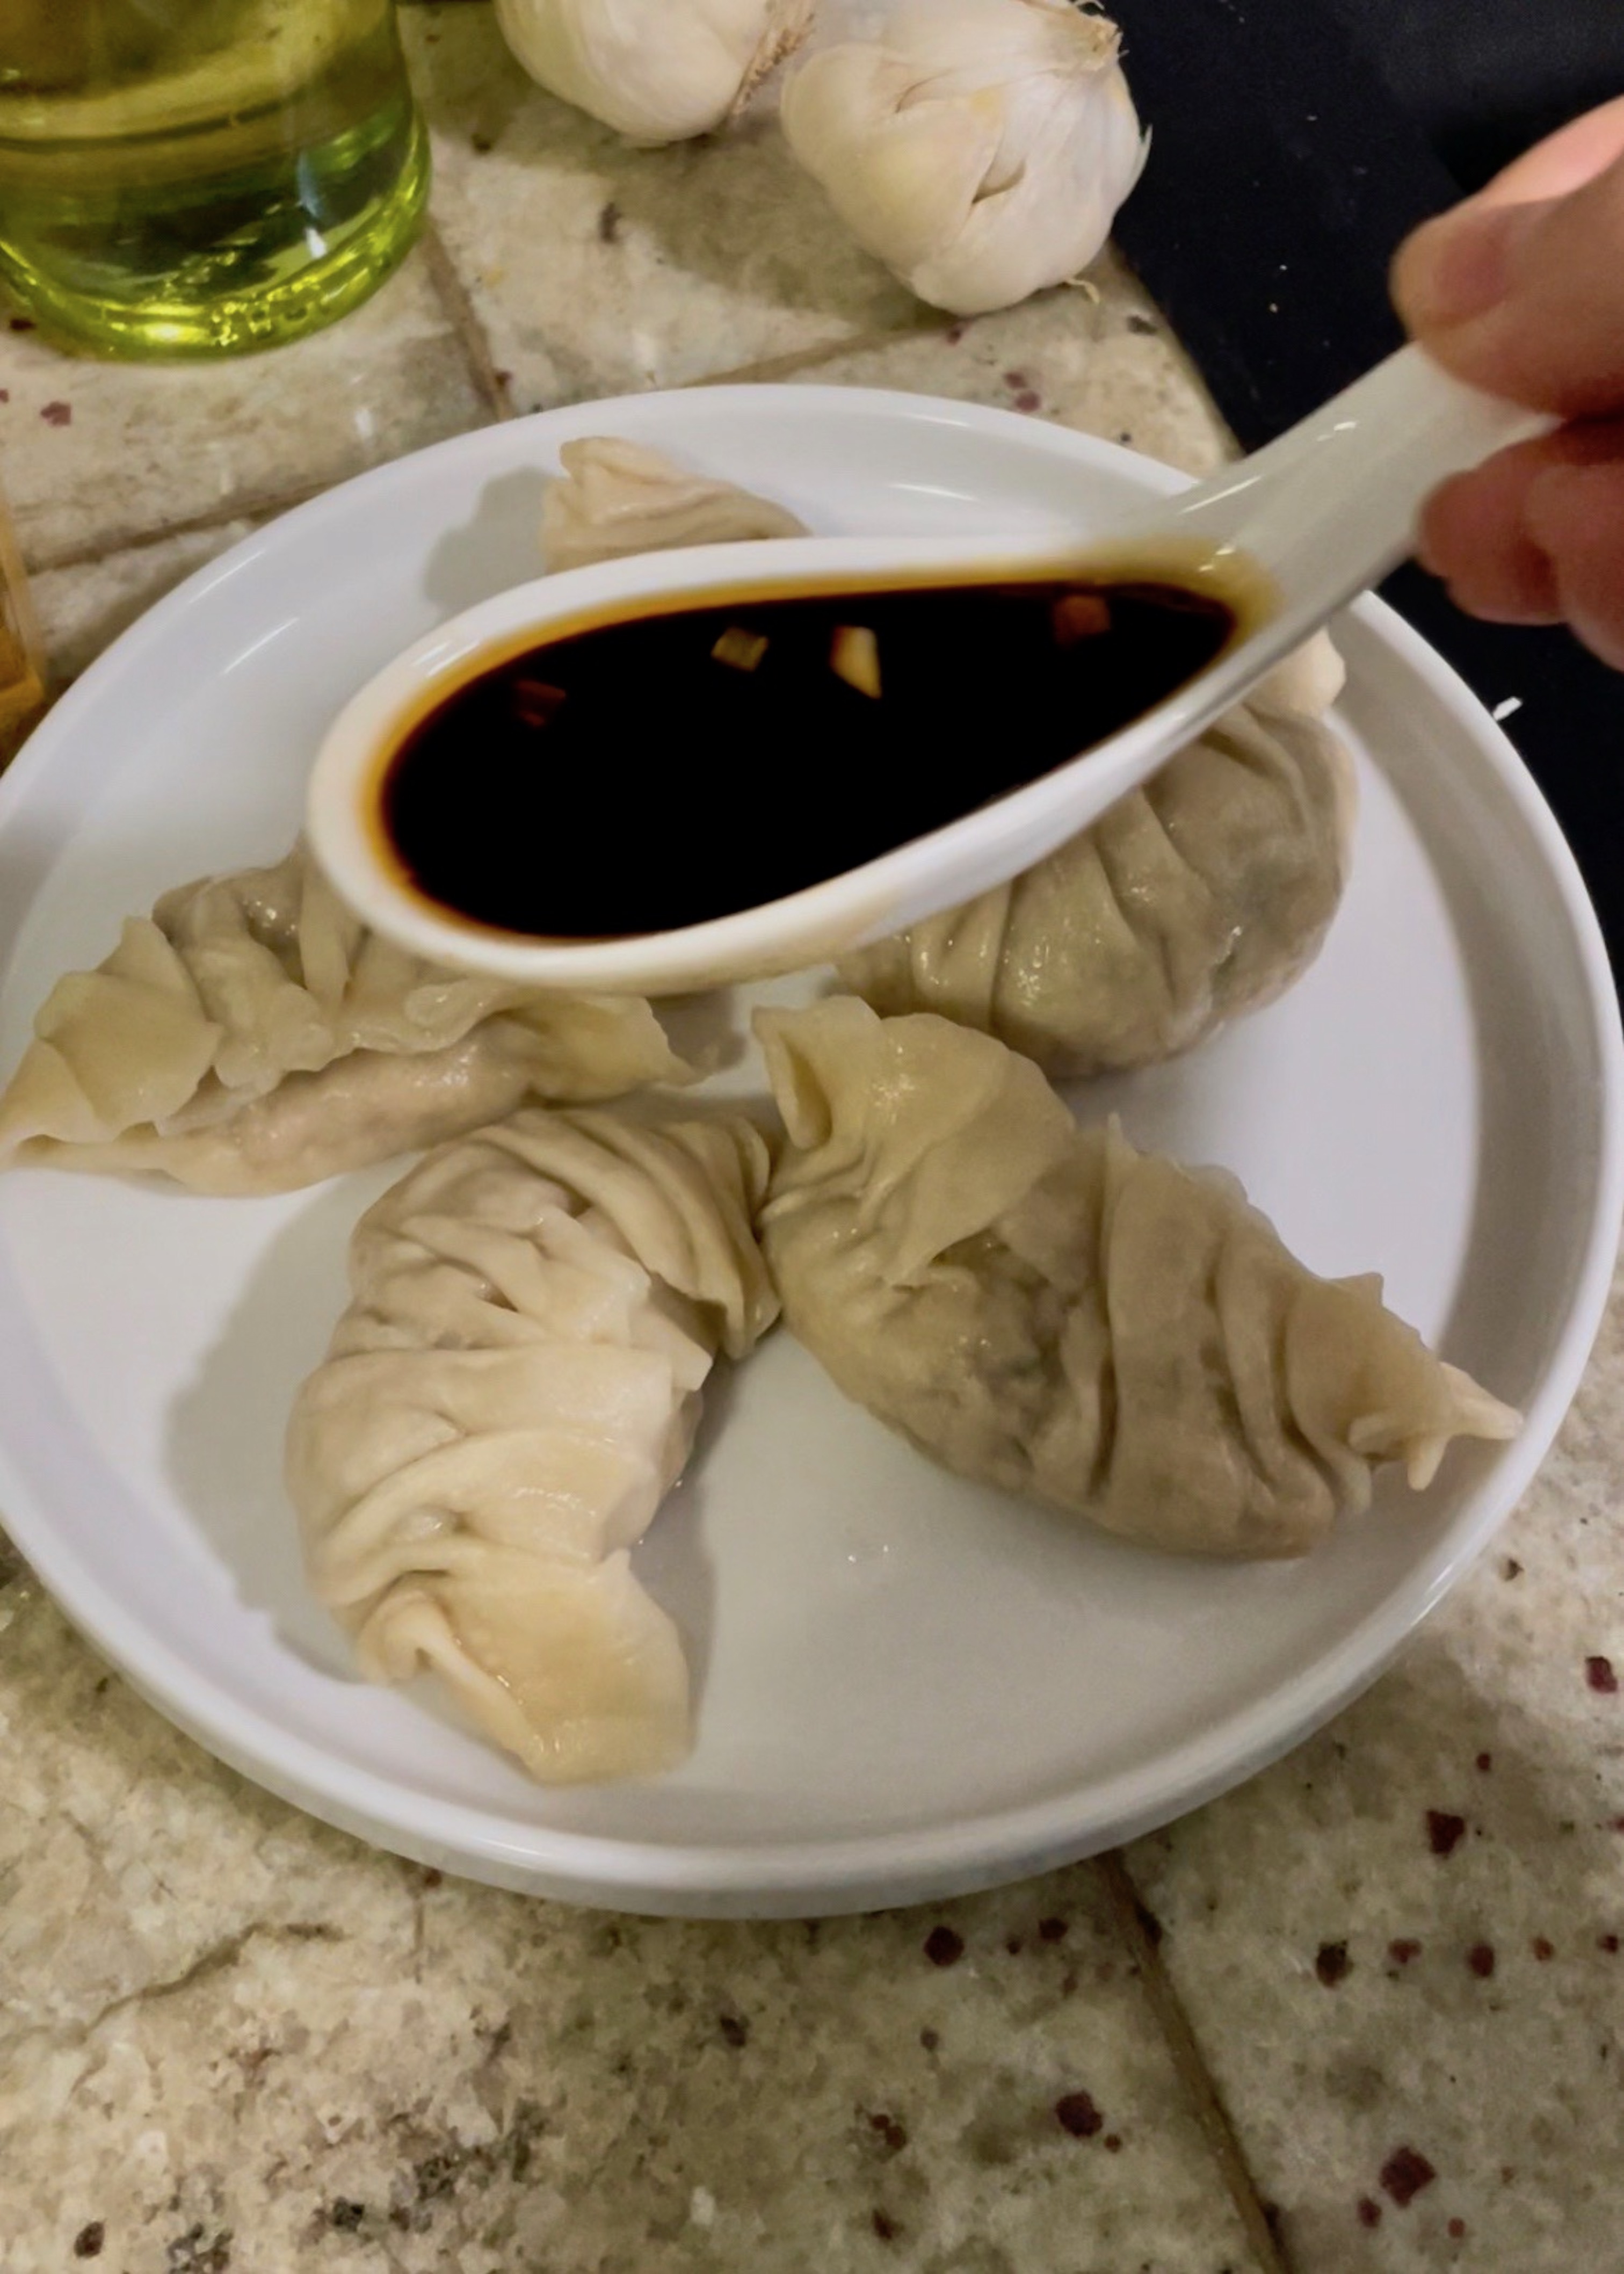
A dumpling really needs to have 3 great things: a flavorful filling, a chewy wrapper, and a perfect sauce to bring it all together. This is my go-to sauce recipe for boiled or steamed dumplings that’s salty, sweet, and gives you a little kick from the sriracha and raw garlic.

Materials:

Sesame oil – make sure you’re using toasted sesame oil. The sesame oil intended for cooking doesn’t have the same fragrance that toasted sesame oil does.

Sugar – the sweetness helps balance the savory.

Sriracha – a little extra spice! If it’s too spicy for you, leave it out.

Dip away!

My Signature Dumpling Dipping Sauce

Print Recipe
The best dipping sauce that goes with any kind of dumpling. Sweet, salty, and a little spicy.
Keyword dumplings, sauce
Prep Time 5 minutes

Ingredients

  • 1 tbsp toasted sesame oil
  • 1 tbsp sugar
  • 3 tbsp soy sauce
  • 1 tbsp water
  • 1 tsp sriracha
  • 1 clove garlic finely minced

Instructions

  • Mix all the ingredients together.
  • This may be served immediately or chilled.

Try this sauce with my Chicken & Cabbage Dumplings.

Need a dessert after? Try my Beet Cinnamon Rolls.

Hawaii Volcanoes National Park – Big Island, Hawaii Vacation

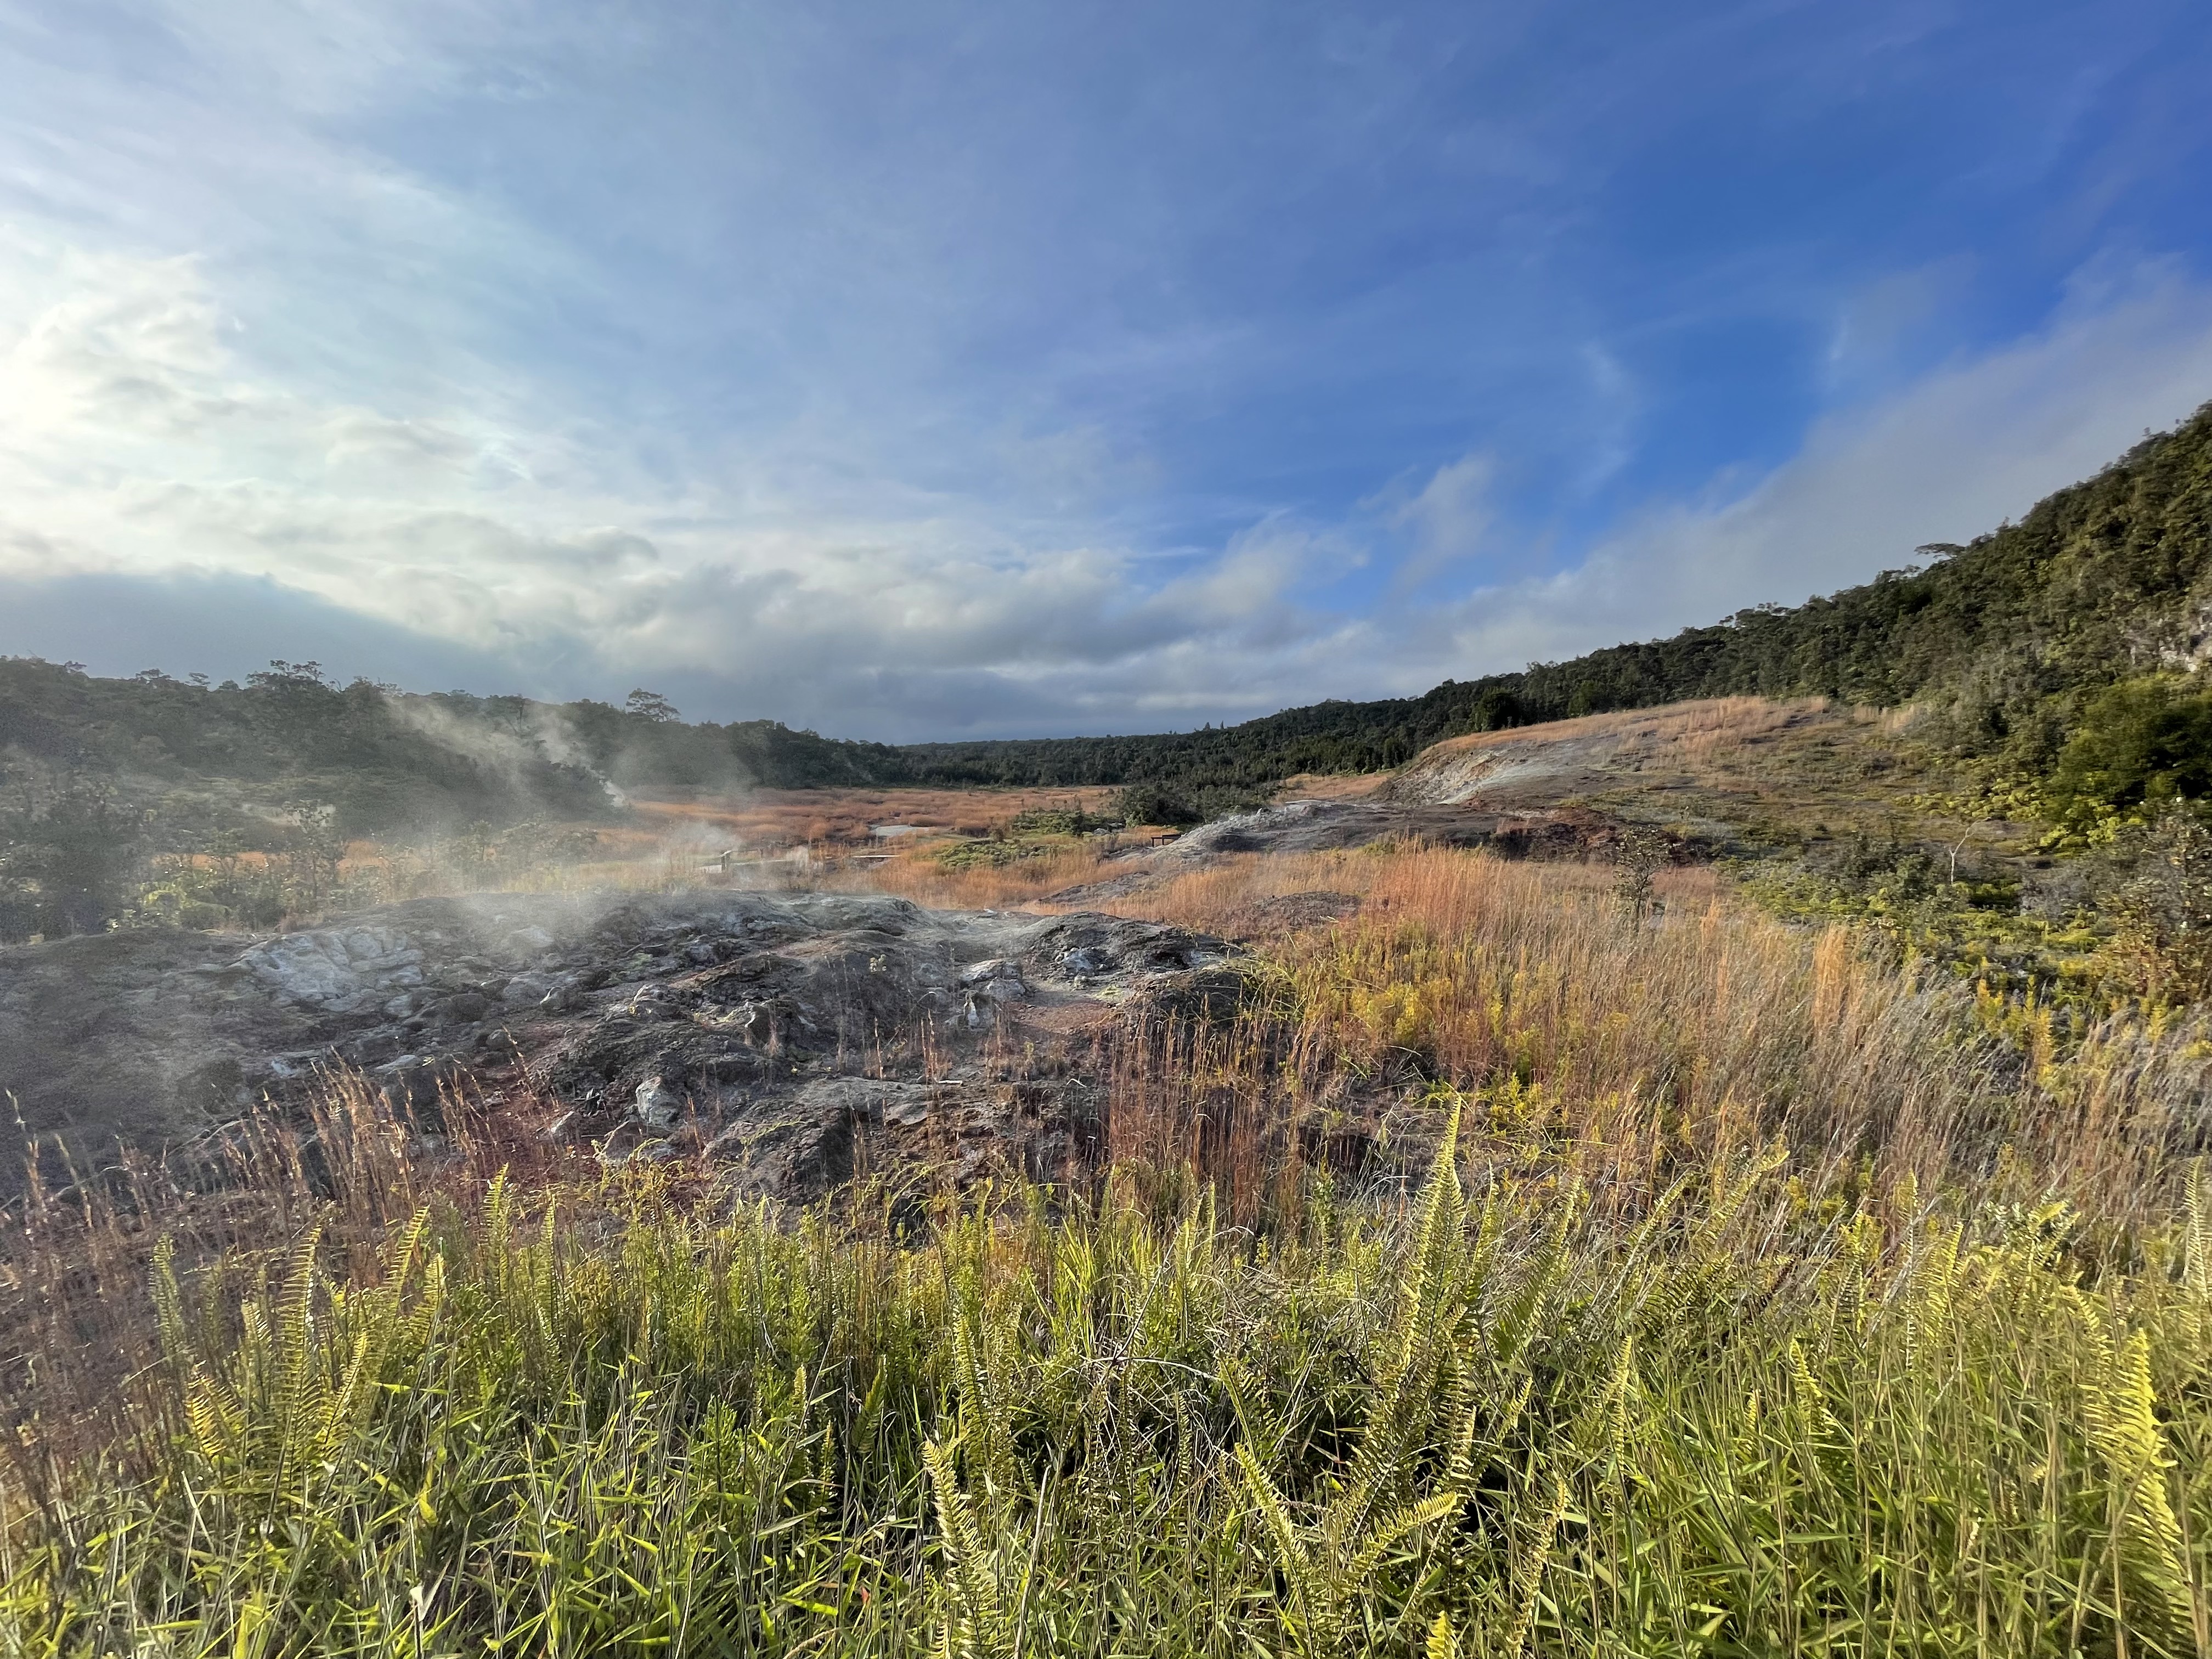
We visited Big Island, Hawaii in November 2021. Hawaii Volcanoes National Park is a drive from either Kona or Hilo, but it’s really worth it if you’re staying on the Big Island. This is really one of the most amazing parks I’ve been to – it’s also open 24/7. It was so auspicious to have arrived after a recent eruption. The lava lake was still present at the summit of Kilauea in the Halema’uma’u crater. 

If you have time to explore more, there is a lot to do that is accessible/flat. First walk through the Thurston lava tube. It’s really interesting to walk through the tube and imagine how the lava shaped it. Parking can be tricky if it is busy, but most spaces only allow you to park for 30 minutes. If they’re full, swing back around and you’ll likely catch someone leaving. There are lights inside during the day, but they do shut-off at night. There are often tour groups coming through, so if you don’t come with a guide, you’ll hear fun facts anyway!

If you go to the visitor’s center, there’s quite a bit to walk around to see. A trail takes you on a nice walk through some sulfur beds, to some steam vents, and you can even take it to the Kilauea Overlook. From the overlook, you can see some of the steam coming from the lava lake. It is about a 45-minute walk from the visitor’s center to the Kilauea Overlook.

If you want to see the lava lake with the best view, you need to park at Devastation Trail and then hike about a mile to see the lake. The hike is flat and quick. Be prepared for crowds. You may even be directed to park in an area farther away depending on how busy it may be. I highly recommend viewing the lava at night to maximize the experience. Definitely have flashlights or headlamps at the ready! It gets very dark. To get the best pictures at night, remember to turn down your exposure!

Green Sand Beach/Papakōlea – Big Island, Hawaii Vacation

We visited the Big Island of Hawaii in November 2021. Check out my itinerary here!

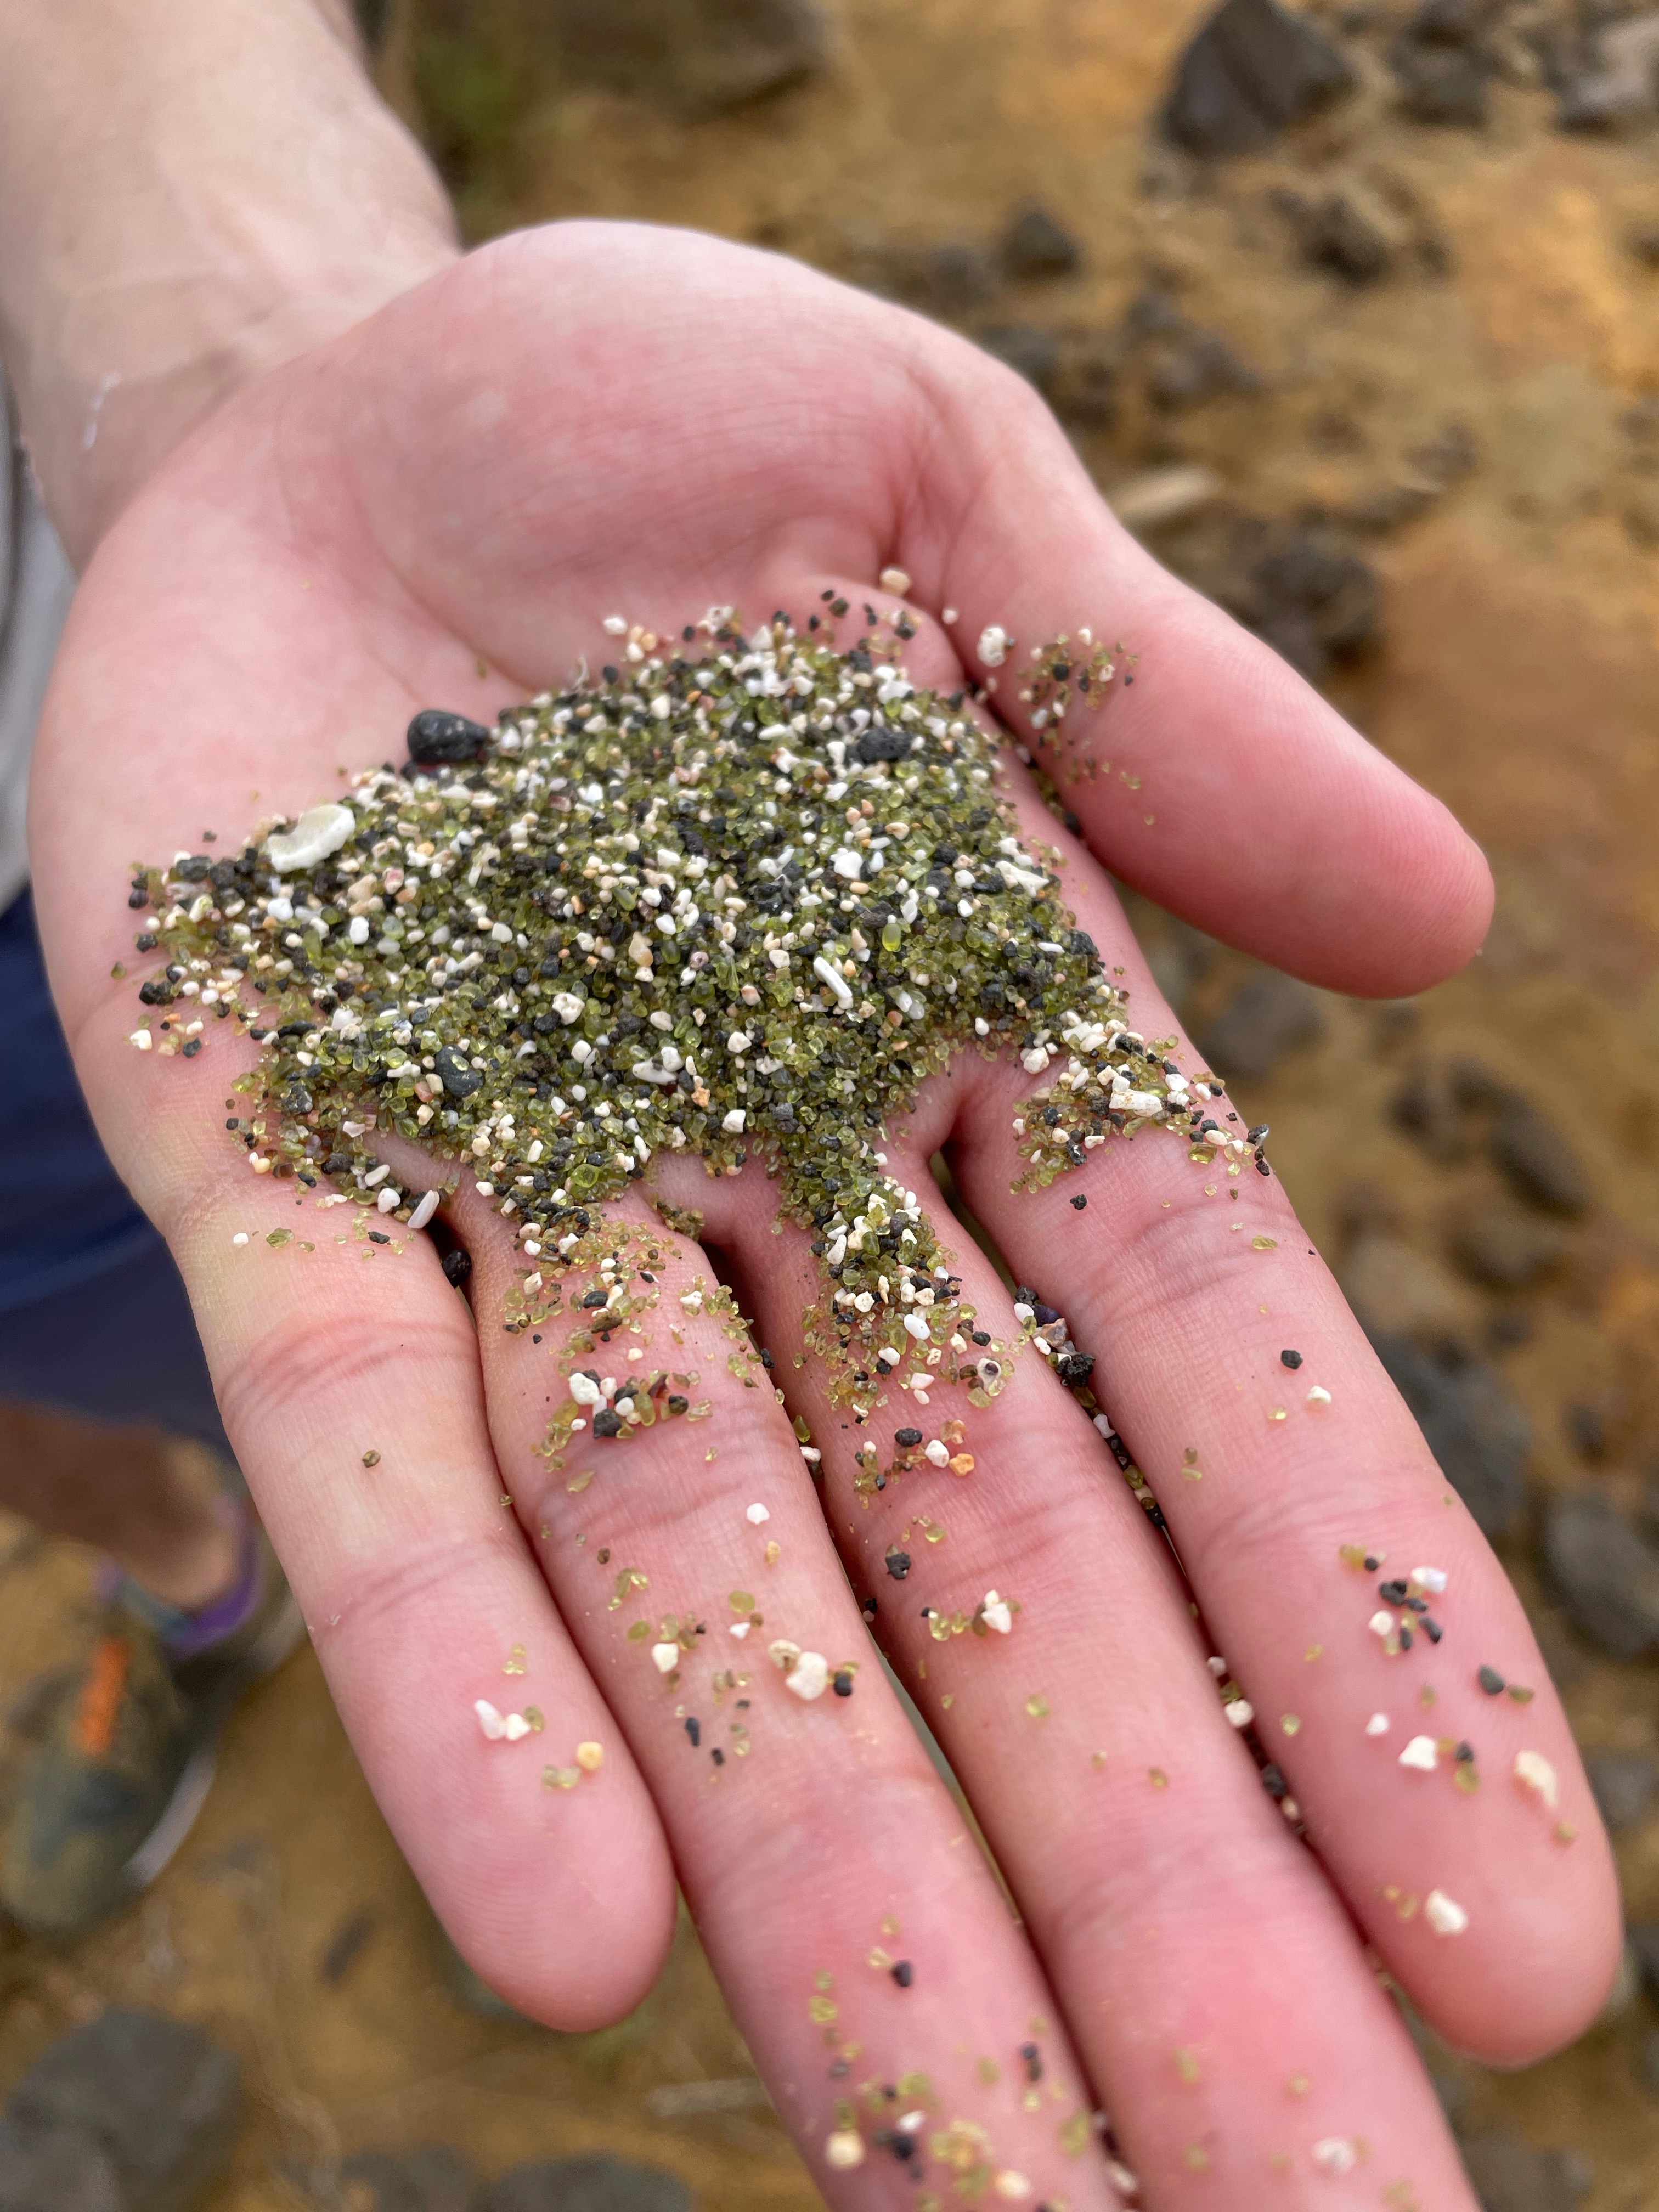
My mom loves beaches, so when deciding what we were going to do in Hawaii, I knew we needed to visit as many beaches as possible. I’ve never seen a beach that didn’t have the classic brown sand, so I needed to see what this magic green sand was. From researching, the green sand on the beach was formed from an eruption long ago that spewed olivine-rich lava, leading to the formation of olivine crystals. It’s only one of four green sand beaches existing in the world.

green sand close up

A lot of research I found said that driving to the beach is illegal, but I saw many trucks and vans transporting visitors from the parking area to the top of the cliff where you have to climb down to the beach. None of these trucks or vans sported any tourism group, so I assume it is illegal or frowned upon. I think the best way to respect the land and enjoy the experience is to hike it! Keep in mind that there are no facilities once you pass the parking area. 

The hike is relatively flat. I would rate it moderate since it is almost 6 miles round trip. Remember to bring your hiking essentials, but I cannot stress enough the importance of water! We passed many groups that didn’t bring any water at all. I definitely recommend getting there early to beat the rush and the sun.

Most of the hike to the beach is a fine, yellow sand, so be prepared to sink with each step and be absolutely filthy when you come back. There look like there are many trails, but don’t worry. All roads will lead you to the beach. If you’re unsure, stick to the trail closest to the water. You’ll also get the best views this way!

I wore my hiking sandals, Chacos (recent convert from double-strap toe-strap to single-strap no-toe), on the hike and had enough support and traction there and back. There’s a picnic table at the top of the beach that is a nice spot to rest and have a snack before or after you head down to the beach. Waves on the beach can be pretty rough, so beware if you’re going swimming. Don’t forget to take a closer look at the sand when you’re there. You’ll start to see flashes of it as you get closer on the hike.  

Big Island, Hawaii Vacation Itinerary (November 2021)

After almost 2 years of no traveling, we were finally able to book a family vacation to Hawaii. We booked a trip well in advance in April 2021 for travel in November 2021. We used Costco Travel to book one set of travelers from Arizona and then book plane tickets separately for travelers from Washington. Costco was extremely convenient as flights, hotel, and rental car were booked together. There were also additional perks such as gifts at the hotel, waived fees, and free parking. If you like an action packed vacation, try my itinerary and see my related posts!

Day 1 – Arrival Day:

Arrive in Kona

Dinner at Umeke’s Fish House (hot tip: get on the yelp waitlist in advance)

Walk to Keauhou Bay Beach Park

Day 2 – Kona Exploring:

Breakfast at hotel

Hooulu Community Farmer’s Market and Artisan Fair

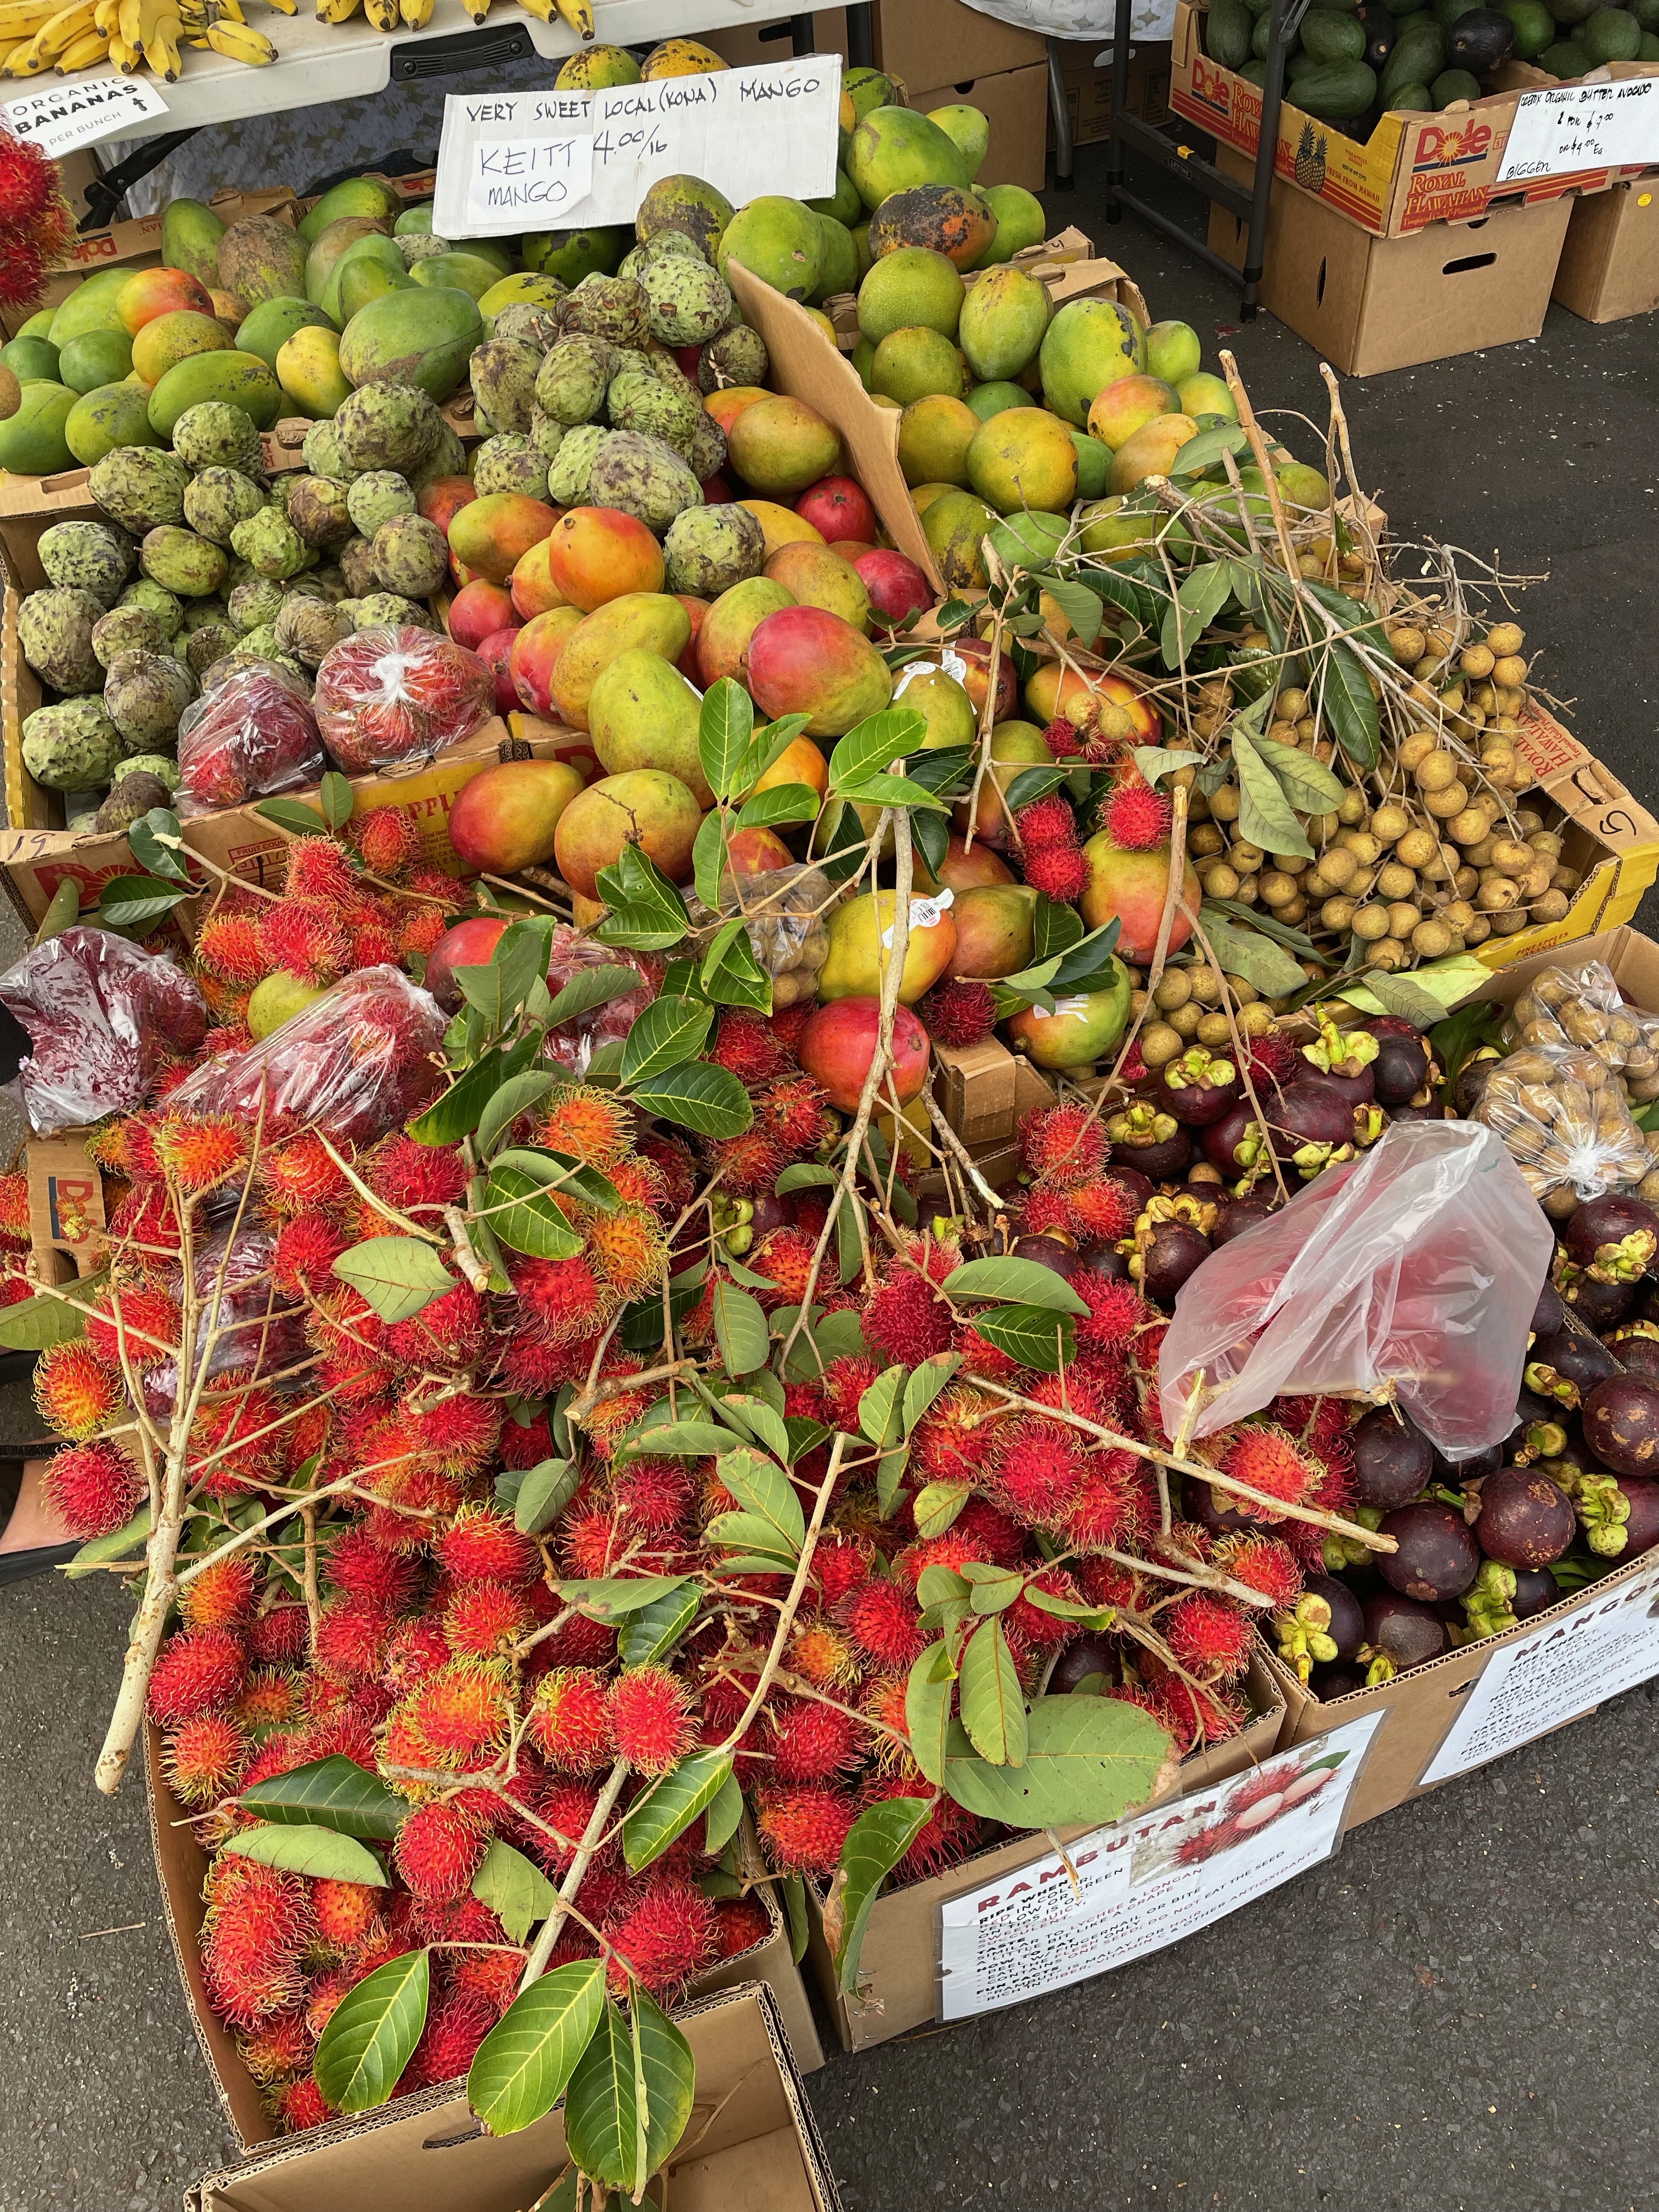
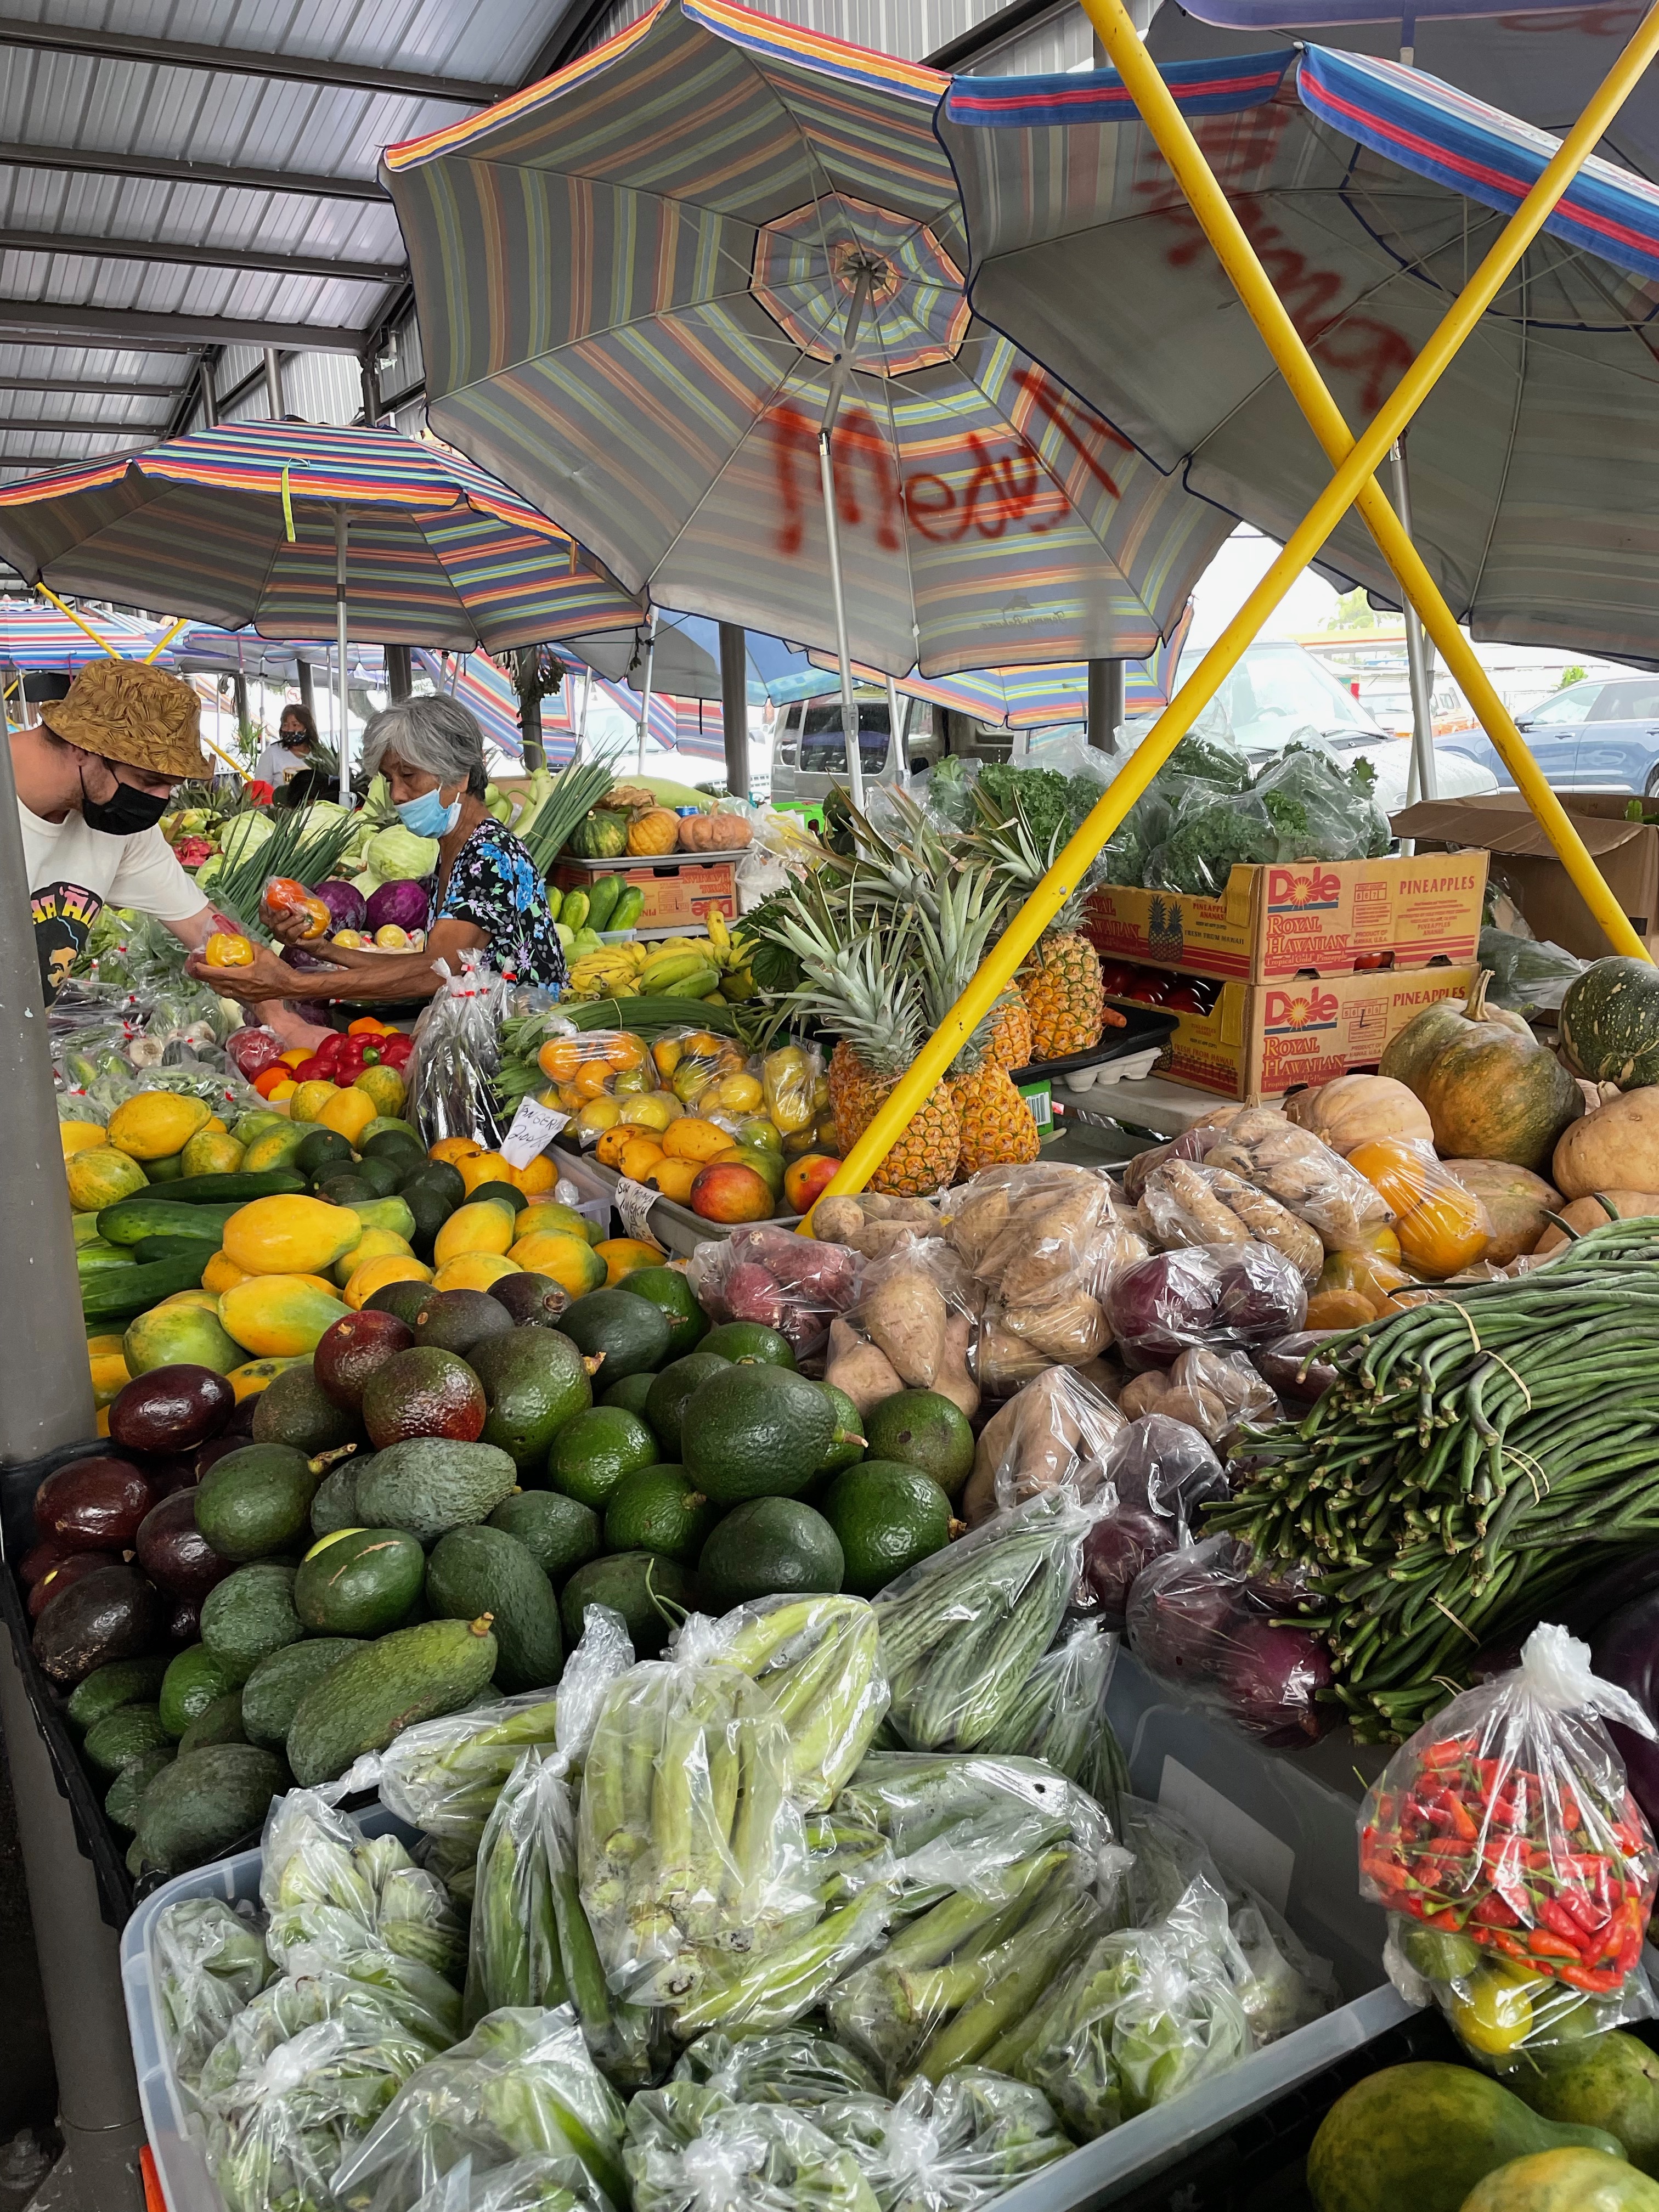
Lunch of fruits at the Kona Farmer’s Market

Snacks at Hawaii McDonald’s

Explore downtown Kona

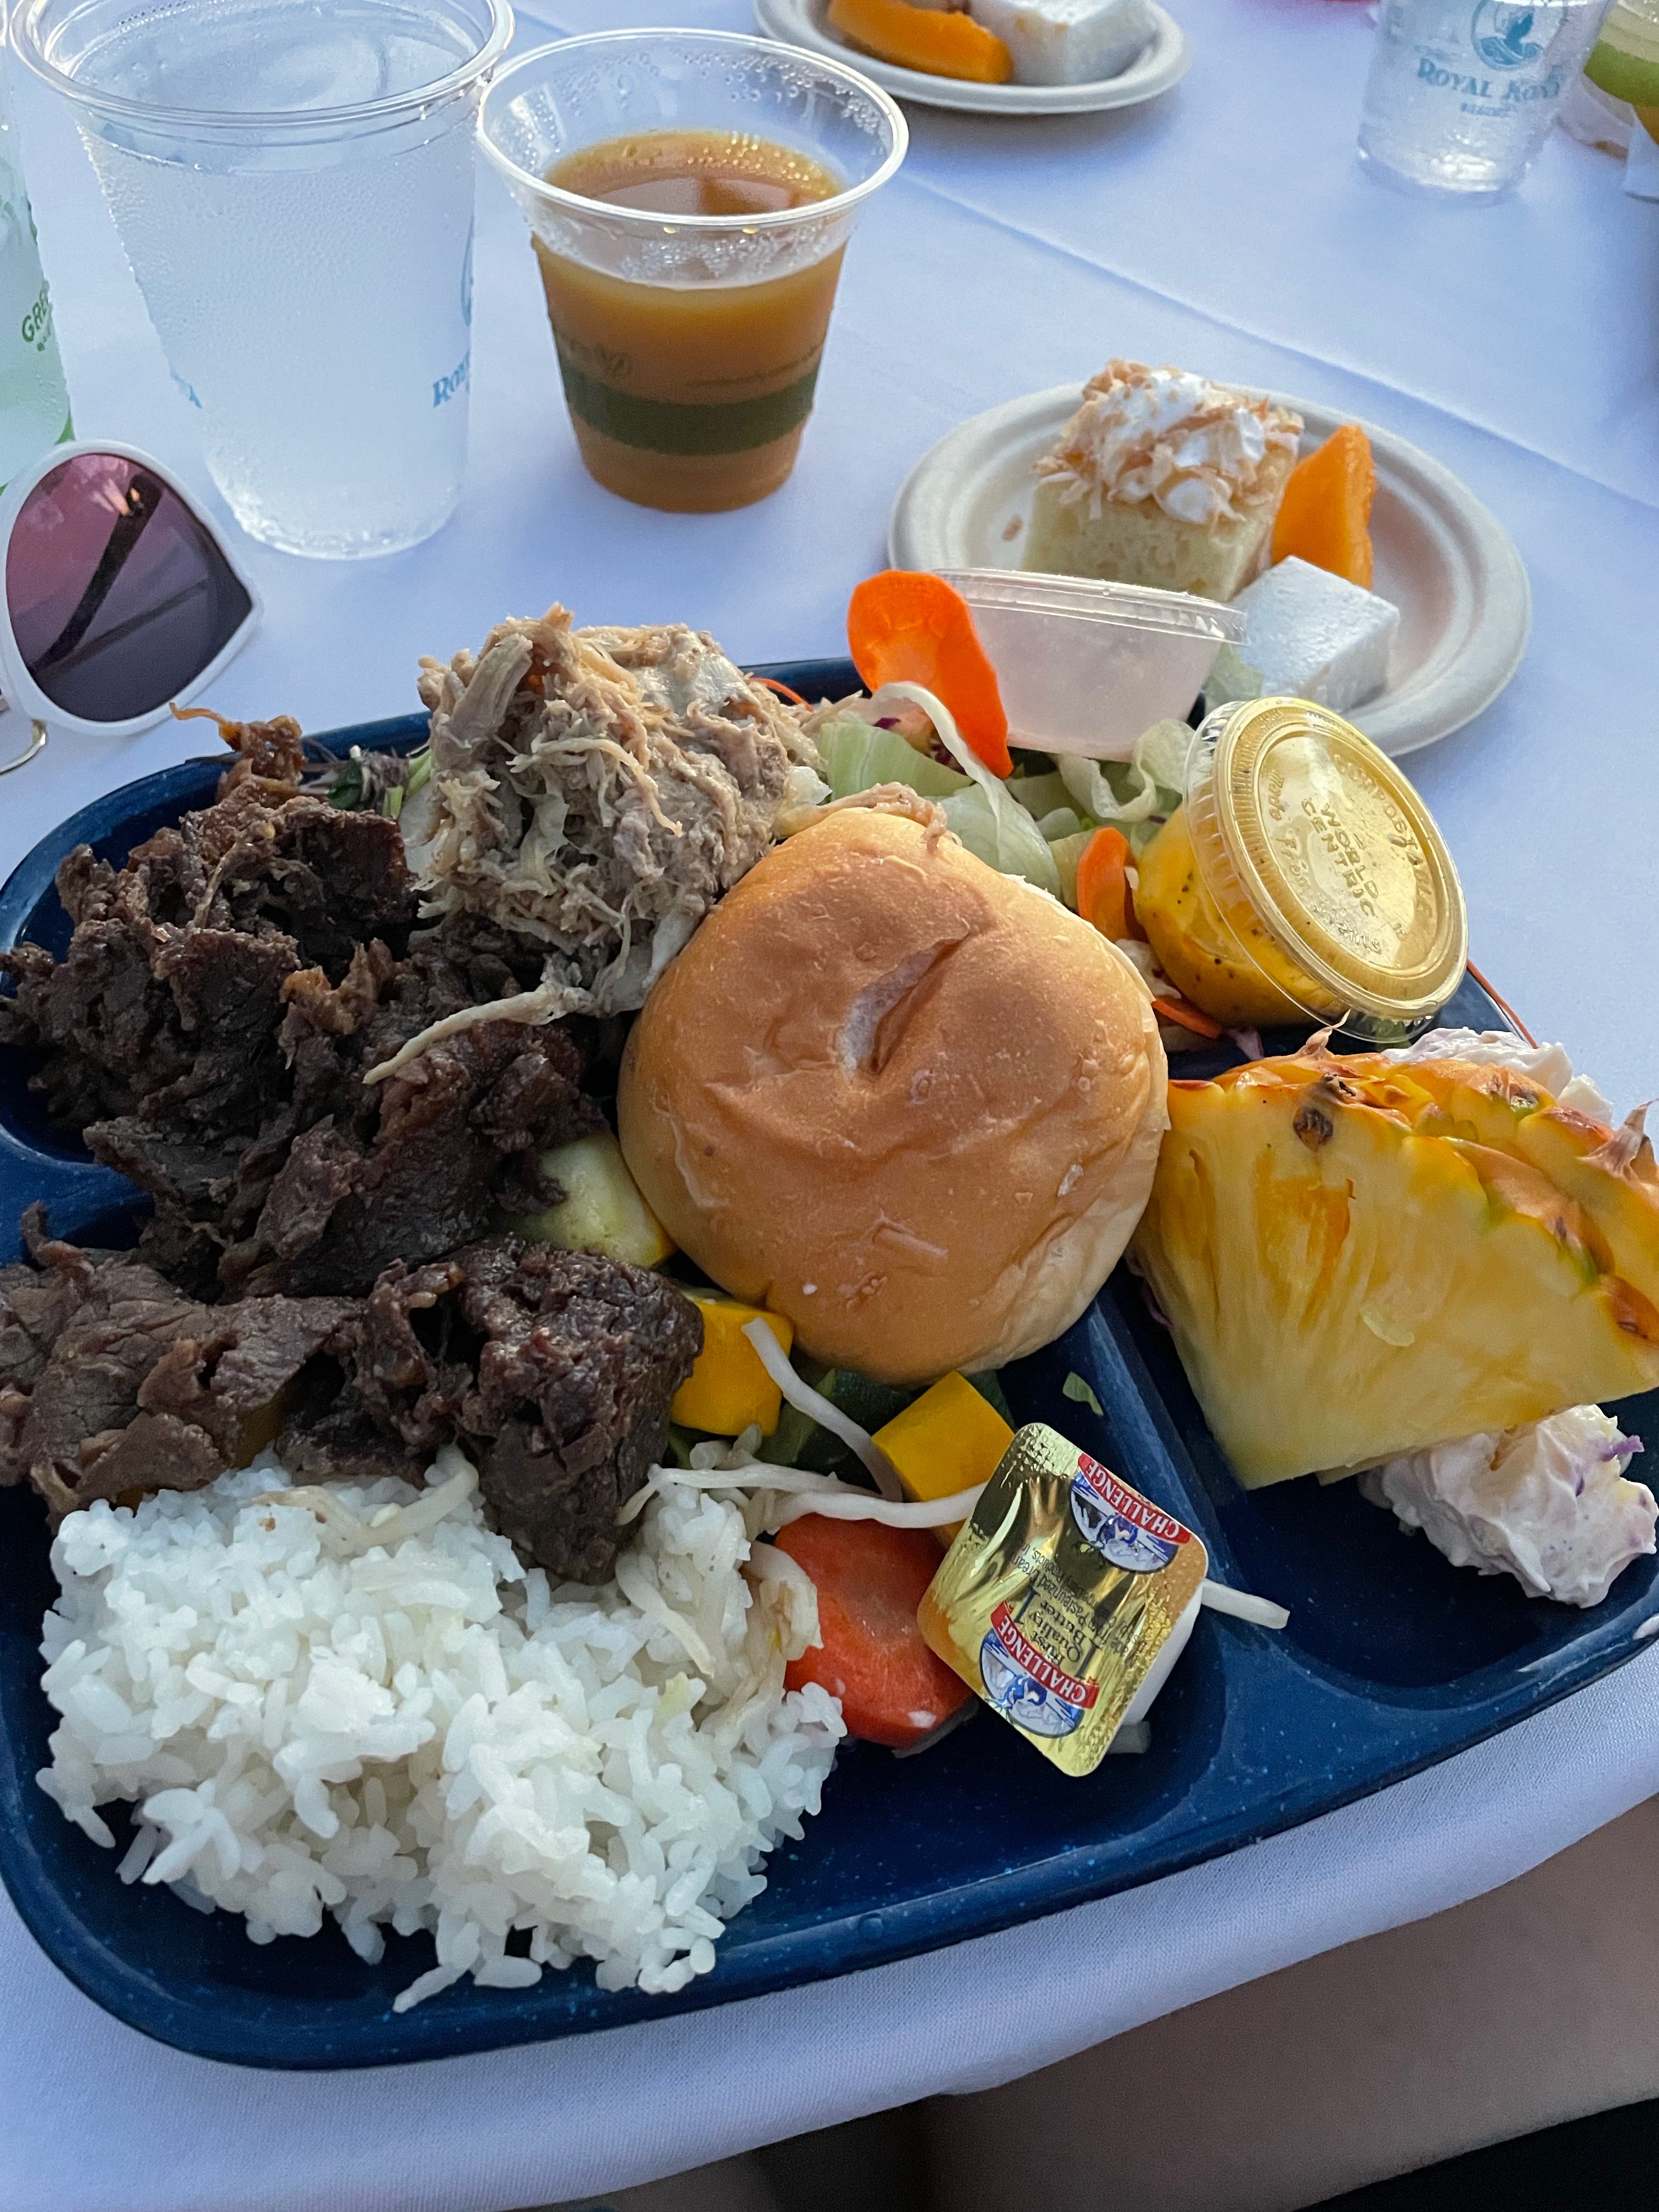
Voyagers of the Pacific Luau

Day 3 – Big Hike Day:

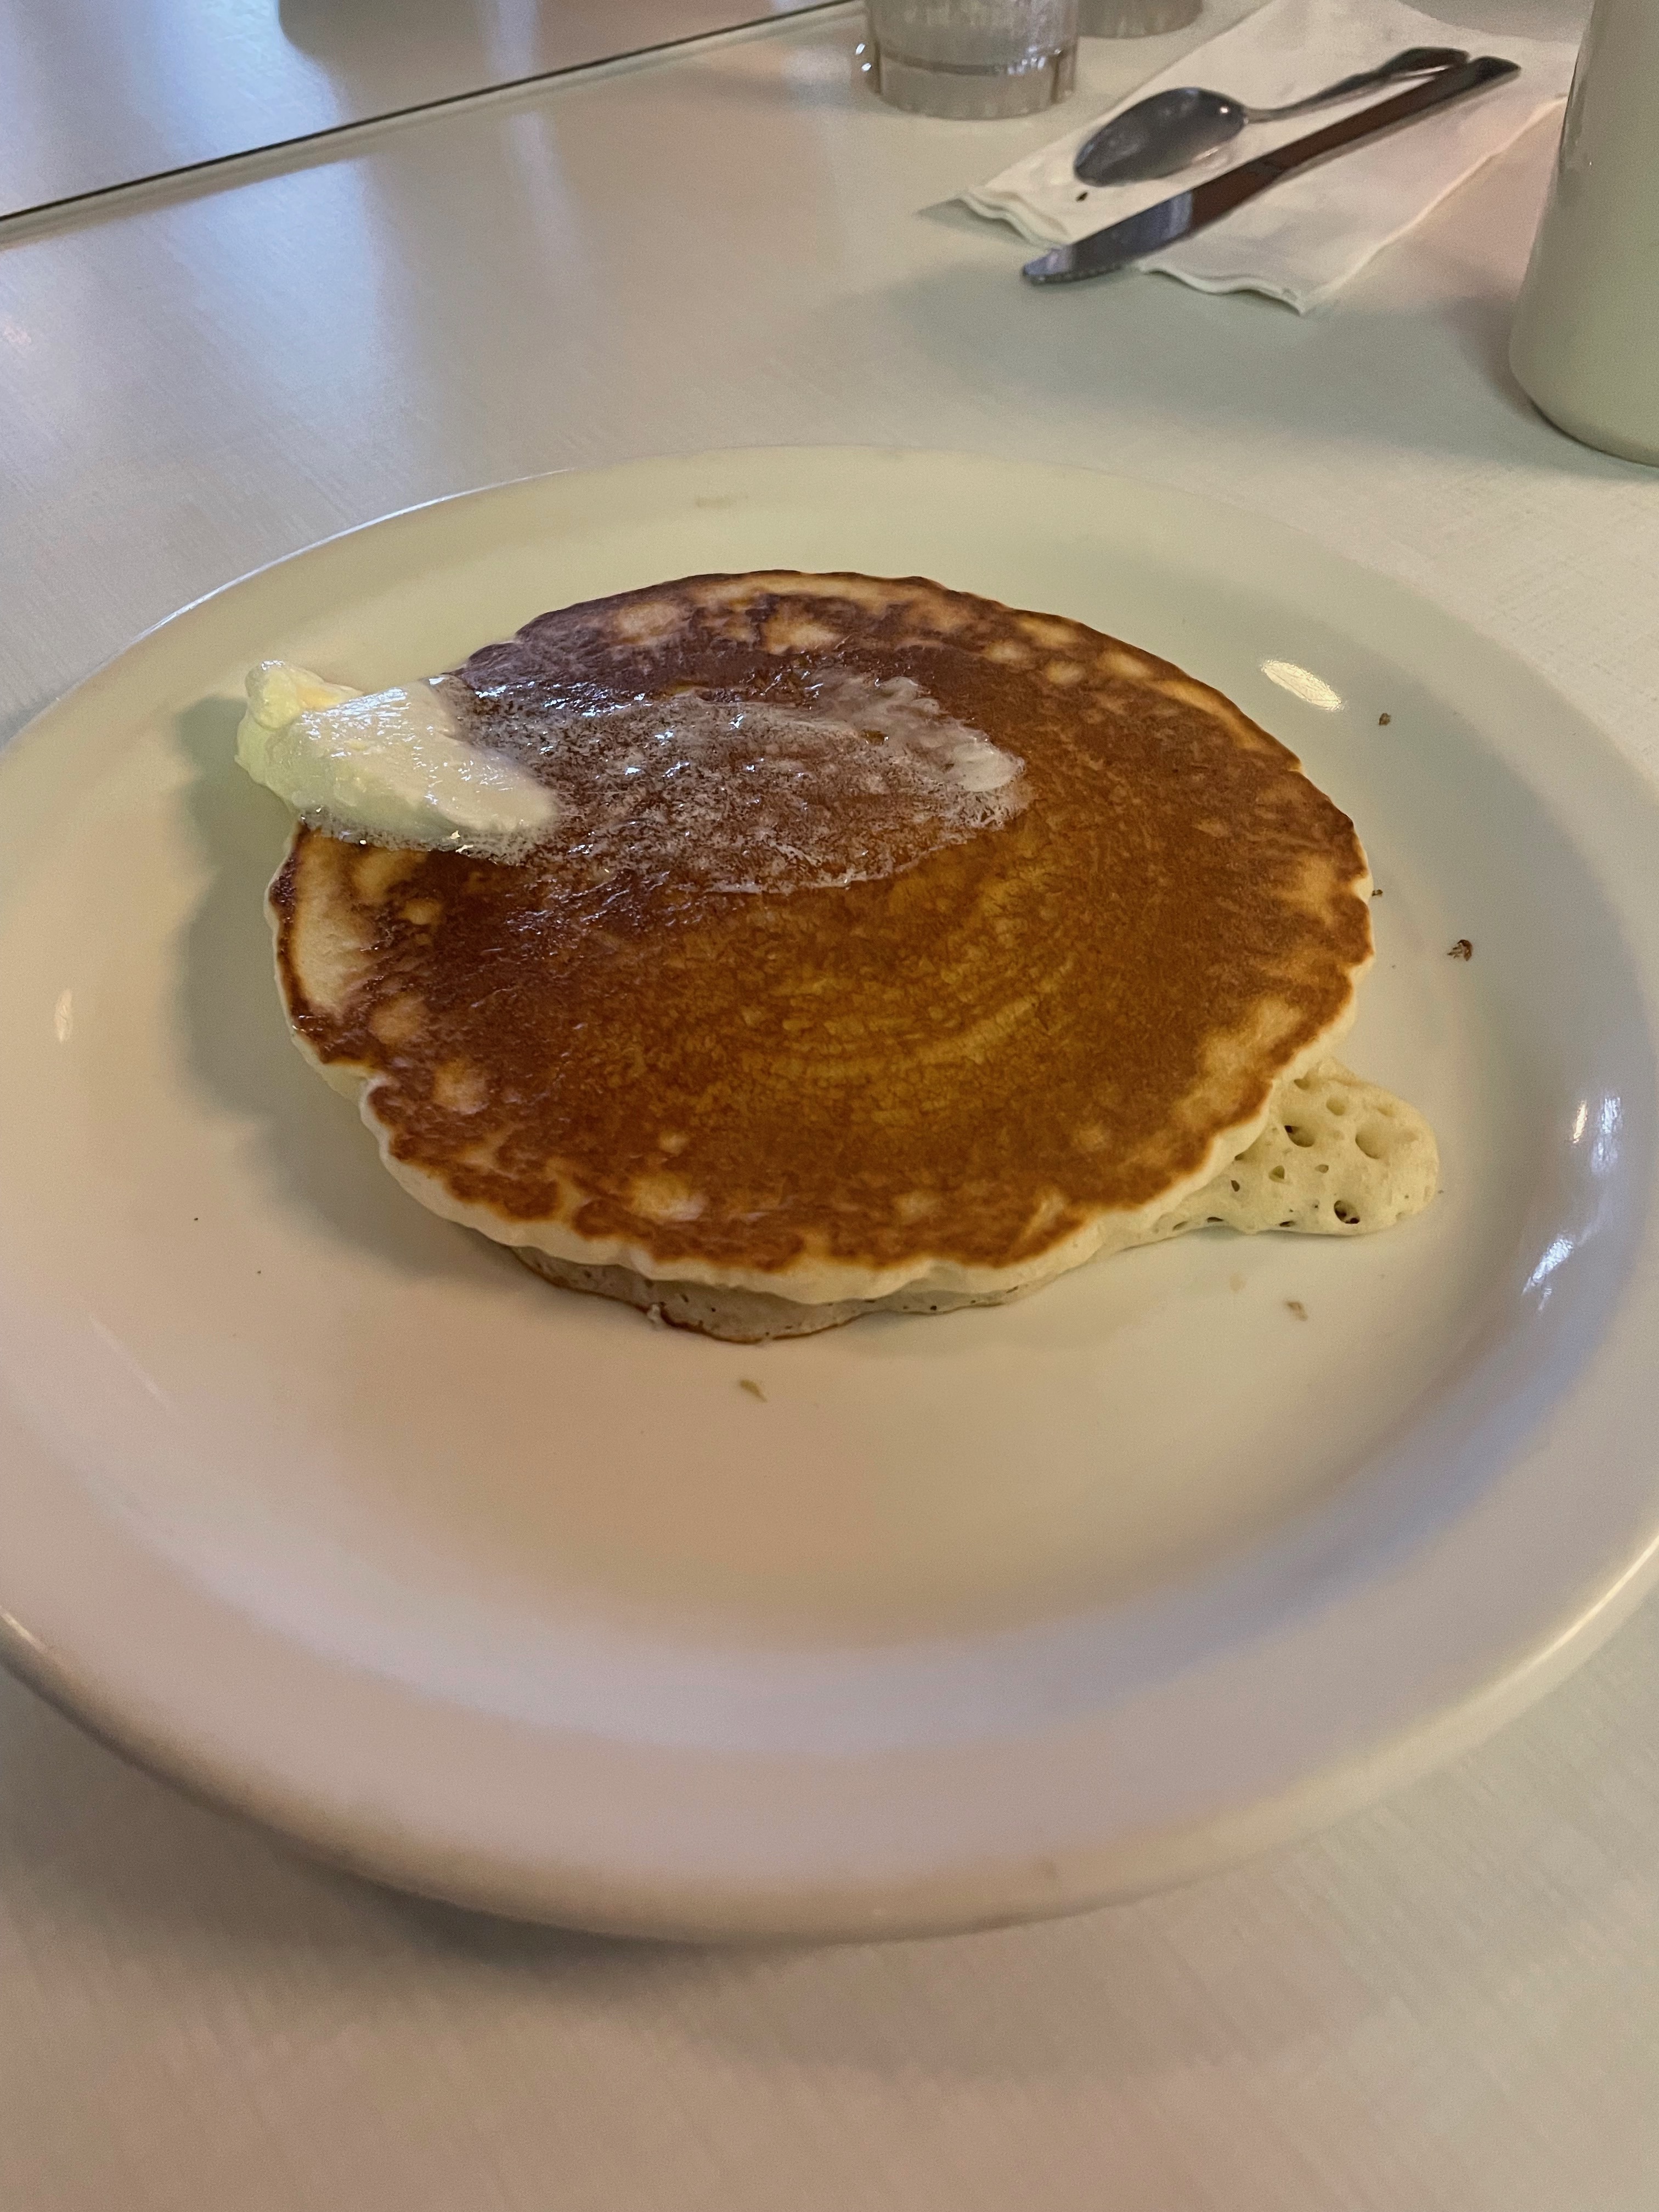
Breakfast at L&L Hawaiian BBQ

Hike Green Sand Beach/Papakōlea

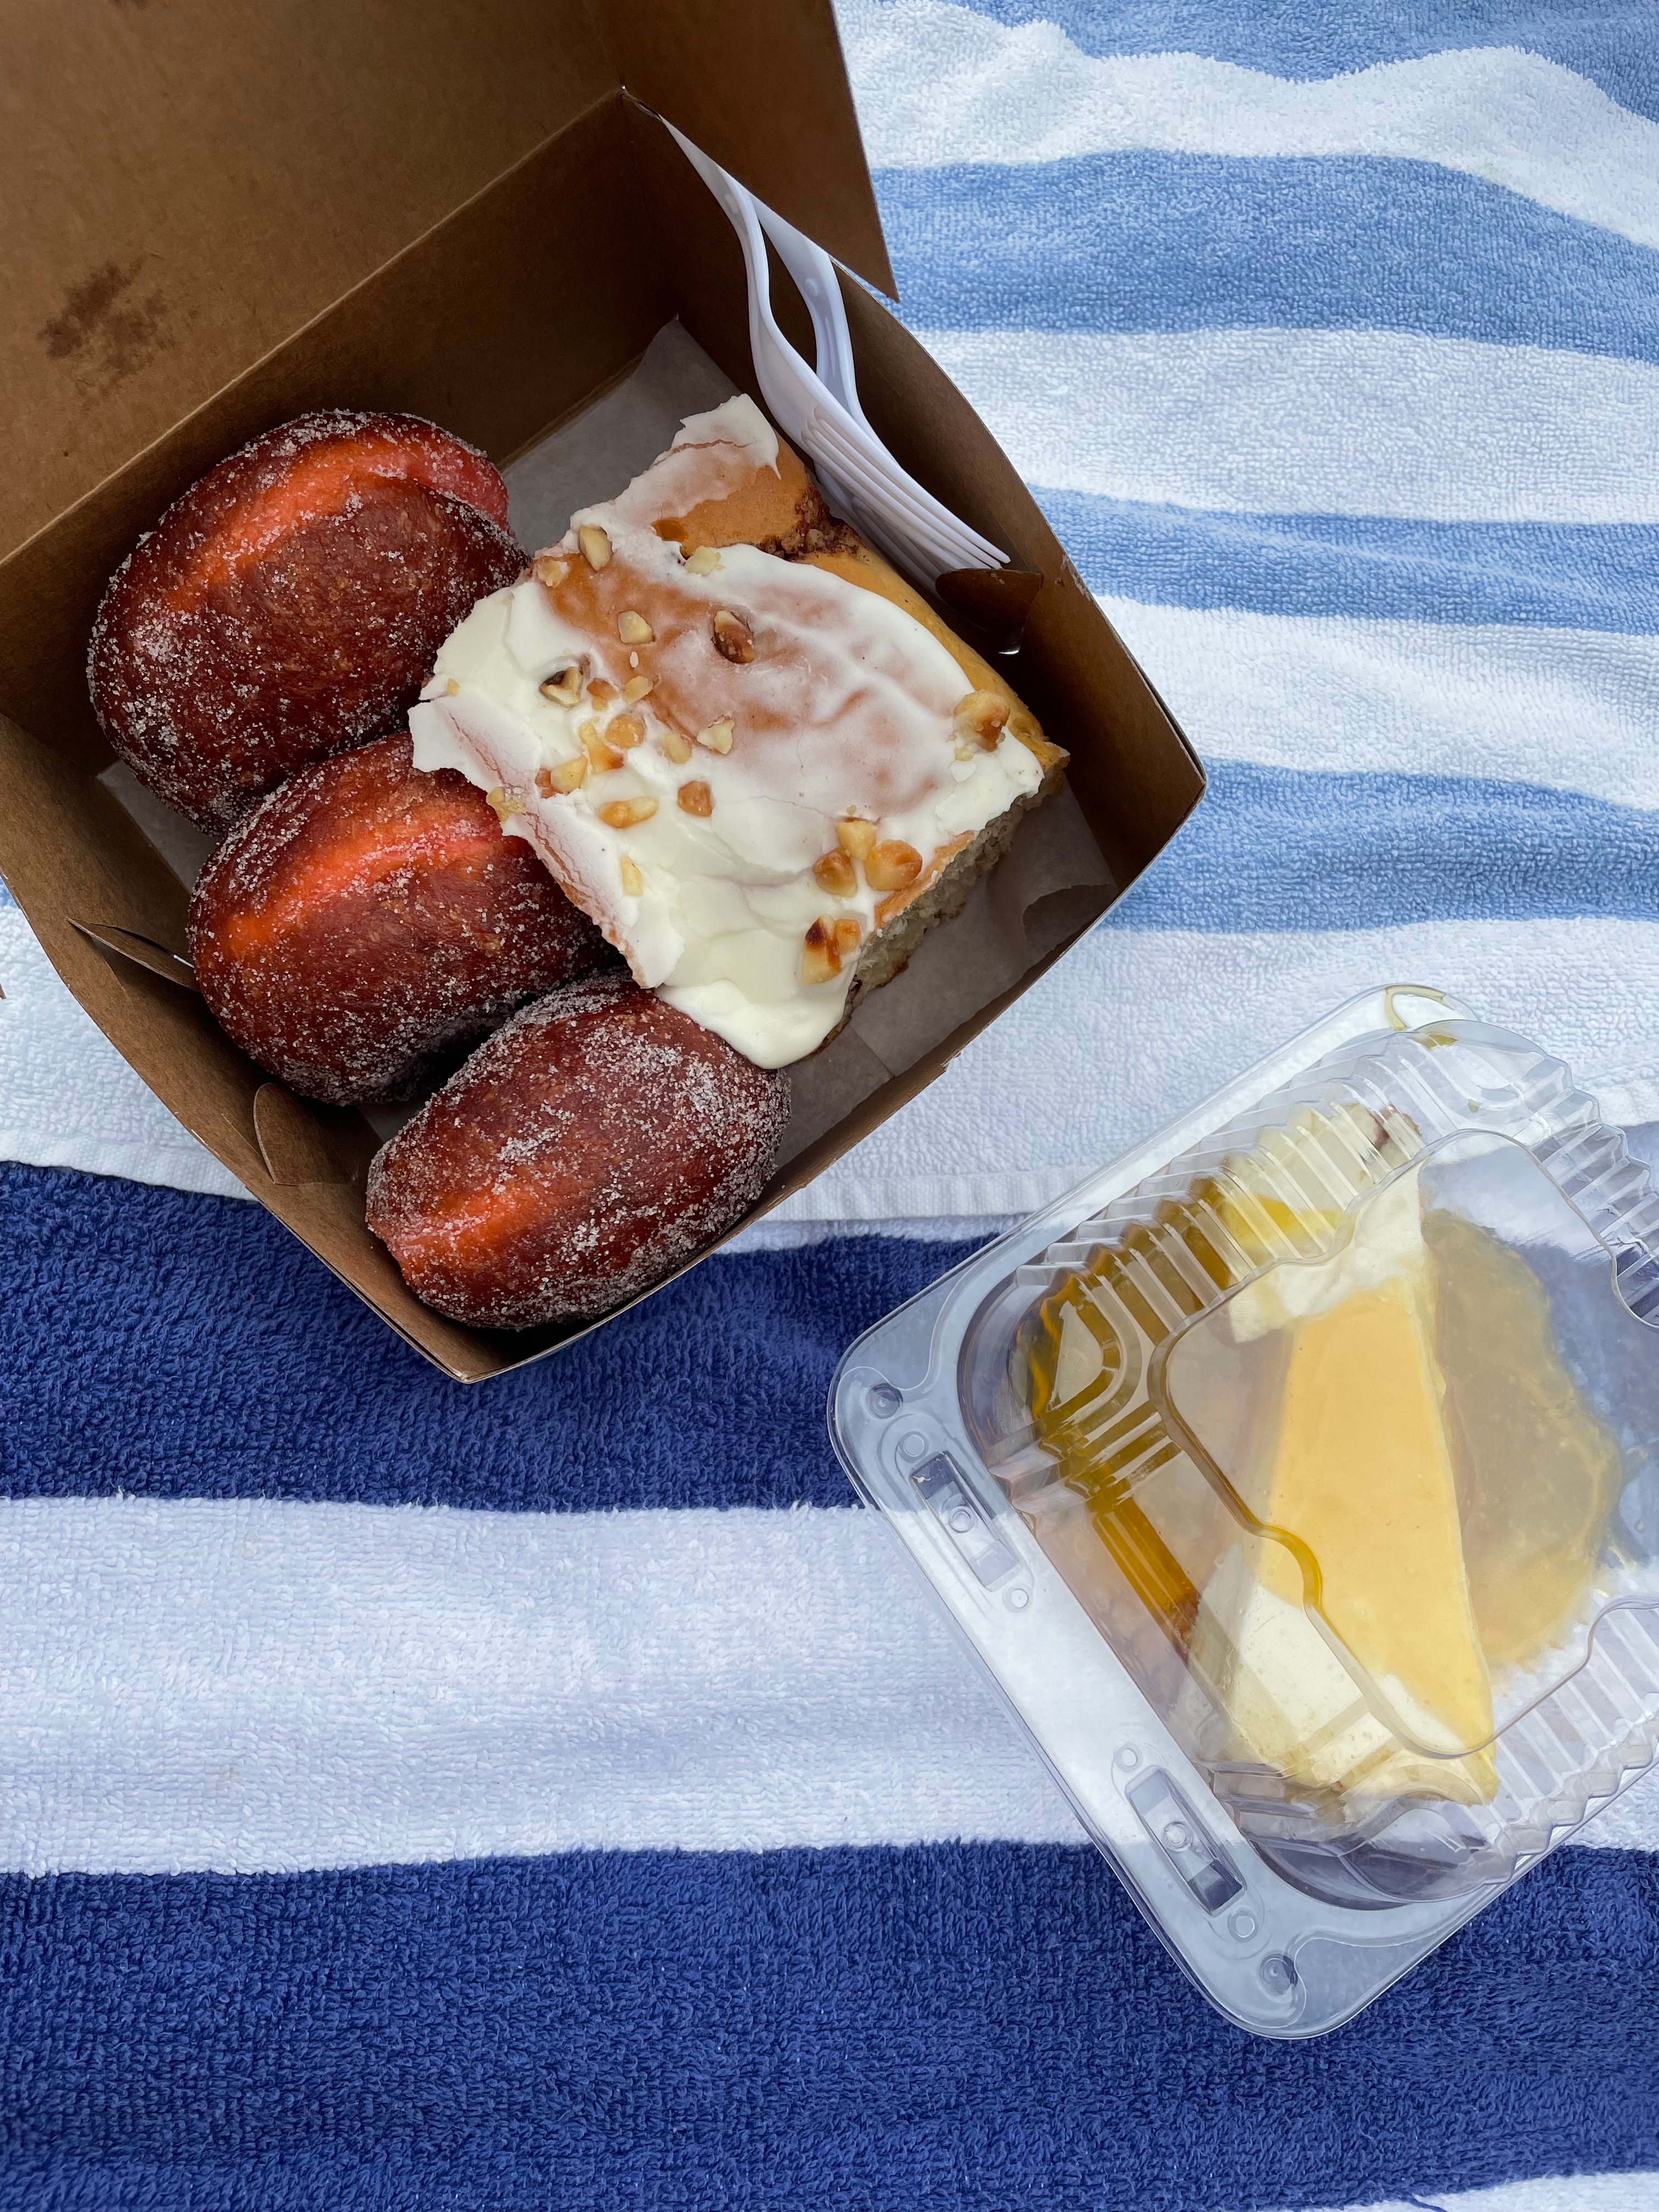
Lunch at Punalu’u Bake Shop

Explore Hawaii Volcanoes National Park, Thurston Lava Tube

Dinner at Ono Home Kitchen

Day 4 – Big Snorkel Day:

Breakfast at hotel

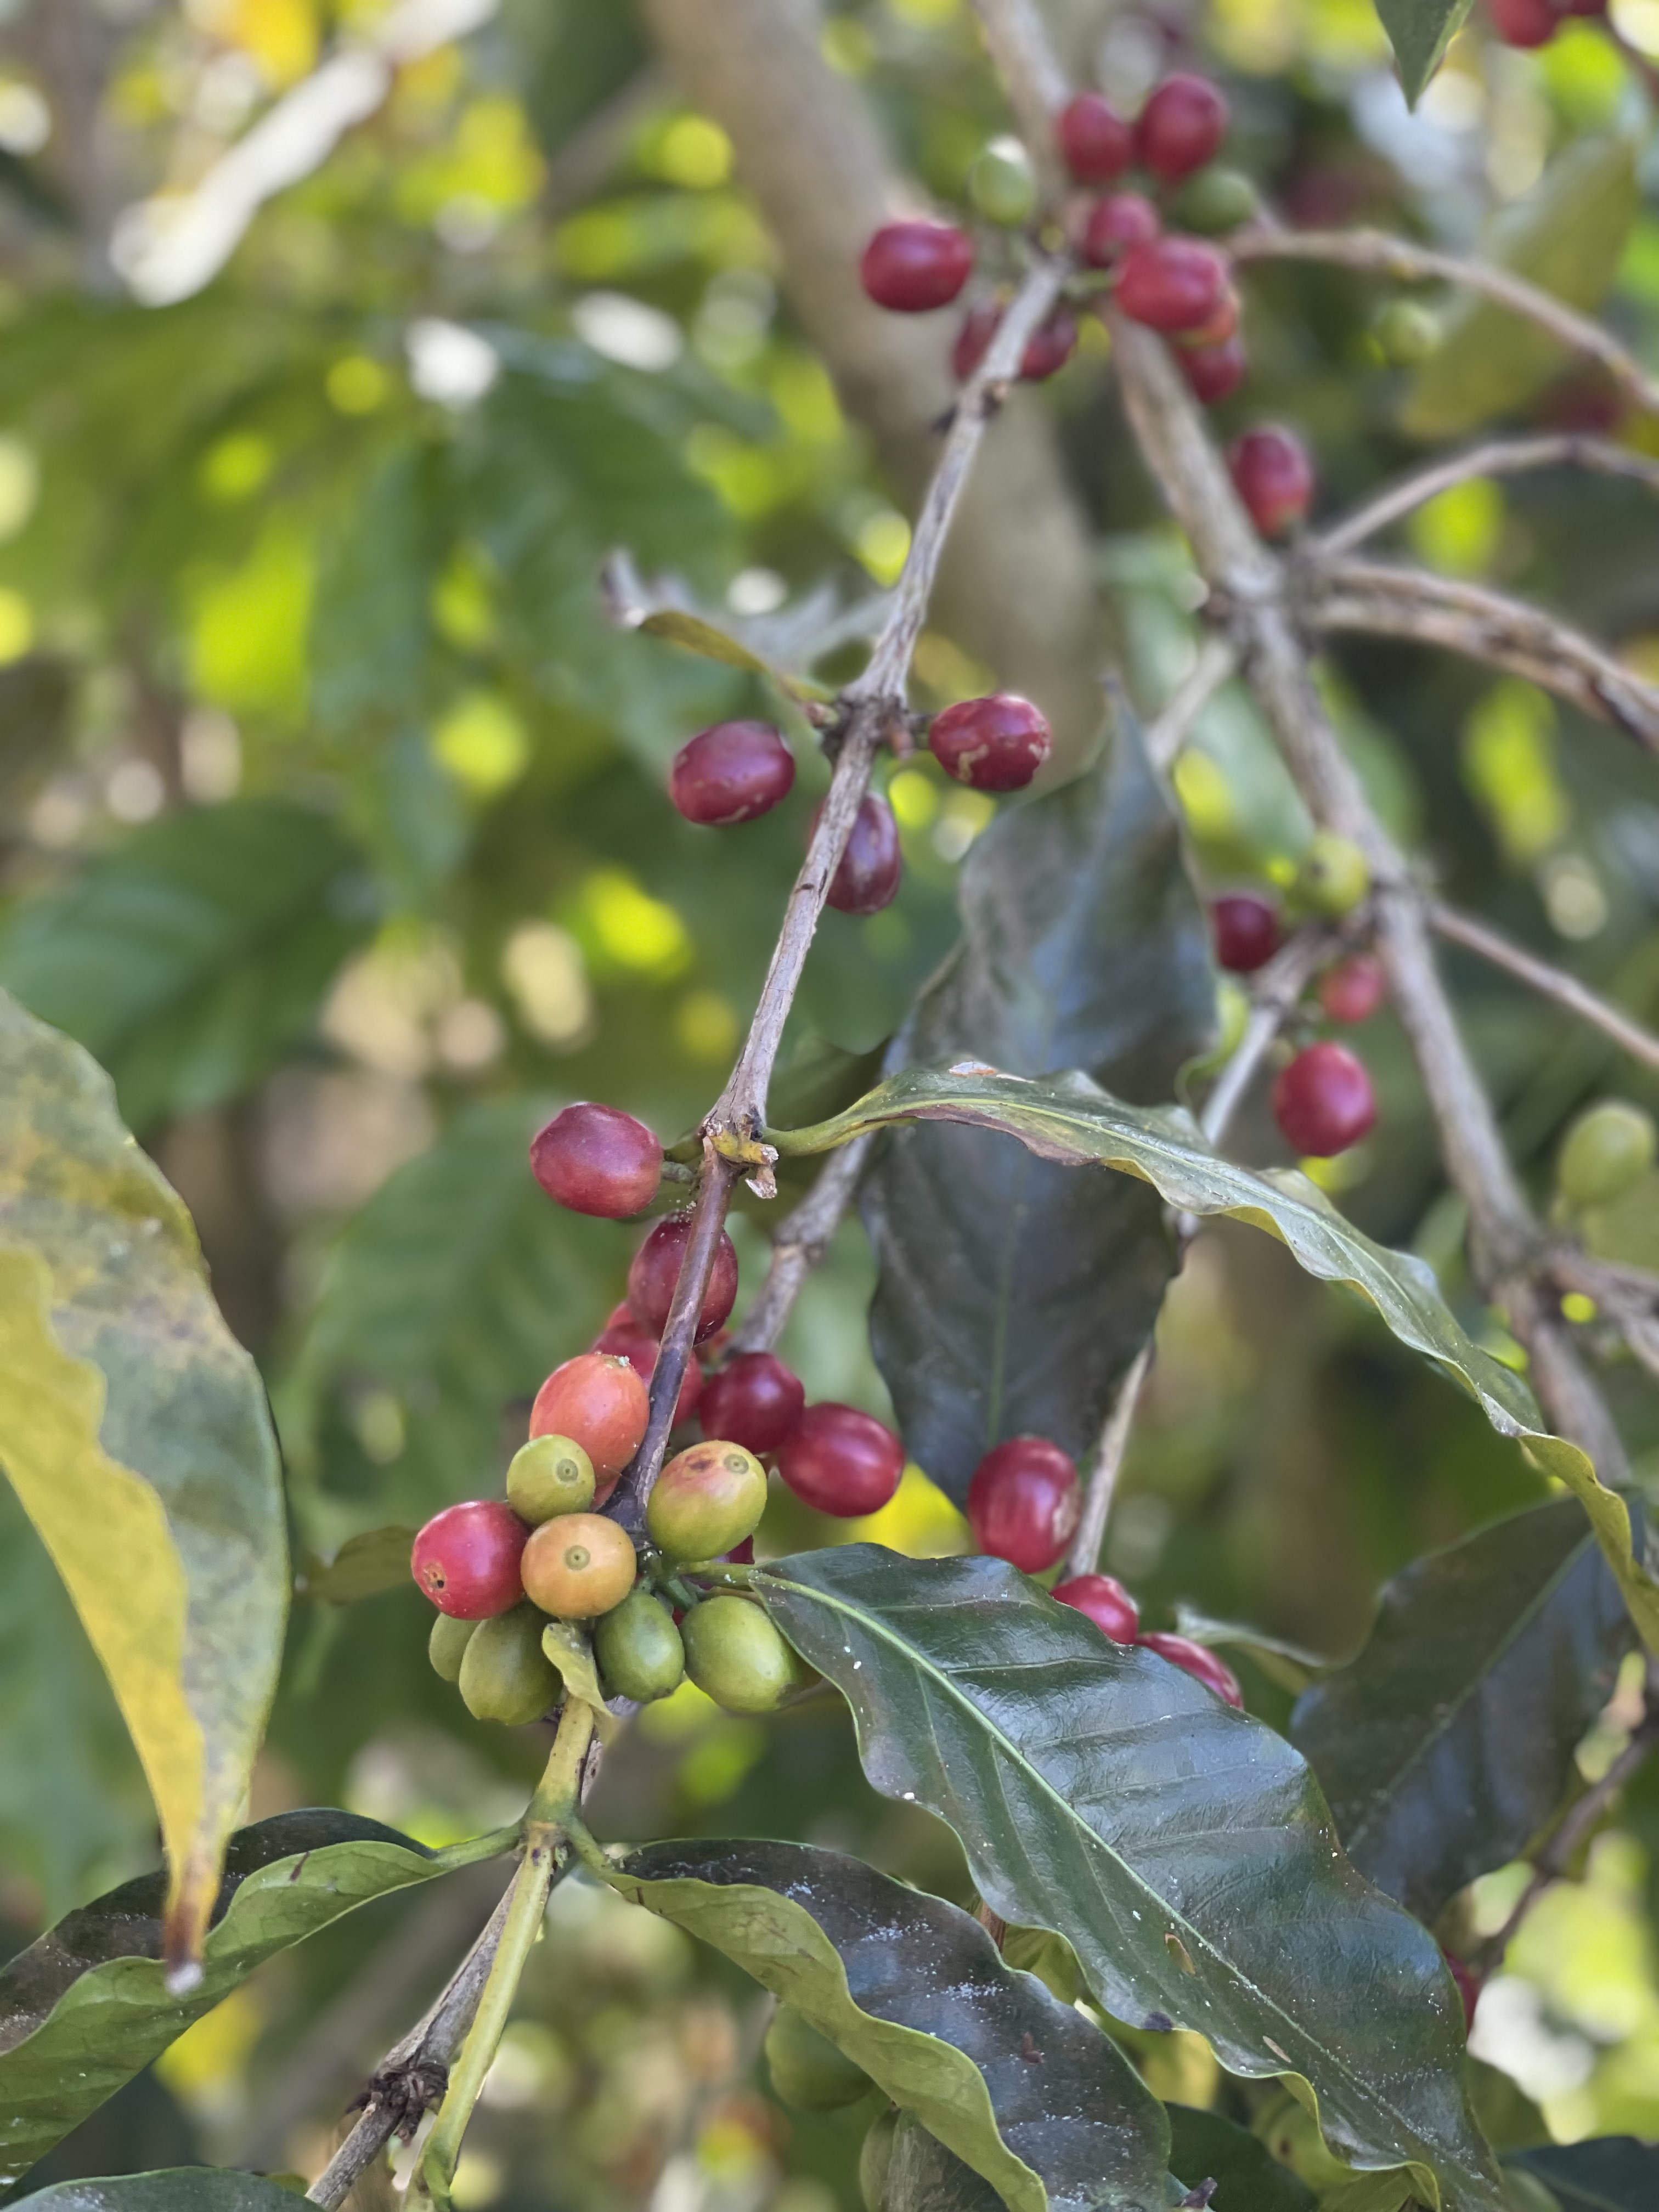
Heavenly Hawaiian Kona Coffee Farm Tour

Snorkeling at Two Step Beach

Lunch at Big Jake’s BBQ and Honaunau Poke Shop

Hike and snorkel at Captain Cook National Monument

Dinner at Food Truck Friday in Kona

Day 5 – Hilo Exploring:

Breakfast at 808 Grindz Cafe

Explore Kaumana Caves and Rainbow Falls

Fruit at the Kona Farmer’s Market

Lunch at Pineapples Restaurant Hilo

Check out the Waipio Valley Lookout

Dinner at Foster’s Kitchen

Day 6 – Relaxation Day:

Brunch at Teshima Restaurant

Activities at the hotel – paddle boarding, yoga, lei koko making

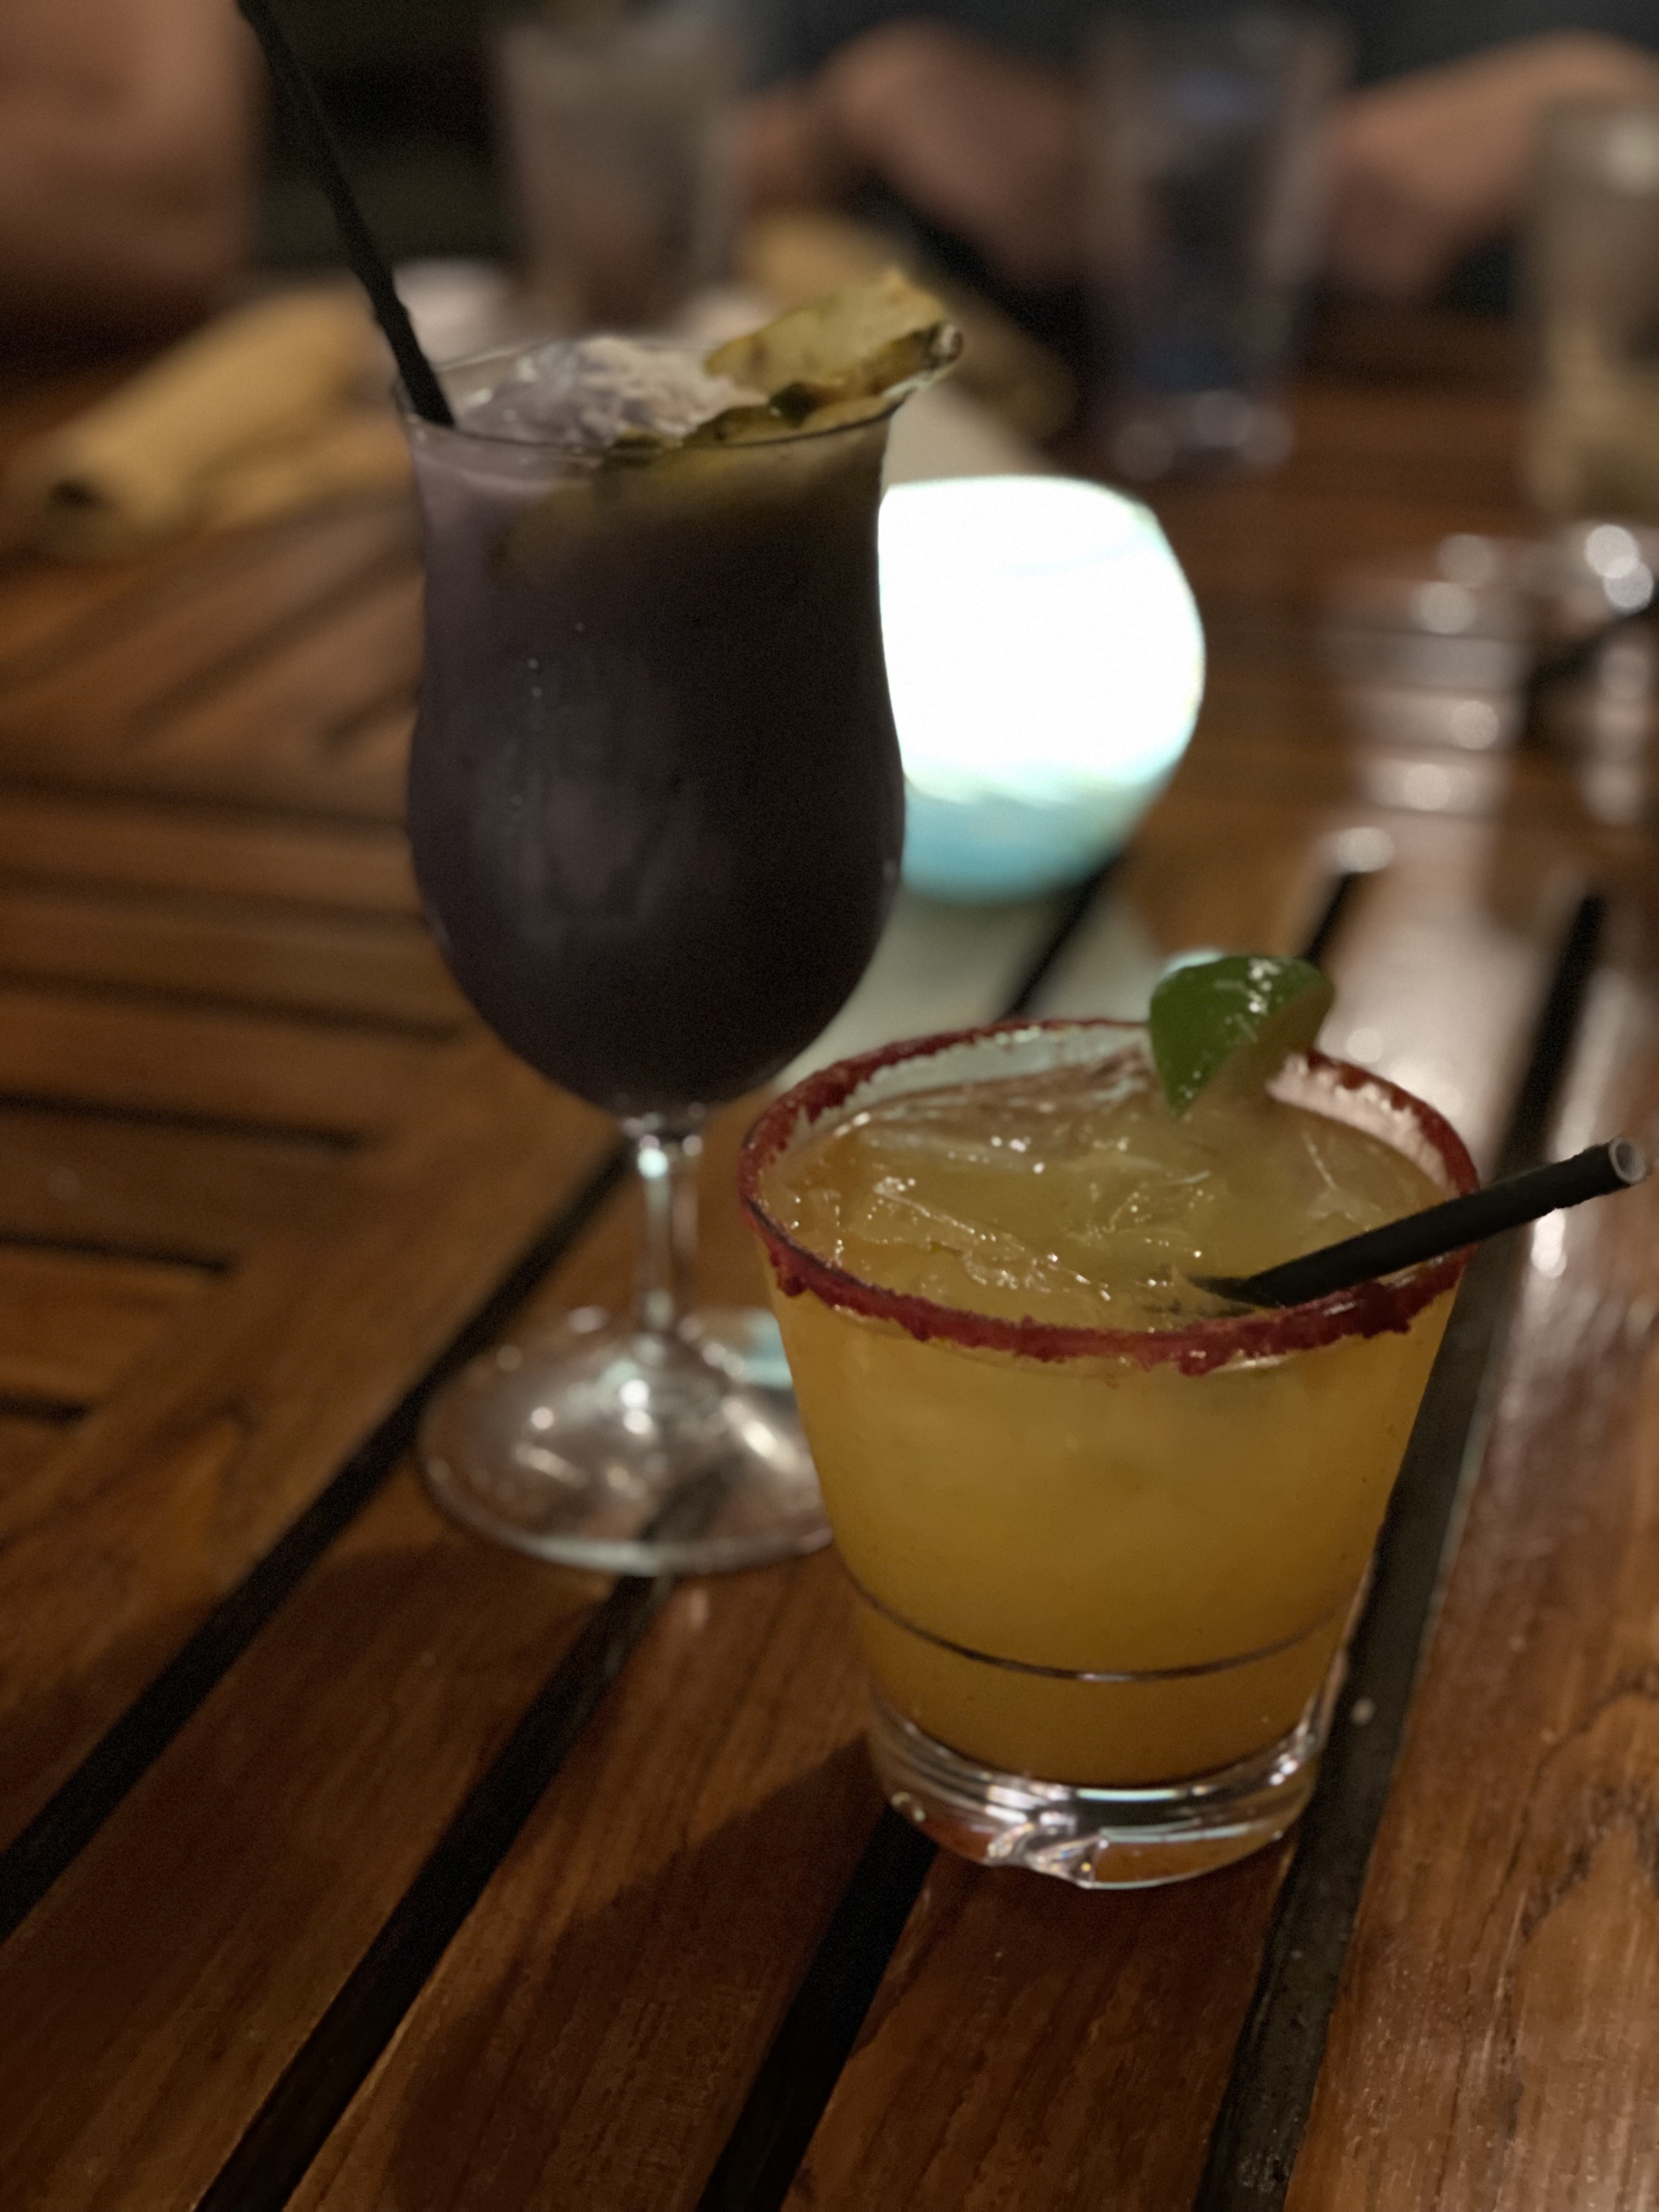
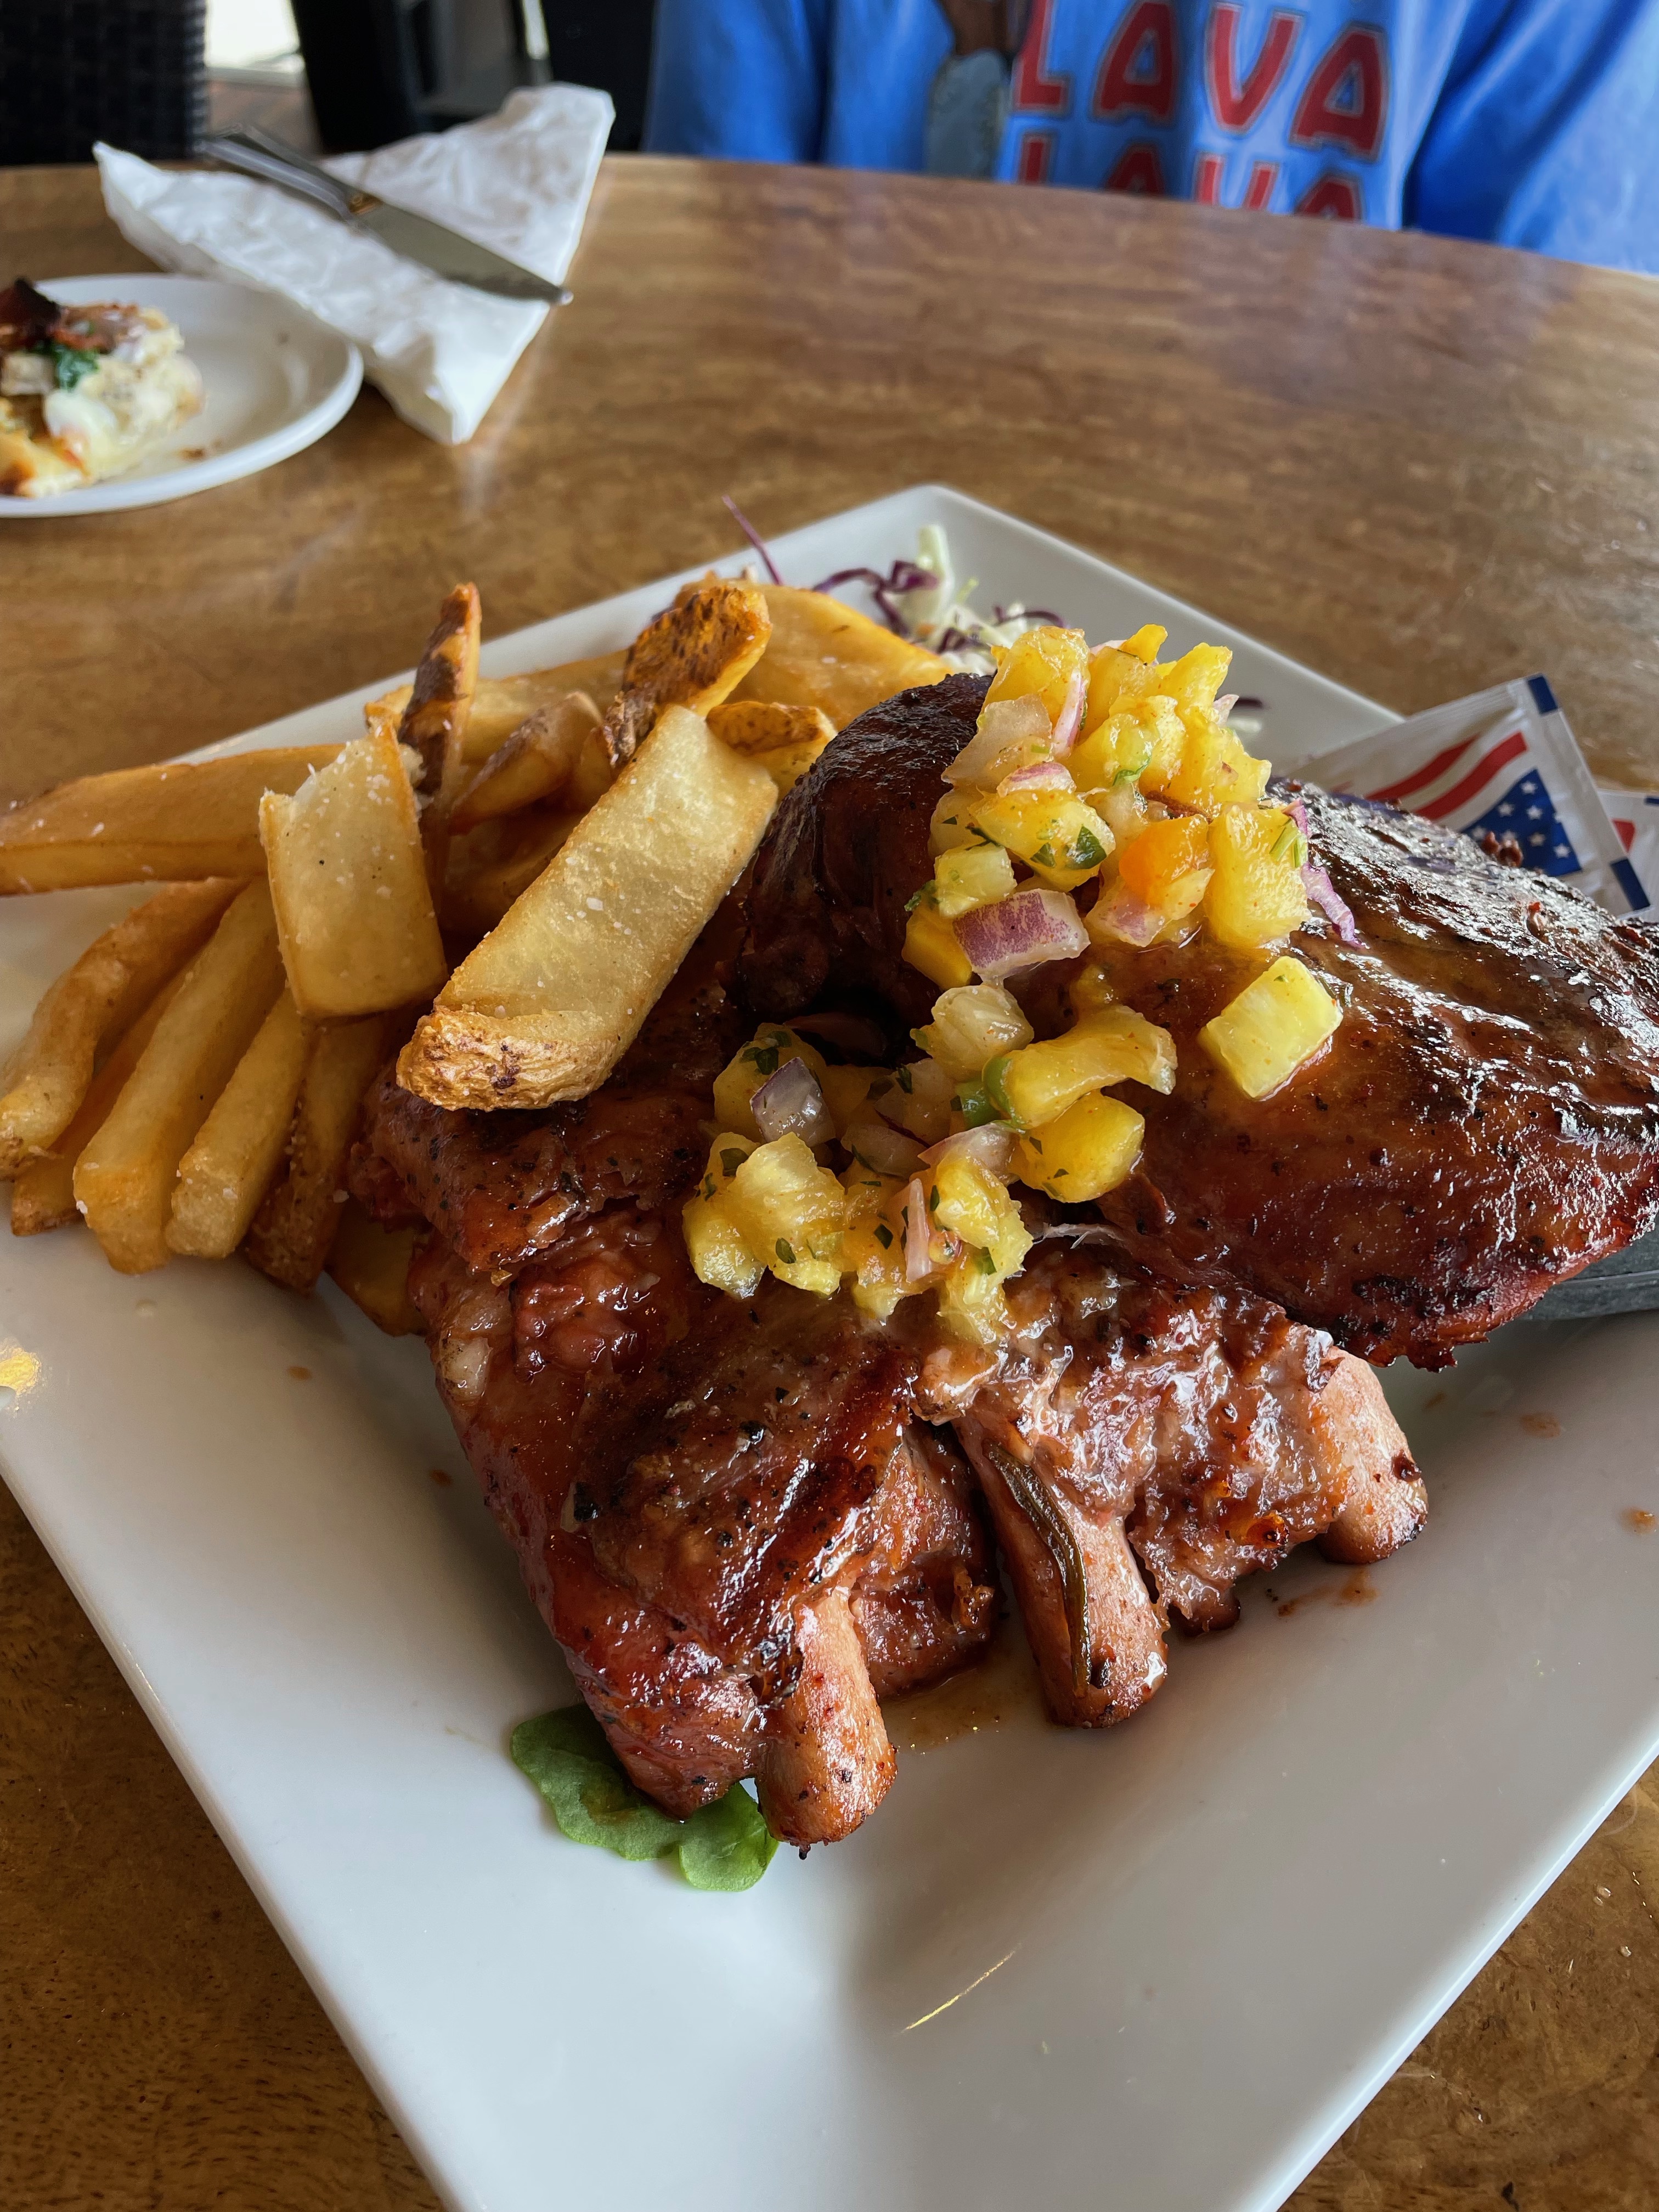
Dinner at Lava Lava Beach Club

Day 7 – Departure Day:

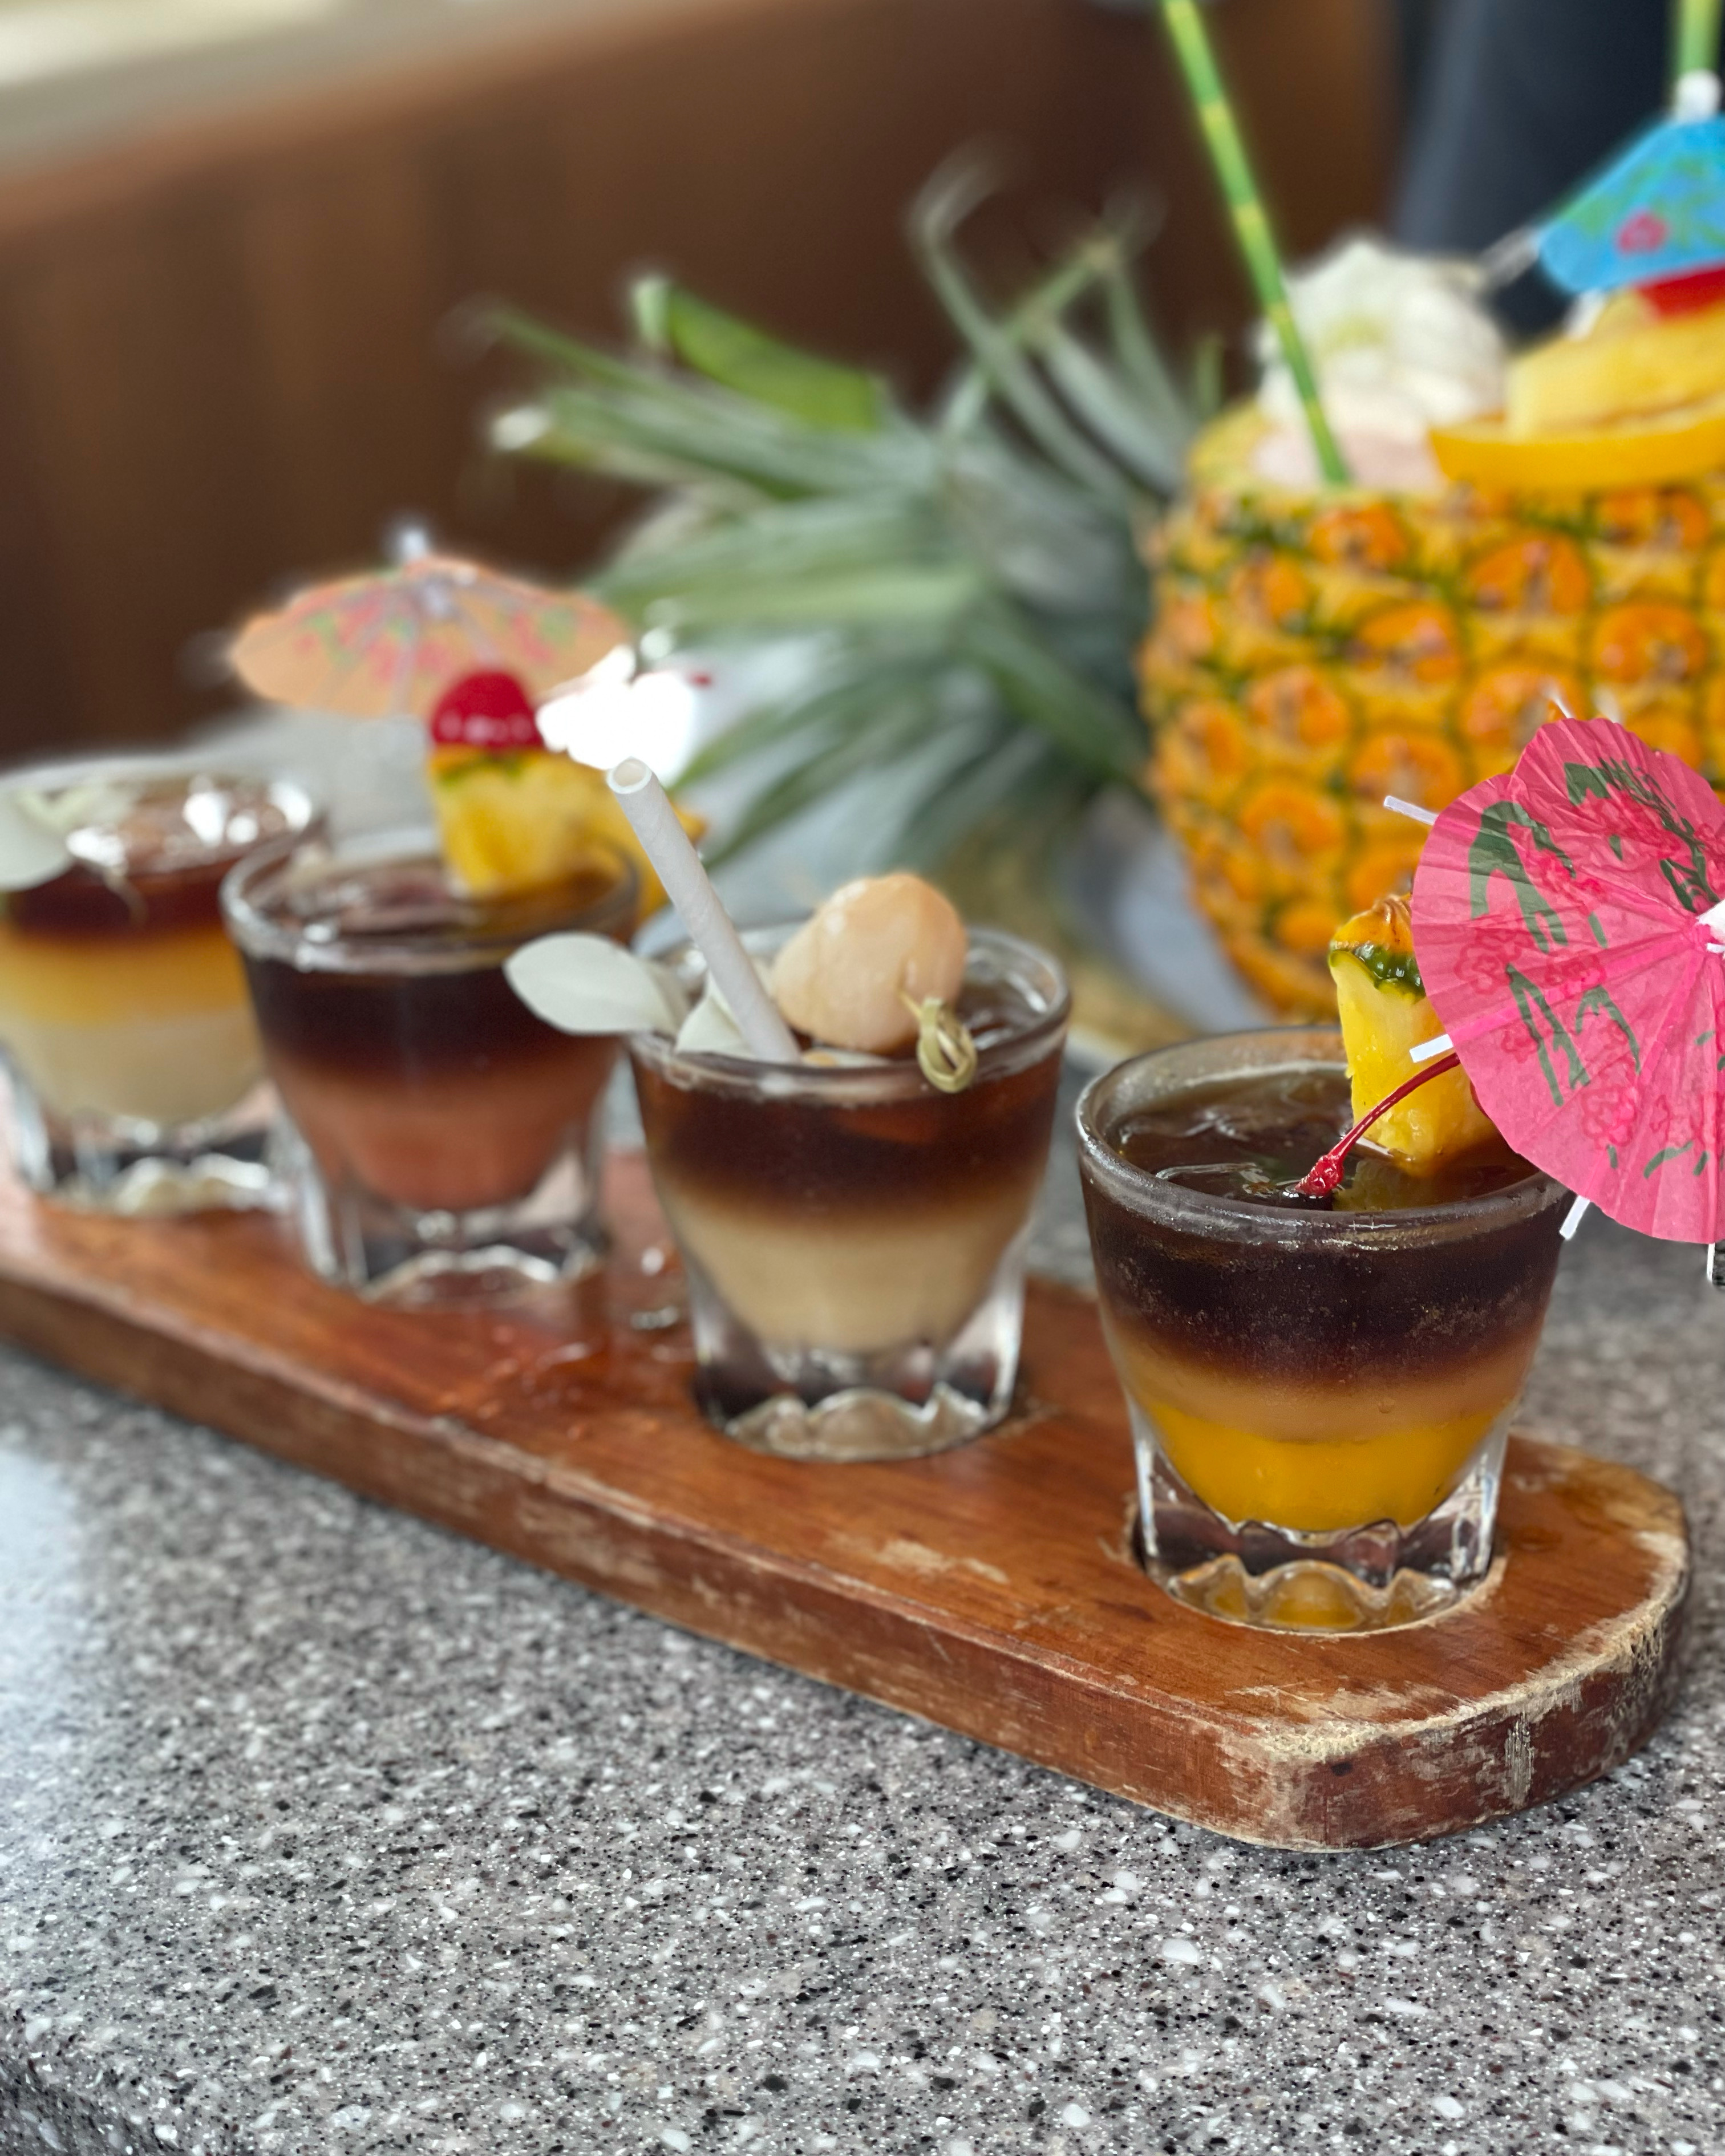
Brunch at Island Lava Java

Explored Mauna Kea Visitor’s Center

Depart Kona