Winter is citrus season so I’m pounding down oranges and pomelos while they’re in their peak sweetness. I swear, the best citrus comes from a backyard, especially my parents’ backyard! Their honey and pink pomelos are insane. If I’m at the grocery store, I’ll rely on some sumo oranges since they’re still easy to peel, sweet, and not too acidic.
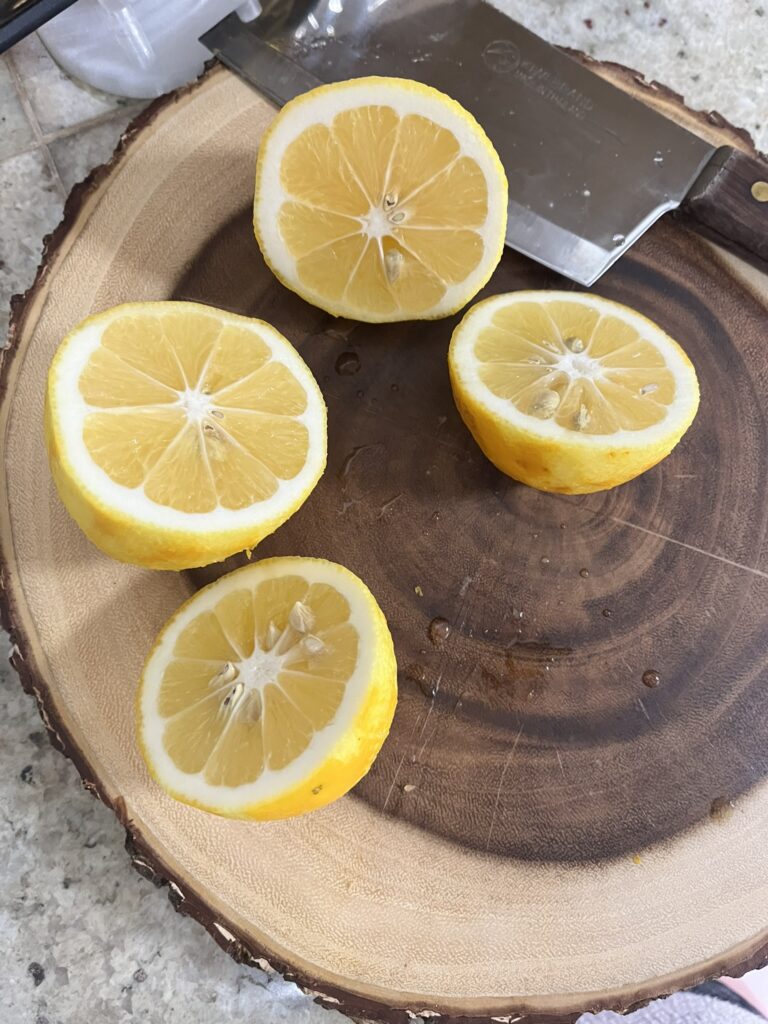
My parents only believe in growing fruit that you can *eat*, so you won’t find any limes or lemons. Lucky for me, I got my hands on some Meyer lemons from Long Beach, CA (thanks MJ!). A Meyer lemon is a hybrid between a lemon and an orange. They’re sweeter than your regular lemon, but I still would not eat one like an orange. They’re still acidic enough to use in baking, but their rind is even more fragrant than that of a traditional lemon.
Ingredients
Meyer lemons – The zest is key! You can use regular lemons too, but I would highly encourage a Meyer lemon.


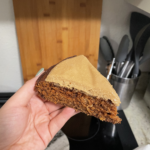
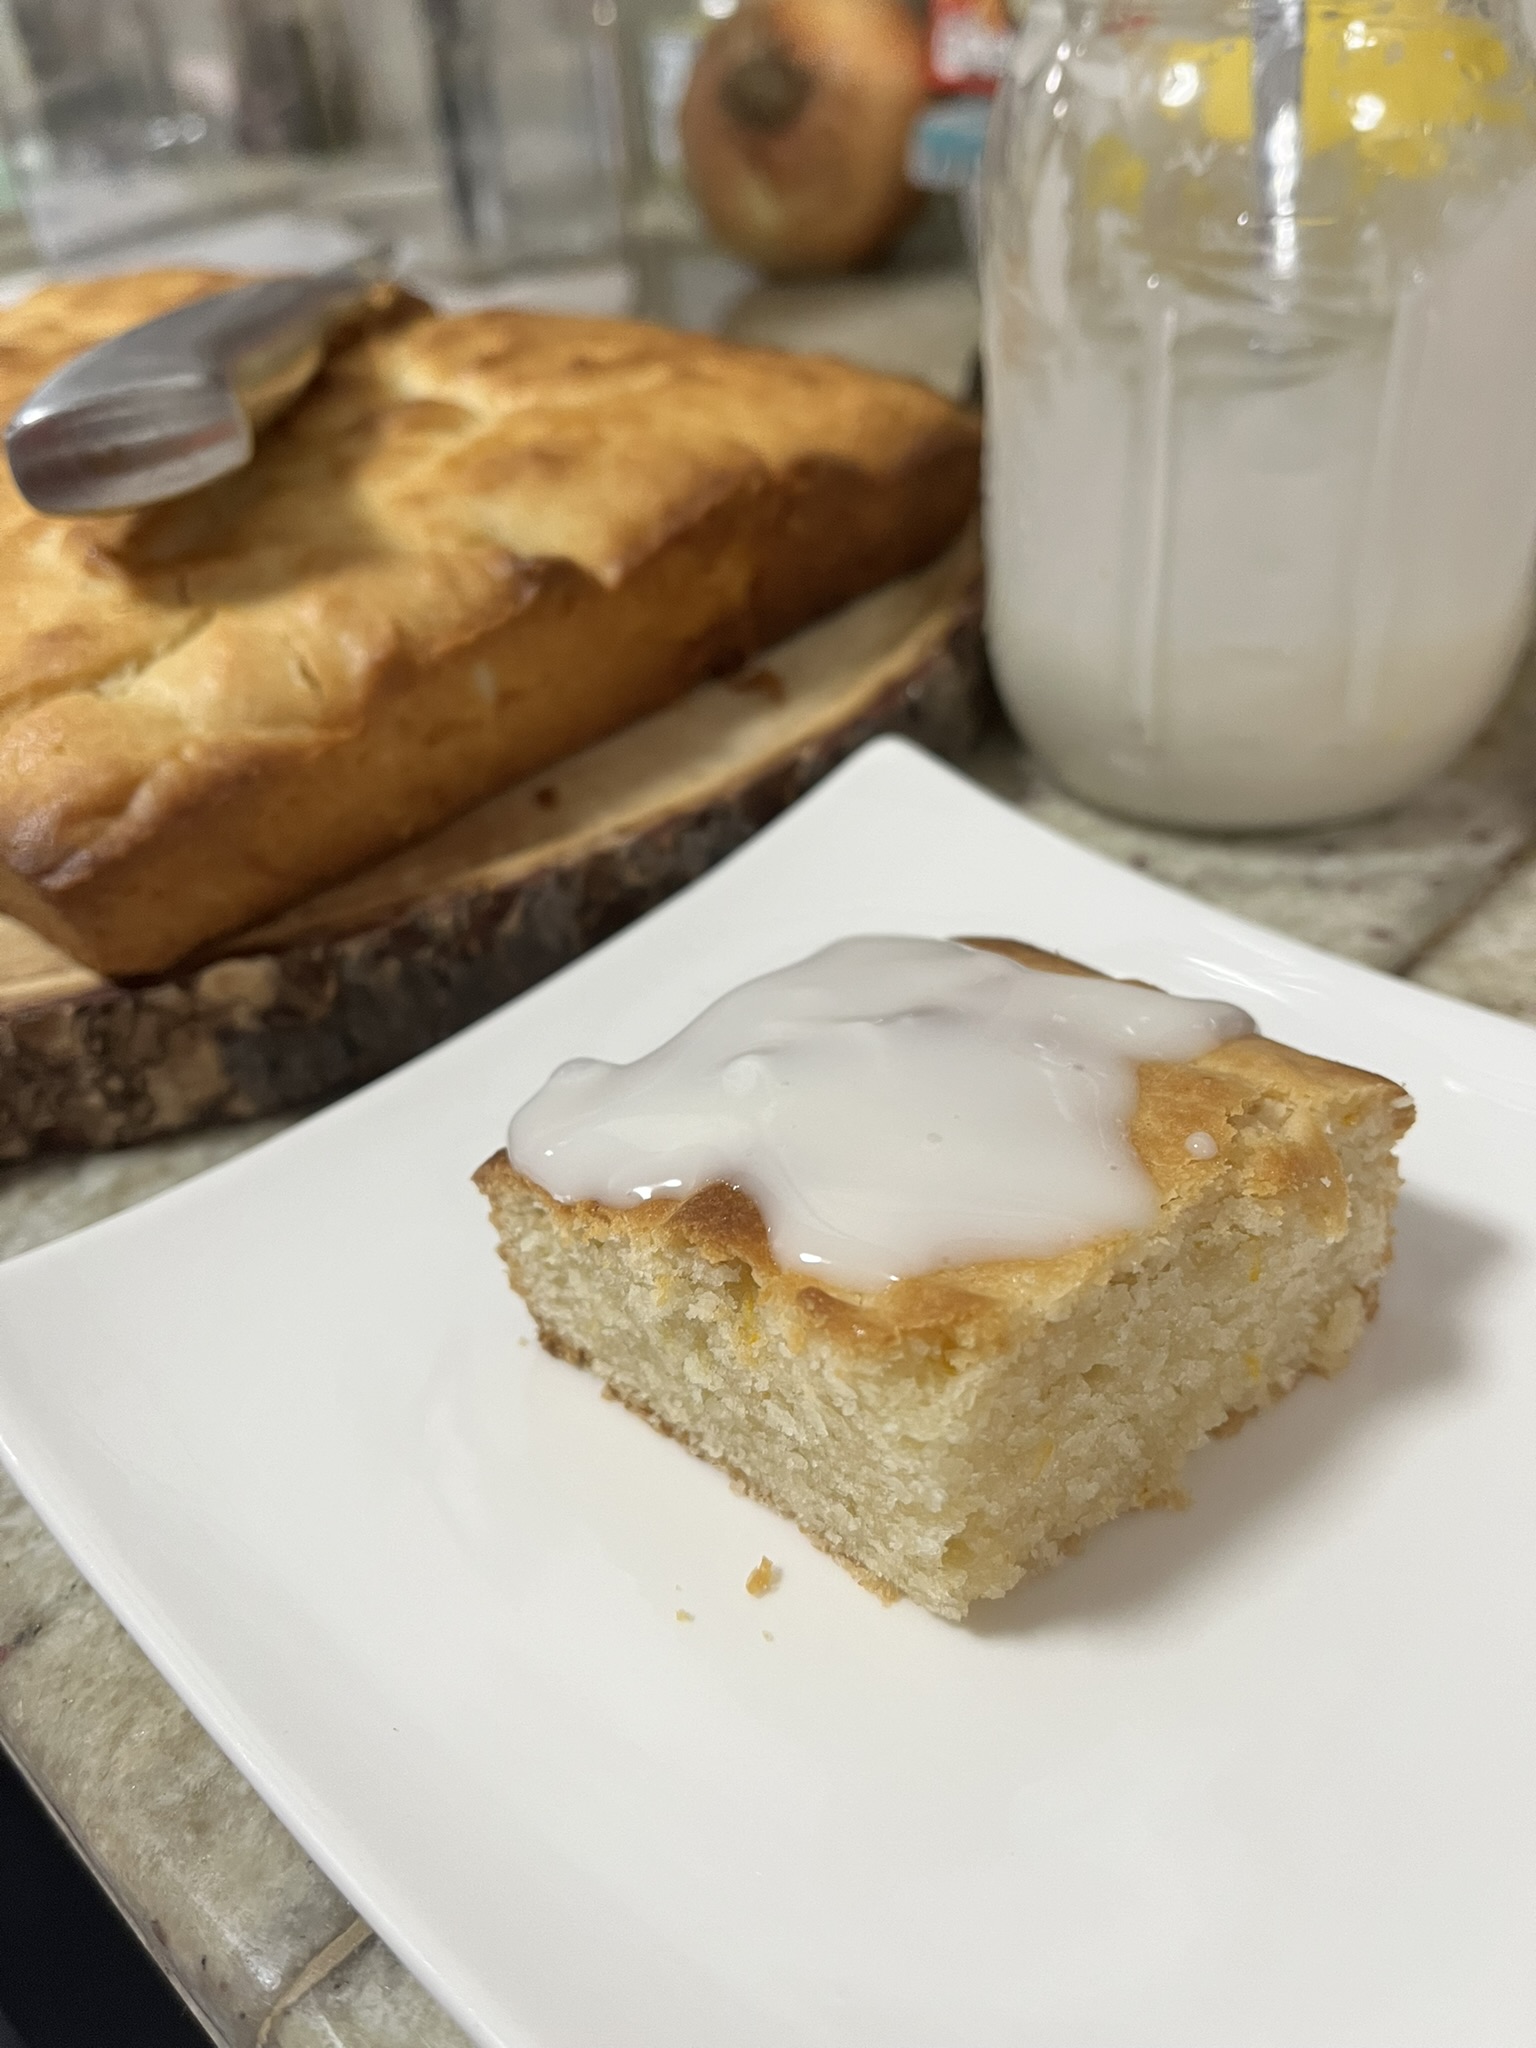
Meyer Lemon Cake Bars
Ingredients
Cake
- 1 cup sugar
- 2 Meyer lemons zested
- 1 cup vegetable oil
- 1/2 cup heavy cream
- 1/4 cup lemon juice
- 1/2 tsp salt
- 3 cups all-purpose flour
- 1 tbsp baking powder
Lemon Glaze
- 2 cups powdered sugar
- 1 tbsp lemon juice
- 1 tbsp water extra as needed
Instructions
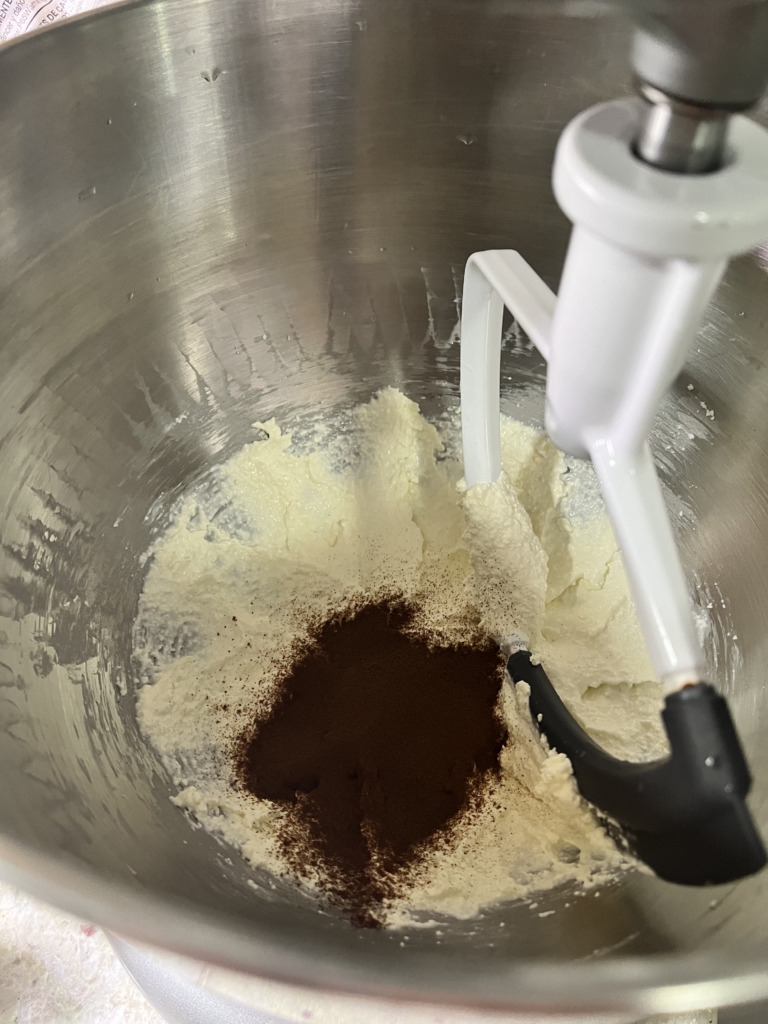
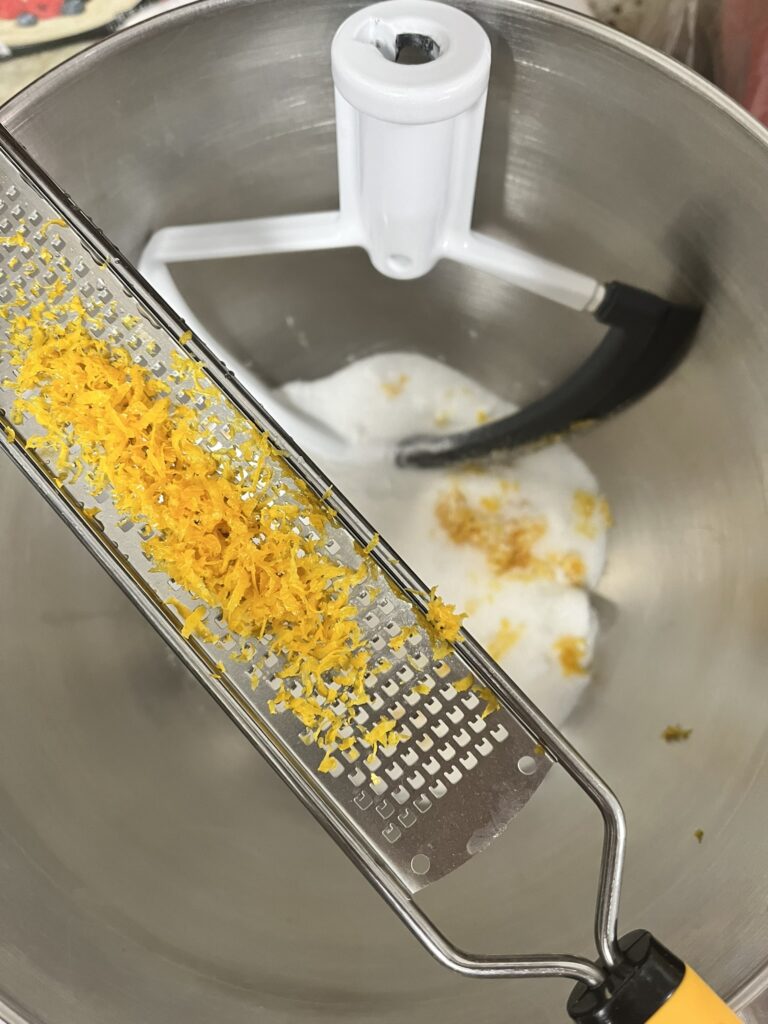
- Zest the two Meyer lemons. There should be at least 1 tablespoon of zest from the lemons. Be sure that you only remove the yellow/orange zest and not any of the white pith.
- Add lemon zest to sugar and stir, pressing a spatula into the sugar and zest. This will help the zest release more oils.
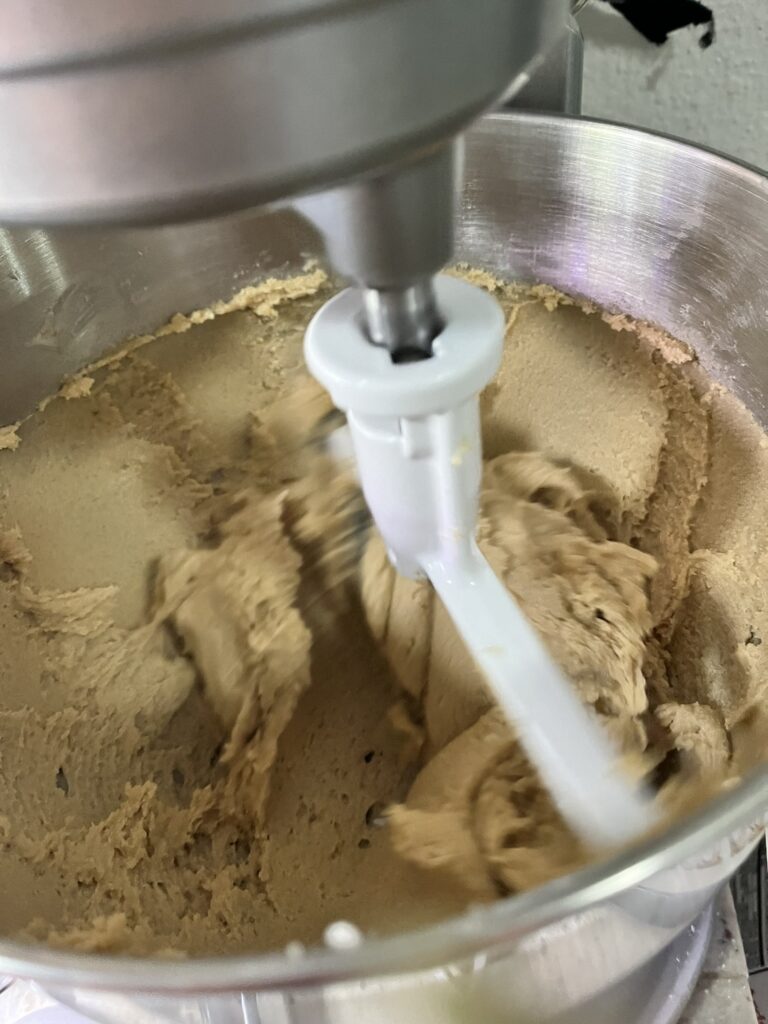
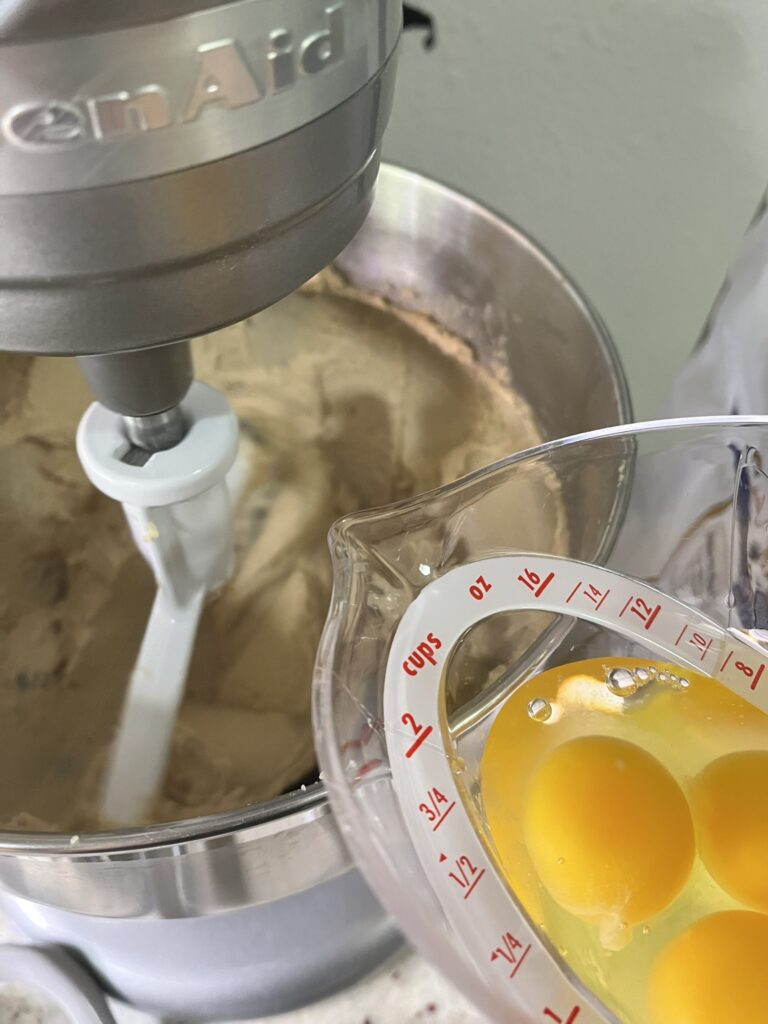
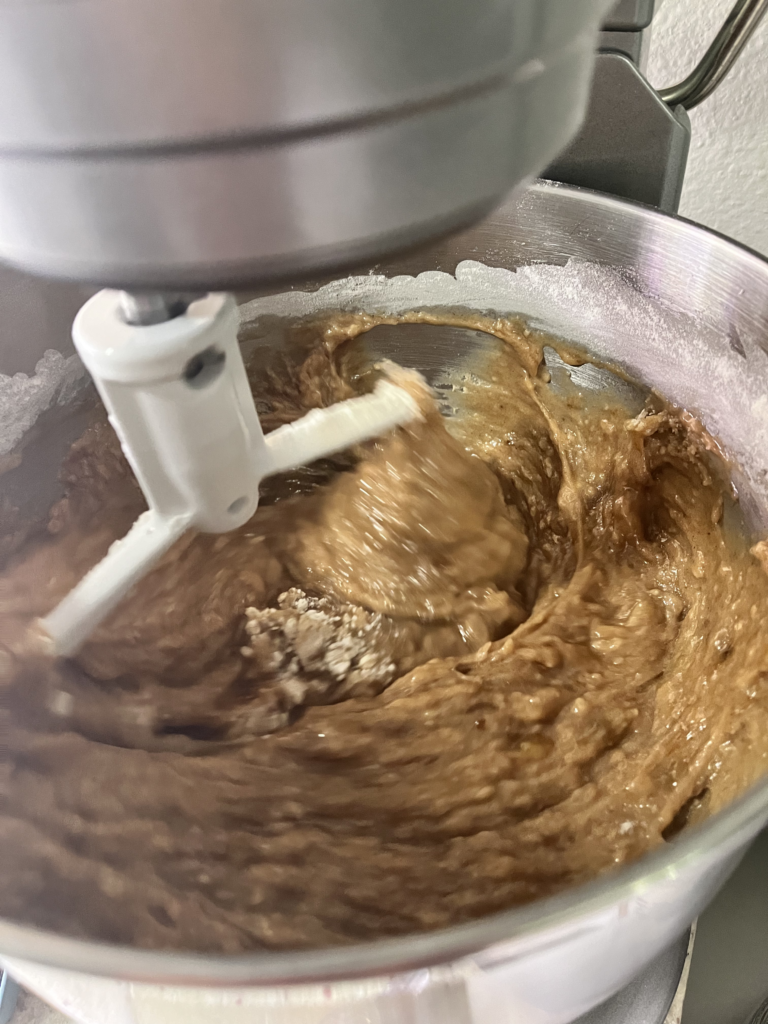
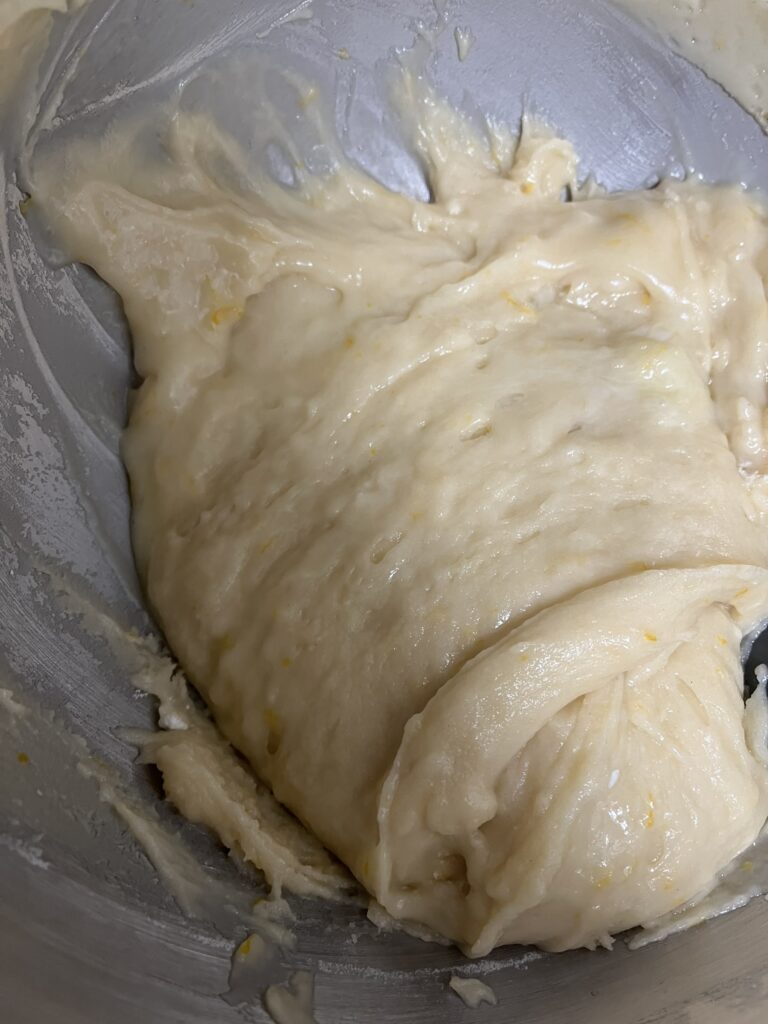
- Add eggs, oil, and heavy cream. Mix until combined.
- Add lemon juice and salt. Mix until combined.
- Add flour and baking powder. Mix until just combined.
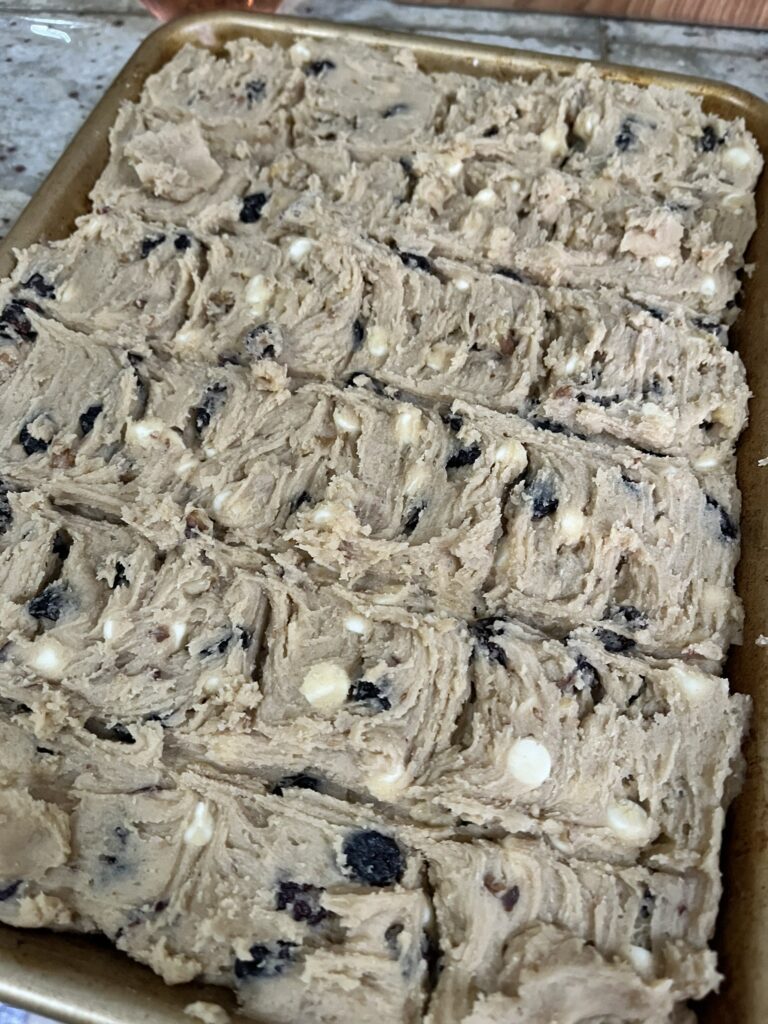
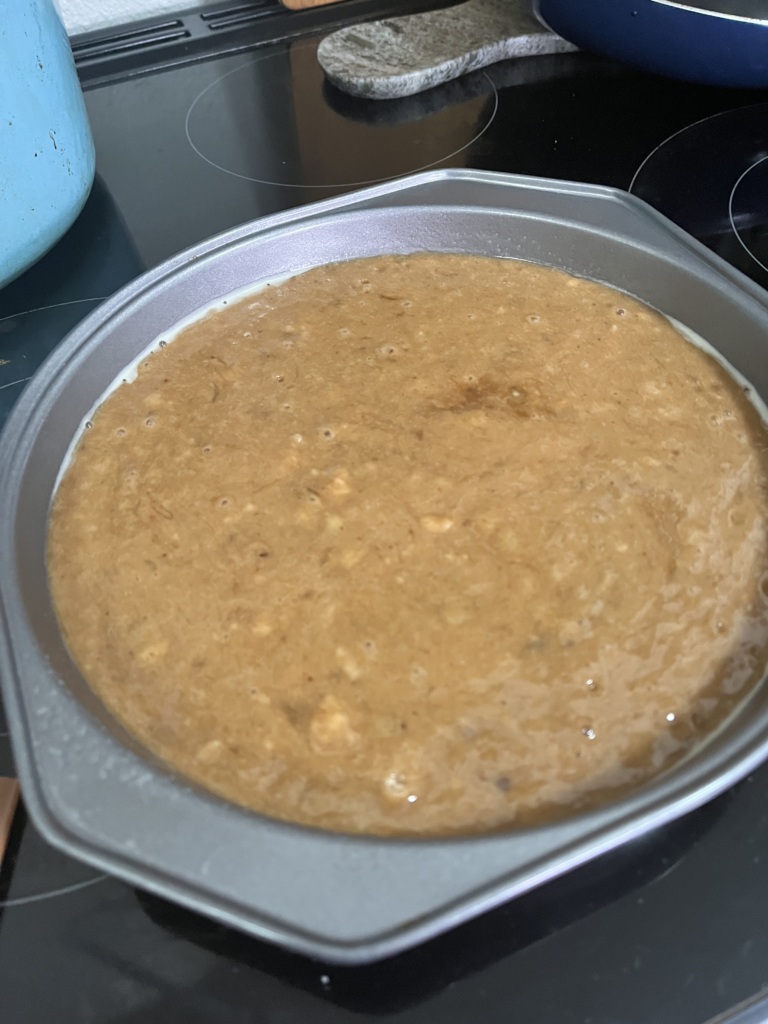
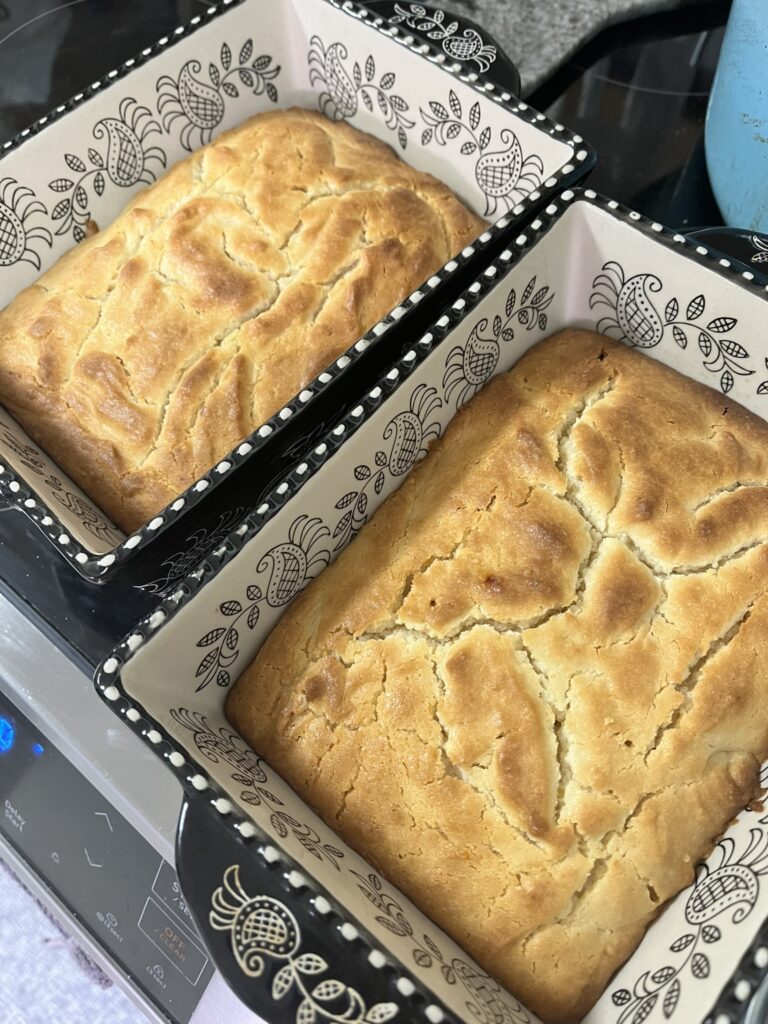
- Pour into 9" x 13" baking dish or two 9" x 5" loaf pans. Bake at 350F for 25-35 minutes until lightly browned and toothpick comes out clean from center of loaf.
- Remove from oven and allow to cool completely.
- Make lemon glaze by mixing together powdered sugar, lemon juice and half of the water. Add additional water as necessary so glaze can just run off a spoon.
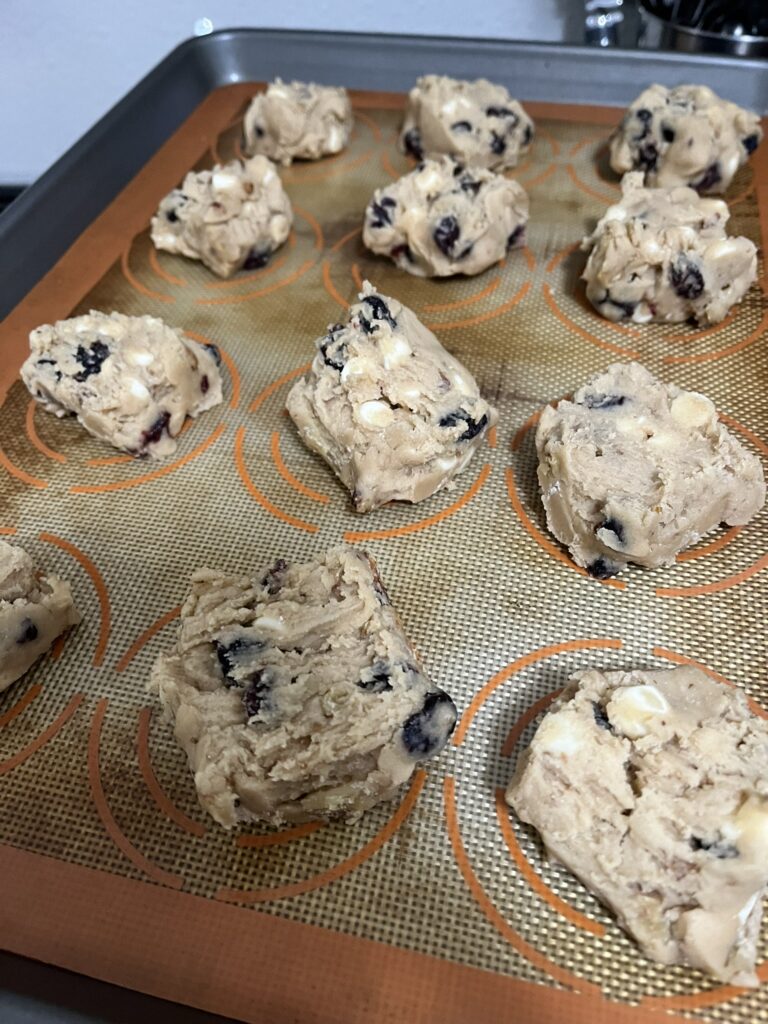
- Depending on how it will be served, pour glaze all over top of cakes or cut cake into squares and then add glaze on top later!
Bake some other fruit things! Try Banana Bread or Puff Pastry Danish