Meyer Lemon Cake Bars

Winter is citrus season so I’m pounding down oranges and pomelos while they’re in their peak sweetness. I swear, the best citrus comes from a backyard, especially my parents’ backyard! Their honey and pink pomelos are insane. If I’m at the grocery store, I’ll rely on some sumo oranges since they’re still easy to peel, sweet, and not too acidic.

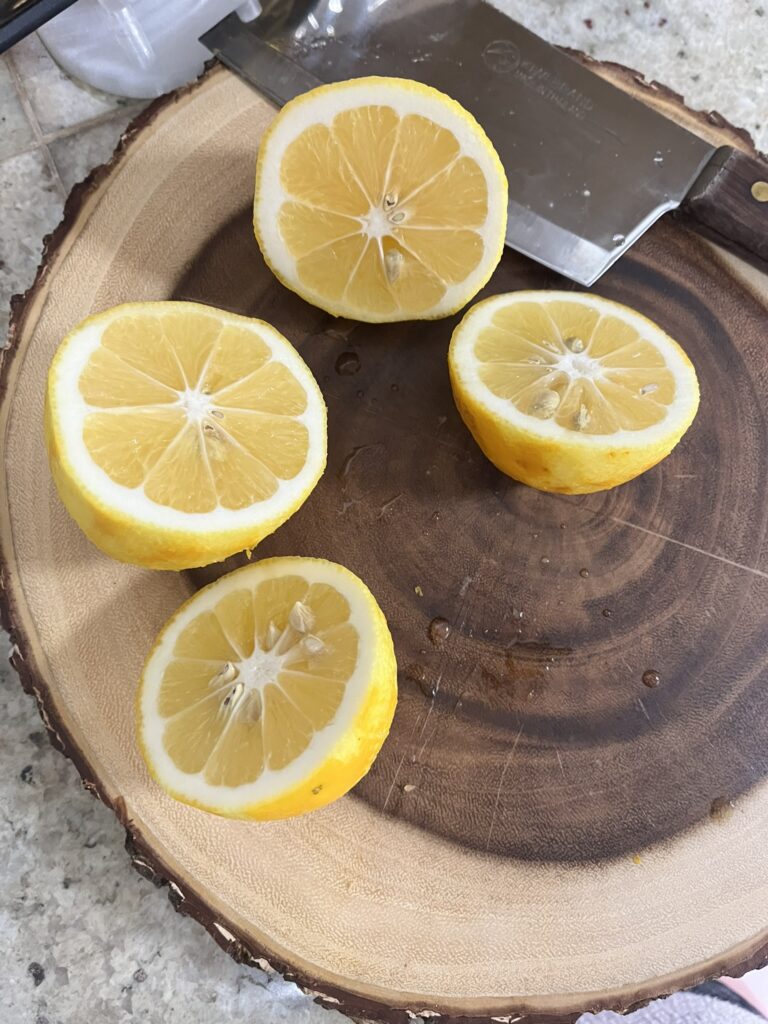
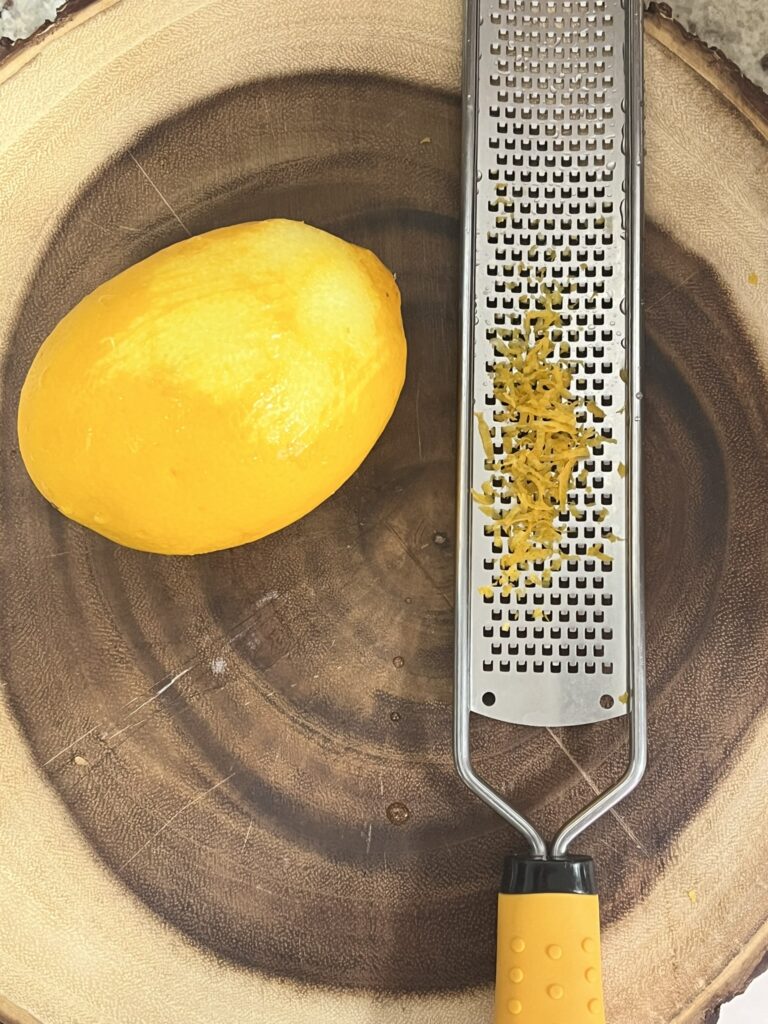
My parents only believe in growing fruit that you can *eat*, so you won’t find any limes or lemons. Lucky for me, I got my hands on some Meyer lemons from Long Beach, CA (thanks MJ!). A Meyer lemon is a hybrid between a lemon and an orange. They’re sweeter than your regular lemon, but I still would not eat one like an orange. They’re still acidic enough to use in baking, but their rind is even more fragrant than that of a traditional lemon.

Ingredients

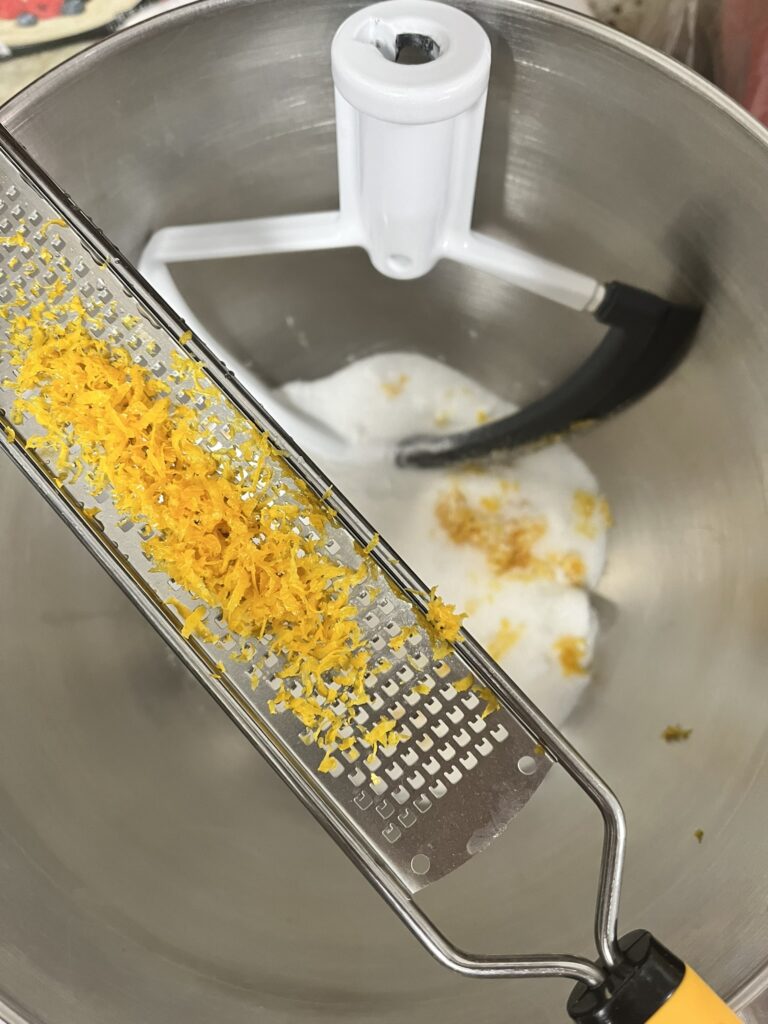
Meyer lemons – The zest is key! You can use regular lemons too, but I would highly encourage a Meyer lemon.
Meyer Lemon Cake Bars

Print Recipe
Sweet & zingy!
Course Dessert
Keyword bars, cake, lemon, meyer lemon
Cook Time 30 minutes
Servings 12 bars

Ingredients

Cake

  • 1 cup sugar
  • 2 Meyer lemons zested
  • 1 cup vegetable oil
  • 1/2 cup heavy cream
  • 1/4 cup lemon juice
  • 1/2 tsp salt
  • 3 cups all-purpose flour
  • 1 tbsp baking powder

Lemon Glaze

  • 2 cups powdered sugar
  • 1 tbsp lemon juice
  • 1 tbsp water extra as needed

Instructions

  • Zest the two Meyer lemons. There should be at least 1 tablespoon of zest from the lemons. Be sure that you only remove the yellow/orange zest and not any of the white pith.
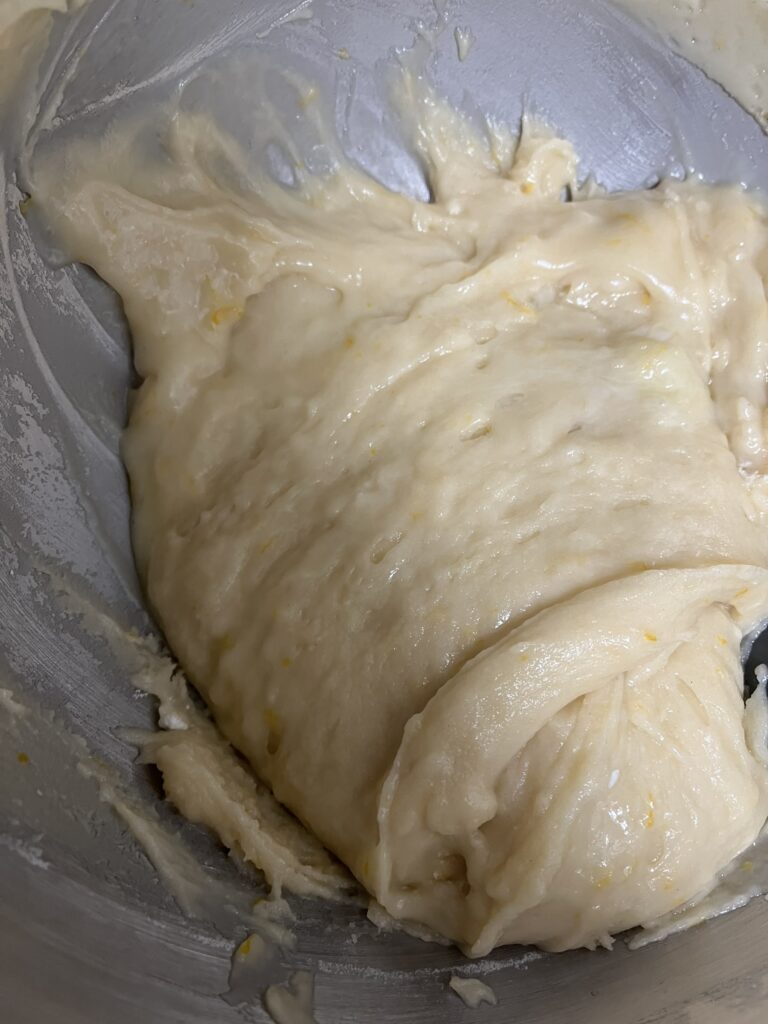
  • Add lemon zest to sugar and stir, pressing a spatula into the sugar and zest. This will help the zest release more oils.
  • Add eggs, oil, and heavy cream. Mix until combined.
  • Add lemon juice and salt. Mix until combined.
  • Add flour and baking powder. Mix until just combined.
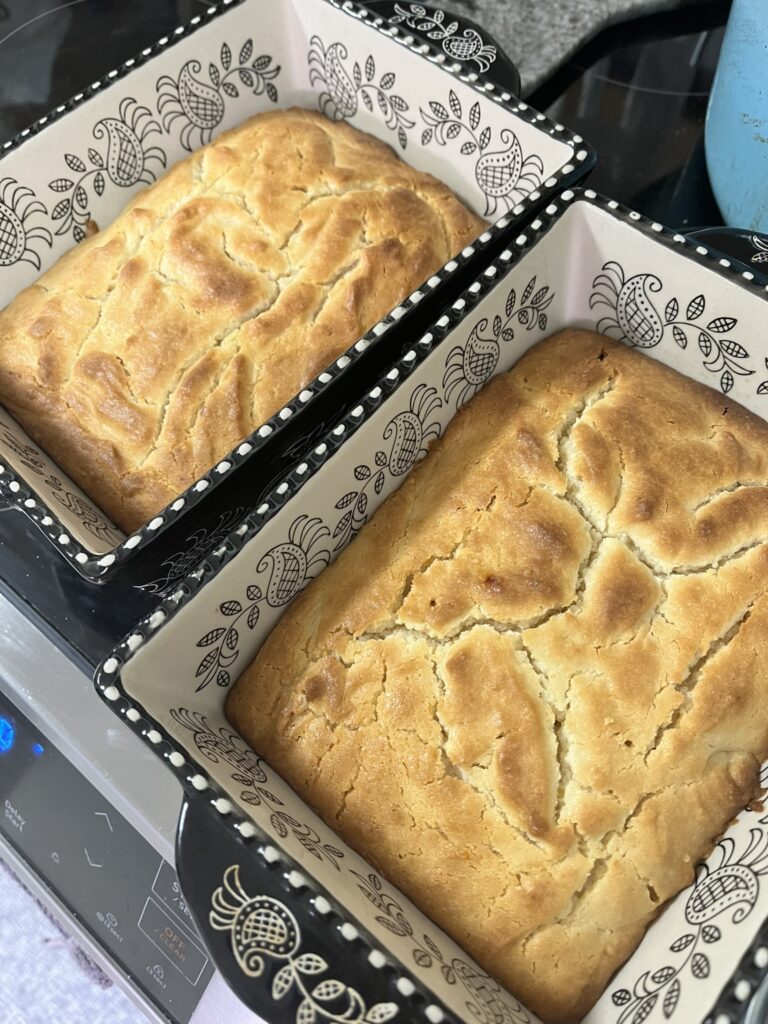
  • Pour into 9" x 13" baking dish or two 9" x 5" loaf pans. Bake at 350F for 25-35 minutes until lightly browned and toothpick comes out clean from center of loaf.
  • Remove from oven and allow to cool completely.
  • Make lemon glaze by mixing together powdered sugar, lemon juice and half of the water. Add additional water as necessary so glaze can just run off a spoon.
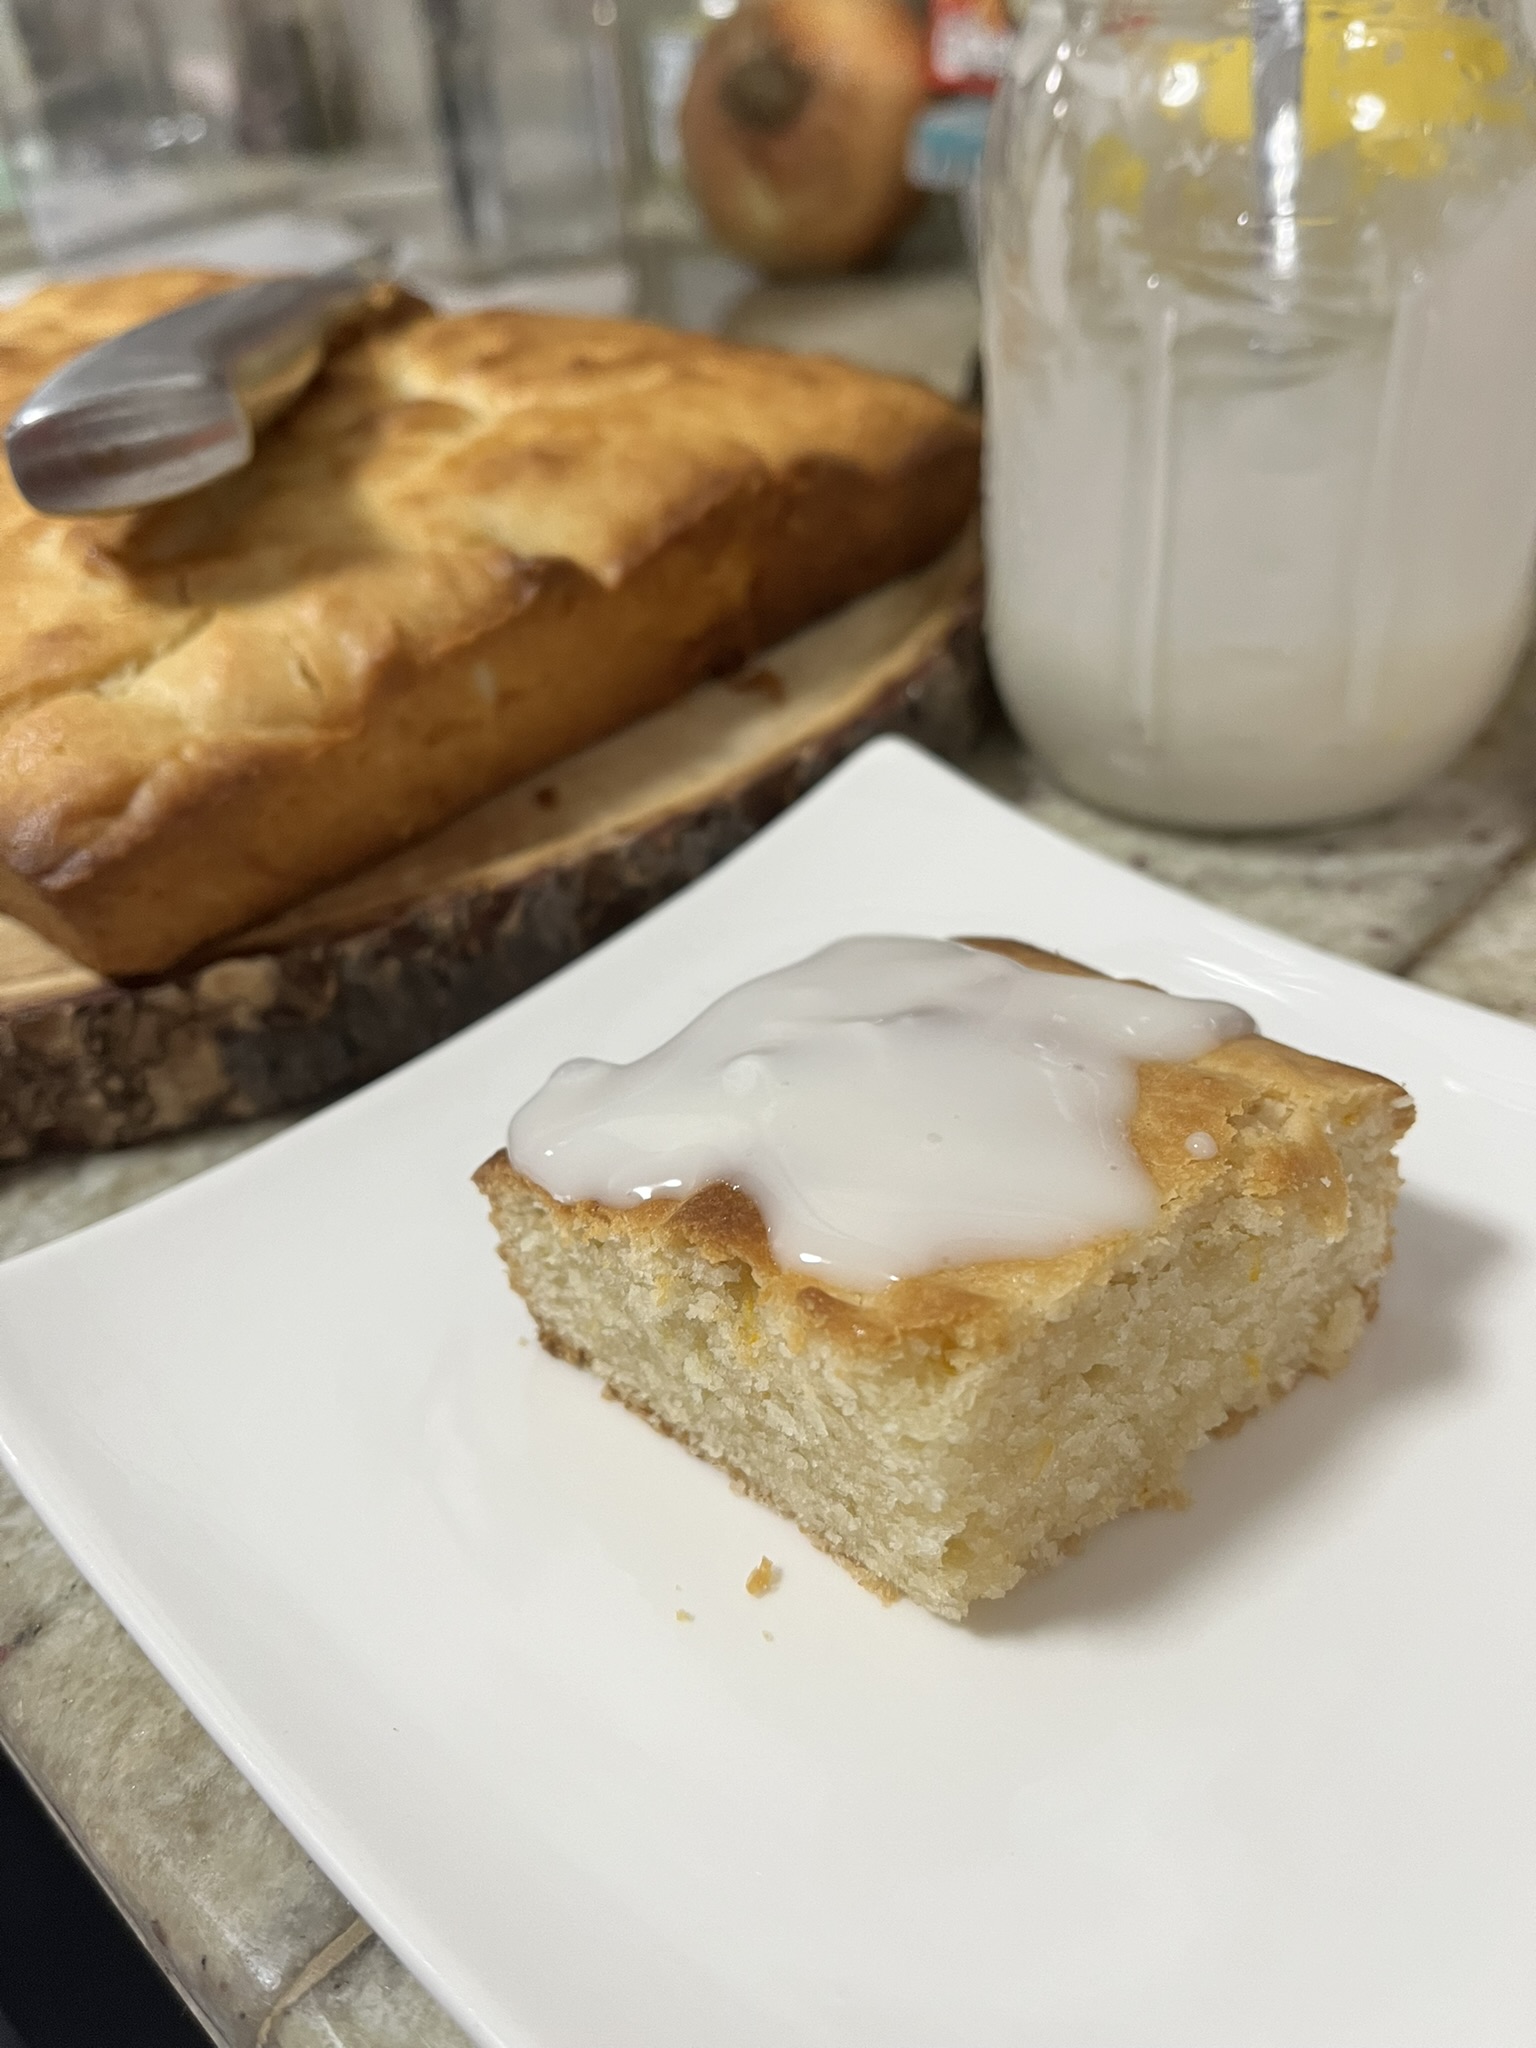
  • Depending on how it will be served, pour glaze all over top of cakes or cut cake into squares and then add glaze on top later!

Bake some other fruit things! Try Banana Bread or Puff Pastry Danish
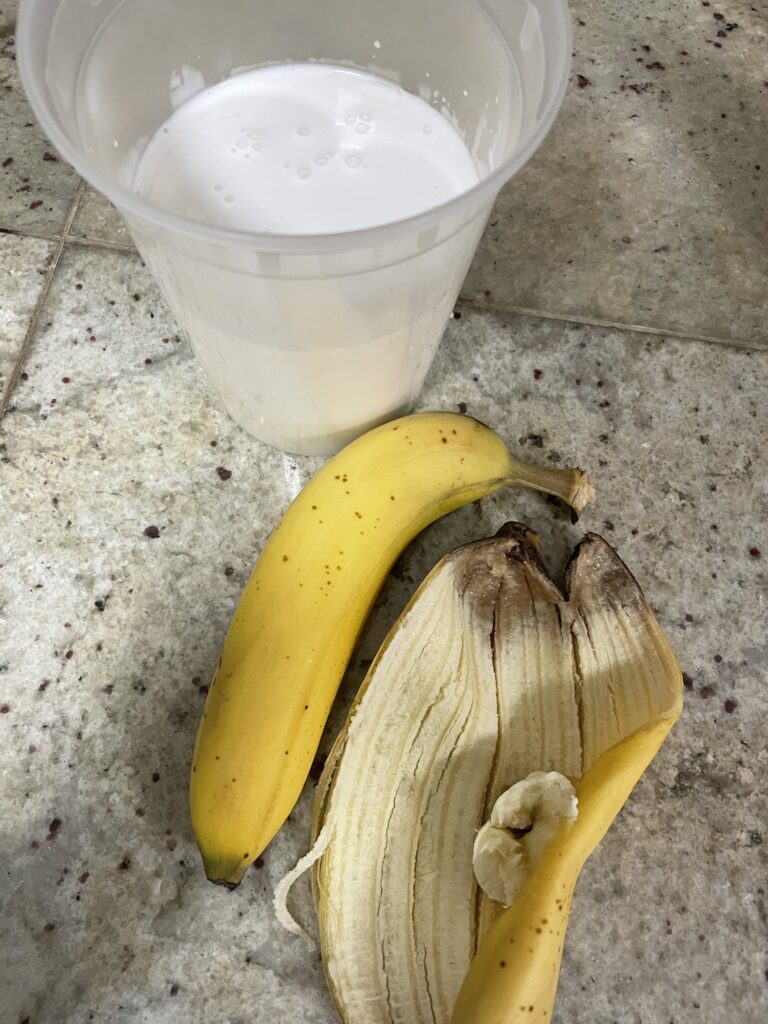
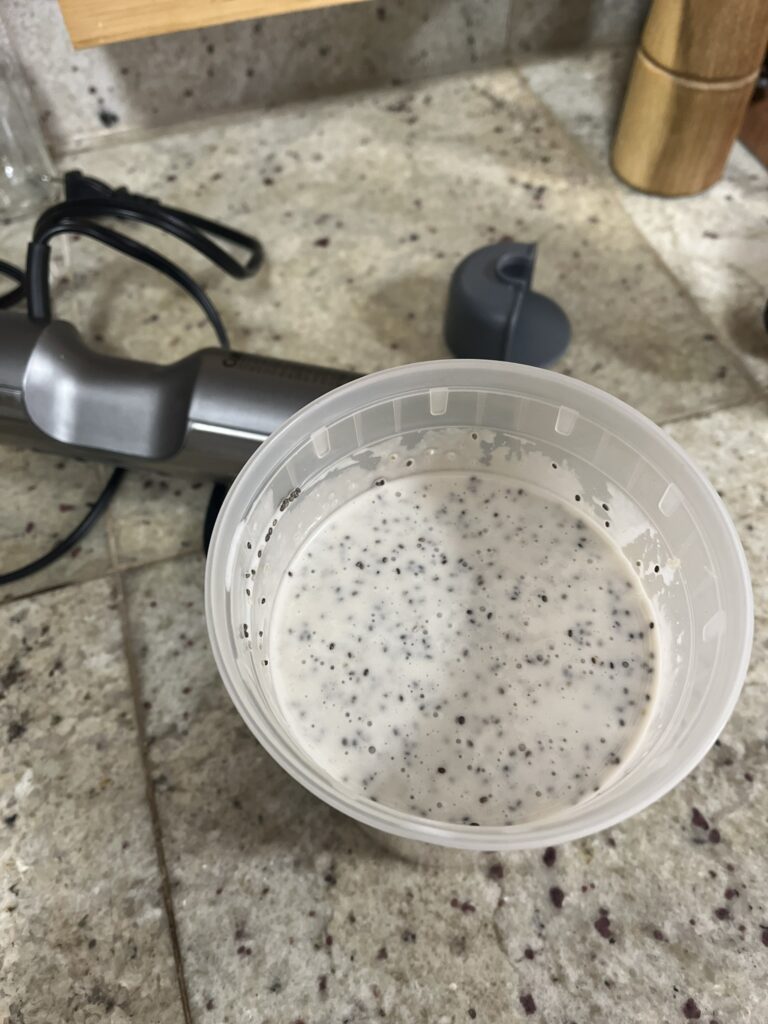
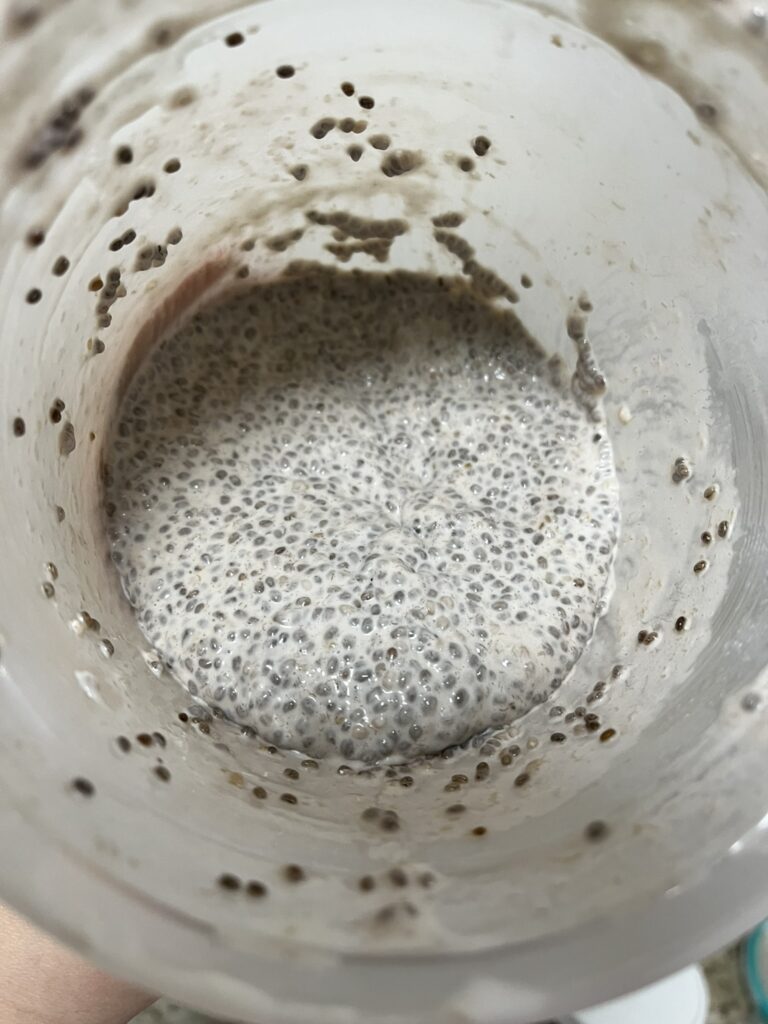
Coconut Banana Chia Pudding

Everyone’s a little lazy in the morning right? It can be a lot of work to get a whole meal going early in the morning before the day starts. Everyone raves about some overnight oats, but I just can’t do it. I’ve tried to like them, but I can’t. I’ve even heard them being referred to as “prison food”. Like overnight oats, this is a super low effort breakfast, snack, or dessert, but somehow more palatable. Coconut banana chia pudding is lightly coconut-y and banana-y and naturally sweet from the blended in bananas.

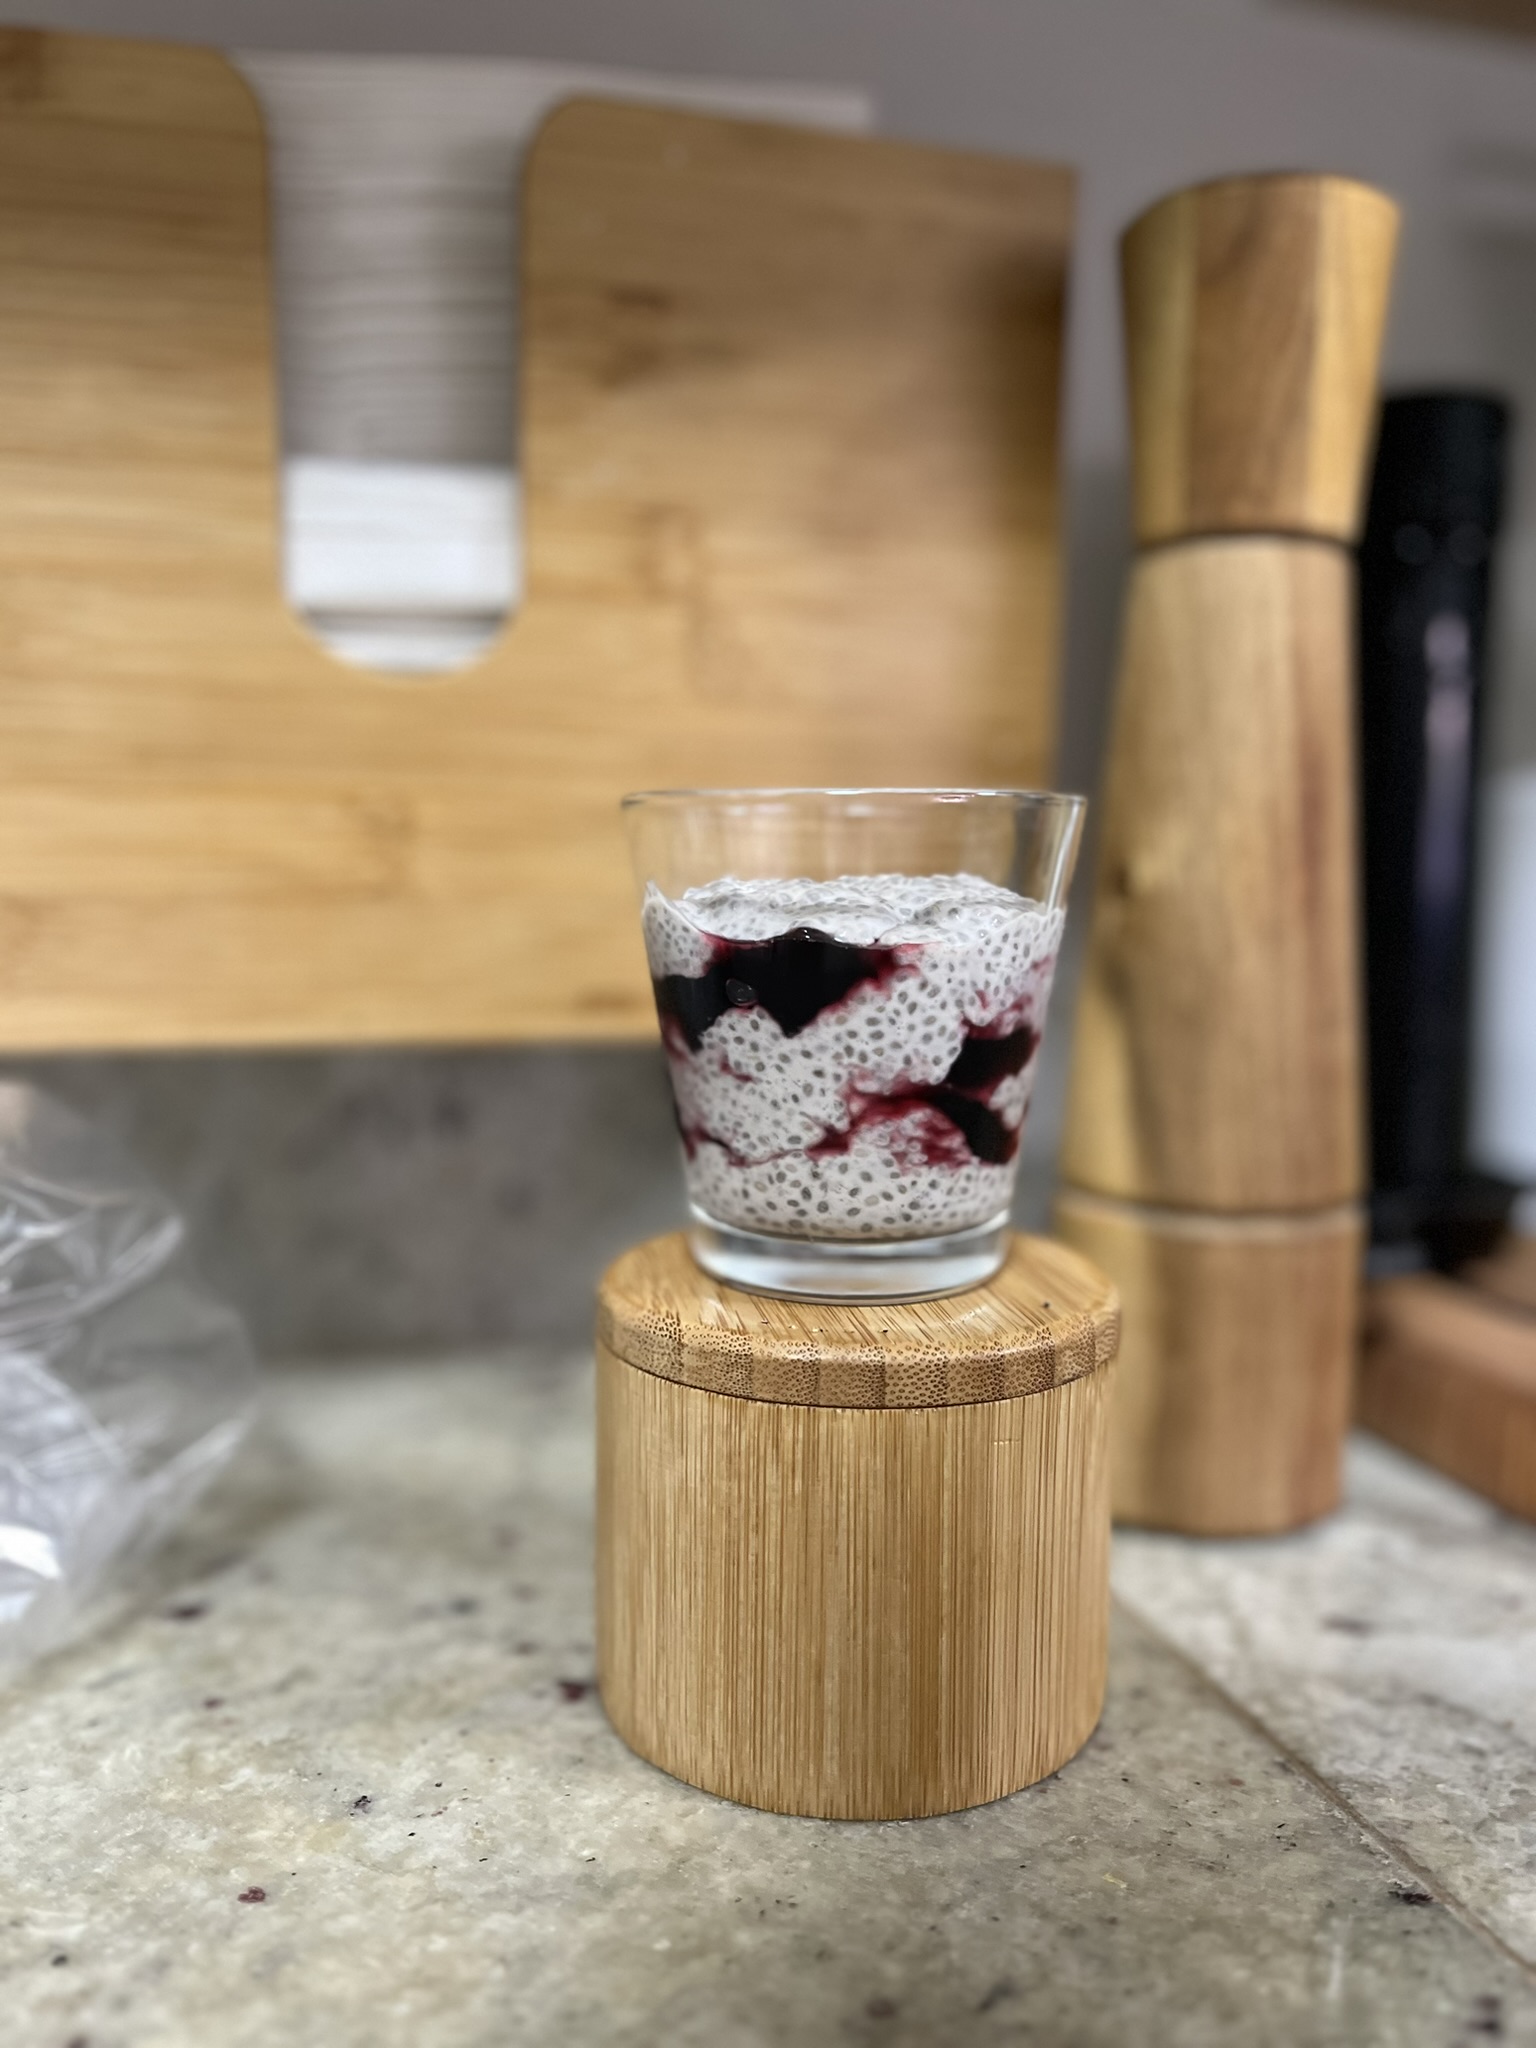
You can even pair this coconut banana chia pudding with some overnight oats (if you actually like that stuff) or use it on a topping for an acai bowl! I like having this chia pudding layered with some fresh fruit or fruit preserves and/or topped with some granola and hemp seeds.

Ingredients

Coconut cream – You’ll want to use one of the high fat coconut creams. This definitely gives more flavor (fat = flavor!). Don’t use coconut water.

Bananas – Use a banana to a stage of ripeness to your preference. The banana is really where our sweetness is coming from, so I wouldn’t recommend using green bananas. If you like a sweeter chia pudding, use a banana that’s starting to spot, but I wouldn’t recommend a completely black/overripened banana, as that may cause your chia pudding to ferment.

Coconut Banana Chia Pudding

Print Recipe
Overnight chia pudding that's great for breakfast or a fiber-full dessert
Course Breakfast, Dessert, Snack
Keyword banana, chia, coconut, pudding

Equipment

  • blender or immersion blender

Ingredients

  • 1 can coconut cream around 16 ounces
  • 2 bananas ripe or extra ripe
  • 1/2 cup chia seeds
  • salt

Instructions

  • Blend together coconut cream, bananas, and a pinch of salt until smooth.
  • Add chia seeds to the coconut banana mixture and stir well, ensuring that there are no clumps of chia seeds. Clumps will prevent chia seeds from absorbing the liquid and plumping up.
  • Leave in the refrigerator overnight.
  • Enjoy the next morning on top of some yogurt, in some overnight oats, with some granola, top it with fruit, or have it on its own!

Have it for breakfast alongside some Mushroom, Spinach, & Cheddar Frittata or if you want more banana, try Banana Bread.

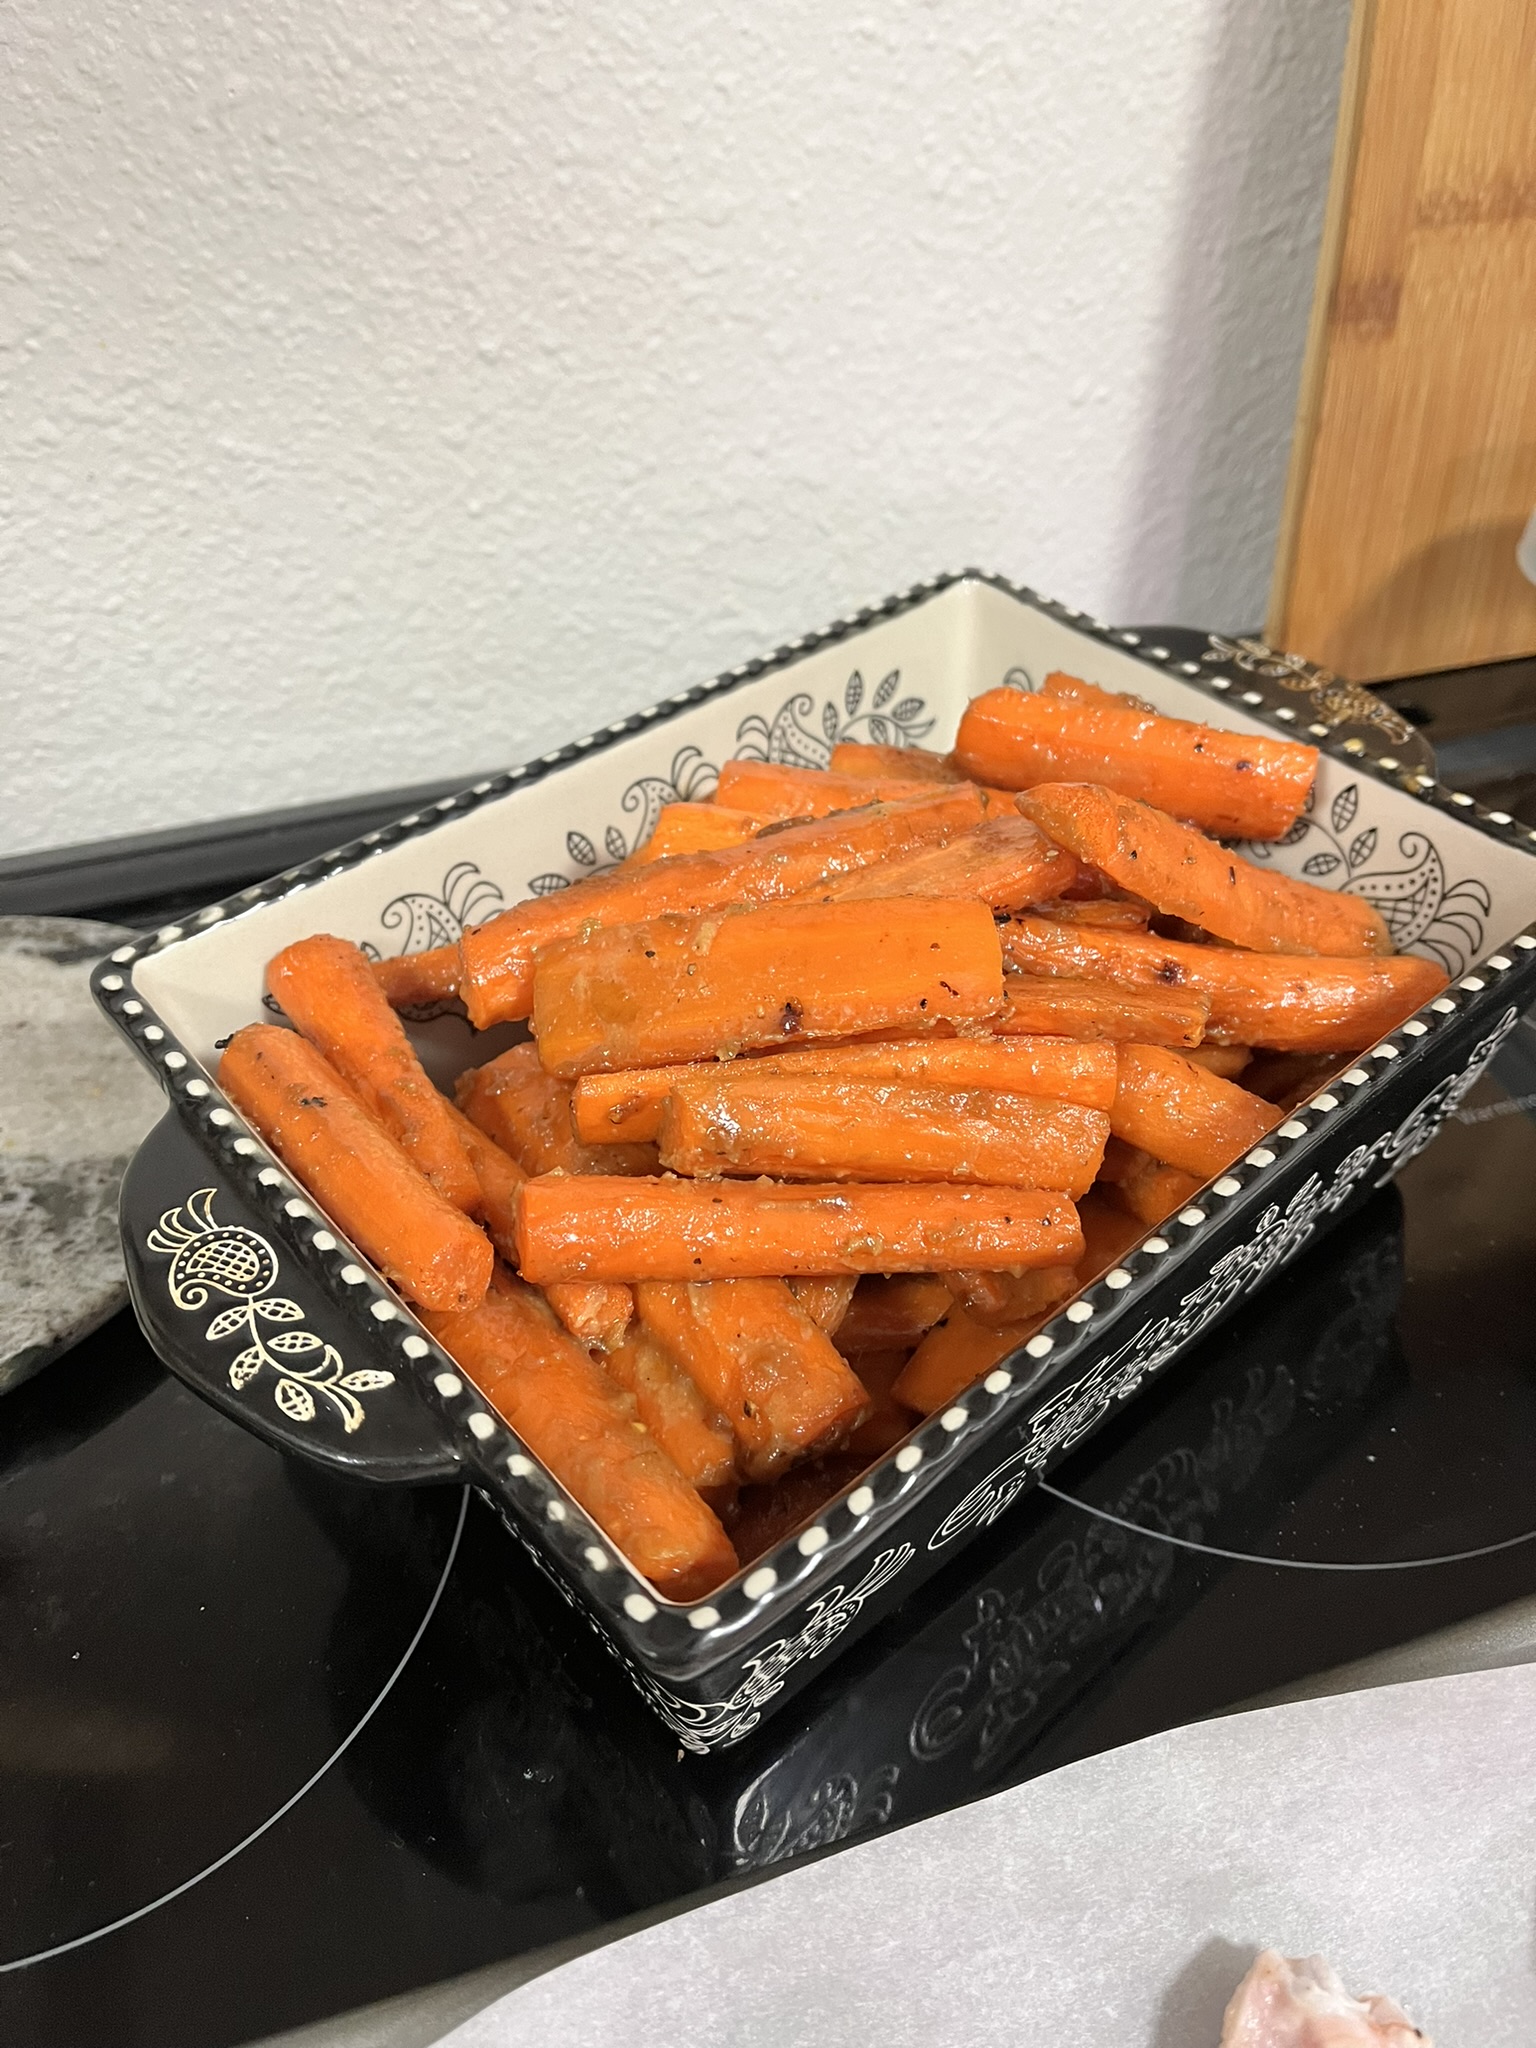
Maple Miso Glazed Carrots

One vegetable that I love to have on hand is carrots. It’s a great vegetable that can be served raw or cooked. They’re great for snacking, thinly sliced in a salad or tossed in noodles, roasted in the oven (enter maple miso glazed carrots), put into soups… the possibilities are endless! It also keeps well for extended periods of time.

Whenever I buy a big bag of carrots, I extend their shelf life by peeling them all and then cutting them into smaller pieces that can fit into a container. I then fill the containers with water so that the carrots are all covered. I change out the water everyday. This makes my carrots last weeks, if not an entire month!

If I decide to cook my carrots, one of my favorite methods is roasting in the oven. Oven roasting brings out extra sweetness of the carrots. I love to glaze with some maple and miso for some extra sweet and savory flavor.

Maple Miso Glazed Carrots

Print Recipe
Oven roasted sweet & savory carrots that are perfect as any side dish
Course Side Dish
Keyword carrots, maple, miso, roasted

Ingredients

  • 4 pounds carrots
  • 2 tbsp miso paste
  • 2 tbsp maple syrup
  • salt
  • pepper
  • olive oil

Instructions

  • Preheat oven to 400F
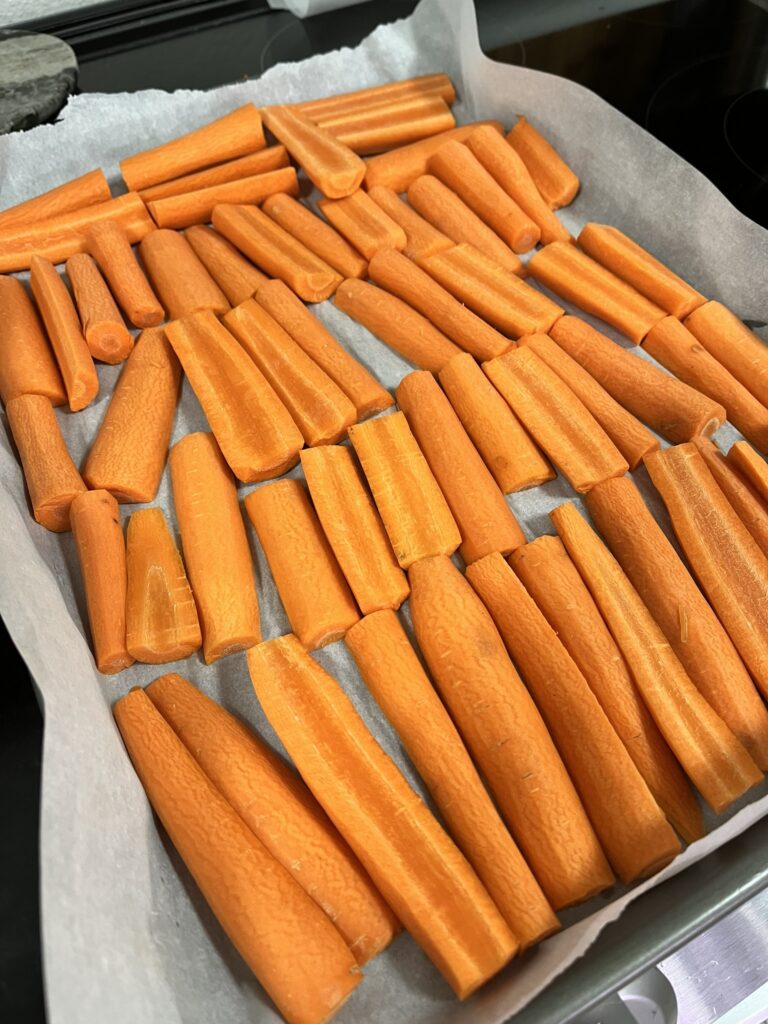
  • Peel and cut carrots into long sticks, all about the same thickness.
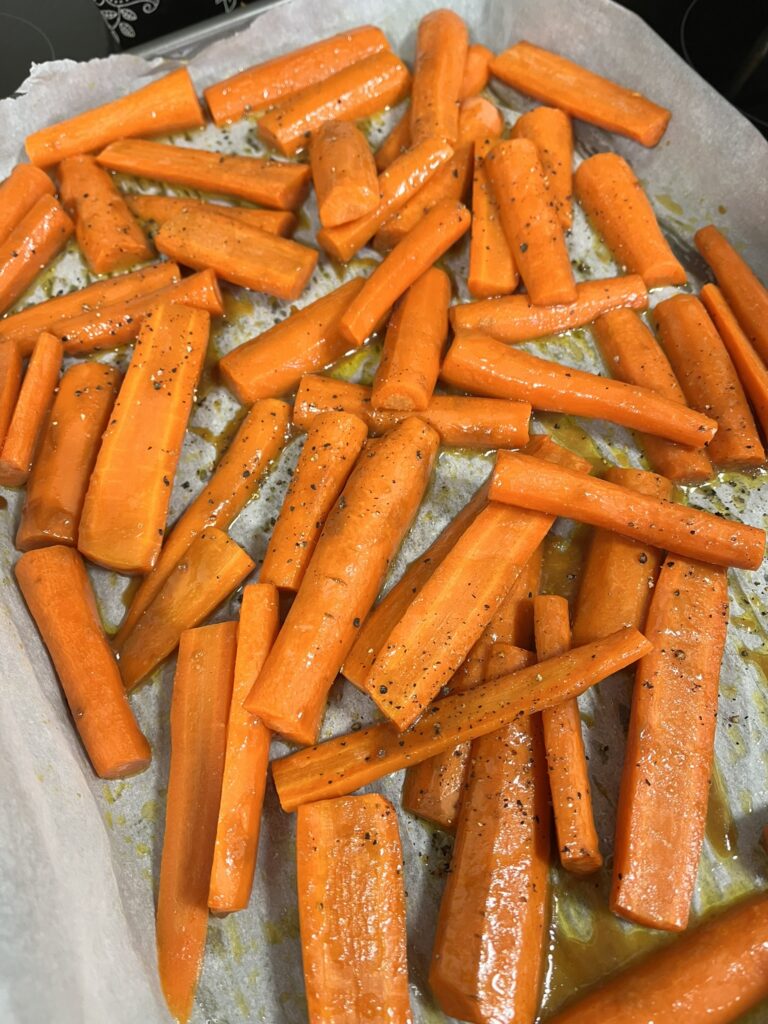
  • Toss carrots in olive oil, salt and pepper.
  • Par bake for 20 minutes.
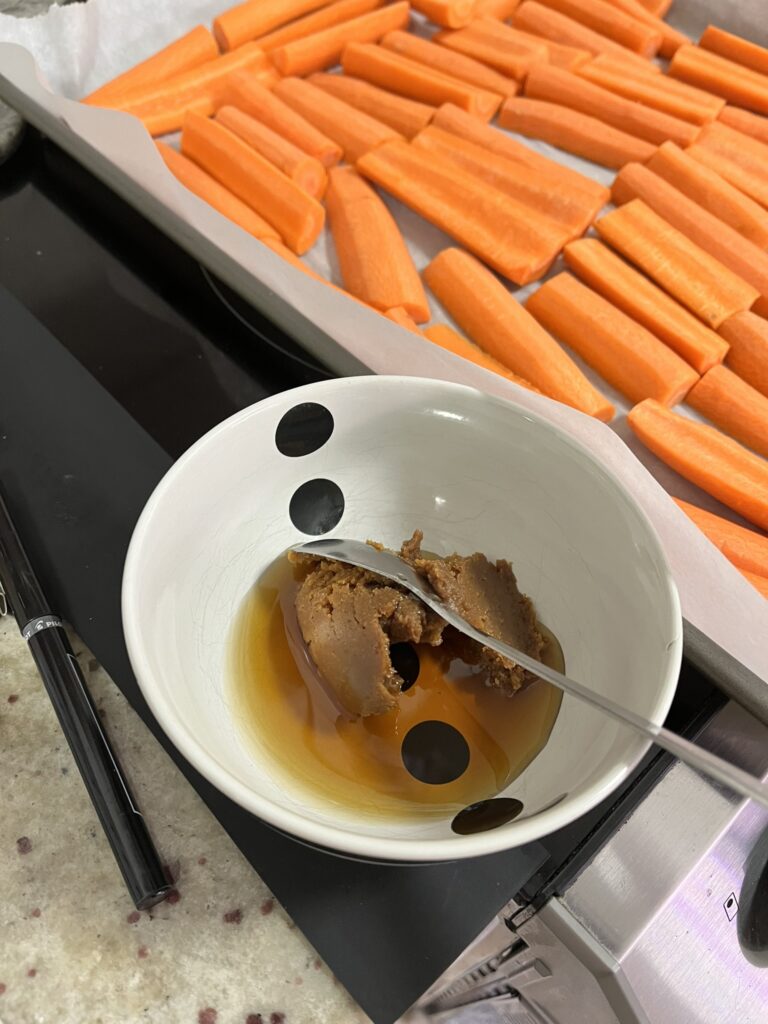
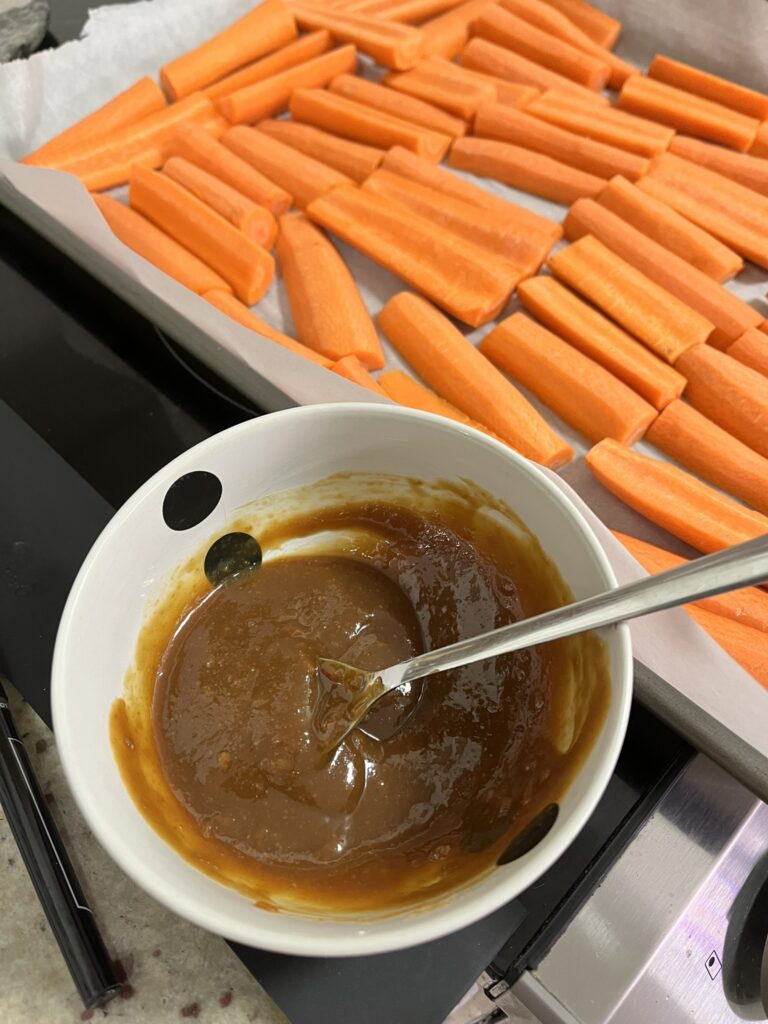
  • While carrots are initially baking, mix together miso and maple.
  • Once carrots have completed initial bake, remove from oven and toss with miso maple mixture.
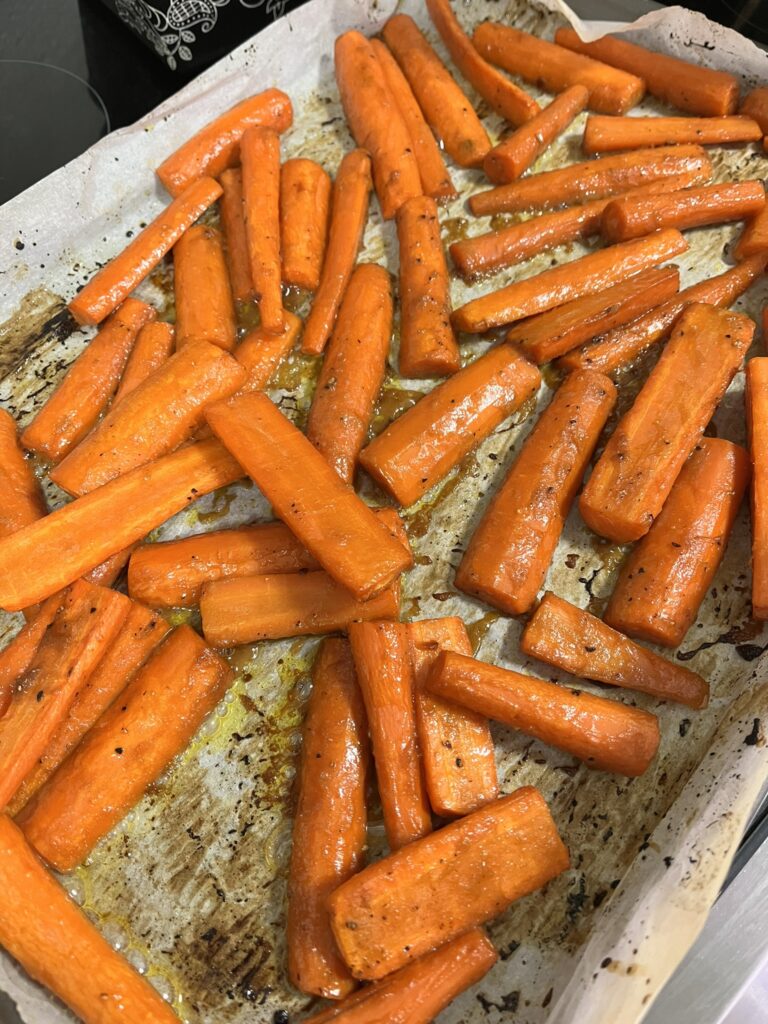
  • Return to oven for additional 20 minutes.
  • Remove and serve!

Need more sides? Try Creamy Mashed Potatoes or Honey Balsamic Roasted Brussels Sprouts

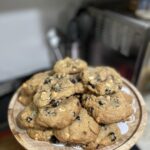
Cranberry White Chocolate Walnut Cookies

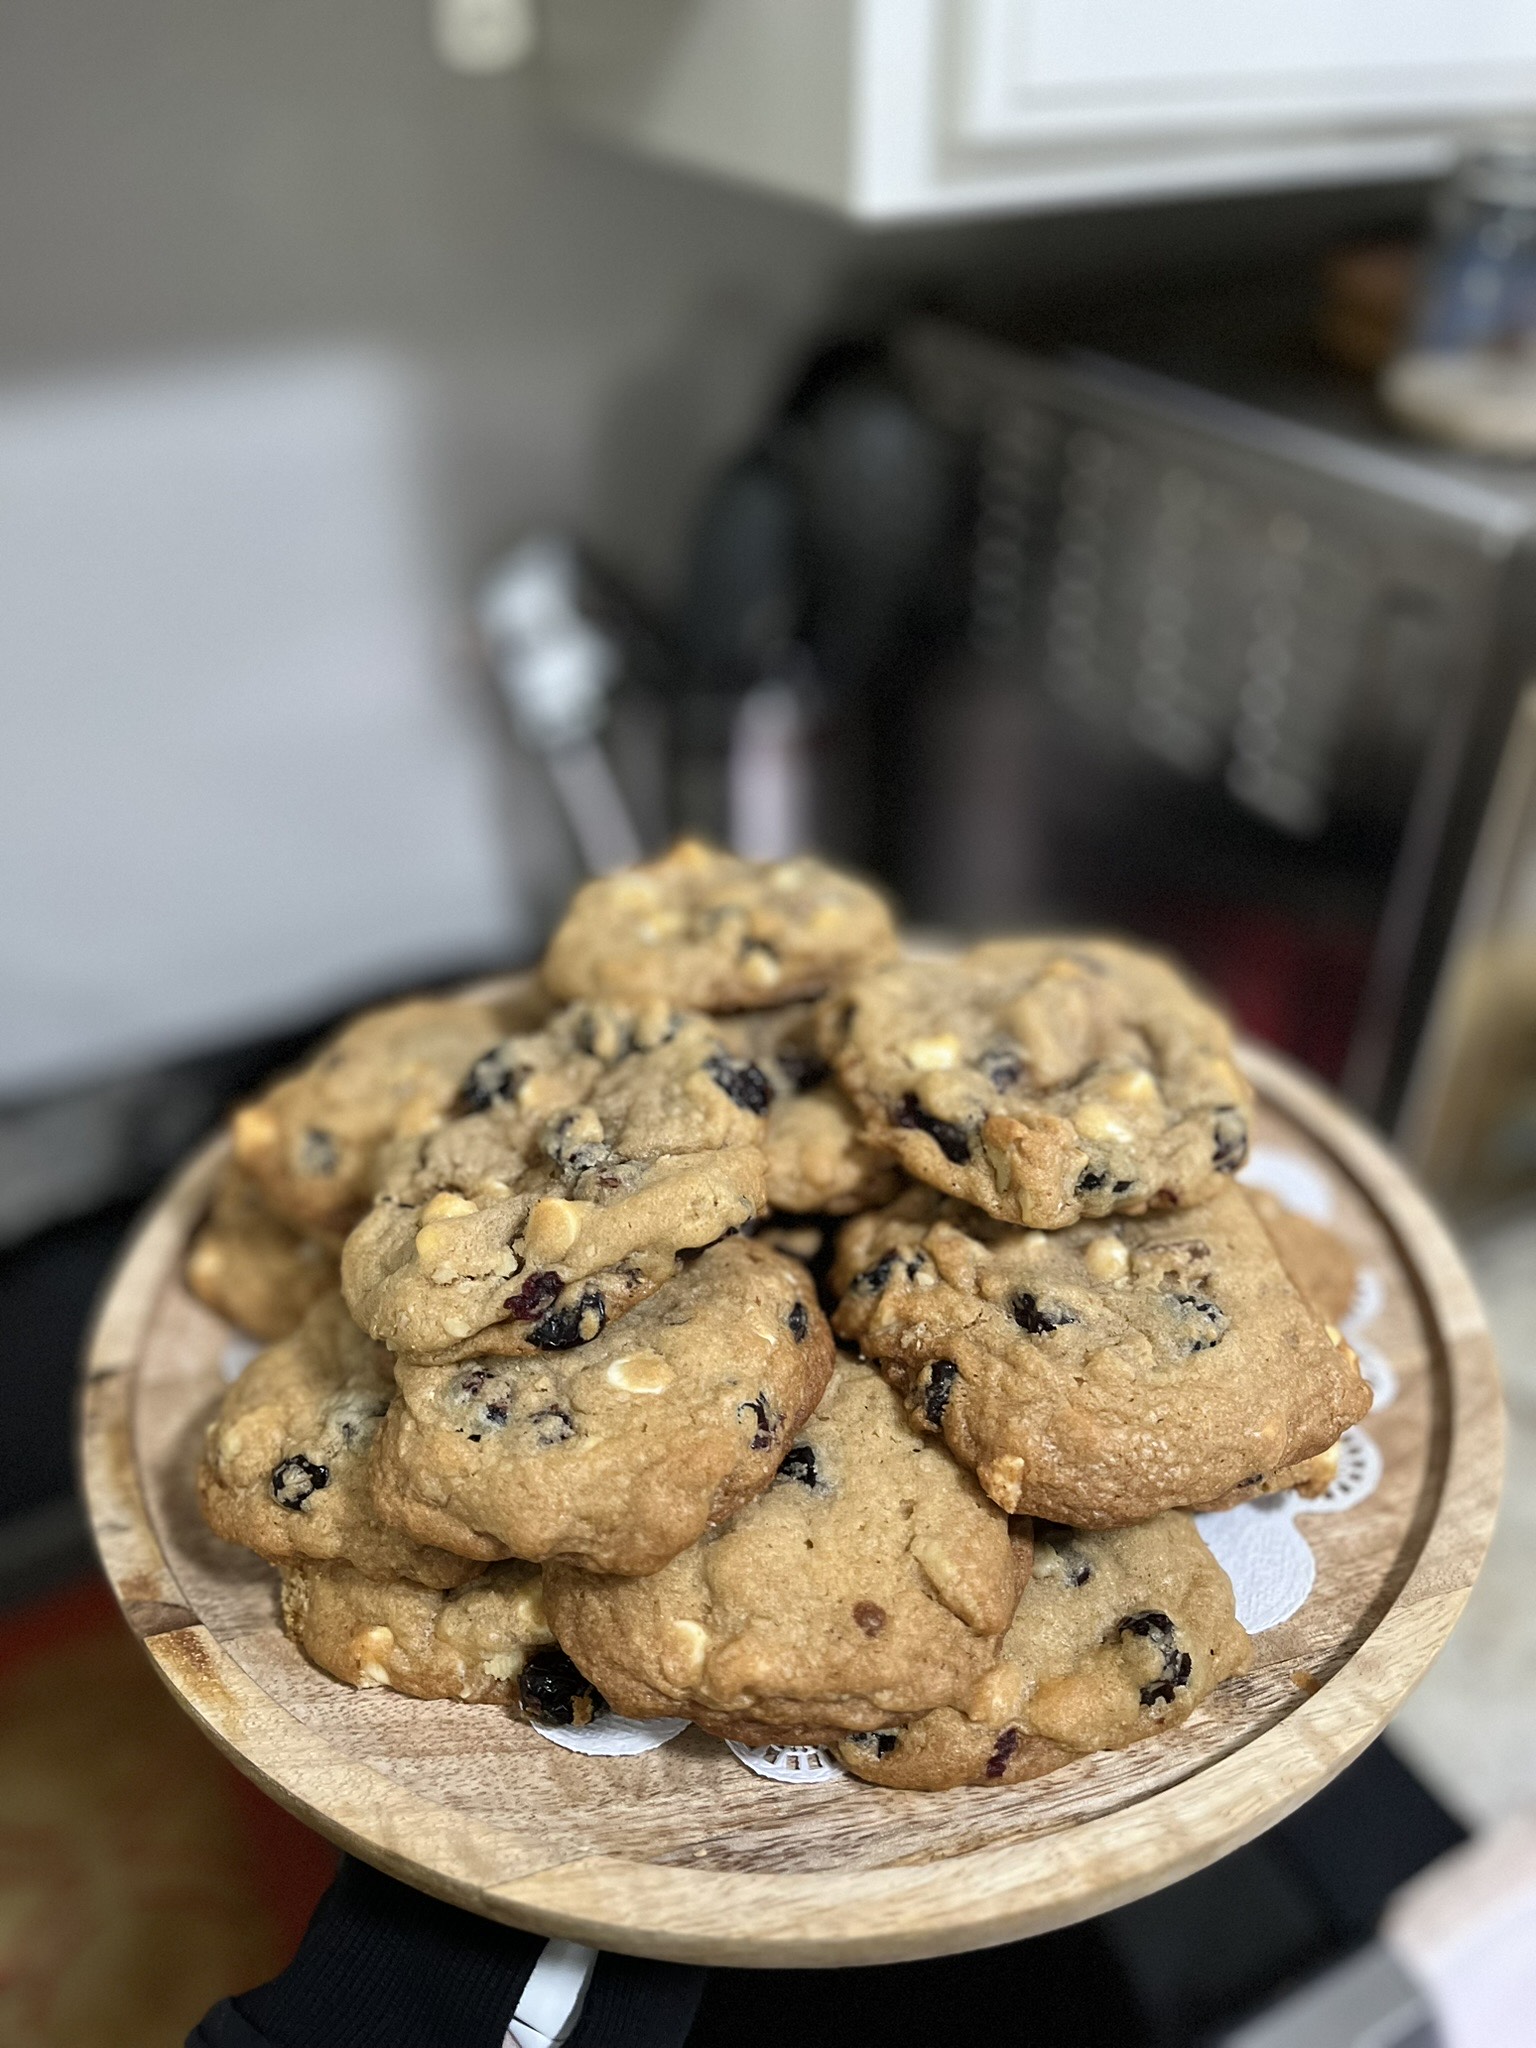
Holidays are coming!! and that means cookie season is upon us! December is meant for warm cookies straight from the oven with a hot drink on the couch… hiding from the cold and rain outside. I love a cookie that has some crunch, some sweet, and some salt, so why not add some tart into the mix! Featuring the cranberry white chocolate walnut cookie! Cranberries feel so fall and so holiday, so they’re perfect in a cookie.

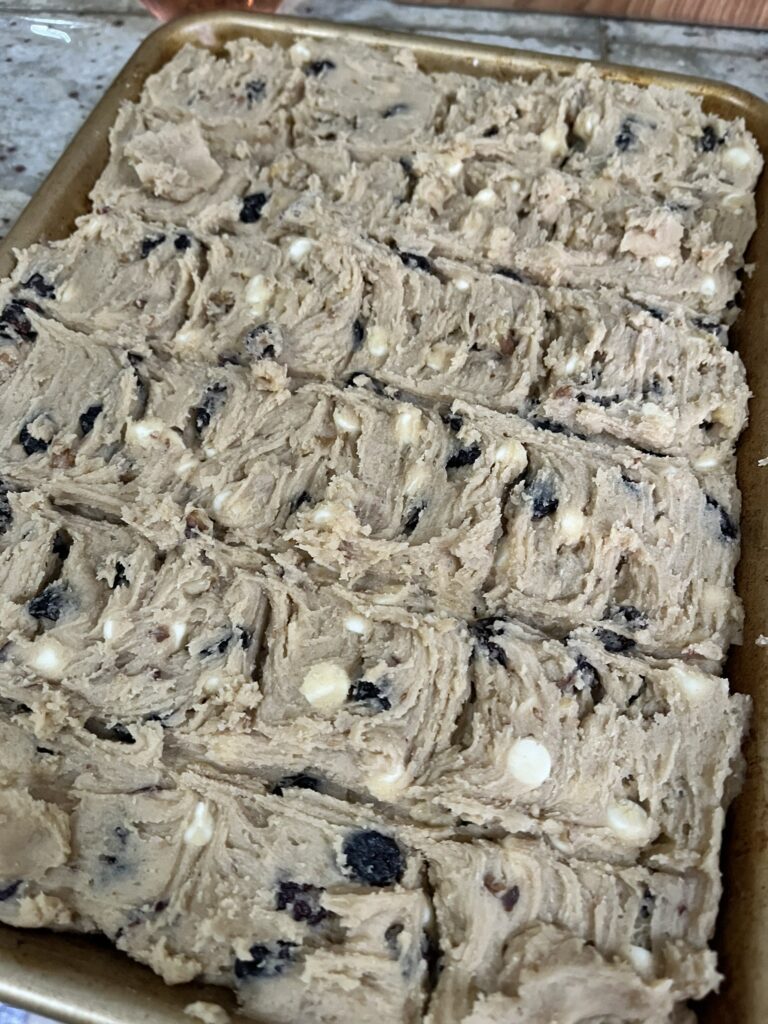
Like most cookies, I recommend making your dough at least a day in advance of when you plan to bake them. They just end up being tastier and if you have too much, you can just freeze them. Instead of pre-scooping and freezing on a tray, I’ve been in the habit of squishing it all in a tray, portioning into squares, pre-slicing, and then popping it all into a reusable bag in the freezer. Later I can thaw slightly, break off the squares and then bake!

Ingredients:

Cranberries – a dried cranberry is perfect

Walnuts – Use whole walnuts or walnut pieces. They kind of end up breaking up more in the stand mixer regardless.

White chocolate – I used chips, but if you’re extra fancy, go for the chunks!

Cranberry White Chocolate Walnut Cookies

Print Recipe
Salty, sweet, tart, crunchy, soft cookies, perfect for the holidays!
Course Dessert
Keyword cookies, cranberry, walnut, white chocolate
Servings 24 cookies

Equipment

  • 1 Stand mixer recommended

Ingredients

  • 1 cup butter softed
  • 1 cup brown sugar packed
  • 1/2 cup white sugar
  • 1 tsp vanilla extract
  • 2 eggs
  • 2 1/2 cups all-purpose flour
  • 2 tsp salt
  • 1 tsp baking soda
  • 1 1/3 cup walnuts toasted
  • 1 1/3 cup white chocolate
  • 1 1/3 cup dried cranberries

Instructions

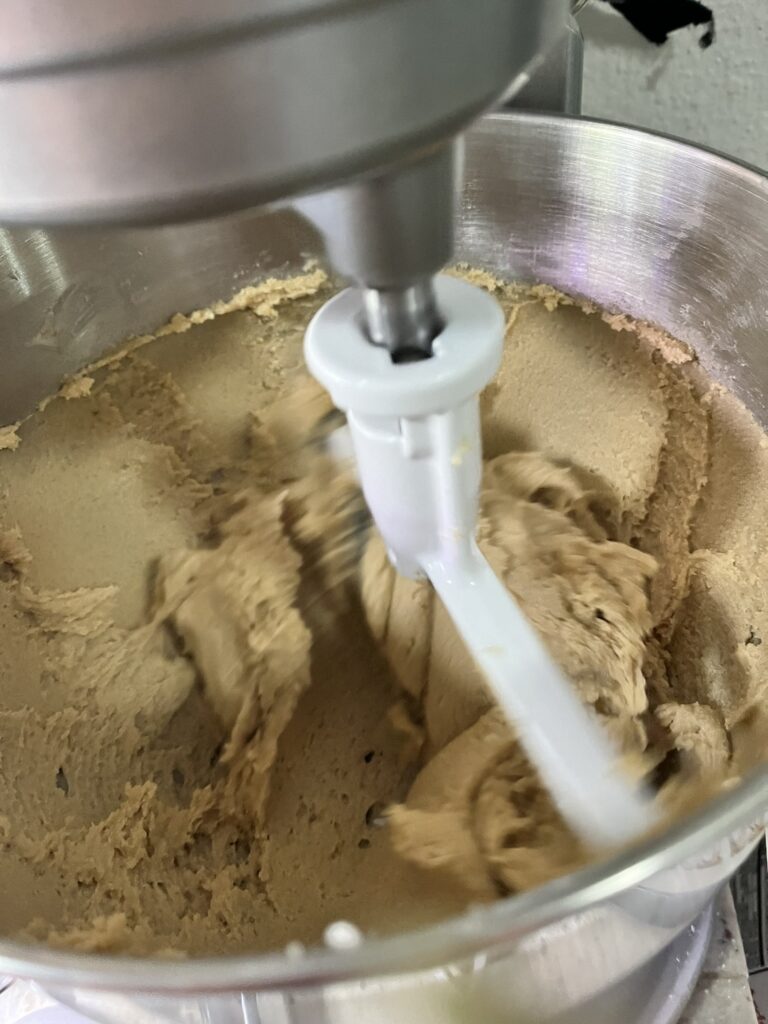
  • Cream together butter, brown sugar and white sugar until creamy and smooth. Periodically stop the mixer to scrape the butter and sugar off of the paddle.
  • Add vanilla extract and salt and continue mixing.
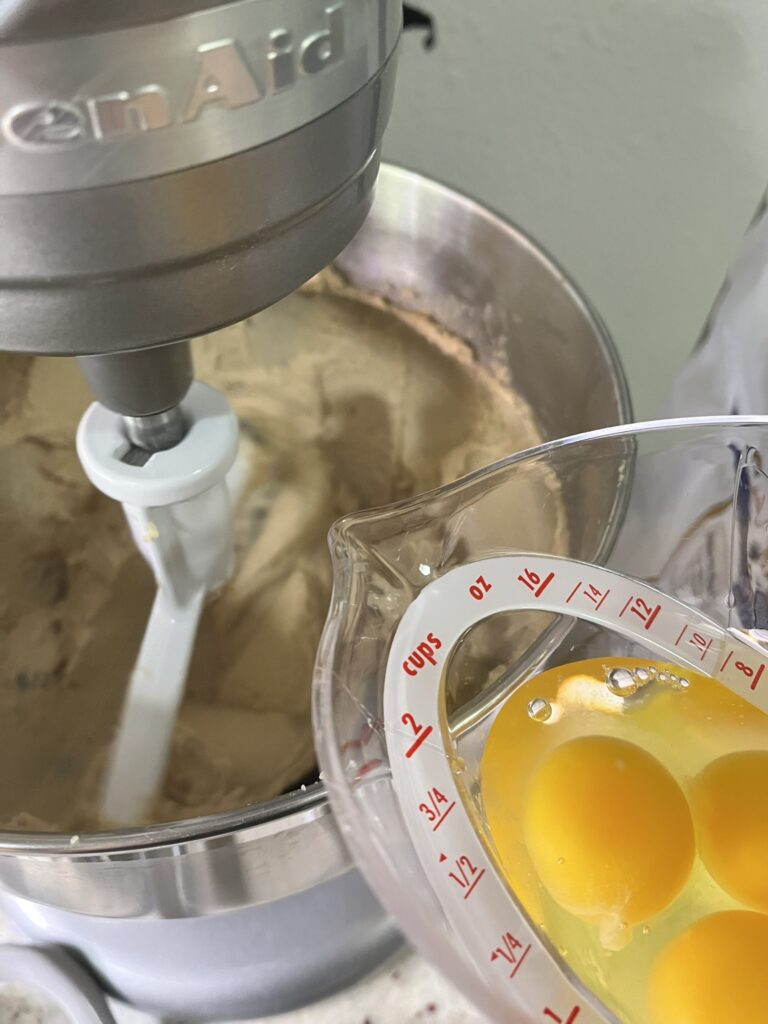
  • Add eggs to the mixer one at a time and continue mixing.
  • In a separate bowl, mix together AP flour and baking soda until just combined. Don't worry if it's a little streaky, you'll continue mixing with the mix-ins.
  • Add in the mix-ins and mix just another few seconds until the mix-ins are distributed.
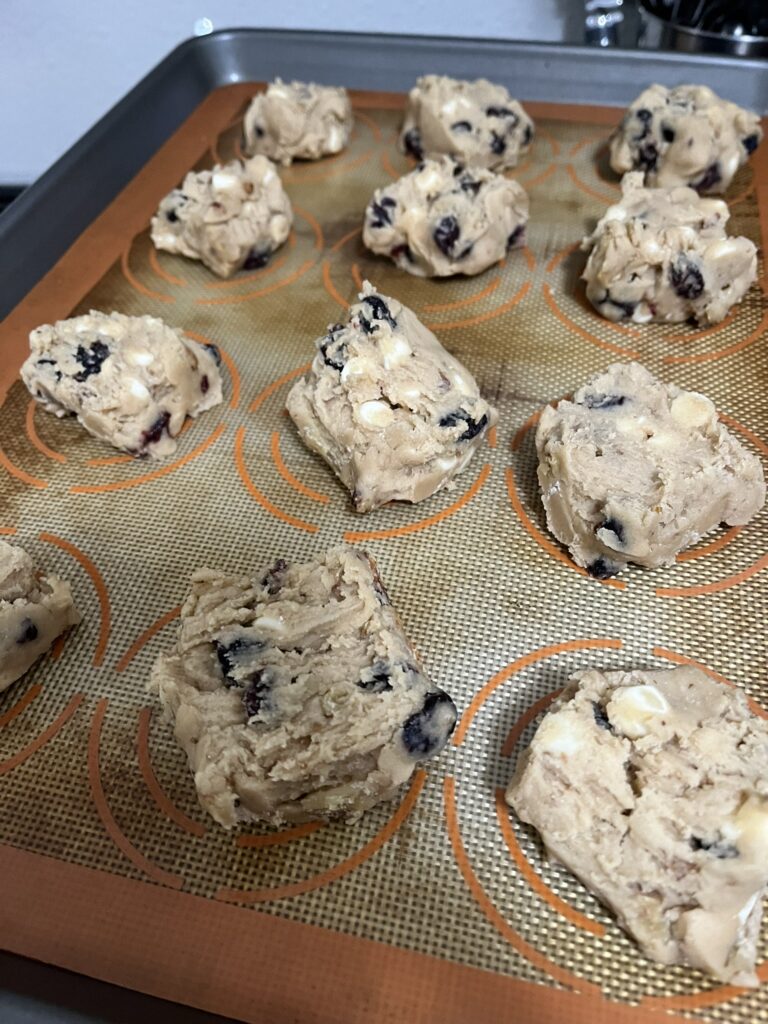
  • If you have time, pre-scoop your cookies and refrigerate for a few hours before baking.
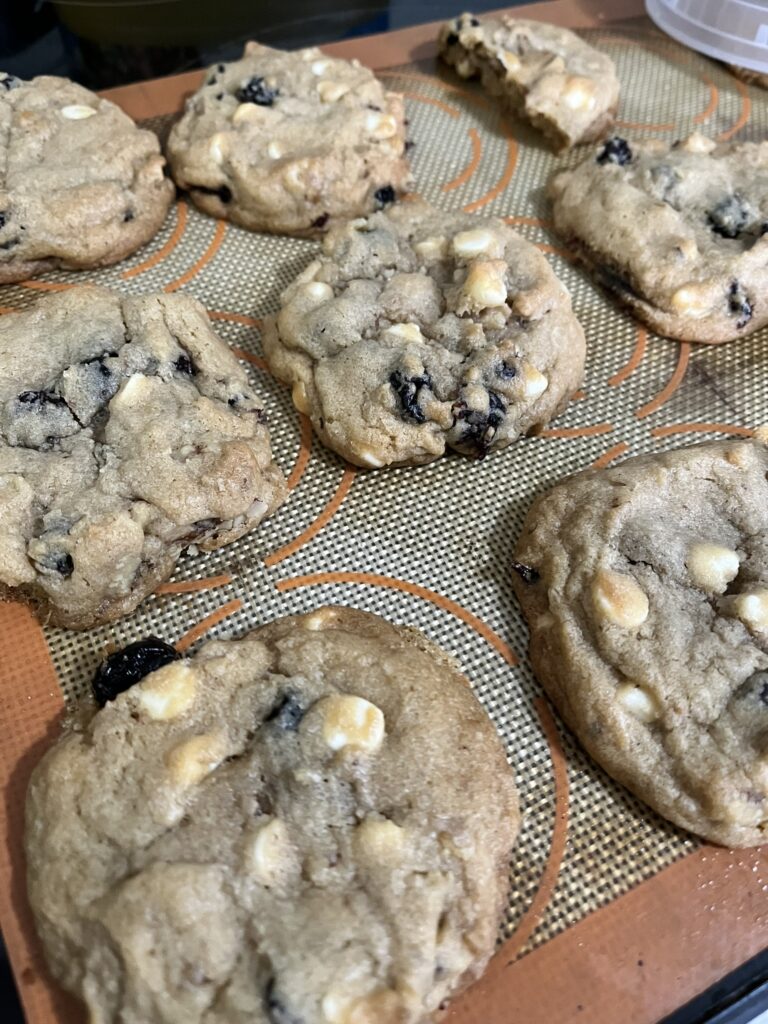
  • Bake at 350F for ~12 minutes. Cookies will look a little puffy but will deflate after removed from the oven. Allow to cool ~10 minutes before enjoying.

More cookies? Try Kitchen Sink Cookies or Chocolate Chip Walnut Cookies.

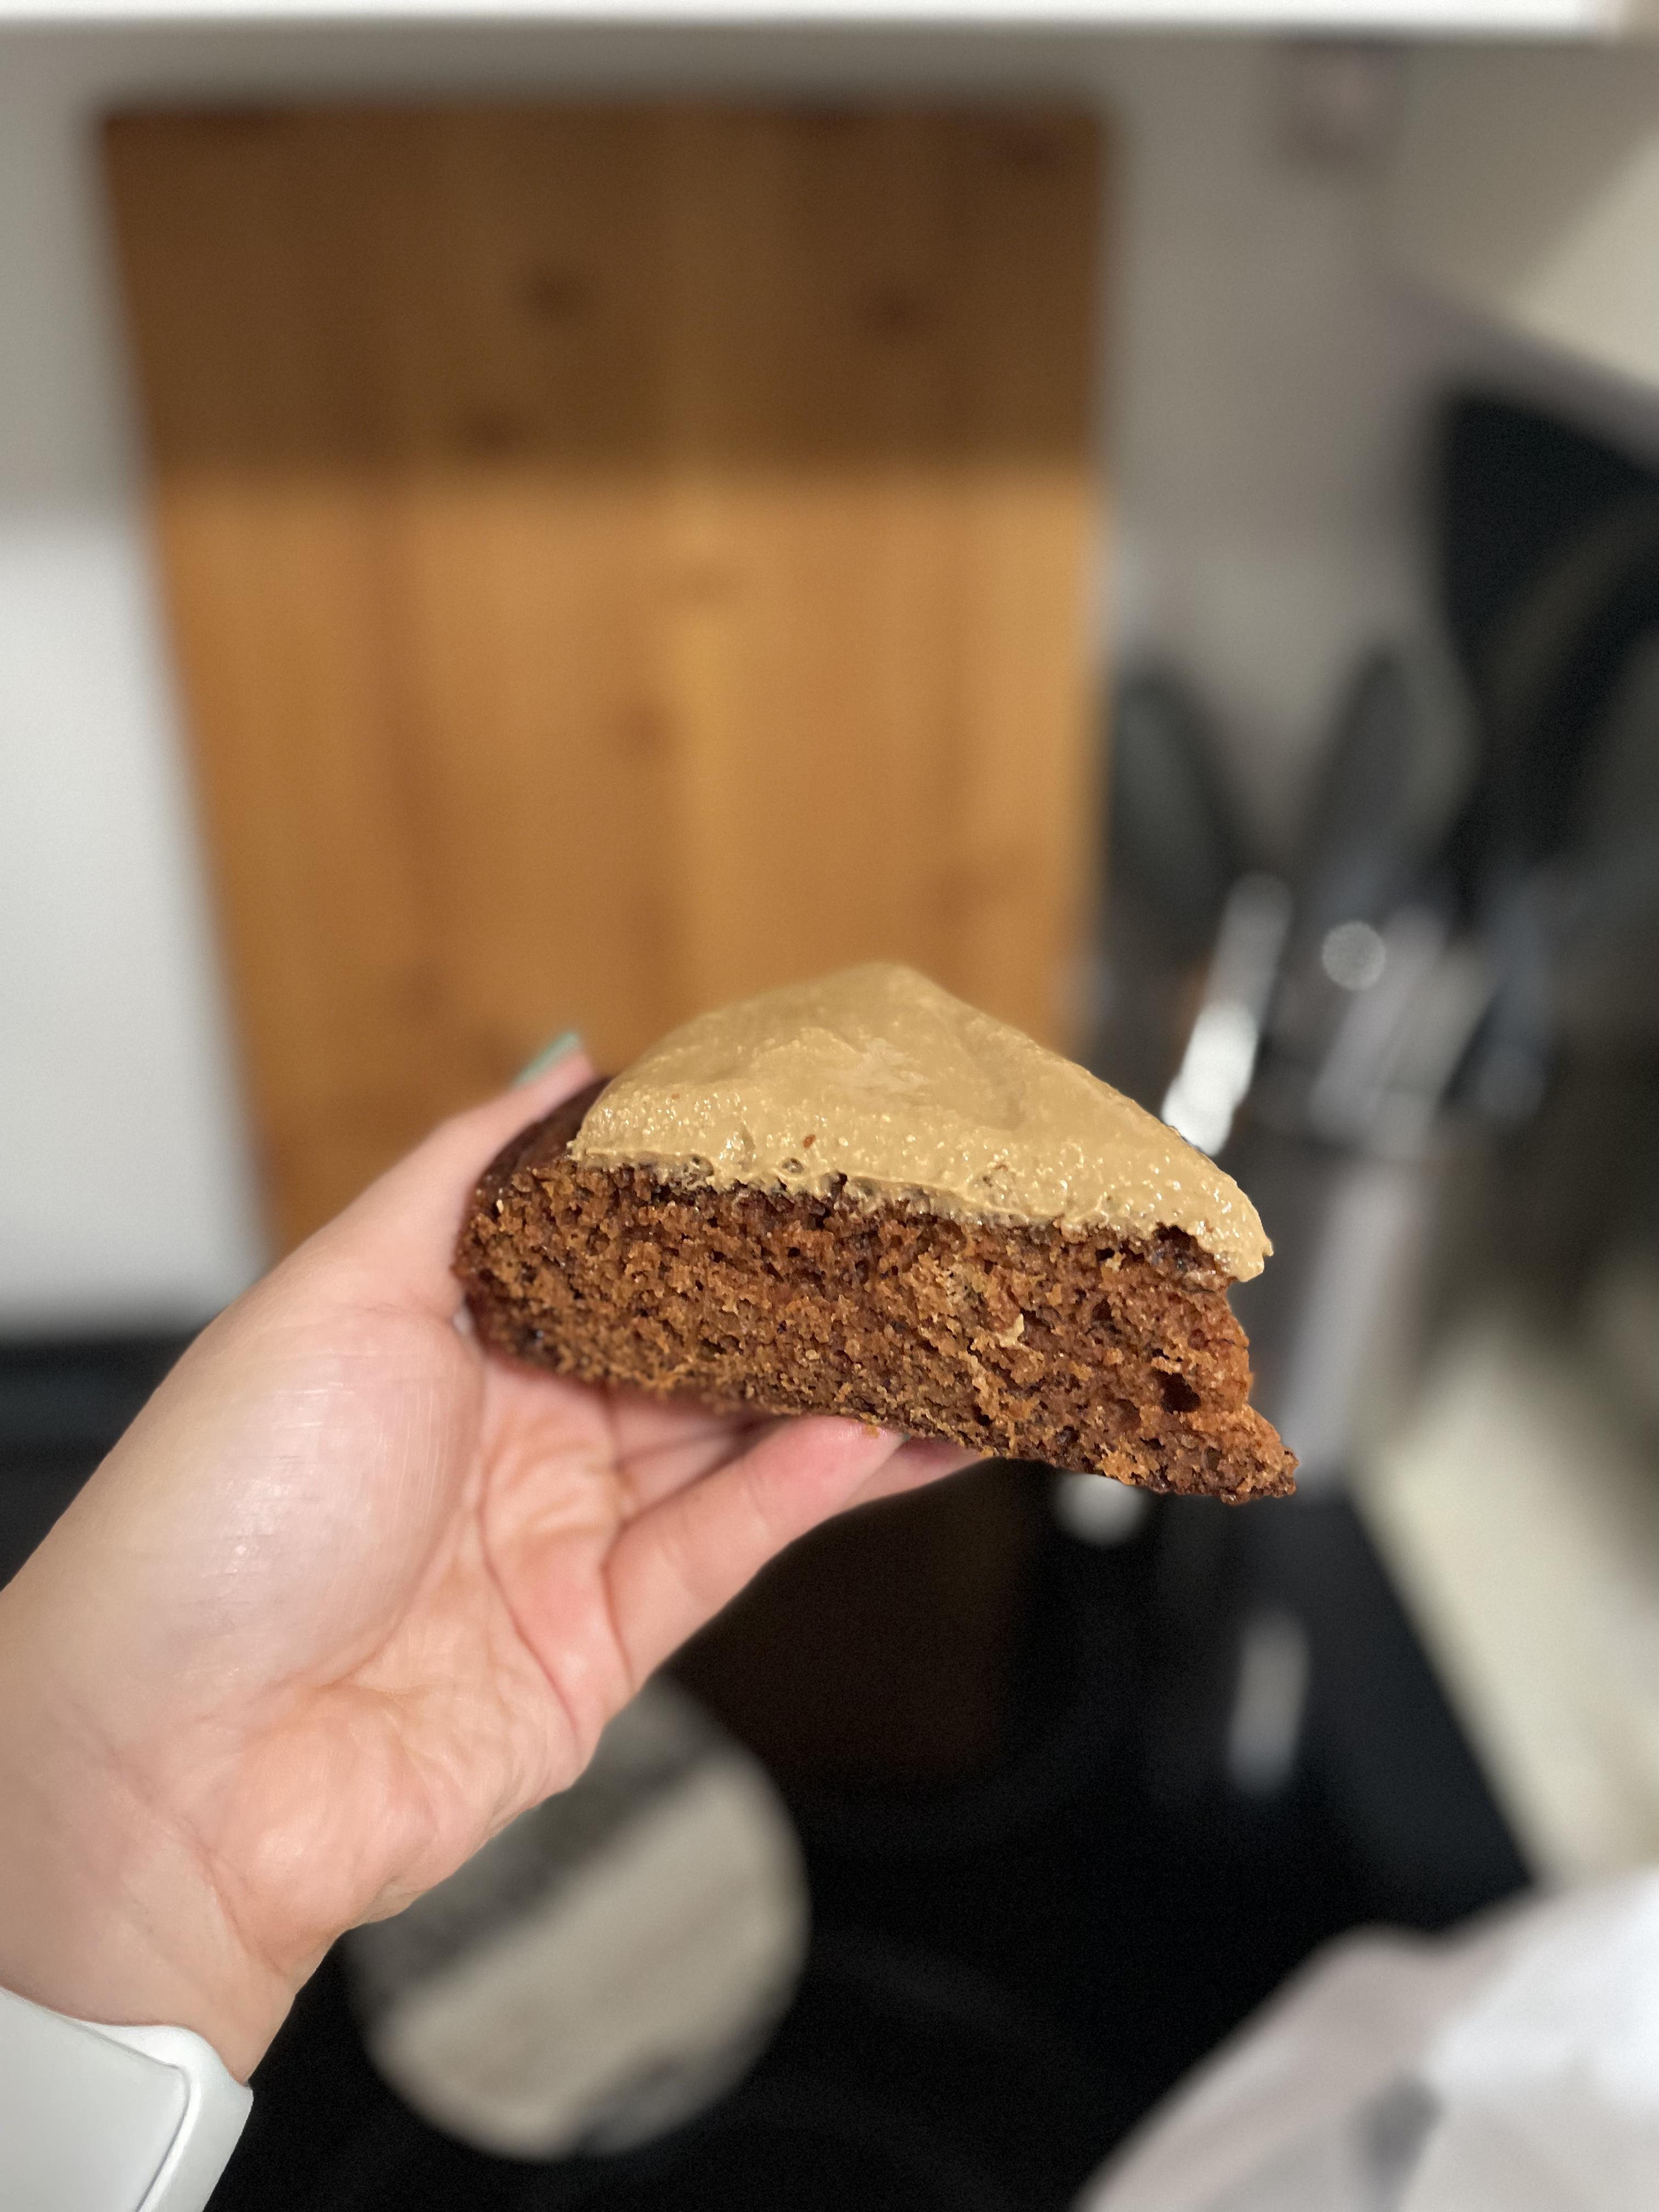
Dirty Chai Banana Cake

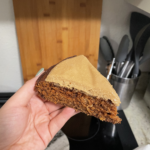
I’ve learned that I love a cooked banana, but a fresh banana…. mehh… I love a fried banana, banana bread, bananas foster, banana ice cream, and I realized… no one really makes banana cakes. I guess you could count a banana bread as a cake but it’s been marketed to be “healthy” and good for breakfast. For those that aren’t true cooked banana lovers, they won’t even tell that it’s banana. The chai mix gives the cake more of a spice cake flavor and the bitter notes from the coffee topping helps balance the sweet banana. It has those warm fall spices, reminiscent of a hot dirty chai.

Ingredients

Bananas – The browner the better! If you have bananas that are ready, but you aren’t ready, you can freeze your bananas. I do recommend peeling them before storing. If you’re starting from frozen, I do recommend that you fully thaw and drain your bananas before you start.

Chai powder – I use the one from Blue Lotus, but you can use whichever chai mix you like. This one does have powdered, instant tea in it, along with the chai spices.

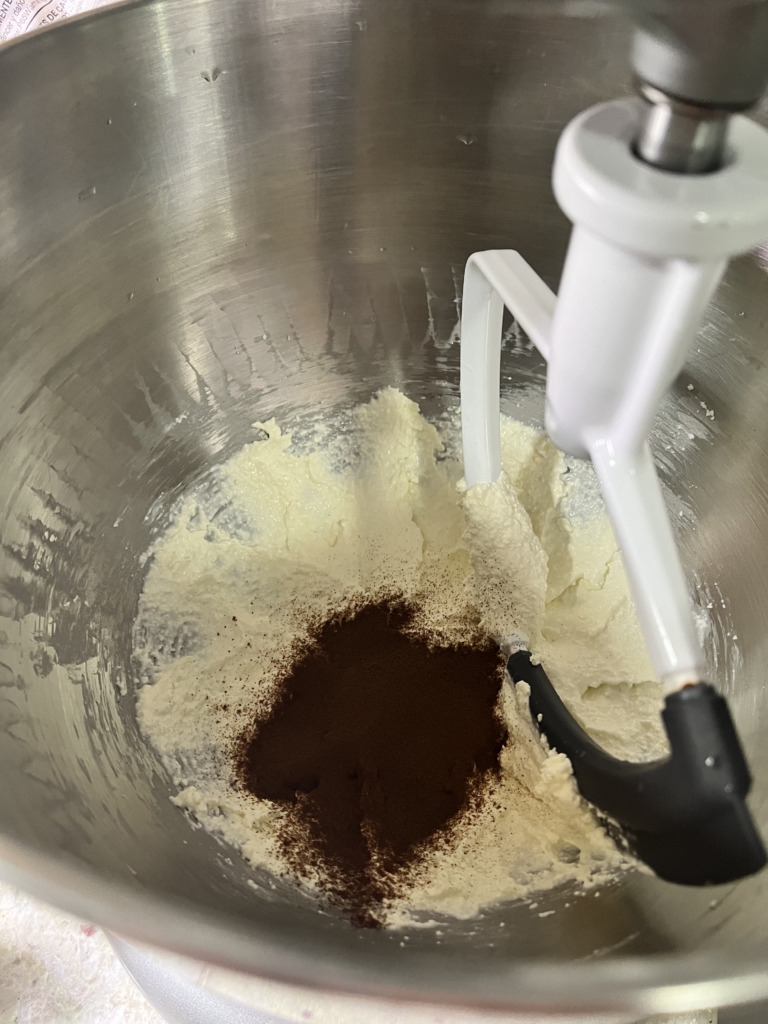
Espresso – I use Vietnamese instant coffee as I find it more robust and flavorful, but it could be substituted with instant espresso too.

Dirty Chai Banana Cake

Print Recipe
Course Breakfast, Dessert
Keyword banana, cake, chai, coffee, dessert, espresso
Cook Time 35 minutes

Equipment

  • 1 10" cake pan

Ingredients

Cake

  • 3 bananas
  • 3/4 cup neutral oil
  • 1 cup white sugar
  • 1/2 cup brown sugar
  • 3 eggs
  • 1 tsp chai spice mix
  • 1 tsp salt
  • 1 3/4 cup all-purpose flour
  • 1 1/2 tsp baking soda

Topping

  • 4 ounces cream cheese
  • 1/4 cup heavy cream
  • 1 tsp instant espresso
  • 1 tbsp sugar
  • pinch of salt

Instructions

  • Mash your bananas.
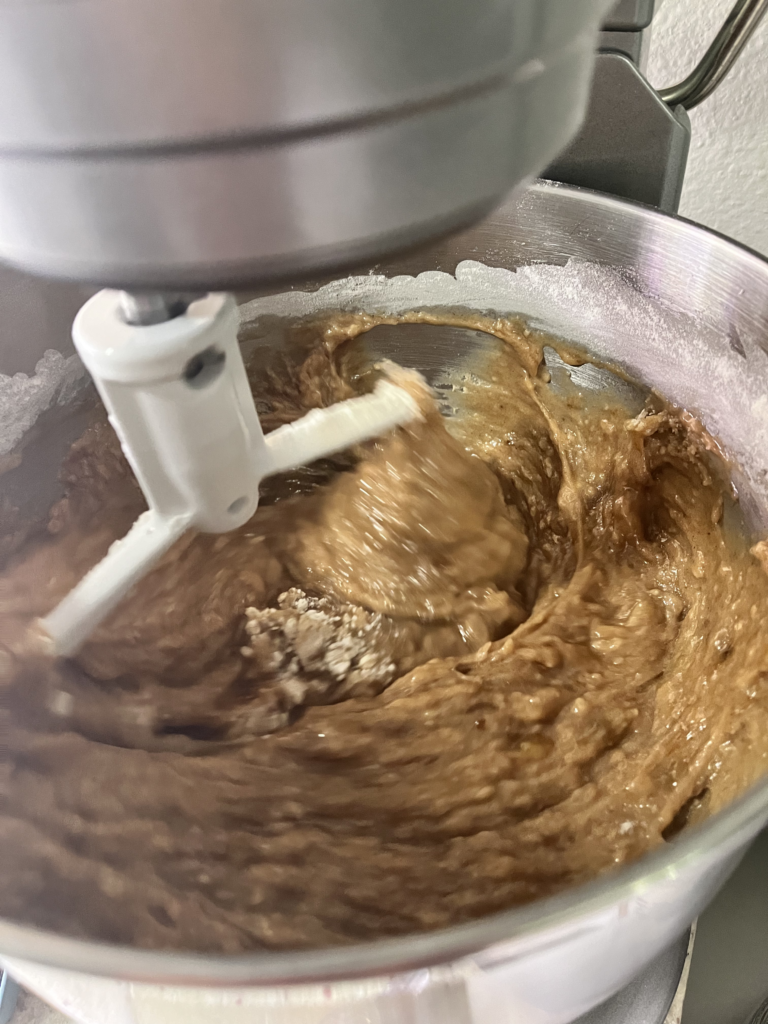
  • Mix with eggs, sugars, salt, chai spice mix, and oil.
  • Add flour and baking soda.
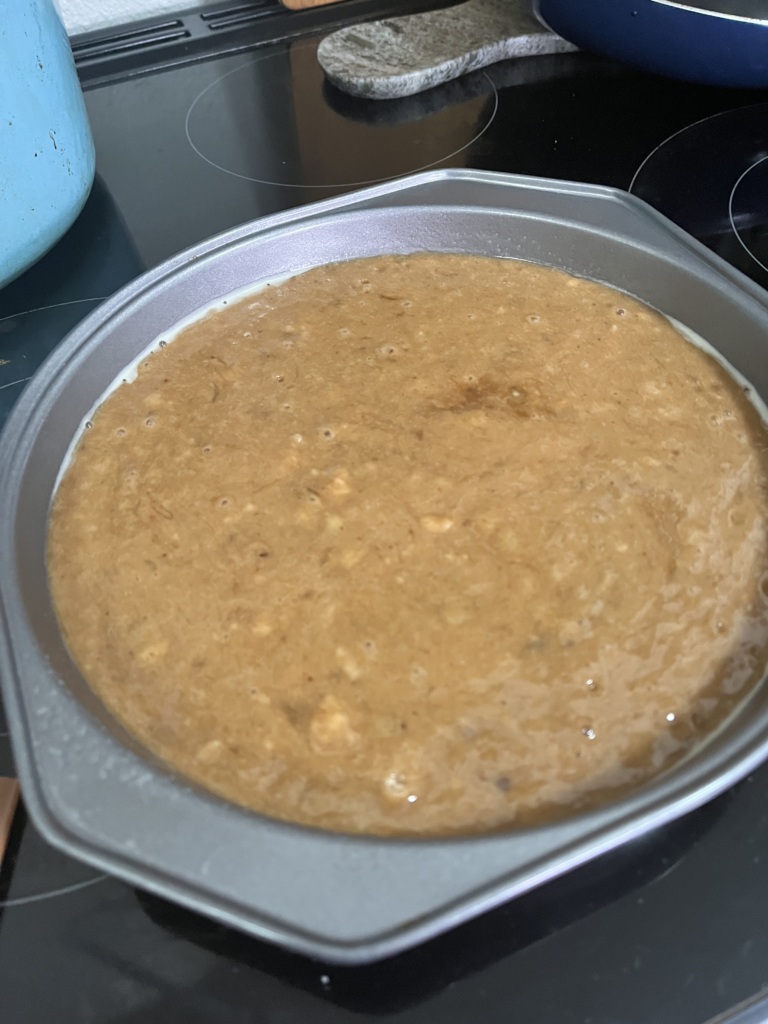
  • Pour into a 10" cake pan and bake at 350F for 45 minutes, tenting with foil if the top starts getting very brown.
  • Check cake with the toothpick. Allow to cool completely.
  • Mix cream cheese, heavy cream, espresso, sugar, and salt together.
  • When cake is completely cooled, add on top! Cut and serve.

Want regular Banana Bread? Could also try Zucchini Bread.

Honey Miso Brussels Sprouts

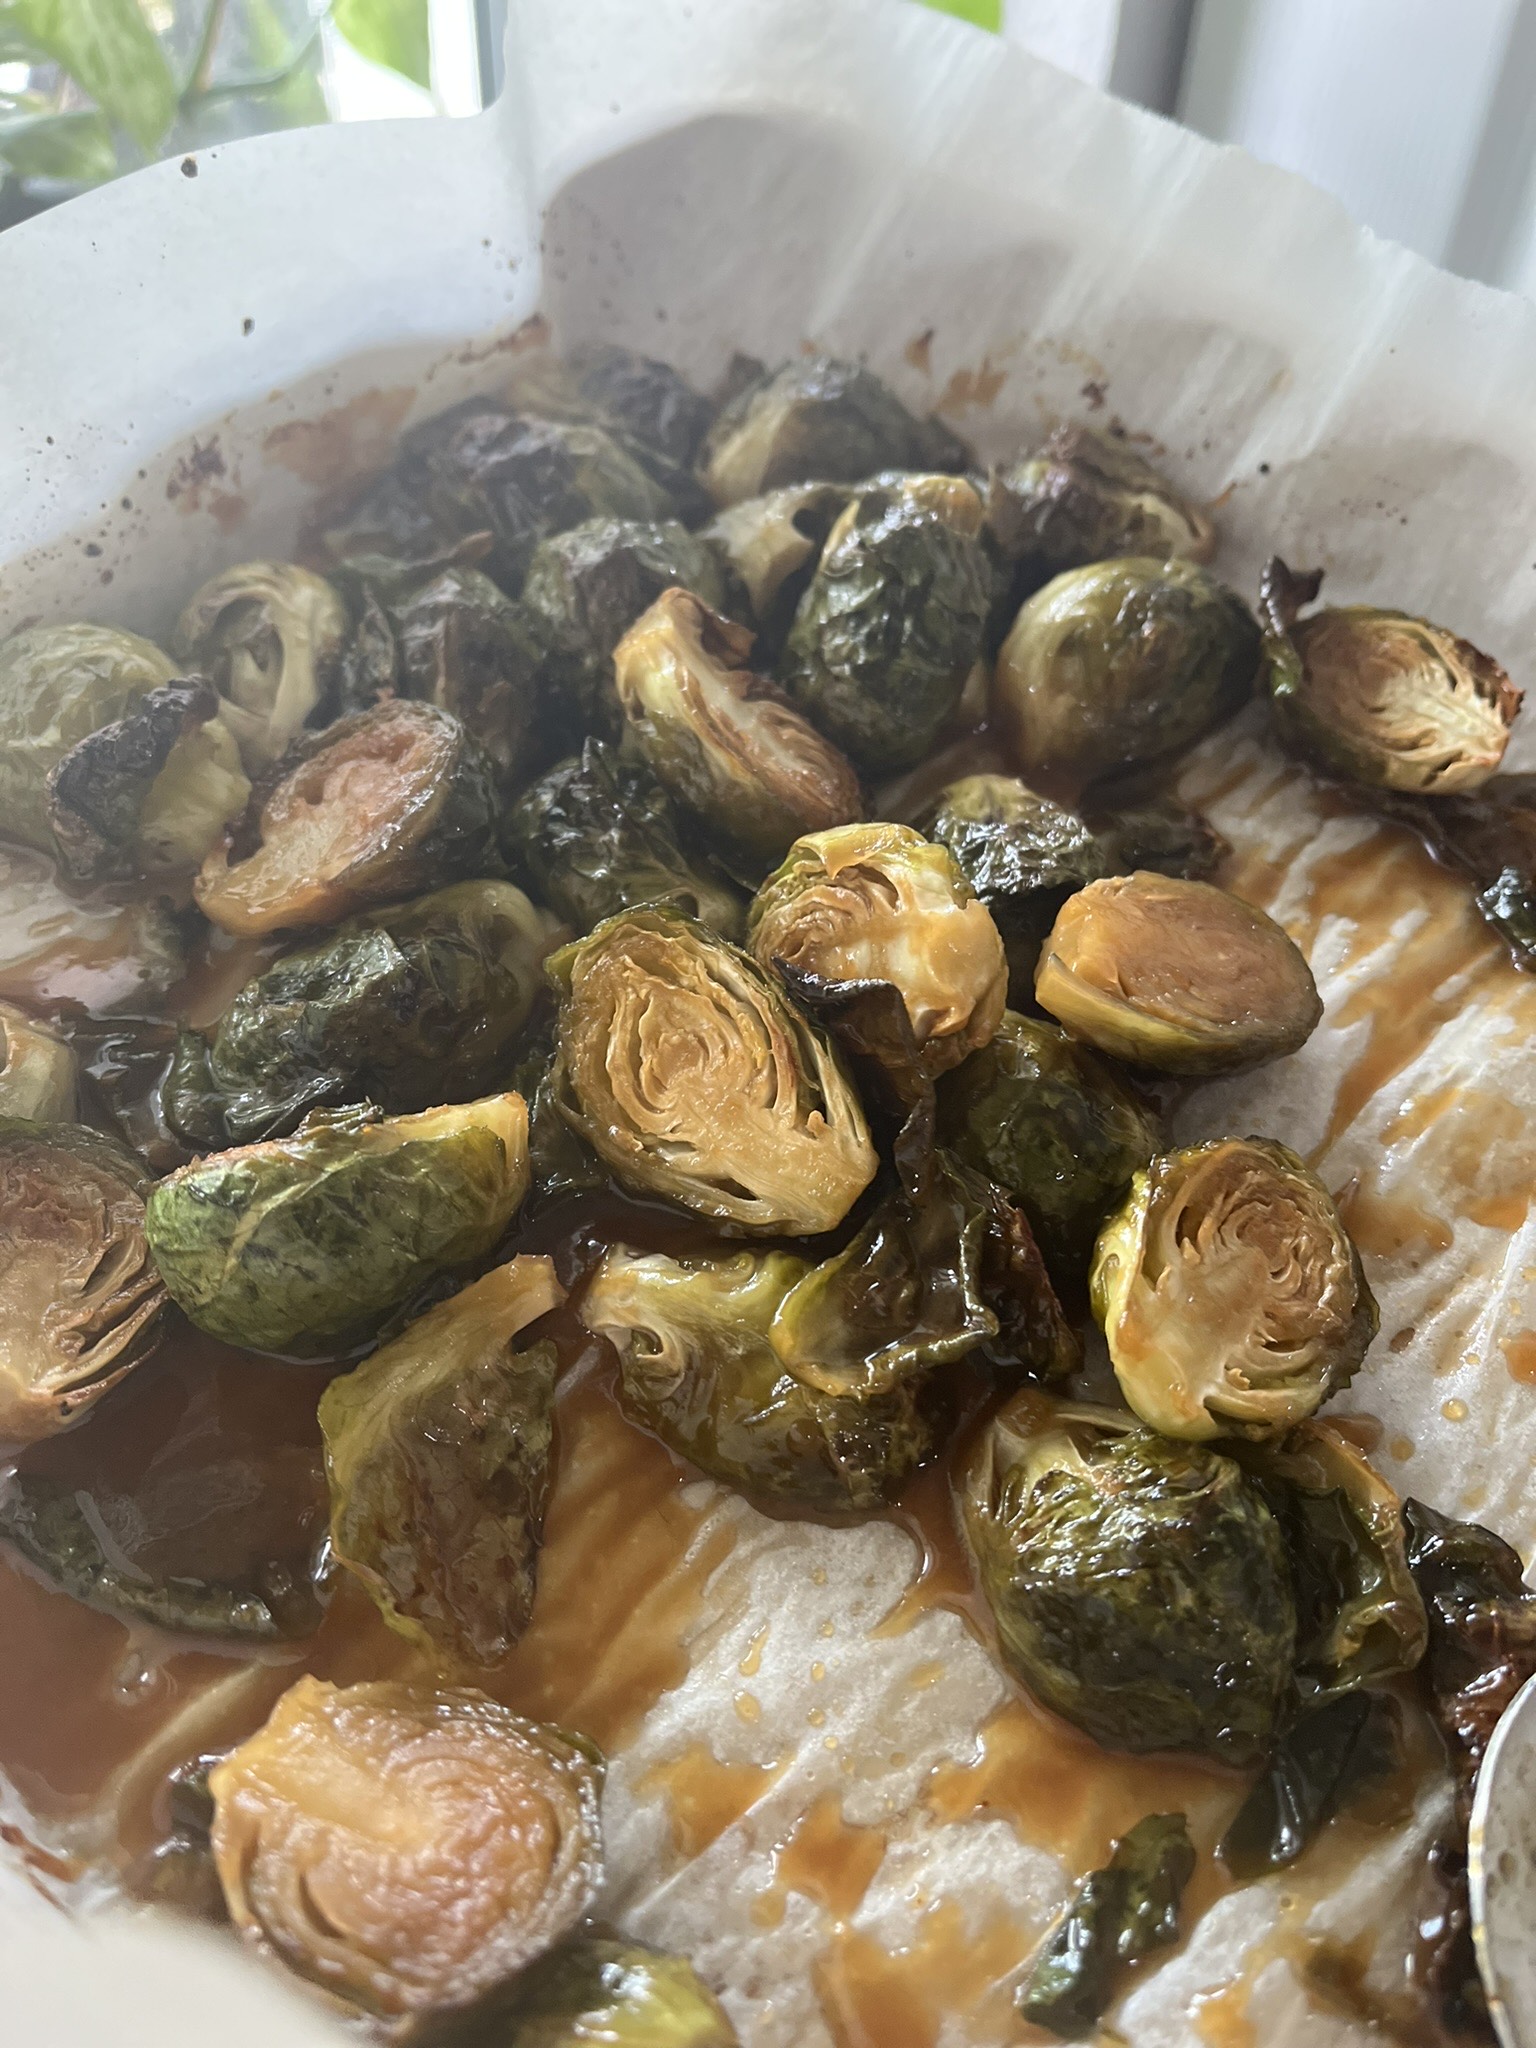
Fall is here and that means it’s brussels sprout season! I love these miniature cabbages roasted. They get so tender and their little leaves crisp up in the oven, so they’re full of textures. They’re a perfect side dish for the upcoming holidays. Honey gives the bitter vegetable a little bit of sweetness and the miso adds some savory, umami flavor. Pre-baking the brussels sprouts plain lets them crisp up before they’re tossed in the honey miso glazed and finished up in the oven. This sauce combination would also be delicious on top of salmon, chicken, or other vegetables.

Ingredients

Honey – adds a little sweetness! It could probably be substituted with agave, but the flavor is definitely different.

Miso – I used white miso. There really isn’t any substitute for miso.

Brussels sprouts – Full of fiber, vitamin K and vitamin C. Eat them!

Honey Miso Brussels Sprouts

Print Recipe
Sweet & savory roasted brussels sprouts that are tender and crispy.
Course Side Dish
Keyword brussels sprouts, honey, miso
Cook Time 40 minutes

Ingredients

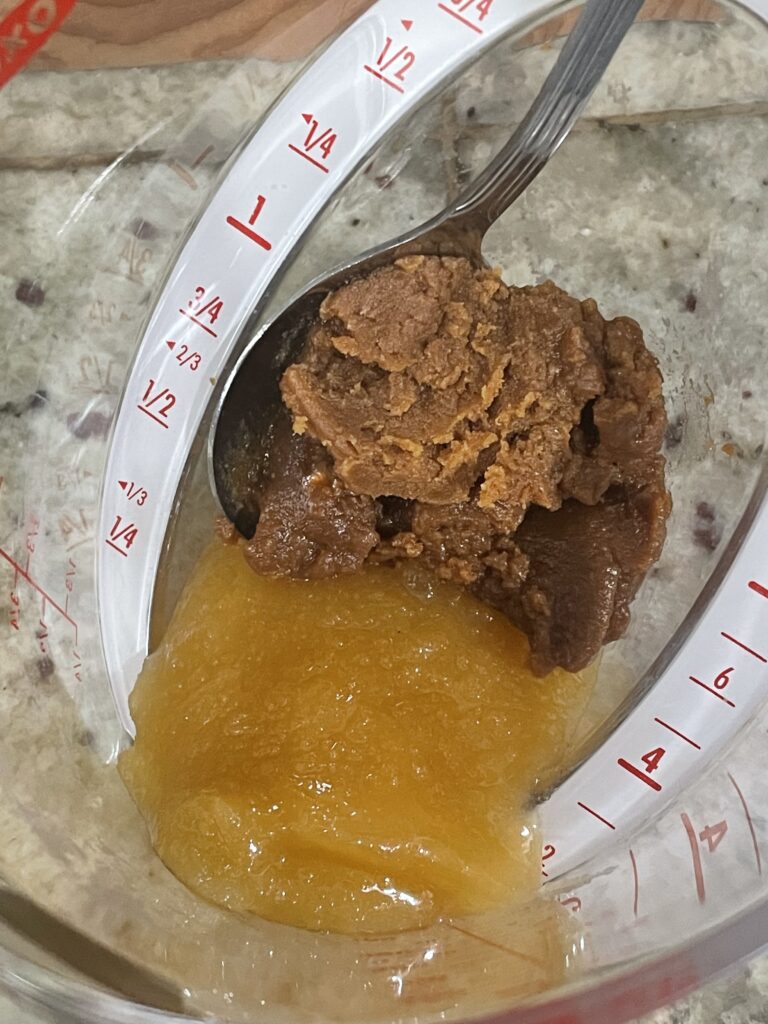
  • 1 tbsp honey
  • 1 tbsp white miso
  • 1 tbsp olive oil + extra
  • 2 pounds brussels sprouts

Instructions

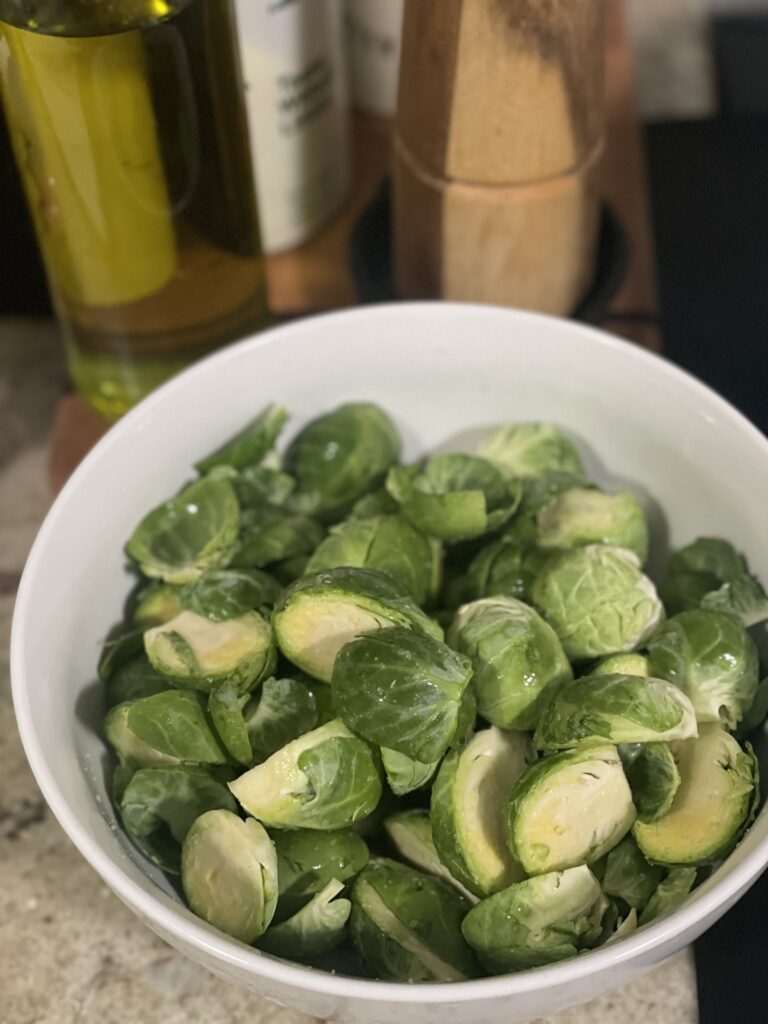
  • Trim and chop brussels sprouts into halves.
  • Toss with olive oil and lay flat on a baking sheet. Bake at 400F for 35 minutes, stirring on the baking sheet throughout the cook time.
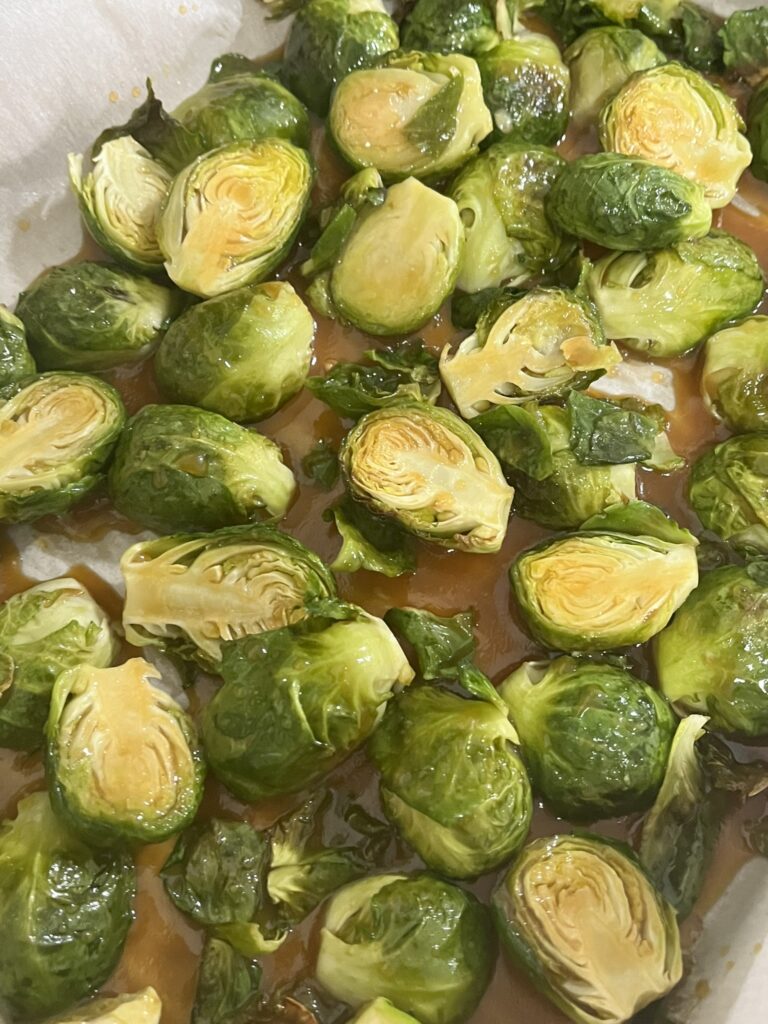
  • While baking, mix the sauce together. Add miso, honey, and oil, stirring until combined. If the sauce is difficult coming together, add a little bit of hot water to help dissolve the miso and honey.
  • After 35 minutes, pour sauce over brussels sprouts, stir, and bake for an additional 5 minutes at 400F.
  • Serve and enjoy!

Try another variation! Honey Balsamic Roasted Brussels Sprouts

Honey Milk Bread

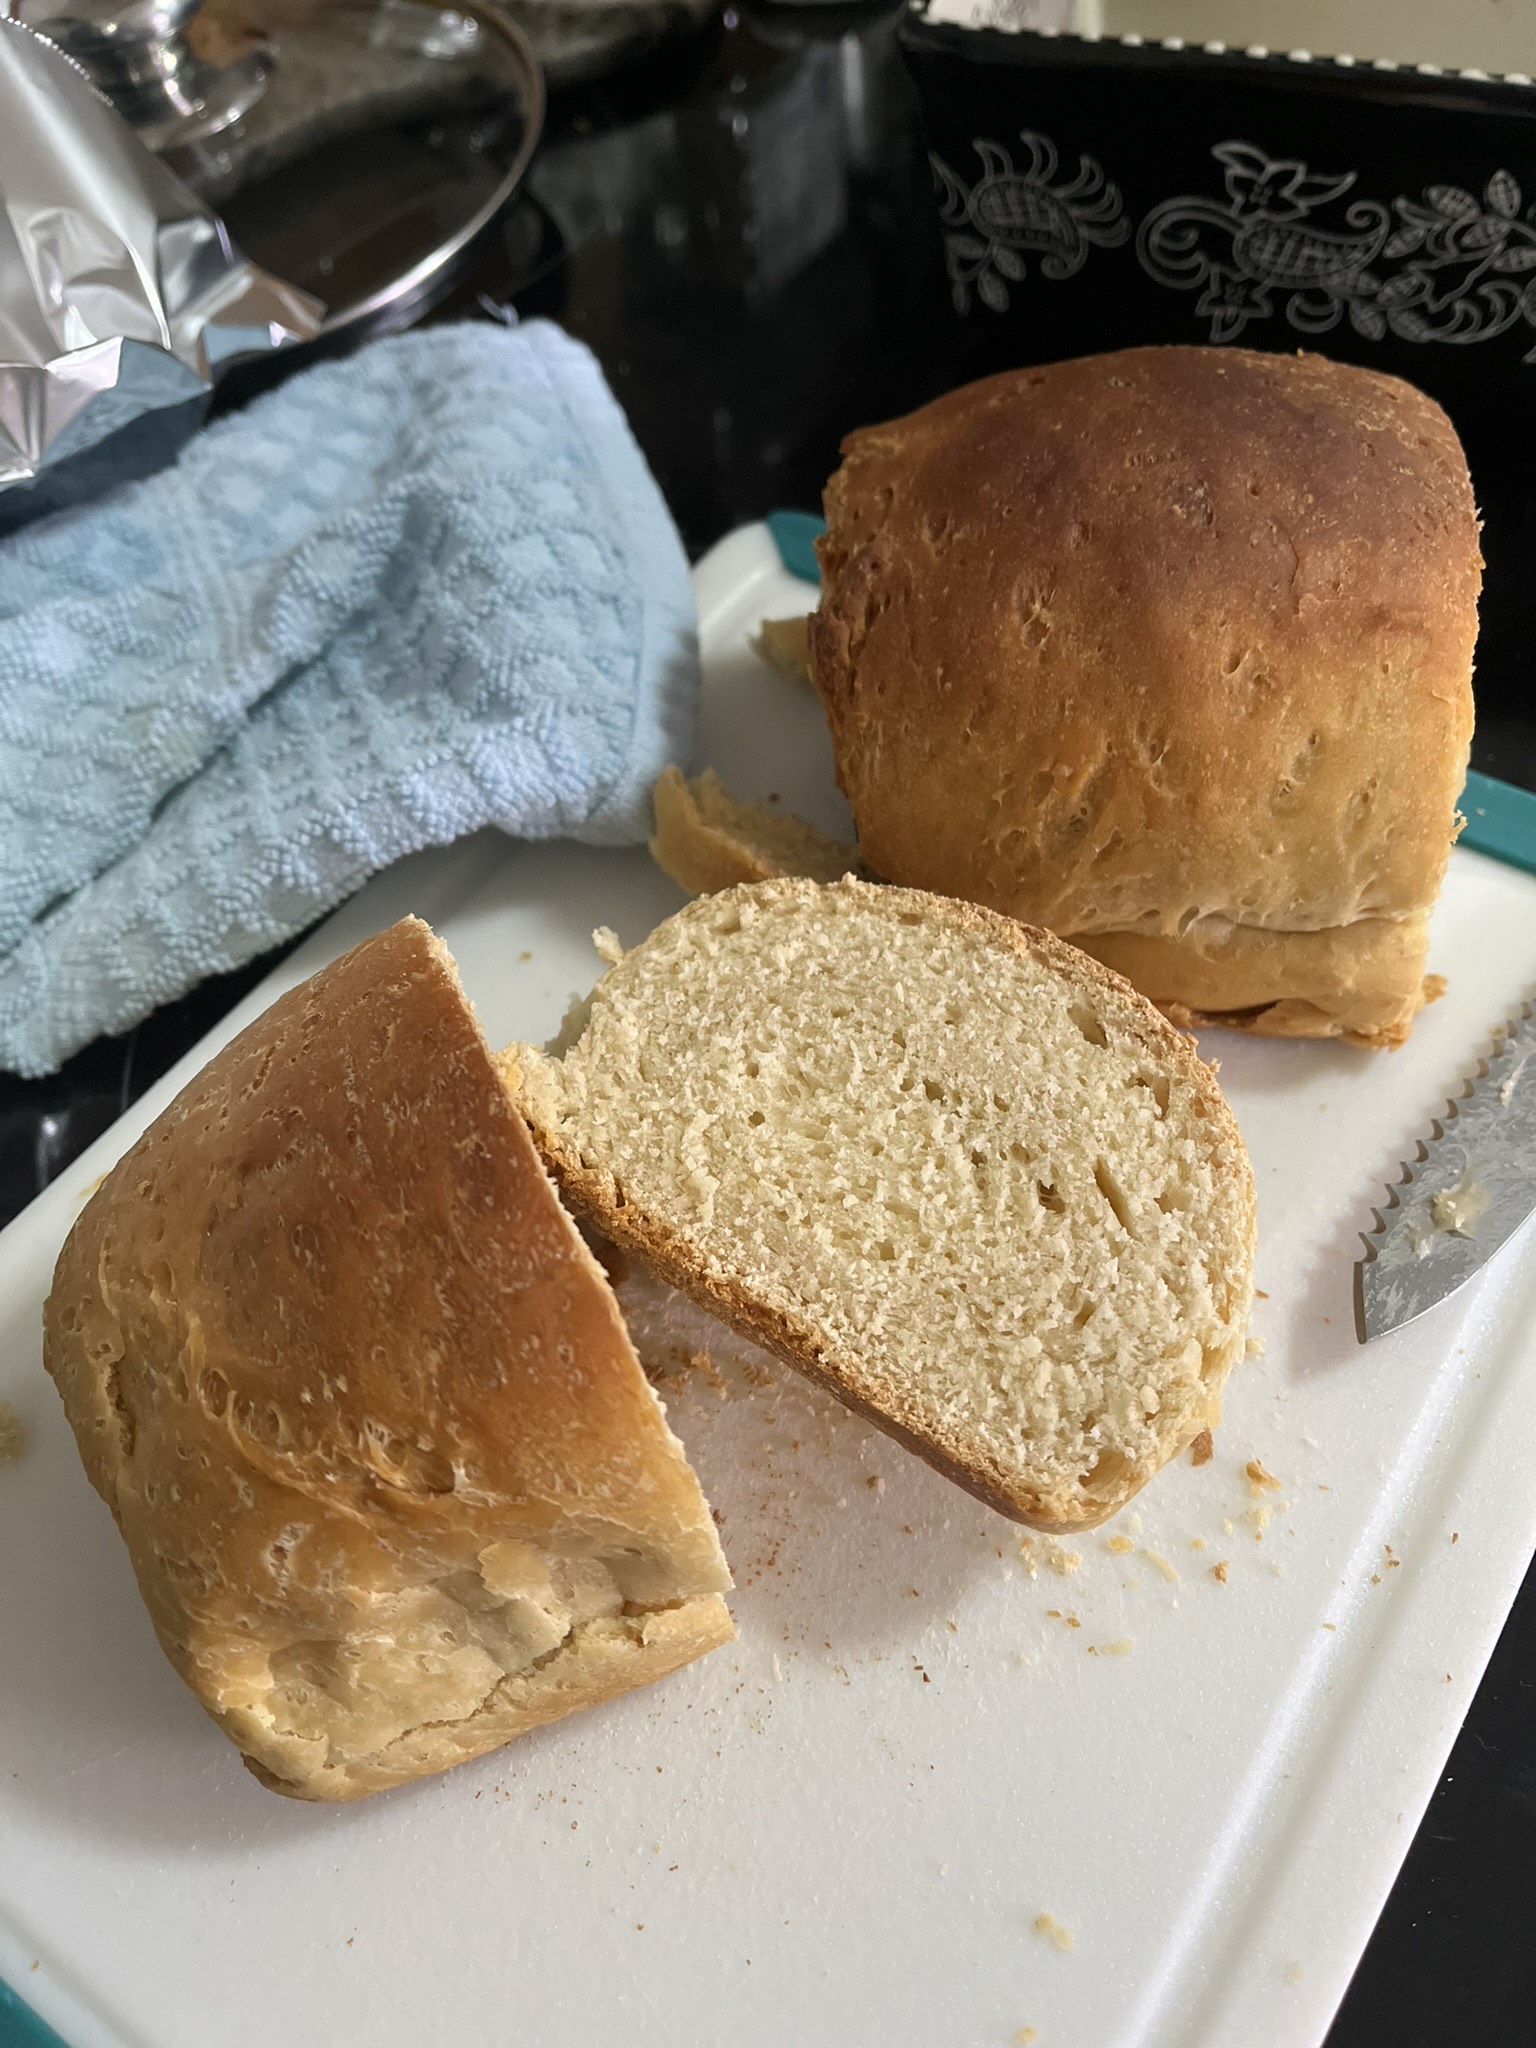
We’re deep into fall, so that means time for more baking. A hot oven to help warm the house and some fresh bread to snack on. This honey milk bread is a little denser than your traditional Japanese milk bread. Milk bread comes together quickly with simple ingredients. If you don’t have a stand mixer, you’ll work up a sweat kneading this dough, but it’s definitely worth it. Milk bread is so soft and fluffy, so easy to eat. Extracts and fillings could easily be added to change the taste, so customize as you wish!

Ingredients:

Heavy cream – this is where the fat comes from that makes the bread so yummy

Honey – this can be substituted with plain sugar and then other flavorings/extracts can be used to change up your type of milk bread

All-purpose flour – makes this recipe extra easy that you don’t need any other special types of flour

Honey Milk Bread

Print Recipe
Soft & fluffy bread perfect for snacking, sandwiches, or a side.
Course Side Dish, Snack
Keyword bread, honey, milk bread, vegetarian
Cook Time 20 minutes

Equipment

  • 1 Stand mixer highly recommended

Ingredients

  • 2/3 cup heavy cream
  • 1 cup milk
  • 1/3 cup honey + extra for brushing
  • 1 tbsp dry active yeast
  • 1 tsp salt
  • 4 cups all-purpose flour

Instructions

  • In the bowl of the stand mixer, mix together heavy cream, milk, honey and yeast to ensure all of the yeast is moistened.
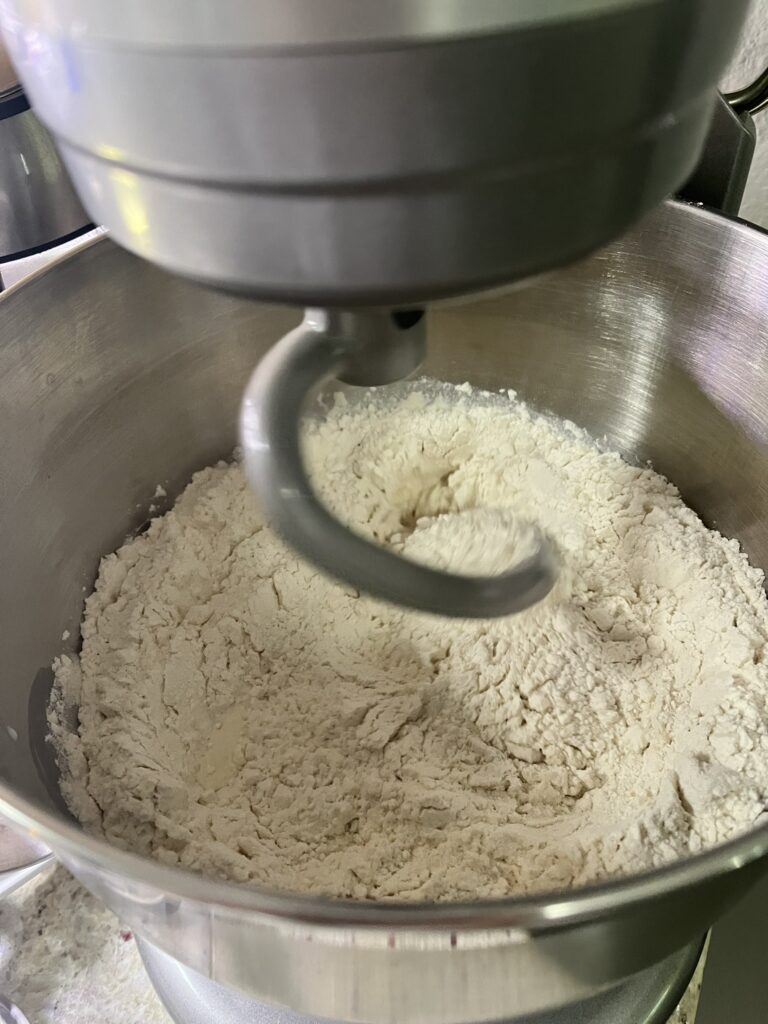
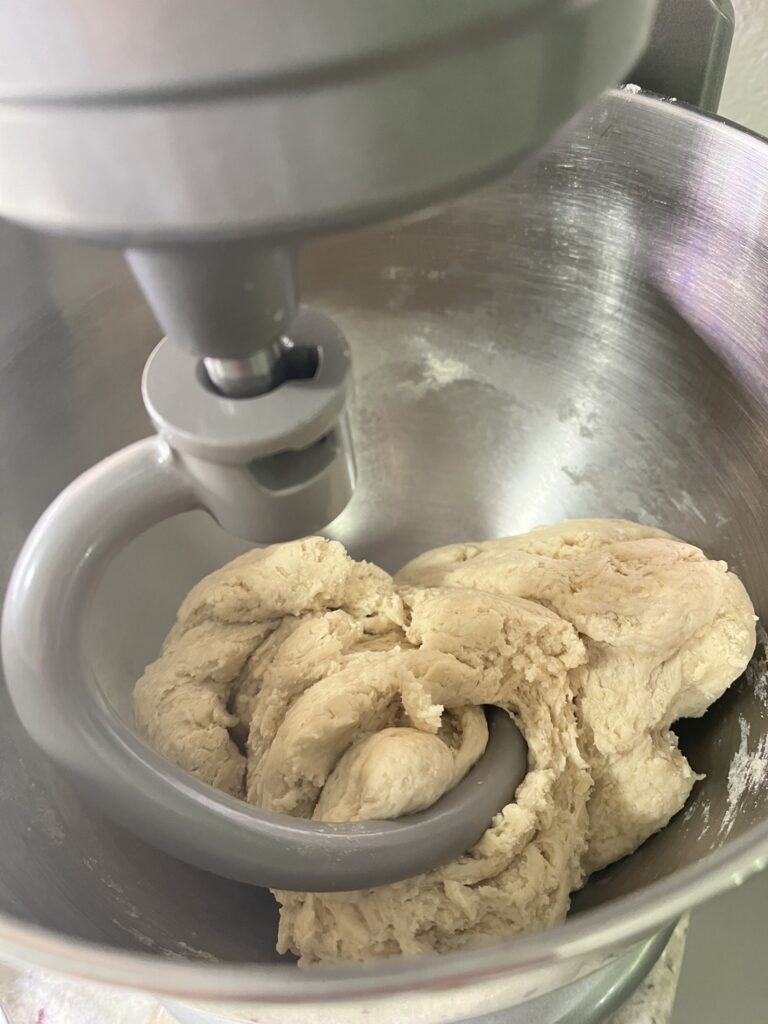
  • Add salt and flour and mix with the bread hook attachment for 10 minutes.
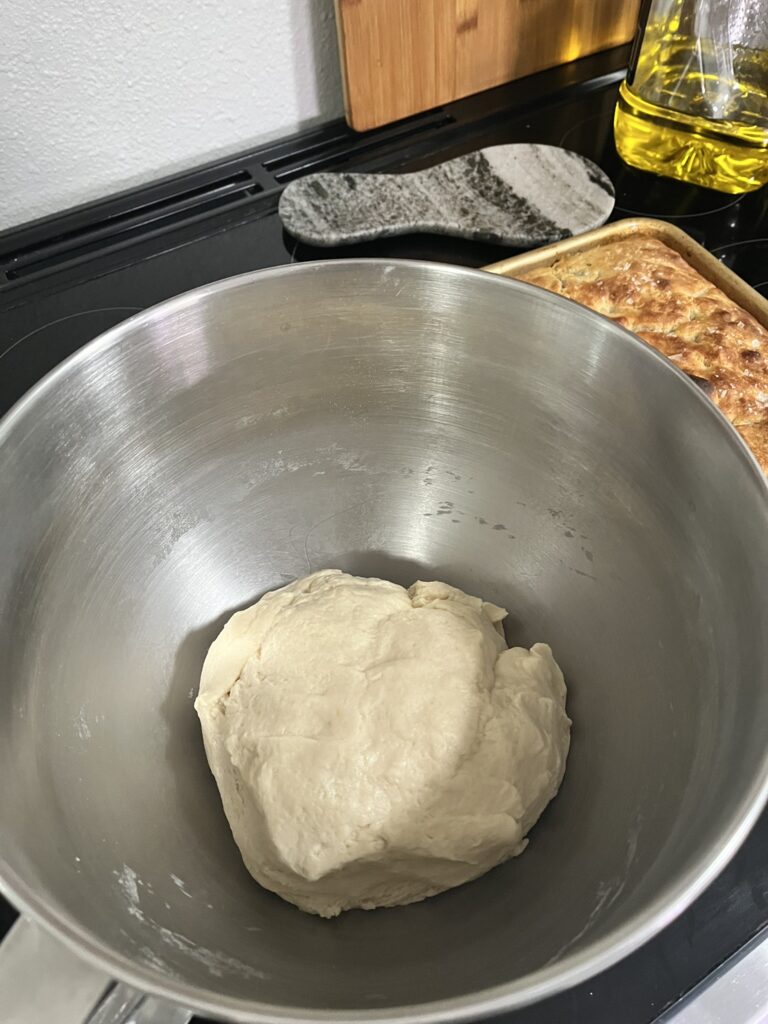
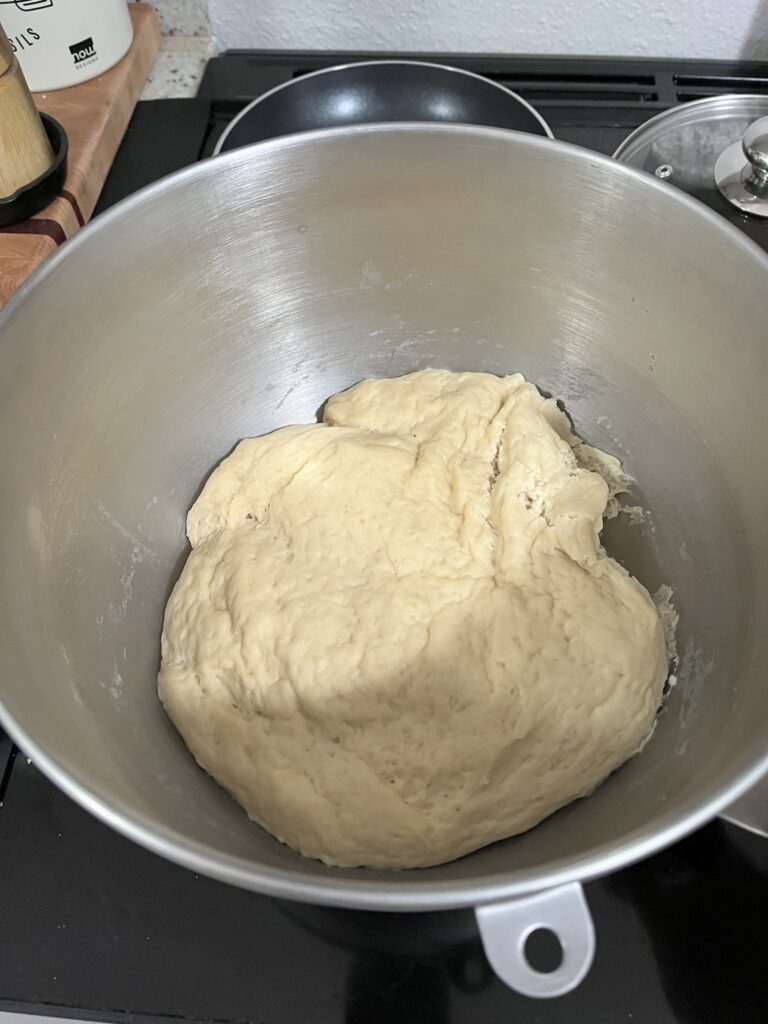
  • Cover the bowl with a towel, and allow to rise for about 2 hours, or until about doubled.
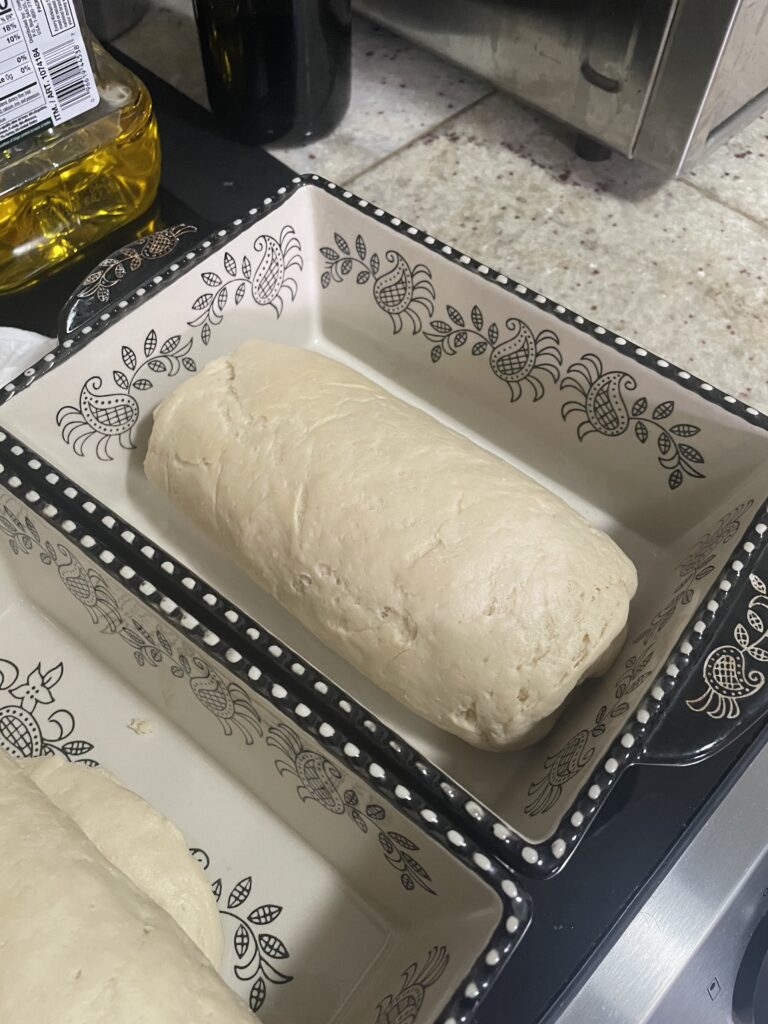
  • After, split dough into two loaf pans. If desired, you can shape the dough into smaller rolls into the loaf pan or just as an entire loaf. Don't worry about deflating the dough. If making into a loaf, I like to roll out the dough flat, and then roll into a log before placing into the loaf pan.
  • Cover loaf pans with towel and allow to rise another hour.
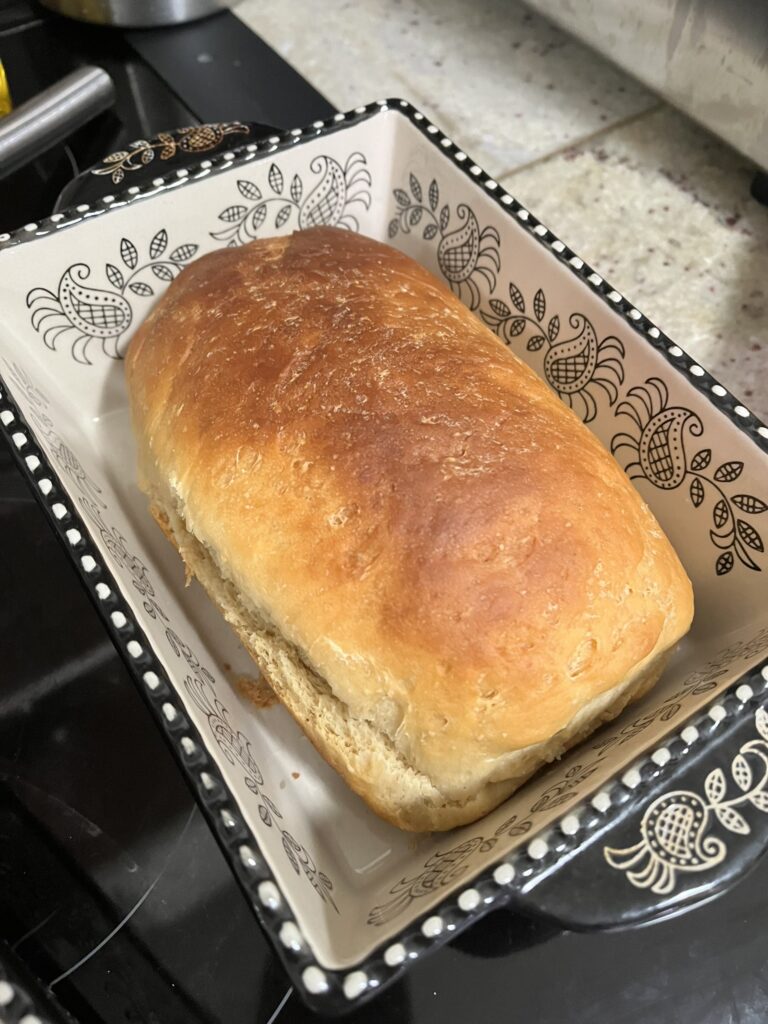
  • Bake at 350F for 20 minutes, until the top is browned. After removing from the oven, brush the tops with extra honey for a shiny top.
  • Allow to cool slightly before serving.

More bread? Try Zucchini Bread. Have leftovers? Make Bread Pudding.

Lemongrass Ginger Mushrooms

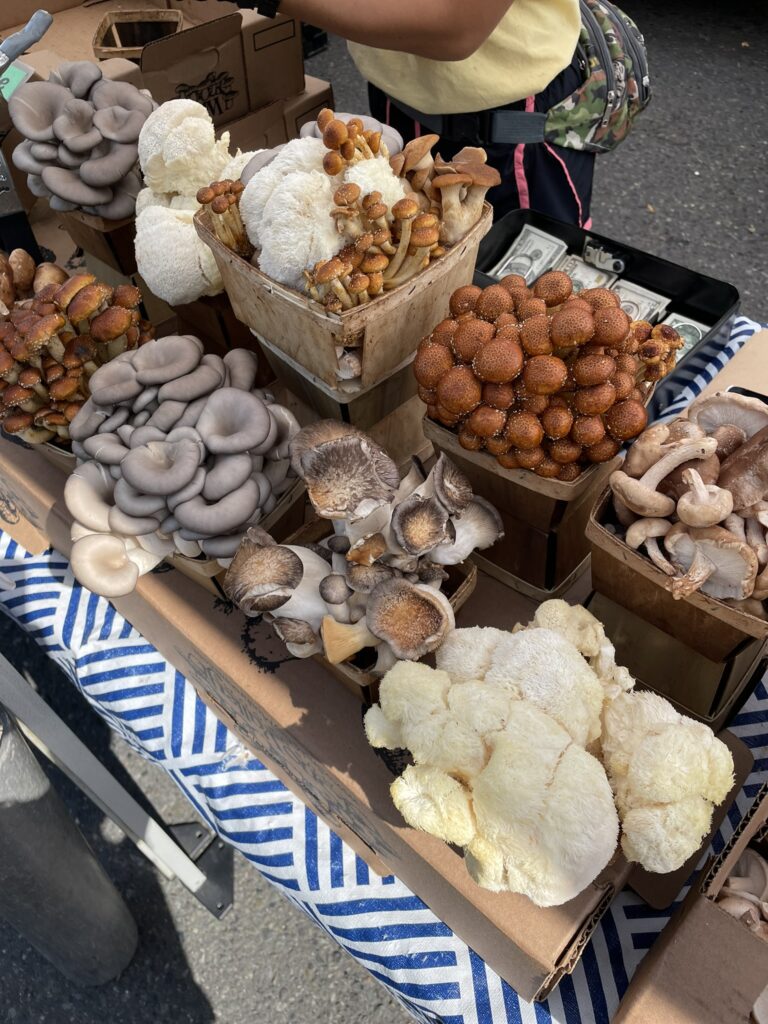
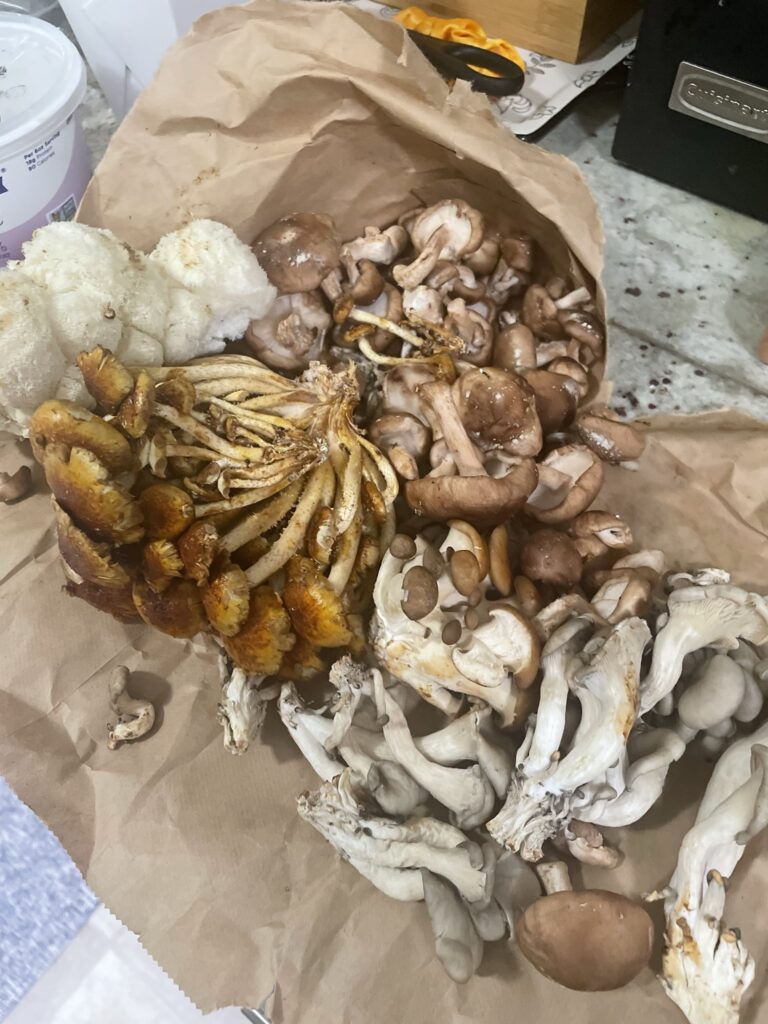
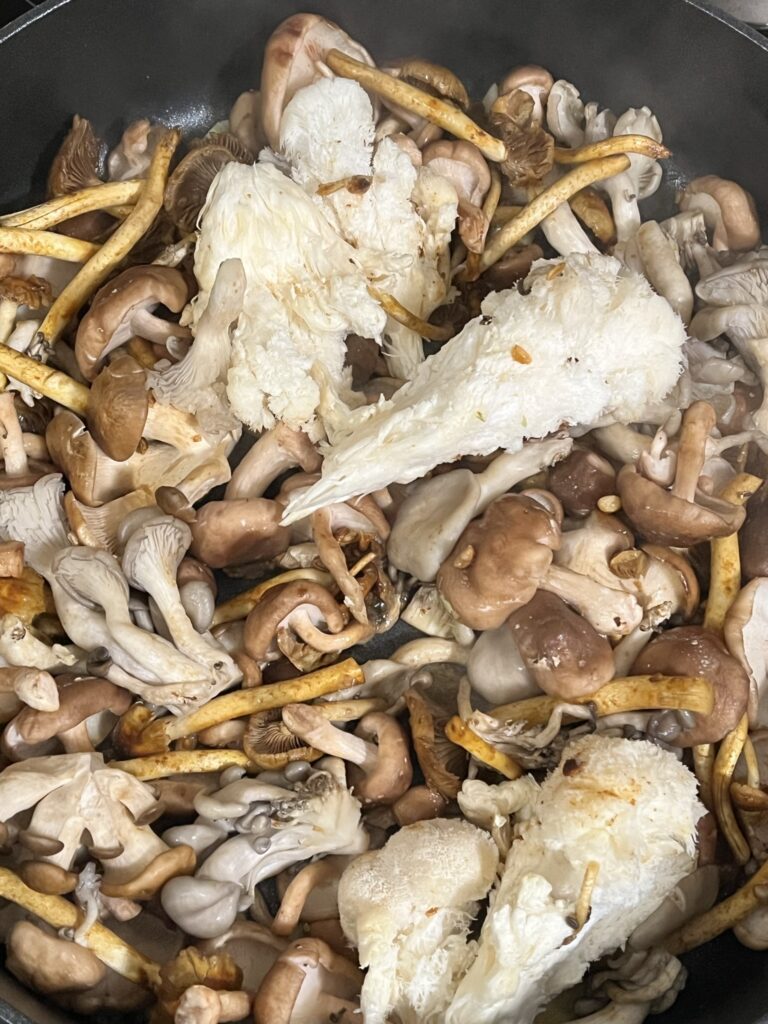
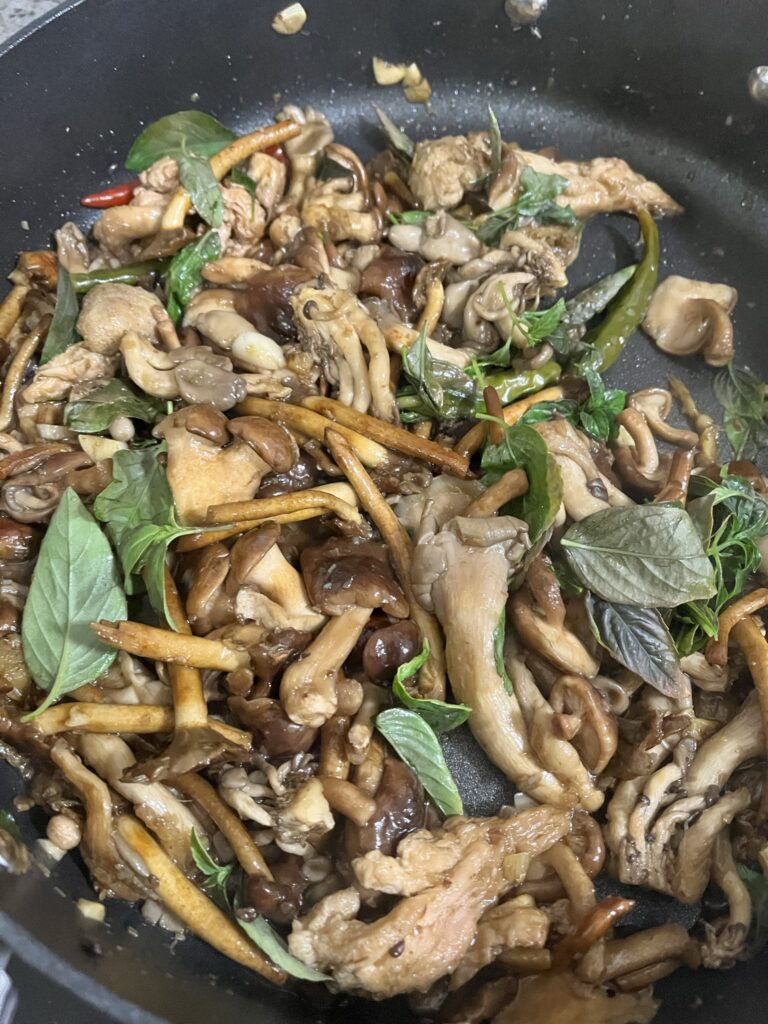
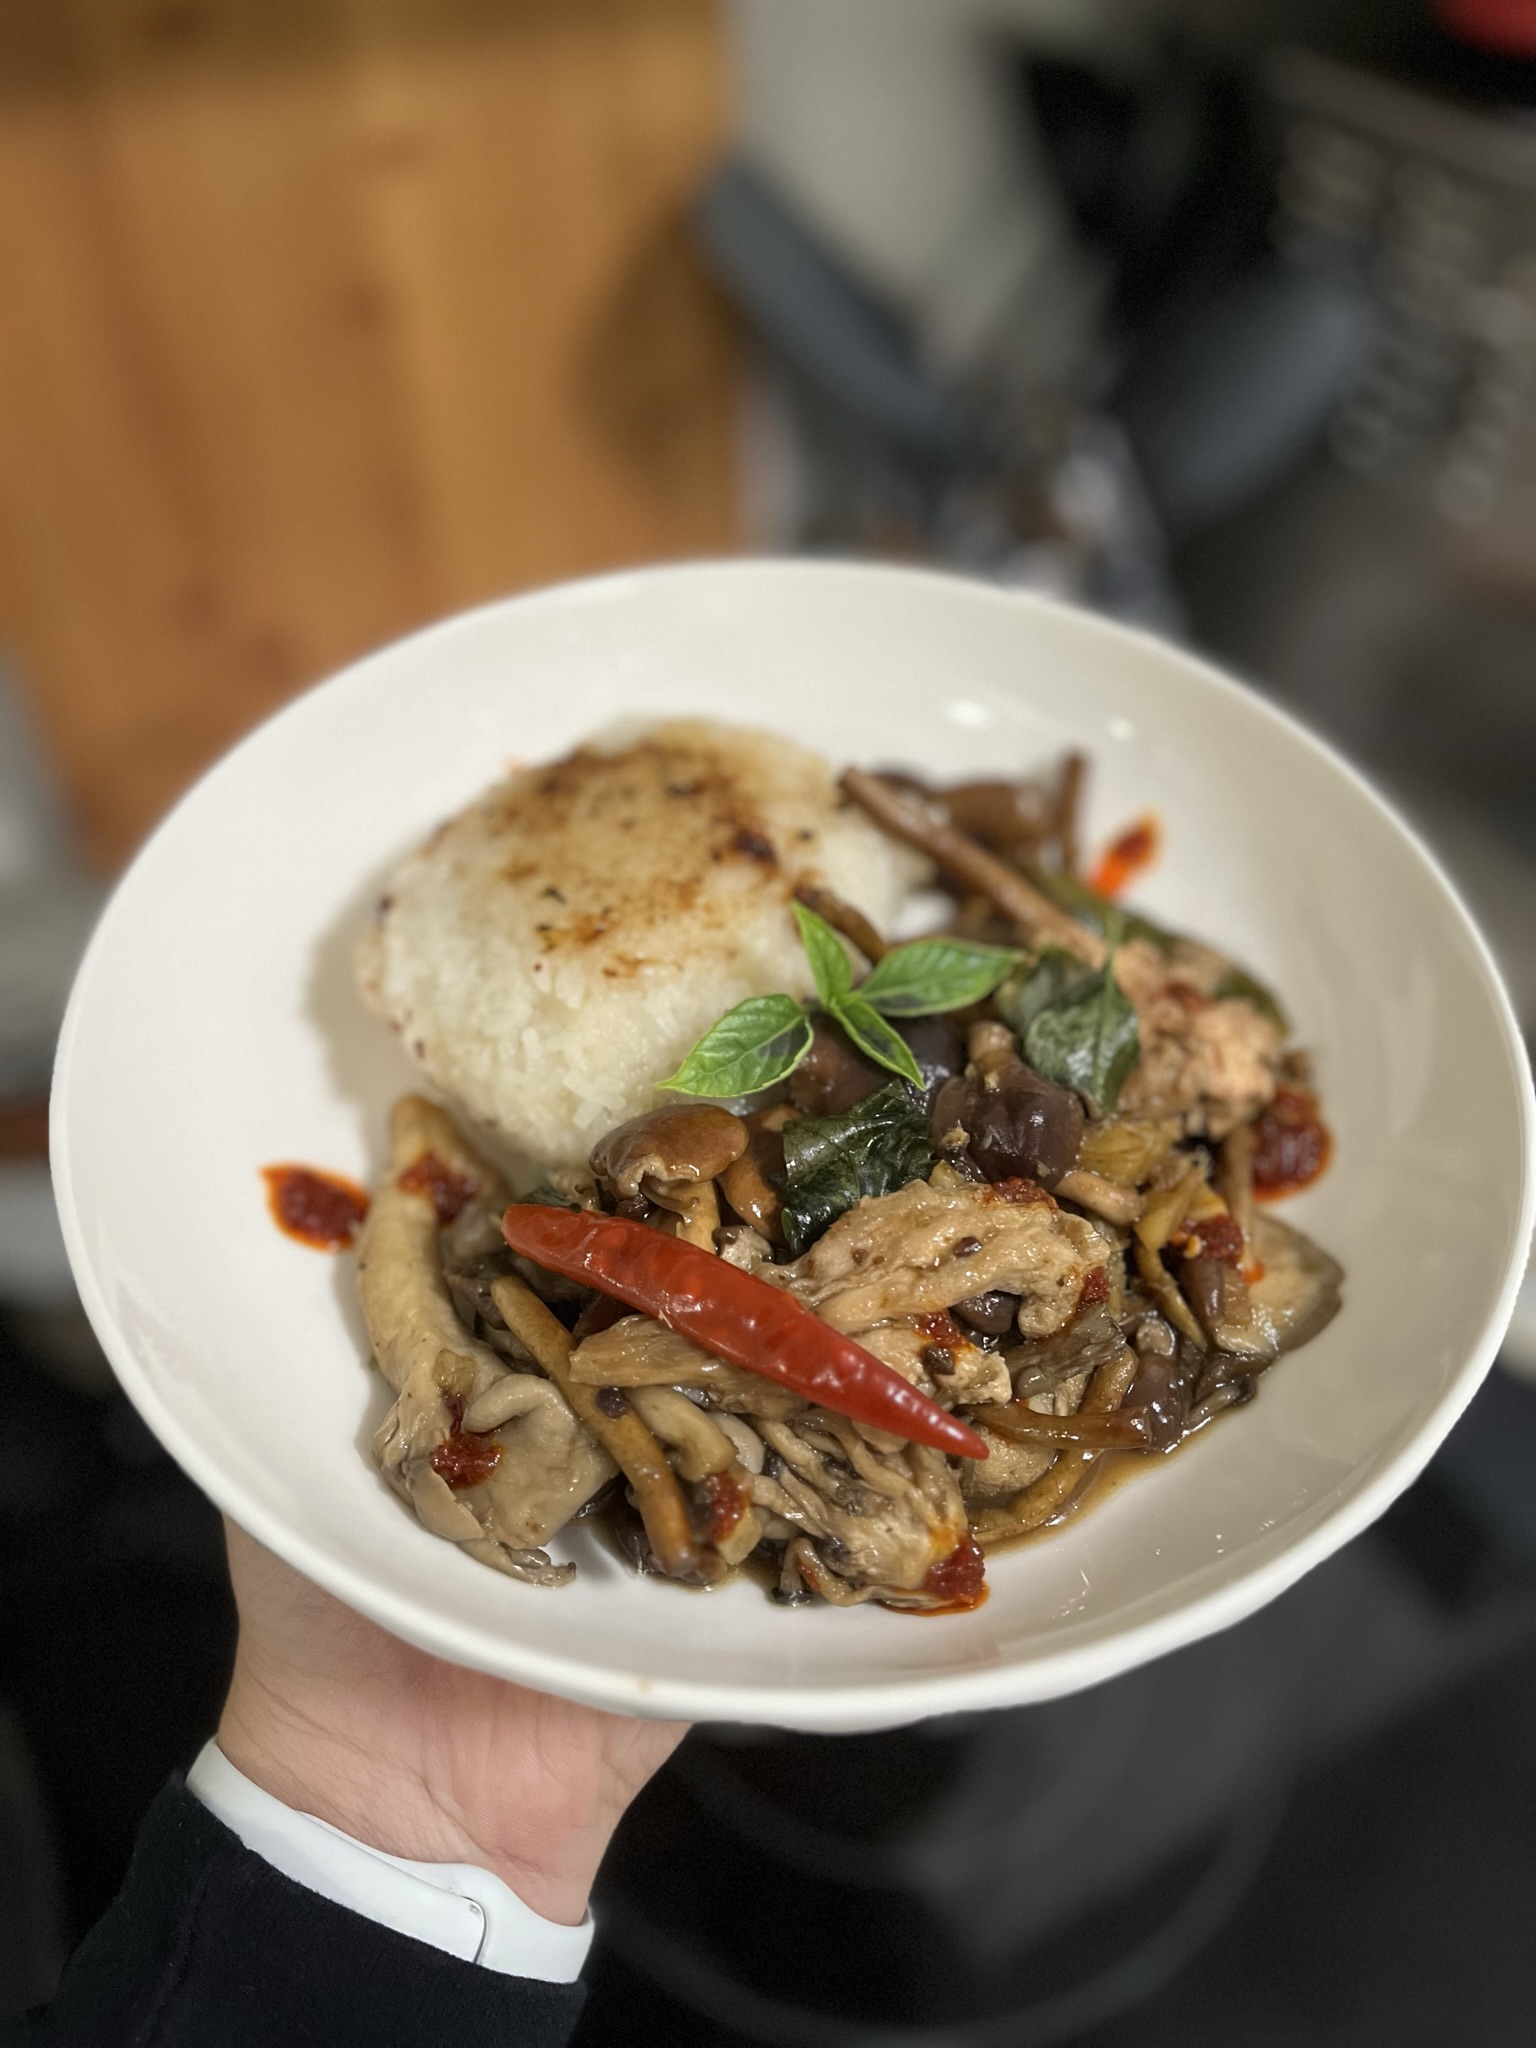
Every time I go to a farmer’s market, I’m on the lookout for the mushrooms. There are so many new mushroom farms that have emerged that sell amazing varieties of mushrooms that I’ve never seen before in the grocery stores. They’re so beautiful and are always so hearty and satisfying after they’ve been cooked. I’ve been able to try new mushroom varieties like lion’s mane, queen oyster, cinnamon caps, blue oysters, lobster mushrooms, and more! A quick stir fry for these mushrooms in some lemongrass and ginger bring out their natural nutty flavor and keep them tender and textural.

Ingredients

Mushrooms – Use any variety you like! My mix ended up coming with lion’s mane, cinnamon caps, shiitake, and queen oysters.

Fish sauce – To make this completely vegan, use a vegan fish sauce or substitute with soy sauce.

Lemongrass – Mincing lemongrass by hand is an absolute pain, so use pre-minced if you can find it at your grocery store or pulverize it in a food processor. If you can’t, you can use whole lemongrass, but you’ll likely need to use 3-4 finger sizes worth of stalks that are very bruised to get the same flavor out of them

Lemongrass & Ginger Mushrooms

Print Recipe

Ingredients

  • 1 quart mushrooms
  • 1 tbsp garlic sliced
  • 1 tbsp ginger minced
  • 1 tbsp lemongrass minced
  • 1/4 cup fish sauce
  • 1 tbsp brown sugar
  • 4 Thai bird eye chilis
  • 1/2 cup fresh Thai basil

Instructions

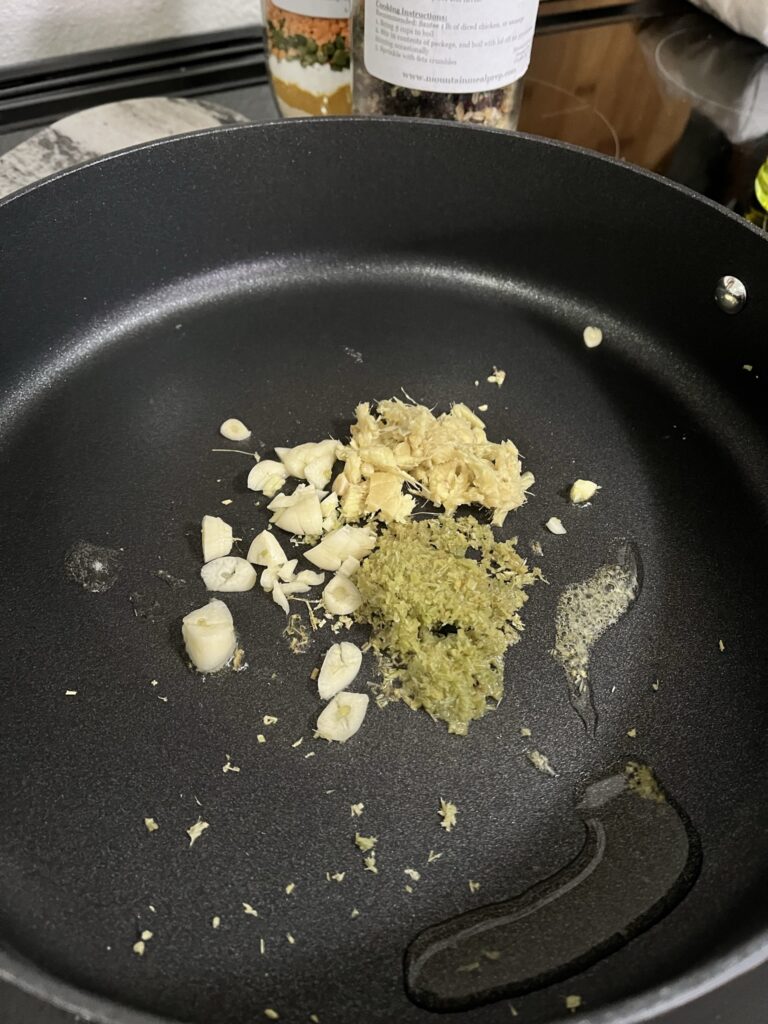
  • In a splash of oil, sauté garlic, ginger and lemongrass until fragrant on medium high heat.
  • Add mushrooms and allow to cook undisturbed for at least 5 minutes.
  • Stir mushrooms and then add fish sauce, brown sugar, and Thai chilis.
  • Sauté for an additional 5-10 minutes until mushrooms have softened and are covered in sauce.
  • Turn off heat, allow to cool for a few minutes and then toss in fresh basil.
  • Service with rice and some chili oil!

Mushroom, Spinach, & Cheddar Frittata

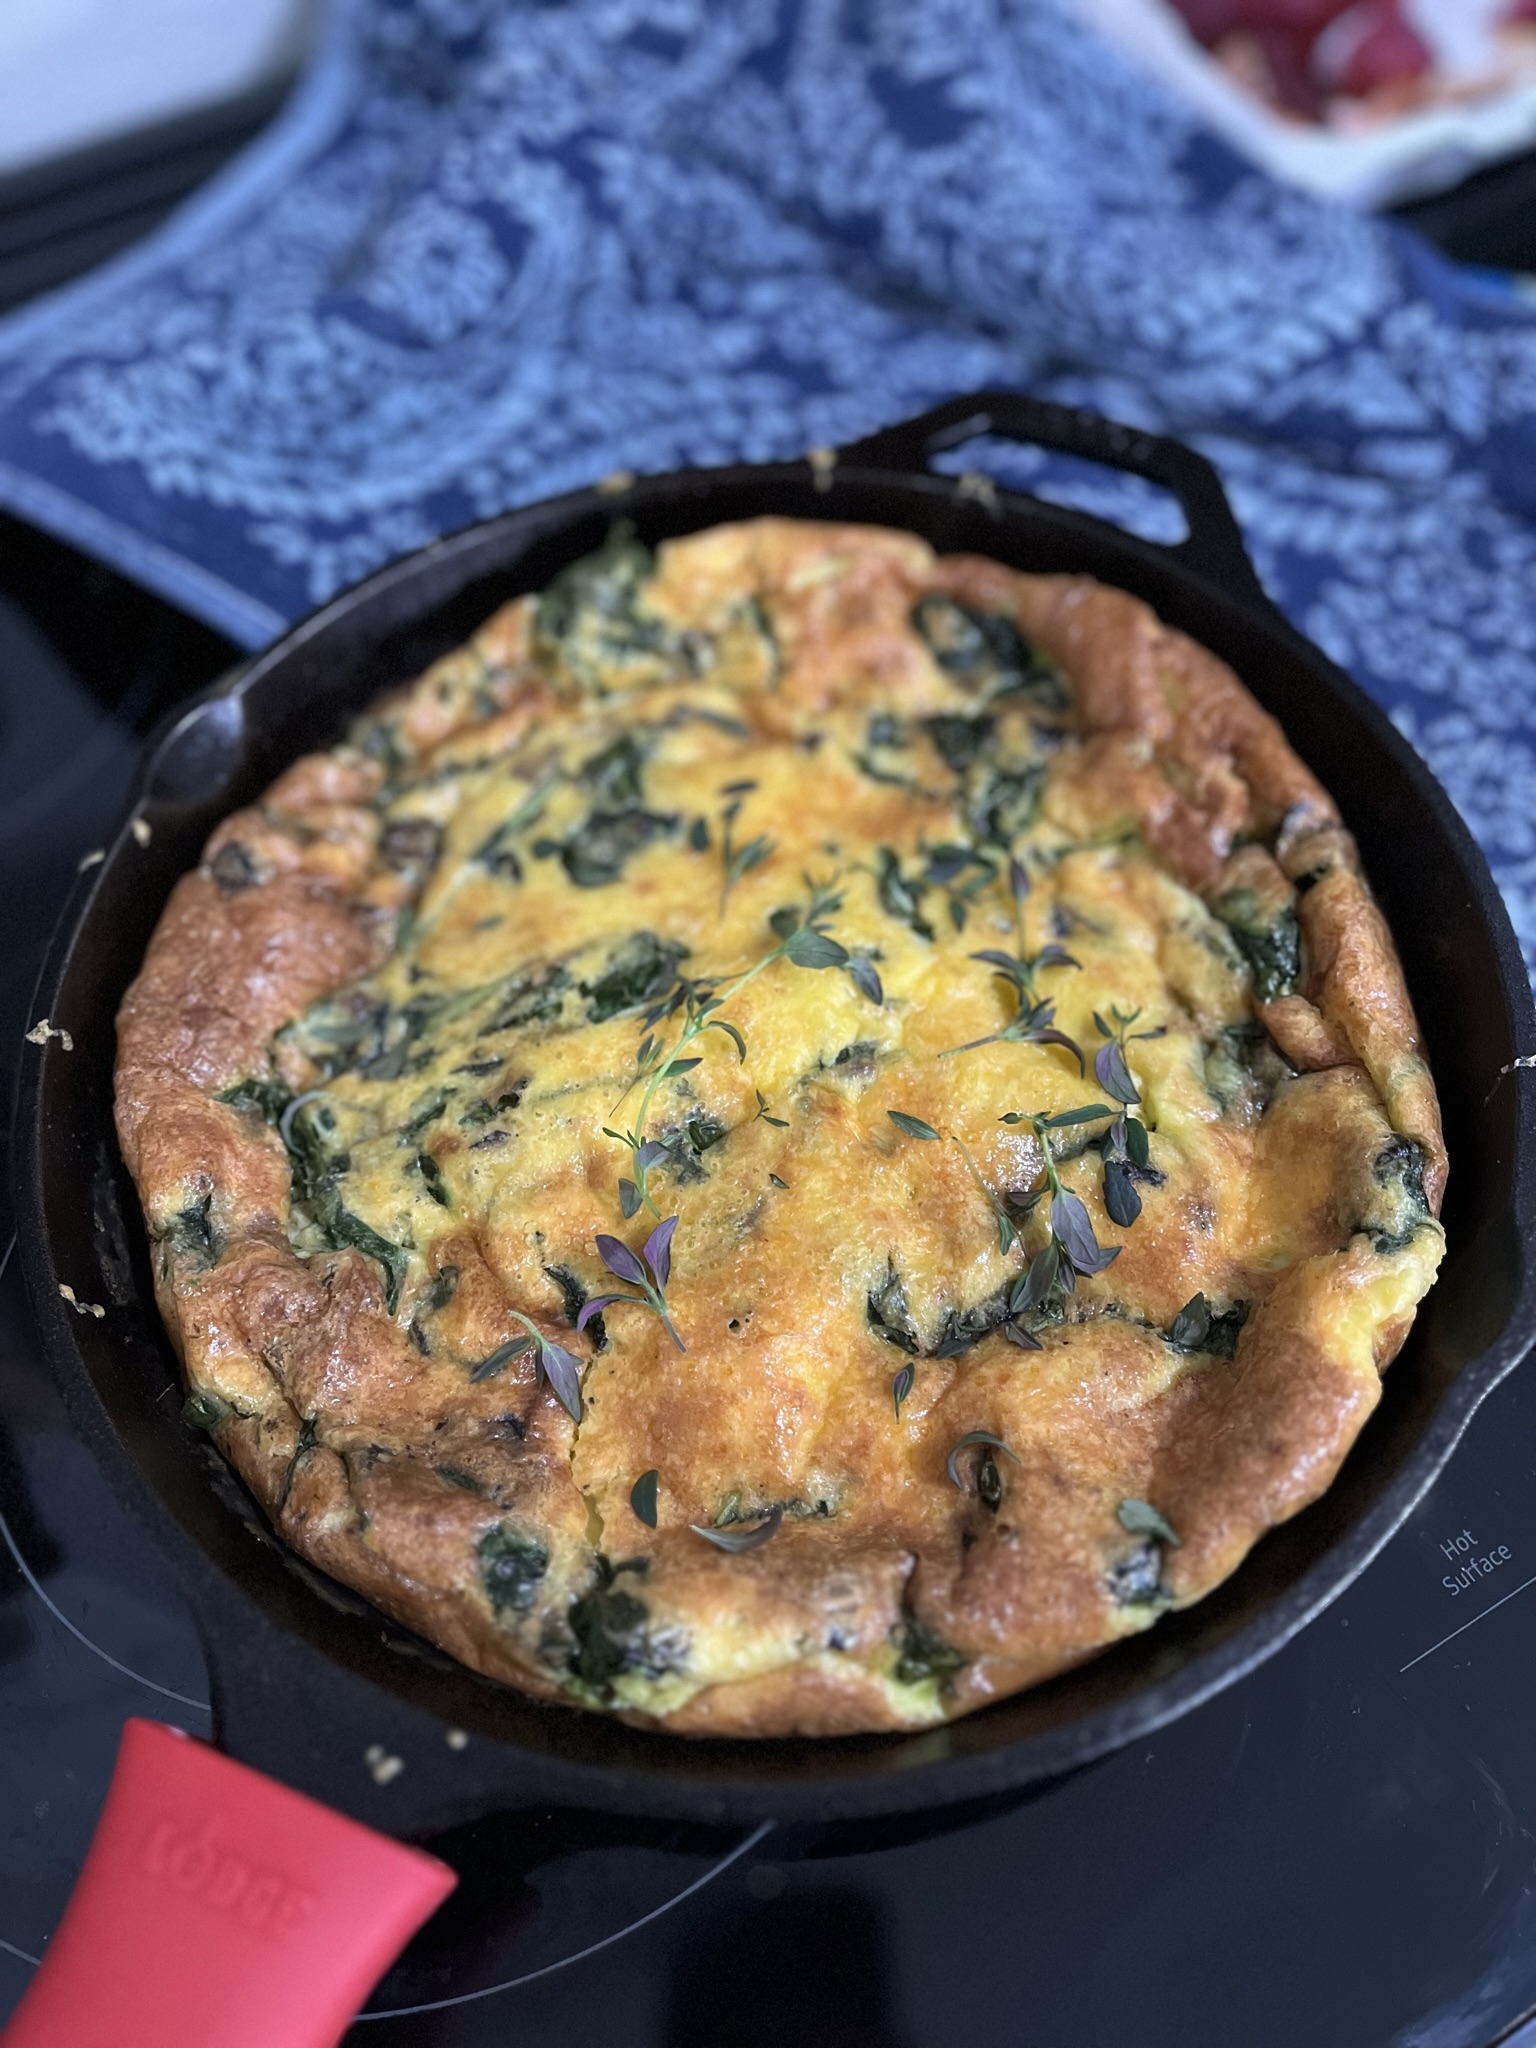
What is a frittata? Really a frittata just a crust-less quiche – a big portion of fluffy, baked scrambled eggs and there’s no crust. It’s perfect for using up leftover veggies in the fridge and is great for feeding a crowd. Starting the frittata veggies in a cast iron lets you put the frittata straight into the oven and after it’s done, it can go straight to the table for serving. Serve it with some toppings like avocado, hot sauce, or salsa.

Ingredients

Heavy cream – Makes the frittata extra decadent! Feel free to substitute with alternate milks.

Meat – You could definitely add some proteins like sausage, chorizo, or bacon to this!

Vegetables – Other veggies that would be great in a frittata are onion, peppers, kale, or broccoli. You’ll just want to make sure to cook out your veggies to reduce the amount of water in the frittata so it doesn’t become bland and mushy.

Cheese – Top it with any cheese you like, or skip it all together!

Mushroom, Spinach, Cheddar Frittata

Print Recipe
Fluffy baked eggs with sautéed veggies and cheese.
Course Breakfast, Main Course
Keyword breakfast, eggs, frittata, vegetarian

Equipment

  • 1 10" oven safe pan

Ingredients

  • 1 cup mushrooms diced
  • 3 cups spinach packed
  • 1/4 cup thyme
  • 12 eggs
  • 1/2 cup heavy cream
  • 2 tsp salt
  • 2 tsp pepper
  • 1/2 cup cheddar cheese

Instructions

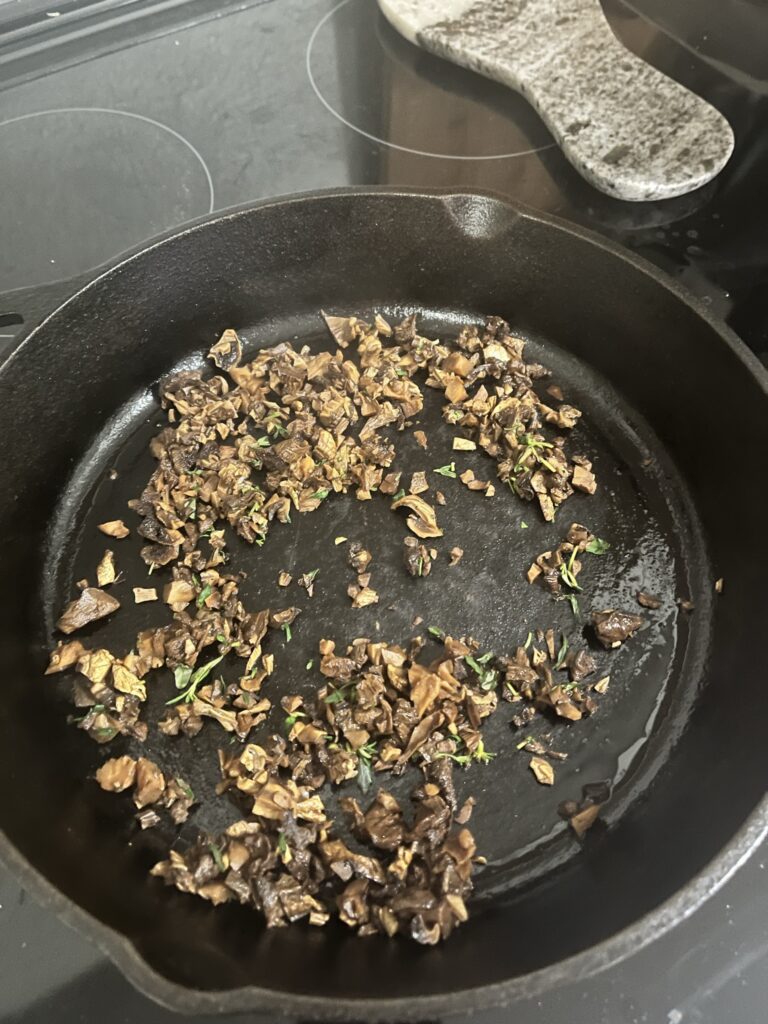
  • In an oven safe pan, on medium heat, sauté mushrooms in some olive oil until wilted and all liquid has been cooked out.
  • While mushrooms are cooking, mix eggs with heavy cream and salt and pepper.
  • Preheat oven to 350F
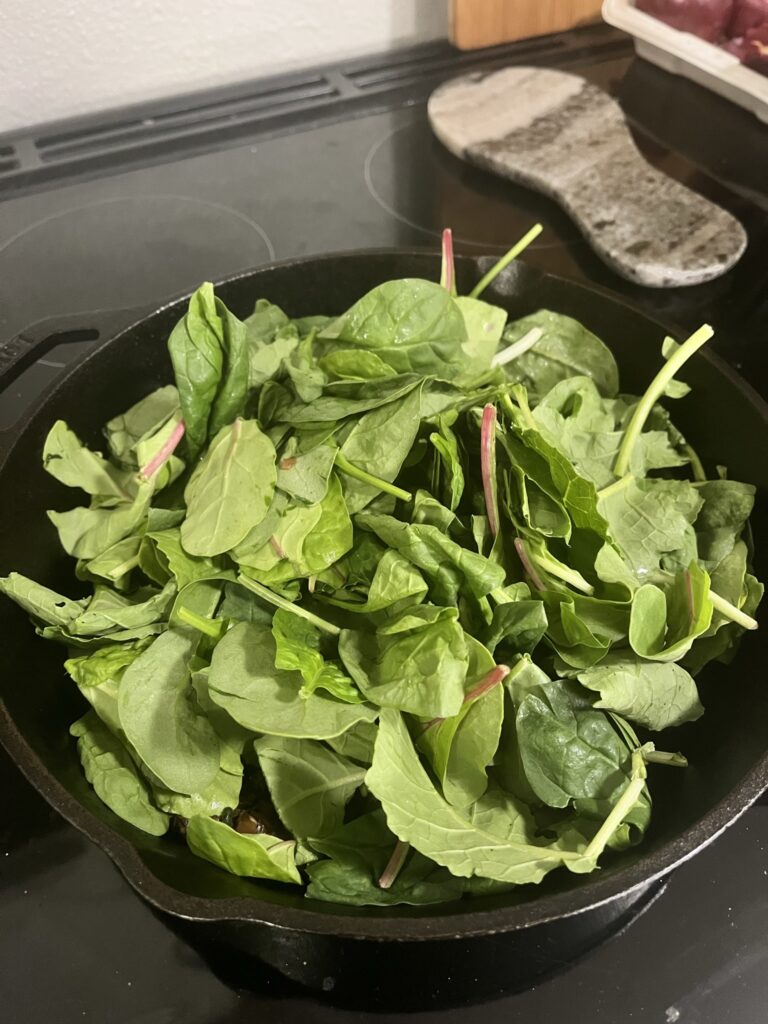
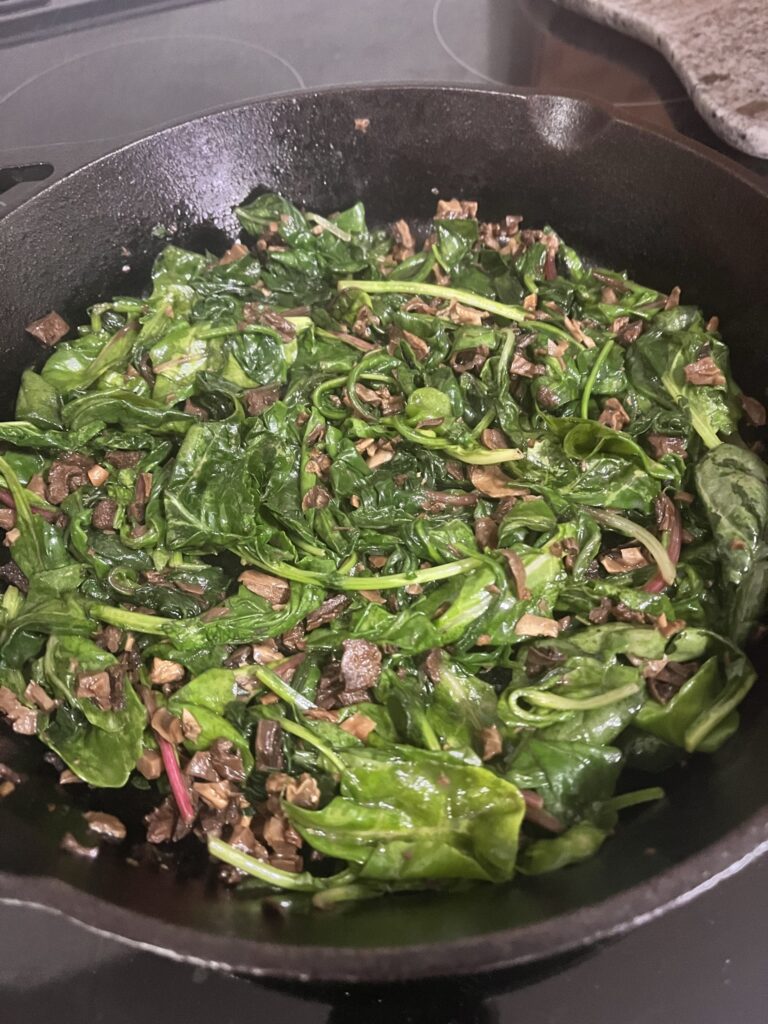
  • Add spinach to pan and stir until all spinach has wilted. While stirring, mix in a pinch of salt and pepper with the thyme to the mushrooms and spinach.
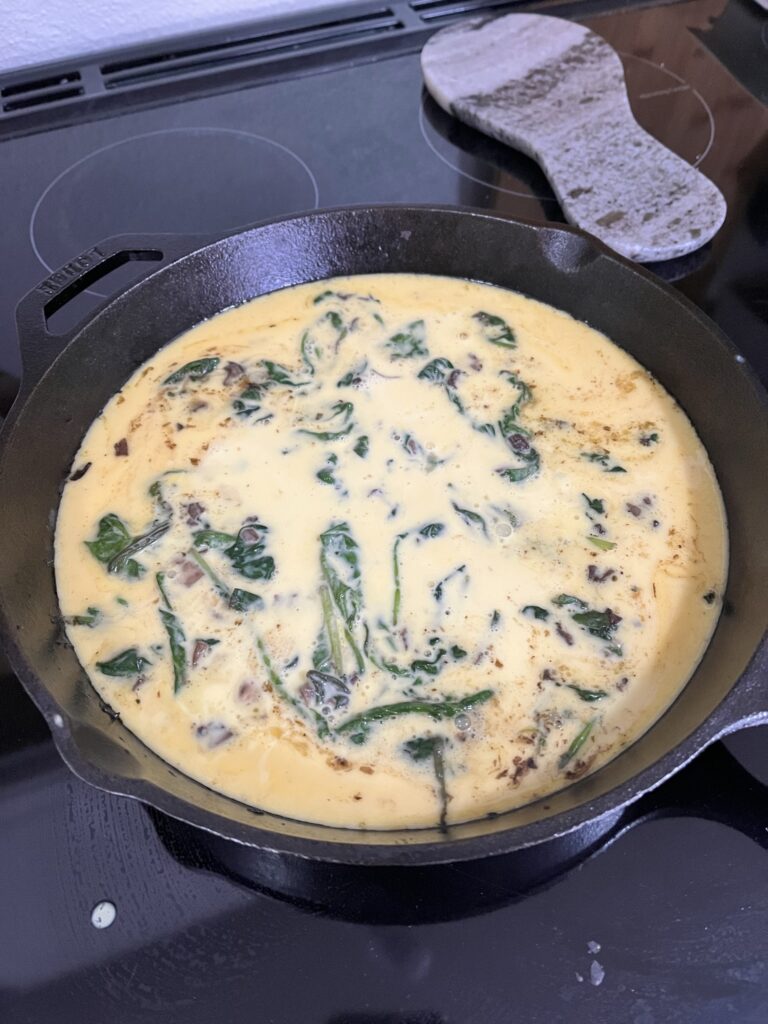
  • After spinach has wilted, turn off the heat and pour in egg mixture.
  • Gently stir eggs with spinach and mushrooms.
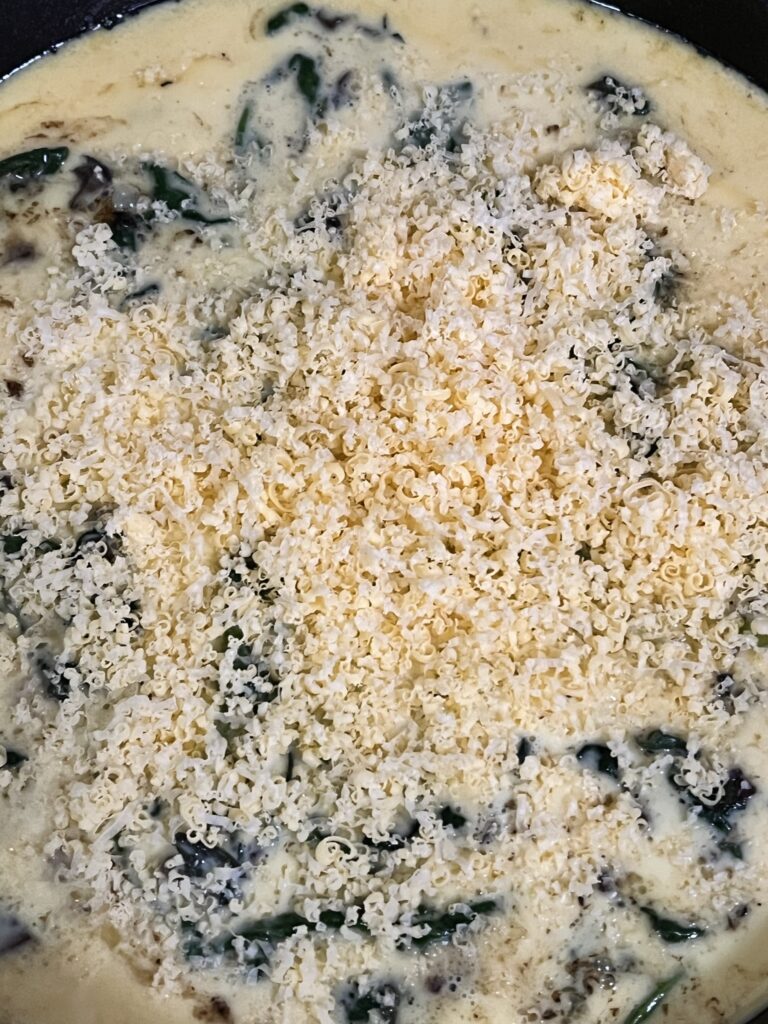
  • Top with shredded cheddar cheese and bake for 20 minutes.
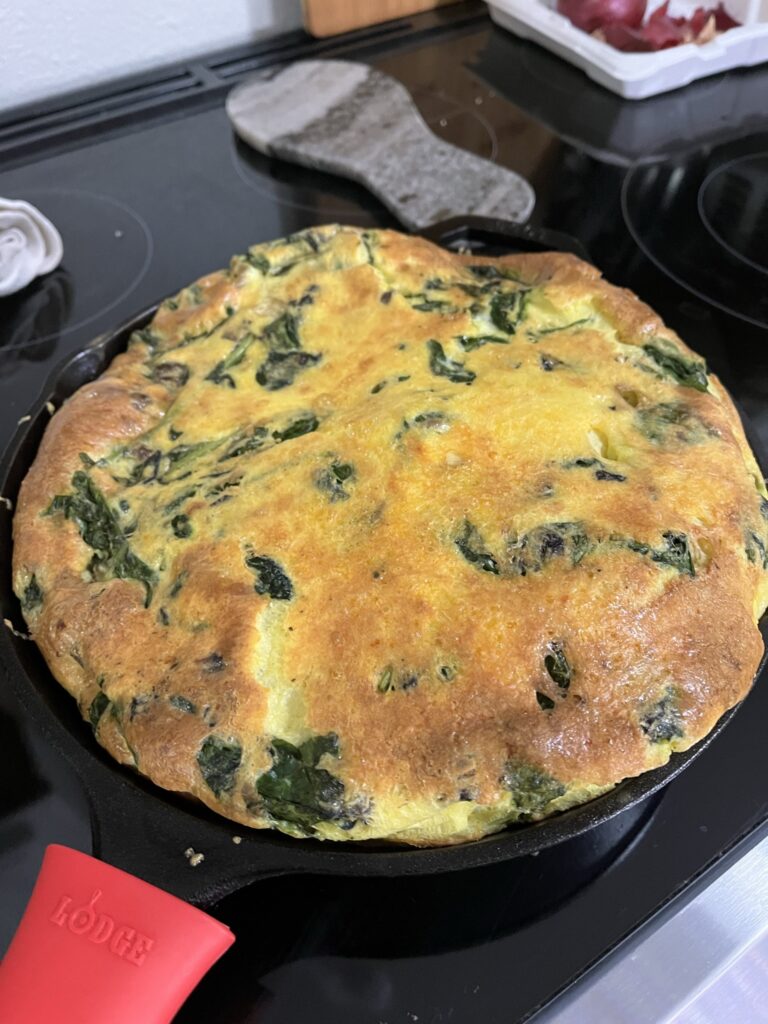
  • The frittata will be very puffy when removed from the oven and will slowly deflate.
  • Optionally, top with more thyme and allow to rest 10 minutes before serving.

Need to supplement your breakfast? Have some Banana Bread or Blackberry Rhubarb Muffins.

Roasted Pepper & Caramelized Onion Pasta

Sometimes I feel guilty about eating pasta if I’m not having any vegetables, but it makes it better when you can hide some veggies into the sauce! Summer veggie season is coming to a close so I’m visiting as many farmer’s markets as I can before they close. Roasted peppers and caramelized onions give the sauce some natural sweetness and the heavy cream makes it super unctuous and rich. This sauce is definitely addicting and so easy to make with little hands-on time required.

Ingredients

Bell peppers – I recommend using red or orange for the colors and extra sweetness. Green will be less sweet but still super tasty.

Onions – Use any you like! Once they are roasted, any onion will have a more mellow, sweet flavor. I used what I had on hand – one red and one sweet!

Heavy cream – Feel free to substitute with a non-dairy alternative.

Roasted Pepper & Caramelized Onion Pasta

Print Recipe
Roasted peppers & caramelized onions make a creamy pasta sauce with a sweetness from red peppers and mellowed onions.
Course Main Course
Keyword caramelized onions, pasta, roasted peppers

Equipment

  • 1 blender

Ingredients

  • 3 bell peppers
  • 2 onions
  • 1 bulb garlic
  • olive oil
  • 1 cup heavy cream
  • 1/4 cup Pecorino Romano grated
  • salt
  • pepper
  • 1 pound pasta

Instructions

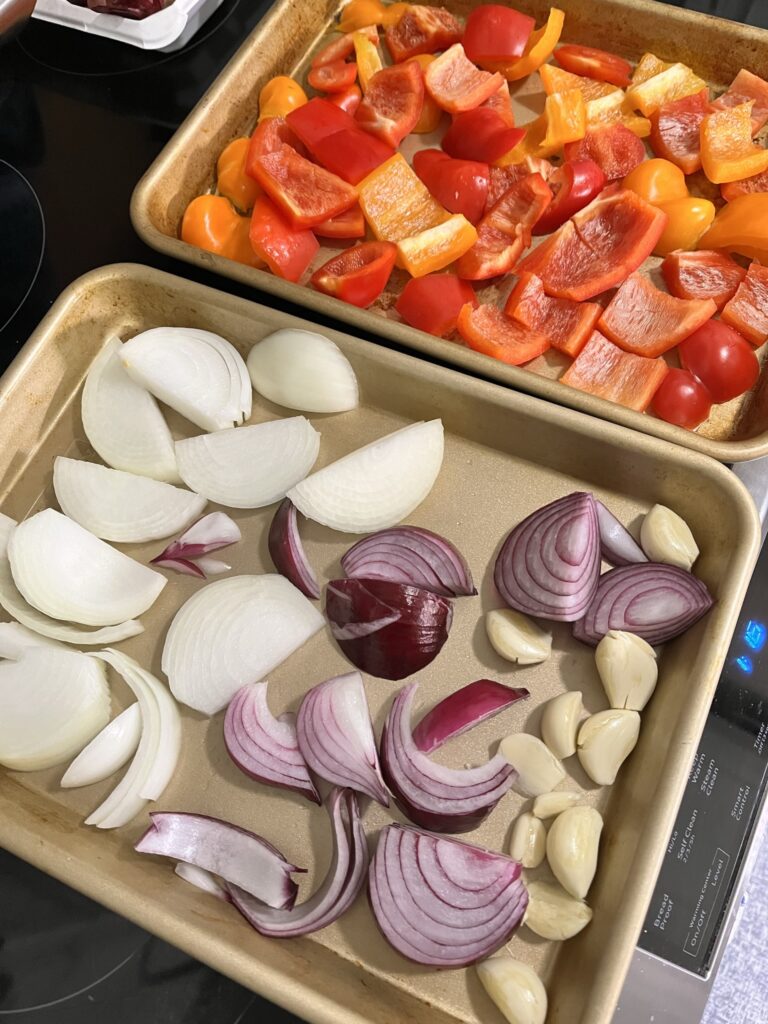
  • Peel onions and cut in half. Then slice each half into large half moons about 1 inch thick. Transfer to baking sheet.
  • Peel 1 bulb of garlic and transfer to baking sheet.
  • Remove seeds, stems, and ribs from bell peppers and chop into ~2×2 inch pieces. Transfer to baking sheet.
  • Generously drizzle vegetables with olive oil and season with plenty of salt and pepper.
  • Toss vegetables to distribute oil & seasonings.
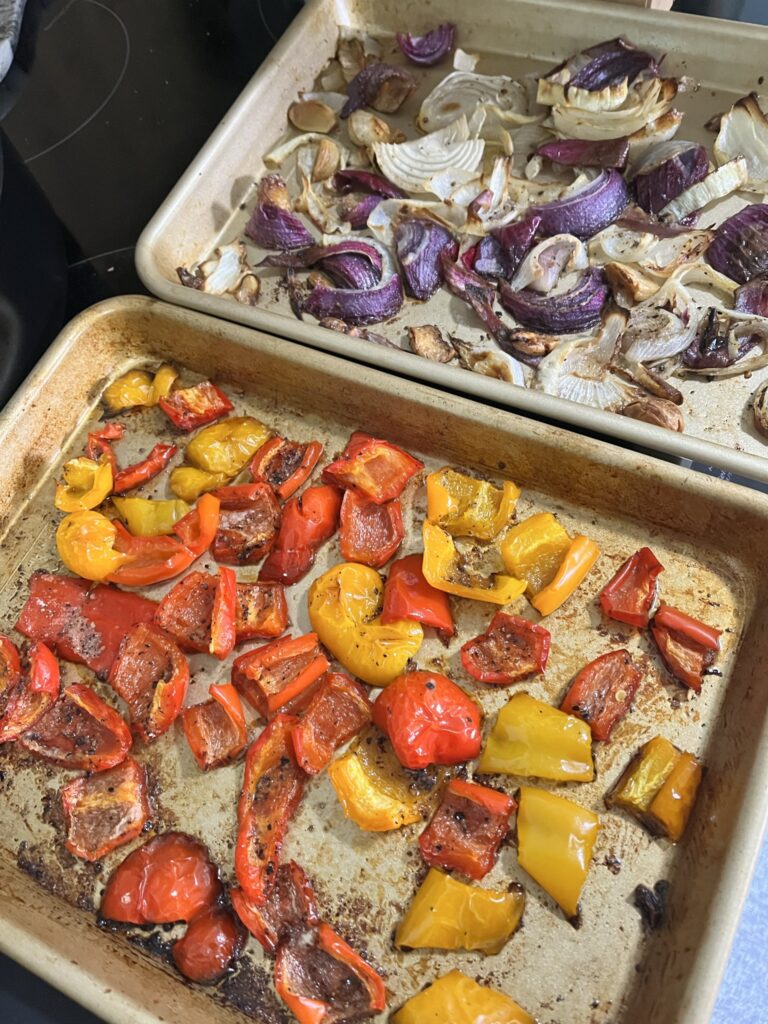
  • Ensure vegetables are in one even layer on the baking sheet and then bake with convection on, if possible, at 400F for 30 minutes.
  • Part way through baking, stir vegetables on sheet tray to ensure even cooking. Ensure vegetables are in a single layer again before returning to oven.
  • After peppers and onions have roasted with some color and onions are frizzled and caramelized, allow to cool for 10 minutes.
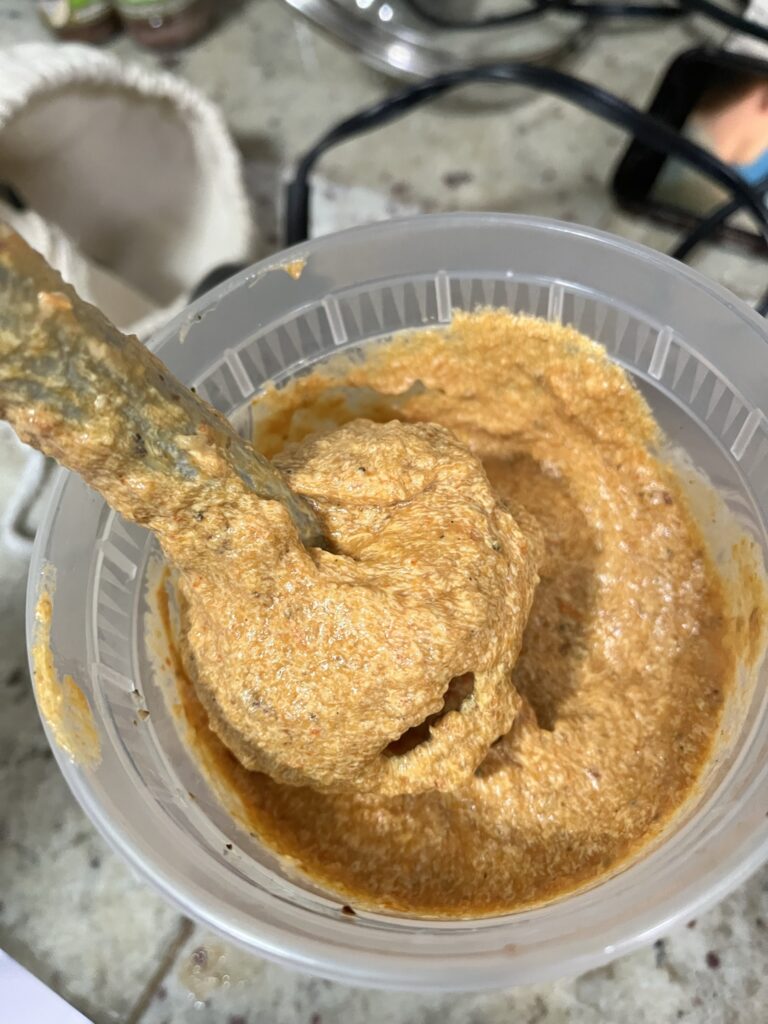
  • Blend onions, garlic, and peppers with 1 cup of heavy cream and Pecorino Romano.
  • Cook 1 pound of pasta in heavily salted water a few minutes under suggested cook time on packaging.
  • Reserve 2 cups of pasta water minimum.
  • In a separate pan, add pasta sauce and par cooked pasta. Add pasta water 1/2 cup at a time until all pasta is evenly coated in the sauce.
  • Season with additional salt and pepper to taste.
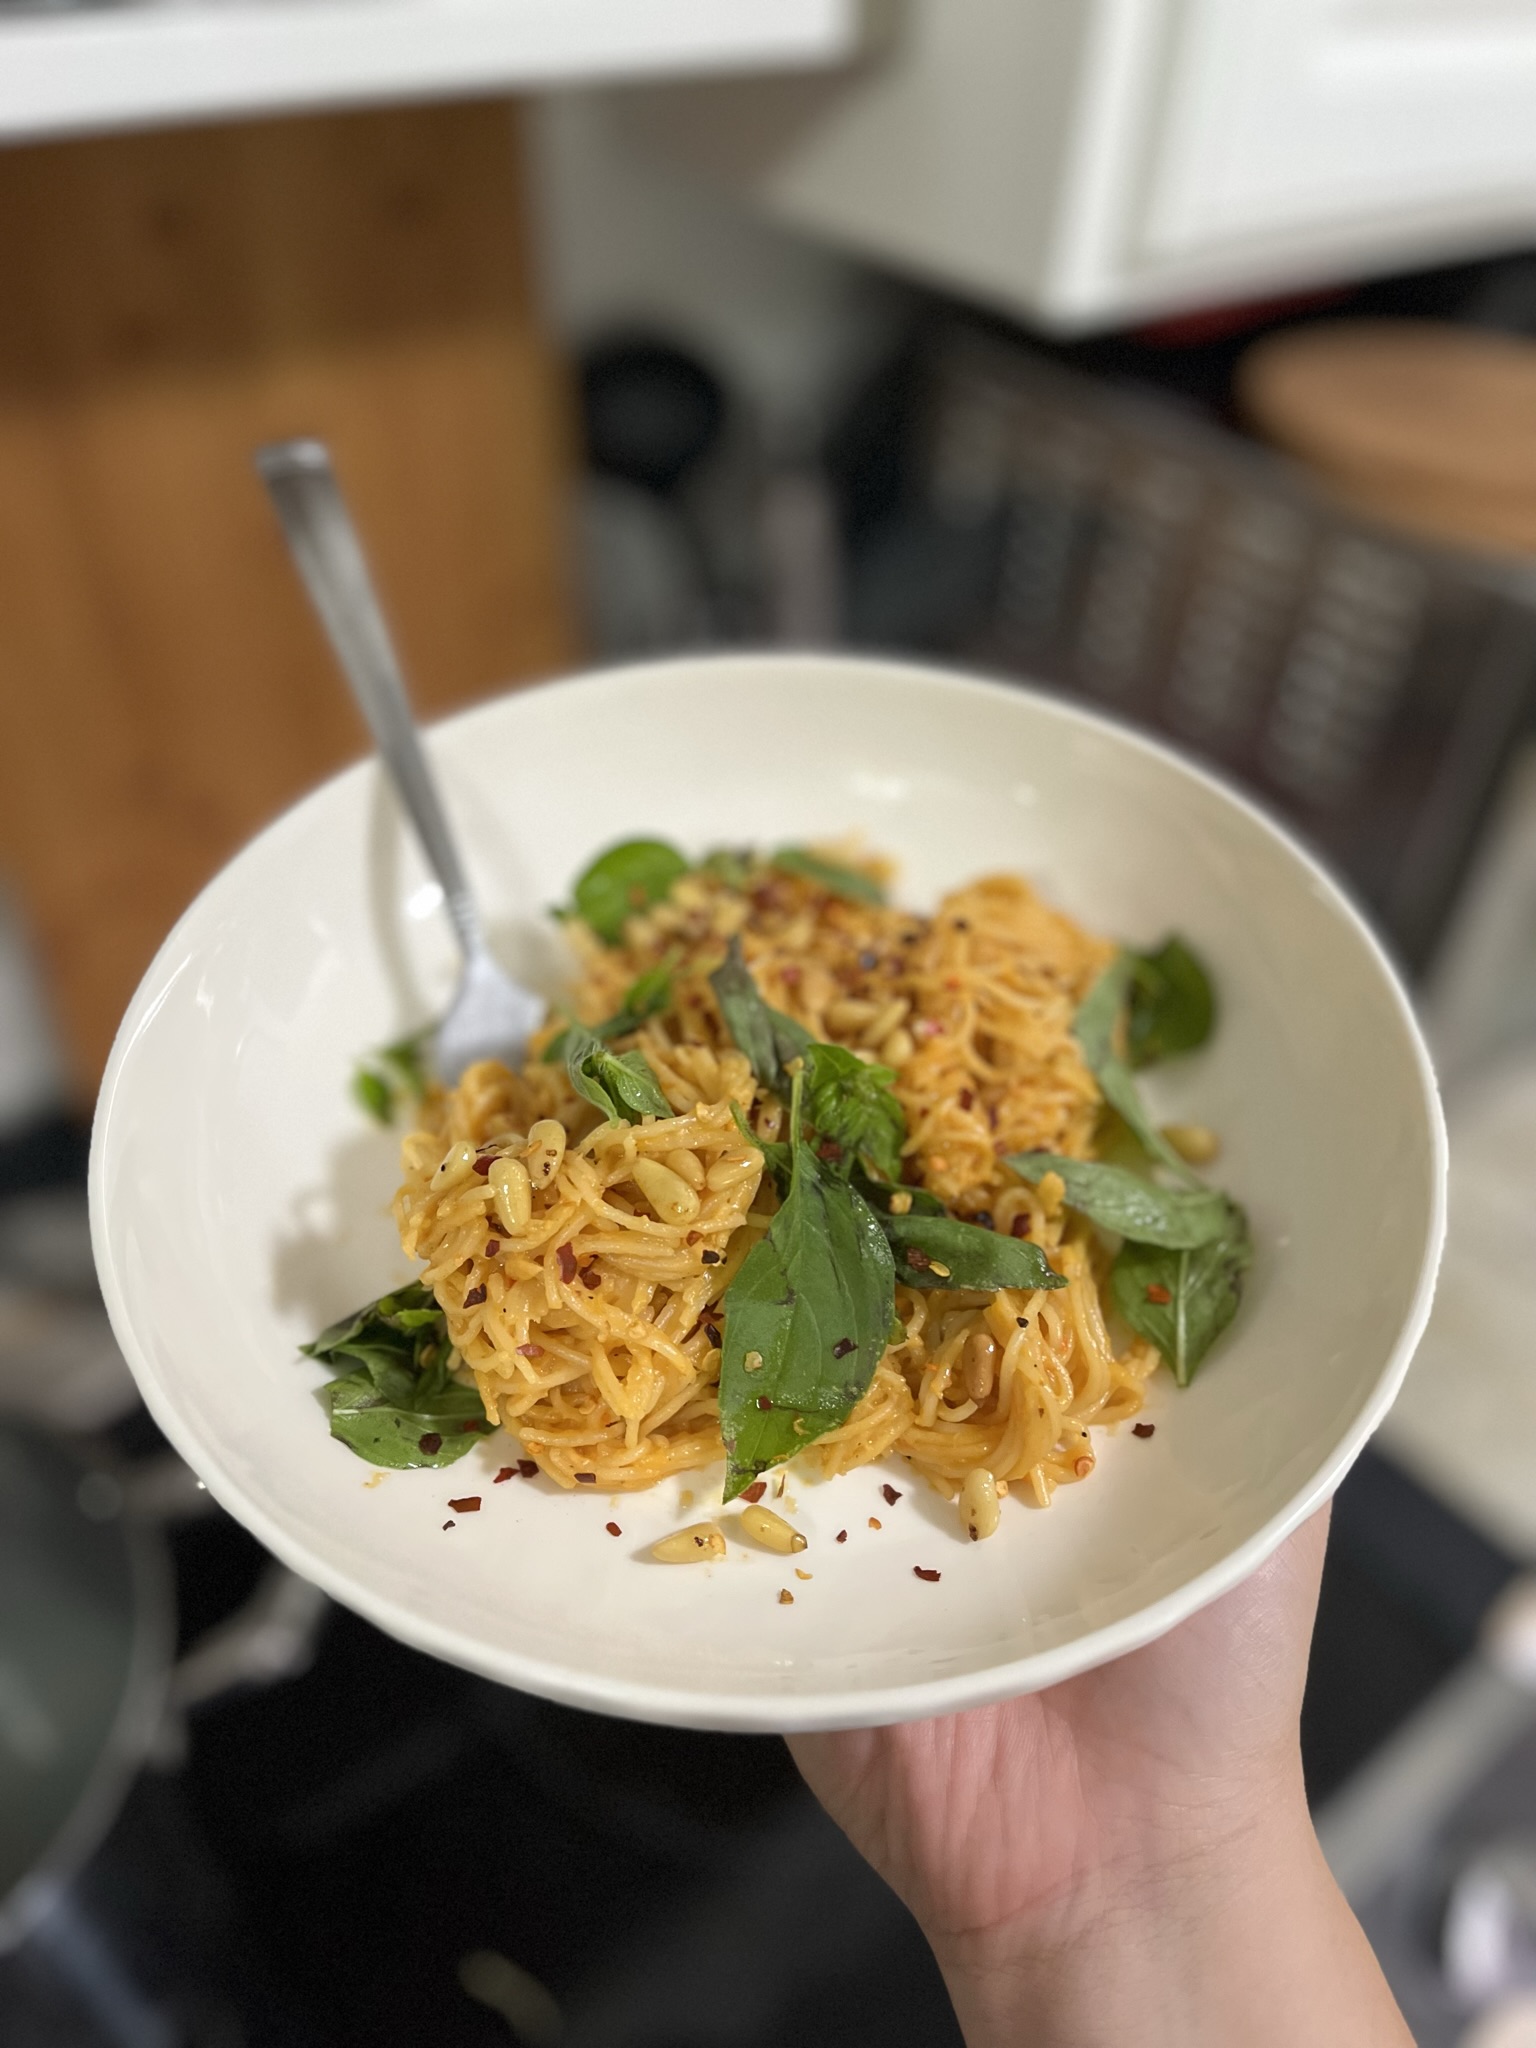
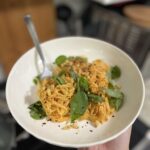
  • Serve with fresh basil and toasted pine nuts.

More pasta? Make your own Fresh Egg Pasta and have it as Anchovy Oil Pasta with Crispy Prosciutto