The Work From Home Salad

After working from home for about 6 months now, I’ve needed to come up with quick, easy lunches for days that I’m either feeling really lazy to make lunch; don’t have leftovers to eat; or don’t have time to make something. Six months later… I have a go-to WFH lunch salad. The salad really is made by the dressing, which comes together really quickly and really only requires one spoon to make (less dishes!). The dressing always stays the same, while the contents of the salad will always change based on what’s currently available in my fridge.

Ingredients

Tahini – this is the base that makes a creamy dressing!

Sesame oil – this makes the dressing so fragrant and complements the tahini so well

Salad – i like a crunchy romaine, but feel free to use whatever base green you prefer like iceberg, red/green leaf lettuce, butter, kale, etc. other fun additions would be cucumber, bell peppers, roasted vegetables and nuts.

Protein – i opted for a veggie protein substitute, but this salad would be great with any protein of choice like air-fried tofu, chicken, shrimp, or steak.

Work From Home Salad

Print Recipe
This creamy sesame dressing is fast and easy, the perfect accompaniment to your weekday lunch greens.
Course Salad
Keyword dressing, salad, sesame, tahini

Ingredients

Dressing

  • 1 tsp sesame oil
  • 2 tsp tahini
  • 1 tbsp olive oil
  • 1 tsp honey
  • 1/4 tsp salt

Salad

  • 1/2 head romaine lettuce
  • 1/4 cup onion
  • 1/2 avocado
  • 1/2 cup protein of choice

Instructions

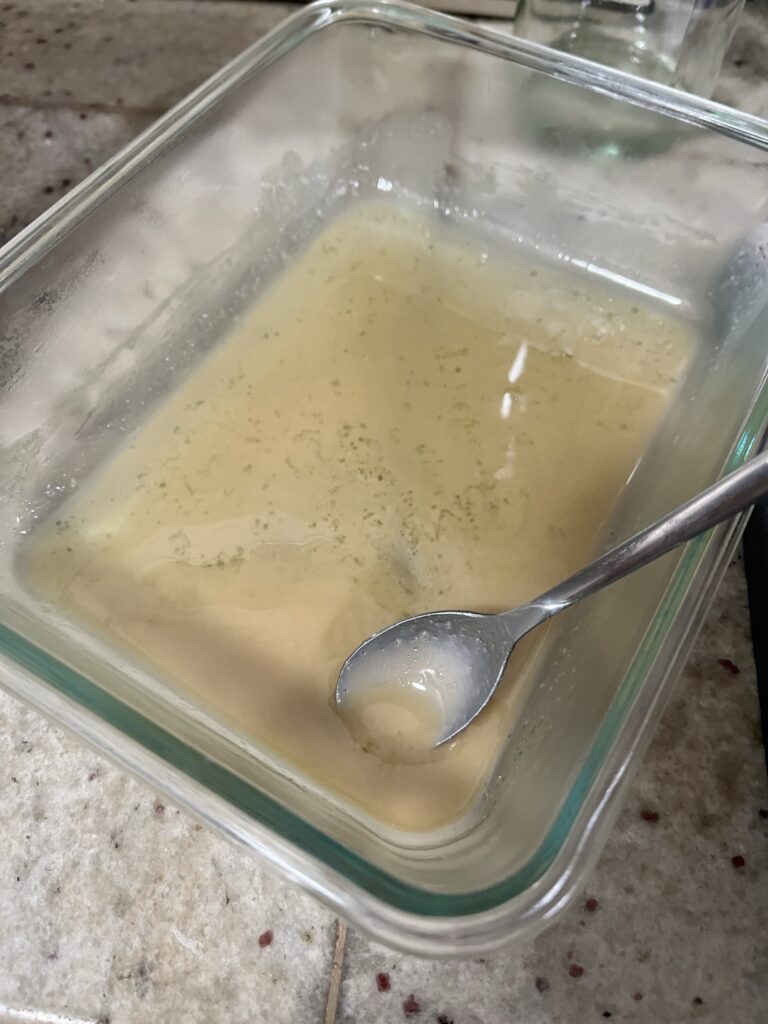
  • In a large container with a lid, mix together all of the salad dressing ingredients. Taste and add additional salt if necessary.
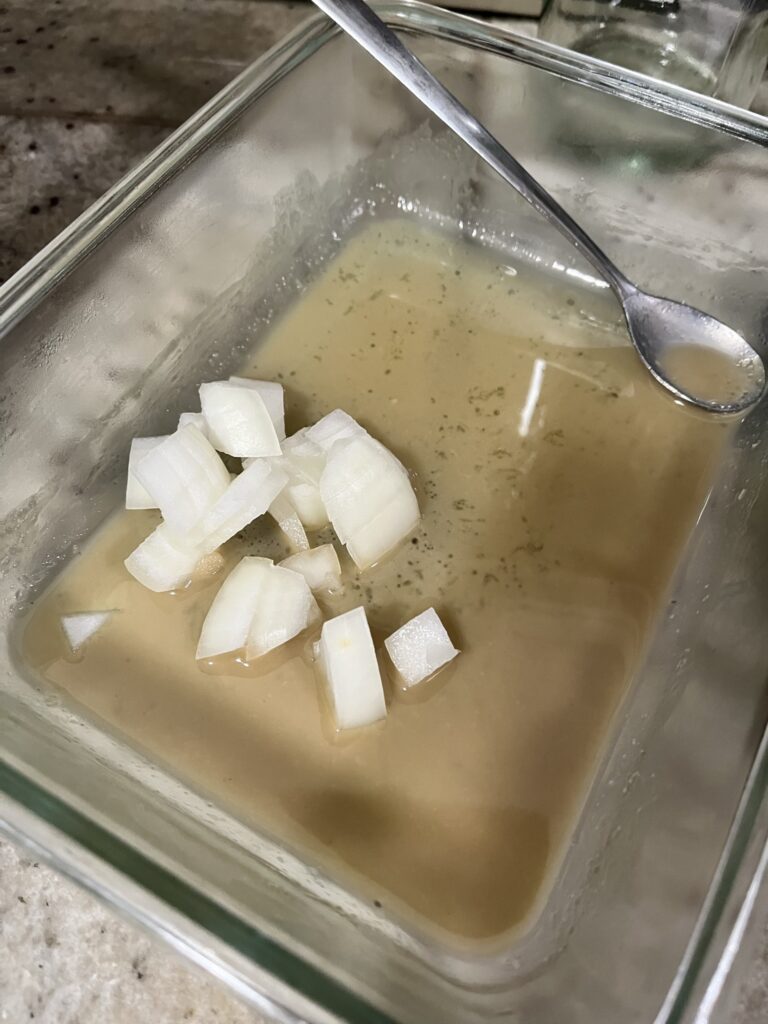
  • Chop onion to desired size and add to dressing. Mix into the dressing to "marinate" the onion in the dressing.
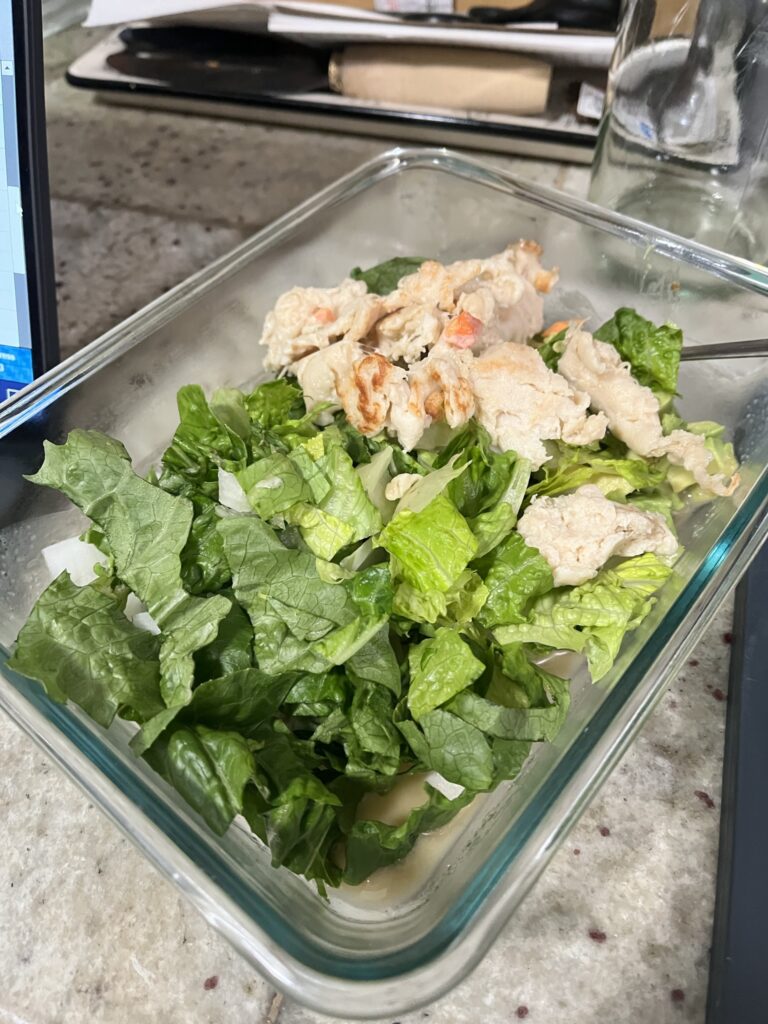
  • Chop romaine lettuce into bite sized chunks and add to container.
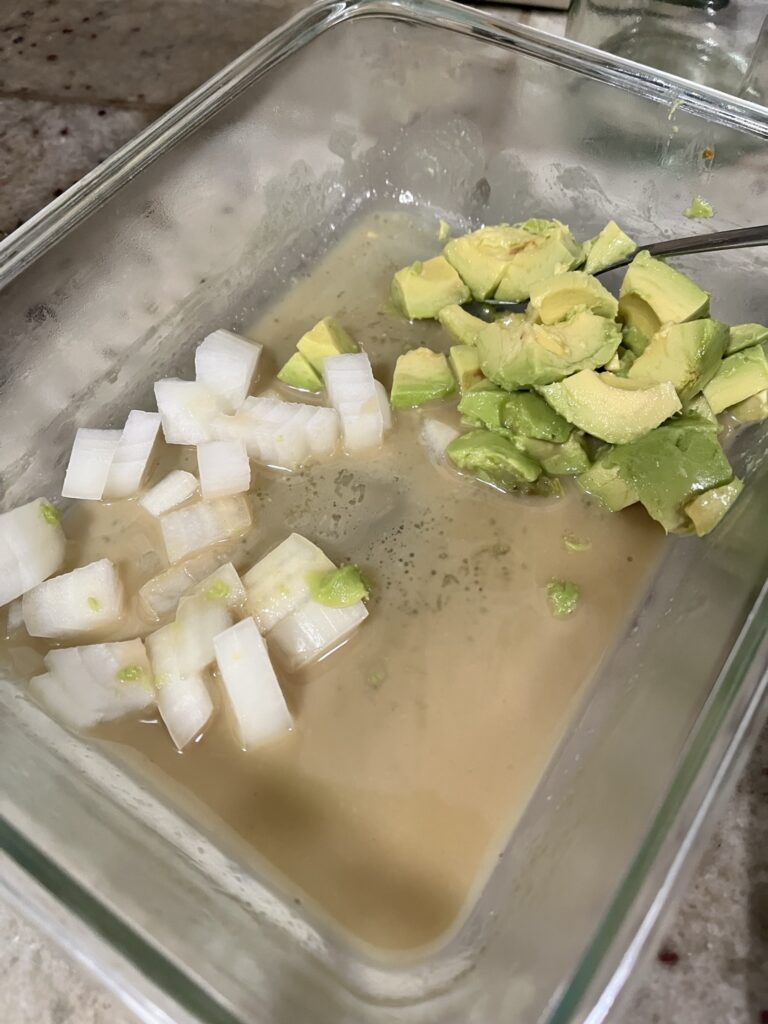
  • Chop avocado and add to container.
  • Add protein of choice.
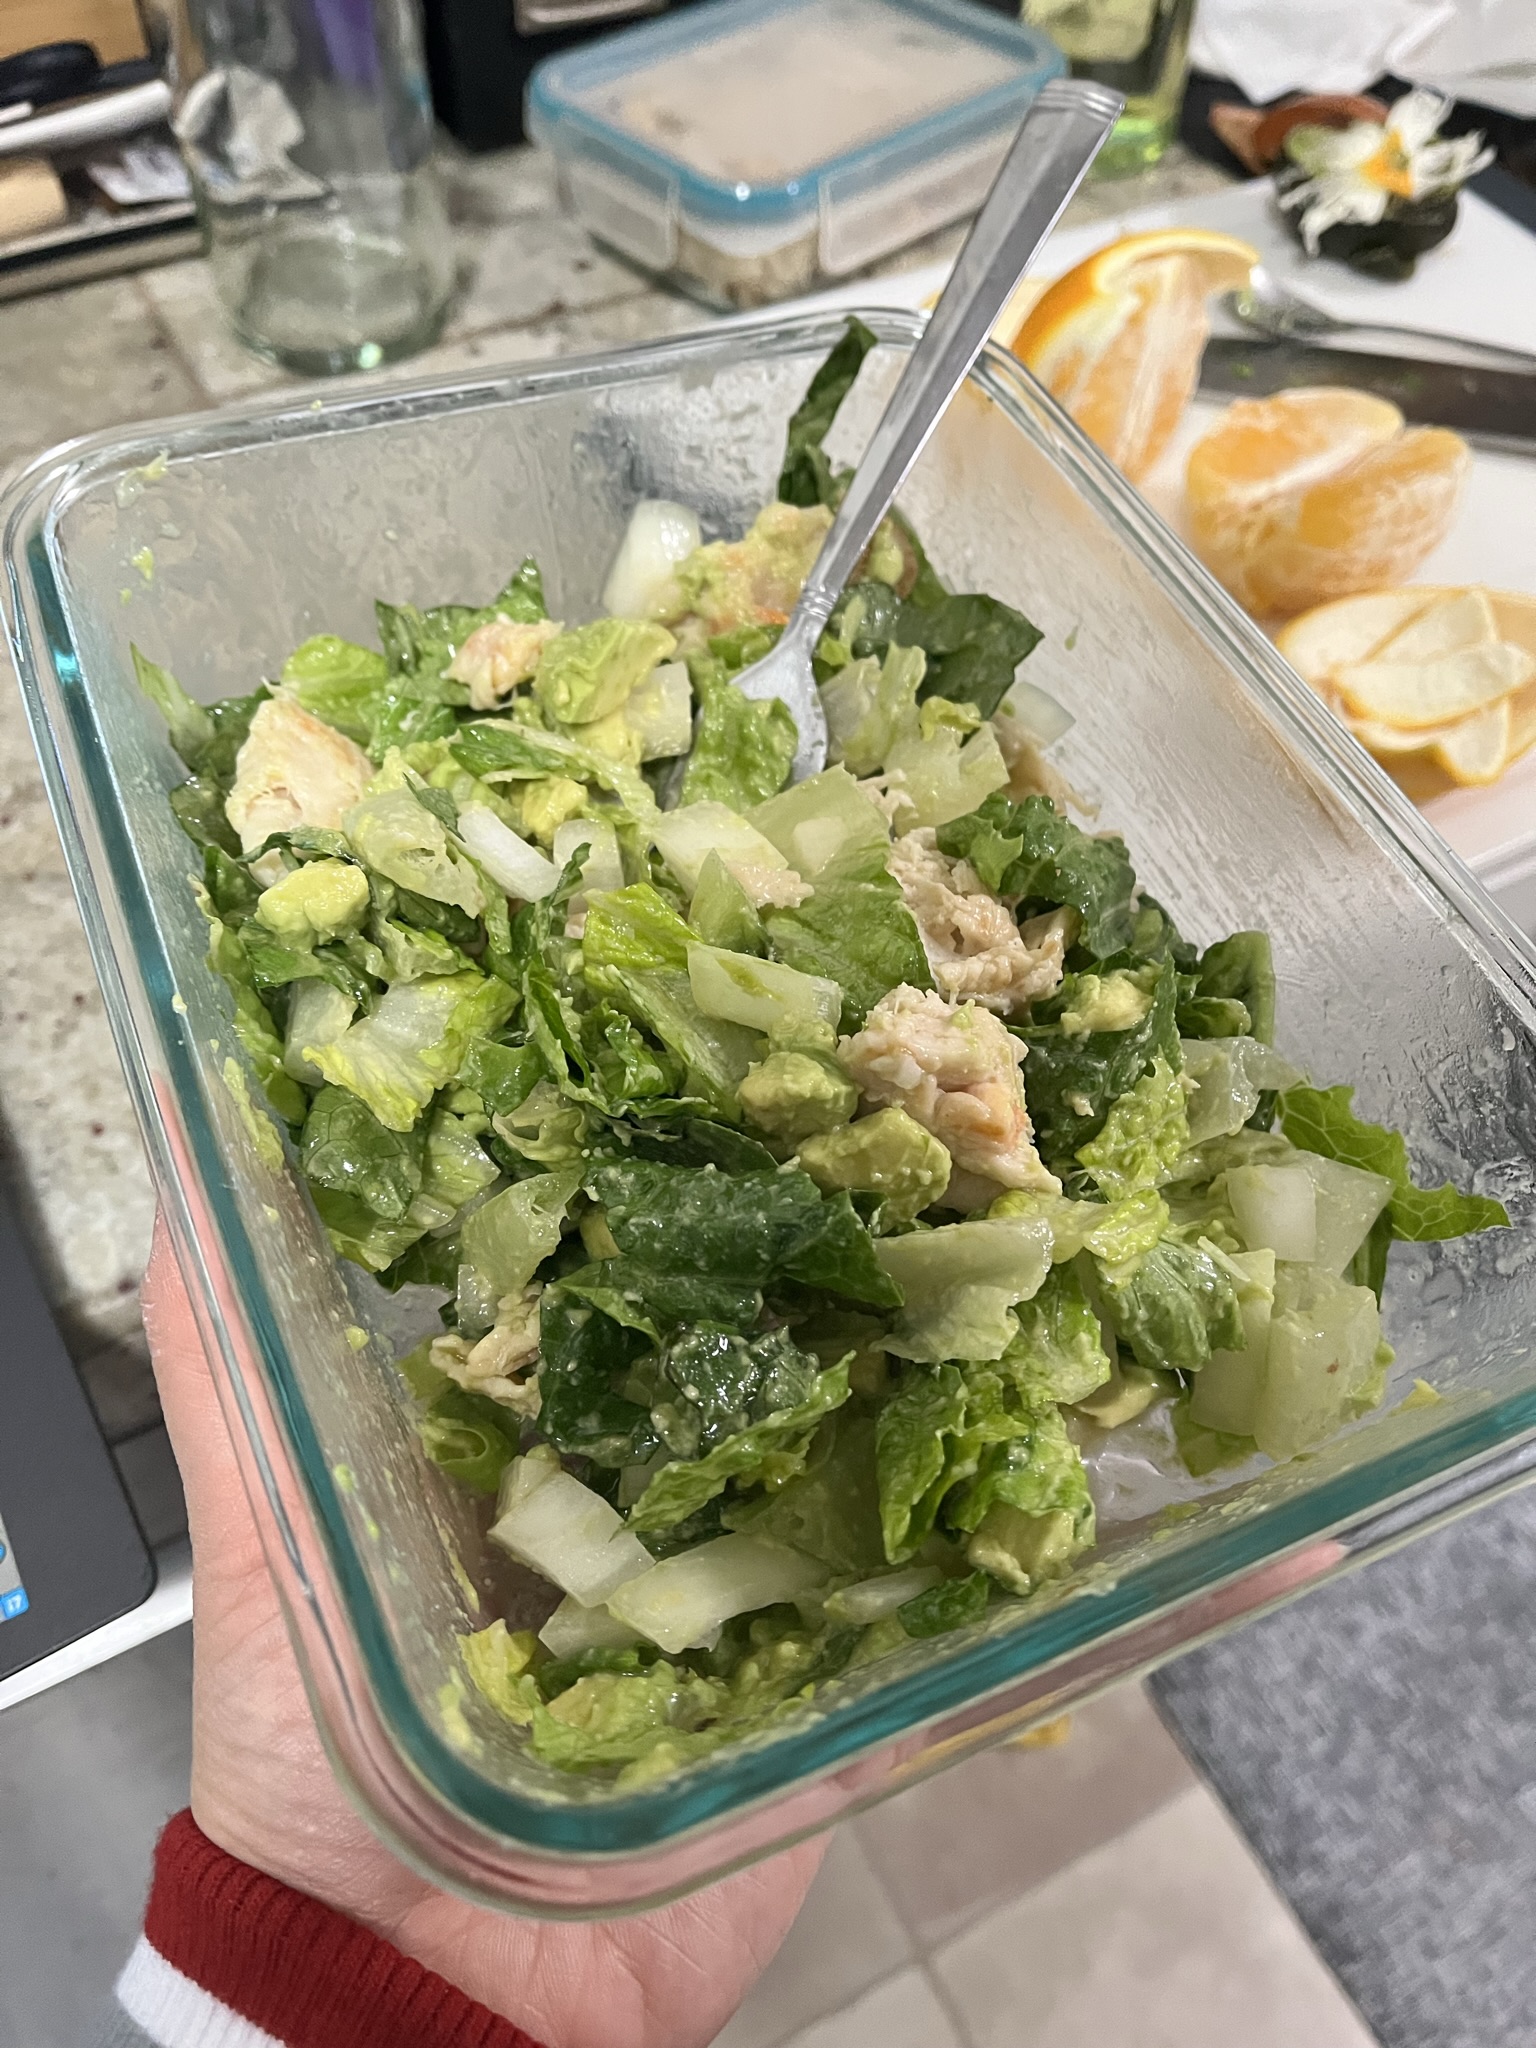
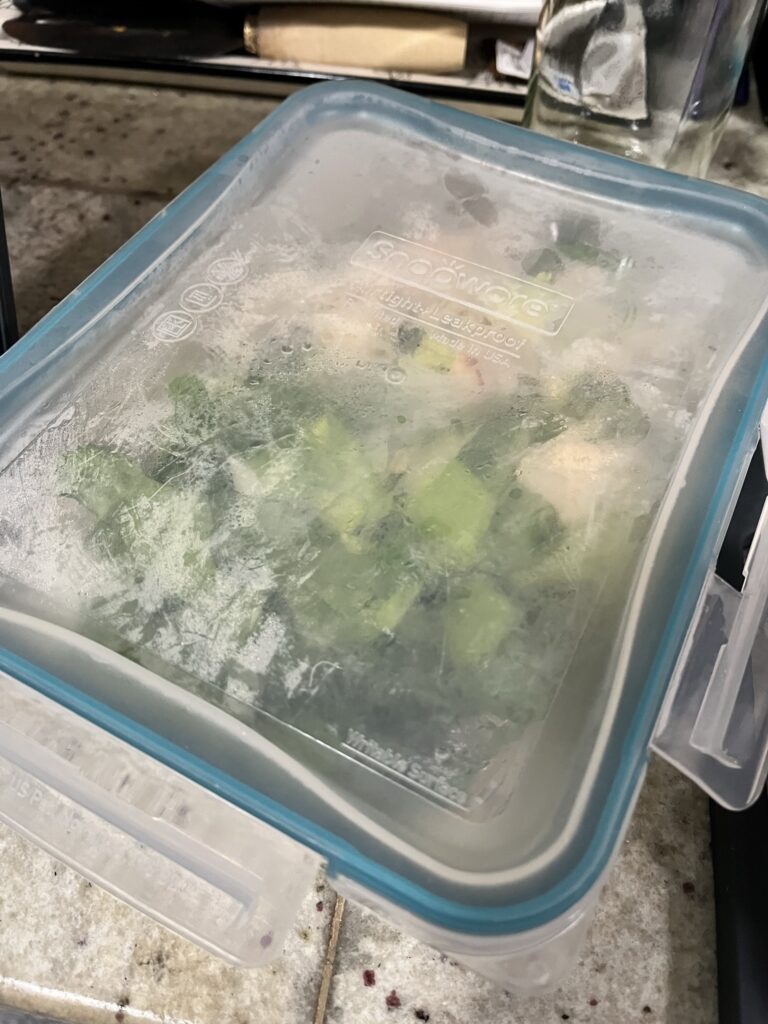
  • Attach lid to container and shake to toss the salad and disperse the dressing!

Try this salad alongside a pizza using Pizza Dough or with Shrimp & Snap Pea Stir Fry.

Sourdough

Temperatures have dropped so I am much more willing to turn on my oven to blasting 400F+ temps. My sourdough starter has been revived from the depth of my freezer where it has been hibernating in the summer. When it gets cold, I bake sourdough (almost) every day. The oven just helps warm up the kitchen! With holiday parties coming, I find a loaf of sourdough with (don’t you dare think butter board) some flavored olive oil, a balsamic glaze, aioli and maybe a little pate is perfect to bring with a bottle of wine. I’ll share my sourdough feeding schedule, daily prep, and baking that has resulted in some fluffy loaves with a crispy crunchy crust that’s so yummy to snack on.

Ingredients:

All-purpose flour – This is a purposely very simple bread recipe that uses AP flour. If you are going to use a different type of flour, I would NOT recommend this recipe as the feeding schedule may differ and steps might be rearranged (such as autolyzing). Basically, only use this method if you are making loaves with AP flour. 🙂

Schedule:

Once I’ve started on my sourdough schedule, I end up consolidating all the steps into one day so that I can continuously have fresh starter and be able to bake a loaf of sourdough each day.

Day 1

Evening before, 7-9 PM: feed sourdough start with 35 g bread flour & 35 g room temp water

Day 2

Next morning, 6-9 AM: make dough, recipe below, allow to rest at room temp in the same mixing bowl throughout the day

Throughout the day: give the dough a couple folds here and there when you have chance, no big deal if you can’t

Evening, 7-9 PM: move dough into banneton or towel lined bowl & leave in refrigerator

Day 3

Next day, one hour before baking: Remove from refrigerator and allow to come back to room temp

Bake!

Sourdough

Print Recipe
An easy, passive sourdough recipe that only requires all-purpose flour, salt, water, and starter.
Keyword bread, sourdough

Equipment

  • 1 dutch oven

Ingredients

  • 330 grams water
  • 70 grams sourdough starter bubbly
  • 12 grams salt
  • 500 grams all-purpose flour

Instructions

  • In a bowl, mix together water and sourdough starter. Starter should be floating in the water, indicating it is the most active and will give you the most lift for your bread.
  • After mixed, add salt and mix again.
  • Add flour and mix until combined.
  • Cover with a dish towel and give it a few folds throughout the day if possible.
  • Transfer to banneton or towel-lined bowl.
  • When ready to bake, transfer to a parchment lined dutch oven.
  • Preheat oven to 425F. When ready, put loaf in dutch oven with lid on for 20 minutes. After 20 minutes, remove lid and bake for an additional 40 minutes, until golden brown on the top.
  • Allow to rest for at least 10 minutes before cutting into the loaf.

Leftover sourdough? Use it in Bread Pudding or Cheesy Egg Strata.

Honey Soy Vegetable Stir Fry

In order to prepare for all of the unhealthy eating next week, I needed to cleanse with a healthy, fibrous vegetable stir fry before it turns into exclusively protein, carbs, sugar, and wine. The greens of summer are slowly disappearing, so I’m taking advantage of the fresh vegetables before it gets too cold. The base of this recipe really is just the sauce that is used at the end to coat the vegetables and give them some extra flavor, so the vegetables can easily be swapped with your personal favorites.

Ingredients

Vegetables – I used a mix of broccoli, eggplant, and peppers. Feel free to use whatever you like! Only use broccoli if you only like broccoli, or add different vegetables like celery, onions, bokchoy, or cabbage.

Sauce – Half, double, or triple the sauce quantity if you’re extra saucy or if you’re just making a smaller quantity of vegetables.

Honey Soy Vegetable Stir Fry

Print Recipe
A quick stir-fry to throw on a bed of rice.
Course Side Dish
Keyword honey, soy sauce, stir fry, vegetable

Equipment

  • 1 large pan

Ingredients

  • 1 clove garlic sliced
  • 3 pounds assorted vegetables cut in approximately the same size
  • 1/2 cup soy sauce
  • 2 tbsp honey
  • 1 tsp corn starch
  • 1 tsp sesame oil

Instructions

  • Wash and clean your vegetables, ensuring they are cut all to about the same size.
  • Heat up a large pan with a splash of oil on high.
  • When oil is shimmering, add vegetables to the pan. Do not move for 1 minute to sear.
  • After 1 minute, add sliced garlic and stir. Turn stove down to medium.
  • Allow vegetables to continue cooking for 5 more minutes. While cooking, mix together soy sauce, honey, and cornstarch.
  • Add the sauce and stir. Allow to keep cooking until sauce has just simmered and thickened.
  • Remove from heat and enjoy!

Try another Shrimp & Snap Pea Stir Fry!

Balance the healthy vegetables with a healthy vegetable dessert like Zucchini Bread.

Cozy Chili

It’s like the weather flipped a switch! Really, it was 70F one day and the next, dropped to 50F. Pretty rude, but I guess with less than a week left of October, it was time for fall to truly set in. Fresh beans are out of the season with their pods all dried out. I got some fresh plucked beans from my CSA (are these fresh, dry beans?), there was leftover tomato sauce from the homemade tomato sauce used for the Zucchini Parm Lasagna, and I had a few peppers starting to wrinkle. With the chilly weather & these ingredients, I wanted something hot and cozy and fall? I think that means chili.

Ingredients

Beans – Use any beans you would like. When I have a lot of dry beans and I’m feeling especially beany, I’ll cook off a large batch and then freeze the cooked beans to use in future recipes. These beans can also be substituted for canned beans. In chili, no one will ever know.

Tomato sauce – I had some extra tomato sauce from the last batch of fresh tomatoes from the farm. My tomato sauce was flavored only with onions, garlic, and salt, but you can use any canned or jarred tomato from the grocery store. If using plain canned crushed tomatoes, more salt may need to be added.

Protein – I wanted to keep my chili veggie friendly, so I used a soy protein alternative. Use whatever you like! Some good options might be ground pork, beef, chicken, or even Italian sausage or seitan chunks.

Cozy Chili

Print Recipe
A warm and hearty chili that can be easily made vegetarian or vegan.
Course Main Course, Soup
Keyword chili, vegan, vegetarian

Ingredients

  • 1 pound protein
  • 1 yellow onion diced
  • 2 bell peppers any color, diced
  • 30 ounces cooked beans any kind
  • 32 ounces tomato sauce
  • 1 tsp Cajun seasoning
  • 1 tsp chipotle chili powder
  • 2 bay leaves
  • 1/2 tsp cumin
  • 1 tsp garlic powder
  • salt & pepper

Instructions

  • In a heavy pot, cook ground protein until browned, breaking up into smaller pieces. After mostly browned, removed from the pot. It's ok if it's not fully cooked yet, it'll finish cooking later.
  • Lower heat to medium, and add some oil to the pot, and sauté onions and peppers with a pinch of salt until softened. Scrape bottom of the pot to loosen any brown bits from the protein.
  • After onions & pepper are soft, add the beans, tomato sauce, Cajun seasoning, cumin, chipotle chili powder, bay leaves, and garlic powder. Stir until combined.
  • Continue cooking on low until mixture starts to simmer. Return protein to the pot and cover. Simmer for another 30 minutes – 1 hour.
  • After simmering, add additional water, salt, or pepper to thin the chili to your desired consistency and season to your preference. Enjoy!

Some other soups that are lovely for fall include Tomato Basil Soup, Pumpkin Soup, and Chicken & Napa Cabbage Soup. Stay warm! <3

Zucchini Parm Lasagna

Most of my recipes are really based on what I get from my weekly CSA box and what is leftover in my refrigerator/pantry. At my last CSA pick up, I got my hands on some of the last of the summer squash. This guy was absolutely massive. I had leftover homemade tomato sauce (adapted from Tomato Basil Soup, no dairy, no basil, add onion), a variety of cheeses in the fridge, and some breadcrumbs aging in the pantry. I wanted lasagna but also wanted eggplant parmesan, so we ended up with a zucchini lasagna!

Ingredients

Squash – If you want to use squash, you can really use any. Green and yellow summer squash or zucchini is excellent. Squash could also be substituted with eggplant if you want to keep the lasagna low-carb. If you want a real lasagna, you could use lasagna noodles.

Tomato sauce – Make your own or just use a jar! The sauce is meatless, but you could sear off some extra protein and mix it into the sauce.

Cheese – I used a combination of mozzarella, monterey jack, and parmesan. Use any combination that you like.

Breadcrumbs – I like the breadcrumbs since it gives the “eggplant parmesan” texture and also supports a crispy top. If you don’t want them, don’t use them.

Zucchini Parm Lasagna

Print Recipe
A low-carb lasagna that's actually super hearty and satisfying. The crispy top gives you that "eggplant parmesan" feel.
Course Main Course, Side Dish
Keyword lasagna, parmesan, squash, zucchini
Cook Time 30 minutes

Equipment

  • 1 9×13 dish or 2 5×8 dishes
  • mandolin slicer

Ingredients

  • 4 pounds zucchini 1/4 in slices
  • 16 ounces tomato sauce
  • 1 cup Italian style breadcrumbs
  • 1/2 cup panko
  • 1/4 cup olive oil
  • 1 tsp salt
  • 1 cup mozzarella
  • 1 cup monterey jack
  • 1/2 cup grated parmesan

Instructions

  • Cut and trim your zucchini. Remove all of the seeds and slice into 1/4 in pieces.
  • In a dry pan, add breadcrumbs, panko, olive oil, and salt.
  • Mix and toast mixture until light golden brown. Remove from heat.
  • Grate mozarella and monterey jack. Mix cheeses together.
  • In baking dish, add one layer of sauce. From there, add layers in order of:
    1. squash
    2. sauce (~3 tbsp for 8×5 dish, double for larger dish)
    3. cheese (~2 tbsp cheese mix and 1 tsp of Parmesan for 8×5 dish, double for larger dish)
    4. breadcrumbs (~2 tsp for 8×5 dish, double for larger dish)
  • Continue layering. There should be enough zucchini to make 3 full layers.
  • For the last layer, add extra Parmesan and breadcrumbs to completely cover the top.
  • Bake @ 350F for 30 minutes until top is golden brown and Parmesan looking roasty. A knife should go through the dish like butter, indicating tender squash. If the top is too dark, cover with foil and continue baking.

Make your own lasagna noodles using Fresh Egg Pasta.

Looking for other pasta? Try Creamy Morel Mushroom Pasta or Sun-dried Tomato and Goat Cheese Pasta.

Tomato Basil Soup

It’s getting darker in the mornings and weather is dropping below 60F, so it’s soup season! Tomato season is drawing to a close, so the farms near me are rushing to harvest all their tomatoes before the cold sets in. These fresh tomatoes are so juicy and so sweet. I always end up with too many to eat fresh in sandwiches and salads, so I turn to tomato soup when I need to get through them all. This tomato soup thickens up on its own over time and requires very little work to make it shine. It doesn’t require a lot of baby-sitting and there are few ingredients required. After all my ingredients have spent a few hours together, I like to blend them up for a smooth texture. If you like the chunks, leave it as it!

I also like to save some leftover My Favorite Focaccia, chop it up into small cubes, and bake to dry out to make croutons. These croutons are lovely to top the soup with. If you would rather just have some bread to dip into the tomato soup, the fresh focaccia is great too.

Ingredients

Tomatoes – Use any that you like!

Basil/Heavy Cream – Both of these are entirely optional. I love to use fresh basil for this soup, but you can most certainly substitute with dried. I love a splash of the heavy cream in the soup to mellow out the acidity of the tomatoes and make the soup even creamier.

Tomato Basil Soup

Print Recipe
End the summer by using up your remaining tomatoes with this tomato basil soup
Course Soup
Keyword basil, soup, tomato

Equipment

  • blender

Ingredients

  • 1 tbsp olive oil
  • 5 lbs tomatoes
  • 3 cloves garlic
  • 1 tsp salt
  • 1/2 cup fresh basil
  • 1/4 cup heavy cream

Instructions

  • Wash, core, and chop tomatoes into quarters. These do not need to be perfect as the tomatoes will cook down.
  • Add tomatoes, salt, olive oil, and garlic to the pot on medium heat.
  • Cover with a lid for 20 minutes for the juices to start coming out of the tomatoes.
  • Uncover the pot, mix, recover, and reduce the heat to medium-low.
  • Leave the soup to simmer for 2-4 hours. The soup will reduce and intensify the tomato flavor.
  • Blend the soup to your desired smoothness.
  • Optional – Stir in heavy cream for extra creaminess and top or blend in some fresh basil. Season with additional salt as needed.

Want more fall soups? Try Pumpkin Soup

Black Bean Burgers

So here’s my beef (hehe) with most black bean burgers:

Flavor – Bean burgers that are sold at most restaurants and grocery stores can be over-seasoned. The seasonings typically used (paprika, chipotle chili pepper, cumin, etc) usually overwhelms the rest of the burger. It really distracts from the creaminess of the beans and the rest of the burger toppings.

Texture – Some bean burgers I have are just straight mush. The beans have been pulverized into paste and then layered in between two soft buns, causing the entire burger to just turn into straight mush. This bean burger keeps textures interesting with every bite. The burger is flavorful on it’s own, but it isn’t distracting or overpowering if you’re trying some new burger topping combinations. I had mine with some brie, celery leaves, horseradish, and crunchy lettuce.

This recipe is great for meal prepping or creating a large quantity of burgers to freeze and save for a future time. I like to make this recipe to have burgers for dinner, and then keep the rest for another time. I will pre-shape my burgers and then put them in the freezer for another meal.

Ingredients

Beans – I used a mix of multiple kinds of beans. Black beans are the most commonly used, but feel free to mix it up with different types of beans.

Seasonings – I like to keep it simple with the seasonings, but if you like different flavors, go for it!

Eggs – Want to make this recipe vegan? Substitute the eggs with flax eggs (1 tbsp flax + 3 tbsp water)

Black Bean Burgers

Print Recipe
Finally – a black bean burger that isn't overwhelmed with seasonings or only has one texture.
Course Main Course
Keyword beans, black bean, burger, vegan, vegetarian
Servings 12 burgers

Equipment

  • 1 food processor optional

Ingredients

  • 6 cups beans cooked
  • 1 onion diced
  • 1 tbsp salt
  • 1 tbsp pepper
  • 1 tsp thyme
  • 1 tsp rosemary
  • 1 tsp sage
  • 1 cup breadcrumbs
  • 2 eggs

Instructions

  • By hand or in a food processor, mash half of the beans to form a thick paste. It does not need to be completely creamy. If you like a burger more textured, leave the paste thicker! If you like the burger more creamy, mash until smooth.
  • Dice the onion. Dice in larger pieces for more texture or smaller pieces if you want the onion to "dissolve" more into the burger.
  • Mix the mashed beans with the whole beans and add seasonings (salt, thyme, rosemary, sage), eggs, and bread crumbs.
  • Using a 1/2 cup measure, shape portions of mixture into burgers. If you are making to freeze, shape and then freeze in a single layer. When burgers are frozen, transfer to a bag or container.
  • Cook on each side on medium-high heat for 5 minutes. Serve on your favorite bun with your favorite toppings!

Have some Honey Balsamic Roasted Brussels Sprouts on the side and maybe some summer-y Peach Galette for dessert.

Mapo (ish) Tofu

Mapo tofu is distinctly known for its mouth numbing quality courtesy of the Sichuan peppercorns. This quick dinner requires minimal prep work, so it is perfect for a weeknight dinner. Along with the Sichuan peppercorns, mapo tofu traditionally contains a ground meat (typically pork), tofu, and spicy bean paste. Try it over rice with a veggie on the side.

Disclaimer: this recipe is “Mapo-ish”. It doesn’t contain all the traditional ingredients but still has all the essence and kick of what you’d find at an authentic Chinese restaurant.

Ingredients

Soybean paste/chili flakes – Traditionally, Mapo tofu calls for the use of spicy bean paste. Spicy bean paste just isn’t something that I typically have around the house. Spicy bean paste is a mix of fermented beans and chili; I substitute with similar ingredients. If you don’t have fermented soybean paste, you can even use miso paste.

Sichuan peppercorns – This cannot be substituted! This is what gives Mapo tofu the “ma” in its name. “Ma” is the mouth-numbing spiciness.

Ground meat – I made mine with Impossible meat, and my guests didn’t even realize that the meal was plant-based. If a plant-based option is not handy, the recipe can be substituted with ground pork, turkey, chicken, beef, mushrooms… the world is your oyster!

Vegetable – Feel free to make the recipe your own and add in any other vegetables that might add some flair. I mixed in some bean sprouts at the end for a little extra crunch. Some other vegetables that would do well in the dish would be cabbage, onions, or a wilted leafy green. If not a mix-in, try something on the side. I’d recommended some garlicky steamed bok choy or Chinese broccoli, or even a light sesame, soy cucumber salad to help refresh you if it starts getting a little too spicy.

Mapo(ish) Tofu

Print Recipe
This mouth-numbingly spicy dish can be made plant-based! Try it with rice.
Servings 4

Ingredients

  • 1 tsp Sichuan peppercorns
  • 1 tbsp soybean paste
  • 1 tsp chili flakes
  • 1 tsp dark soy sauce
  • 1/2 lb ground meat
  • 1 block tofu
  • 1 bunch scallions garnish
  • 2 tbsp sesame oil
  • olive oil

Instructions

  • In a pan, heat up ~1 tsp of olive oil on medium heat.
  • When oil is hot, add Sichuan peppercorns and fry until fragrant.
  • Add soybean paste and briefly fry.
  • Add ground meat and stir.
  • When meat is 50% cooked, add in 1 cup of water, ensuring that the soybean paste dissolves.
  • Using your hands, break up the tofu into bite sized chunks. Add tofu and chili flakes to the pan.
  • Add dark soy sauce and gently stir together.
  • When all of the tofu has been coated in the sauce, add in sesame oil and sprinkle scallions on top.

Try an appetizer of Chicken & Cabbage Dumplings.

Need a dessert? Have some Banana Bread or Peach Galette.

Peach Galette

Galette? Isn’t that just a topless pie? Whatever you want to call it, it’s a delicious, low-maintenance dessert that requires minimal prep work. Galettes are more rustic than your traditional peach pie. Don’t worry too much about how it looks, it’s all about how it tastes.

I typically see galettes made in a sheet pan, but I like to make mine in my cast iron skillet. It helps keep the galette together but also help facilitate extra crisping on the underside of the pastry. You can definitely still make this on a sheet pan or in a pie pan, but you may need additional cook time for browning.

Ingredients

Peach filing – If you don’t like peaches, feel free to substitute with any other fruit of your choice. I also like this recipe with apples or berries. You can use frozen fruit too, but make sure the fruit is entirely defrosted and drained, otherwise your filling will be very watery.

Cornstarch – When the fruit starts to cook, it’ll release a lot of juice. The cornstarch will thicken the juice. The galette will hold together better when you slice too!

Cinnamon – Don’t like cinnamon? Don’t use it!

Pie dough – This is my preferred pie dough since you can make it in a food processor. Each time I make this dough, I make a few batches and put them in the freezer, so I can have some crusts ready to go when I want to bake! Make sure to wrap well.

Peach Galette

Print Recipe
My favorite topless pie! Easy to make with a crispy crust and fruity filling.
Course Dessert
Keyword galette, peach, pie

Ingredients

Peach Filling

  • 4 peaches about 3 cups
  • 1/4 cup brown sugar
  • 1 tsp vanilla
  • 1/4 tsp salt
  • 1/2 tsp cinnamon
  • 1 tbsp cornstarch
  • 1 tsp apple cider vinegar

Crust

  • 1 1/4 cup flour
  • 1/2 tsp salt
  • 1 stick cold butter
  • 3 tbsp cold water
  • 1 egg for egg wash
  • turbinado sugar/demerara sugar for sprinkling

Glaze (optional)

  • 1 tbsp jelly or jam
  • 1 tbsp hot water

Instructions

Crust

  • Make the pie crust first. In a food processor, add flour, salt, and cubed butter.
  • Pulse ~20 seconds until mixture is mealy.
  • Add water and continue blending until dough comes together in a chunk. Refrigerate dough while you mix the filling.

Filling

  • Wash and slice your peaches. Mix with salt, cinnamon, brown sugar, cornstarch, vanilla, and apple cider vinegar. Set aside.

Assembly

  • Take pie crust out of the freezer and roll out thinly to about 12" in diameter. This does not have to be perfect.
  • Transfer to your baking vessel such as a cast iron, pie pan, or sheet pan.
  • Pour peach filling into the center of the crust and fold the edges of the crust over the peach filling.
  • Brush edges of crust with egg wash and sprinkle with turbinado or demerara sugar to help with browning and give an extra crunch.
  • Bake at 400F for 40 minutes until golden brown and filling is bubbly.
  • After baking is complete, make a glaze by combing any jelly or jam or choice with hot water.
  • Brush over the filling to give the fruit a nice shine! Enjoy!

Looking for desserts? Try Crispy Gooey Chocolate Chip Cookies or Pumpkin Pull Apart Bread.

Rosemary Parmesan Roasted Acorn Squash

Daylight savings is next week, so that means spring is coming! Summer vegetables are coming so I had to savor the last of the squashes. Acorn squash is one of my favorites. It’s naturally sweet and has a great texture for roasting or soups.

Ingredients

Acorn squash – You can eat the skin of the acorn squash, but you don’t have to. I like to leave mine on as an option if anyone wants to try it, but they are more than welcome to eat around it. Leaving the skin on also makes it easier when chopping it up. You can also try this recipe with other squashes like butternut, delicate, or even kabocha.

Parmesan/rosemary – Feel free to switch up the toppings! I even like a goat cheese and thyme or honey and basil. If you’re a purist, leave out the toppings and stick with the salt and pepper.

Rosemary Parmesan Roasted Acorn Squash

Print Recipe
This simple, easy recipe gives ultimate squash flavor. A perfect fall/winter side. Get the last of your winter squashes in before the summer vegetable season!
Course Side Dish
Keyword acorn squash, vegetarian

Ingredients

  • 1 acorn squash
  • 2 tbsp olive oil
  • 1 tsp salt
  • 1 tsp pepper
  • parmesan
  • rosemary

Instructions

  • Cut your acorn squash in half and scoop out the seeds.
  • Cut off the top and bottom of the squash.
  • Cut the acorn squash into spears, approximately 1-2" thick.
  • Lay cut acorn squash on a sheet tray.
  • Drizzle with olive oil, 1 tsp of salt, and 1 tsp of pepper. Add more to taste.
  • Mix acorn squash so all the slices are evenly covered in oil, salt, and pepper. Lay acorn squash flat on the baking sheet.
  • Bake in the oven at 350F for 30 minutes.
  • Remove from the oven and sprinkle with parmesan and rosemary. If you're switching up the toppings, add them, and then serve!

Grab a dessert by making Crispy Gooey Chocolate Chip Cookies or Pumpkin Pull Apart Bread.

Looking for a another side dish? Try Honey Balsamic Roasted Brussels Sprouts.