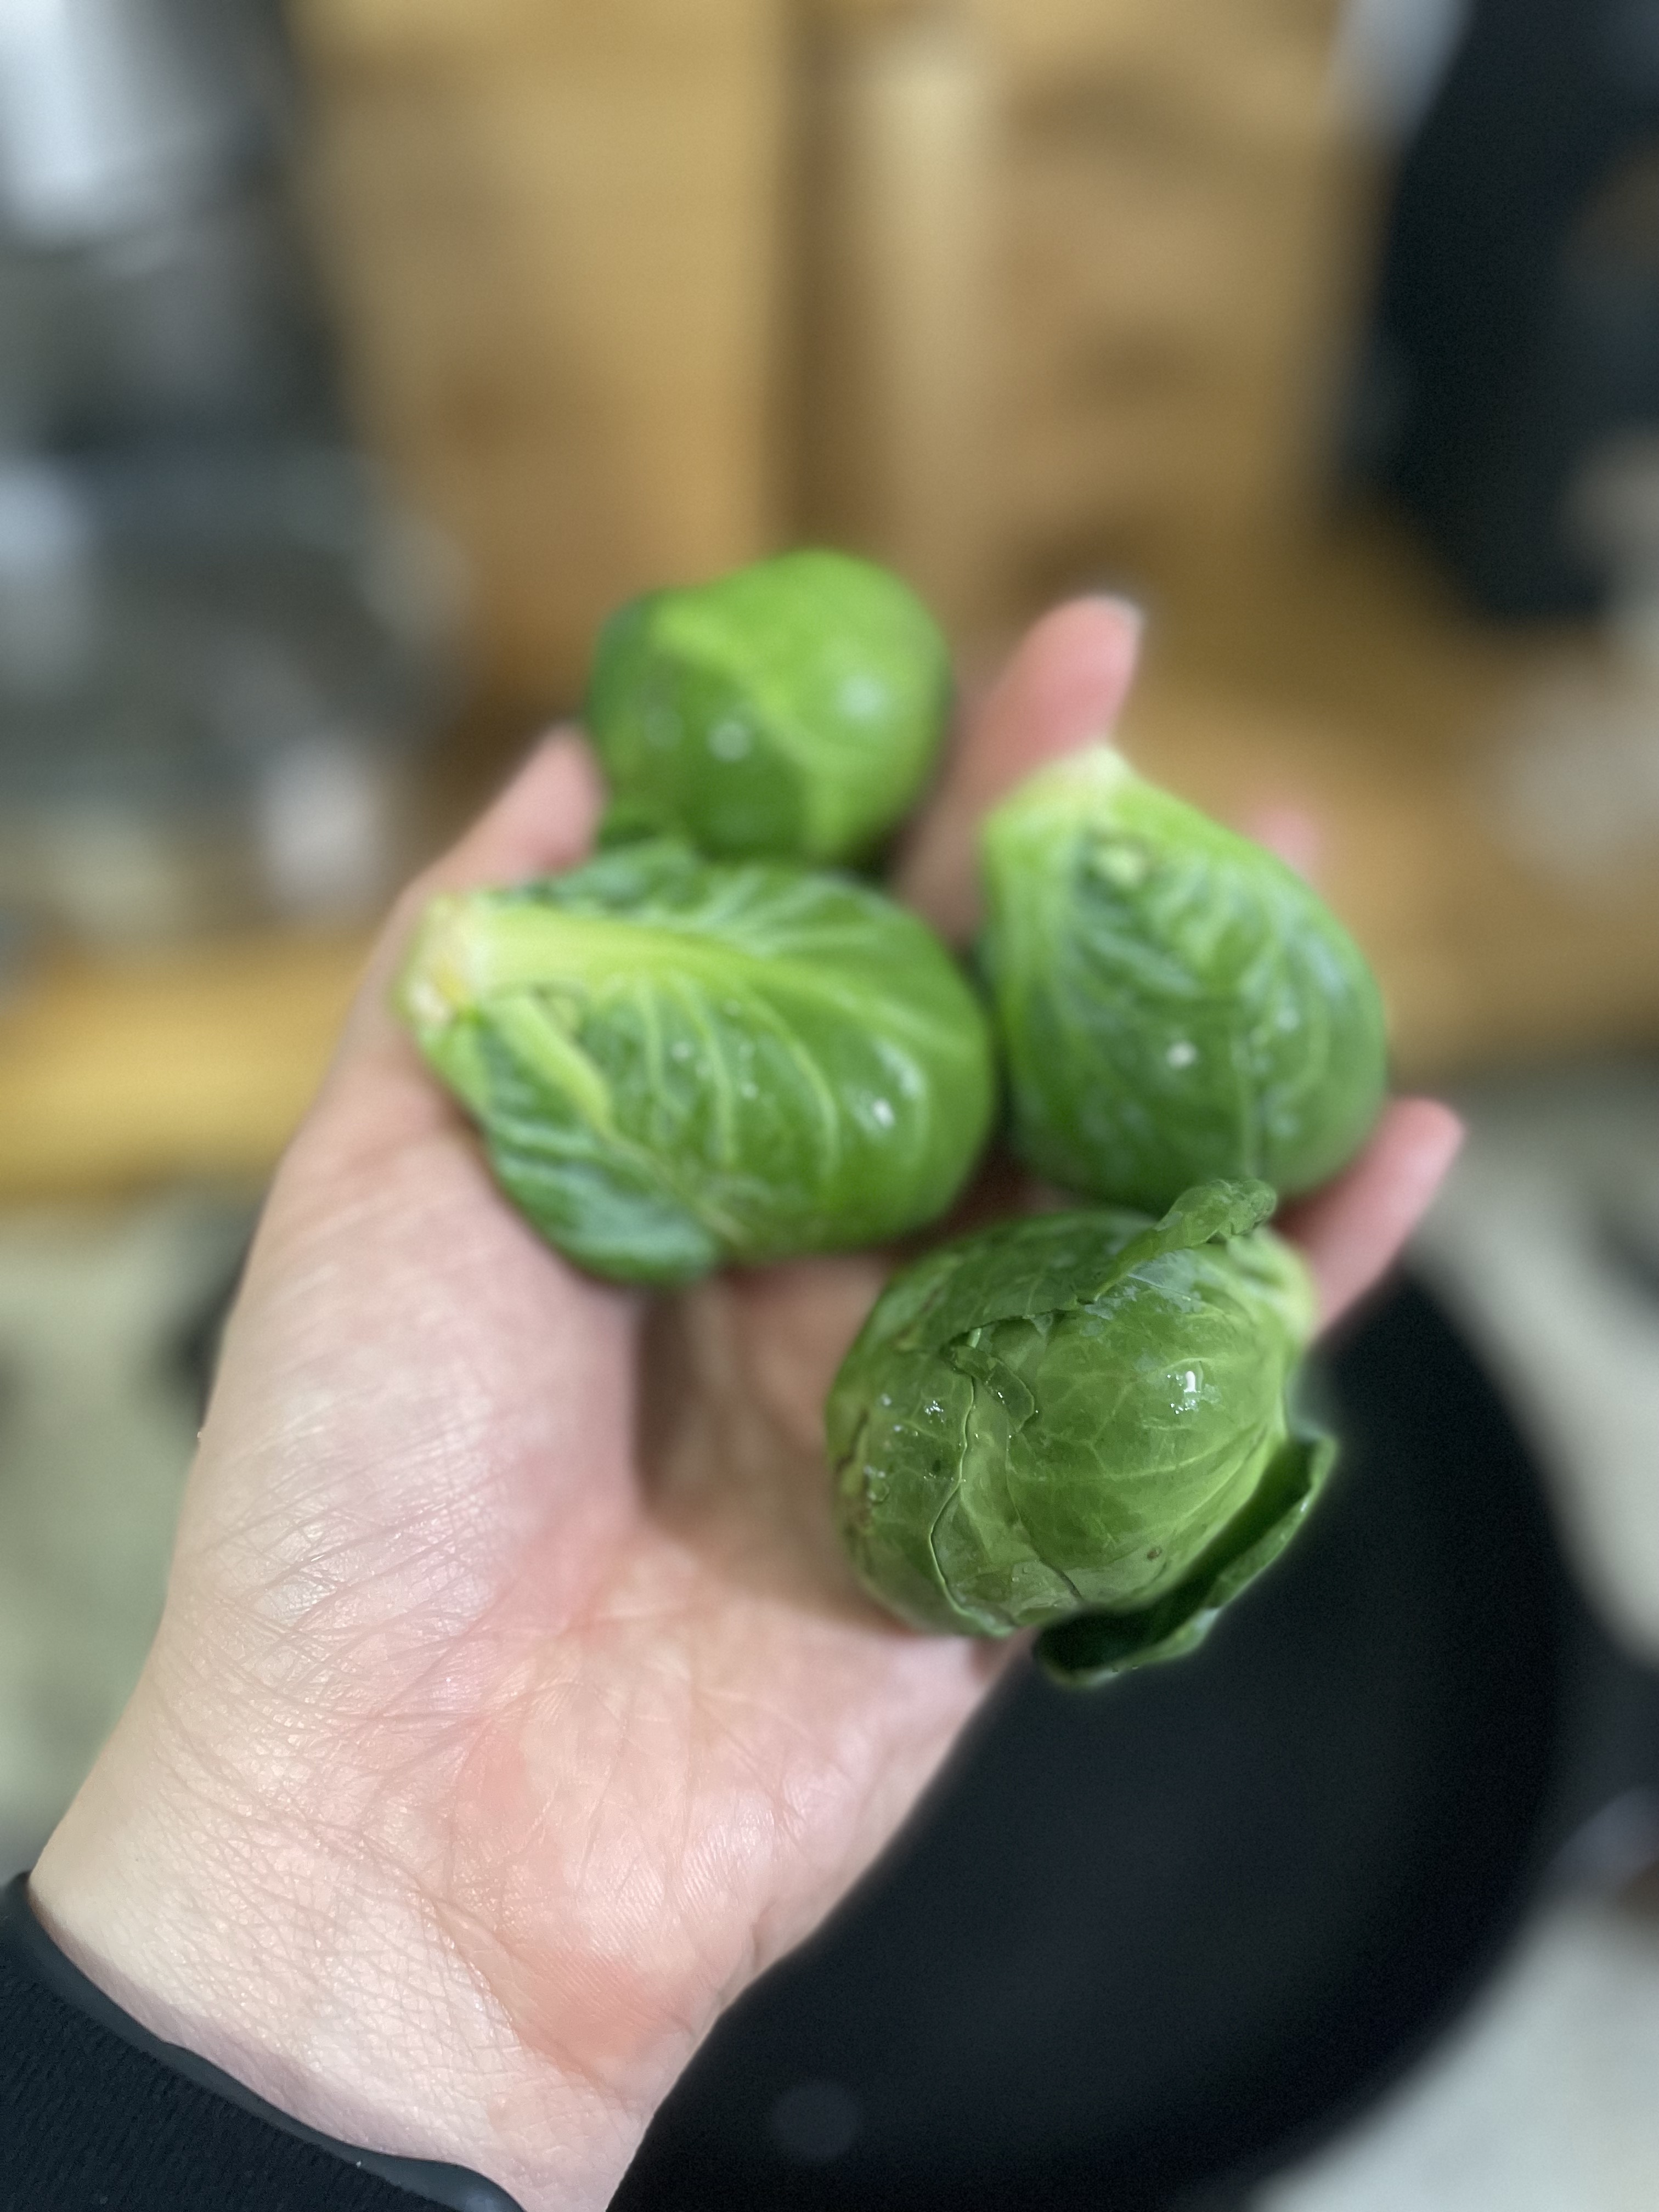
Is it “brussel sprouts” or “brussels sprouts”? If you say it fast enough, they both sound the same. Regardless how you spell it, these cute mini cabbages are so tasty if prepared correctly. Don’t make the mistake of boiling them. Roast them instead! You’ll get a variety of textures from tender to crispy crunchy so you’ll just want to keep eating them.
Ingredients
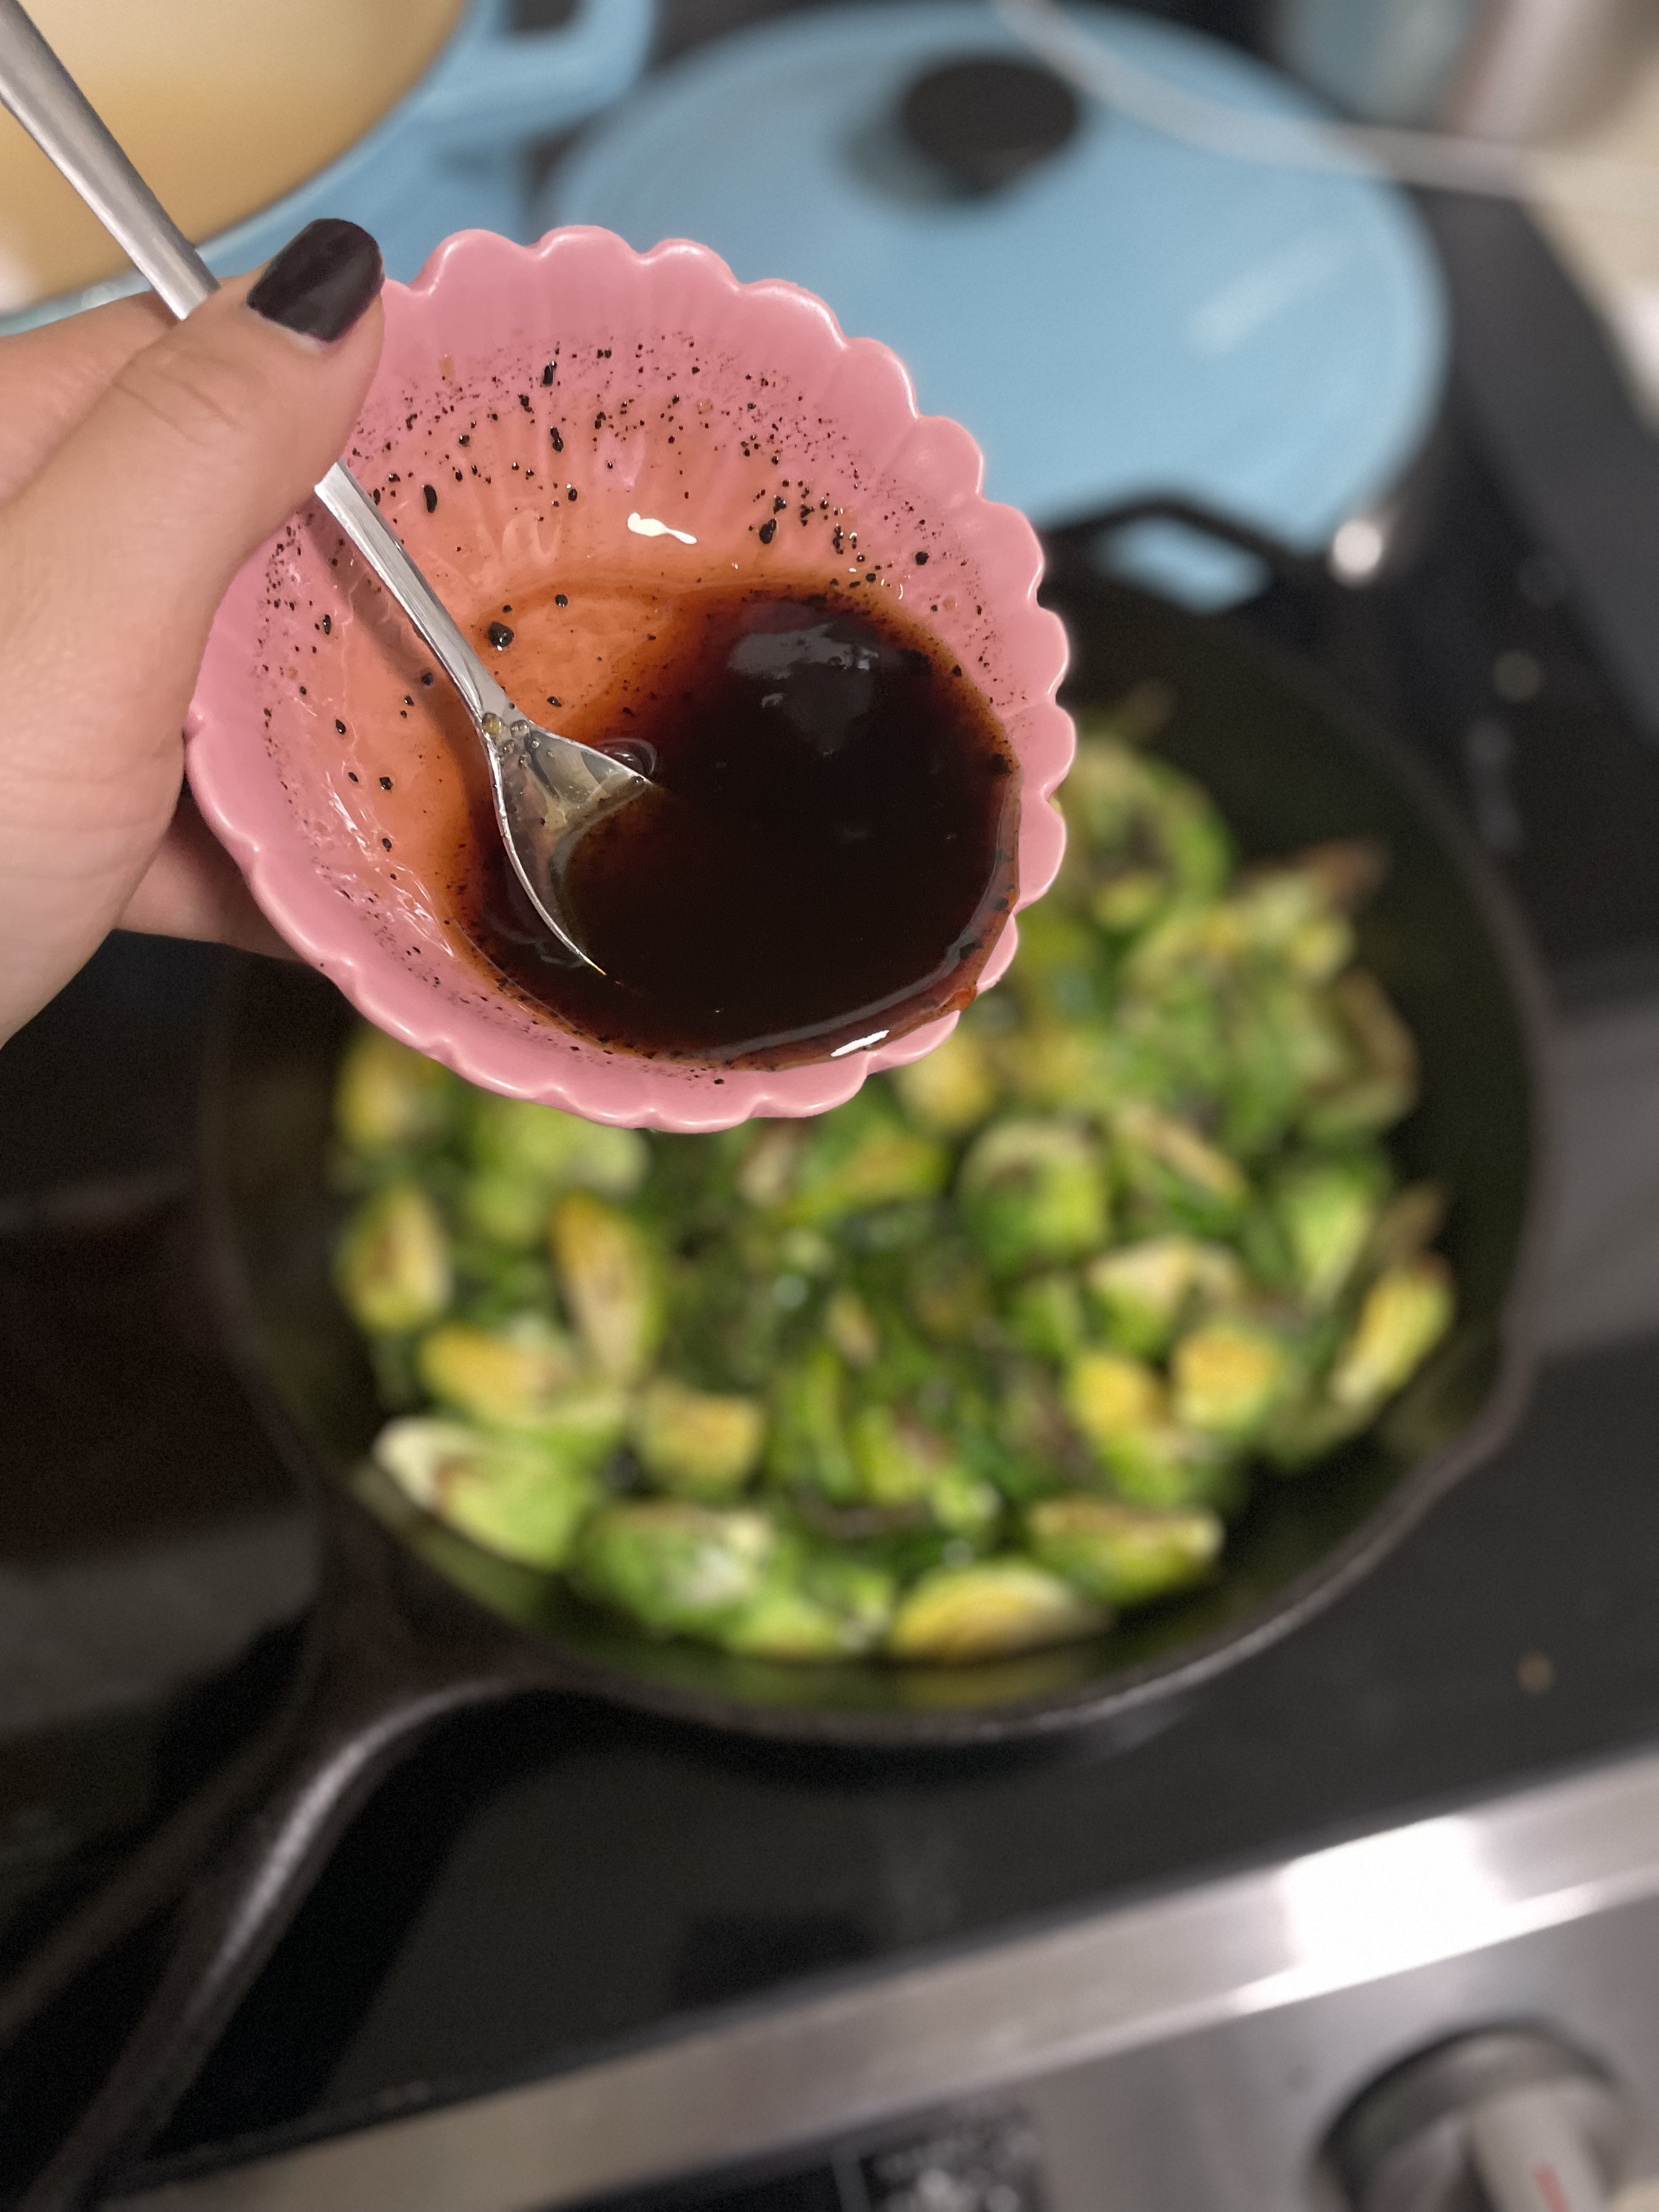
Honey – The honey adds just enough sweetness to balance the slight bitterness from the sprouts. It also helps with caramelization at the end to leave you with the most flavorful bite. You could substitute this with agave as well or leave it out all together.
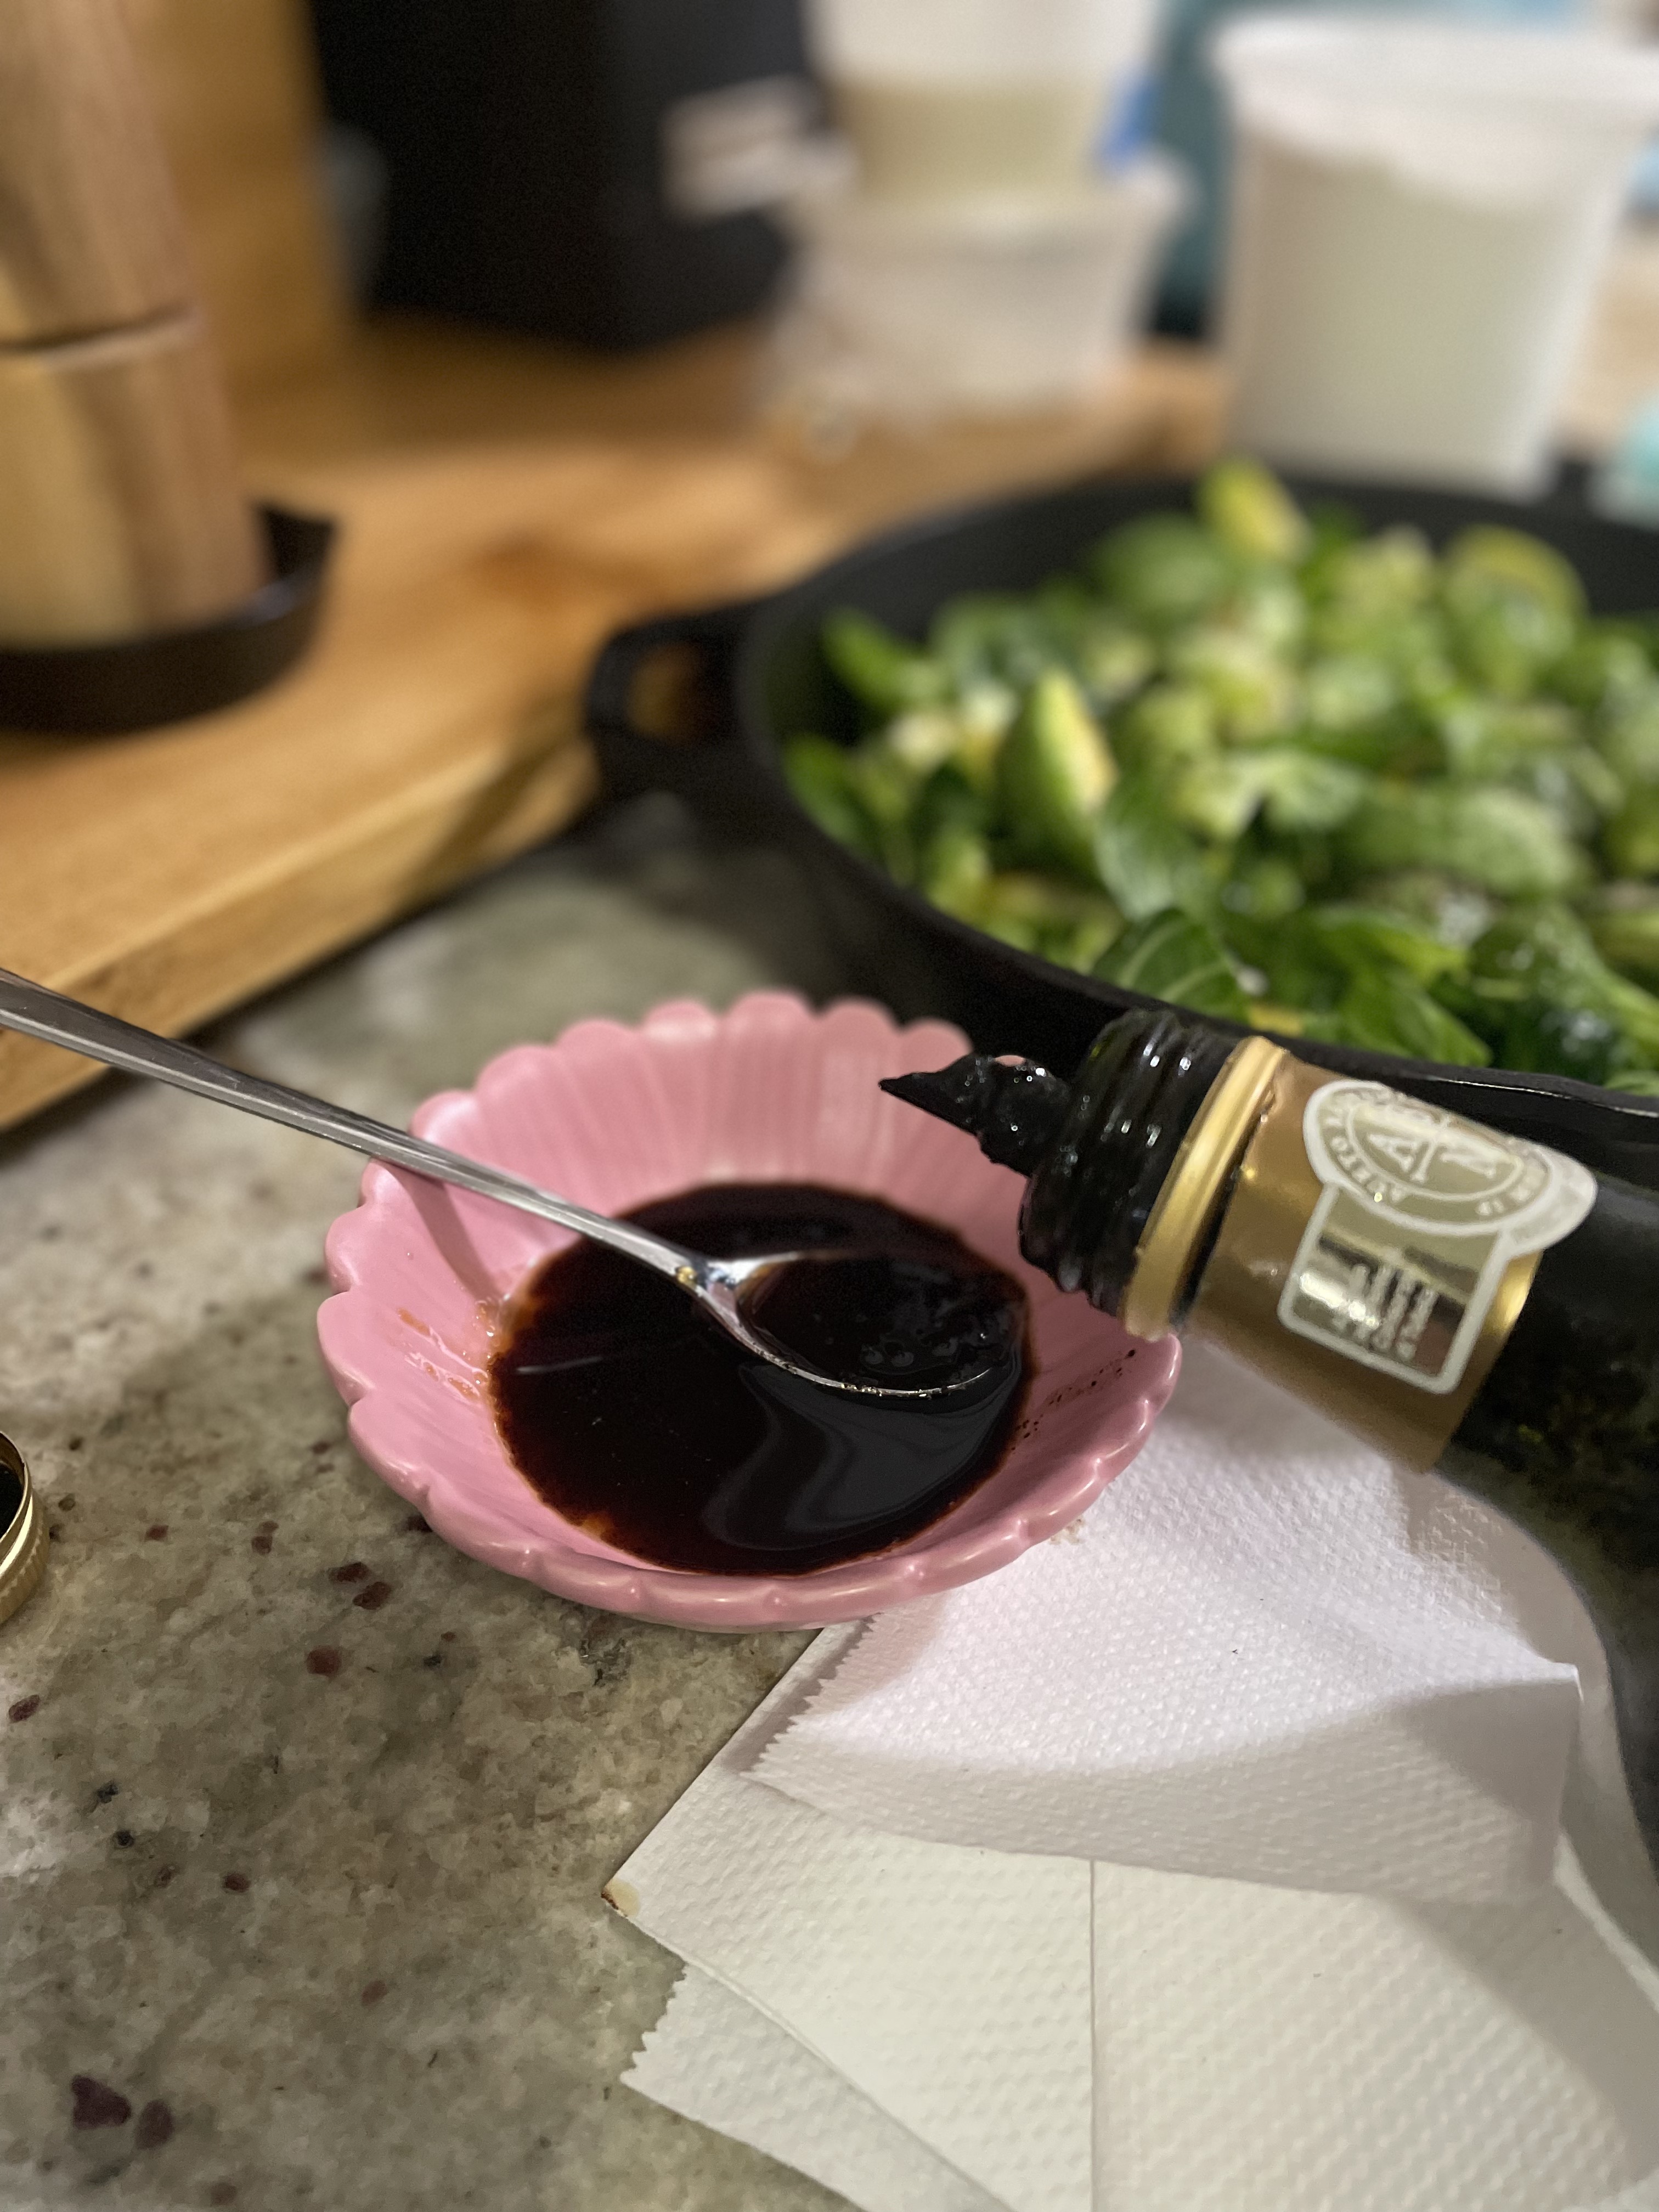
Balsamic vinegar – Now that you have the crunchy, tender, bitter, sweet, and salty together, the balsamic vinegar provides a little brightness and acid. You can also substitute with any other vinegar you prefer.
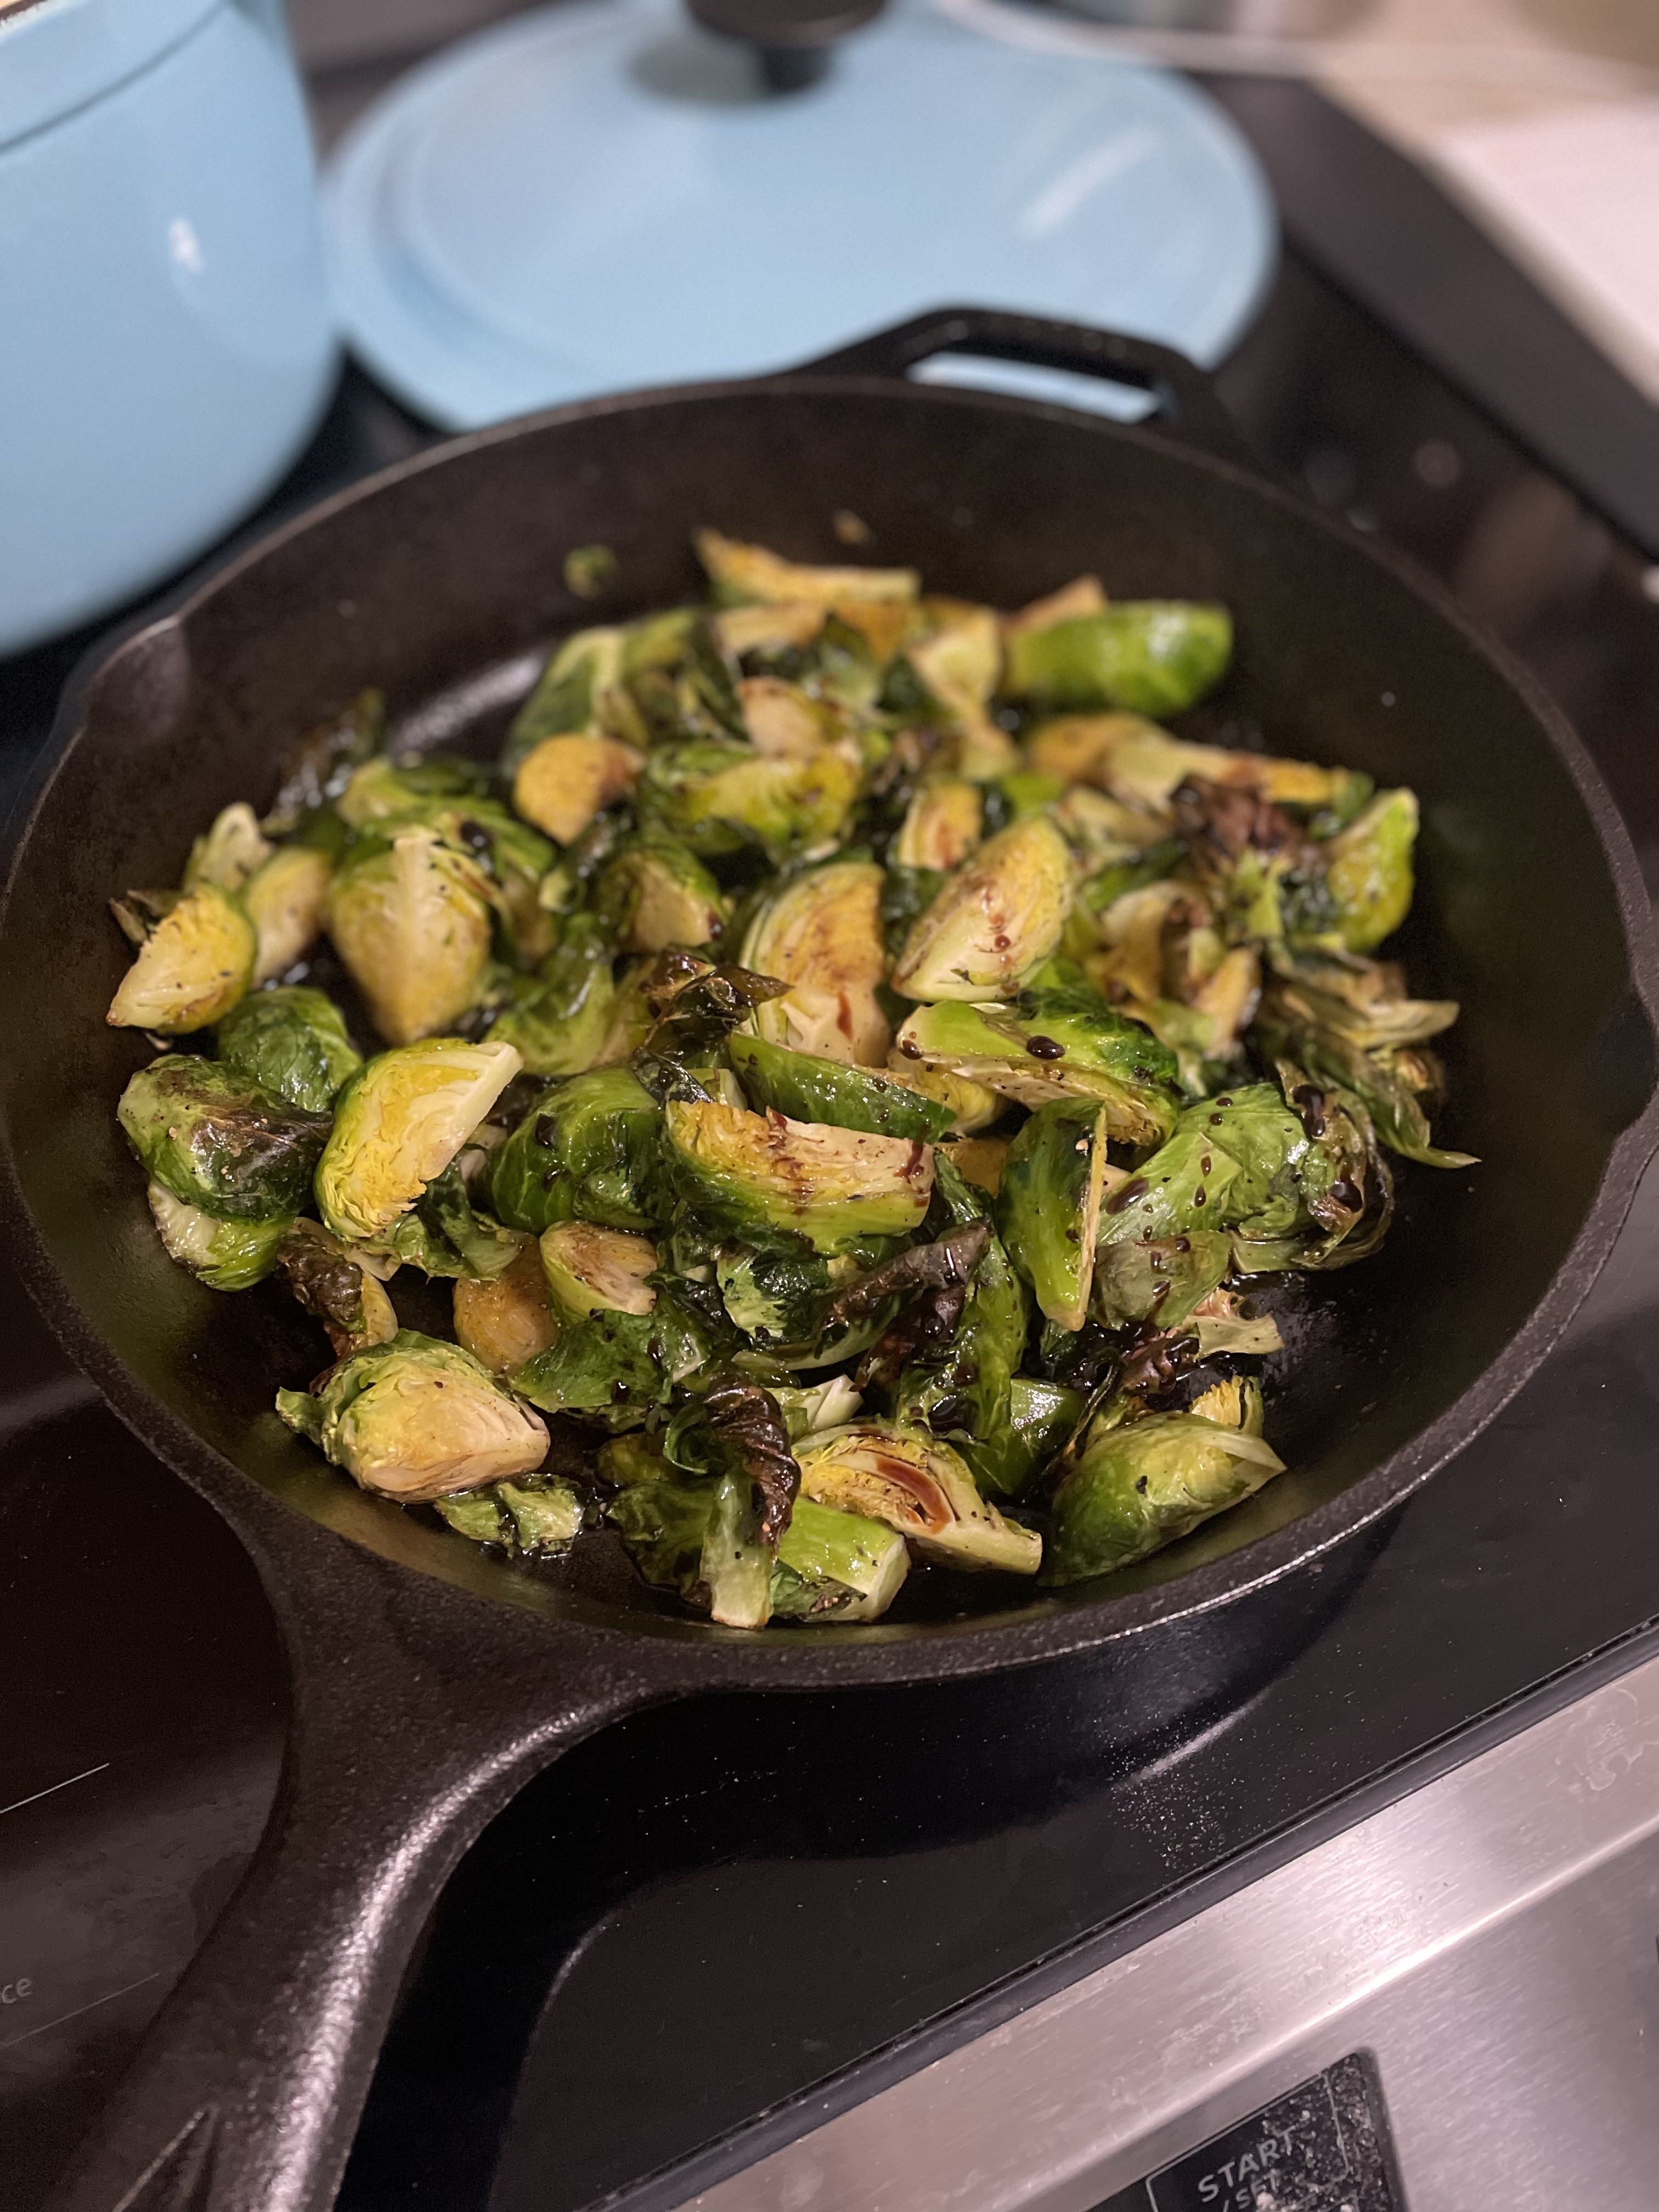
Honey Balsamic Roasted Brussels Sprouts
Equipment
- 1 cast iron skillet
Ingredients
- 1/2 lb brussels sprouts
- 1 tbsp honey
- 1 tbsp balsamic vinegar
- 1 tsp salt
- 1 tsp pepper
- 2 tbsp olive oil
Instructions
- Preheat oven to 375F.
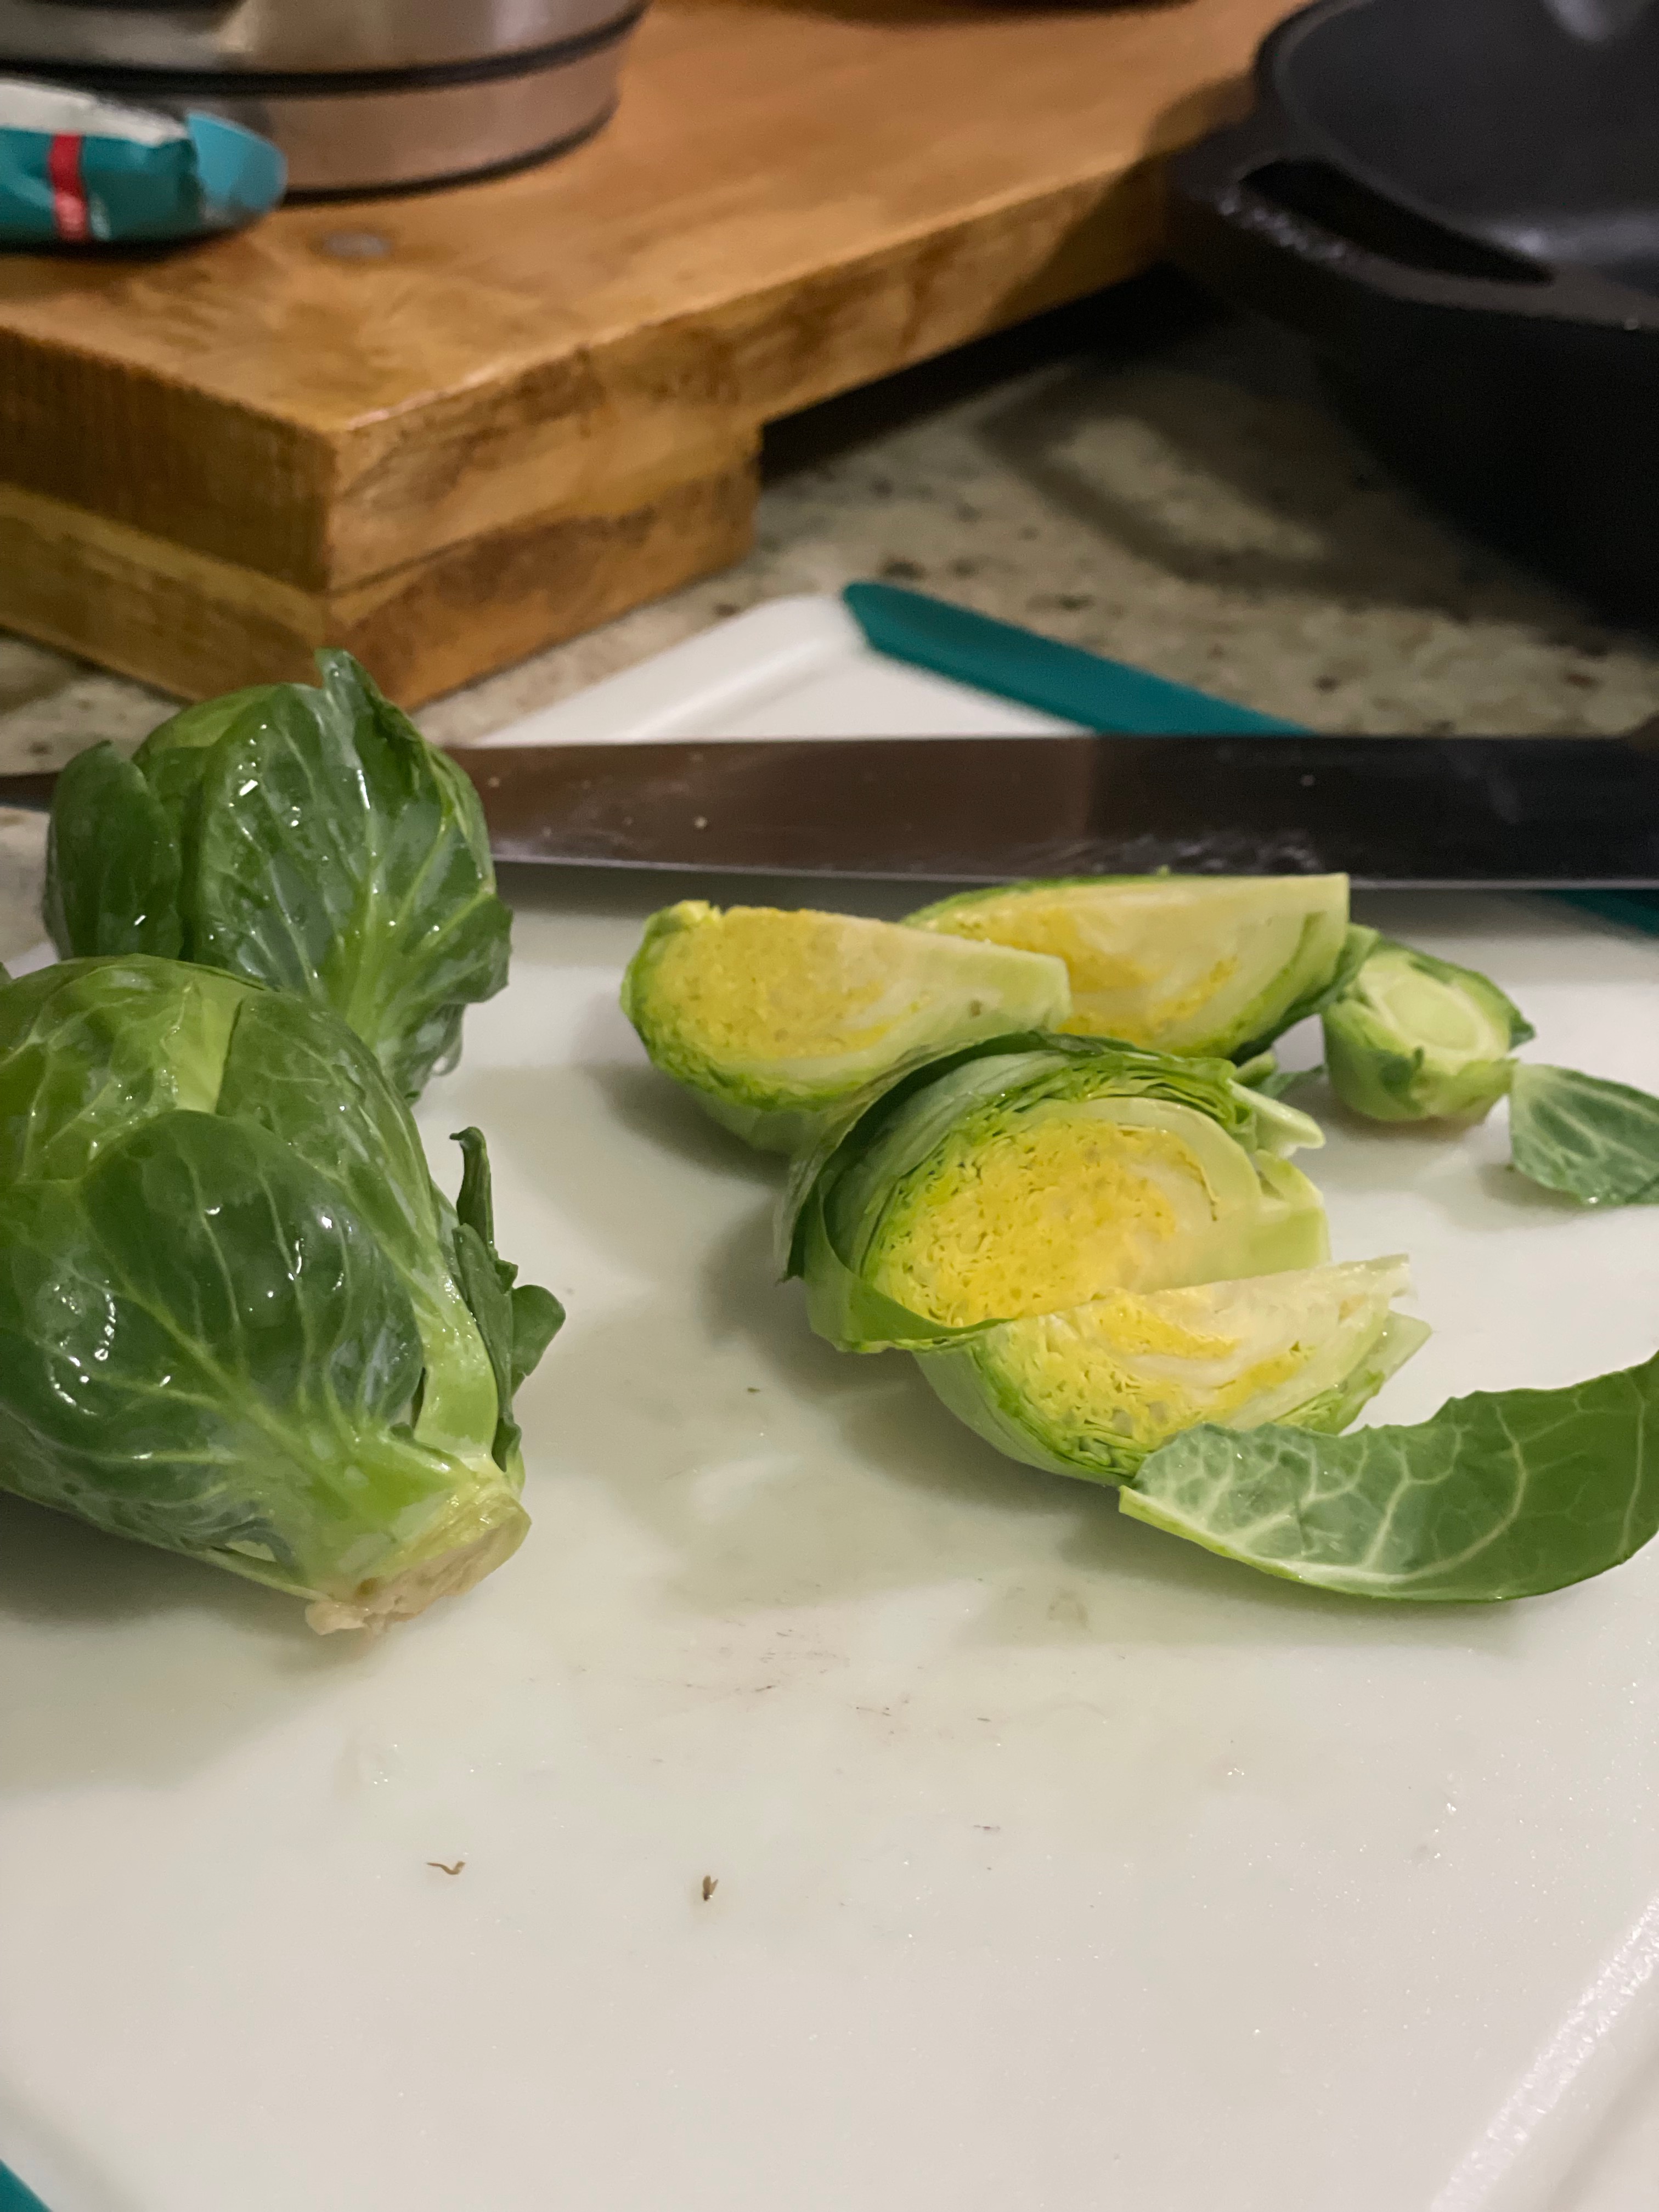
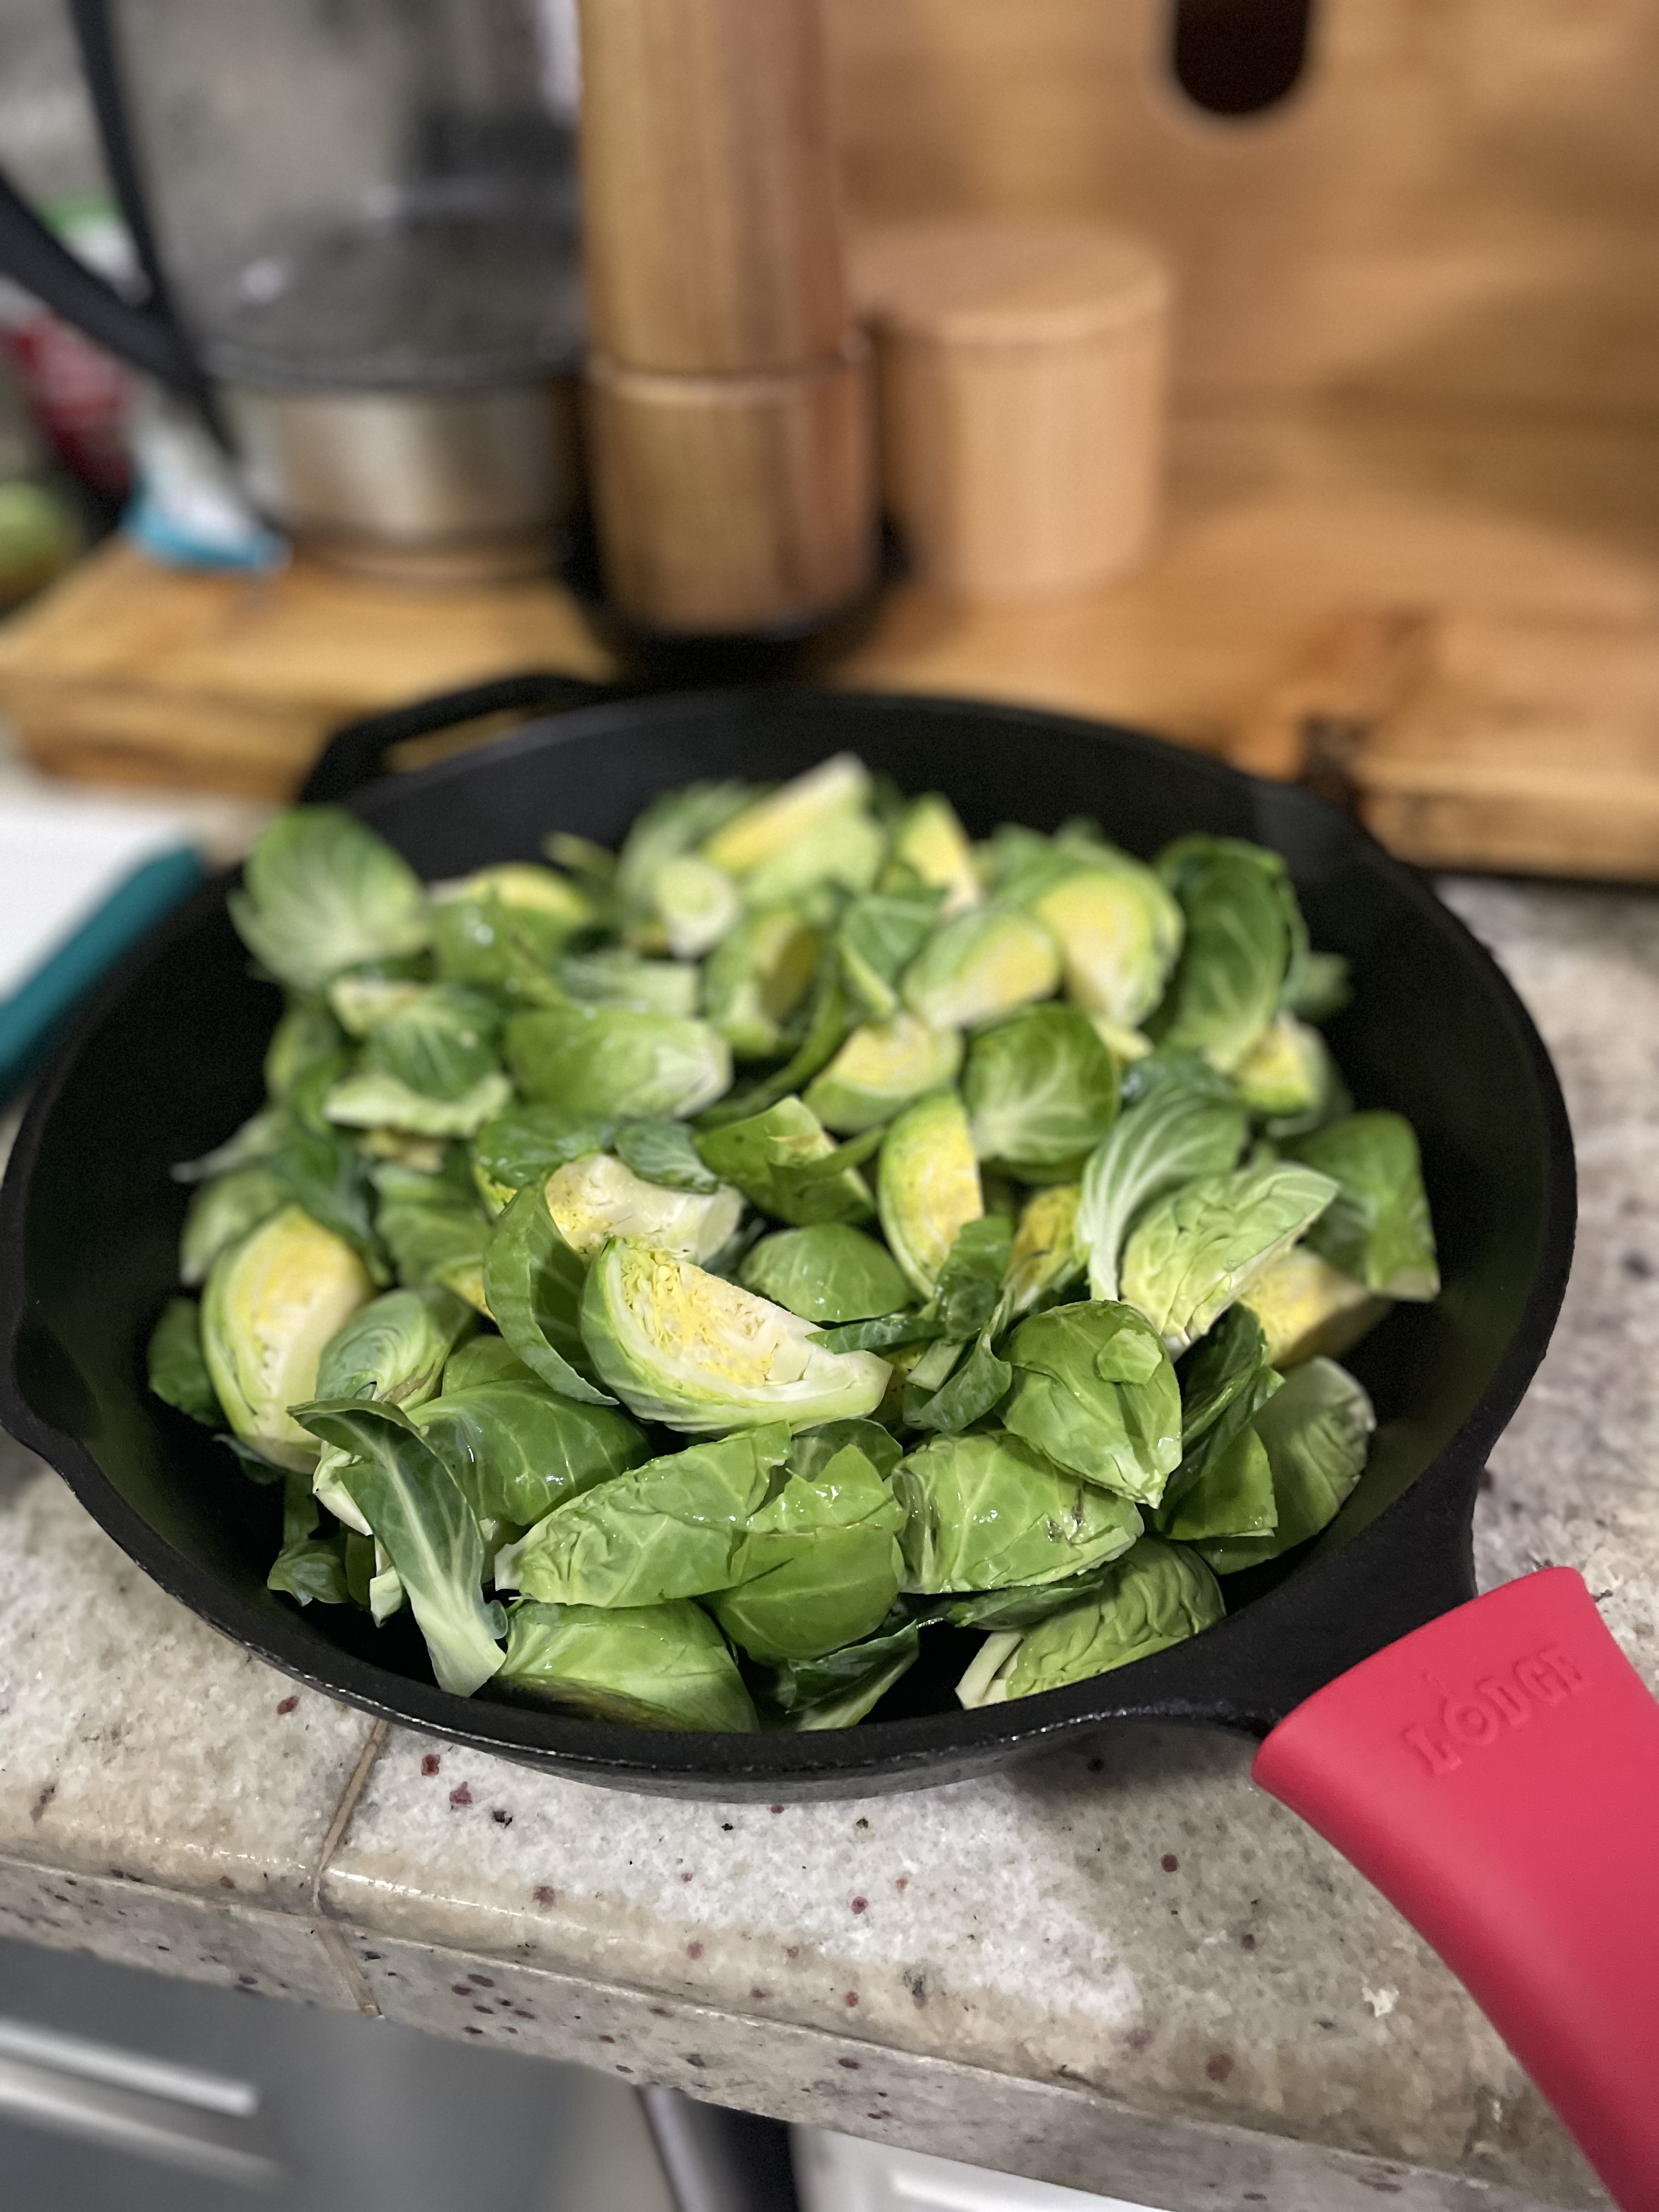
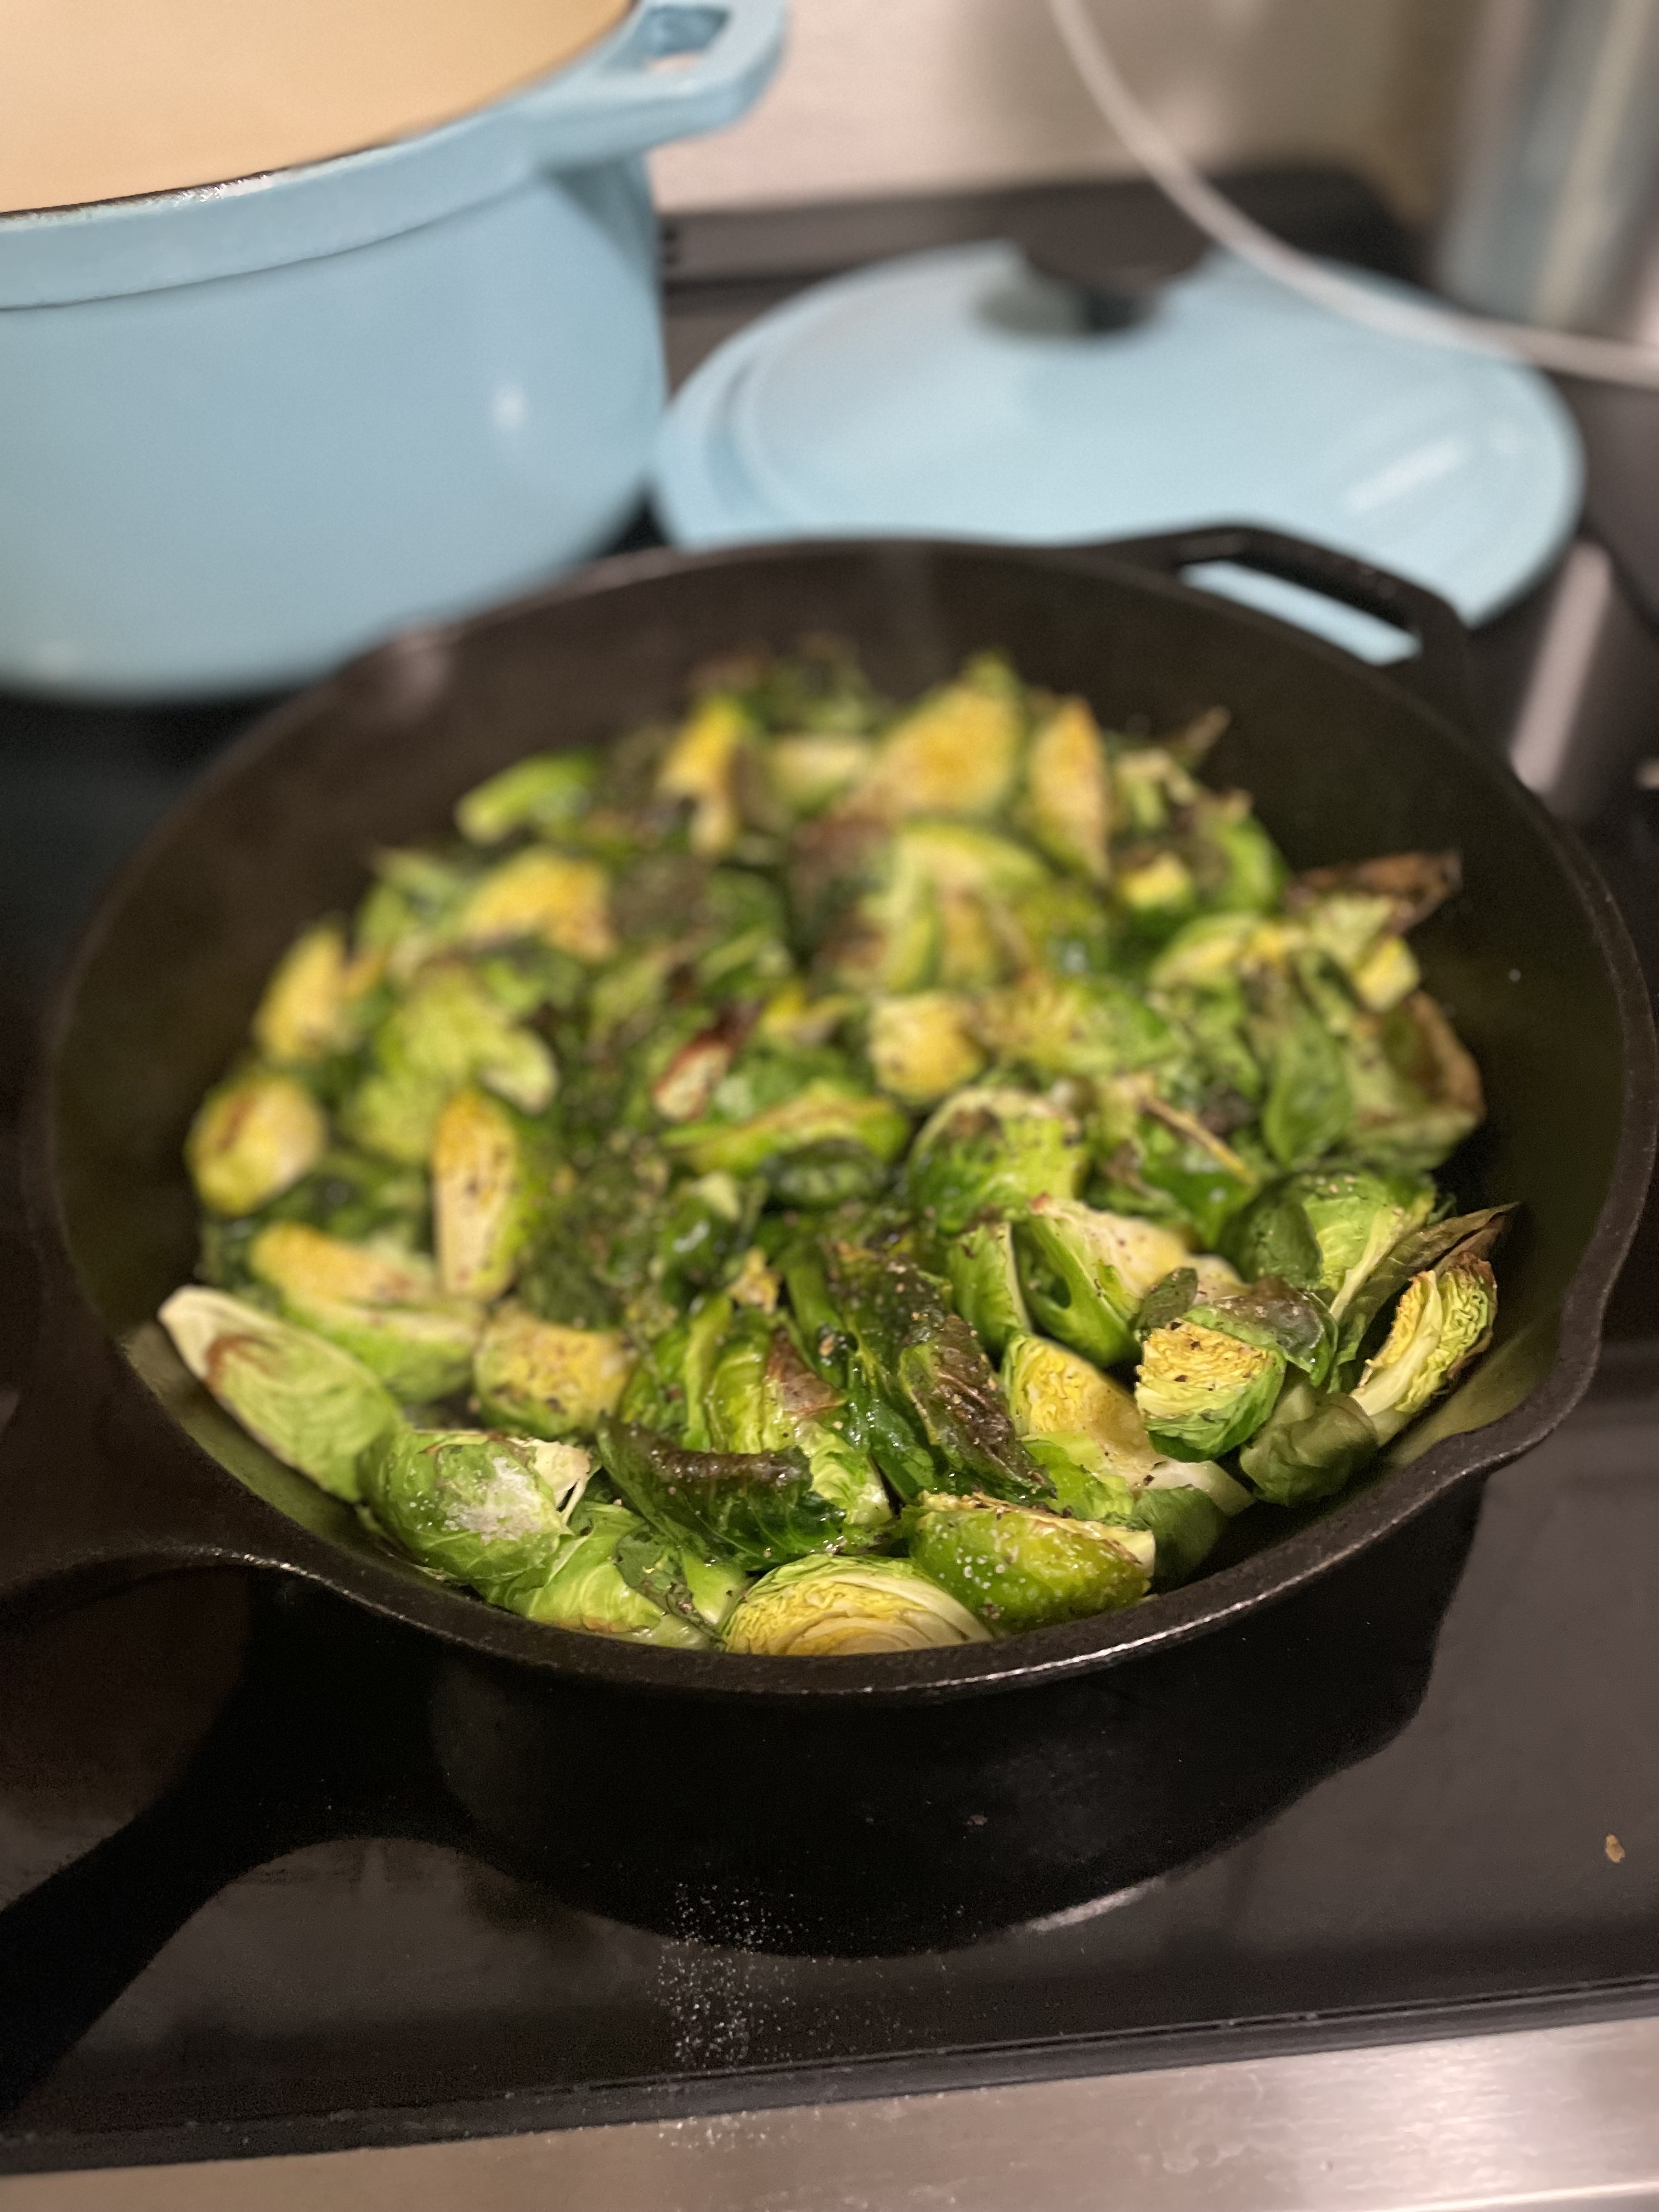
- Rinse brussel sprouts, trim the dry end, and quarter. If you have smaller sprouts, you can just cut them in half. Put brussels directly in the skillet.
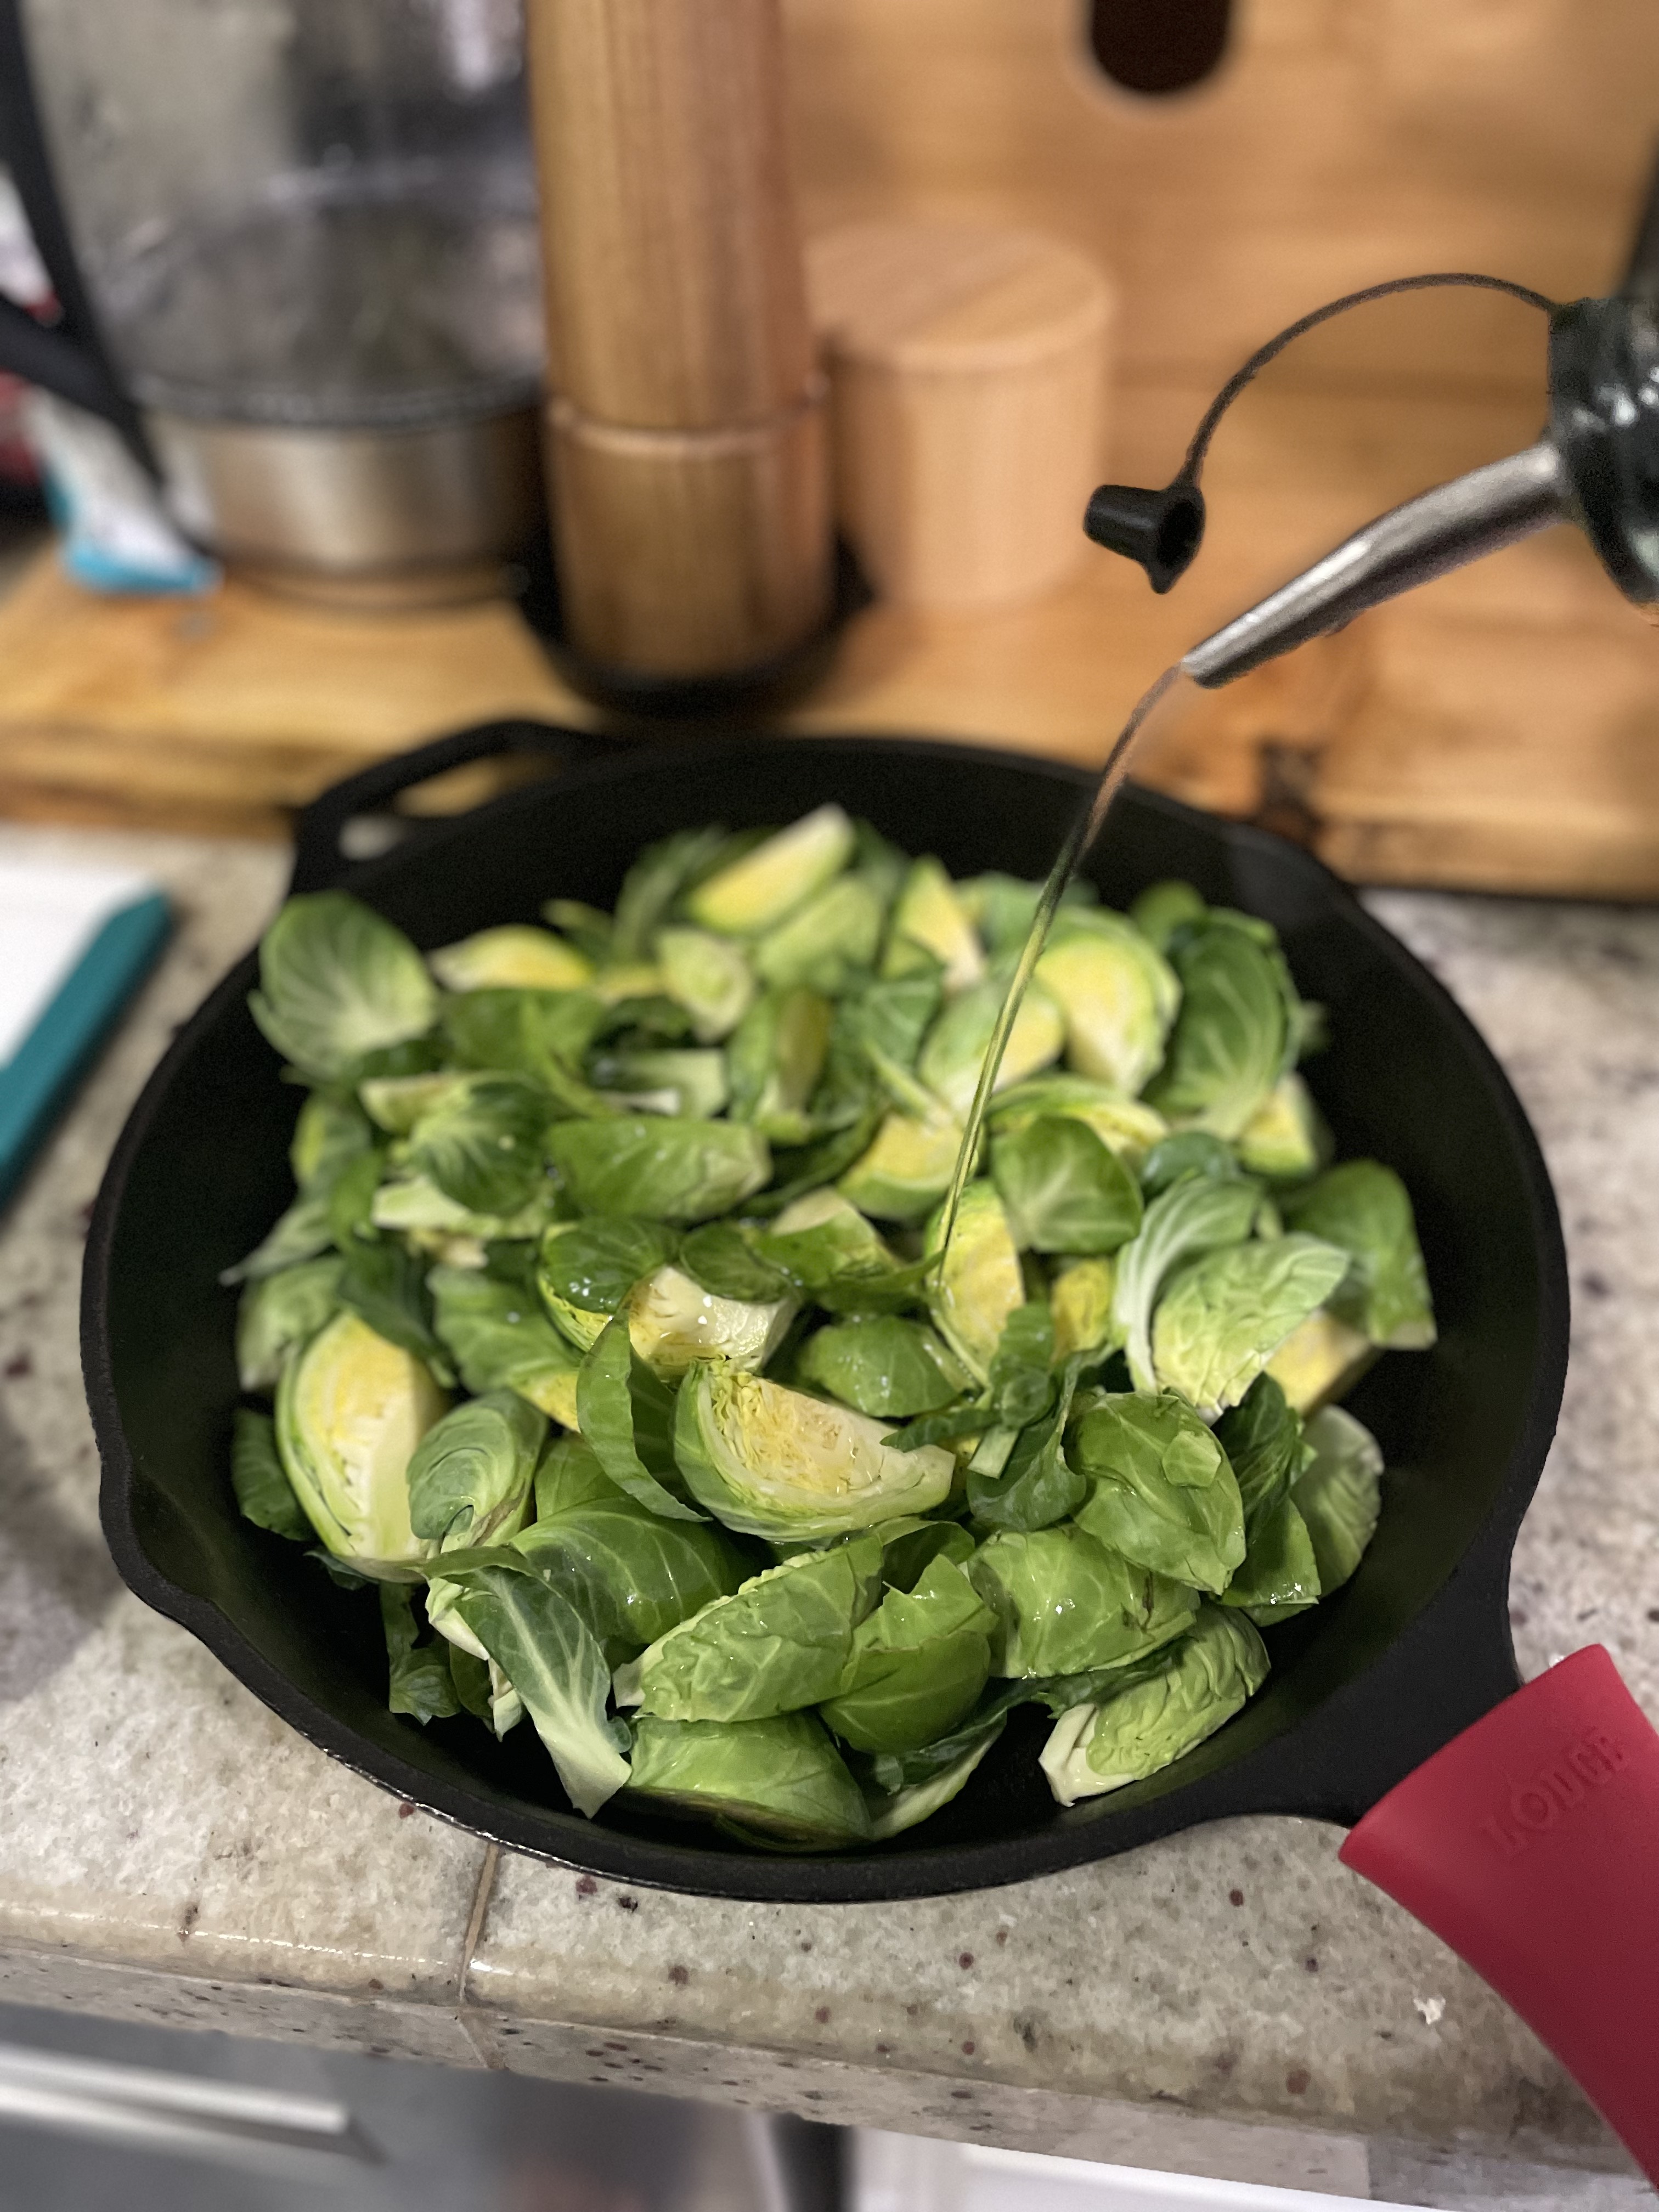
- Add olive oil, salt and pepper to skillet. Mix sprouts so they are all coated in oil and seasonings.
- Put skillet on top rack of oven and allow brussels to cook for 15 minutes.
- While they are in the oven, mix together the honey and balsamic vinegar.
- After 15 minutes, drizzle Brussels sprouts with honey balsamic mixture. Gently stir.
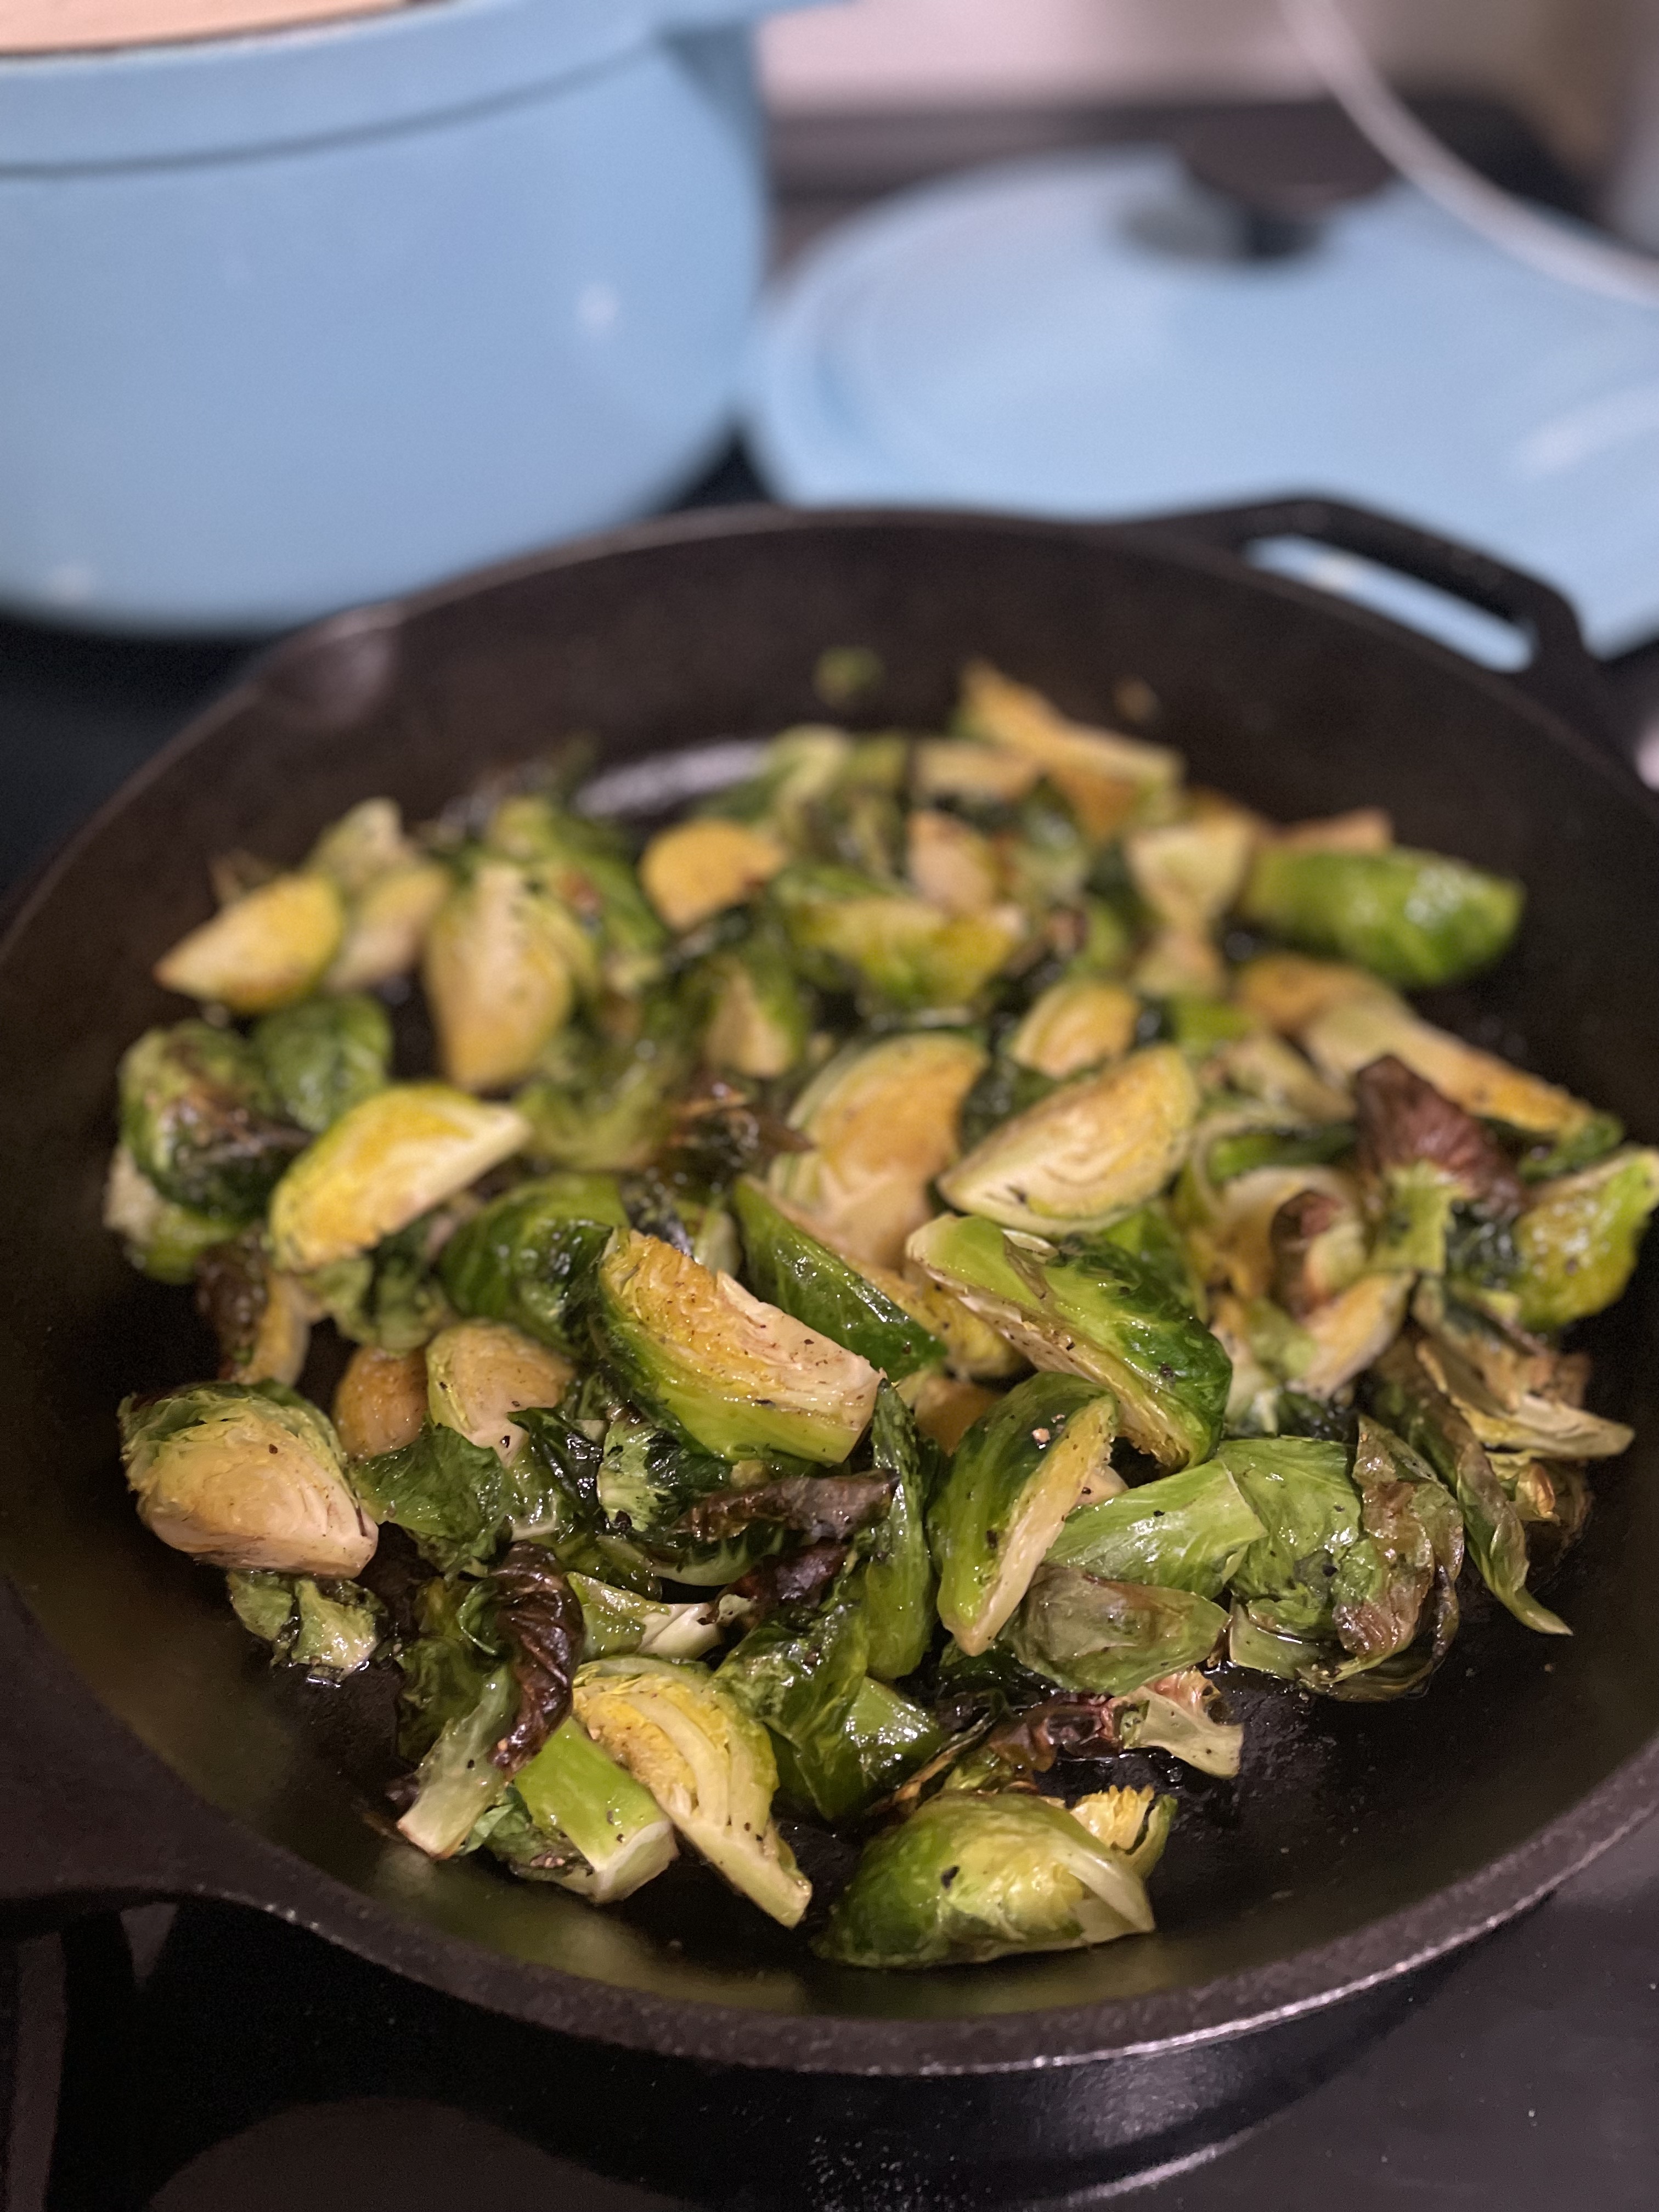
- Return skillet to oven for another 5 minutes.
- Remove from oven and enjoy!
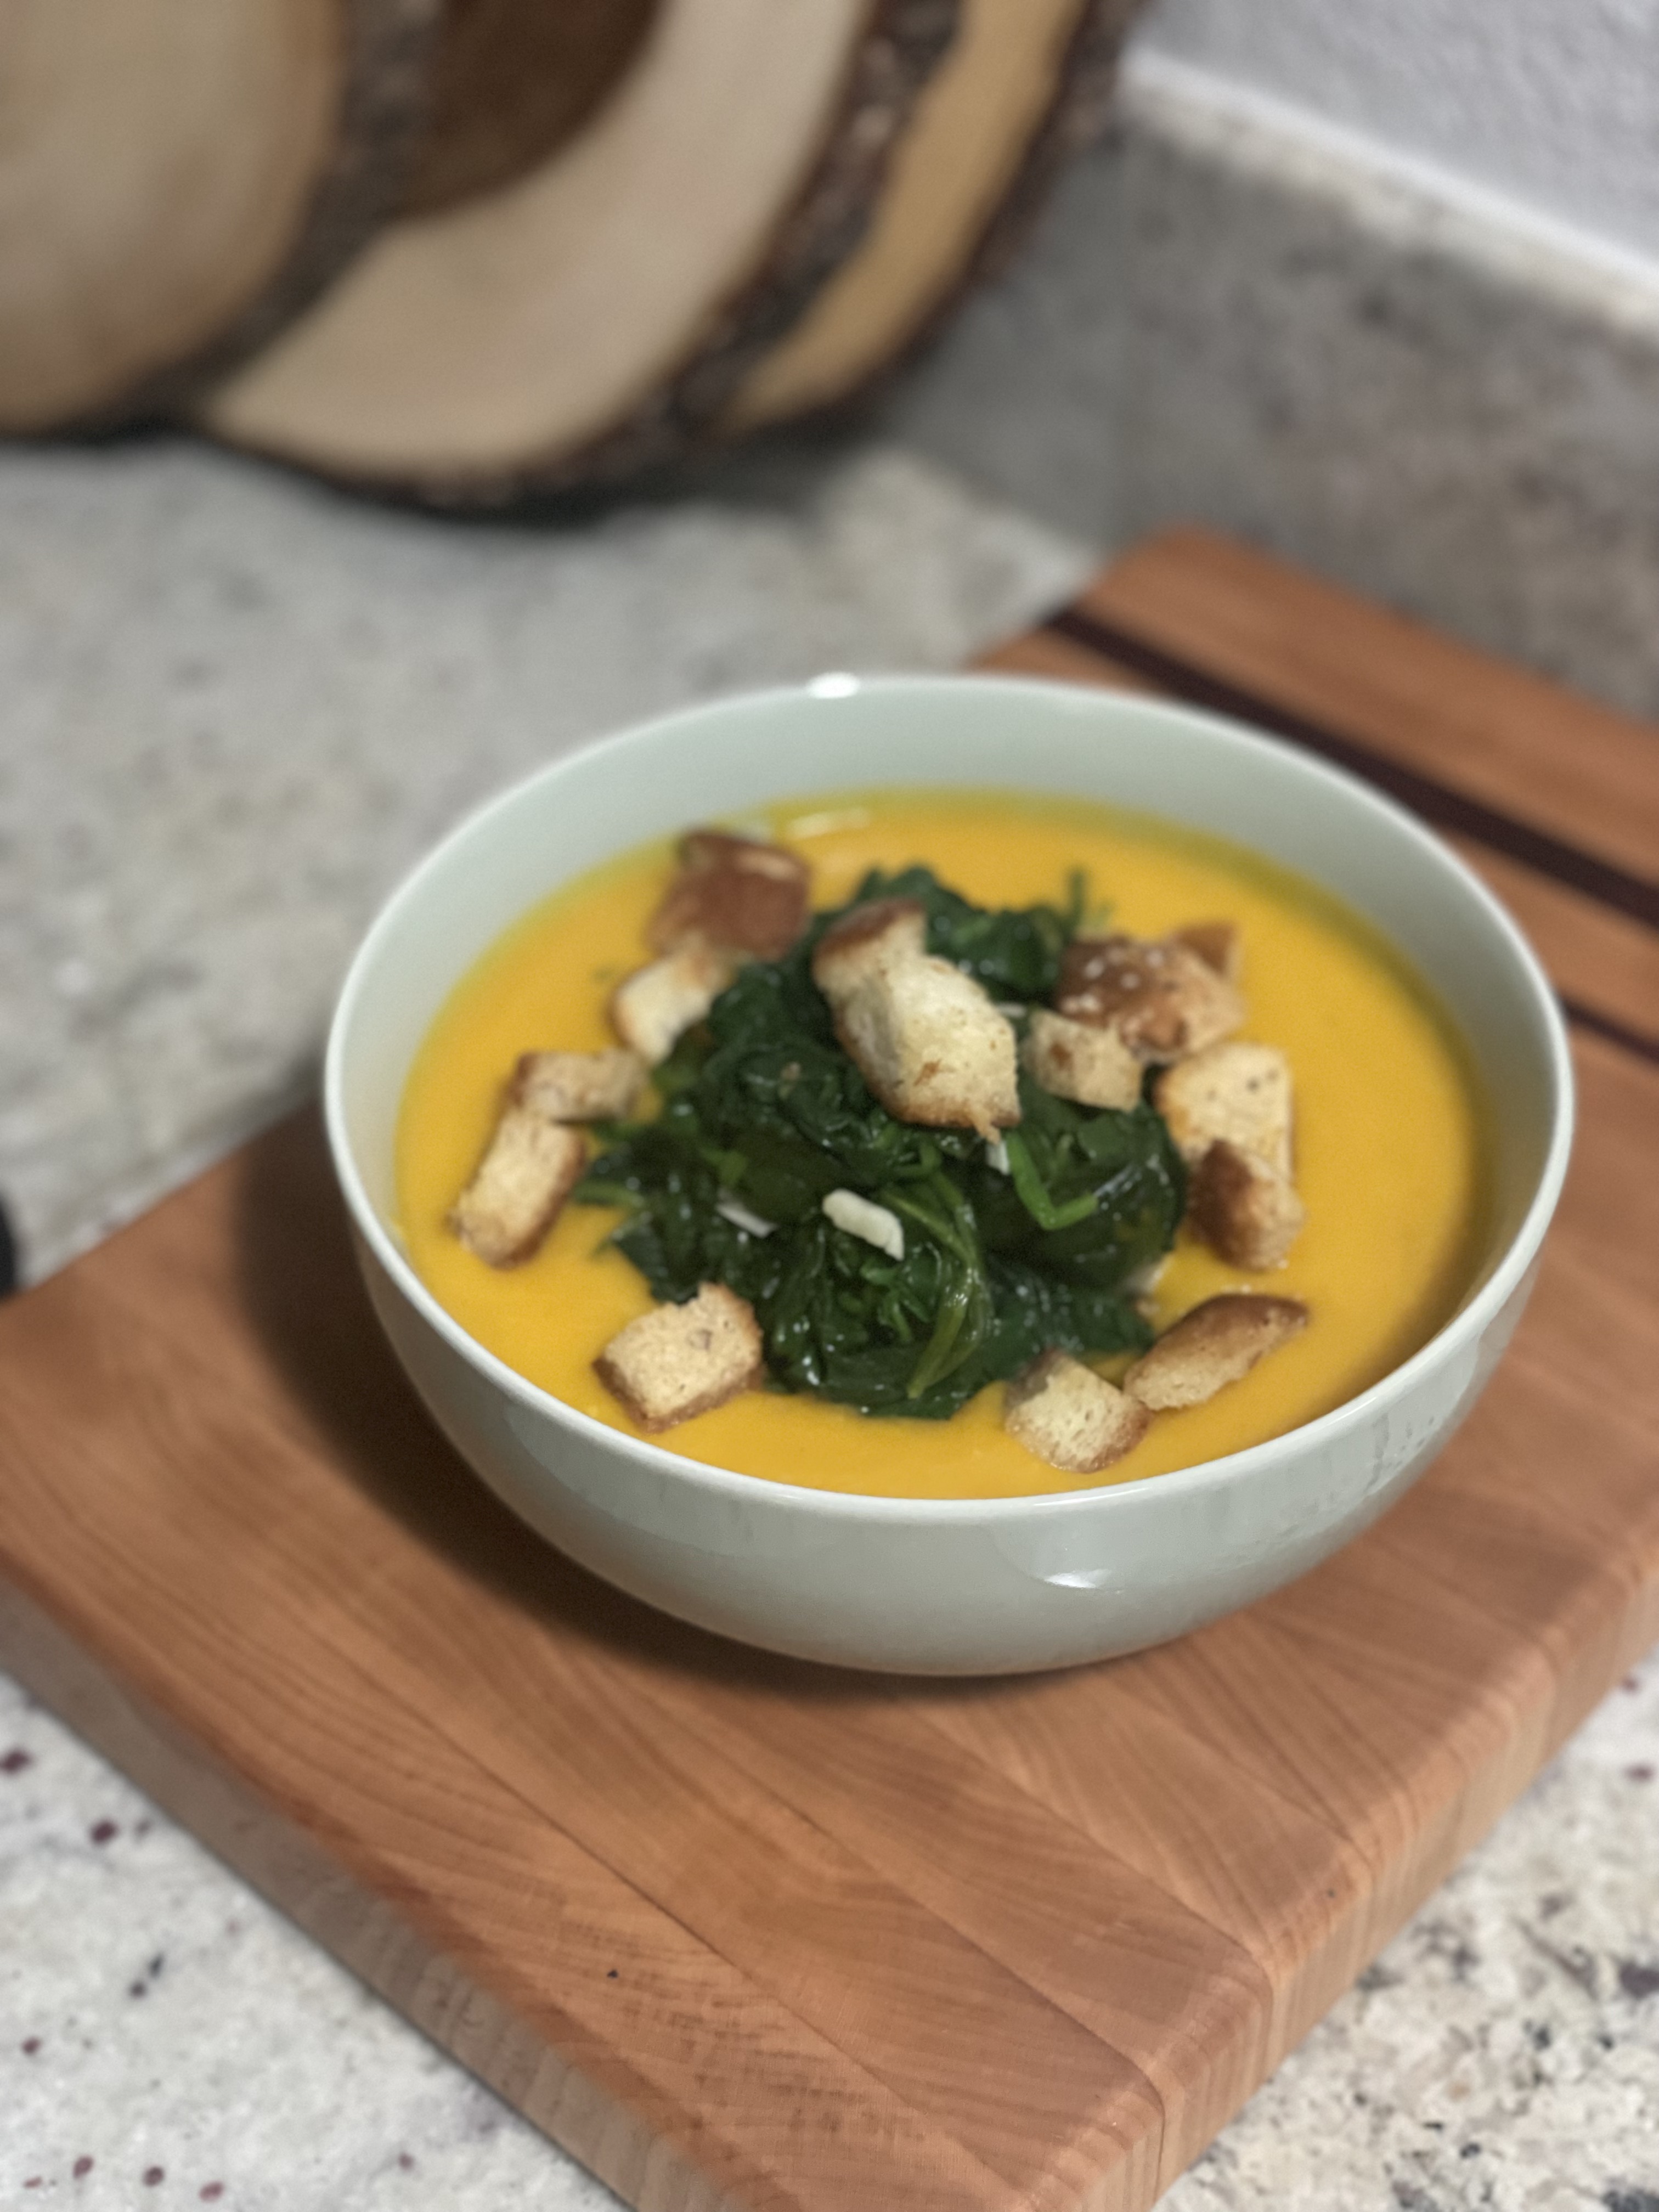
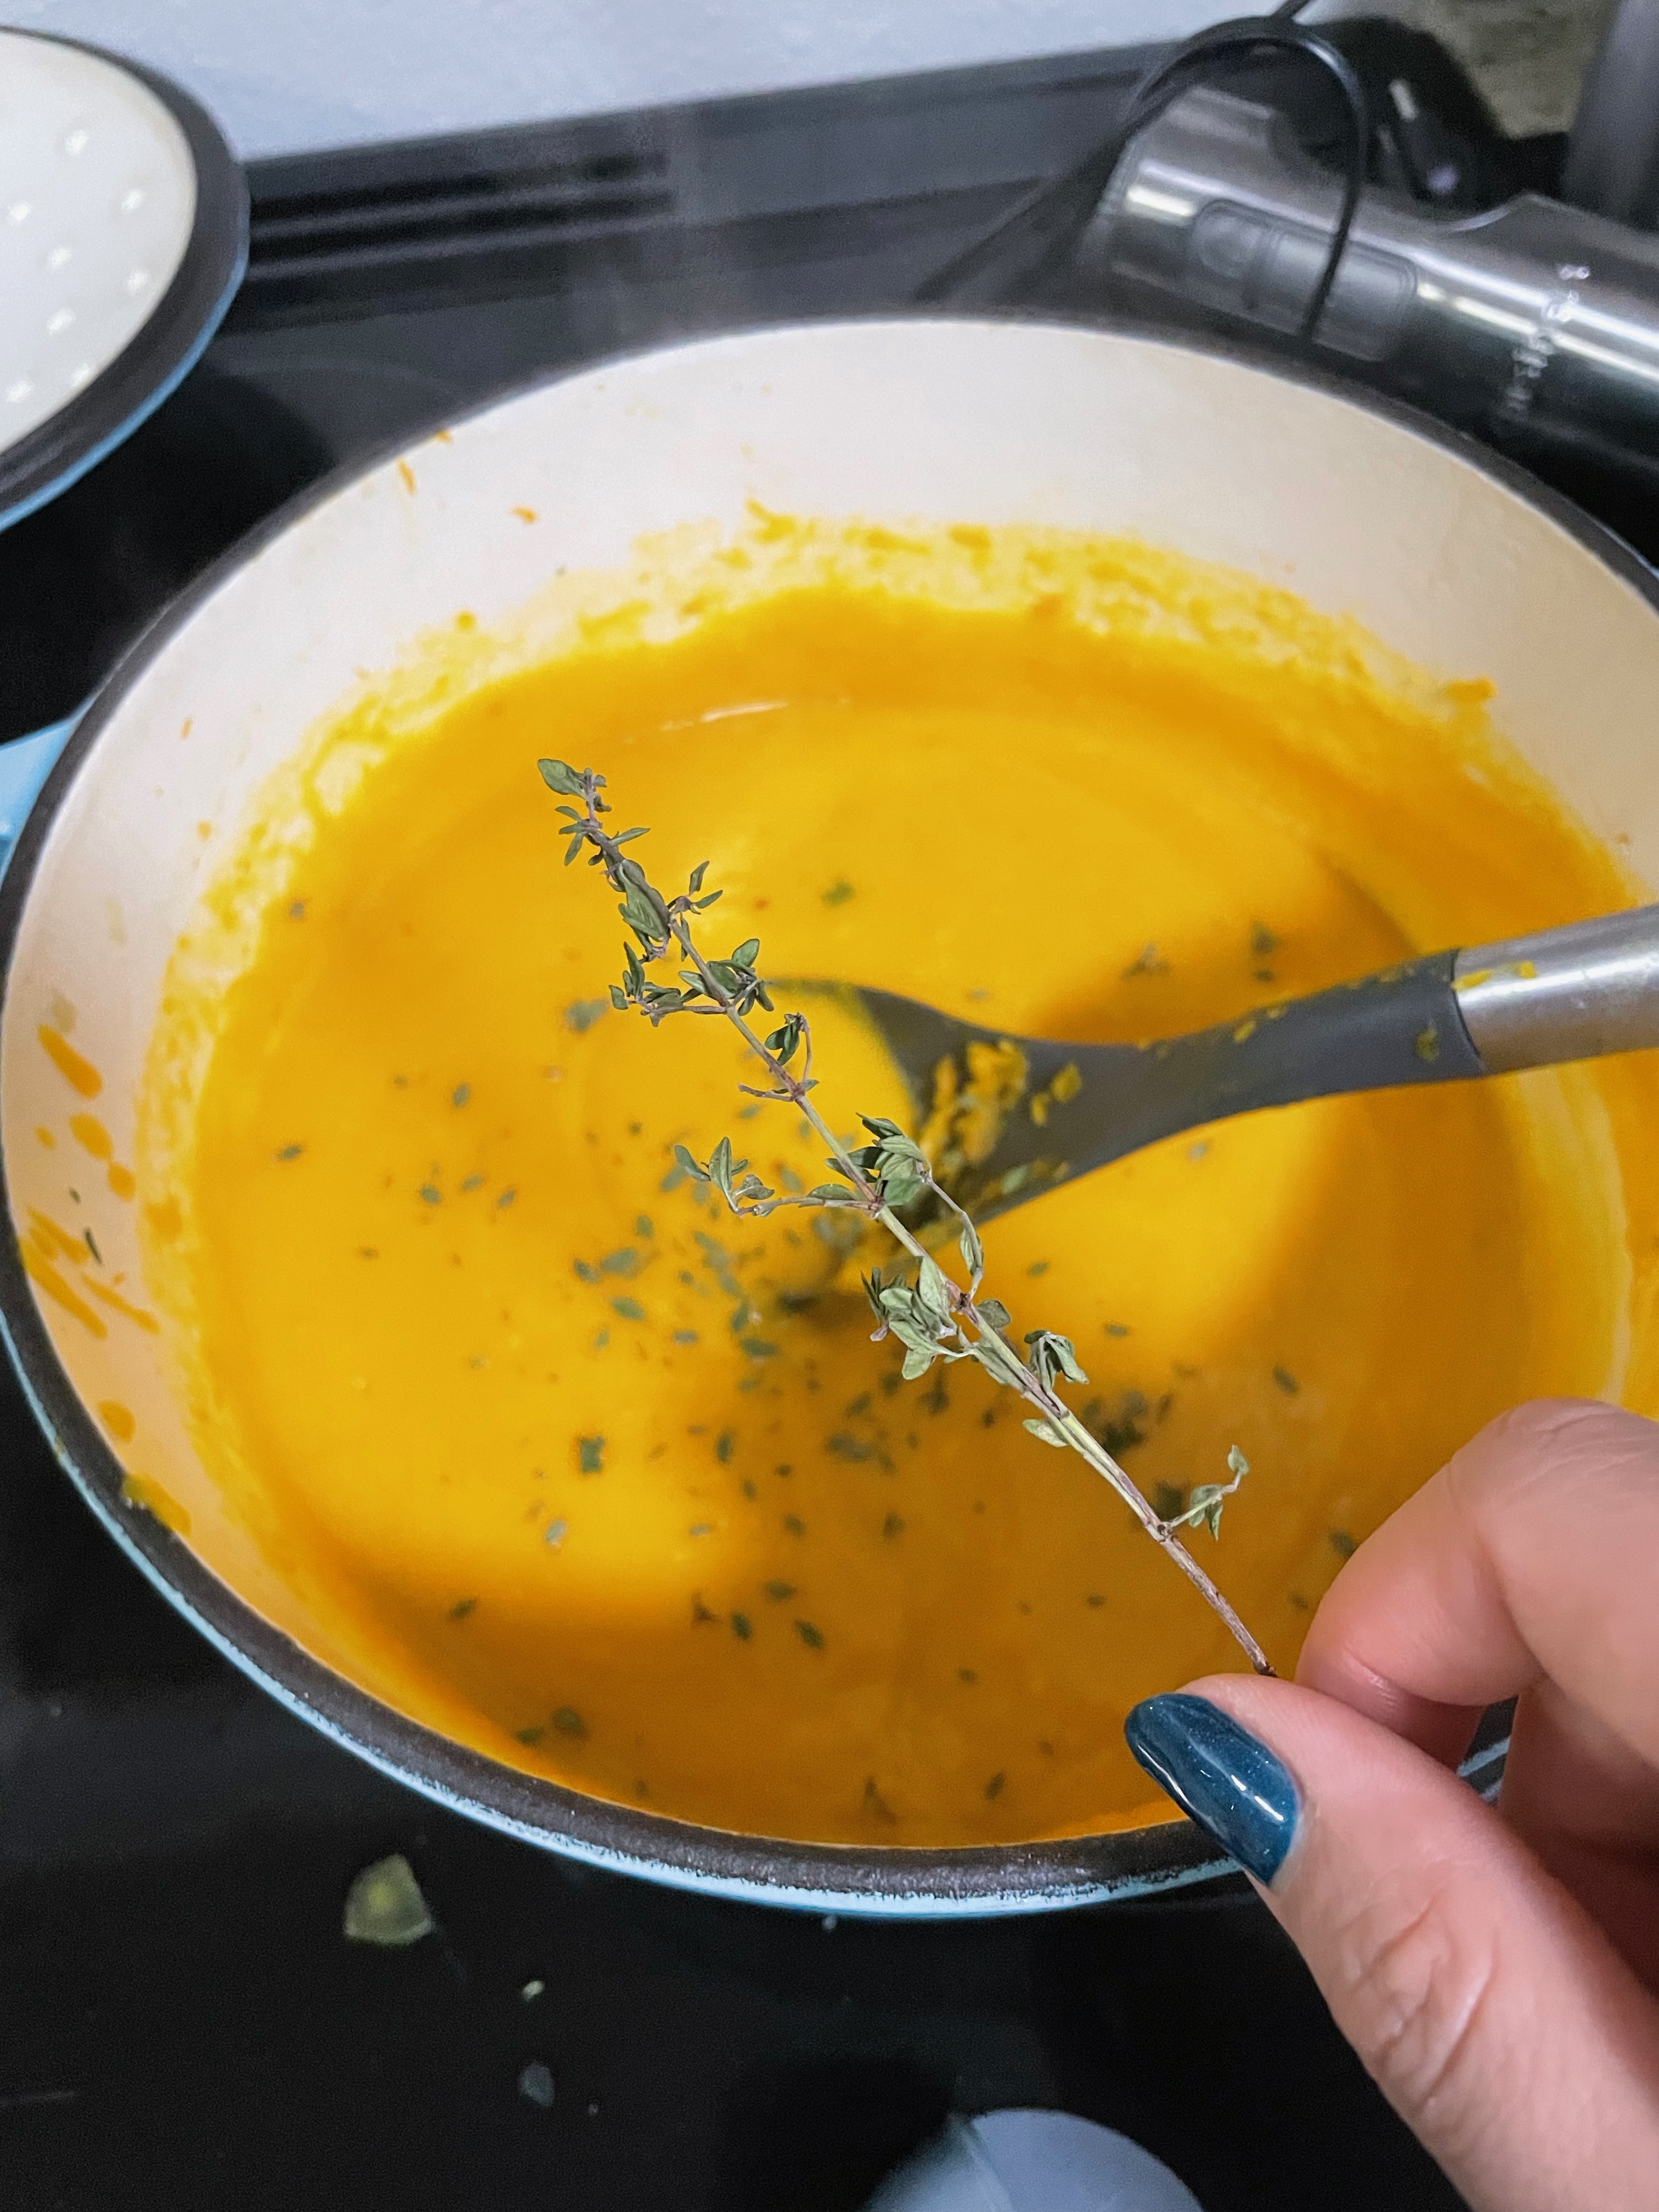
Have these with some 10-Minute Soy Ginger Noodles or use them as a topping for Pumpkin Soup.
The oven’s going to be on so might as well make some Crispy Gooey Chocolate Chip Cookies or Banana Bread!