Meyer Lemon Cake Bars

Winter is citrus season so I’m pounding down oranges and pomelos while they’re in their peak sweetness. I swear, the best citrus comes from a backyard, especially my parents’ backyard! Their honey and pink pomelos are insane. If I’m at the grocery store, I’ll rely on some sumo oranges since they’re still easy to peel, sweet, and not too acidic.

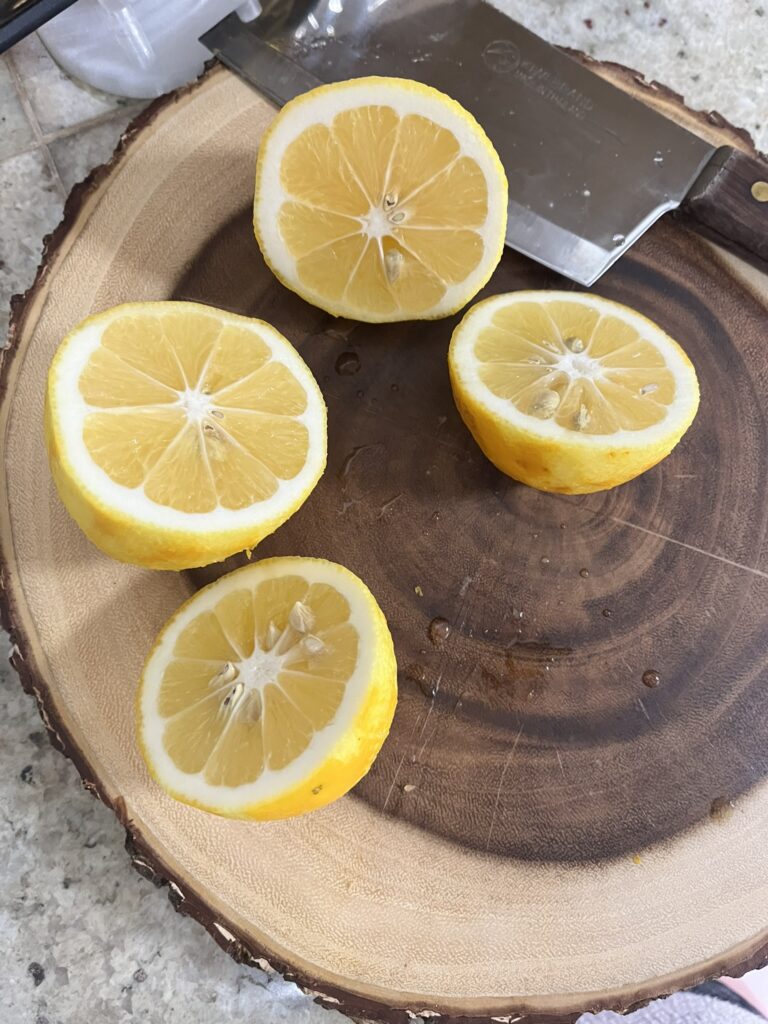
My parents only believe in growing fruit that you can *eat*, so you won’t find any limes or lemons. Lucky for me, I got my hands on some Meyer lemons from Long Beach, CA (thanks MJ!). A Meyer lemon is a hybrid between a lemon and an orange. They’re sweeter than your regular lemon, but I still would not eat one like an orange. They’re still acidic enough to use in baking, but their rind is even more fragrant than that of a traditional lemon.

Ingredients

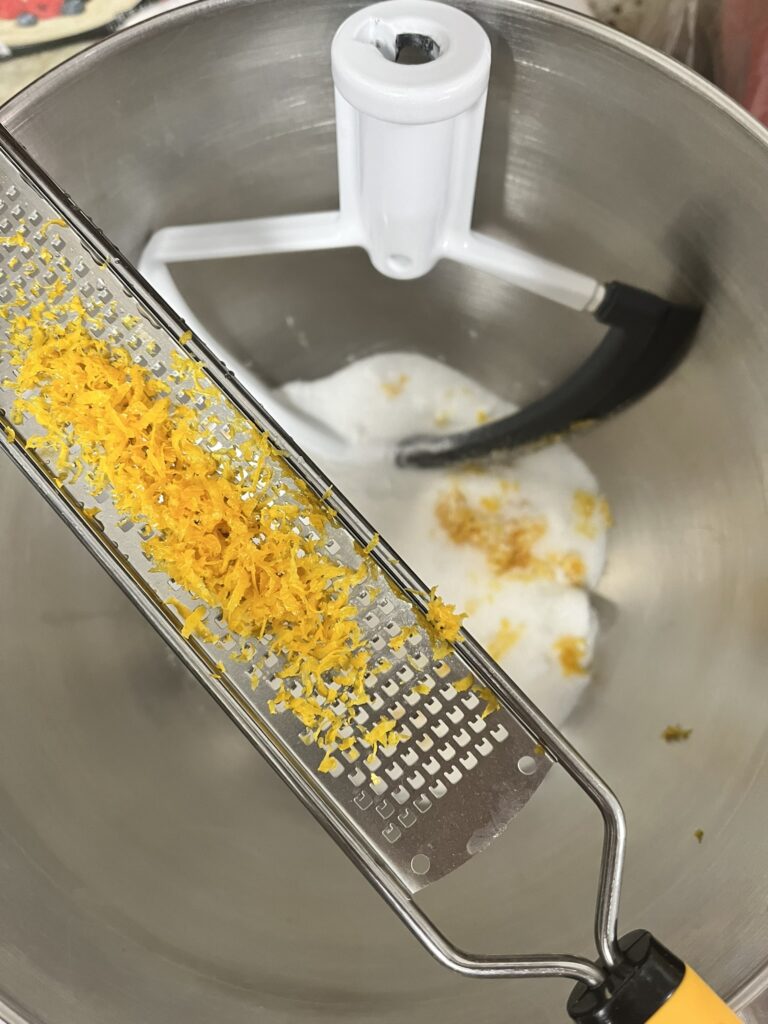
Meyer lemons – The zest is key! You can use regular lemons too, but I would highly encourage a Meyer lemon.
Meyer Lemon Cake Bars

Print Recipe
Sweet & zingy!
Course Dessert
Keyword bars, cake, lemon, meyer lemon
Cook Time 30 minutes
Servings 12 bars

Ingredients

Cake

  • 1 cup sugar
  • 2 Meyer lemons zested
  • 1 cup vegetable oil
  • 1/2 cup heavy cream
  • 1/4 cup lemon juice
  • 1/2 tsp salt
  • 3 cups all-purpose flour
  • 1 tbsp baking powder

Lemon Glaze

  • 2 cups powdered sugar
  • 1 tbsp lemon juice
  • 1 tbsp water extra as needed

Instructions

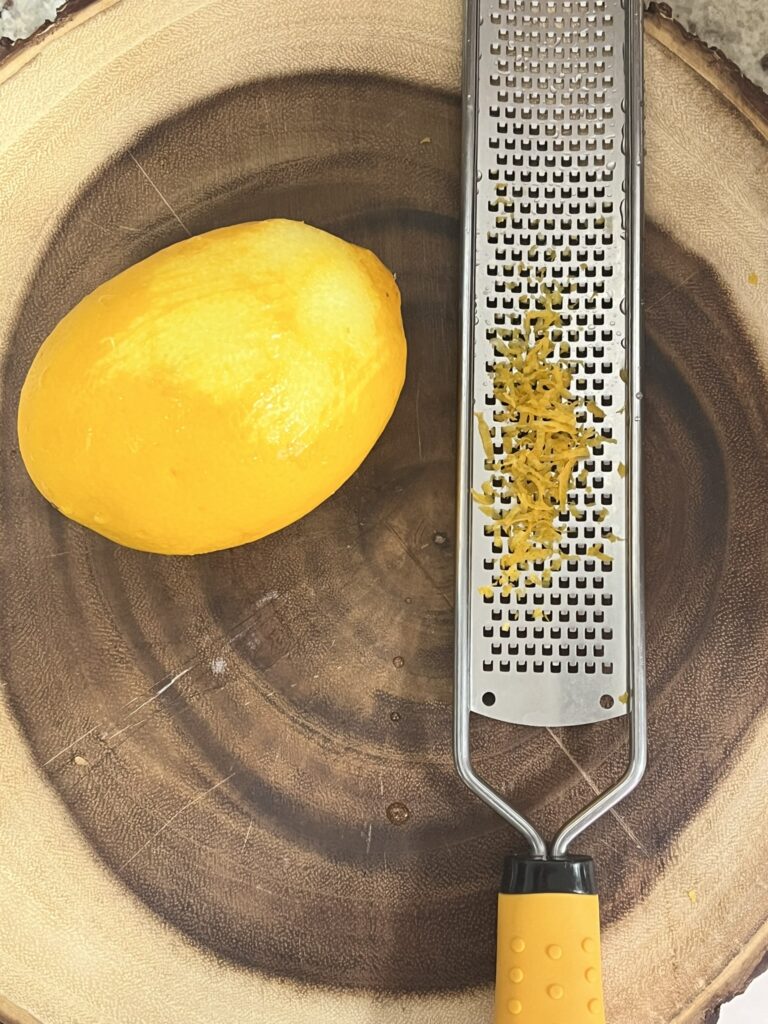
  • Zest the two Meyer lemons. There should be at least 1 tablespoon of zest from the lemons. Be sure that you only remove the yellow/orange zest and not any of the white pith.
  • Add lemon zest to sugar and stir, pressing a spatula into the sugar and zest. This will help the zest release more oils.
  • Add eggs, oil, and heavy cream. Mix until combined.
  • Add lemon juice and salt. Mix until combined.
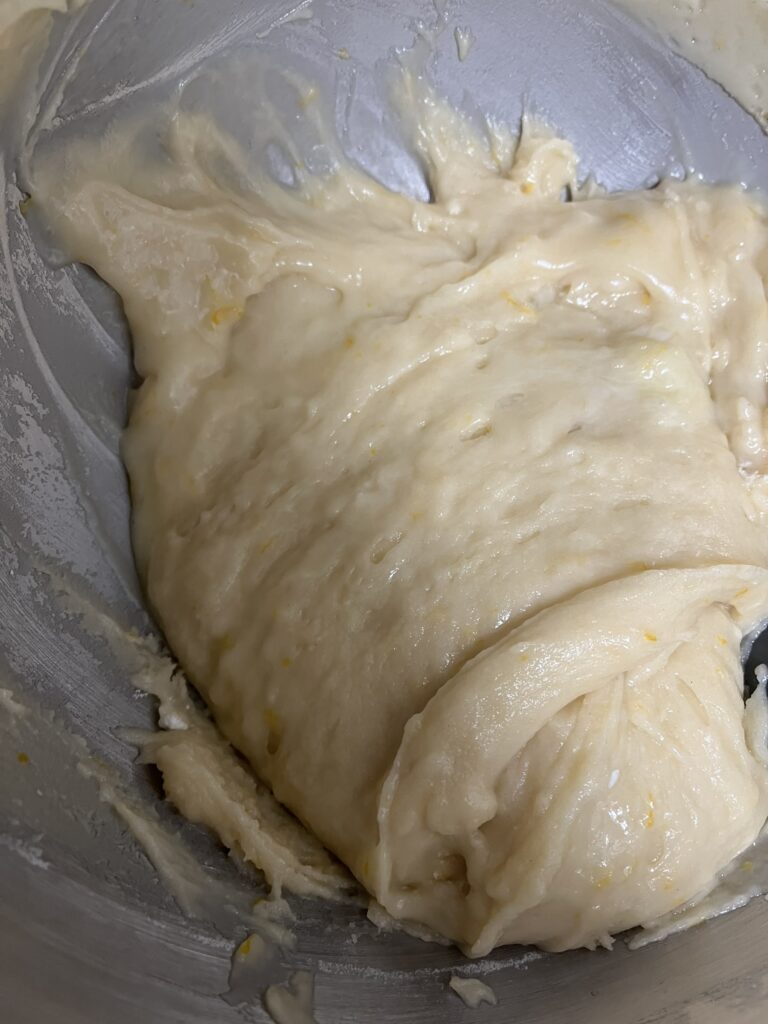
  • Add flour and baking powder. Mix until just combined.
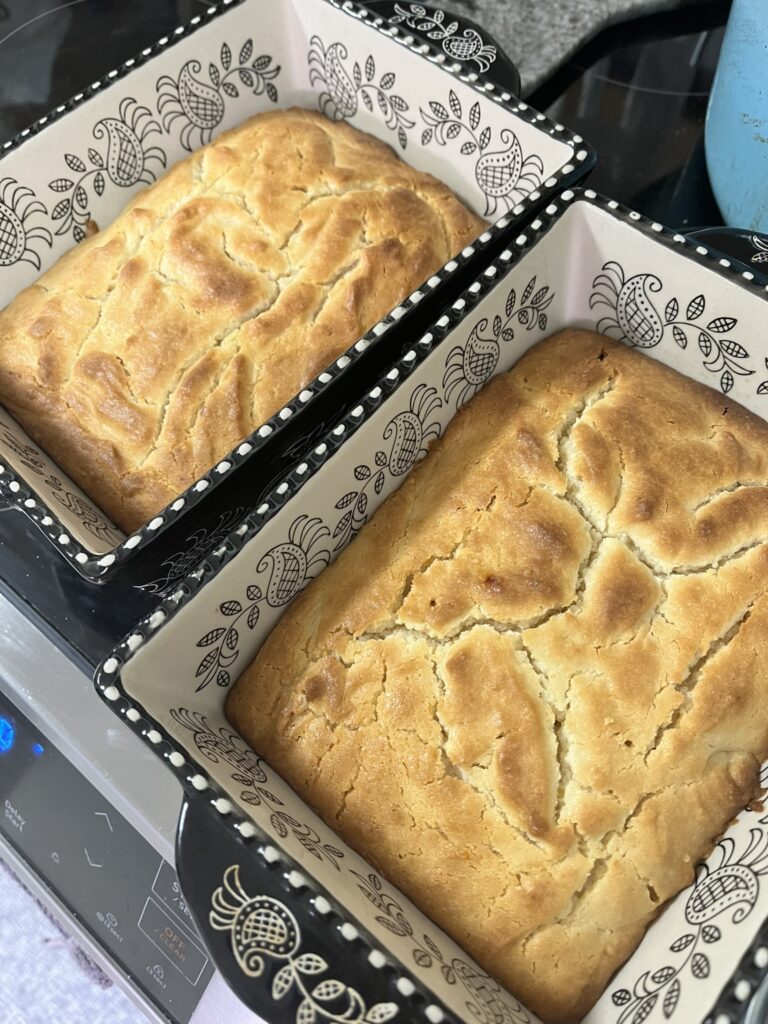
  • Pour into 9" x 13" baking dish or two 9" x 5" loaf pans. Bake at 350F for 25-35 minutes until lightly browned and toothpick comes out clean from center of loaf.
  • Remove from oven and allow to cool completely.
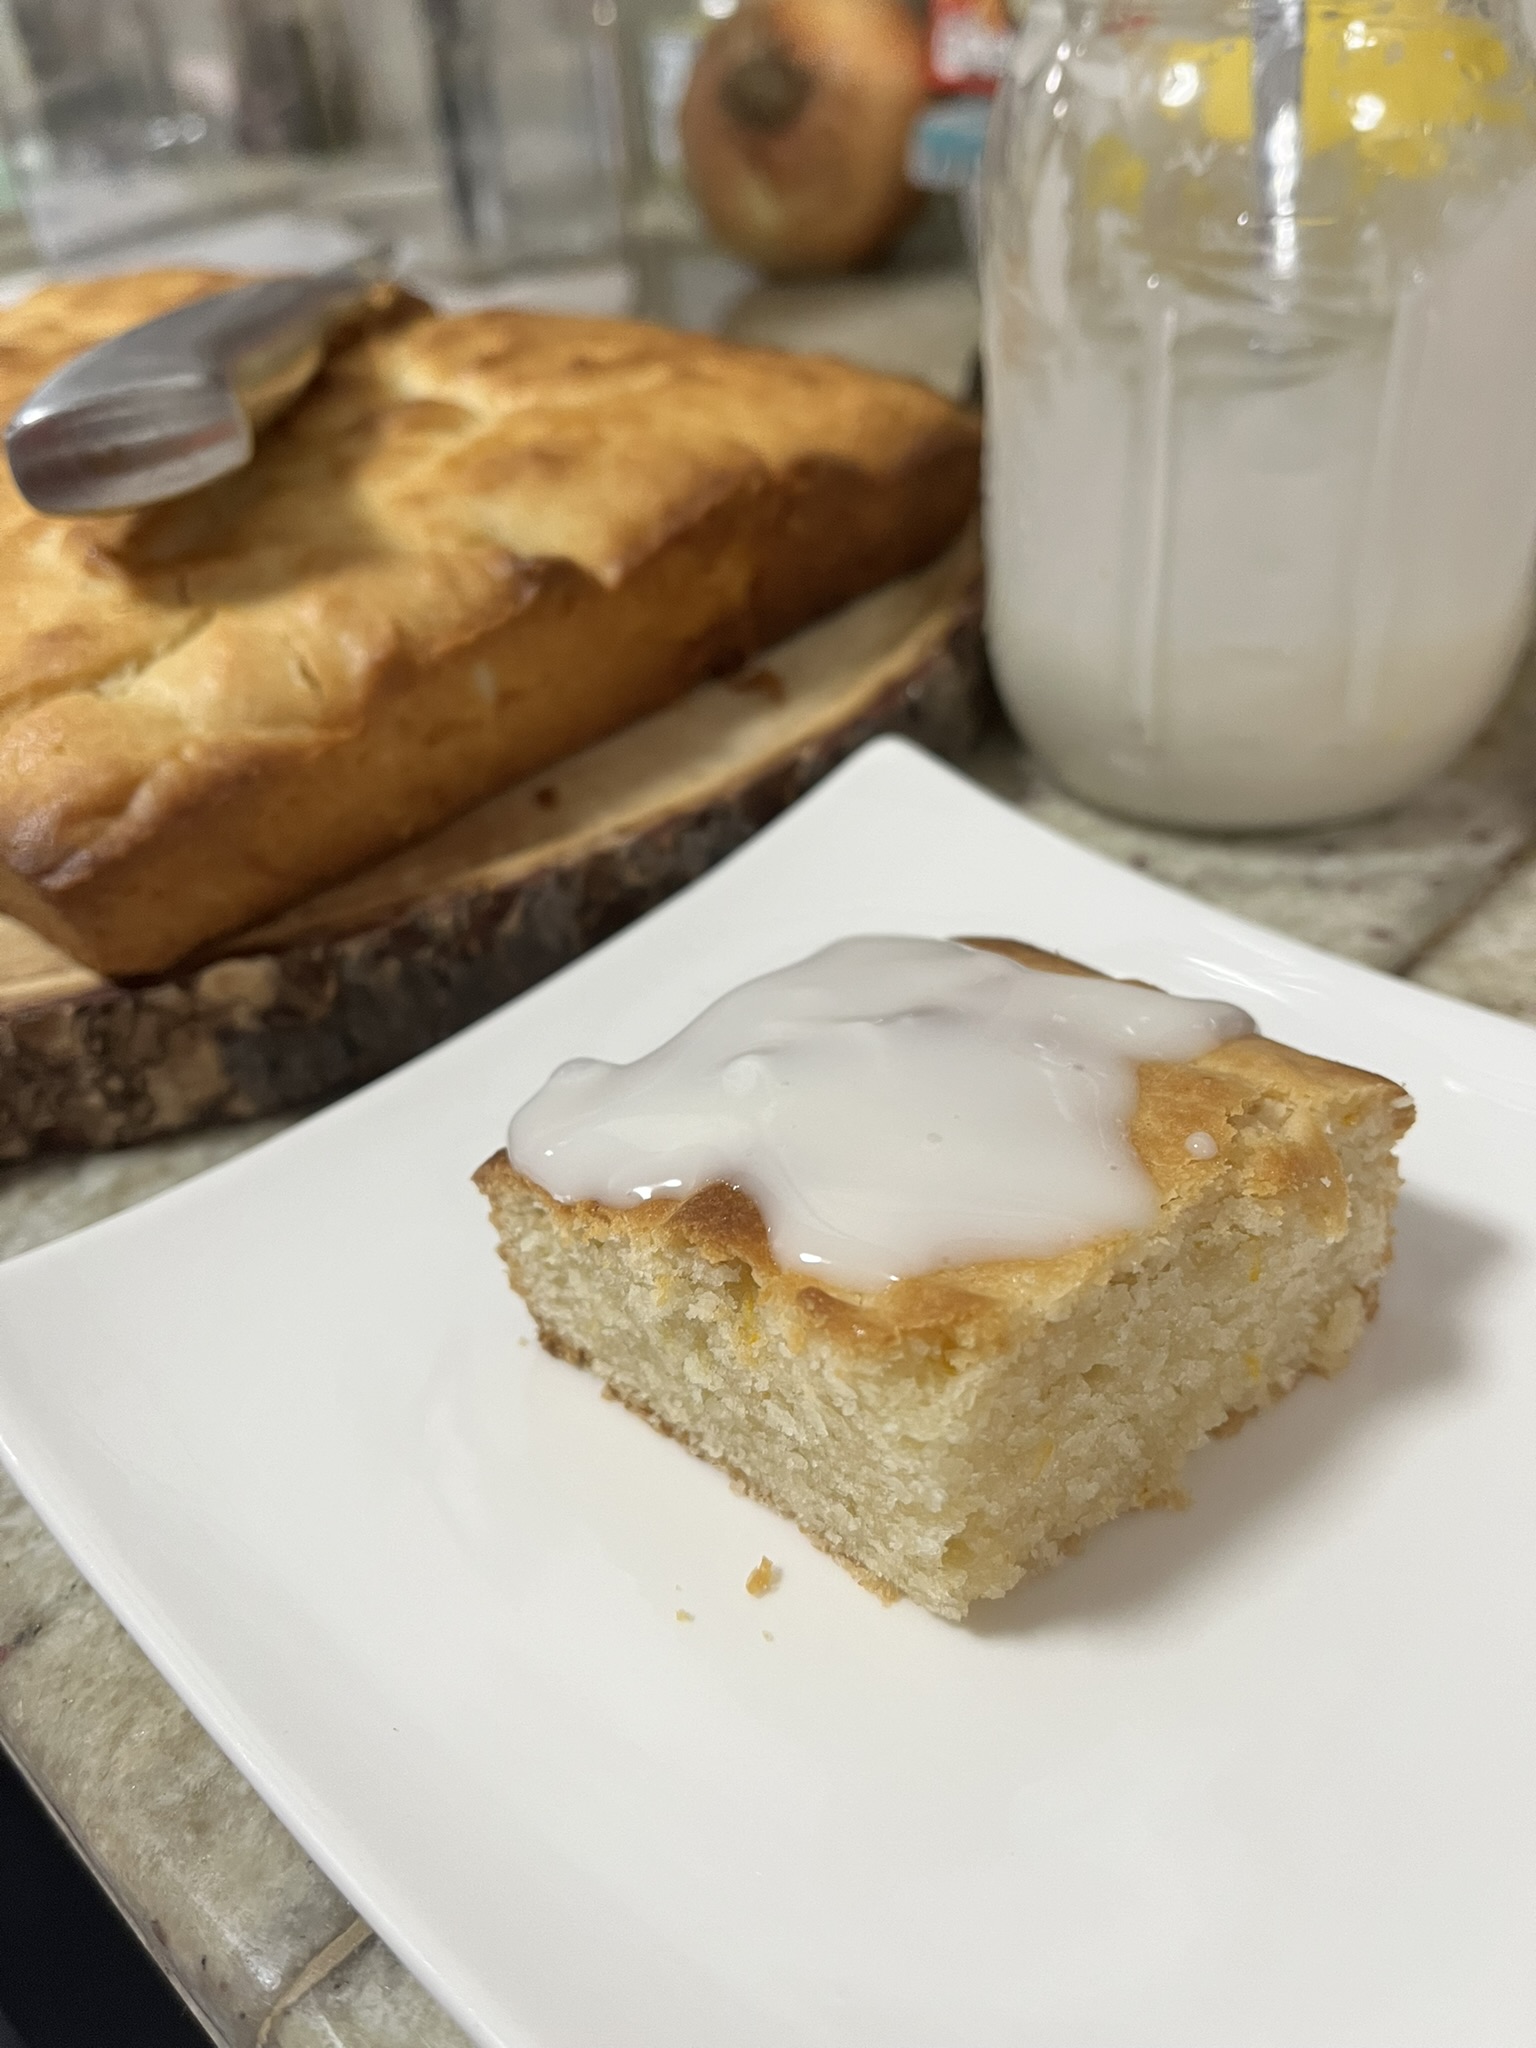
  • Make lemon glaze by mixing together powdered sugar, lemon juice and half of the water. Add additional water as necessary so glaze can just run off a spoon.
  • Depending on how it will be served, pour glaze all over top of cakes or cut cake into squares and then add glaze on top later!

Bake some other fruit things! Try Banana Bread or Puff Pastry Danish
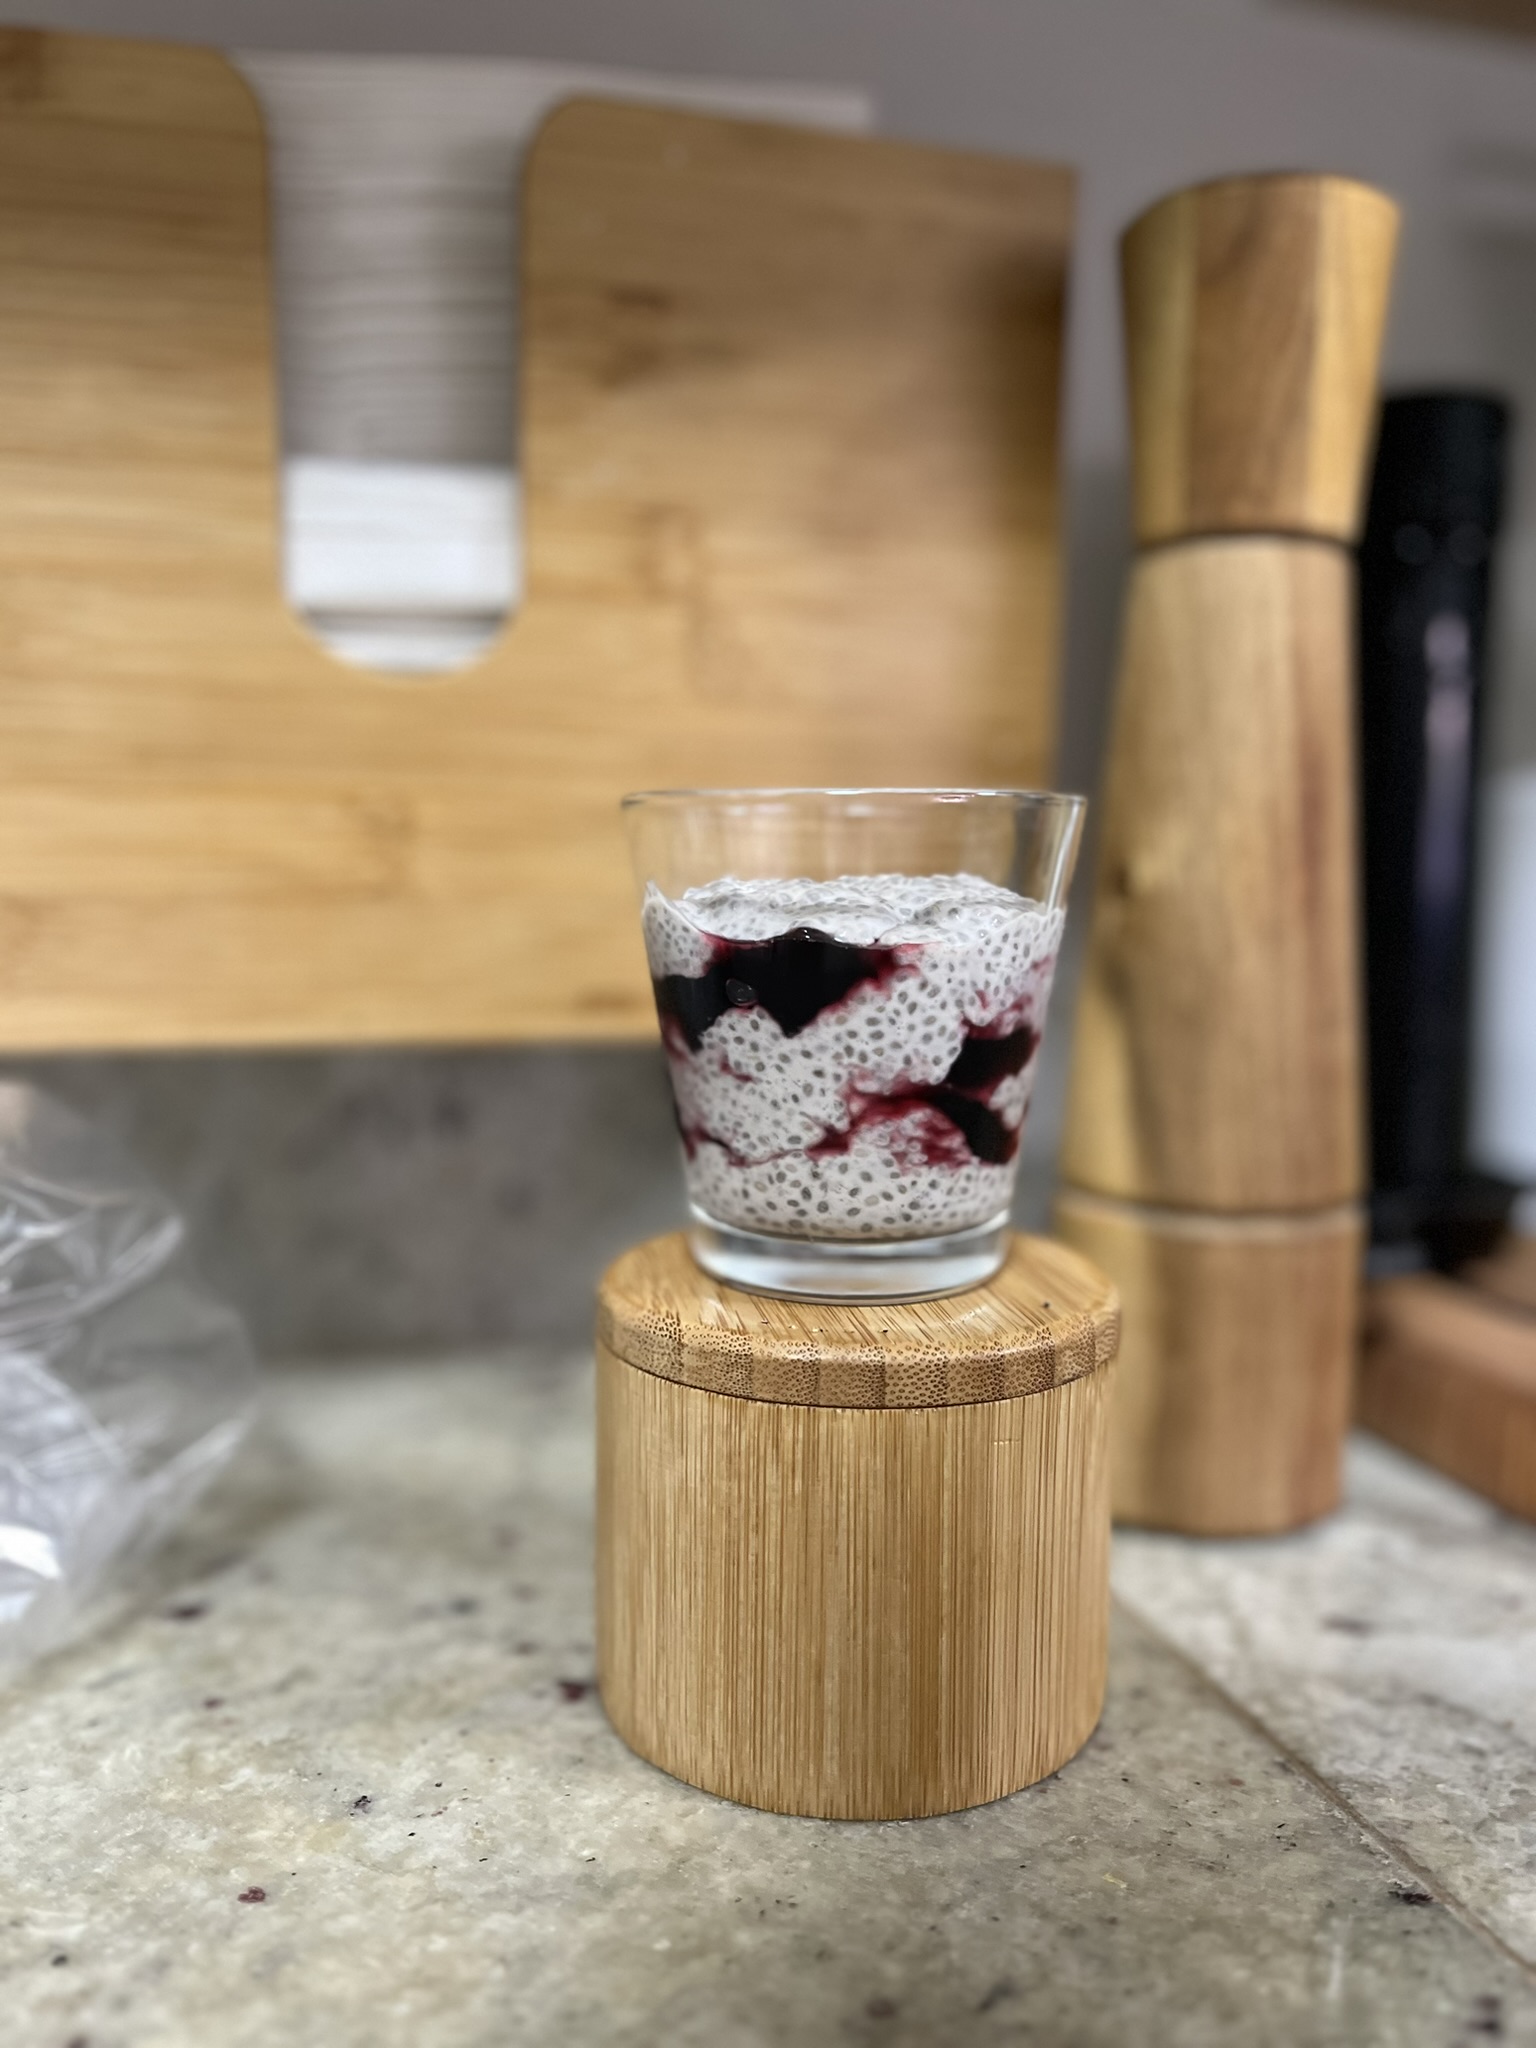
Coconut Banana Chia Pudding

Everyone’s a little lazy in the morning right? It can be a lot of work to get a whole meal going early in the morning before the day starts. Everyone raves about some overnight oats, but I just can’t do it. I’ve tried to like them, but I can’t. I’ve even heard them being referred to as “prison food”. Like overnight oats, this is a super low effort breakfast, snack, or dessert, but somehow more palatable. Coconut banana chia pudding is lightly coconut-y and banana-y and naturally sweet from the blended in bananas.

You can even pair this coconut banana chia pudding with some overnight oats (if you actually like that stuff) or use it on a topping for an acai bowl! I like having this chia pudding layered with some fresh fruit or fruit preserves and/or topped with some granola and hemp seeds.

Ingredients

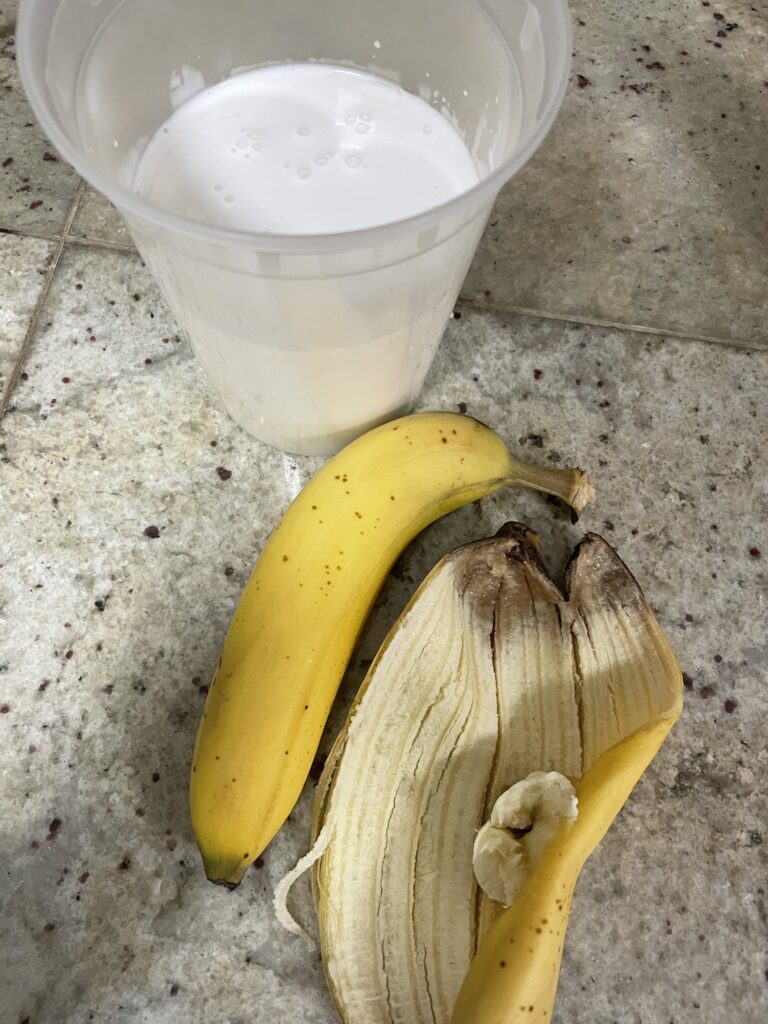
Coconut cream – You’ll want to use one of the high fat coconut creams. This definitely gives more flavor (fat = flavor!). Don’t use coconut water.

Bananas – Use a banana to a stage of ripeness to your preference. The banana is really where our sweetness is coming from, so I wouldn’t recommend using green bananas. If you like a sweeter chia pudding, use a banana that’s starting to spot, but I wouldn’t recommend a completely black/overripened banana, as that may cause your chia pudding to ferment.

Coconut Banana Chia Pudding

Print Recipe
Overnight chia pudding that's great for breakfast or a fiber-full dessert
Course Breakfast, Dessert, Snack
Keyword banana, chia, coconut, pudding

Equipment

  • blender or immersion blender

Ingredients

  • 1 can coconut cream around 16 ounces
  • 2 bananas ripe or extra ripe
  • 1/2 cup chia seeds
  • salt

Instructions

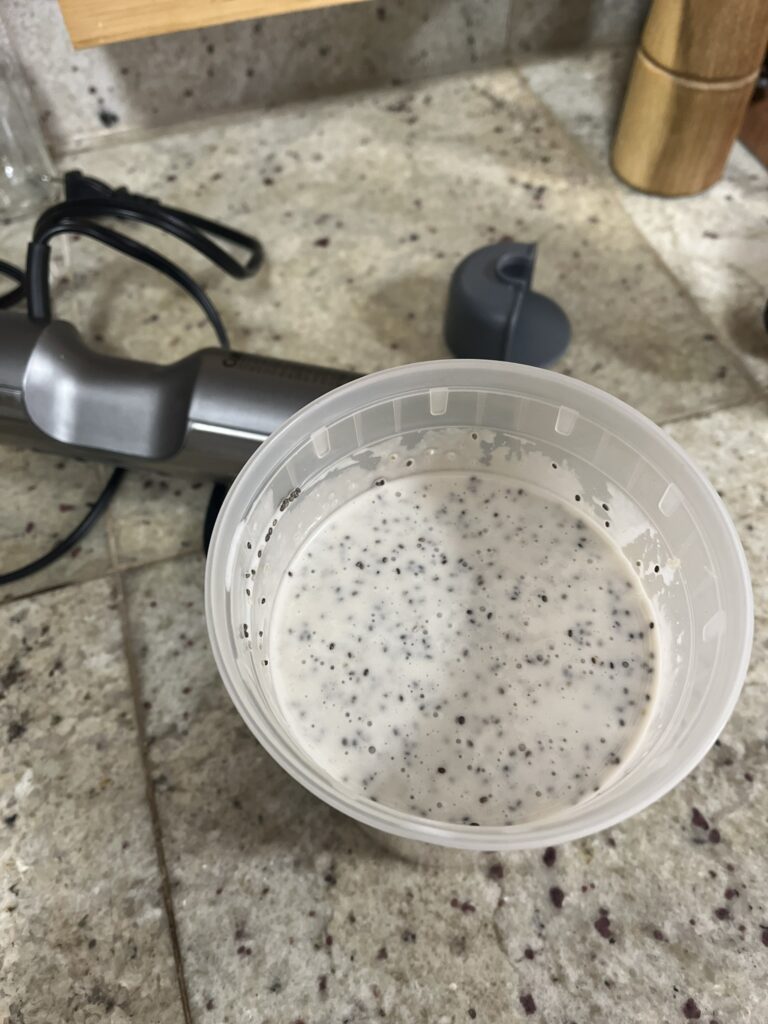
  • Blend together coconut cream, bananas, and a pinch of salt until smooth.
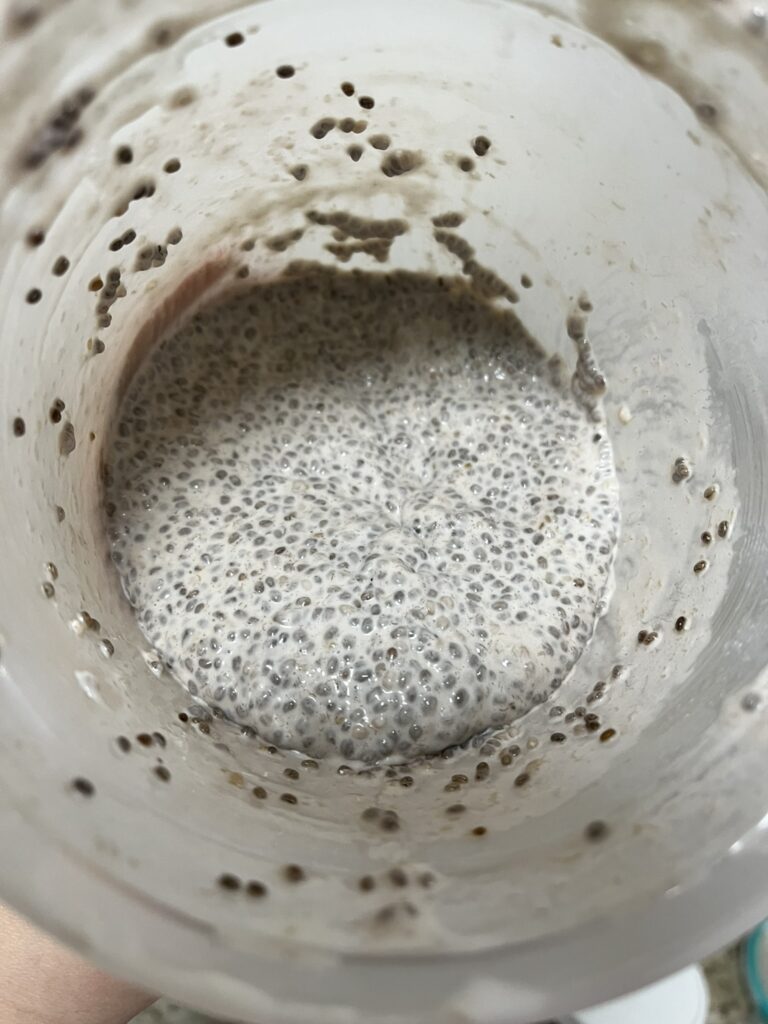
  • Add chia seeds to the coconut banana mixture and stir well, ensuring that there are no clumps of chia seeds. Clumps will prevent chia seeds from absorbing the liquid and plumping up.
  • Leave in the refrigerator overnight.
  • Enjoy the next morning on top of some yogurt, in some overnight oats, with some granola, top it with fruit, or have it on its own!

Have it for breakfast alongside some Mushroom, Spinach, & Cheddar Frittata or if you want more banana, try Banana Bread.

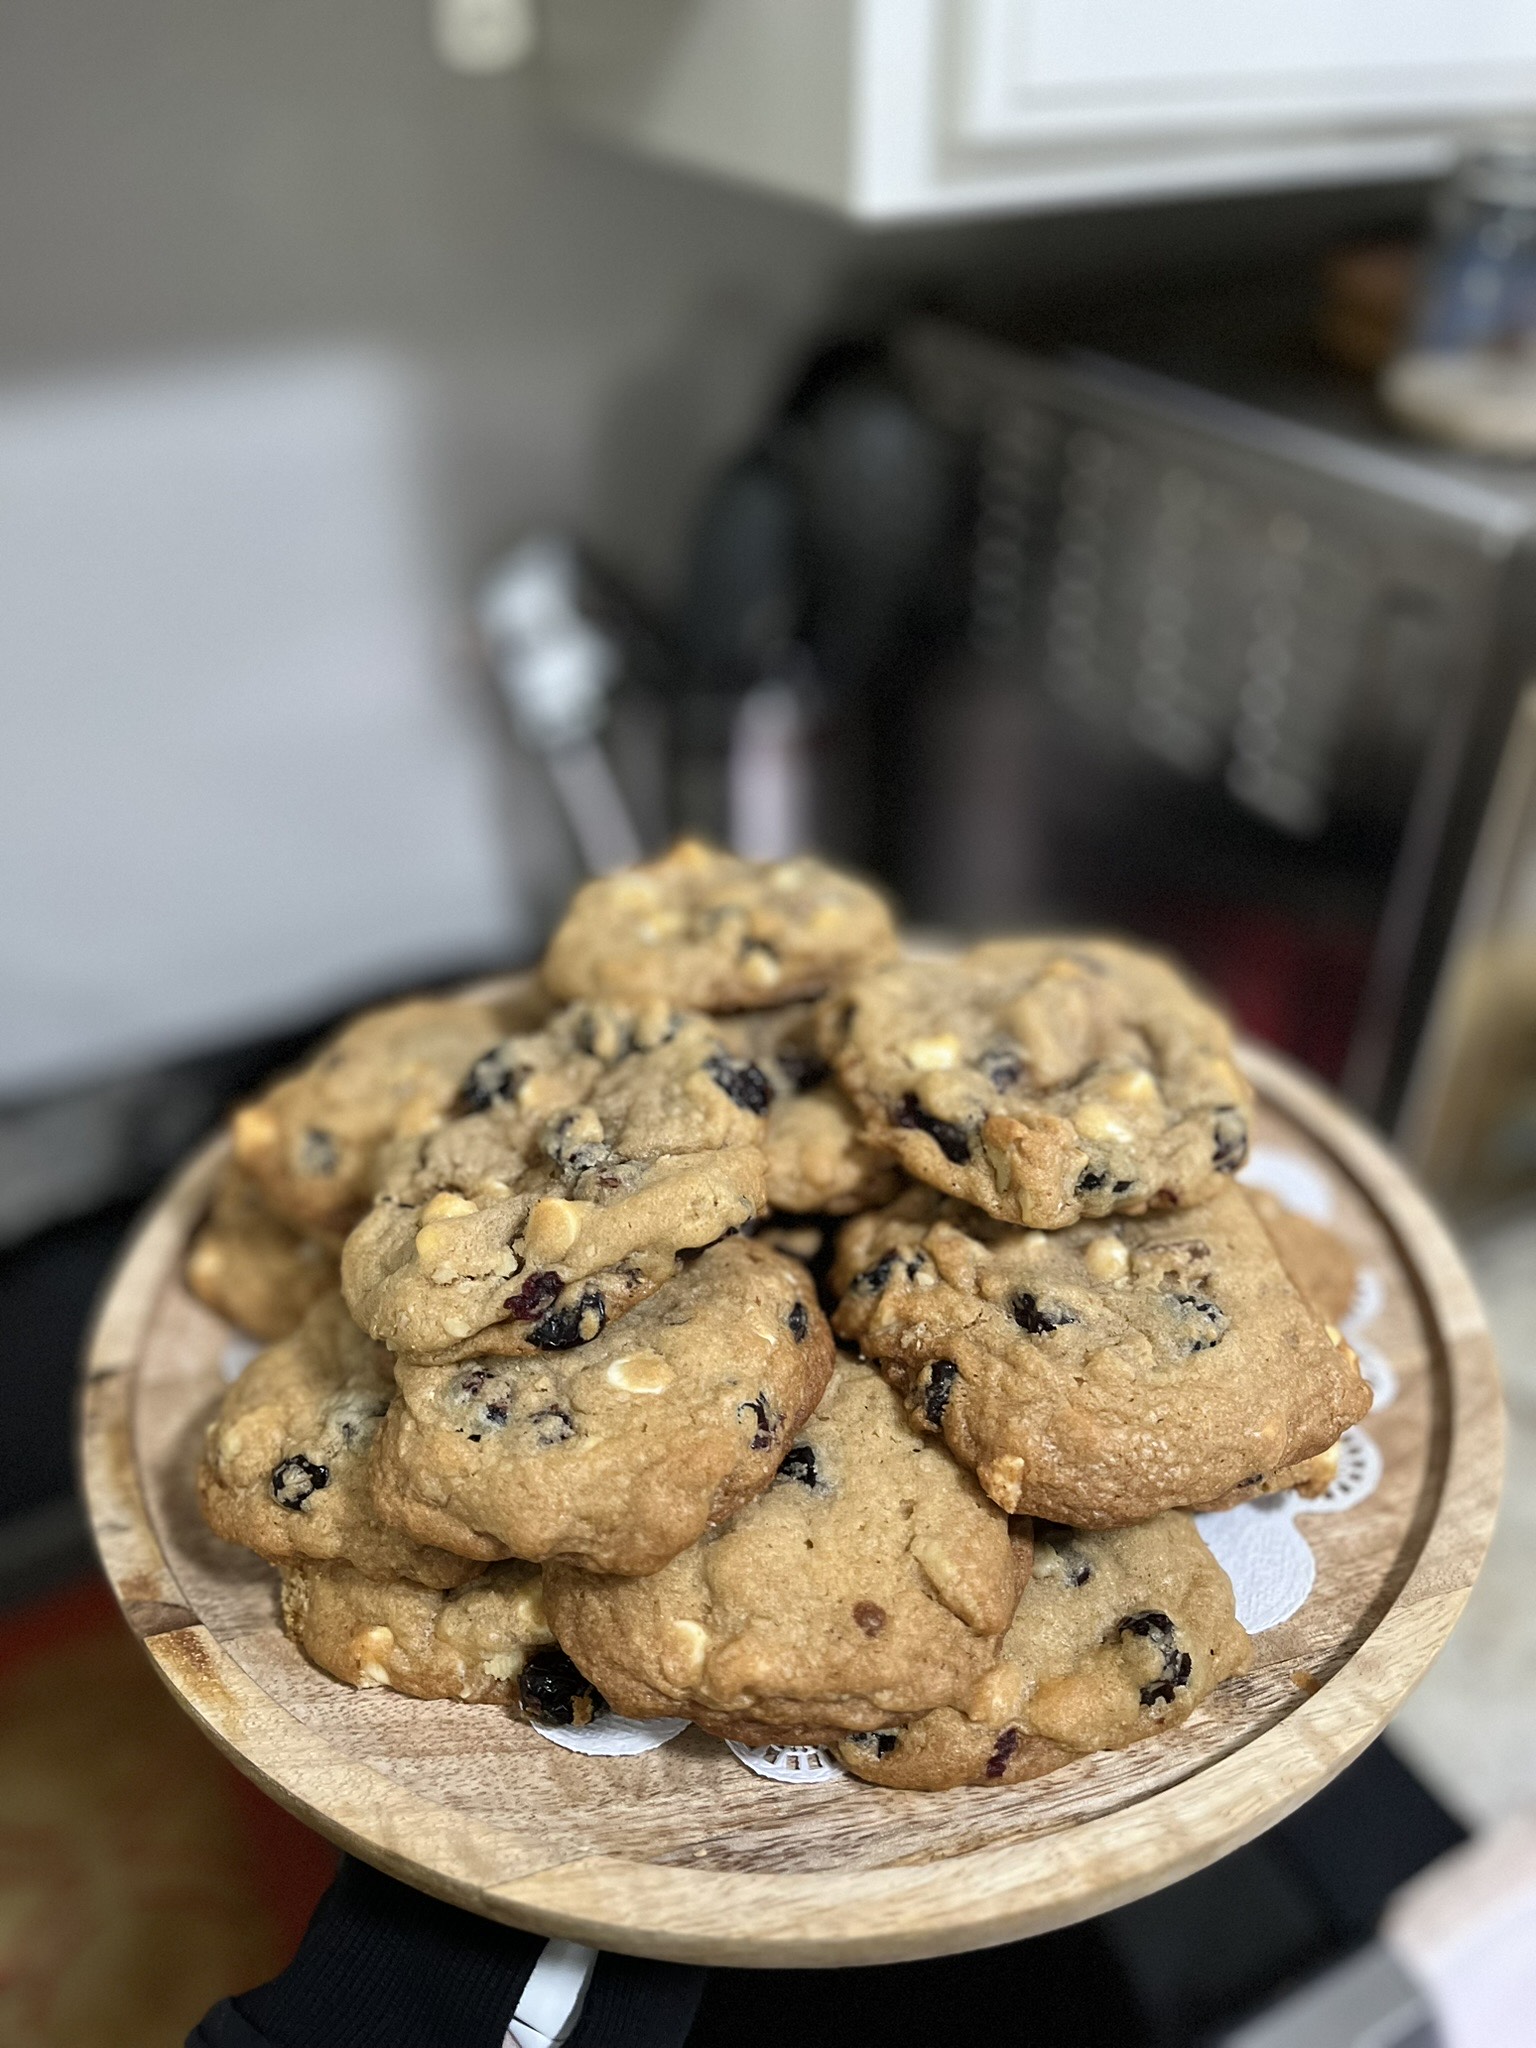
Cranberry White Chocolate Matcha Cookies

Happy holidays! Lots of travel and celebrations kept me away, but I missed being home. After eating out so much, I think you start to crave a cozy meal at home. It’s been a warmer winter, but still colder than the places I’ve been bopping around. The dark and rain make it feel colder than it is, so winter makes me happy to have the oven on.

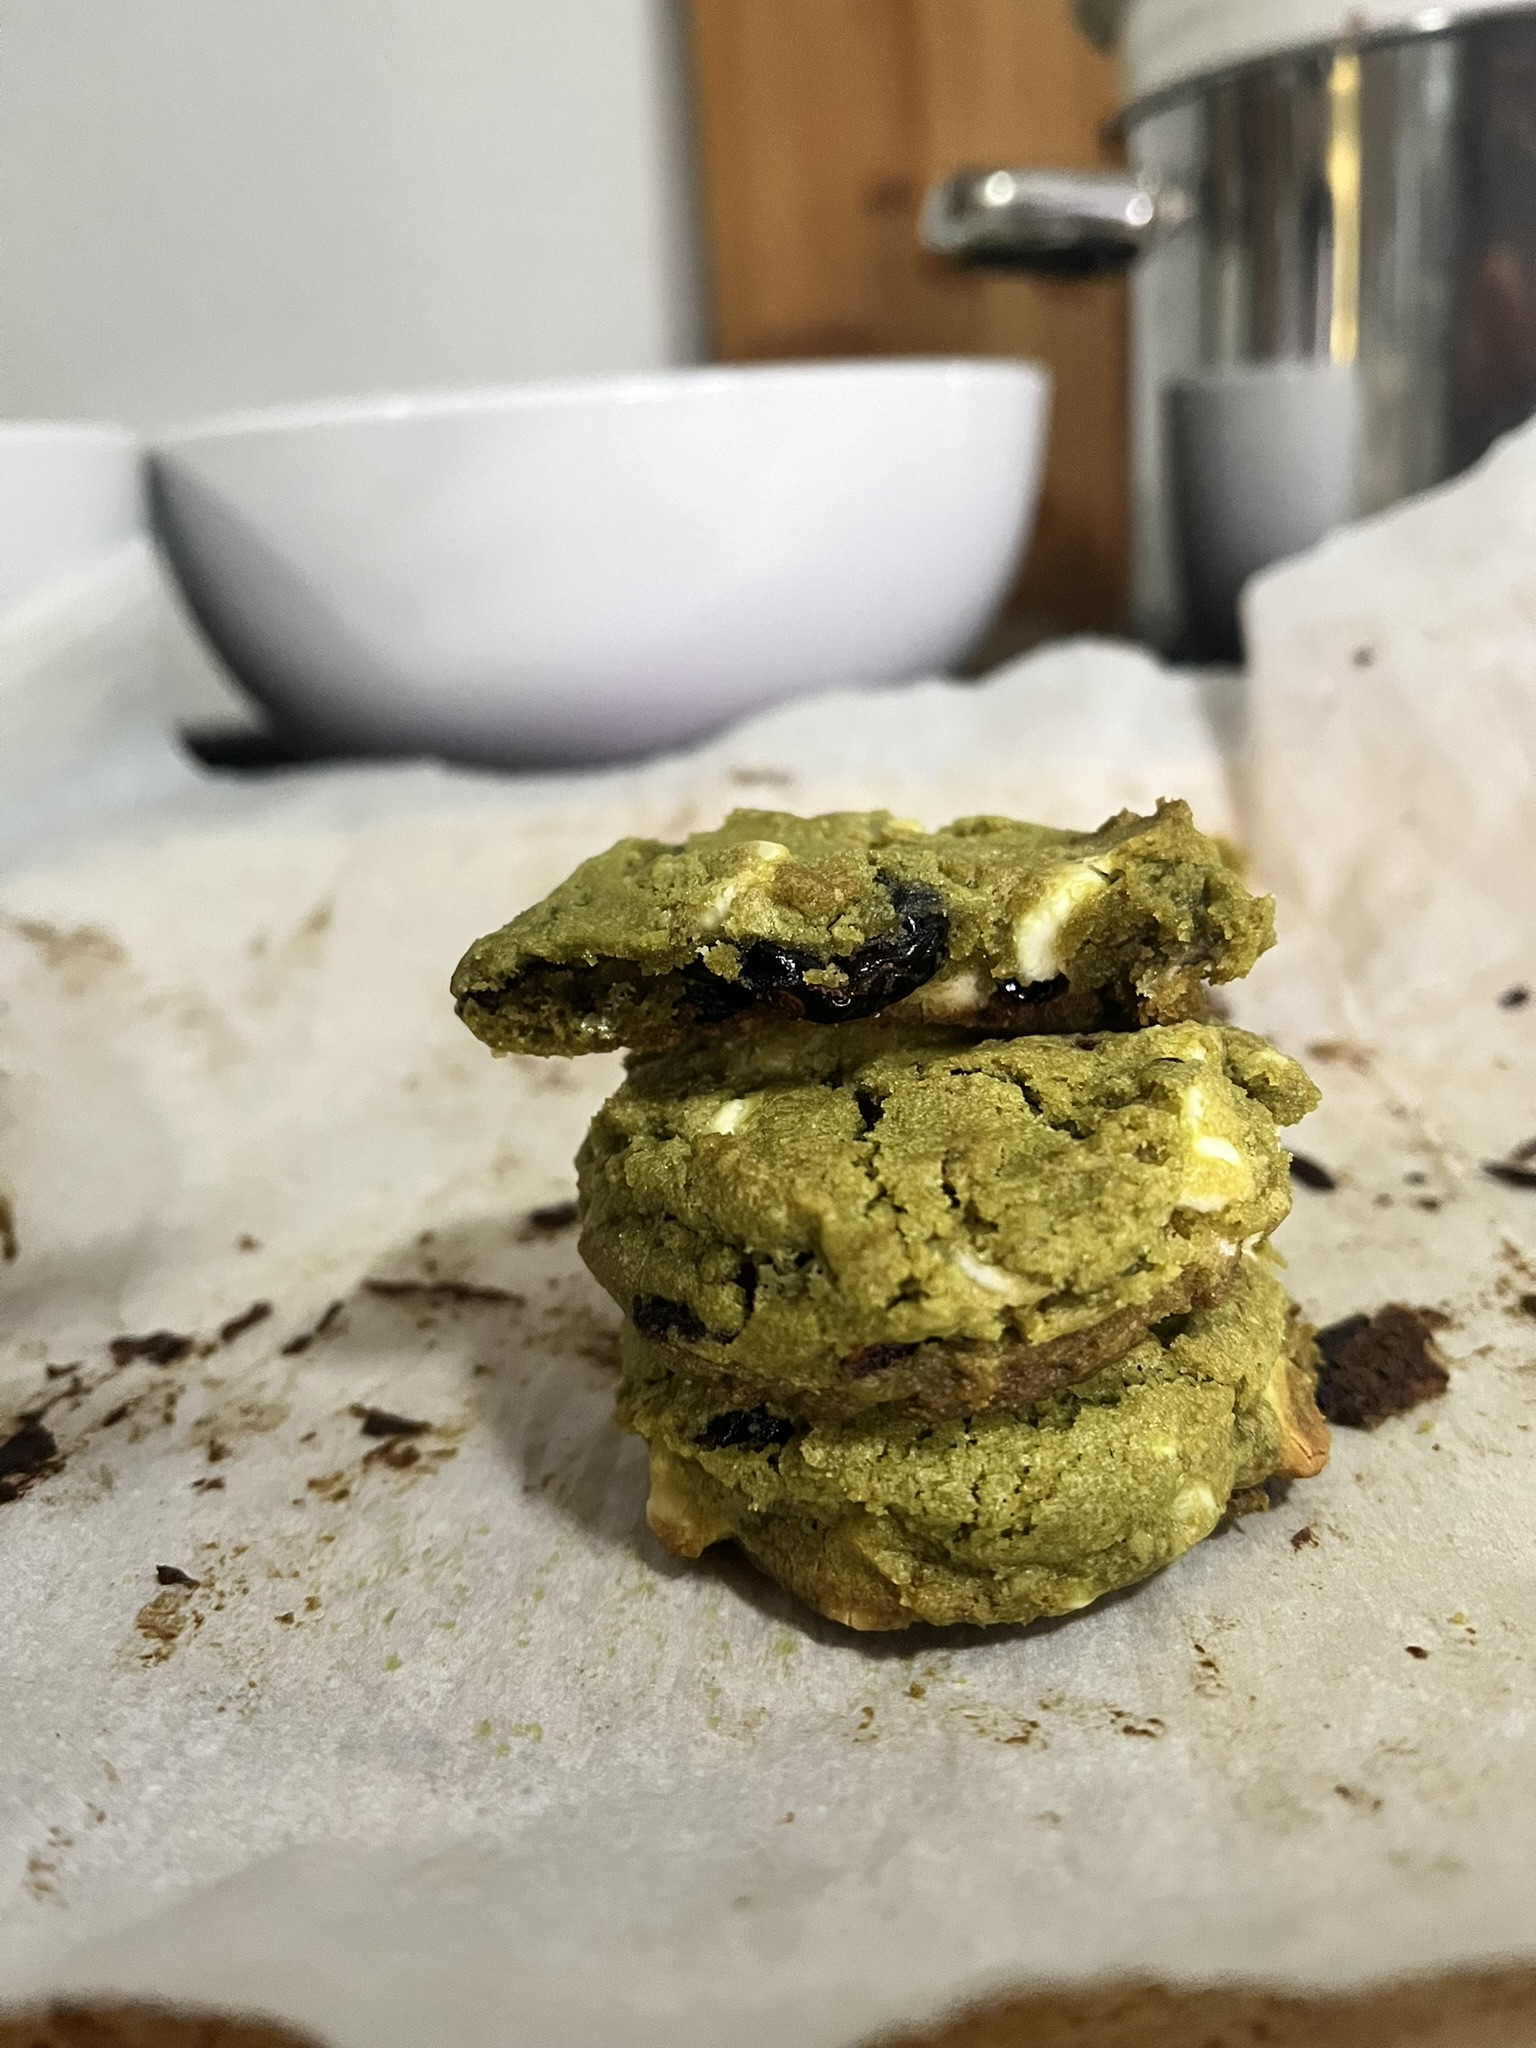
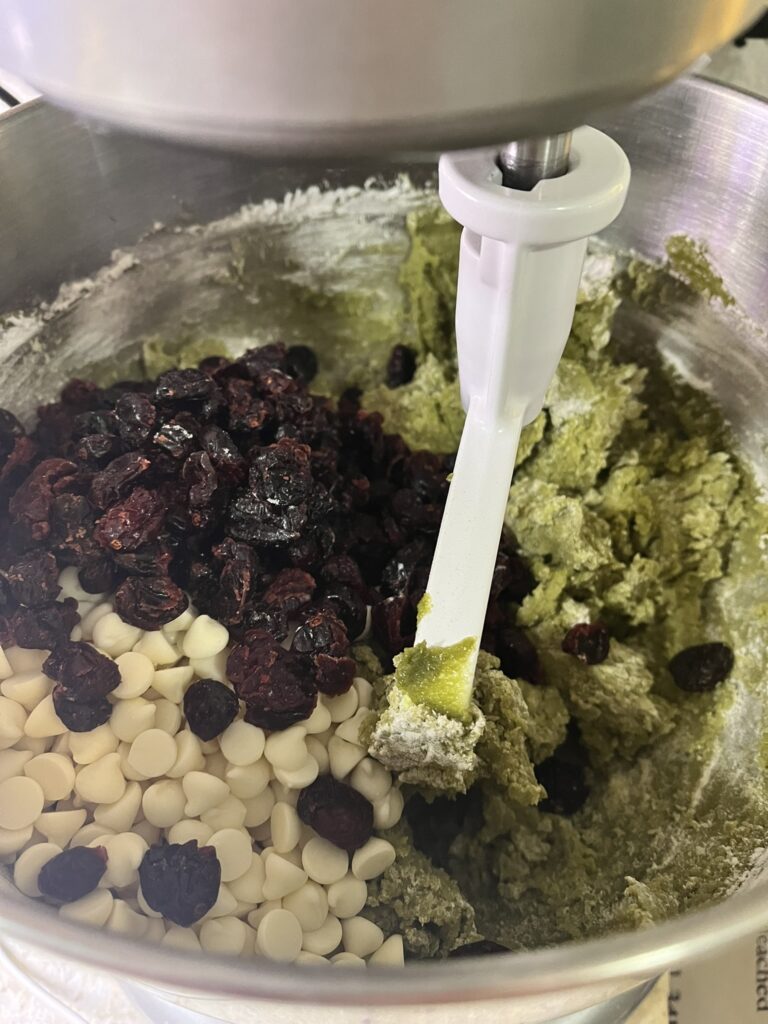
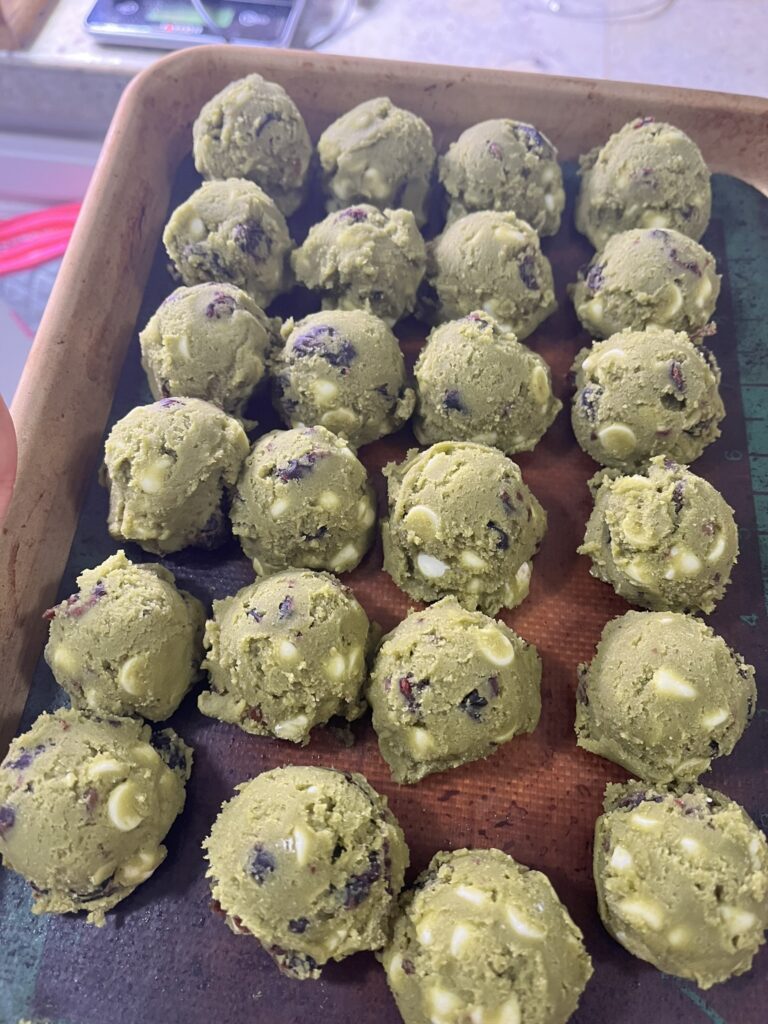
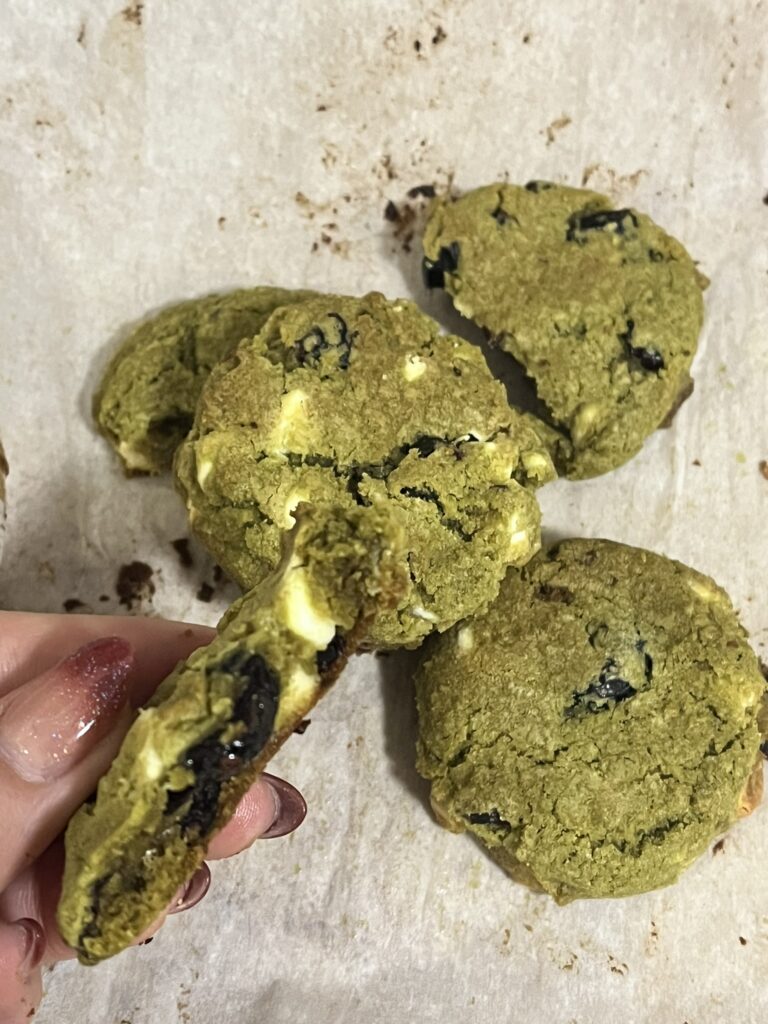
Holidays have been full of gatherings and one of the easiest handheld to bring is a cookie! I love doubling up a recipe to freeze up some extra cookie dough. Half baked for now and half to bake for later since nothing really beats a freshly baked cookie. This matcha cookies are eye-catching with their green tinge. The matcha flavor helps balance the sweet chocolate chips and the dried cranberries add some texture and tartness.

Ingredients

Matcha – use a higher quality matcha, ceremonial or premium, as they will be more green!

Cranberries – I know some people are very much anti-cranberry, so these can be taken out, however replace them with more white chocolate chips, otherwise you will have some sparse looking cookies.

White Chocolate Cranberry Matcha Cookies

Print Recipe
Sweet white chocolate and tart dried cranberries balance out the nutty matcha.
Course Dessert
Keyword cookies, cranberry, matcha, white chocolate
Cook Time 12 minutes
Servings 24 cookies

Equipment

  • 1 Stand mixer recommended

Ingredients

  • 1 cup butter softened
  • 1 cup brown sugar
  • 1/2 cup white sugar
  • 2 tbsp matcha powder
  • 2 eggs
  • 2 1/2 cups all-purpose flour
  • 2 tsp salt
  • 1 tsp baking soda
  • 2 cups white chocolate chips
  • 2 cups dried cranberries

Instructions

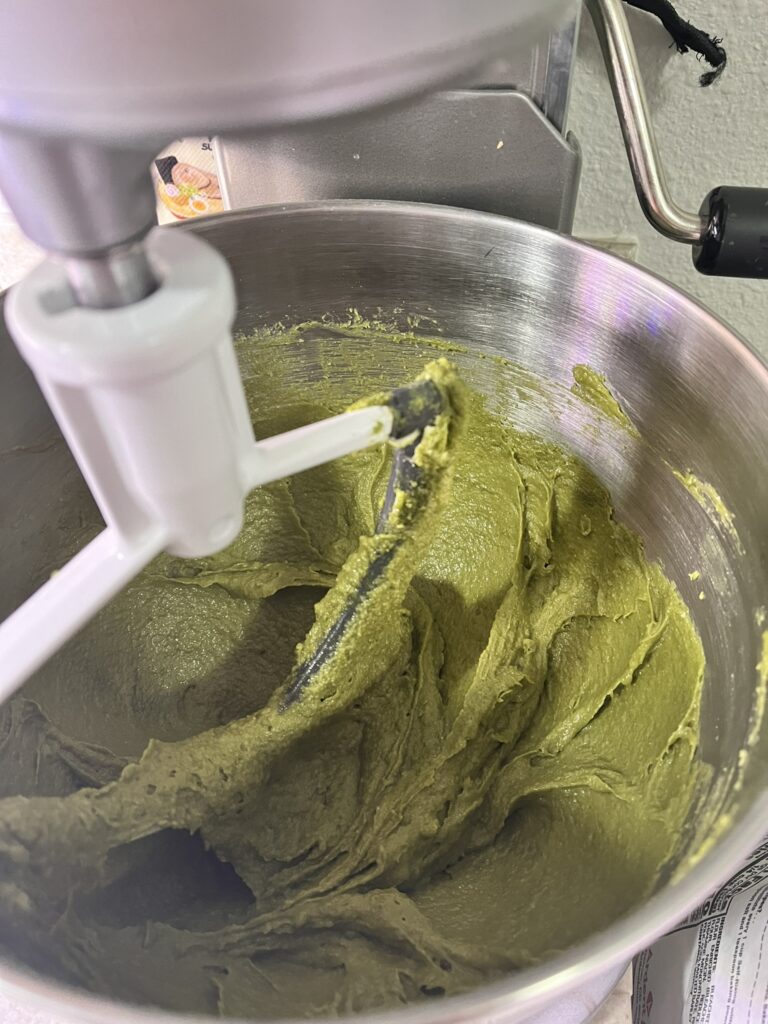
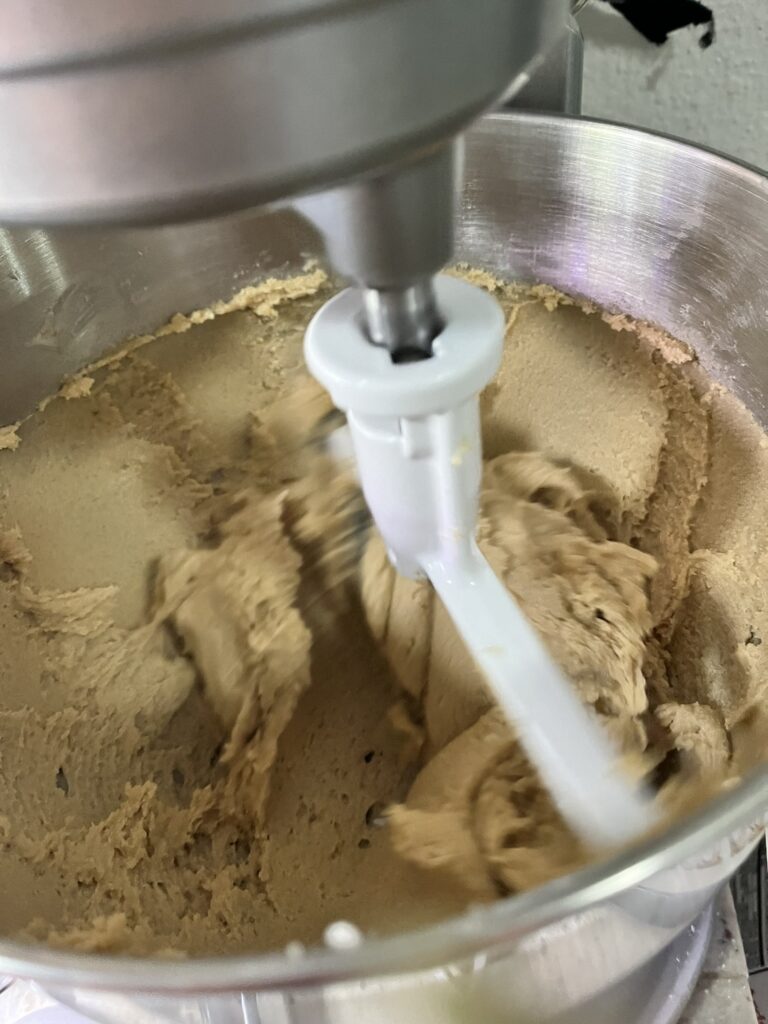
  • Cream together butter, brown sugar and white sugar until creamy and smooth. Periodically stop the mixer to scrape the butter and sugar off of the paddle.
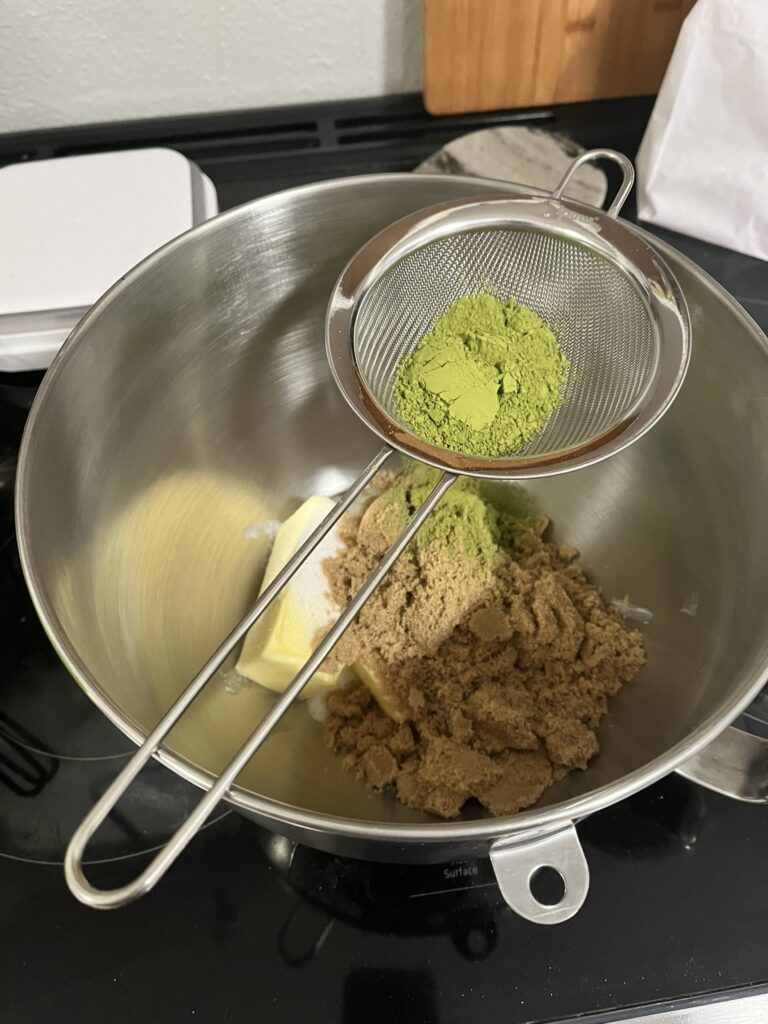
  • Sift in matcha powder and continue mixing.
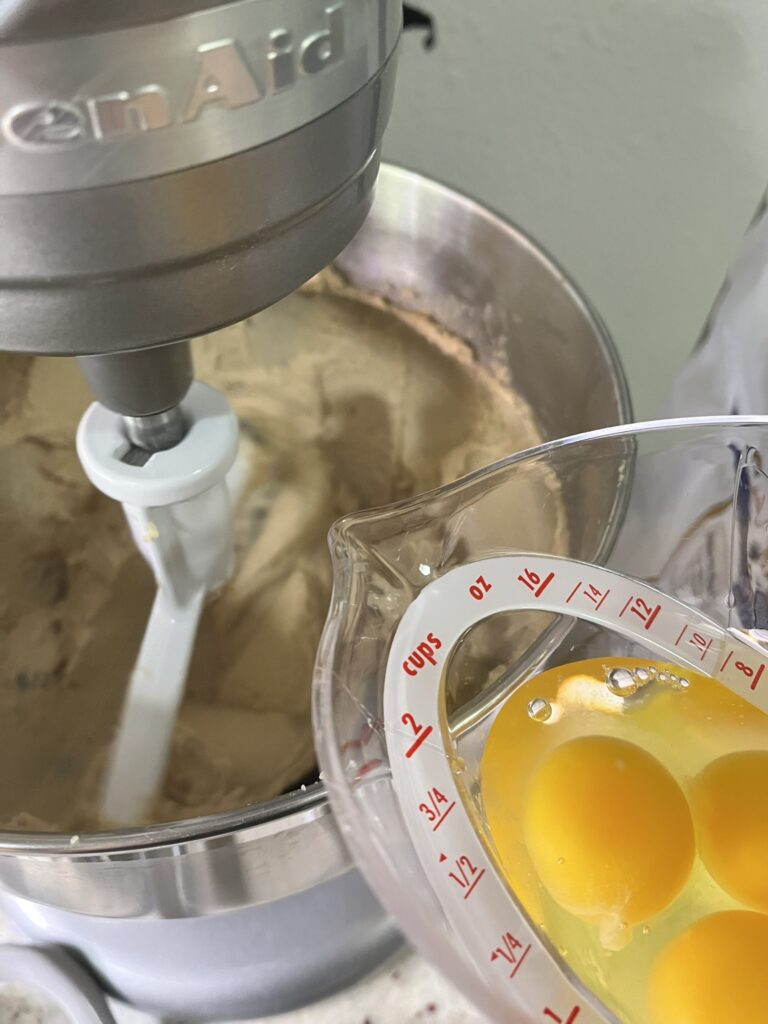
  • Add salt and eggs, one at a time, and continue mixing.
  • Add AP flour and baking soda until just combined. Don't worry if it's a little streaky, you'll continue mixing with the mix-ins.
  • Add in the mix-ins and mix just another few seconds until the mix-ins are distributed.
  • If you have time, pre-scoop your cookies and refrigerate for a few hours before baking.
  • Bake at 350F for ~12 minutes.
  • Cool and enjoy!

More cookies? Try Chocolate Chip Walnut Cookies or Kitchen Sink Cookies

Cranberry White Chocolate Walnut Cookies

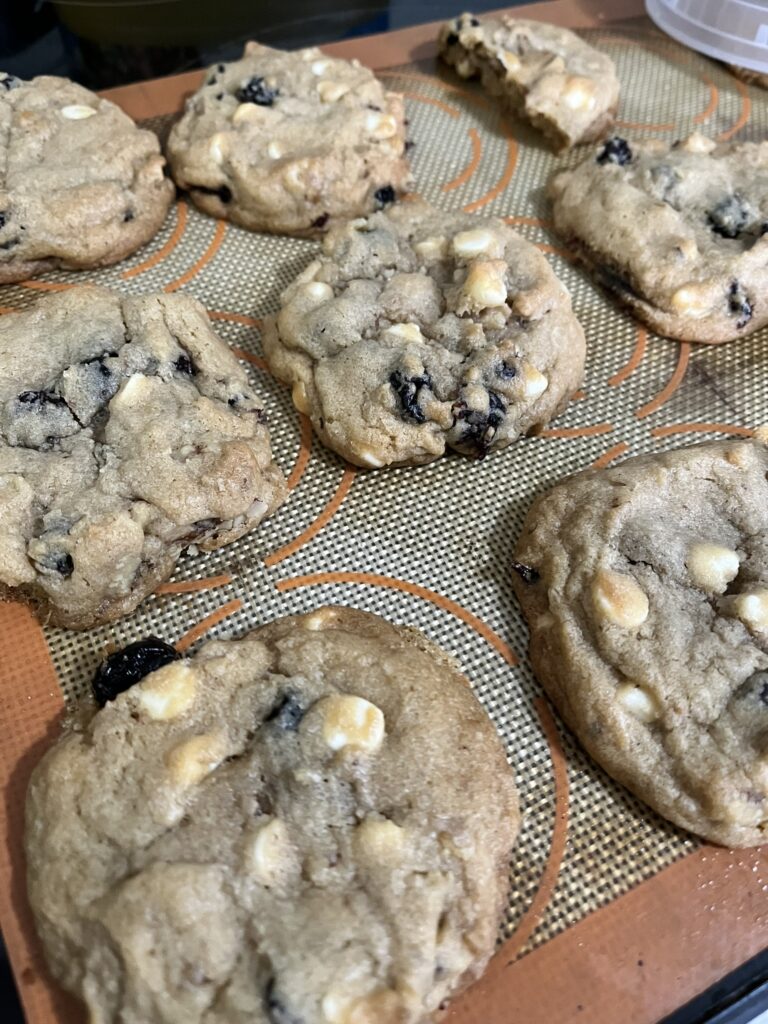
Holidays are coming!! and that means cookie season is upon us! December is meant for warm cookies straight from the oven with a hot drink on the couch… hiding from the cold and rain outside. I love a cookie that has some crunch, some sweet, and some salt, so why not add some tart into the mix! Featuring the cranberry white chocolate walnut cookie! Cranberries feel so fall and so holiday, so they’re perfect in a cookie.

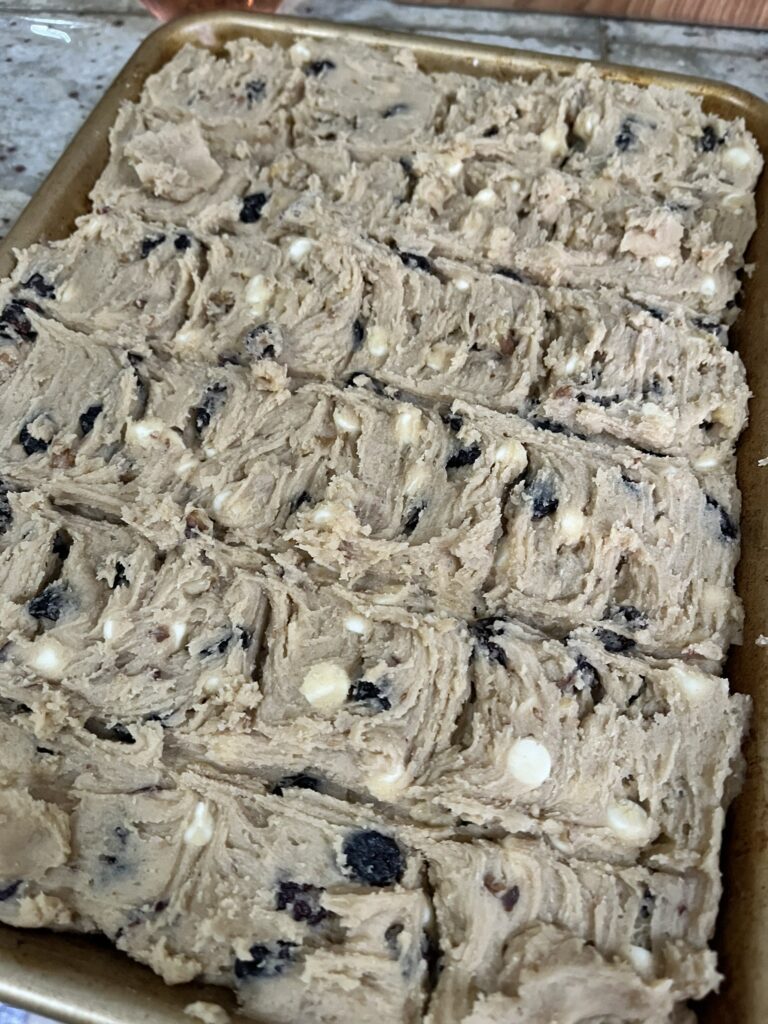
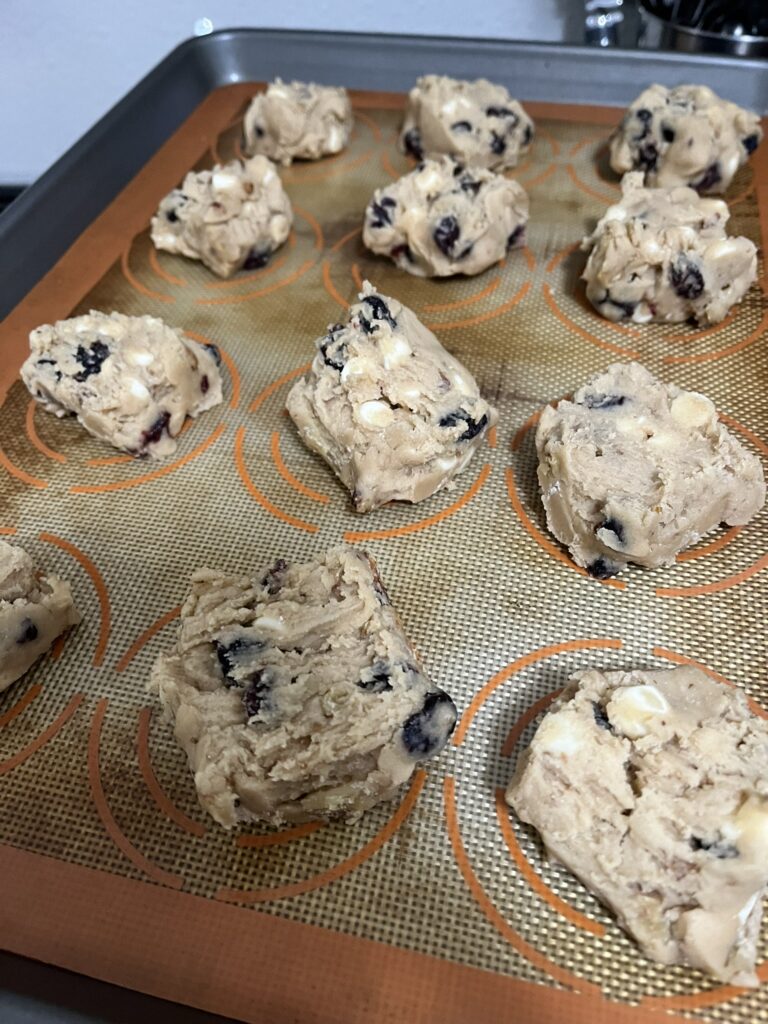
Like most cookies, I recommend making your dough at least a day in advance of when you plan to bake them. They just end up being tastier and if you have too much, you can just freeze them. Instead of pre-scooping and freezing on a tray, I’ve been in the habit of squishing it all in a tray, portioning into squares, pre-slicing, and then popping it all into a reusable bag in the freezer. Later I can thaw slightly, break off the squares and then bake!

Ingredients:

Cranberries – a dried cranberry is perfect

Walnuts – Use whole walnuts or walnut pieces. They kind of end up breaking up more in the stand mixer regardless.

White chocolate – I used chips, but if you’re extra fancy, go for the chunks!

Cranberry White Chocolate Walnut Cookies

Print Recipe
Salty, sweet, tart, crunchy, soft cookies, perfect for the holidays!
Course Dessert
Keyword cookies, cranberry, walnut, white chocolate
Servings 24 cookies

Equipment

  • 1 Stand mixer recommended

Ingredients

  • 1 cup butter softed
  • 1 cup brown sugar packed
  • 1/2 cup white sugar
  • 1 tsp vanilla extract
  • 2 eggs
  • 2 1/2 cups all-purpose flour
  • 2 tsp salt
  • 1 tsp baking soda
  • 1 1/3 cup walnuts toasted
  • 1 1/3 cup white chocolate
  • 1 1/3 cup dried cranberries

Instructions

  • Cream together butter, brown sugar and white sugar until creamy and smooth. Periodically stop the mixer to scrape the butter and sugar off of the paddle.
  • Add vanilla extract and salt and continue mixing.
  • Add eggs to the mixer one at a time and continue mixing.
  • In a separate bowl, mix together AP flour and baking soda until just combined. Don't worry if it's a little streaky, you'll continue mixing with the mix-ins.
  • Add in the mix-ins and mix just another few seconds until the mix-ins are distributed.
  • If you have time, pre-scoop your cookies and refrigerate for a few hours before baking.
  • Bake at 350F for ~12 minutes. Cookies will look a little puffy but will deflate after removed from the oven. Allow to cool ~10 minutes before enjoying.

More cookies? Try Kitchen Sink Cookies or Chocolate Chip Walnut Cookies.

Dirty Chai Banana Cake

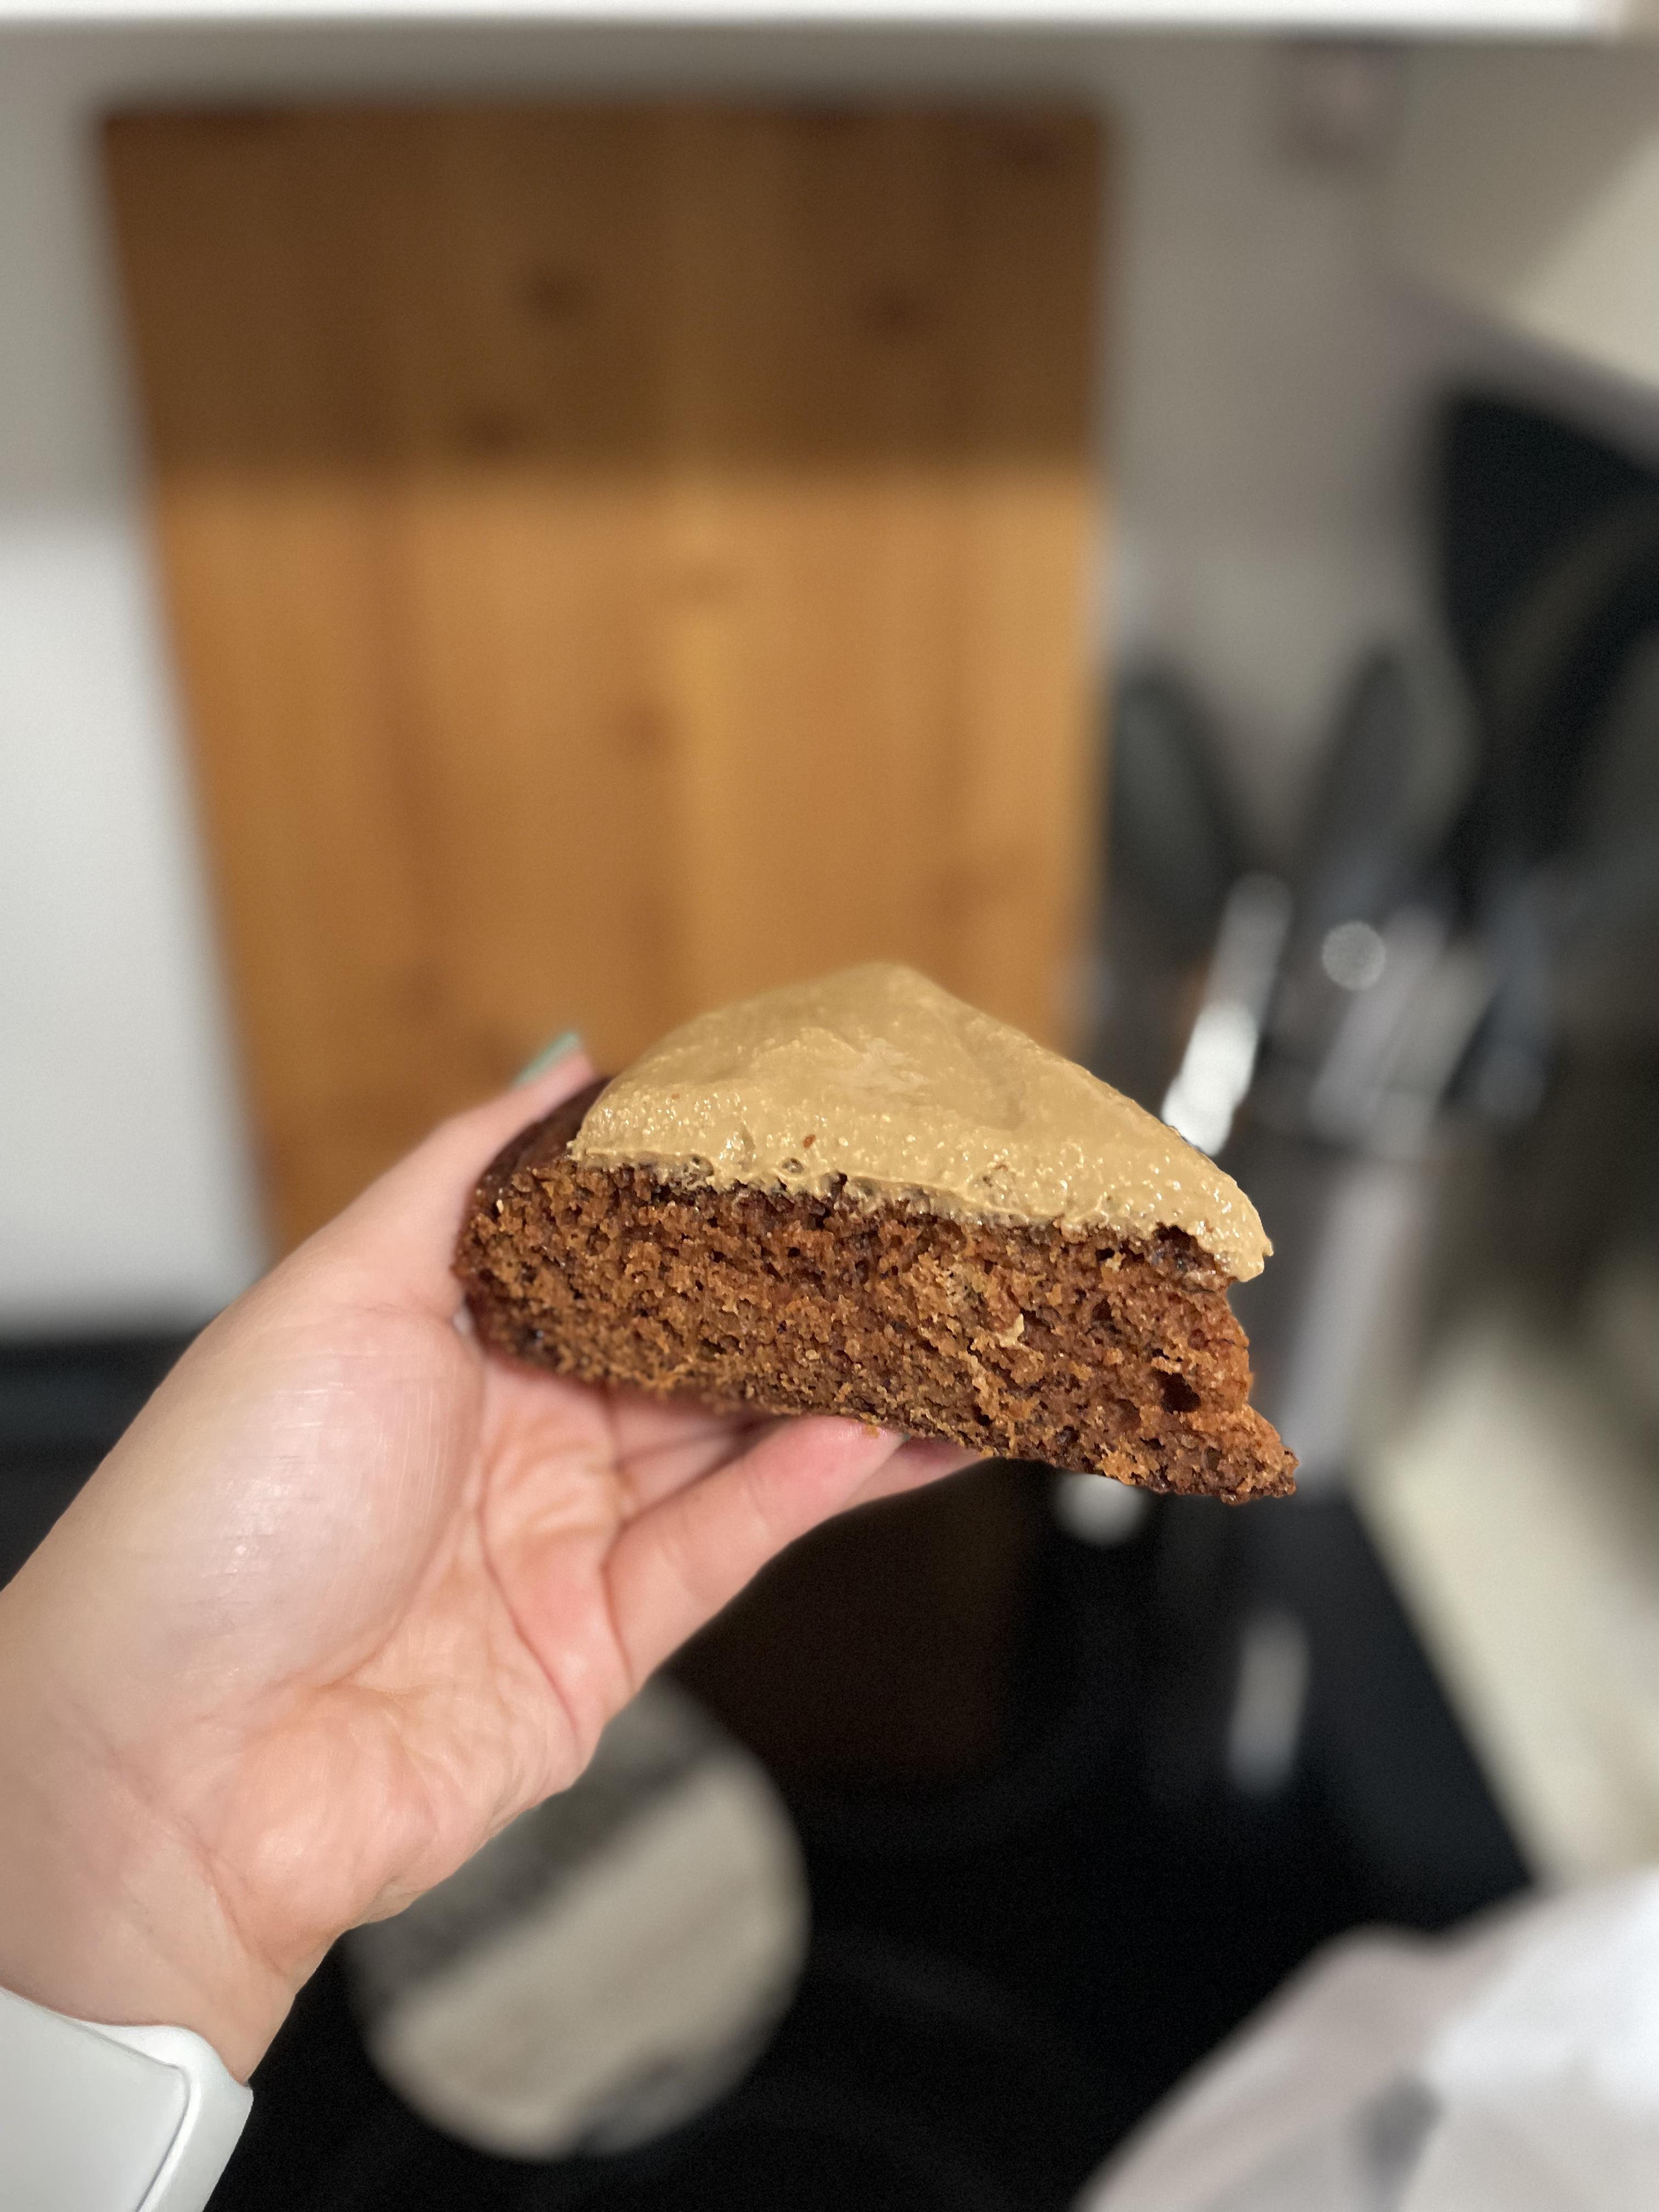
I’ve learned that I love a cooked banana, but a fresh banana…. mehh… I love a fried banana, banana bread, bananas foster, banana ice cream, and I realized… no one really makes banana cakes. I guess you could count a banana bread as a cake but it’s been marketed to be “healthy” and good for breakfast. For those that aren’t true cooked banana lovers, they won’t even tell that it’s banana. The chai mix gives the cake more of a spice cake flavor and the bitter notes from the coffee topping helps balance the sweet banana. It has those warm fall spices, reminiscent of a hot dirty chai.

Ingredients

Bananas – The browner the better! If you have bananas that are ready, but you aren’t ready, you can freeze your bananas. I do recommend peeling them before storing. If you’re starting from frozen, I do recommend that you fully thaw and drain your bananas before you start.

Chai powder – I use the one from Blue Lotus, but you can use whichever chai mix you like. This one does have powdered, instant tea in it, along with the chai spices.

Espresso – I use Vietnamese instant coffee as I find it more robust and flavorful, but it could be substituted with instant espresso too.

Dirty Chai Banana Cake

Print Recipe
Course Breakfast, Dessert
Keyword banana, cake, chai, coffee, dessert, espresso
Cook Time 35 minutes

Equipment

  • 1 10" cake pan

Ingredients

Cake

  • 3 bananas
  • 3/4 cup neutral oil
  • 1 cup white sugar
  • 1/2 cup brown sugar
  • 3 eggs
  • 1 tsp chai spice mix
  • 1 tsp salt
  • 1 3/4 cup all-purpose flour
  • 1 1/2 tsp baking soda

Topping

  • 4 ounces cream cheese
  • 1/4 cup heavy cream
  • 1 tsp instant espresso
  • 1 tbsp sugar
  • pinch of salt

Instructions

  • Mash your bananas.
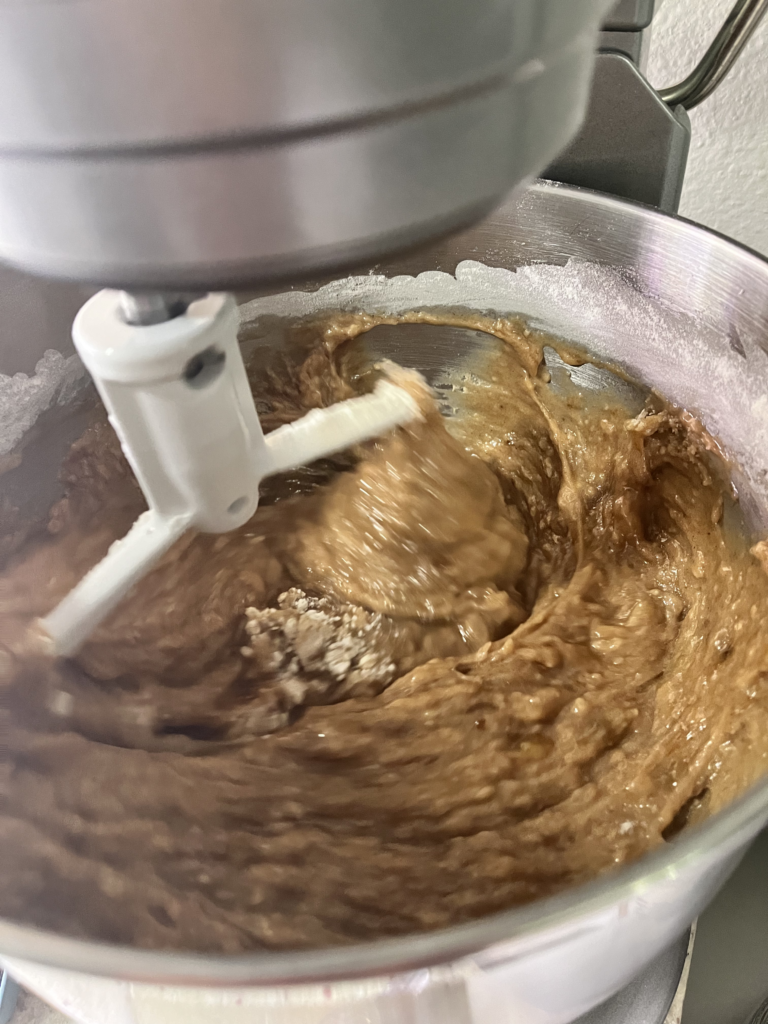
  • Mix with eggs, sugars, salt, chai spice mix, and oil.
  • Add flour and baking soda.
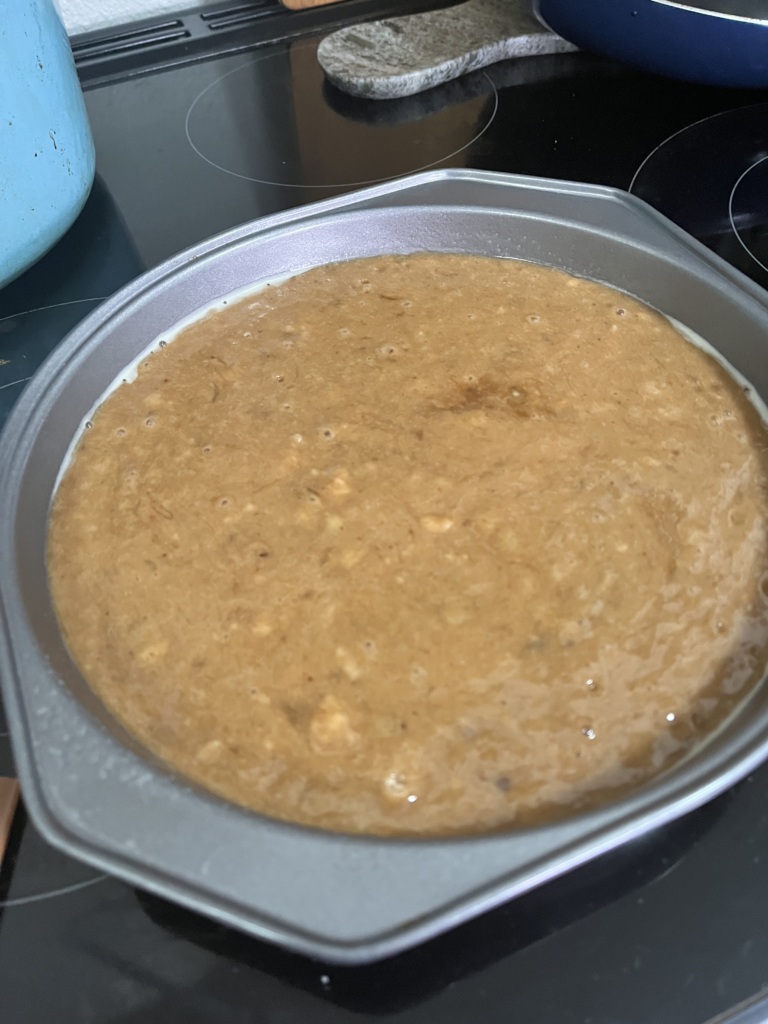
  • Pour into a 10" cake pan and bake at 350F for 45 minutes, tenting with foil if the top starts getting very brown.
  • Check cake with the toothpick. Allow to cool completely.
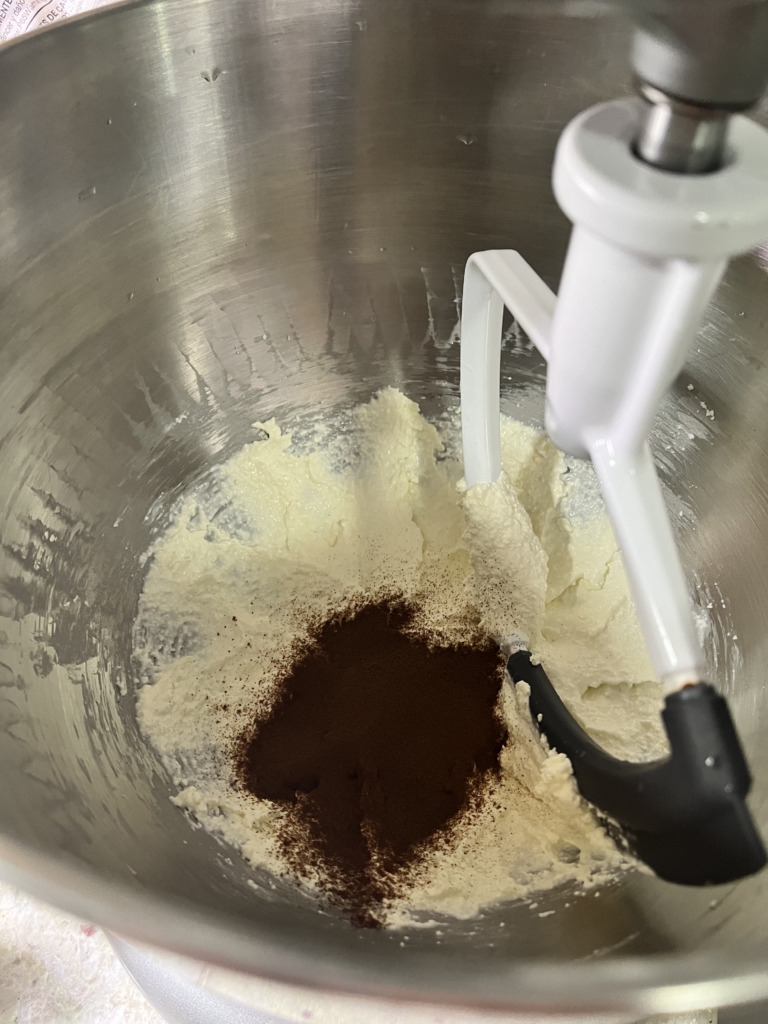
  • Mix cream cheese, heavy cream, espresso, sugar, and salt together.
  • When cake is completely cooled, add on top! Cut and serve.

Want regular Banana Bread? Could also try Zucchini Bread.

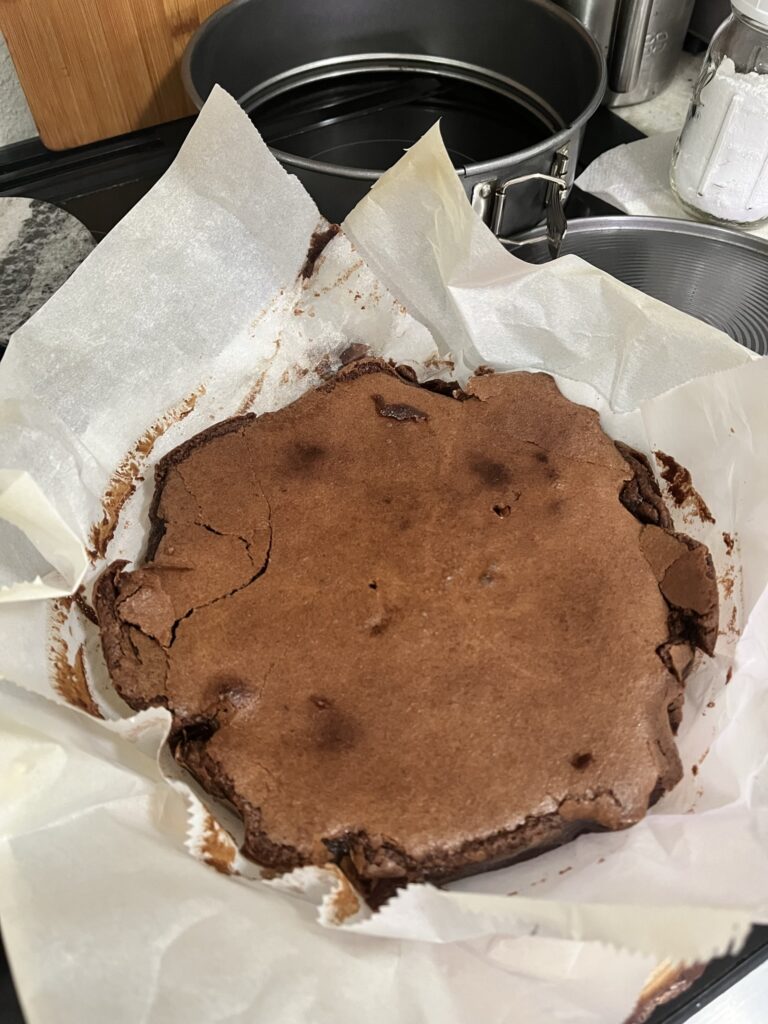
Chocolate Torte

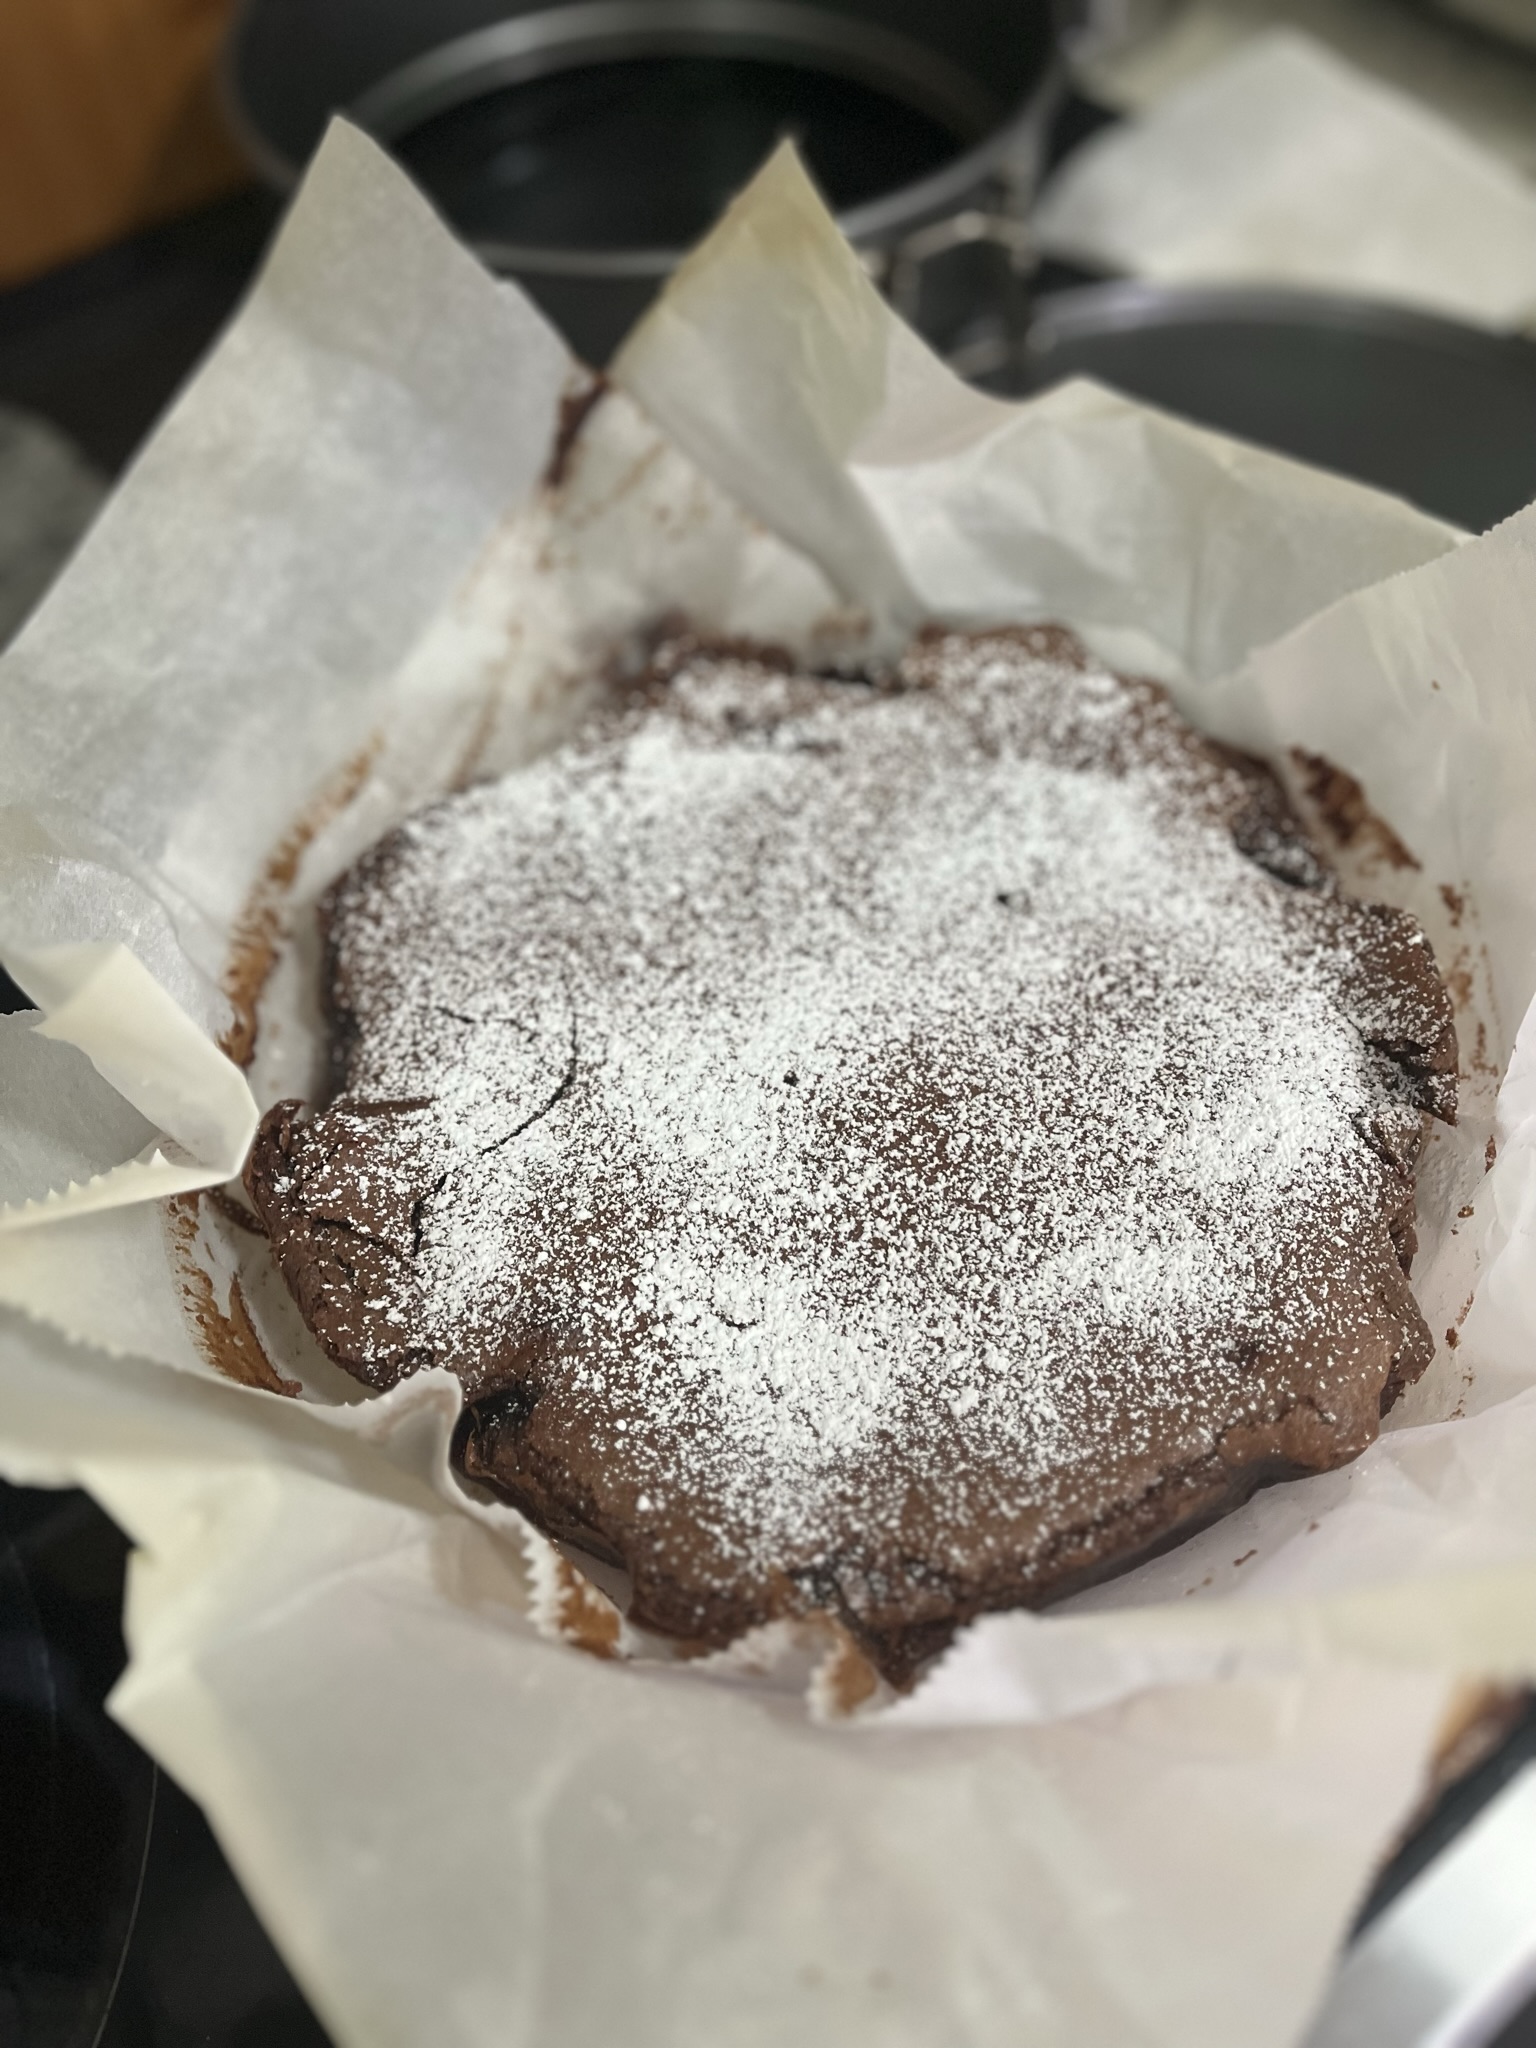
You get a last minute invitation to dinner and you have less than 2 hours before you need to leave, what do you make? If you have anymore than an hour’s notice, you can make this torte! No need for softened butter since melted butter and melted chocolate make for a quick batter and everything can easily be mixed by hand. Just don’t forget to preheat the oven! This torte served warm gives brownie/lava cake energy while a cold version is rich and dense.

Ingredients:

Chocolate – Use chocolate chips or chocolate bars. I wouldn’t use anything sweeter than semi-sweet. You want this to be dark and rich!

Butter – Yes, this cake is basically just chocolate and butter but that’s why it tastes good.

Sugar – The bitterness from the chocolate really offsets the sweetness.

Chocolate Torte

Print Recipe
A quickie dessert that can be made gluten-free and eaten hot or cold.
Course Dessert
Keyword cake, chocolate, gluten free, torte
Cook Time 20 minutes

Equipment

  • 1 9 in springform pan

Ingredients

  • 1 cup butter
  • 1 cup semisweet chocolate chips
  • 1 cup sugar
  • 1/4 cup almond flour or AP flour
  • 1/4 tsp salt
  • 5 eggs
  • powdered sugar for dusting

Instructions

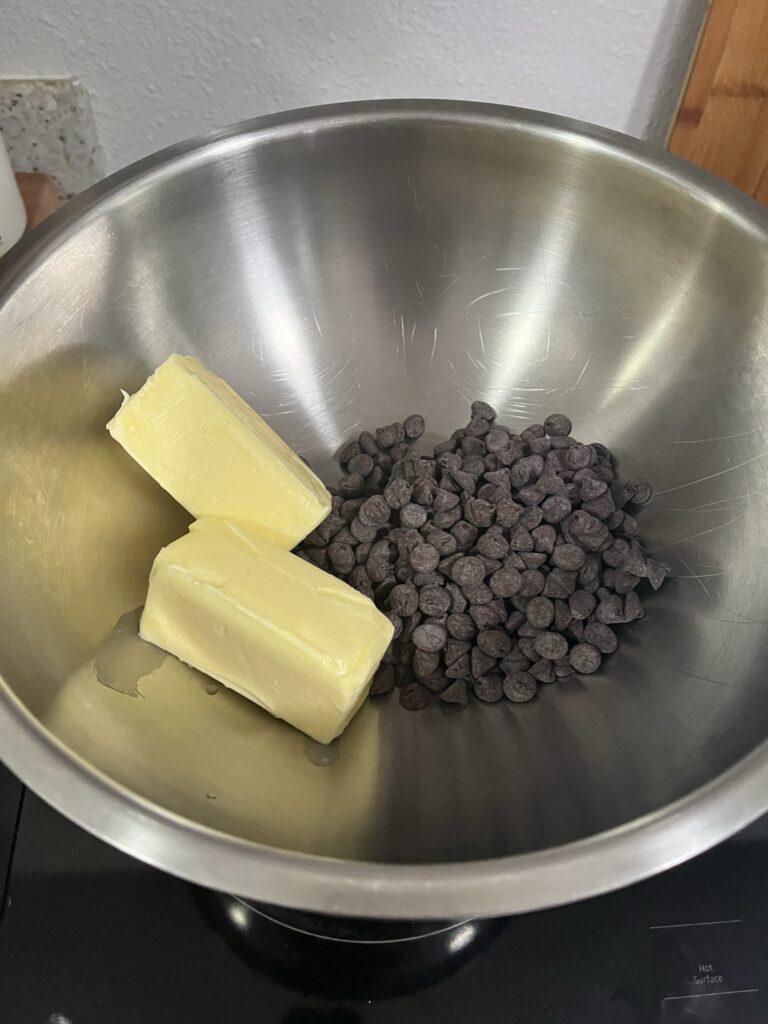
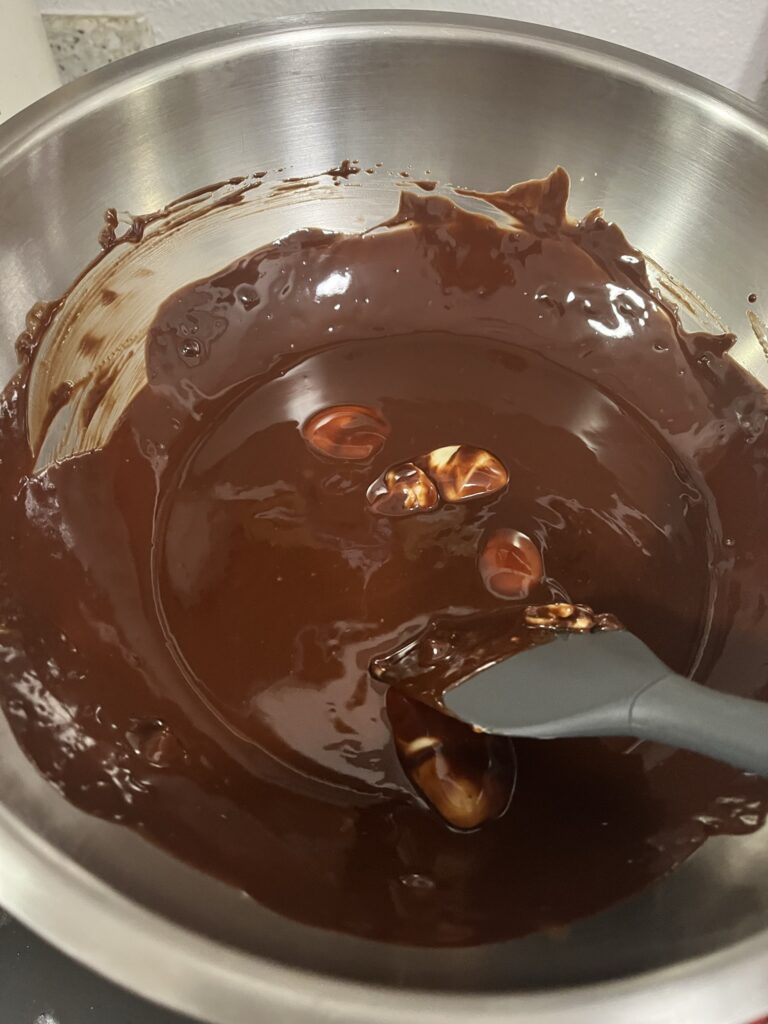
  • In the microwave or over a double-boiler, melt butter and chocolate and mix together. If using a microwave, microwave in 15 second increments and stir in between to ensure nothing burns. Once completely mixed, set aside to cool.
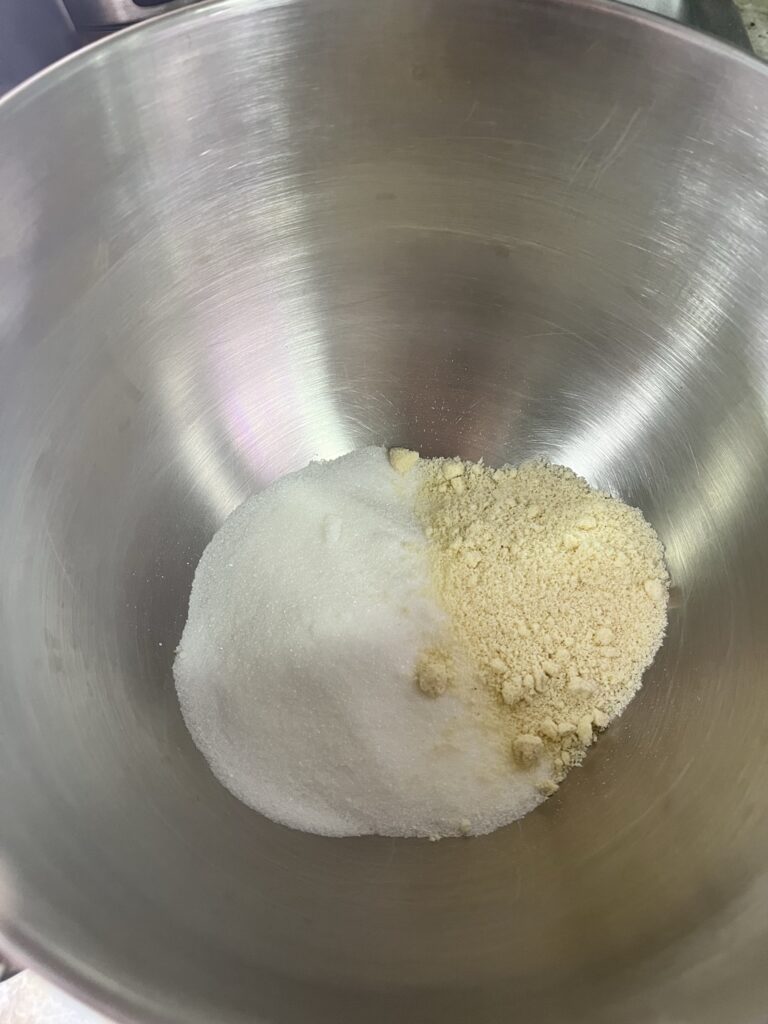
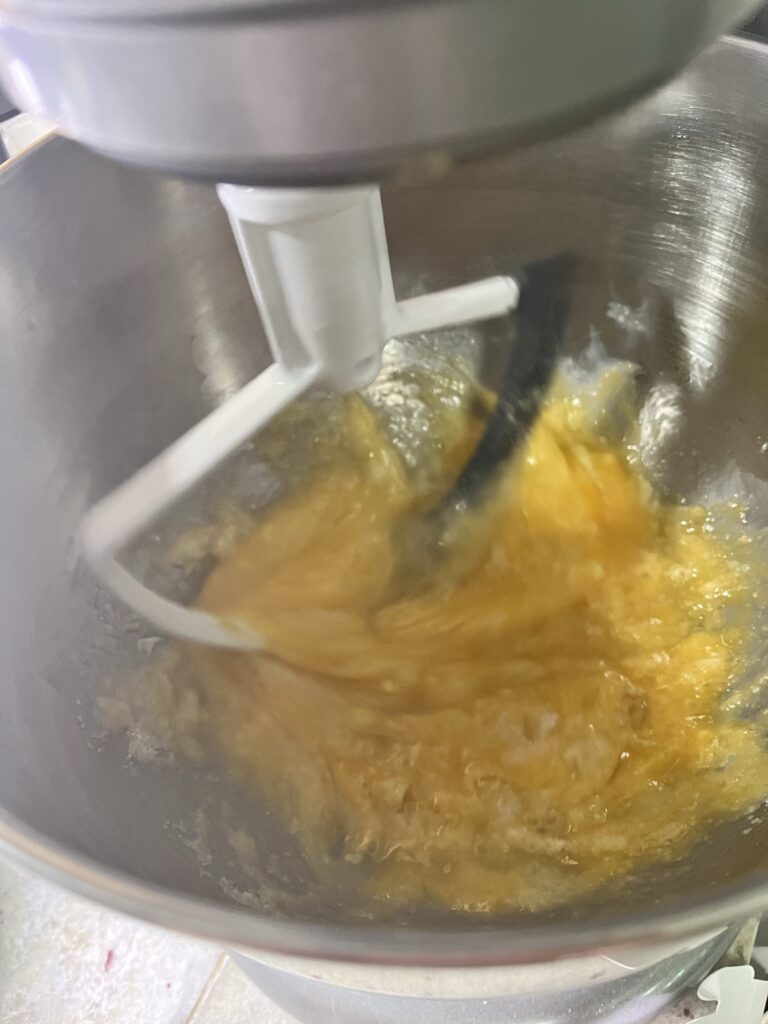
  • In a separate bowl, mix together almond flour, sugar, eggs, and salt.
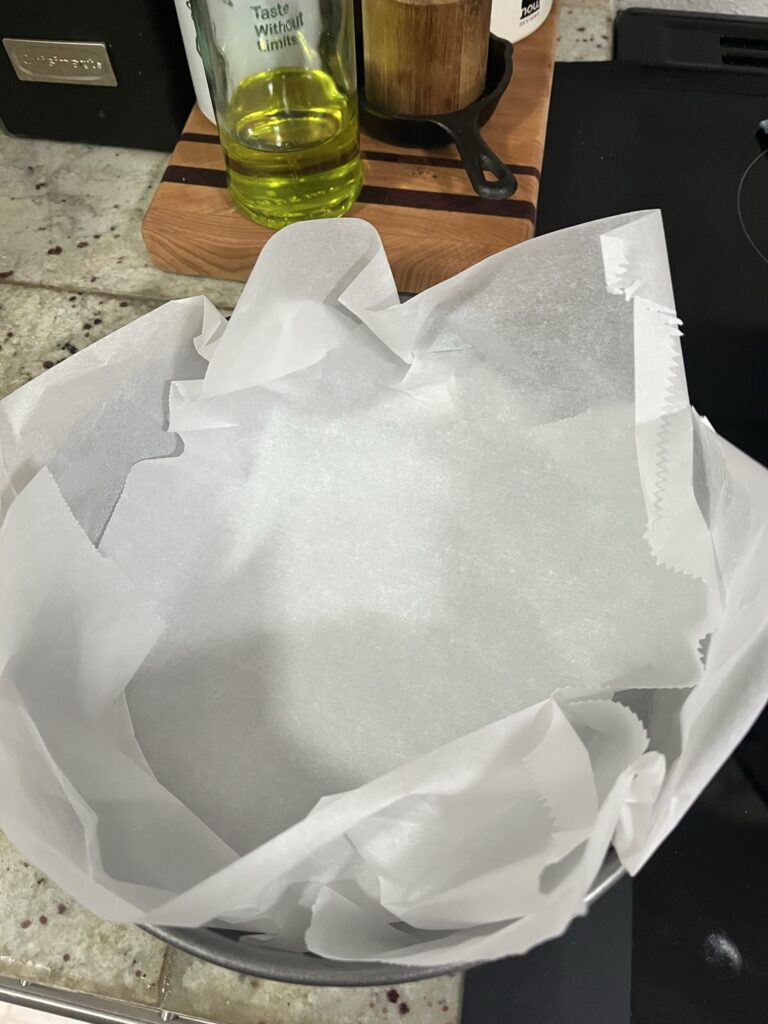
  • While waiting for chocolate and butter to cool, line your springform pan with parchment paper to ensure that none of the batter leaks out of the pan.
  • Mix the chocolate/butter mixture into the almond/sugar mixture.
  • Pour into parchment lined pan and bake at 400F on a middle rack for 20-25 minutes until toothpick comes out clean.
  • Optional – dust the top of the torte with powdered sugar before serving. for even more richness, serve alongside a scoop of vanilla ice cream with chocolate syrup drizzled on top.

Try another baked good like Bread Pudding or Chocolate Chip Walnut Cookies

Strawberry Rhubarb Basque Cheesecake

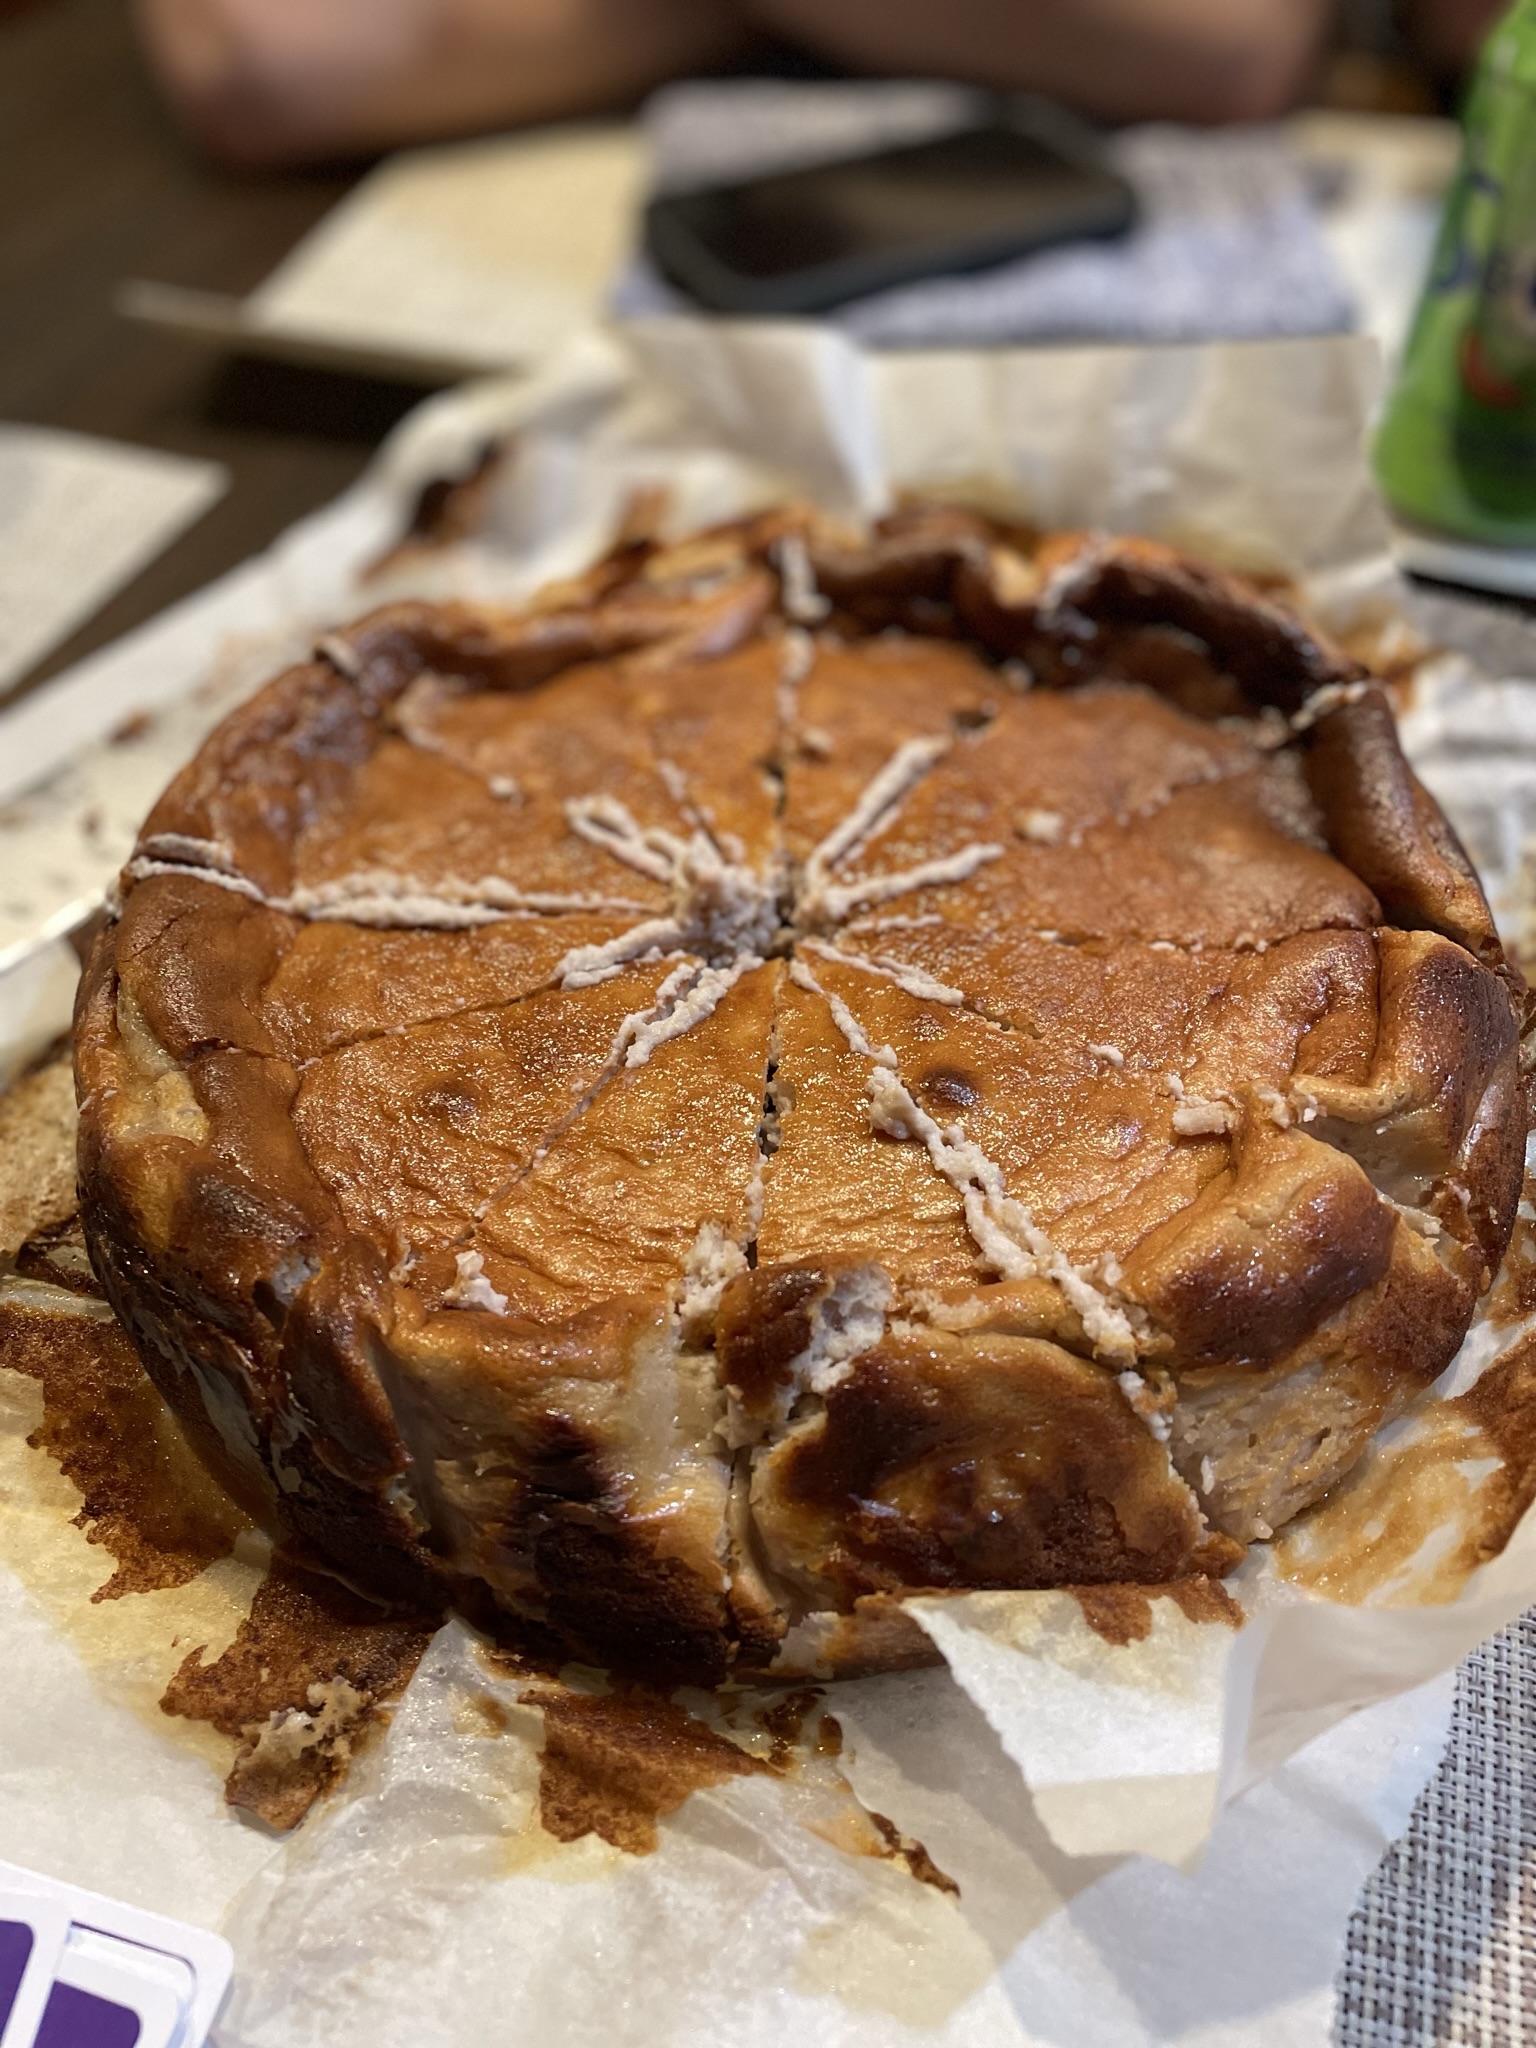
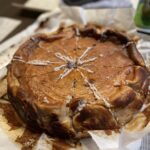
The sourdough has been tucked away for the summer but that doesn’t mean that there isn’t any baking happening. I love a cheesecake for a summer dessert, especially a minimal fuss basque-style cheesecake. The oven can go on in advance of an event, the basque cheesecake can sit in the fridge for a couple days, and it can be taken out to get to room temperature before serving (and to make fridge space if hosting). Basque cheesecakes are lighter and fluffier than their New York style sister, don’t have any graham cracker crusting, and end up with a caramelized exterior.

Ingredients:

Strawberry Rhubarb Jam – from Strawberry Rhubarb Jam, feel free to substitute with other jams you may have

Eggs – These give the cheesecake the fluffy texture and rise in the oven.

Strawberry Rhubarb Basque Cheesecake

Print Recipe
A summery cheesecake that mixes together easily in one bowl.
Course Dessert
Keyword cheesecake, rhubarb, strawberry
Cook Time 1 hour

Equipment

  • 1 12" springform pan
  • parchment paper

Ingredients

  • 1.5 lbs cream cheese room temp
  • 1 cup sugar
  • 1 cup strawberry rhubarb jam
  • 2 cups heavy cream
  • 6 eggs
  • 1 tsp salt
  • 1/3 cup all-purpose flour

Instructions

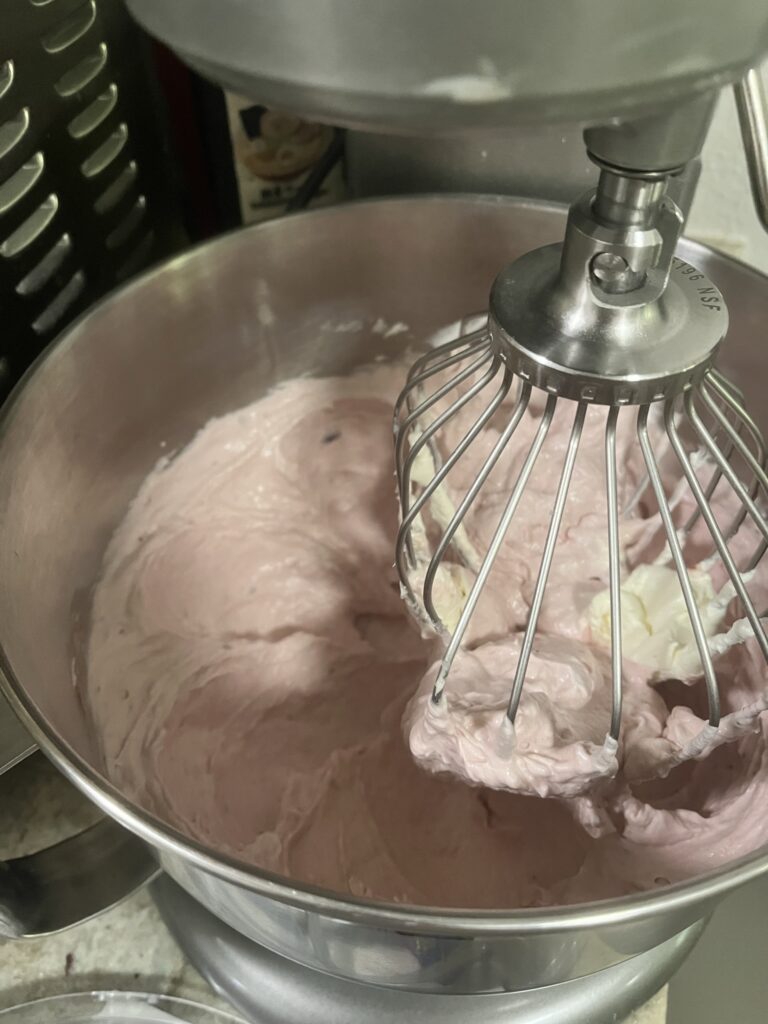
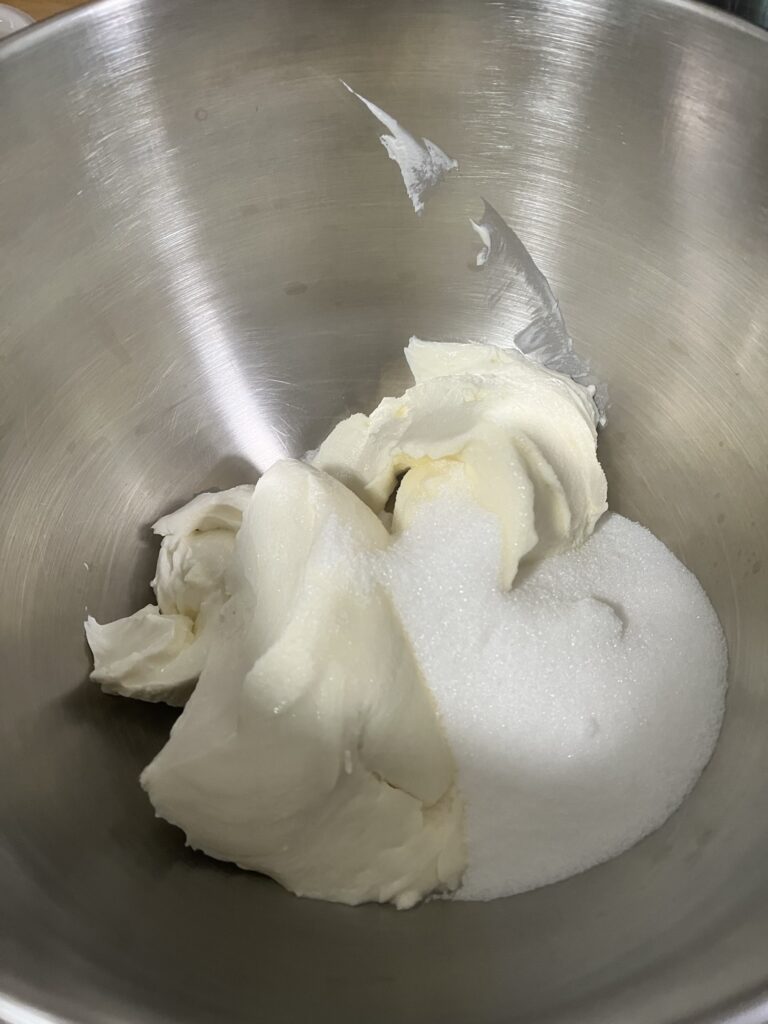
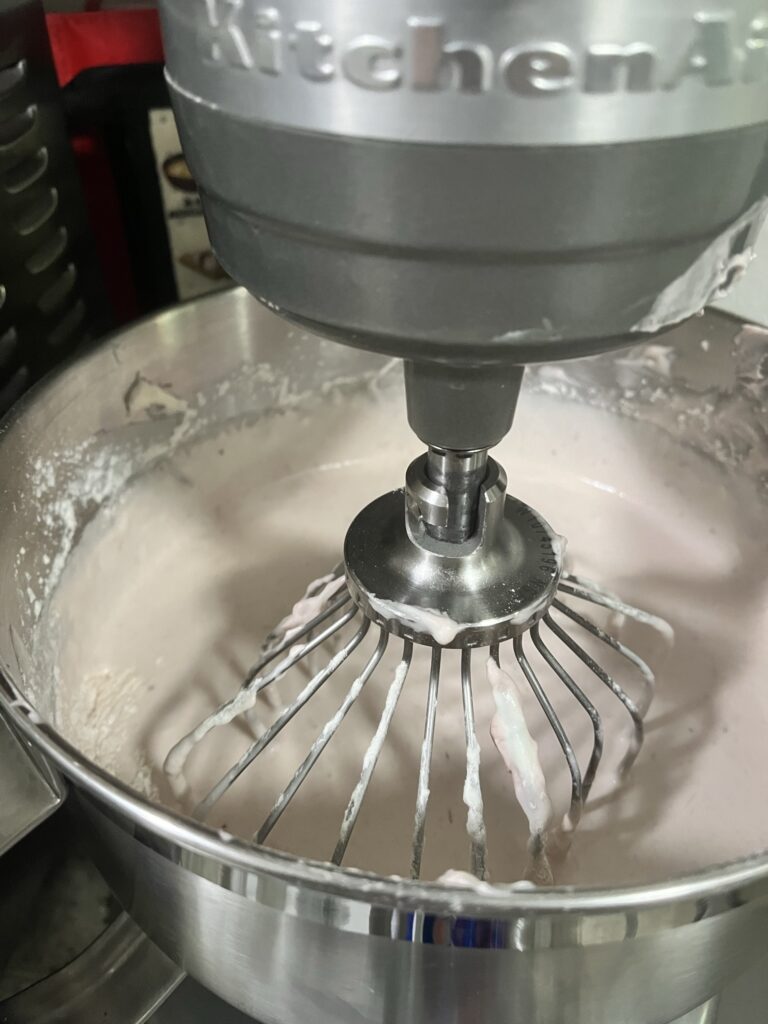
  • Add cream cheese and sugar to a stand mixer and beat with the whisk or paddle attachment until smooth. Stop and wipe down the bowl and beaters as necessary.
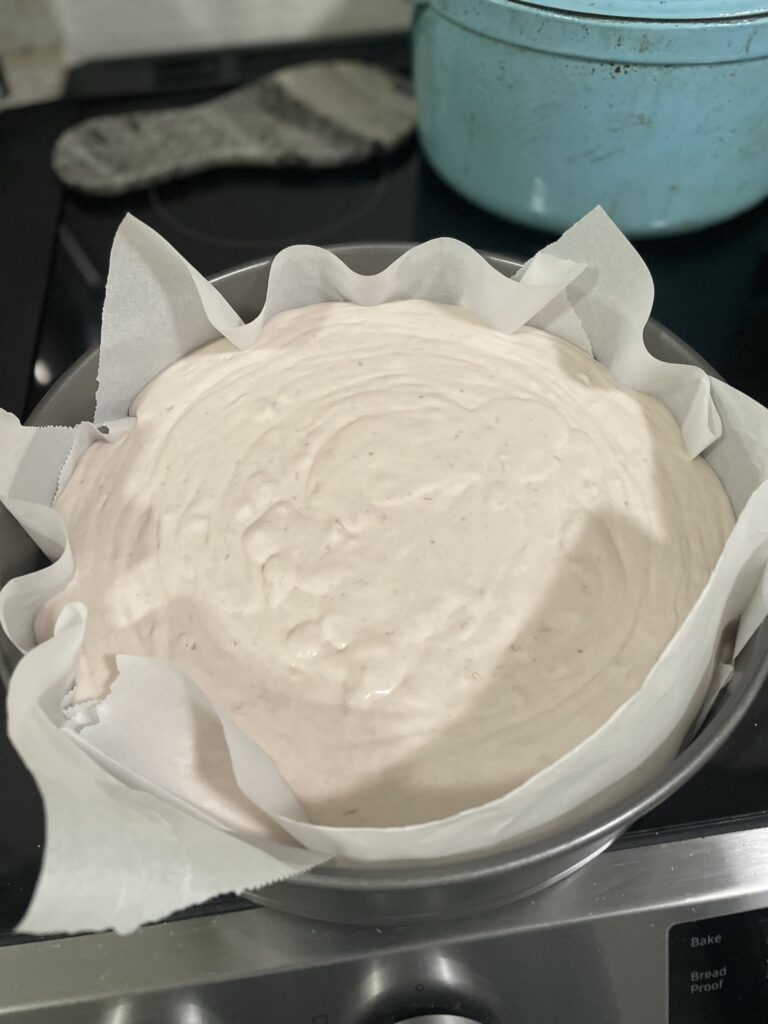
  • While this is mixing together, line the springform pan with parchment paper to cover the entirety of the bottom and the sides. Some may protrude over the top of the pan, but that's ok! If you don't like the look, trim the top. The folds in the parchment will give the cheesecake extra texture on its caramelized sides.
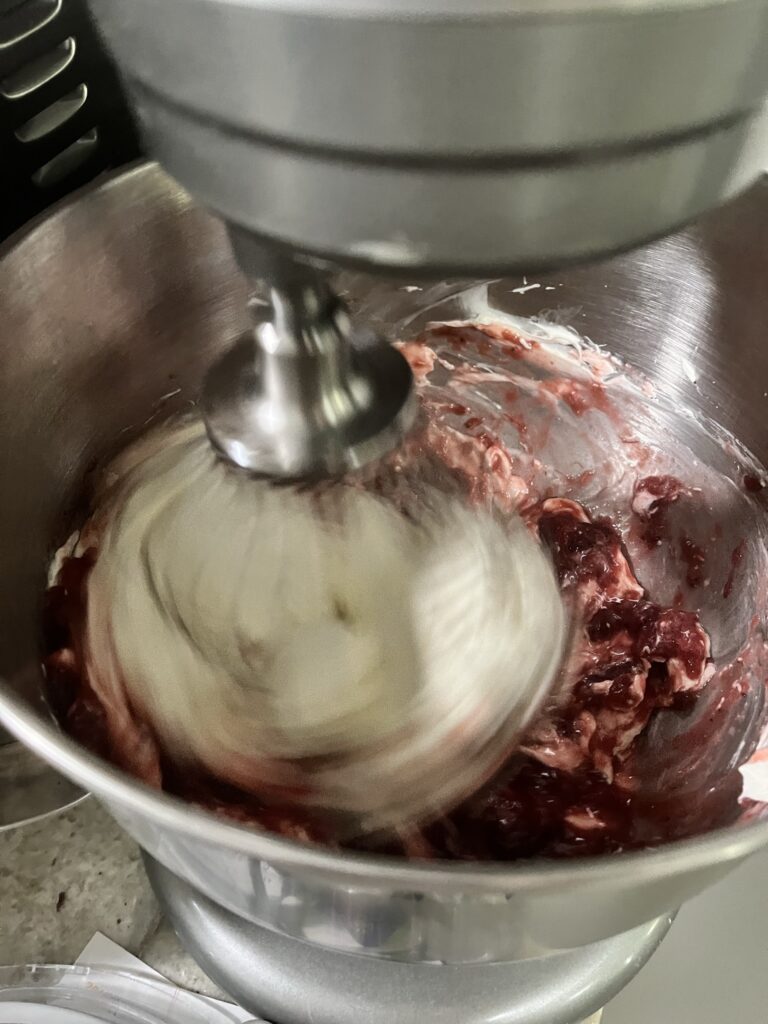
  • Add jam to mixer and continue mixing. Stop and wipe down the bowl and beaters as necessary.
  • While mixer is still on, add eggs one at a time. Wait until each egg is fully incorporated before adding the next. Stop and wipe down the bowl and beaters as necessary.
  • Mix salt into heavy cream and pour into the mixer. Stop and wipe down the bowl and beaters as necessary.
  • Add flour and only mix about 10 seconds.
  • Turn off mixing, and gently mix about 5-10 additional stirs until flour is completely mixed.
  • Pour batter into parchment lined springform pan, tent with foil, and bake at 400F for ~40 minutes. Bake uncovered additional ~20 minutes until browned on top.
  • Remove from oven after 60 minutes. Cheesecake will have risen and look very jiggly. It will set as it cools, deflating in the center.
  • Allow to come to room temp before removing from springform pan and serving.

Try another cheesecake: Pumpkin Basque Burnt Cheesecake or another jam: Blueberry Rhubarb Jam

Puff Pastry Danish
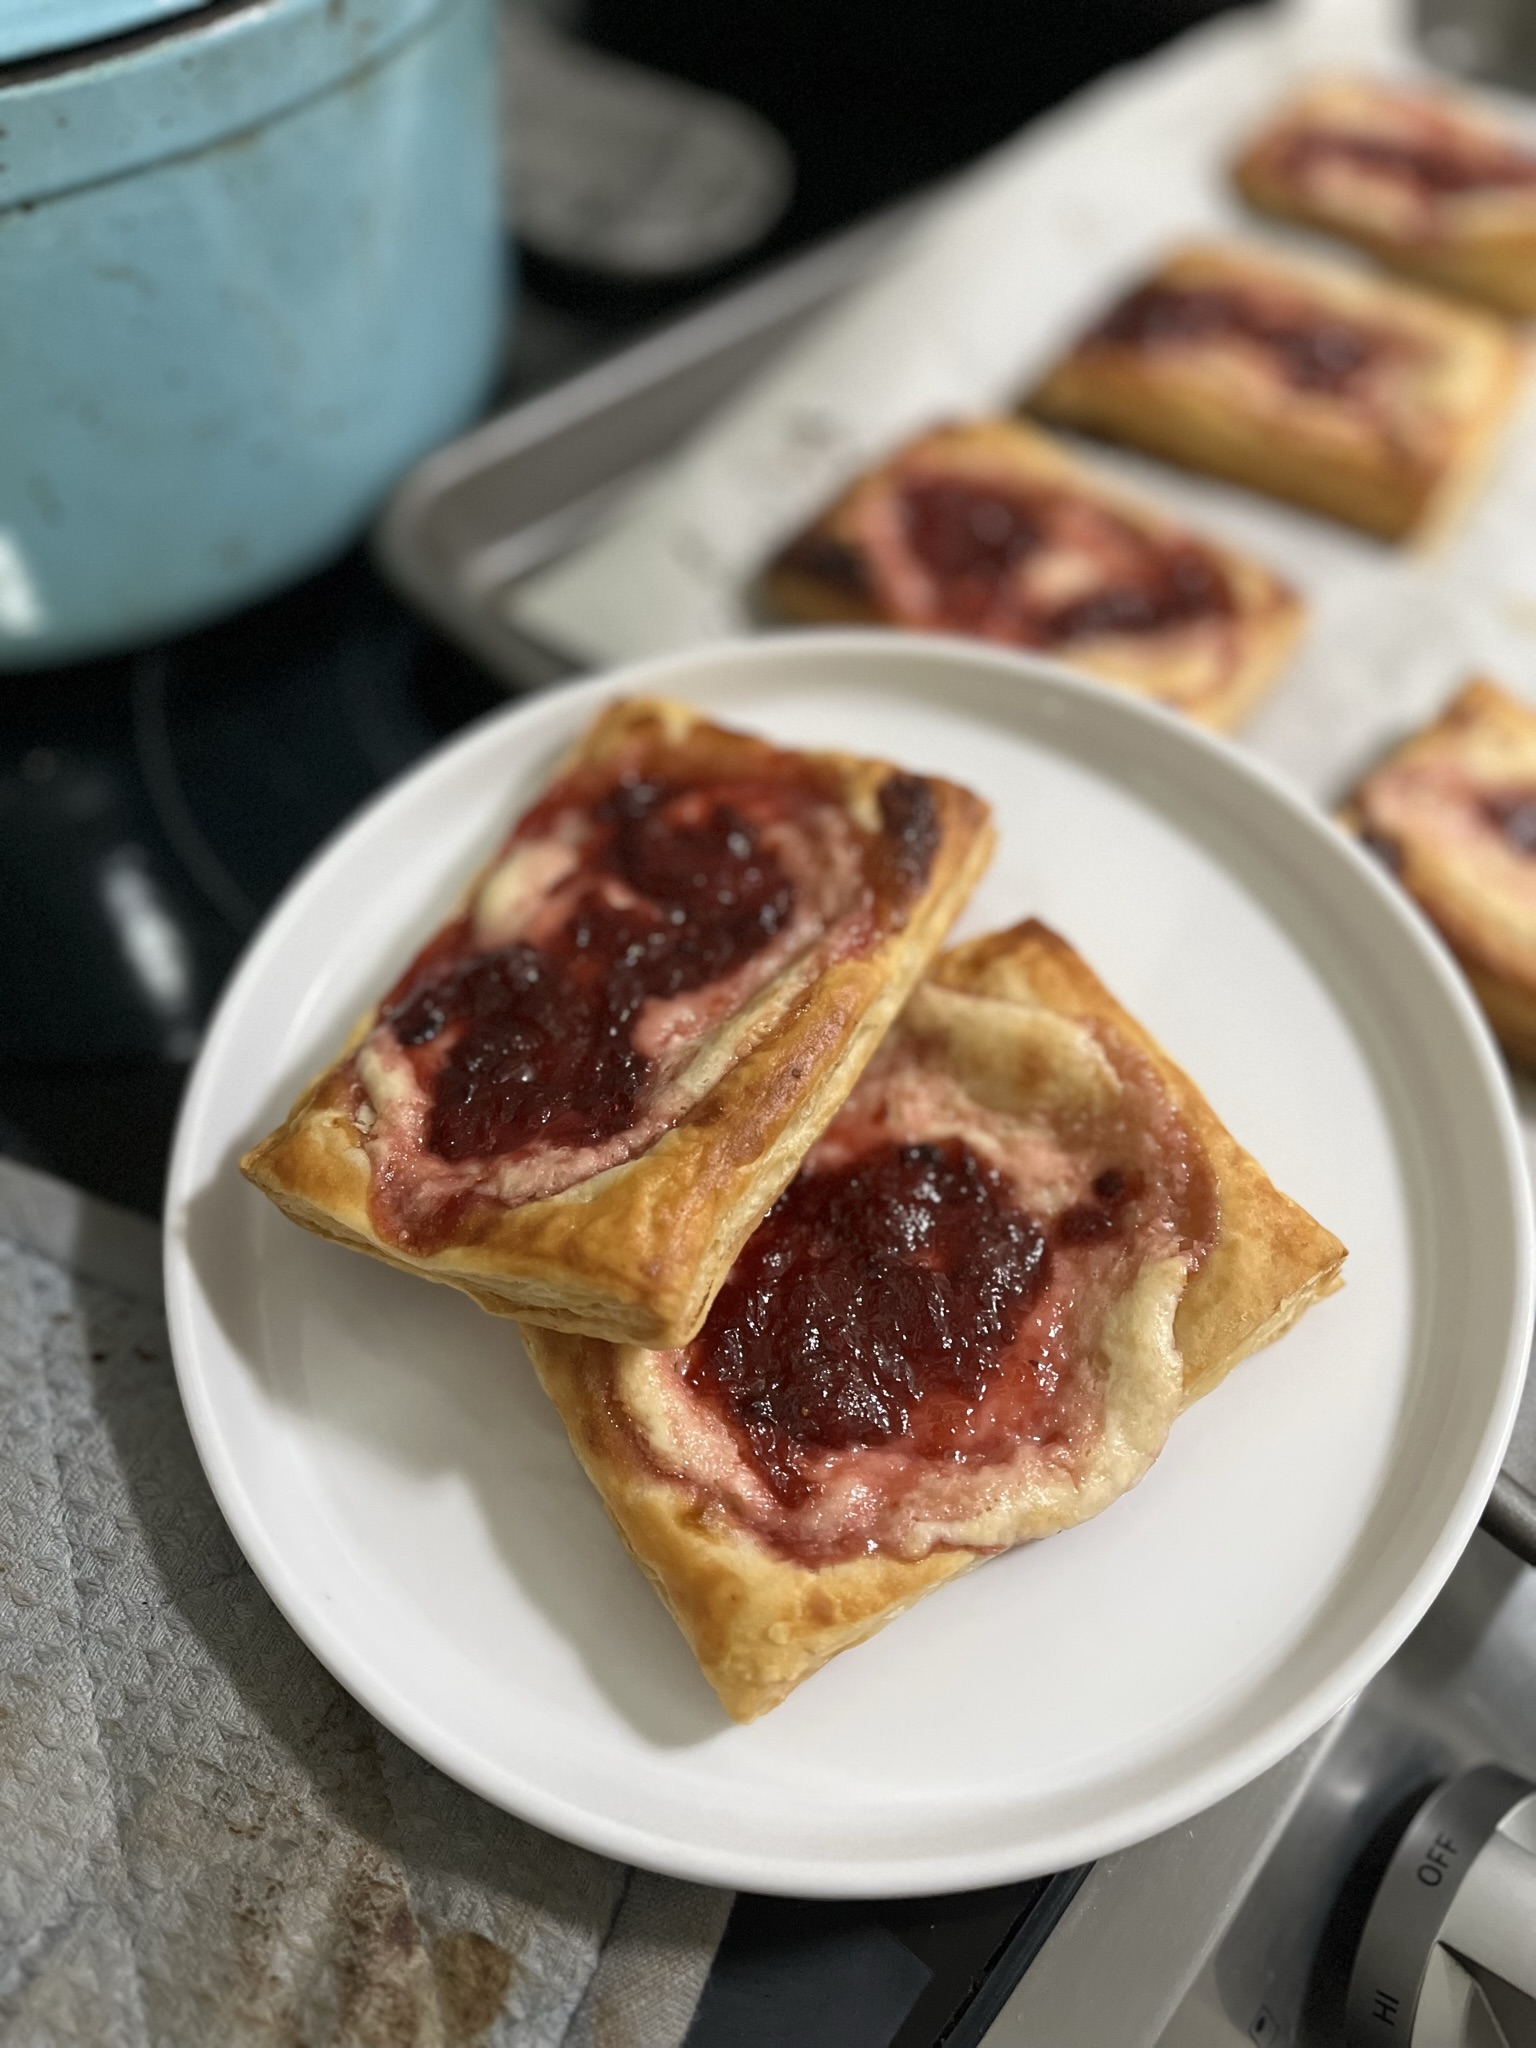
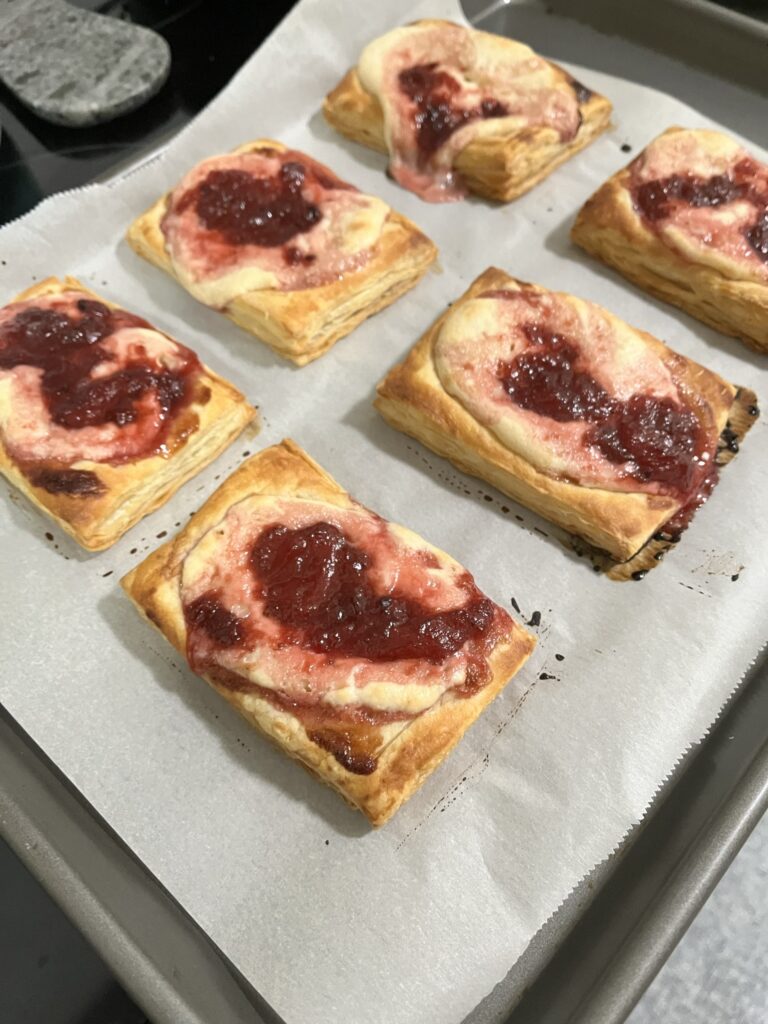
After visiting a bakery that had such amazing pastries, I was craving some fresh, buttery, flaky pastries at home. I still had puff pastry leftover from making Asparagus Puff Pastry Twists, so I figured I would use the rest to make puff pastry danish. Danish pastries typically use a yeasted laminated dough to give it extra springy layers, but frozen puff pastry is so much more accessible!

Most sweet Danishes I’ve encountered are typically just cheese or a cheese topped with some fruits. I love the creamy fruity mix, but feel free to opt out of the fruit if that doesn’t interest you.

Ingredients

Puff pastry – any store bought works great, but be sure to defrost your sheet of puff pastry in the refrigerator overnight to ensure it’s easier to work with

Fruit – I used my Strawberry Rhubarb Jam to top this off, but you can use pieces of fresh fruit or any other fruit jam or preserve you have your hands on. I think some fig jam or strawberry preserves would be divine.

Puff Pastry Danish
Print Recipe
Quick & easy at home fruit & cheese danish for a satisfying home-baked pastry
Course Breakfast, Dessert, Snack
Keyword danish, puff pastry
Cook Time 15 minutes

Ingredients

  • 1 sheet puff pastry
  • 4 ounces cream cheese softened
  • 2 tbsp sugar
  • pinch salt
  • 1 tsp vanilla
  • 1/3 cup fruit jam/preserves optional
  • 1 tbsp heavy cream
  • 1 egg

Instructions

  • Preheat the oven to 400F
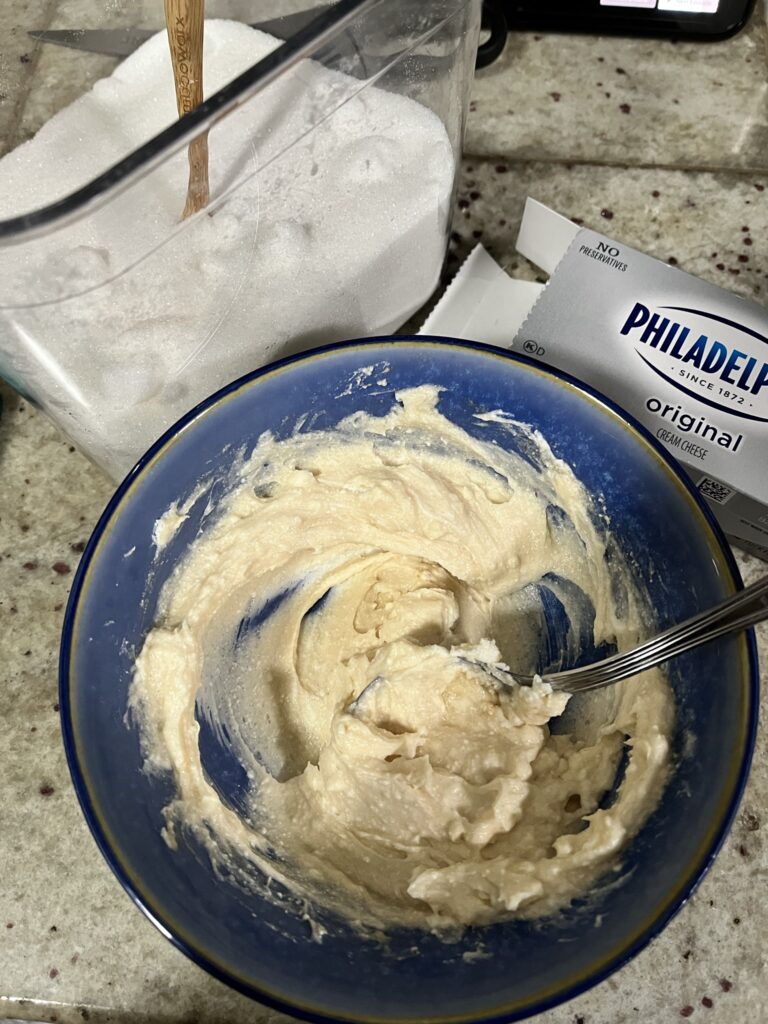
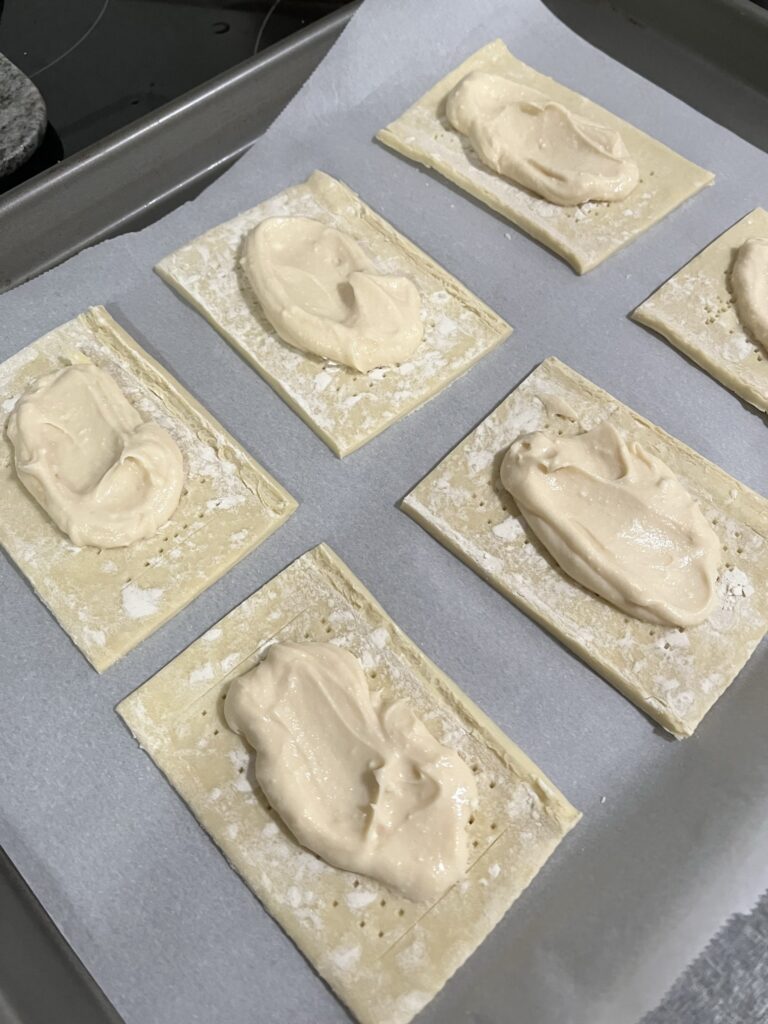
  • Make your cheese mix by mixing cream cheese with sugar, salt, and vanilla. Set aside.
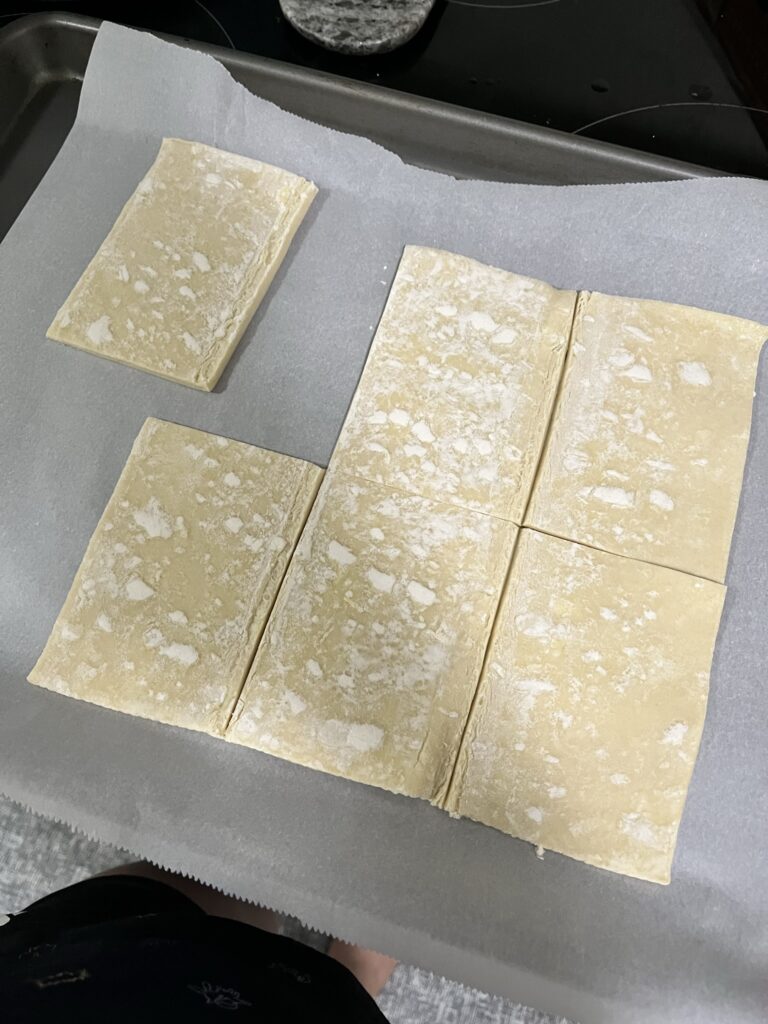
  • Unroll your puff pastry from the packaging and lay flat.
  • Cut into 6 even pieces.
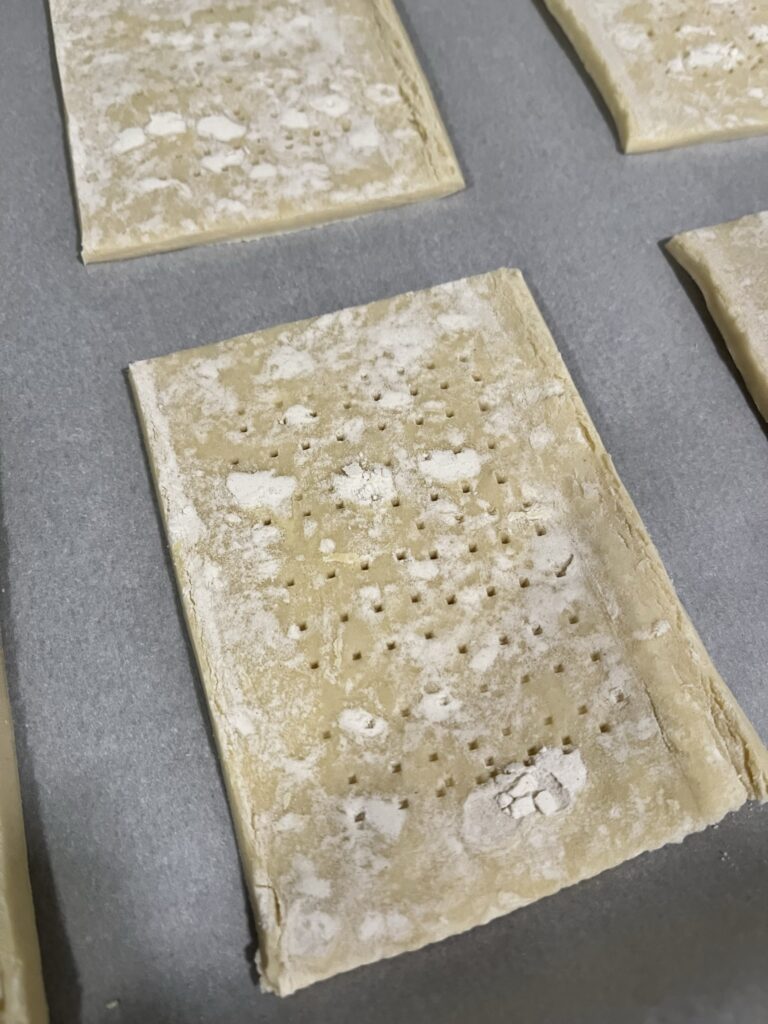
  • Using a fork, stab the center area of each plank of puff pastry to prevent the center filling area to puff too much and risk your filling oozing out.
  • Divide cheese filling among 6 puff pastry planks. Leave about a 1/2 inch border along each puff plank.
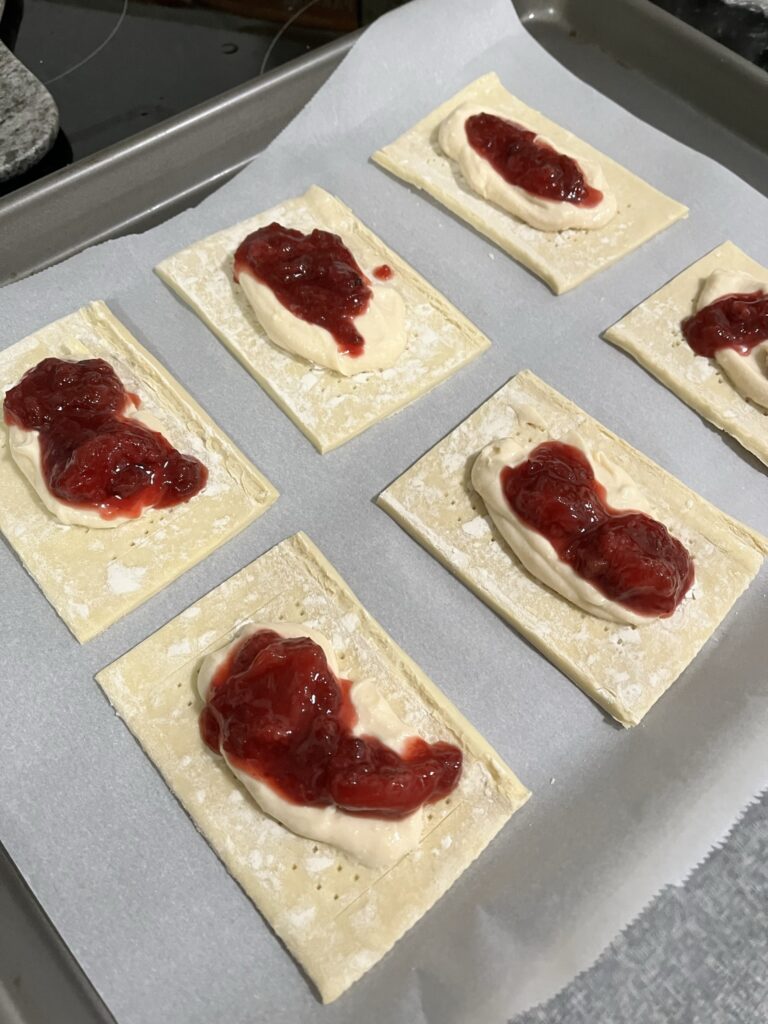
  • Top the cheese with~1 tbsp of fruit jam/preserves.
  • Brush the edges of the puff with heavy cream to help browning, egg for shine, or a mix of both for browning and shine.
  • Bake for about ~15 minutes, until puffed on the edges and golden brown.
  • Allow to cool for about 10 minutes and enjoy!

More baking? Try Blackberry Rhubarb Muffins or Chocolate Chip Walnut Cookies

Raspberries & Salted Cream

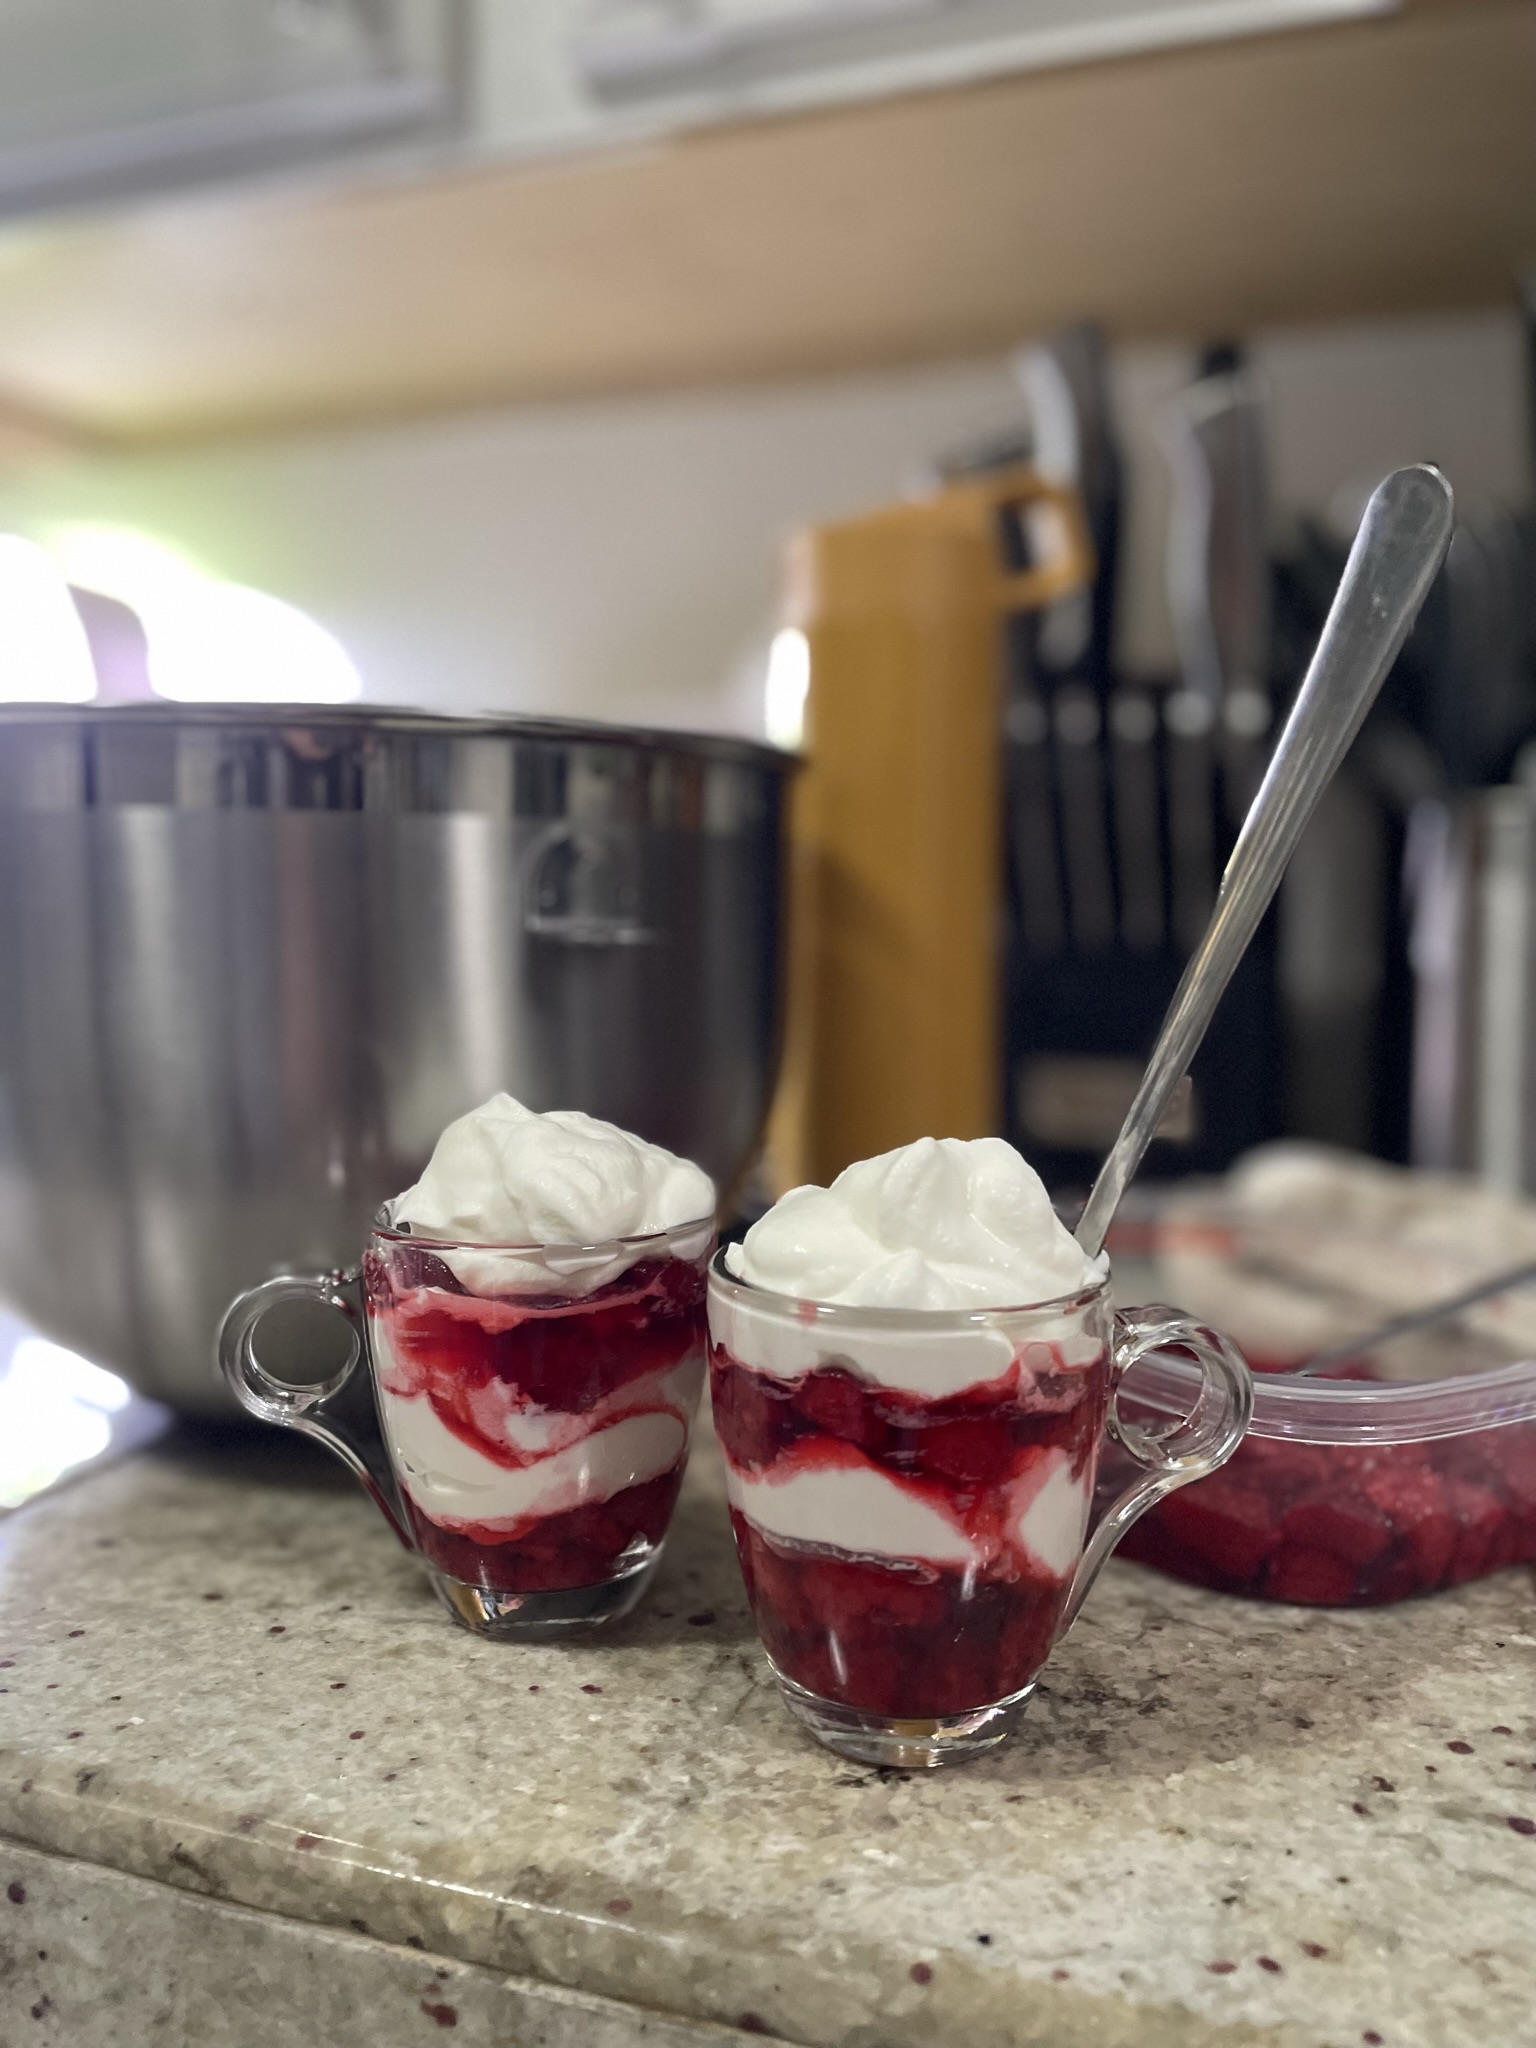
A simple, week-night fancy dessert that comes together so quick but is so satisfying and beautiful. The winter has been feeling long and I’ve been missing the time of summer fruits and berries. This was made with frozen raspberries and was just as delightful as fresh fruit! One bite and I was thinking summer.

I like making my cream a little salty to balance the sweet and tart berries. Adjust the salt to your liking. This recipe would also be great with any other berries you might have sitting around.

Raspberries & Salted Cream

Print Recipe
A week-night fancy kind of dessert that can be made with fresh or frozen berries.
Course Dessert
Keyword raspberries, whipped cream

Ingredients

Raspberries

  • 2 cups thawed, previously frozen raspberries
  • 1 tbsp sugar
  • 1/4 tsp salt

Salted Cream

  • 1 cup heavy whipping cream
  • 1 tbsp sugar
  • 1/2 tsp salt

Instructions

  • Thaw and drain extra liquid from berries.
  • Add sugar and salt to berries. Mix and set aside in the refrigerator.
  • Mix cream with salt and sugar. Whip to desired whipped cream consistency. (I like soft peaks with this one!)
  • Layer berries & cream in a glass or plop it all in a bowl. I like a 1:1 ratio of berries to cream.

Want a different fruit dessert? Try Banana Bread or Apple Crumb Pie

Pumpkin Walnut Cake with Chocolate Hazelnut Spread

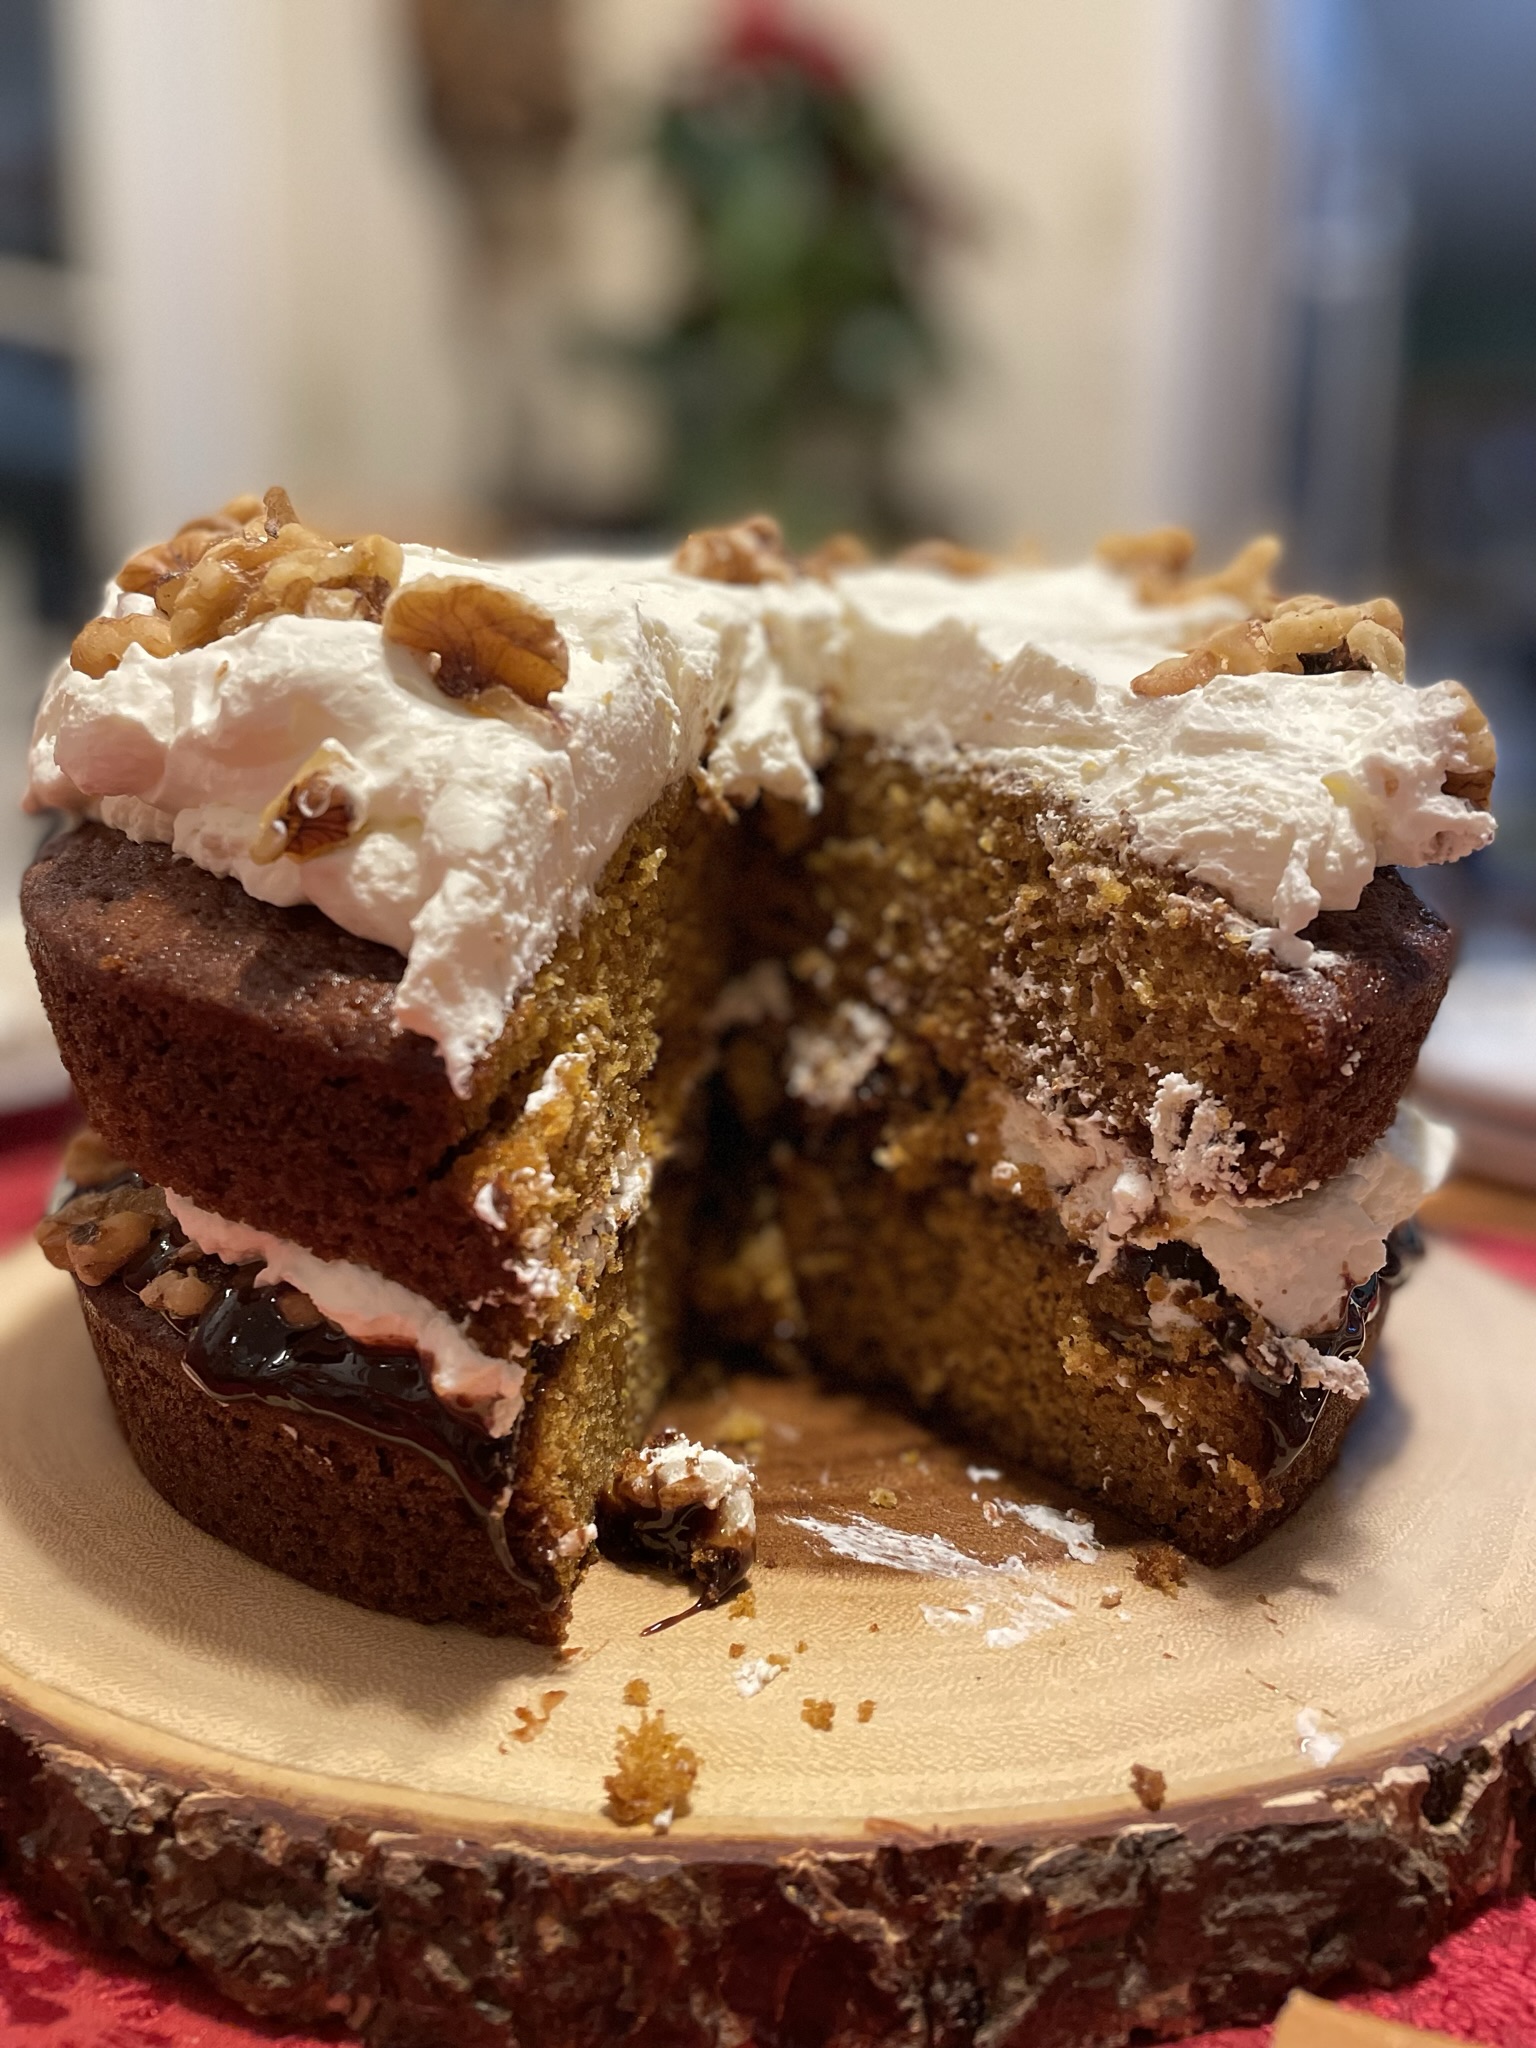
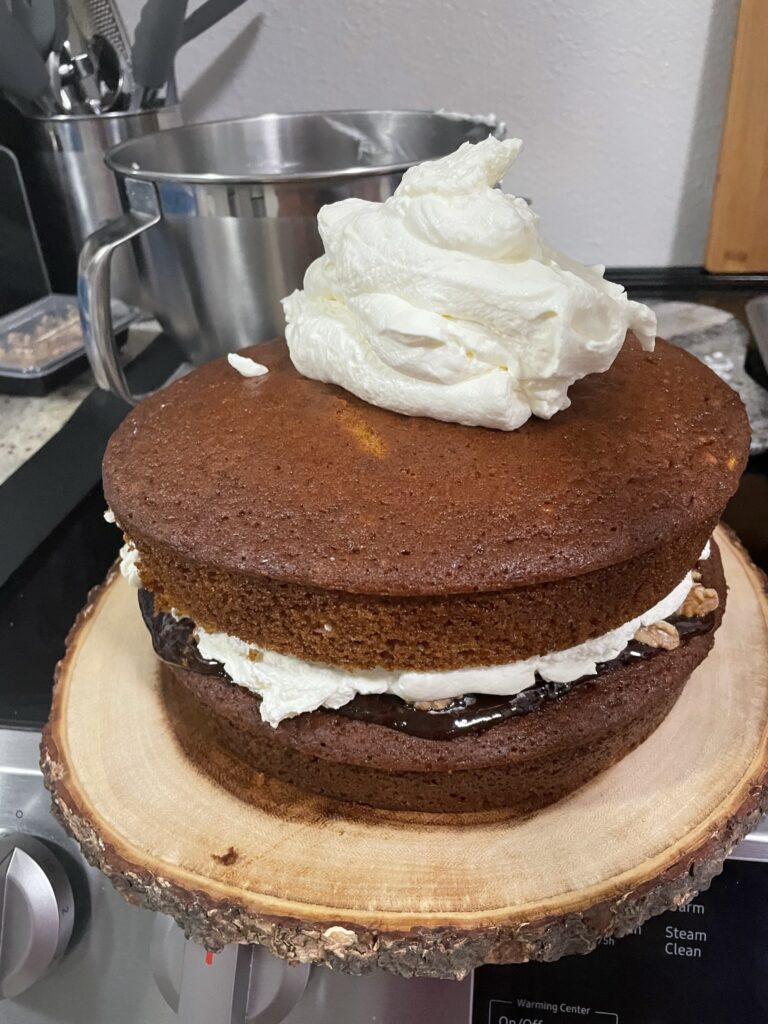
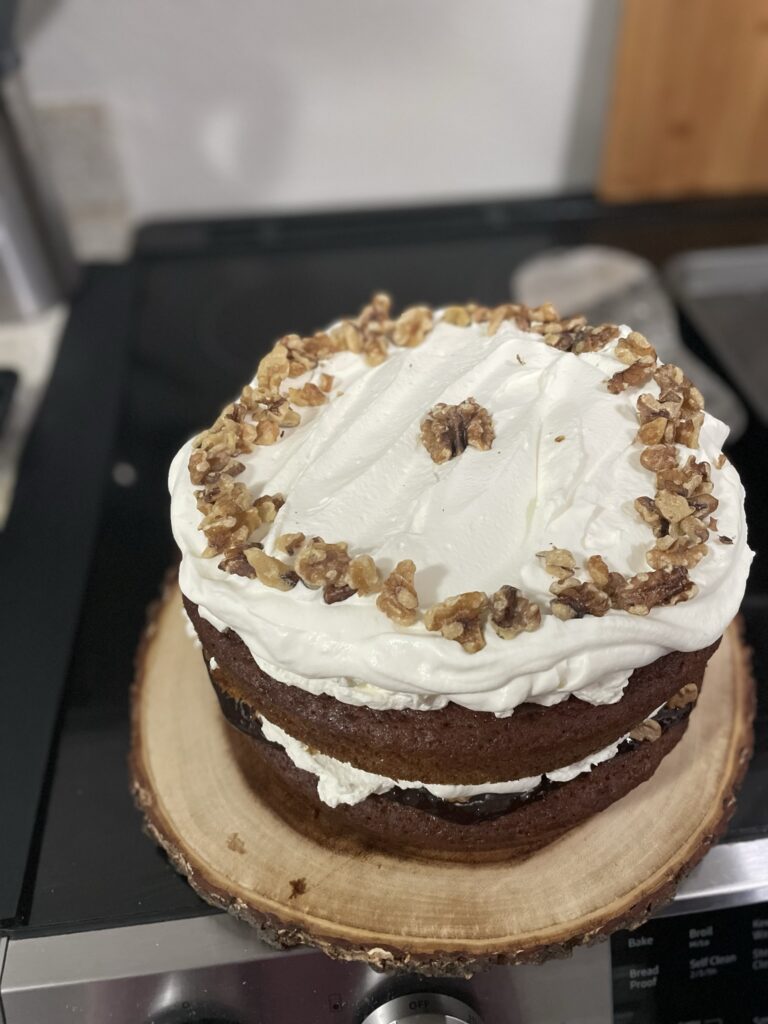
I’ve exhausted my pumpkin resources for the year, so this will (sadly) most likely be the last pumpkin recipe for a while. Might as well end it on something big and extravagant like a multi-layer pumpkin cake! There’s a restaurant near me that have serve absolutely massive cakes. Definitely something straight from Matilda. They’re two layers and just so impressive. Each cake layer has got to be at least 4 inches, so the cake with the frosting pushes a full foot in height. I don’t have the cake pans to make a cake 4 inches thick and 2 feet in diameter (and it’s probably a a good thing that I cannot make a cake that large, who would eat it all?). For a normal sized gathering, my cake is much more reasonably sized.

Ingredients

Pumpkin – I like using fresh pumpkin! You can make your own using my recipe, Homemade Pumpkin Puree.

Sugar – This cake is not too sweet, just enough!

Oil – I use vegetable oil in this recipe. It’s much easier to mix into a batter and makes a really moist batter. Also can I say it’s slightly healthier than butter?

Pumpkin Walnut Cake with Chocolate Hazelnut Spread

Print Recipe
A semi-fancy cake for any fall gathering.
Course Dessert
Keyword cake, chocolate, hazelnut, pumpkin, walnut

Equipment

  • 2 cake pans 10-inch

Ingredients

Cake

  • 3 eggs
  • 1 cup sugar
  • 1 cup brown sugar
  • 1 tsp salt
  • 1.5 cups oil
  • 2 cups pumpkin puree
  • 1 tbsp cinnamon
  • 1 tsp clove
  • 1 tsp nutmeg
  • 1 tsp ginger
  • 3.5 cups flour all-purpose
  • 3 tsp baking soda

Whipped Cream

  • 2 cups heavy cream
  • 1/4 tsp salt
  • 1 tbsp sugar

Other toppings

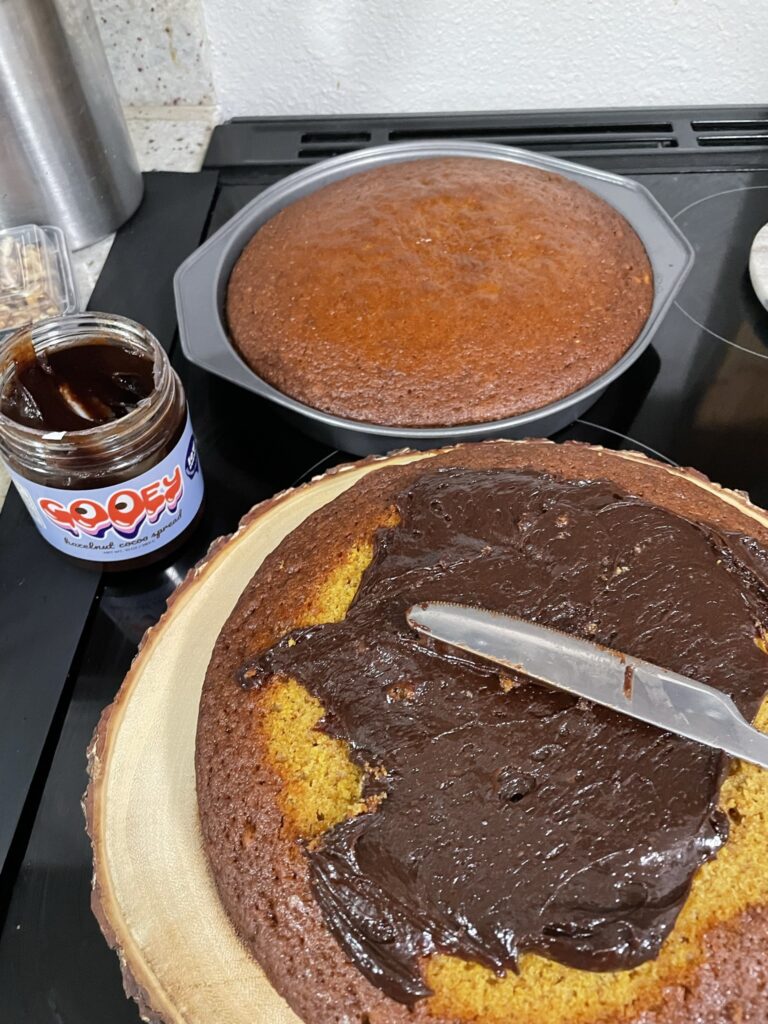
  • 1 cup hazelnut spread
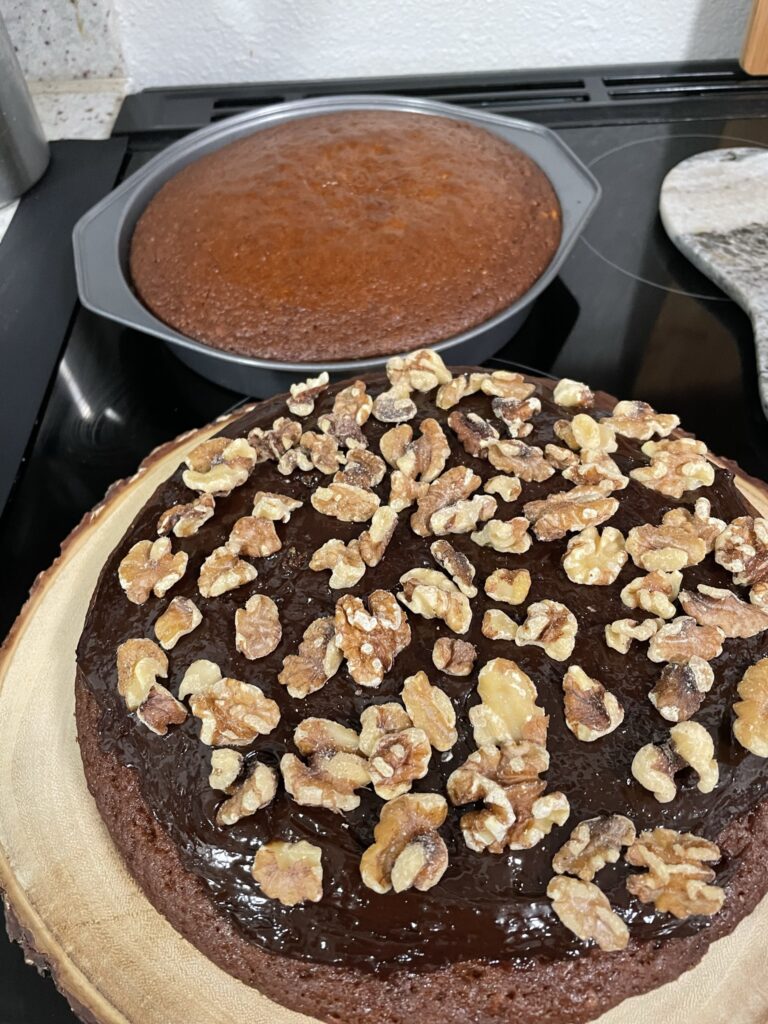
  • 1 cup walnuts toasted

Instructions

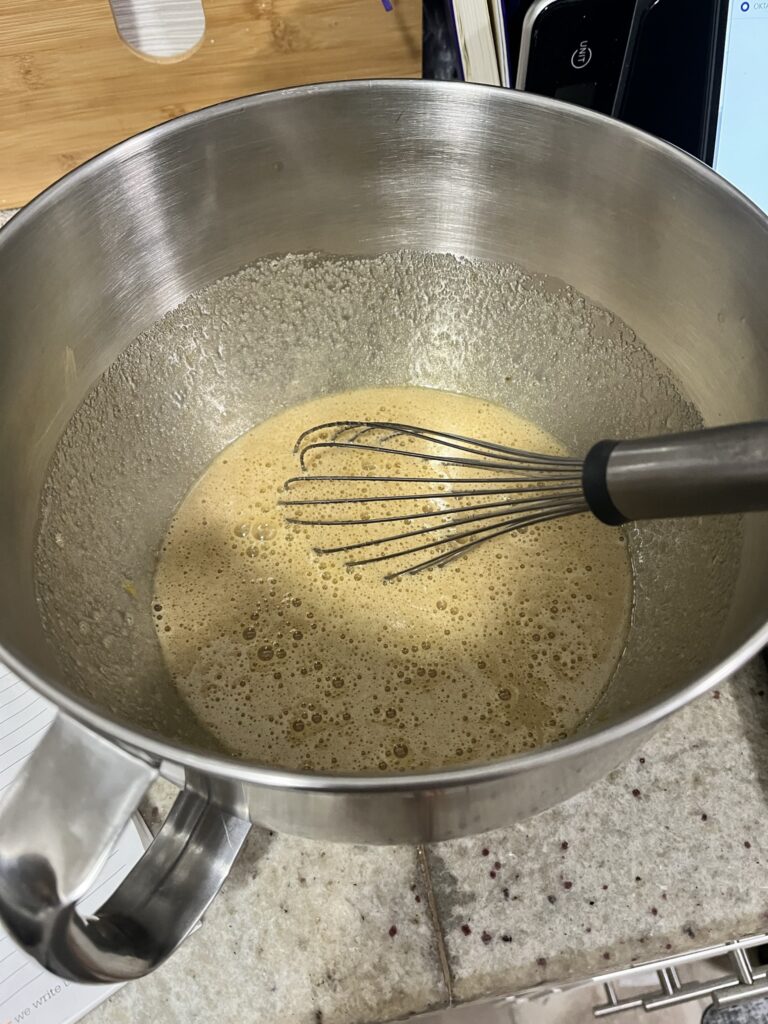
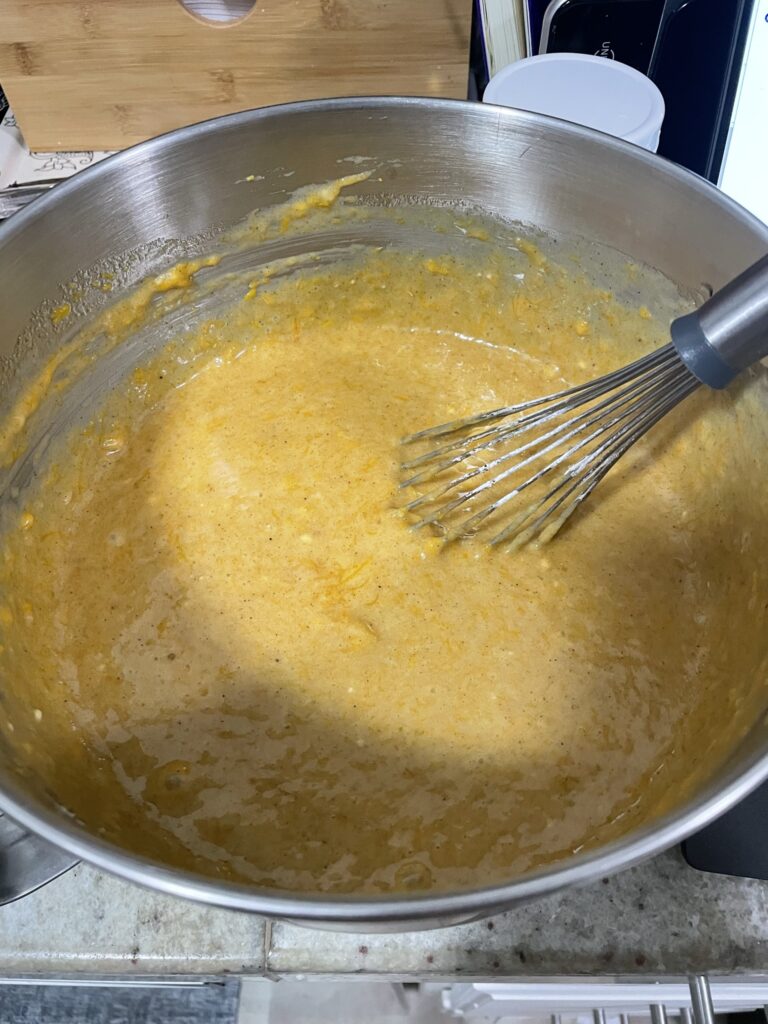
  • Mix together eggs, sugars, salt, oil, pumpkin and baking spices until well combined.
  • After no lumps remain, add all-purpose flour and baking powder, mixing until just combined.
  • Spray baking pans with non-stick spray and evenly distribute batter into pans.
  • Bake at 350F for ~45 minutes until a toothpick comes out clean.
  • If baking ahead, the cakes can be removed from the pans, wrapped in plastic, and then placed in the freezer for easier handling when it's time to assemble. Do not assemble the cake until the cake layers have been fully cooled.
  • To make the whipped cream, add the heavy cream, salt and sugar to a mixer or mix by hand until stiff peaks are achieved.
  • Assemble the cake in the following order:
    1st layer of cake, hazelnut spread, half of the toasted walnuts, half of the whipped cream, 2nd layer of cake, rest of the whipped cream, and rest of the walnuts
  • Keep refrigerated until time to serve.

Some other pumpkin recipes: Pumpkin Basque Burnt Cheesecake and Pumpkin Cheesecake Bars.