I think most people associate pumpkin with pumpkin spice, not necessarily pumpkin itself. This pumpkin pull-apart bread has the essence of real pumpkin with a hint of cinnamon. None of that pumpkin spice blend. This bread is super moist, but not too sweet. I like having it for breakfast with a cup of hot tea or for as a treat to reward myself for working out. Great for freezing for later too.
I like a recipe where you can make two loaves at once so that you can have one for yourself and another to gift to a friend!
Ingredients
Pumpkin – I used fresh pumpkin puree for this bread, but you can most definitely use canned.
Buttermilk – The buttermilk adds an extra richness and moistness to the bread, but you can also swap it with any milk alternative.
Spices – I only use cinnamon in this, but you can emphasize the pumpkin in this by using pumpkin pie spice instead.
Butter – If you don’t have time to let your butter soften, a good trick is to fill a glass with hot water, dump out the water, and then invert it over your sticks of butter. The steam and heat from the warmed glass will gently soften the butter without melting it.
Method
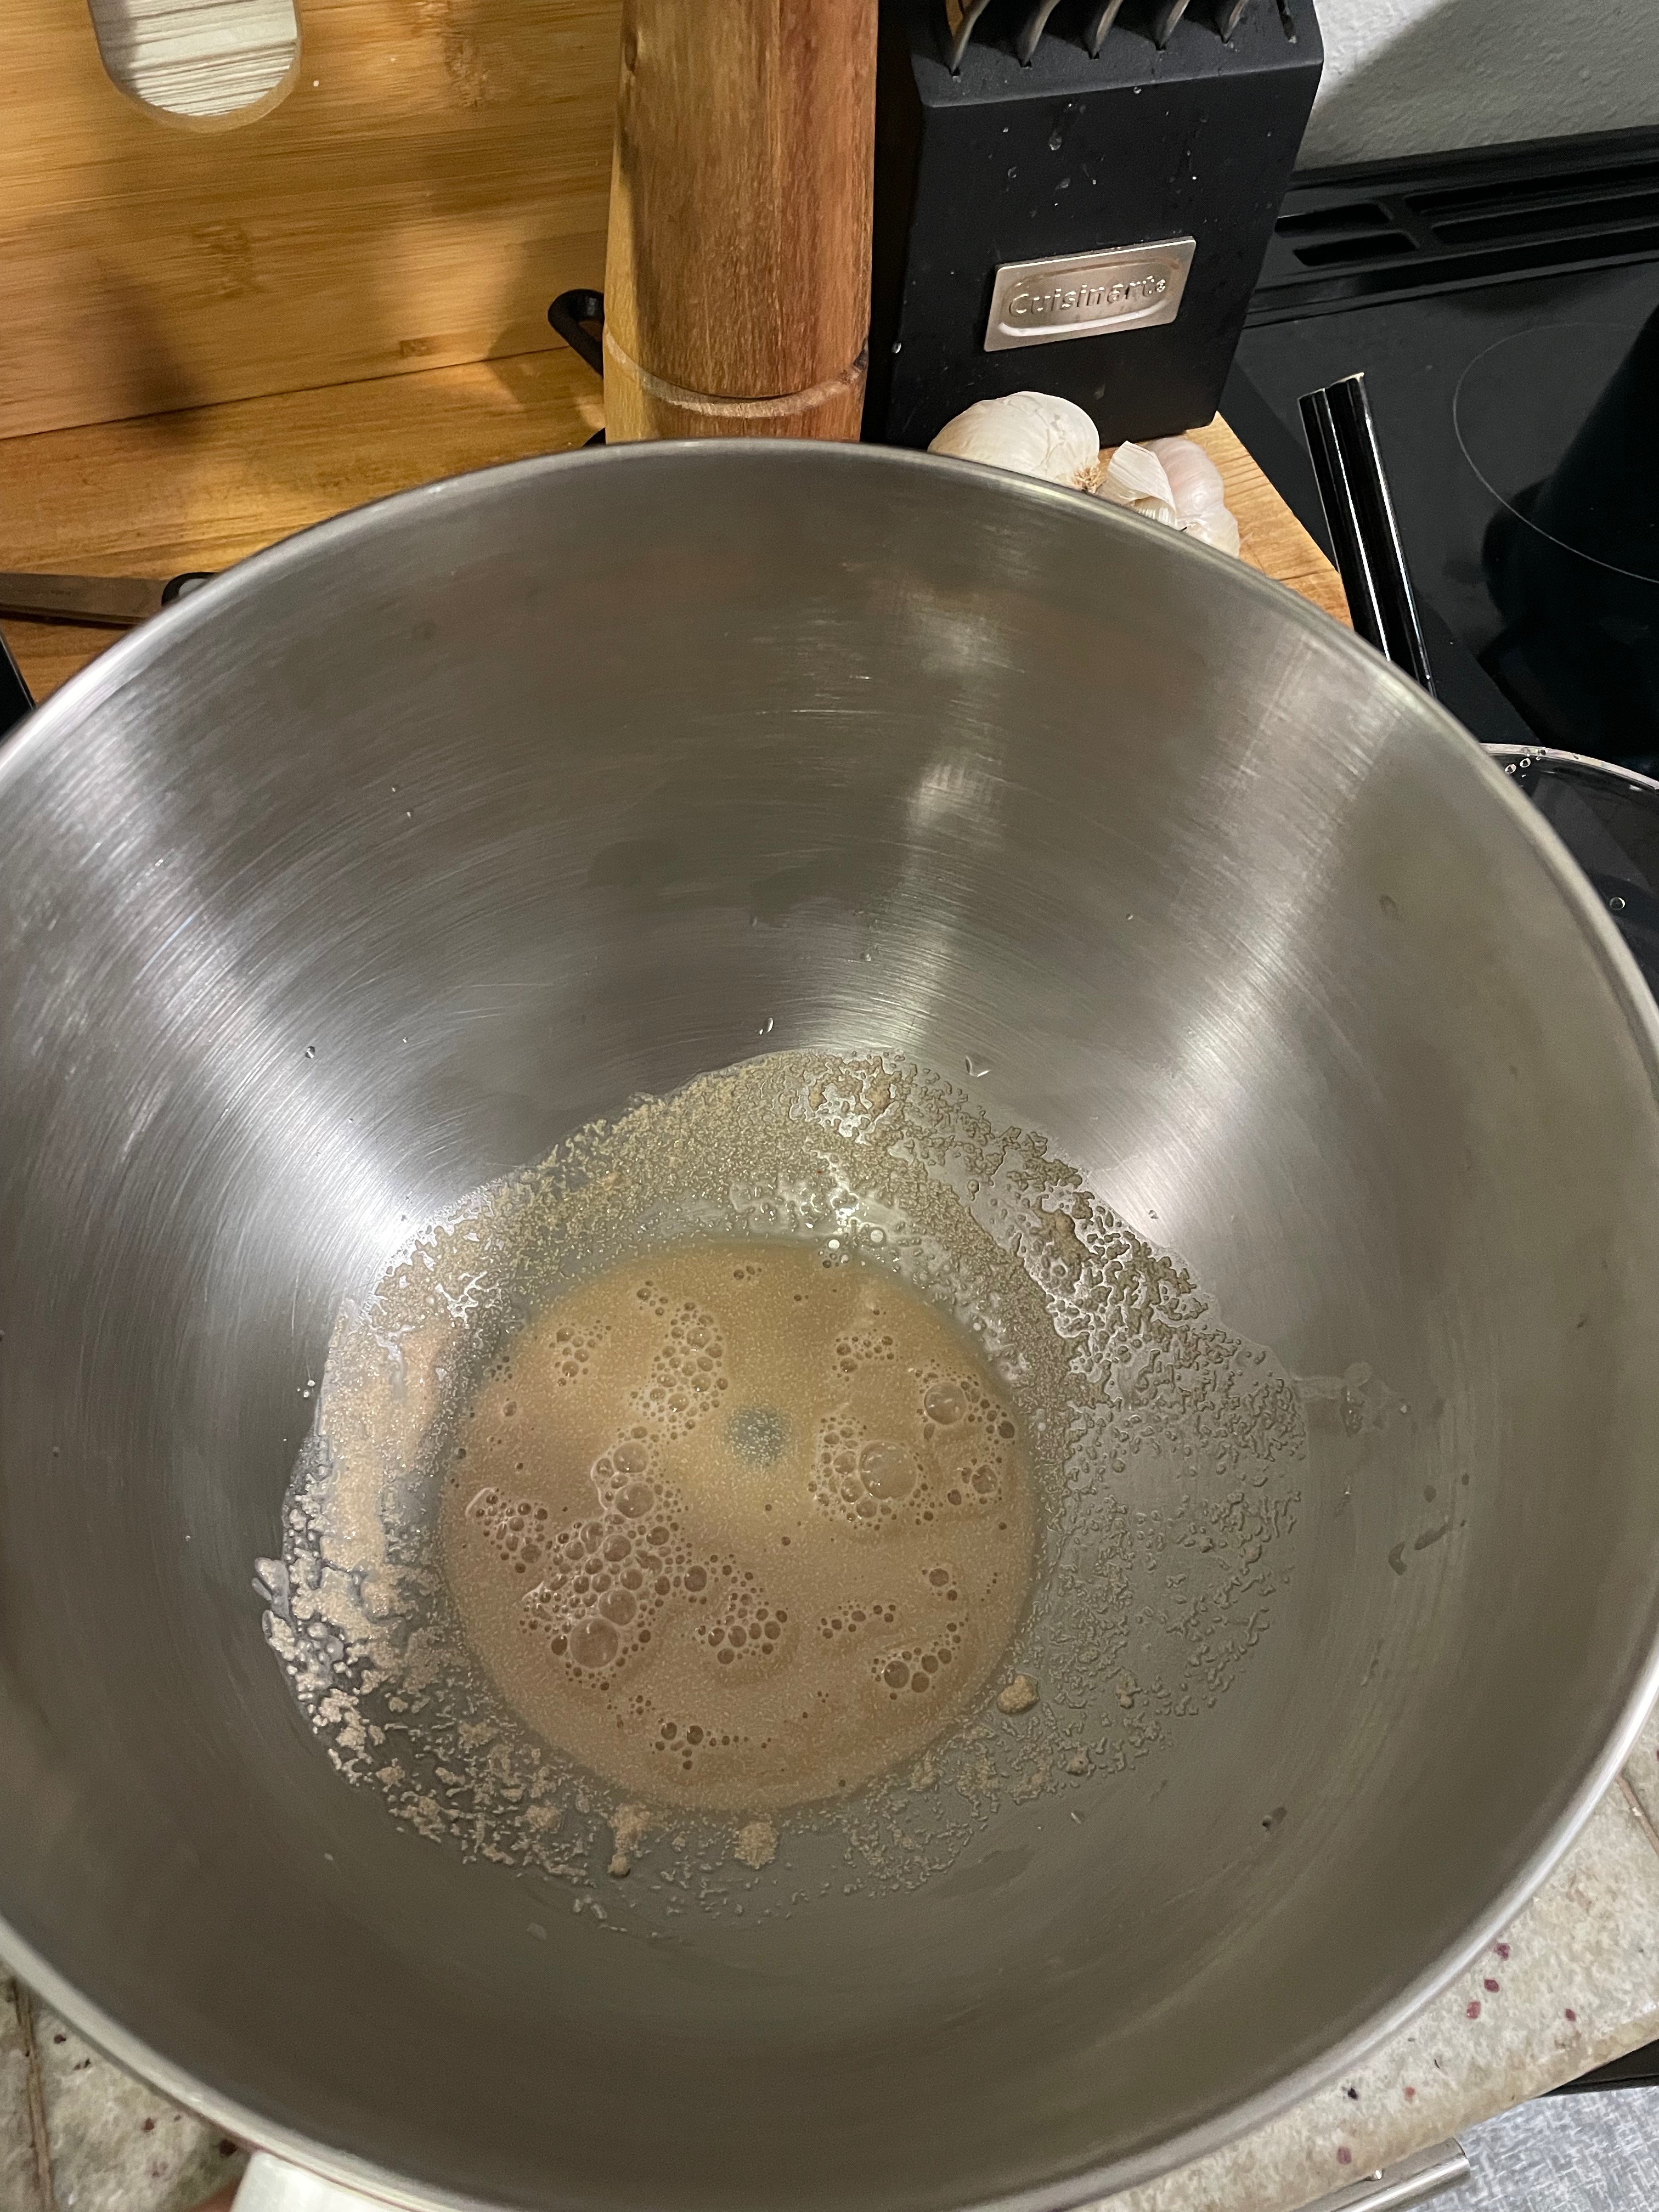
let that yeast get foamy 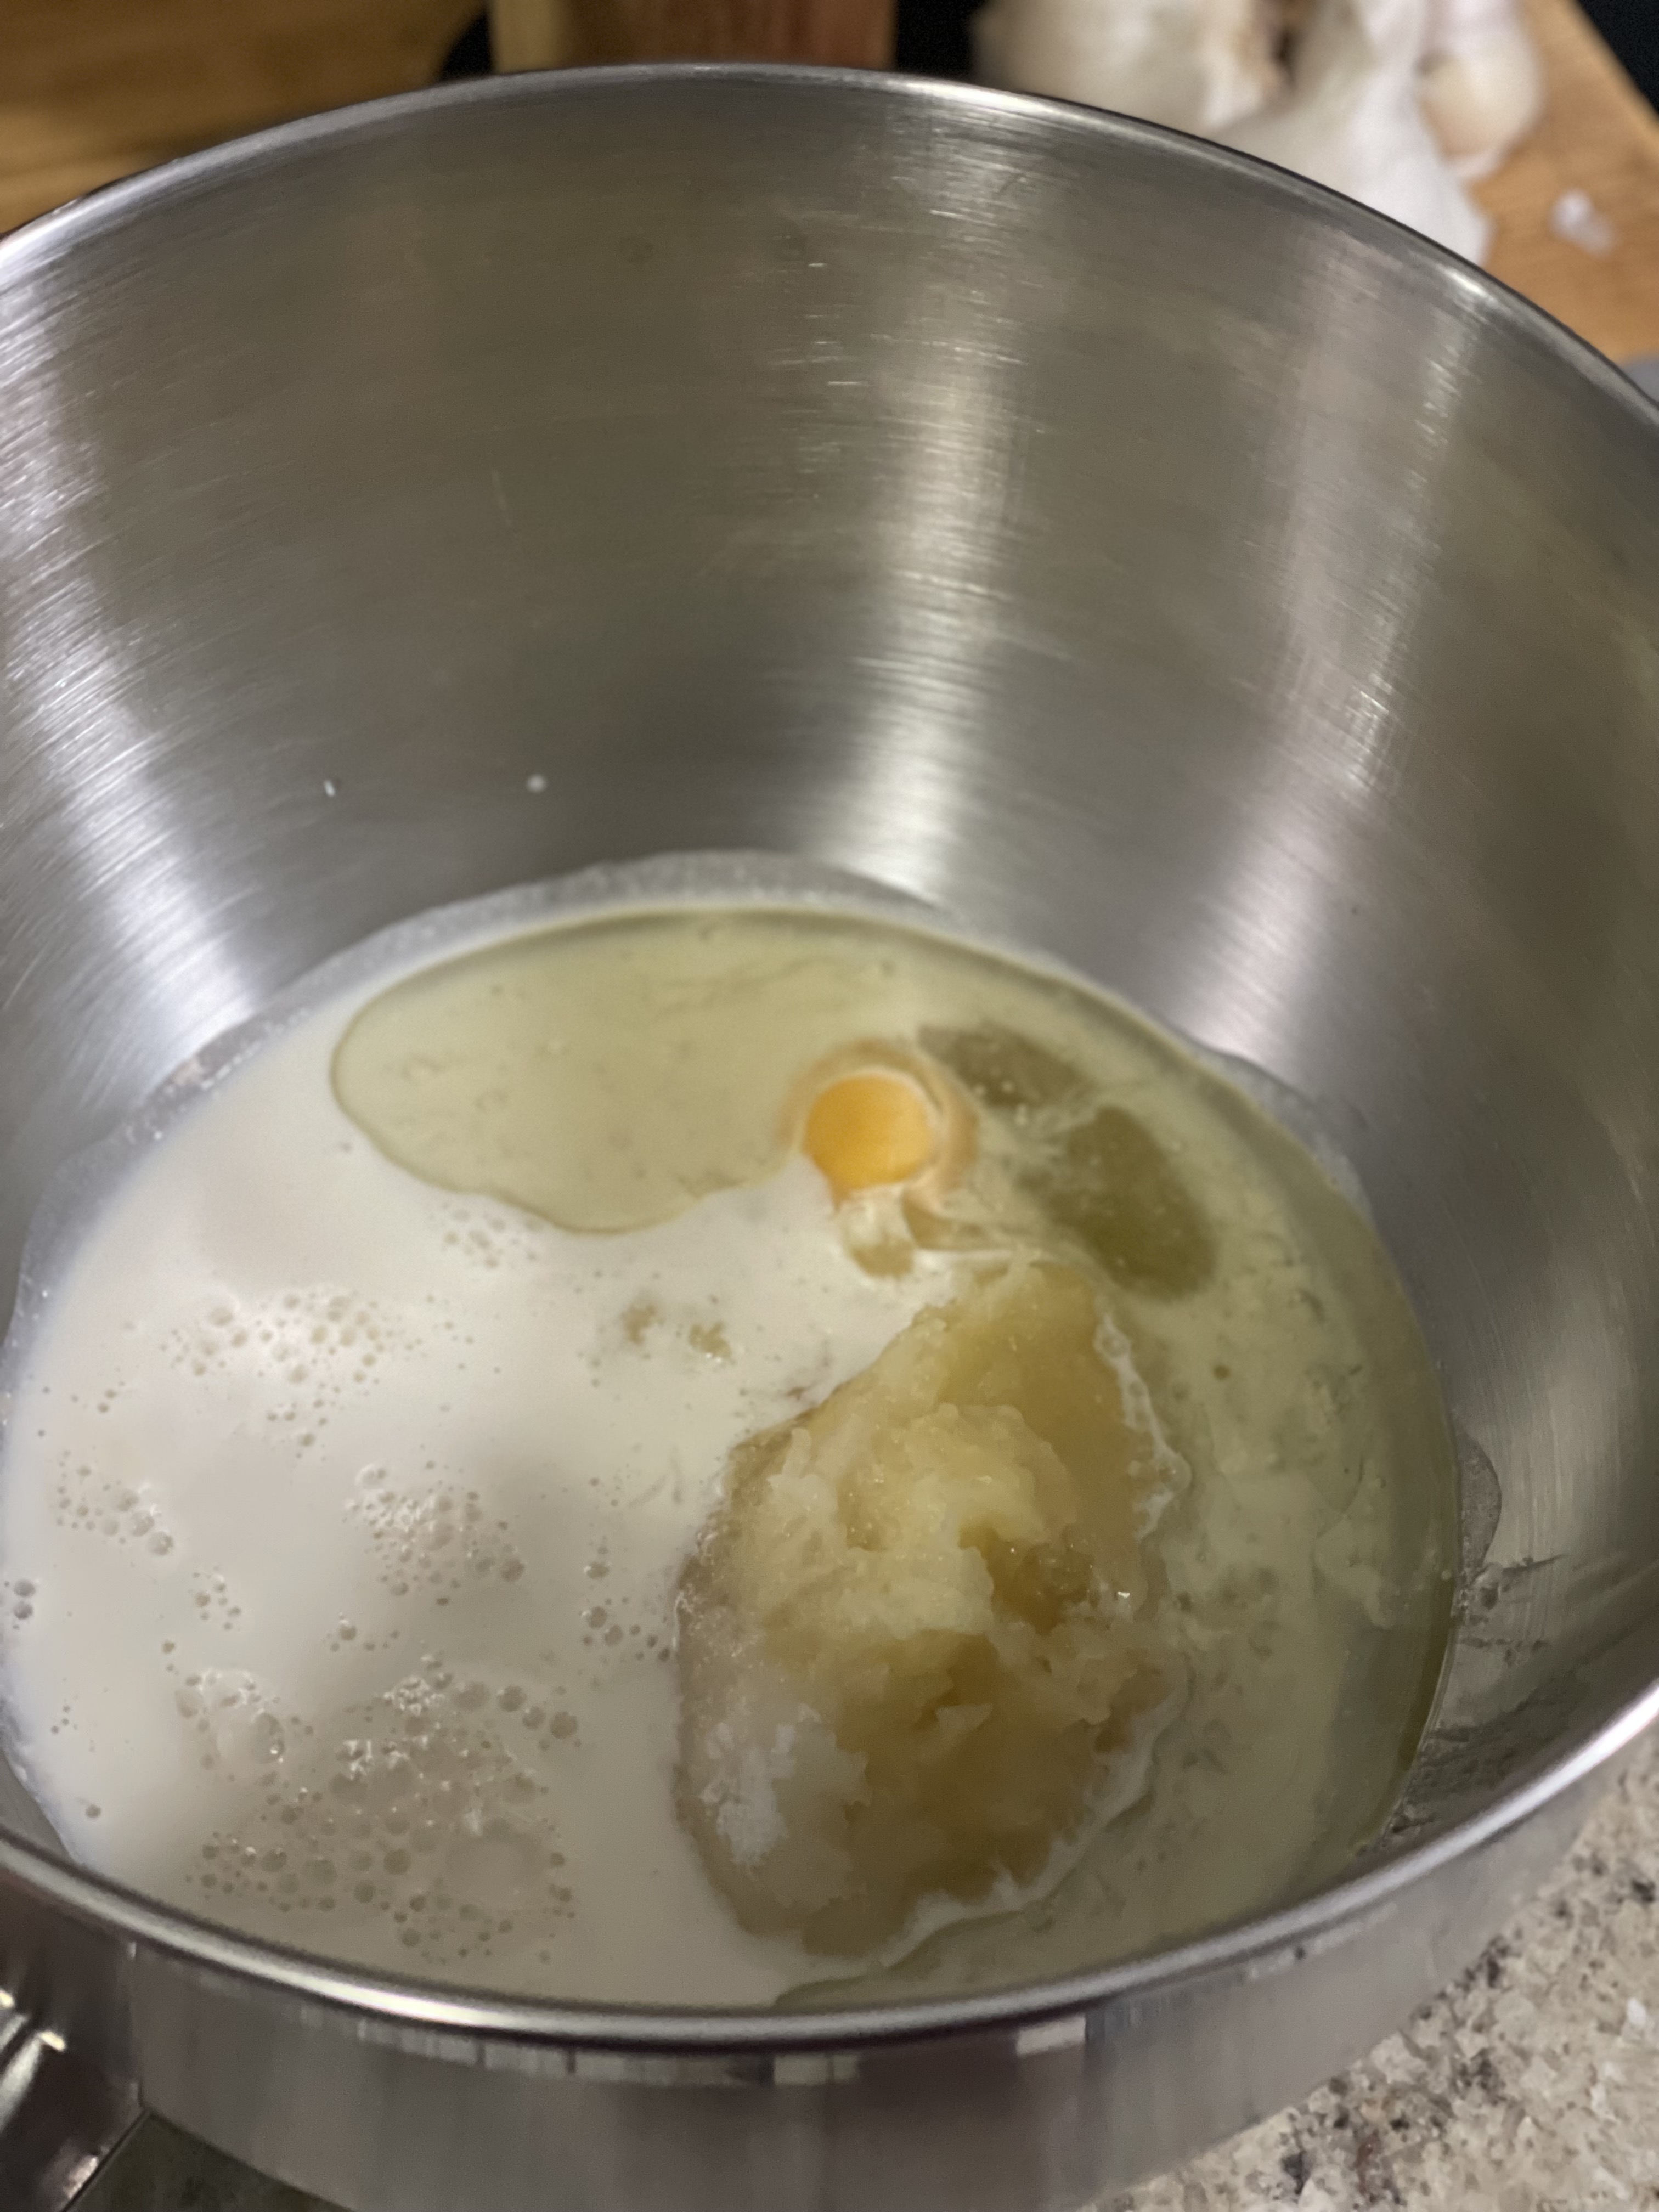
add wet ingredients 
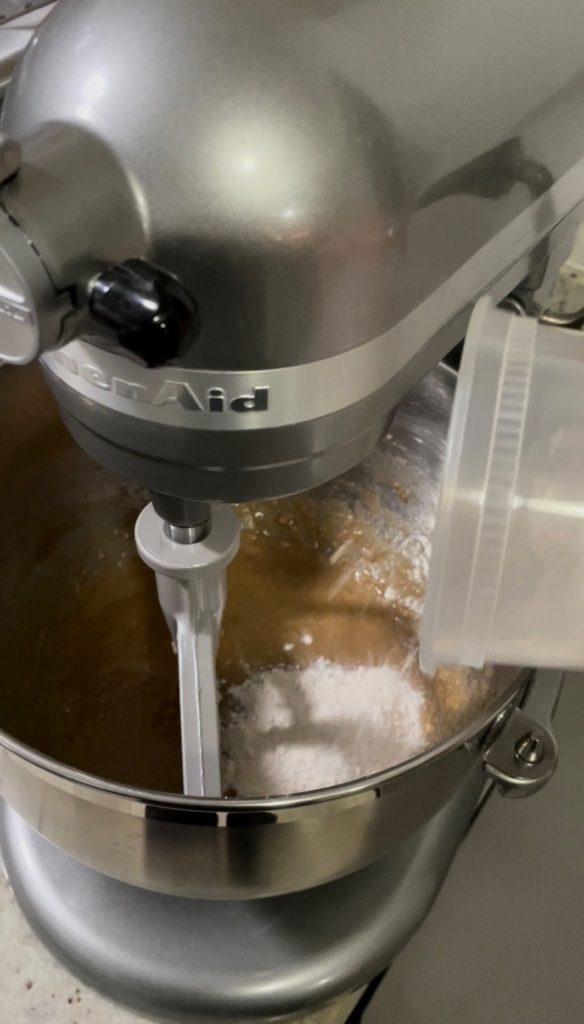
we love salt 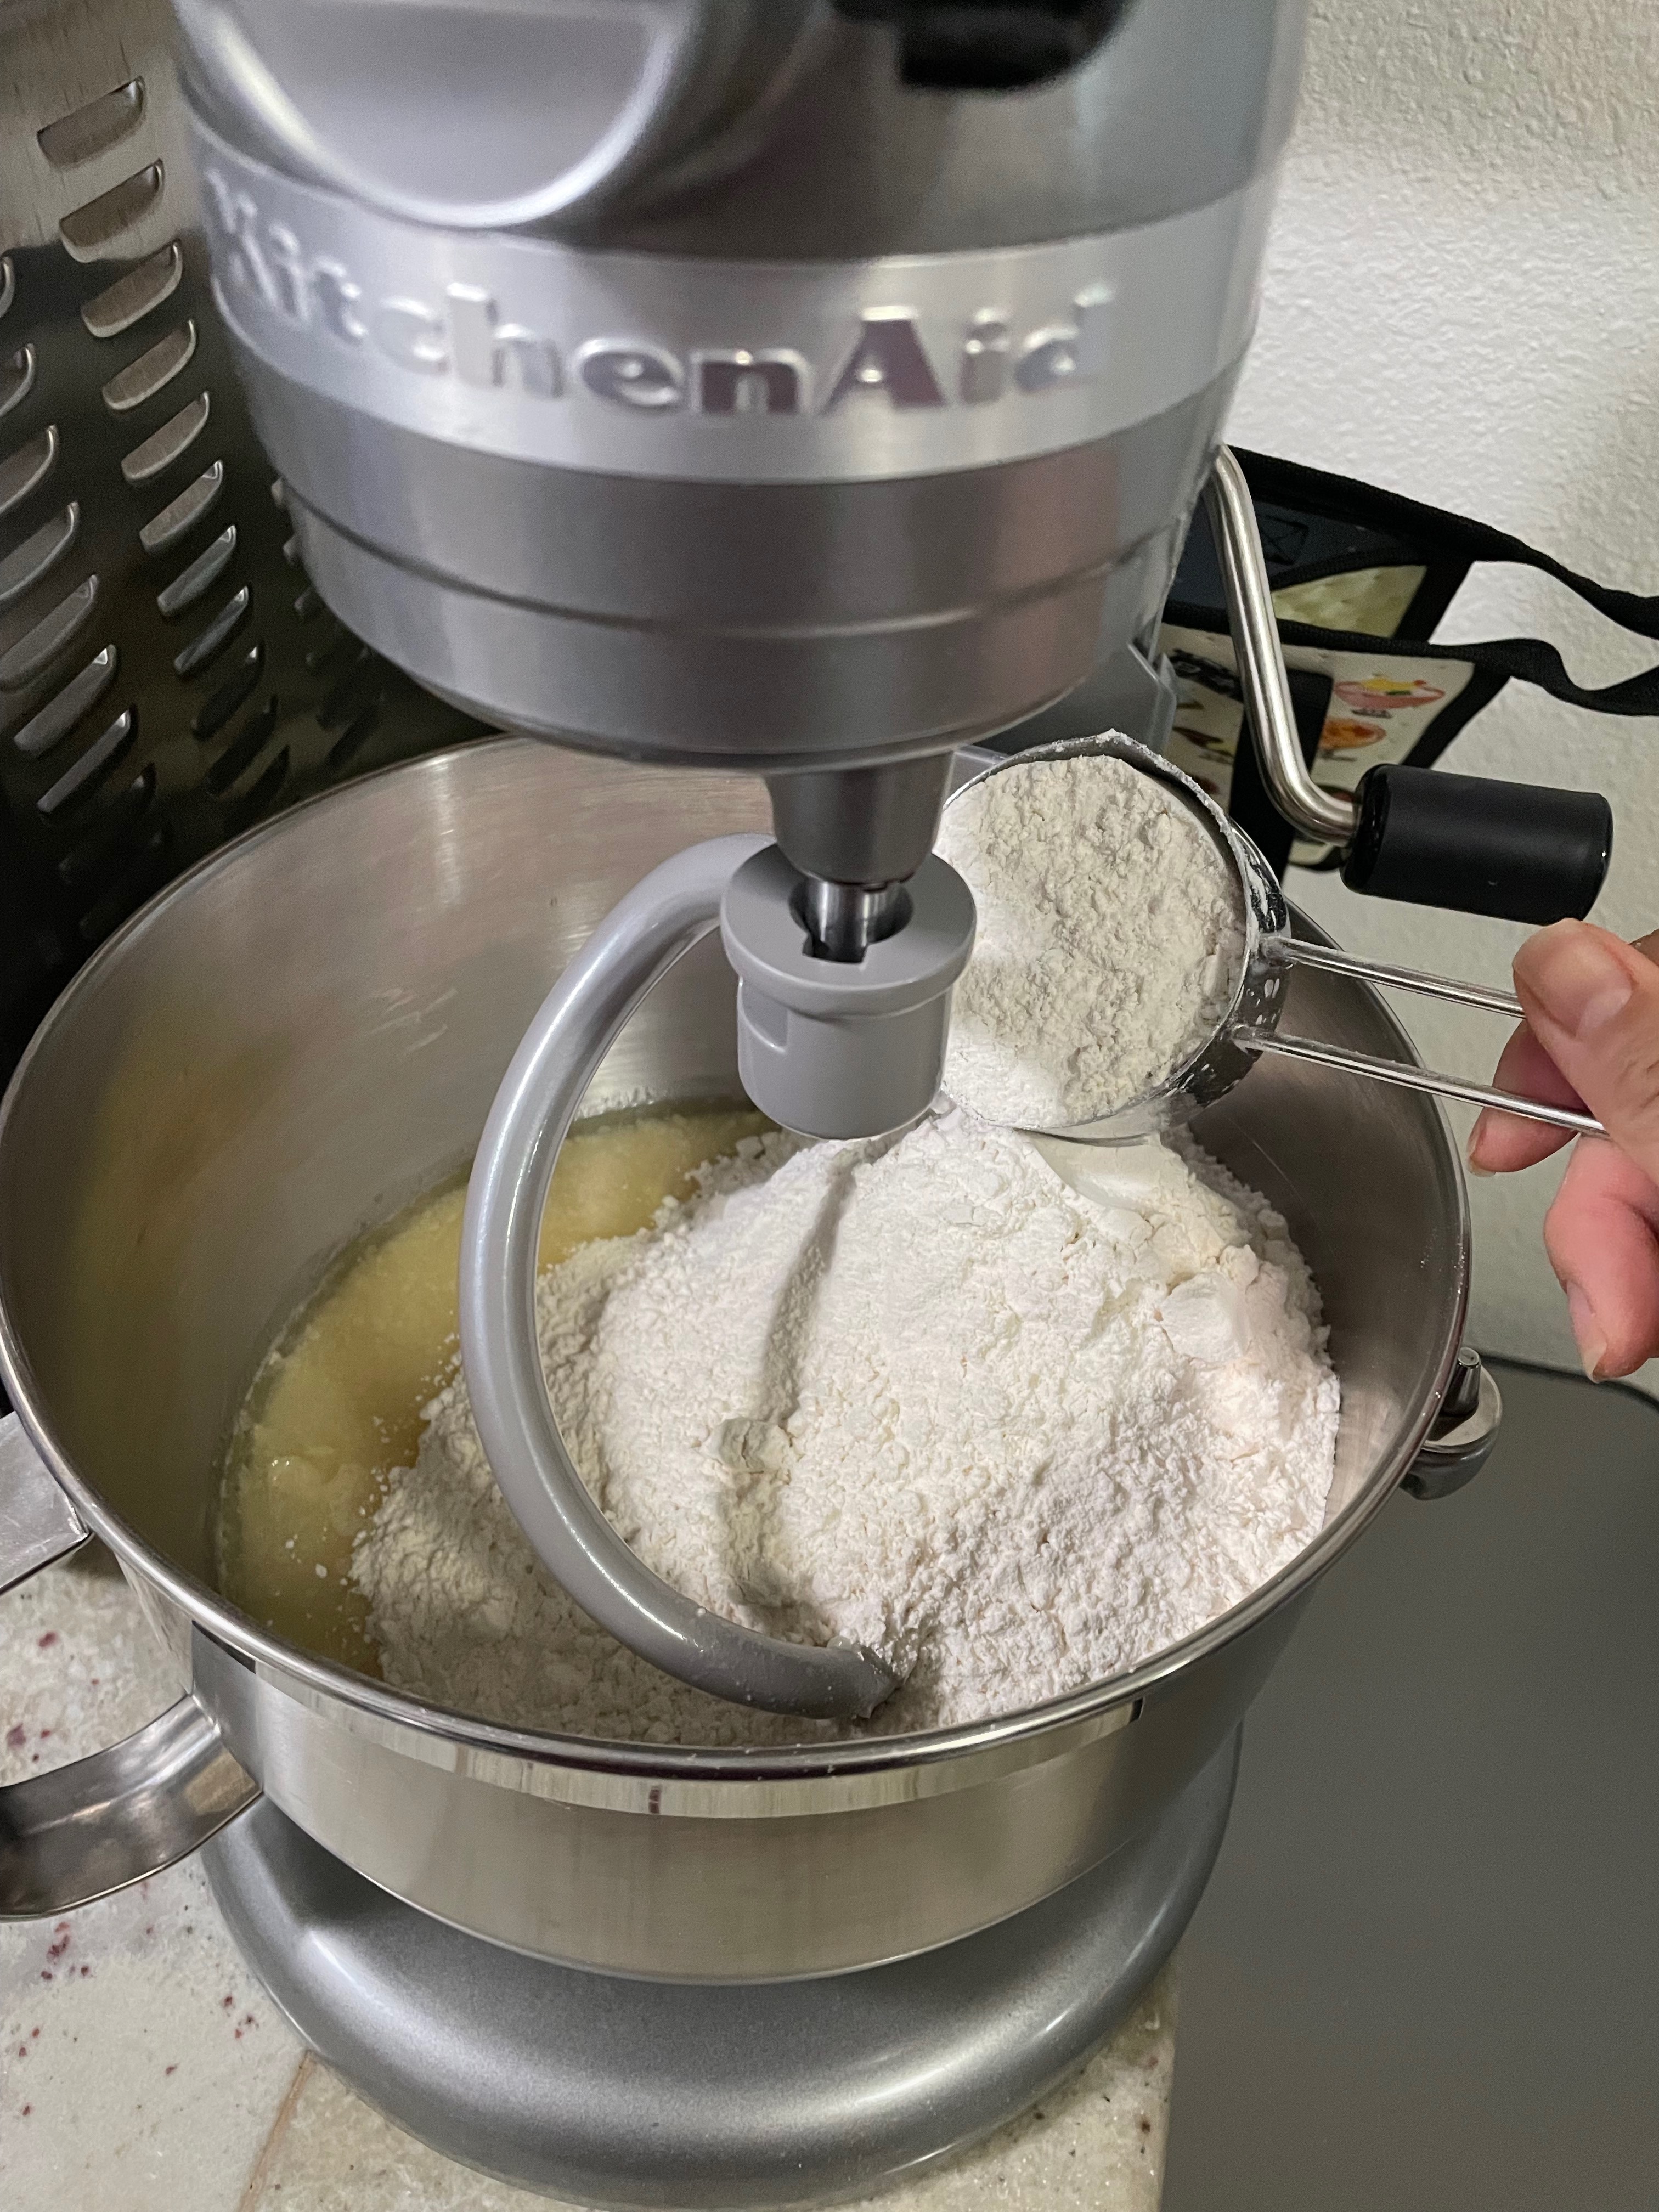
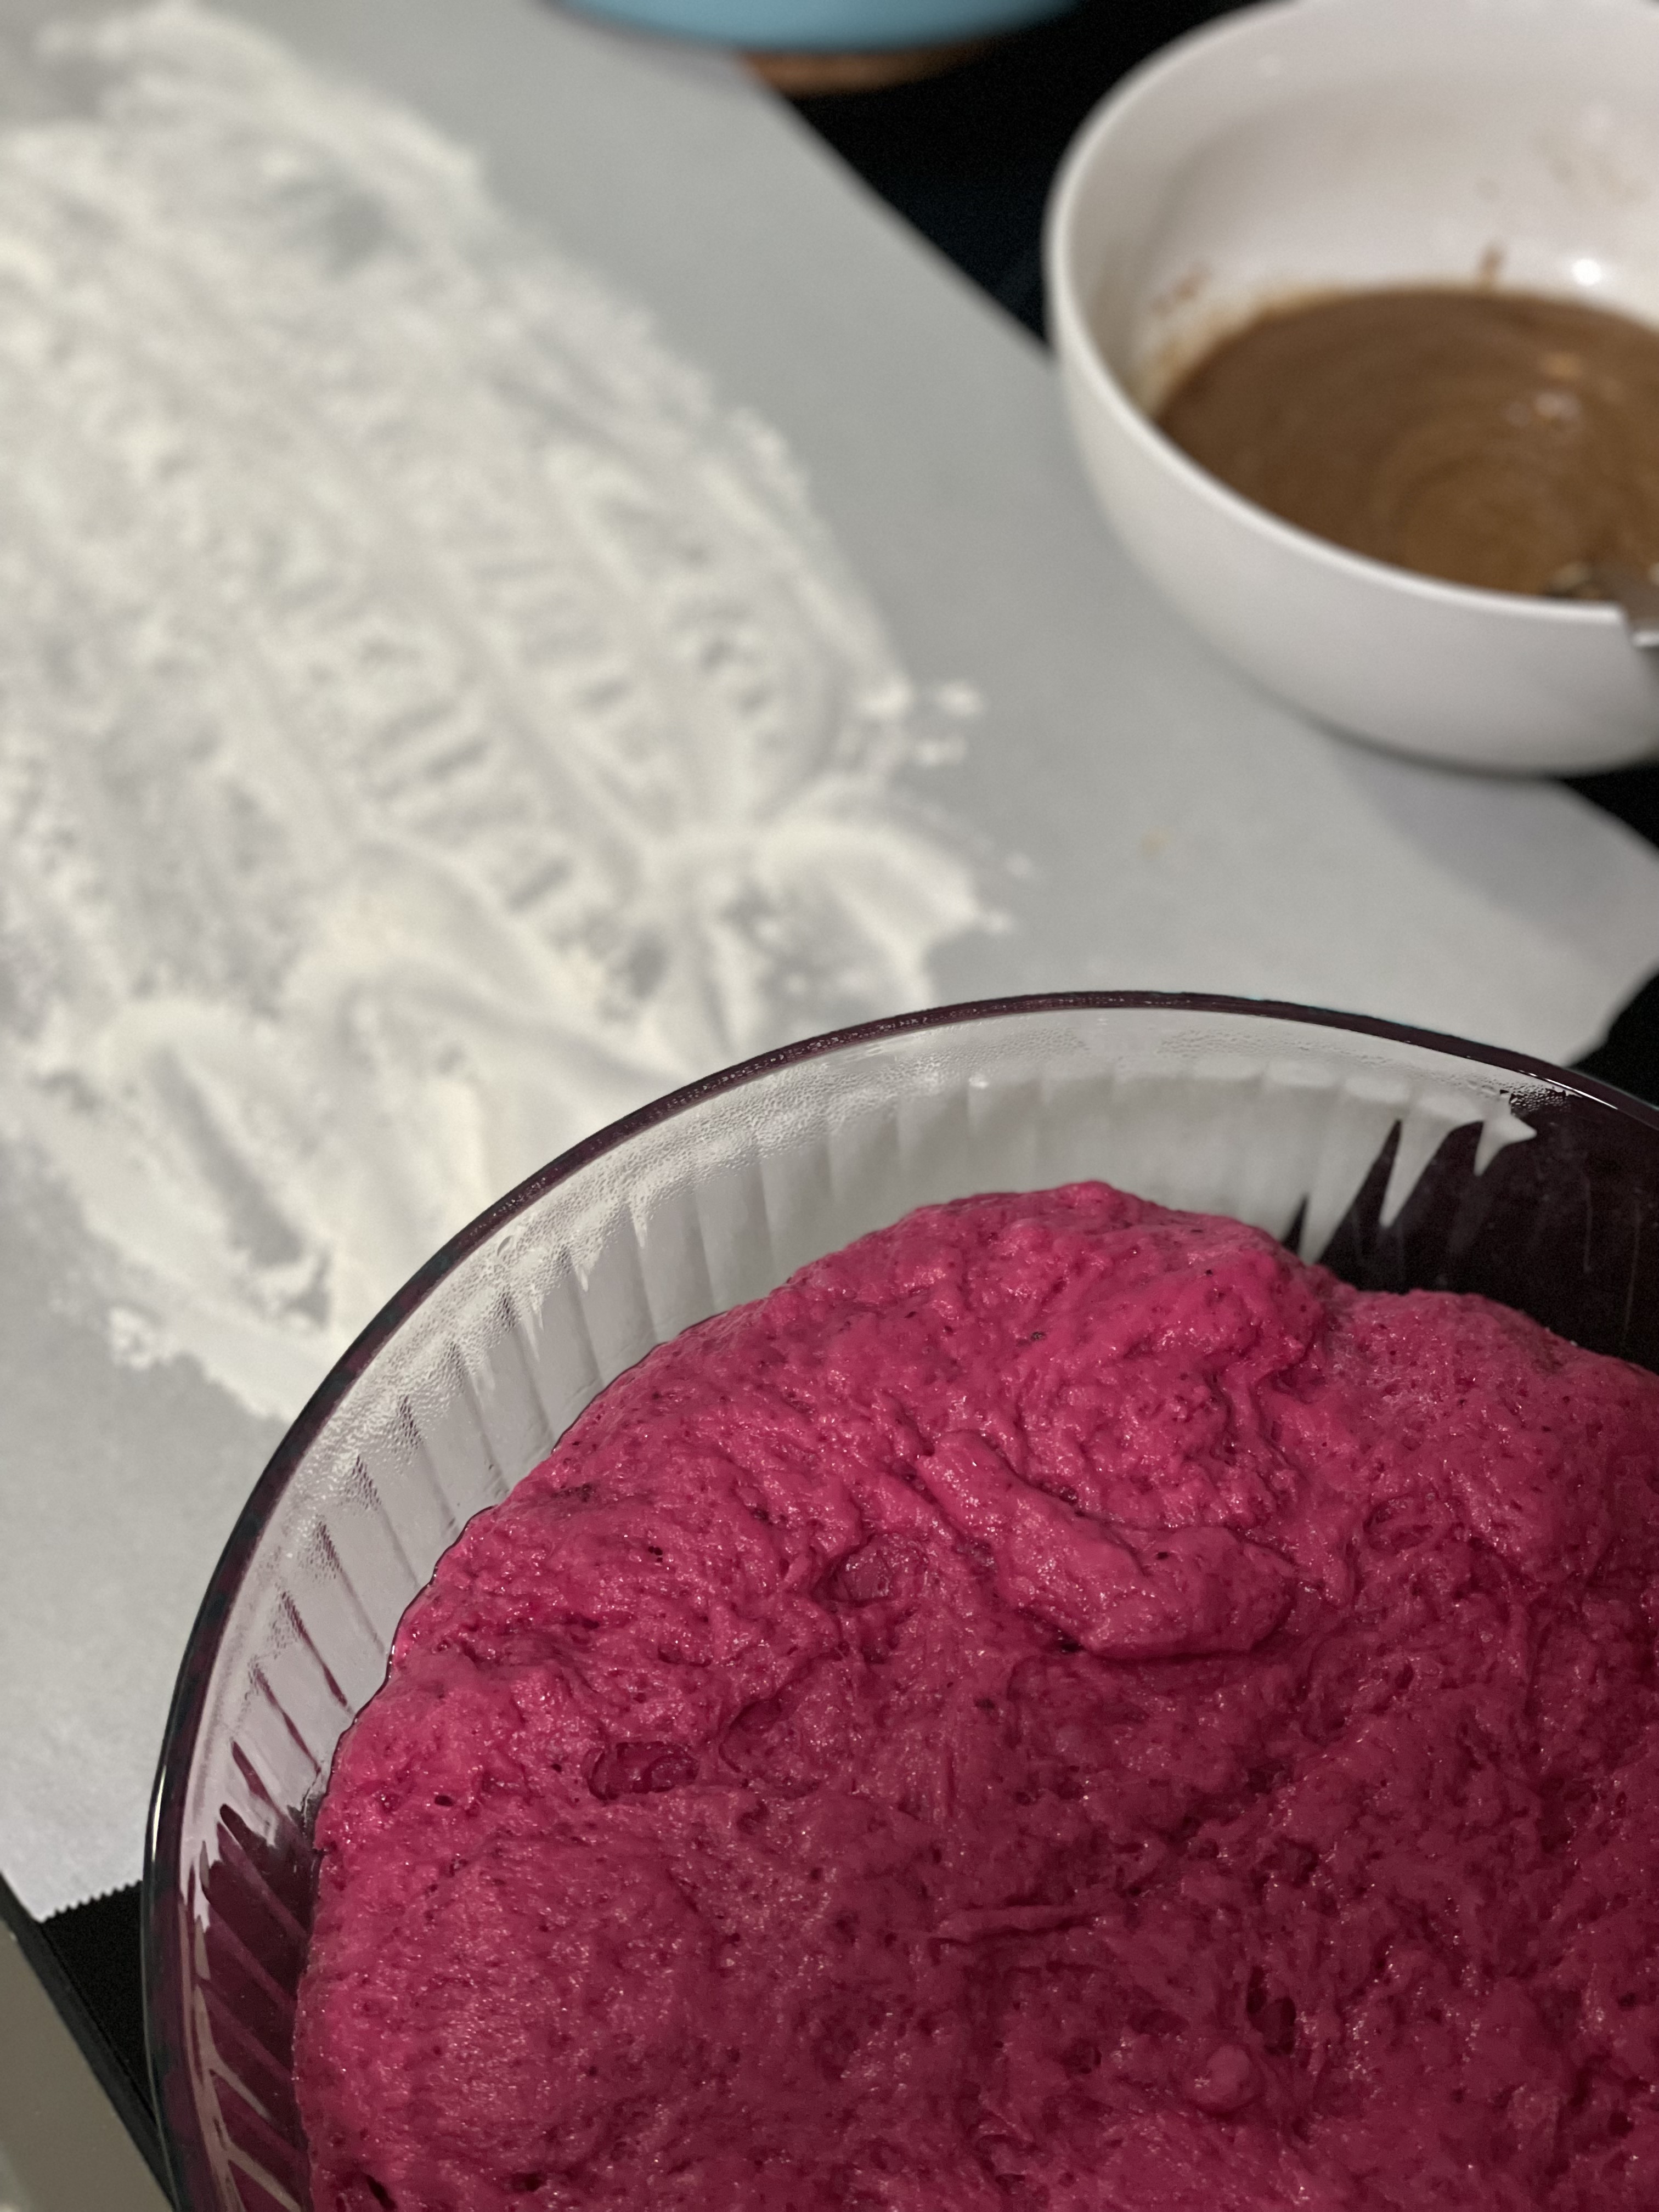
flour! 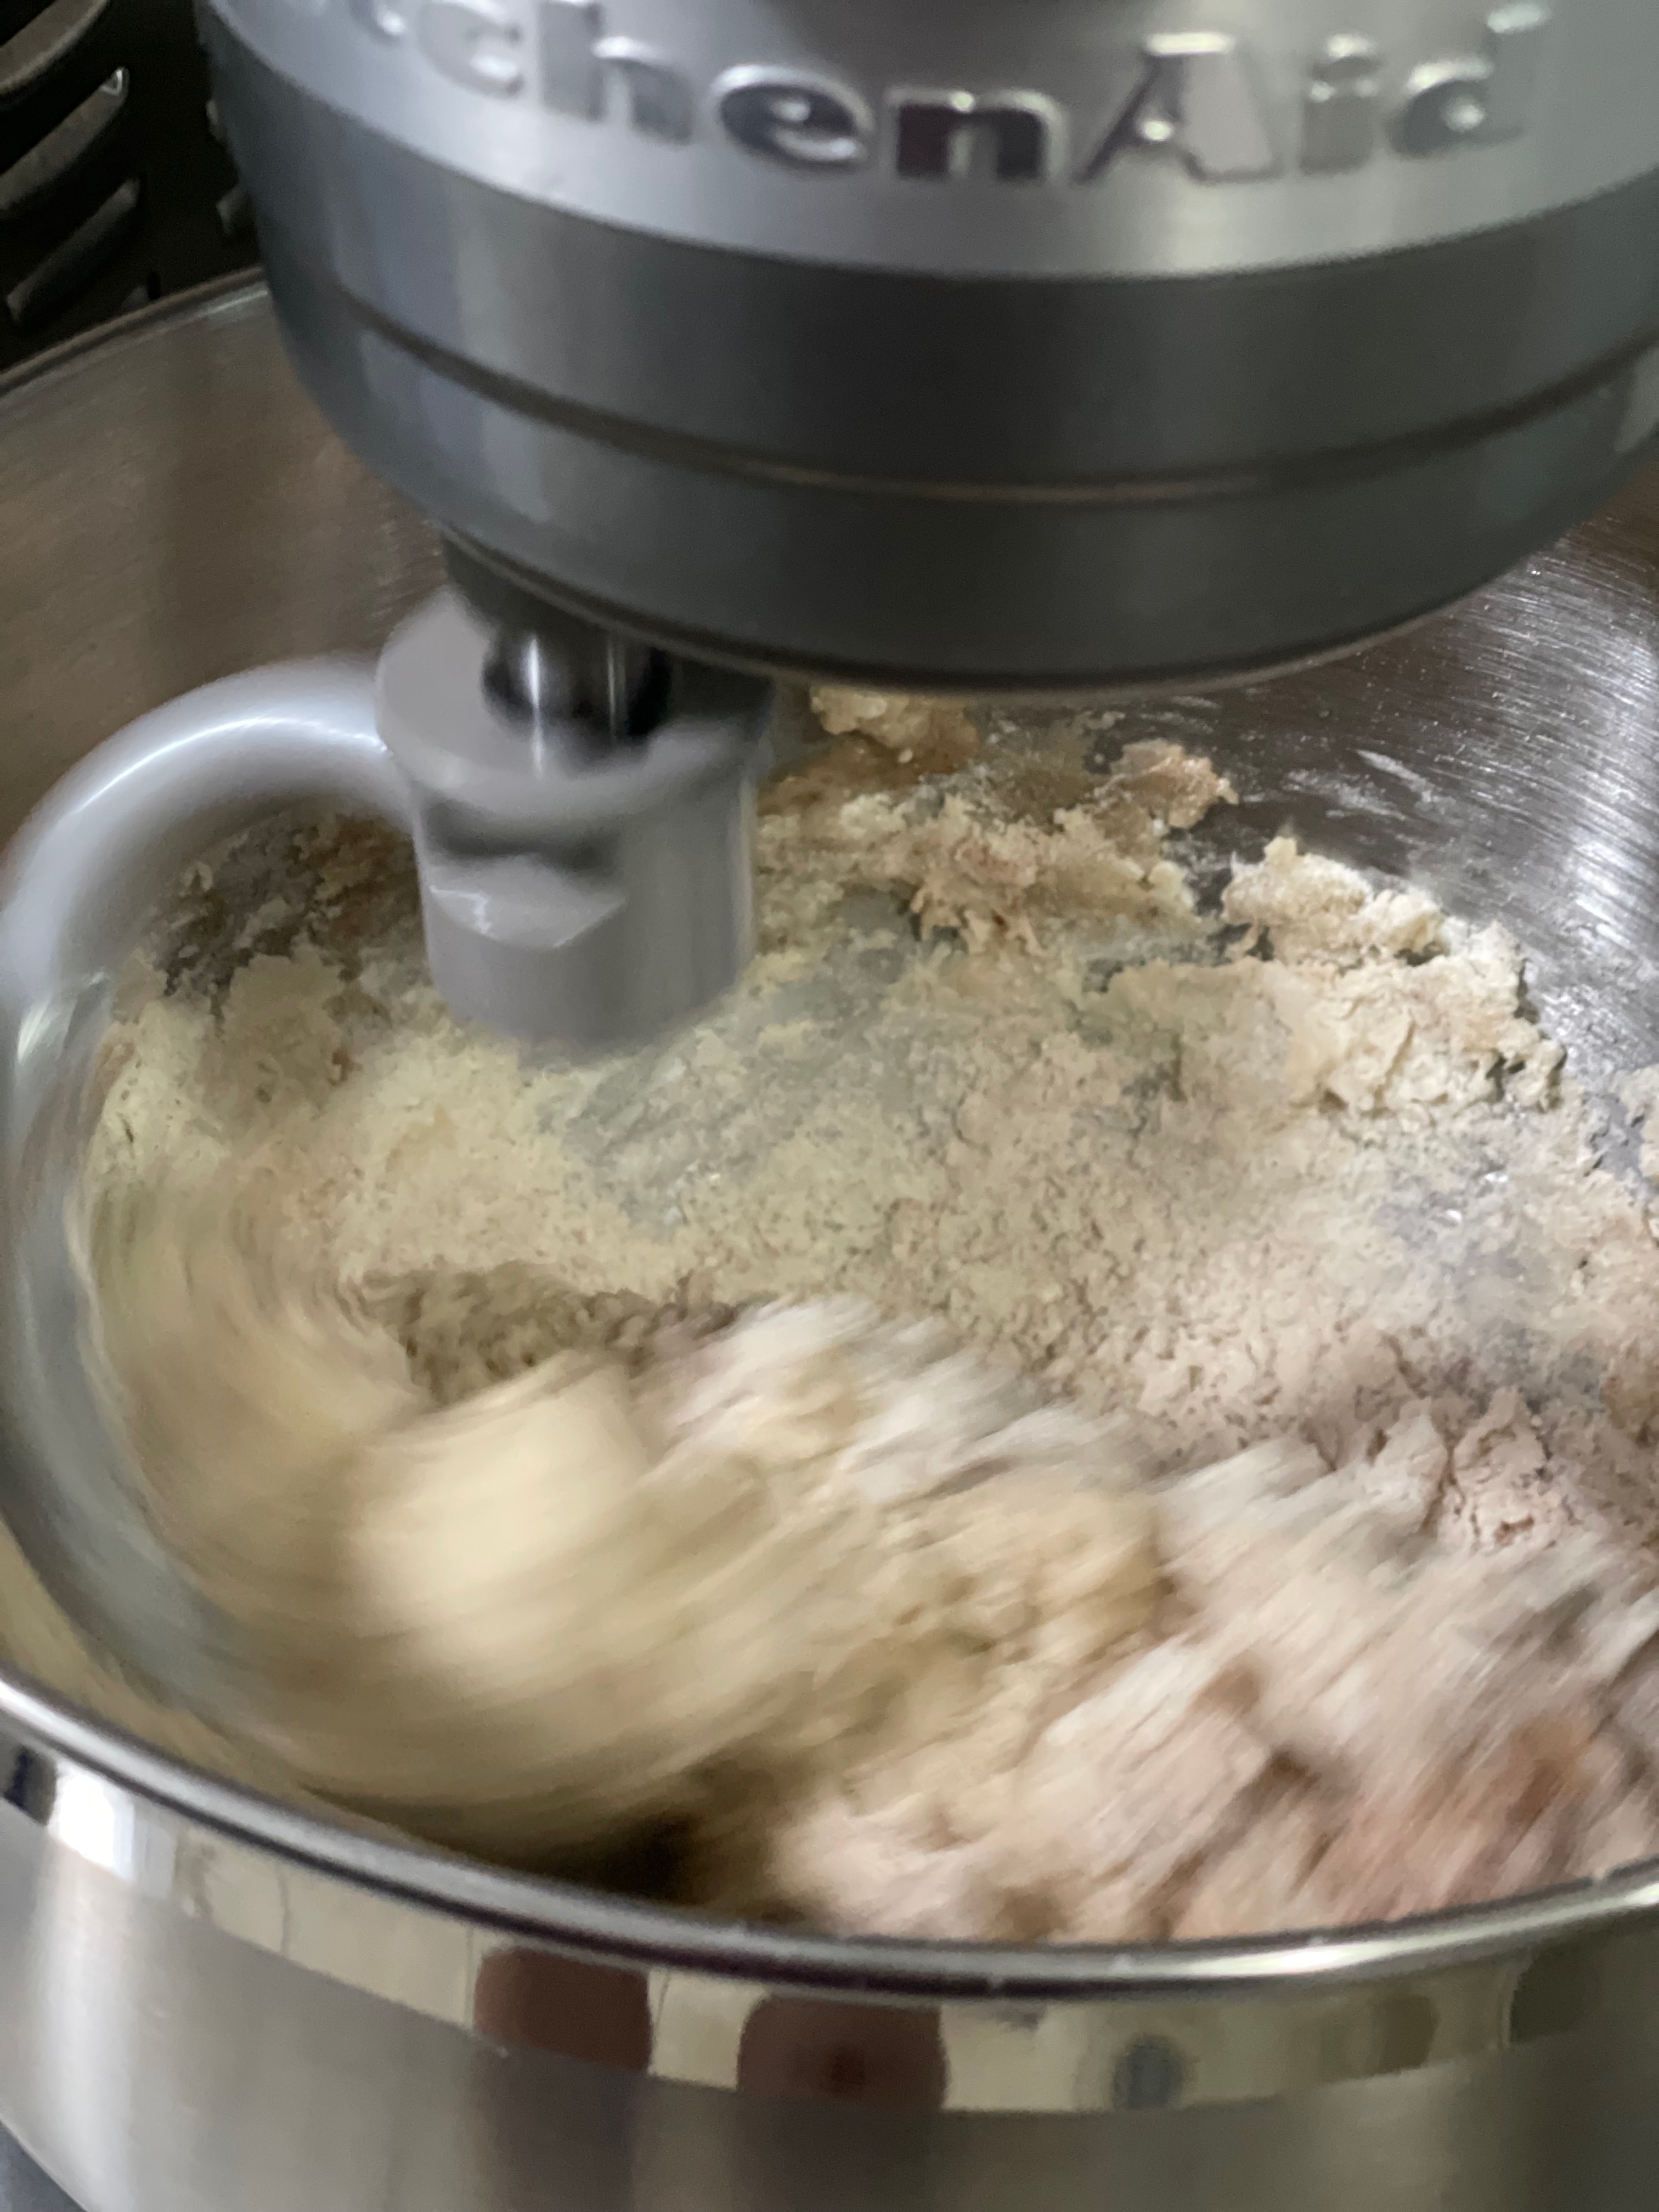
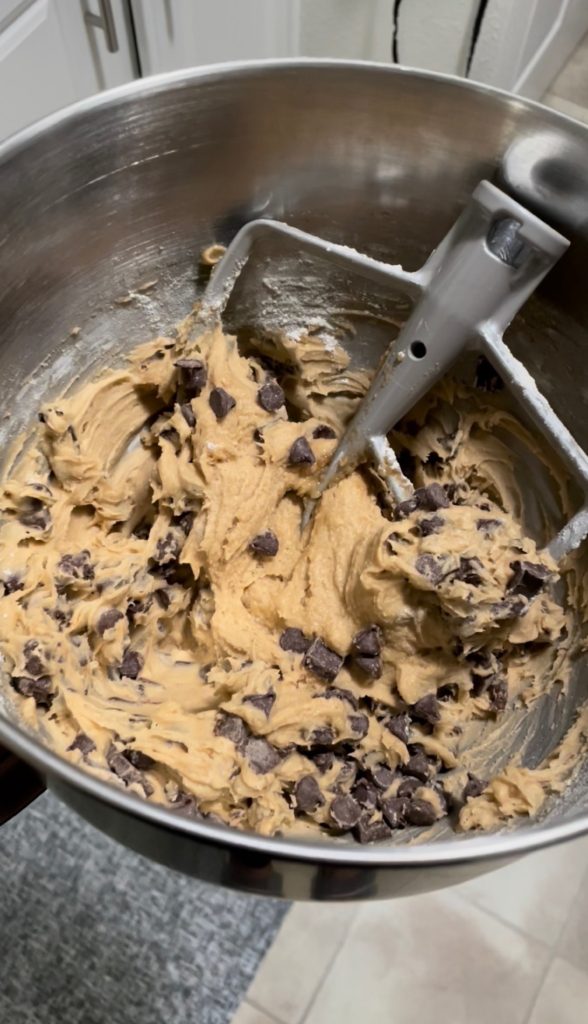
mixxxx it up 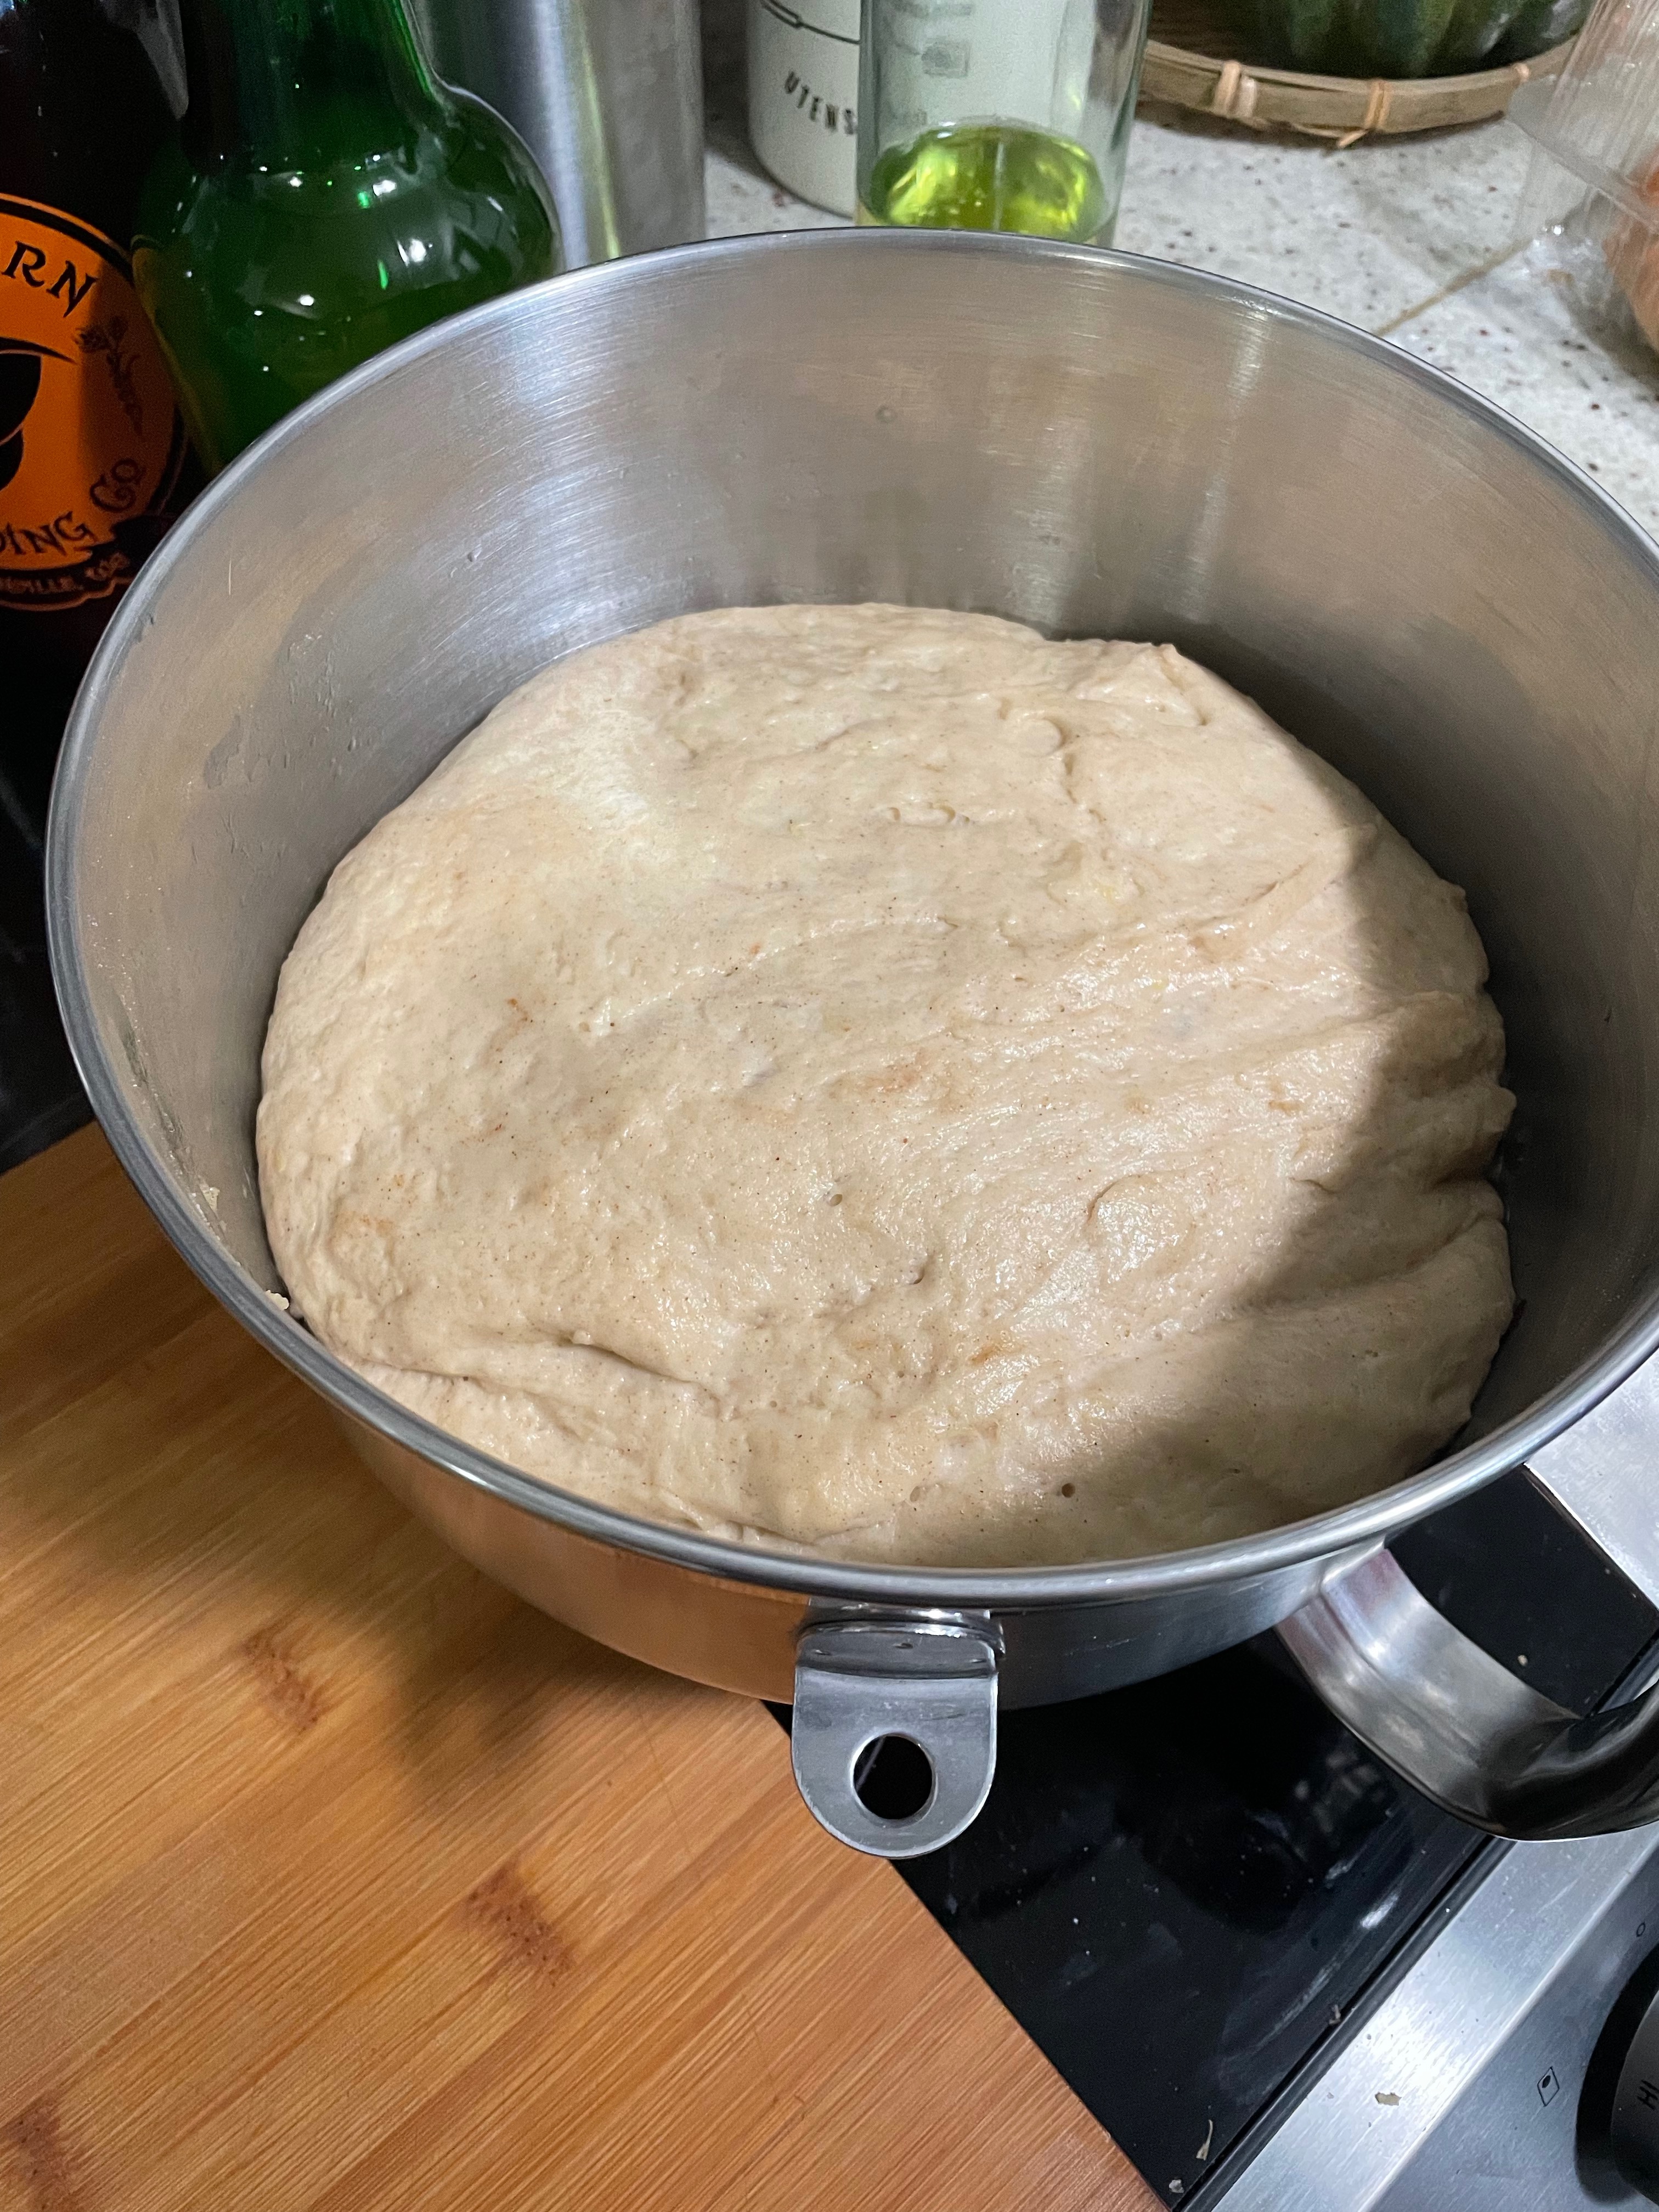
rise 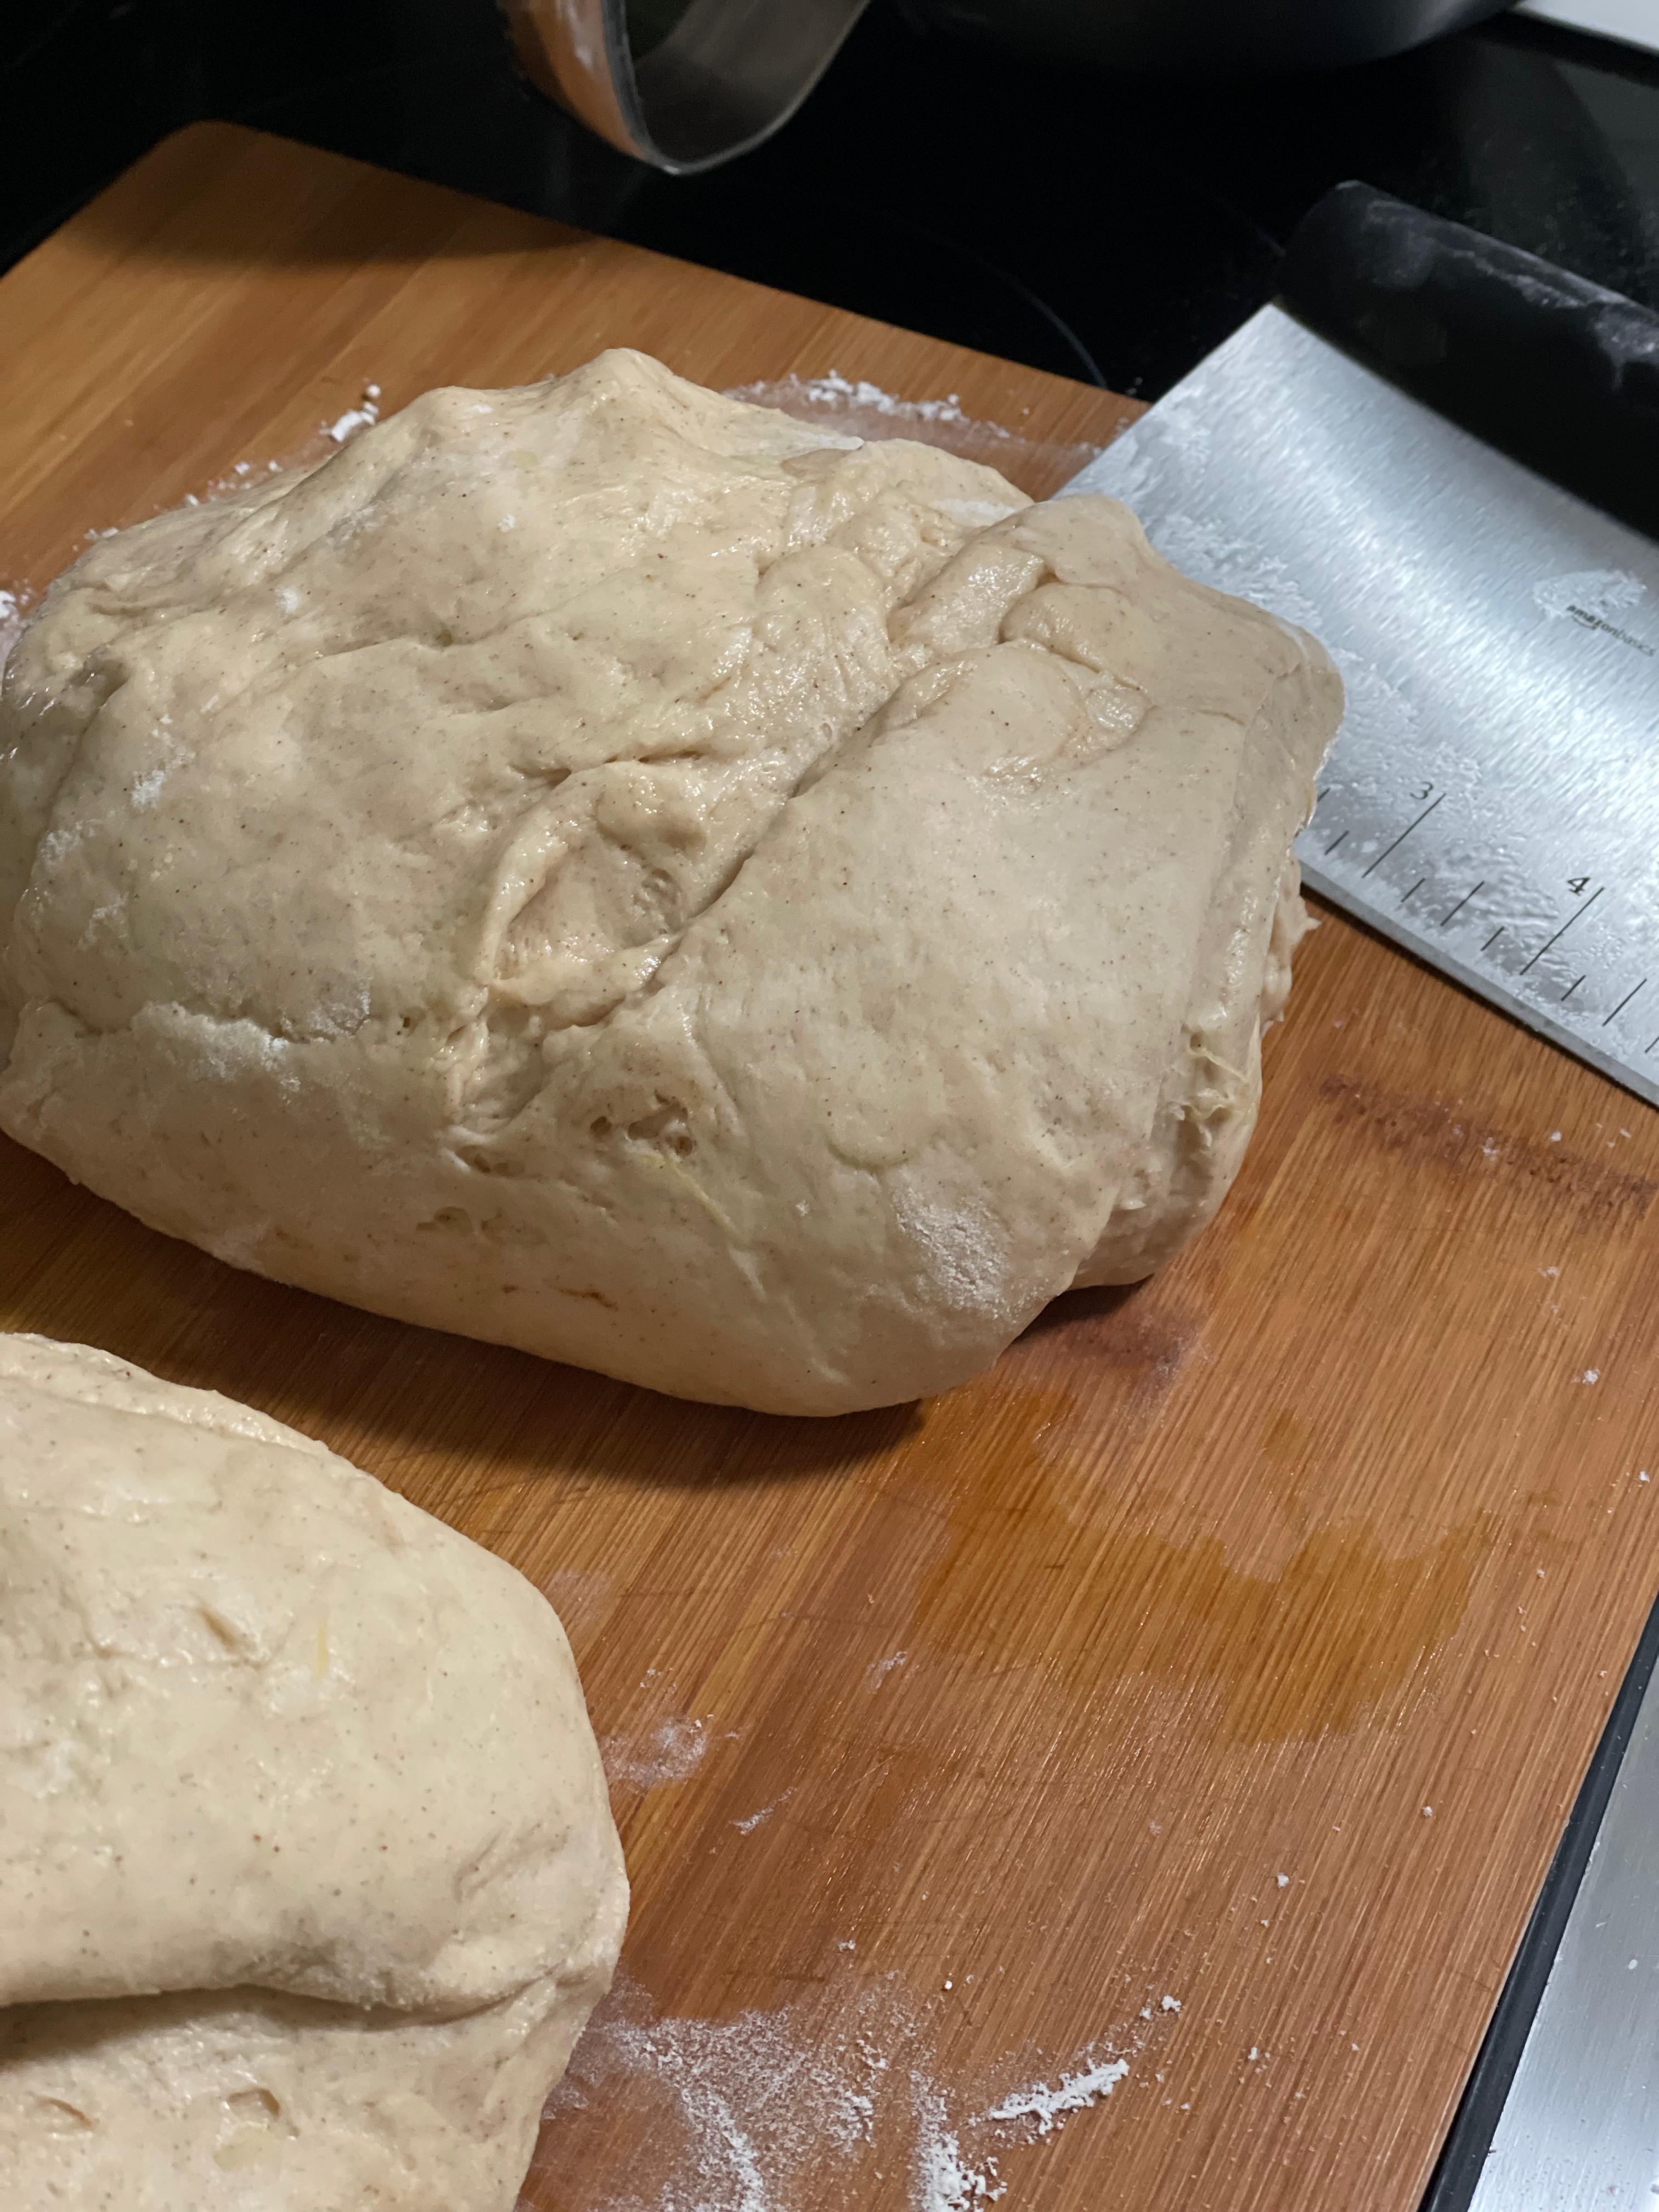
split in half 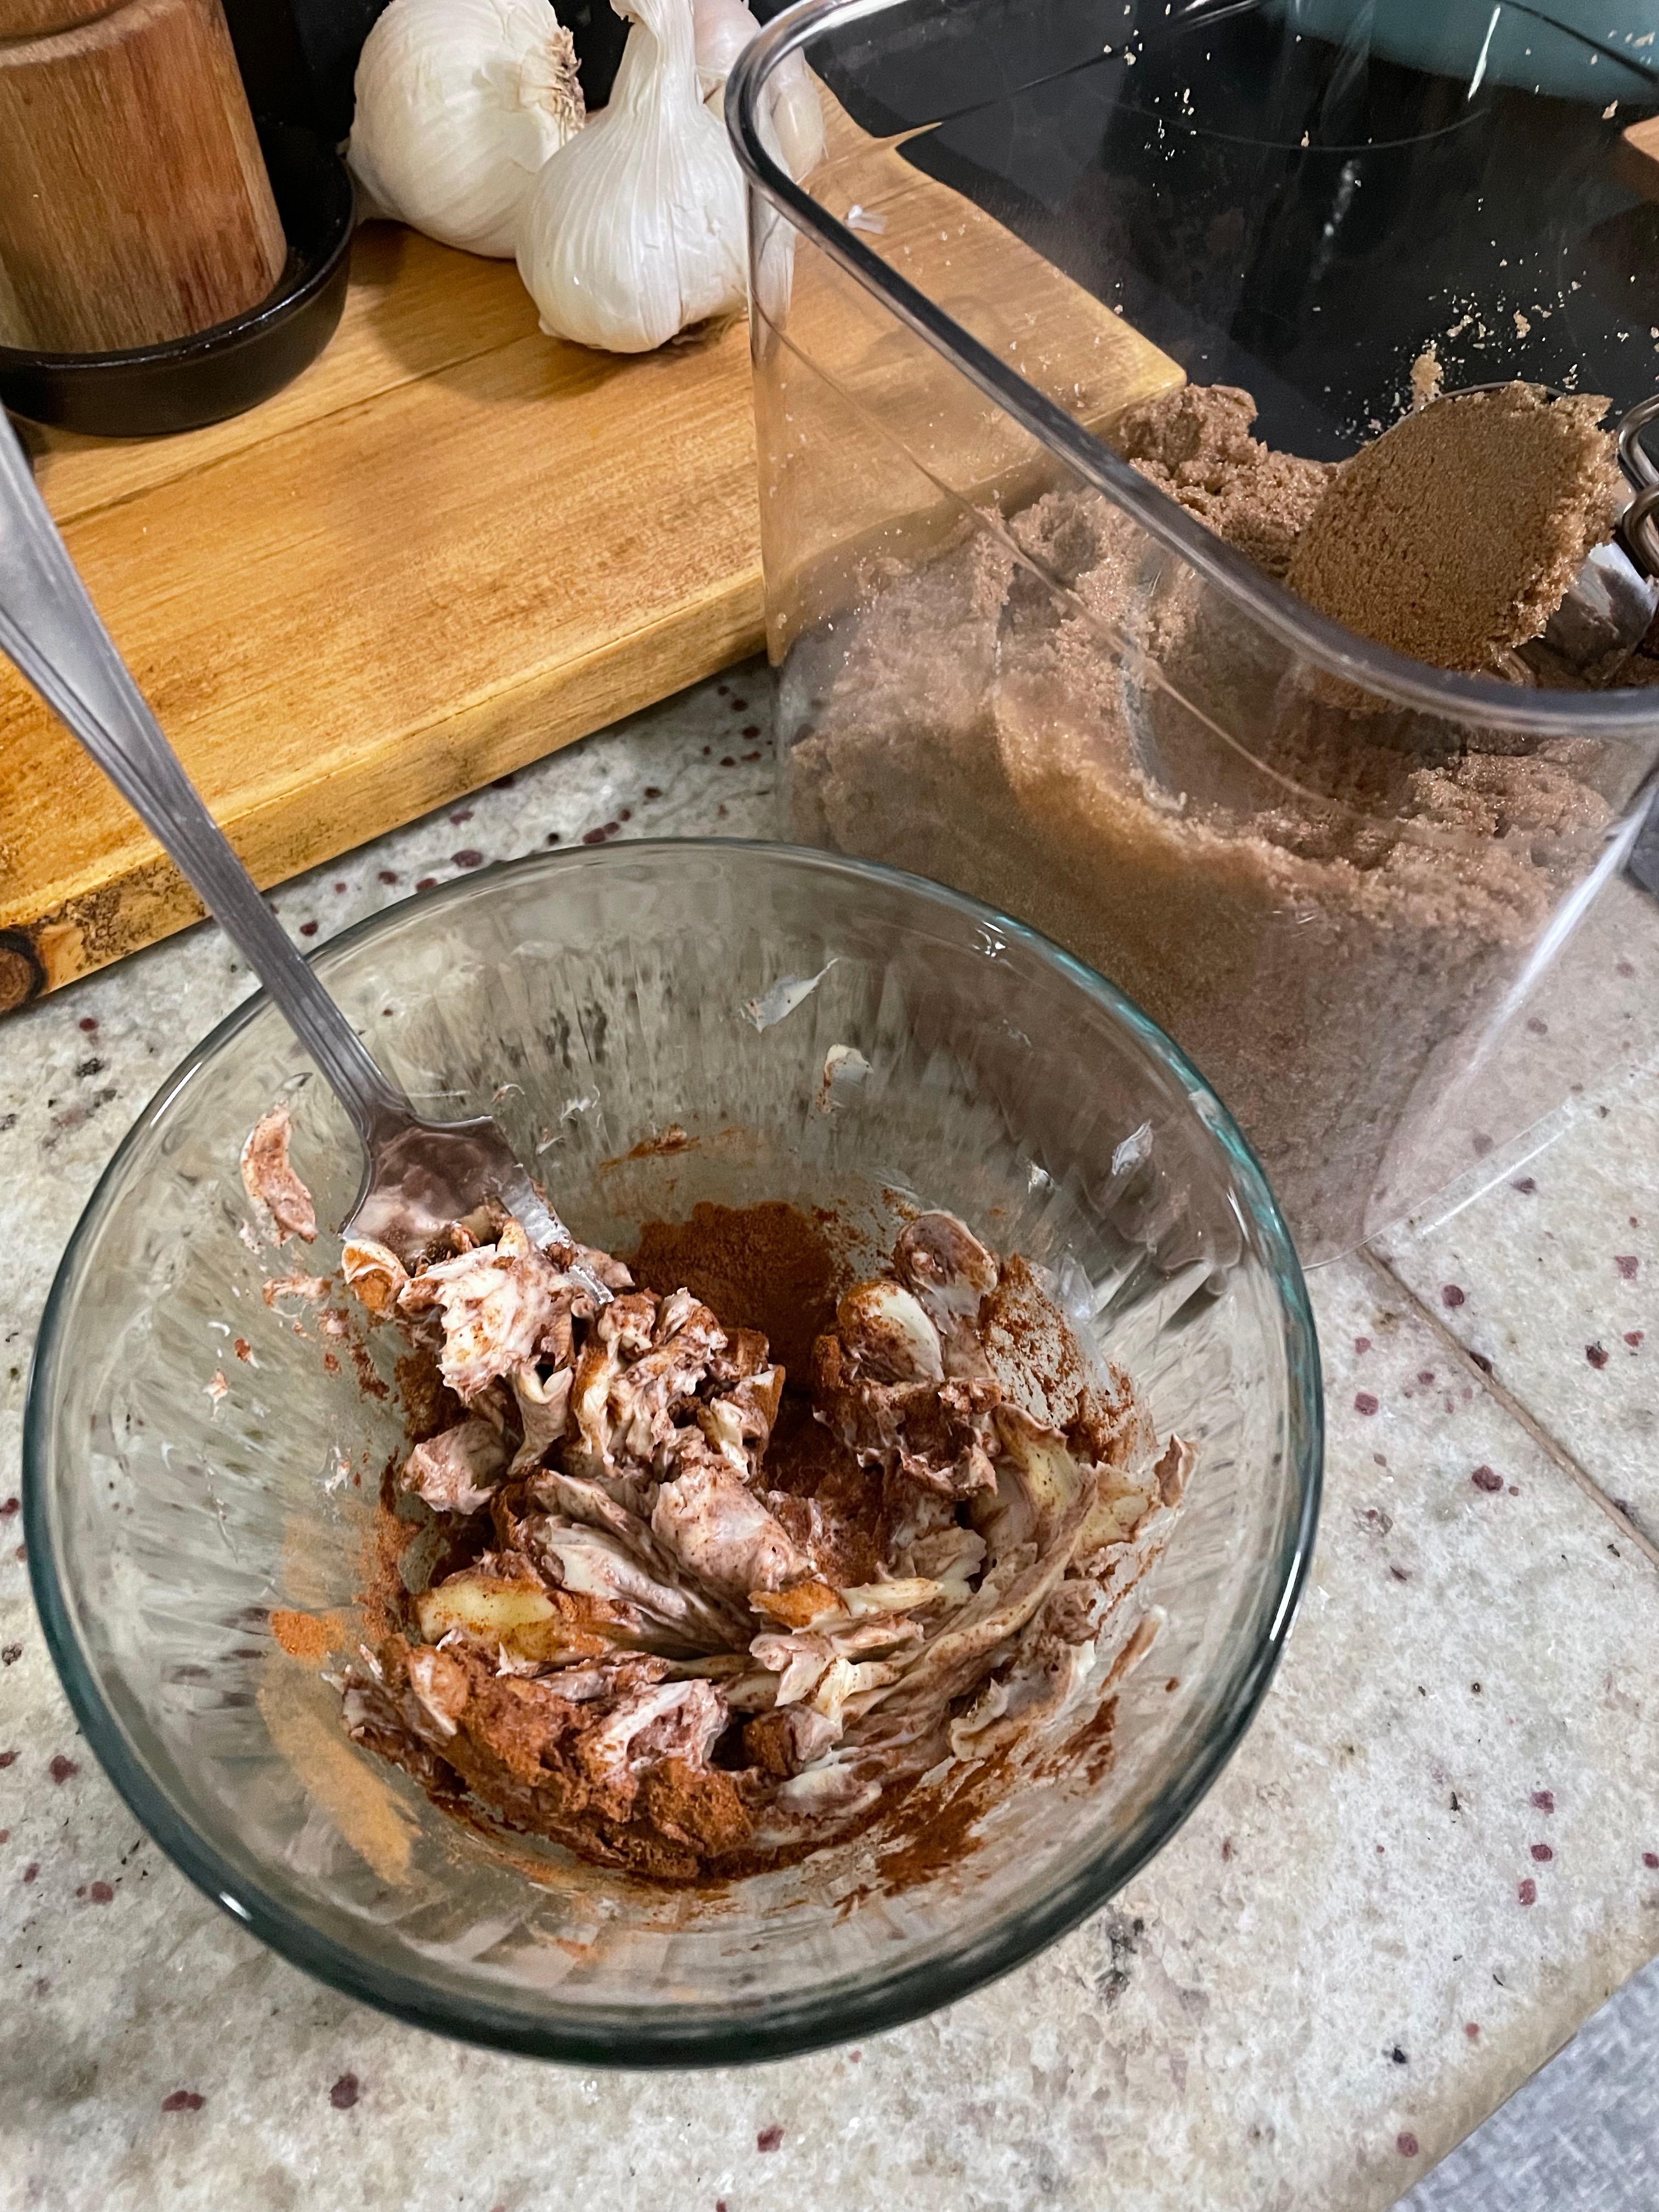
filling 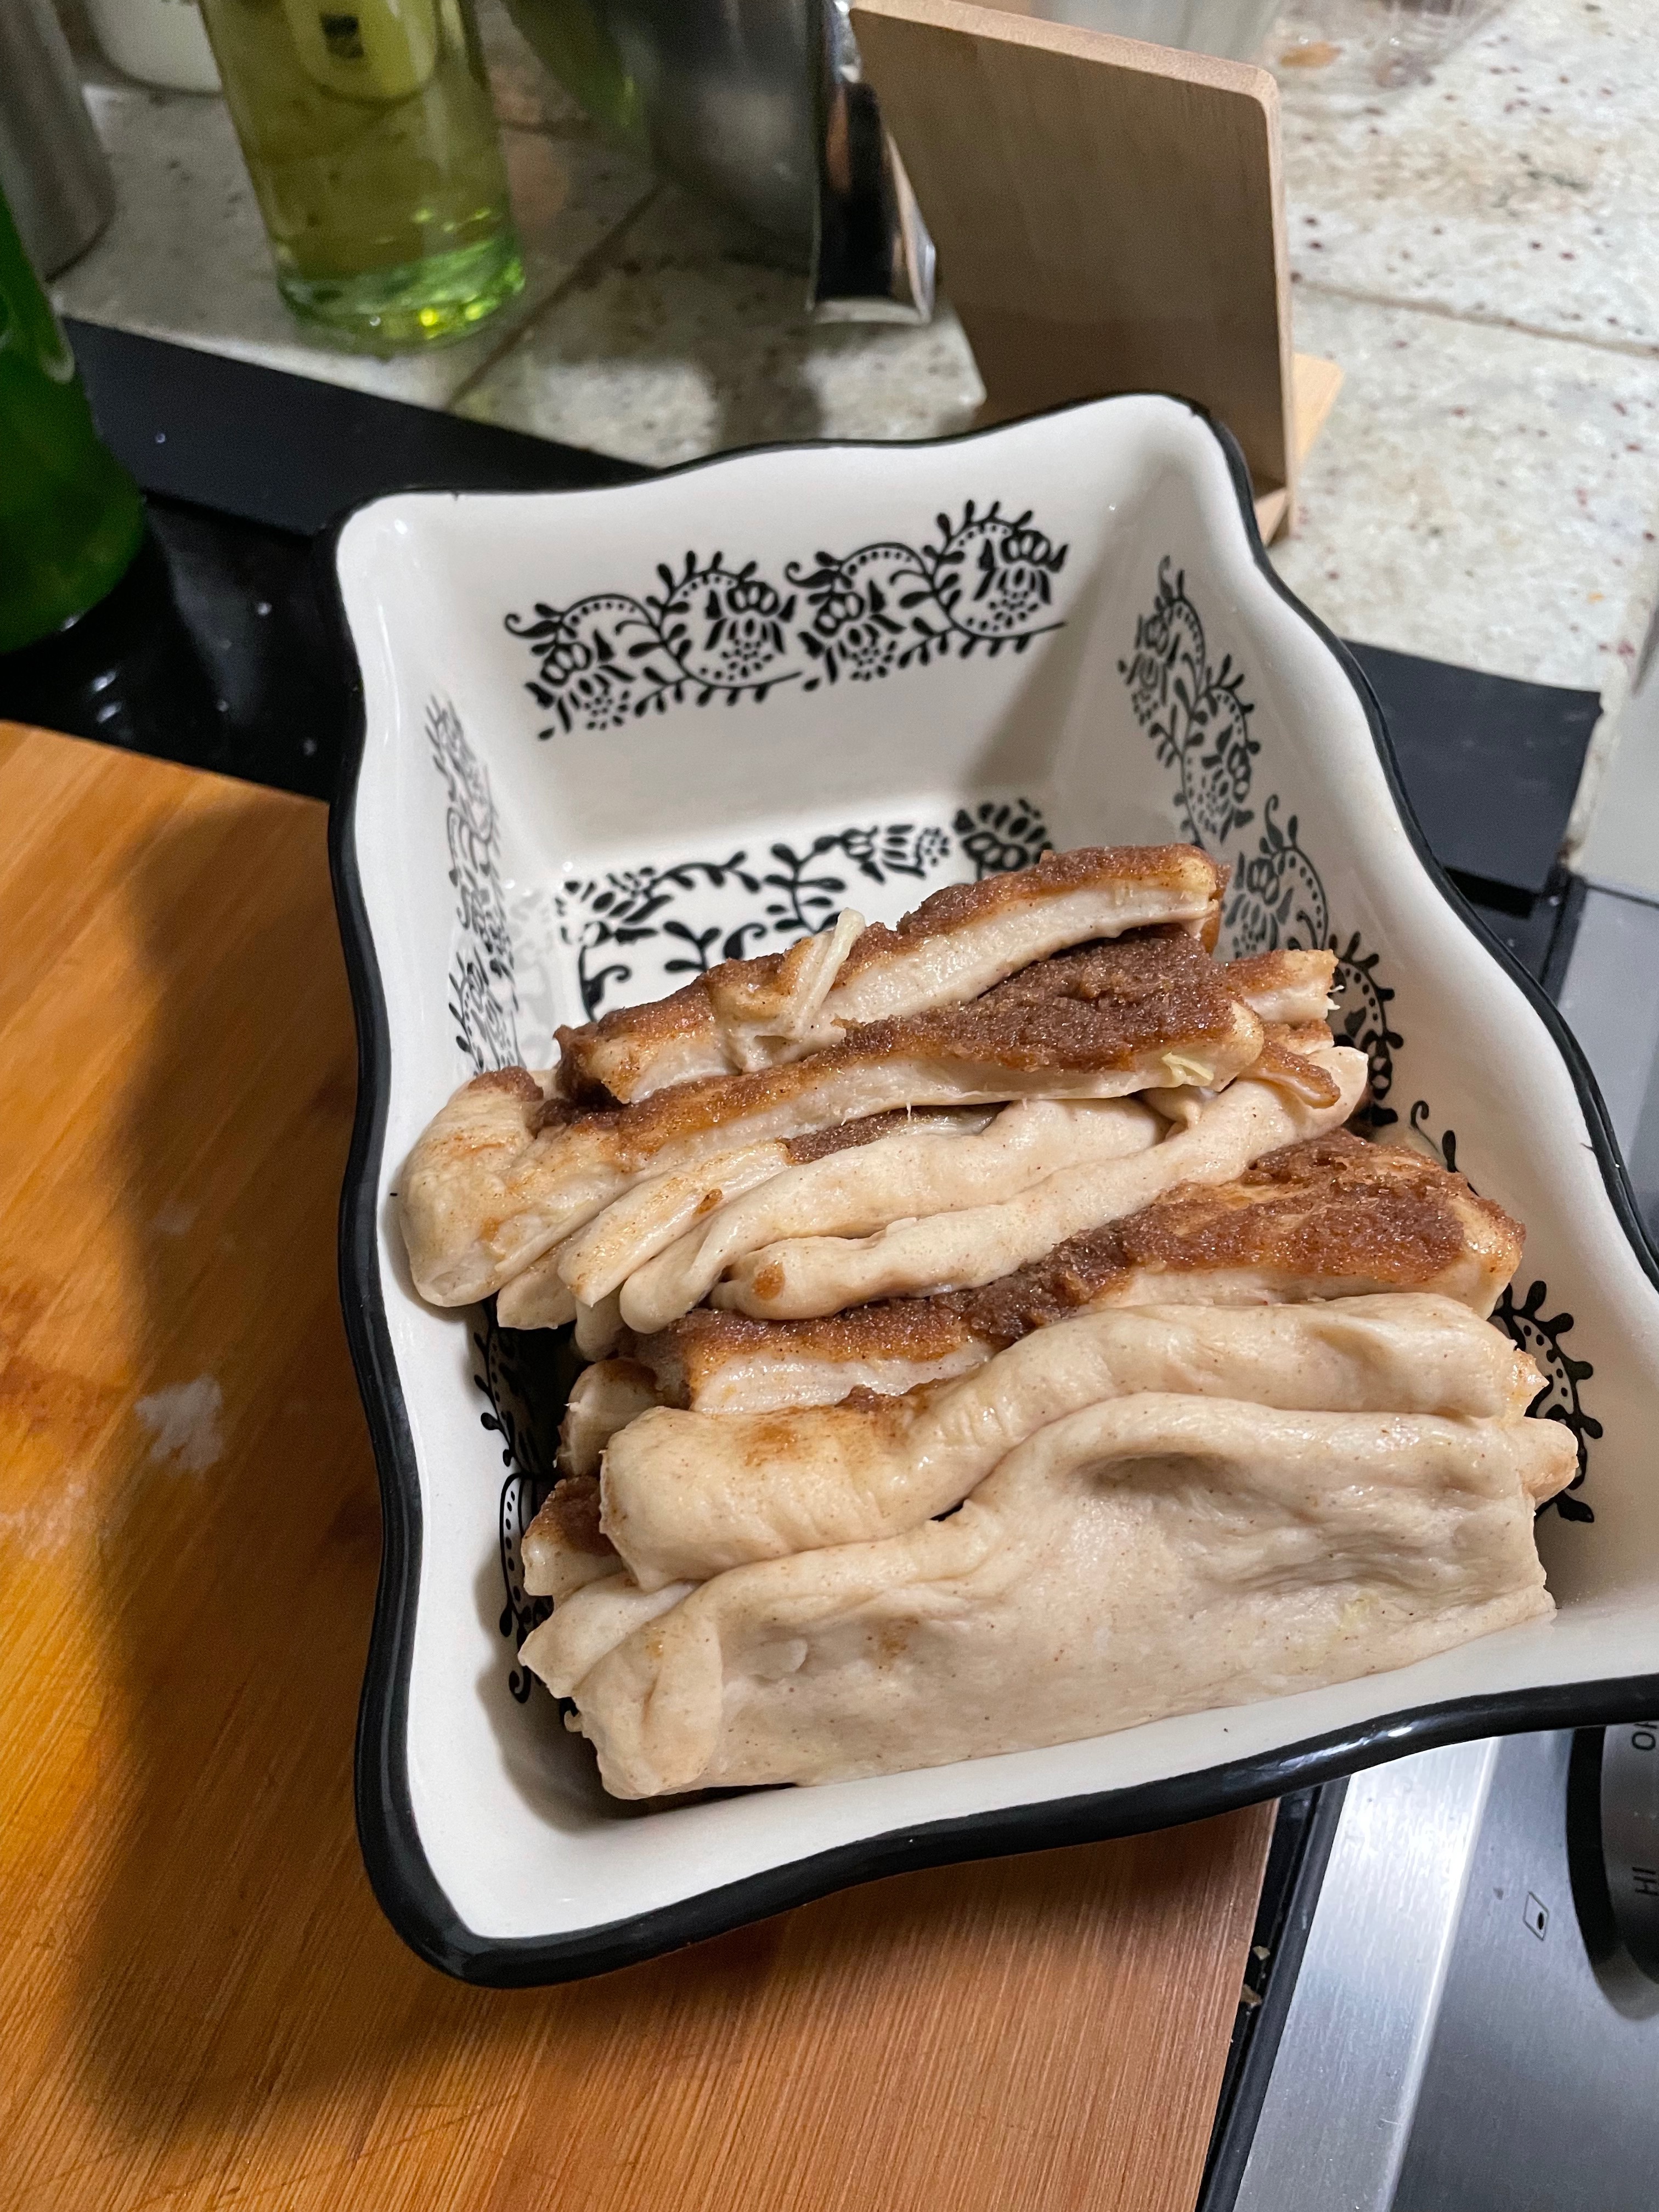
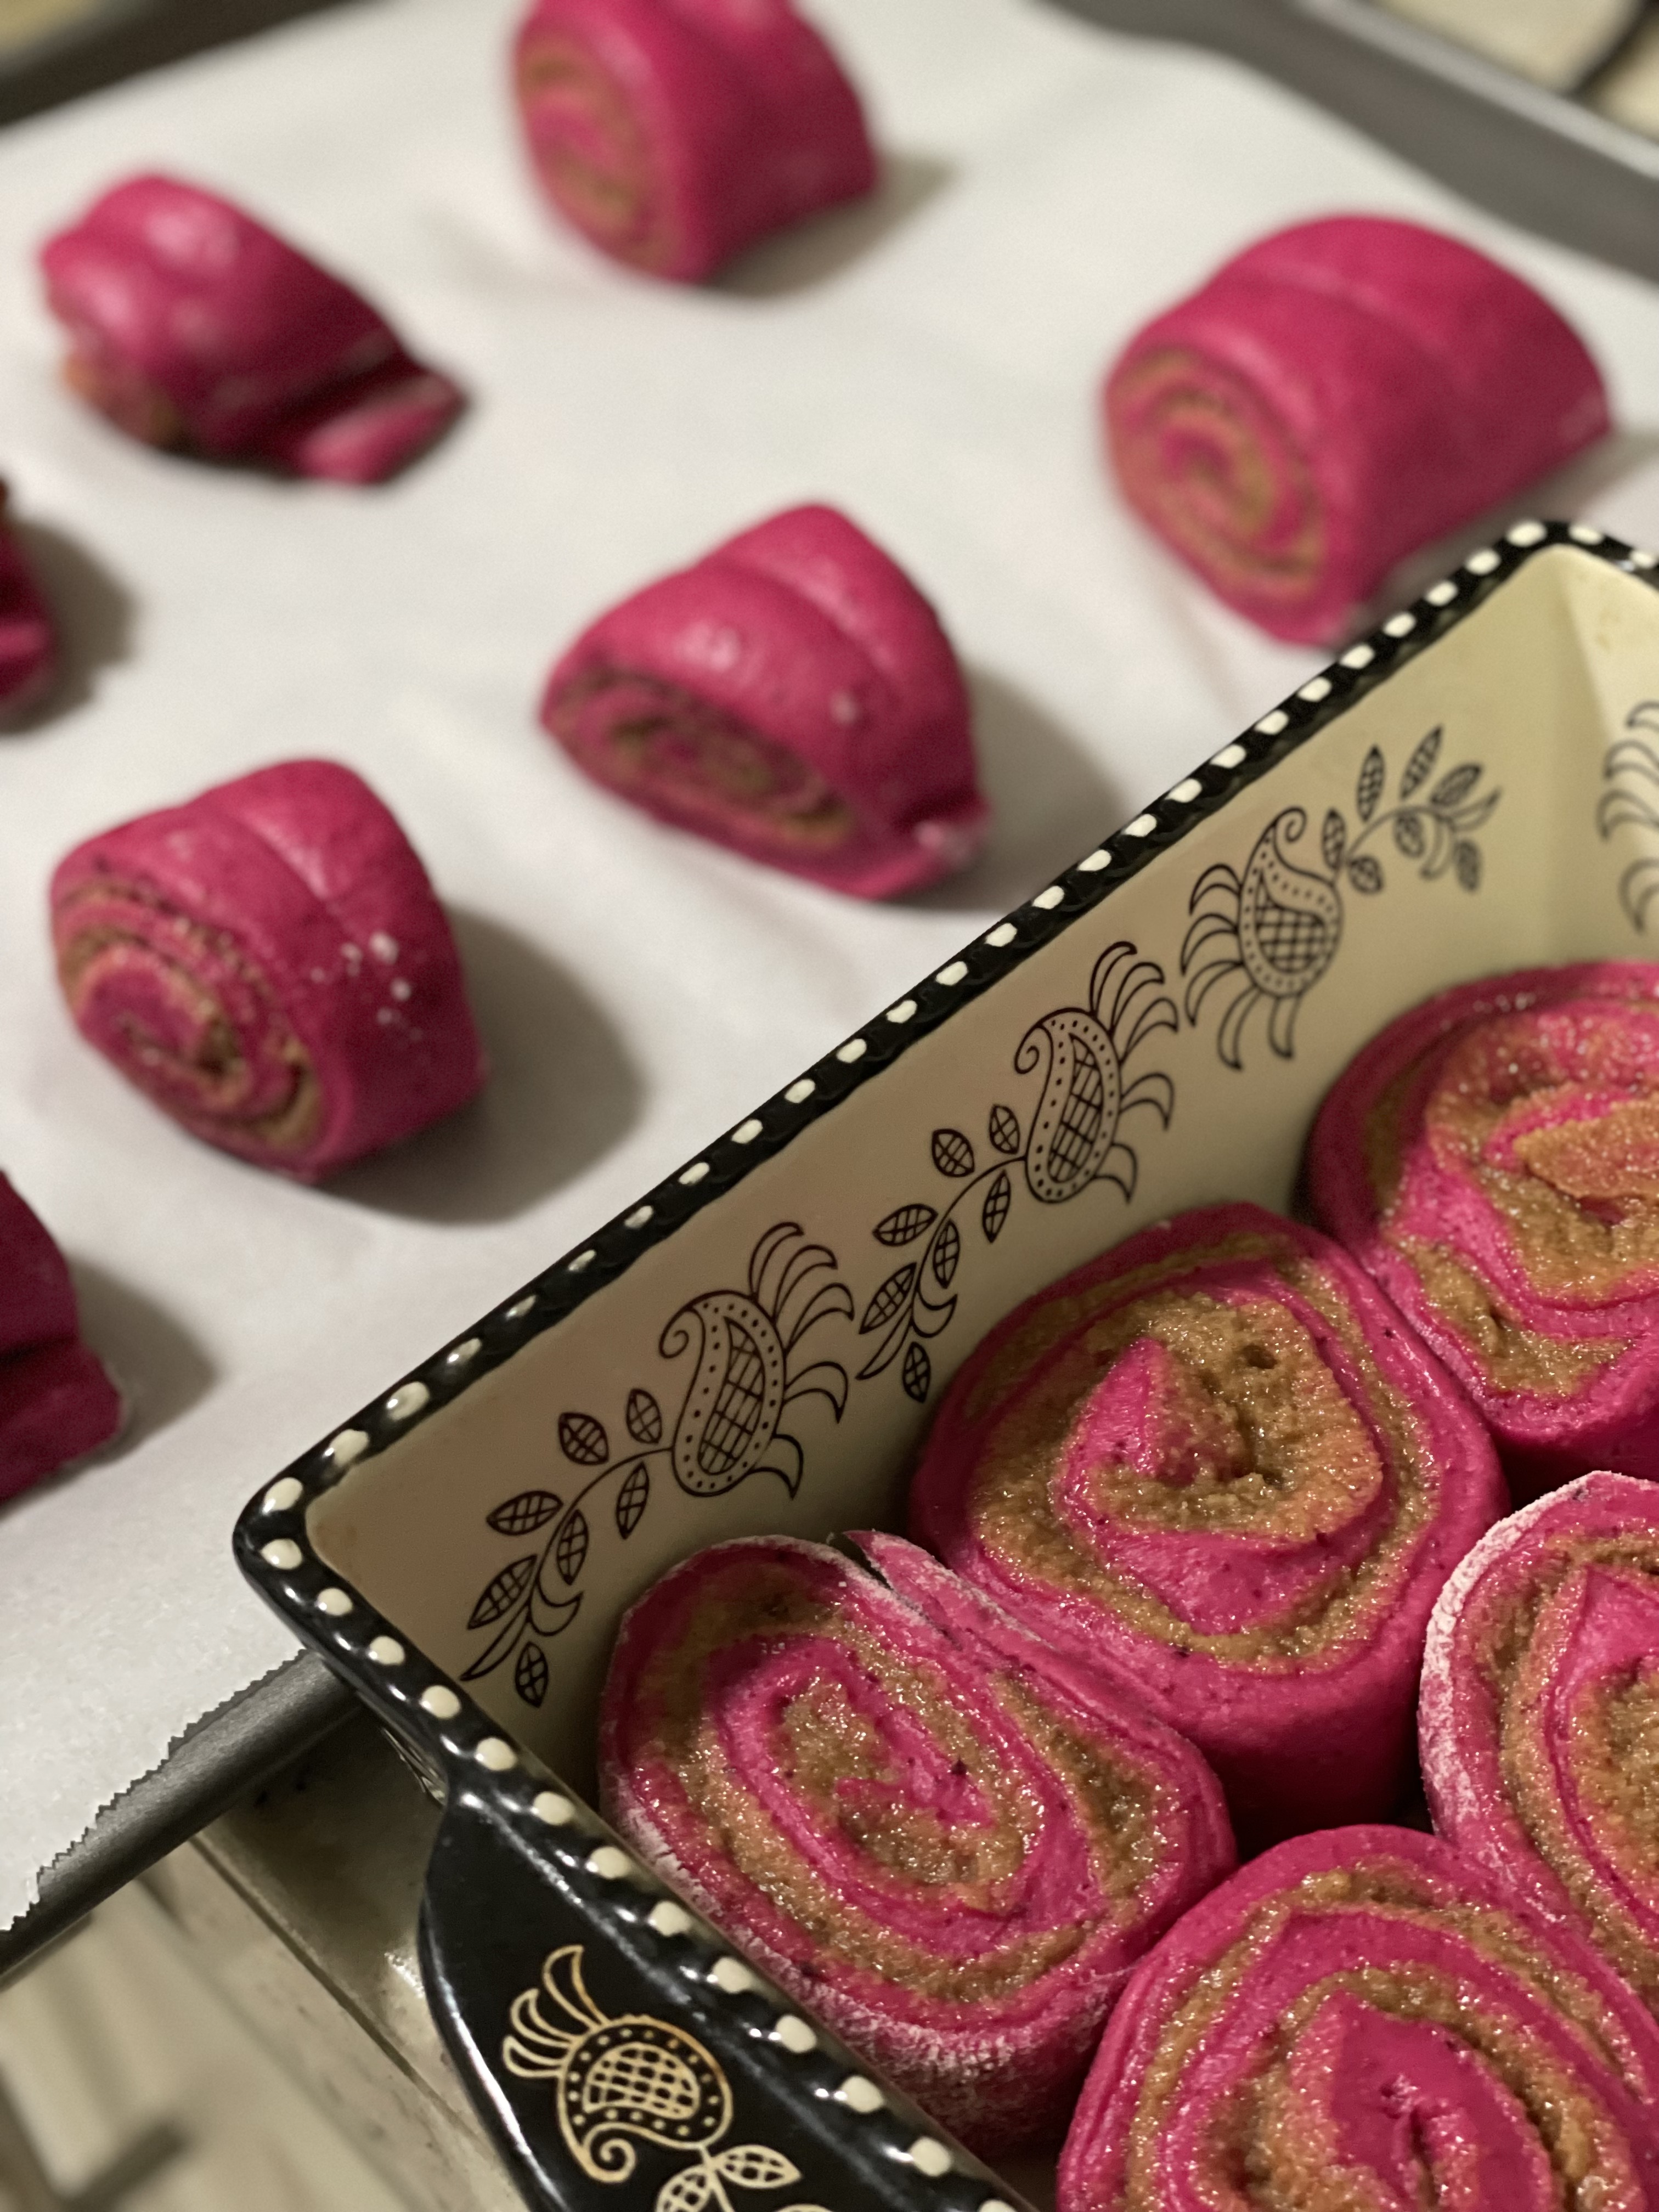
half stack 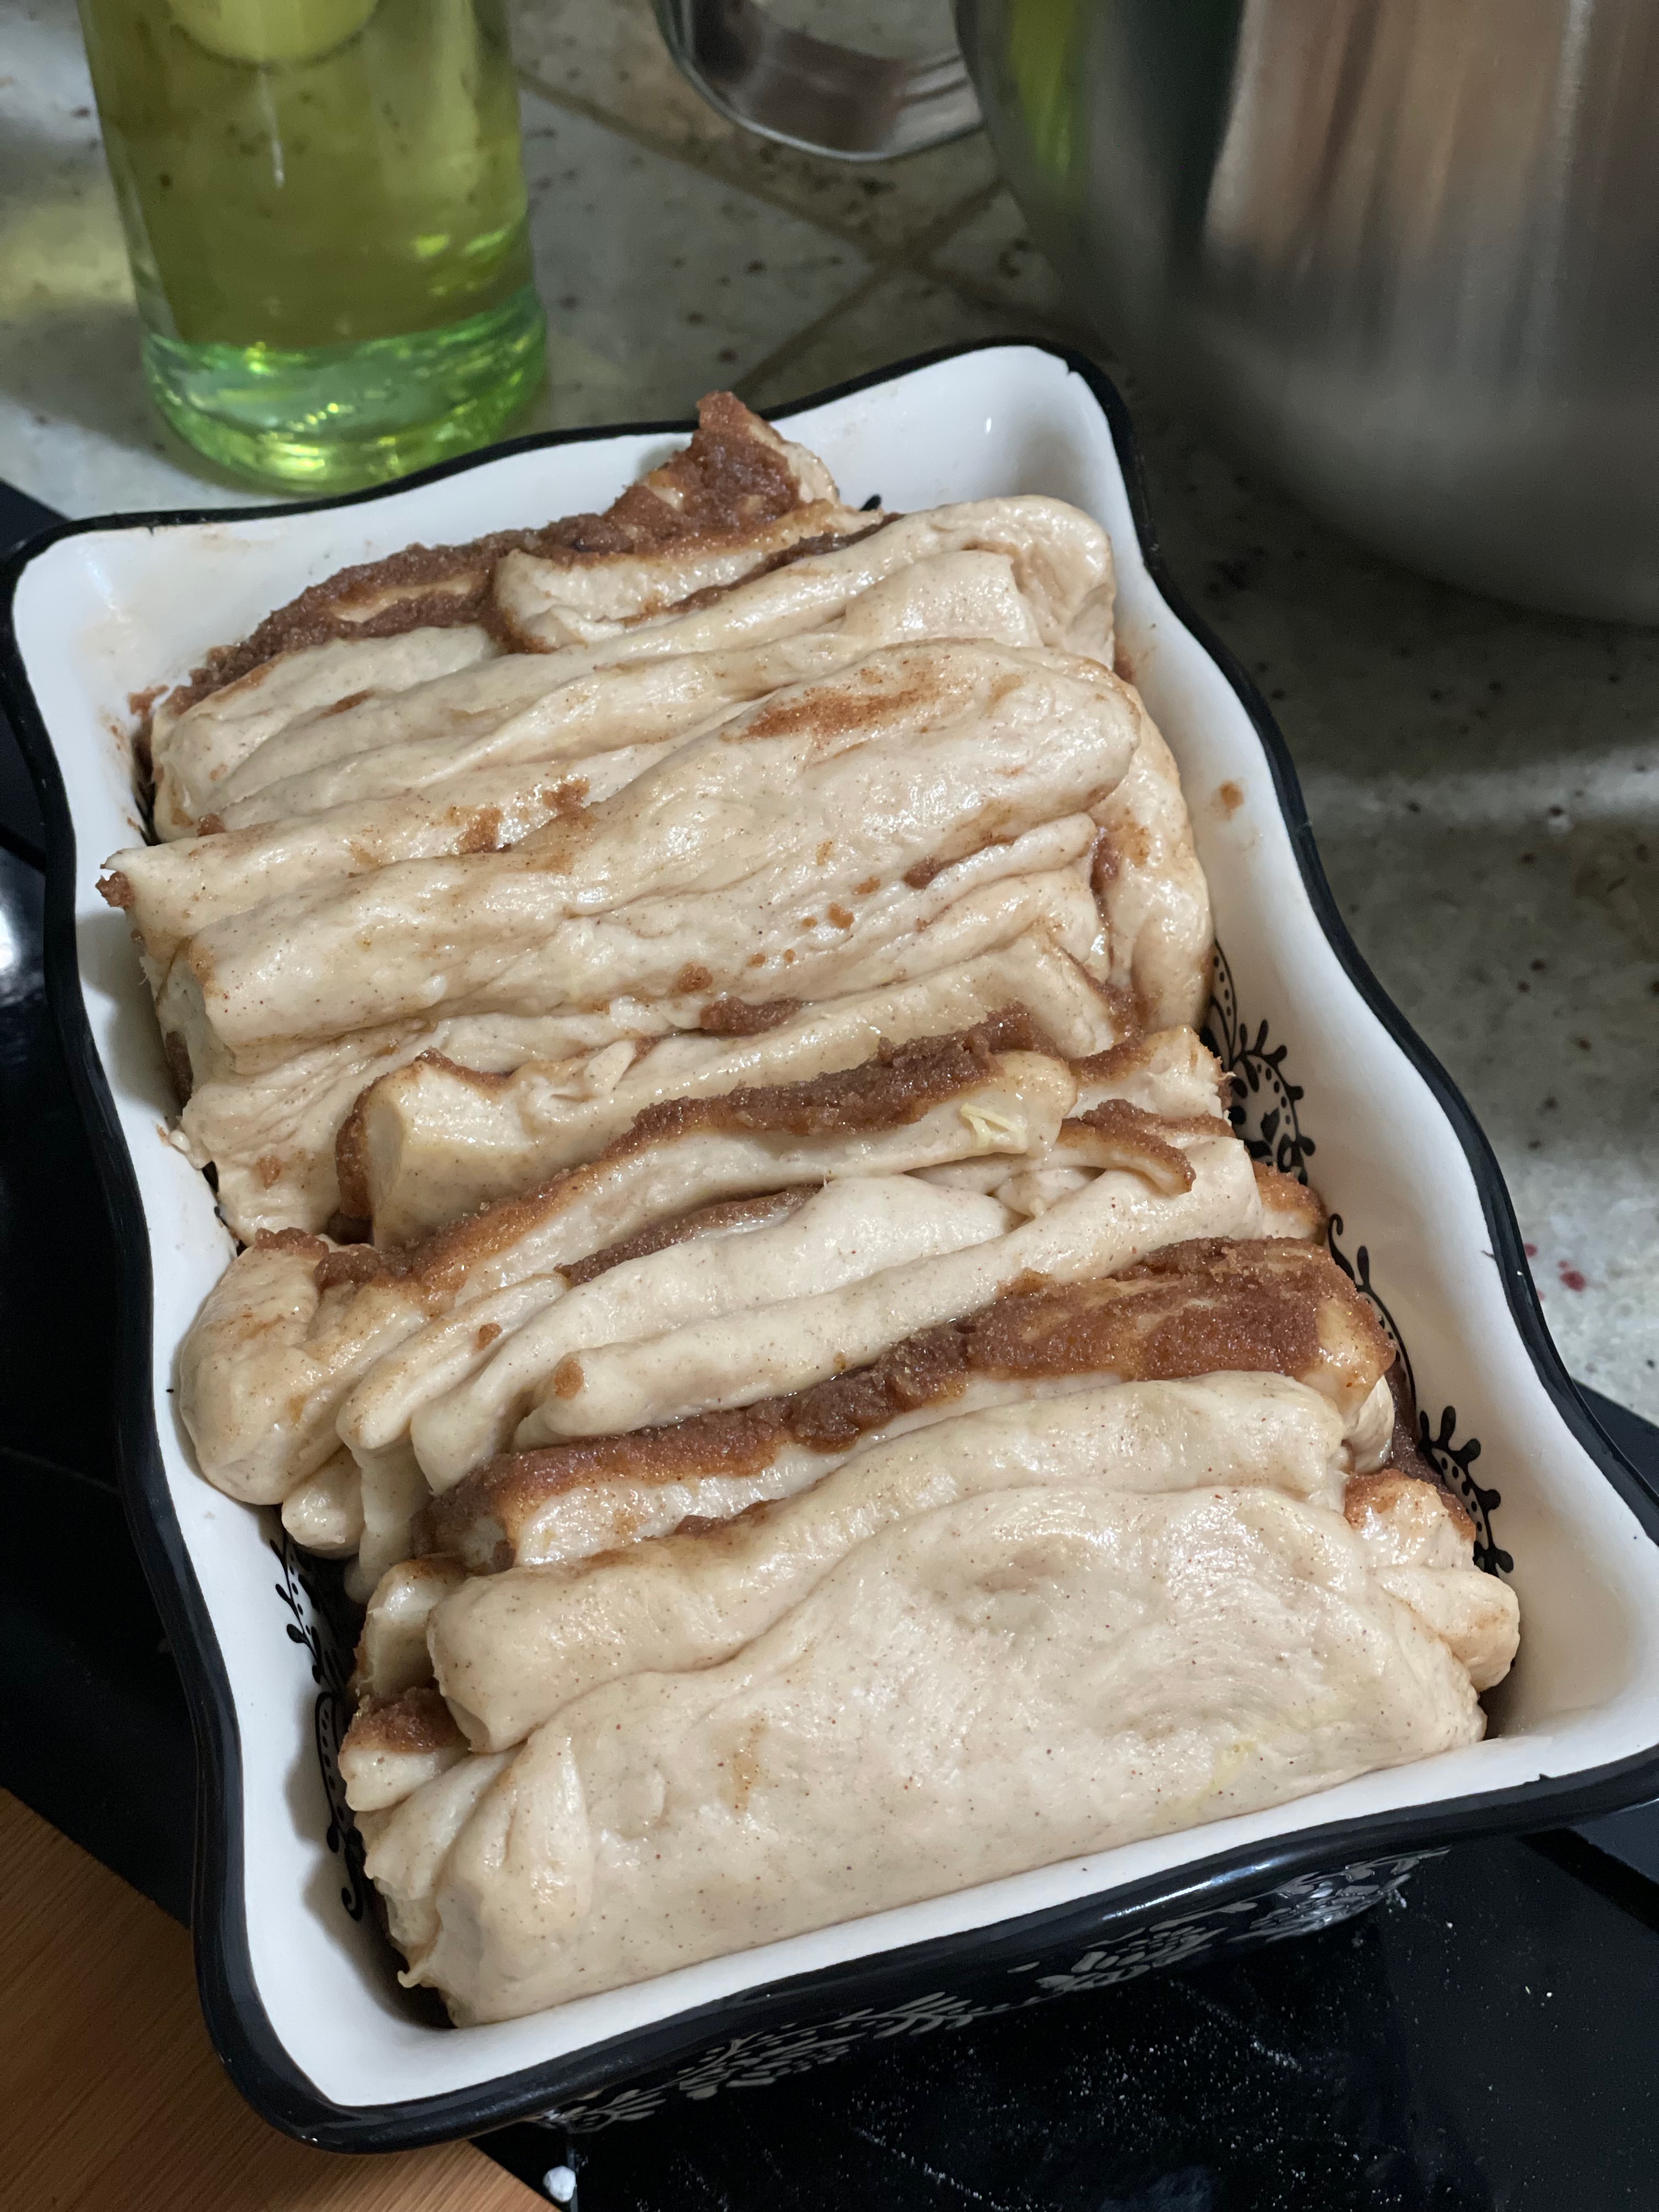
full stack 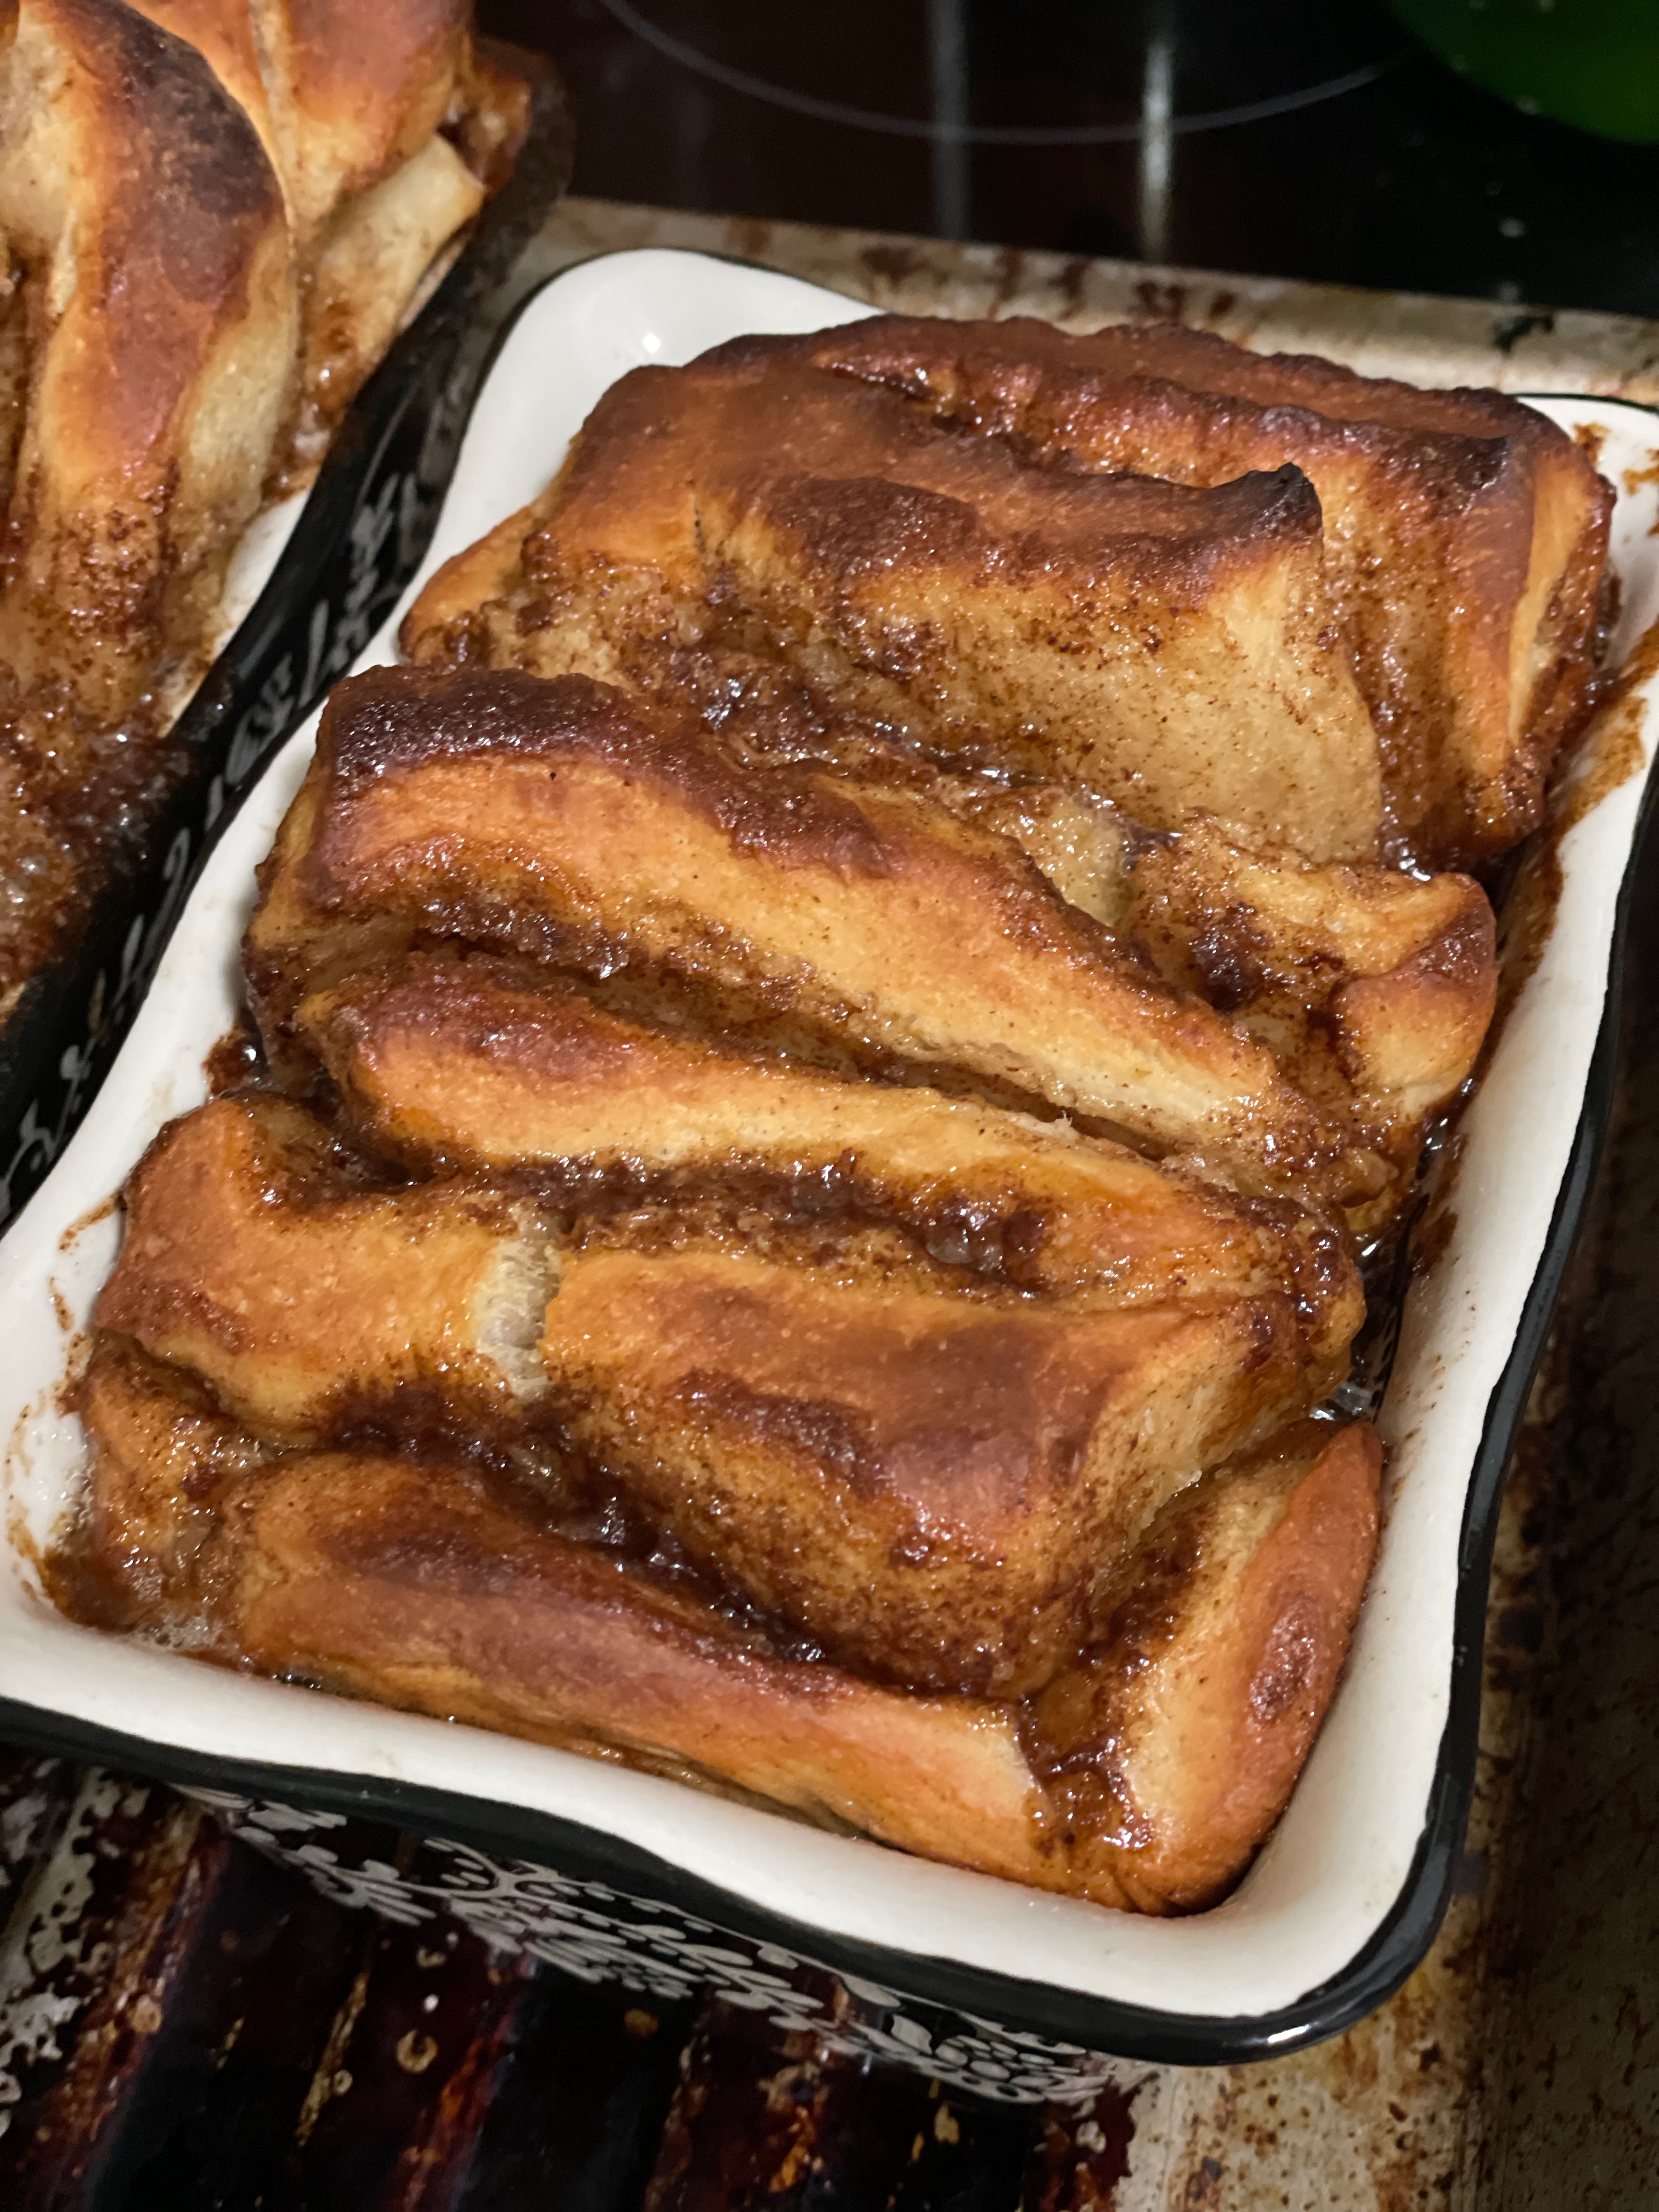
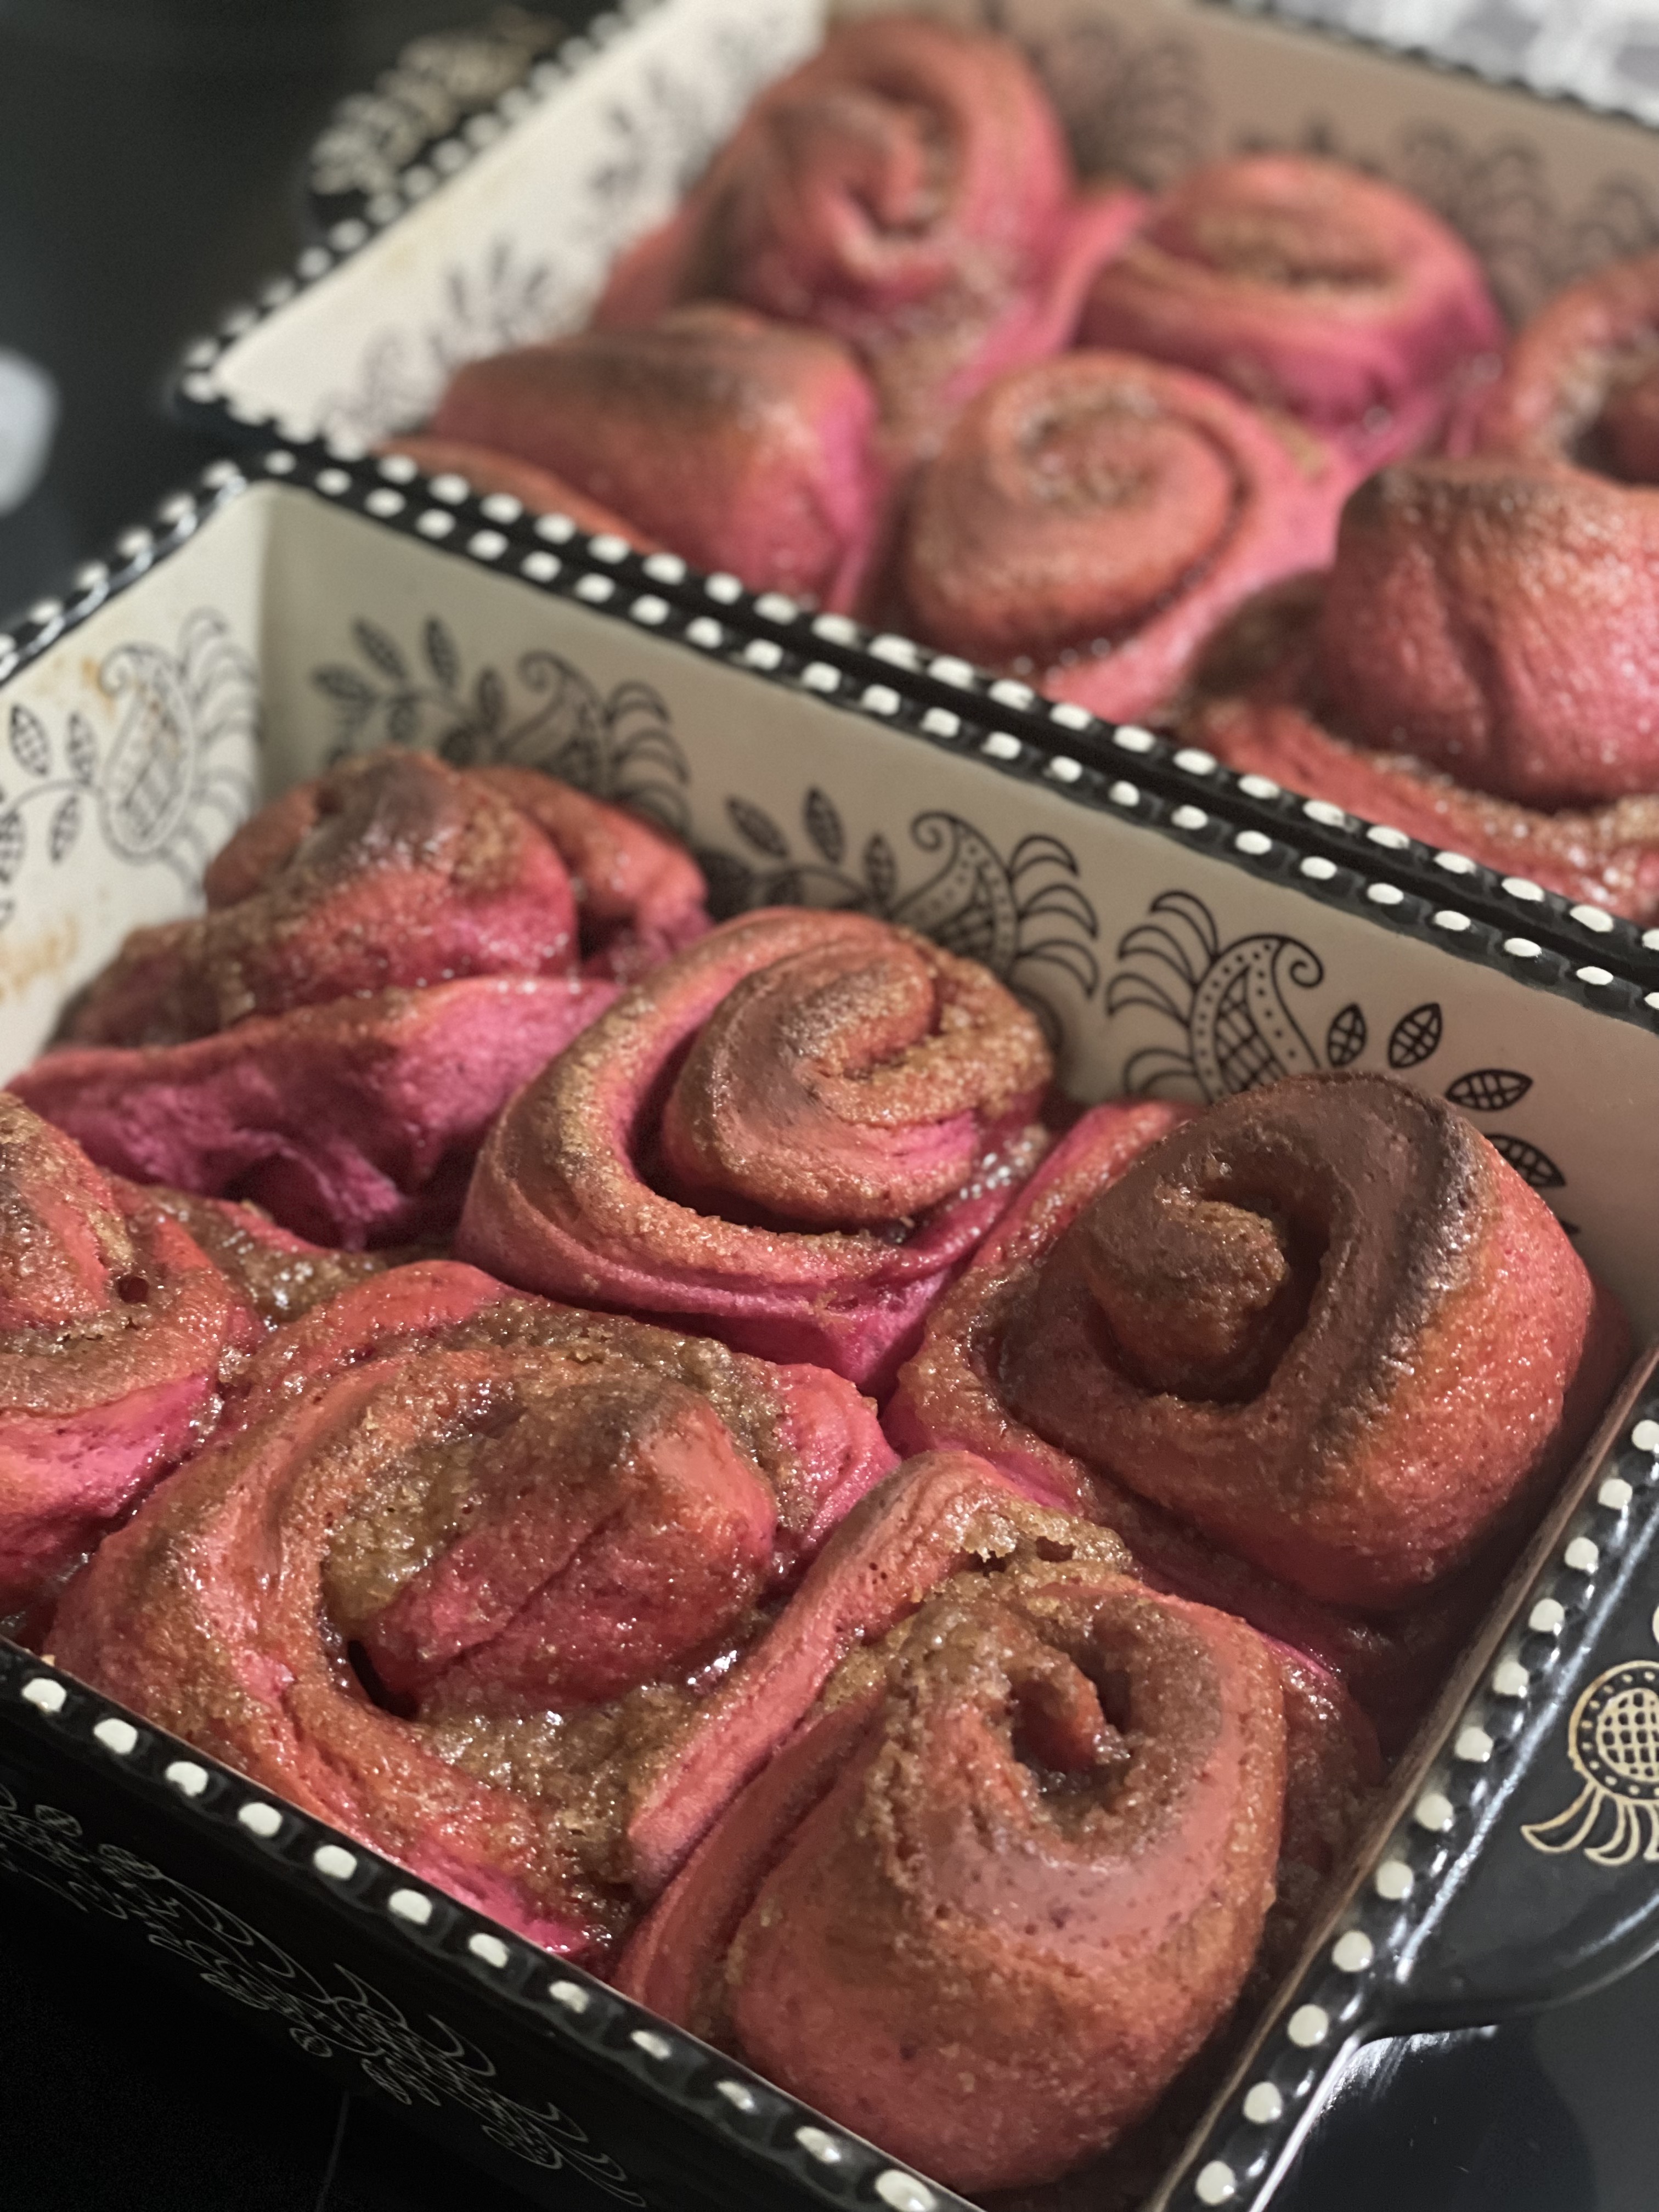
baked 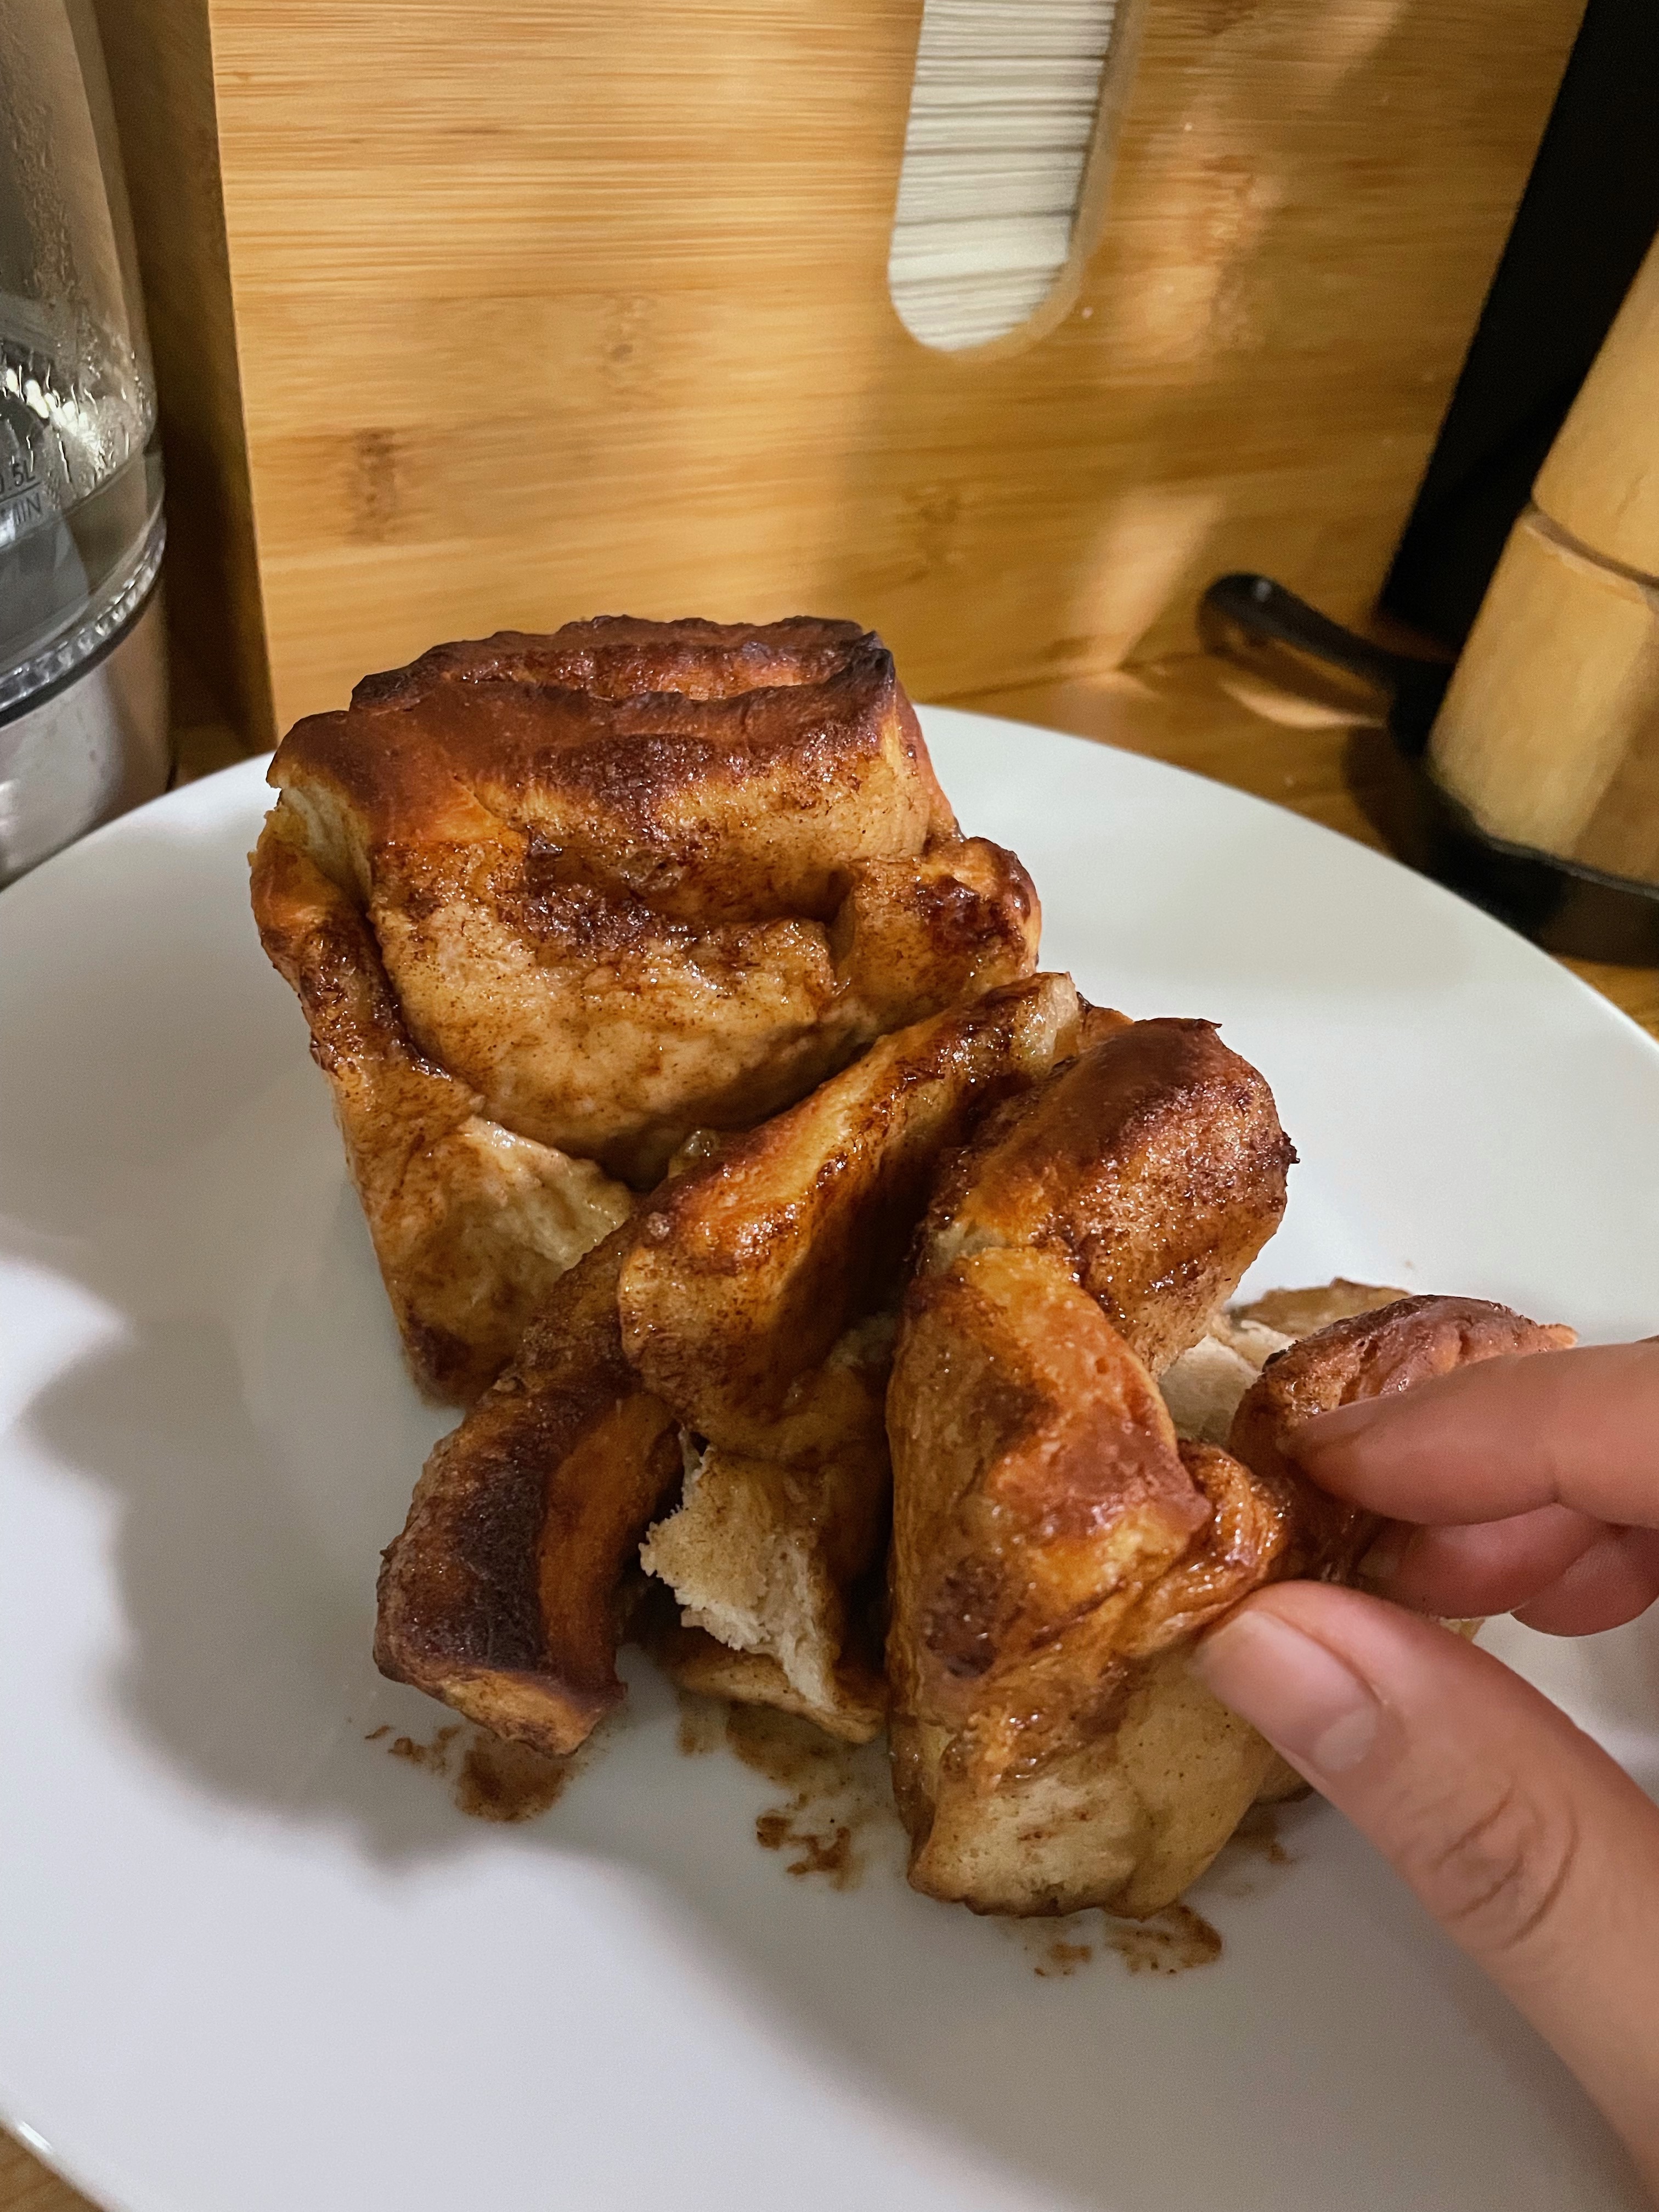
pull
Pumpkin Cinnamon Pull Apart Bread
Equipment
- Stand mixer optional
- loaf pans
Ingredients
Dough
- 4.5 tsp yeast dry active
- 1/4 cup warm water
- 1 tsp honey
- 1 cup buttermilk
- 1 cup pumpkin puree
- 1 egg
- 1/2 cup sugar
- 1/4 cup vegetable oil
- 1 tsp salt
- 1 tbsp cinnamon
- 6 cups flour all purpose
Filling
- 6 tbsp butter softened
- 1 tbsp cinnamon
- 3/4 cup brown sugar
Instructions
- Bloom yeast in warm water and honey. Mix all together and allow to sit until mixture is foamy.
- Mix yeast mixture with remaining "wet" ingredients: pumpkin puree, buttermilk, egg, sugar, oil, and cinnamon.
- When wet mixture is fully combined, add flour and salt, and mix using the hook attachment until combined.
- Coat dough/bowl in neutral oil and leave to rise until doubled, about 2 hours.
- To make filling, mix softened butter, cinnamon, and brown sugar until combined. Set aside.
- After dough has doubled, split in half and roll out into an approximate 12" x 18" rectangle.
- Spread half of the filling mixture evenly onto the rectangle.
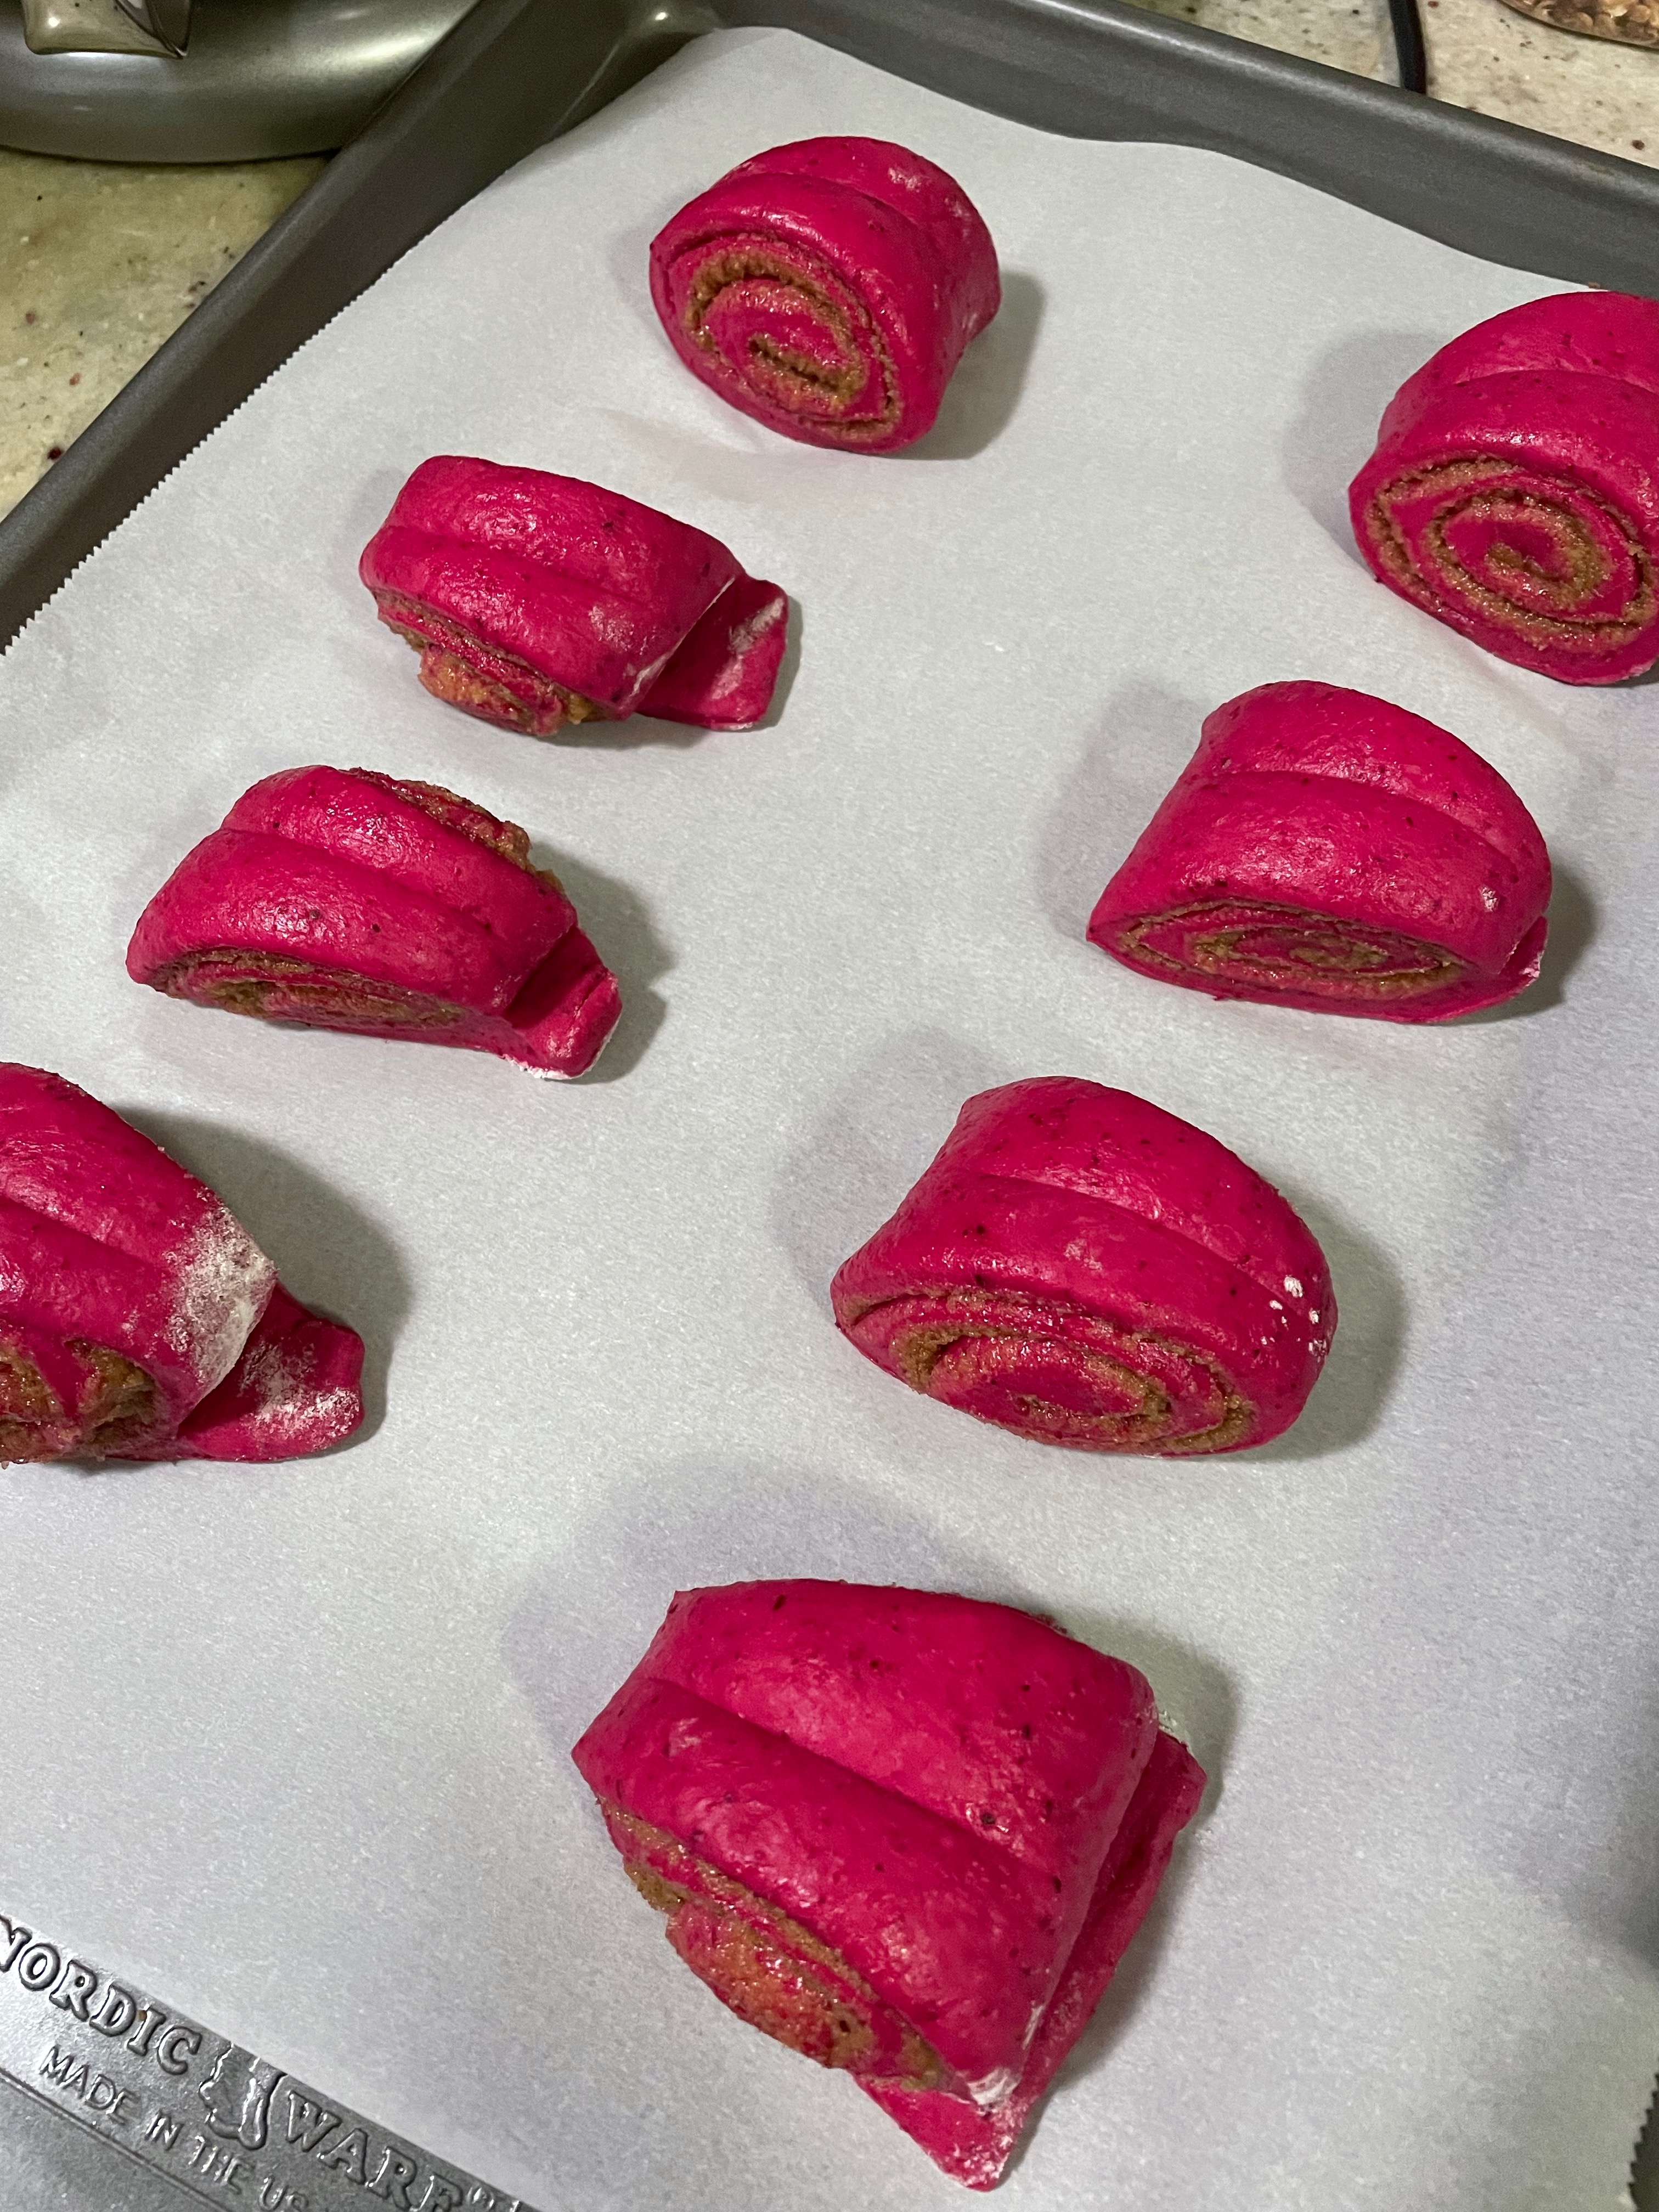
- Cut the rectangle into 3" x 3" squares. You should have 24 squares.
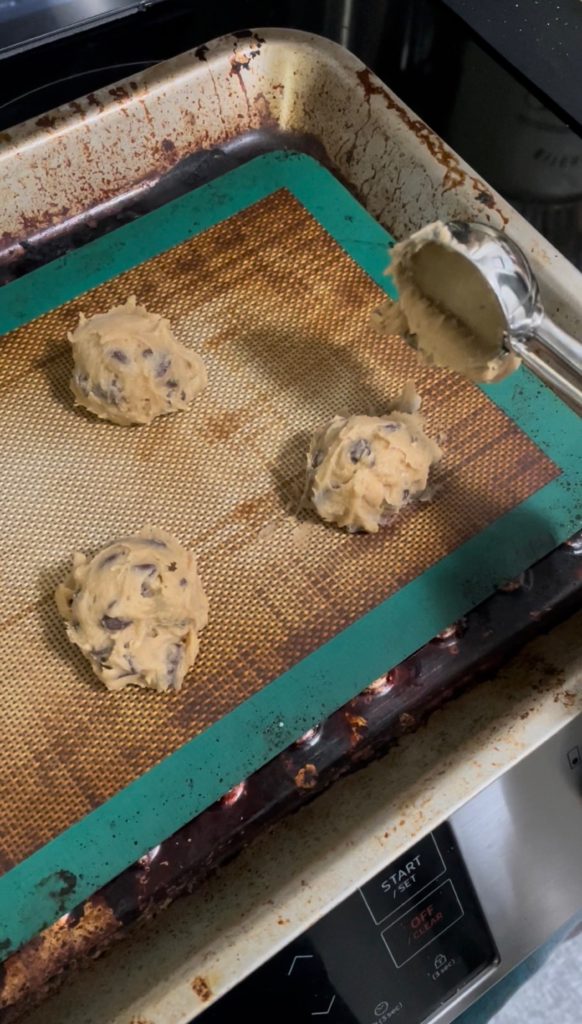
- Stack squares in loaf pan.
- Repeat with with second half of dough.
- Let rise additional 30 minutes.
- Bake for 15-20 minutes at 400F until lightly browned and fluffy.
Want to try some other desserts? Check out Beet Cinnamon Rolls or Crispy Gooey Chocolate Chip Cookies.
Have extra pumpkin? Try Pumpkin Panang Curry with Spinach and Paneer.