The weather is so odd. I was expecting there to be so rain and clouds at this time in October, but it’s still sunny! I can definitely tell it’s getting colder, but as long as there isn’t rain, I’m happy. I’ll absorb all of the sunlight for as long as I can before it’s gray out and I start needing to take my vitamin D supplements.
Even though summer vegetables are basically gone, I renewed by CSA through the fall to take advantage of some more hearty root vegetables and squashes. Pumpkin patches are abundant and the last of the apple varieties are ripening and orchards near the Seattle area are offering u-picks. Lucky for me, I get apples in my CSA! Other than eating my apples fresh with some peanut butter or hazelnut spread, I love them in a crumble-topped apple pie (in my opinion apple crumb is better than one of those lattice apple pies).
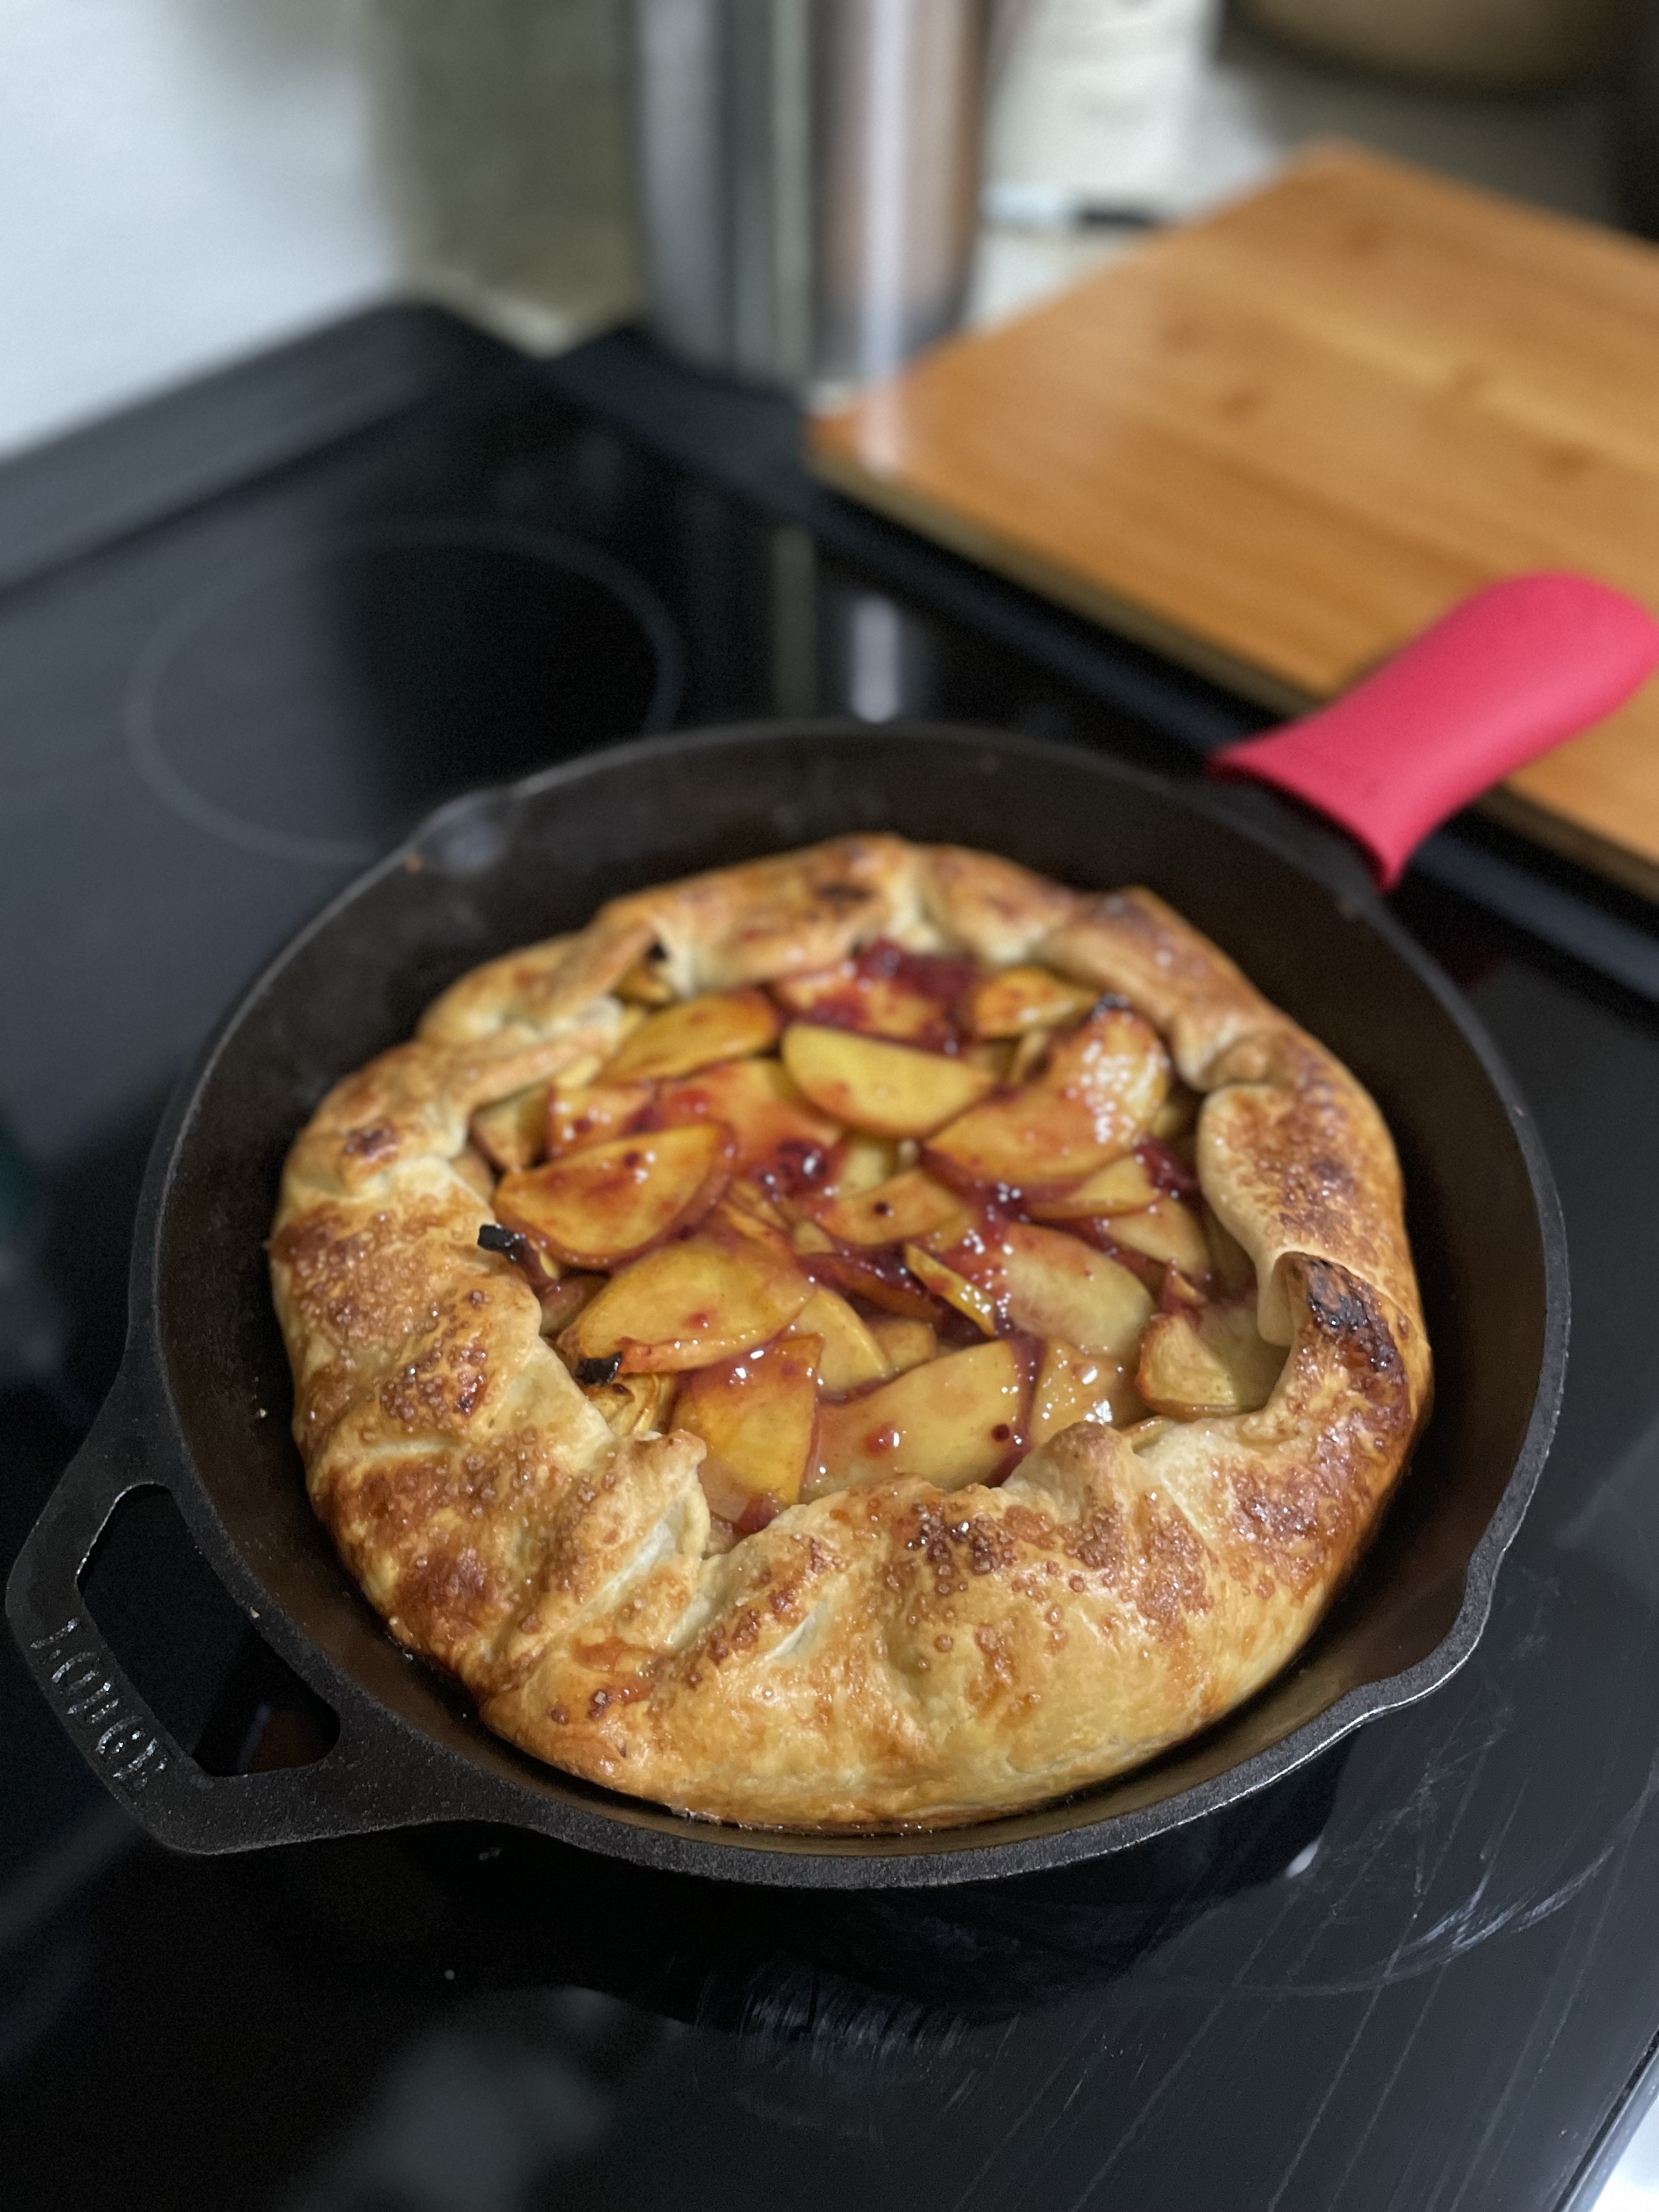
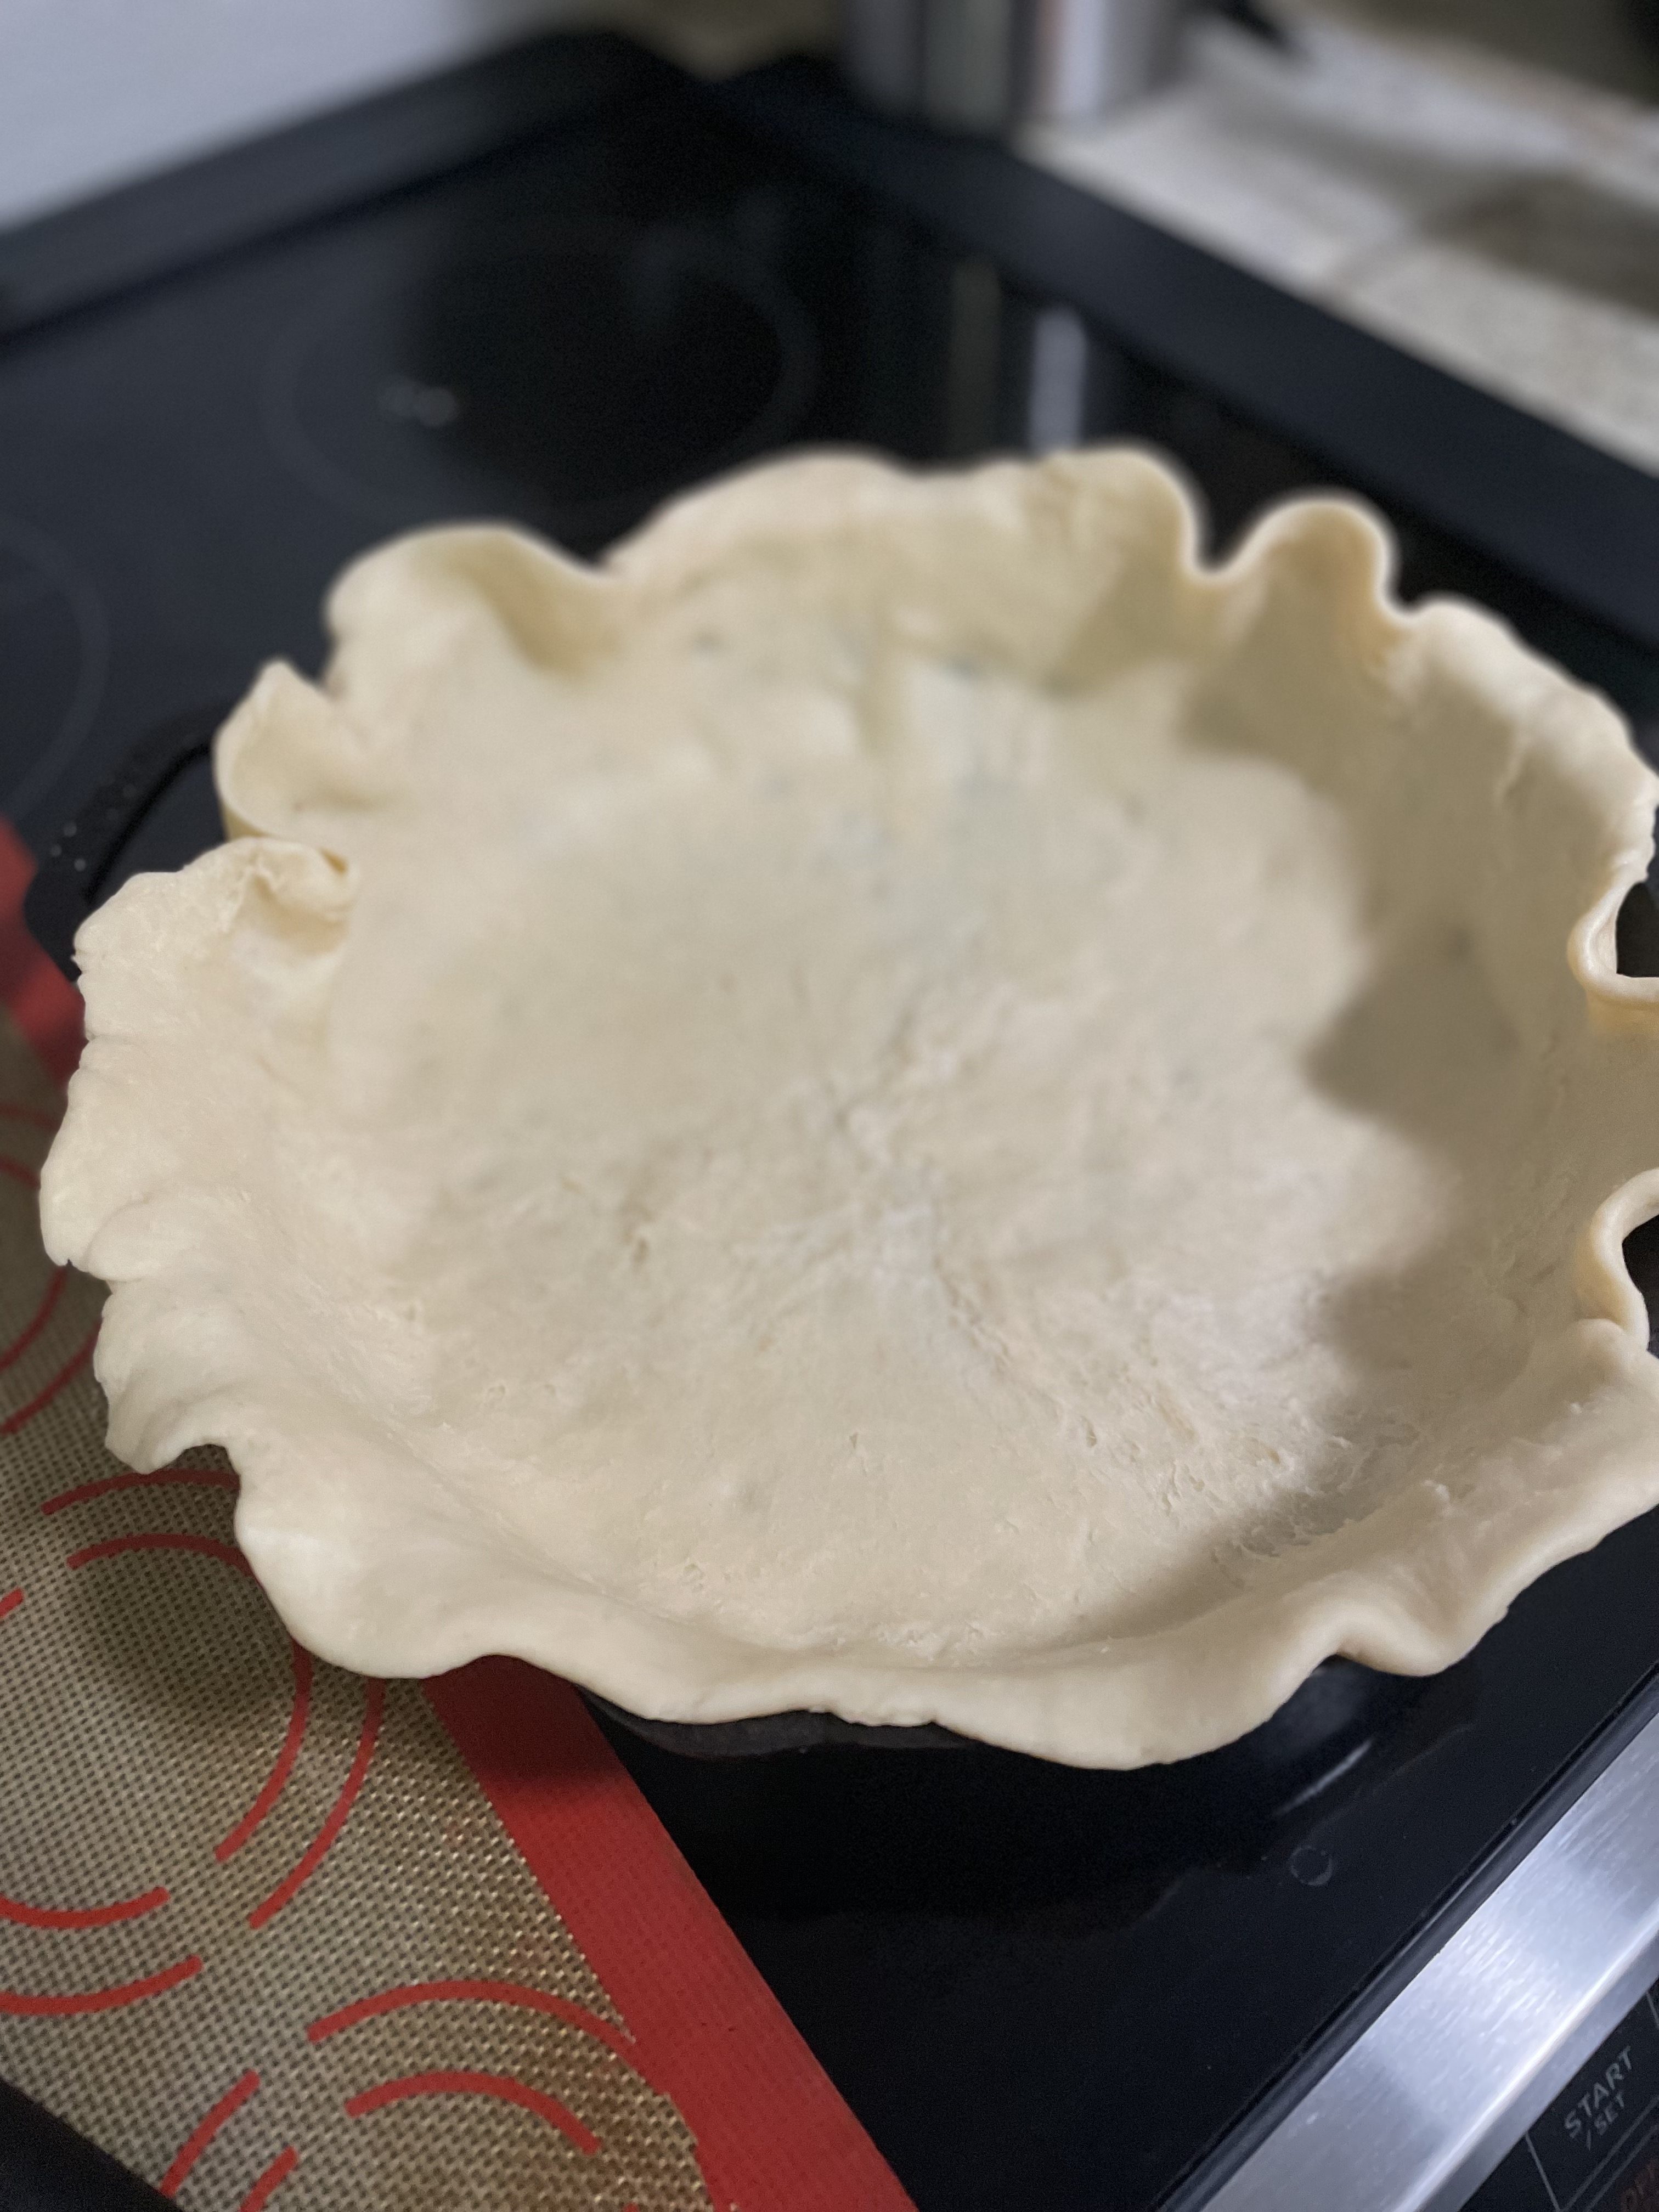
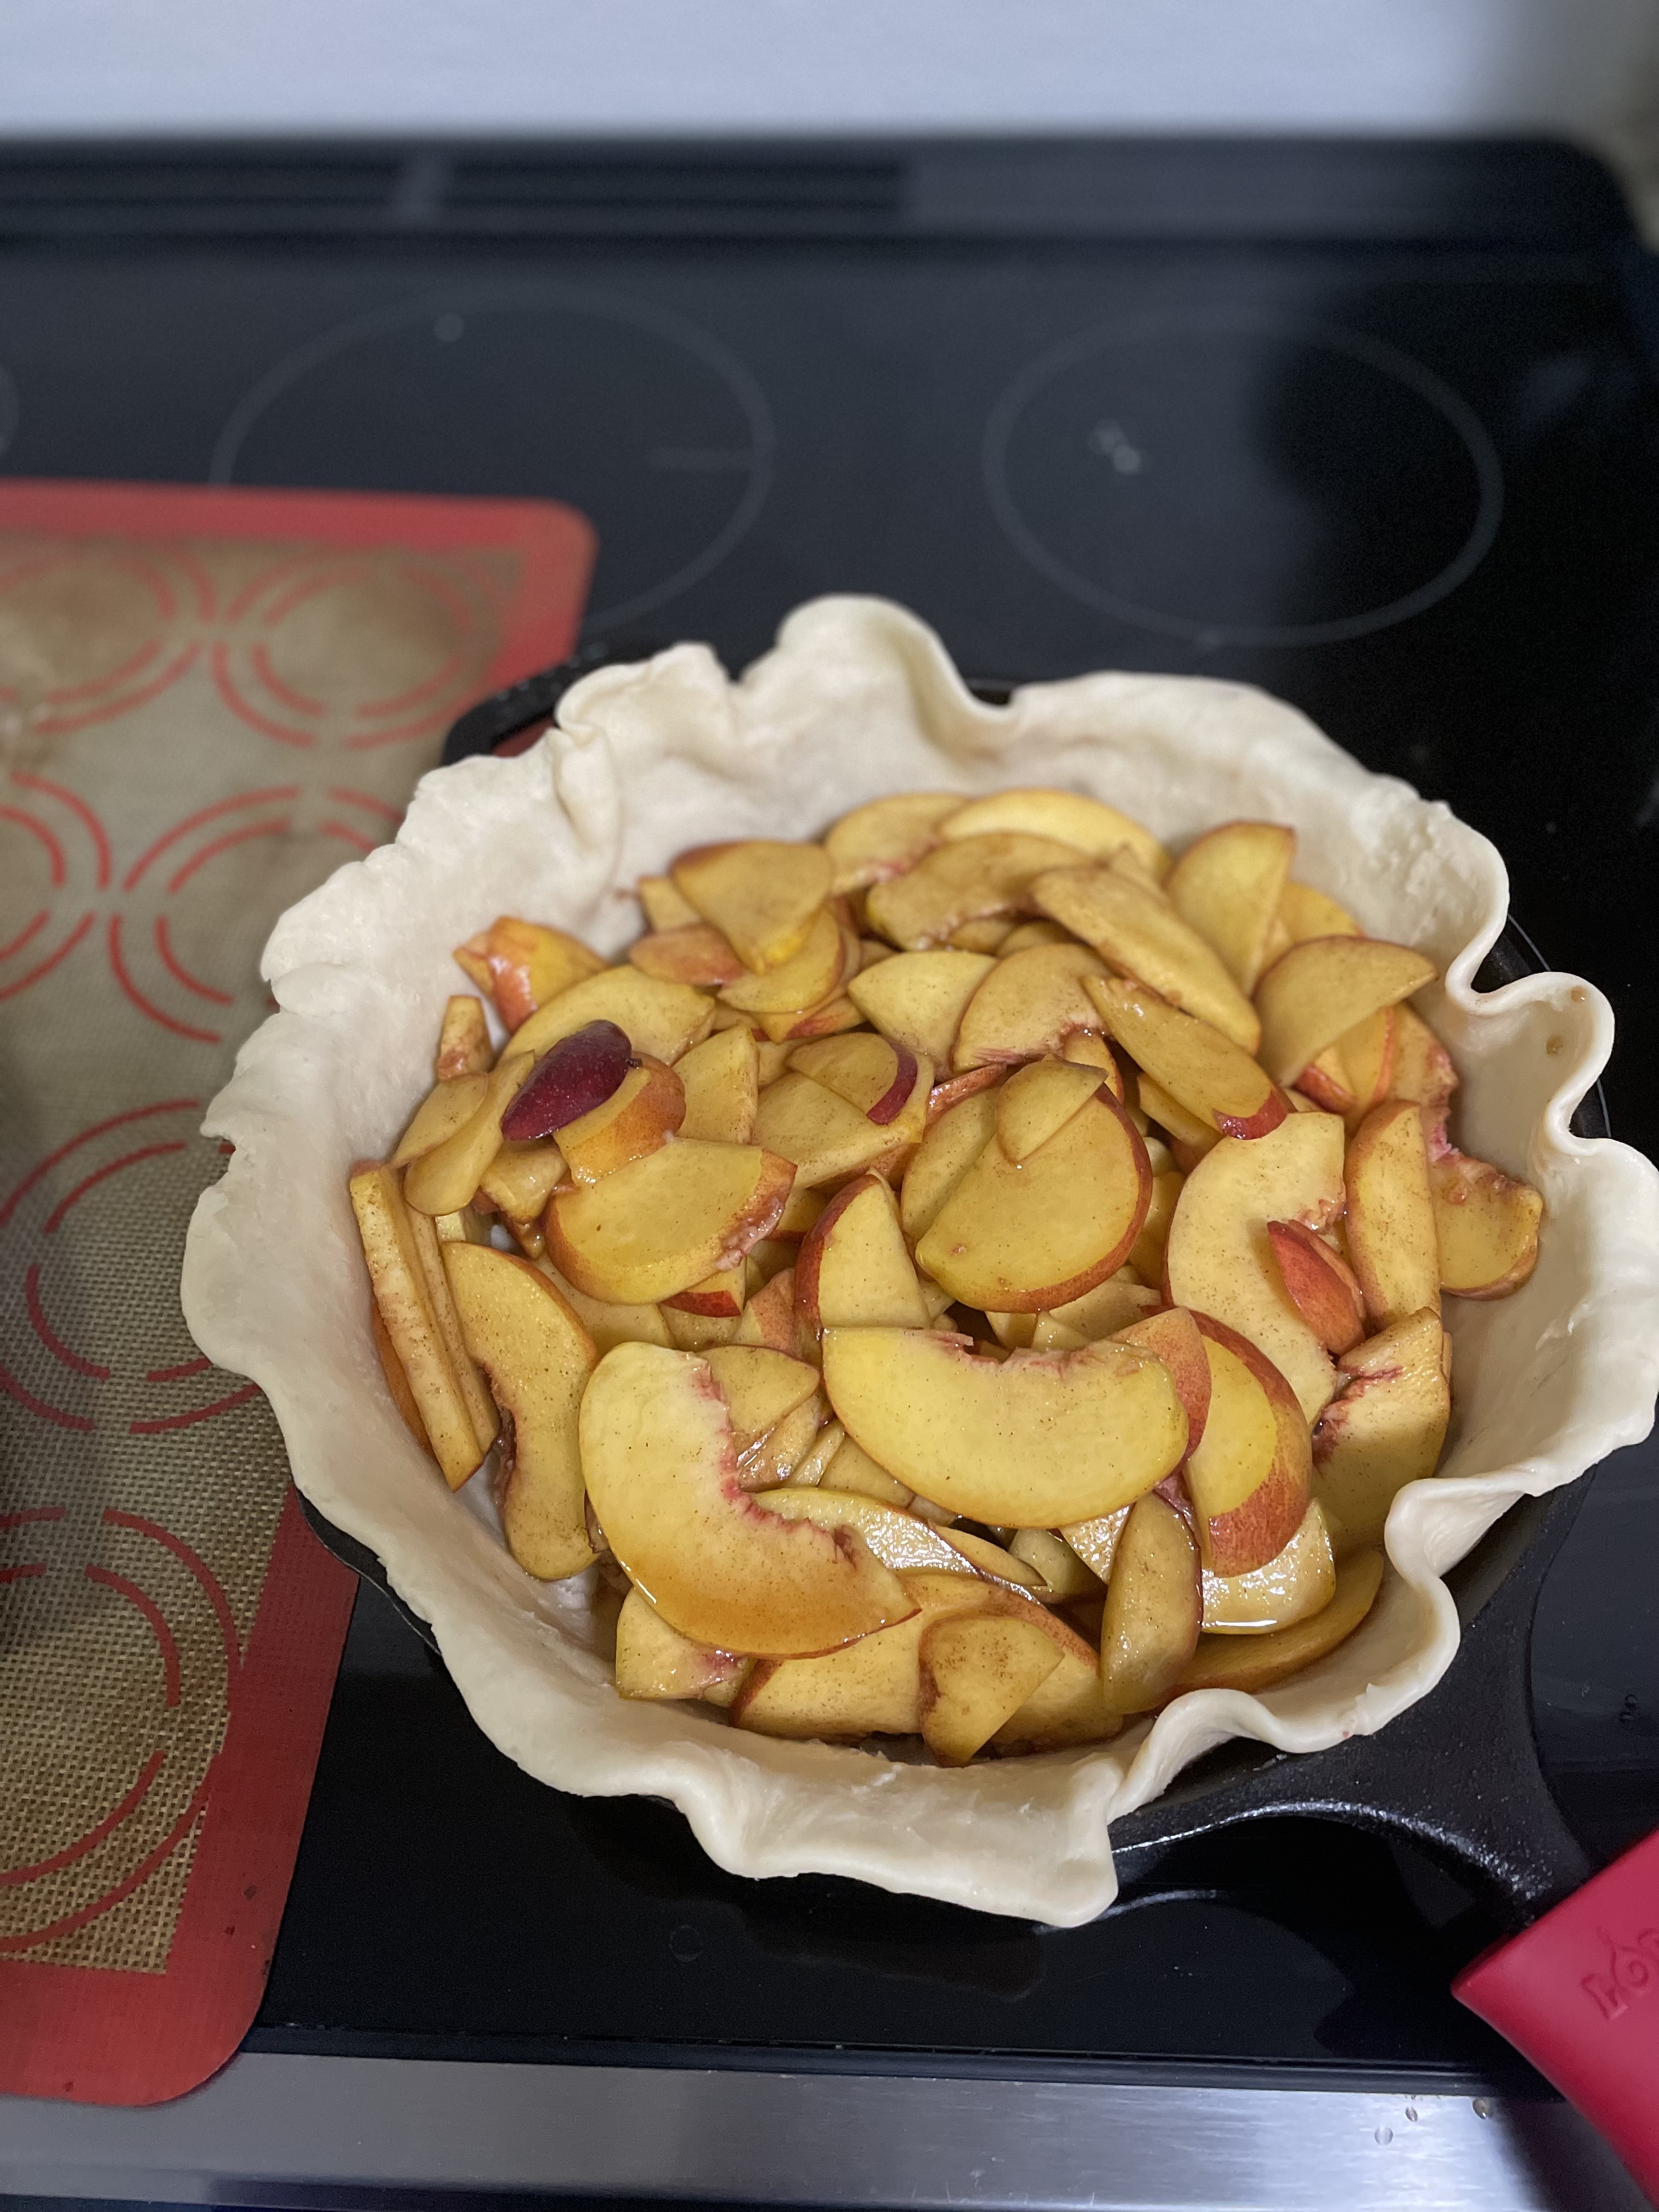
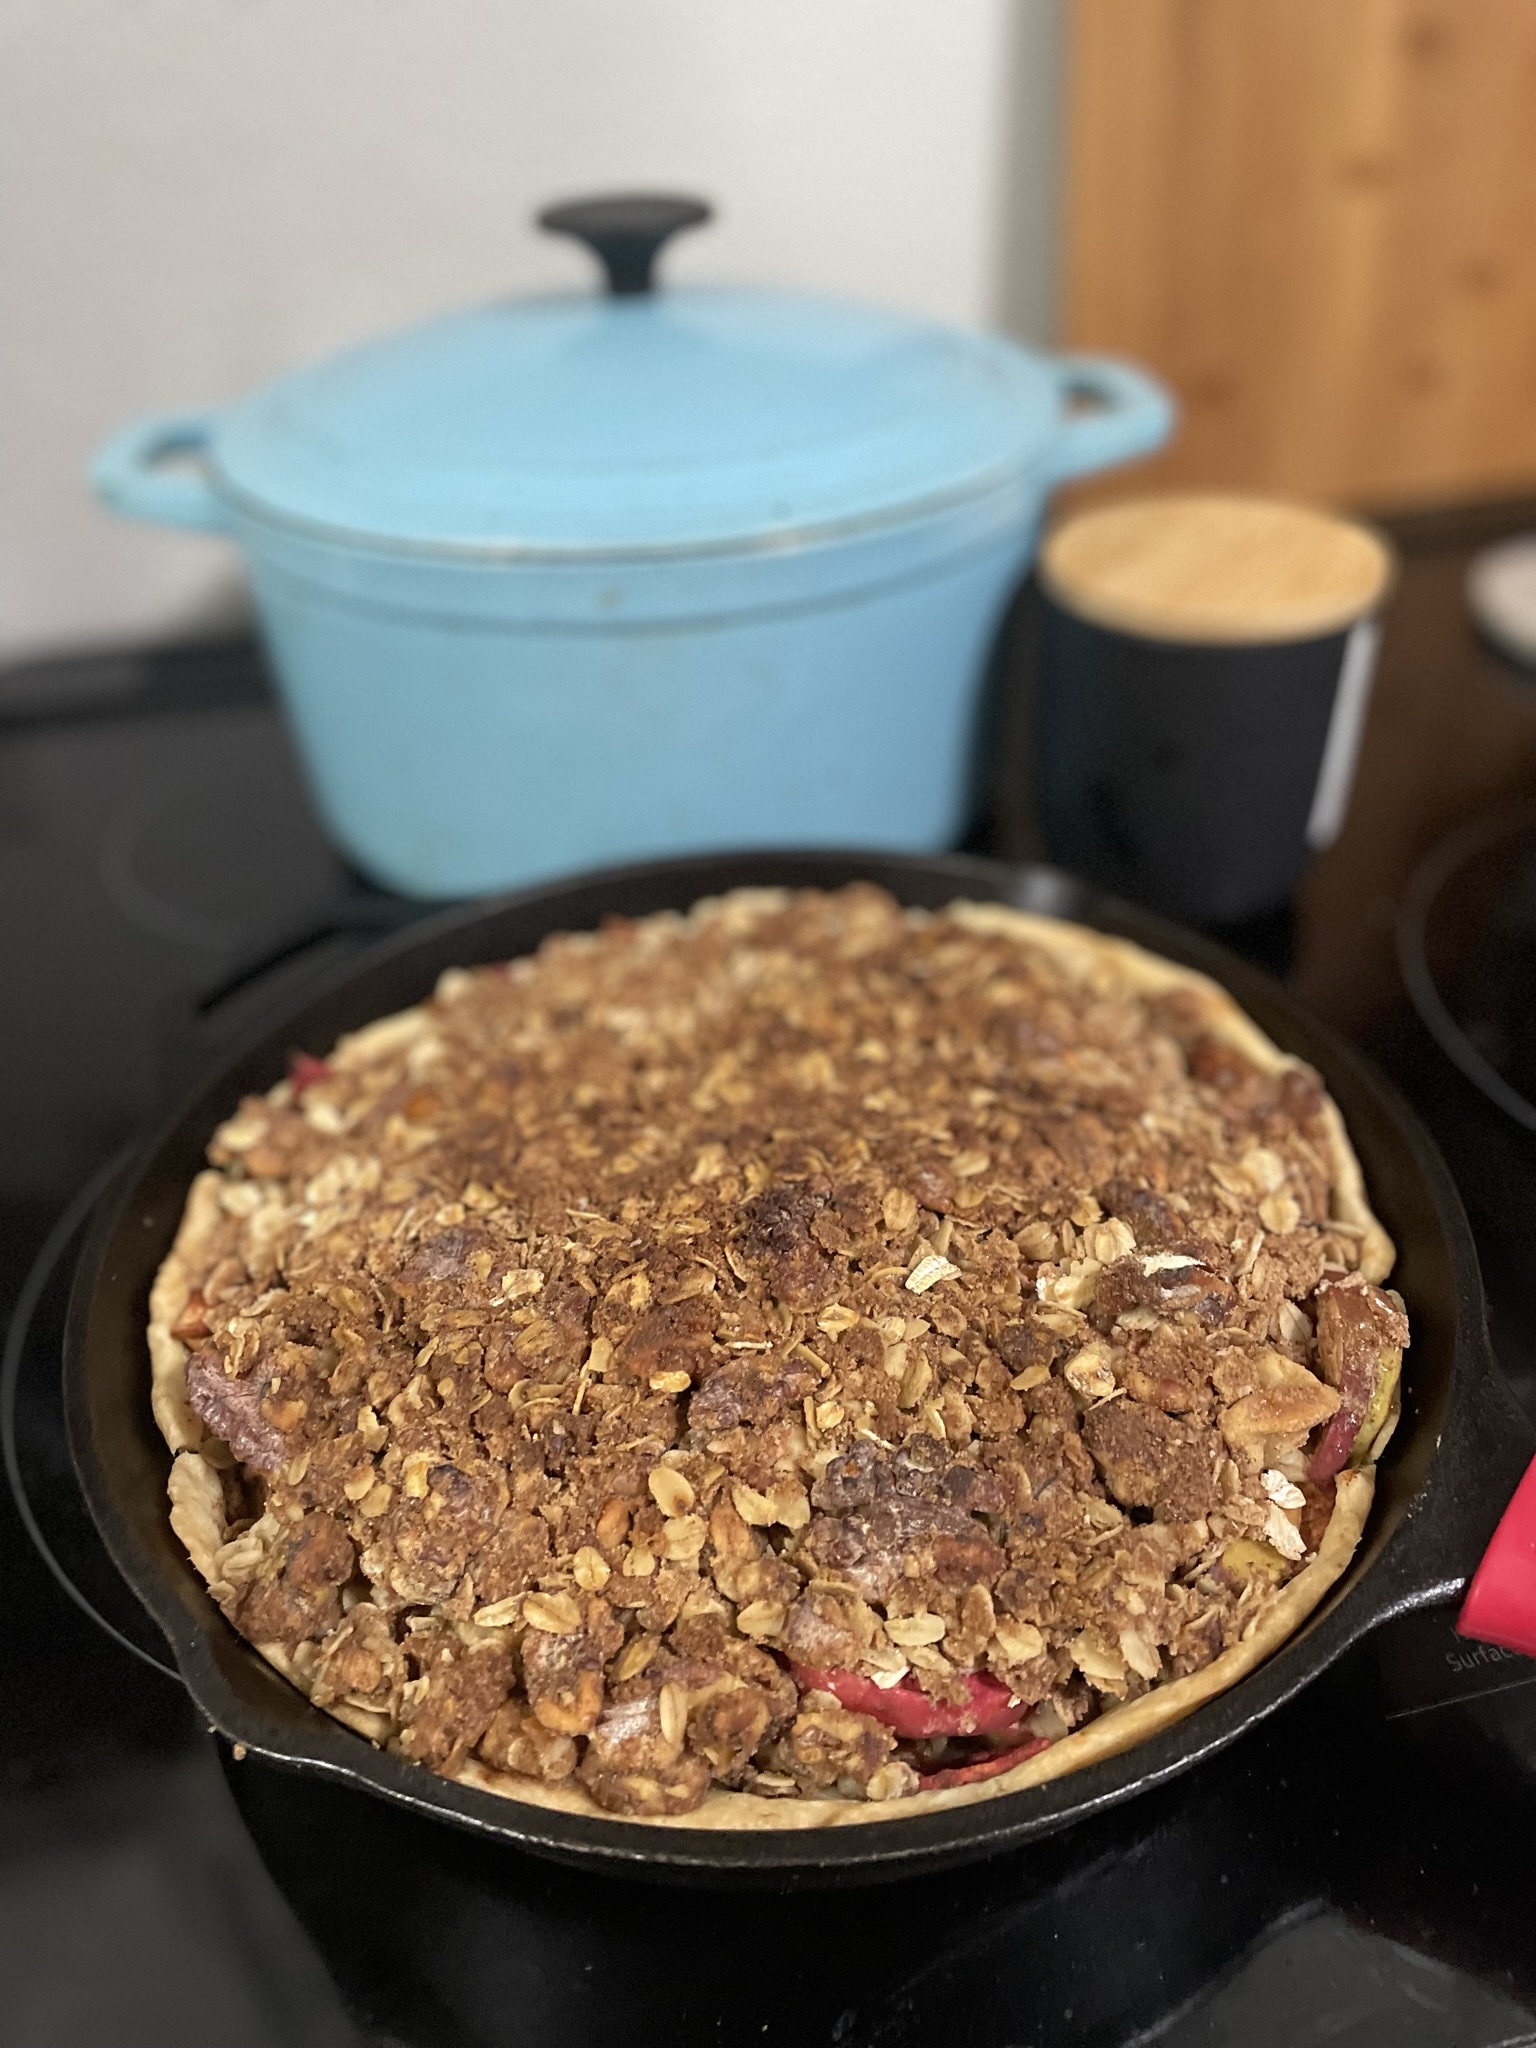
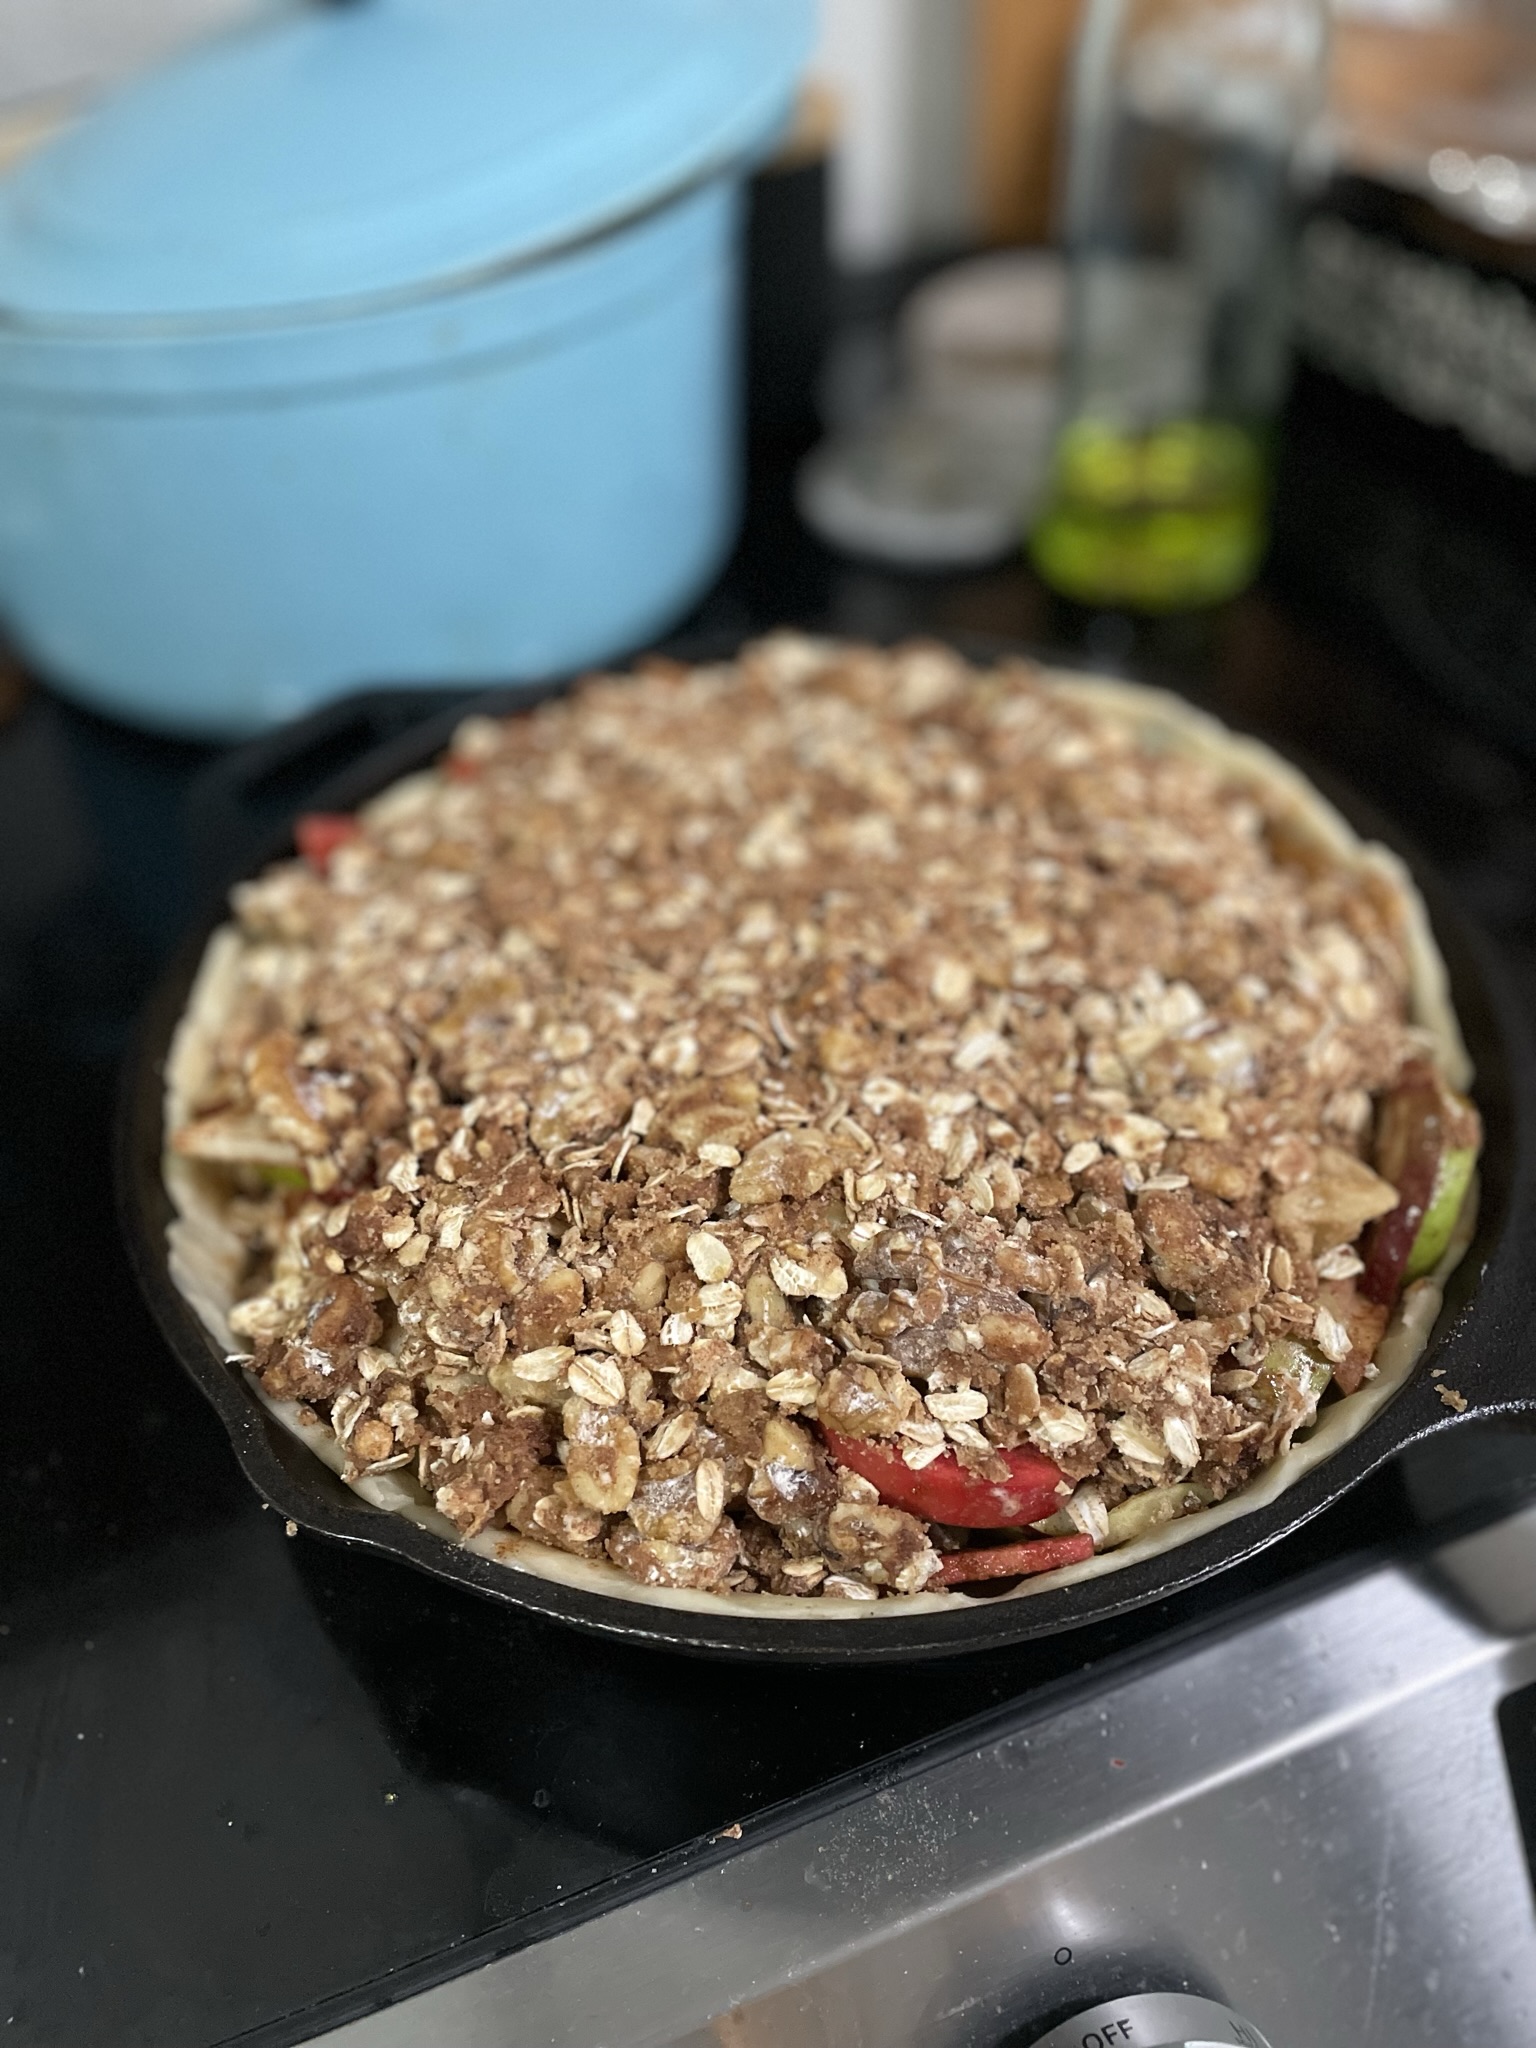
I love using my cast iron skillet when making pies and other baked goods. The cast iron really ensures a crispy crust (no soggy bottoms!) and is sturdy enough that you don’t have to worry about it falling out of your hands when you are pulling your juicy, hot pie out of the oven. If using a glass pie dish, an extended bake time may be required.
Ingredients
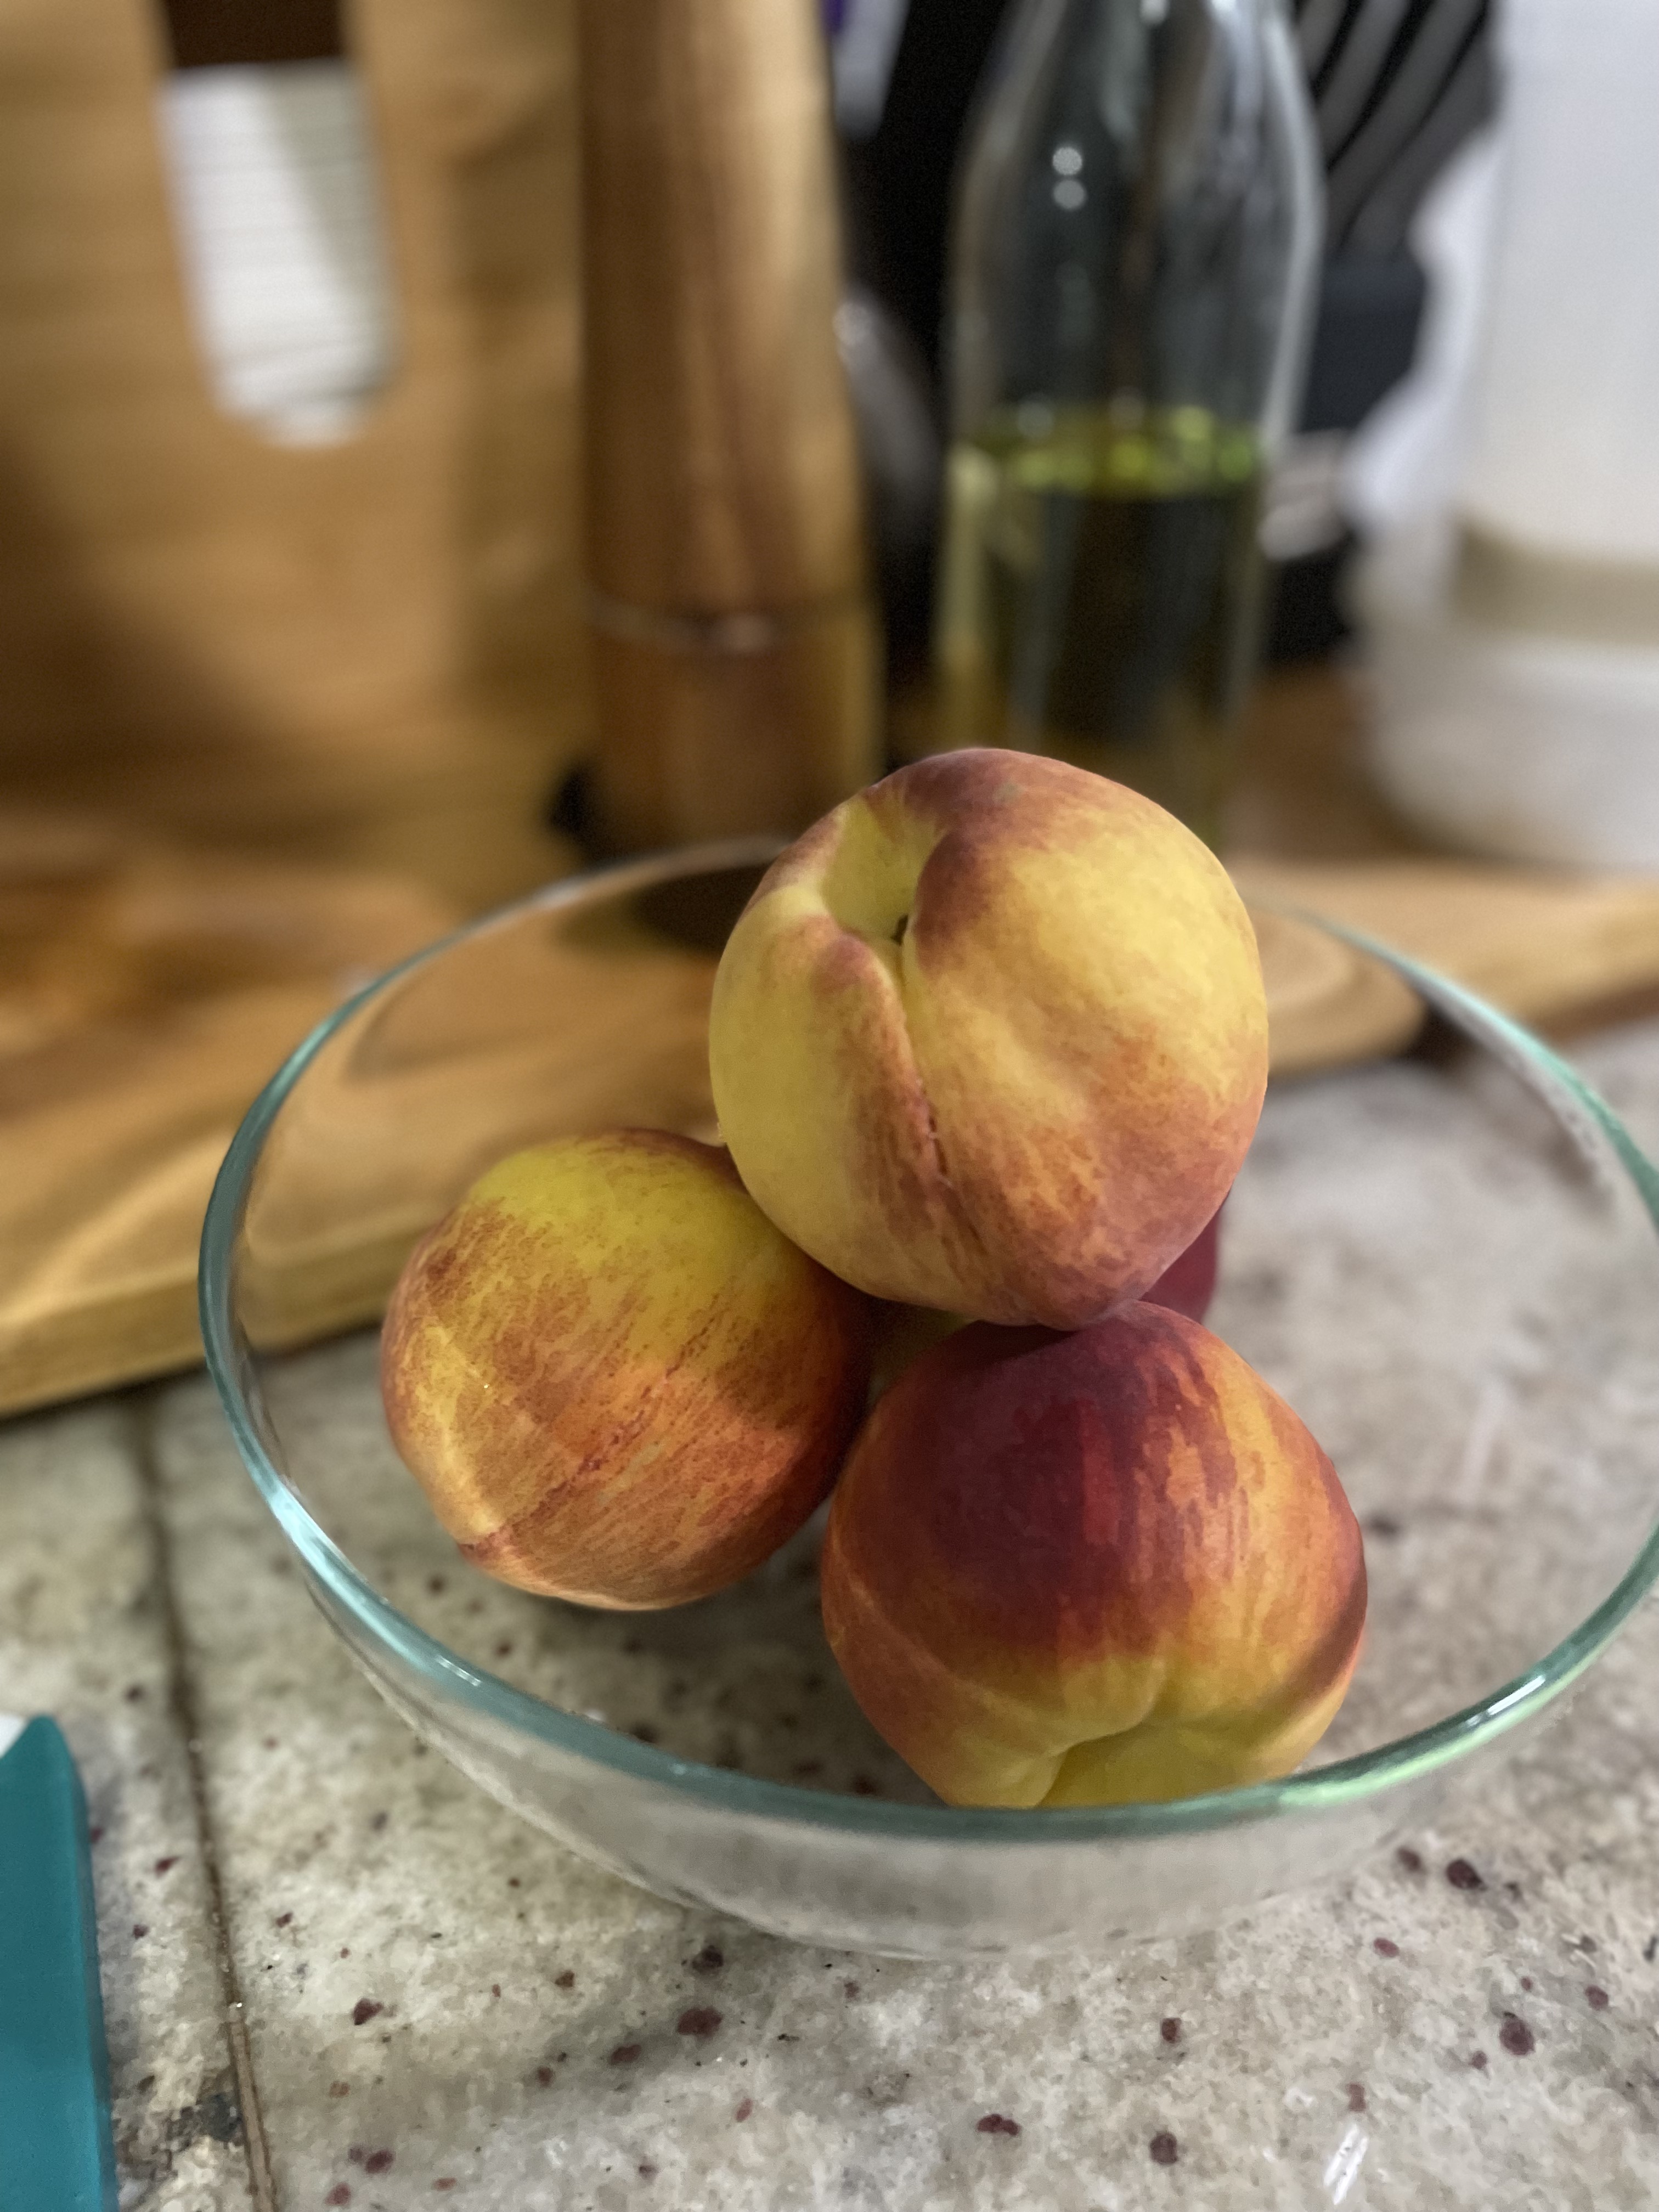
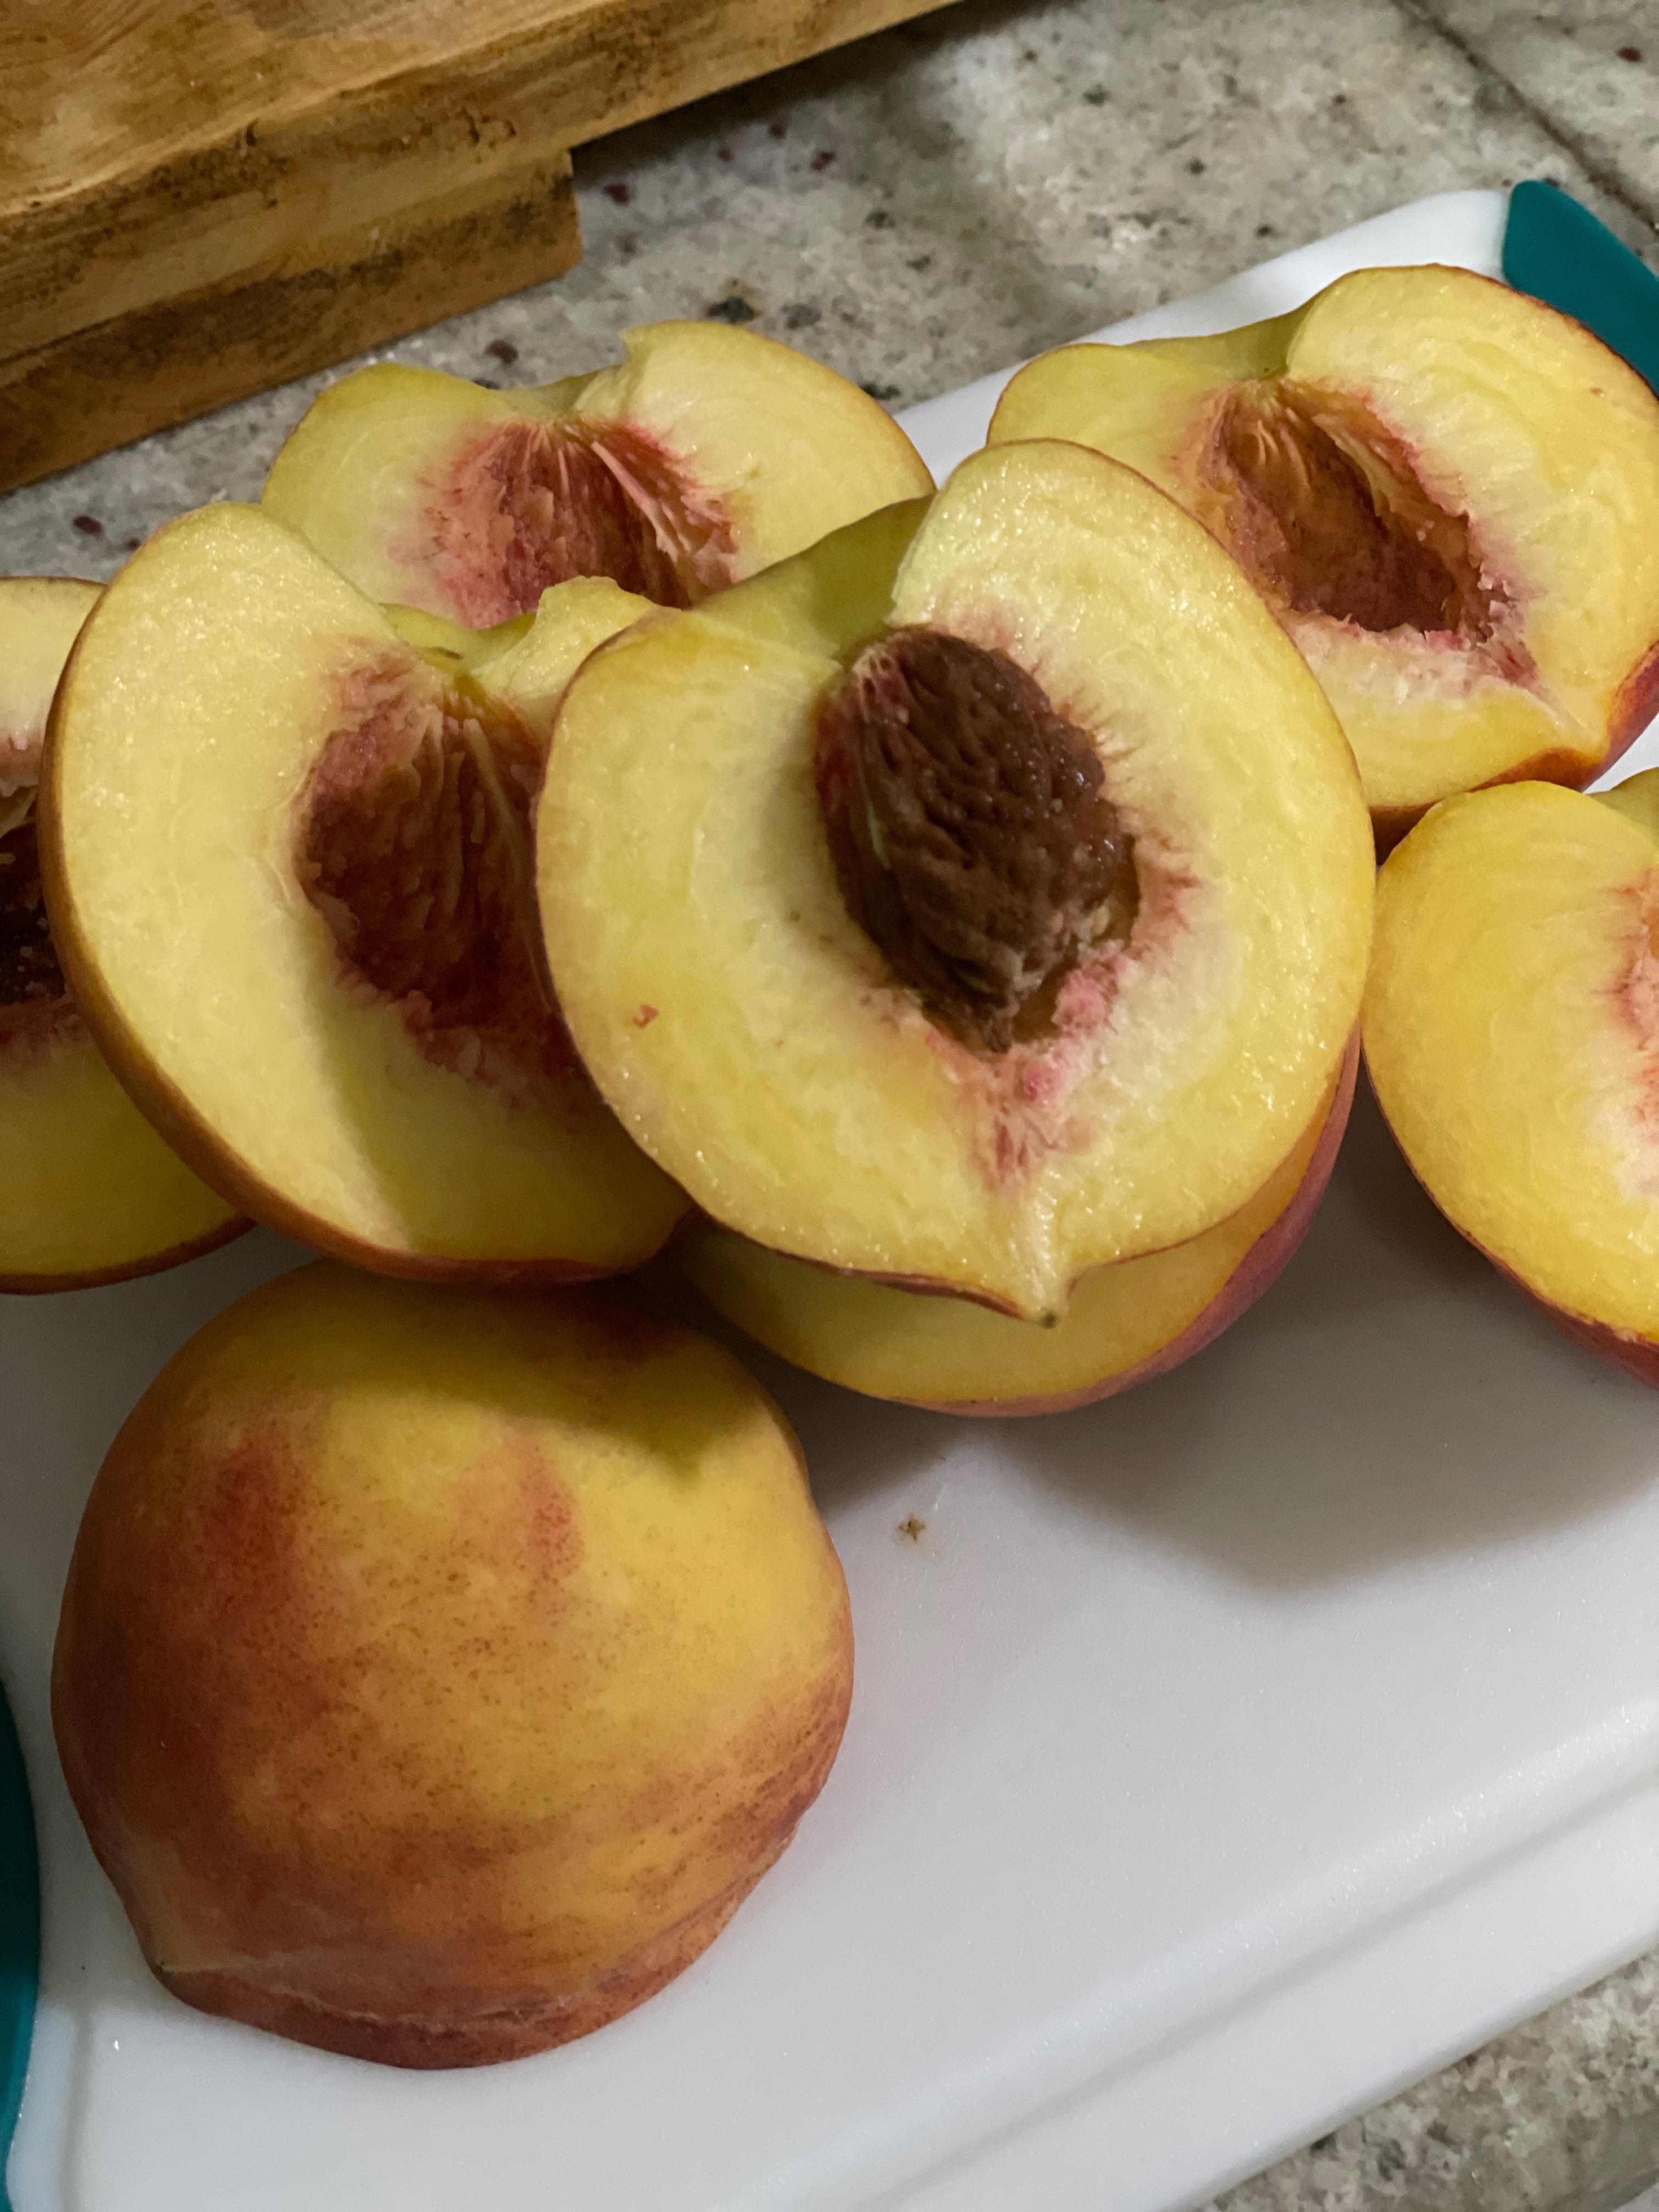
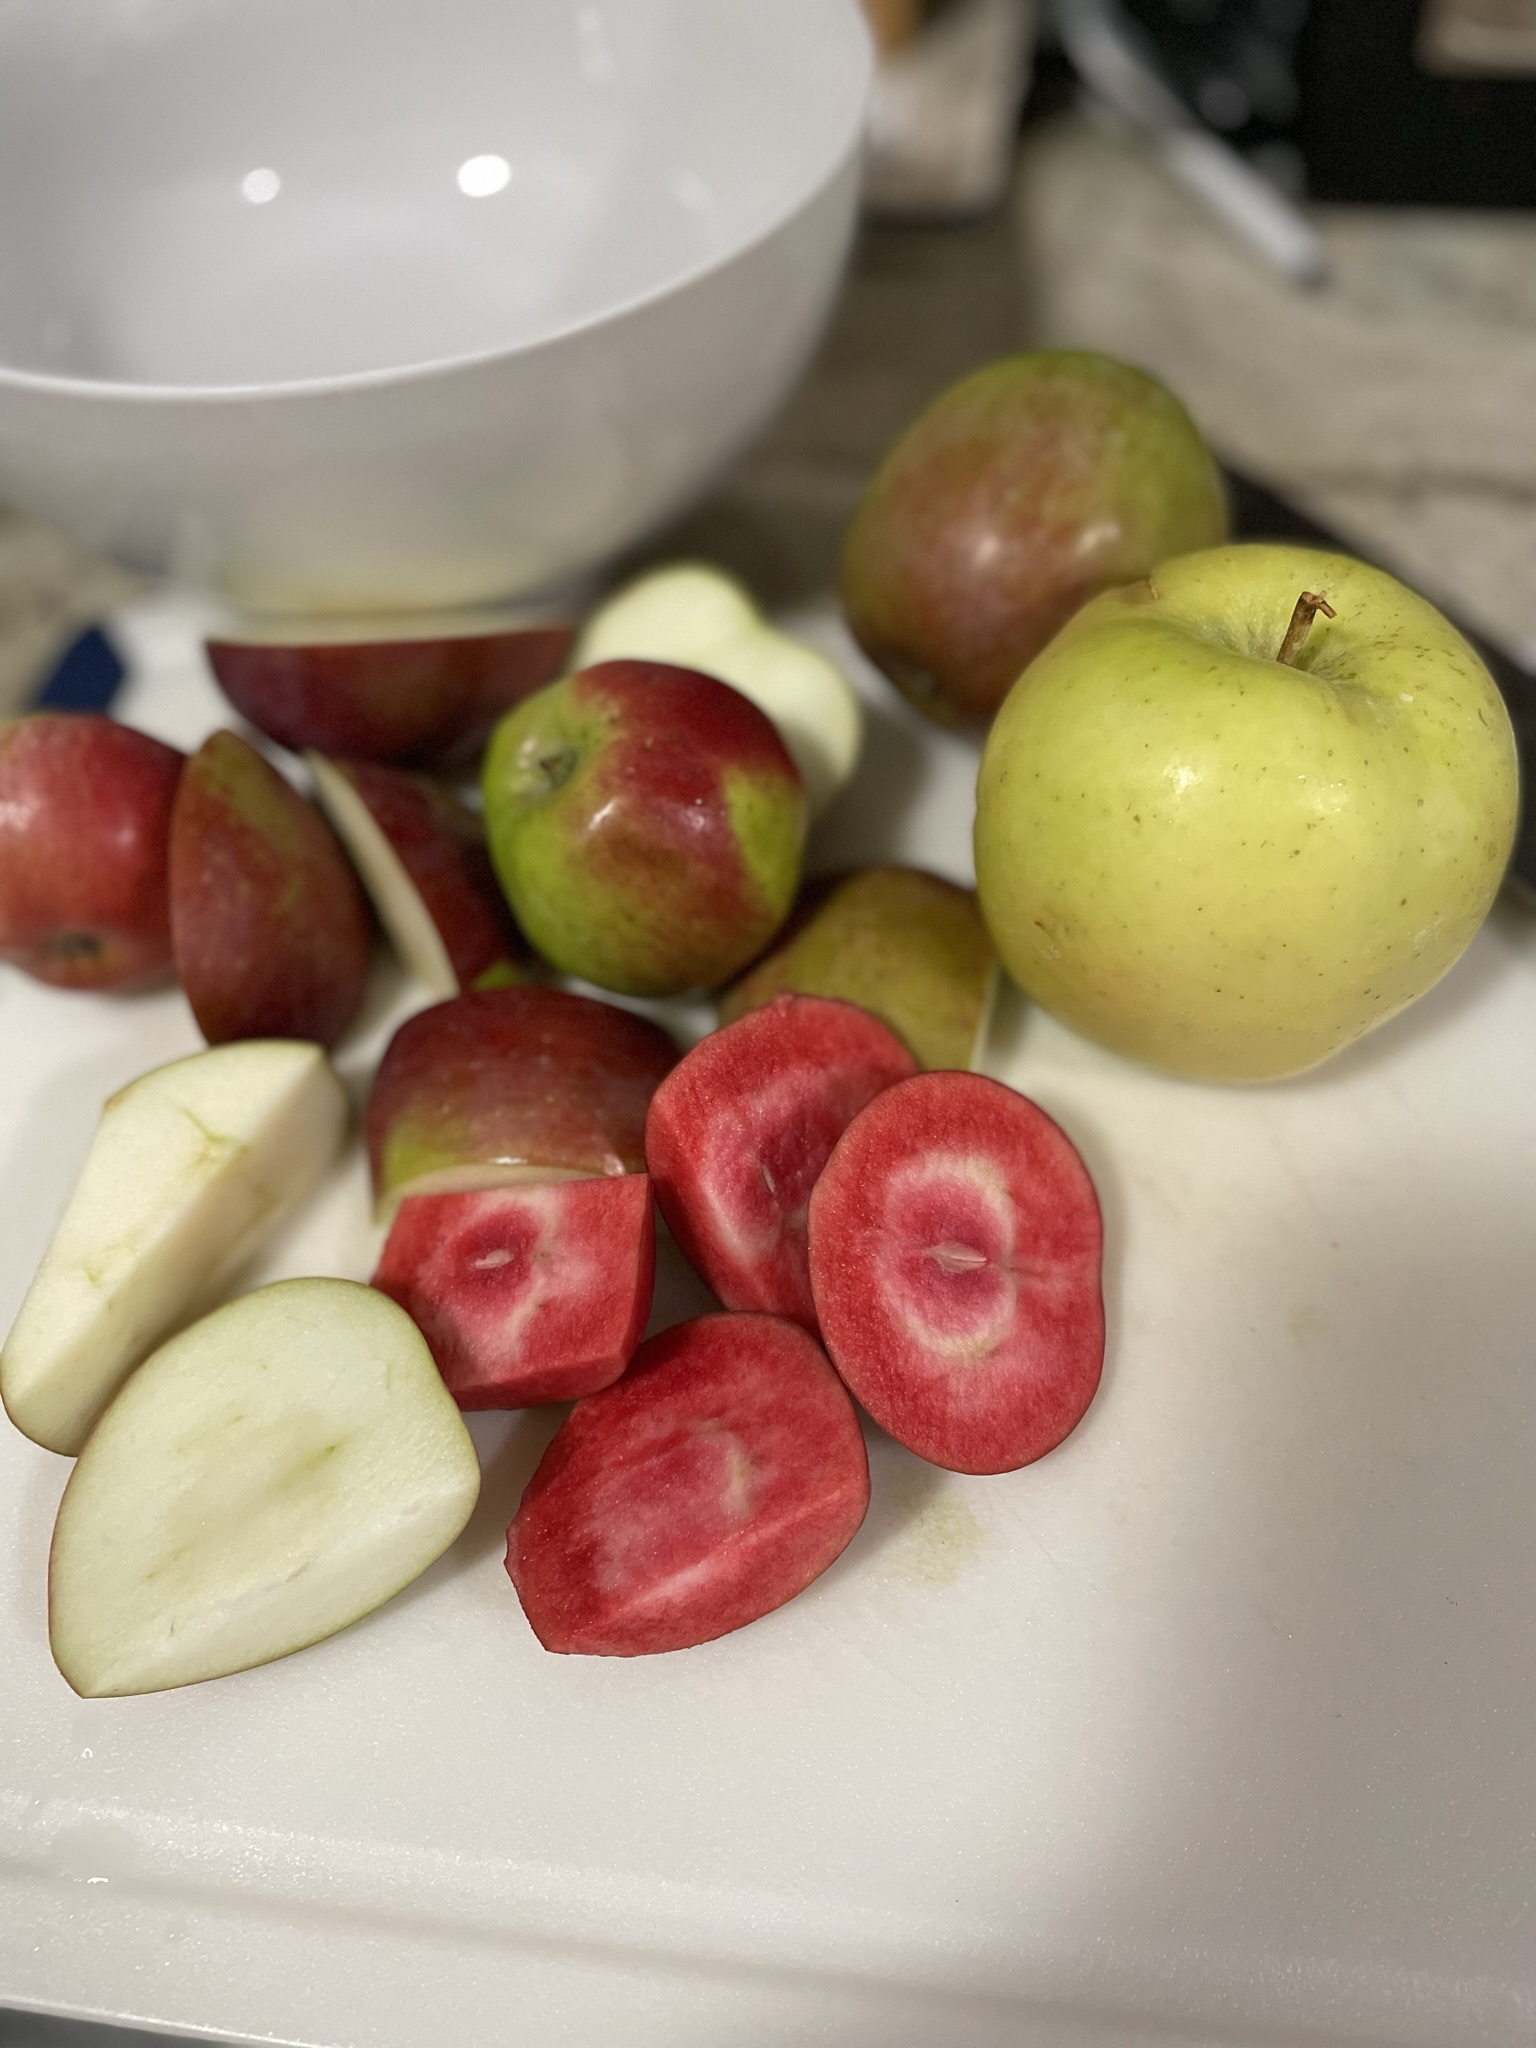
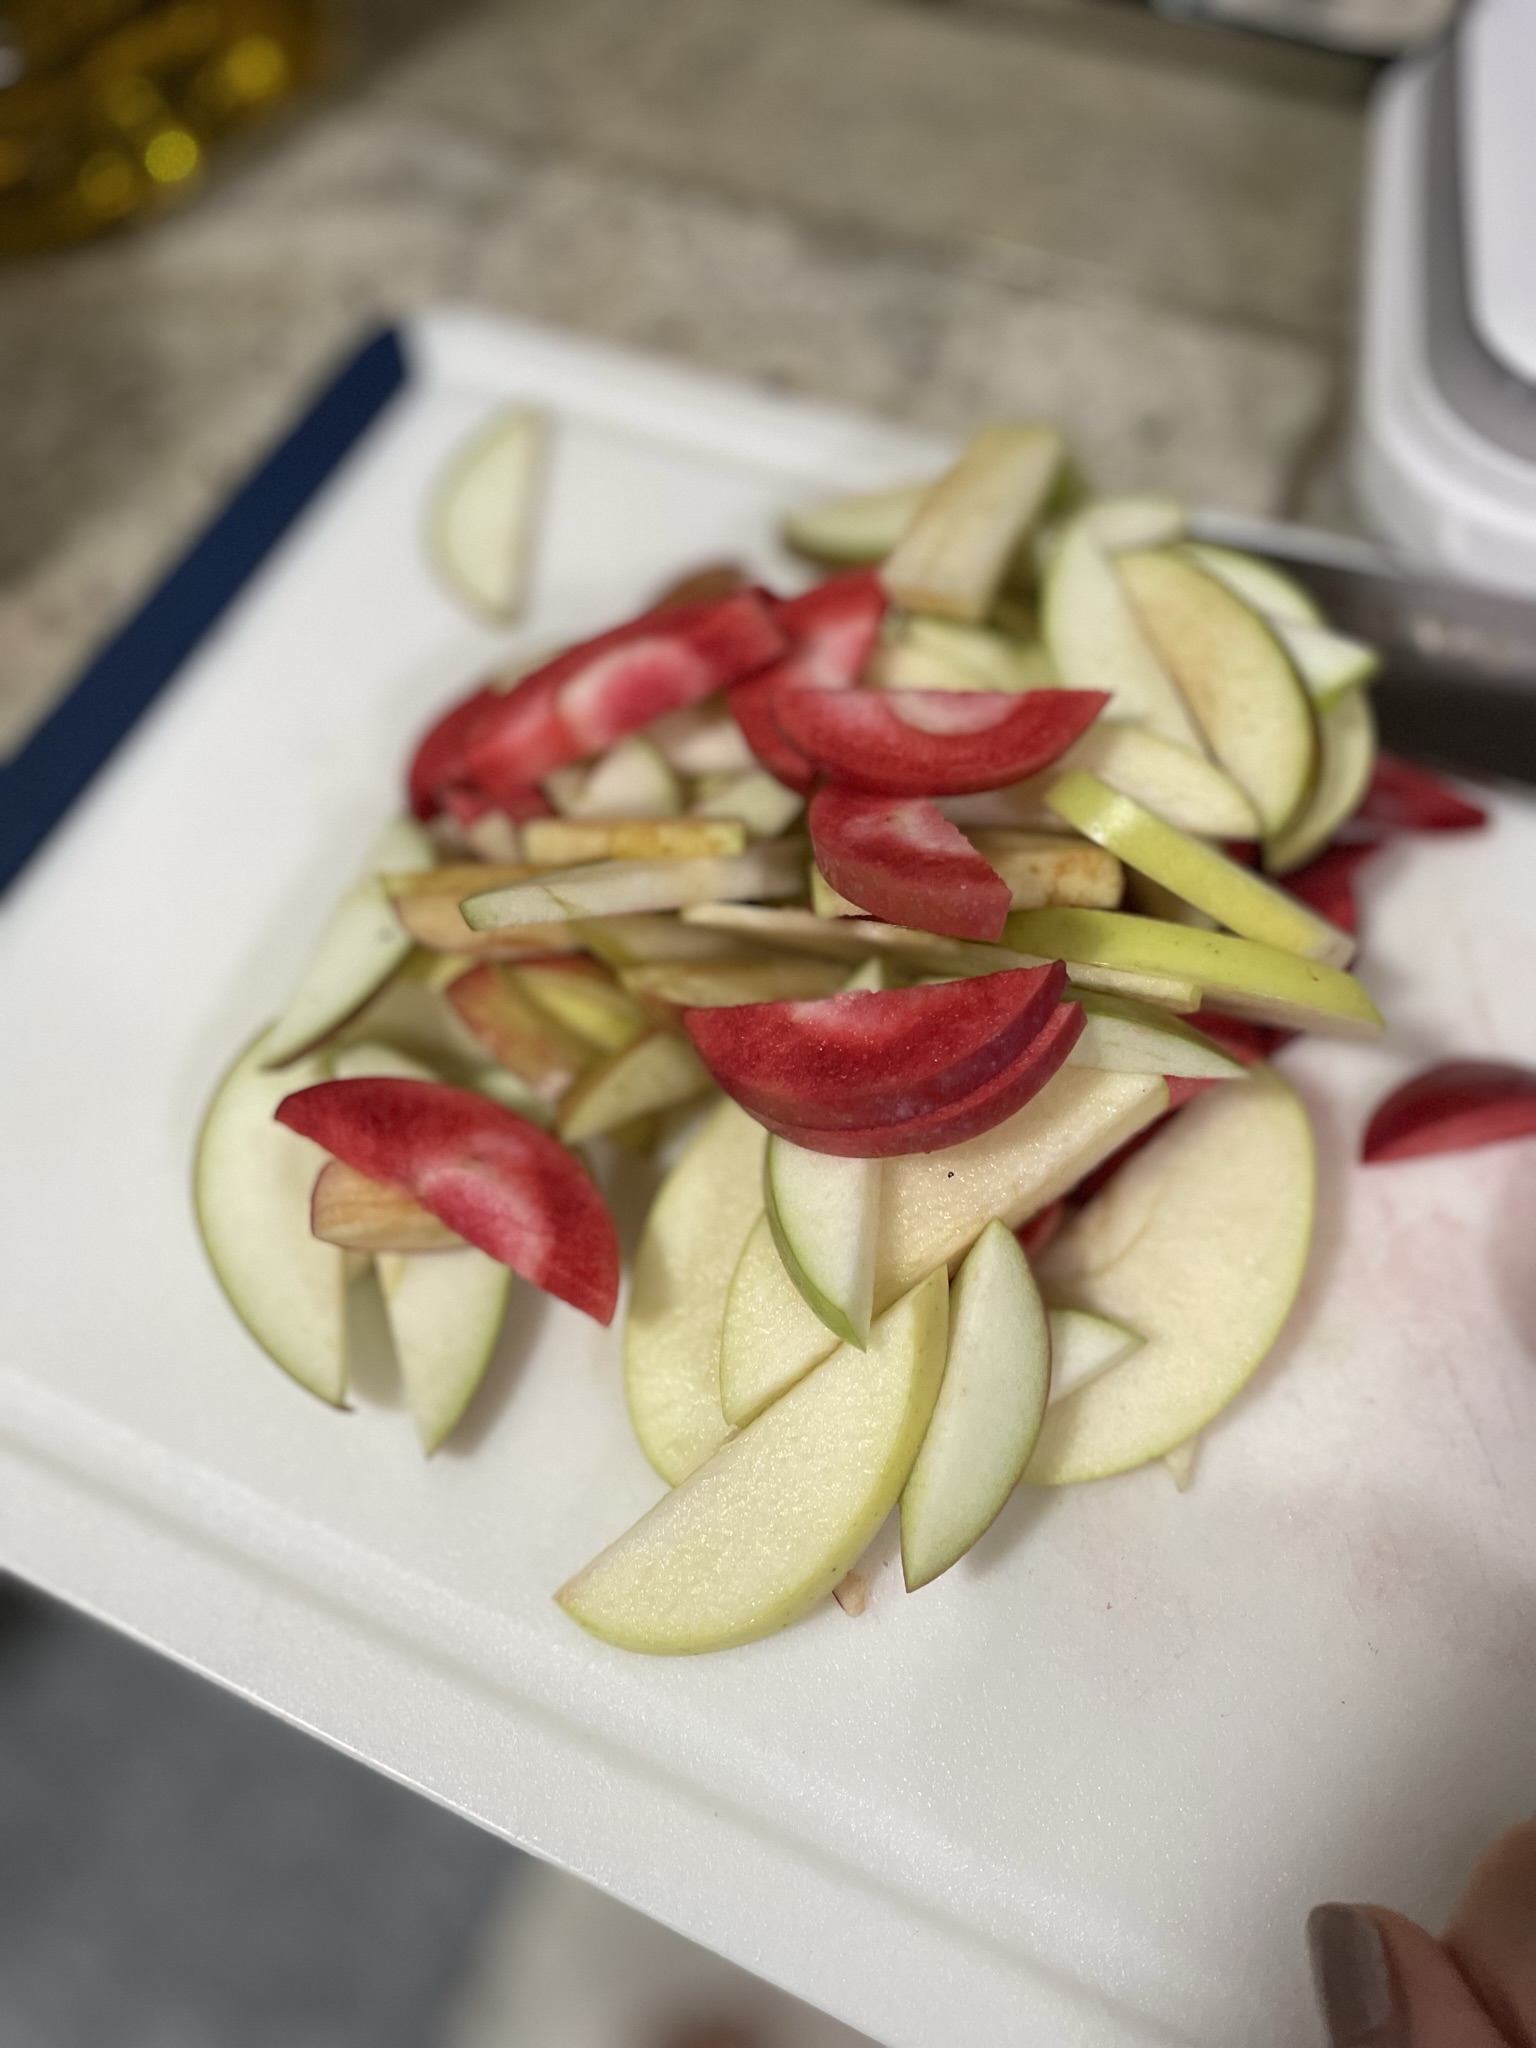
Apples – I find you can really use any type of apple, but the best would be honeycrisp or granny smith. Other apples can leave your pie too dry or too mushy. In my case, my mystery CSA apples ended up leaving me with a pie on the drier side. You could also swap this apple filling with peaches or berries.
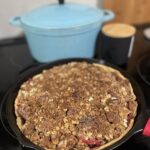
Apple Crumb Pie
Ingredients
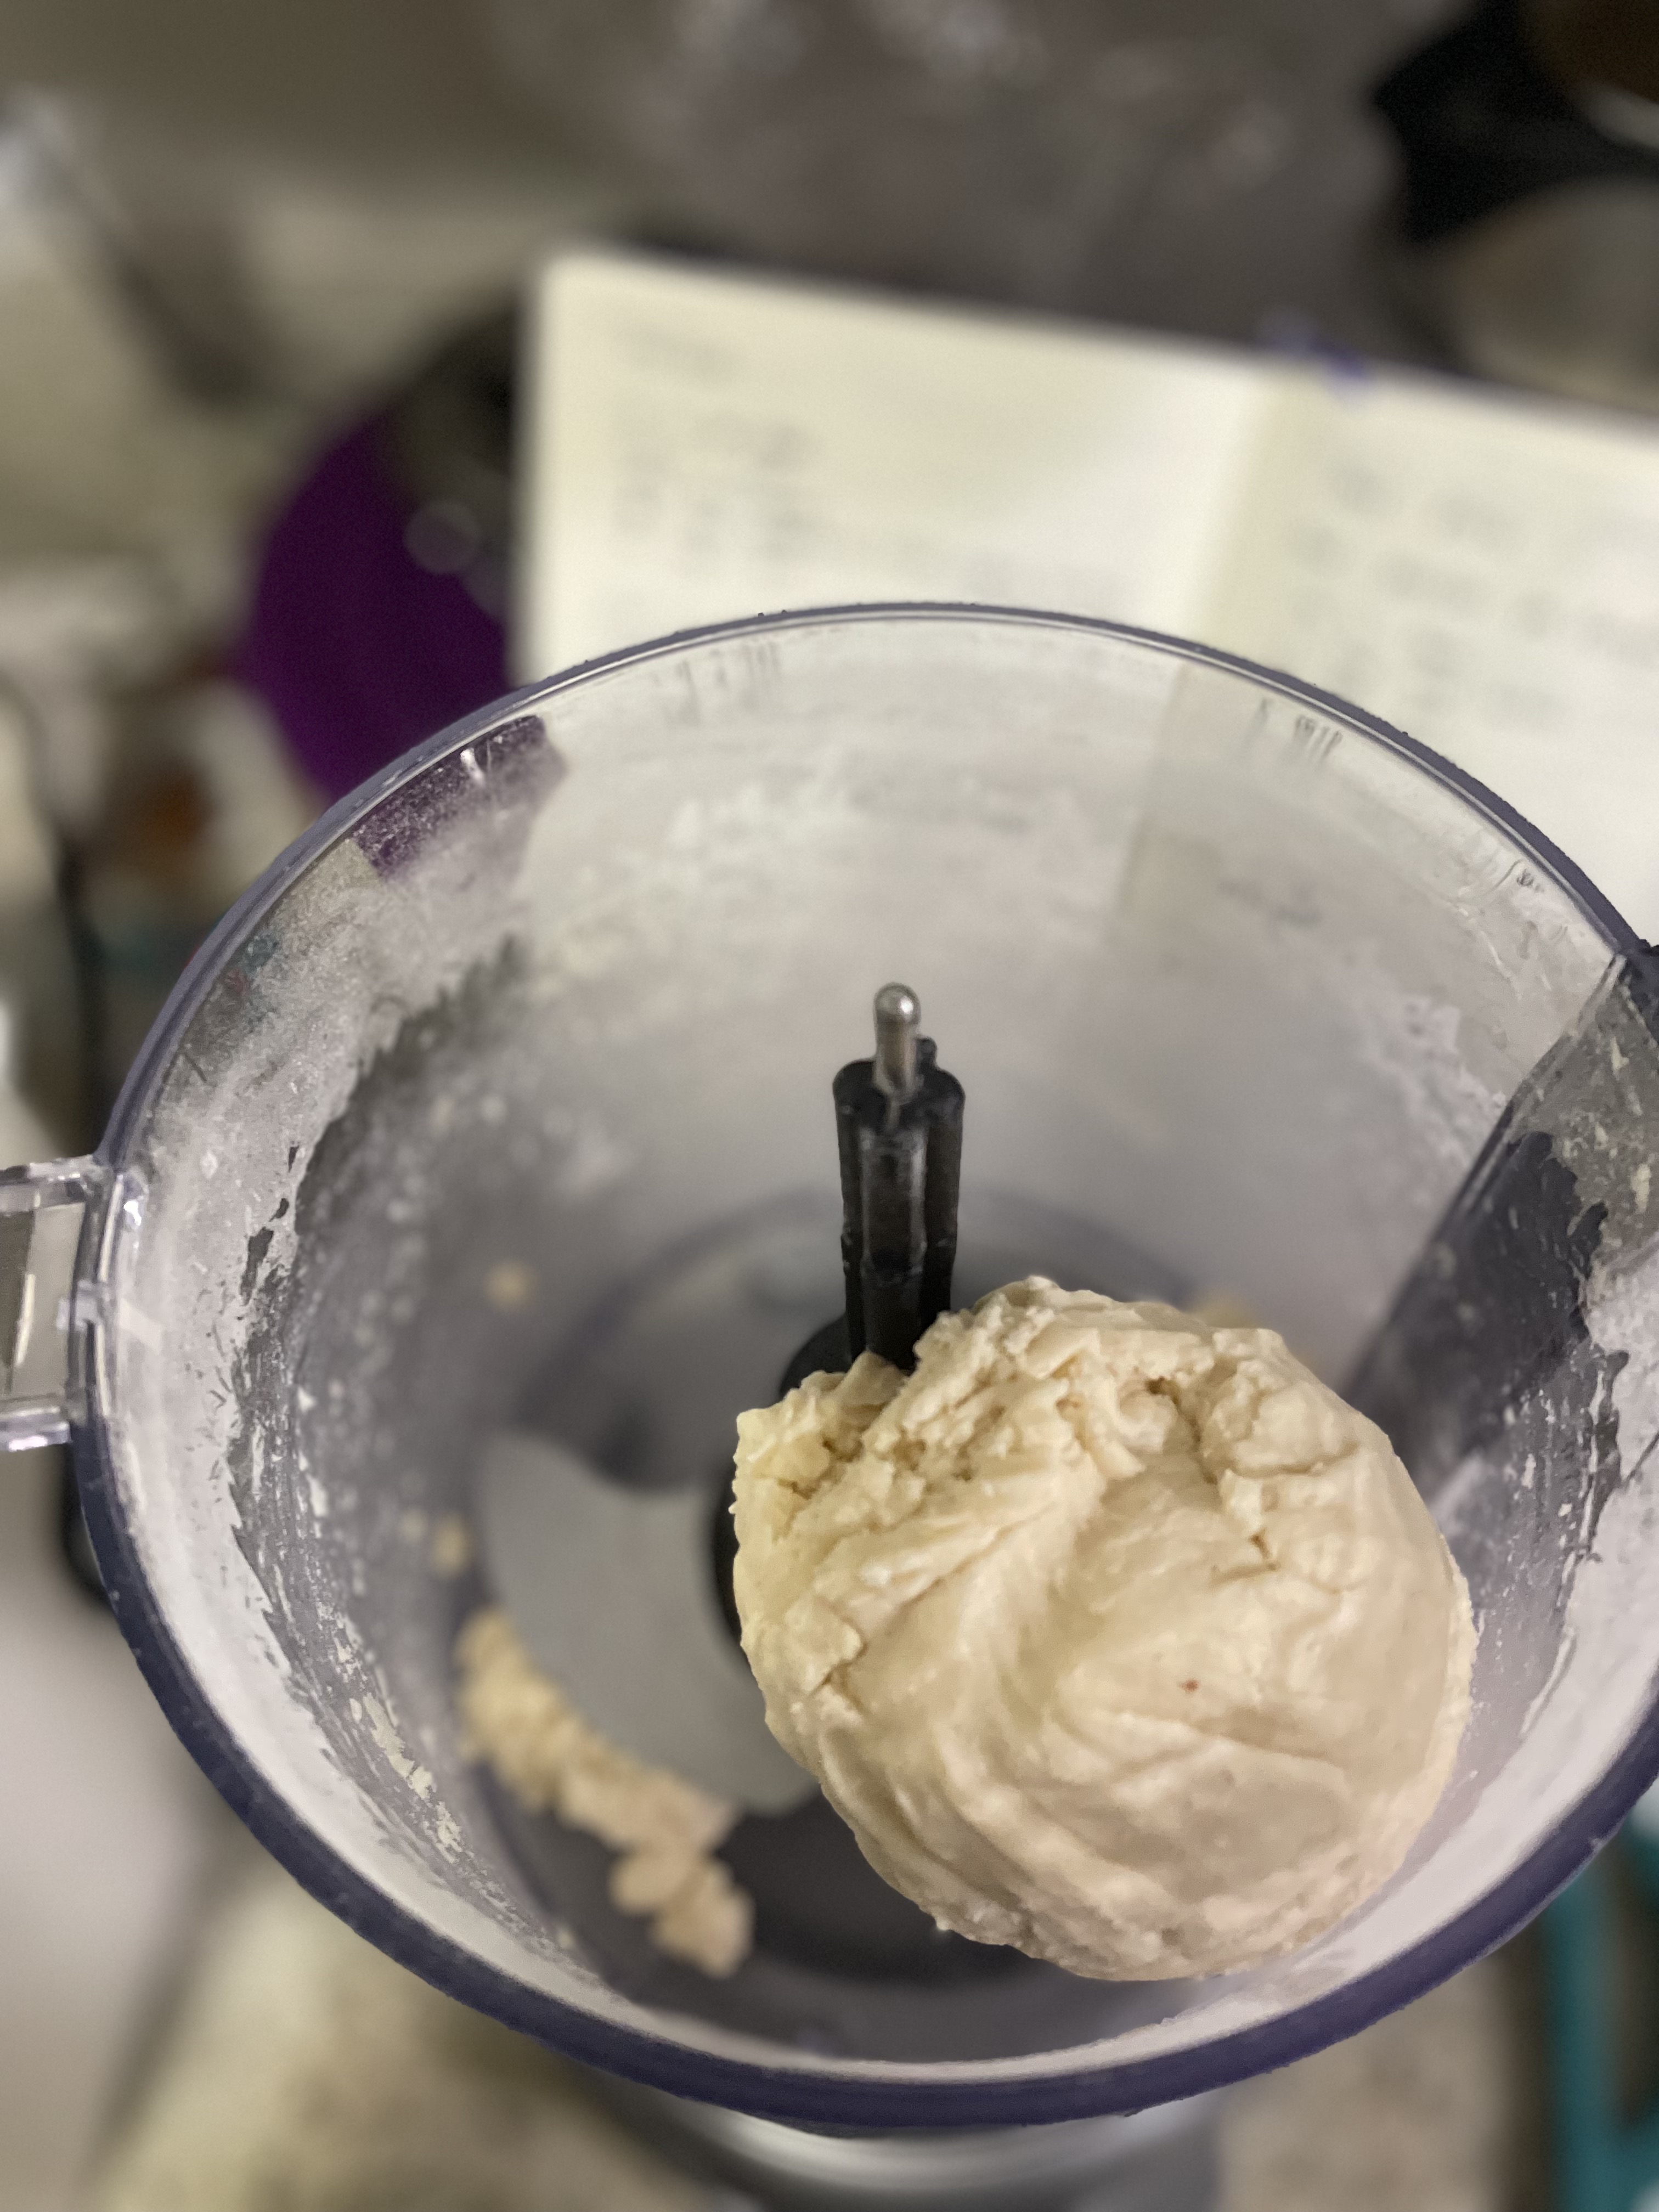
- 1 pie crust
Apple Filling
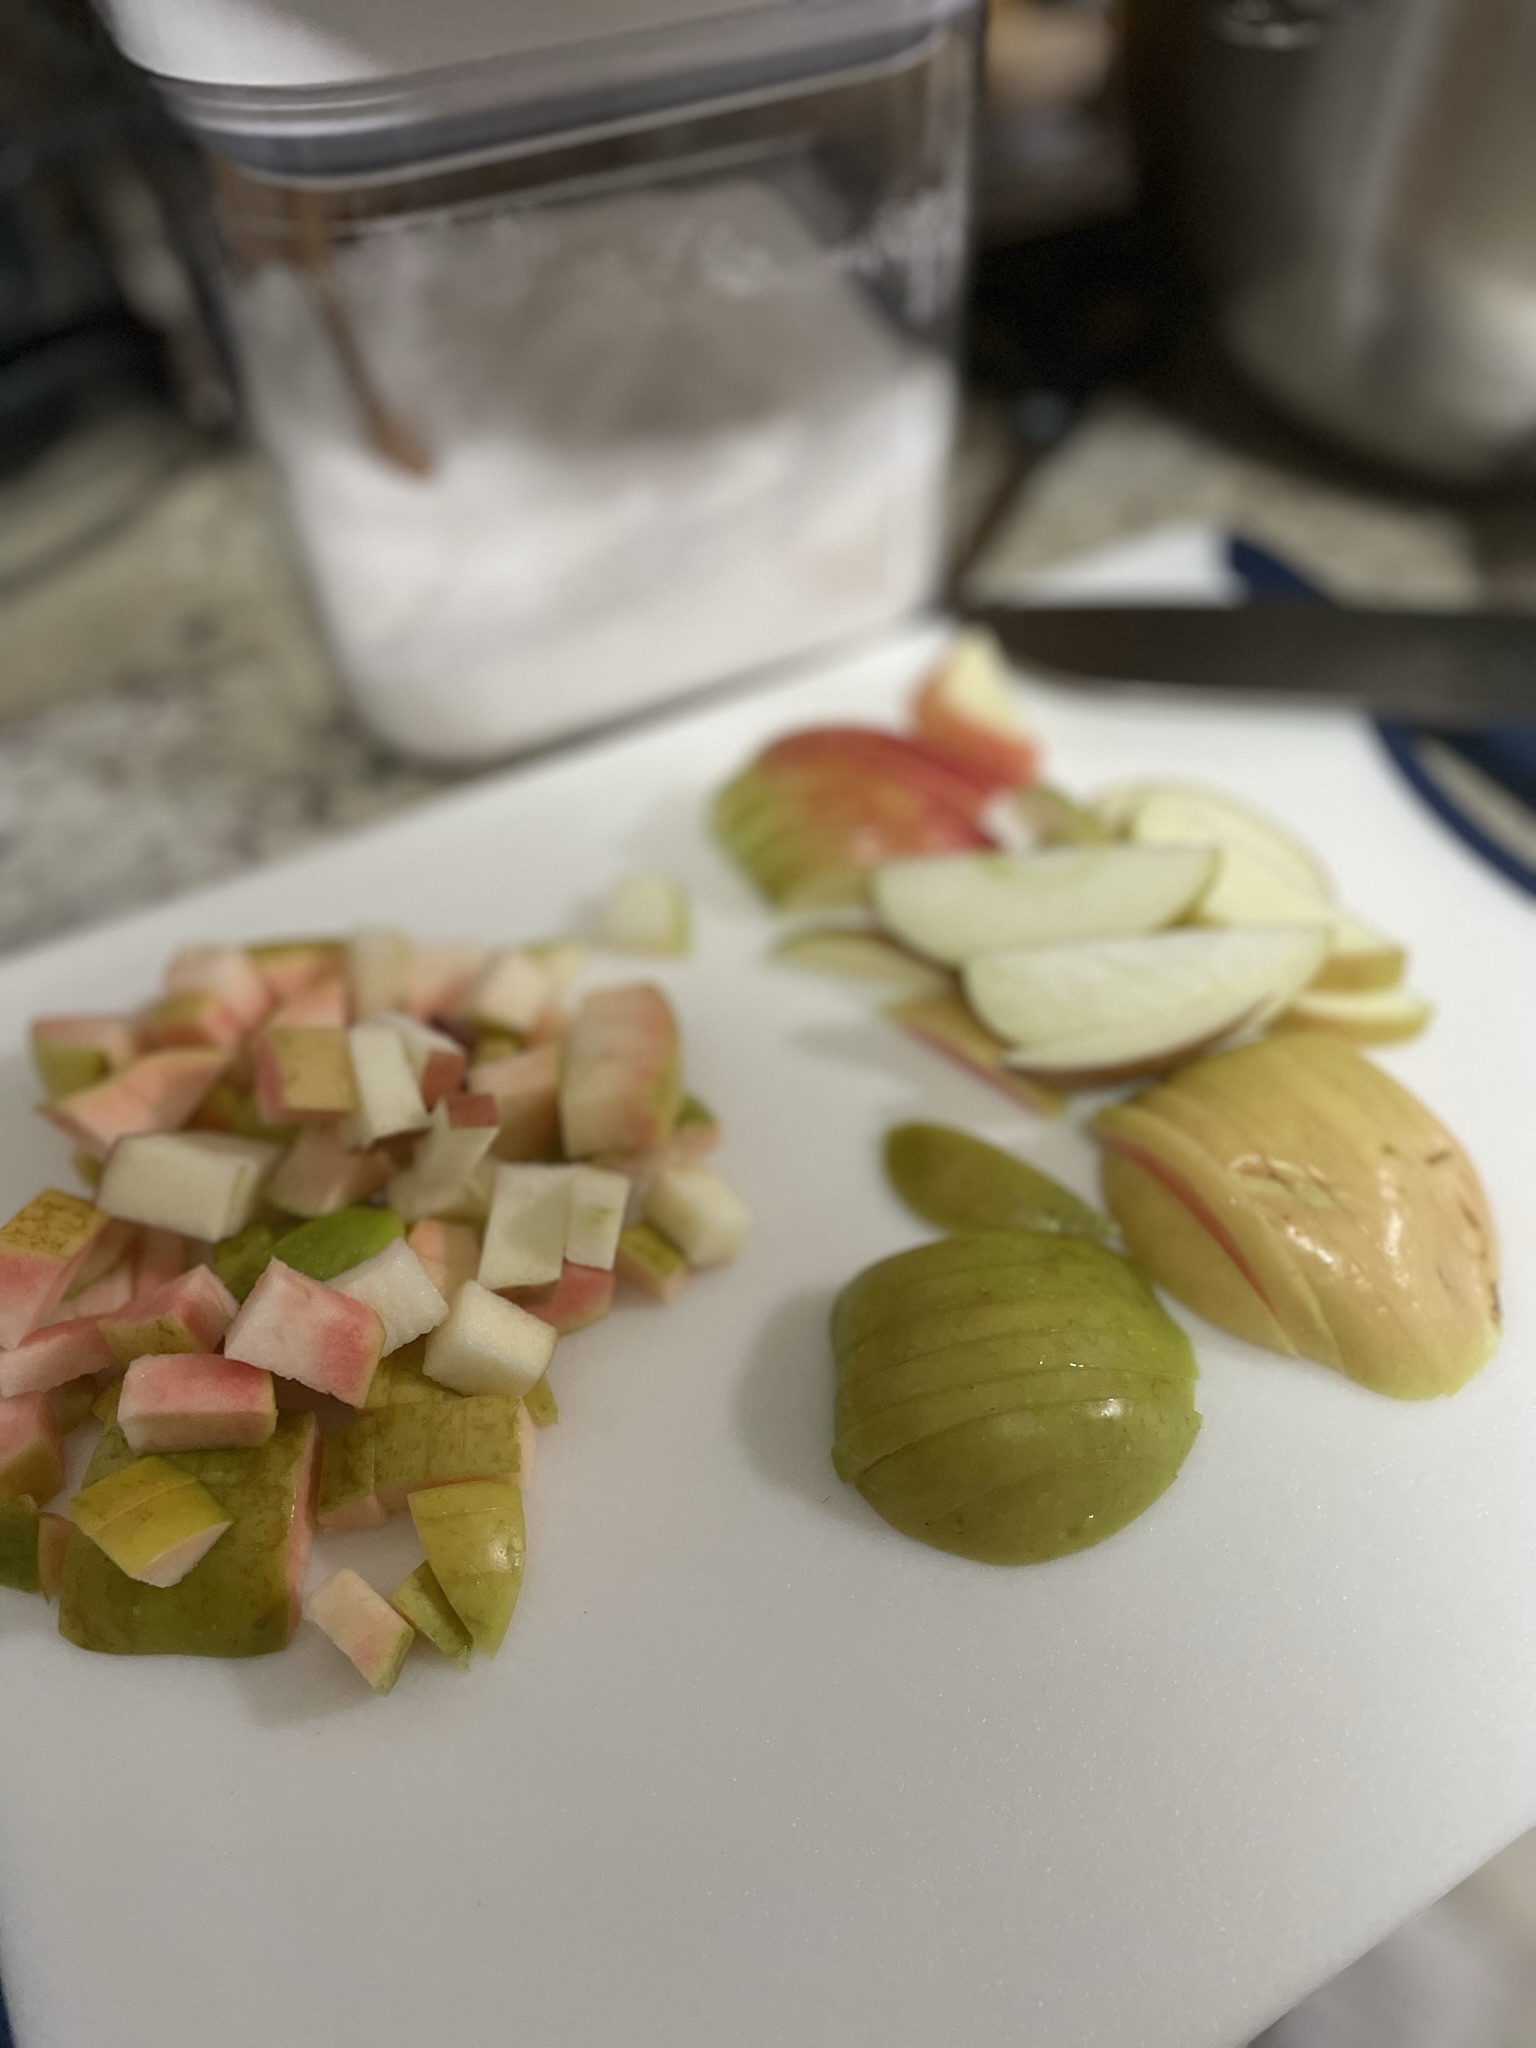
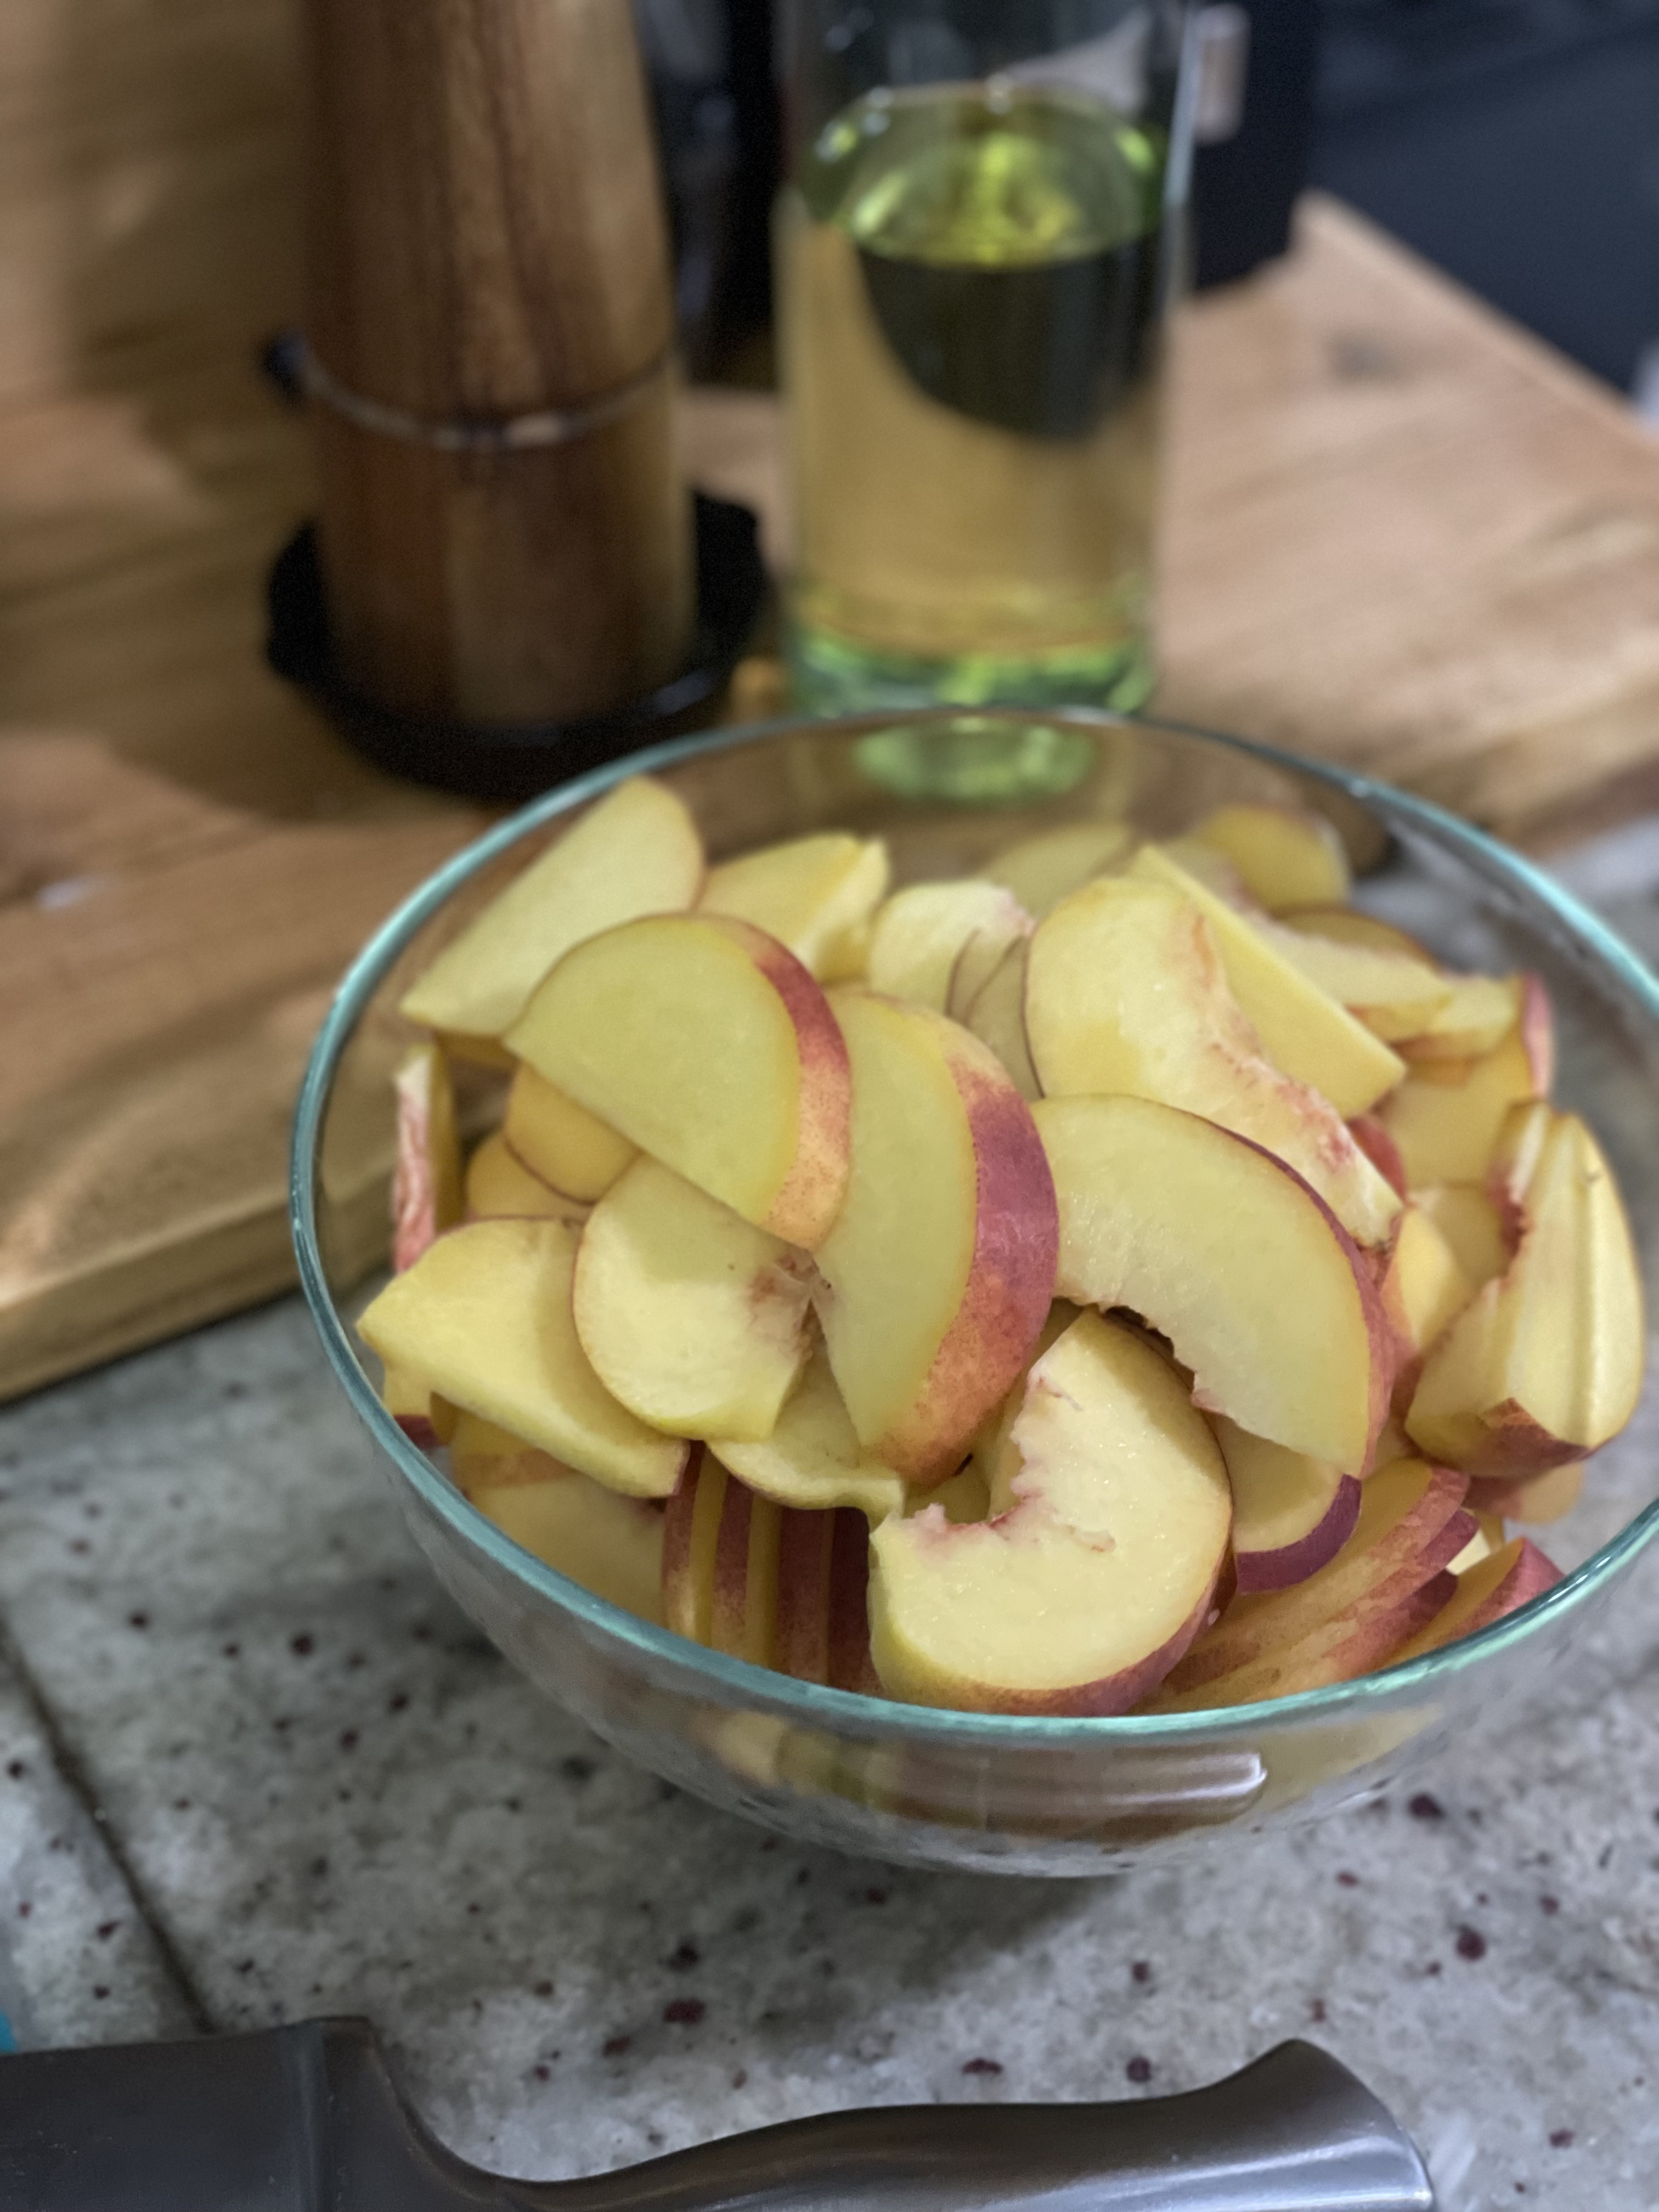
- 4 cups apples sliced
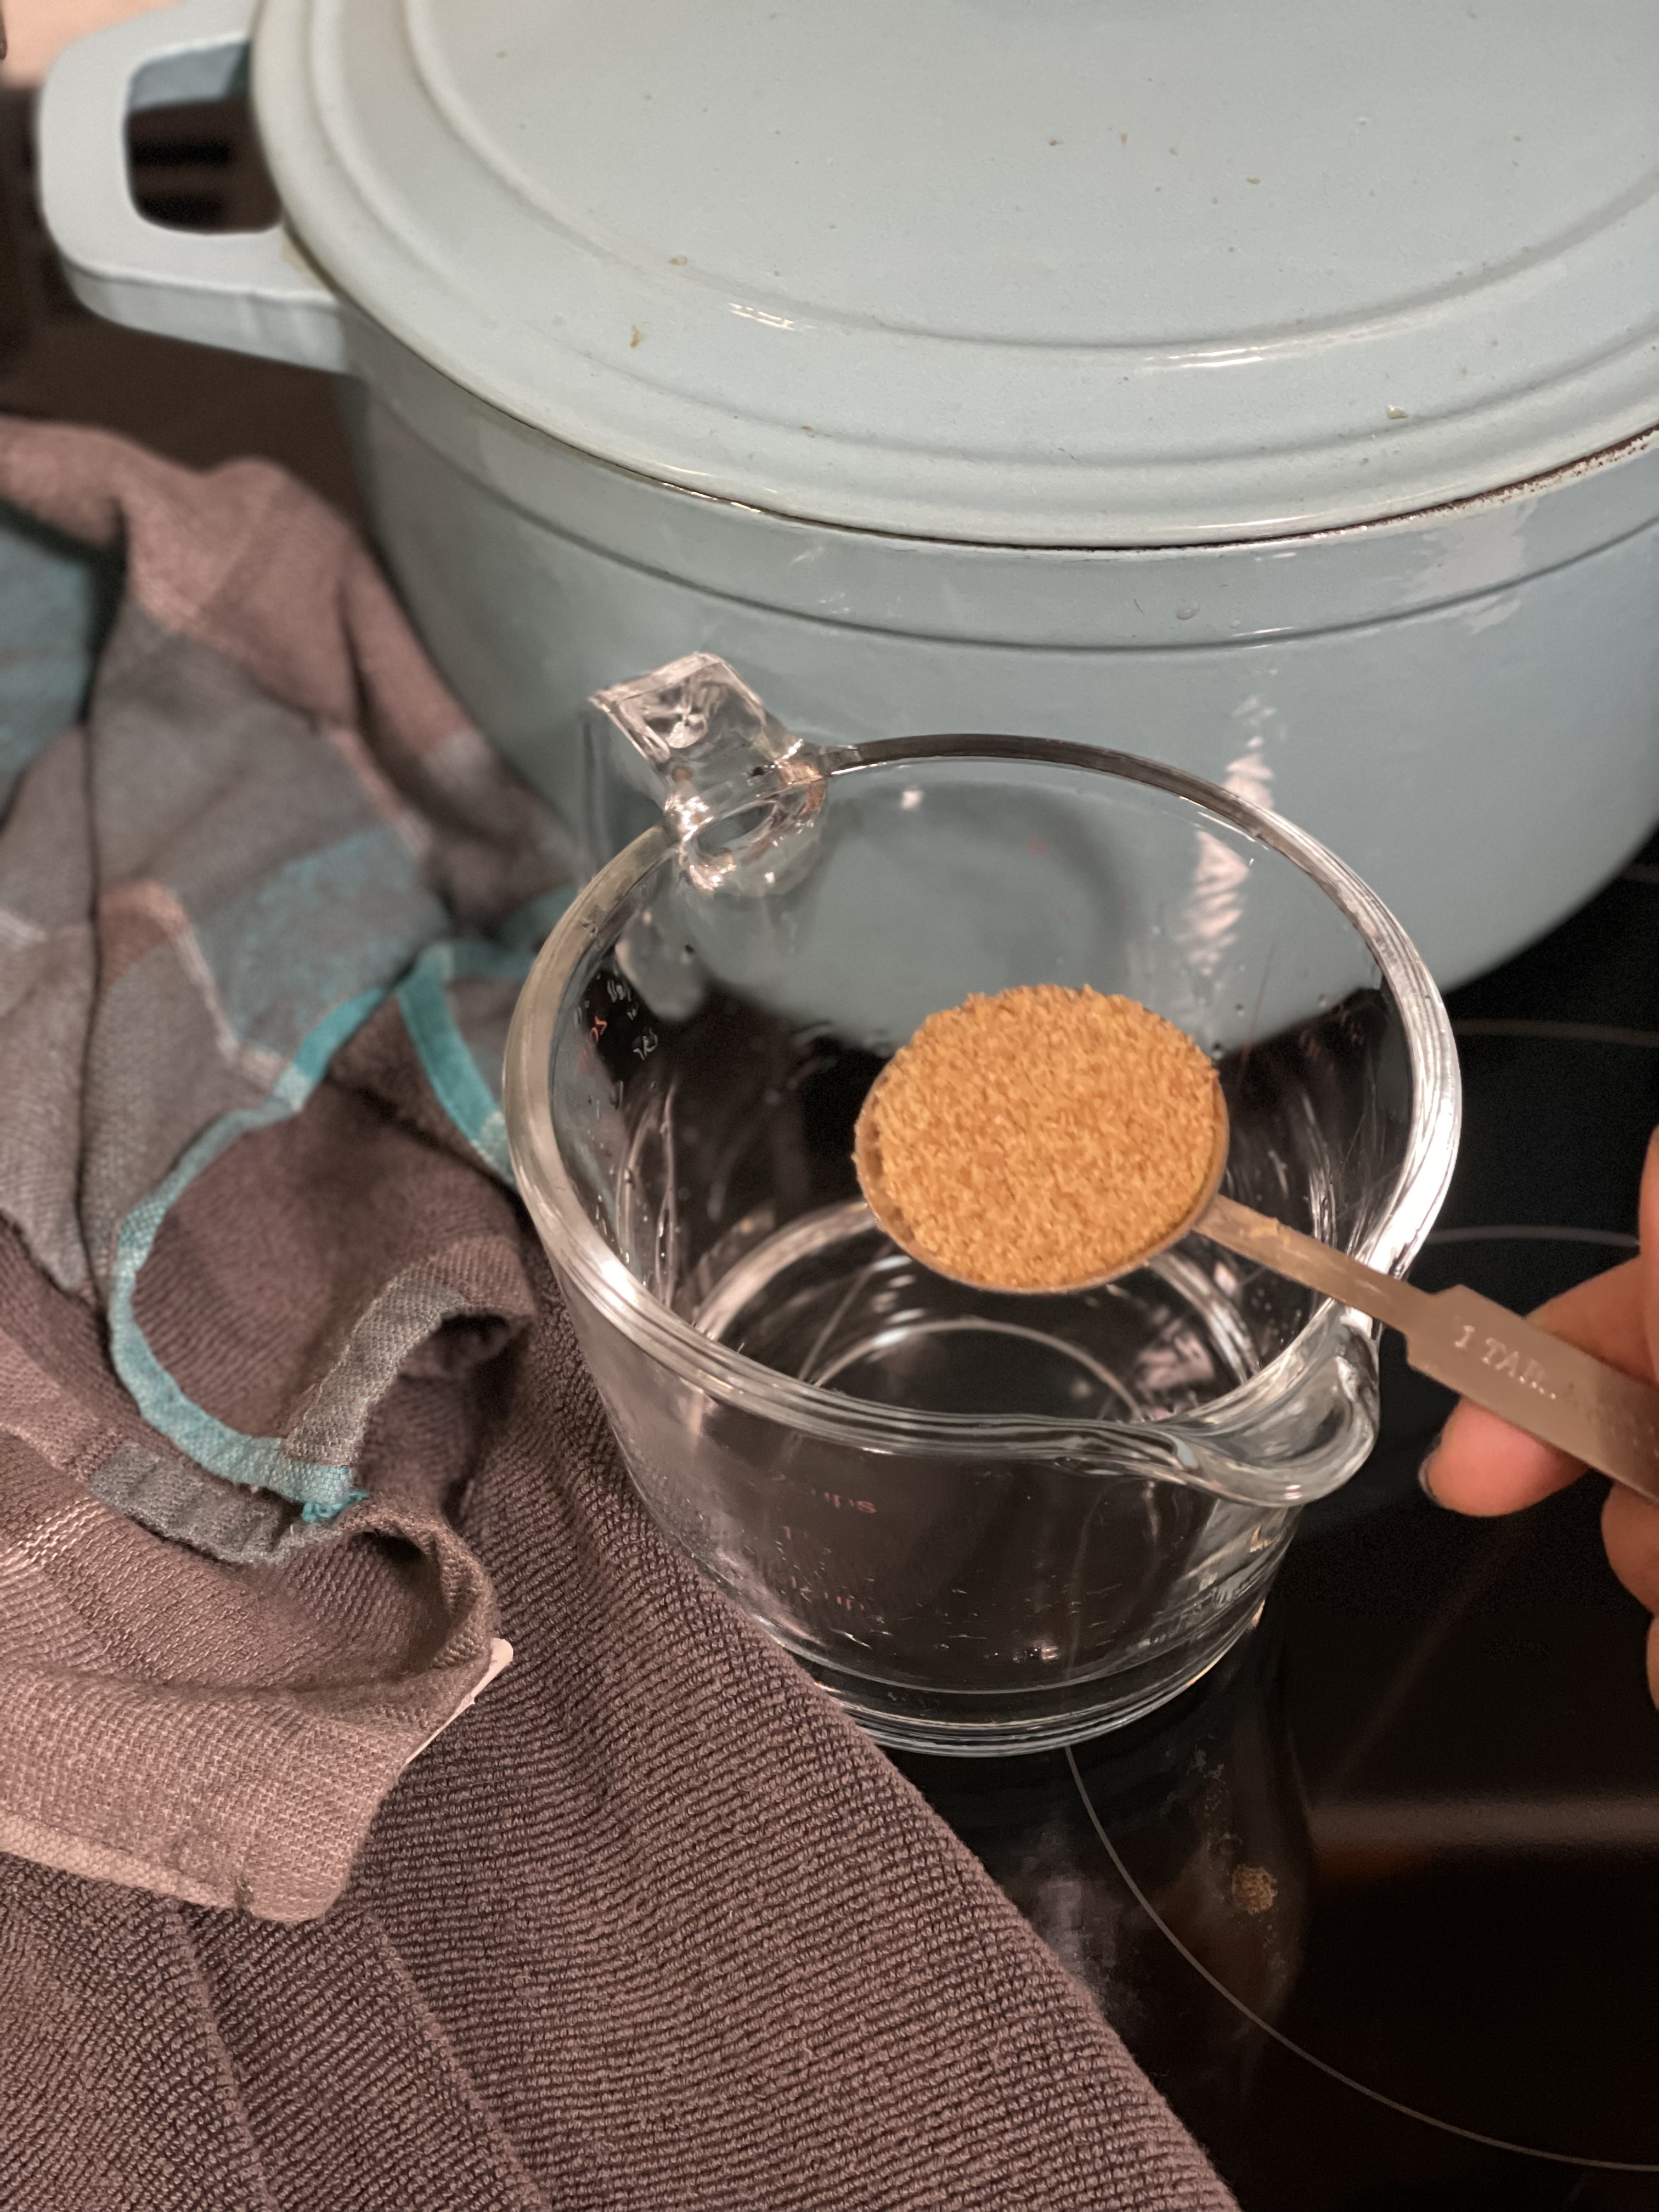
- 1/4 cup brown sugar
- 1 tsp vanilla
- 1/4 tsp salt
- 1/2 tsp cinnamon
- 1 tbsp cornstarch
- 1 tsp apple cider vinegar
Crumble
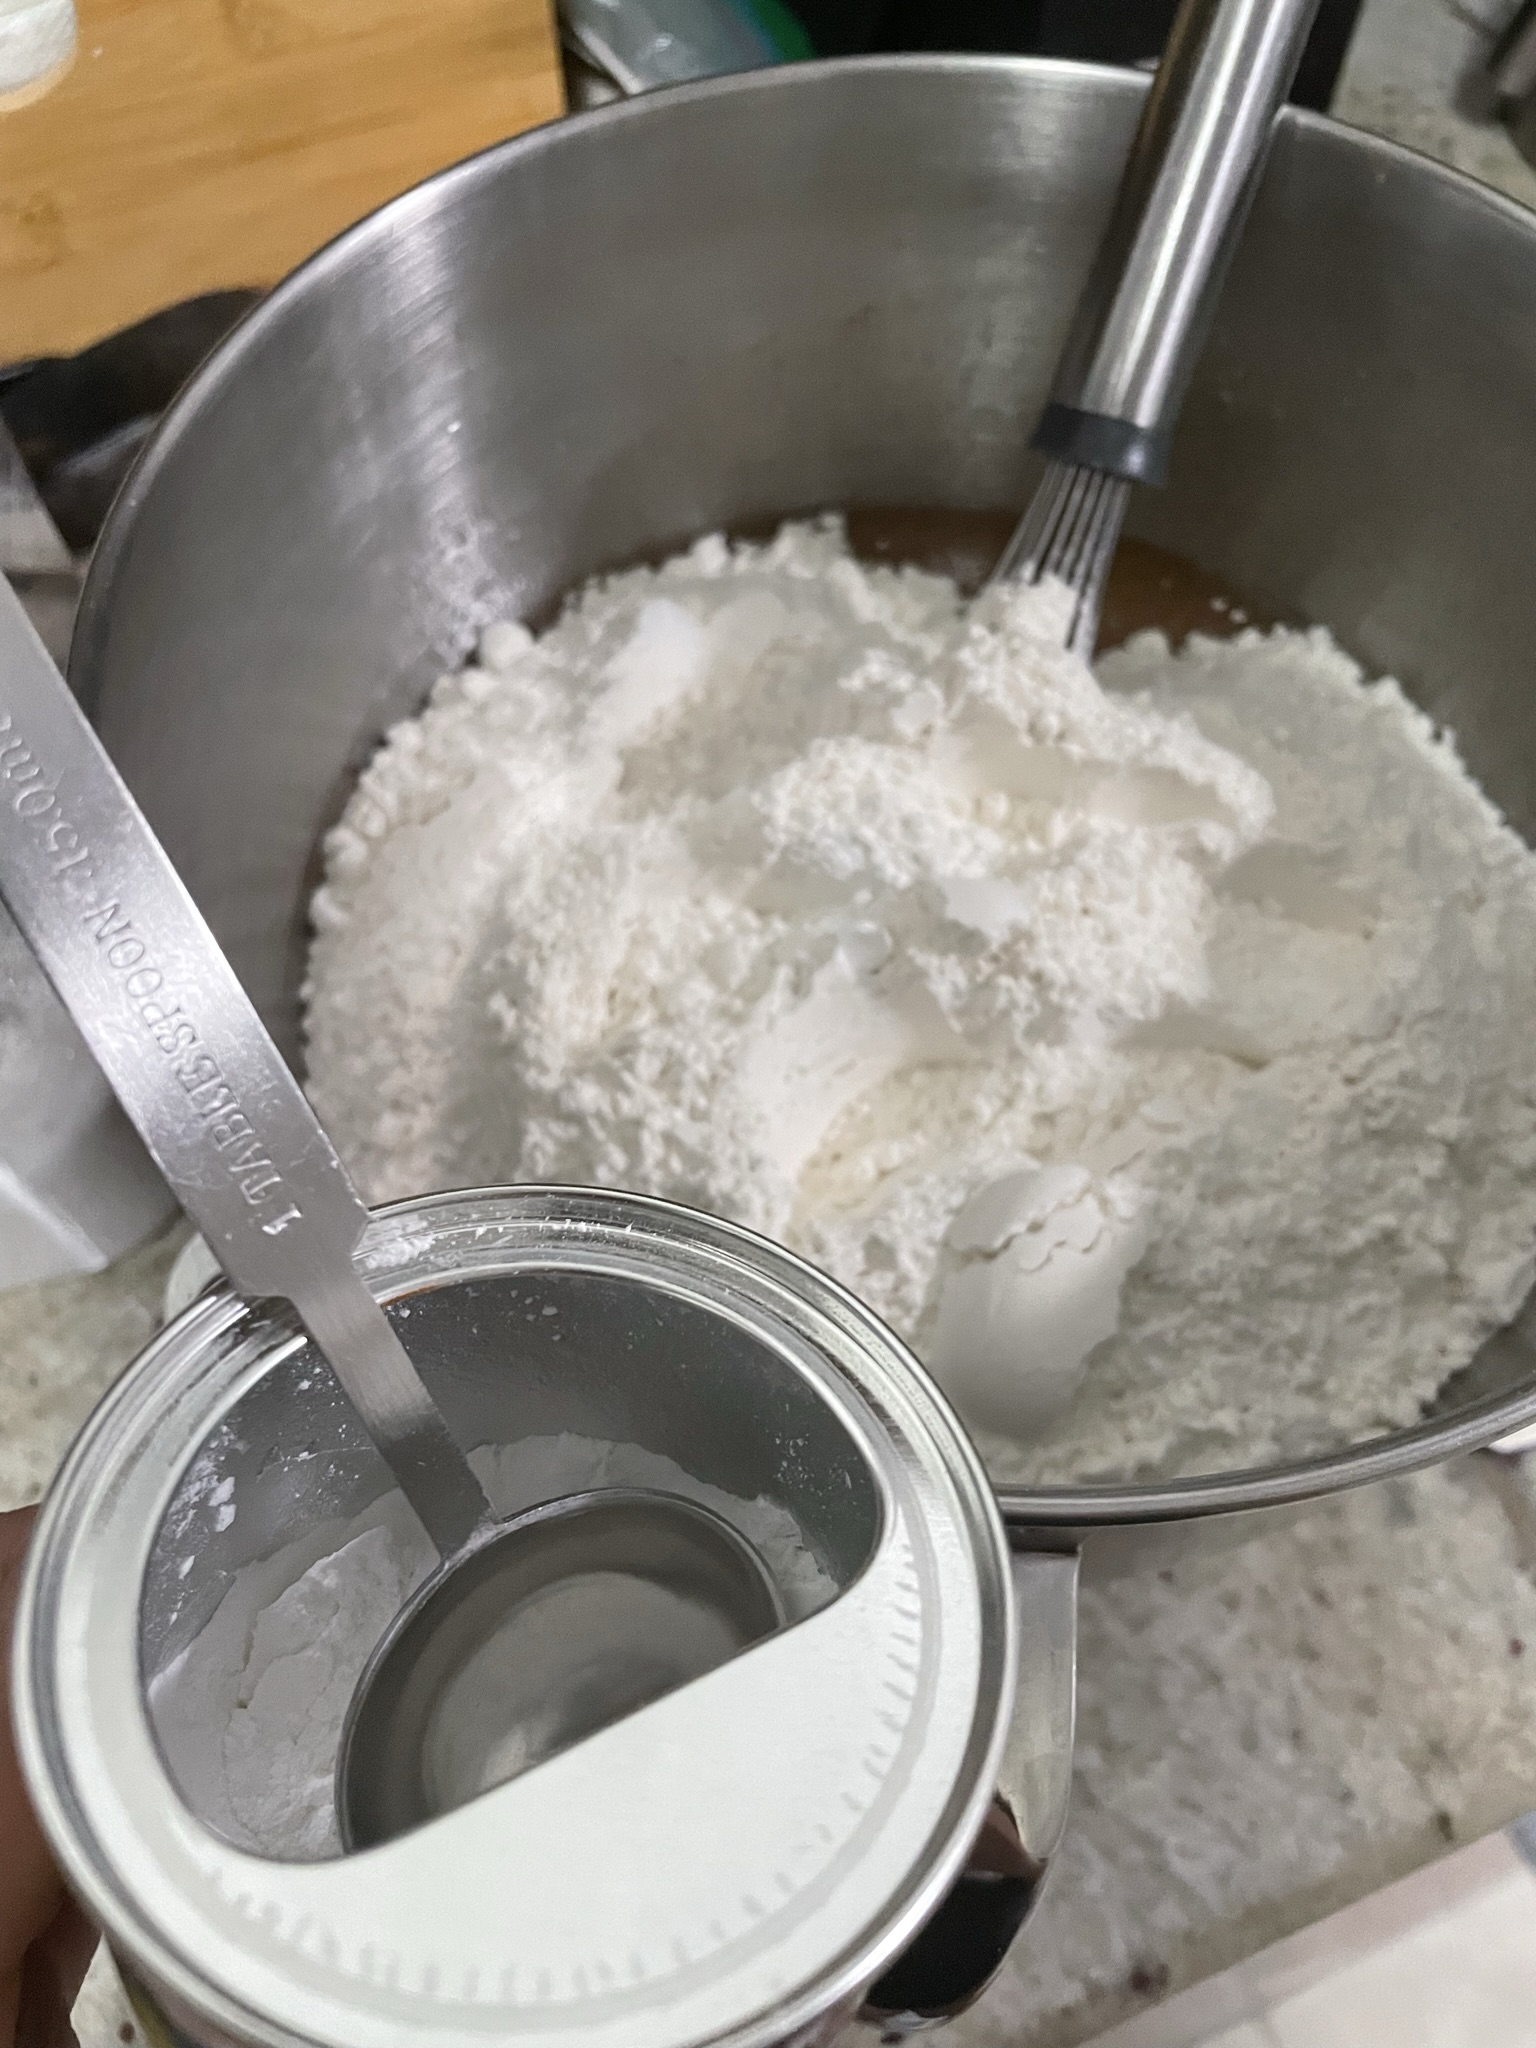
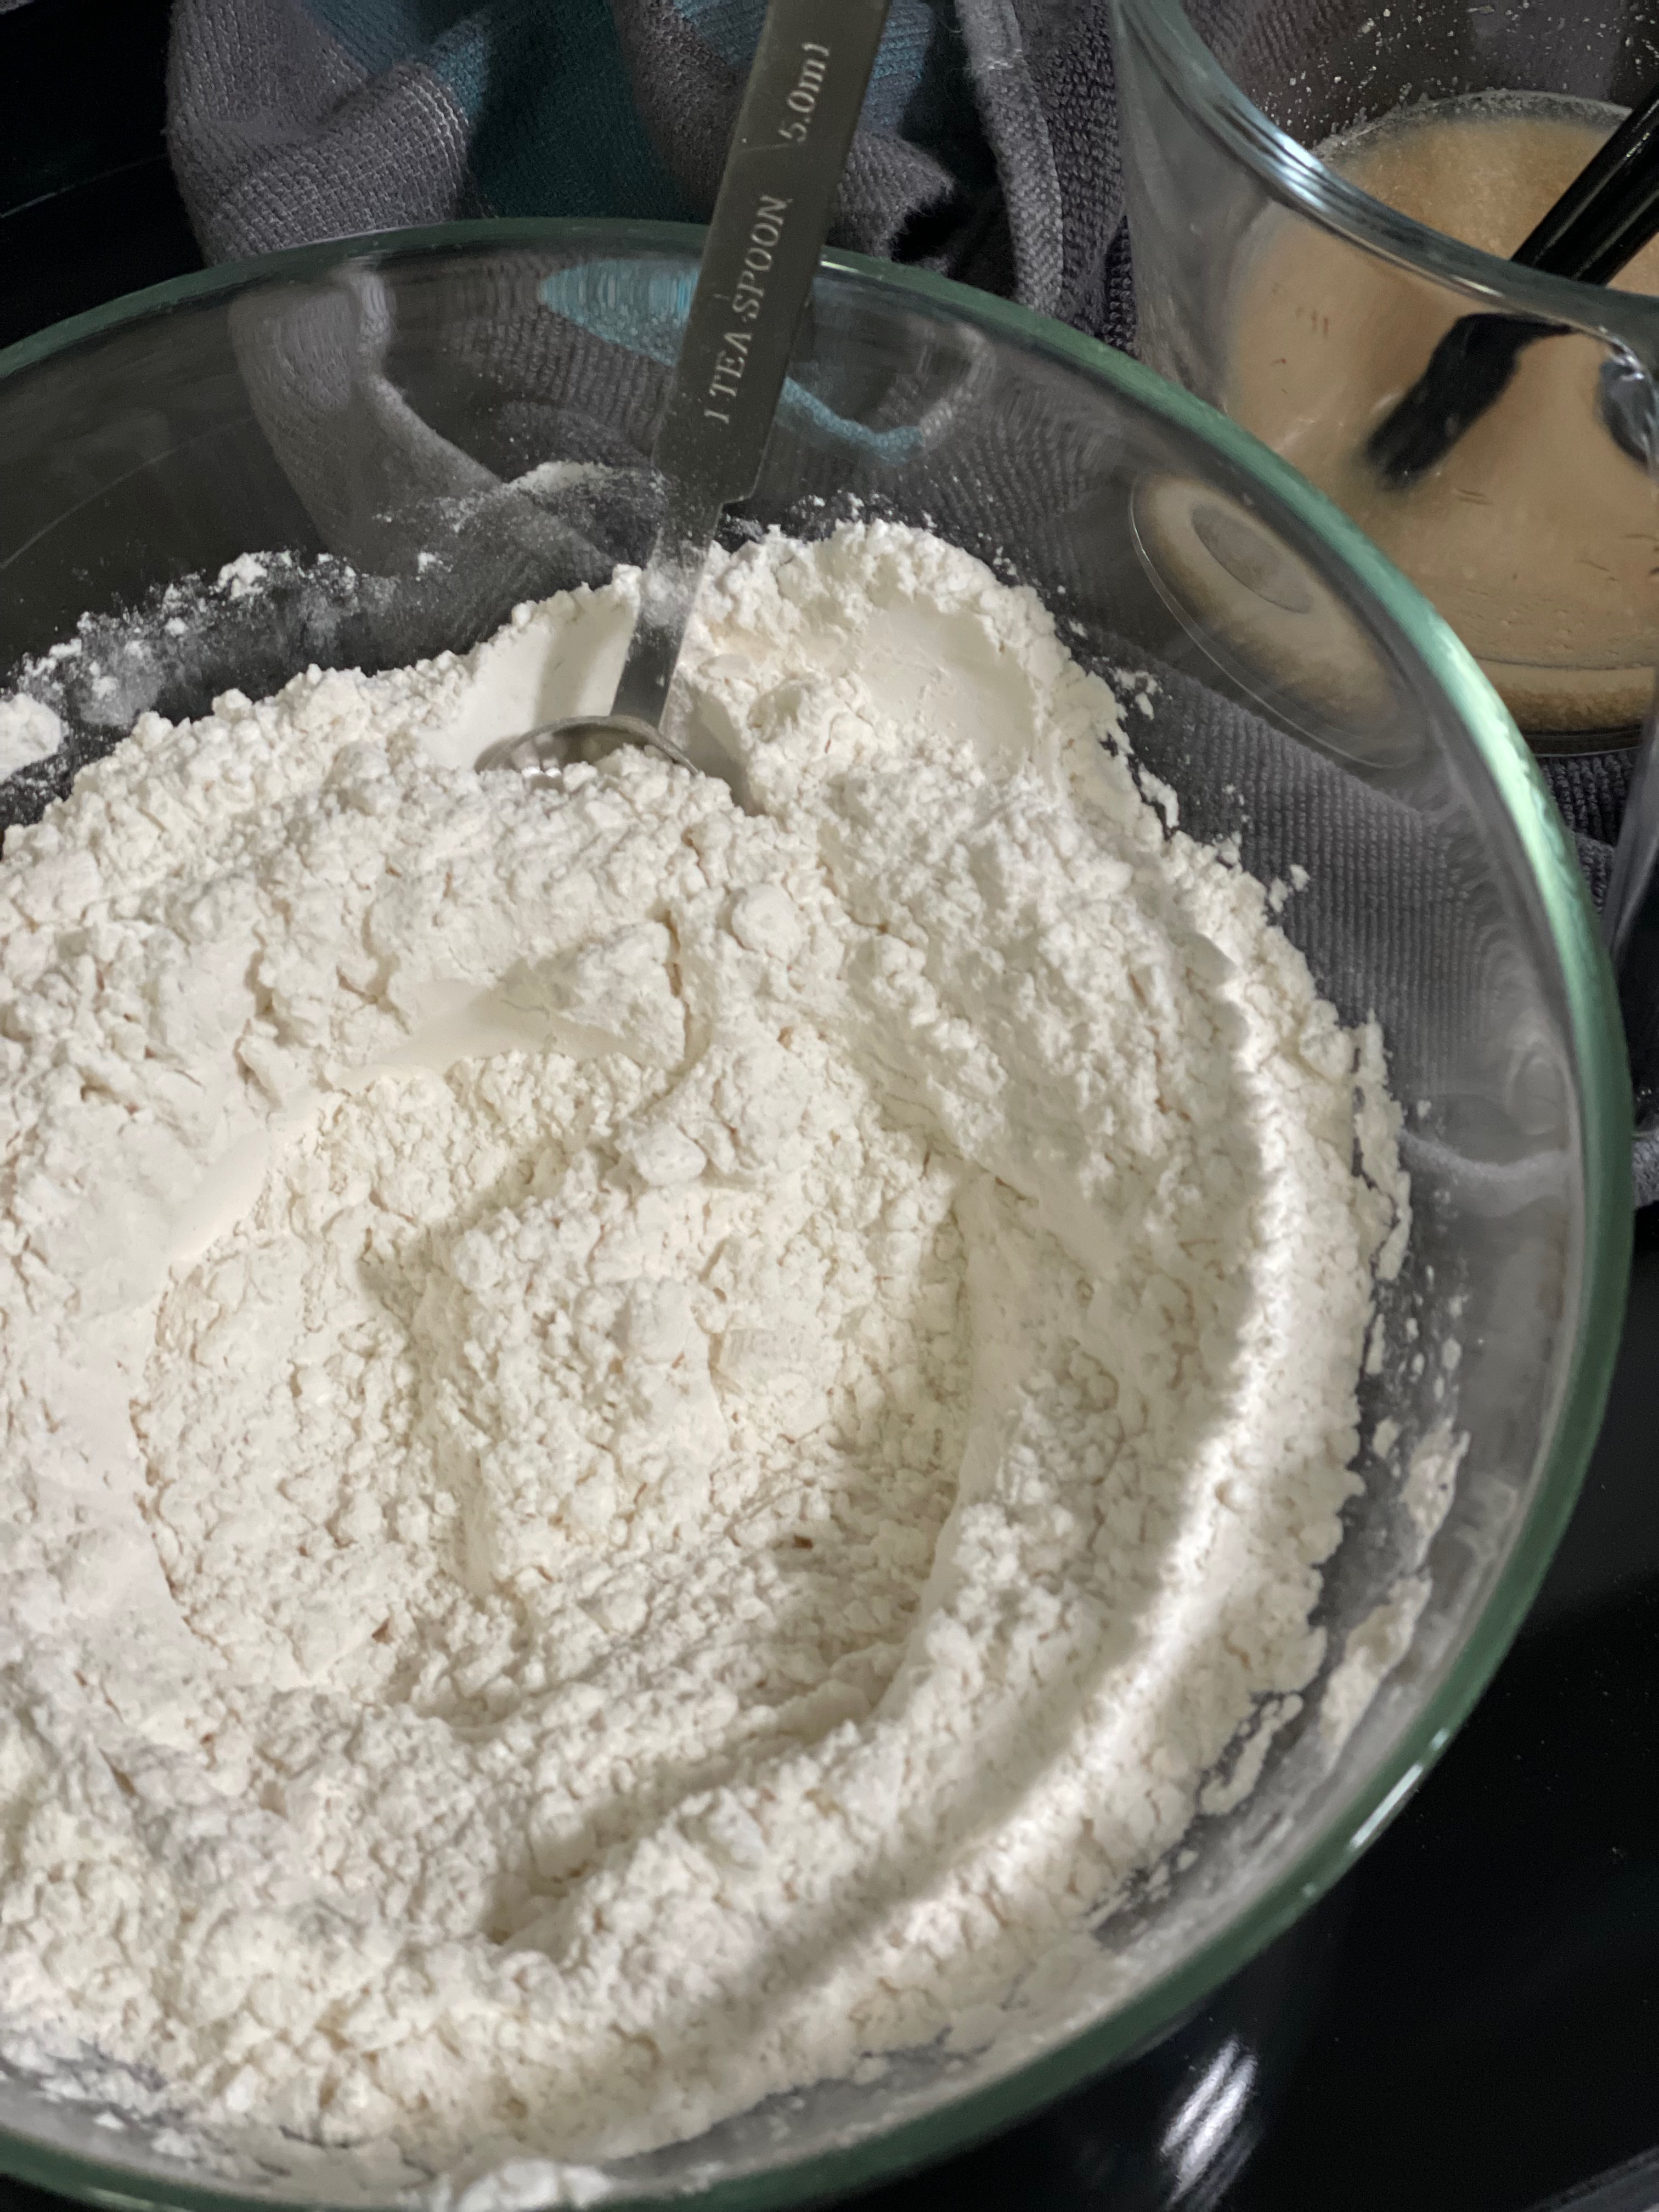
- 1/2 cup flour
- 1 cup rolled oats
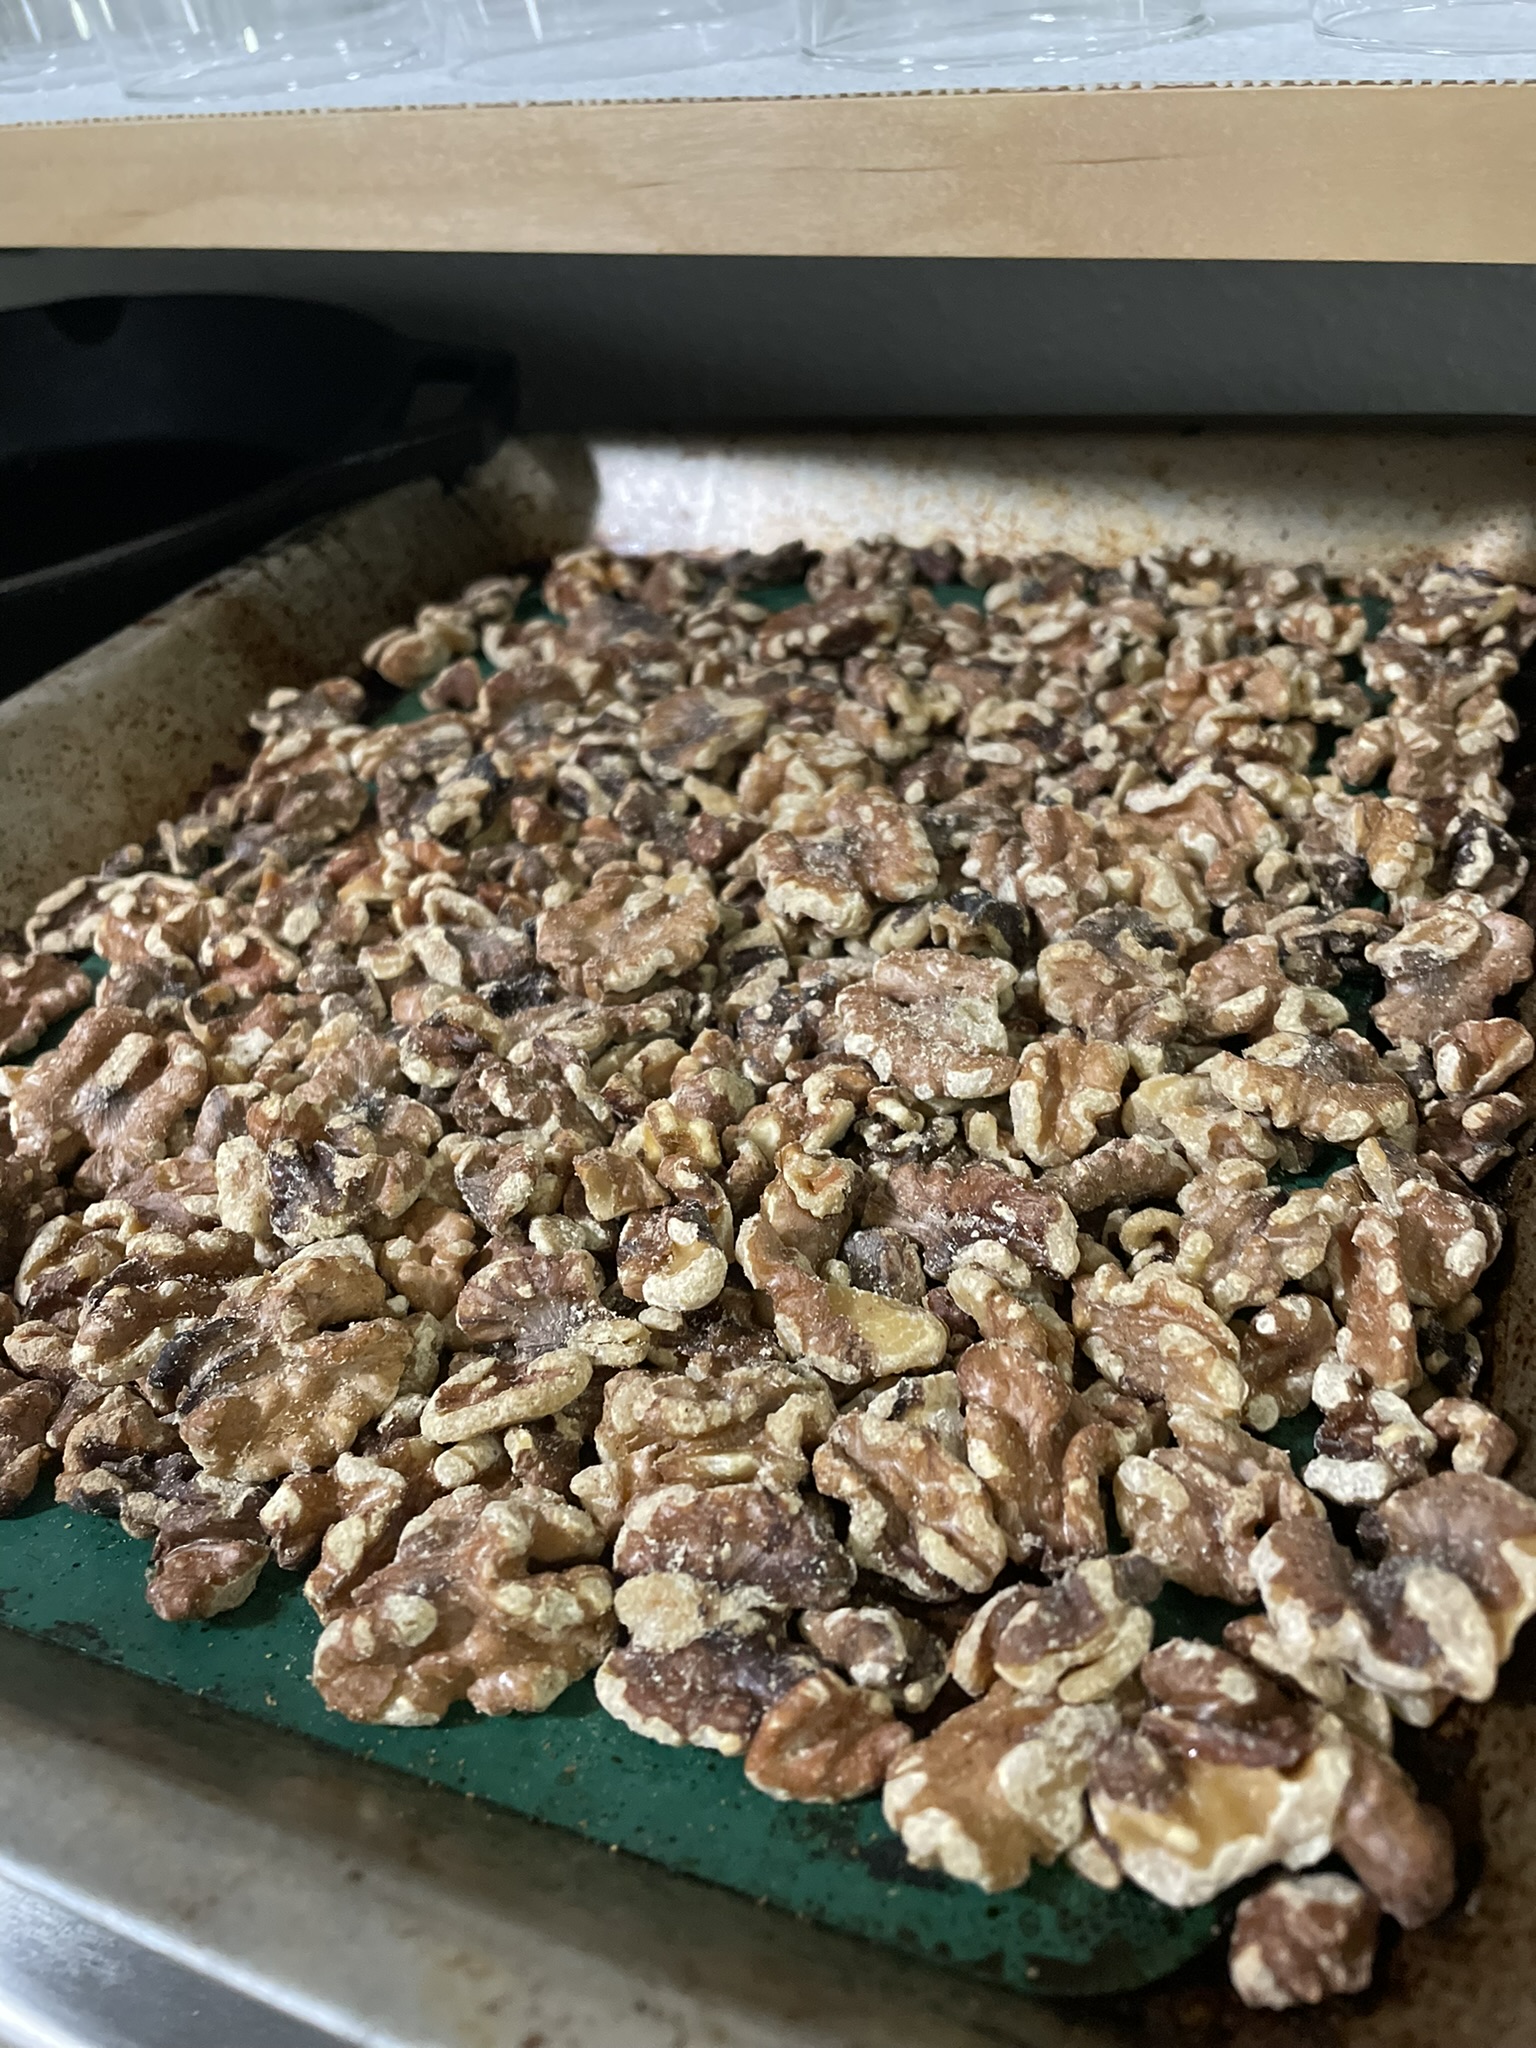
- 1 cup walnuts chopped
- 1/2 cup brown sugar
- 1 tbsp cinnamon
- 1/4 tsp salt
- 3/4 cup vegetable oil
Instructions
- If using frozen pie crust, remove from freezer to thaw in refrigerator.
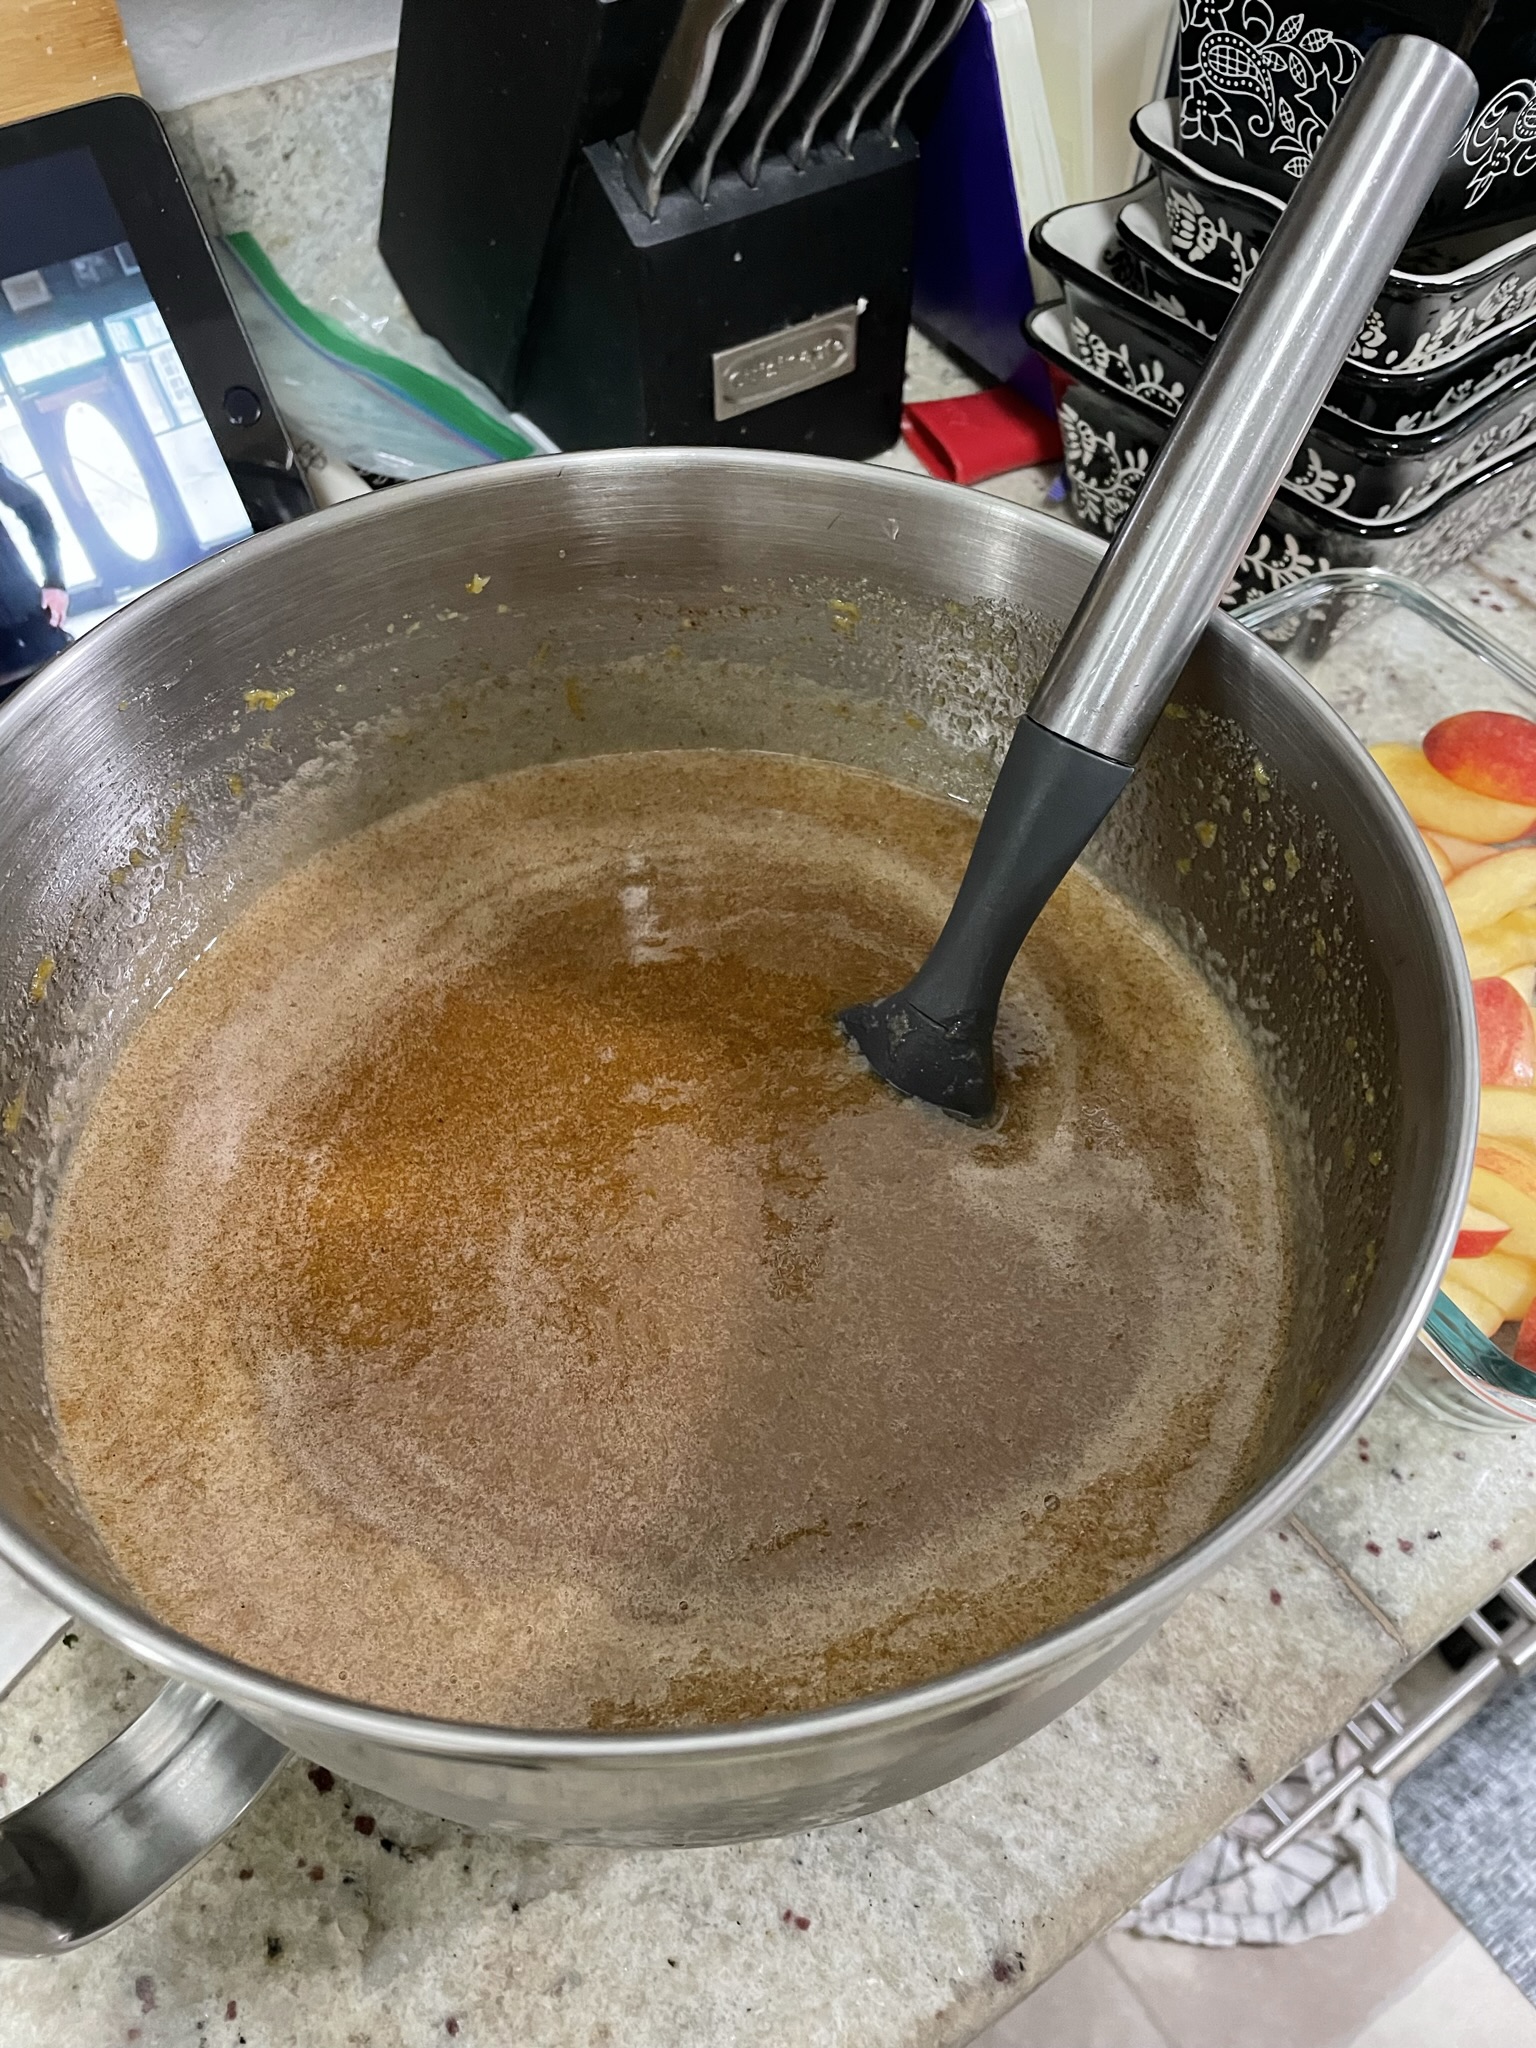
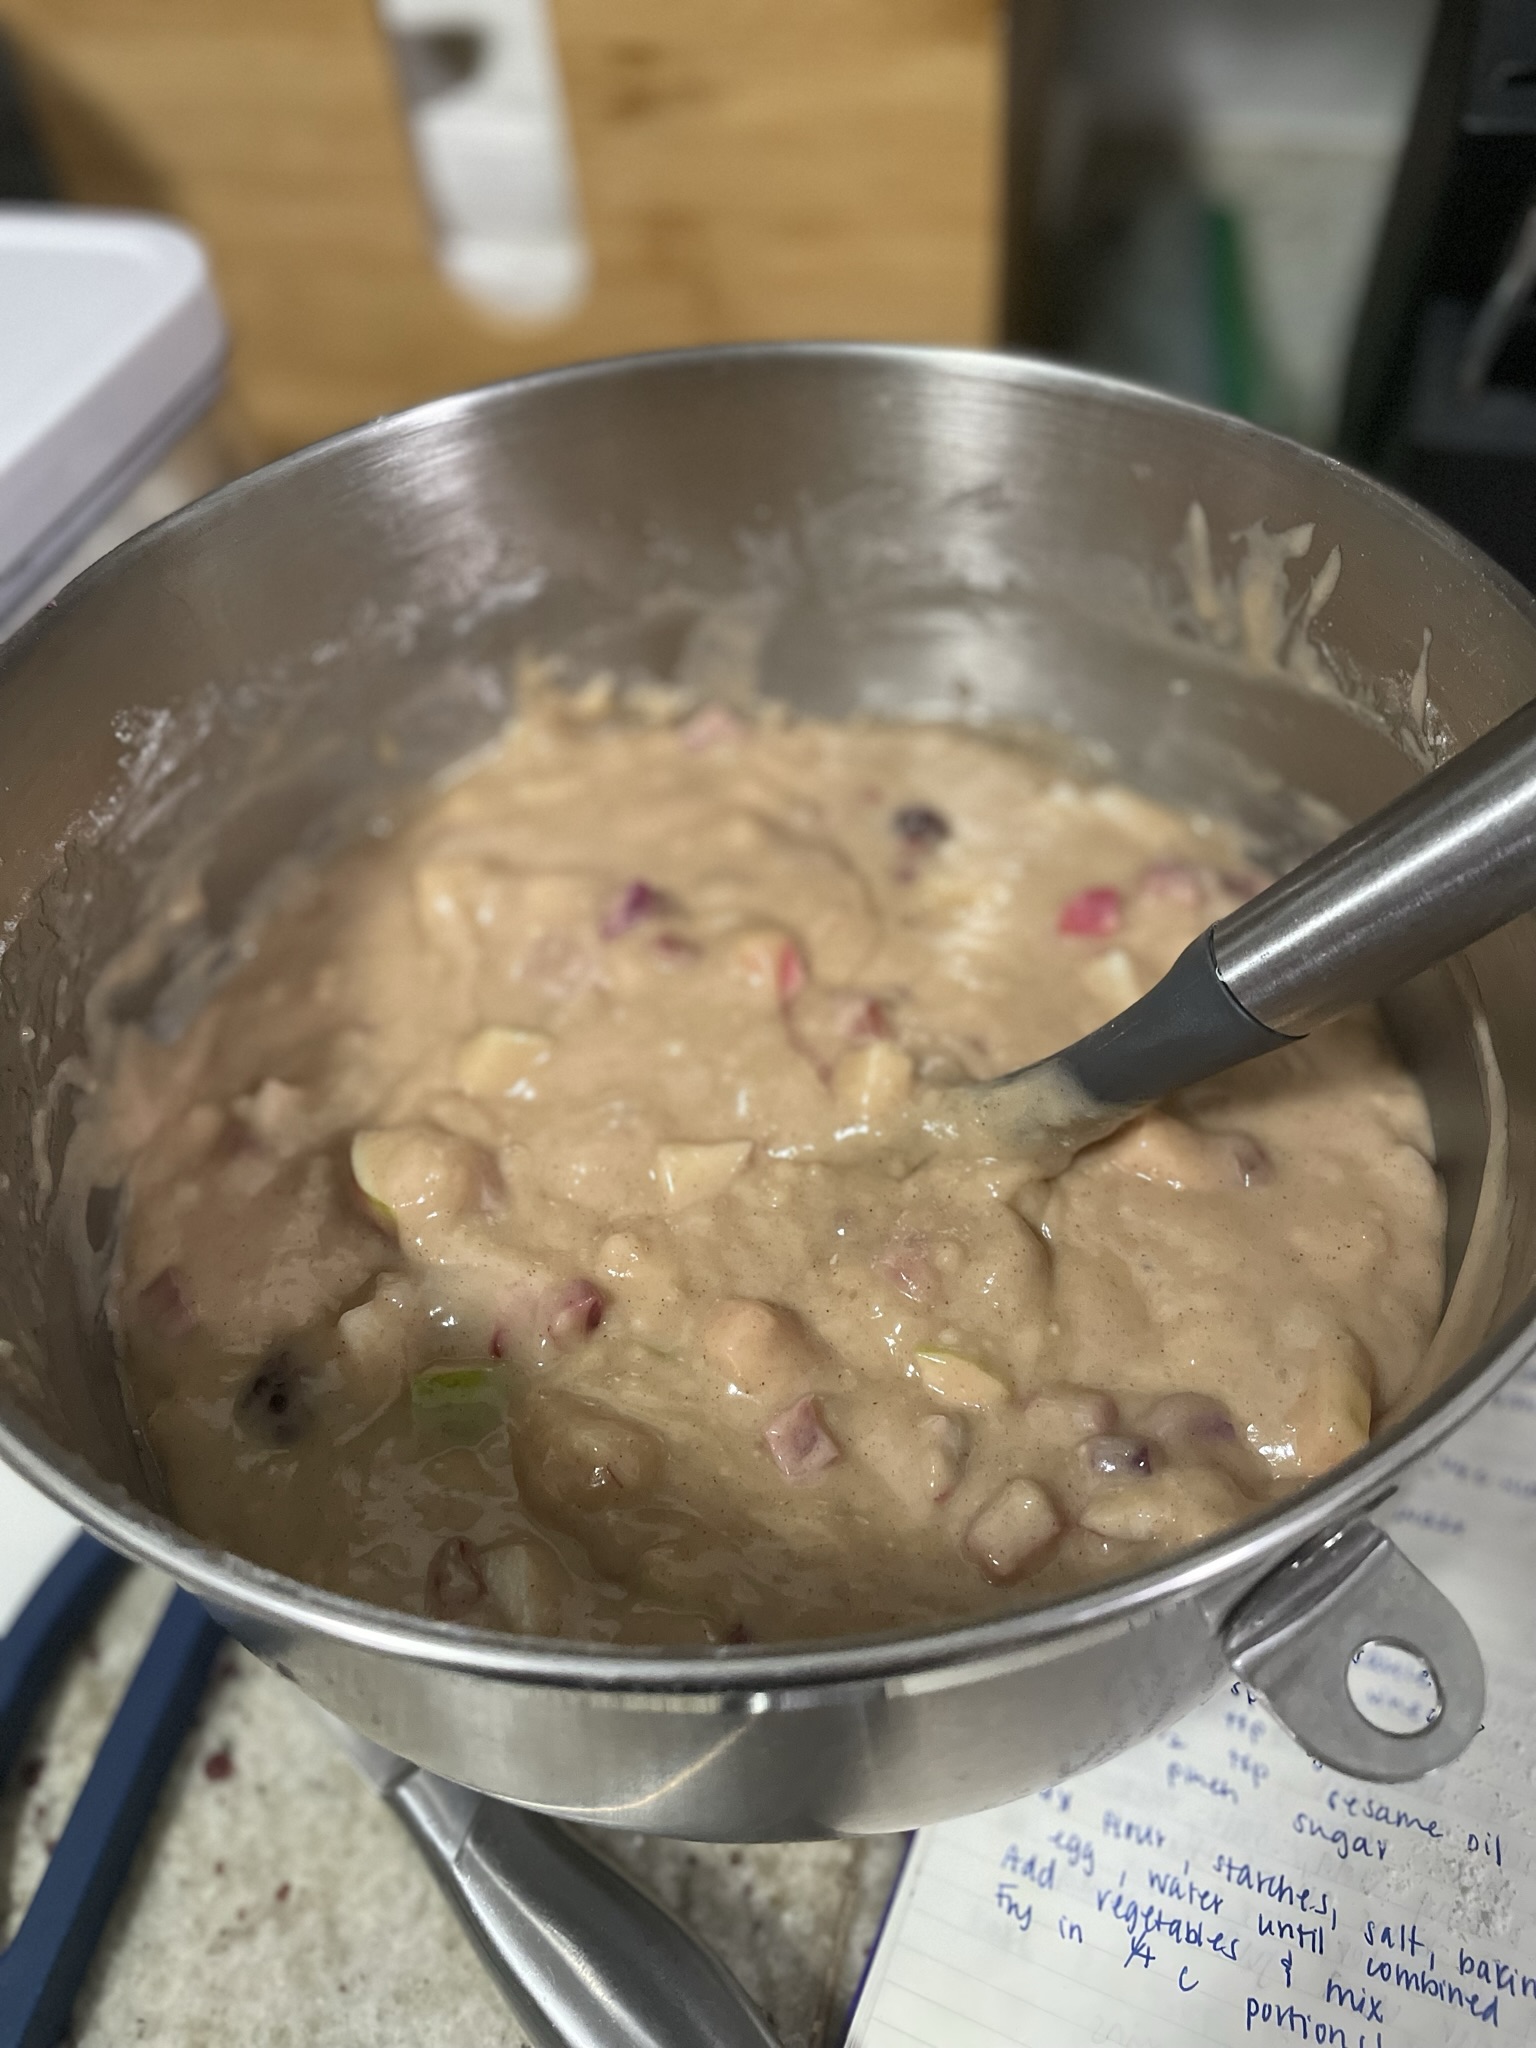
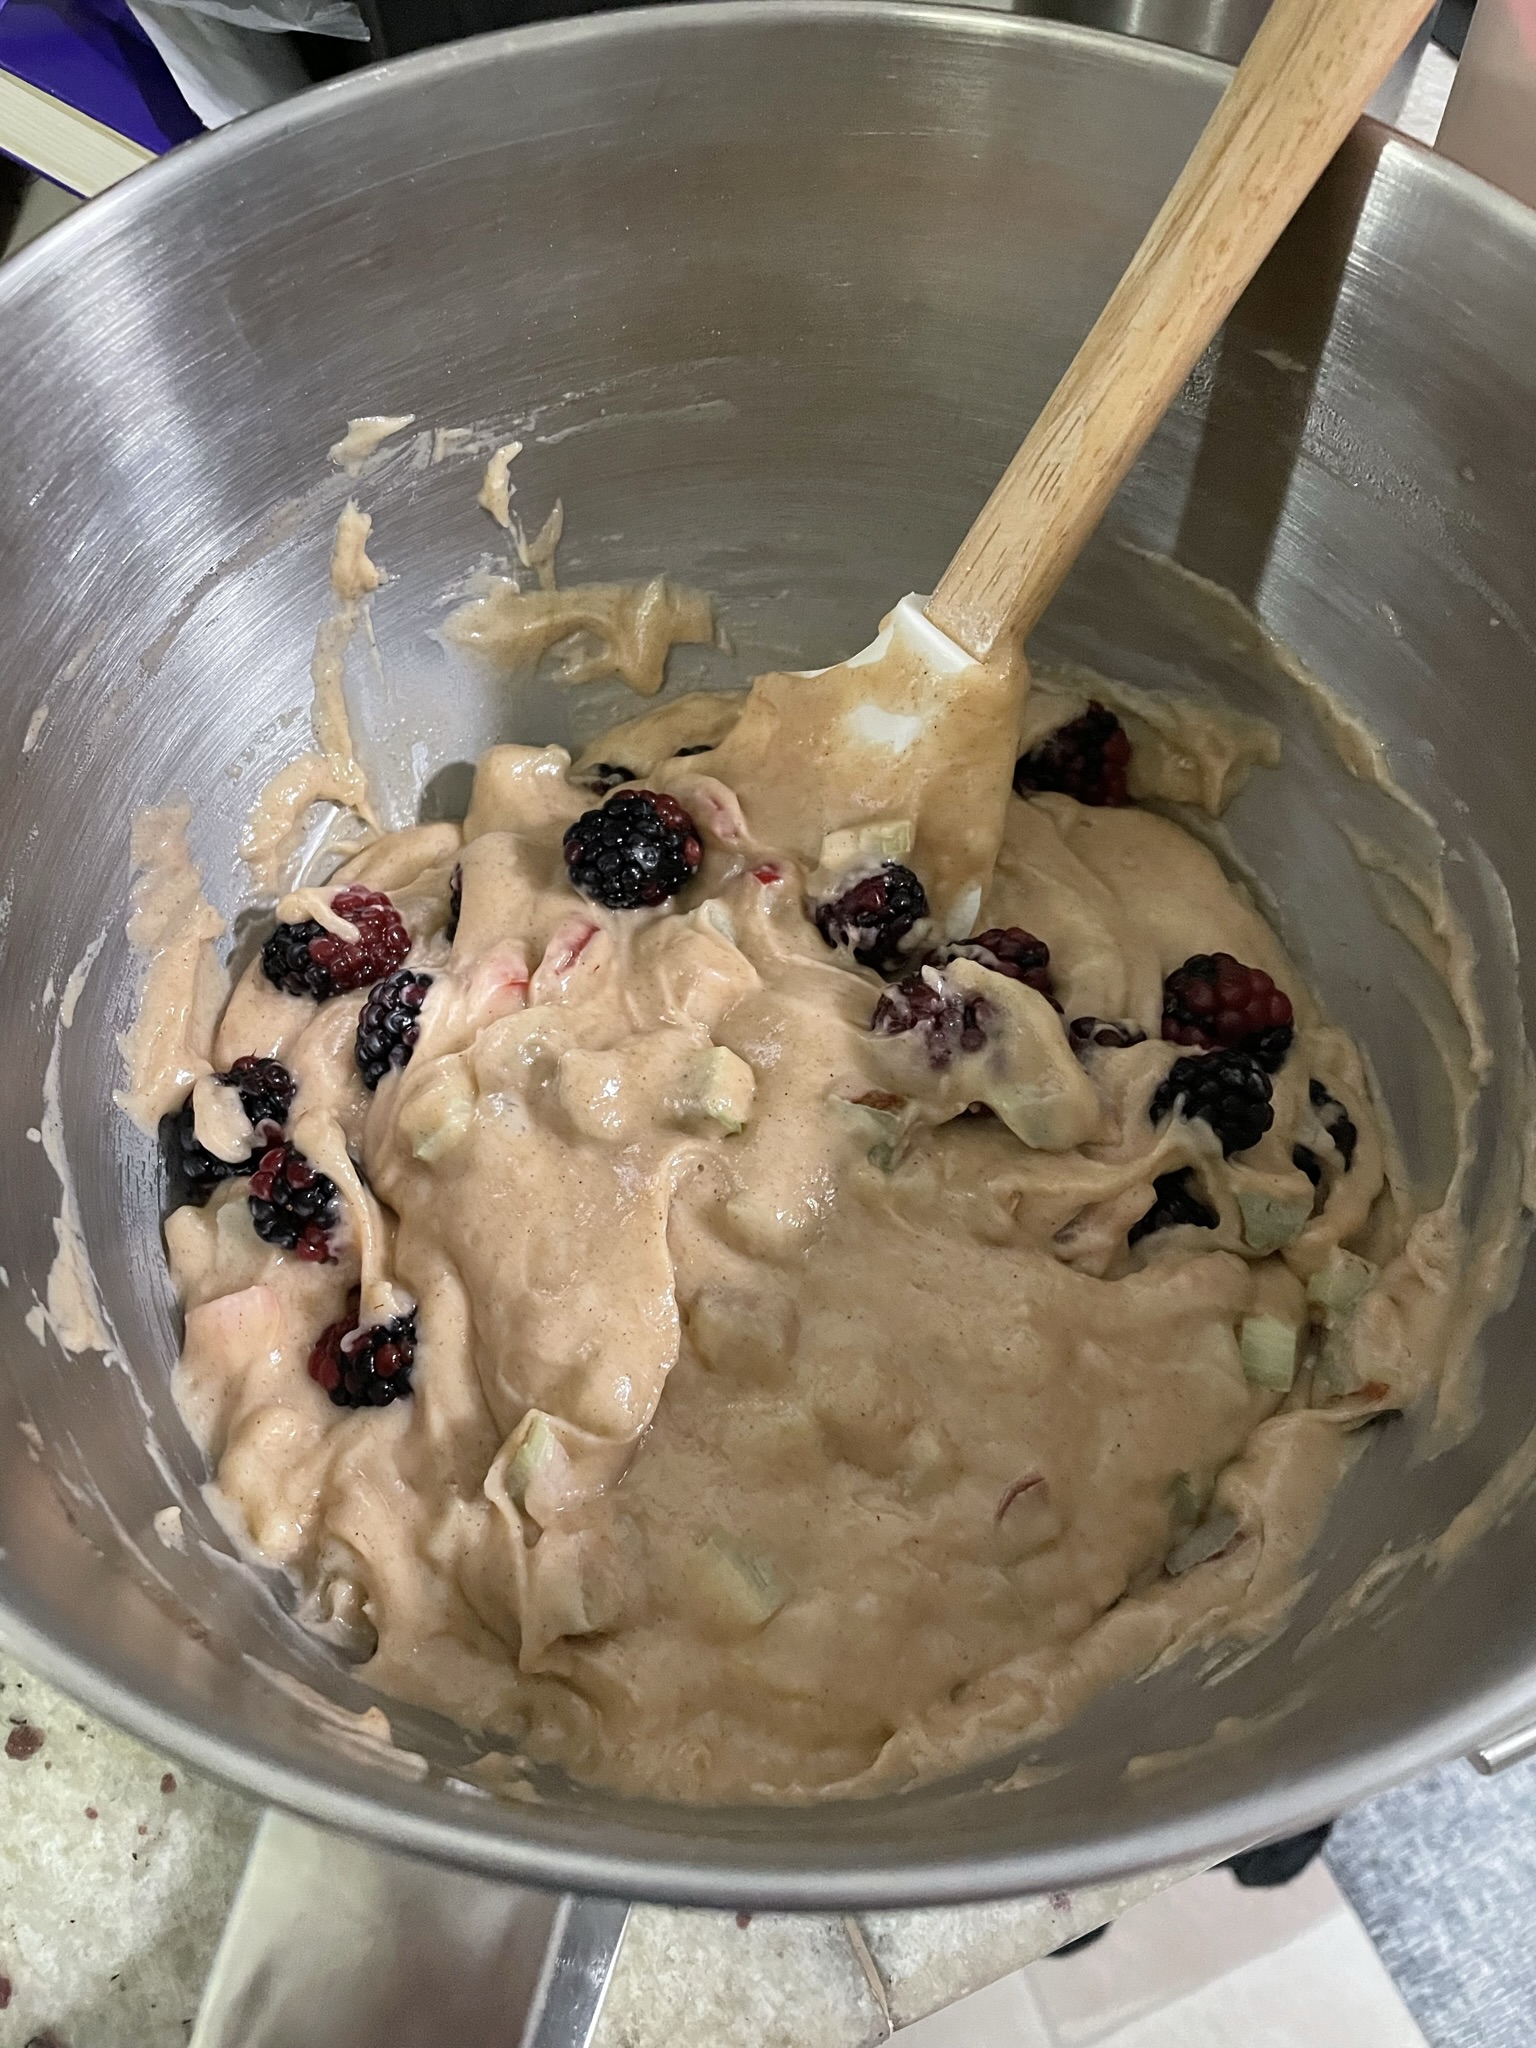
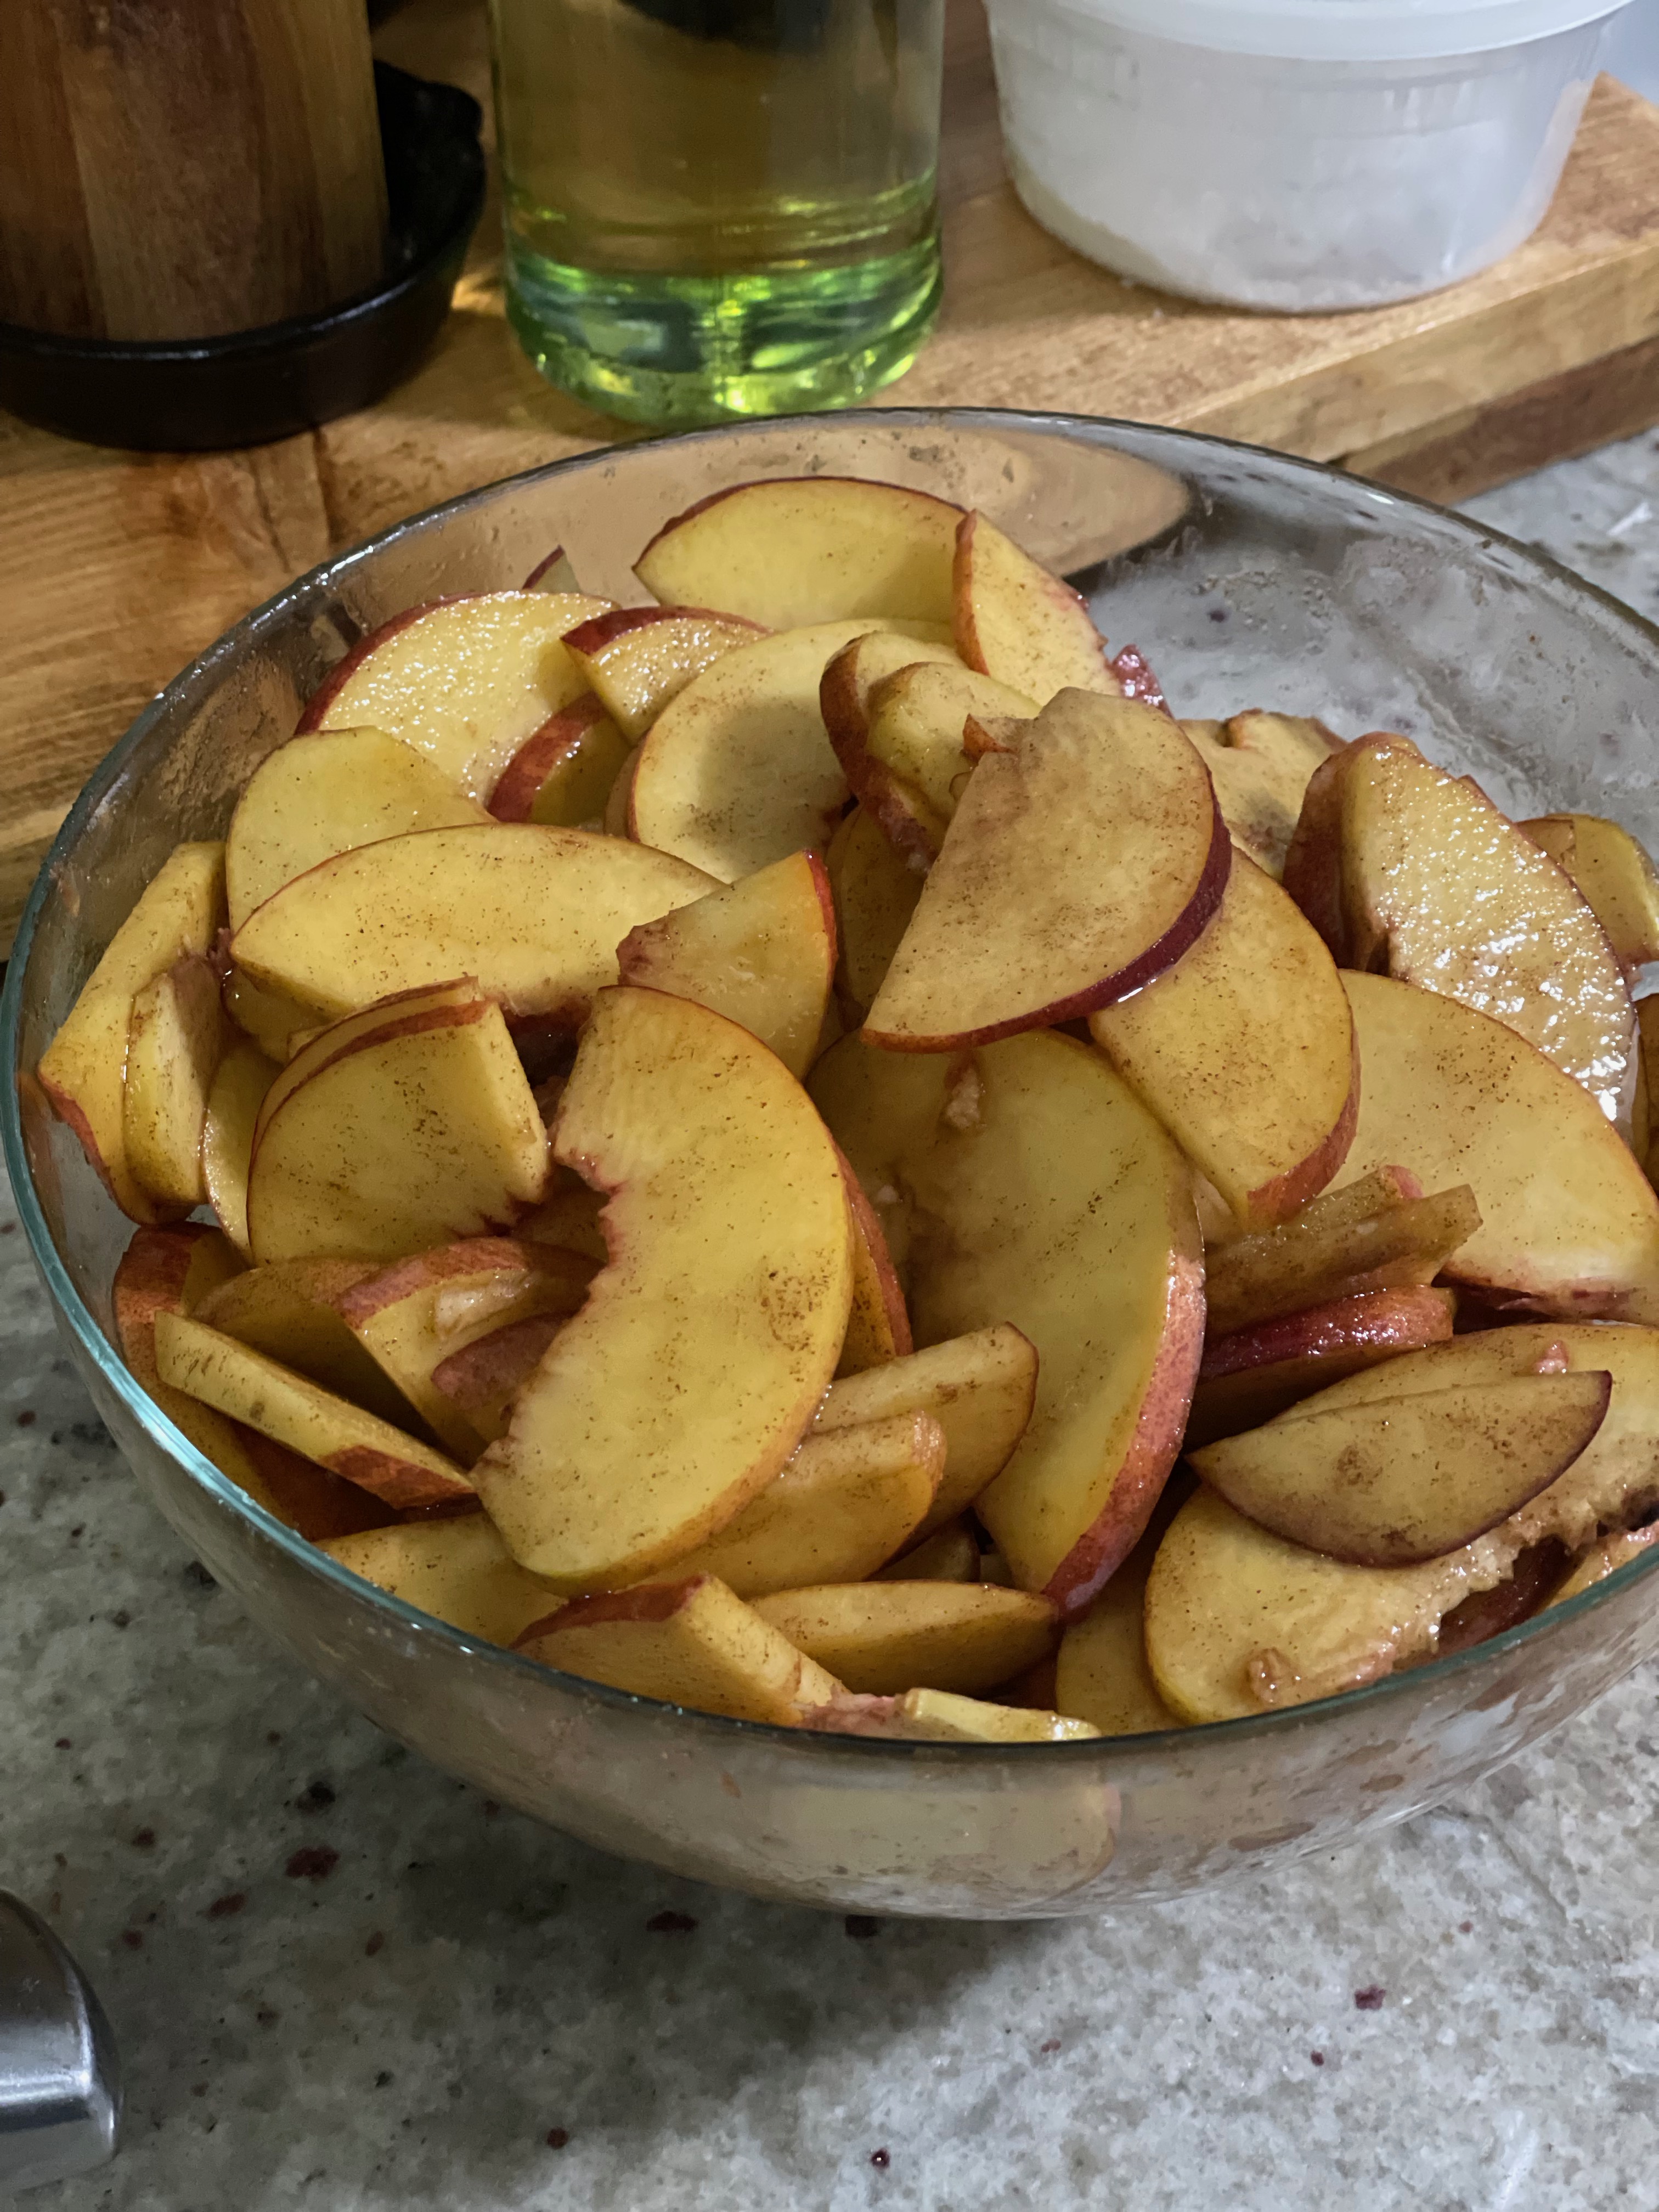
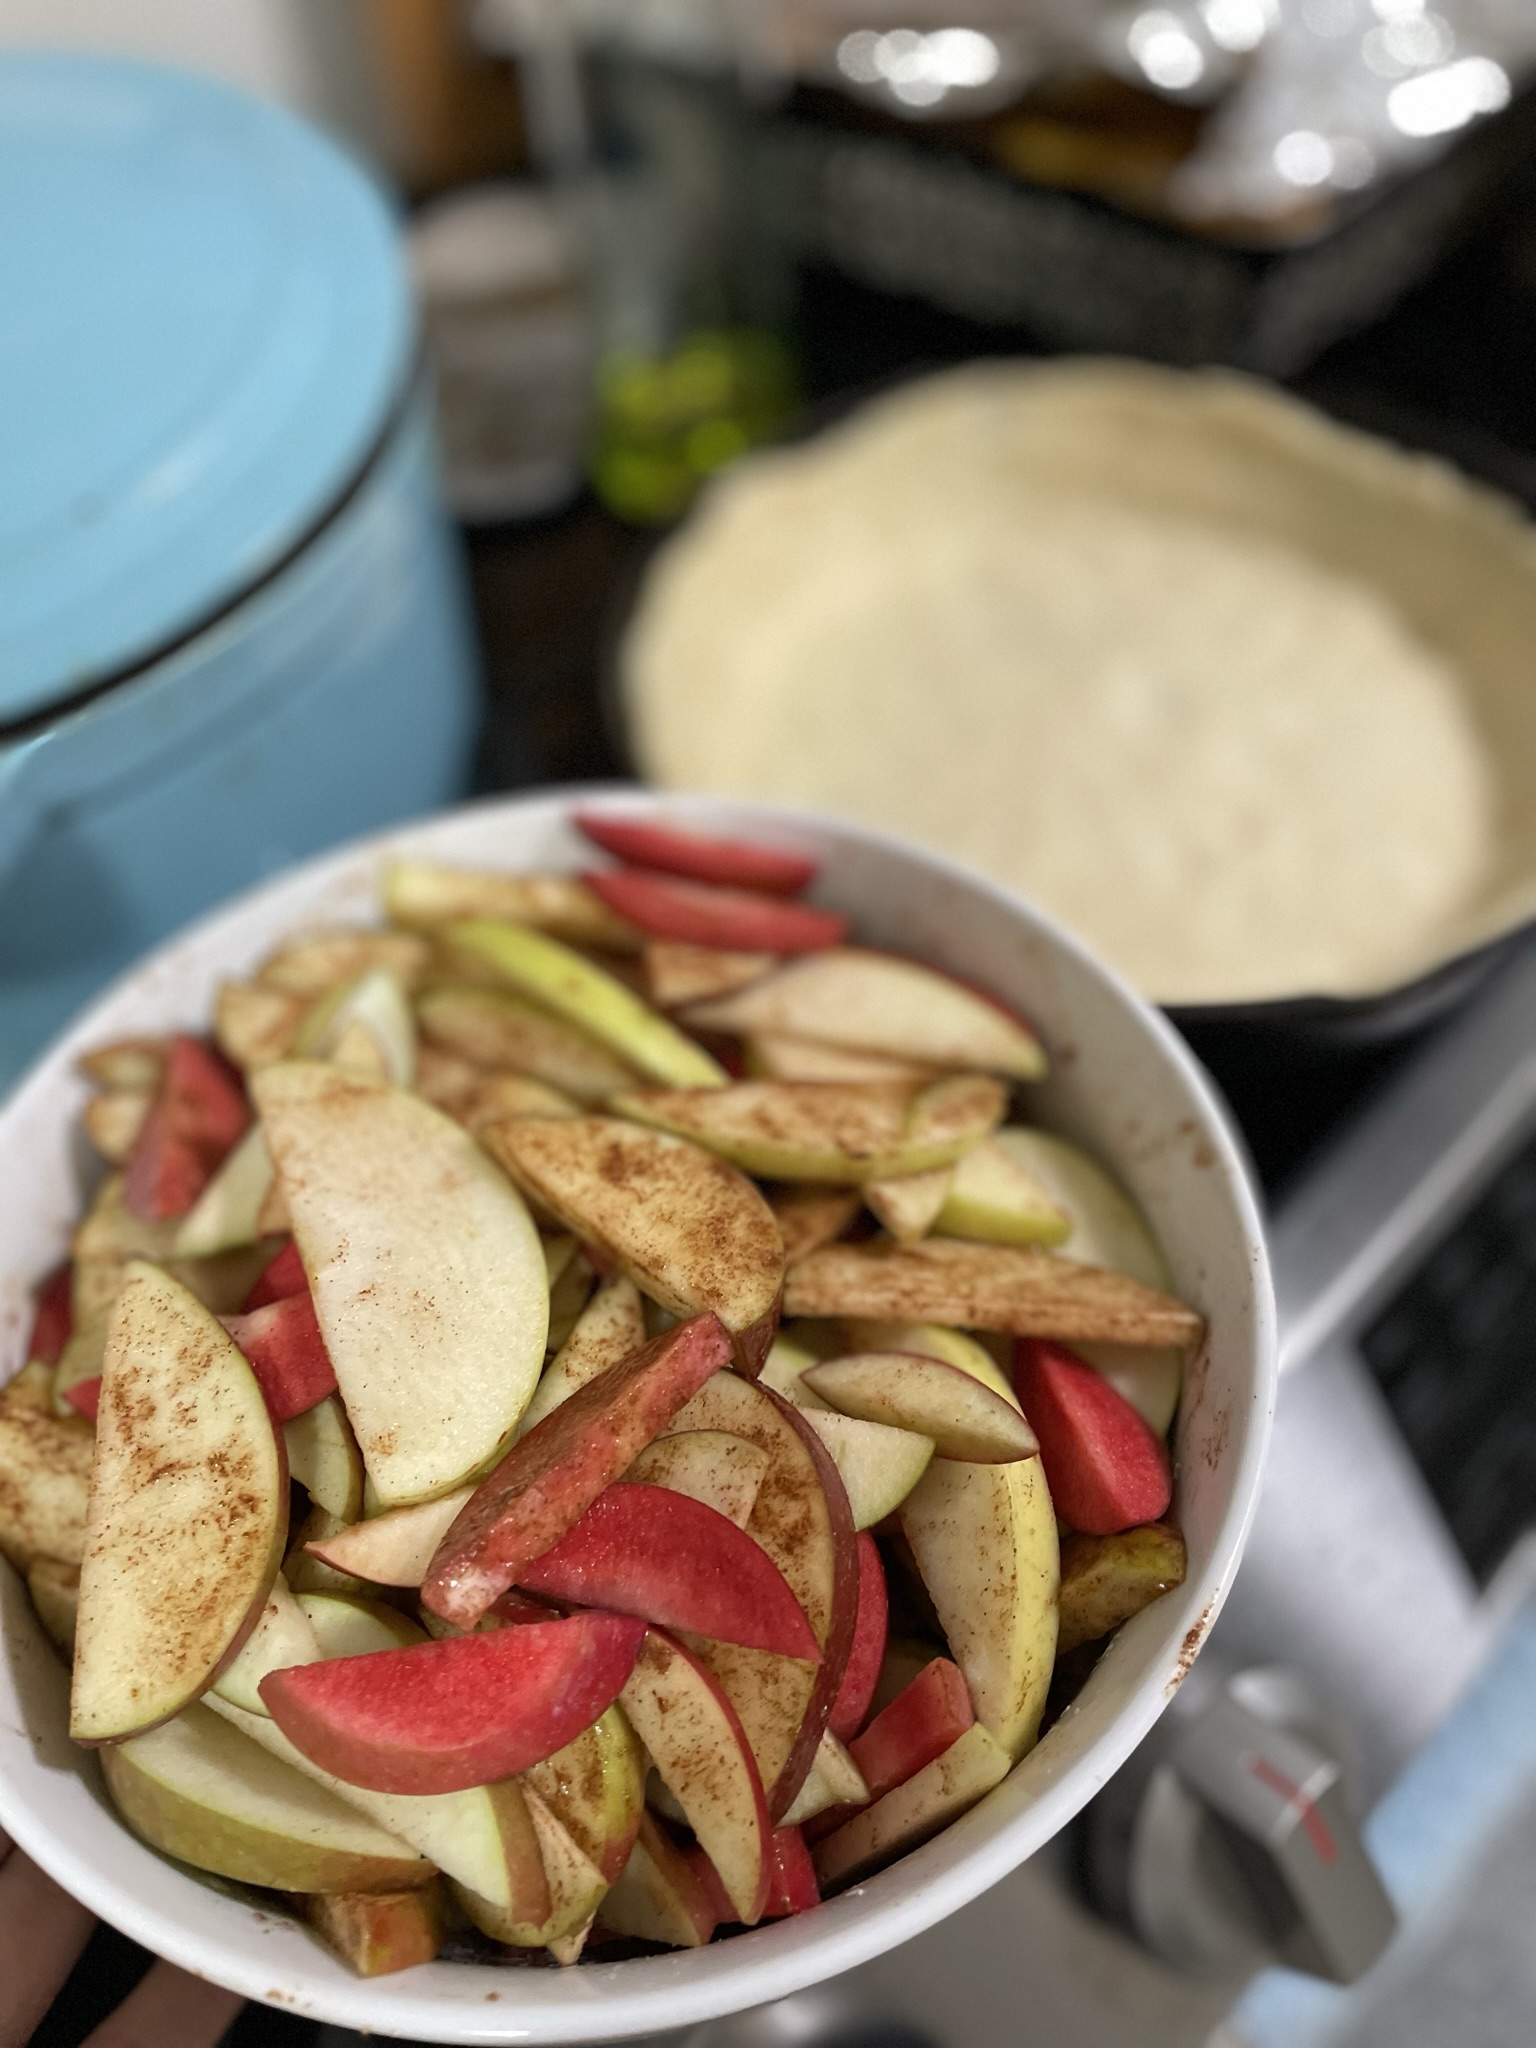
- Chop apples into 1/4 inch slices. Combine with remaining apple filling ingredients (brown sugar, vanilla, salt, cinnamon, cornstarch, apple cider vinegar).
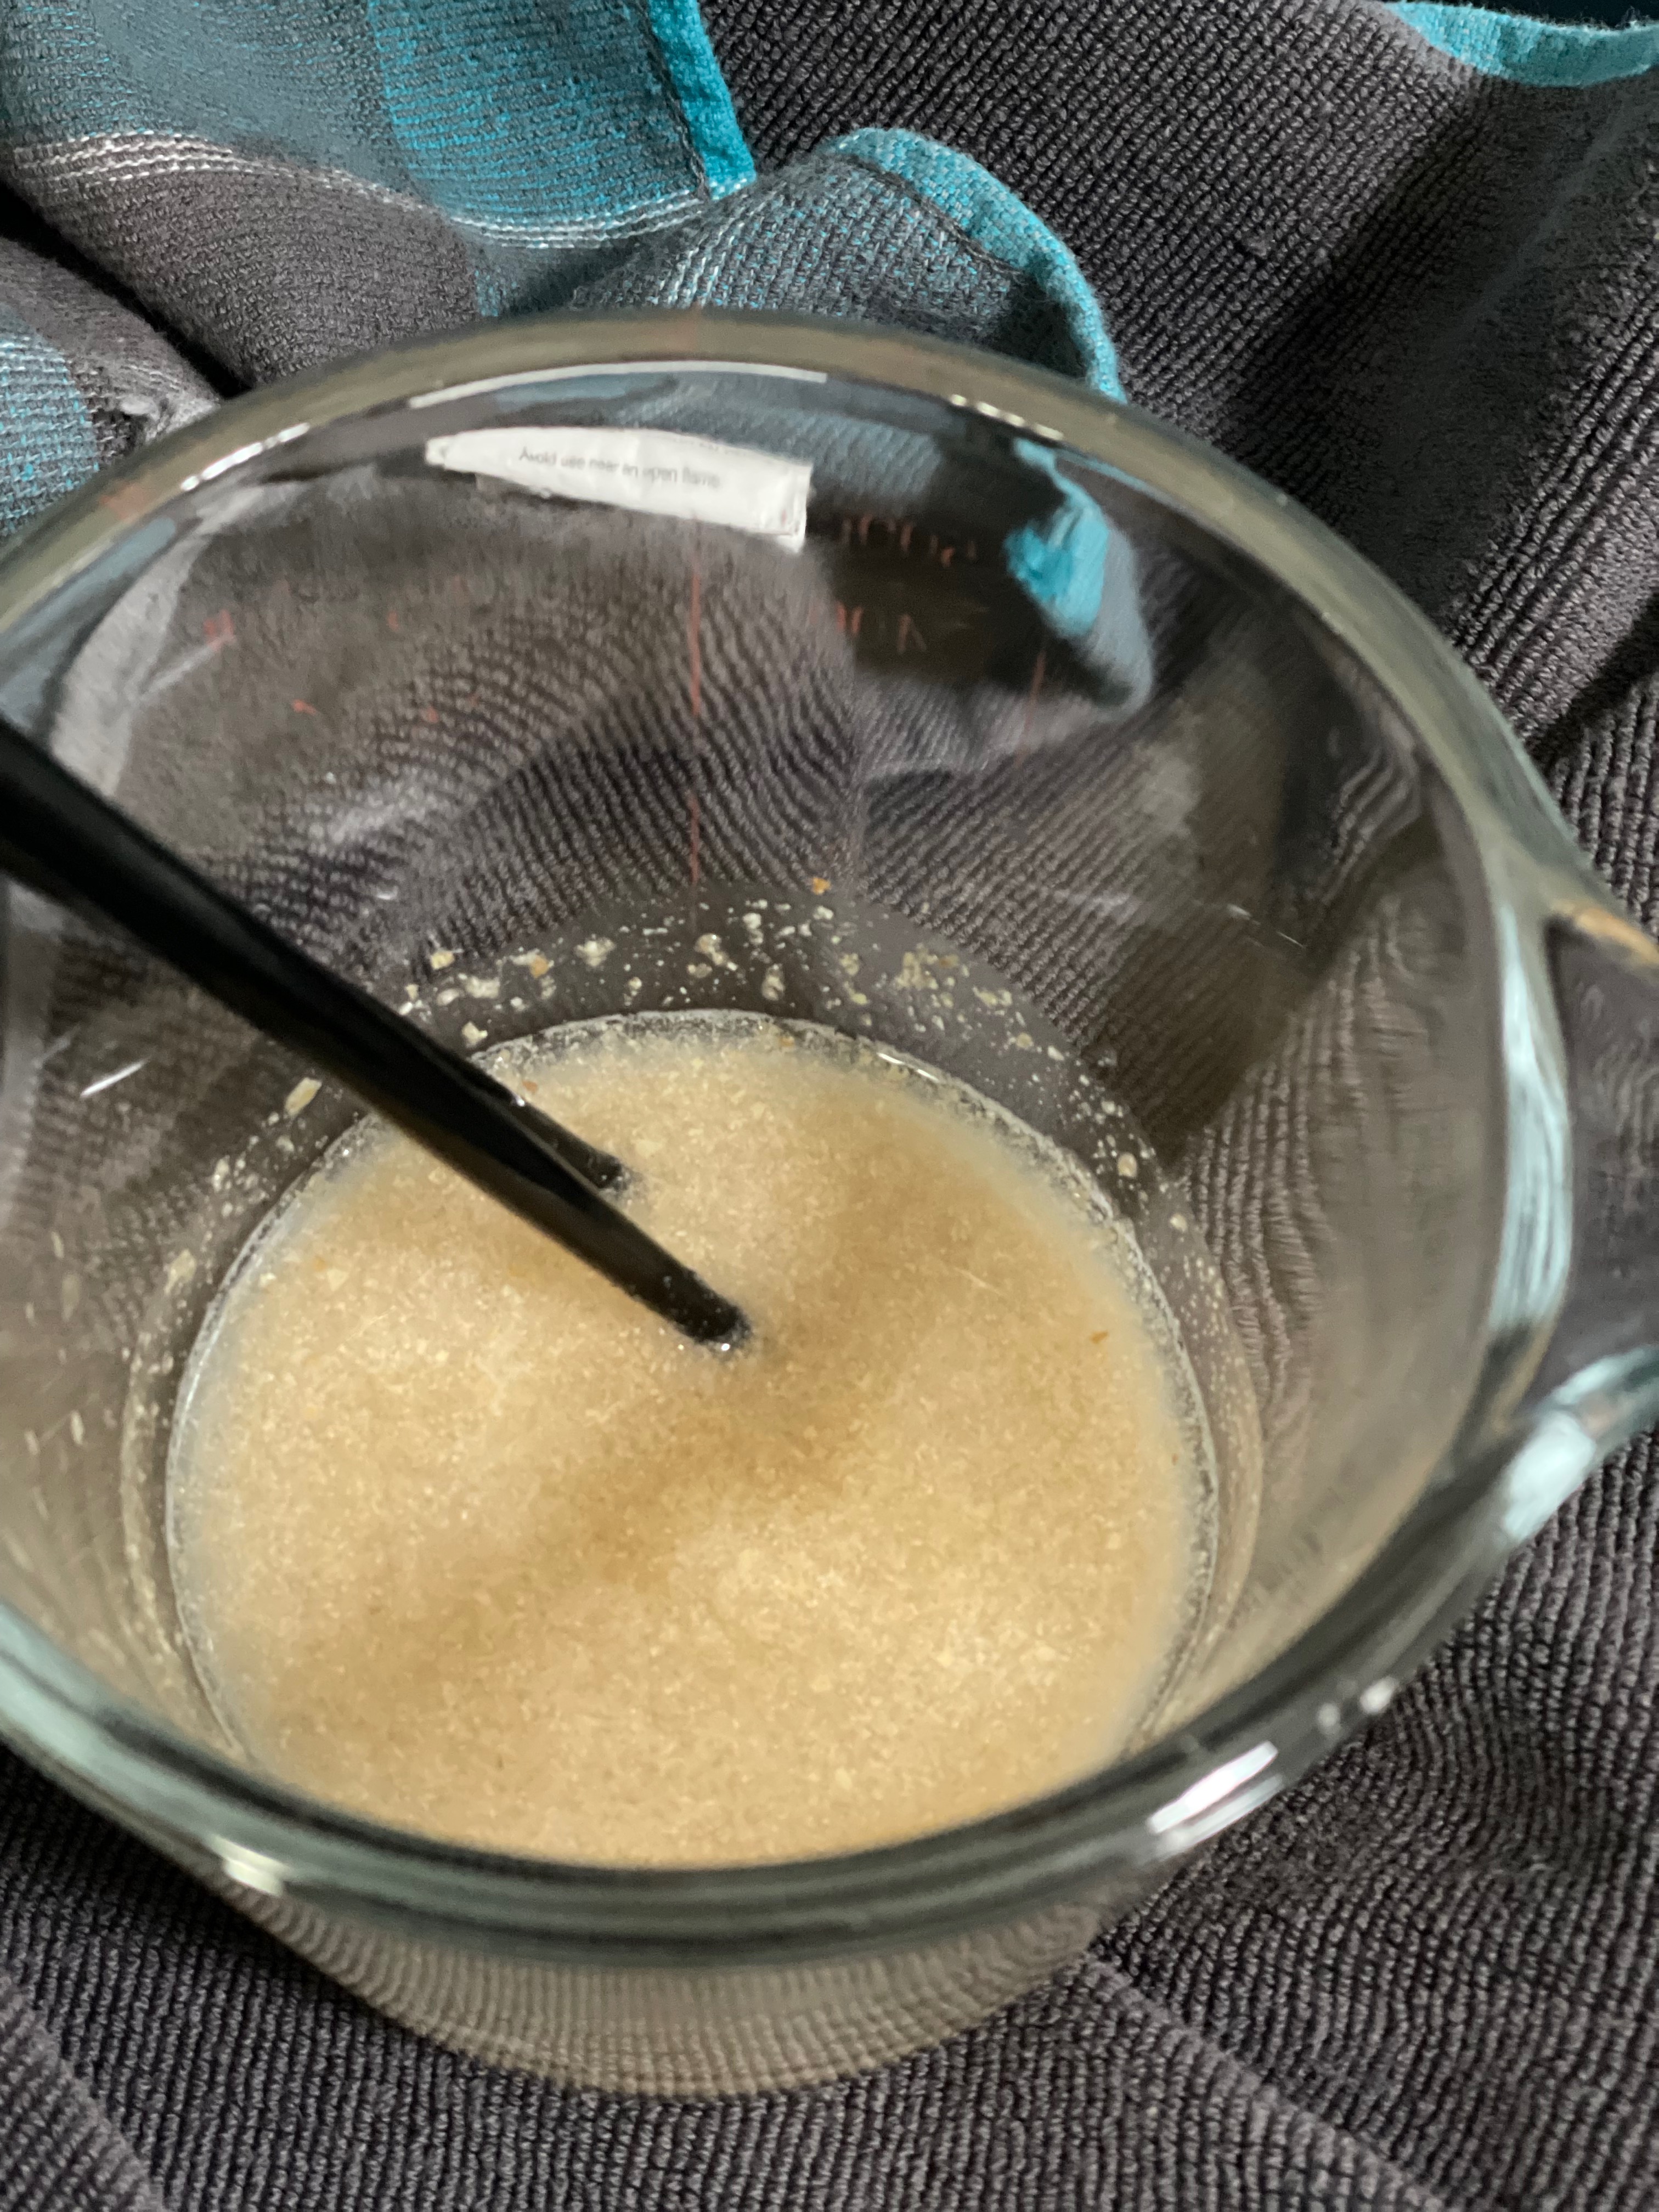
- Mix apple mixture and set aside.
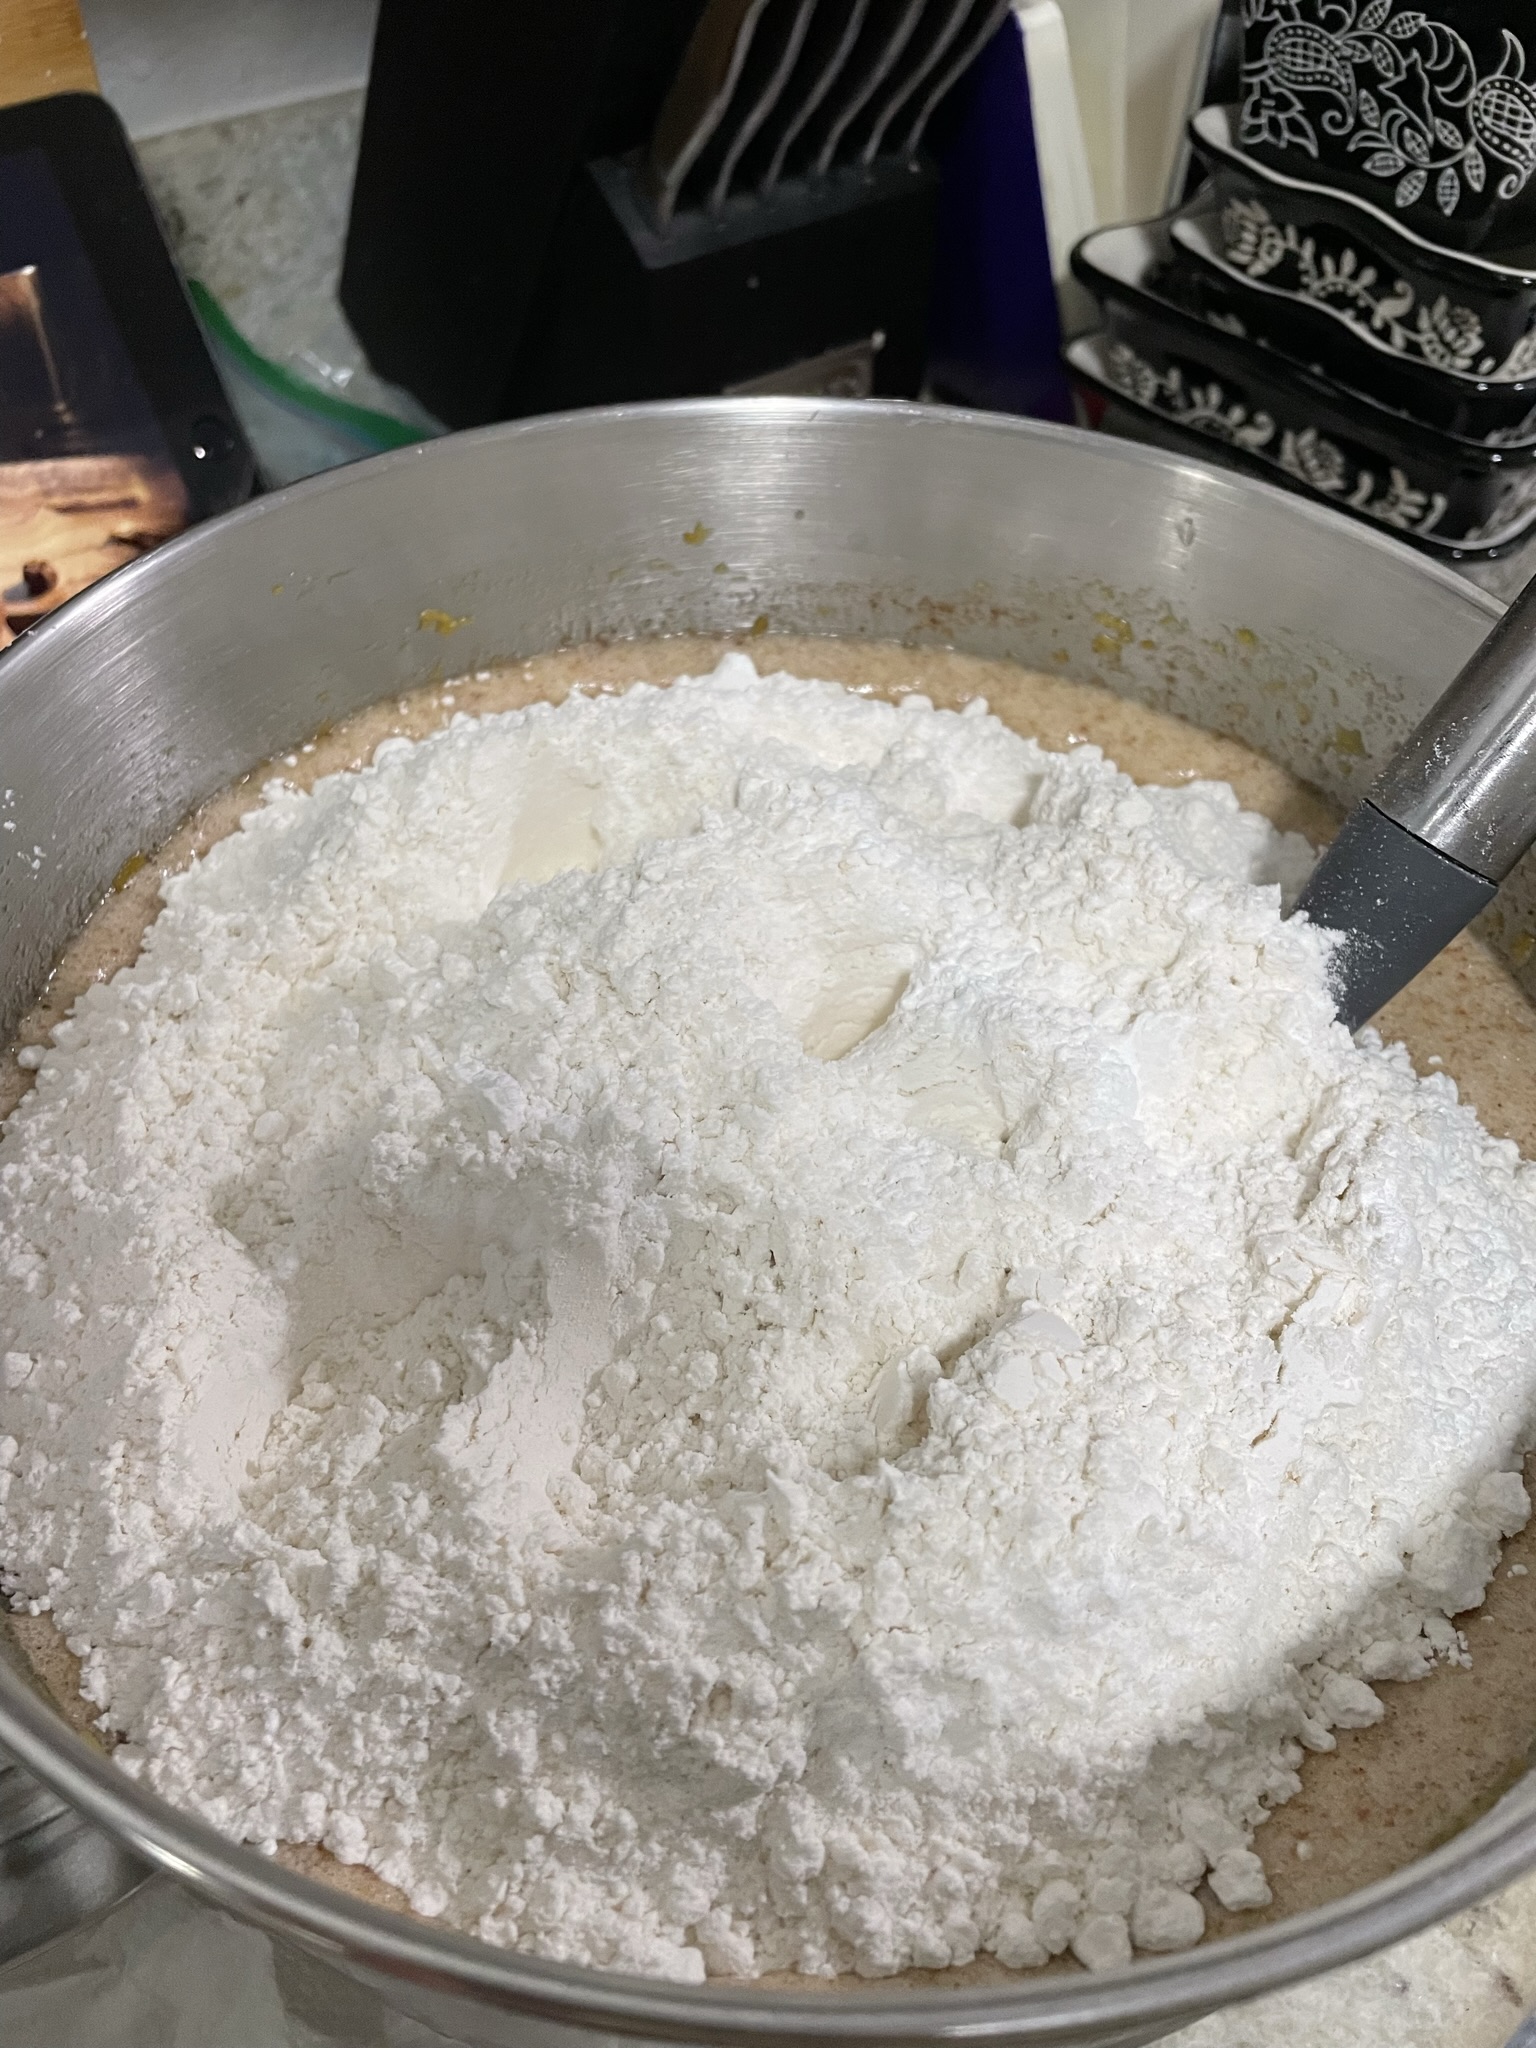
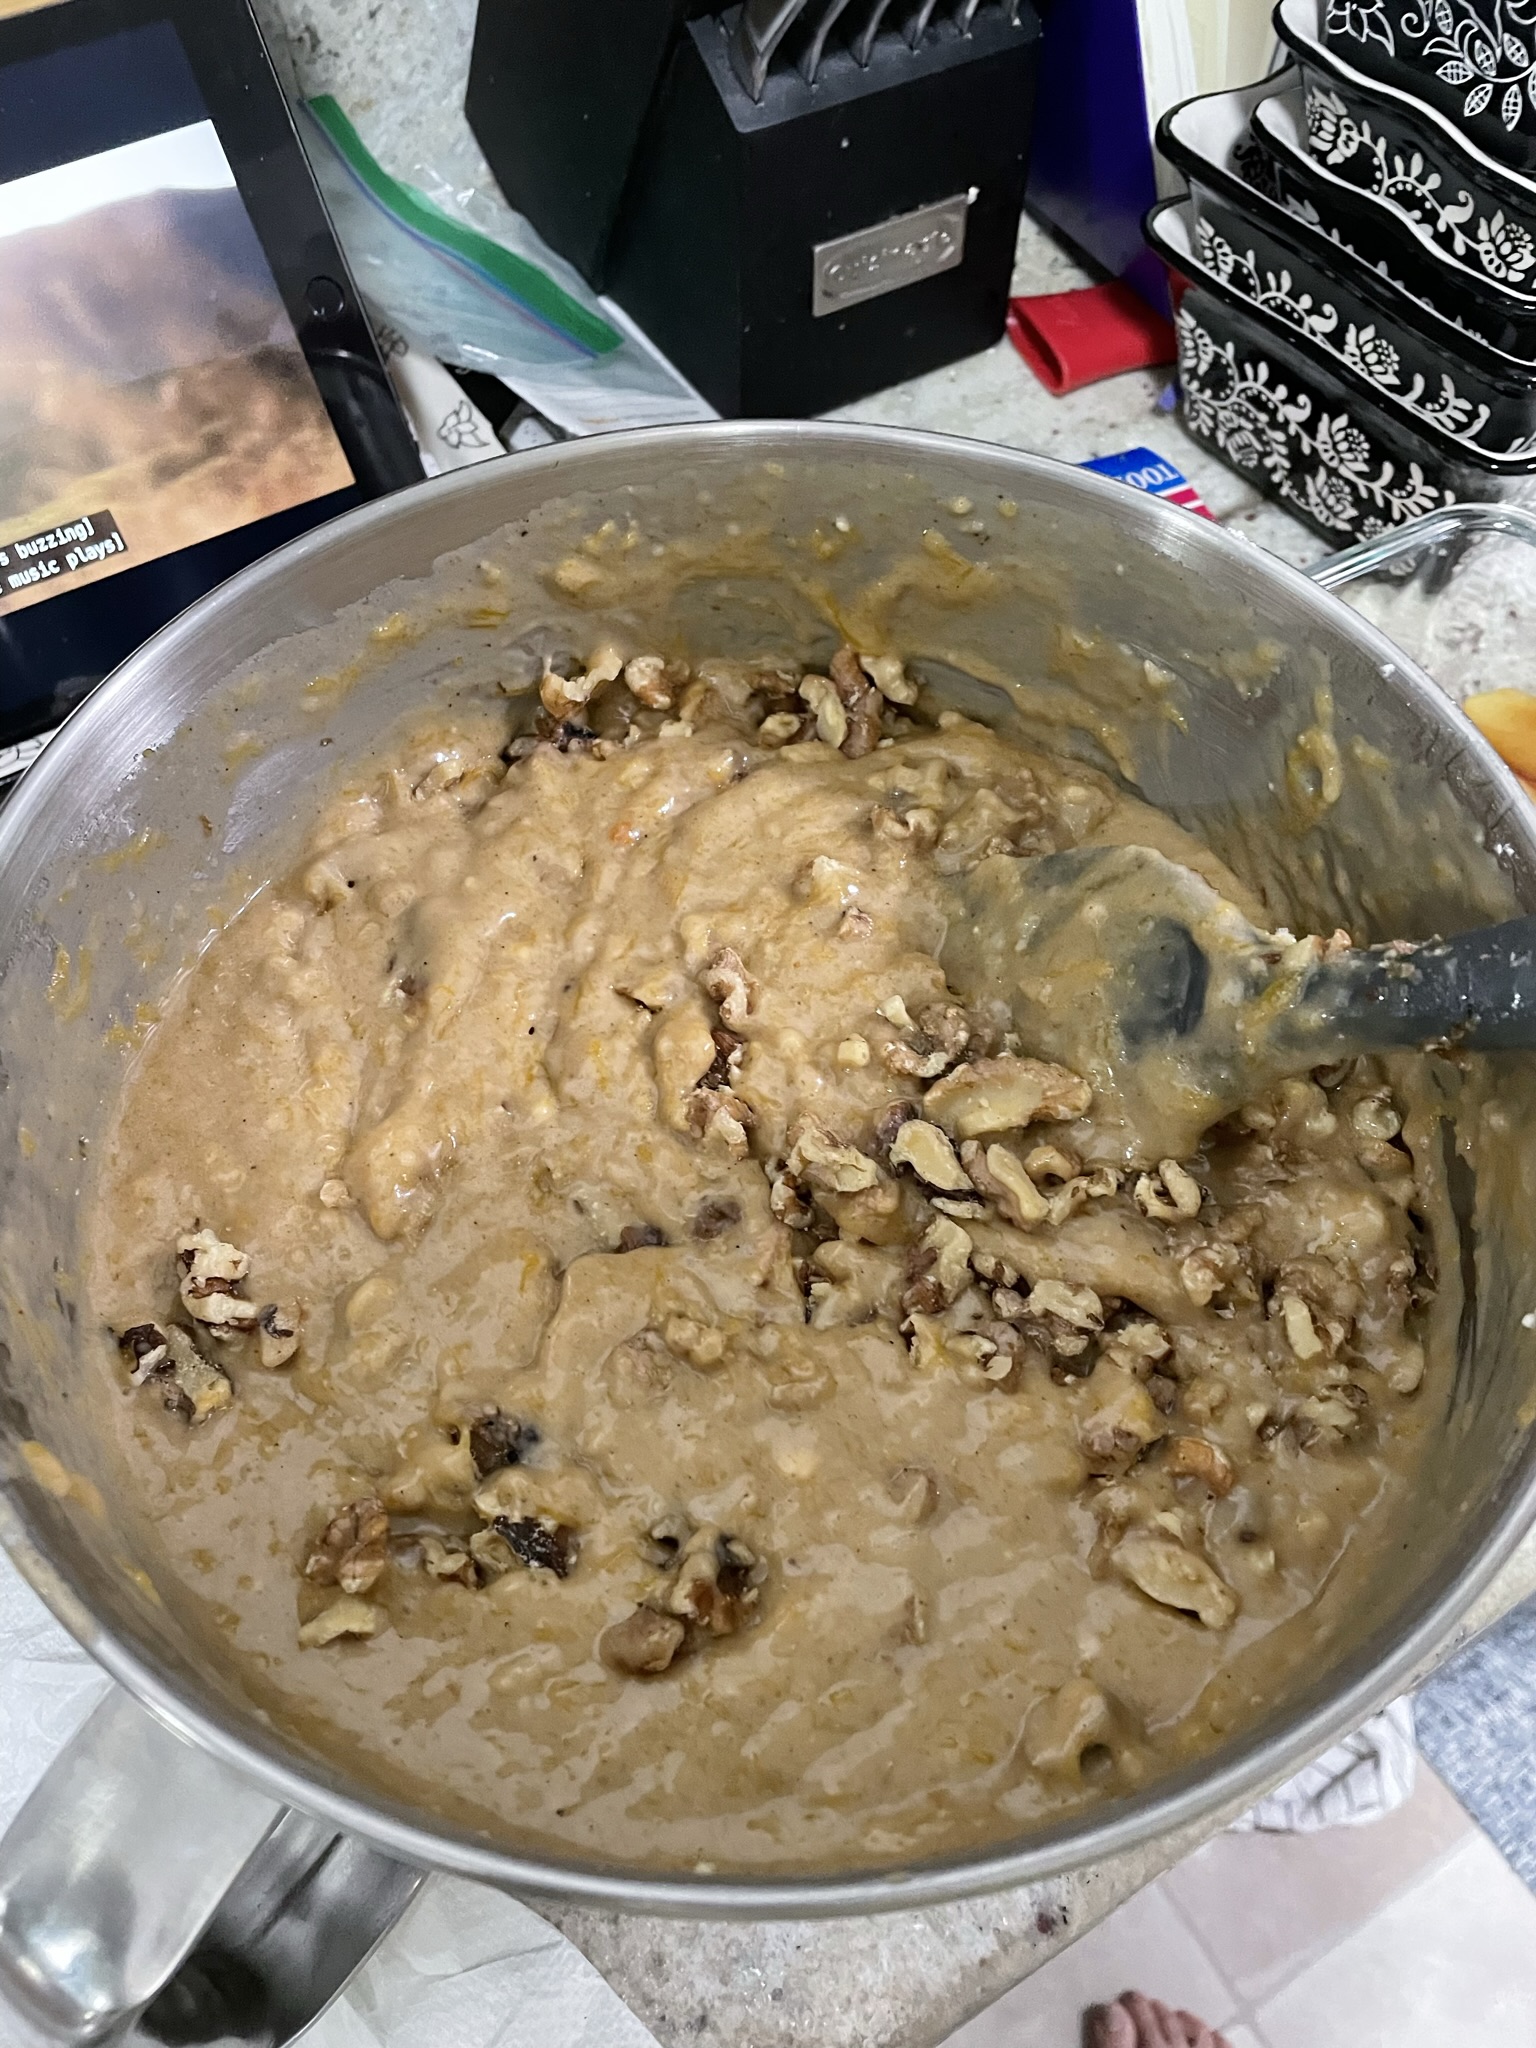
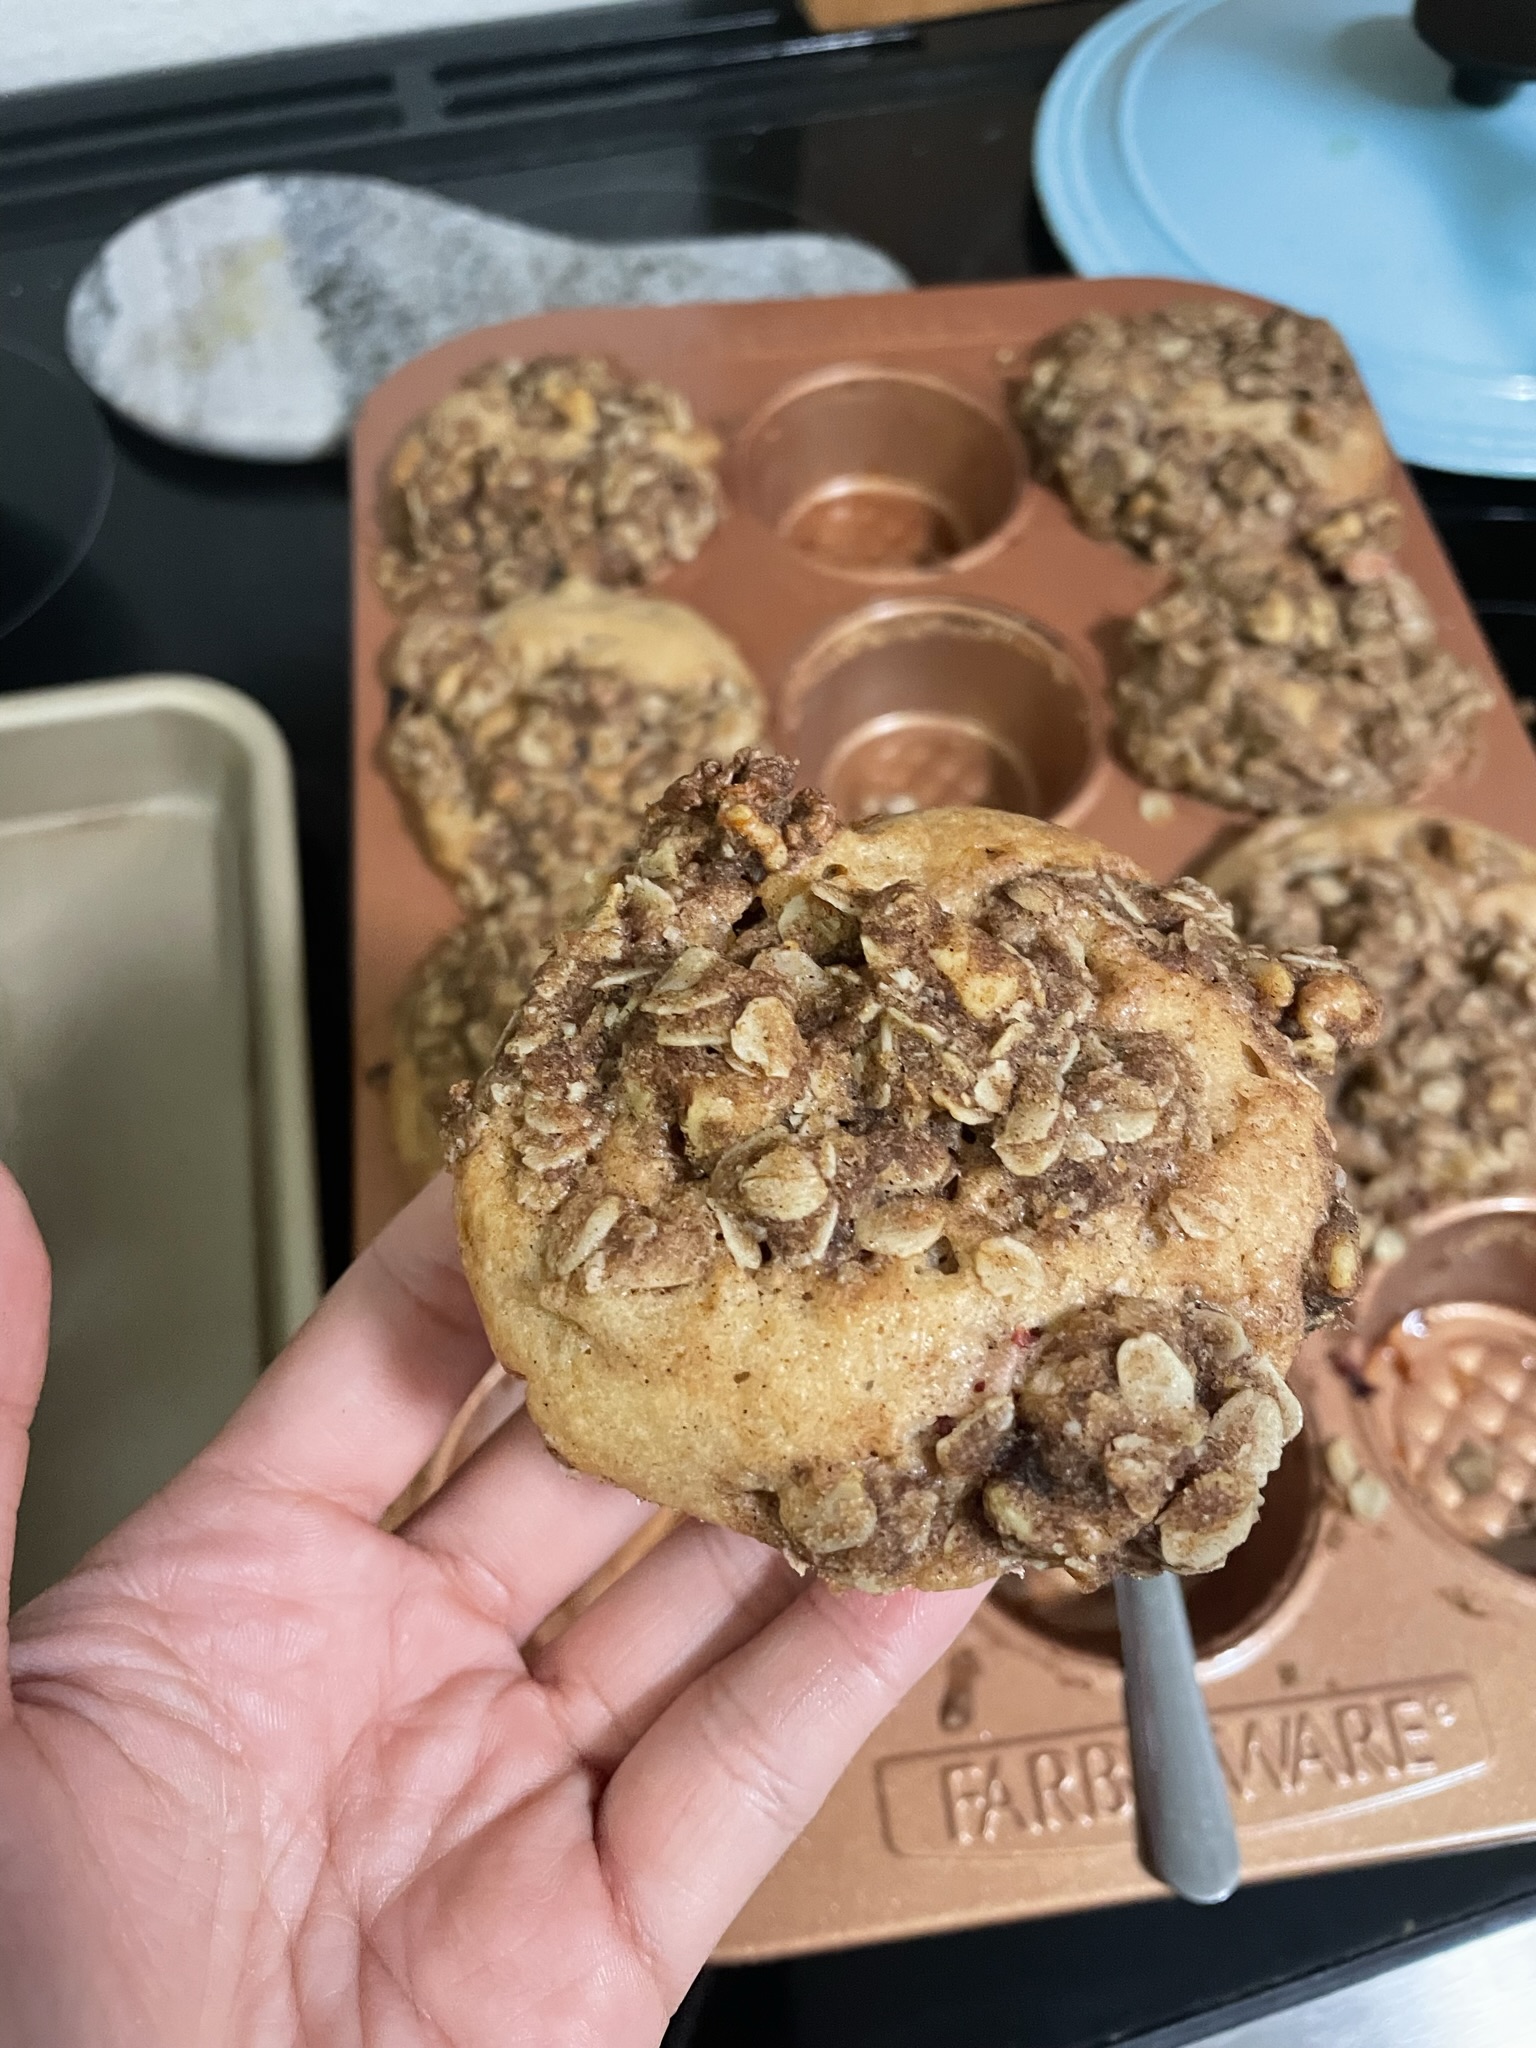
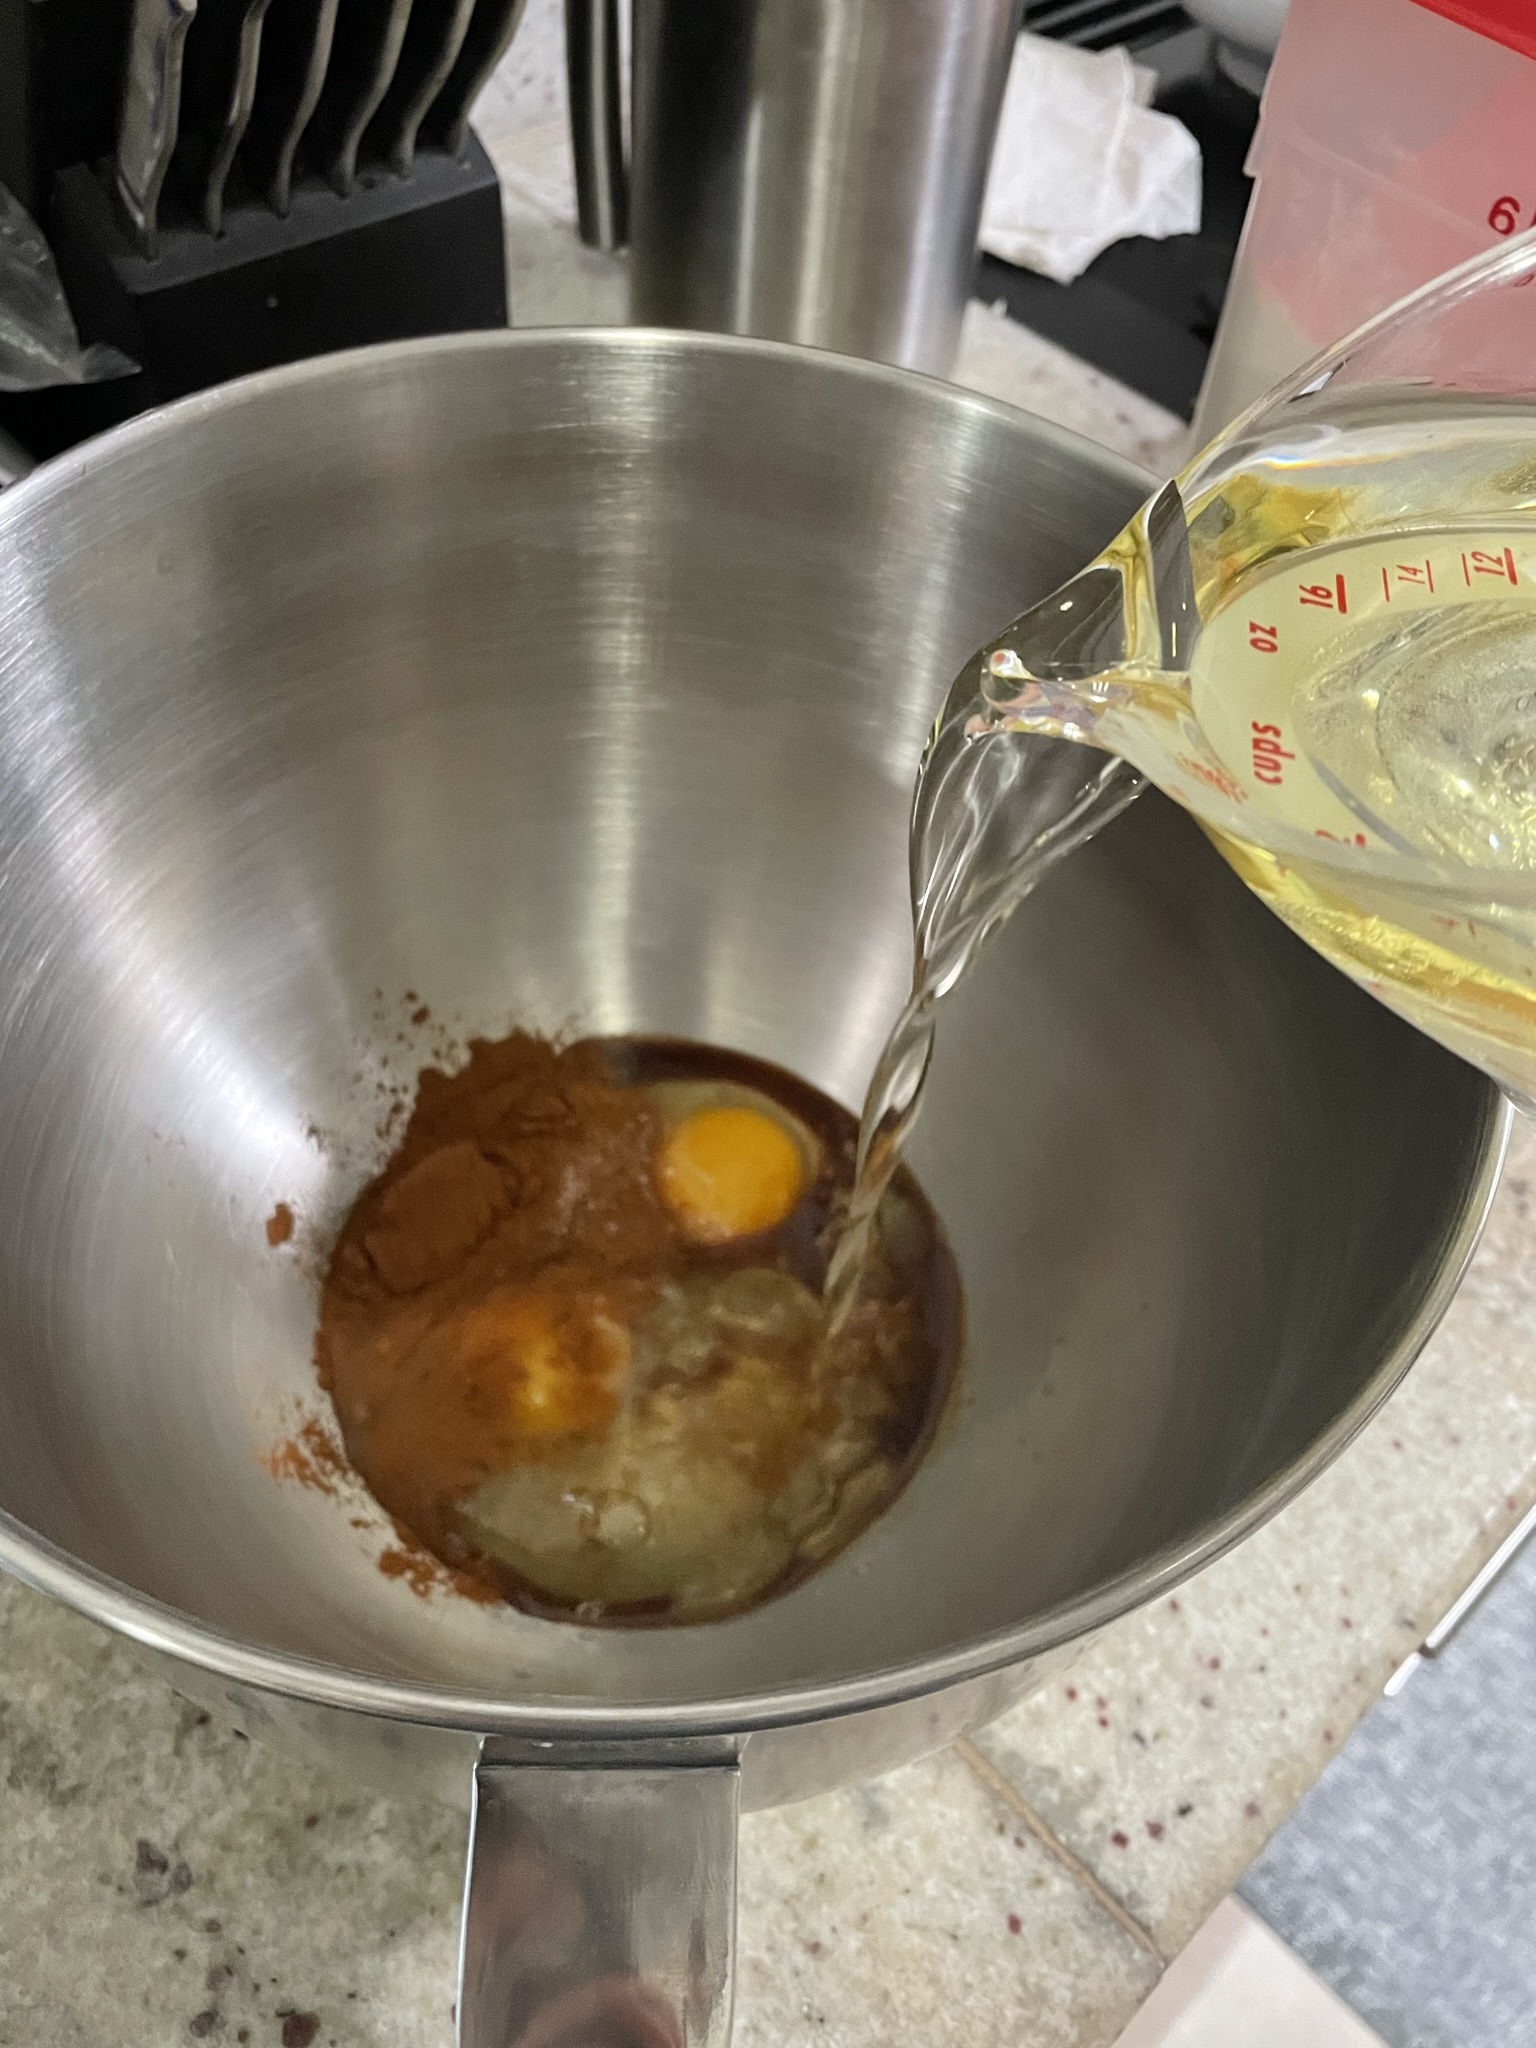
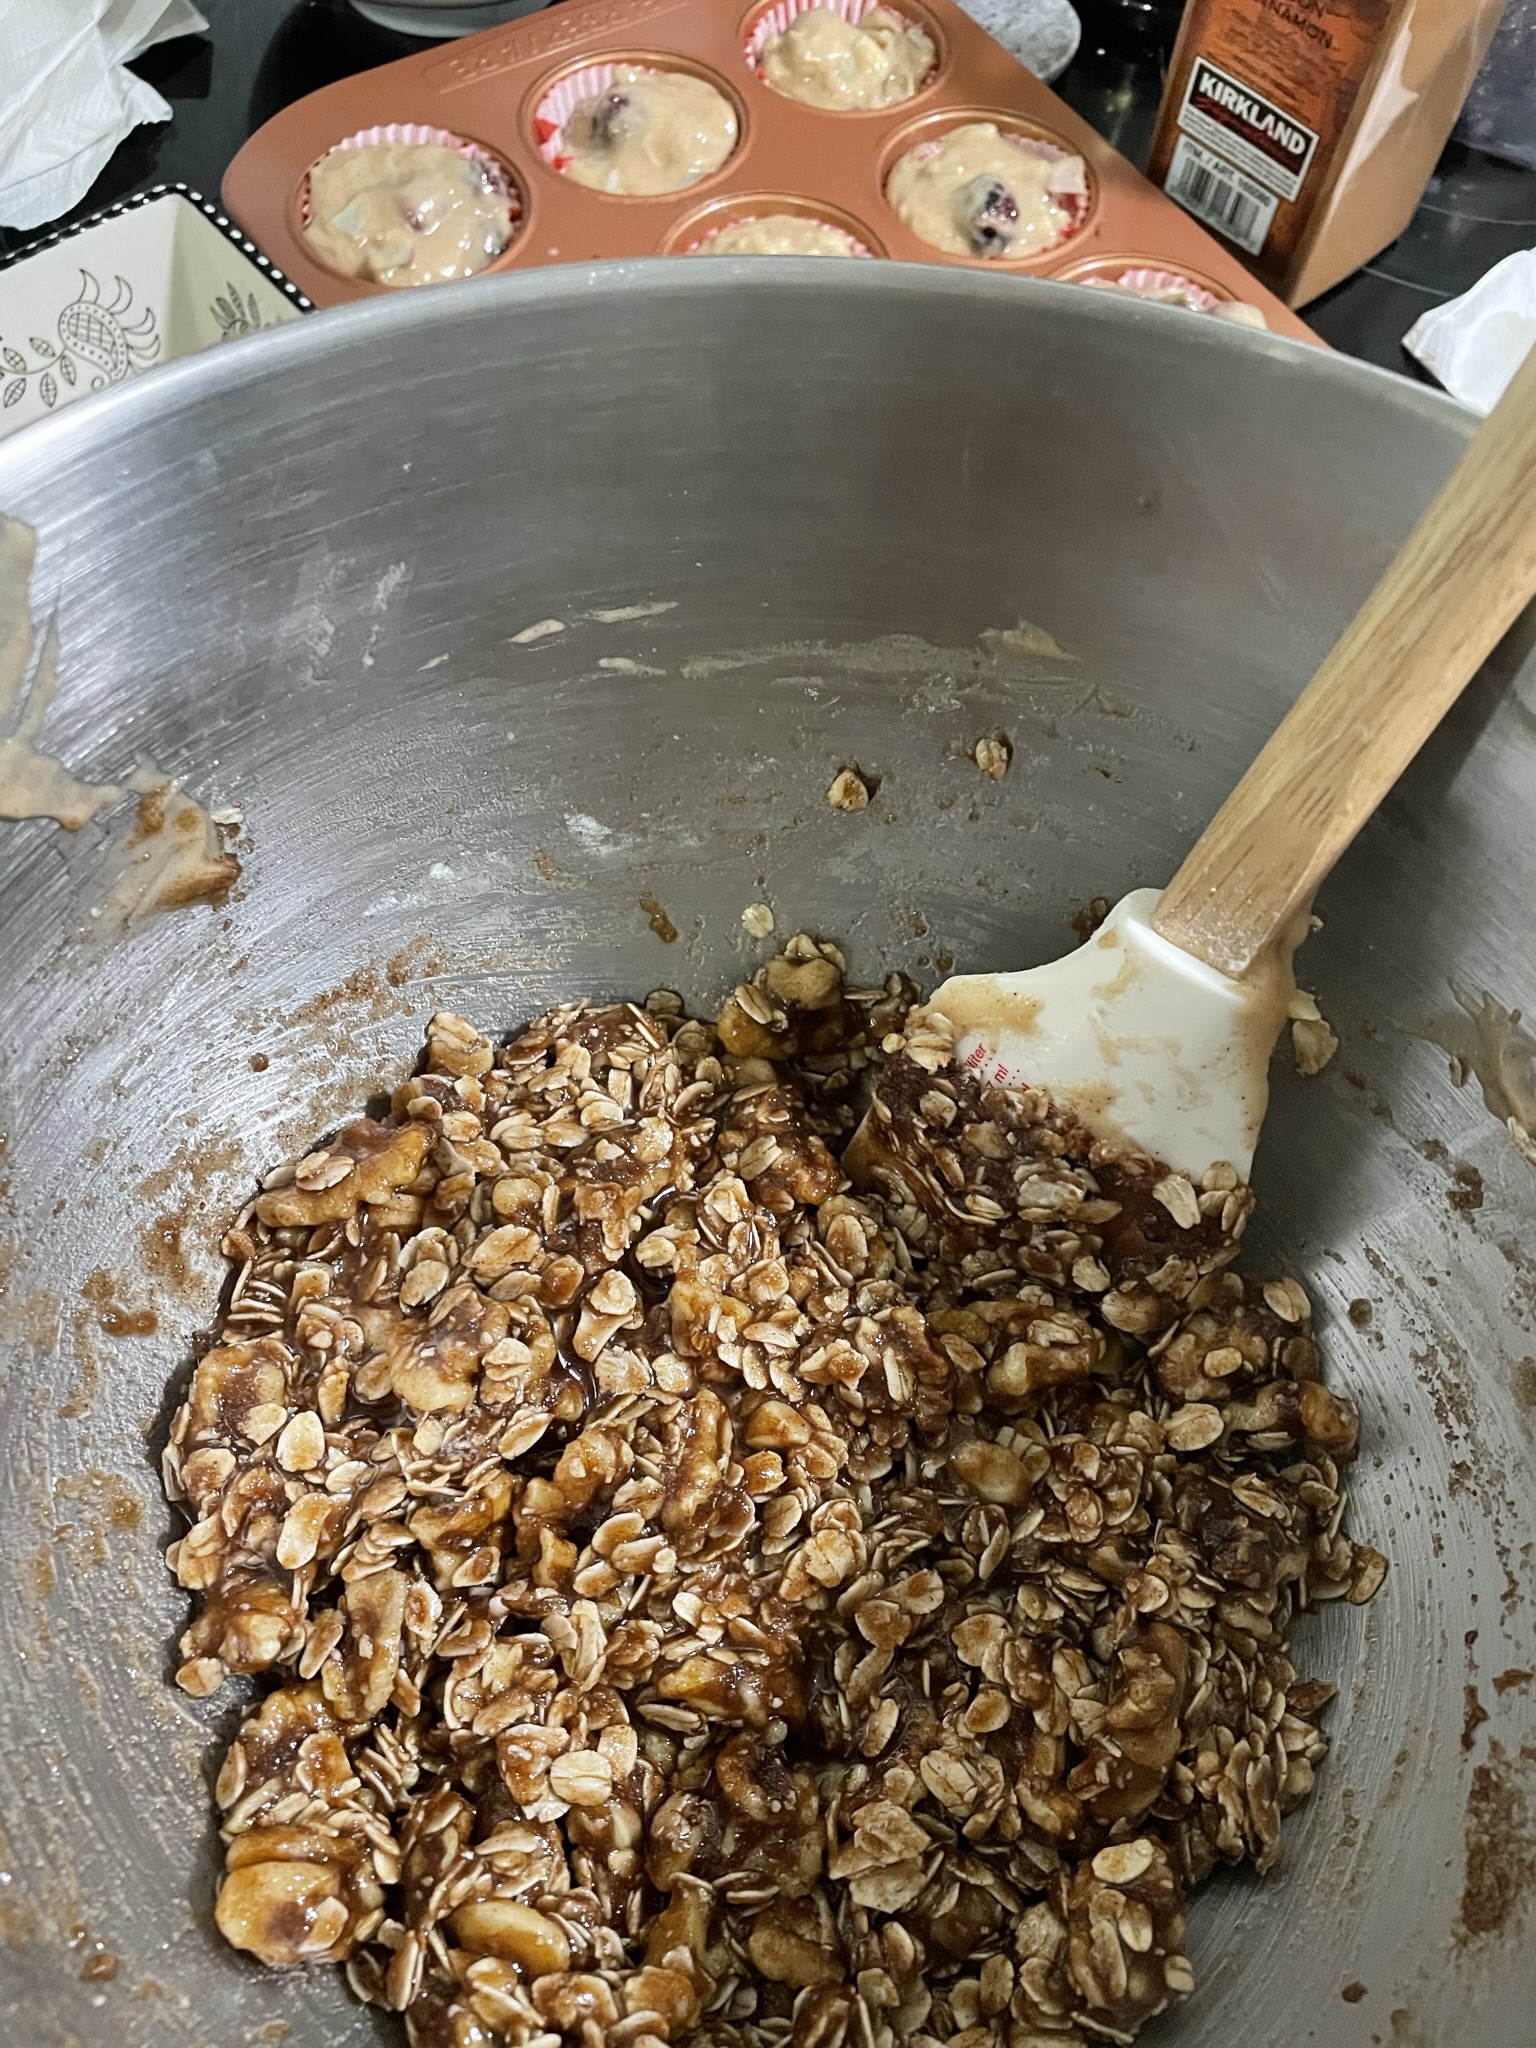
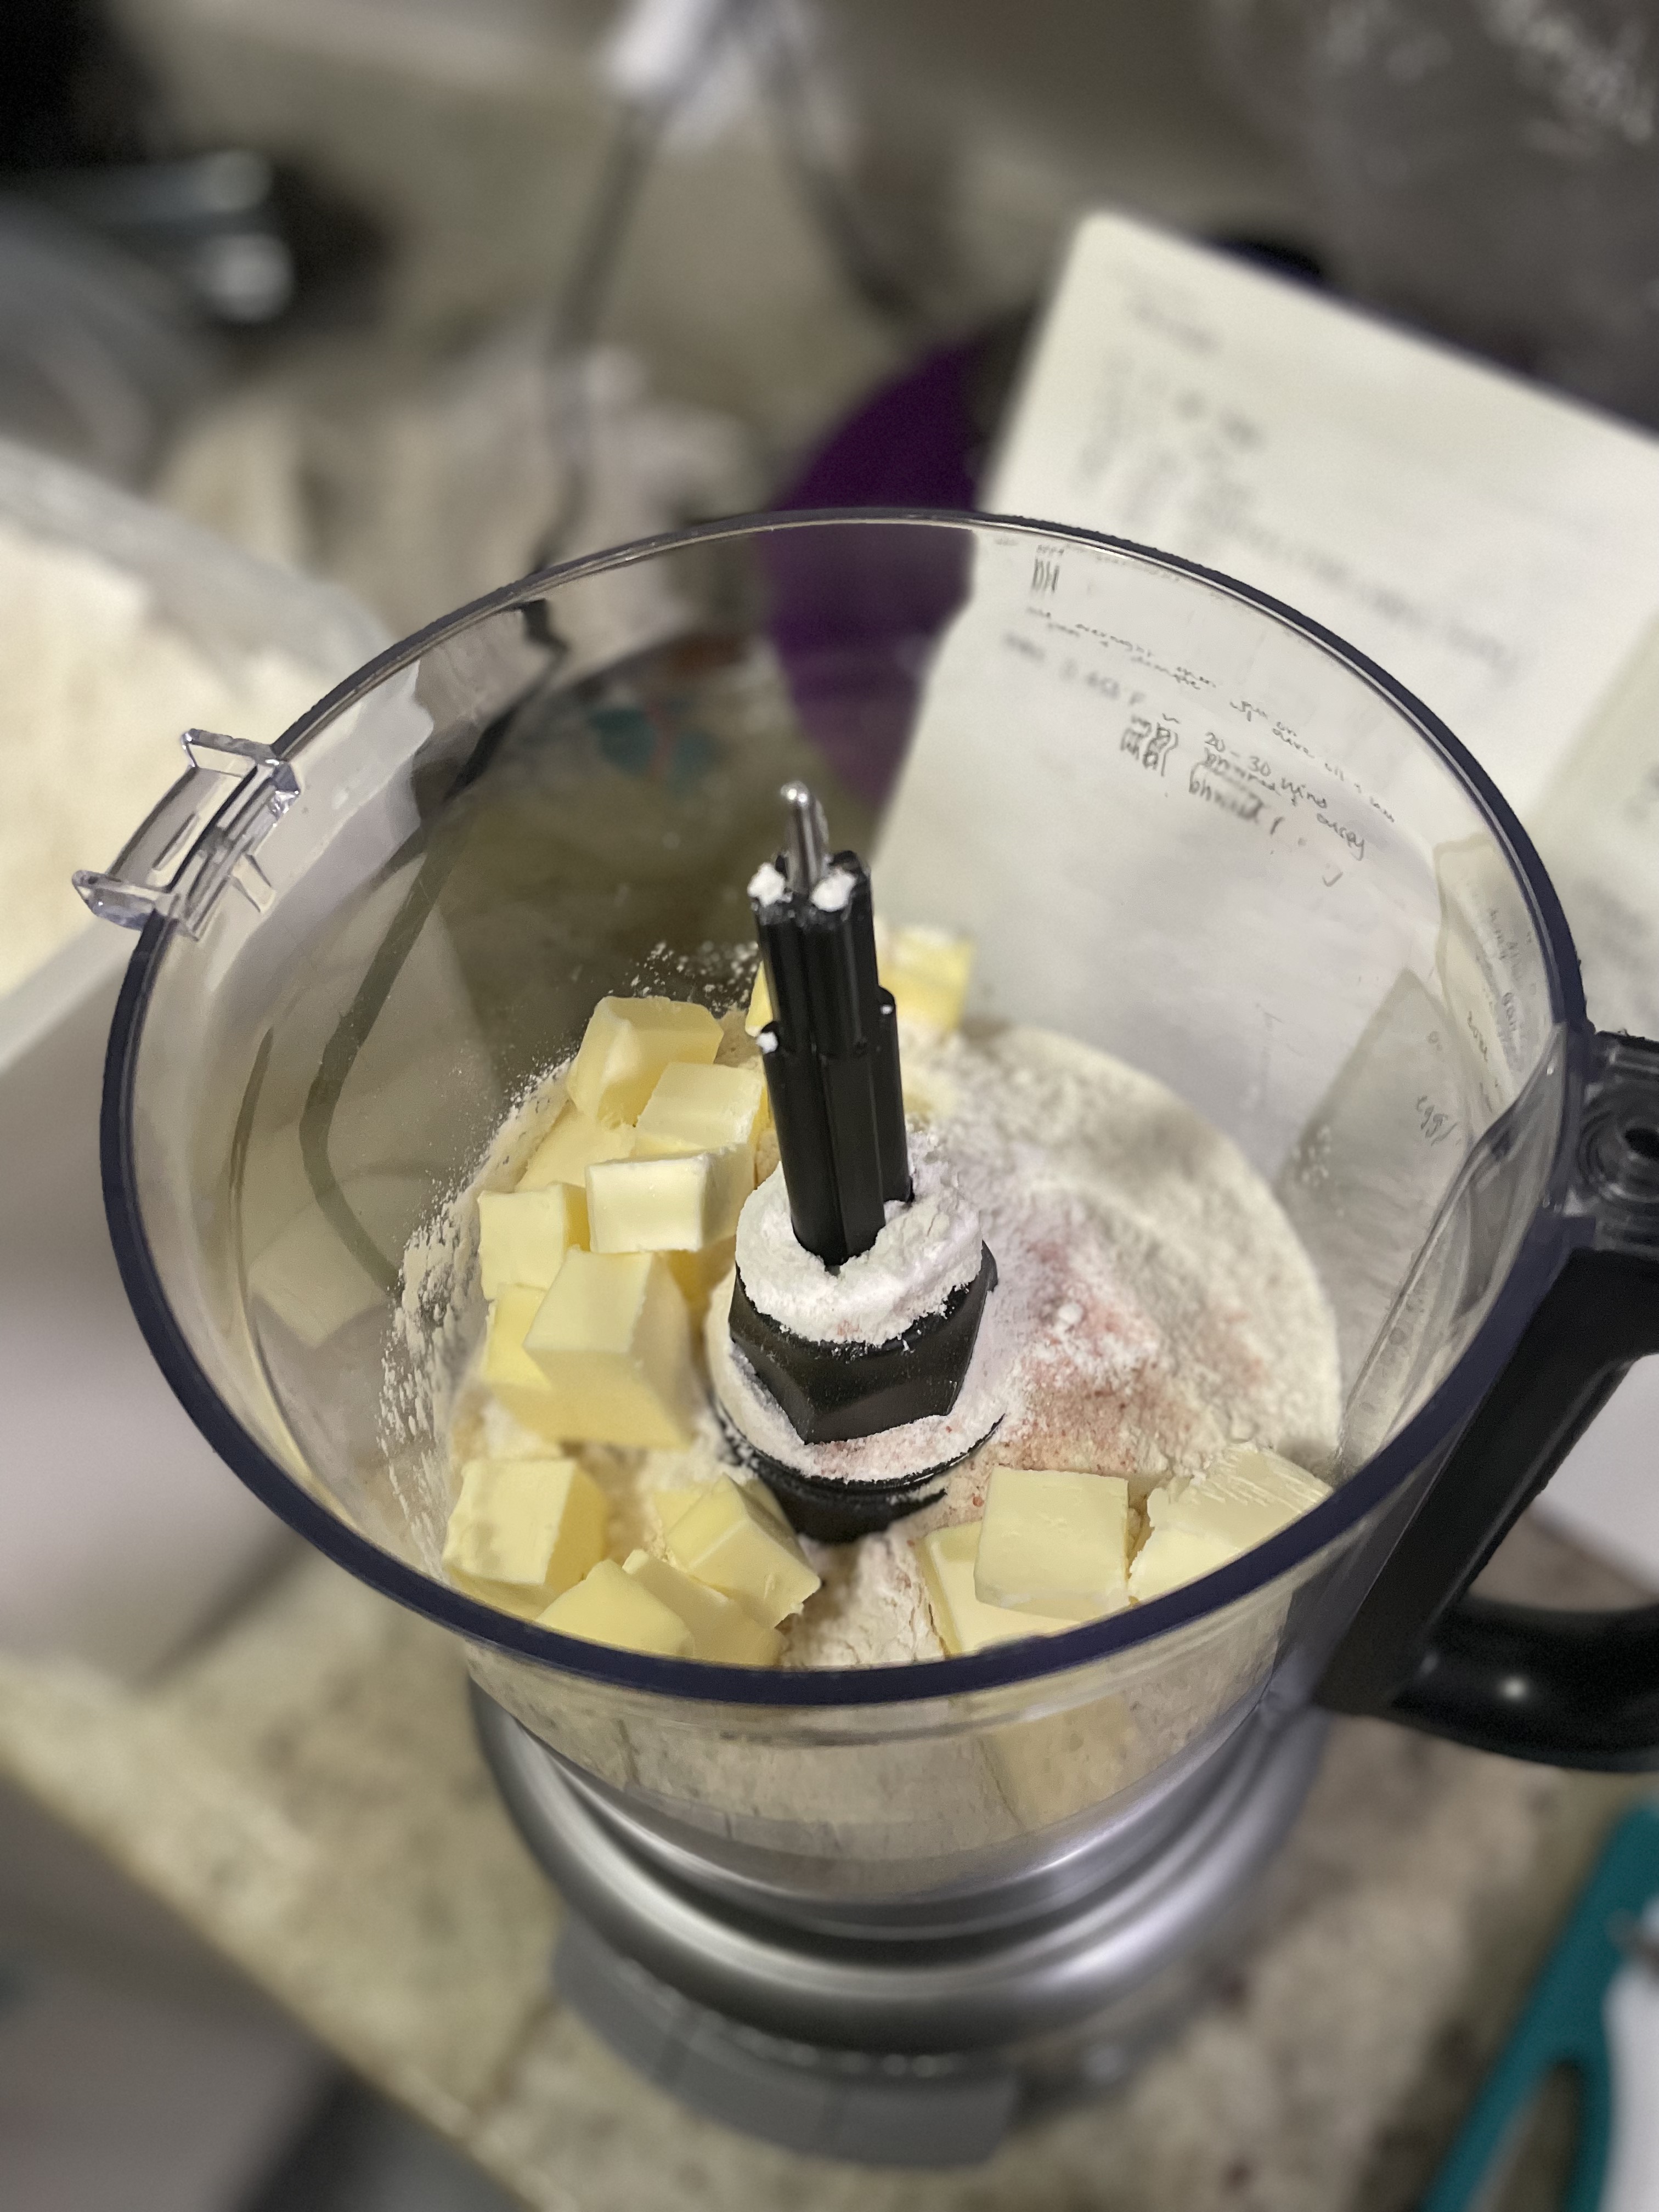
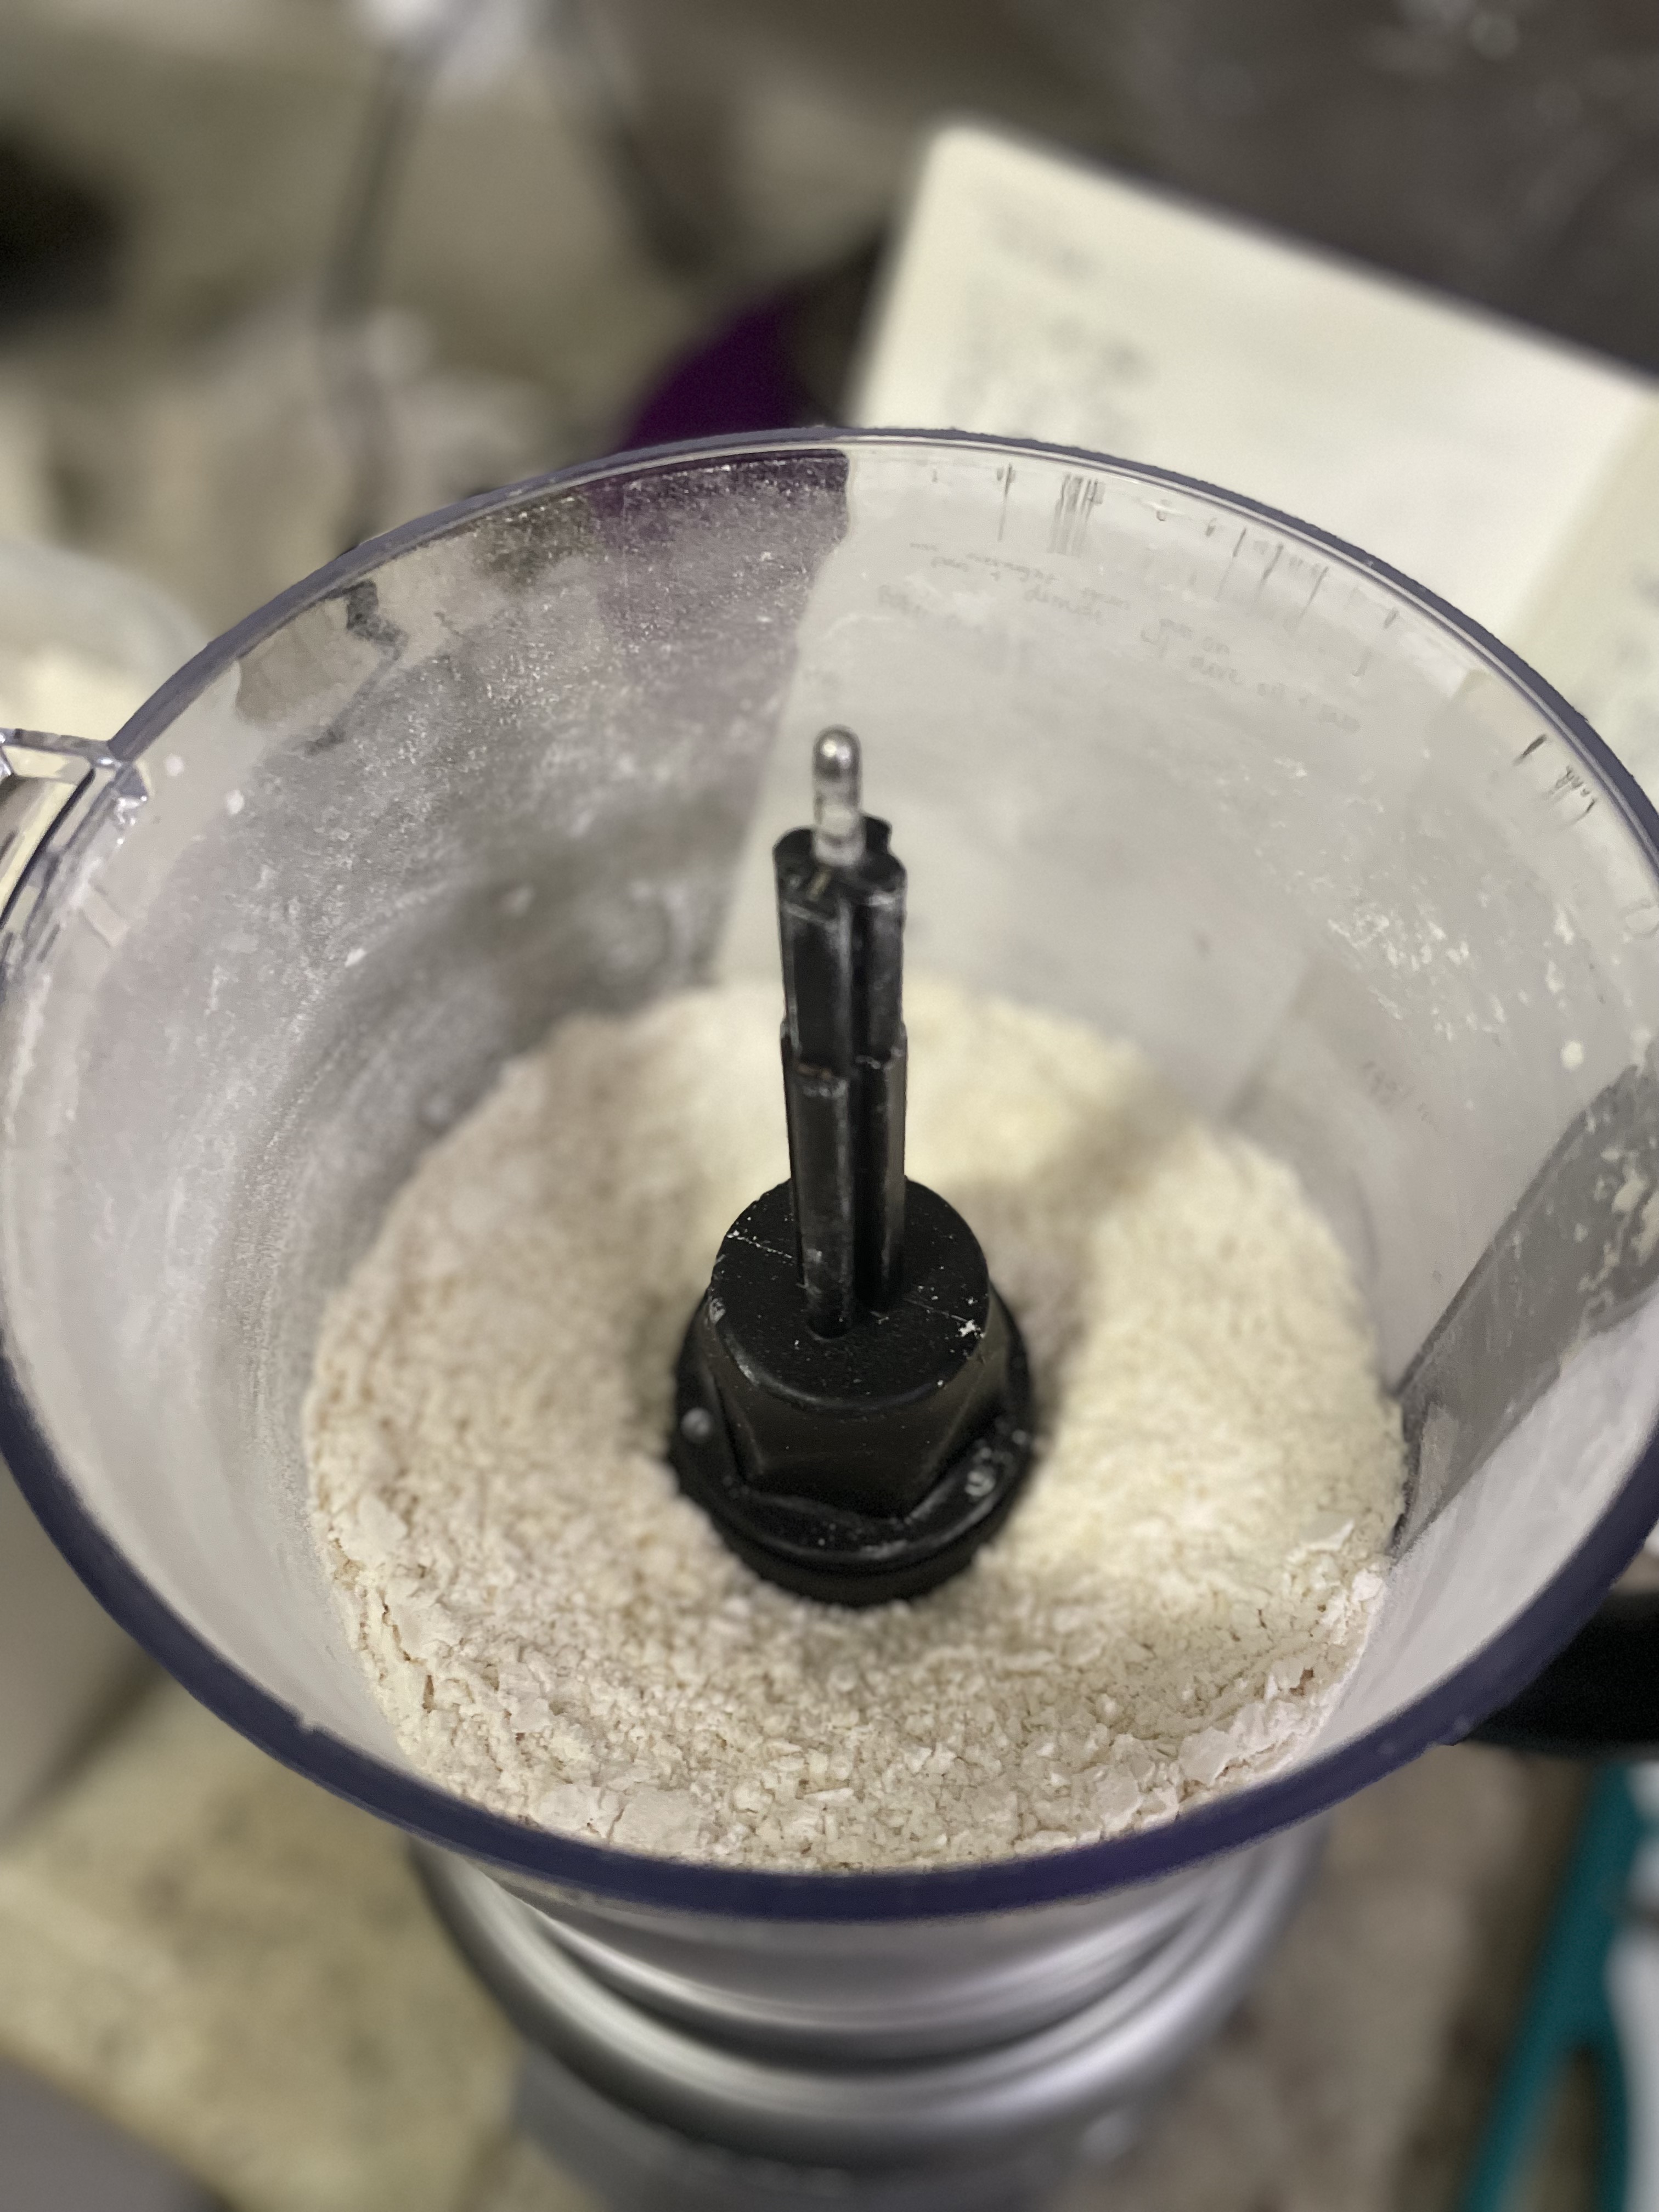
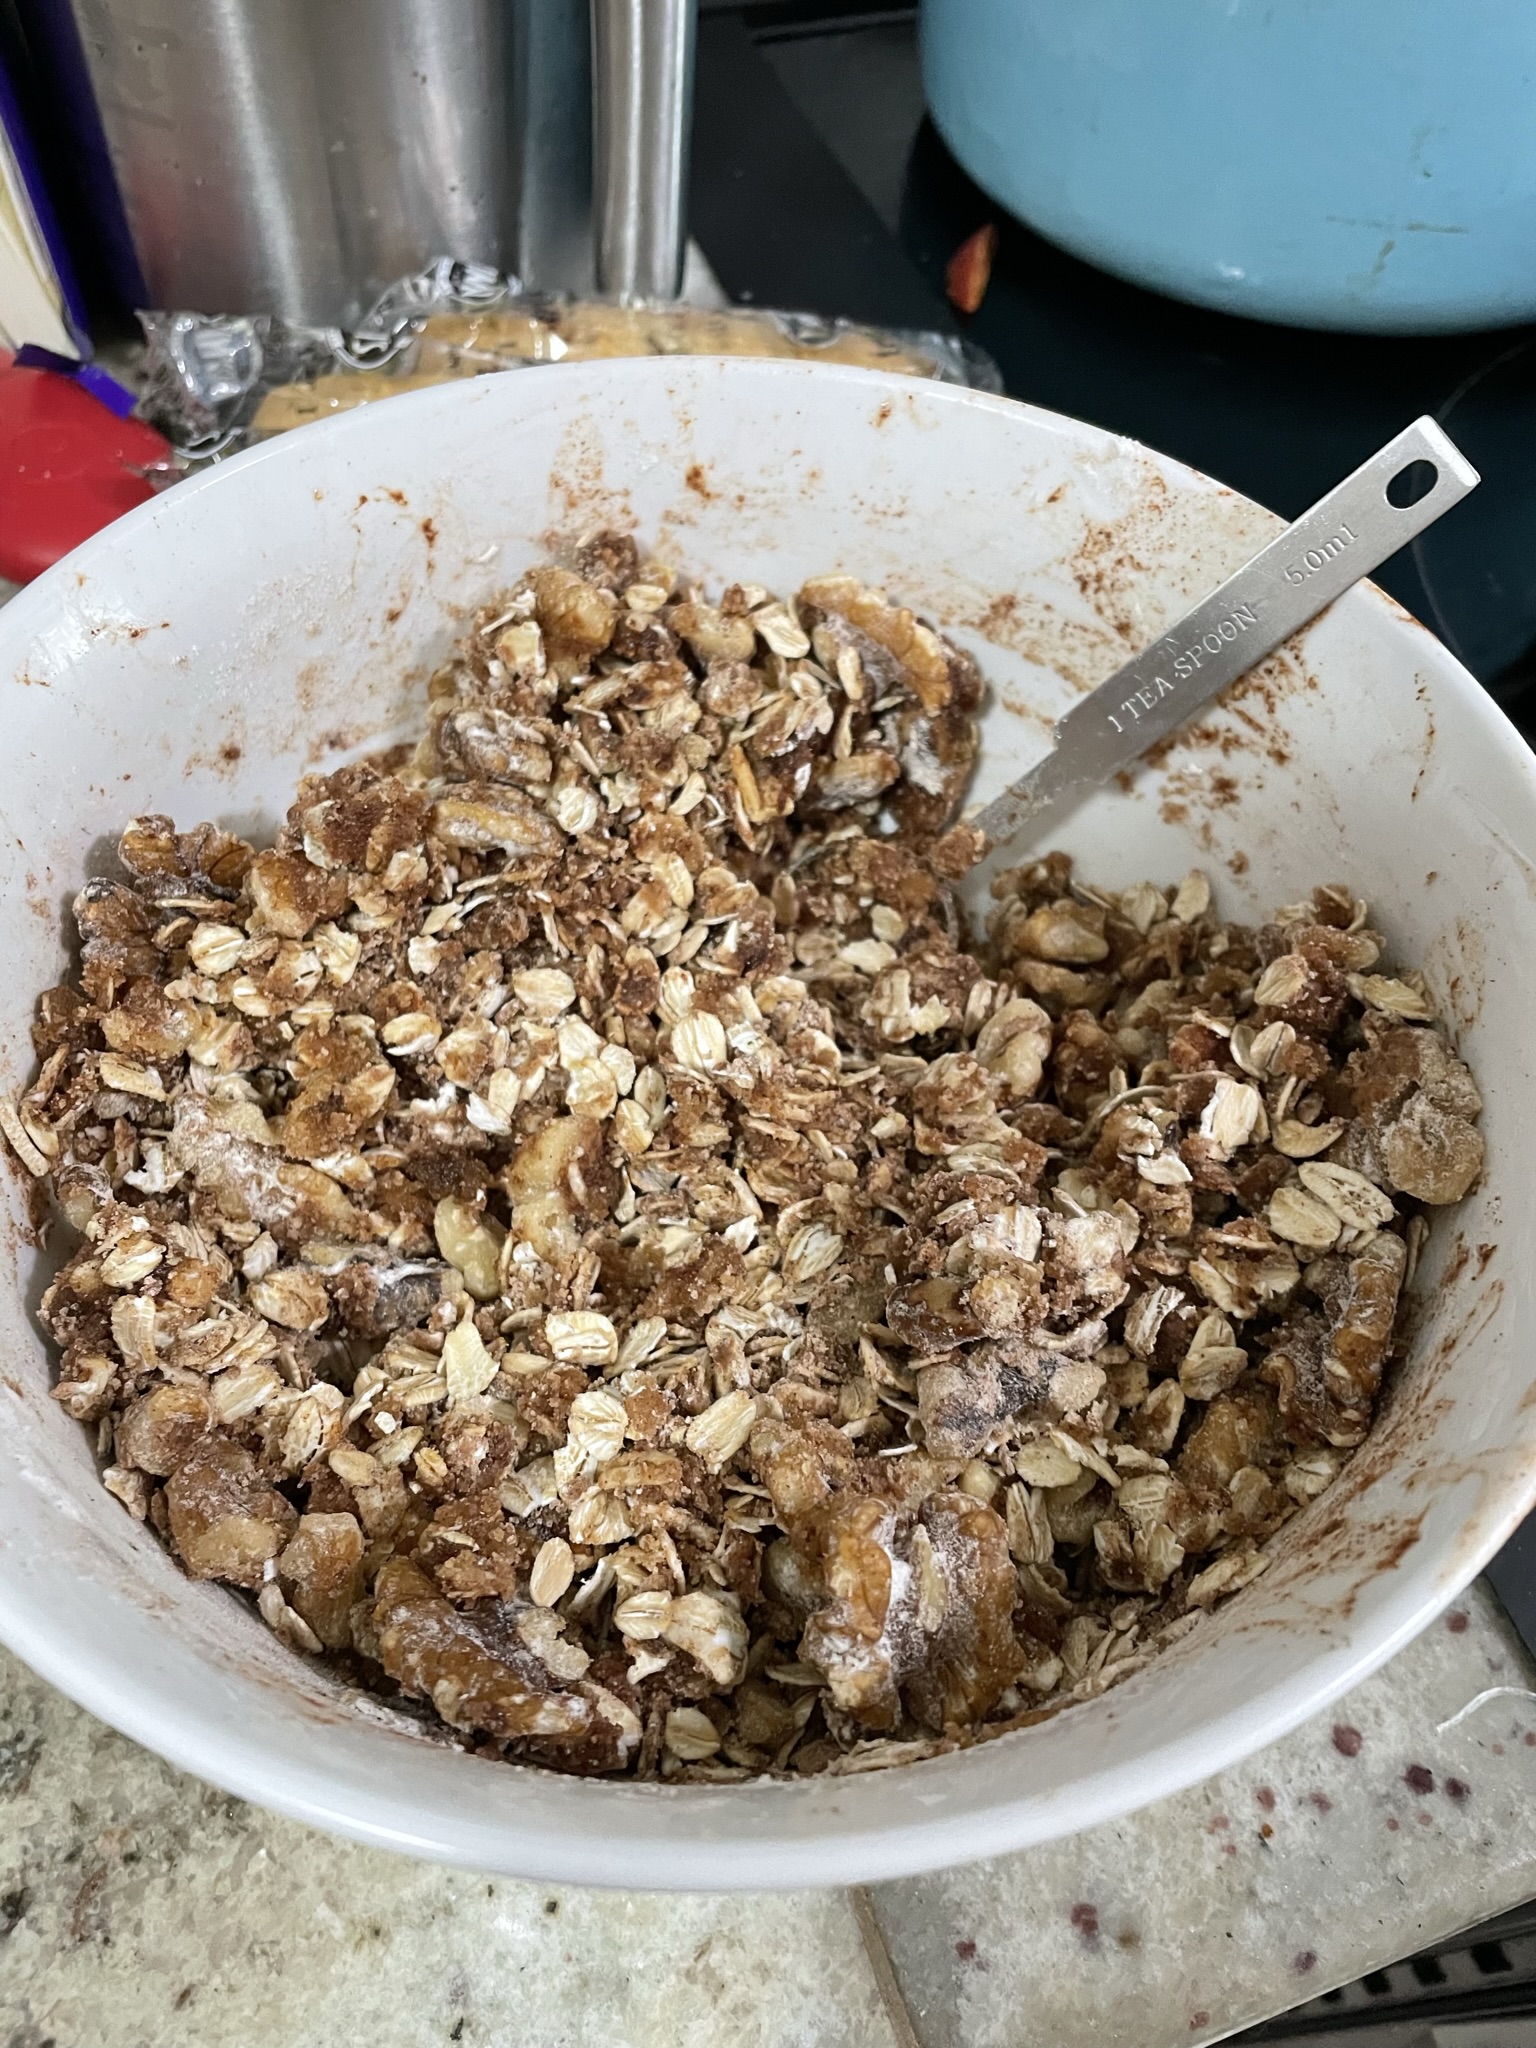
- Make crumble topping by mixing together flour, oats, walnuts, brown sugar, cinnamon, salt and vegetable oil. Set aside.
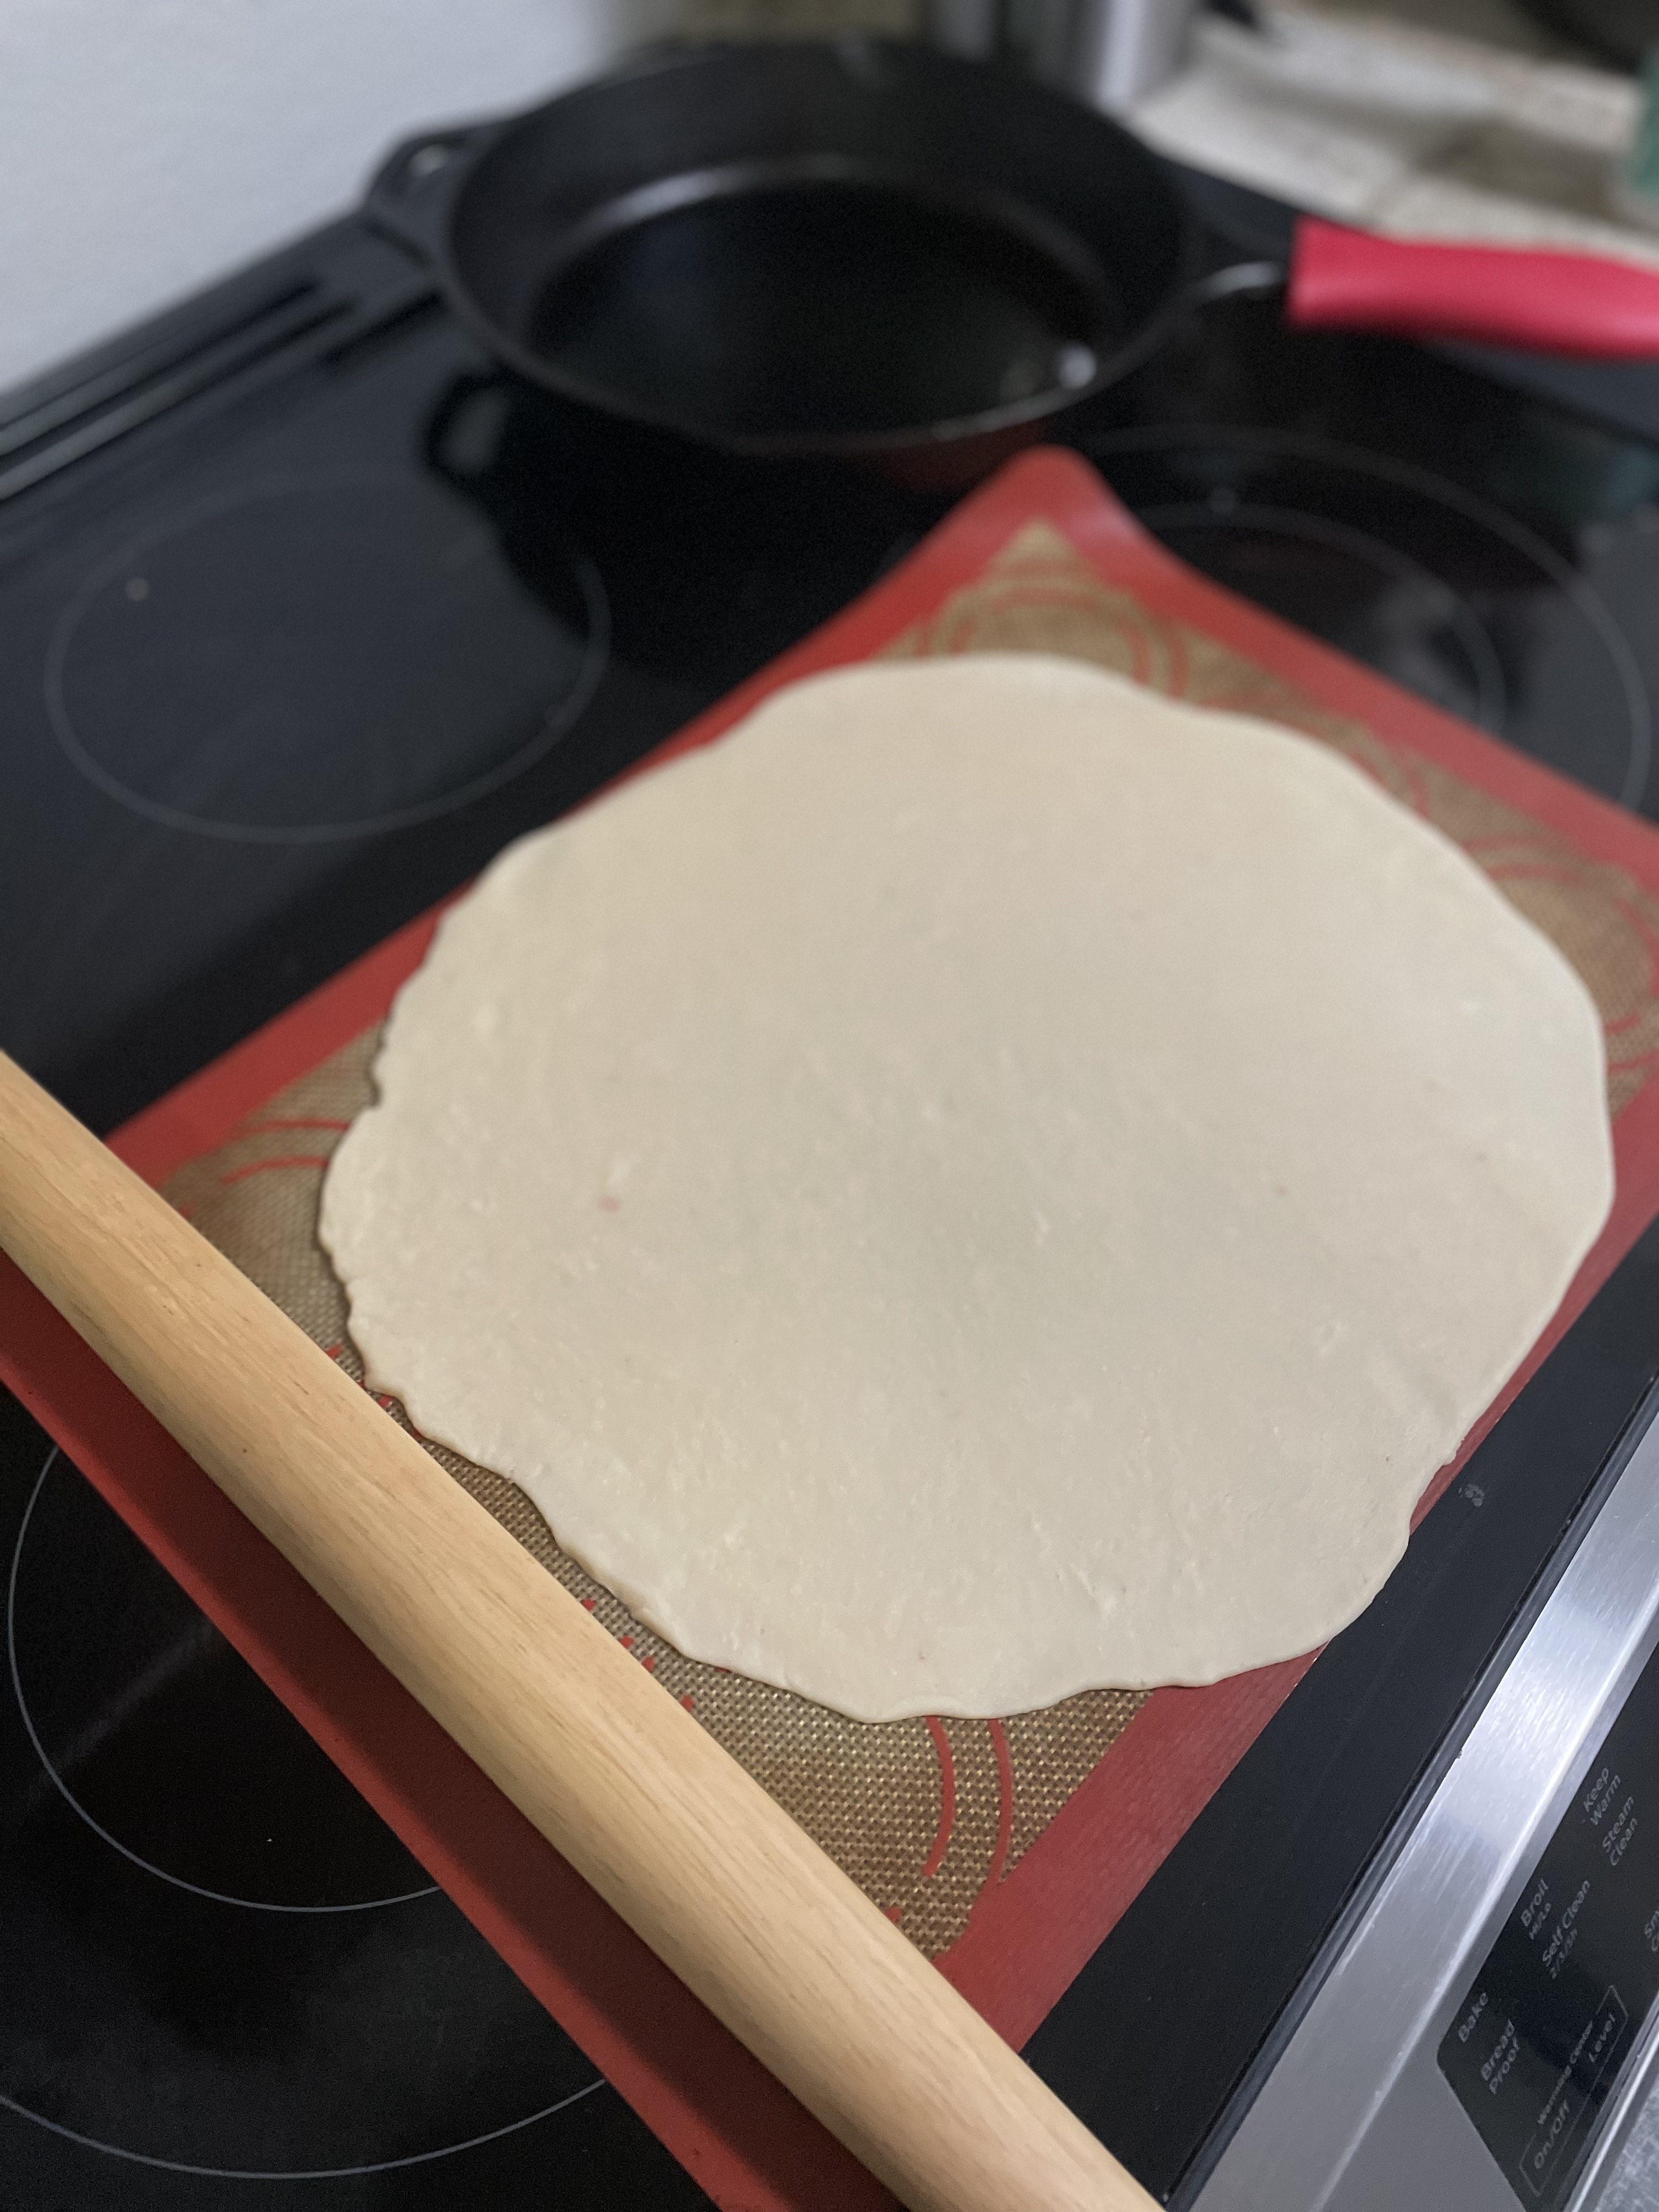
- Remove pie crust and roll out to pie dish size.
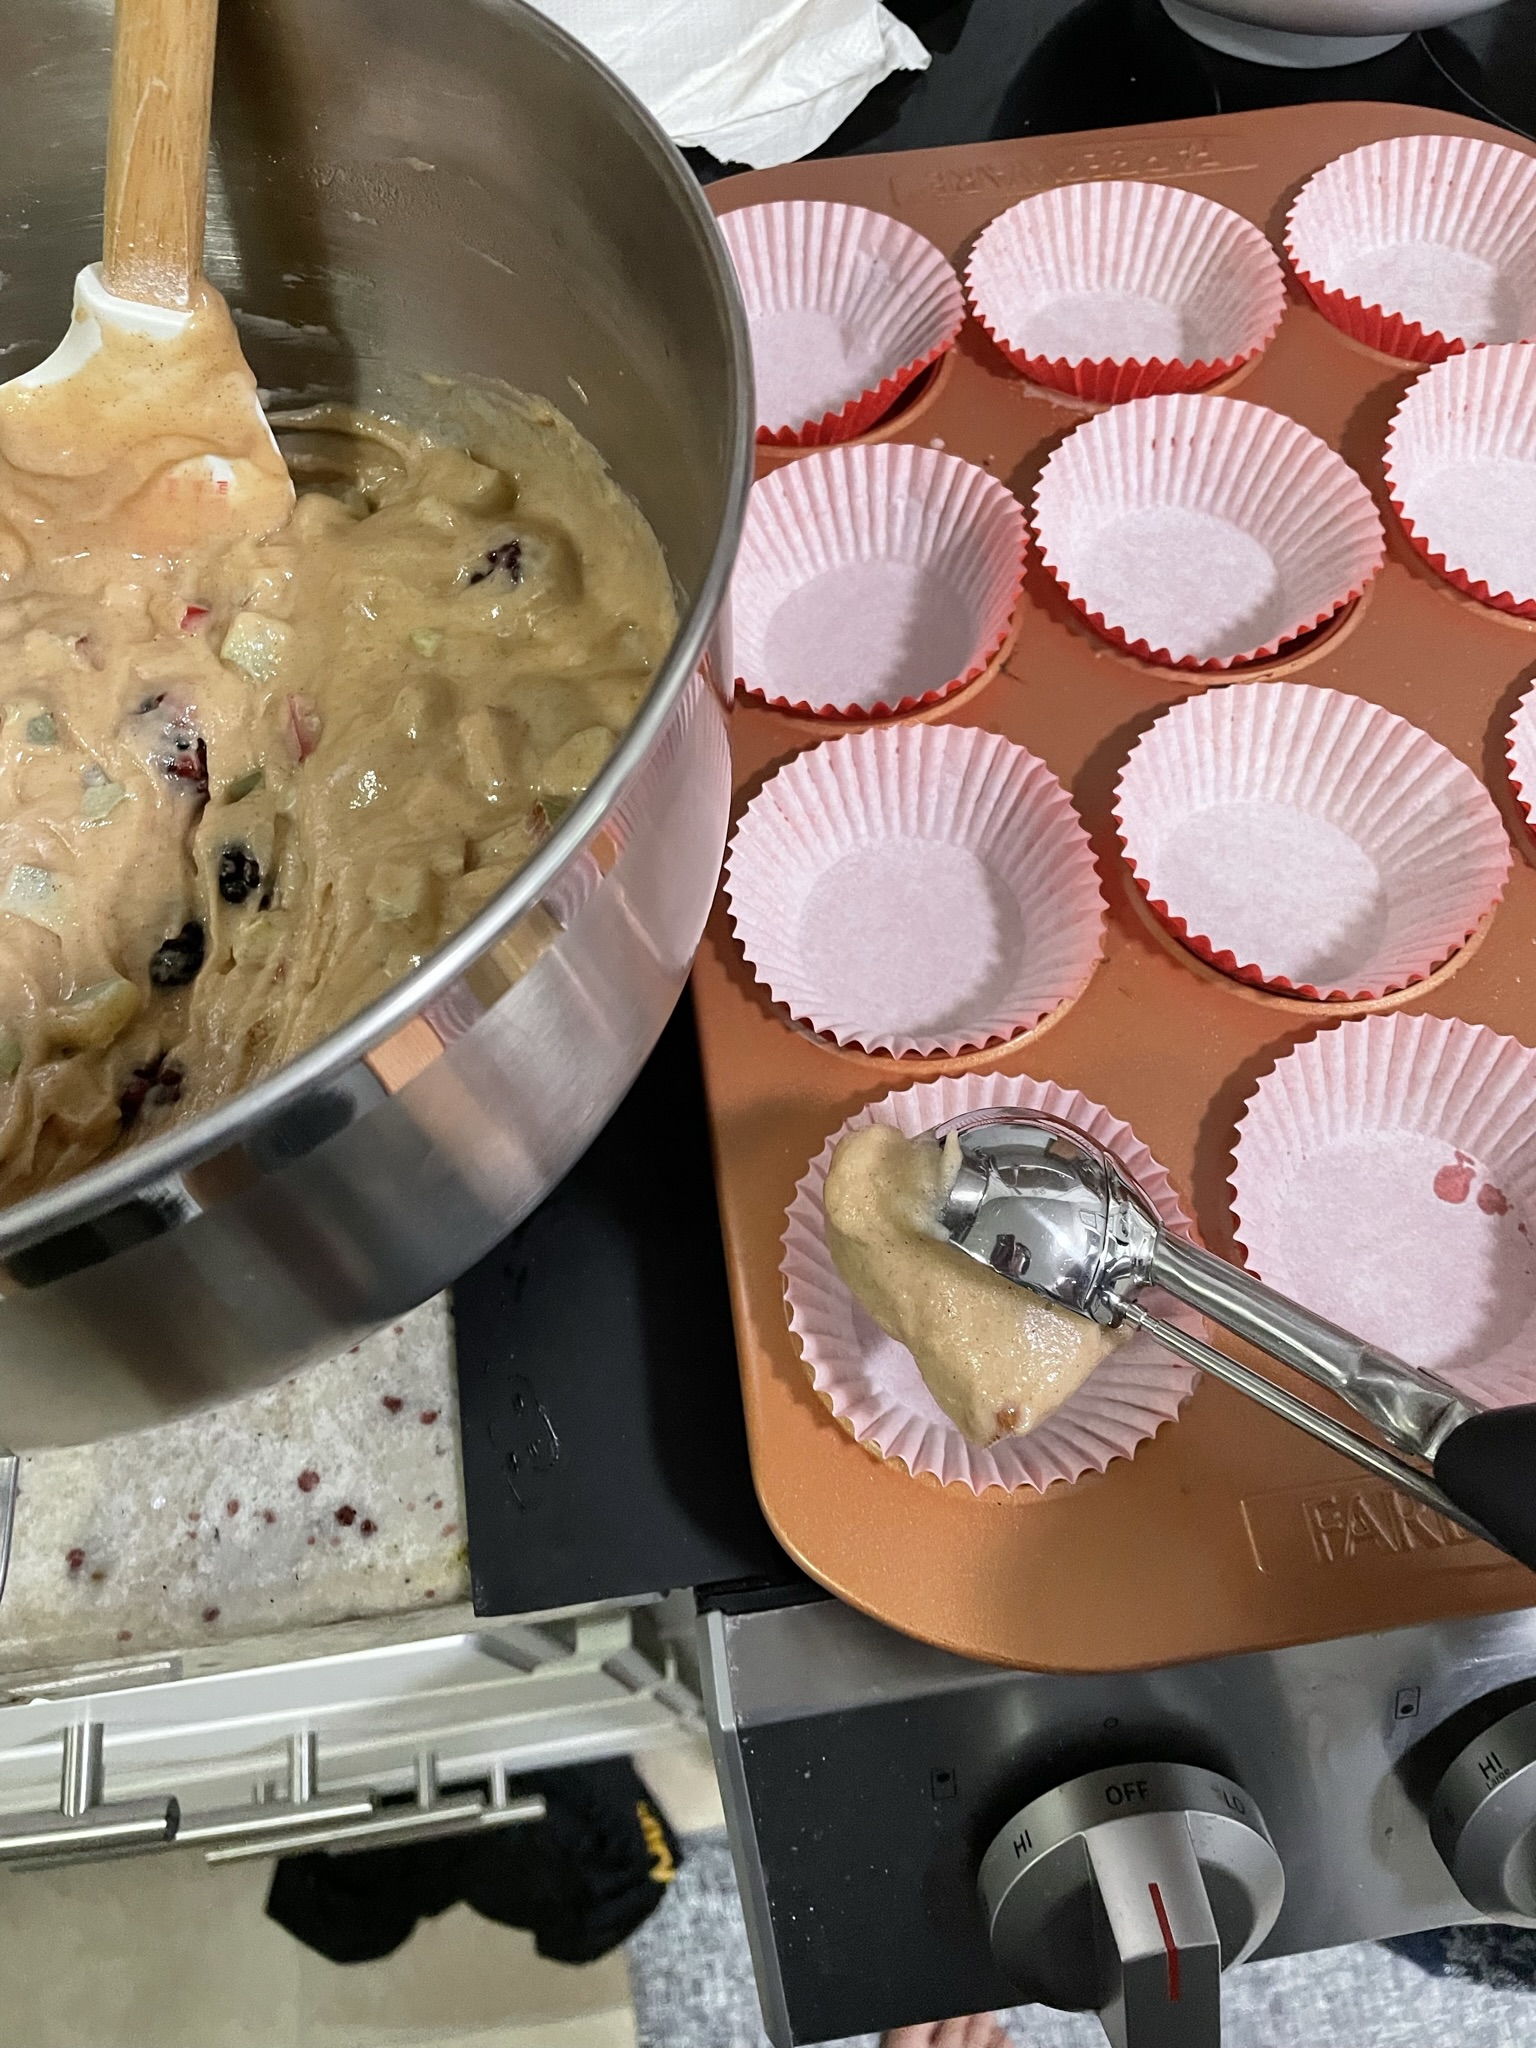
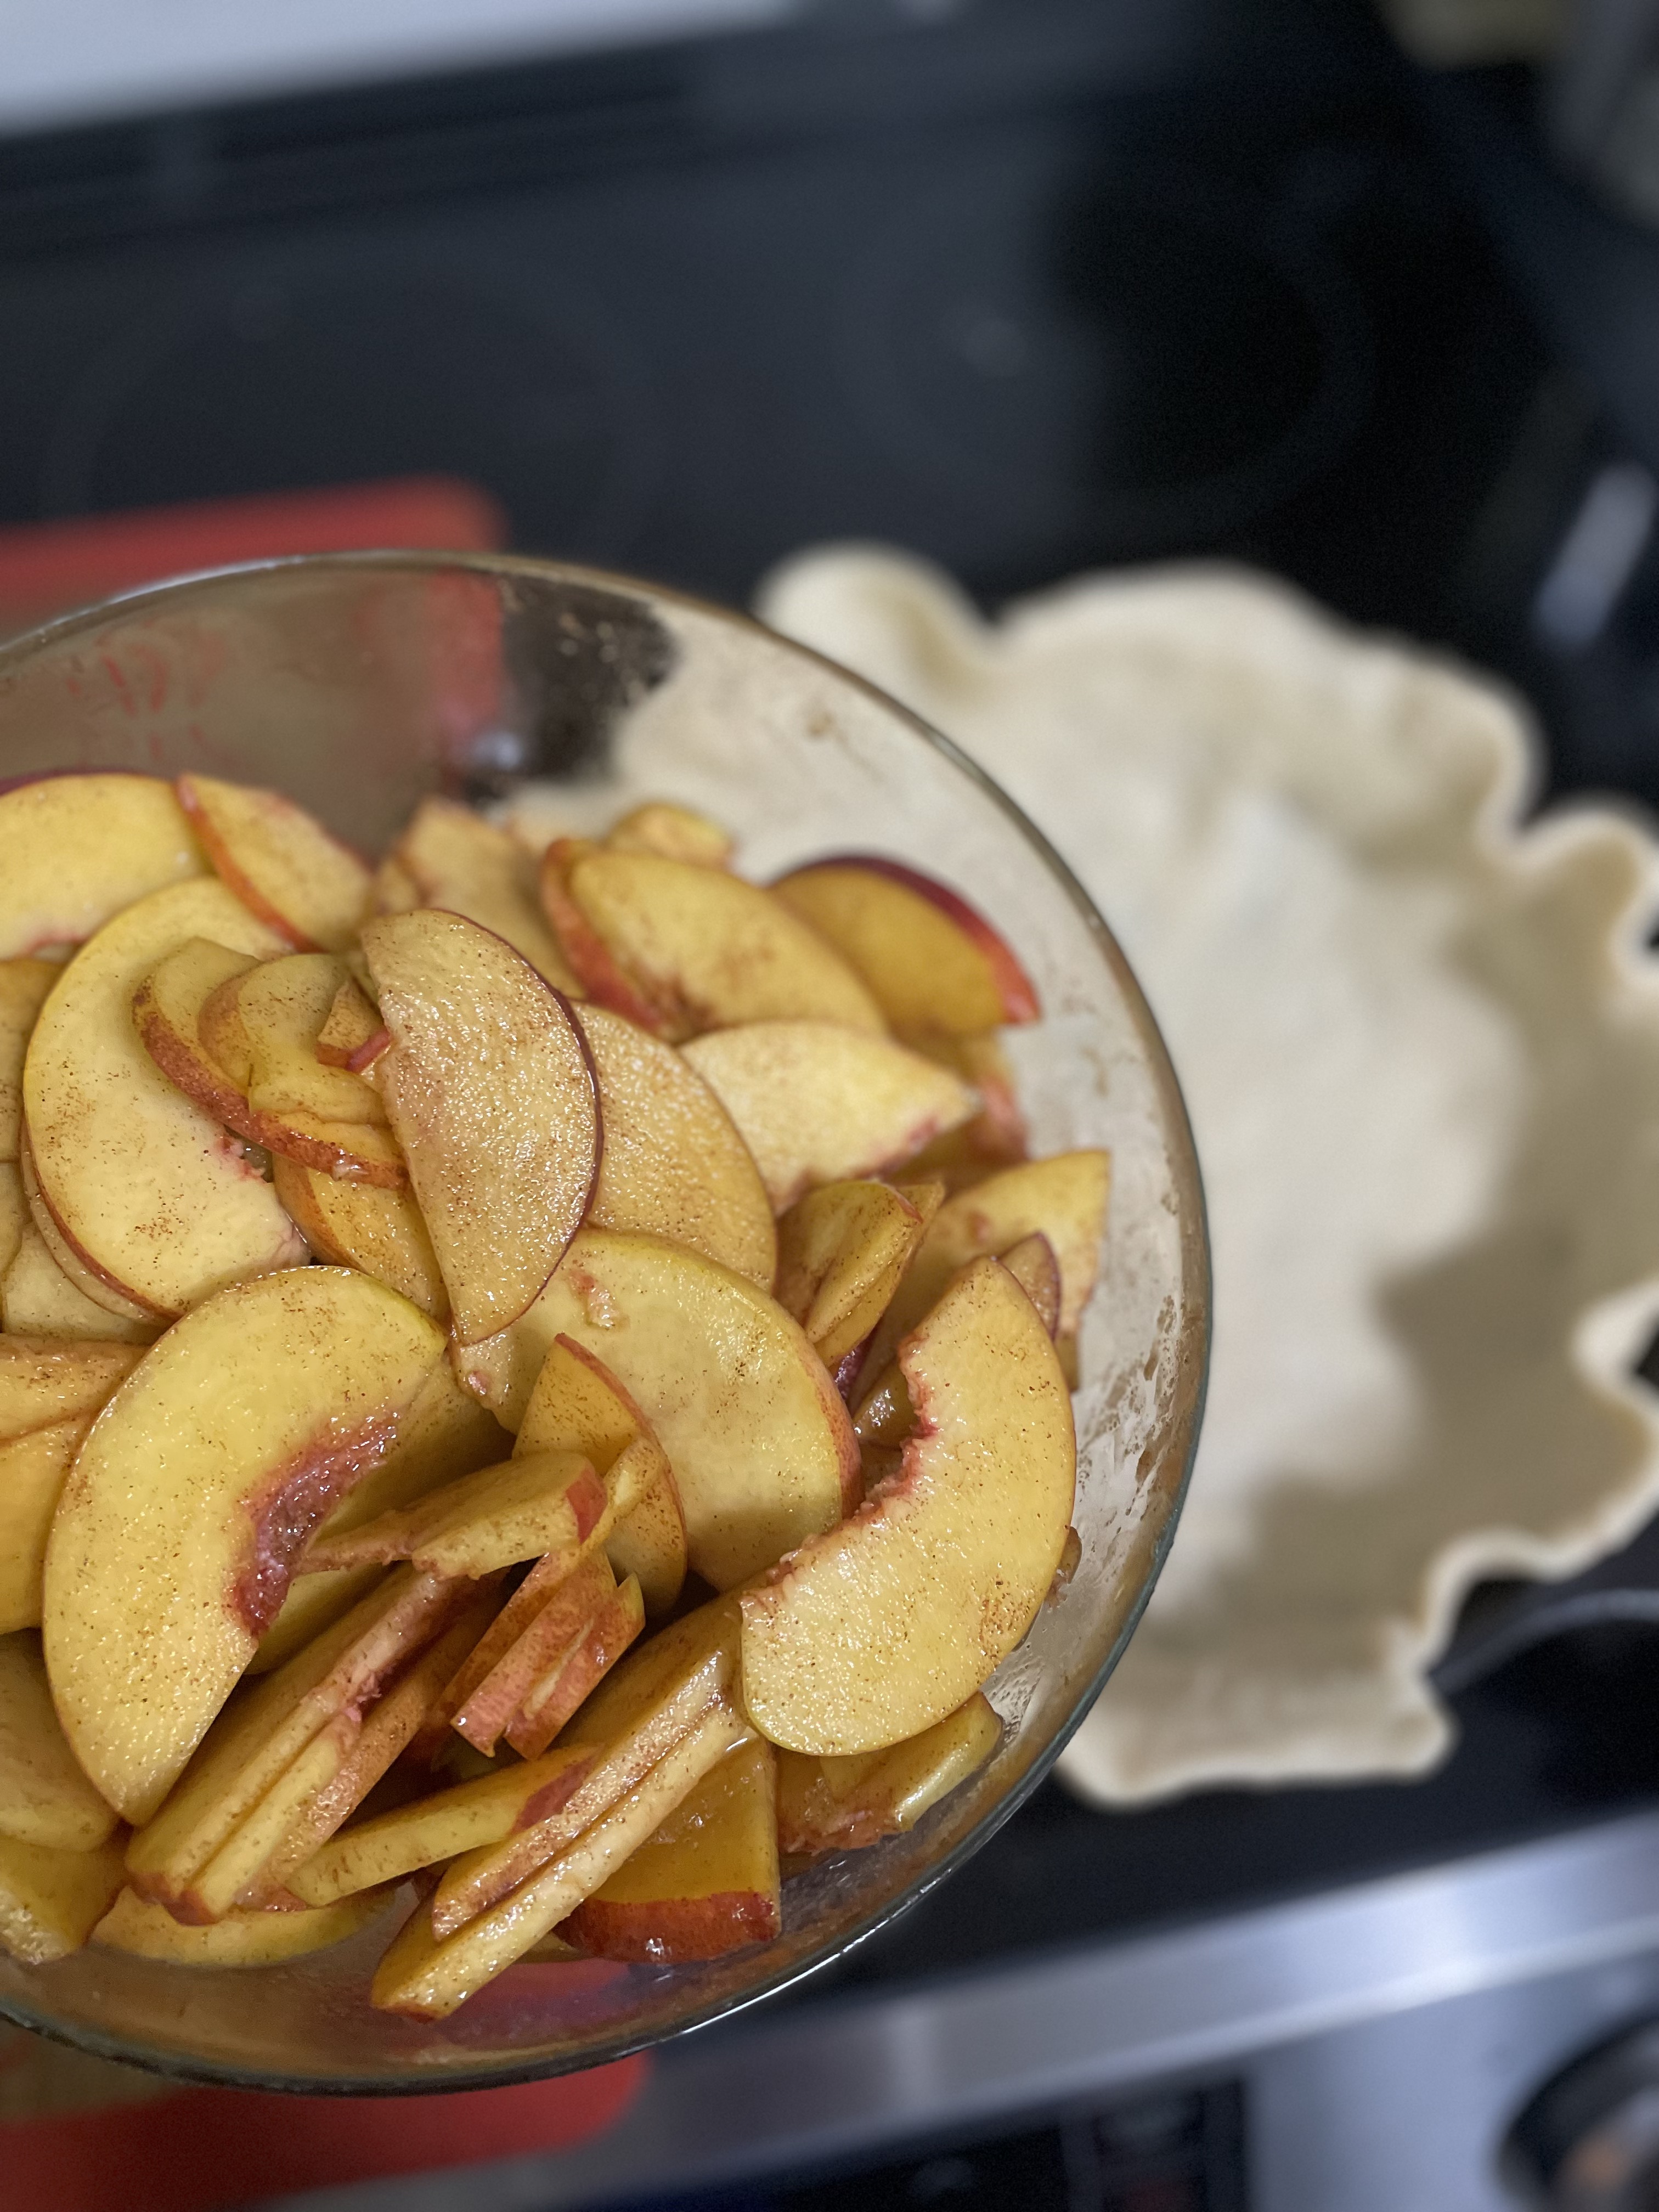
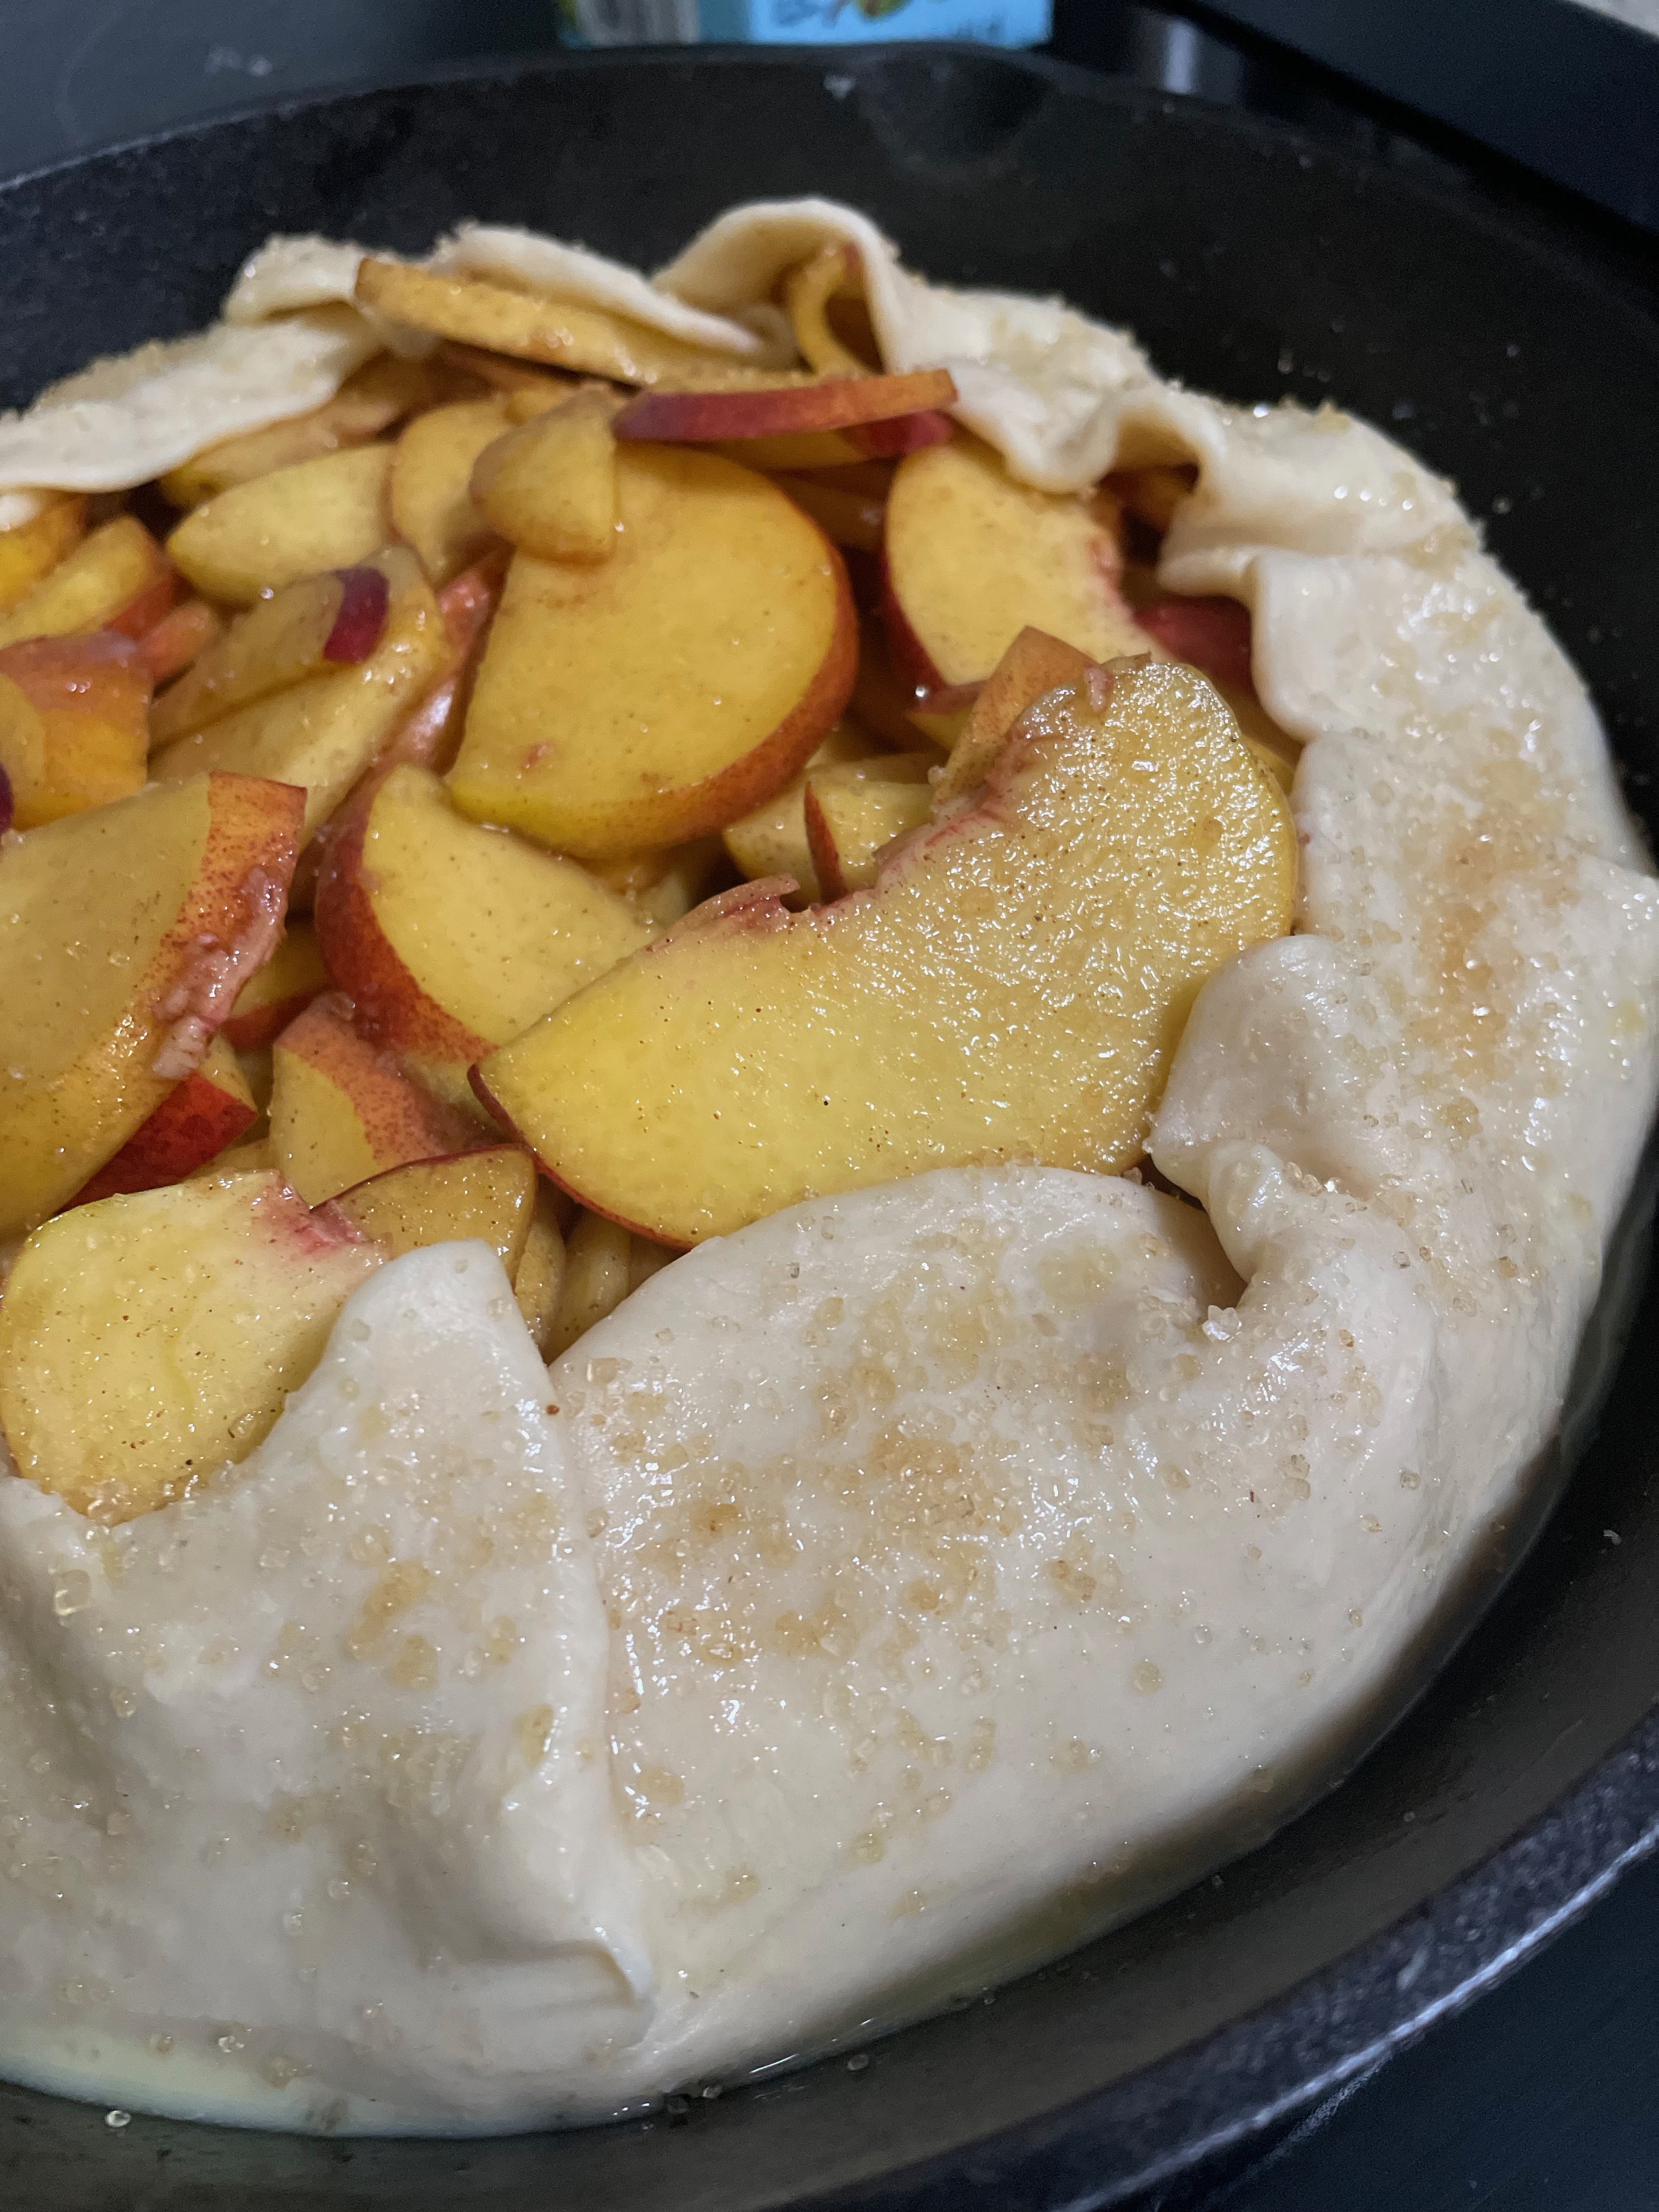
- Fill in pie crust with apples in an even layer.
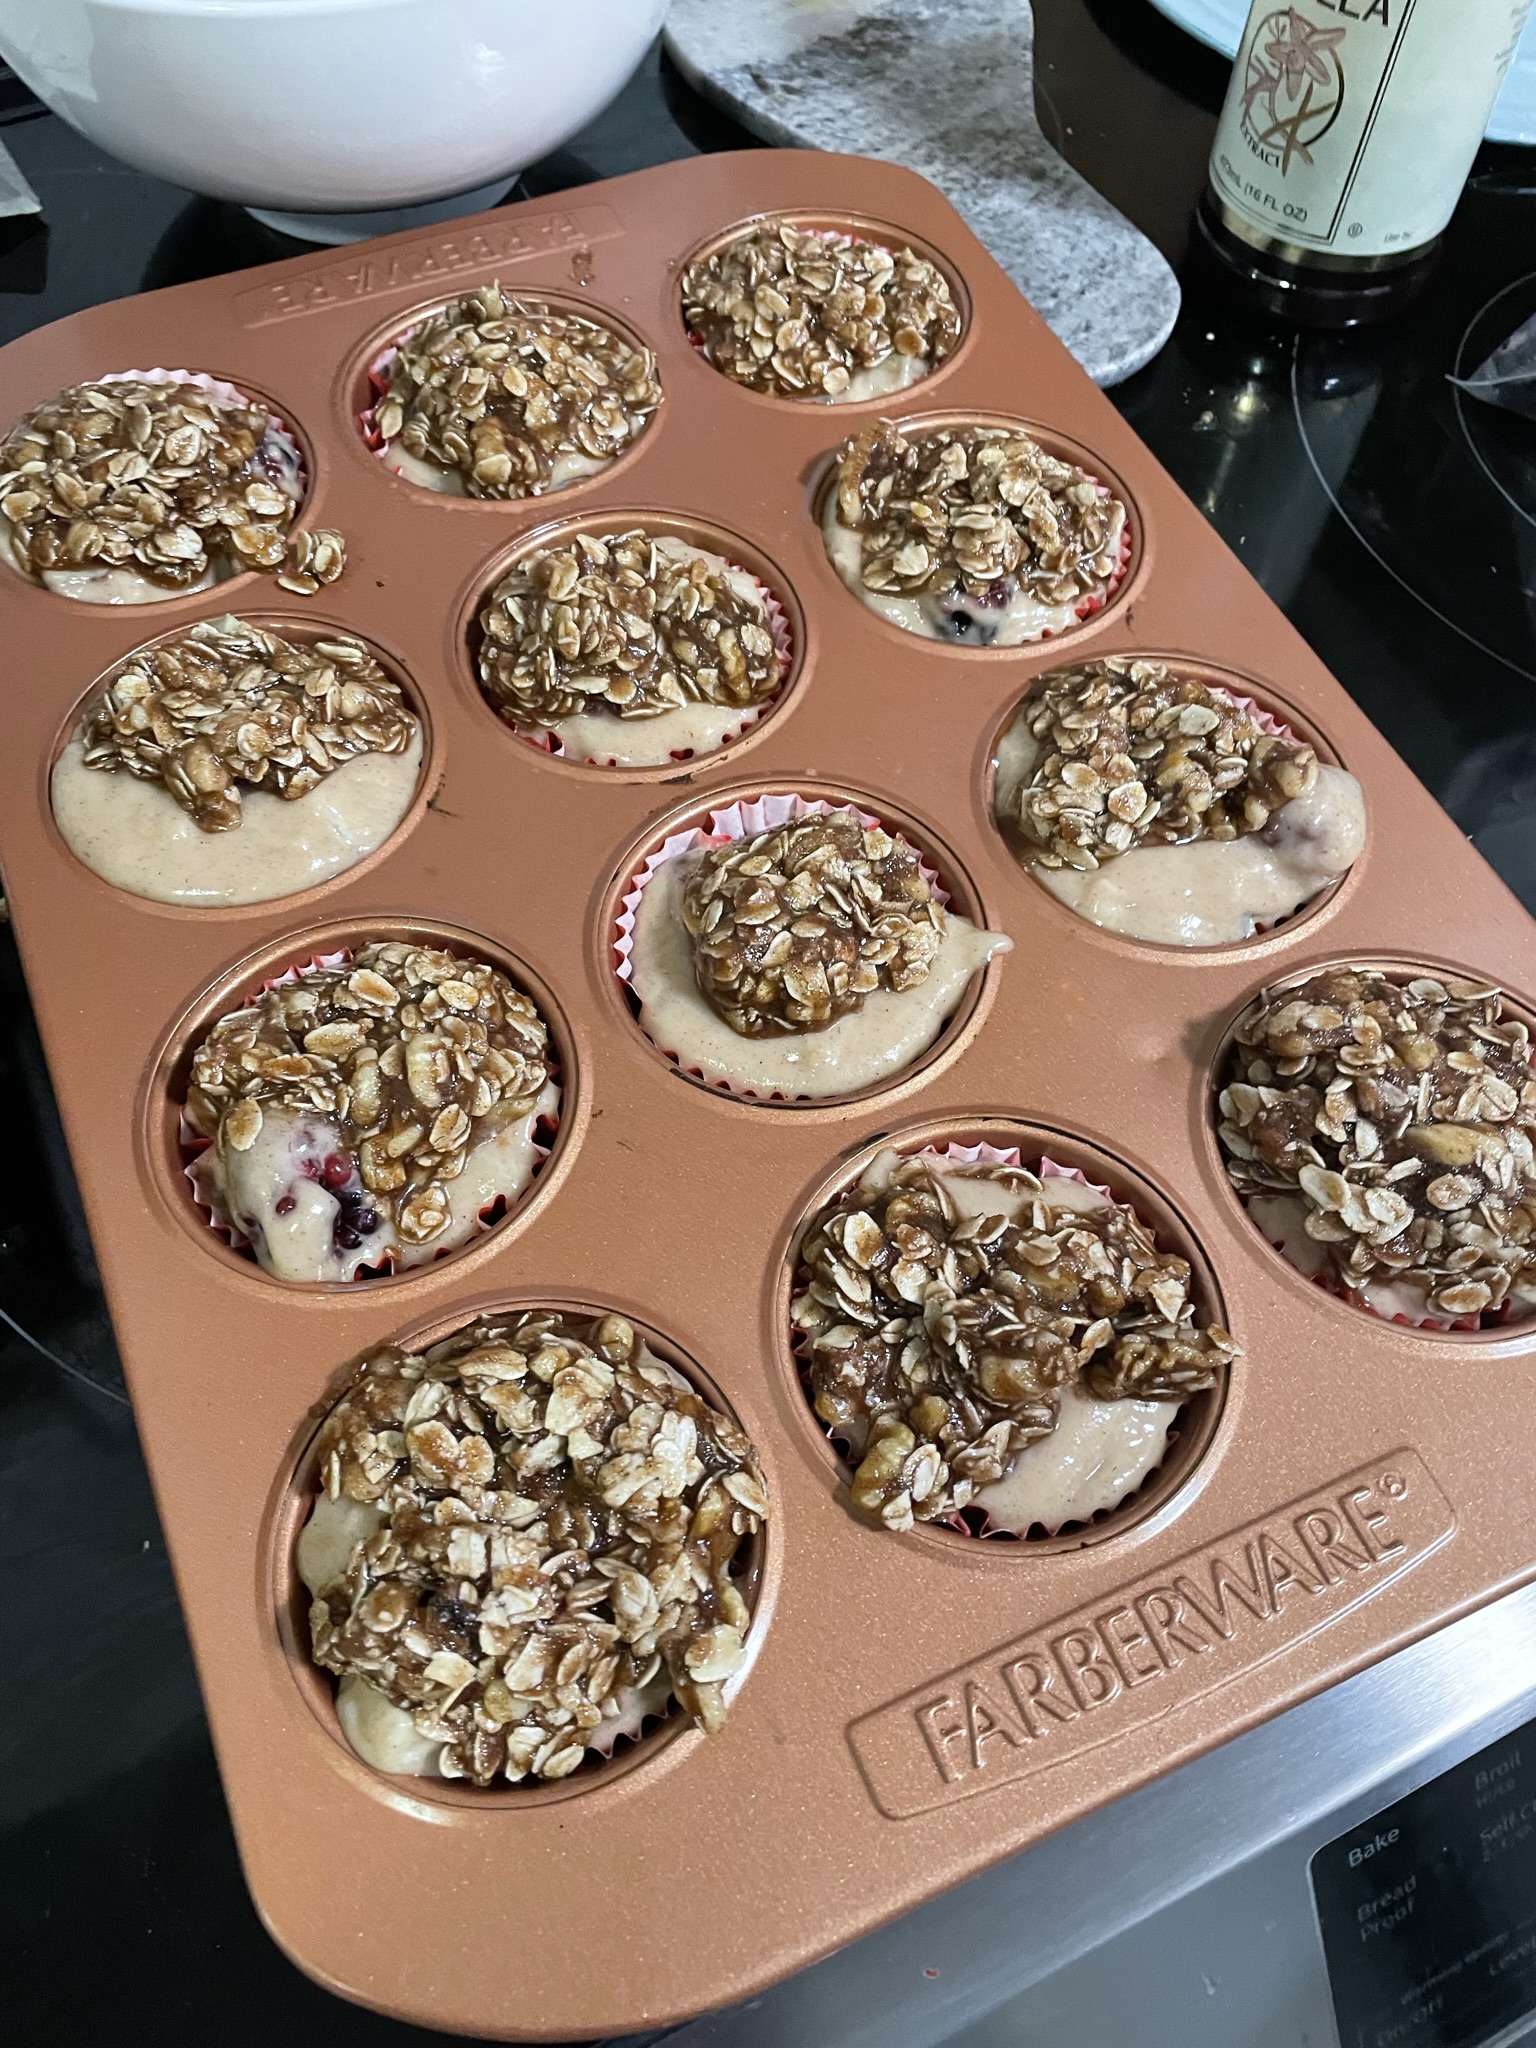
- Top pie evenly with crumble mixture.
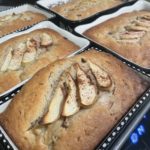
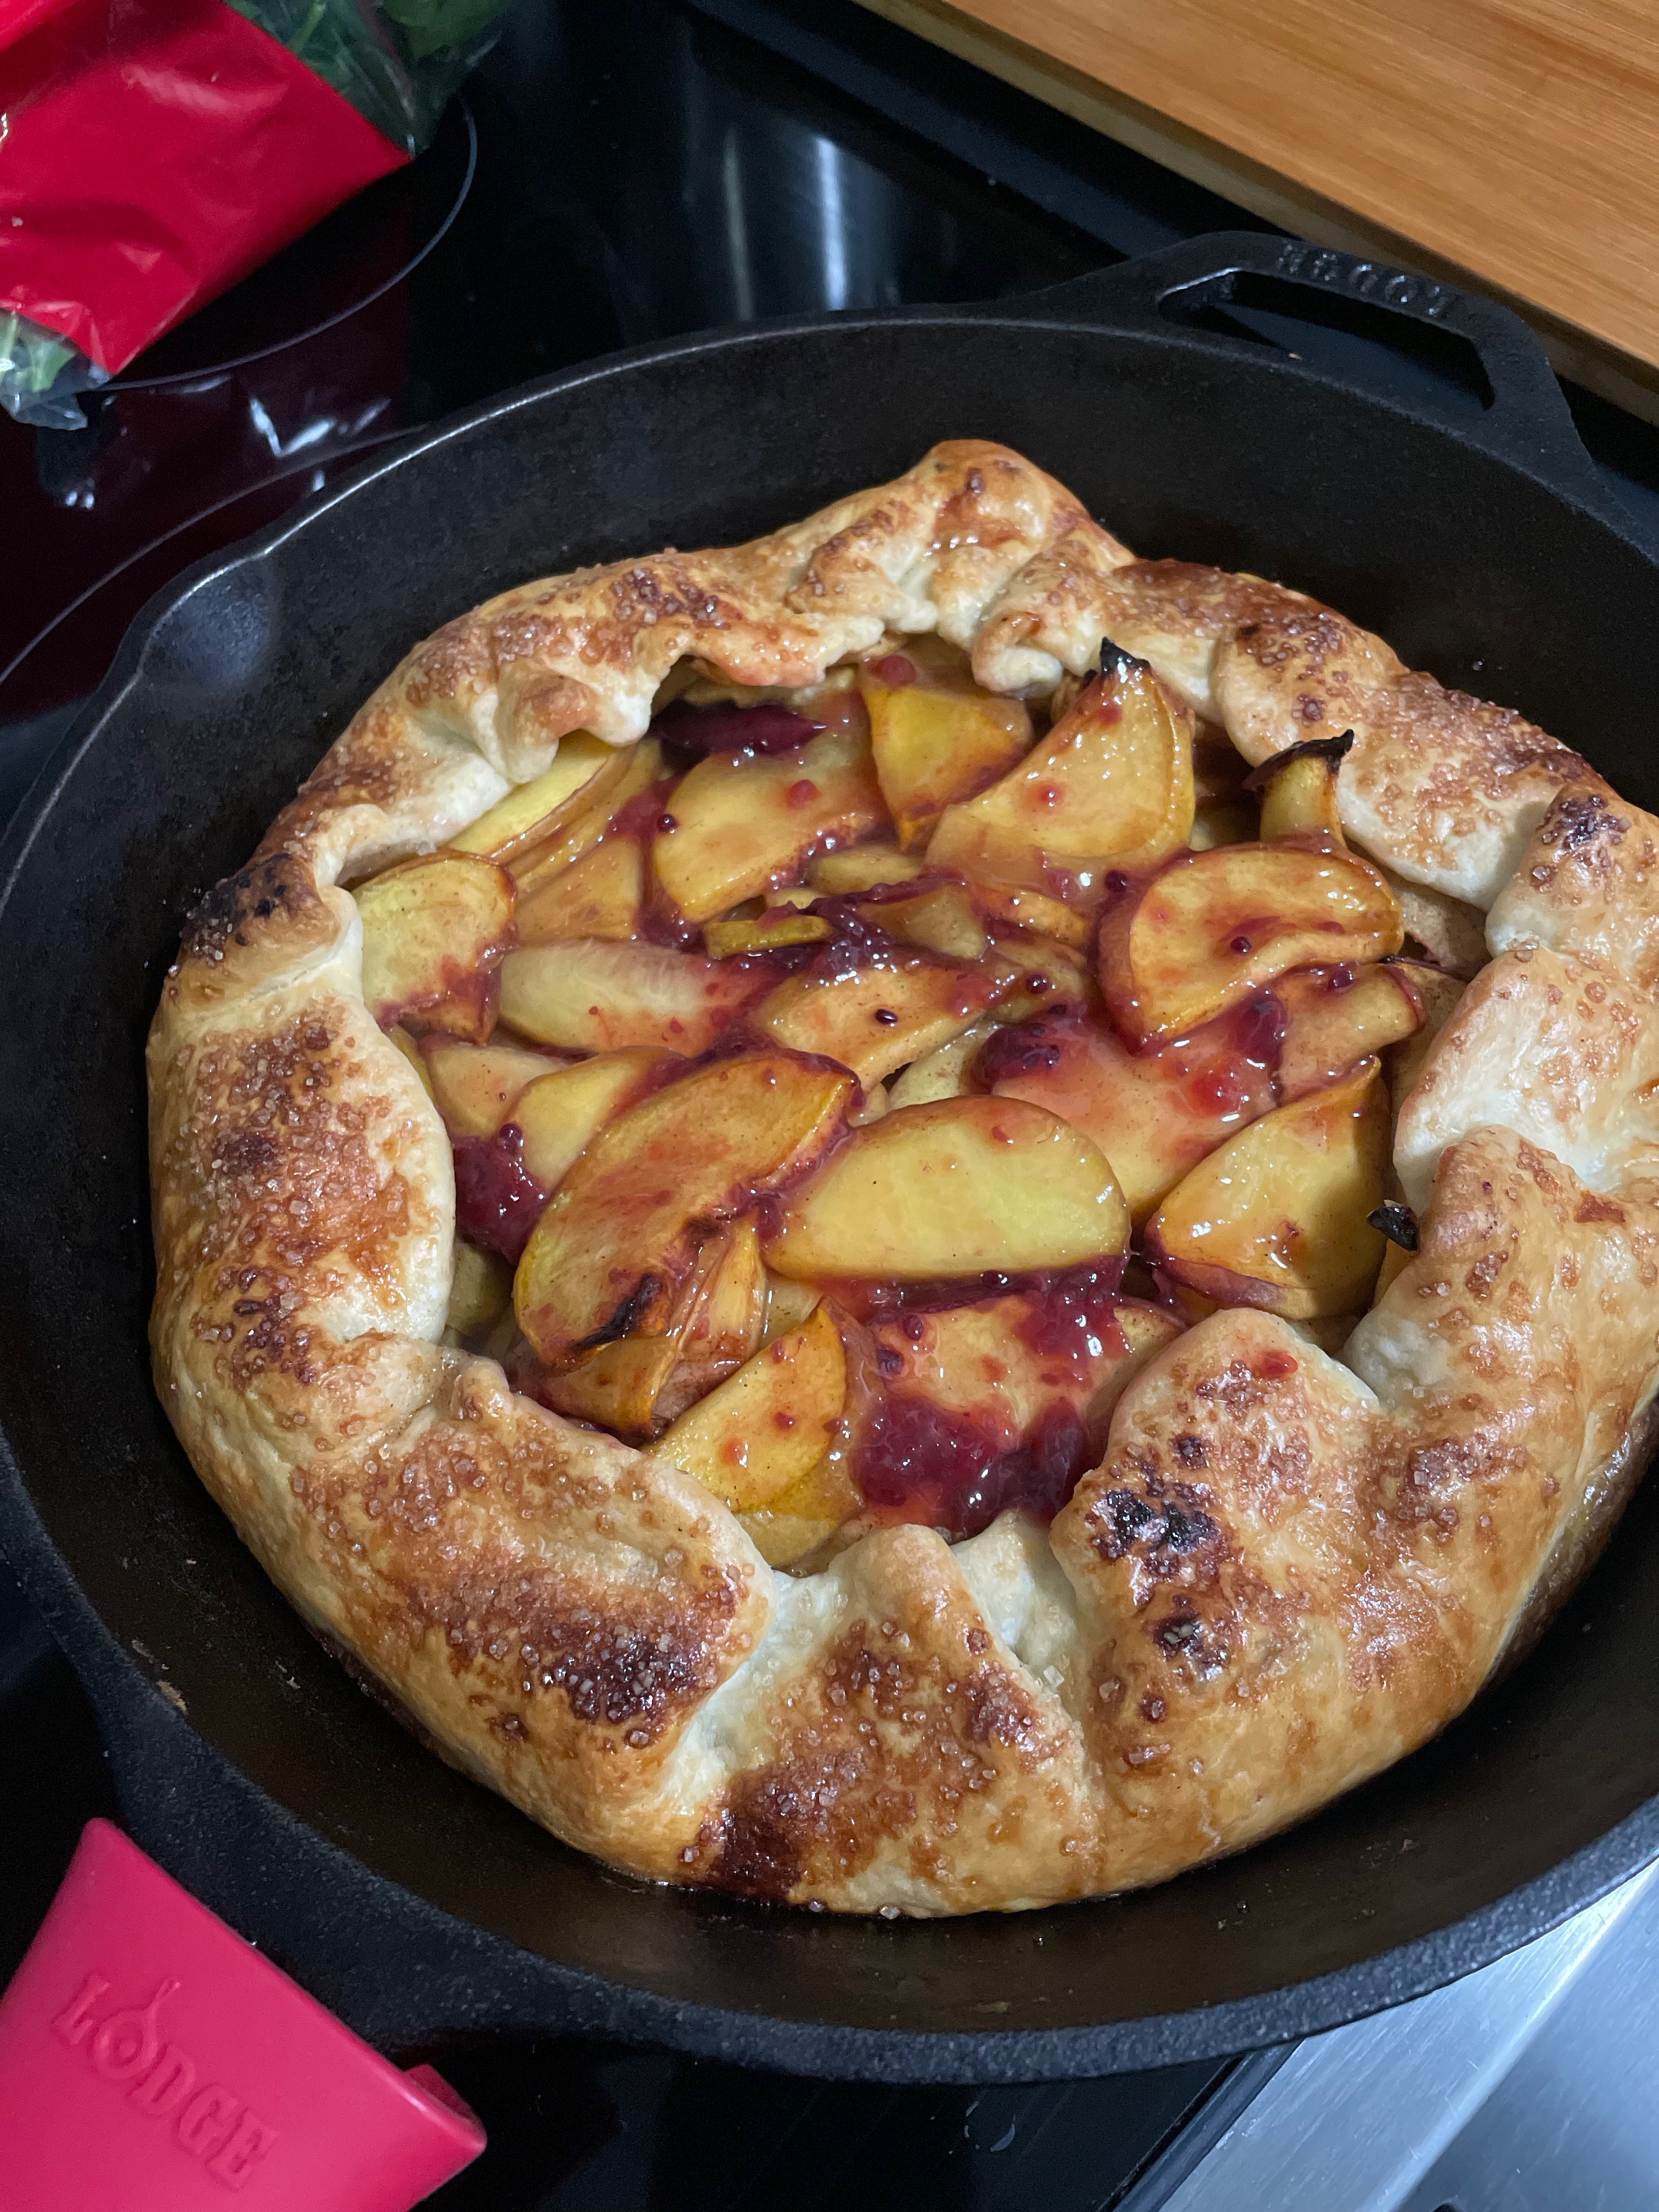
- Bake at 350F for 45 minutes. If top is browning too quickly, cover with foil.
- Allow to rest 10 minutes after baking before slicing. Enjoy!
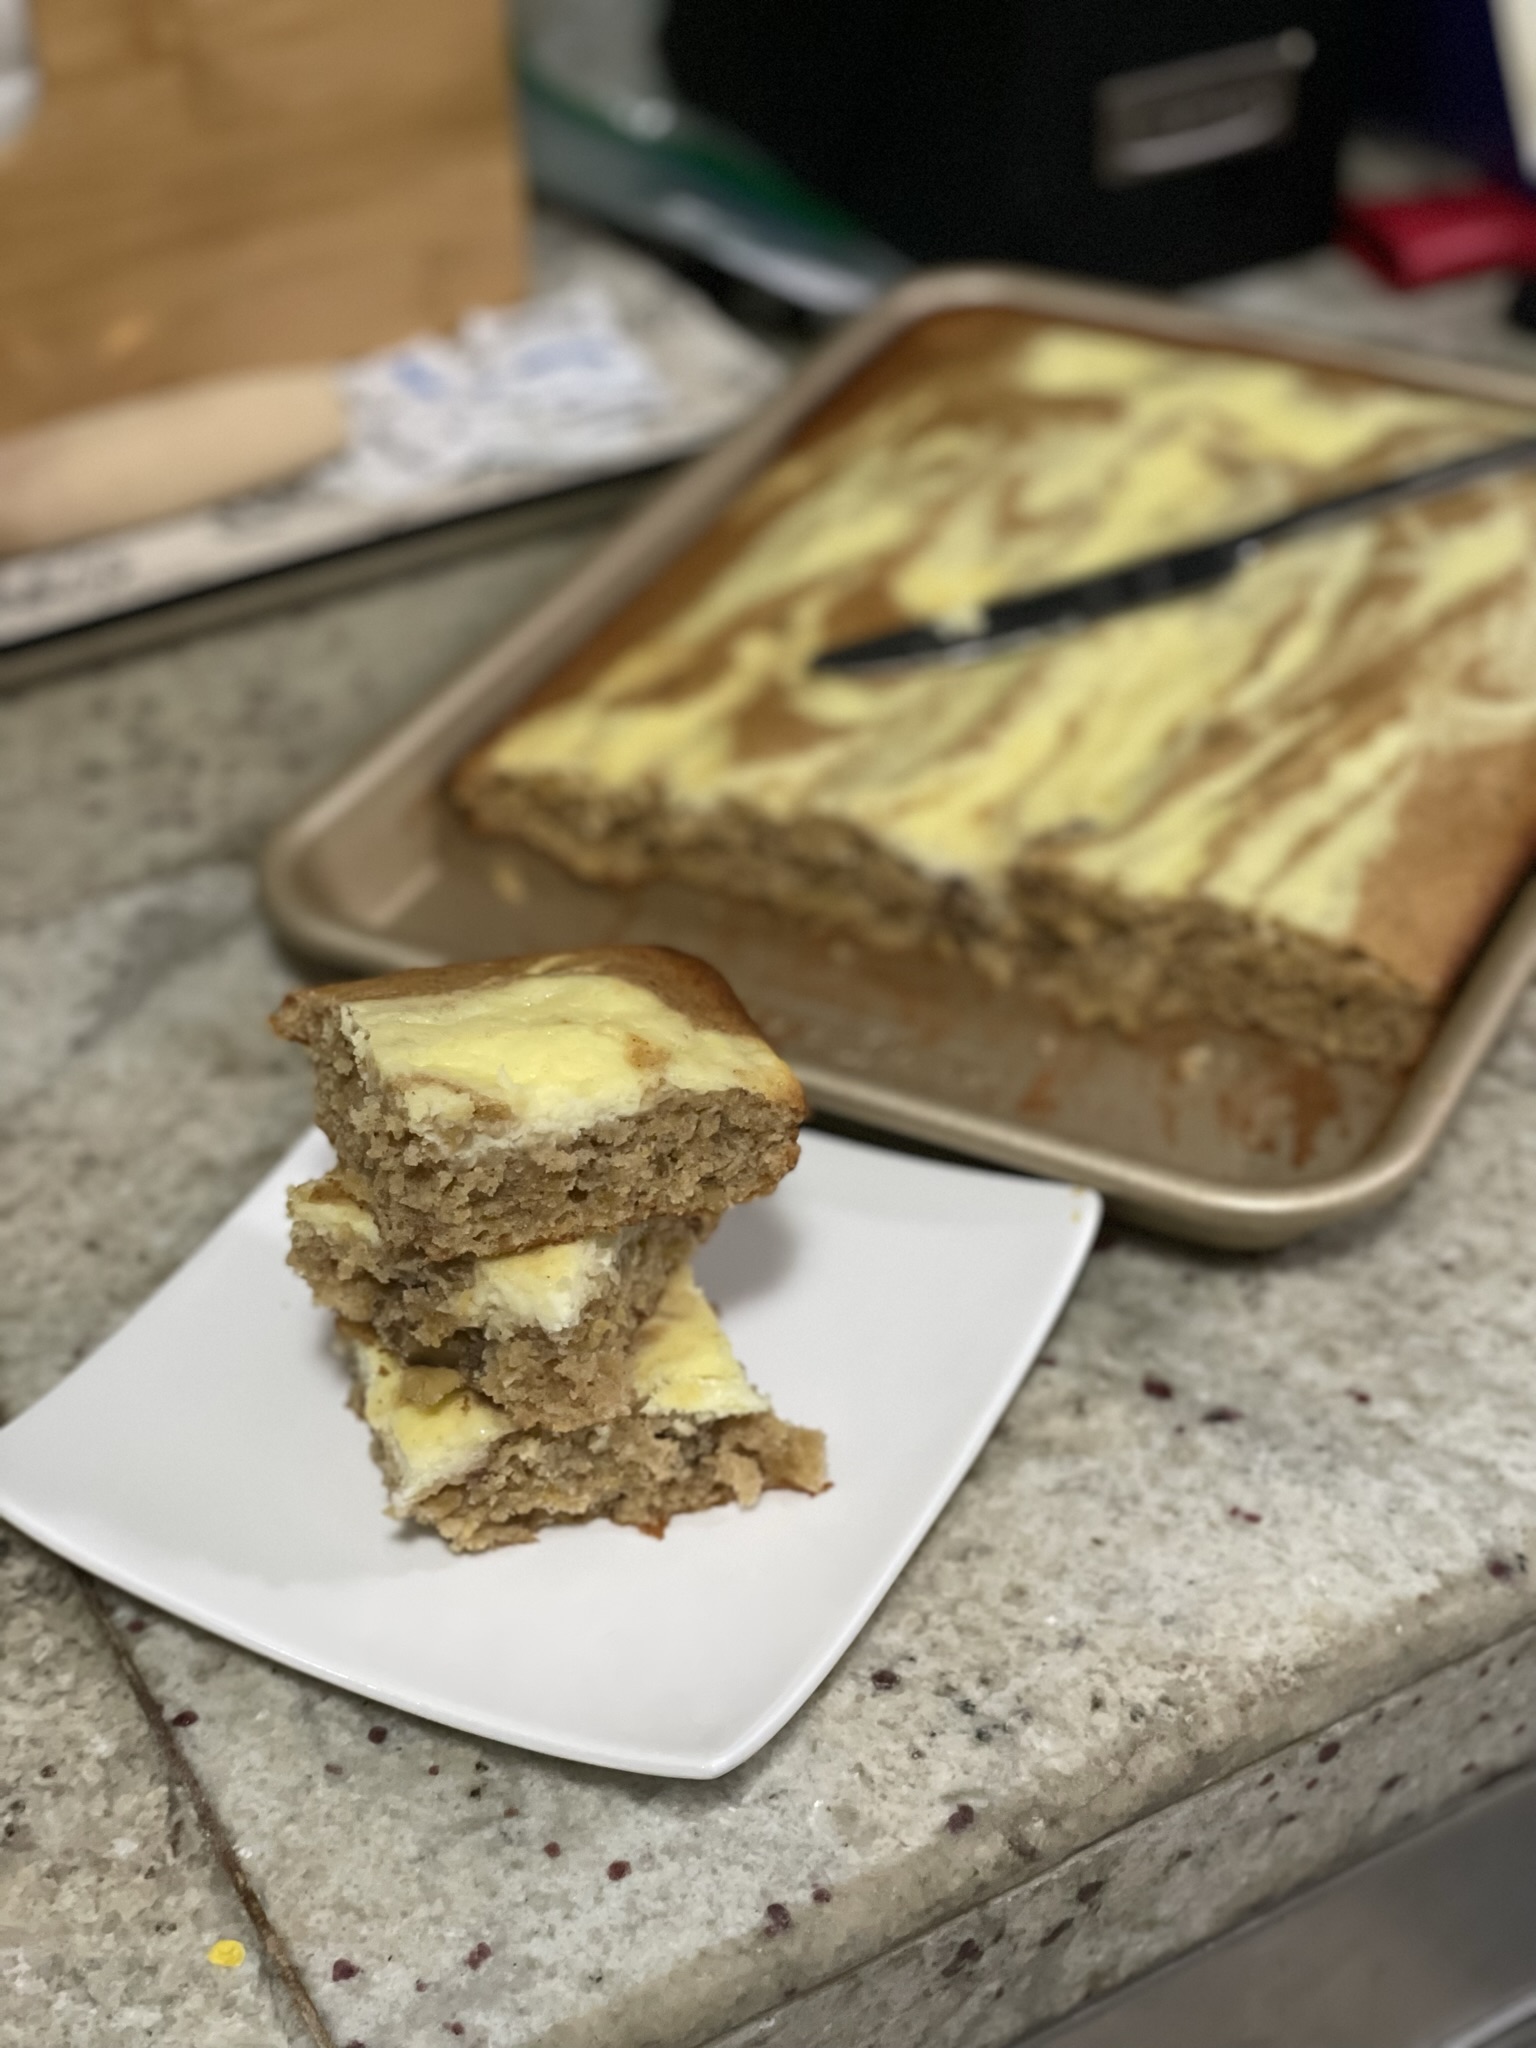
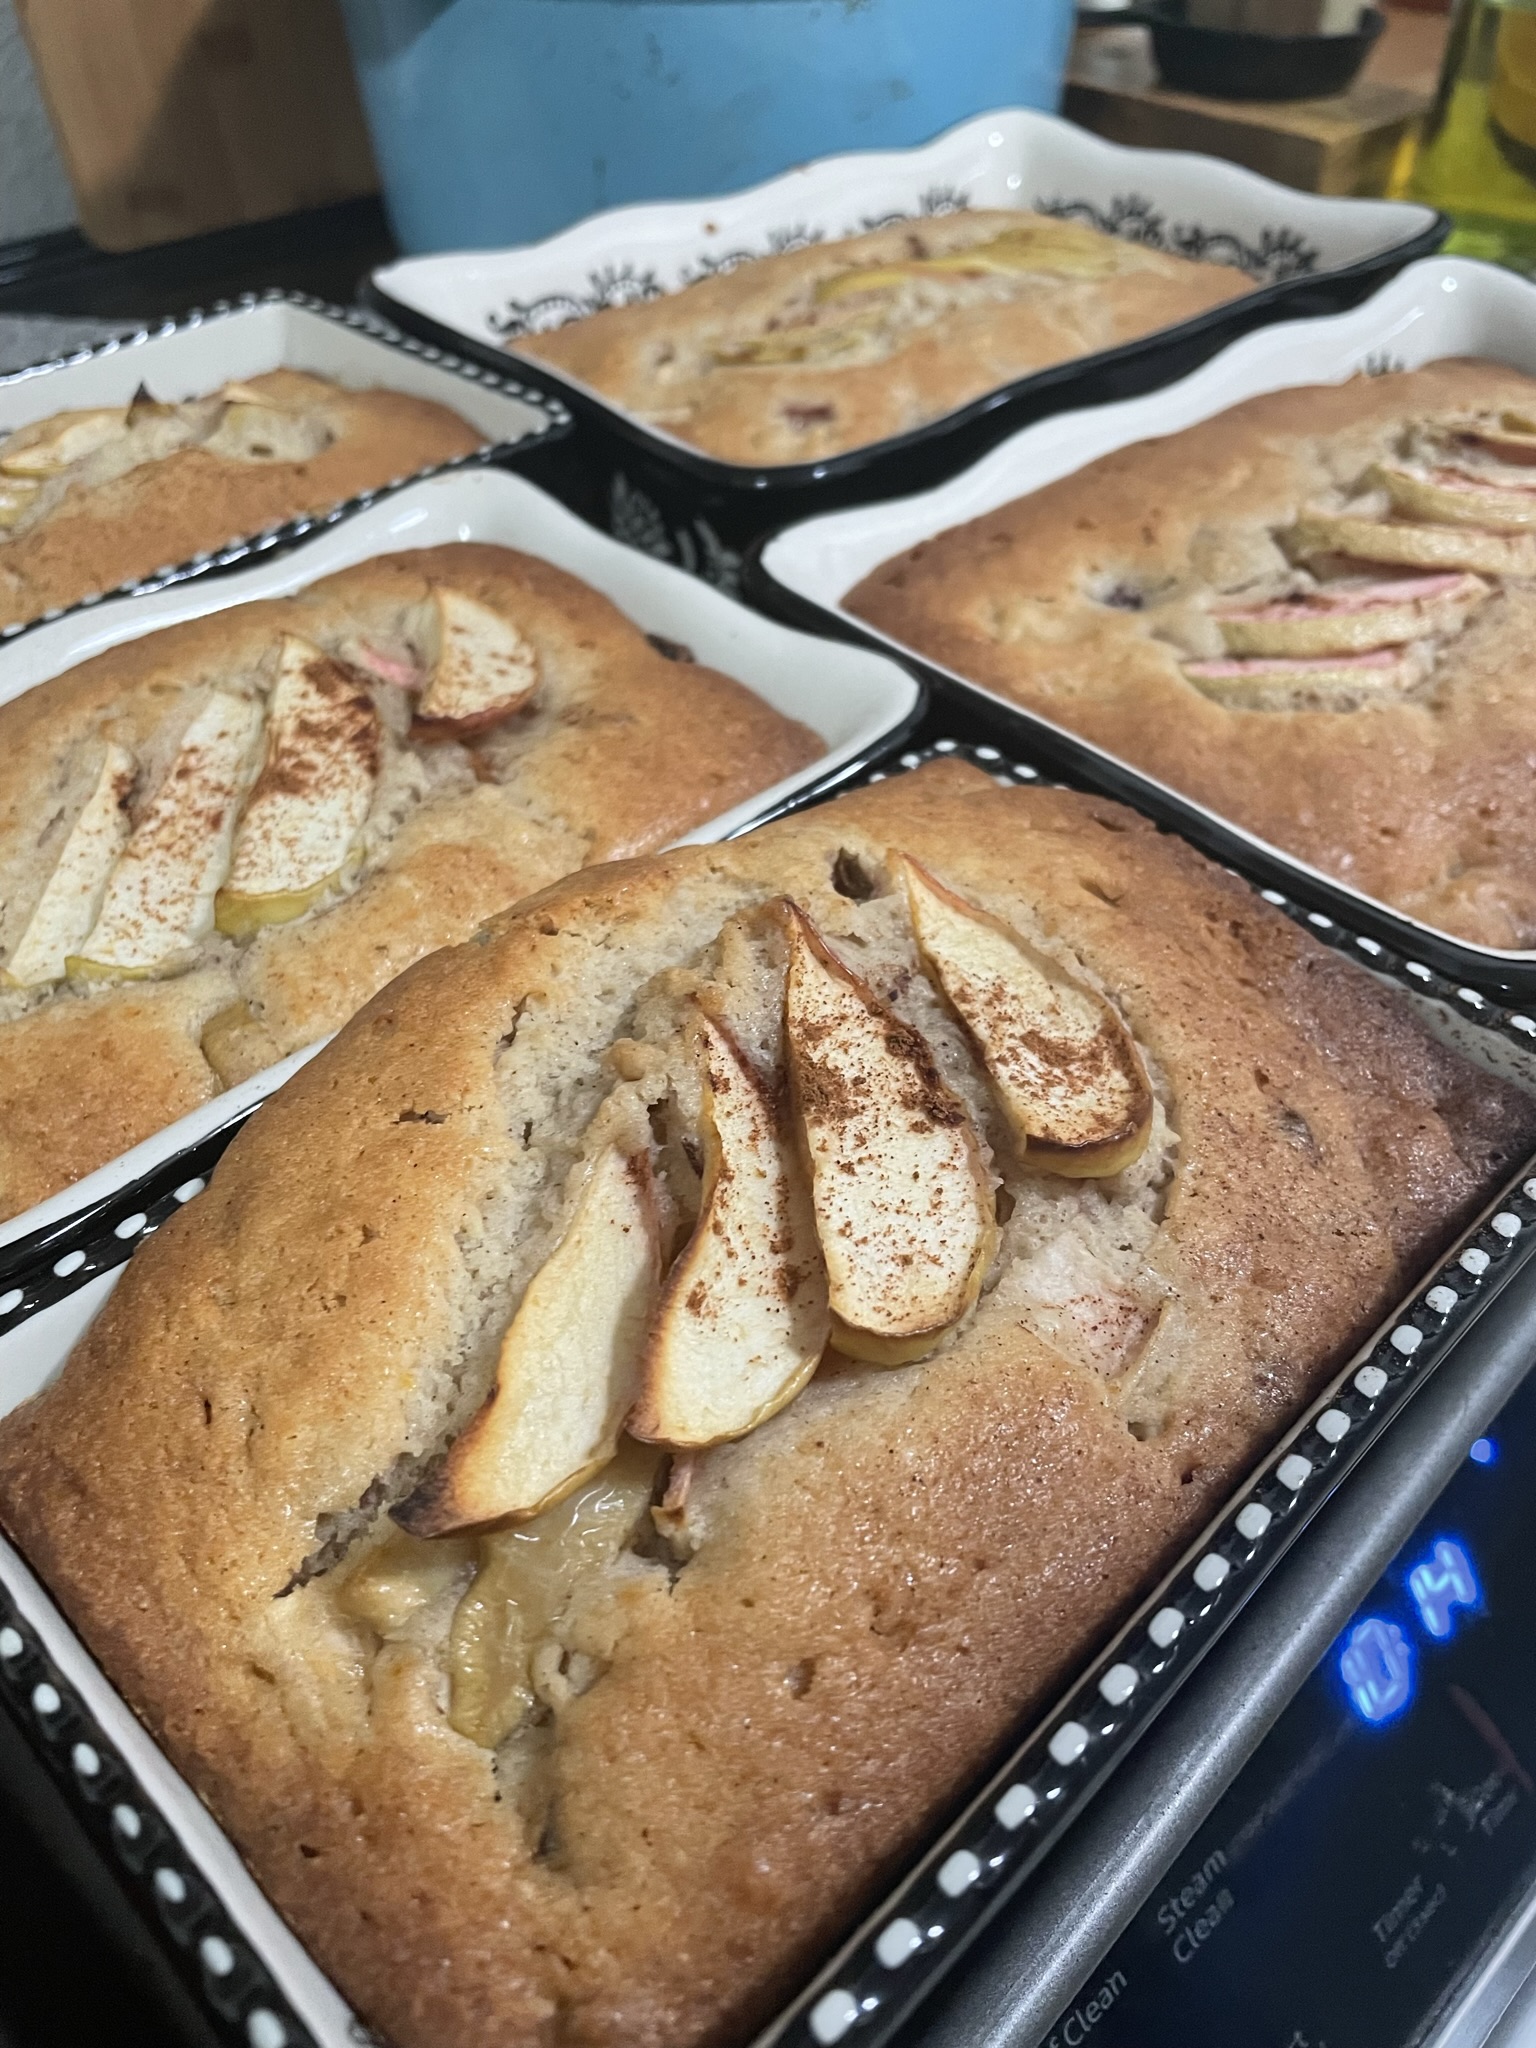
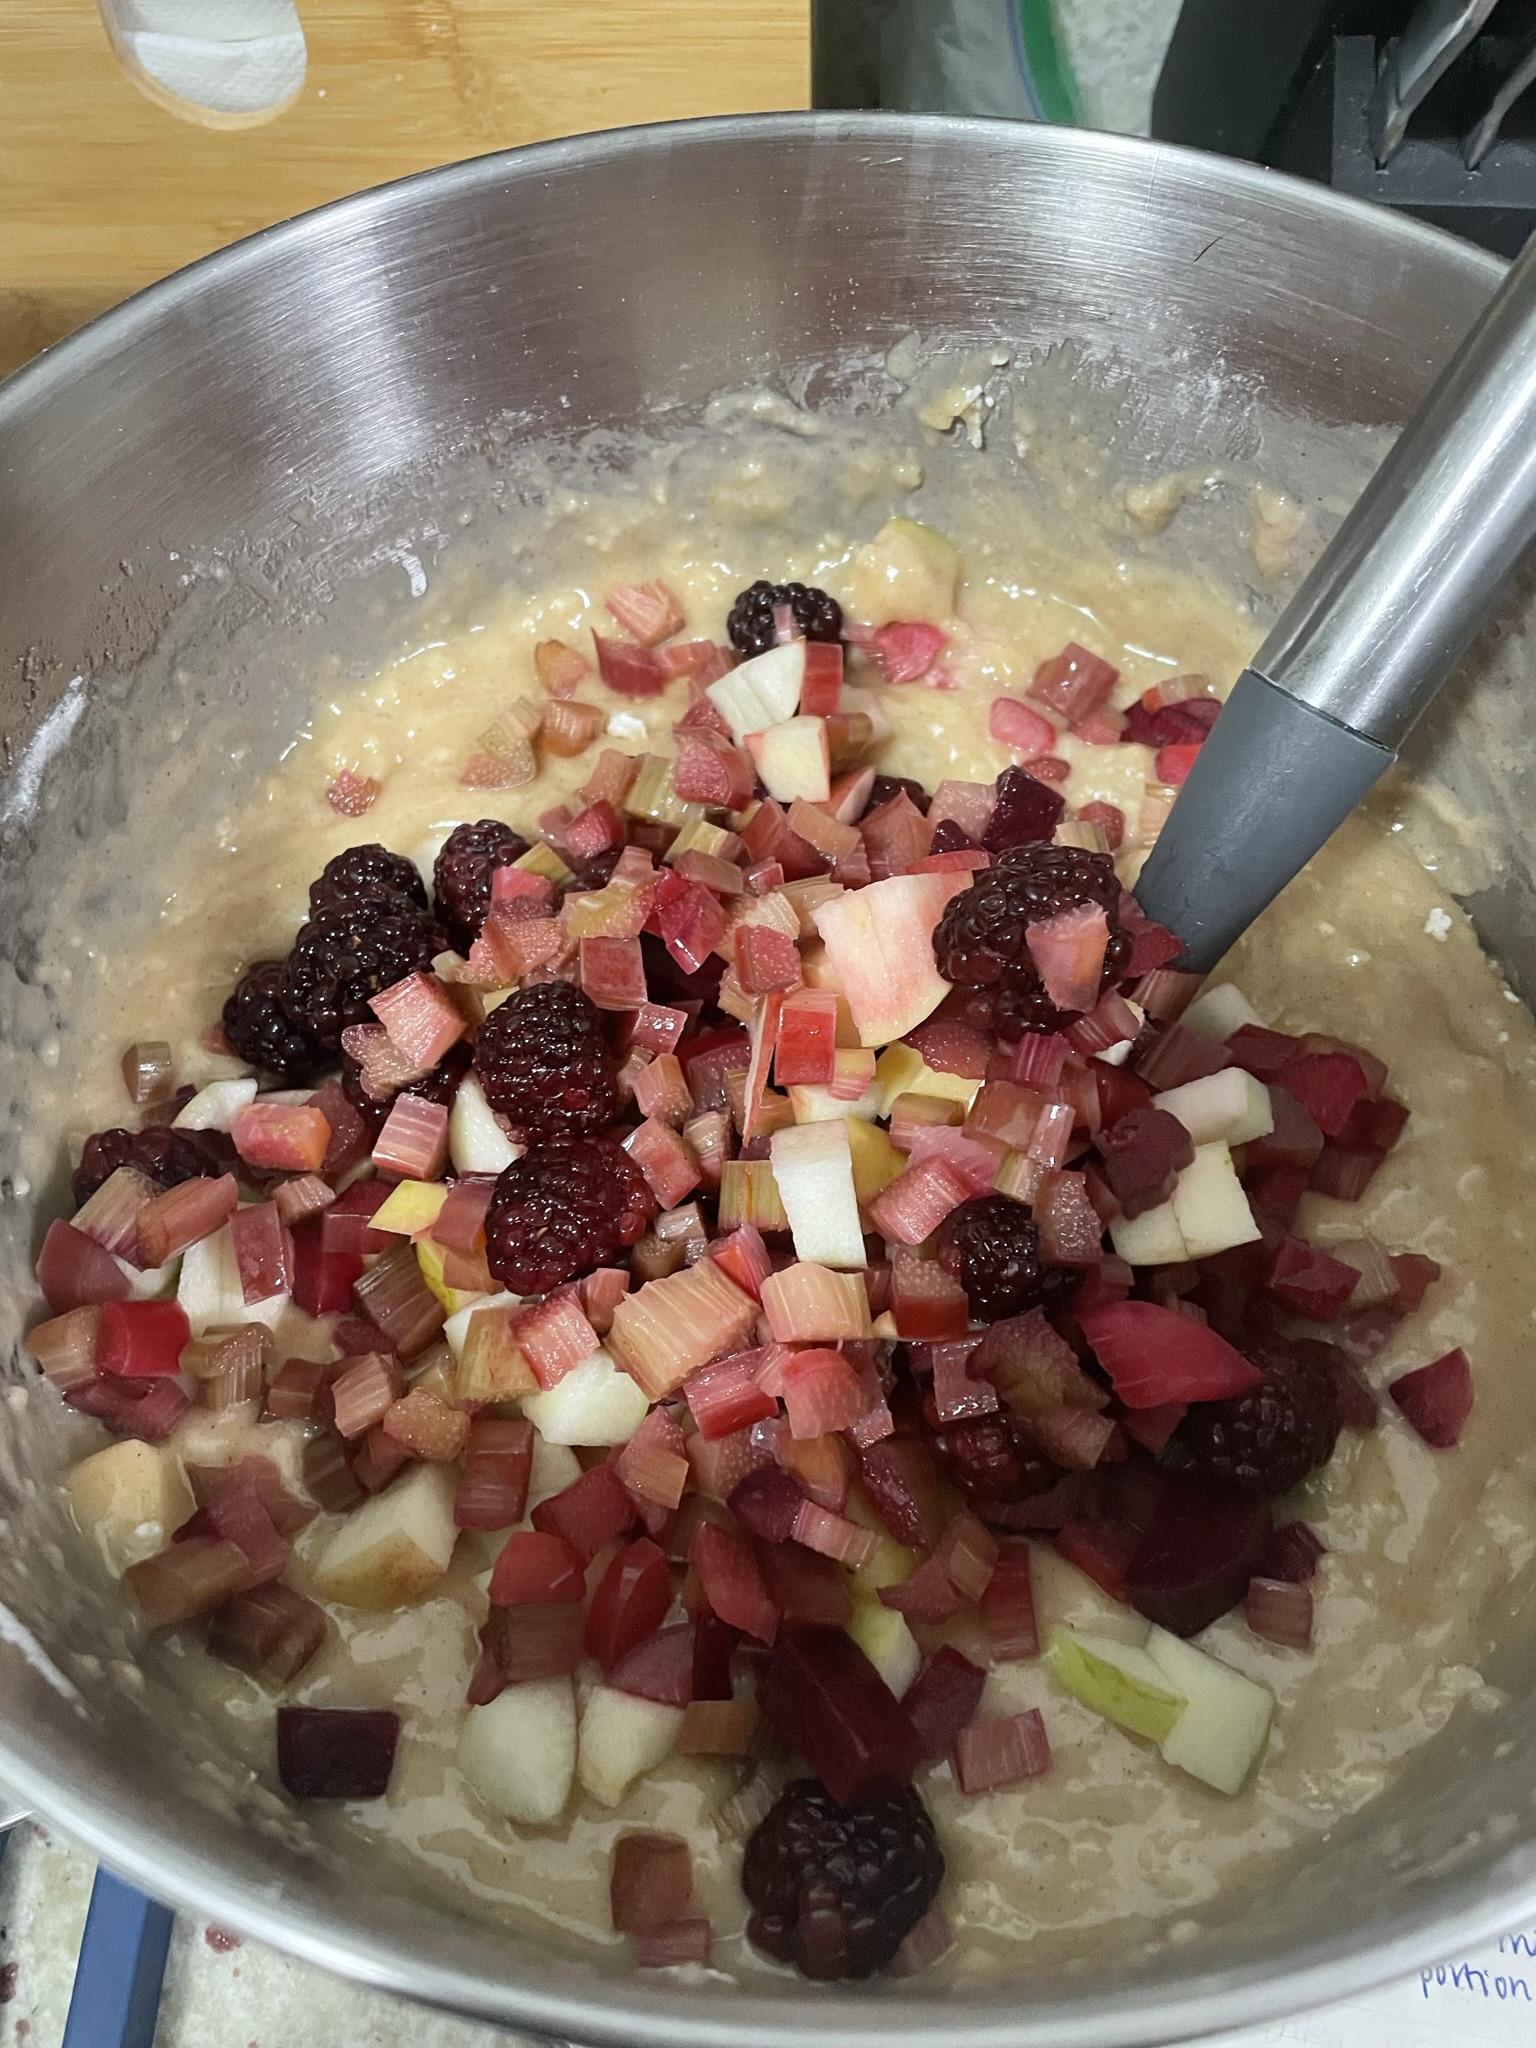
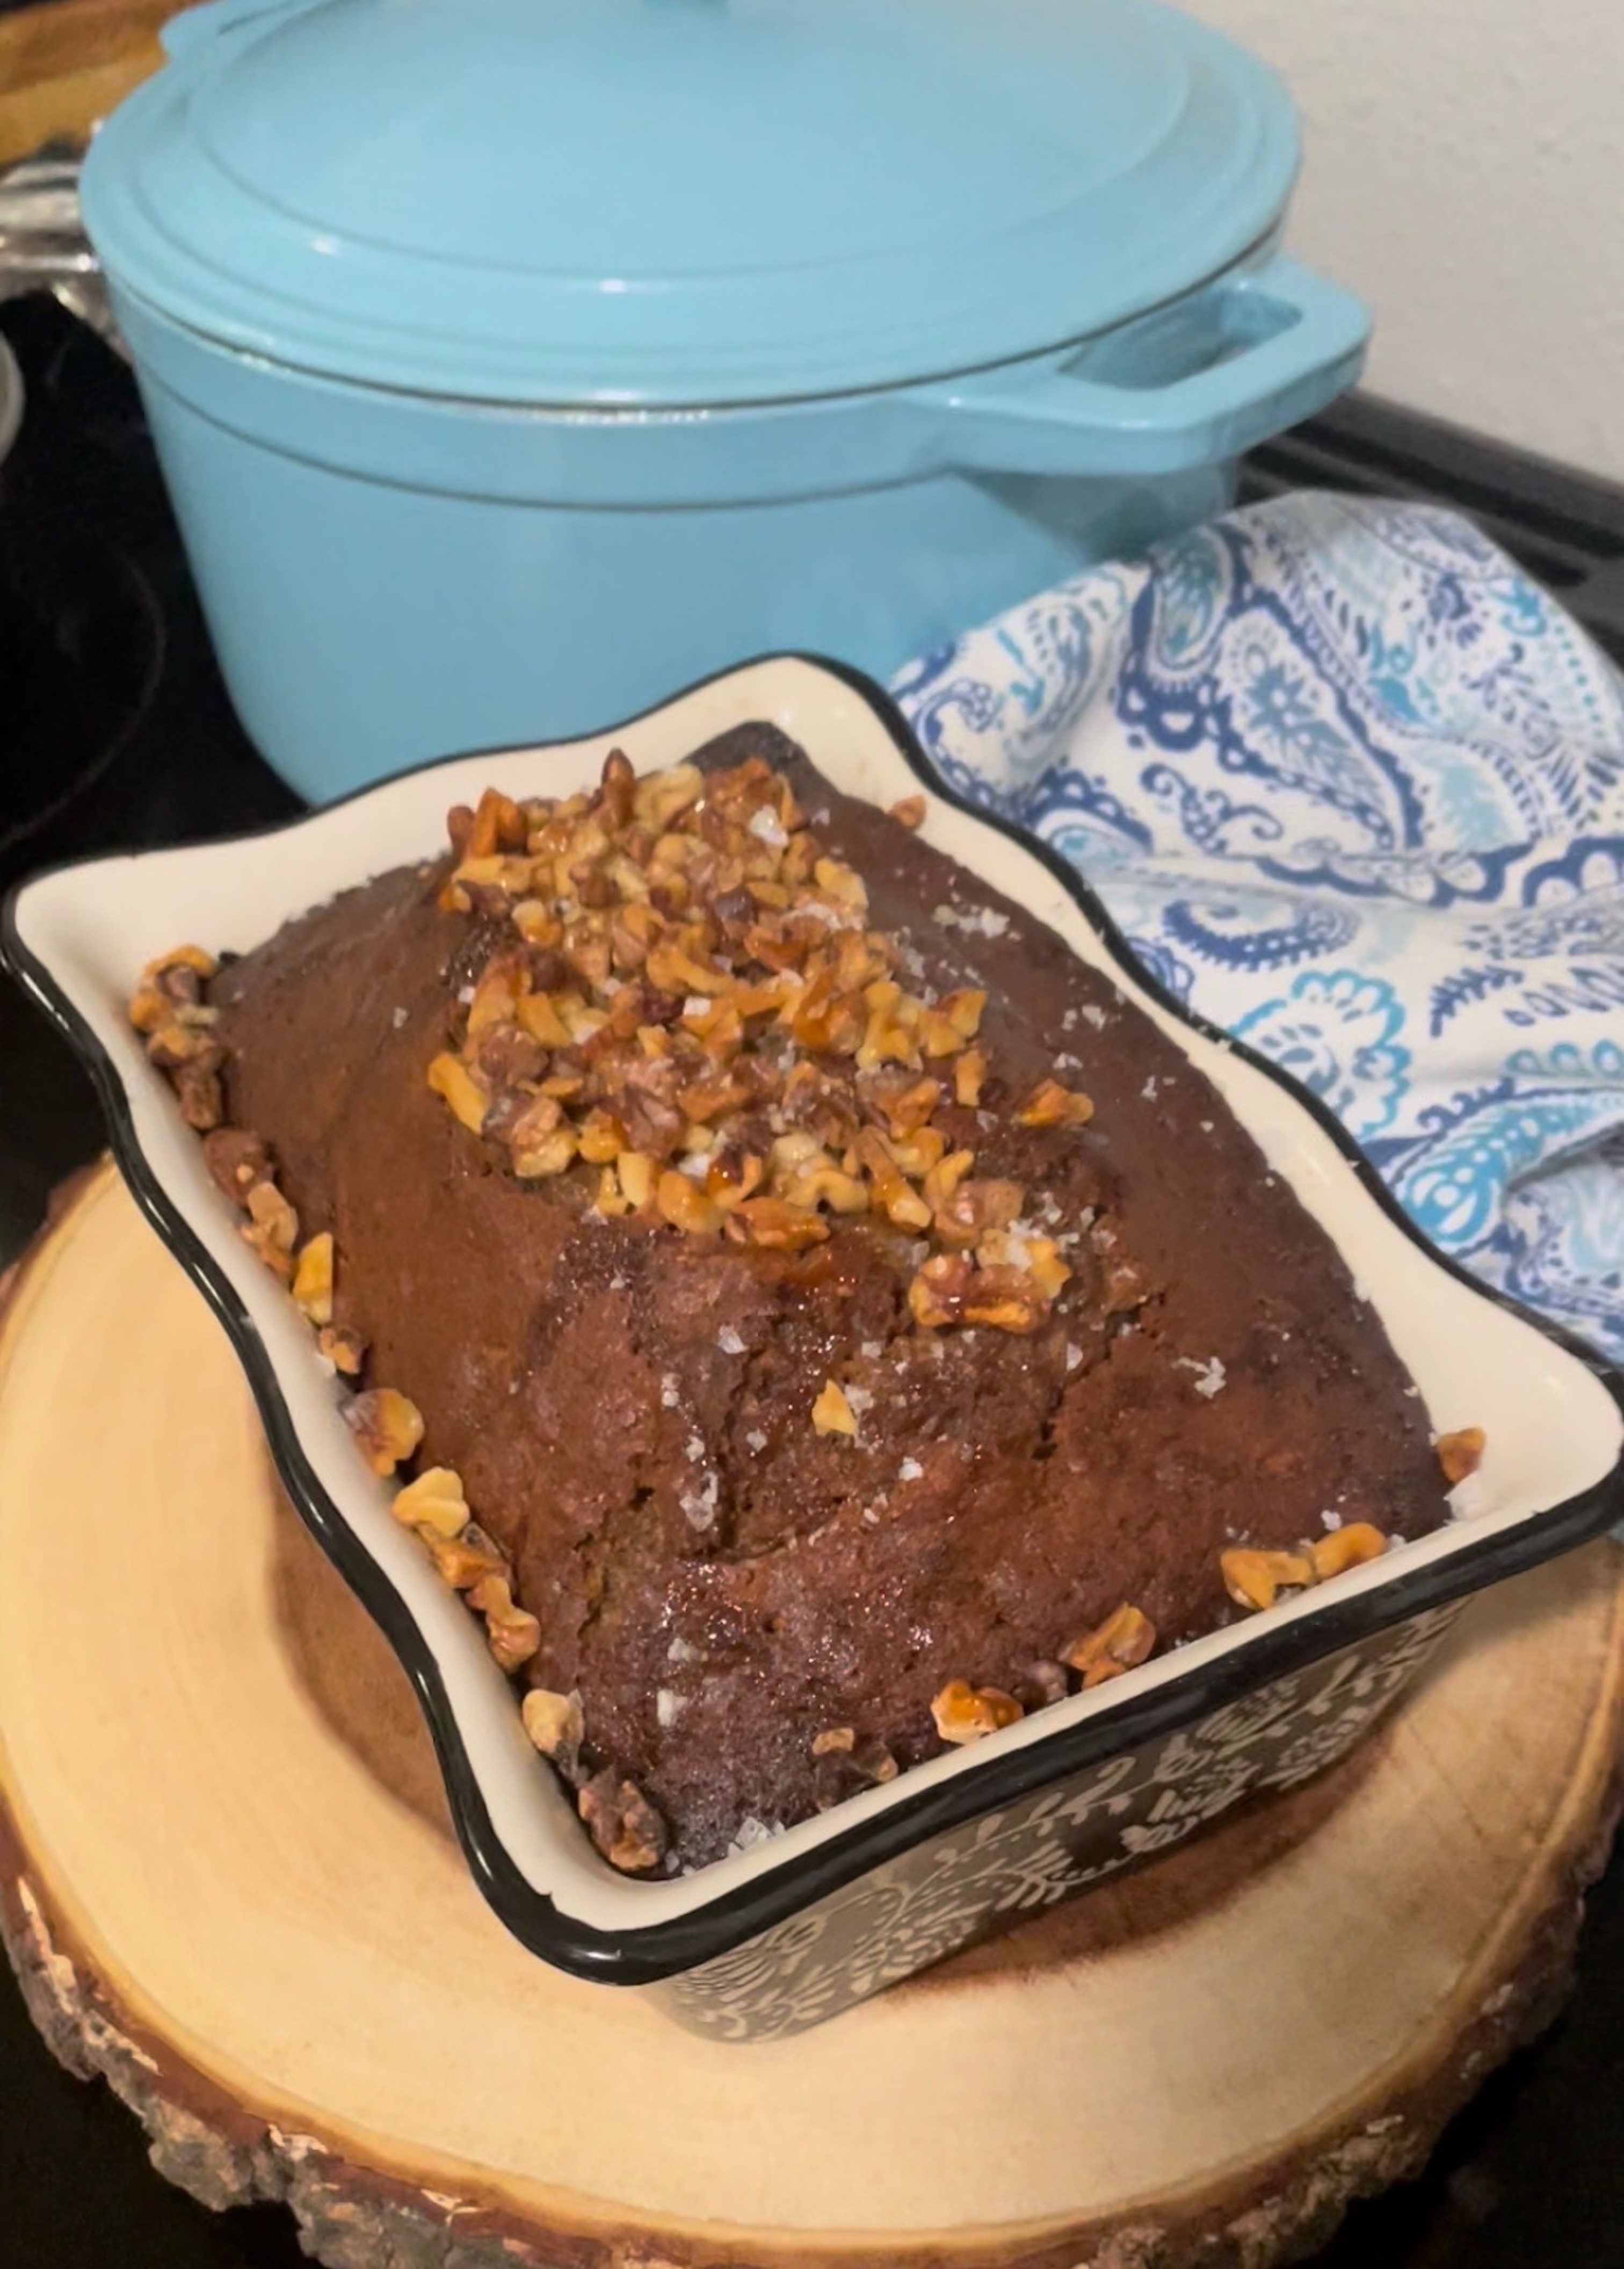
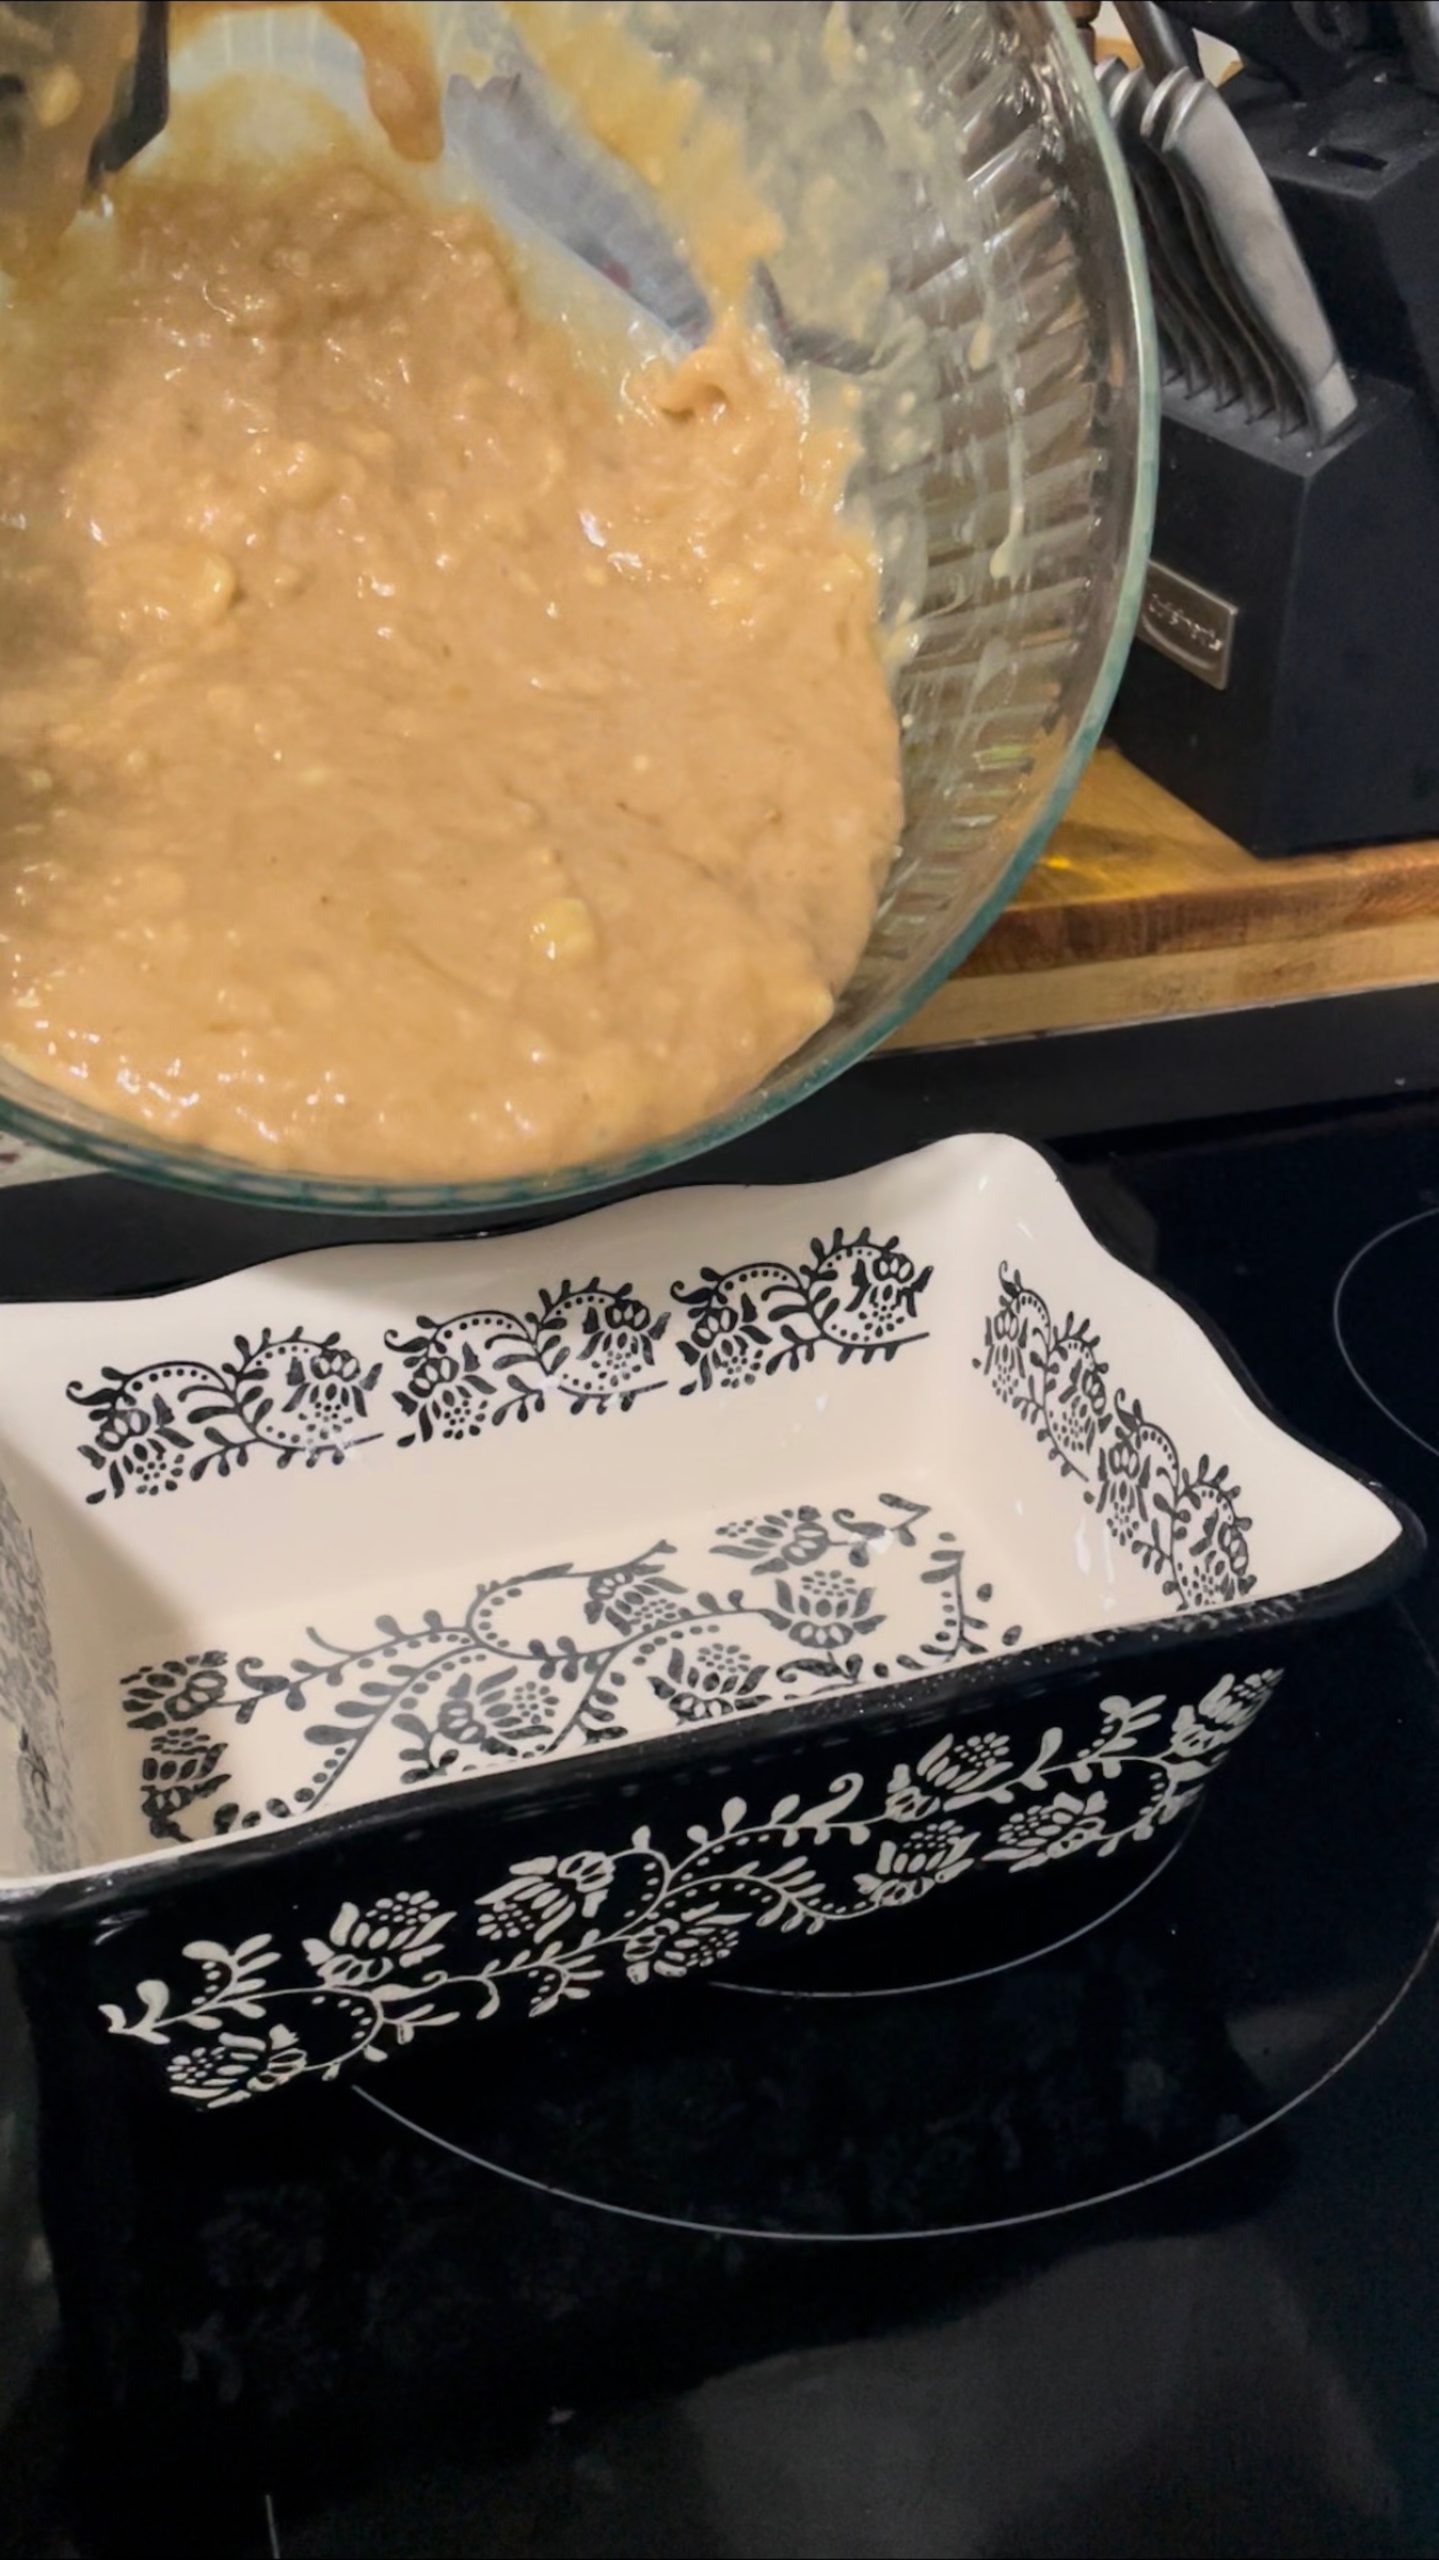
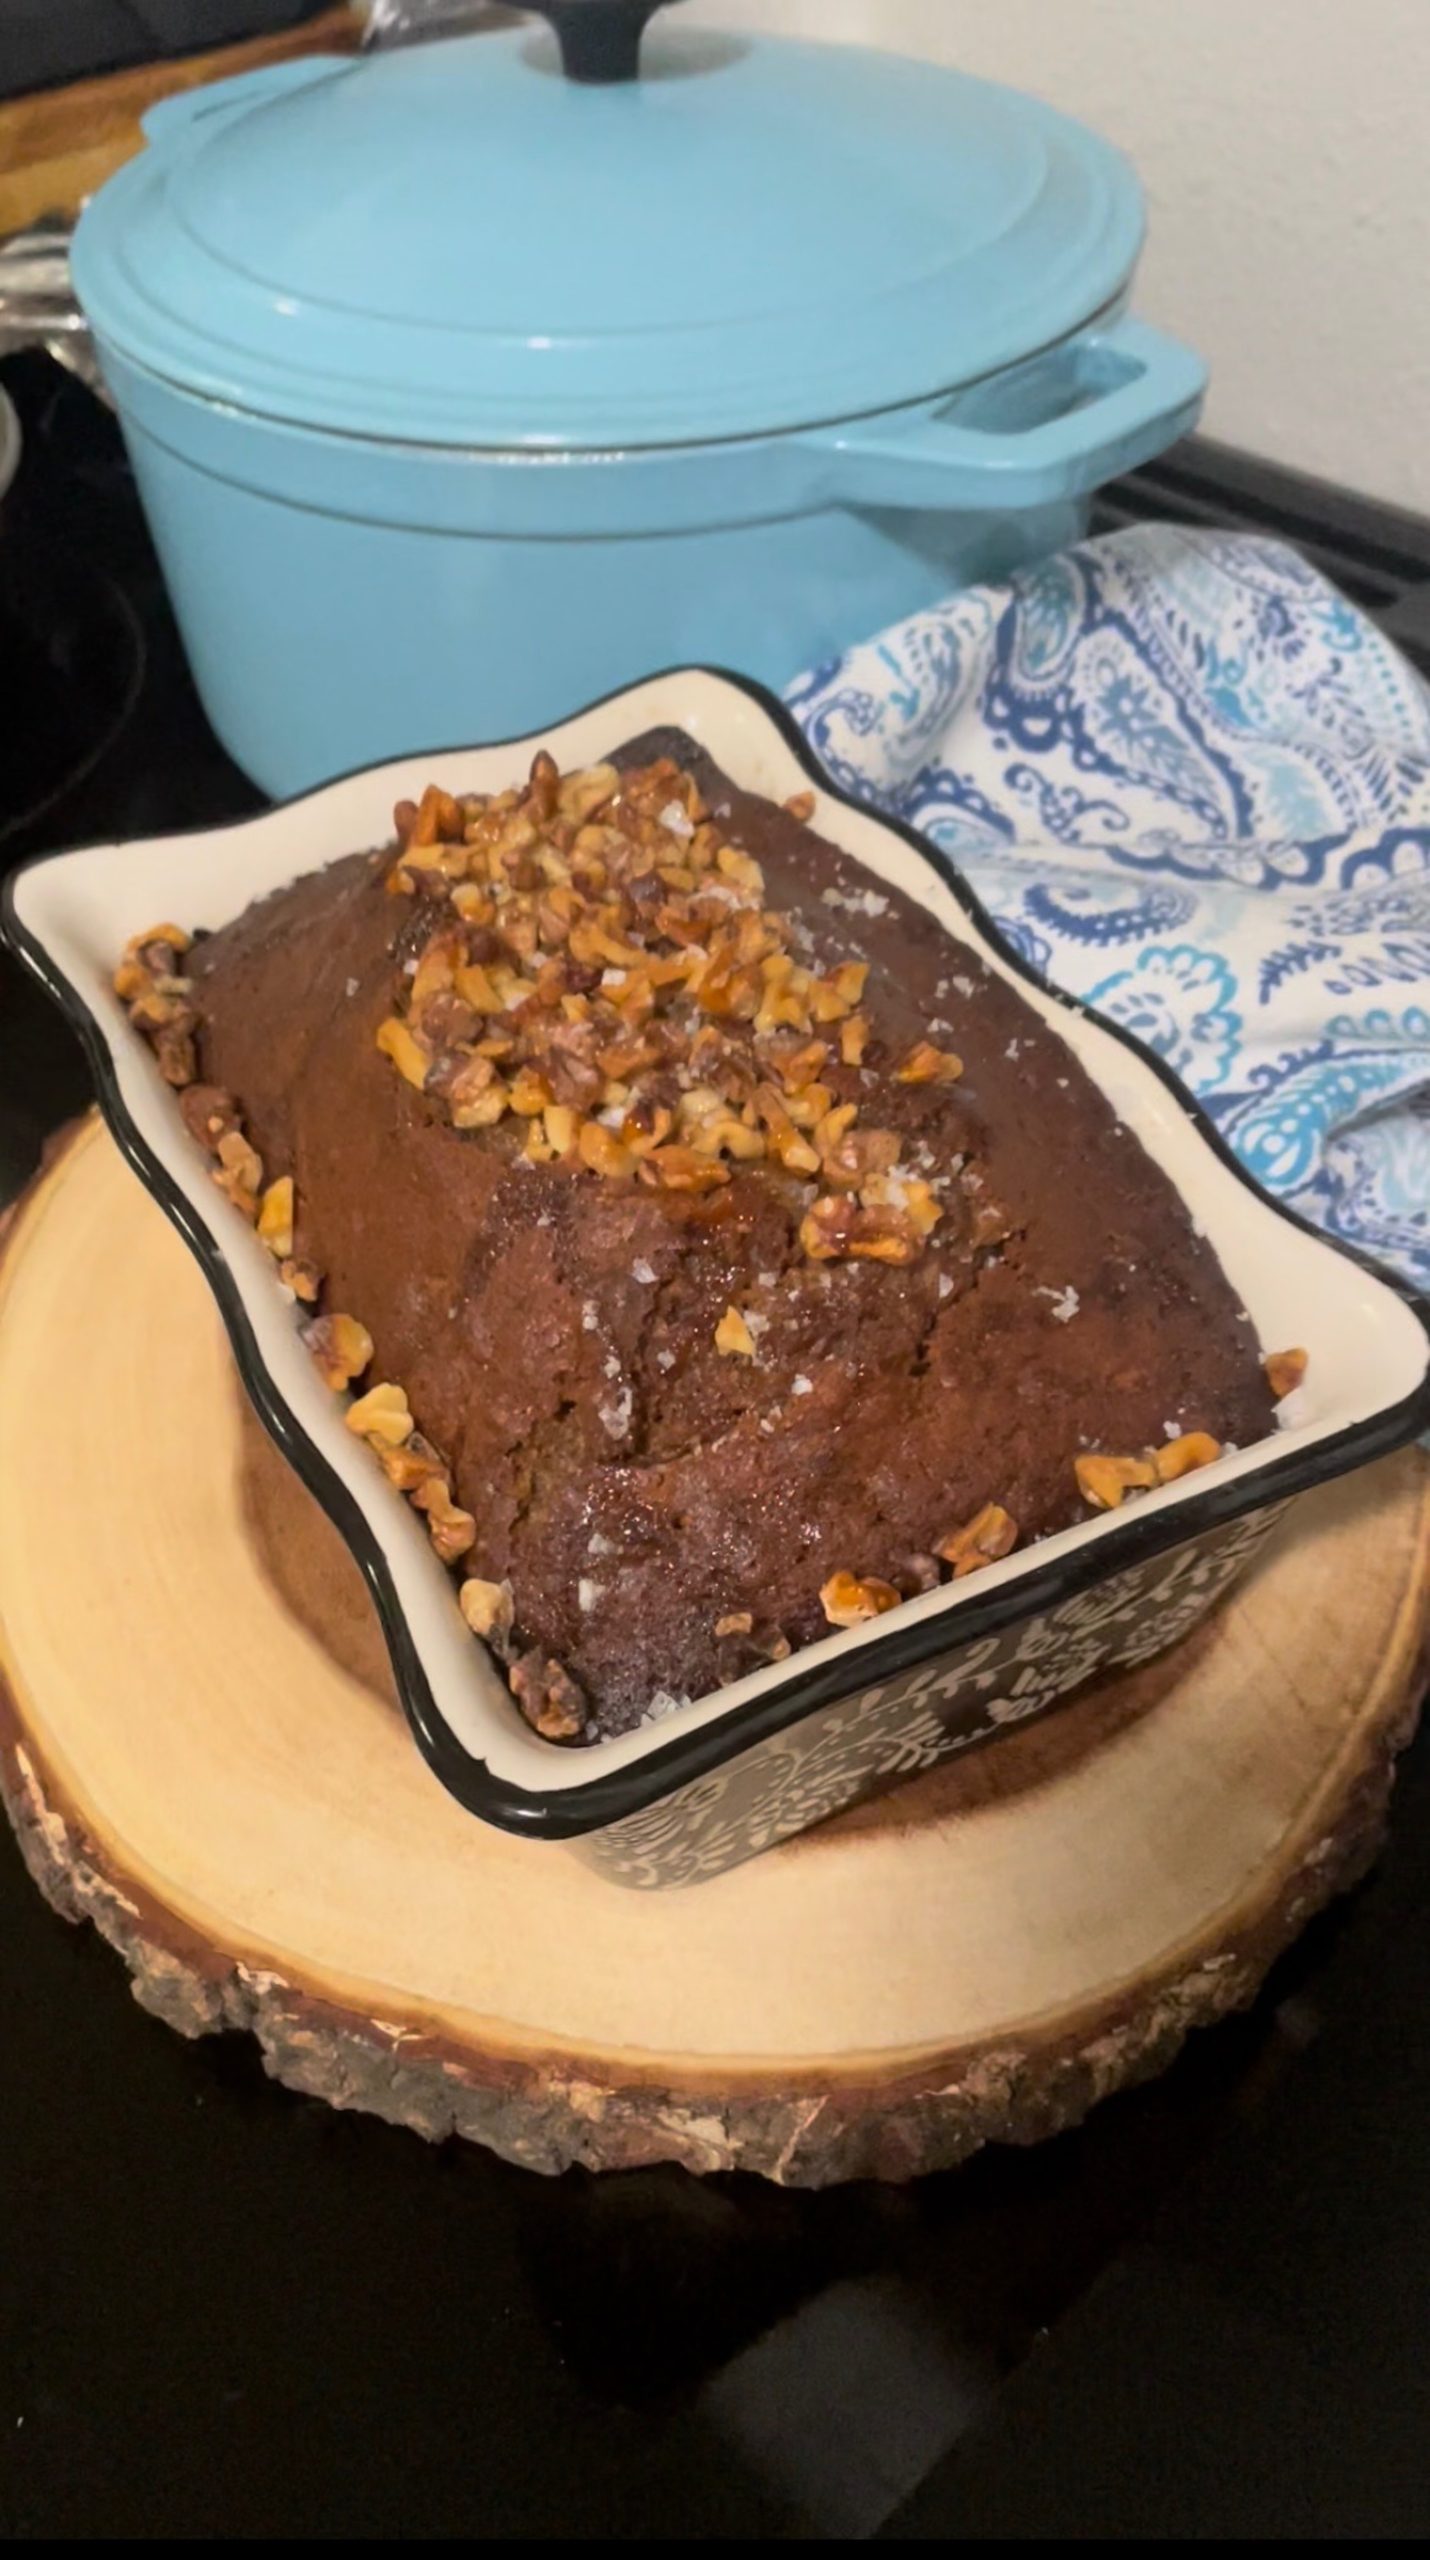
Try some another apple recipe like Cinnamon Apple Rhubarb Loaf!
Feeling a savory kind of pie? Try Savory Asparagus Galette.