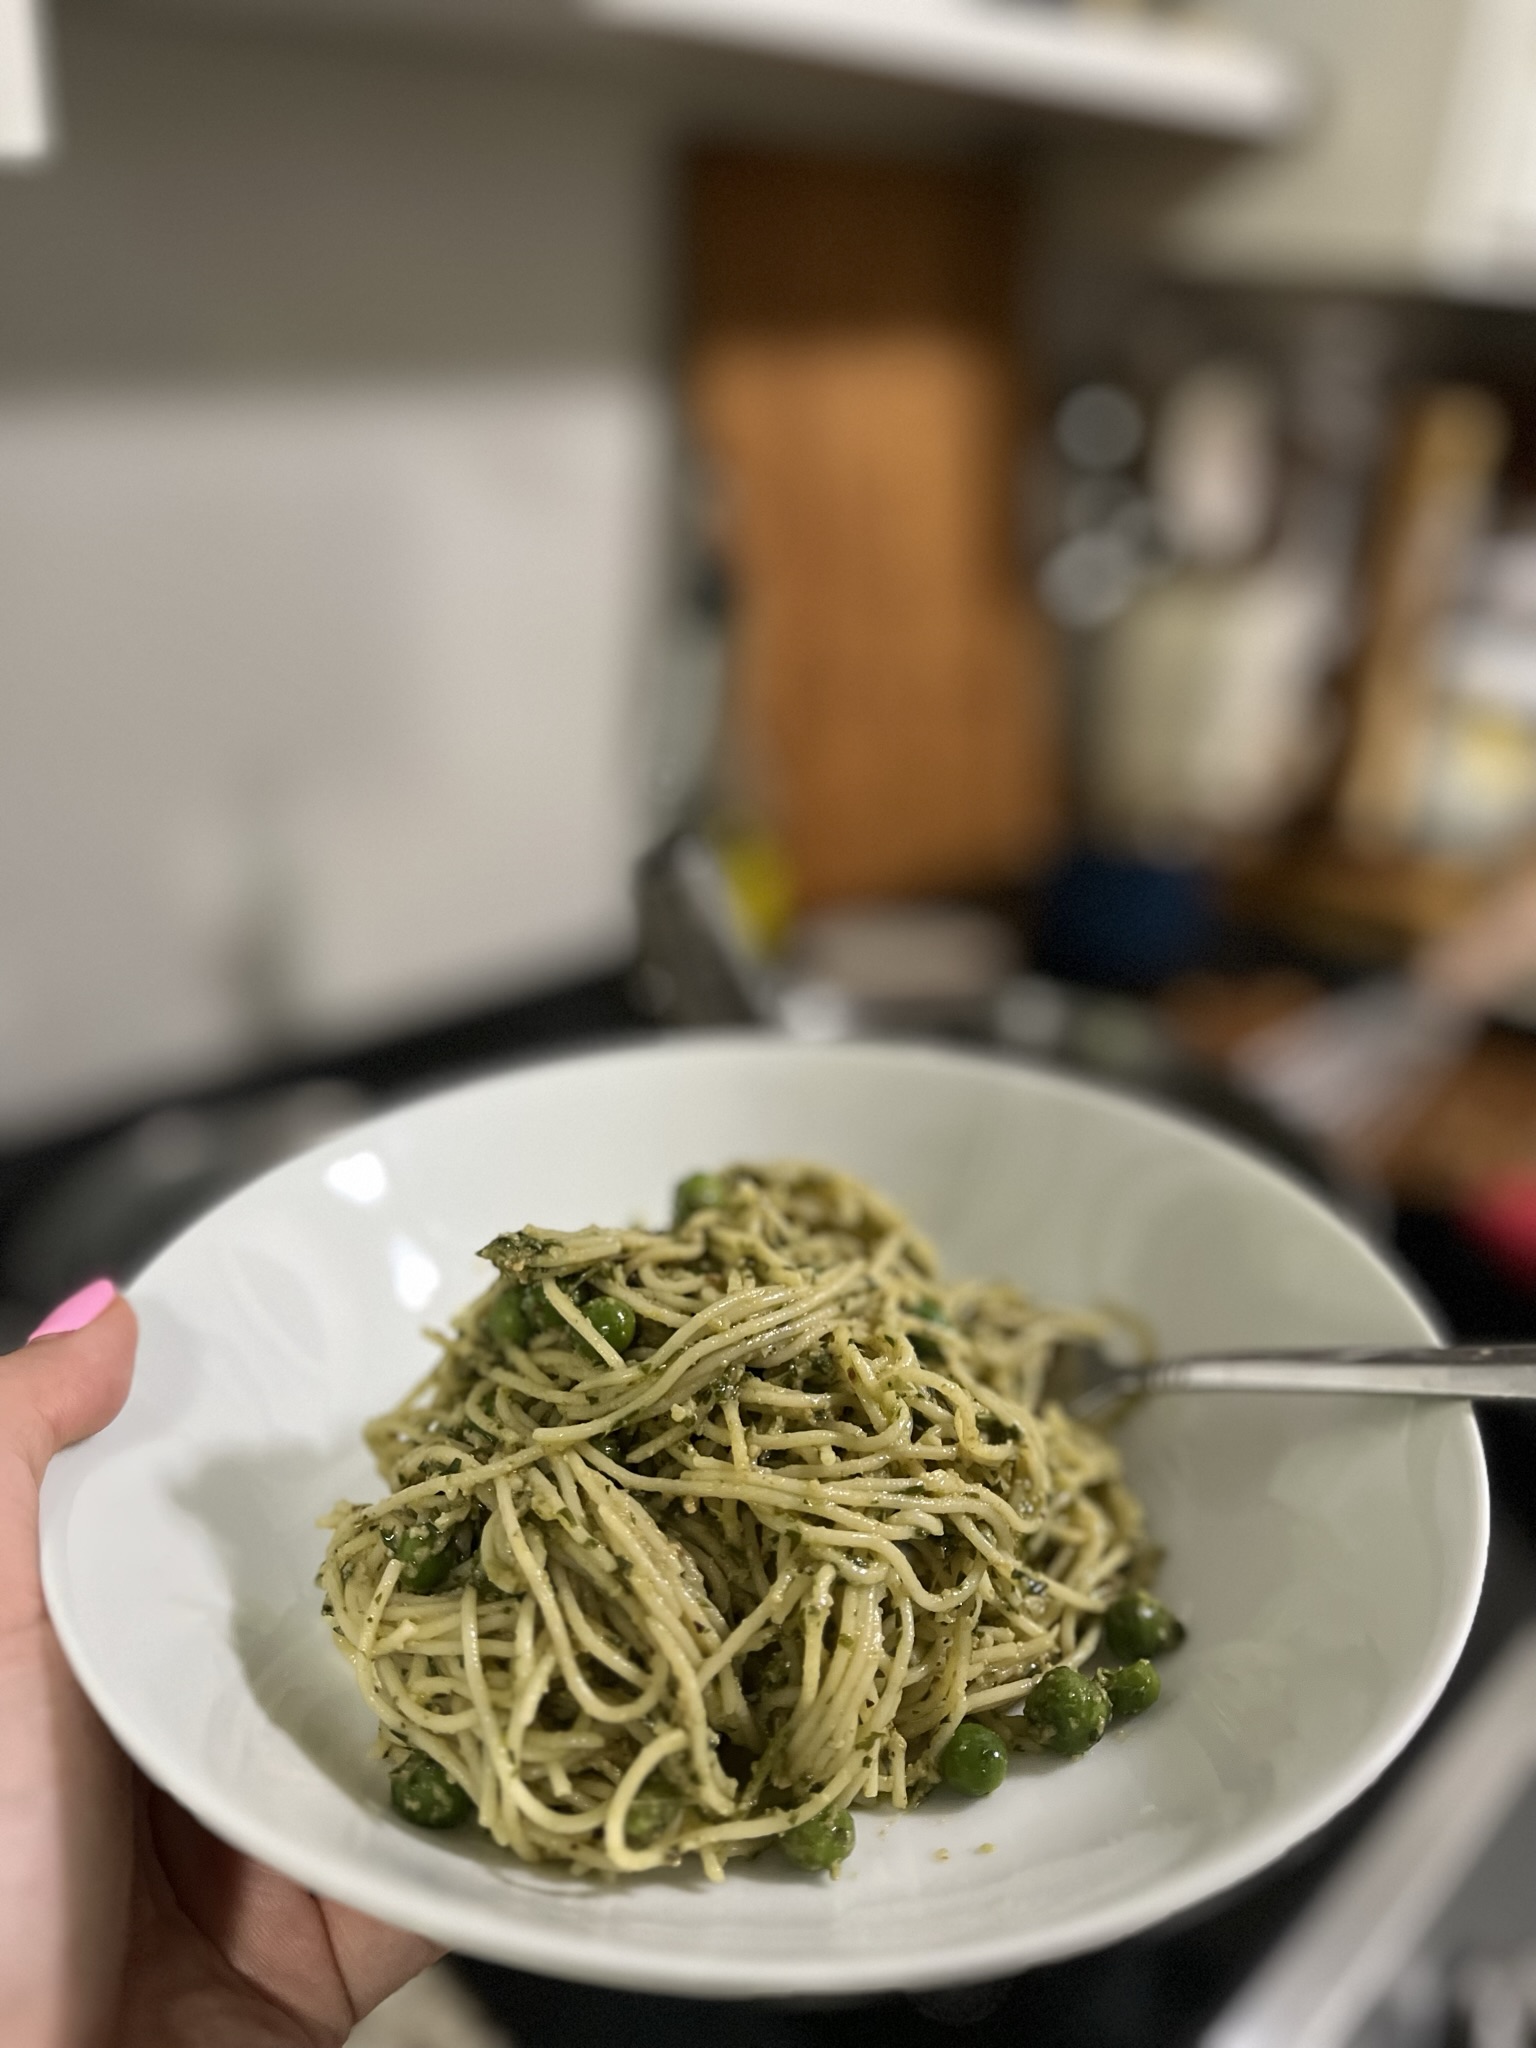
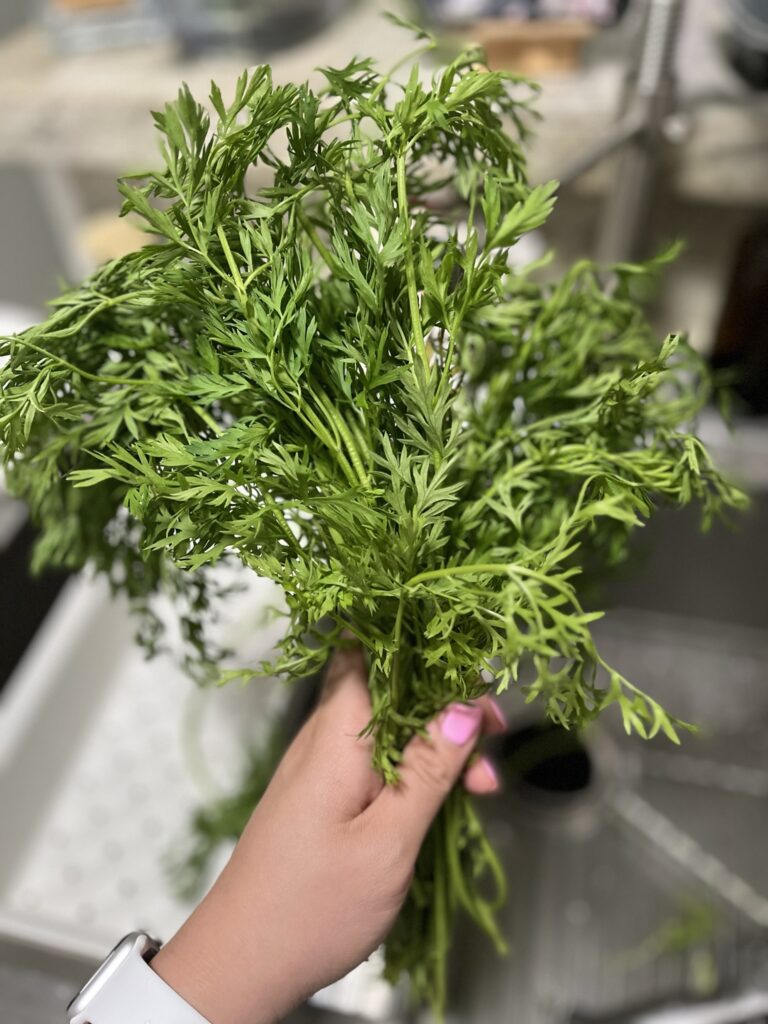
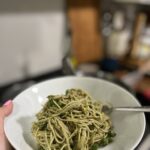
Carrots in the summer are so beautiful. Every farmer’s market stand has them on display with their frilly, green tops still attached. They’re just too pretty to get rid of! Carrot tops have a light carrot-y flavor, but are a little pepper-y like arugula. The green tops are perfect blended into a sauce like a carrot top pesto. Carrot top pesto is great for some hot, long noodles or mixed into a smaller pasta for a pasta salad.
I used mine with some capellini pasta. The pesto was thinned out with some pasta water and some frozen peas were added! You can also just make a Basil Pesto if you aren’t feeling too adventurous to try carrot tops. 🙂
Ingredients:
Carrot tops: I think the carrot tops here can really be substituted with a multitude of herbs to make a beautiful sauce. Sub with basil for a more traditional pesto or go wild with parsley and cilantro.
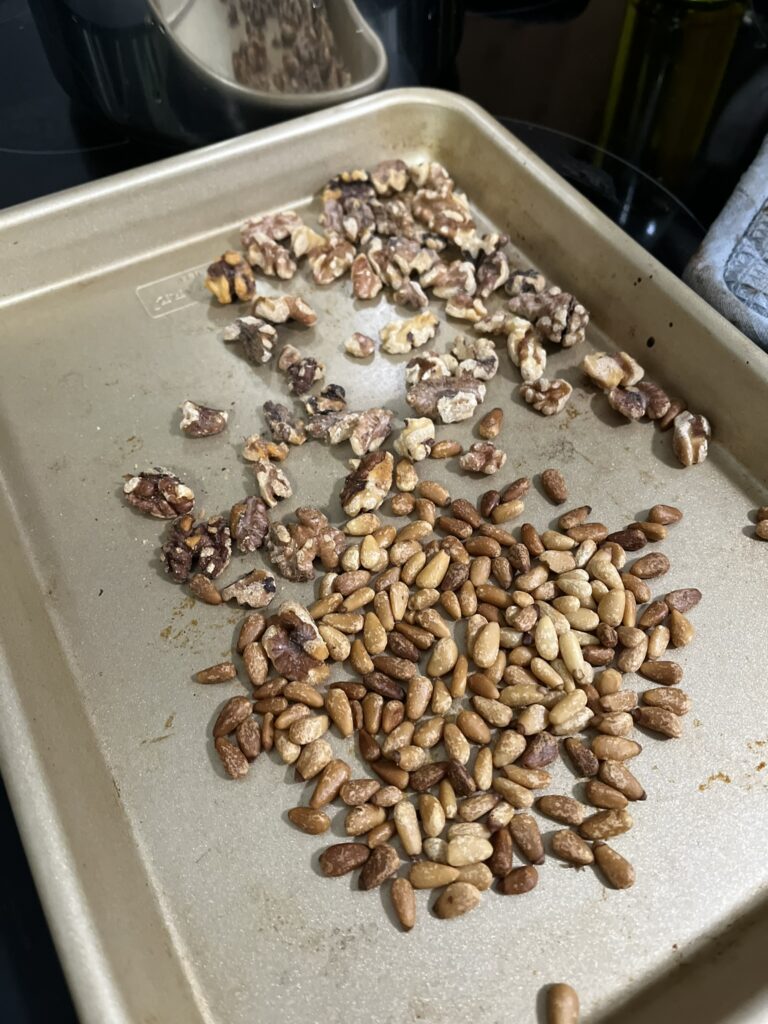
Pine nuts and walnuts: I like the combination and flavor of both! If you could only pick one, I would not skip the pine nuts.
Pecorino romano: my favored salty hard cheese!
Lemon juice: You can substitute this with any acid! I used a Meyer lemon vinegar too and it was lovely.
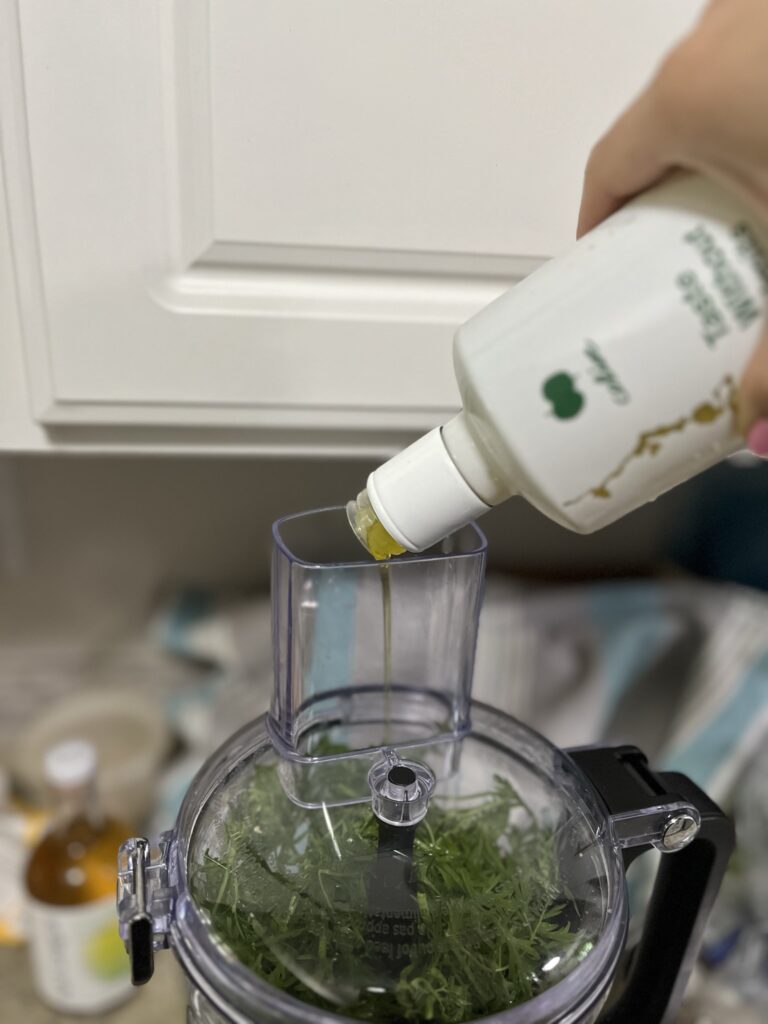
Olive oil: I got a coupon to try this new one, Colive, that is very tasty but also has a beautiful mission.
so beautiful!toasted nutsblitzedadd greensolive oilpesto!
Minimal waste pesto using green carrot tops for a carrot-y, pepper-y sauce.
Course Main Course
Keyword carrot, pasta, pesto
Equipment
1 blender or food processor
Ingredients
1/3cuppine nuts
1/3cupwalnuts
2cupspacked carrot tops
2clovesgarlic
1/4cupPecorino Romano
1/2cupolive oil
1tsplemon juice
salt
pepper
Instructions
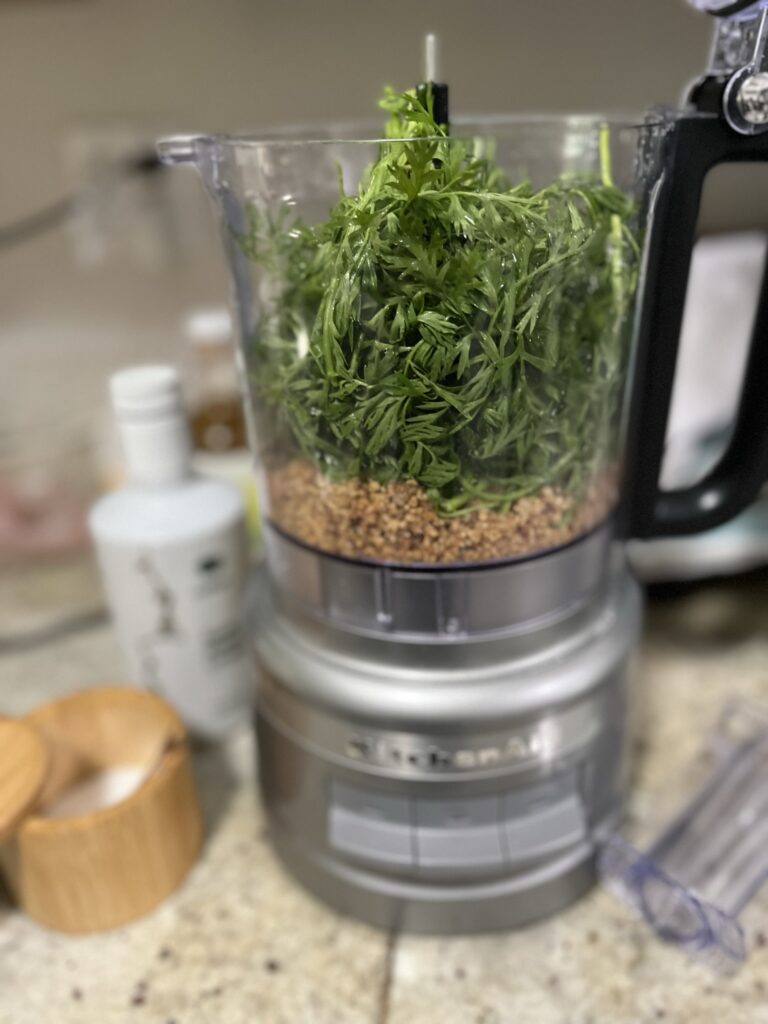
Toasted your pine nuts and walnuts in the oven until golden brown and fragrant. They can be toasted in a pan or in the oven at 350F for 3-5 minutes.
While toasting, wash your carrot tops and trim off any leafy bits that are wilted or dry. Cut into smaller chunks to more easily fit into a food processor or blender.
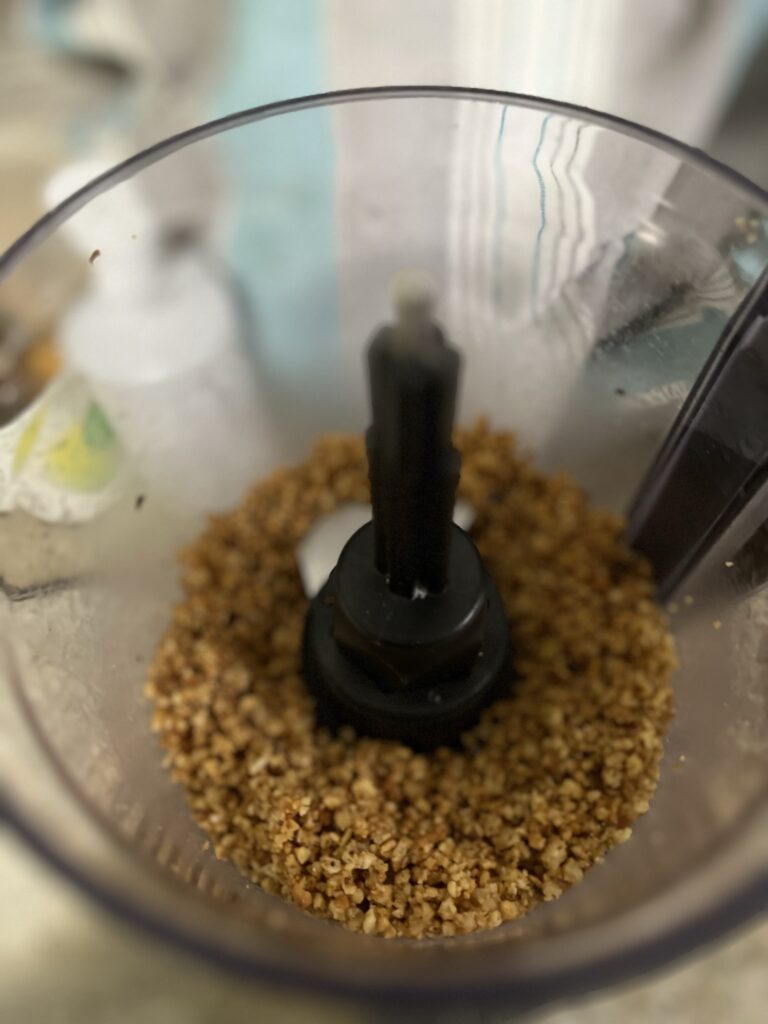
After nuts have toasted, add nuts, garlic, and cheese to blend first until into a smaller grit.
Add carrot tops and pulse until mostly blended.
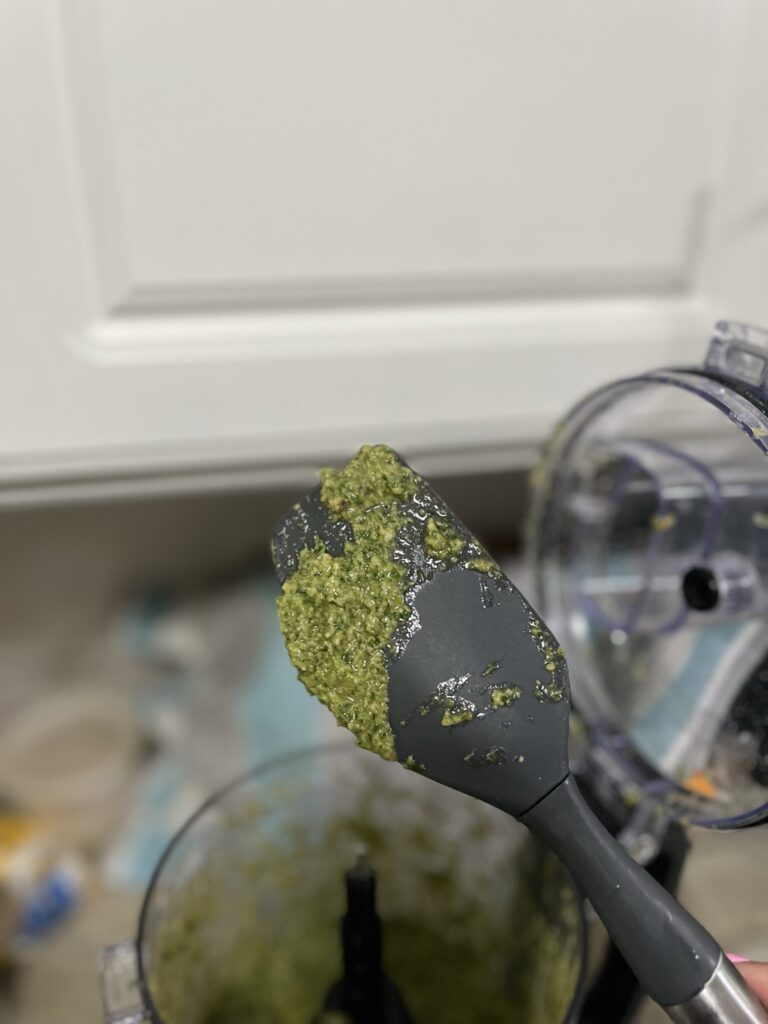
Continue blending and drizzle in olive oil. Reduce or add additional as necessary until achieved desired consistency.
Add lemon juice, salt, and pepper to taste.
Mix into some pasta or serve alongside some bread or crackers!
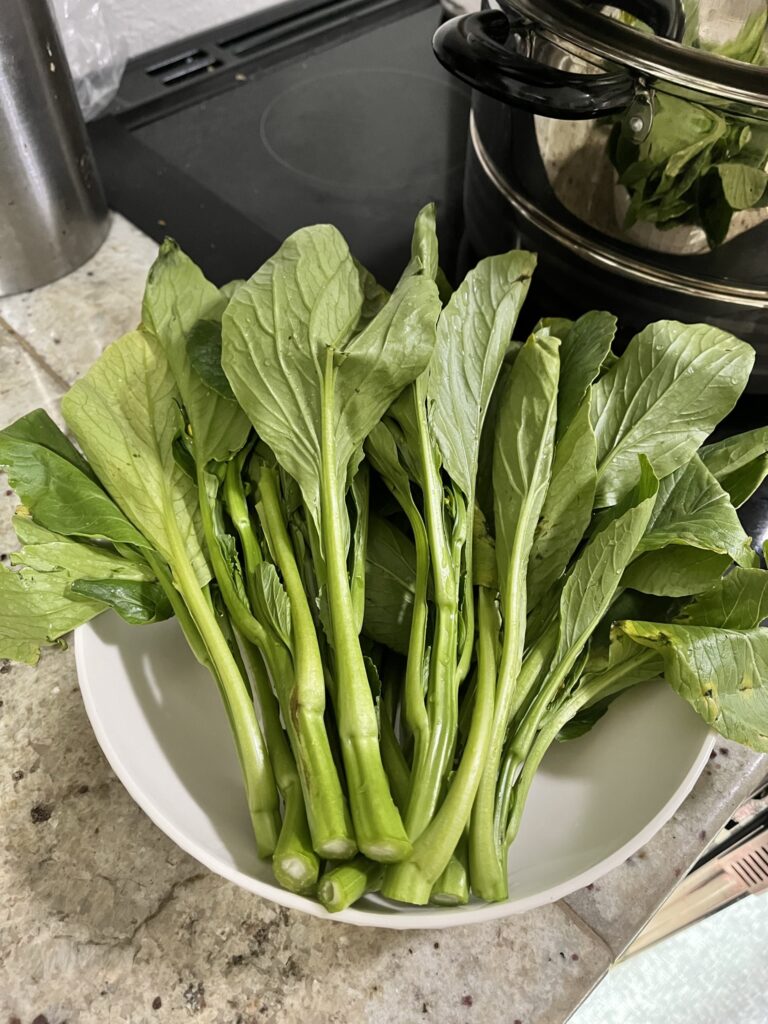
I miss the days of dimsum where the push carts would come out and you could see the hot steamer baskets coming around with yummy treats. In the past year, I’ve only been to one dimsum restaurant with carts in Vancouver, B.C., but nothing in the Seattle area. My dimsum must haves include the classics like siu mai, har gow, and of course a vegetable, the steamed kailan (Chinese broccoli). Outside of dimsum, kailan is one of my favorite vegetables to eat as a side.
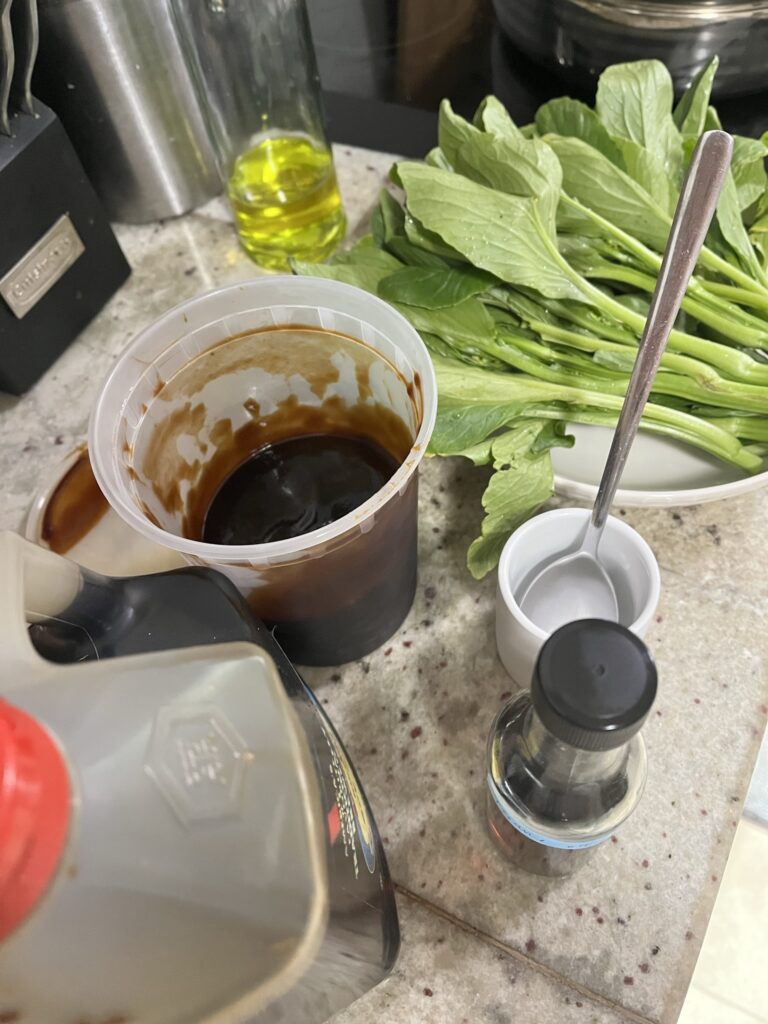
This summer was the first time I had seen kailan at a farmer’s market, so I had to get some. I would think kailan is not as popular of a vegetable for the general public, so the local farmers might not opt to grow it. Kailan is usually served in its full stalk typically with plain oyster sauce drizzled over the top of it, but sometimes it’s a little too thick or a little too salty, so I like to make my own sauce, sans oyster sauce! This sauce can also be made vegan for our plant-based friends.
Ingredients
Hoisin sauce – Use a vegan hoisin sauce to make this vegetarian recipe entirely vegan!
Sesame oil – This is toasted sesame oil! The dark, fragrant oil not the light version used for cooking.
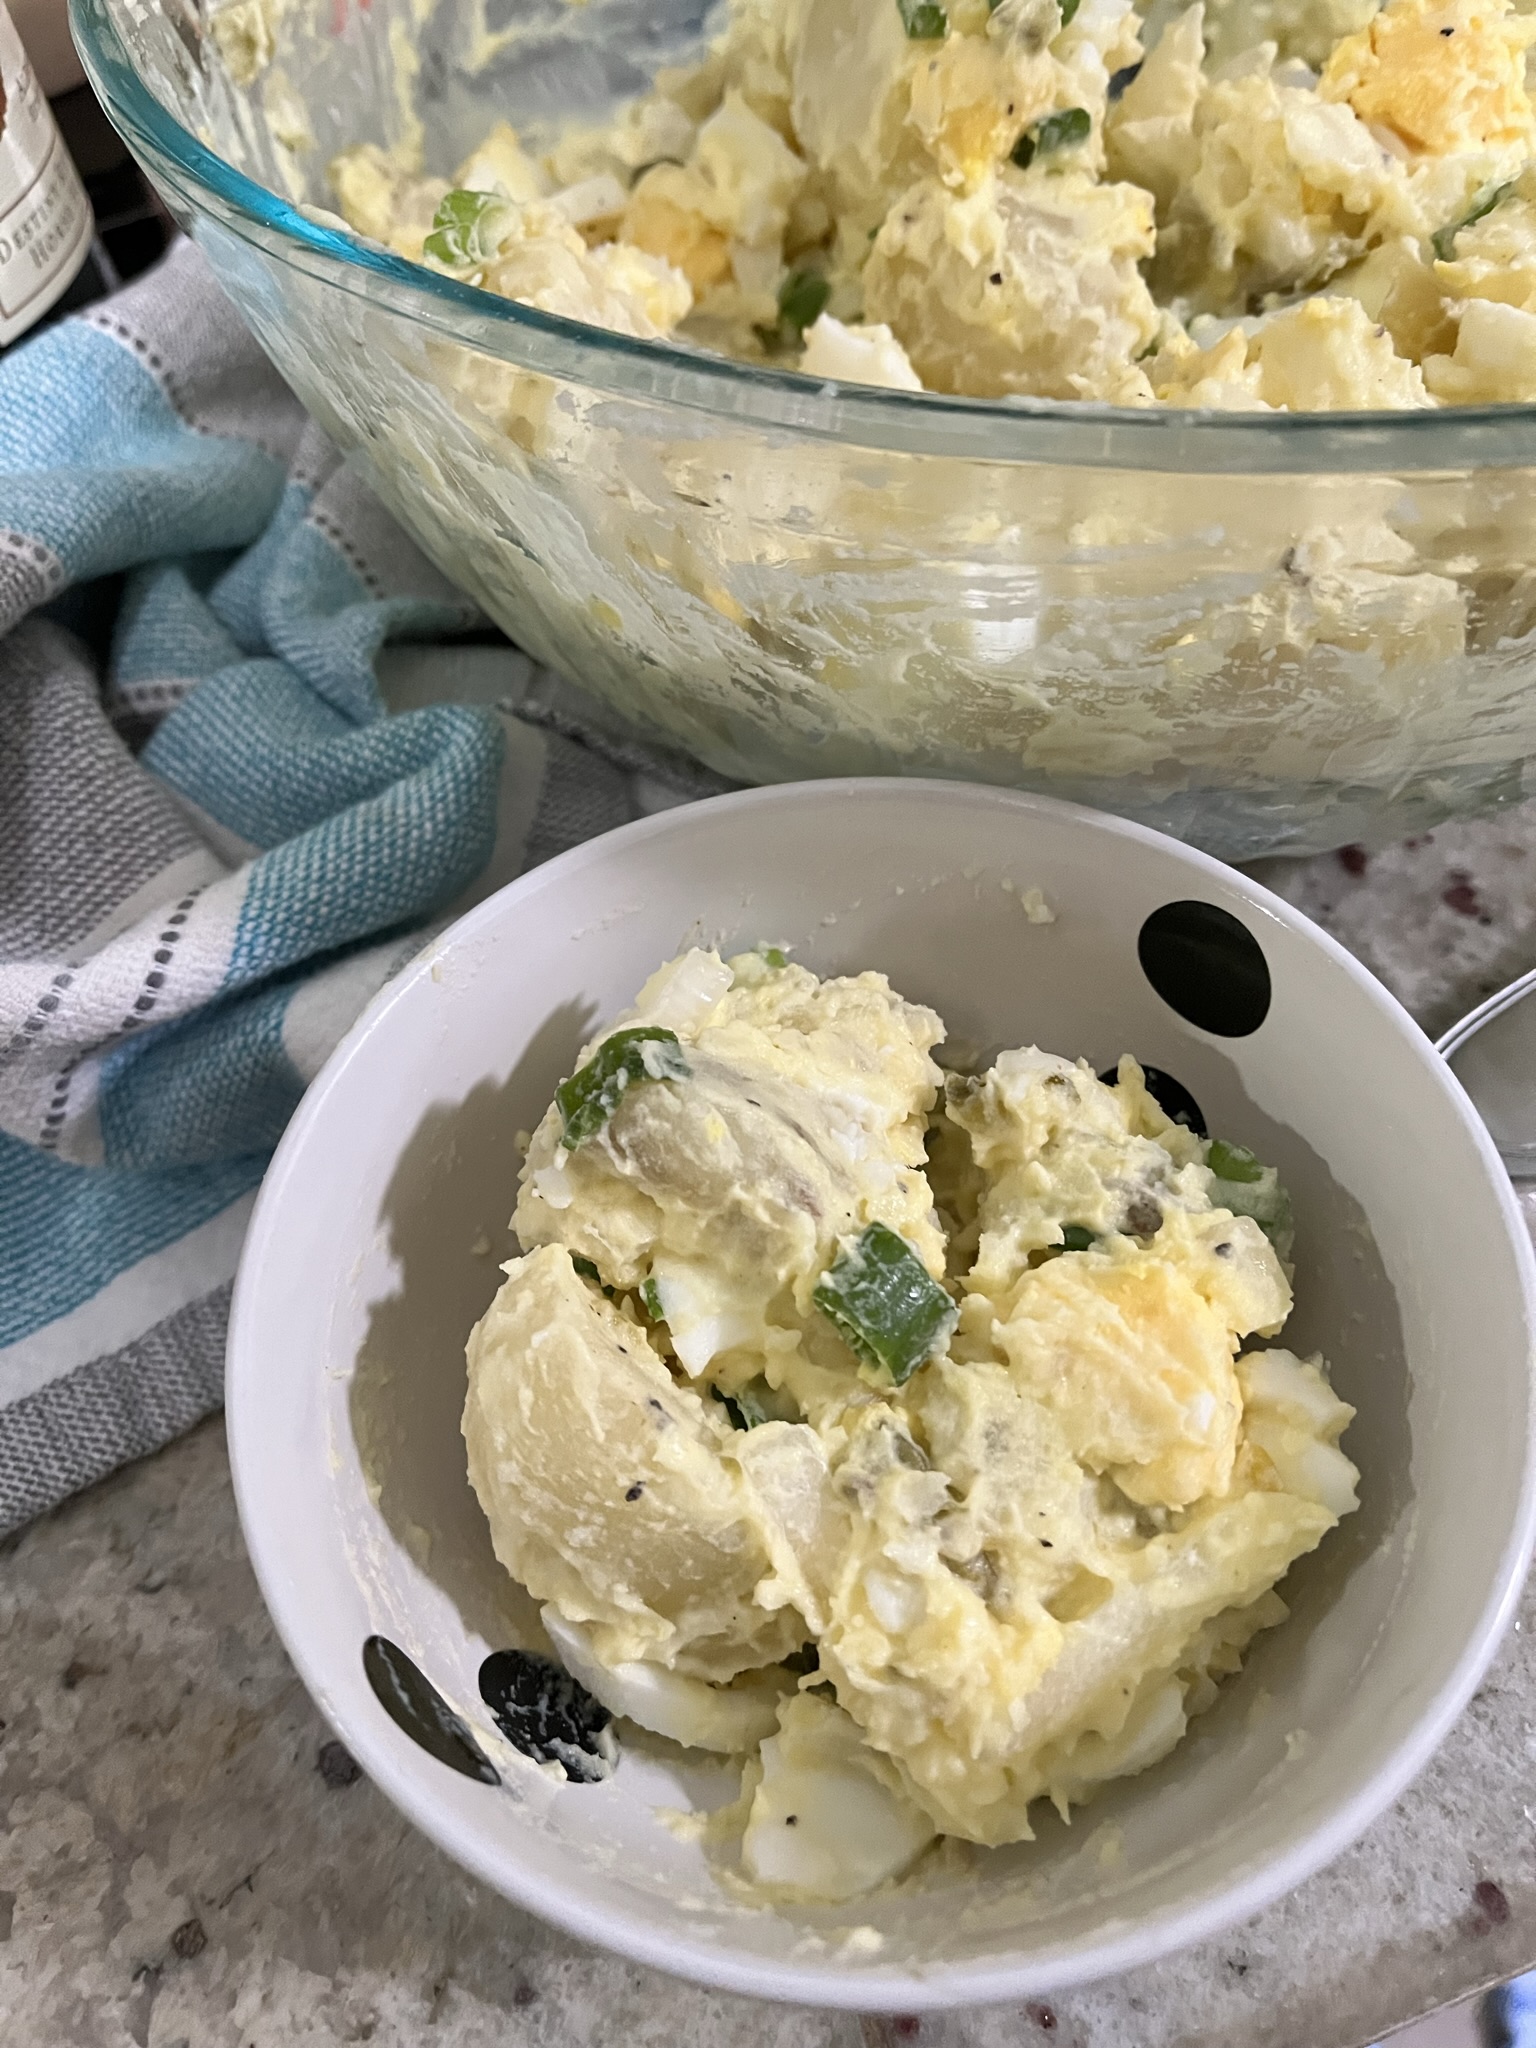
Now that summer is in full swing, it’s officially barbecue season! A barbecue is really defined by your grilled main dish and then an absolute excess of side dishes. One of my favorite side dishes in the summer is potato salad. A cold side is so refreshing on a summer day. This potato salad is made a little more exciting with the addition of horseradish. It adds a little bit of a tangy kick that has you reaching for a little bit more.
Ingredients
Potatoes – I think russet potatoes or red potatoes would work best with this potato salad.
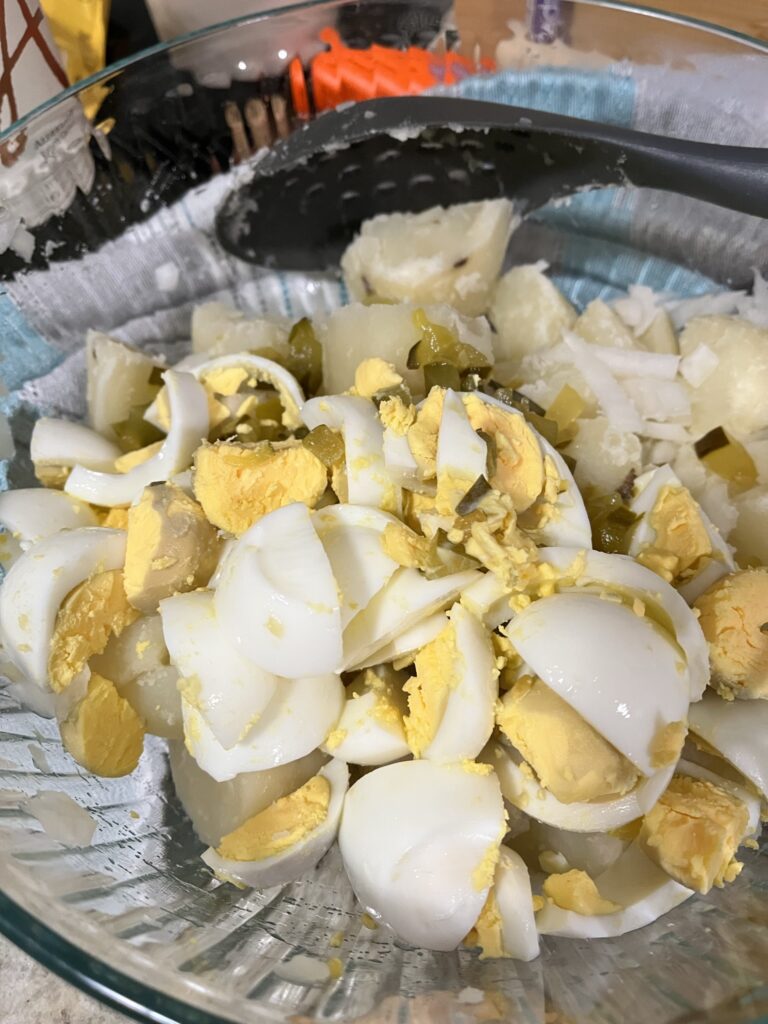
Eggs – hardboiled!
Horseradish – I recommend using a horseradish cream instead of just plain horseradish. I find the prepared horseradish cream to be less bitter while still having great horseradish flavor.
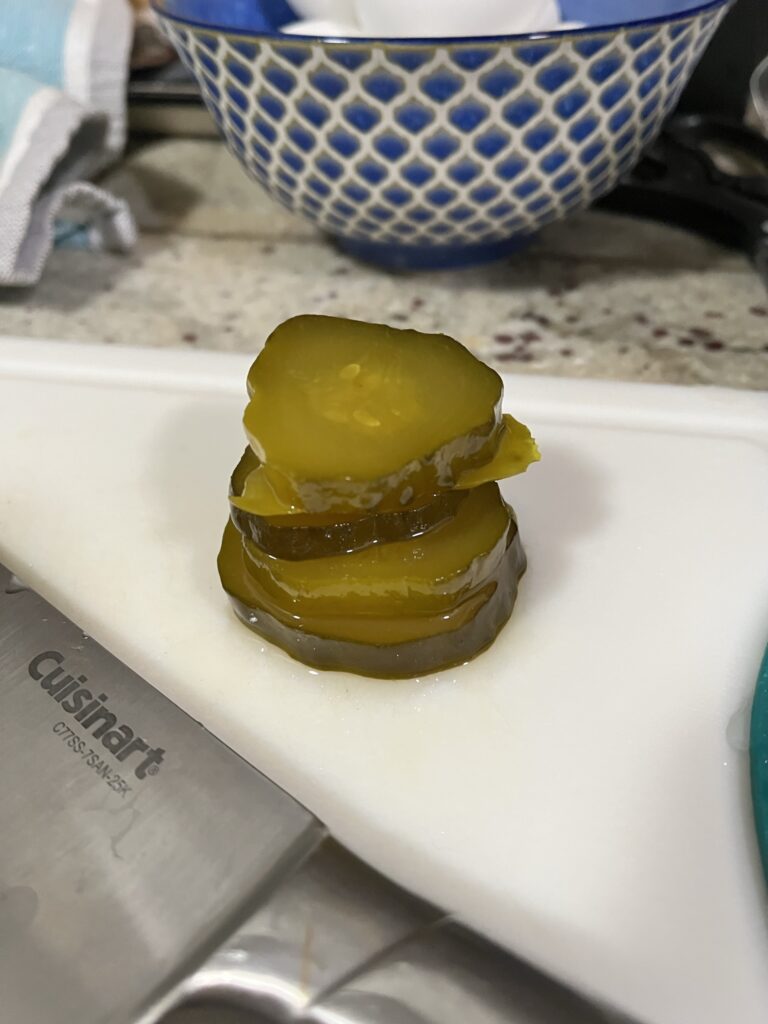
potatoesstart in cold wateronionspickle stackeggsmix!
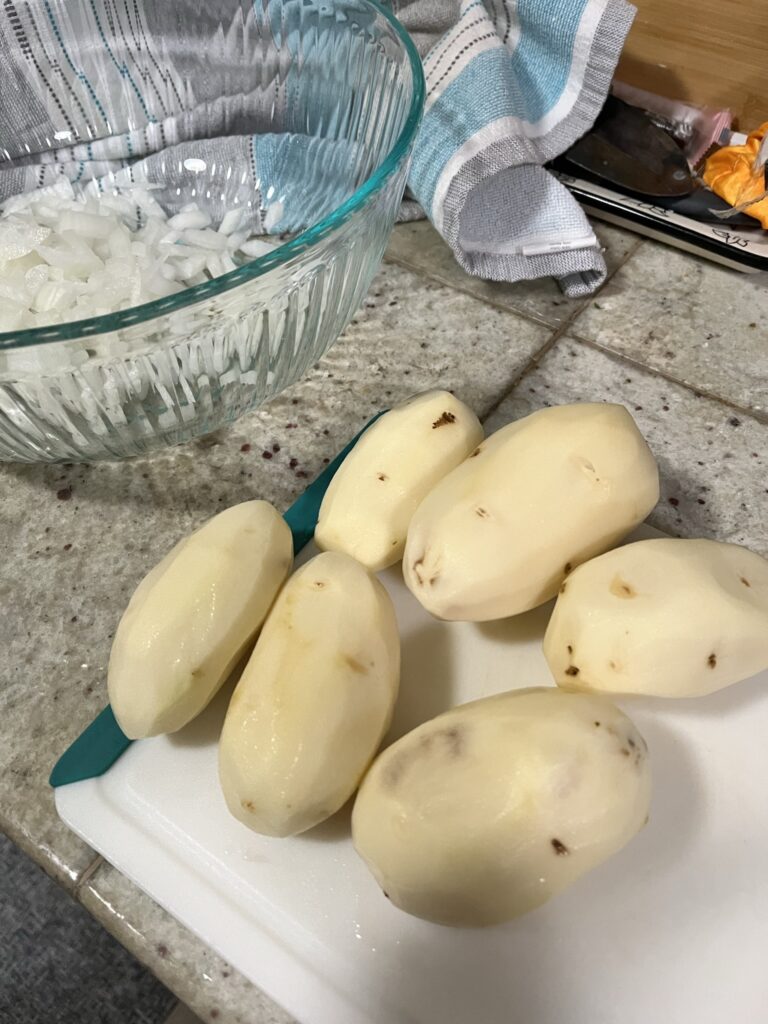
Peel potatoes and chop into large cubes, ensuring all pieces are around the same size. Do not cut them too small as they will break into smaller pieces as the potato salad is mixed.
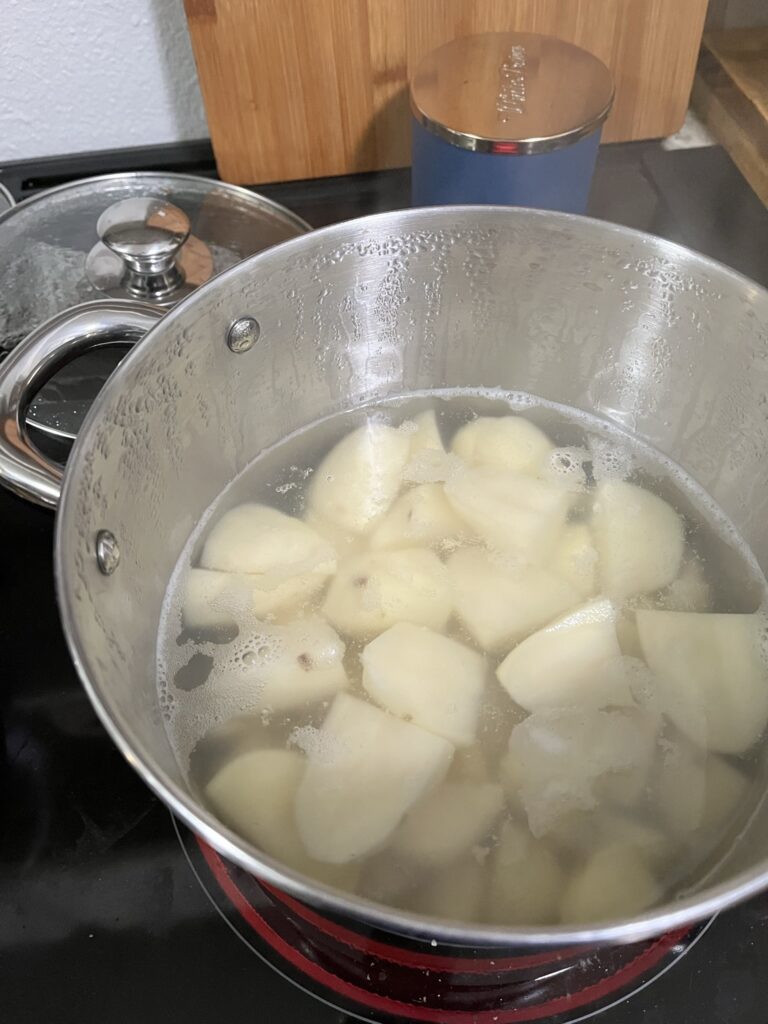
Put chopped potatoes in cold water and bring mix to a boil. When potatoes come to a boil, add 2 tbsp of salt and mix. Boil potatoes under fork tender.
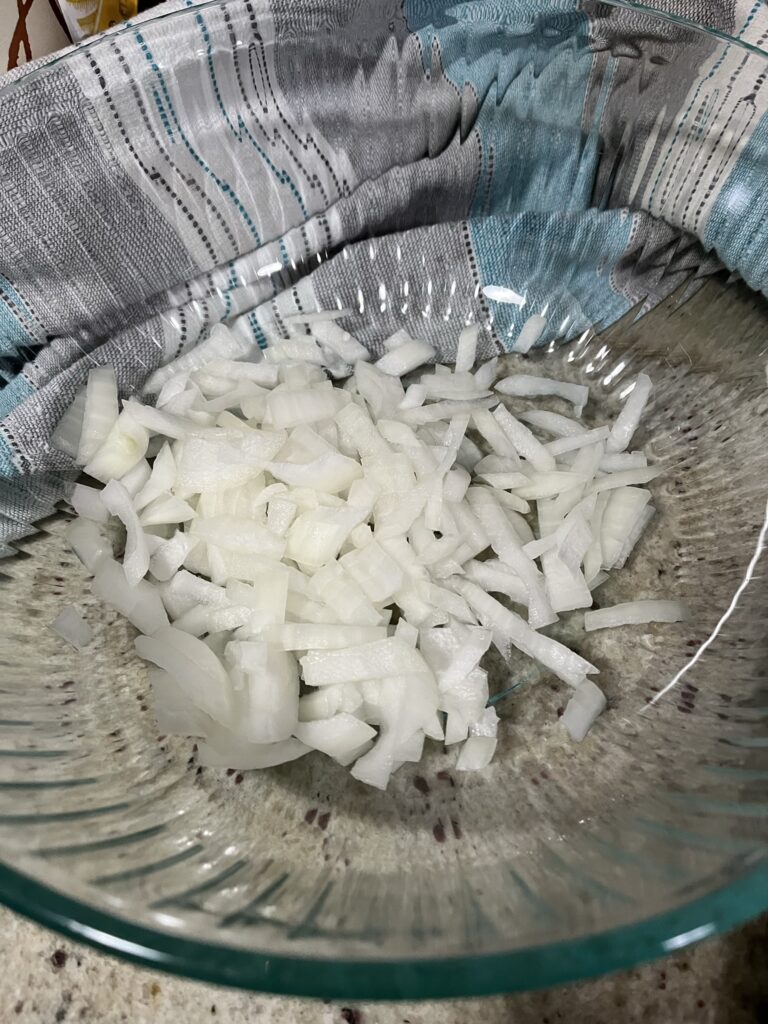
While potatoes are boiling, chop yellow onions into a small dice, and add to a boil.
Drain potatoes and add to the top of the yellow onions to cool. The hot potatoes will help steam the onions a bit so they have less of a sharp bite.
If not already peeled, peel hardboiled eggs while potatoes are cooling. Chop hardboiled eggs into 8 pieces each and add to the potatoes.
If using pickles, chop them into the same size as onions and add to the mixture.
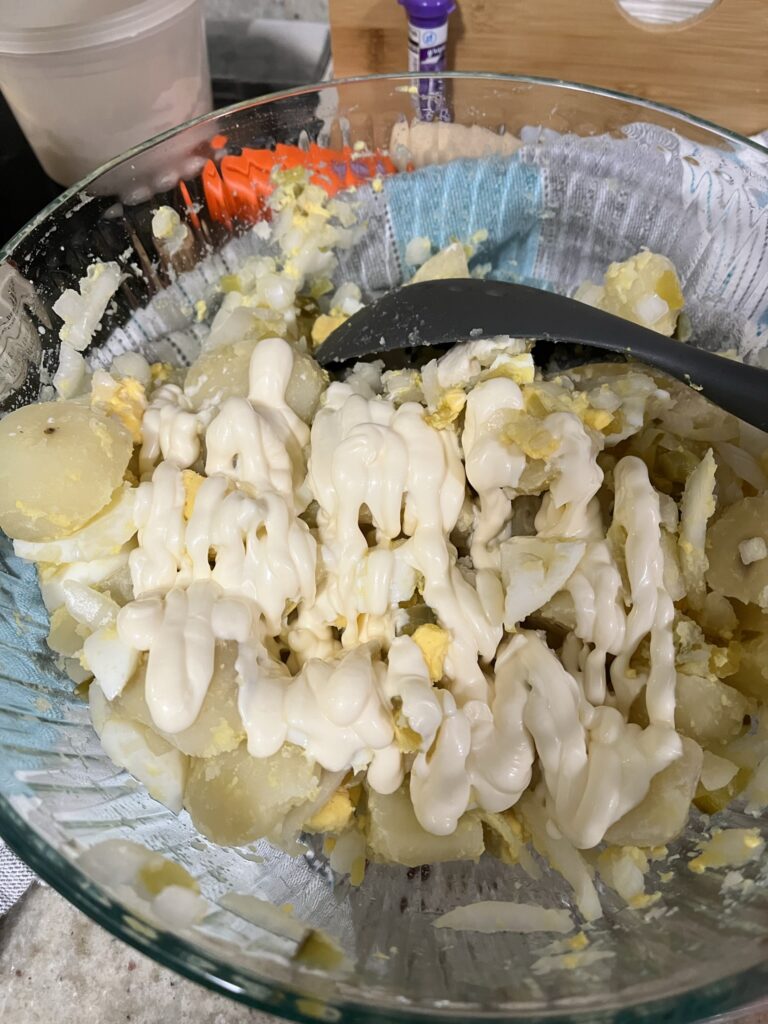
At this point, potatoes have cooled significantly. Add in mayonnaise, horseradish, and mustard, and mix together.
Add salt and pepper to taste and mix in chopped scallion greens last.
Walla Walla is a city in southeastern Washington along the Washington Oregon border. Walla Walla is known for their agriculture, including Washington apples, Walla Walla sweet onions, and wine grapes, making it a destination for wine tasting. The main goals of this trip were relaxation/soaking in some sunshine; wining; and biking. I would say all goals were met for a successful weekend trip. I also visited during a holiday weekend and it was surprisingly not very busy!
Wine Tasting in Walla Walla
Over the three days, we tasted at 5 different wineries. Our first wine stop was at Alexandria Nicole Cellars at their Prosser tasting room. ANC is an estate winery with vineyards located in the Horse Heaven Hills AVA. A driving break/leg stretch was much needed and supplemented by some tasty wines and a fun house charcuterie board. I’m a club member at Alexandria Nicole, so the tastings were complimentary. I typically frequent the Alexandria Nicole Woodinville tasting rooms, so it was fun to see another tasting room in Washington. The Prosser tasting room has the same cozy energy that the Hollywood Hills location has. We did not have a reservation to walk-in, but we were also able to be seated in the wine member area.
spring valleybarons
gifford hirlinger
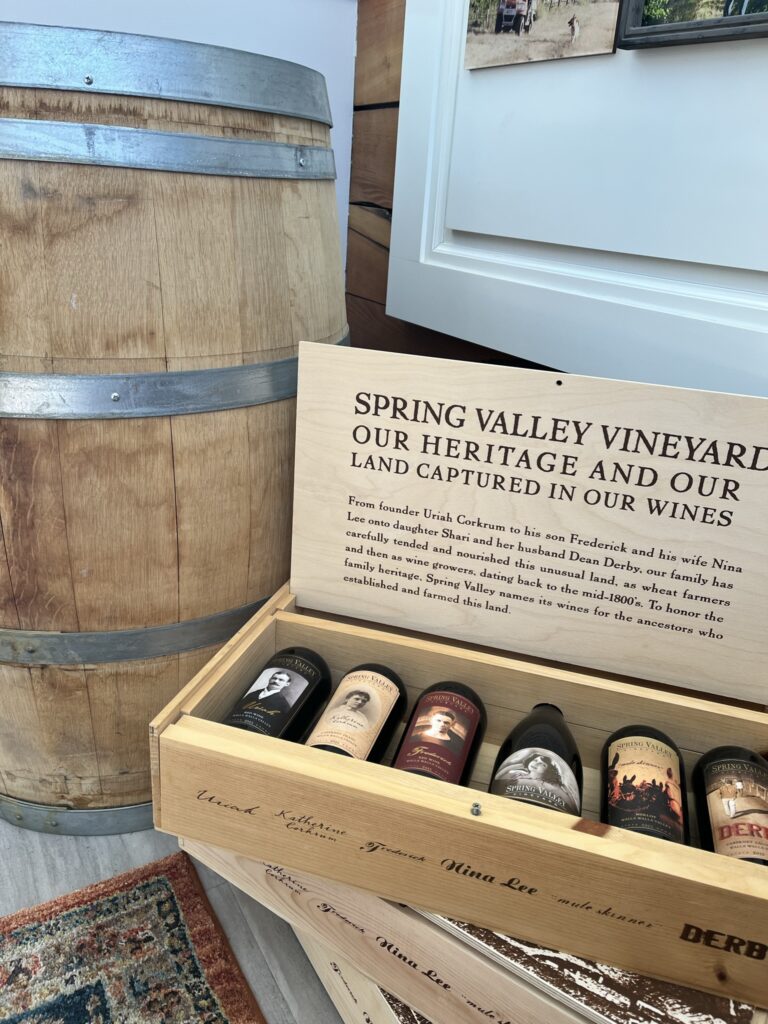
Once in Walla Walla, we visited some tasting rooms in downtown Walla Walla and tasting rooms in south Walla Walla, on the estate vineyards. Our first stop in downtown Walla Walla was at Spring Valley. Spring Valley is also an estate winery, sourcing all of their groups from their vineyard in Walla Walla. The tasting room is two stories and has great light from all the windows. The tasting experience was really lovely, with some crackers, waters, and chocolate truffles included with the tasting. Our server was also amazing to explain the Spring Valley’s history in Walla Walla and the family’s journey with their wines and the farm. We did have reservations, but walk-ins were being accepted!
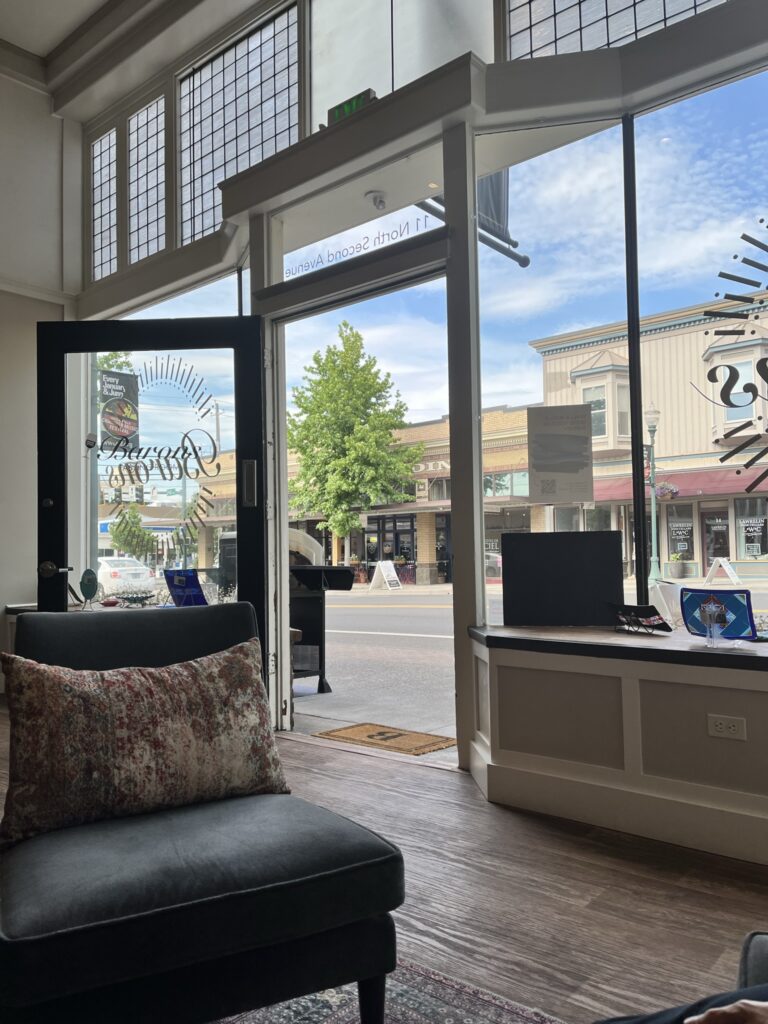
Next we popped across the street from Spring Valley to Barons Winery. For the holiday, there was a special Rose and Sausages event in which their rose was paired with a special sausage made by the butcher in town where the rose was infused into the sausage. We also had a chocolate truffle here that was paired with another wine. We did have reservations here, but walk-ins were also being accepted. Wines here were very well priced and one bottle waived the tasting fee for both people. Our server here was also great to explain the wines and all the AVAs in which their grapes are sourced from.
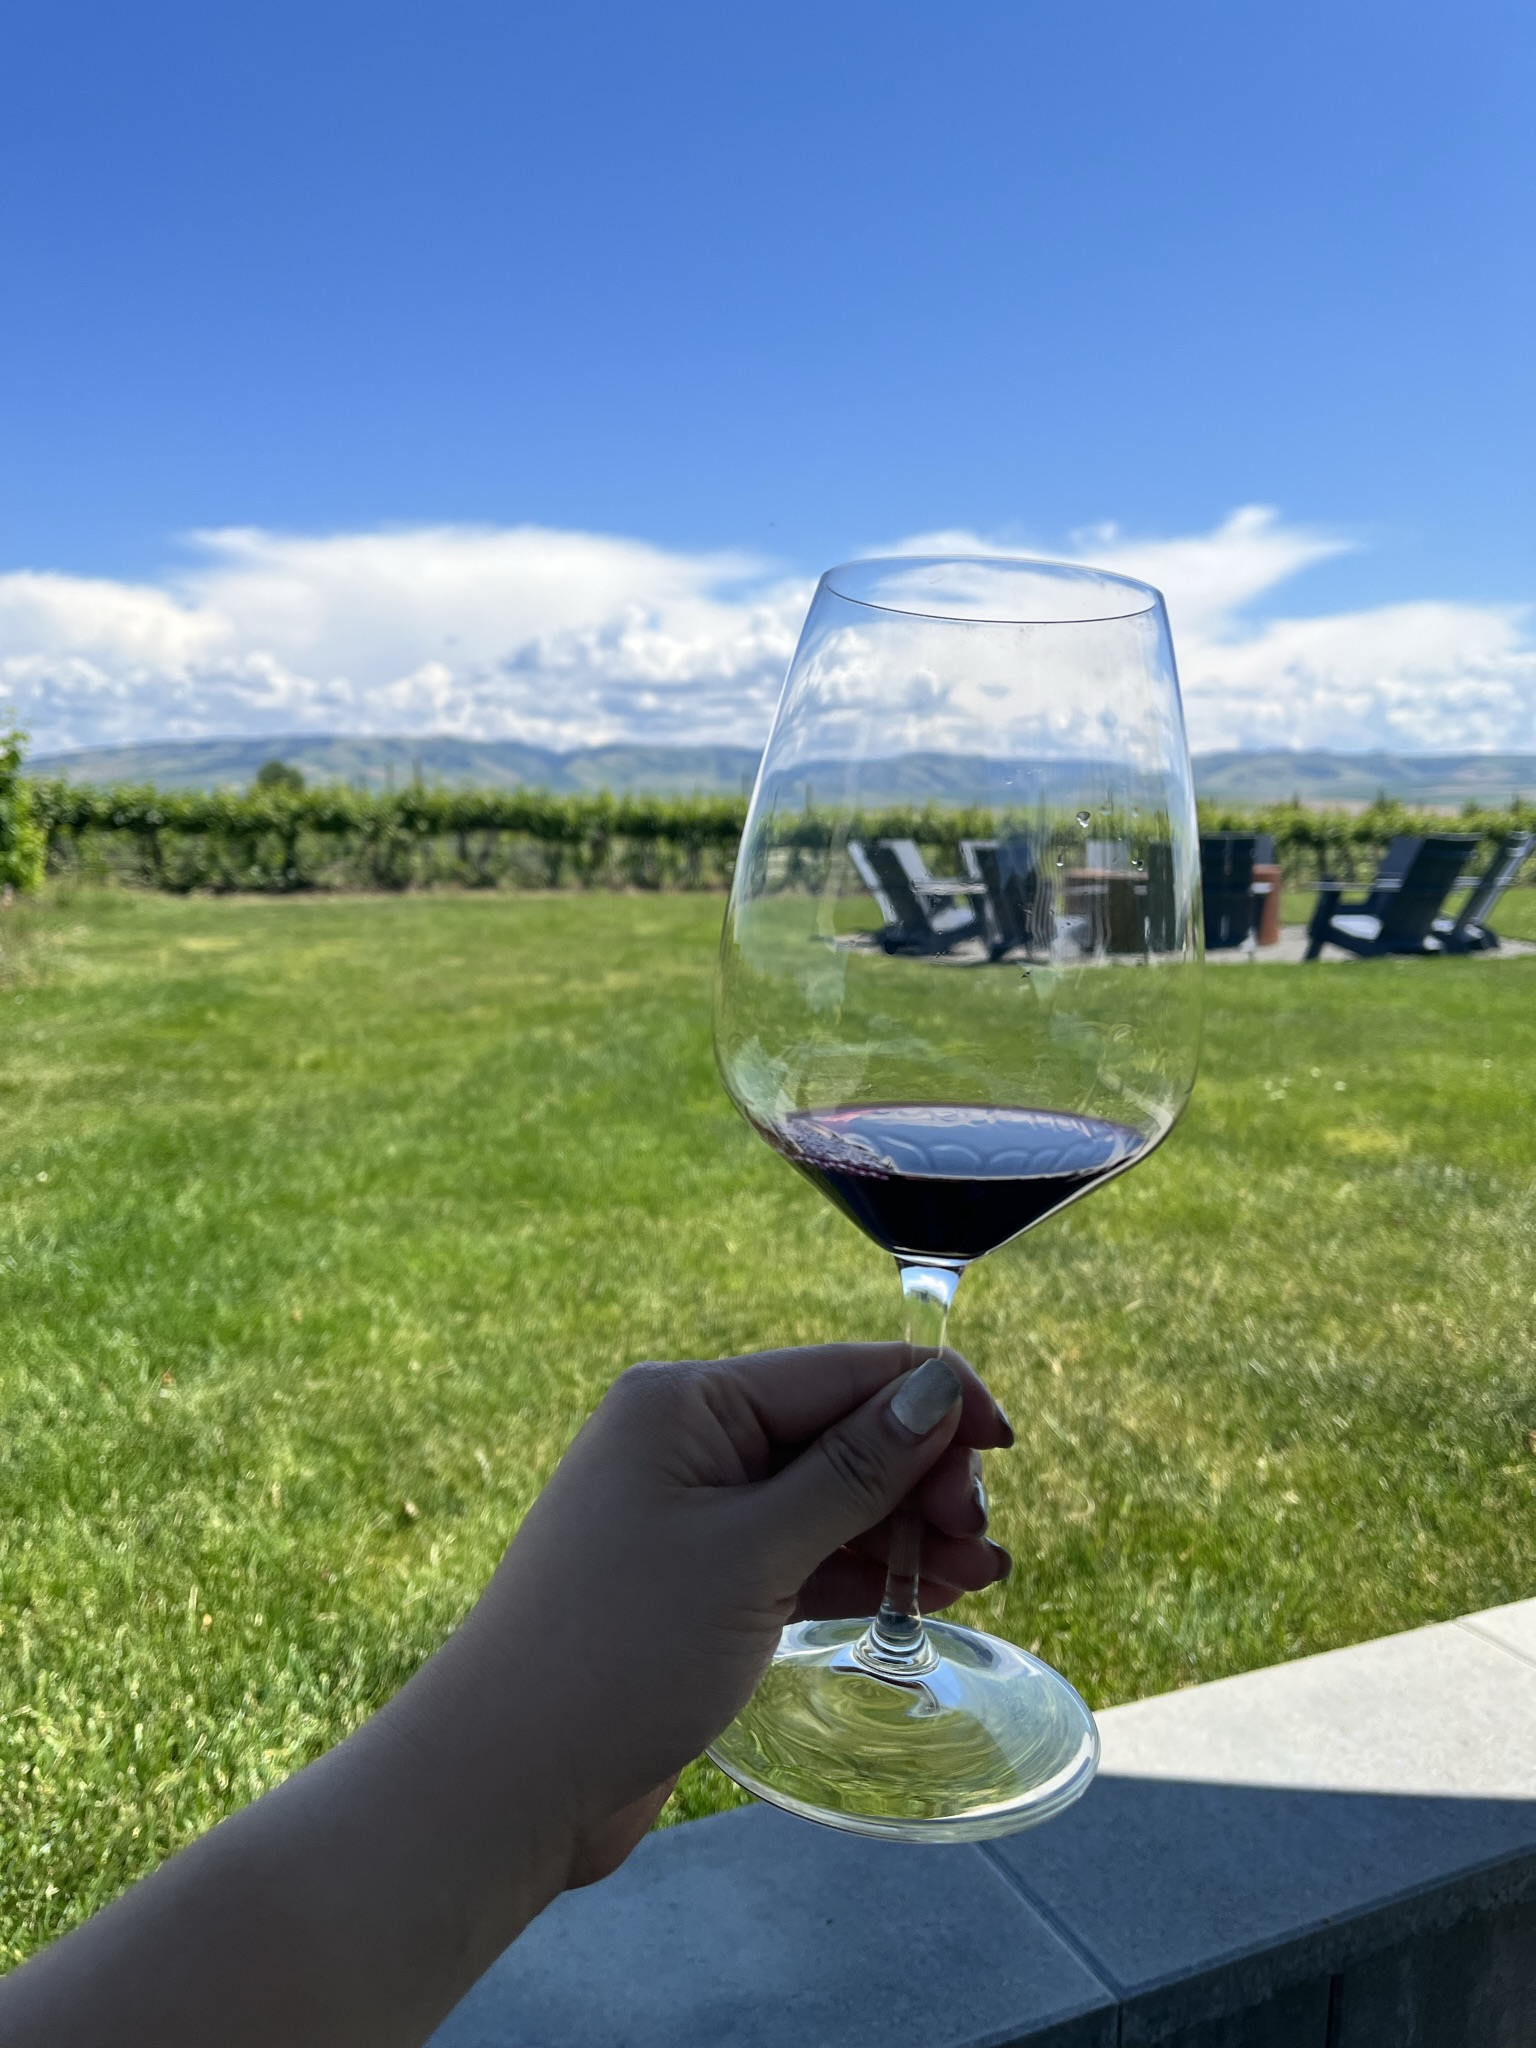
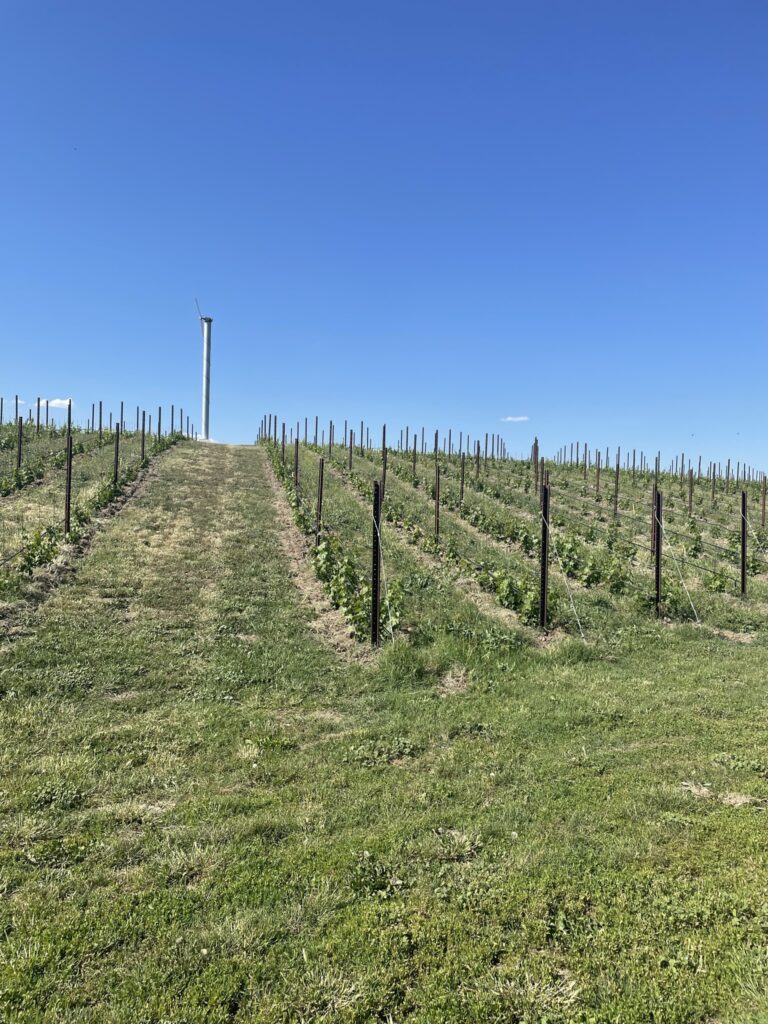
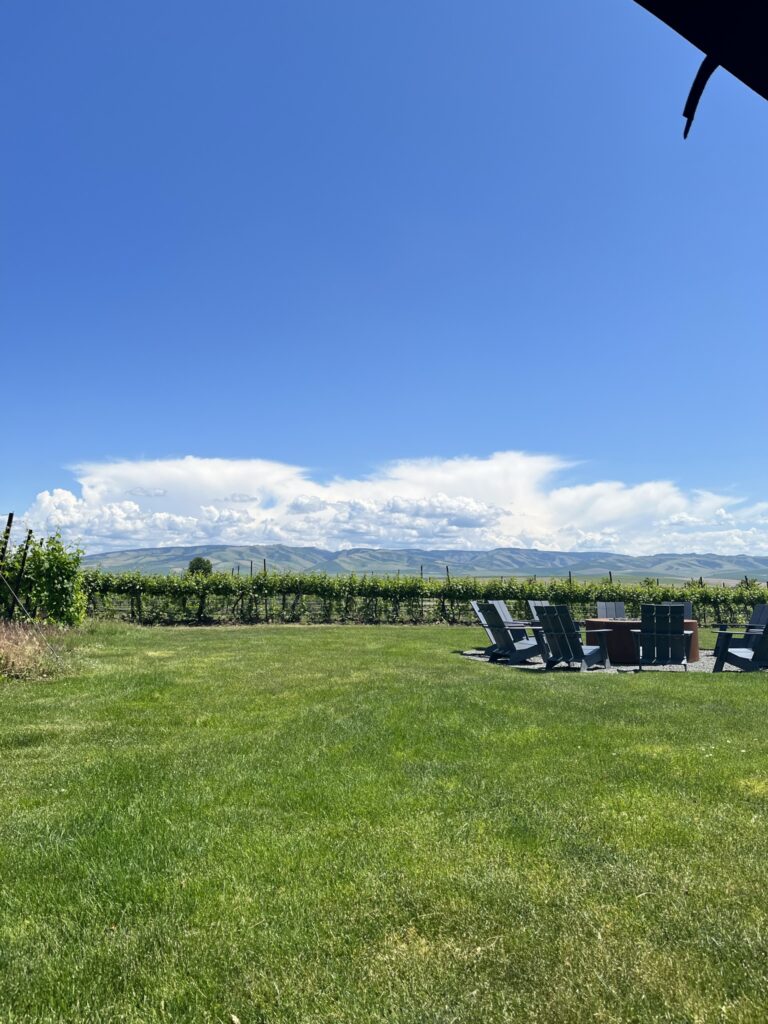
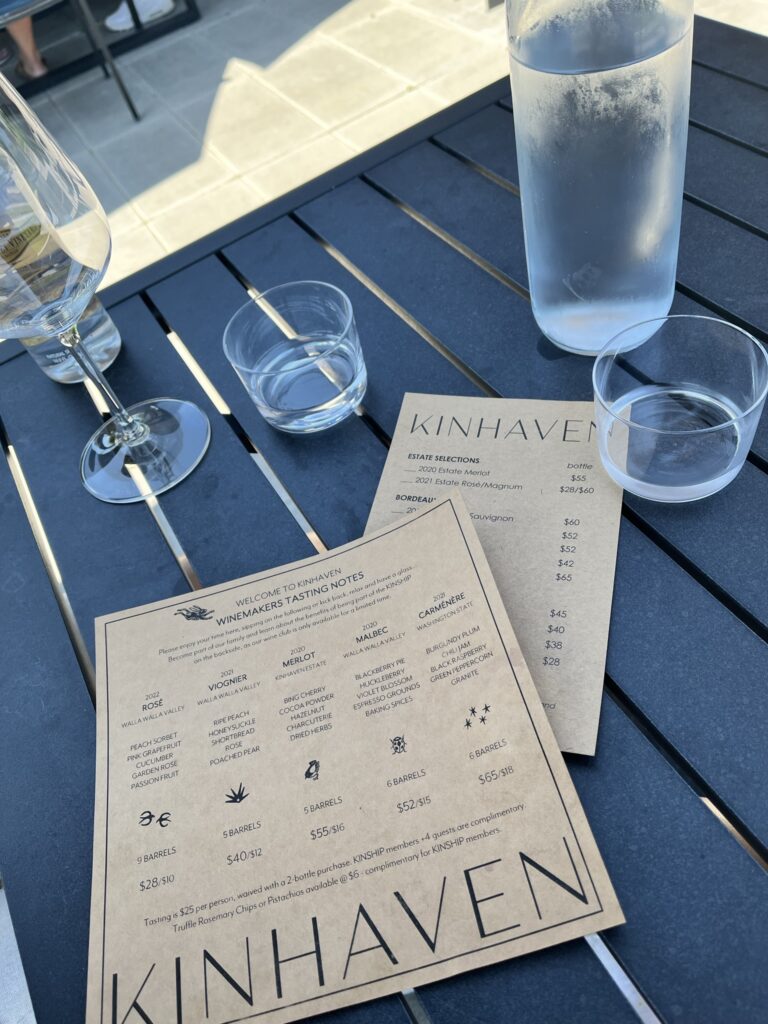
My favorite tastings of the trip were those in south Walla Walla at the estate wineries. Summer happens earlier in Walla Walla than in Seattle, so the weather was amazing for outdoor tastings. Views of the rolling hills and endless grape vines were so beautiful. Our first south Walla Walla stop (and my favorite of the entire trip!) was at Kinhaven. We were able to walk in for a tasting and sat on the gorgeous patio. They recently planted new grapes, so only one of their wines at the time was made from their estate grapes. I recommend bringing some snacks here and lounging on the lawn with your wine! They even provide blankets for you to lay on.
Our last wine adventure brought us to Gifford Hirlinger, right on the Washington/Oregon border. The winemaker poured our tastings for us, explained the wines, and answered all the questions we had about owning an estate winery. Walk-in for a tasting was easy and there was no tasting fee as cash donations were being accepted for a local food bank.
kinhaven vineyard & lawnkinhaven tasting
Biking in Walla Walla
Walla Walla is so flat compared to Seattle, making biking a breeze. Streets are very wide and many have bike lanes to allow for vehicles to easily pass. If biking to the south Walla Walla wineries, be aware of your surroundings, as agricultural vehicles can approach quickly even though the roads are generally very empty. A roundtrip ride from downtown Walla Walla to the south Walla Walla wineries passed quickly and was around 15 miles total. This was a great reference for deciding our bike path: Walla Walla Valley Road/Hybrid Bike Routes
Restaurants in Walla Walla
I’m a great snacker and snack packers, so there were only a few restaurants that we actually ended up visiting while in the area.
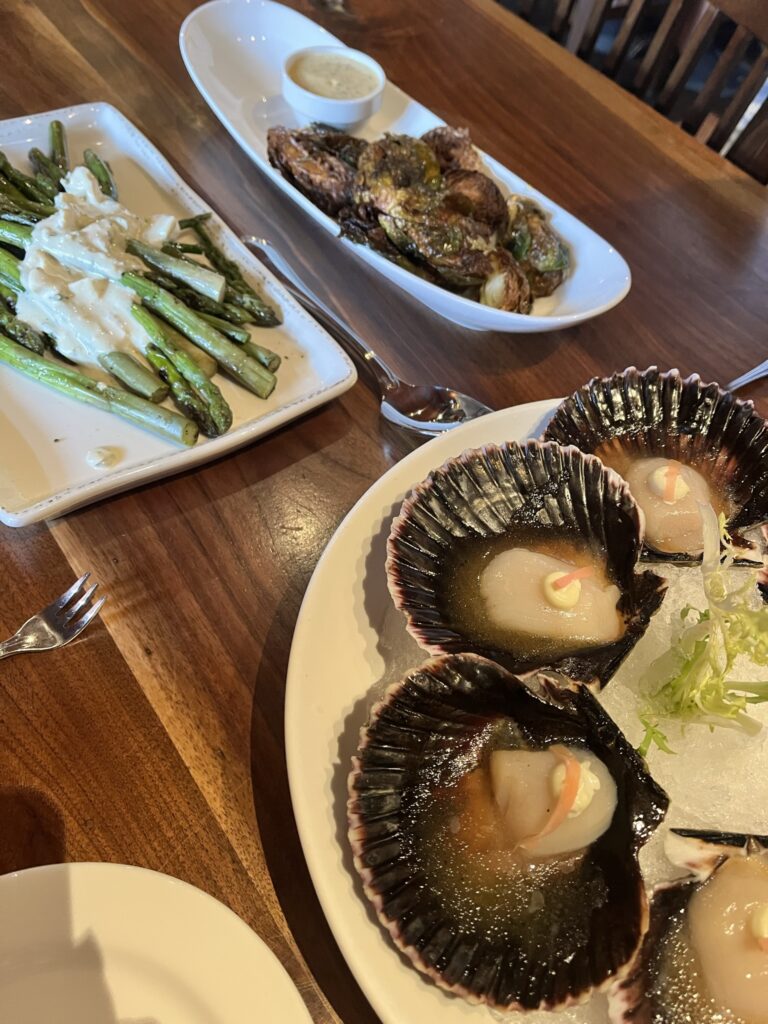
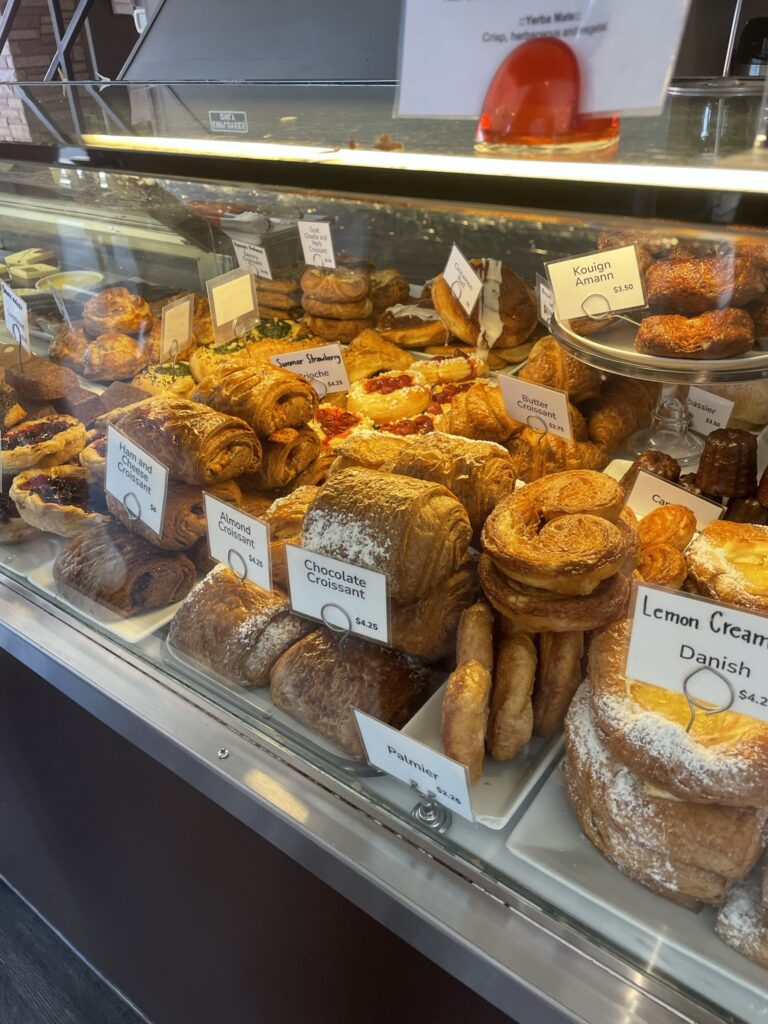
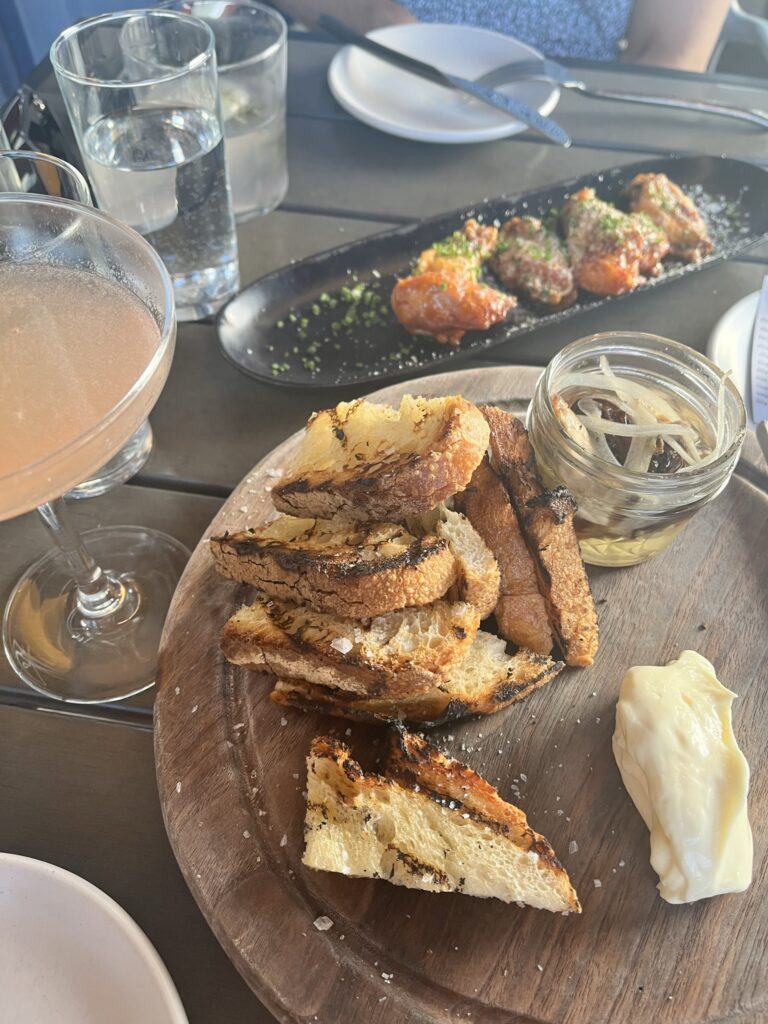
WW steak co’s scallopscolville st patisseriehattaway’s oysters
One day’s breakfast ended up being a double header of Colville Street Patisserie and Maple Counter Café. Maple Counter Café had a crazy wait for tables, so we ended up ordering online via their online portal and headed across the street to the bakery for some pastries. Colville St. had such flaky, buttery pastries. I loved their kougin-amann and the savory asparagus bechamel croissant. We picked up a mushroom omelet, side of bacon, and three stack of pancakes with syrup and whipped cream from Maple Counter Café. Weather was lovely so we ended up eating sitting in the bed of the truck.
For dinner one day, I wanted to try Walla Walla Steak Company. There is a location in Woodinville, but it’s named after Walla Walla! Of course we have to try it in Walla Walla. We sat inside, but a more relaxed dinner probably would have been better on their patio. The best thing we had here were the scallops.
For our last night in Walla Walla, we tried Hattaway’s on Alder, southern inspired Pacific Northwest cuisine. The patio had a great view of the sunset and the cocktail menu was so fun. Plates came out well paced and they were so kind to help us split a salad. Our favorite was the smoked oysters and a reservation is definitely highly encouraged if you come here – we heard a group of four had waited over 2 hours to be seated!
Conclusion
Walla Walla is definitely gorgeous and a nice getaway from Seattle if you’re craving summer. Flat open roads make for great biking and adventuring. The food options here (except for those pastries) really pale in comparison to the wines. Woodinville has great tasting rooms, but there’s something about lounging in the vineyards with the warm sun and summer breeze with a glass a wine that hits different.
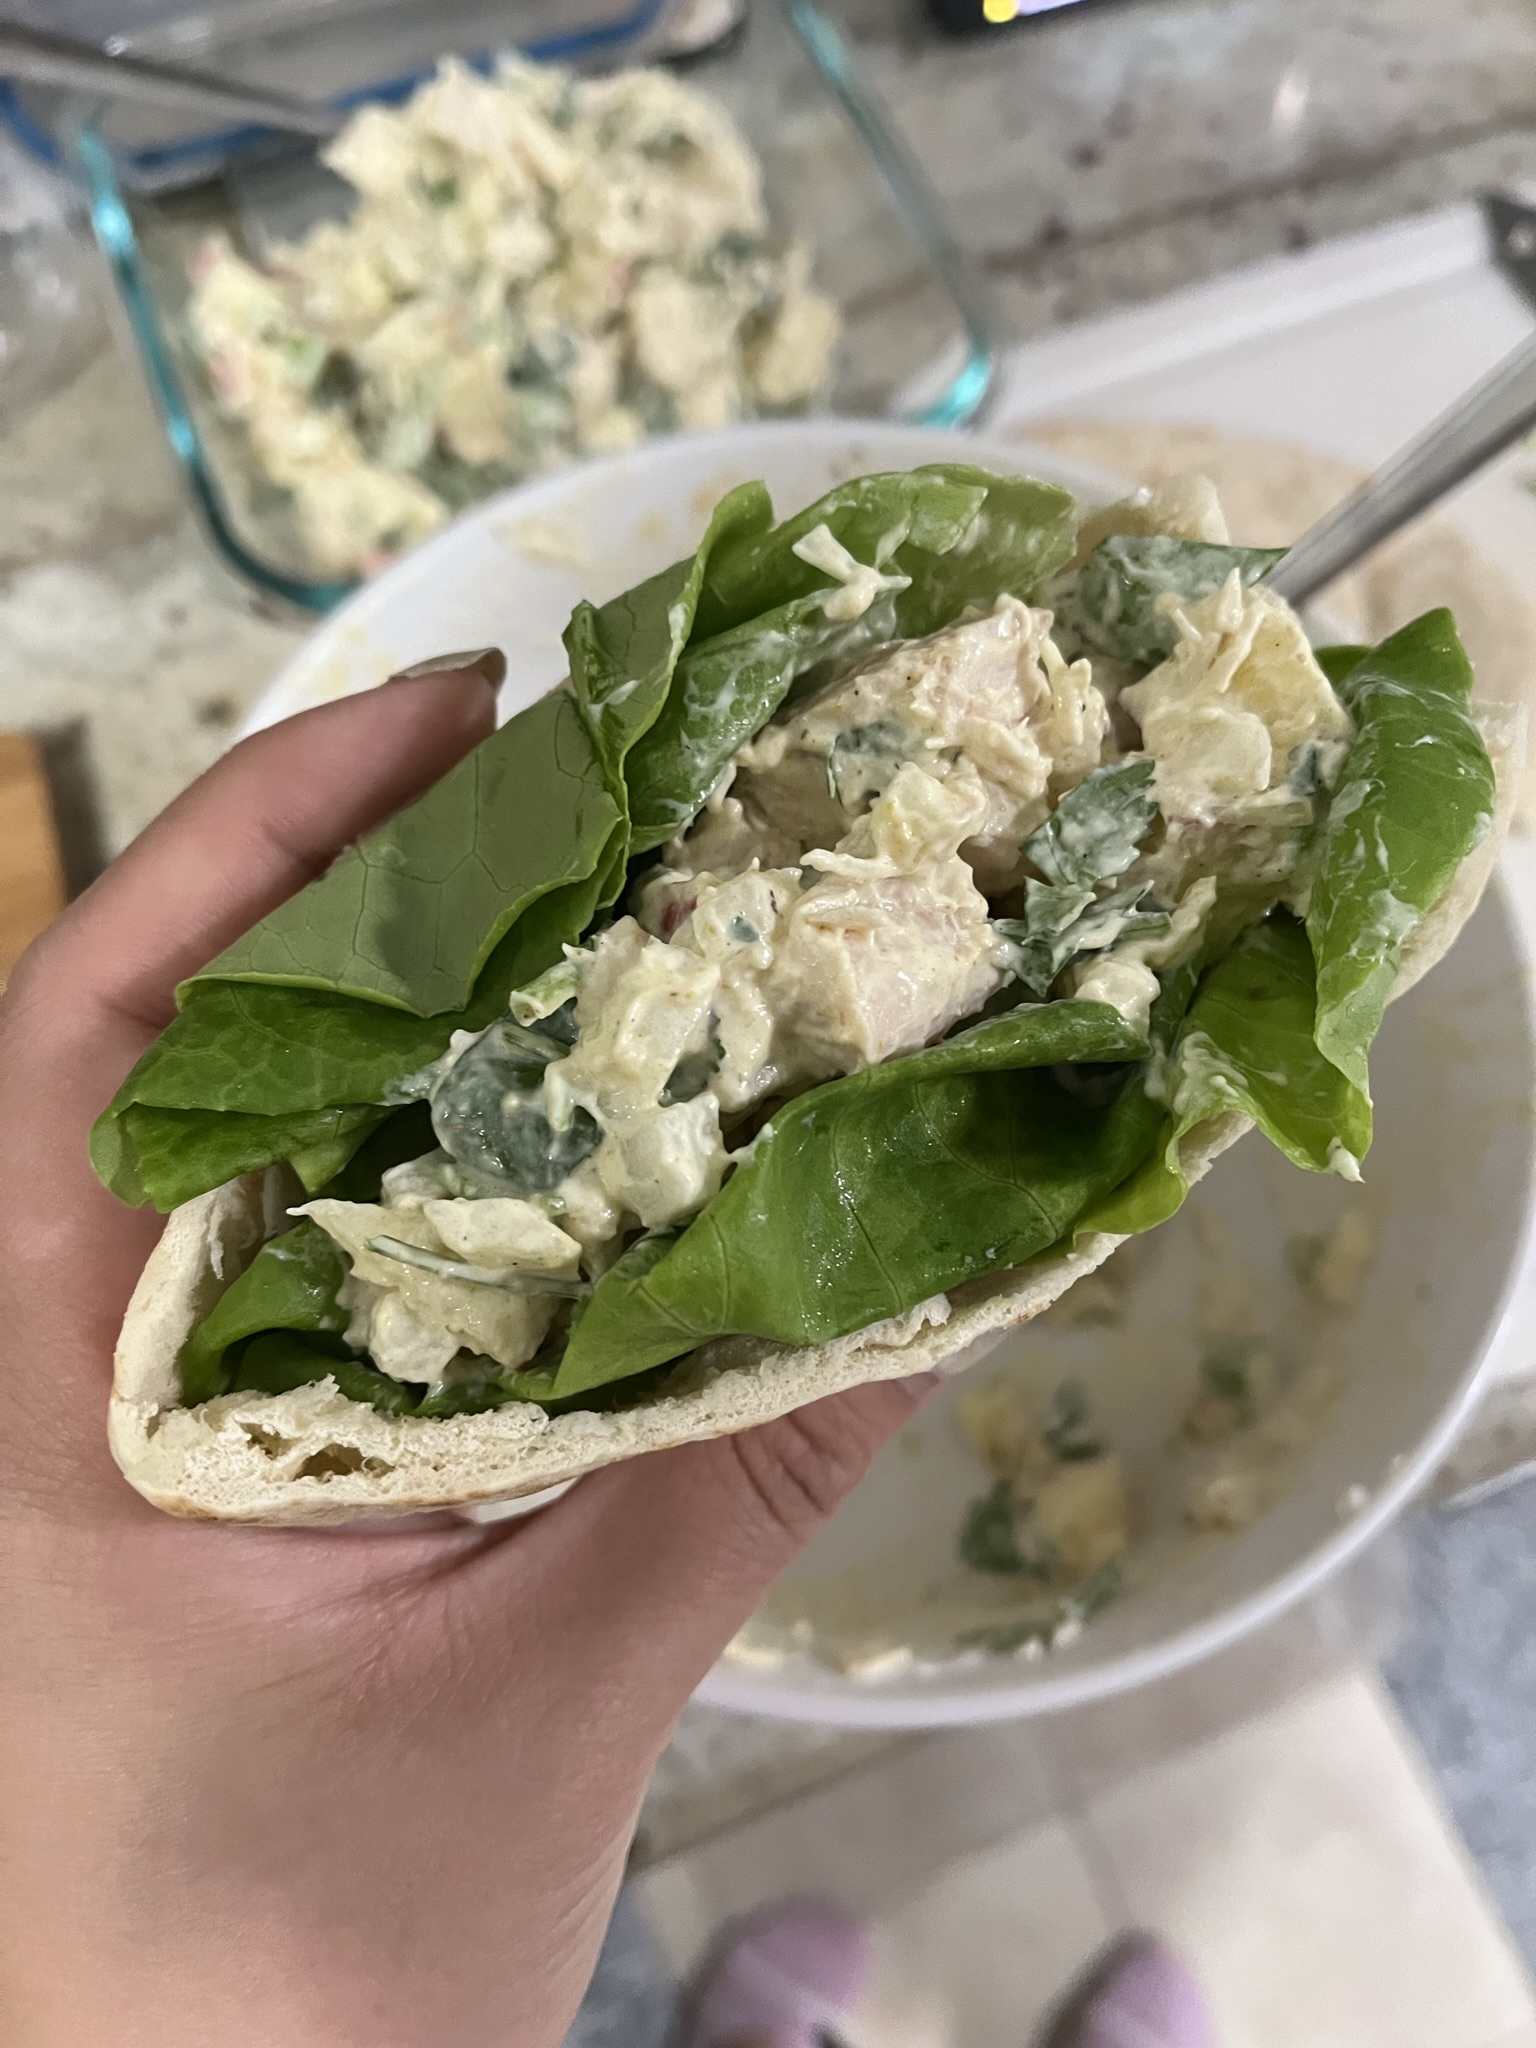
I love getting the roast chickens at Costco for an quick and easy batch of pho, but sometimes it ends up being too much chicken and I don’t know what to do with the rest of it. The chicken itself can be a little bit bland and dry depending on the day, so I like to use it in other dishes when I can. After rifling through some refrigerator scraps, I found enough to make a *fancier* chicken salad – curry chicken salad!
This curry chicken salad is nicely flavored from the curry powder pre-mix of spices, has crunch from the celery, a little zip from the raw onions, and some sweetness from the apples. It’s perfect between two slices of toasted bread, inside a pita pocket, or on top of some crunchy greens!
Ingredients:
Sour cream & mayo: I find the sour cream to be a little bit lighter since it has a little bit of tanginess to it already. The mayo addition just makes it a little more creamy. Feel free to use all mayo if you like.
Creamy, spiced, and crunchy chicken salad for when you have leftover chicken.
Course Main Course, Salad, Side Dish
Keyword chicken, curry, salad
Ingredients
2cupscooked chicken
1/4cupsour cream
2tbspmayonnaise
1tspcurry powder
1tspgarlic powder
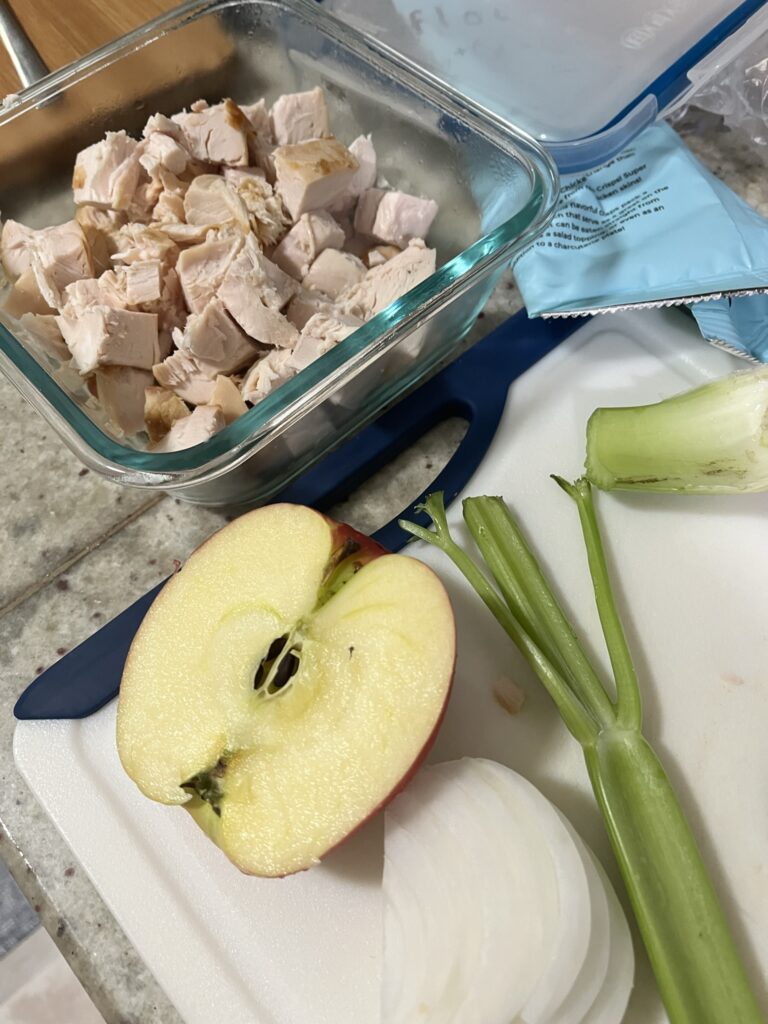
1celery rib
1/2medium apple
1/4cupdiced onion
salt & pepper
Instructions
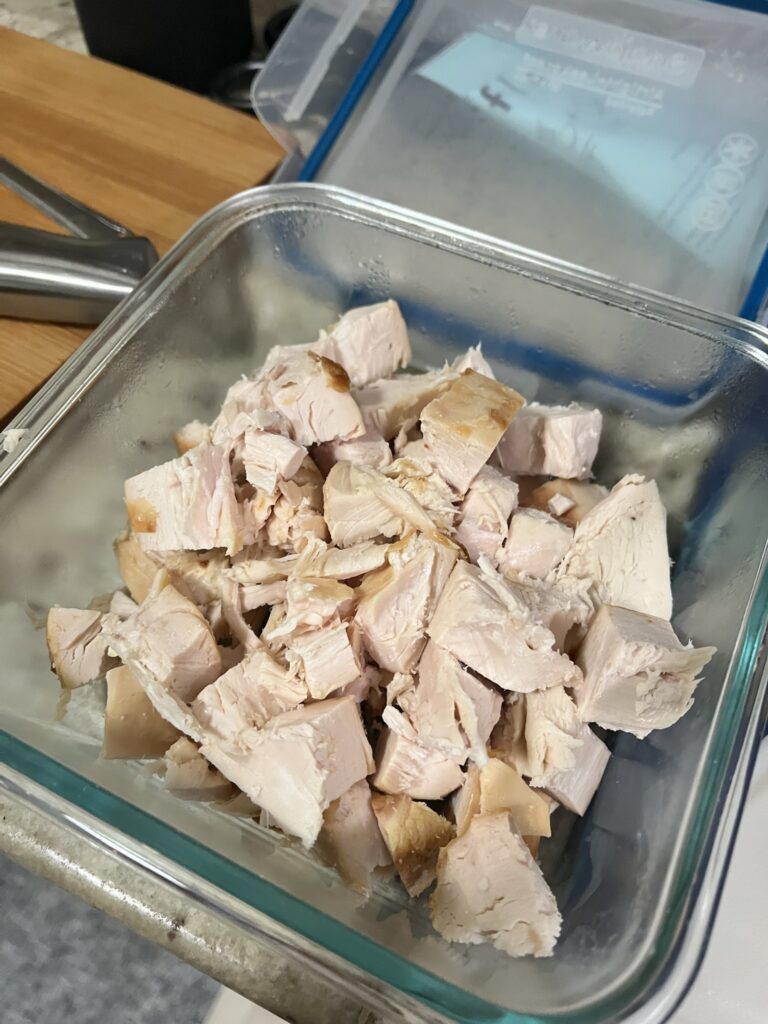
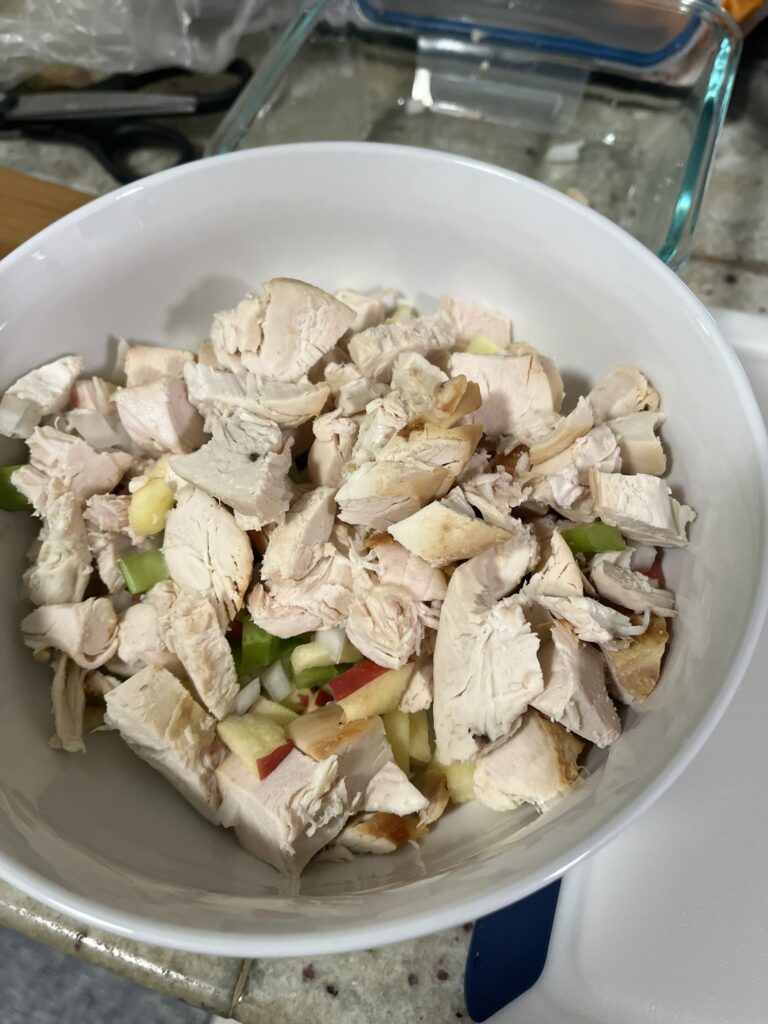
Prep all your ingredients by dicing the cooked chicken into small bite sized pieces. Dice your celery, apple, and onion as well.
In a bowl, mix together chicken, celery, apple, onion, sour cream, and mayo. Sprinkle in curry powder and garlic powder to ensure no big "clumps" of spices.
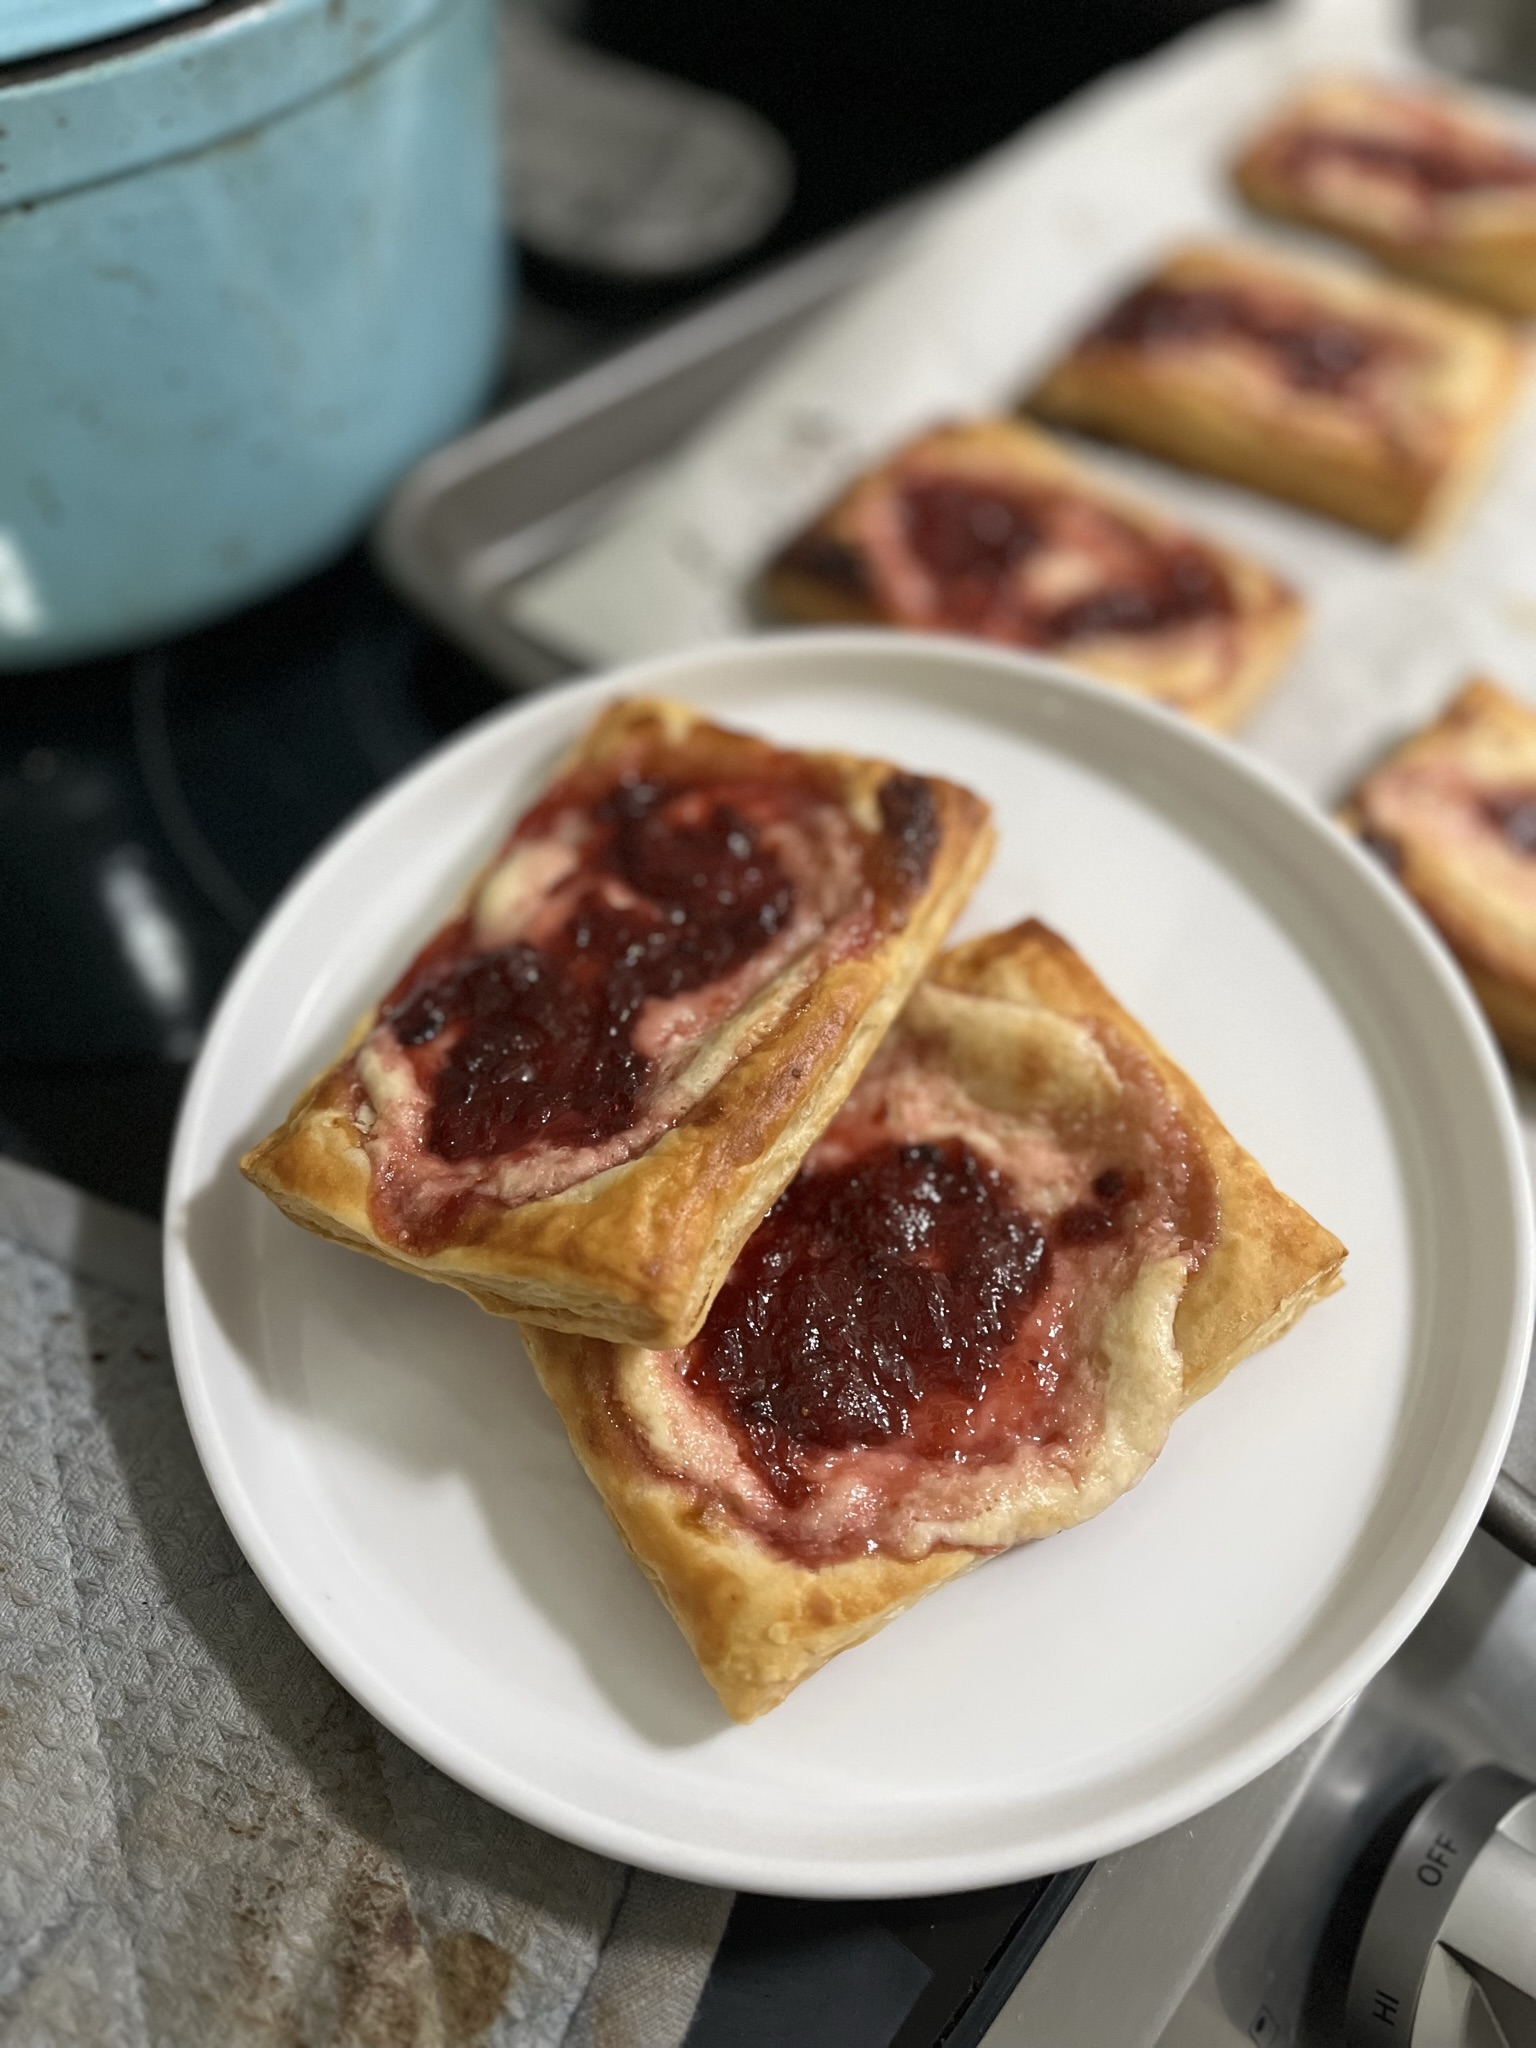
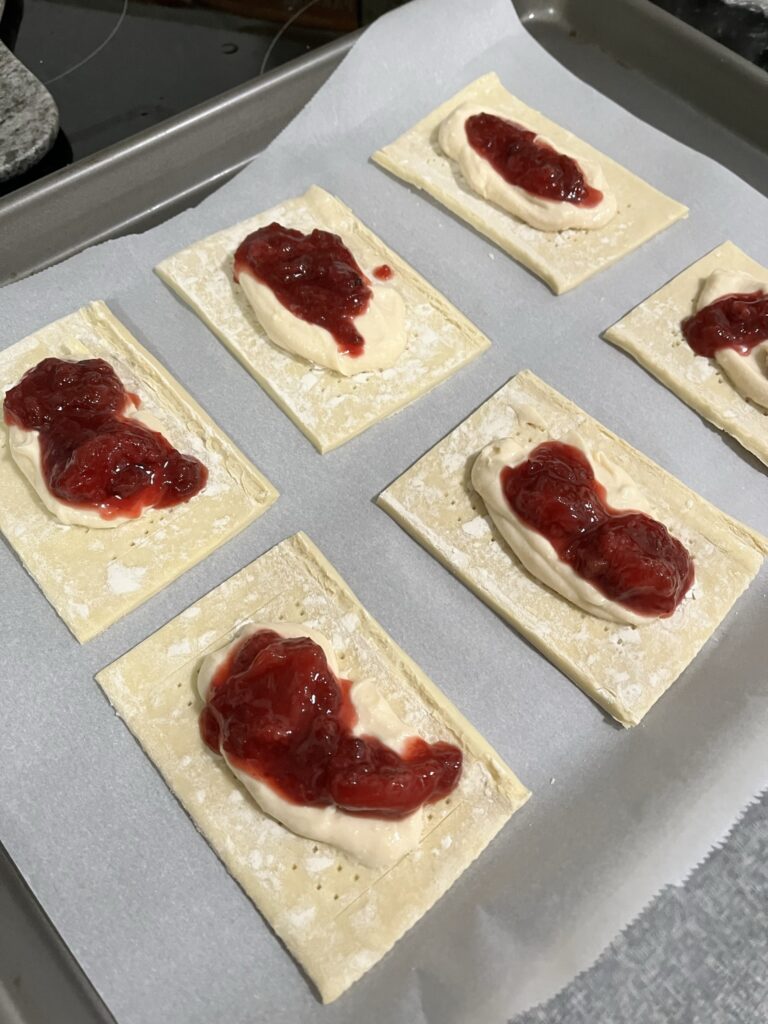
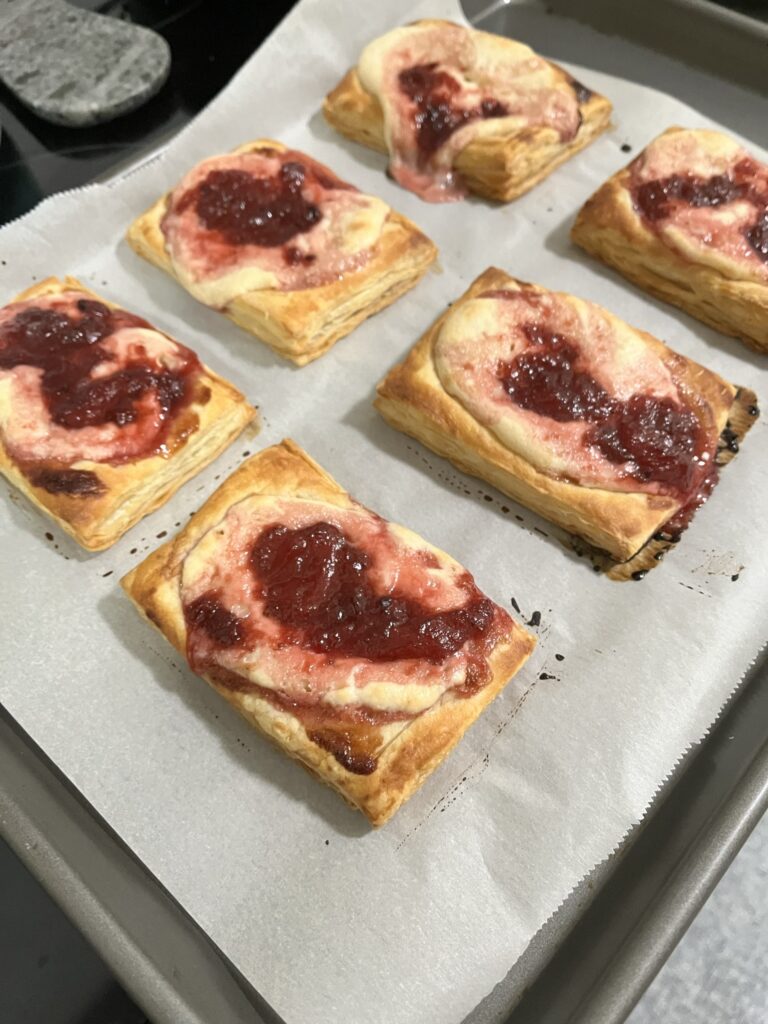
After visiting a bakery that had such amazing pastries, I was craving some fresh, buttery, flaky pastries at home. I still had puff pastry leftover from making Asparagus Puff Pastry Twists, so I figured I would use the rest to make puff pastry danish. Danish pastries typically use a yeasted laminated dough to give it extra springy layers, but frozen puff pastry is so much more accessible!
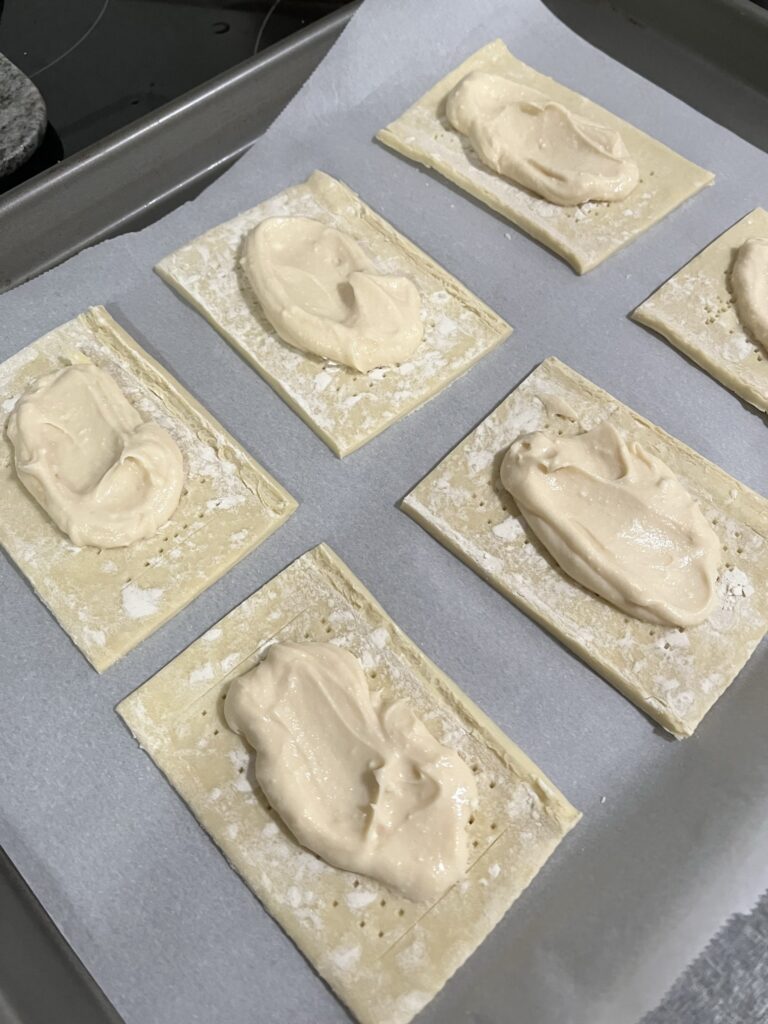
Most sweet Danishes I’ve encountered are typically just cheese or a cheese topped with some fruits. I love the creamy fruity mix, but feel free to opt out of the fruit if that doesn’t interest you.
Ingredients
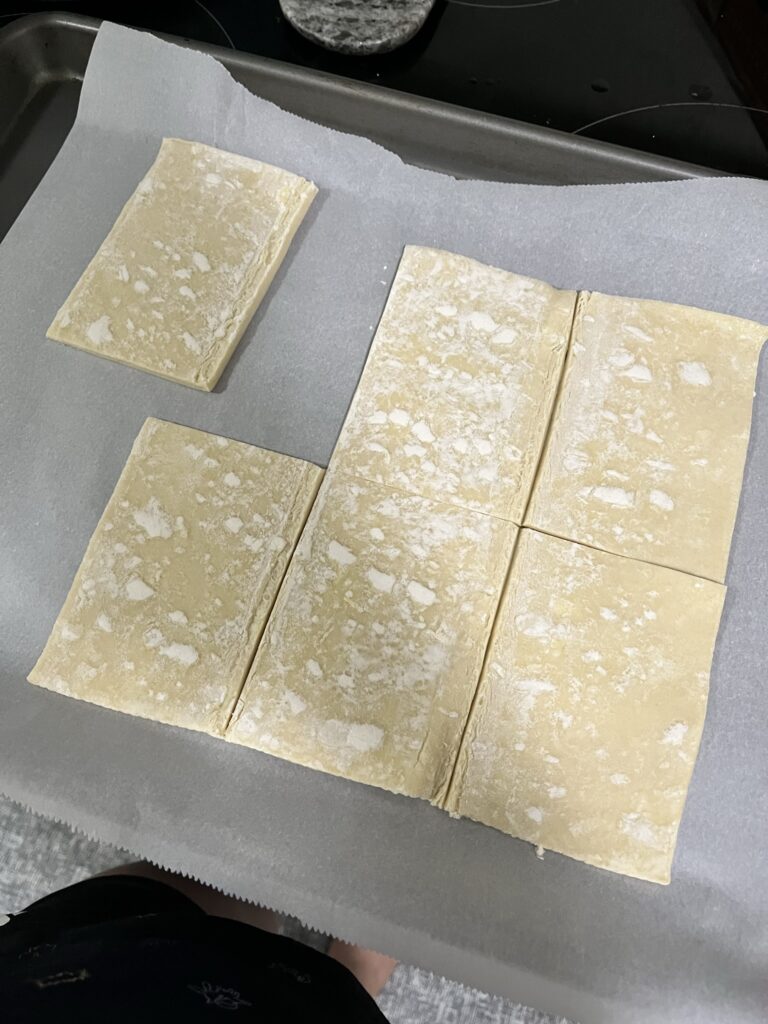
Puff pastry – any store bought works great, but be sure to defrost your sheet of puff pastry in the refrigerator overnight to ensure it’s easier to work with
Fruit – I used my Strawberry Rhubarb Jam to top this off, but you can use pieces of fresh fruit or any other fruit jam or preserve you have your hands on. I think some fig jam or strawberry preserves would be divine.
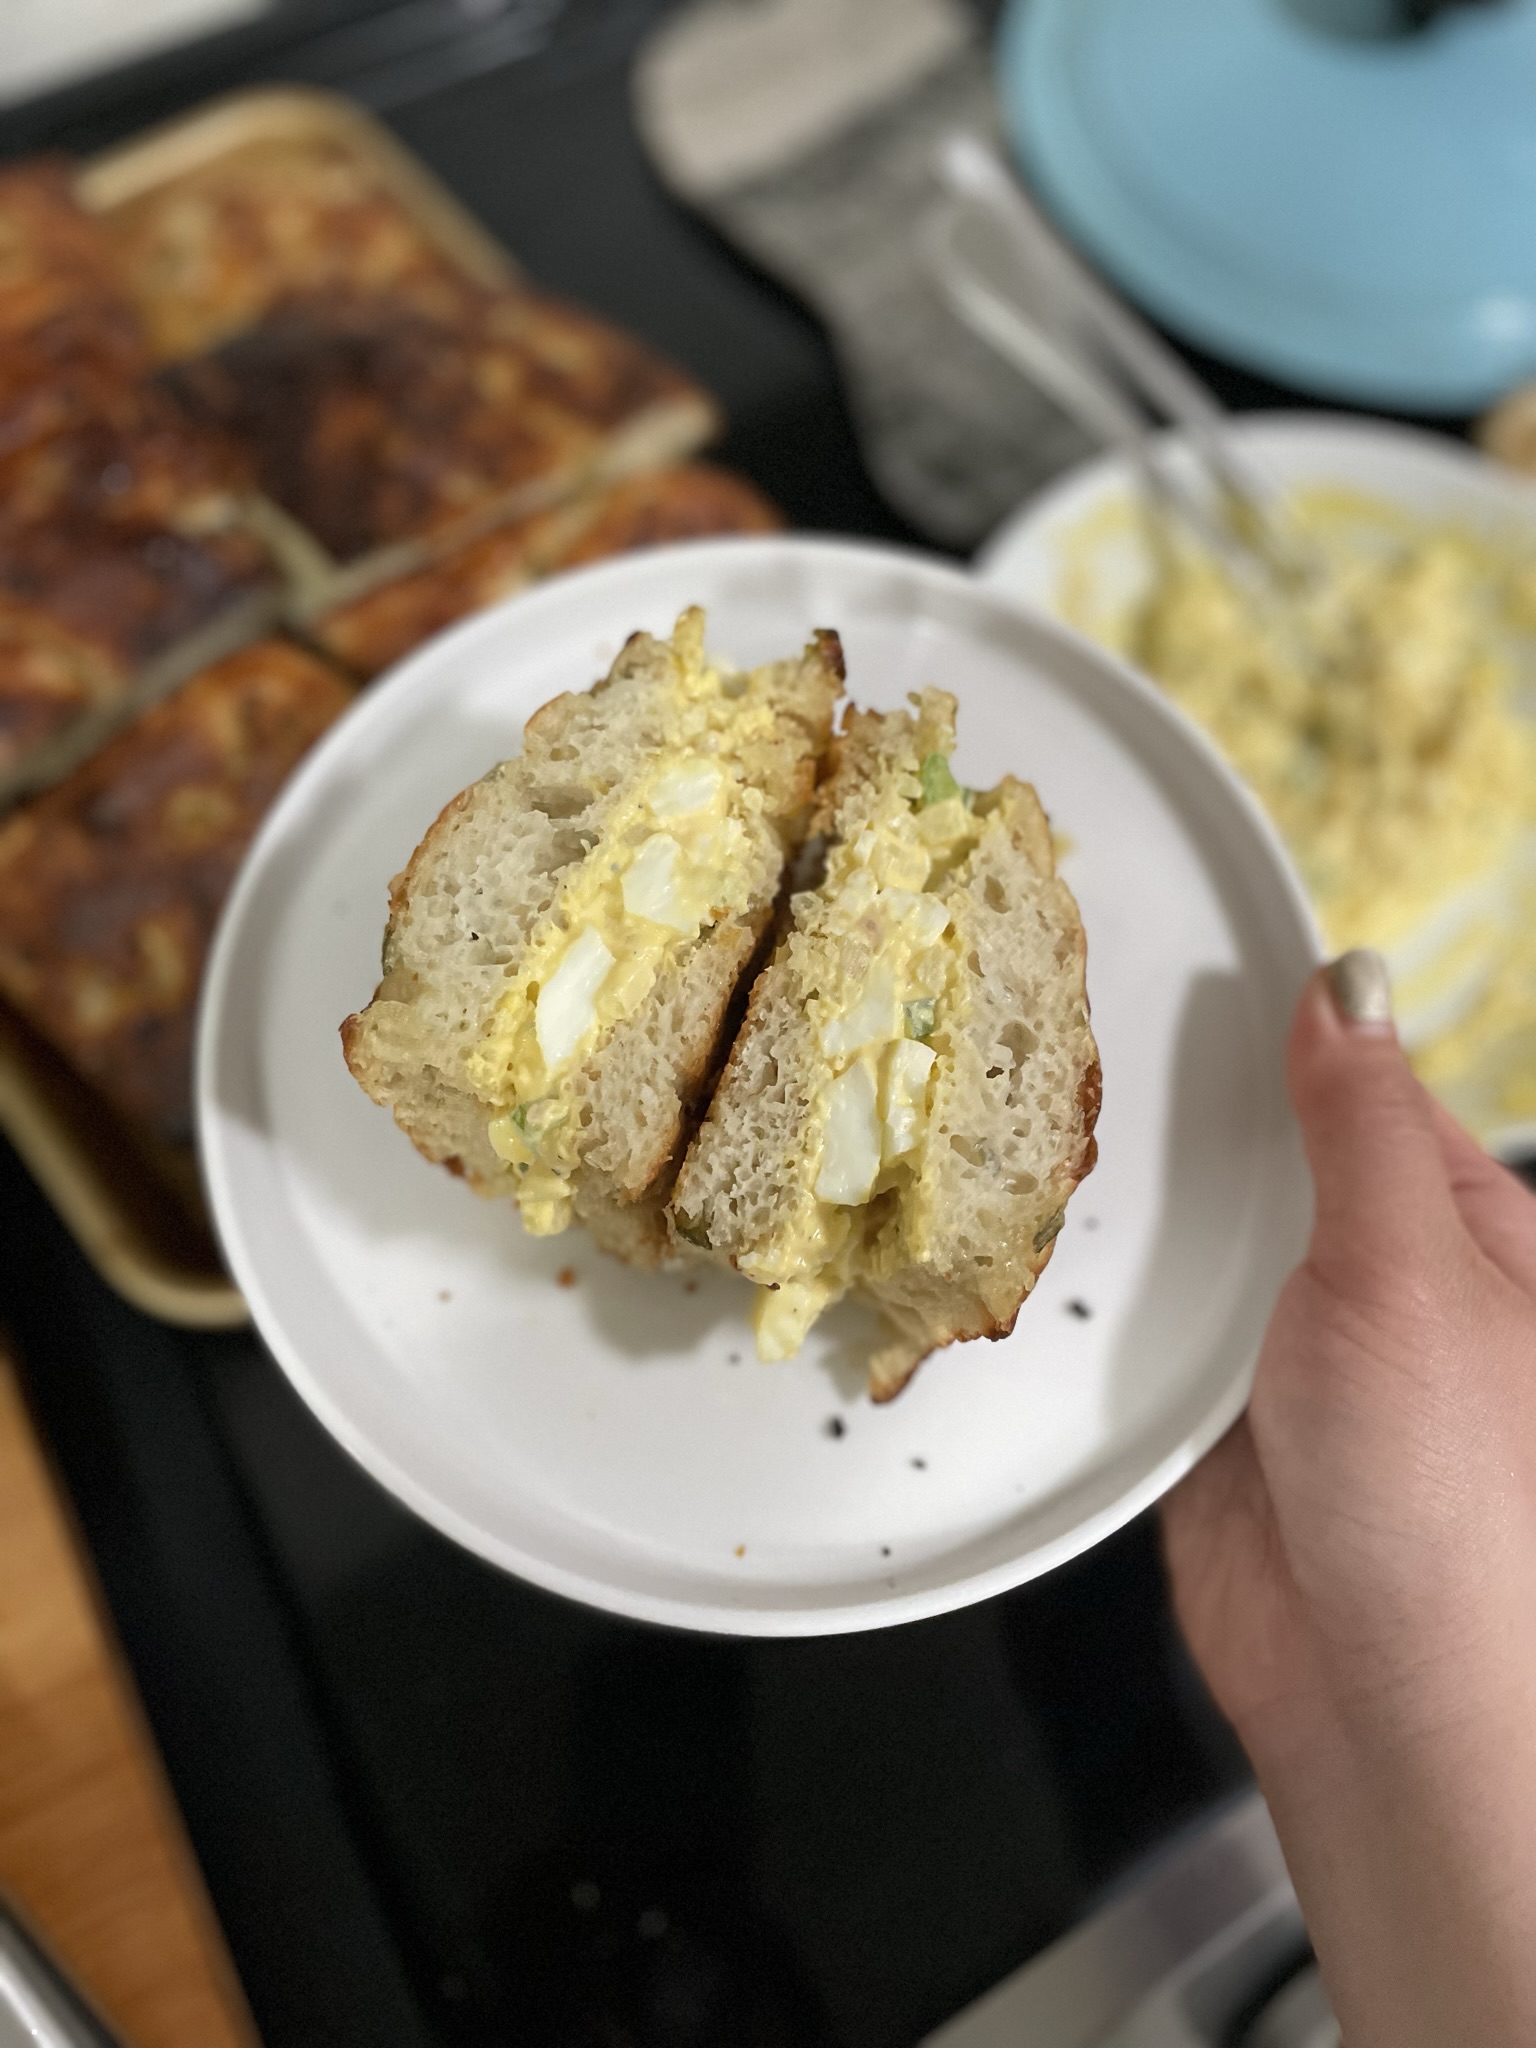
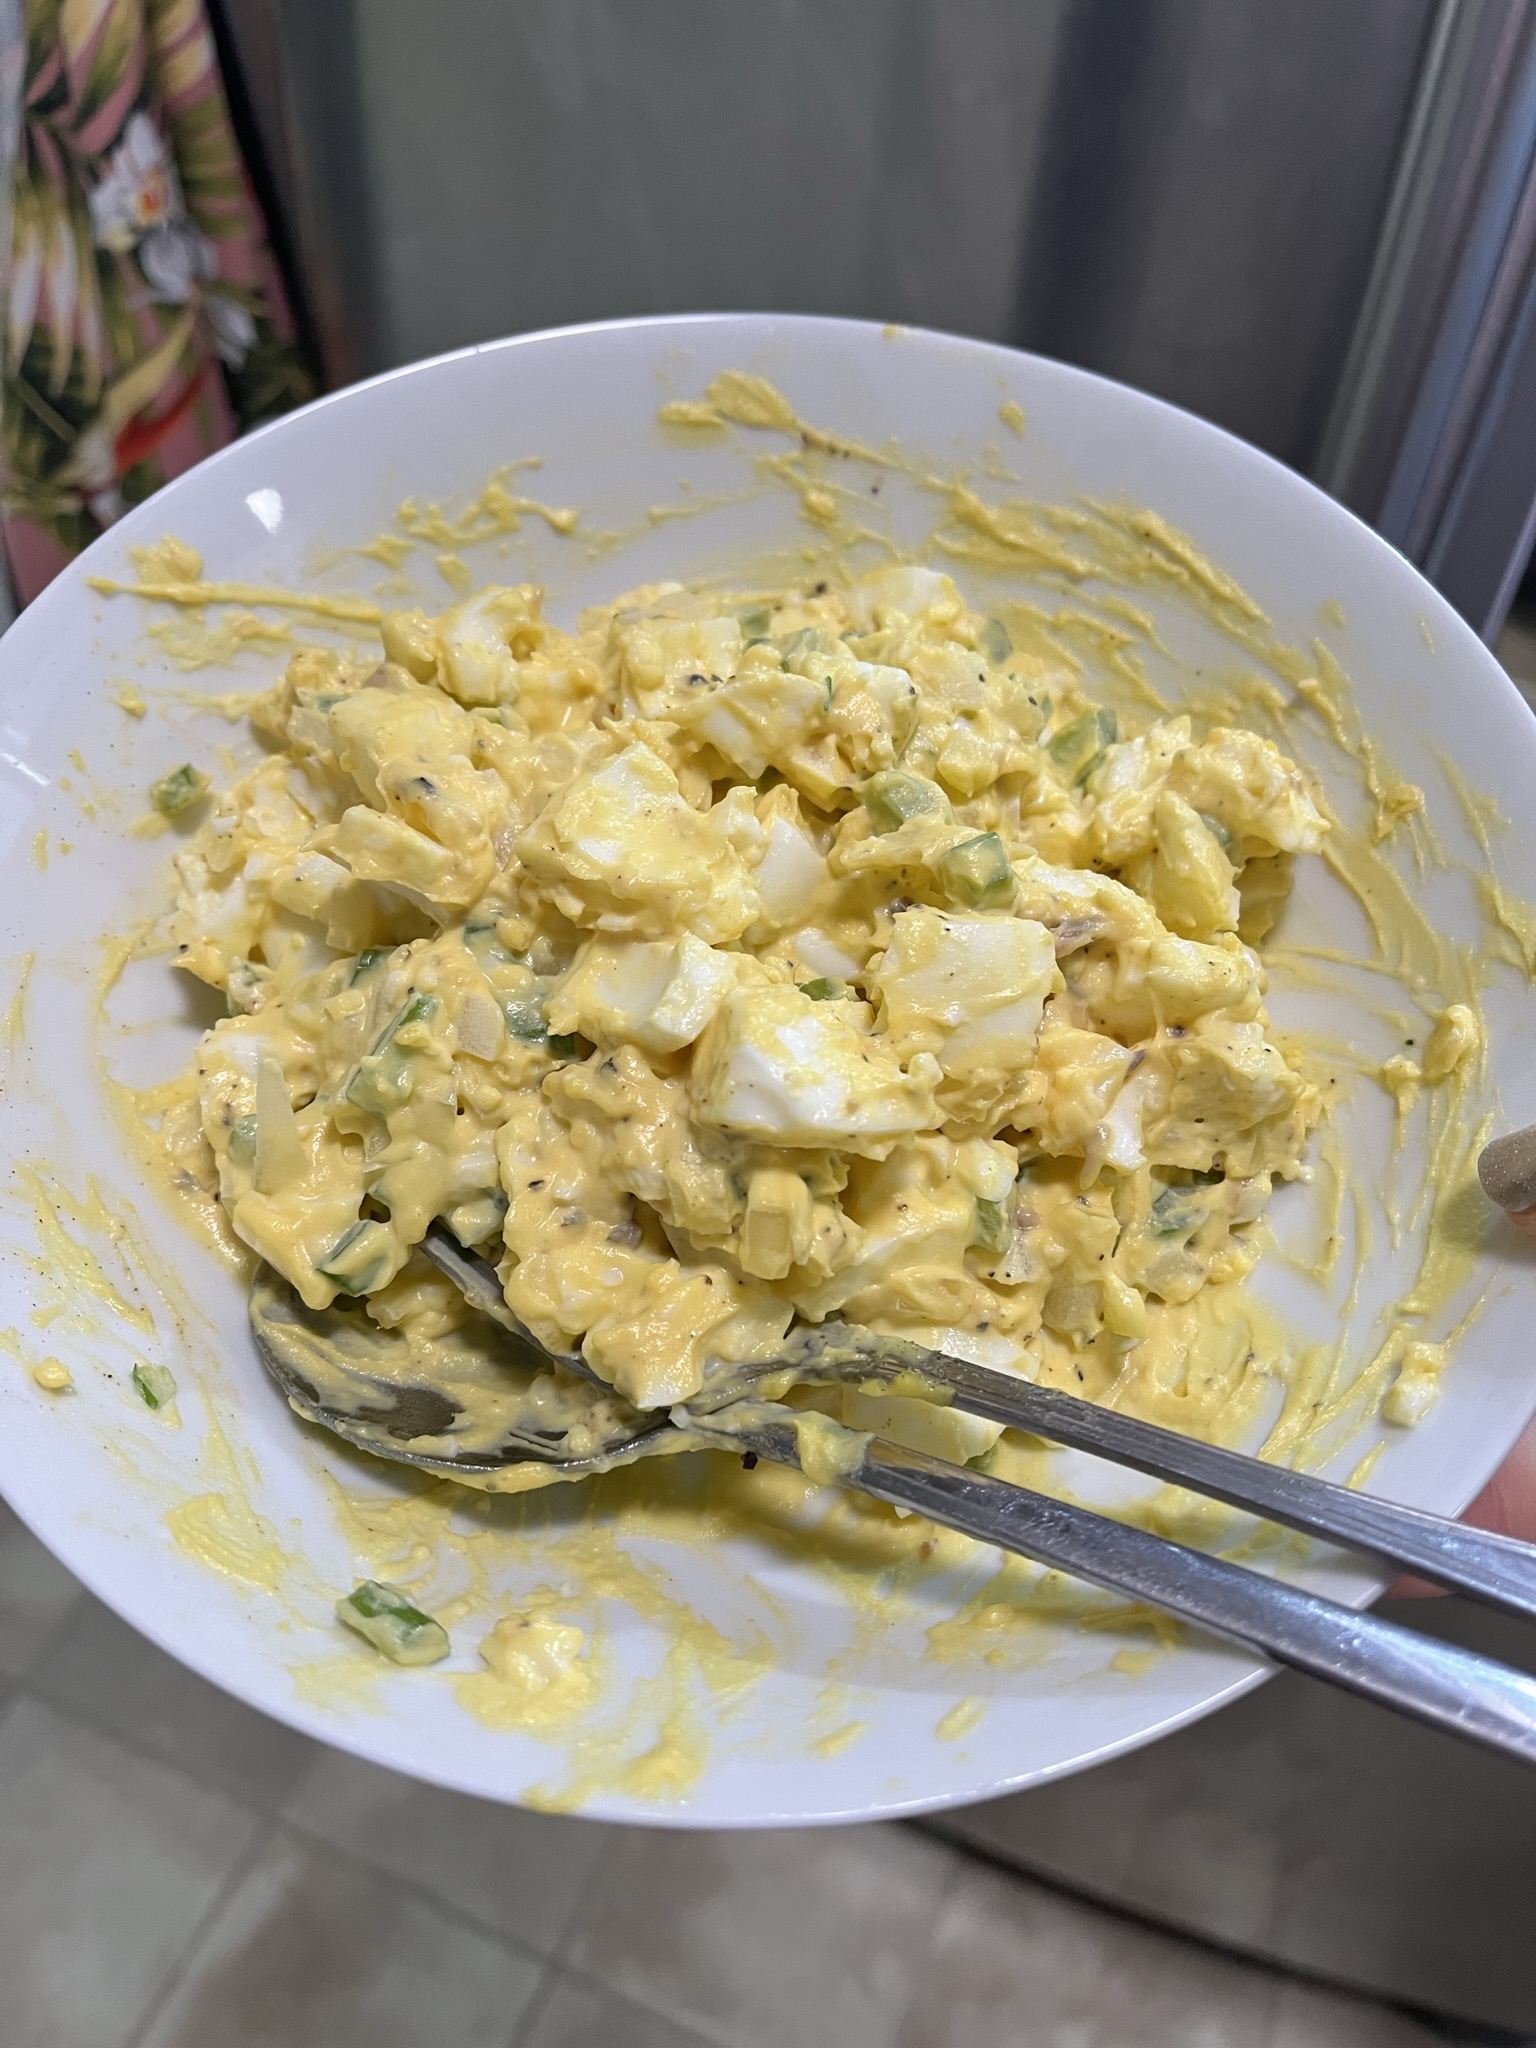
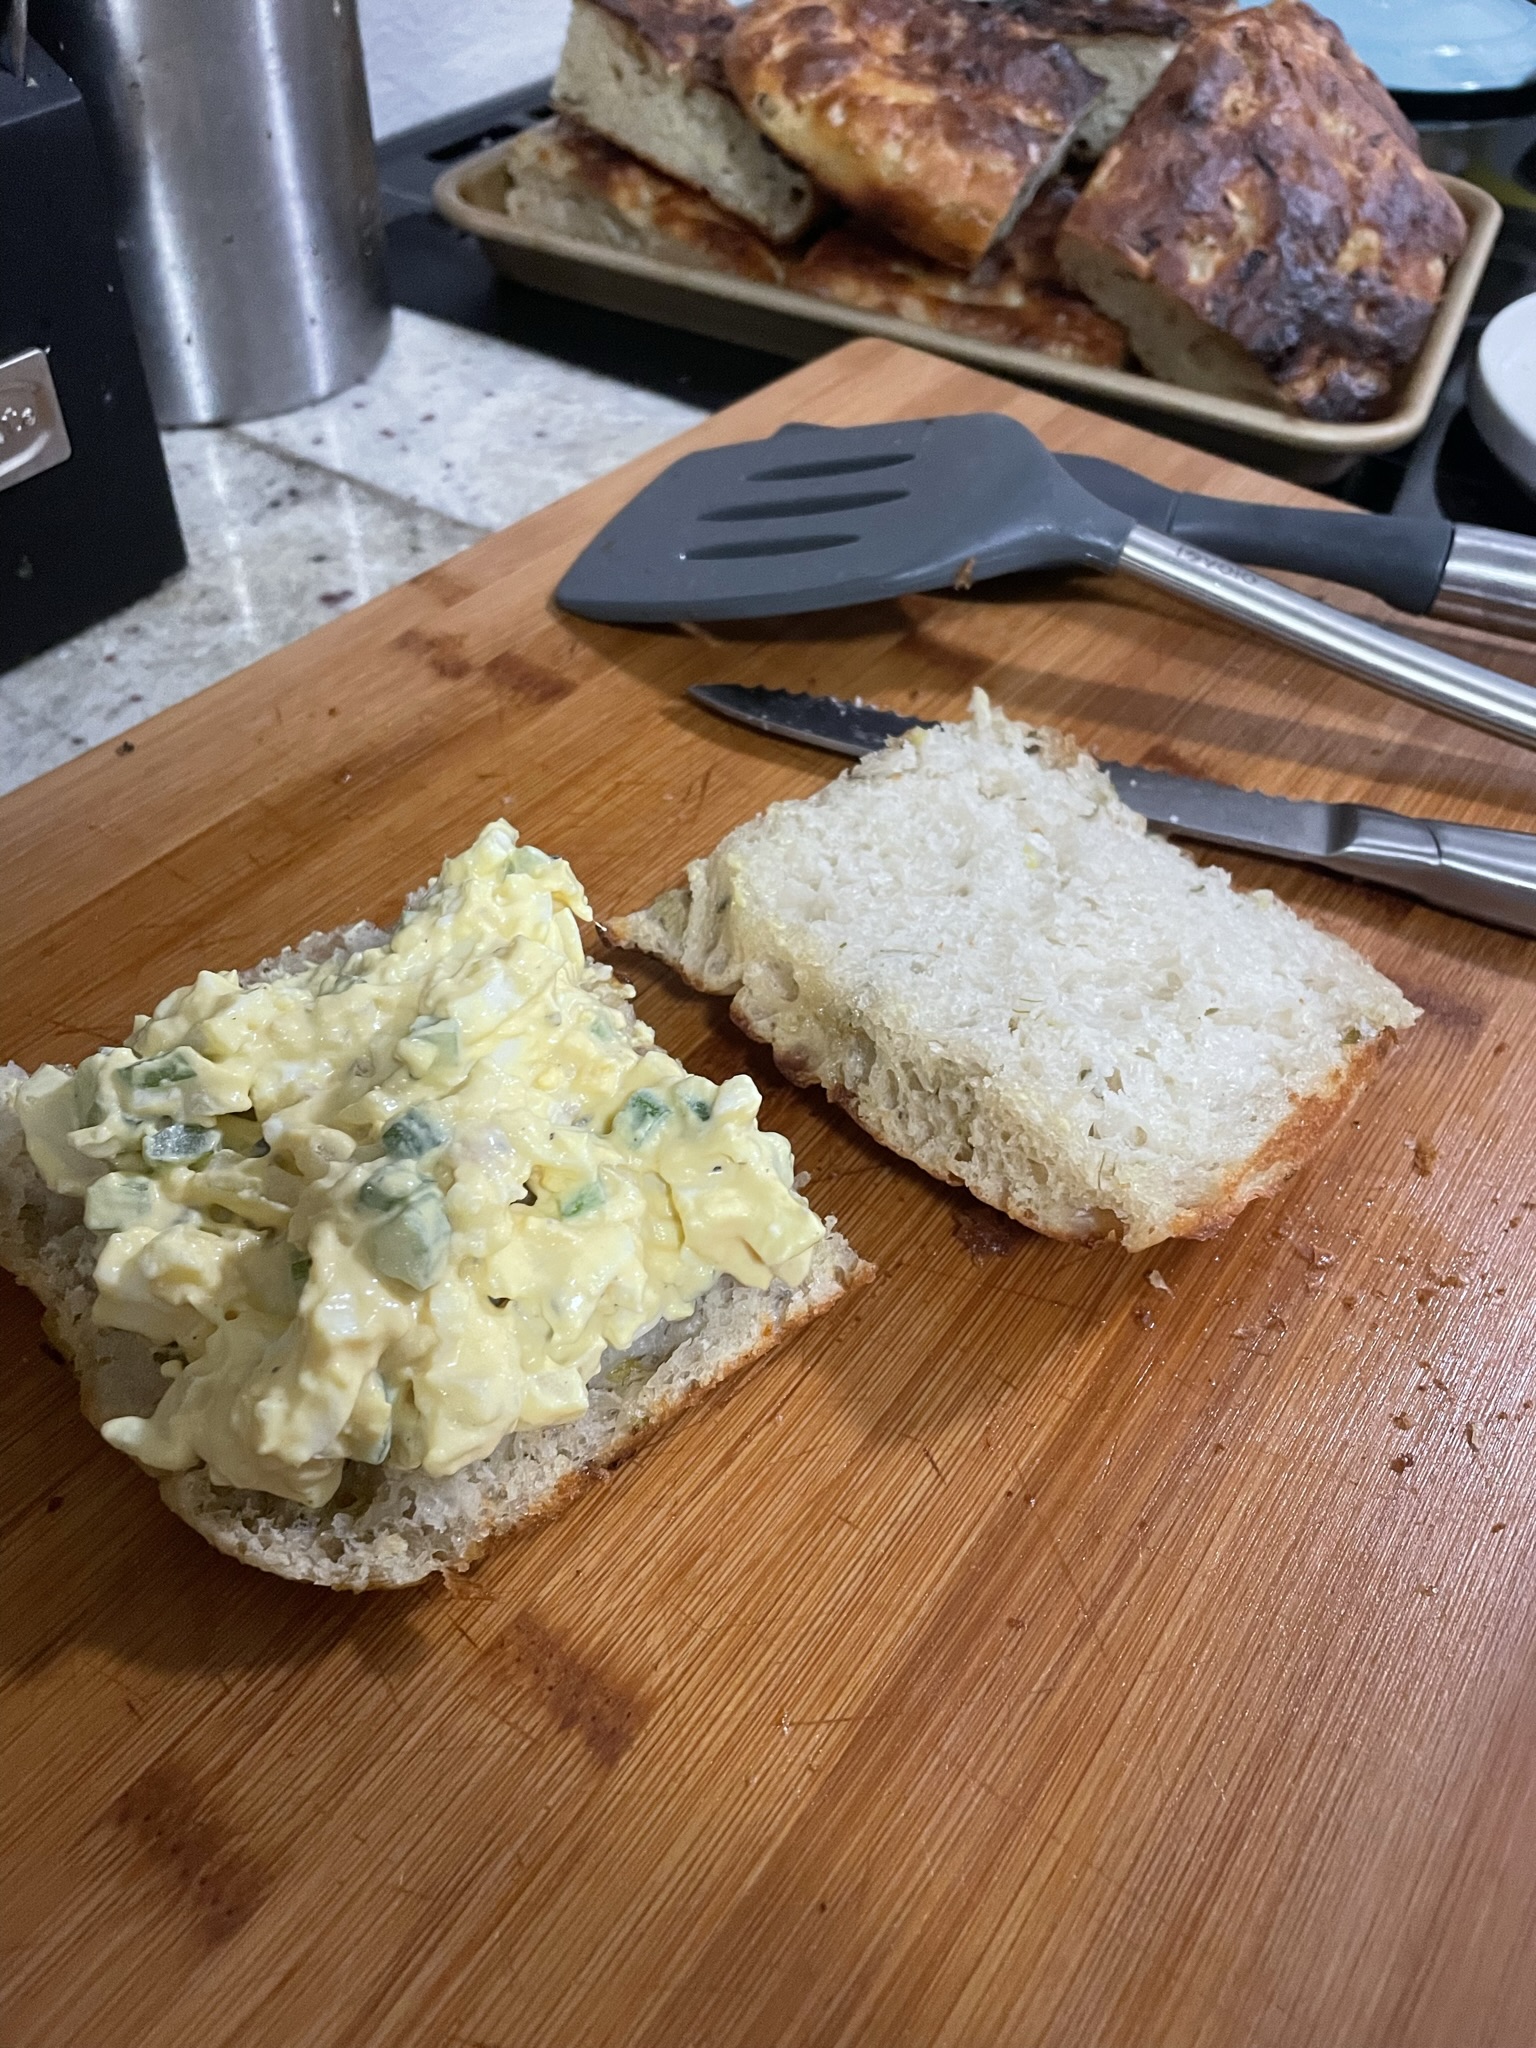
I think it’s summer now in the PNW so that means more time outside. Egg salad is a perfect prep item for on the go sandwiches for that next hike adventure or for a quick dinner when it’s too hot to turn on the stove or the oven. A couple scoops is also perfect on top of a bed of greens or wrapped in some lettuce for a light lunch or quick snack. Recently I’ve been liking this in my Scallion & Chili Crunch Focaccia.
Ingredients
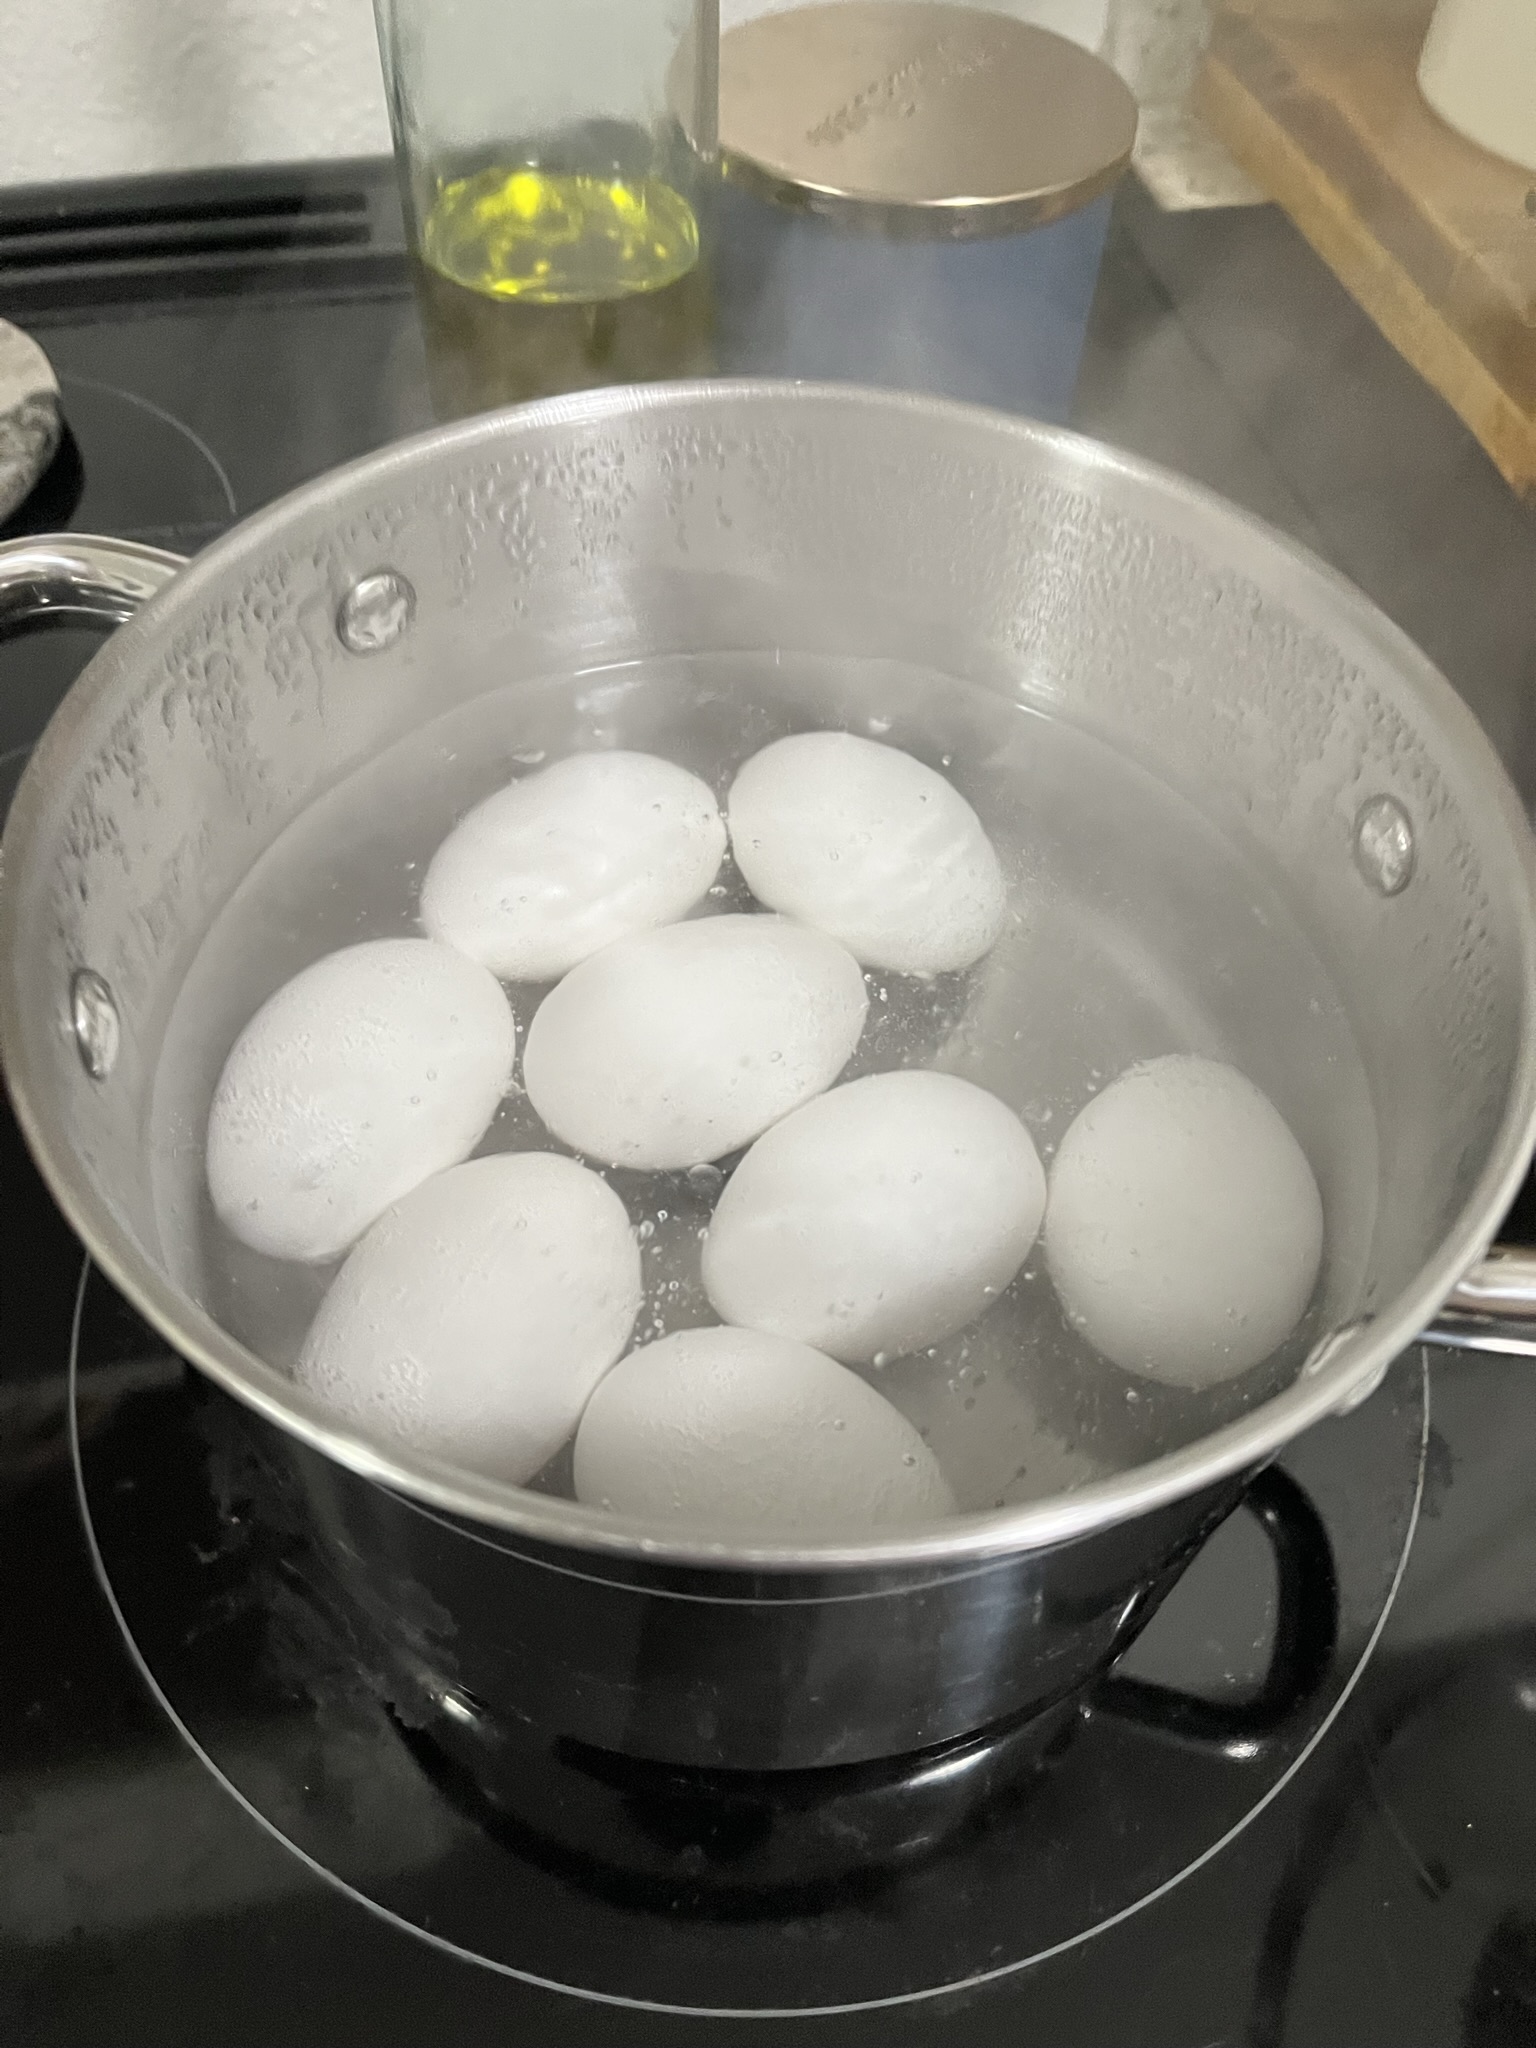
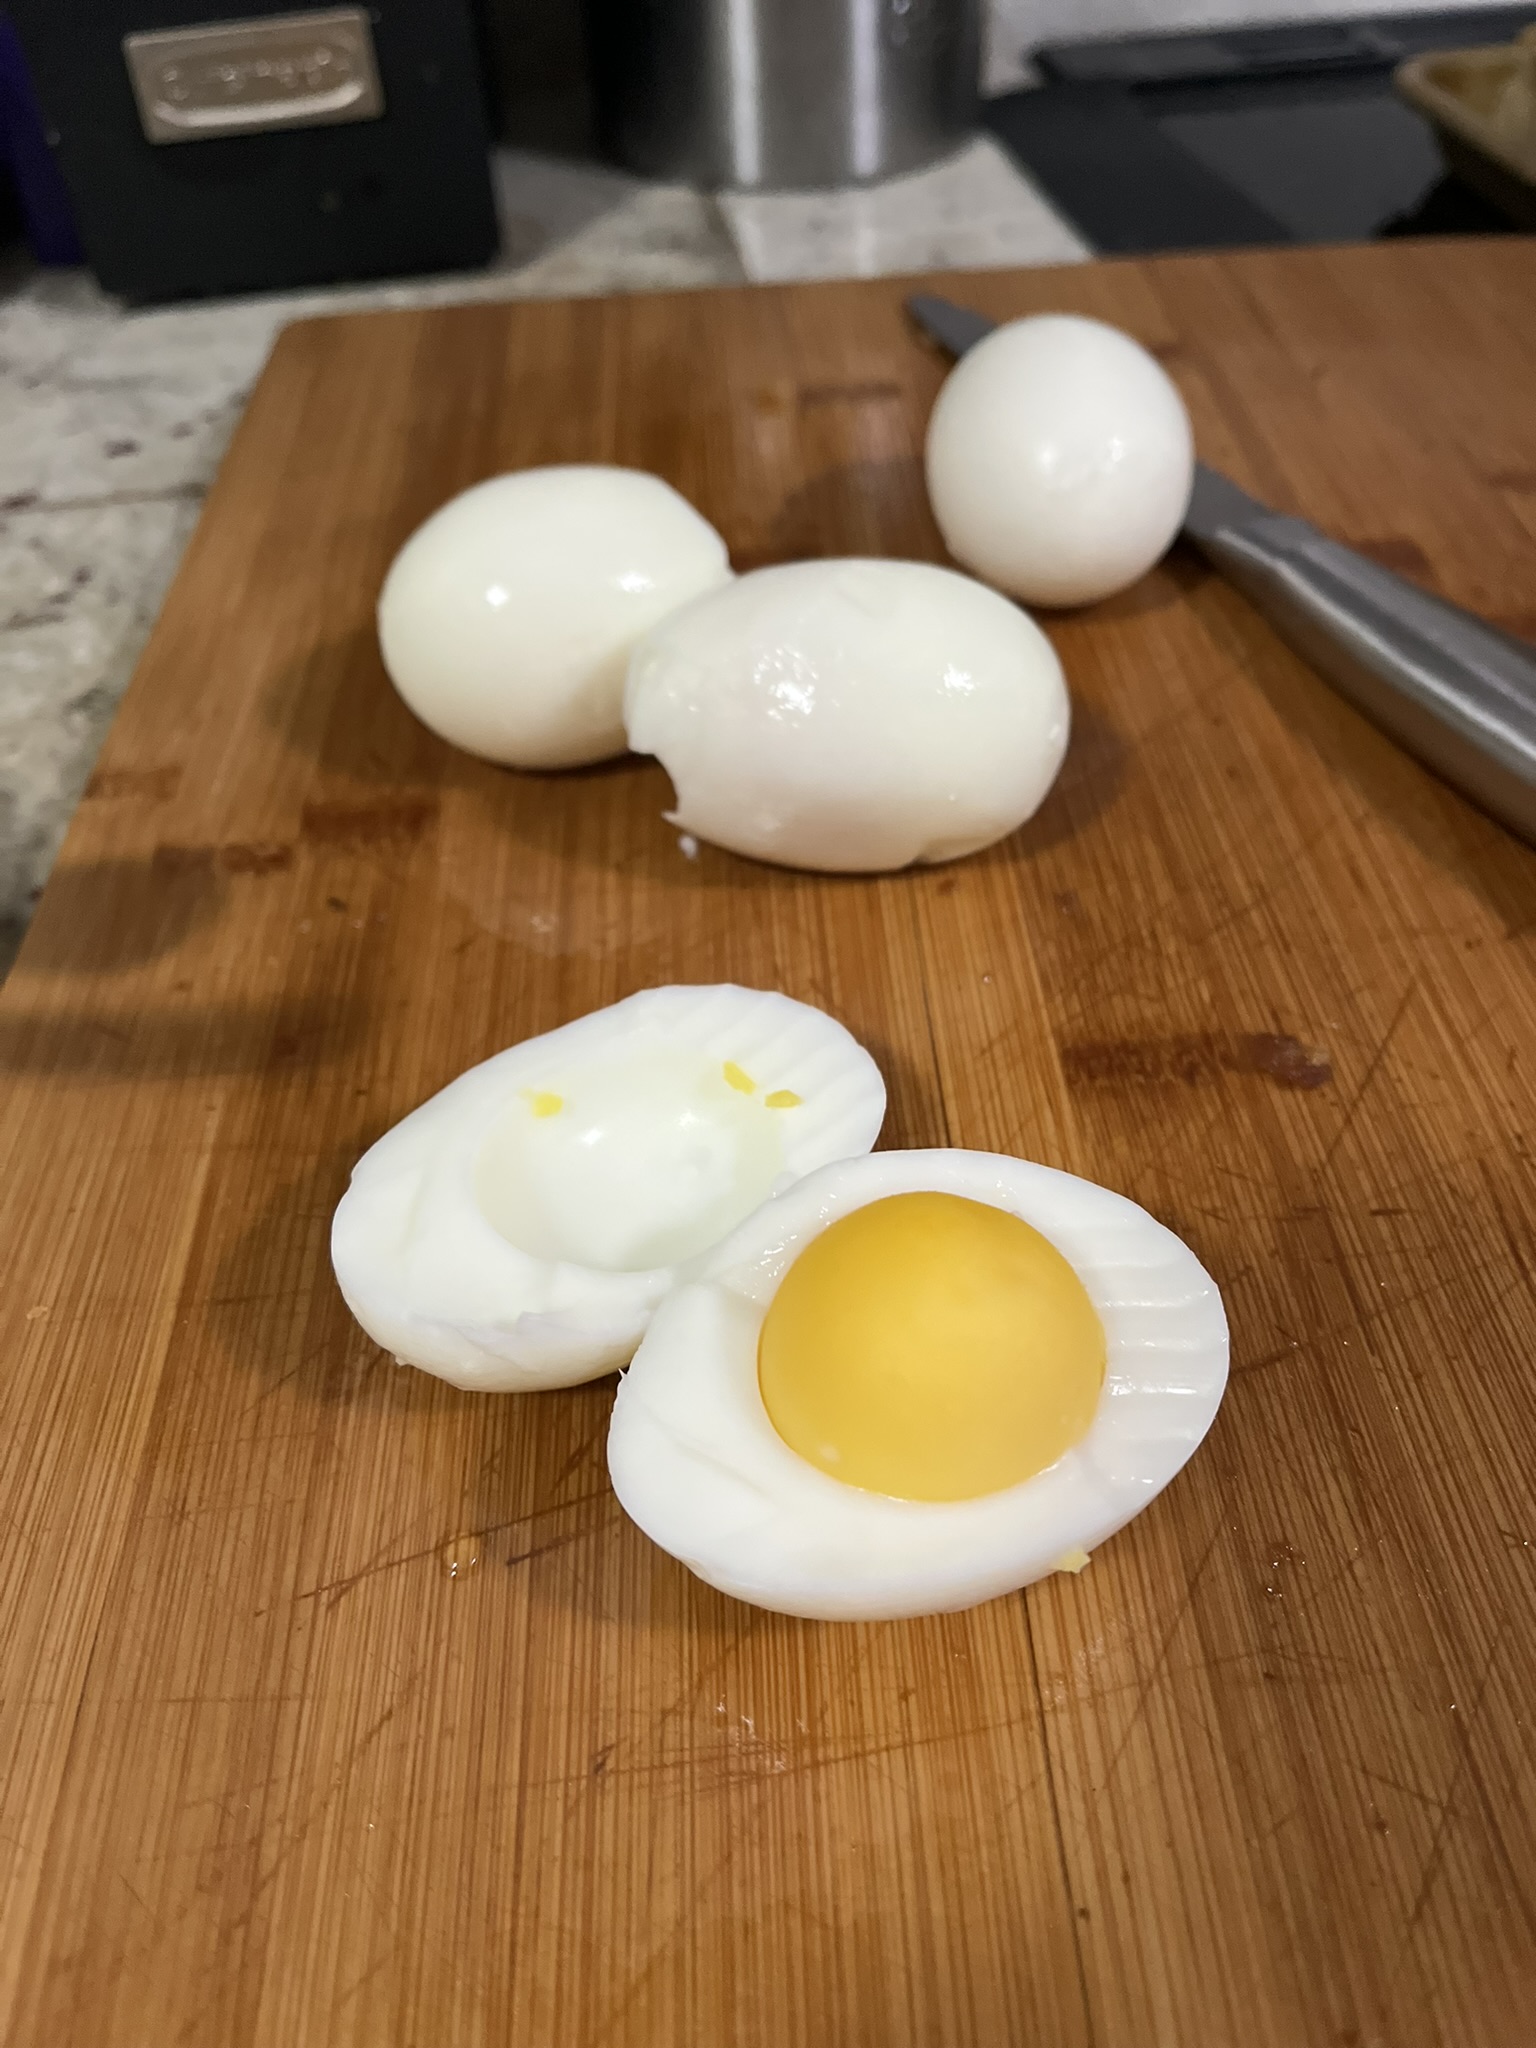
Hard-boiled eggs: I have a certain way that I like to prepare my eggs to get a perfect hard-boil without that green ring on the yolk that gives them that chalky texture. If you overcook your eggs for this, honestly you would never be able to tell since they get mashed into the dressing for the eggs anyway.
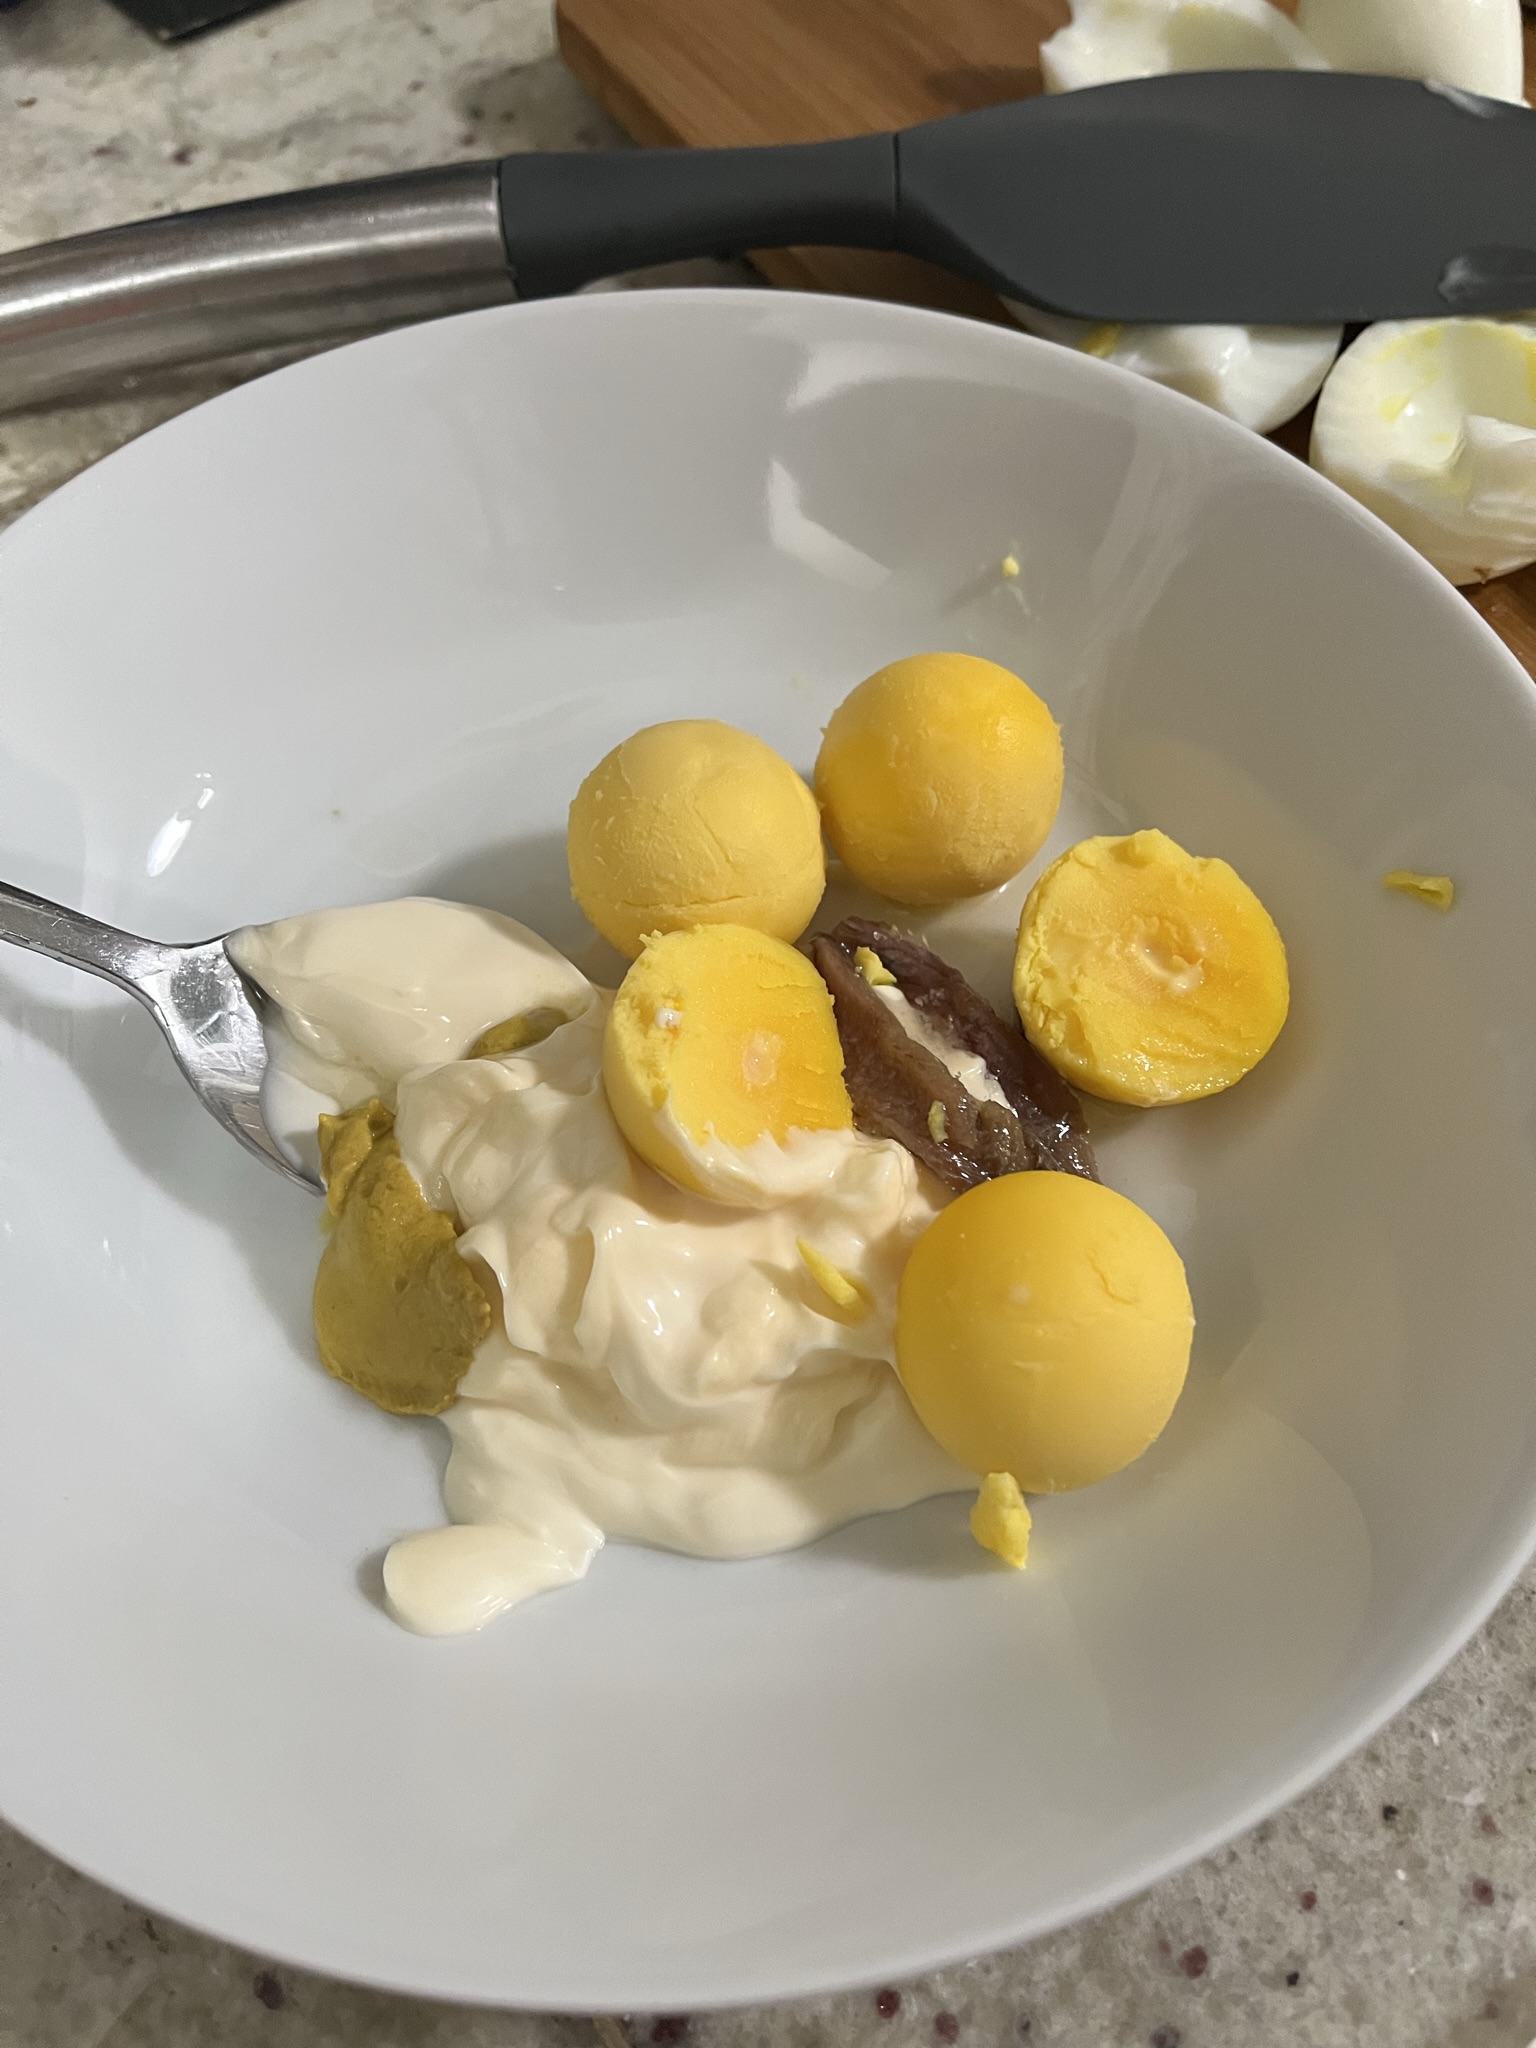
Anchovy: Shhhhhh secret ingredient! You’d never guess it was in there and it just gives the egg salad a more salty and savory flavor!
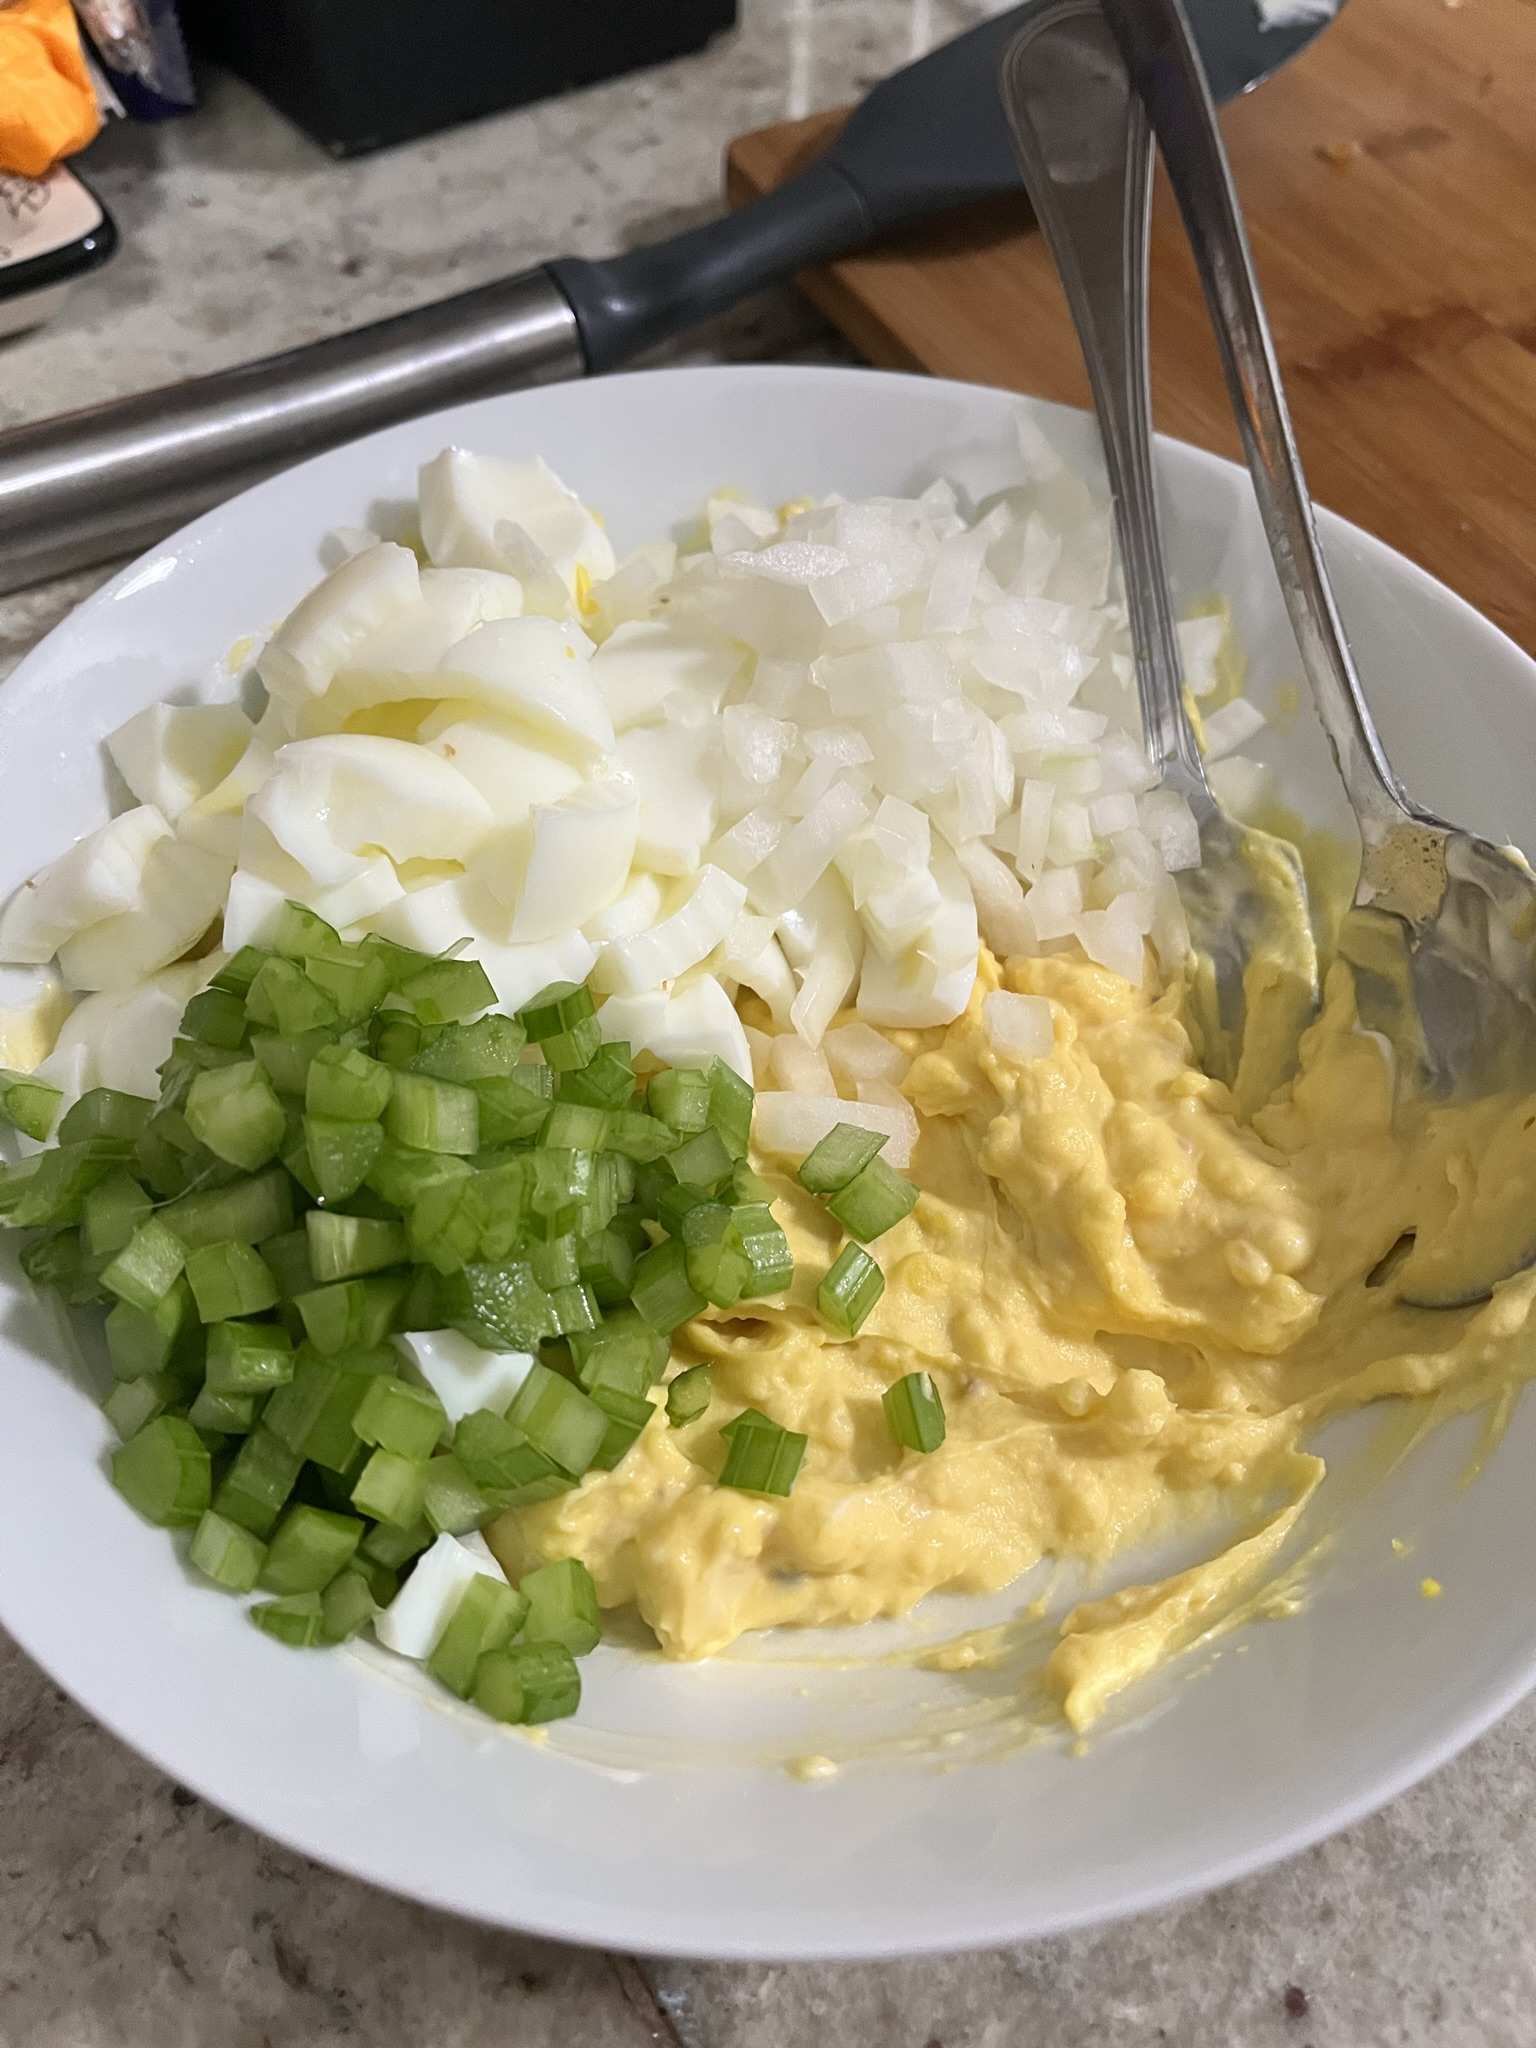
Onions: I prefer sweet onions, but if you had to pick a different onion, I would pick red onions.
Celery: Don’t skimp out on these! They give your egg salad more texture for endless eating.
boilingtake out those yolks!mashmixrefrigerateassemble
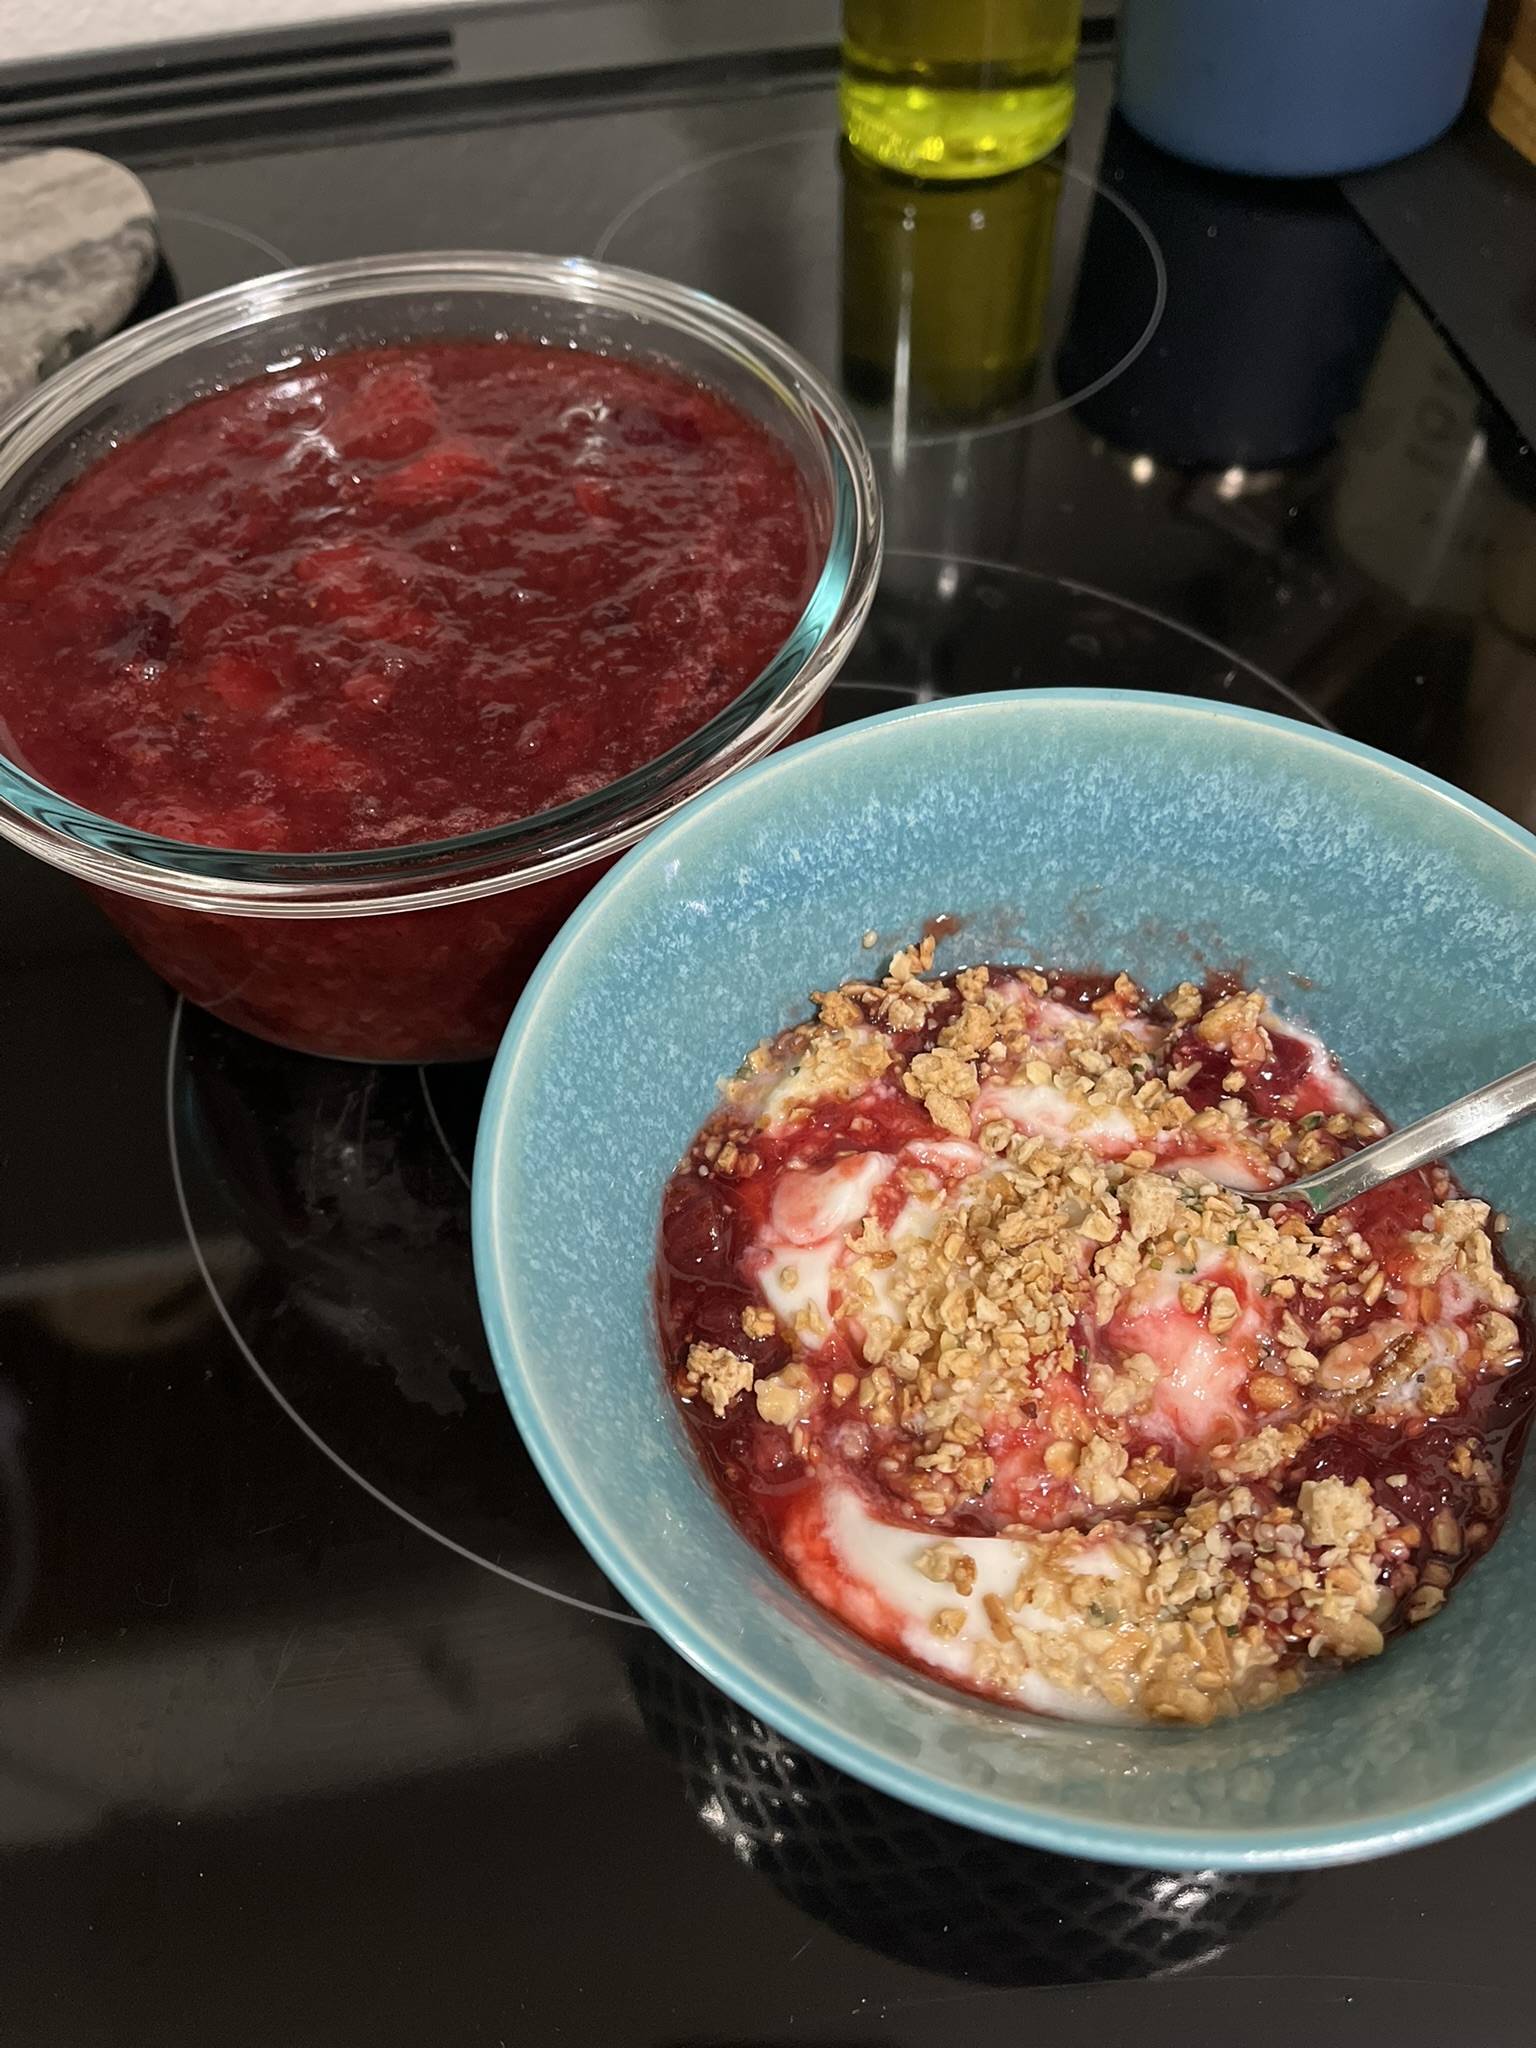
Spring is rhubarb season! My usual rhubarb plug unfortunately dug up all their rhubarb so now I have to go to the grocery store for rhubarb. Last year featured a Blueberry Rhubarb Jam, but this year I’m really into the strawberries. It doesn’t feel like strawberries should quite yet be in season yet, but it seems every grocery store has them on sale.
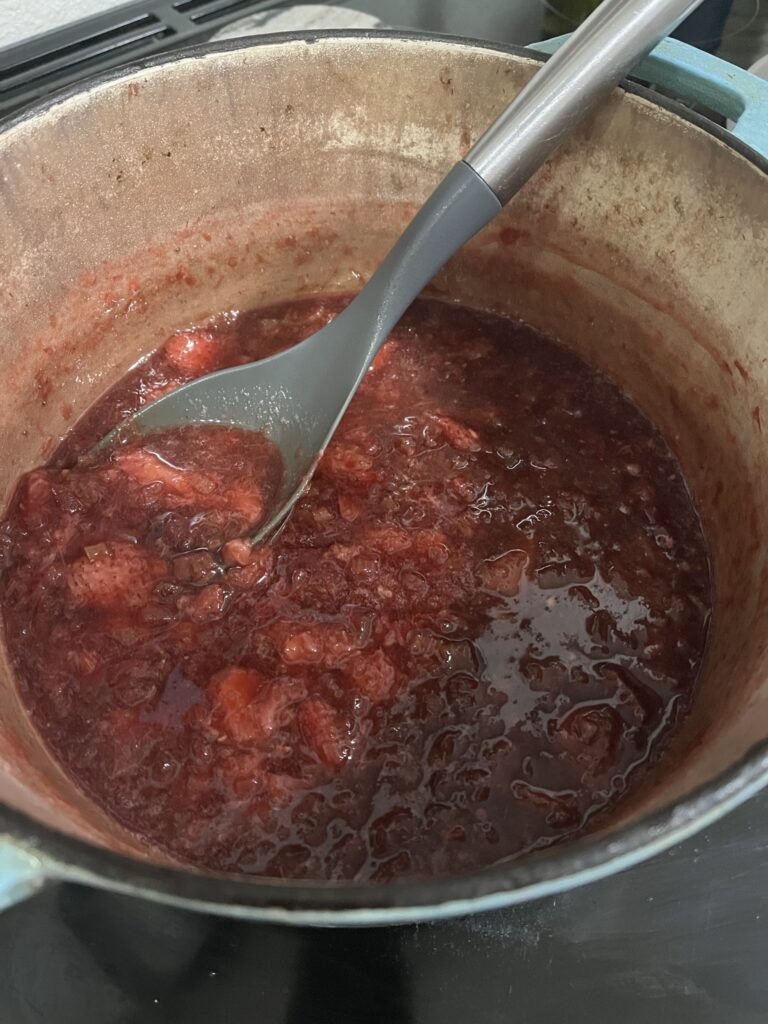
One of my favorite uses for strawberry rhubarb jam is to swirl it into my breakfast bowl of yogurt and granola for a perfect start to the day.
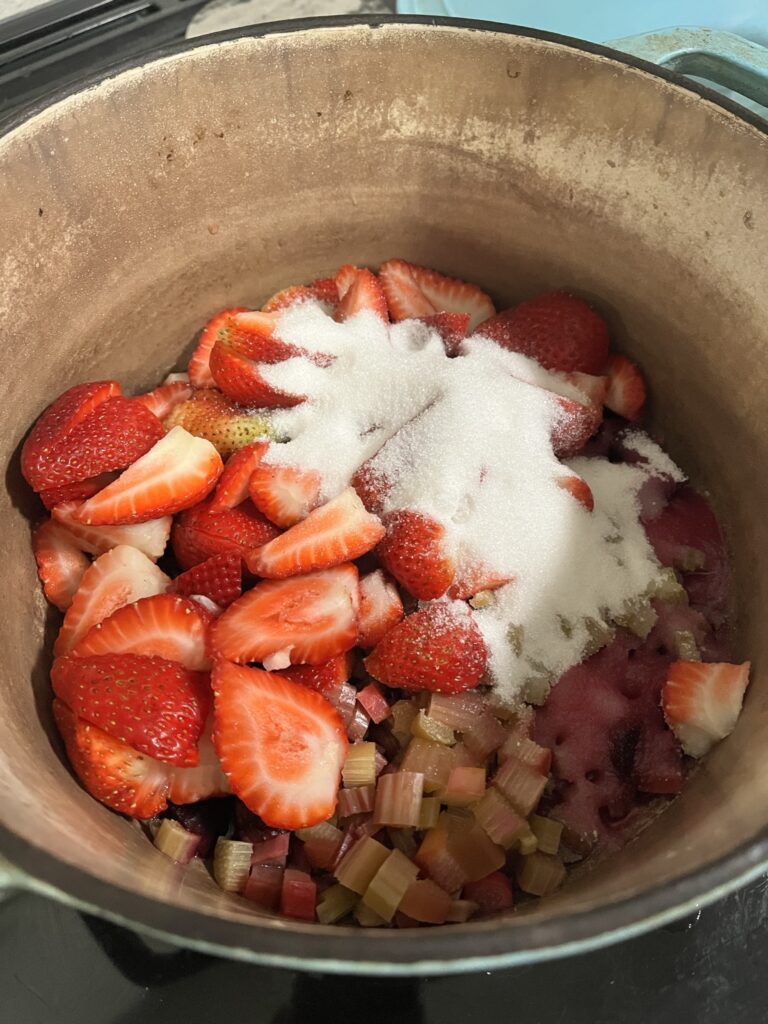
Ingredients:
Rhubarb – I know there are a lot of people that don’t like rhubarb, but honestly I don’t think you can “taste” rhubarb here. It’s really just adds color and tartness to the jam.
Strawberry – I used an entire pound of strawberries for this, but feel free to reduce the recipe down for a smaller quantity. I kept the strawberries large (I only quartered them) to leave more fruit texture in the final jam.
Definitely not an ad in anyway, but Safeway has been sending me coupons for free things every couple months. In the past it’s just been a free beverage or a container of yogurt, but this time it was 10 pounds of potatoes! Also silly me, it was a nice day so I walked to the store and walked back with the potatoes. What am I going to do with all these potatoes? I’ll bake some first, and maybe boil, mash, or put some in a stew later.
Ingredients
Potato – I like russet potatoes for making a baked potato. The skin is tougher so it doesn’t disintegrate in the oven. It also crisps up nicely in the oven if you like to eat the skin!
Toppings – My favorite baked potato toppings are sour cream, green onions, and Parmesan!
An easy side that gives you crispy skin and a fluffy interior
Course Main Course, Side Dish, Snack
Keyword baked potato, potatoes
Ingredients
potatoes
olive oil
salt
pepper
toppings of choice
Instructions
Clean and thoroughly scrub any quantity of potatoes you're planning on using. You'll want to make sure they're well cleaned so if you end up eating the skin, it isn't gritty.
Preheat the oven to 400F
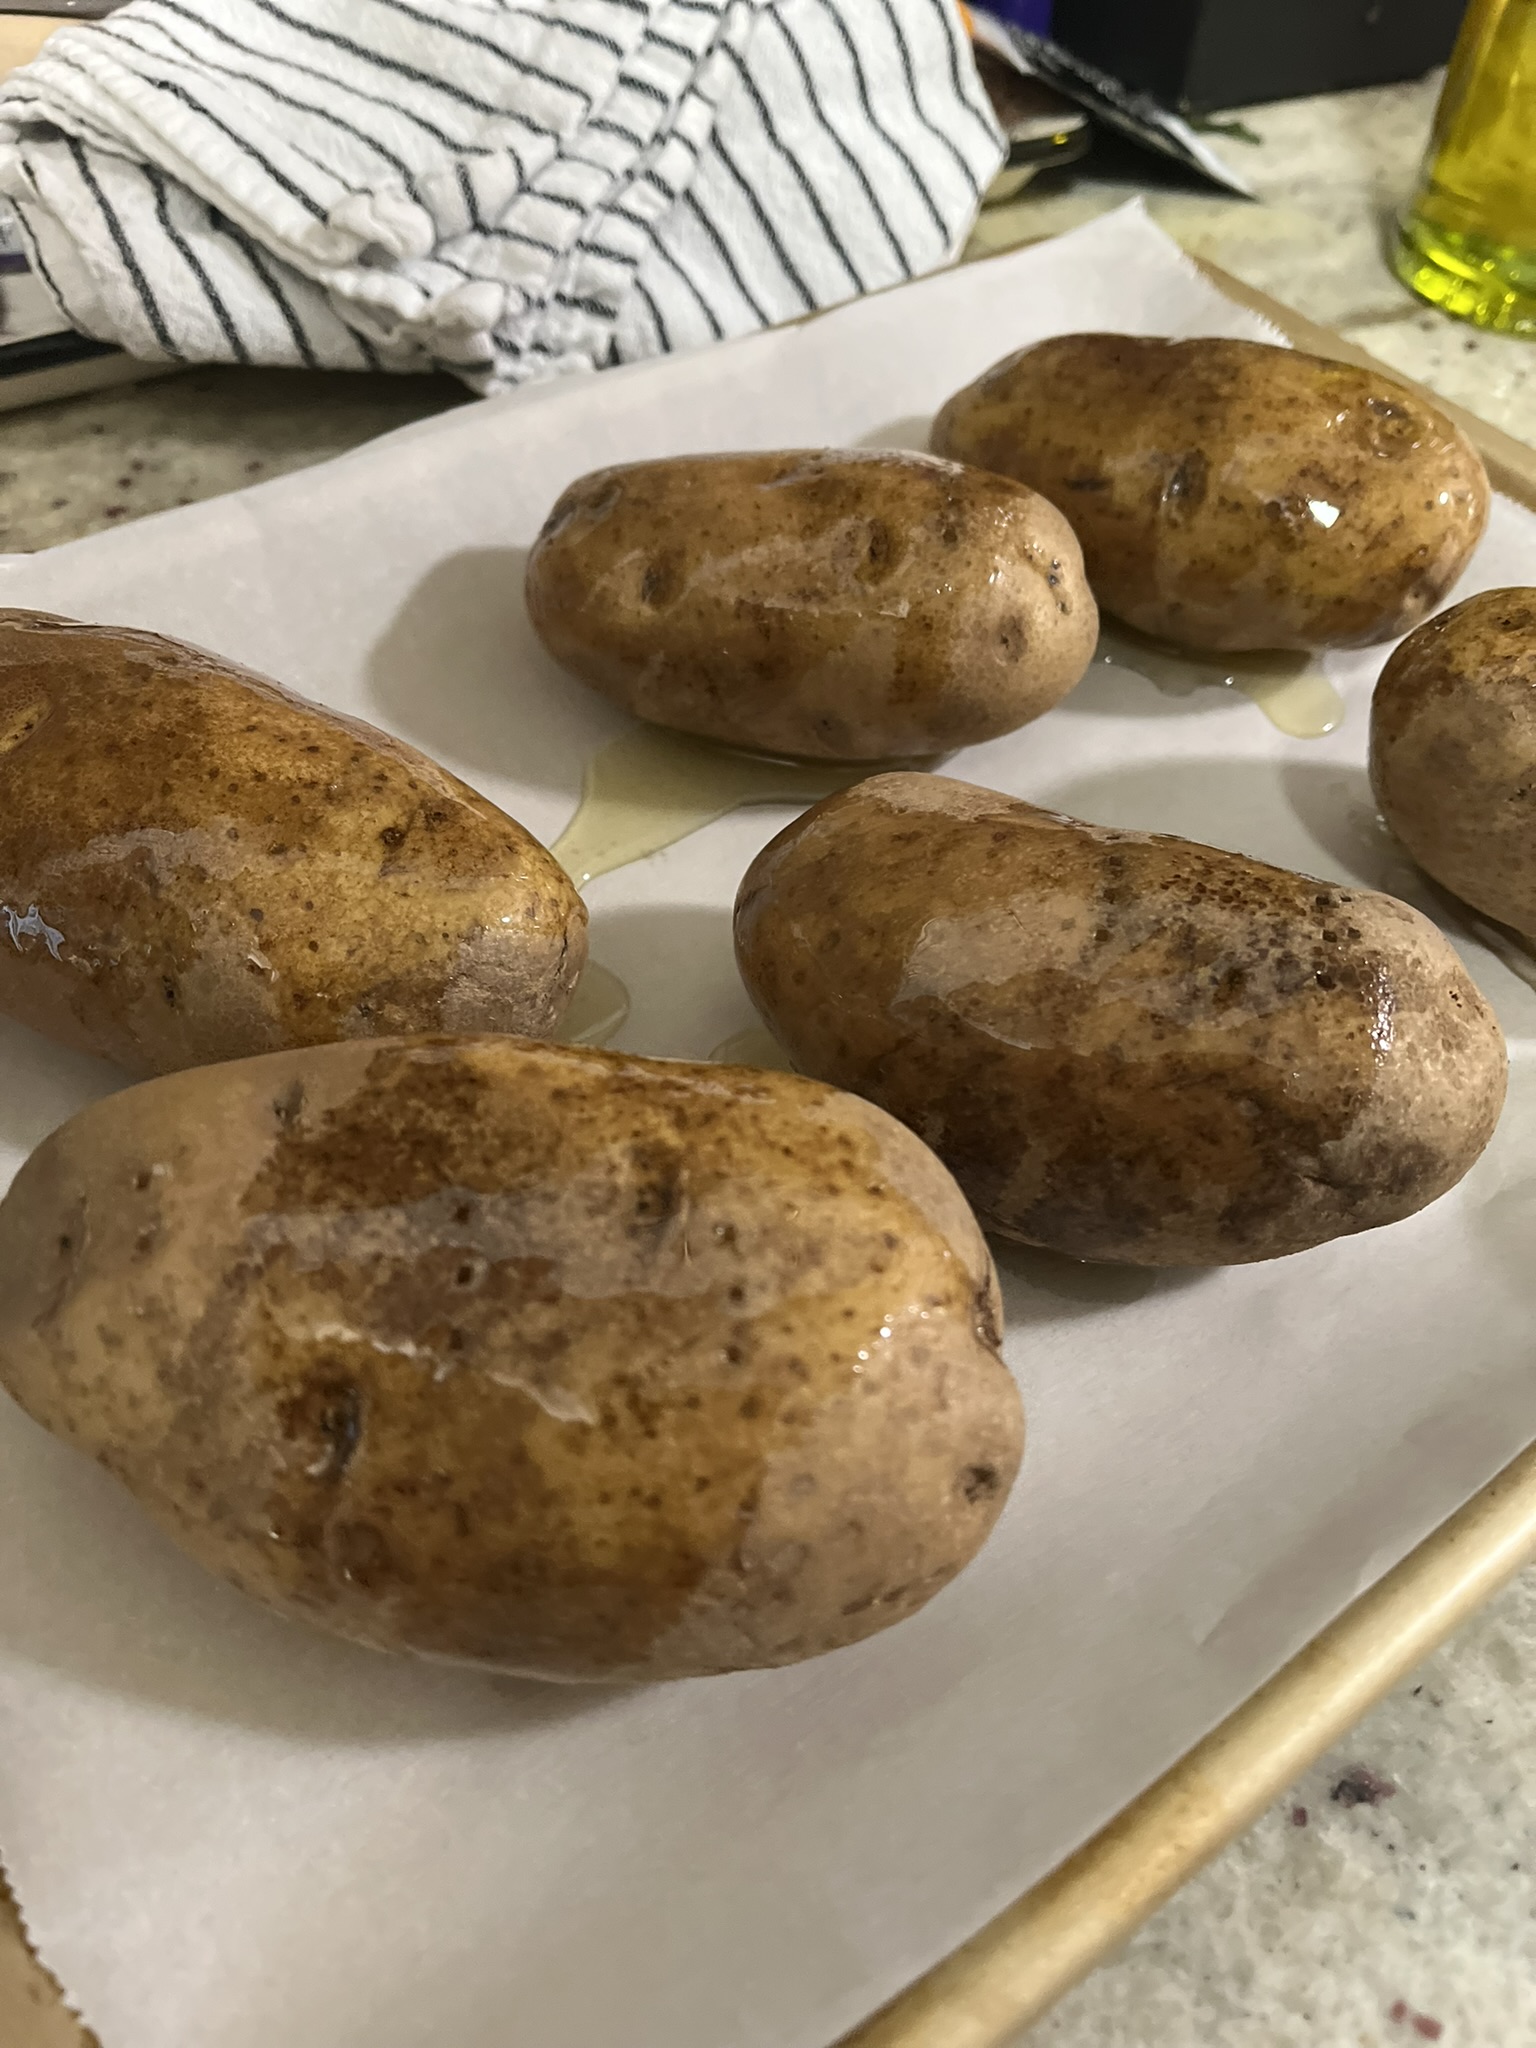
Pat dry and place on a parchment lined baking sheet.
Stab potatoes with a fork so they can release steam as they cook.
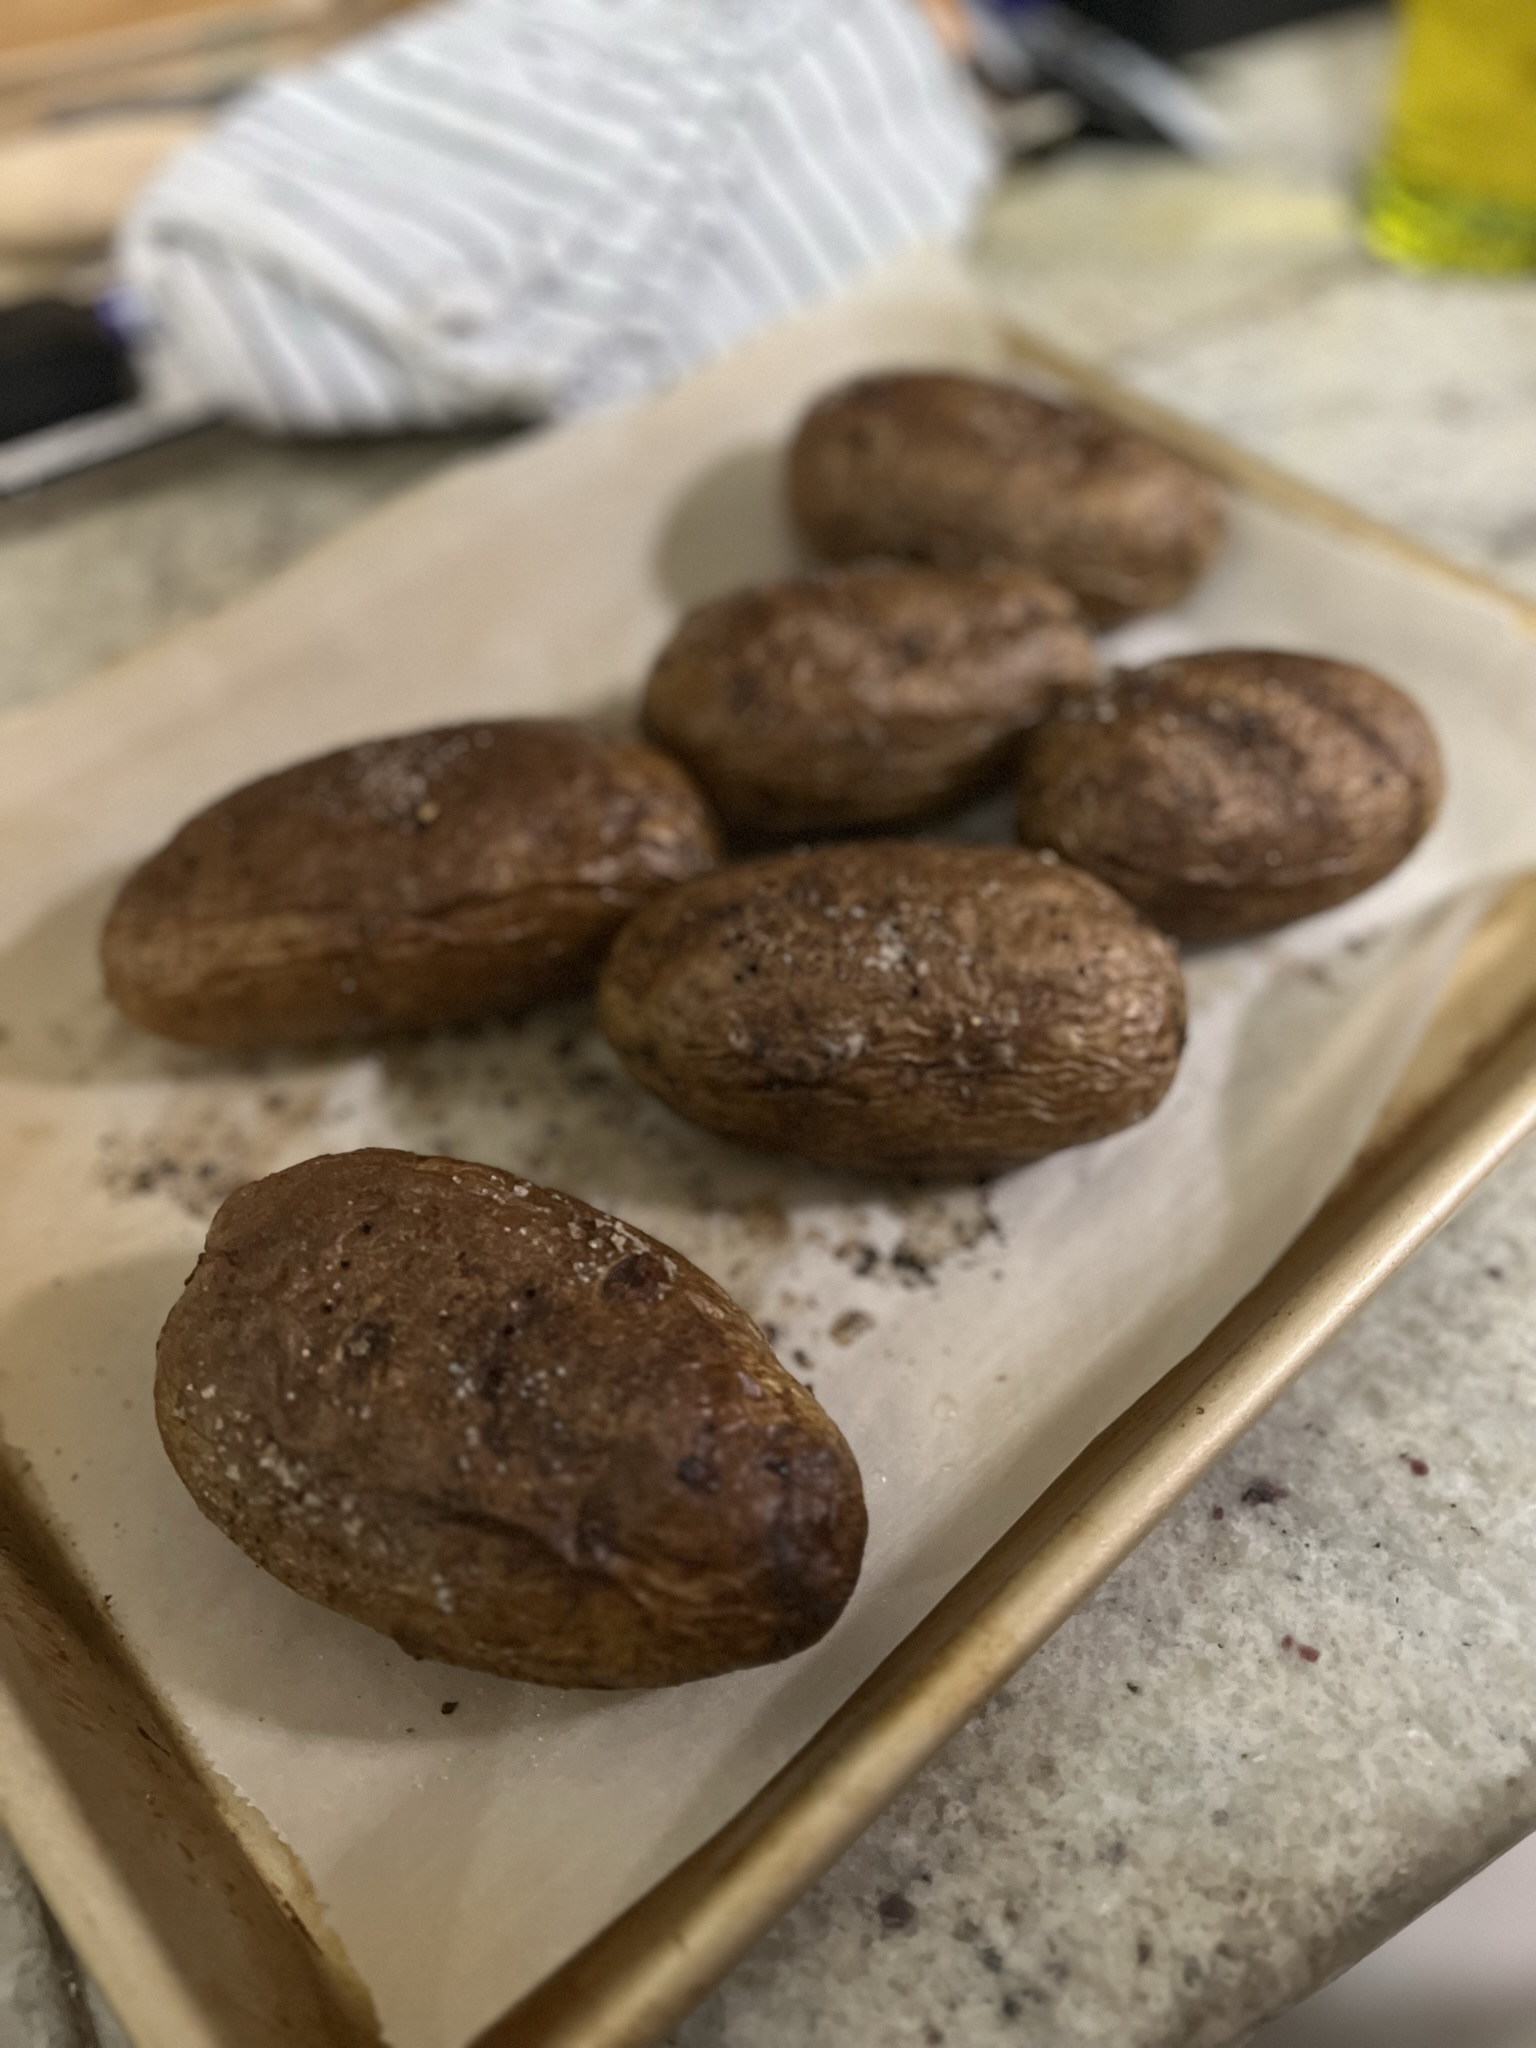
Thoroughly coat each potato in olive oil, and generously season the exterior with salt and pepper. I like using ~1 tsp of salt per potato and then a few generous cranks on the pepper mill.
Bake for ~45 minutes, until you can easily insert a fork through the potato.
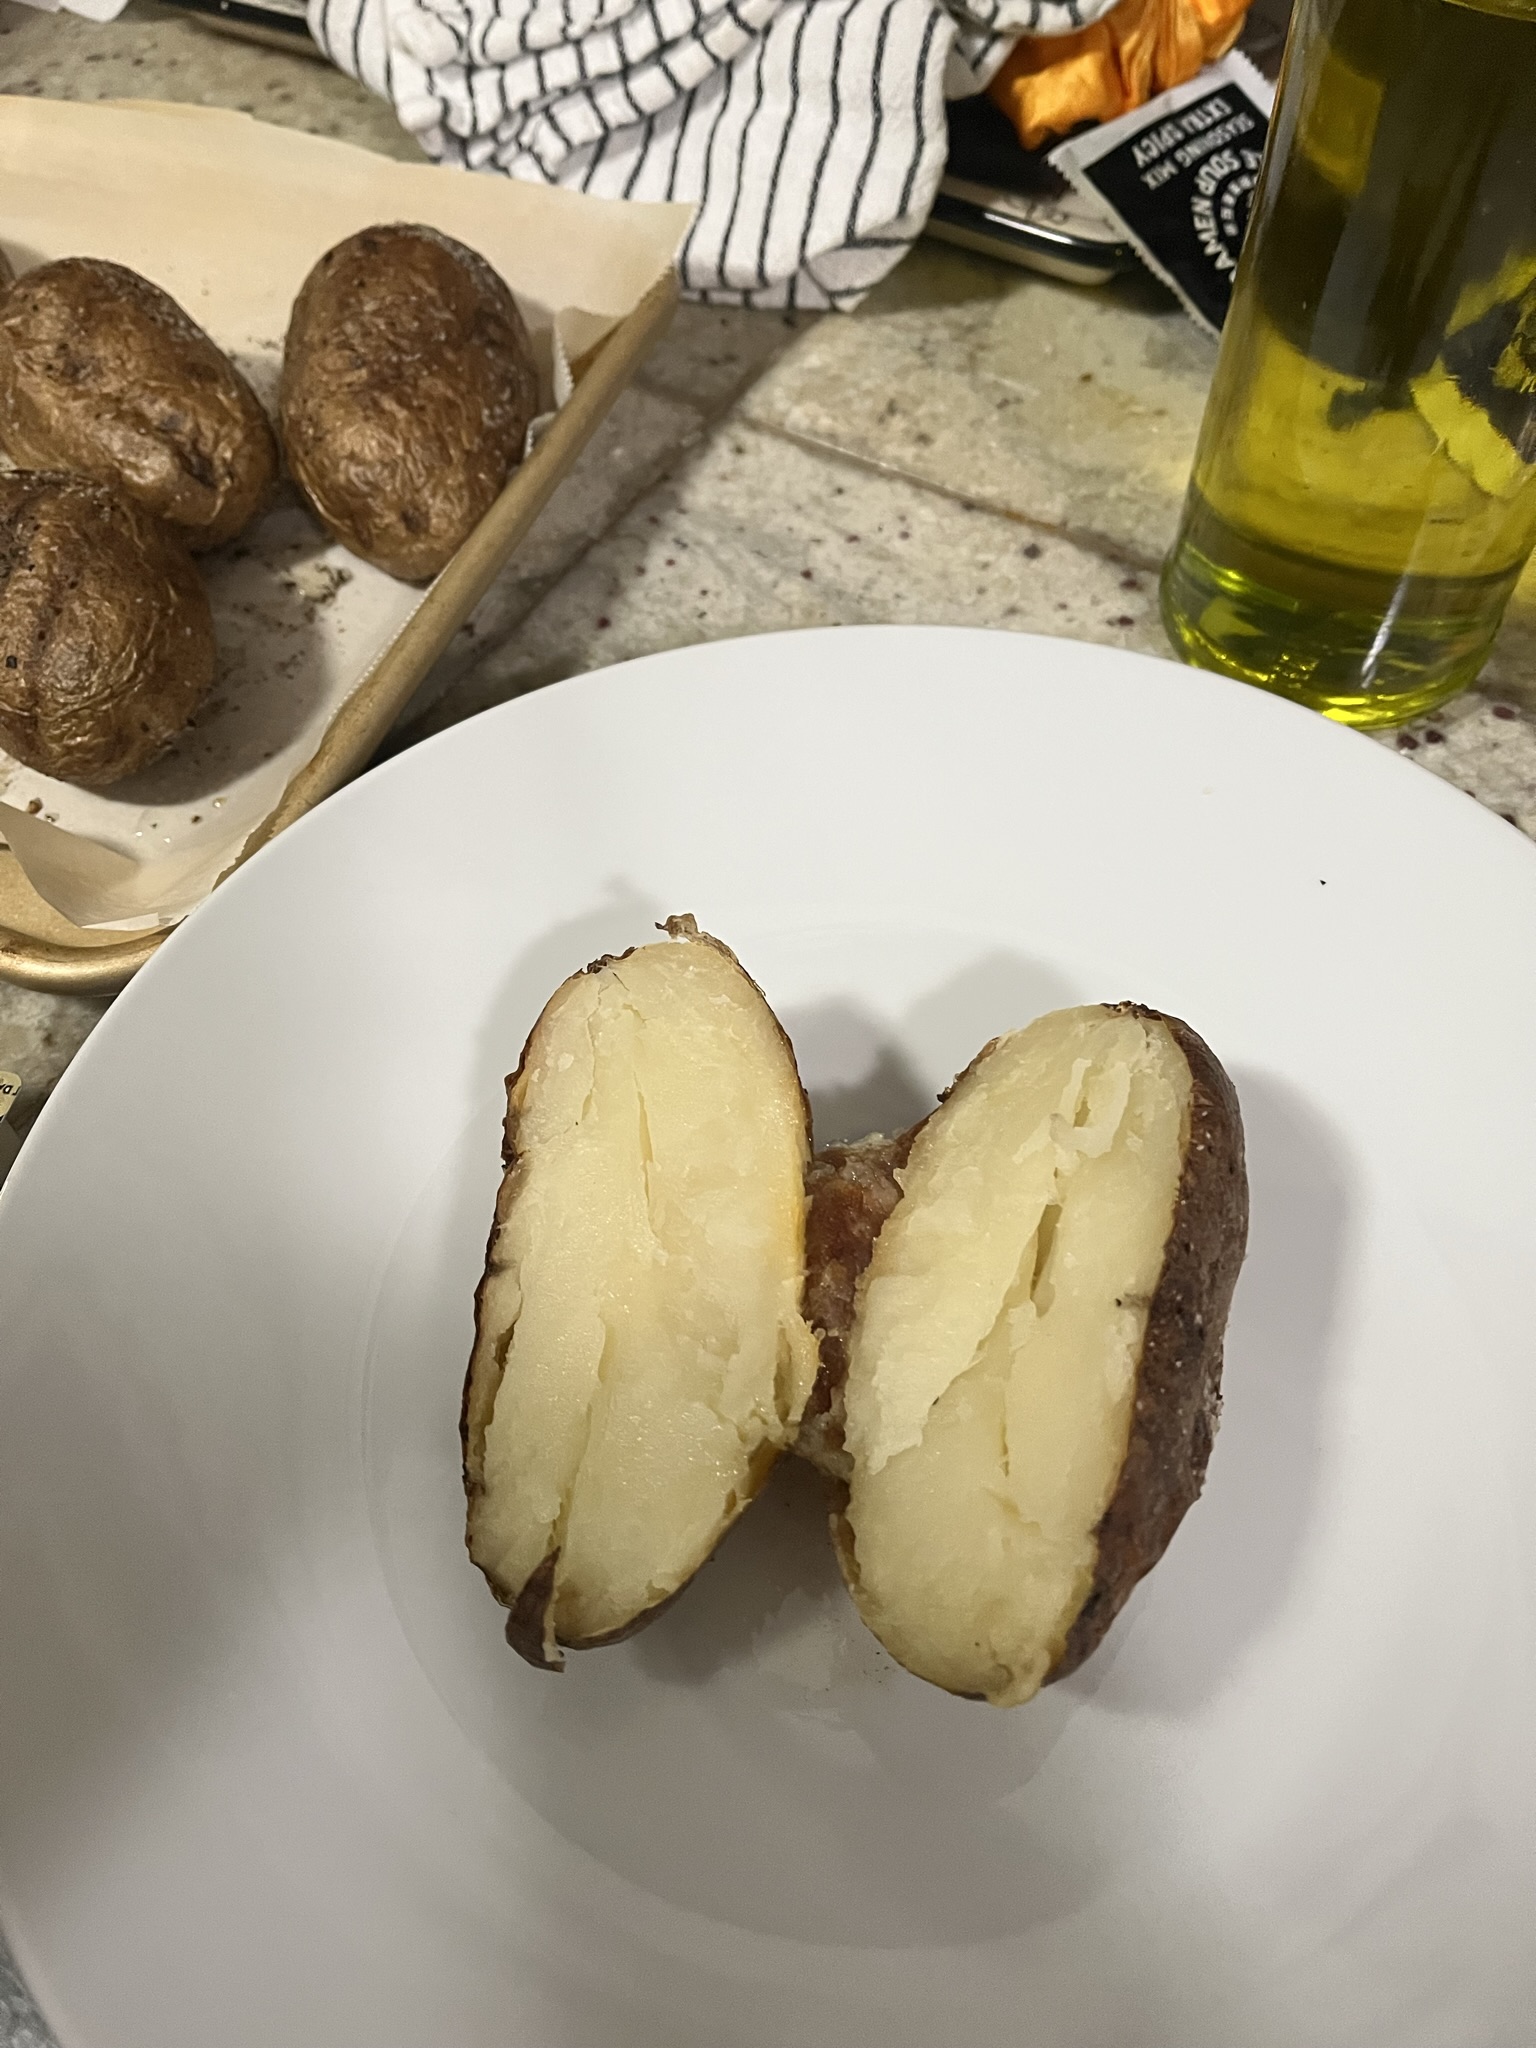
Cool for a few minutes and then slice through completely. Fluff the interior and add your favorite toppings!
Last week was a major heat wave in the Seattle area with temps in the 80-90sF. I know, I know, this is nothing compared to the 120F+ that gently roasts you in Phoenix, but not having any air conditioning definitely changes things! Producing as little heat as possible during the day was the goal. Boiling some eggs only takes a couple minutes in the mornings when it’s still cool from the sun being away. These soy eggs were consumed in just a few days with some rice cooker rice, seaweed salad, and kimchi for a no-stove meal.
After you’re done, don’t throw away the marinade! You can save it for a nice stir-fry or marinate something else with it.
Ingredients
Eggs – I like soft-boiled eggs for this, but if you don’t like a gushy yolk, you are more than welcome to hard-boil them!
Sugar – White sugar can be substituted here, but I would use a tablespoon or so less in case it’s too sweet. Adjust as you please!
Marinated eggs with a gooey yolk perfect on top of a bowl of rice.
Cuisine Asian
Keyword eggs, soft-boiled
Ingredients
1cupsoy sauce
1cupwater
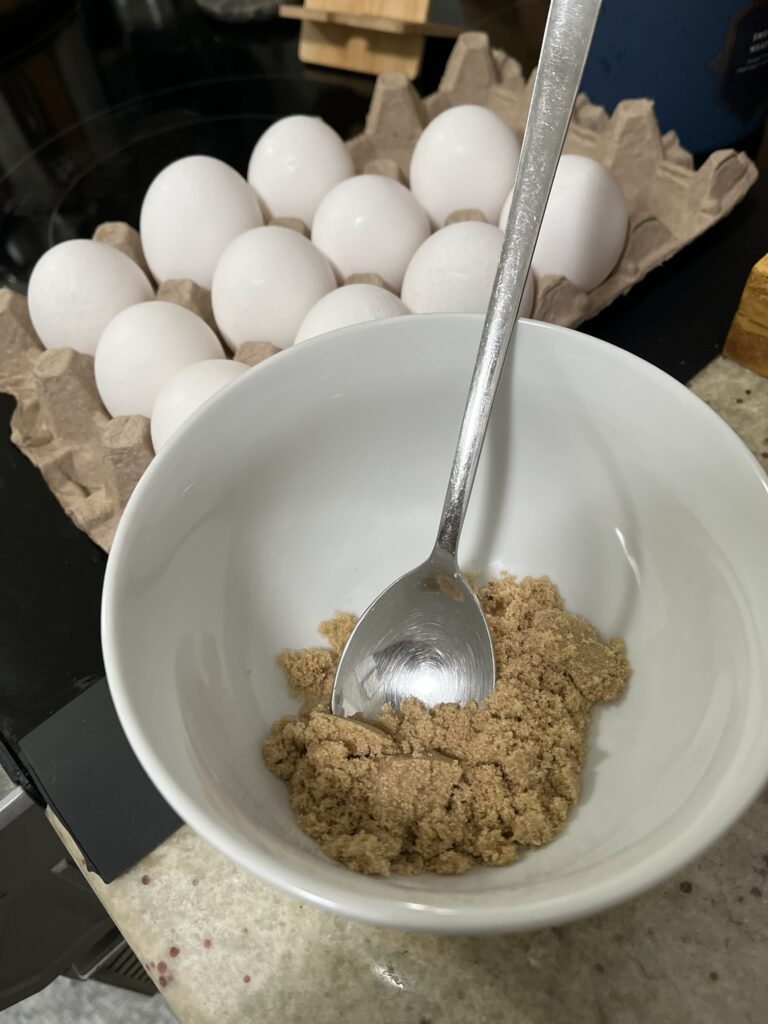
1/2cupbrown sugar
1/4cupsesame oil
1/4cupgreen onions
Instructions
Put a pot of water on the stove to boil.
When water is boiling, carefully lower eggs into the water.
Boil for 7-8 minutes for a soft boil.
While boiling, prepare a bowl of cold ice water to put eggs into after they are boiling to stop the cooking process.
While eggs are cooling, make your sauce! Mix together soy sauce, water, sugar, sesame oil, and green onions, ensuring the sugar has completely dissolved.
When eggs have cooled completely, peel and place them into a container.
Pour the marinade over the eggs, gently stirring to ensure some marinade goes between every egg.