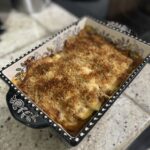
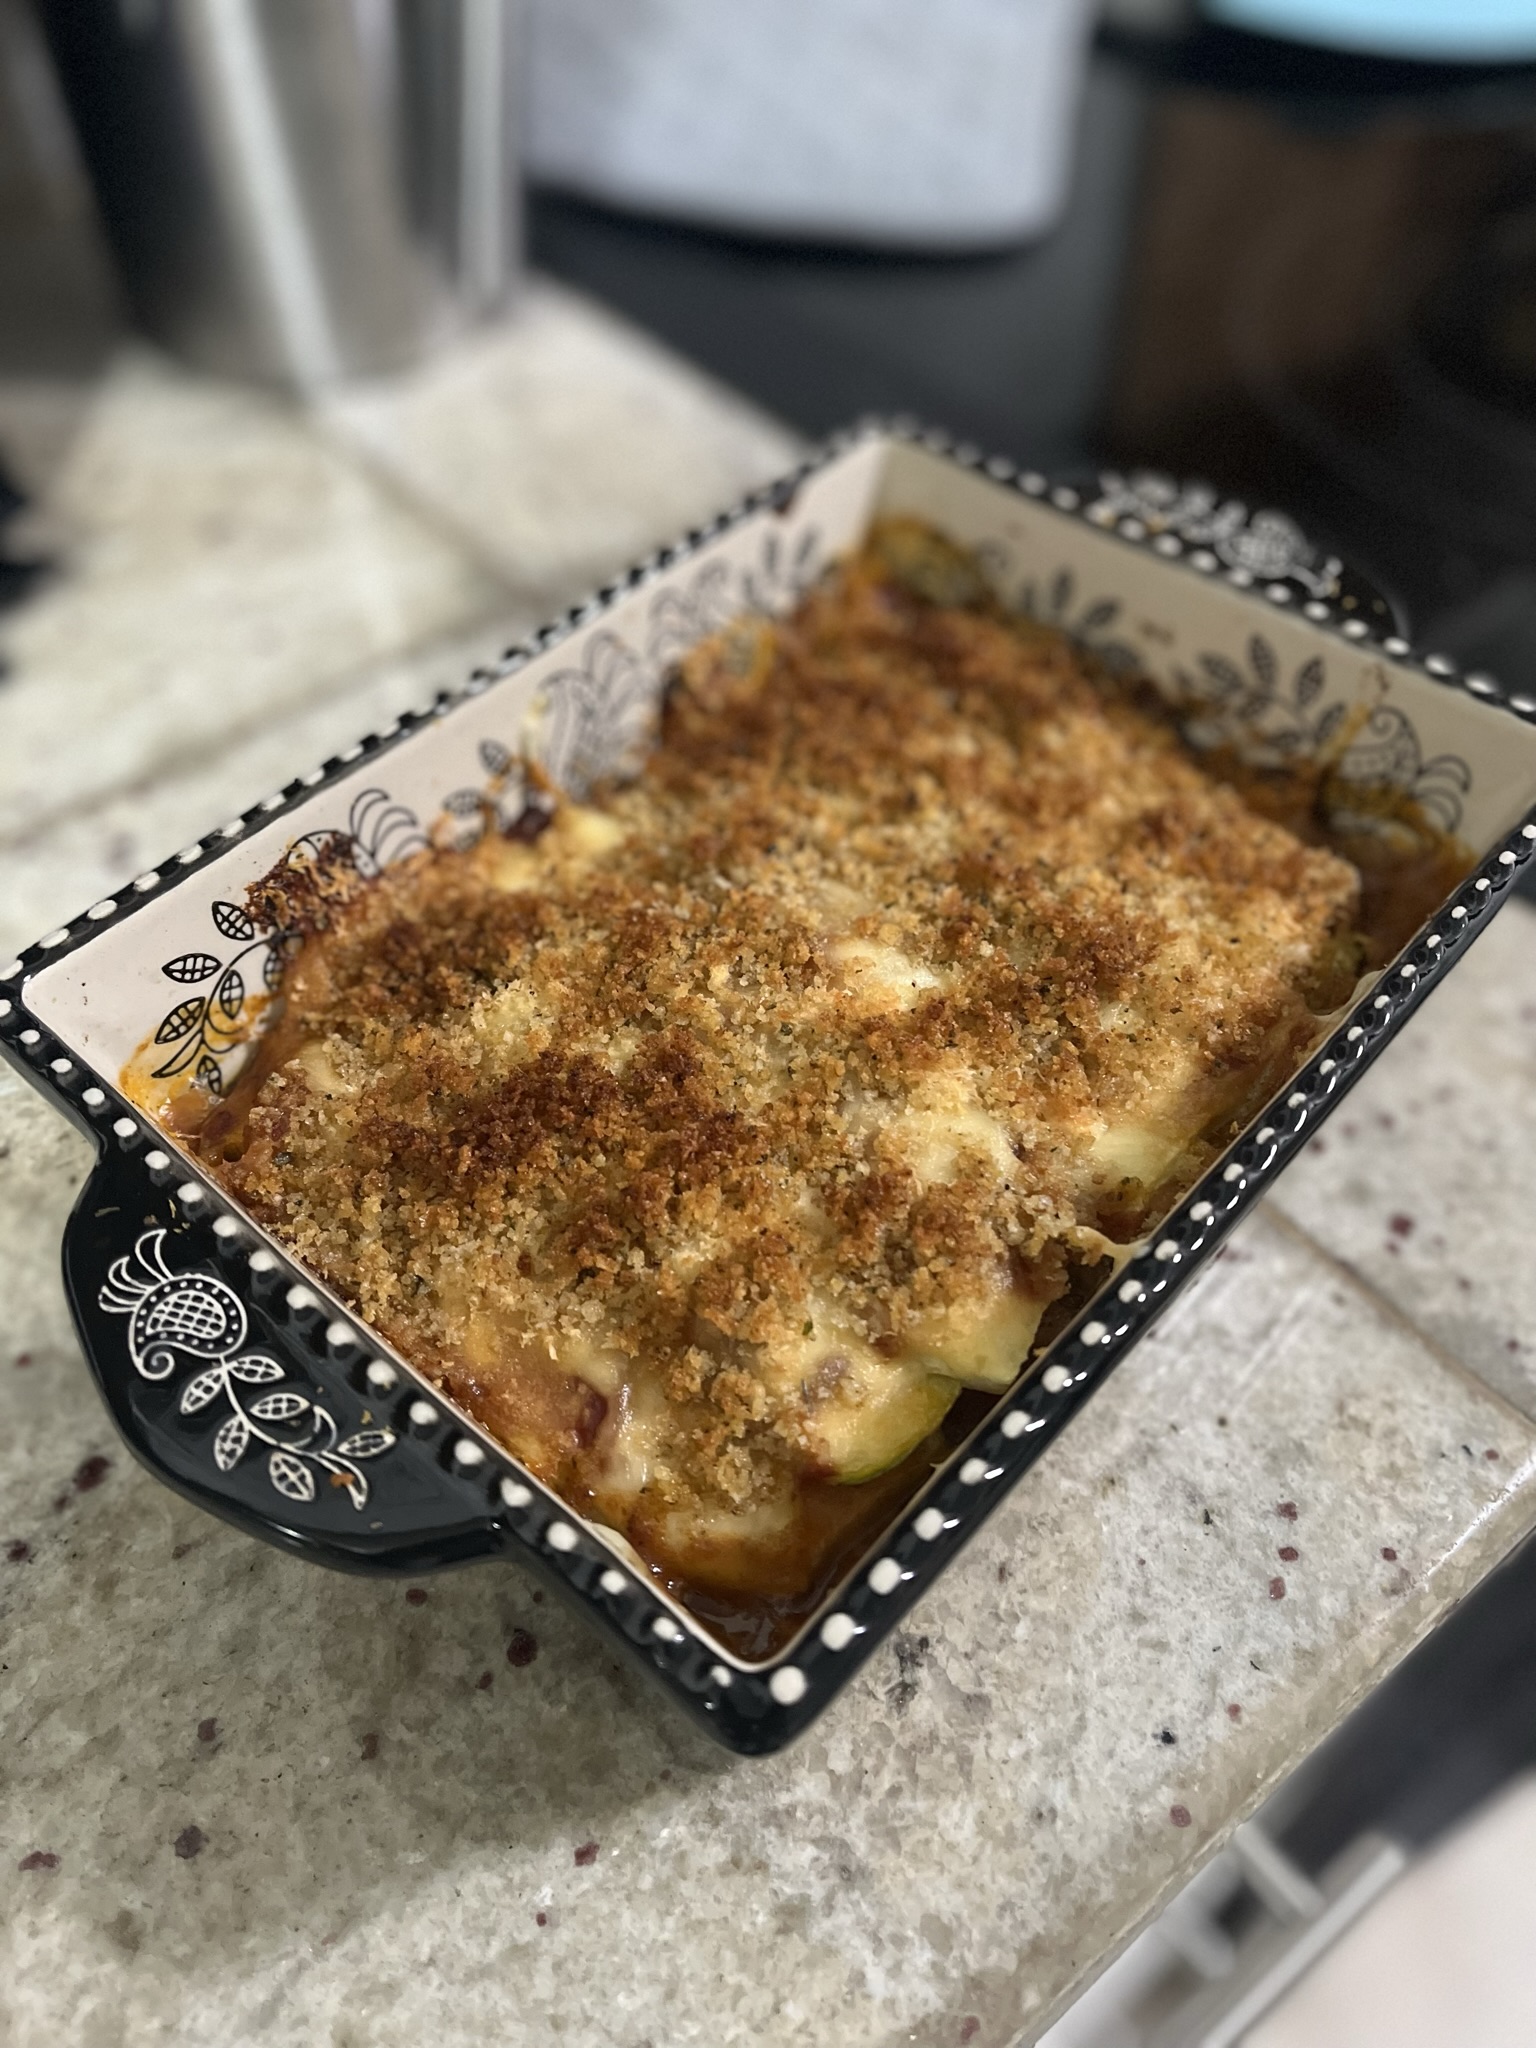
Zucchini Parm Lasagna

Most of my recipes are really based on what I get from my weekly CSA box and what is leftover in my refrigerator/pantry. At my last CSA pick up, I got my hands on some of the last of the summer squash. This guy was absolutely massive. I had leftover homemade tomato sauce (adapted from Tomato Basil Soup, no dairy, no basil, add onion), a variety of cheeses in the fridge, and some breadcrumbs aging in the pantry. I wanted lasagna but also wanted eggplant parmesan, so we ended up with a zucchini lasagna!

Ingredients

Squash – If you want to use squash, you can really use any. Green and yellow summer squash or zucchini is excellent. Squash could also be substituted with eggplant if you want to keep the lasagna low-carb. If you want a real lasagna, you could use lasagna noodles.

Tomato sauce – Make your own or just use a jar! The sauce is meatless, but you could sear off some extra protein and mix it into the sauce.

Cheese – I used a combination of mozzarella, monterey jack, and parmesan. Use any combination that you like.

Breadcrumbs – I like the breadcrumbs since it gives the “eggplant parmesan” texture and also supports a crispy top. If you don’t want them, don’t use them.
Zucchini Parm Lasagna

Print Recipe
A low-carb lasagna that's actually super hearty and satisfying. The crispy top gives you that "eggplant parmesan" feel.
Course Main Course, Side Dish
Keyword lasagna, parmesan, squash, zucchini
Cook Time 30 minutes

Equipment

  • 1 9×13 dish or 2 5×8 dishes
  • mandolin slicer

Ingredients

  • 4 pounds zucchini 1/4 in slices
  • 16 ounces tomato sauce
  • 1 cup Italian style breadcrumbs
  • 1/2 cup panko
  • 1/4 cup olive oil
  • 1 tsp salt
  • 1 cup mozzarella
  • 1 cup monterey jack
  • 1/2 cup grated parmesan

Instructions

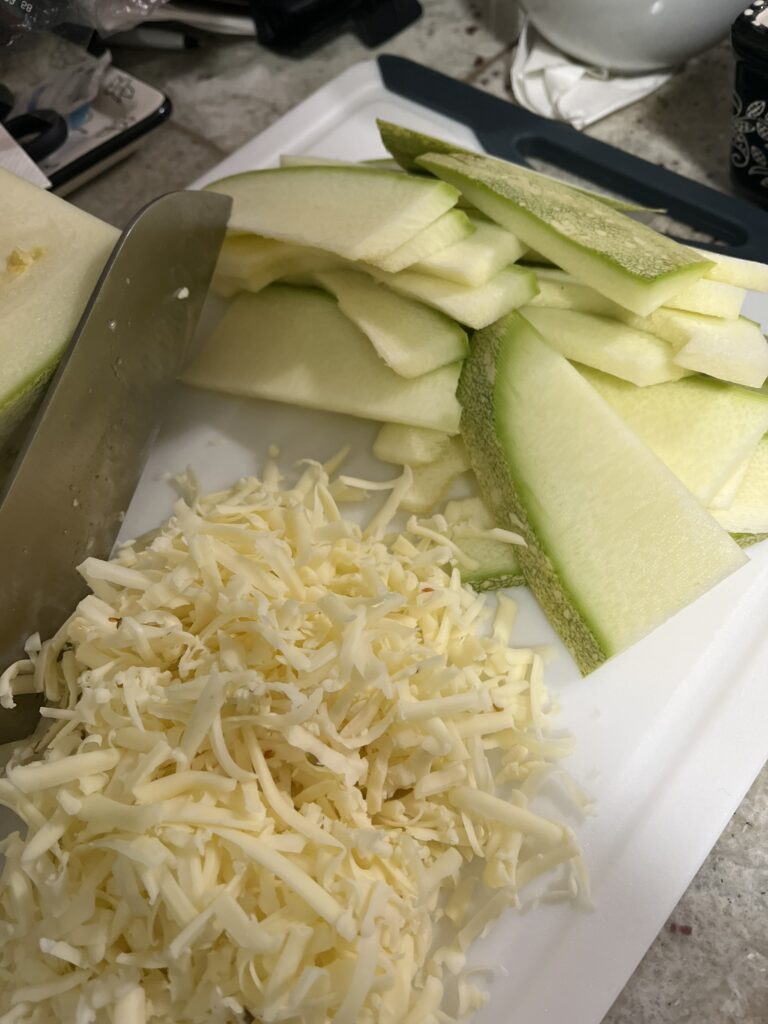
  • Cut and trim your zucchini. Remove all of the seeds and slice into 1/4 in pieces.
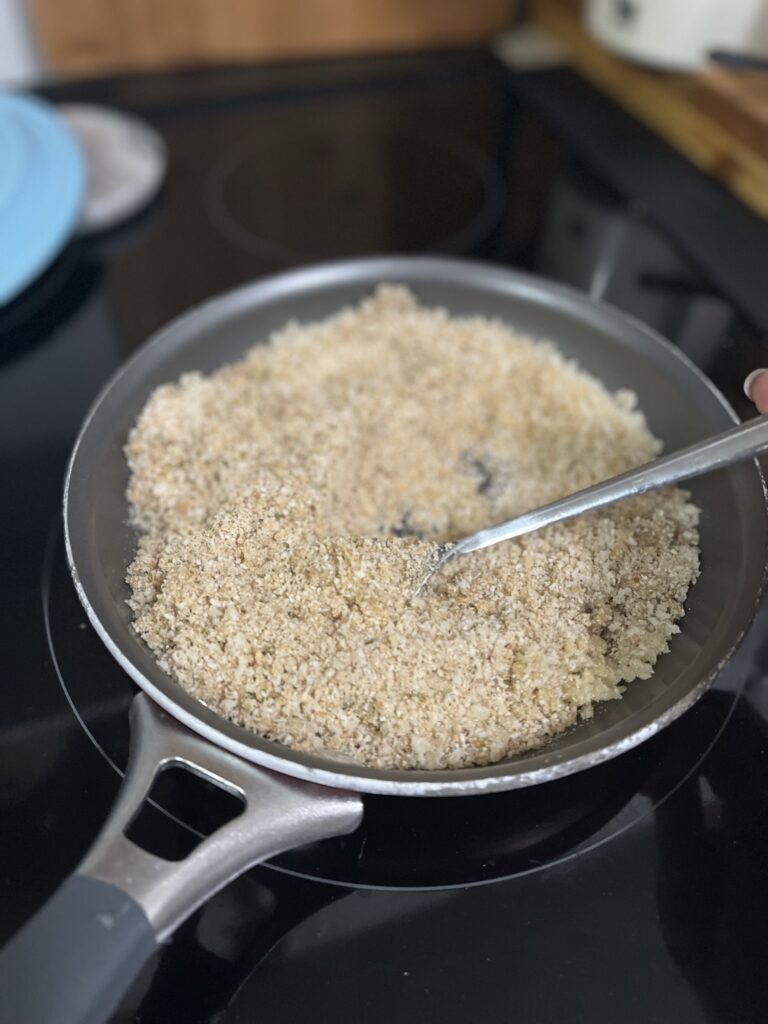
  • In a dry pan, add breadcrumbs, panko, olive oil, and salt.
  • Mix and toast mixture until light golden brown. Remove from heat.
  • Grate mozarella and monterey jack. Mix cheeses together.
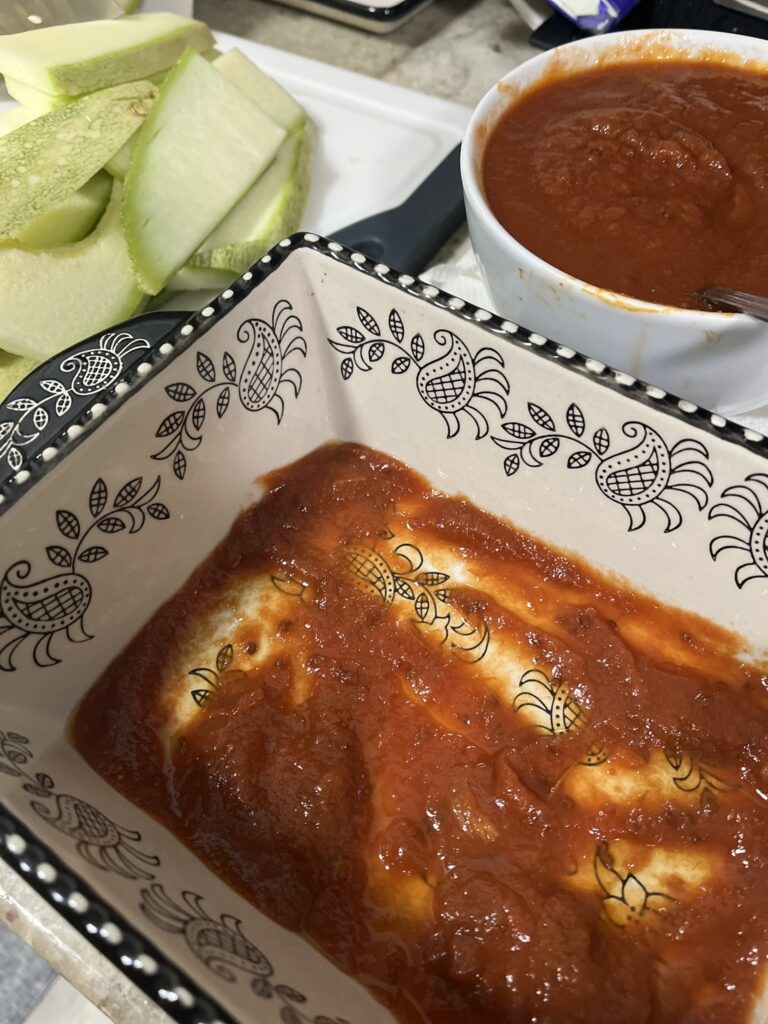
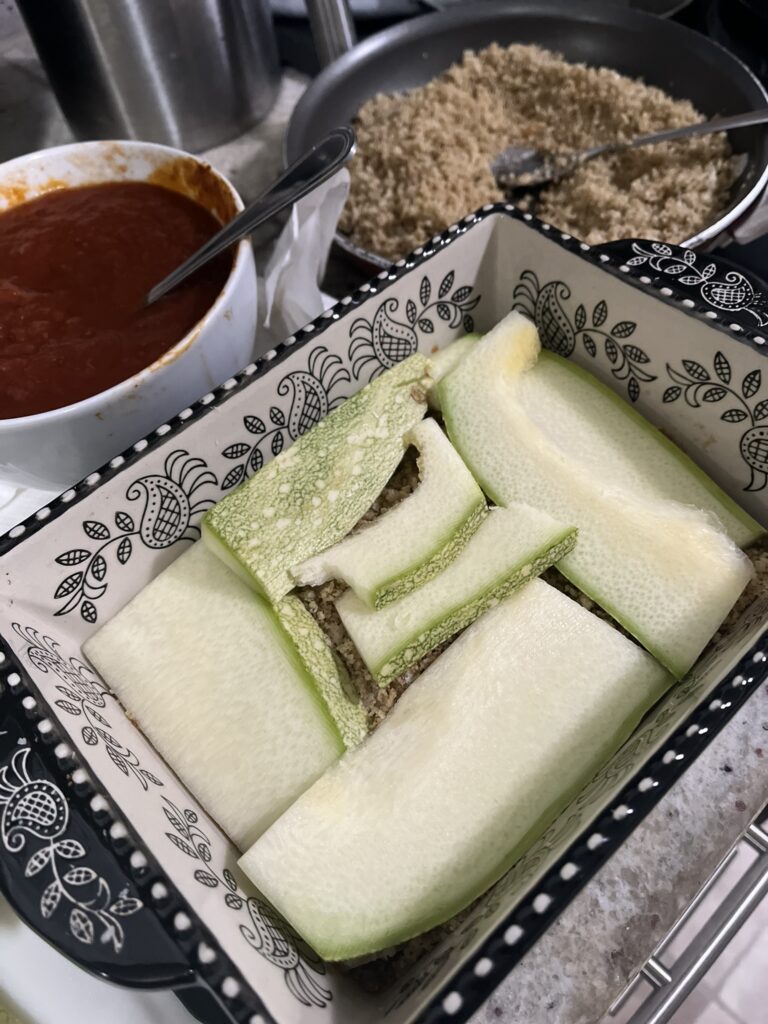
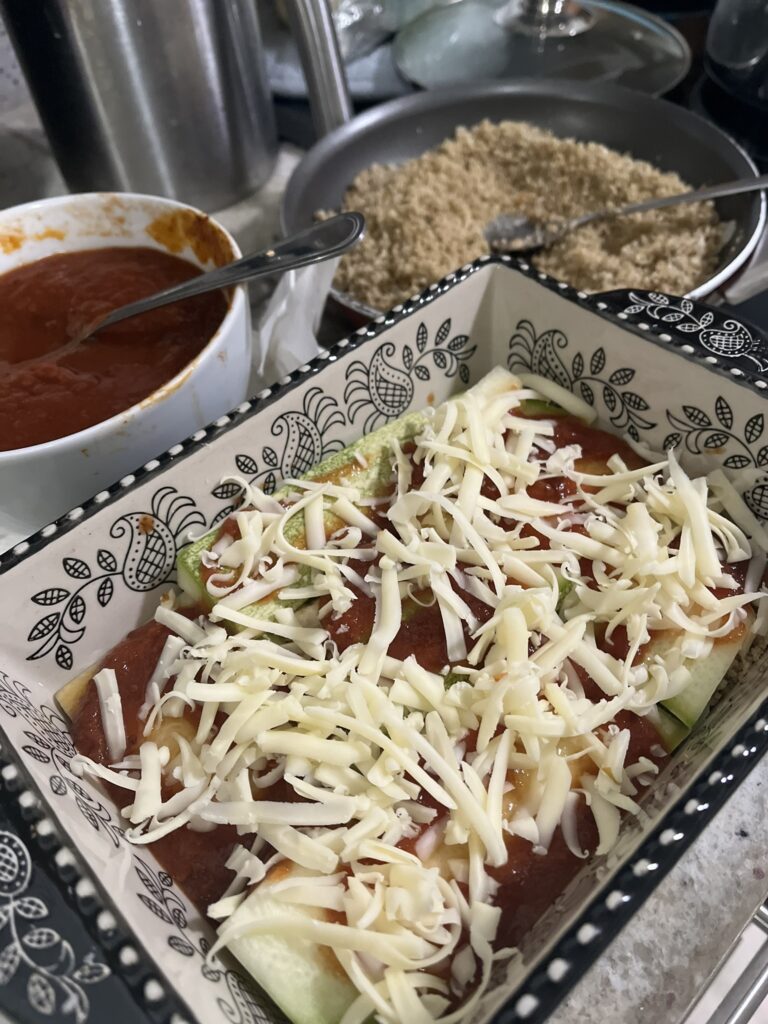
  • In baking dish, add one layer of sauce. From there, add layers in order of:
    1. squash
    2. sauce (~3 tbsp for 8×5 dish, double for larger dish)
    3. cheese (~2 tbsp cheese mix and 1 tsp of Parmesan for 8×5 dish, double for larger dish)
    4. breadcrumbs (~2 tsp for 8×5 dish, double for larger dish)
  • Continue layering. There should be enough zucchini to make 3 full layers.
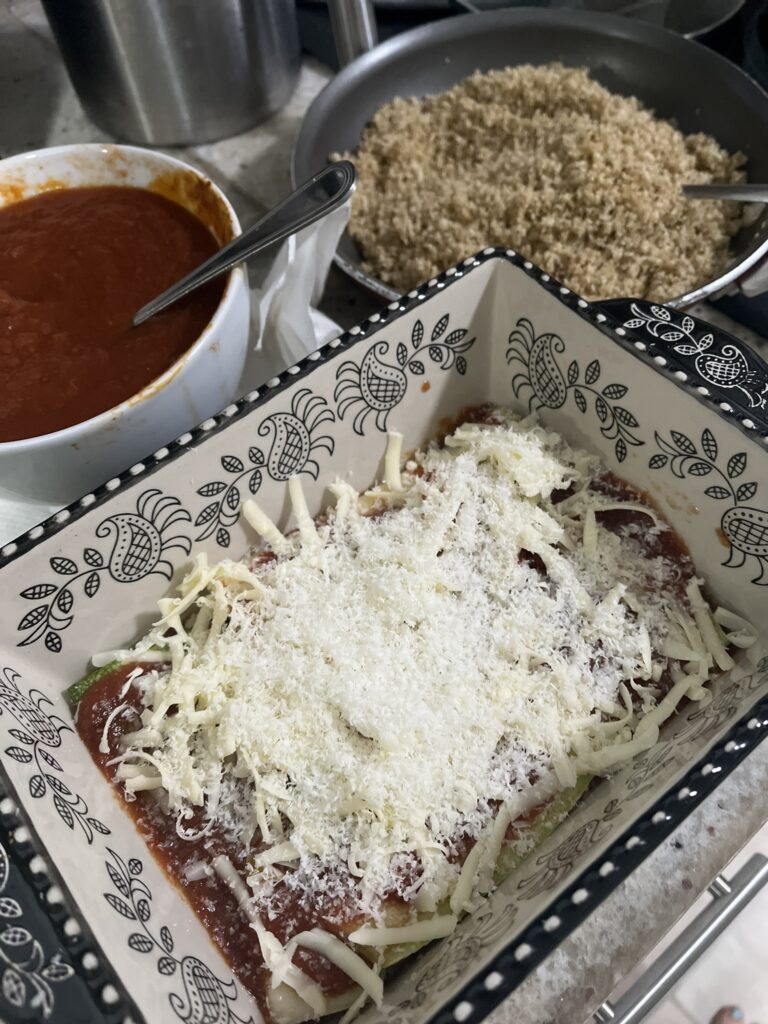
  • For the last layer, add extra Parmesan and breadcrumbs to completely cover the top.
  • Bake @ 350F for 30 minutes until top is golden brown and Parmesan looking roasty. A knife should go through the dish like butter, indicating tender squash. If the top is too dark, cover with foil and continue baking.

Make your own lasagna noodles using Fresh Egg Pasta.

Looking for other pasta? Try Creamy Morel Mushroom Pasta or Sun-dried Tomato and Goat Cheese Pasta.
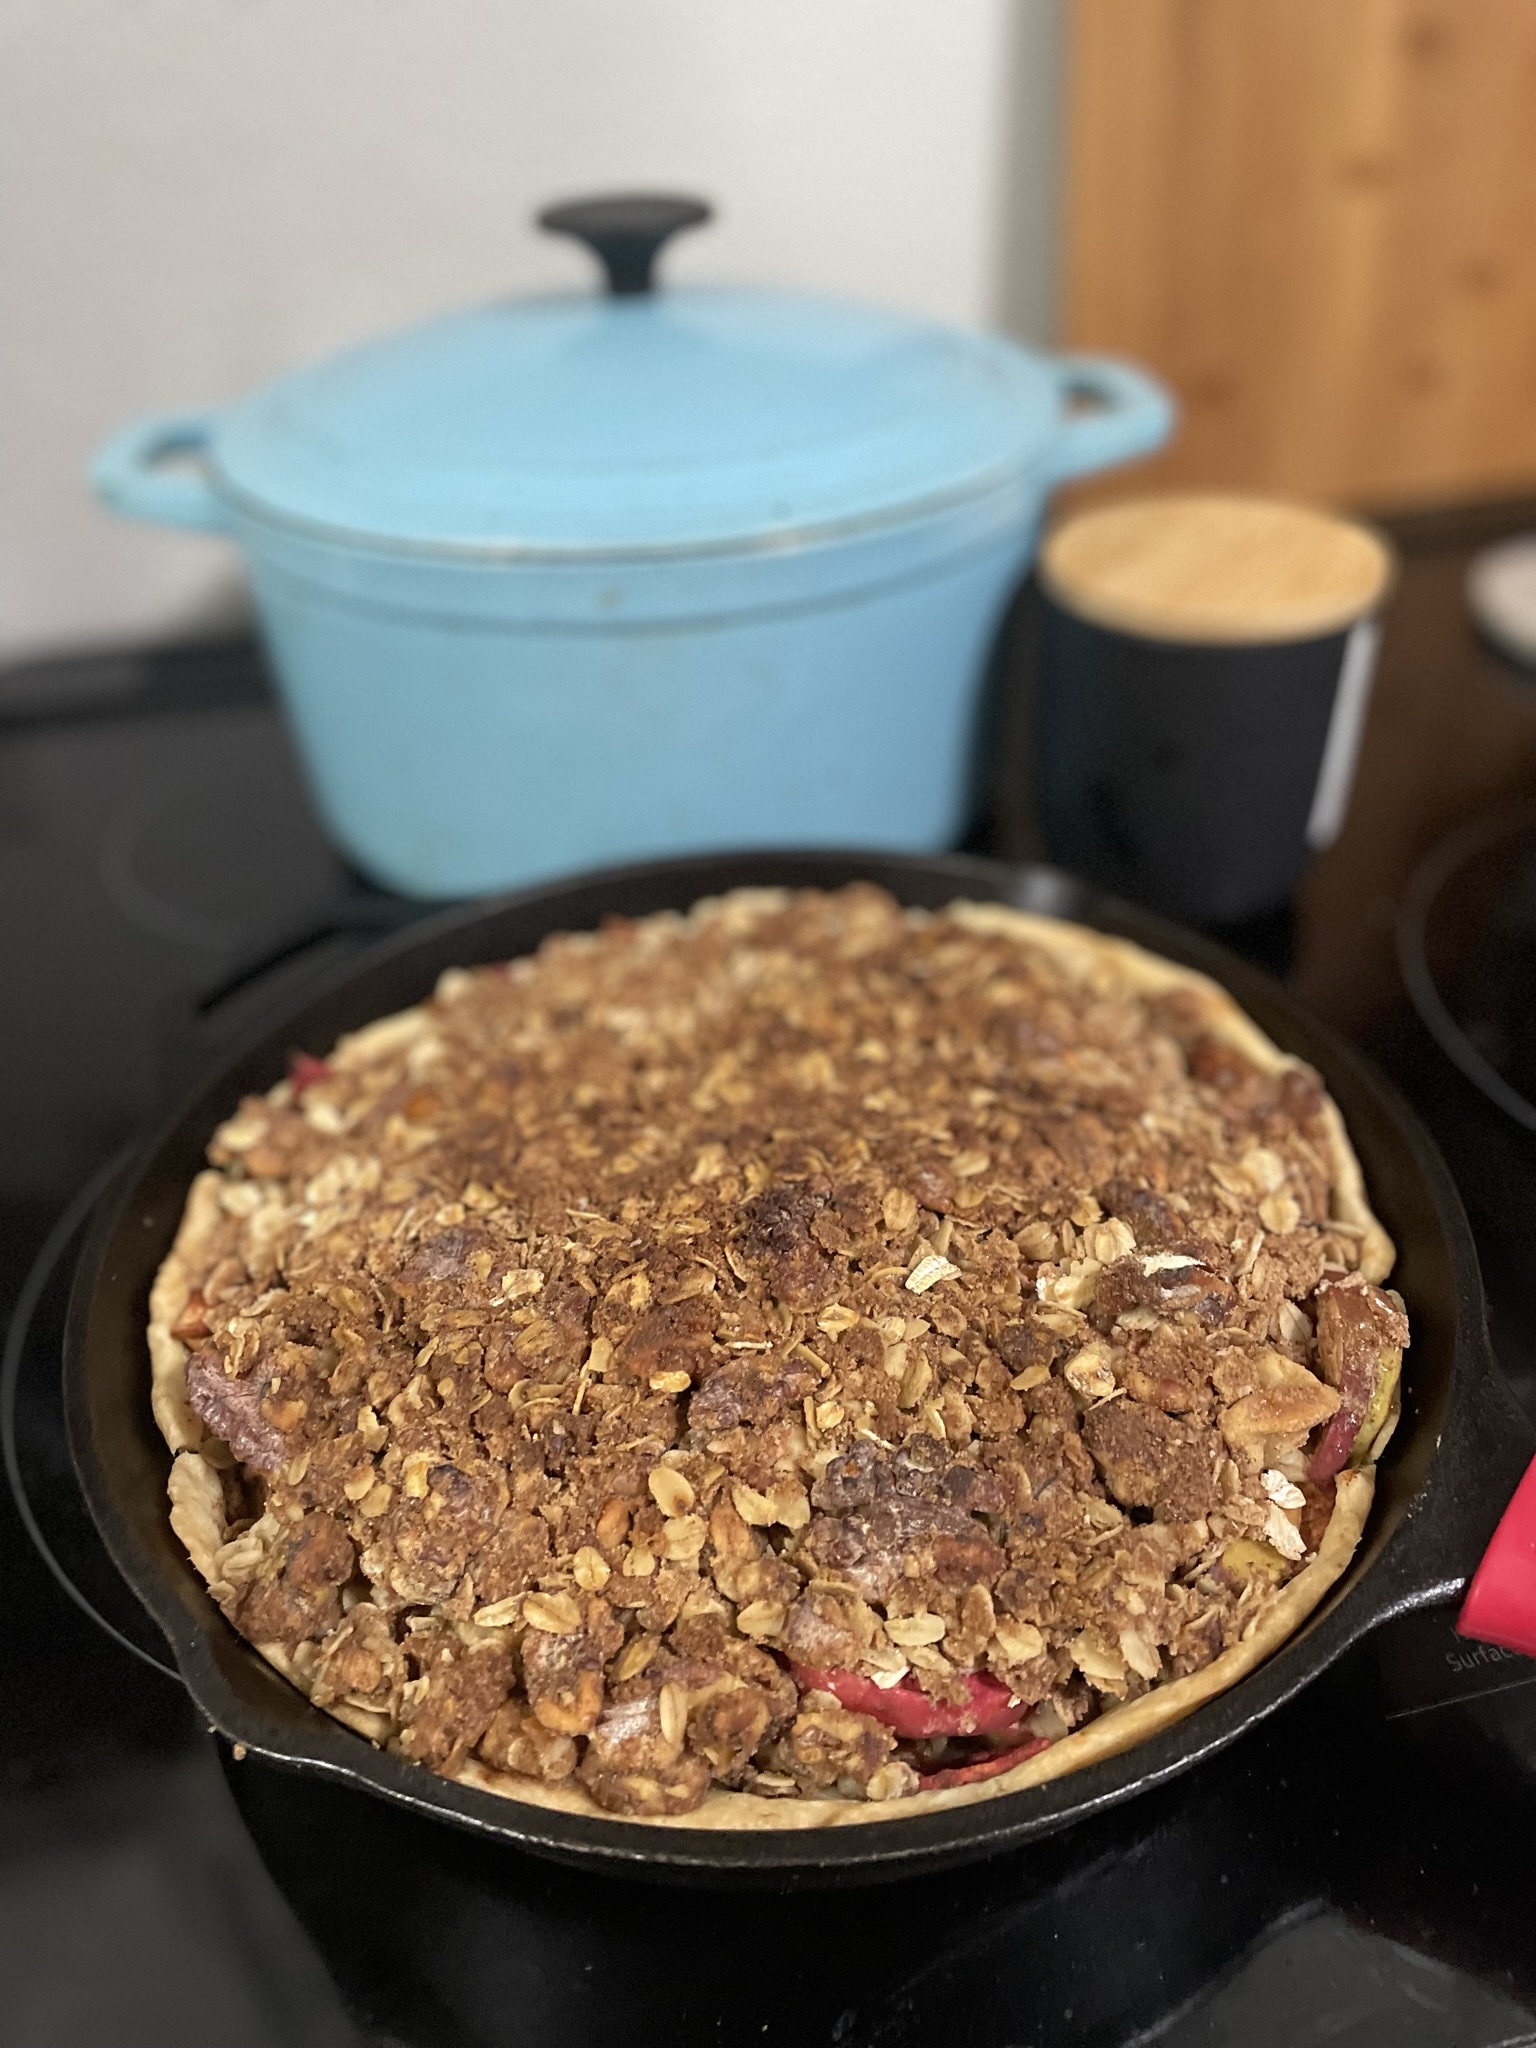
Apple Crumb Pie

The weather is so odd. I was expecting there to be so rain and clouds at this time in October, but it’s still sunny! I can definitely tell it’s getting colder, but as long as there isn’t rain, I’m happy. I’ll absorb all of the sunlight for as long as I can before it’s gray out and I start needing to take my vitamin D supplements.
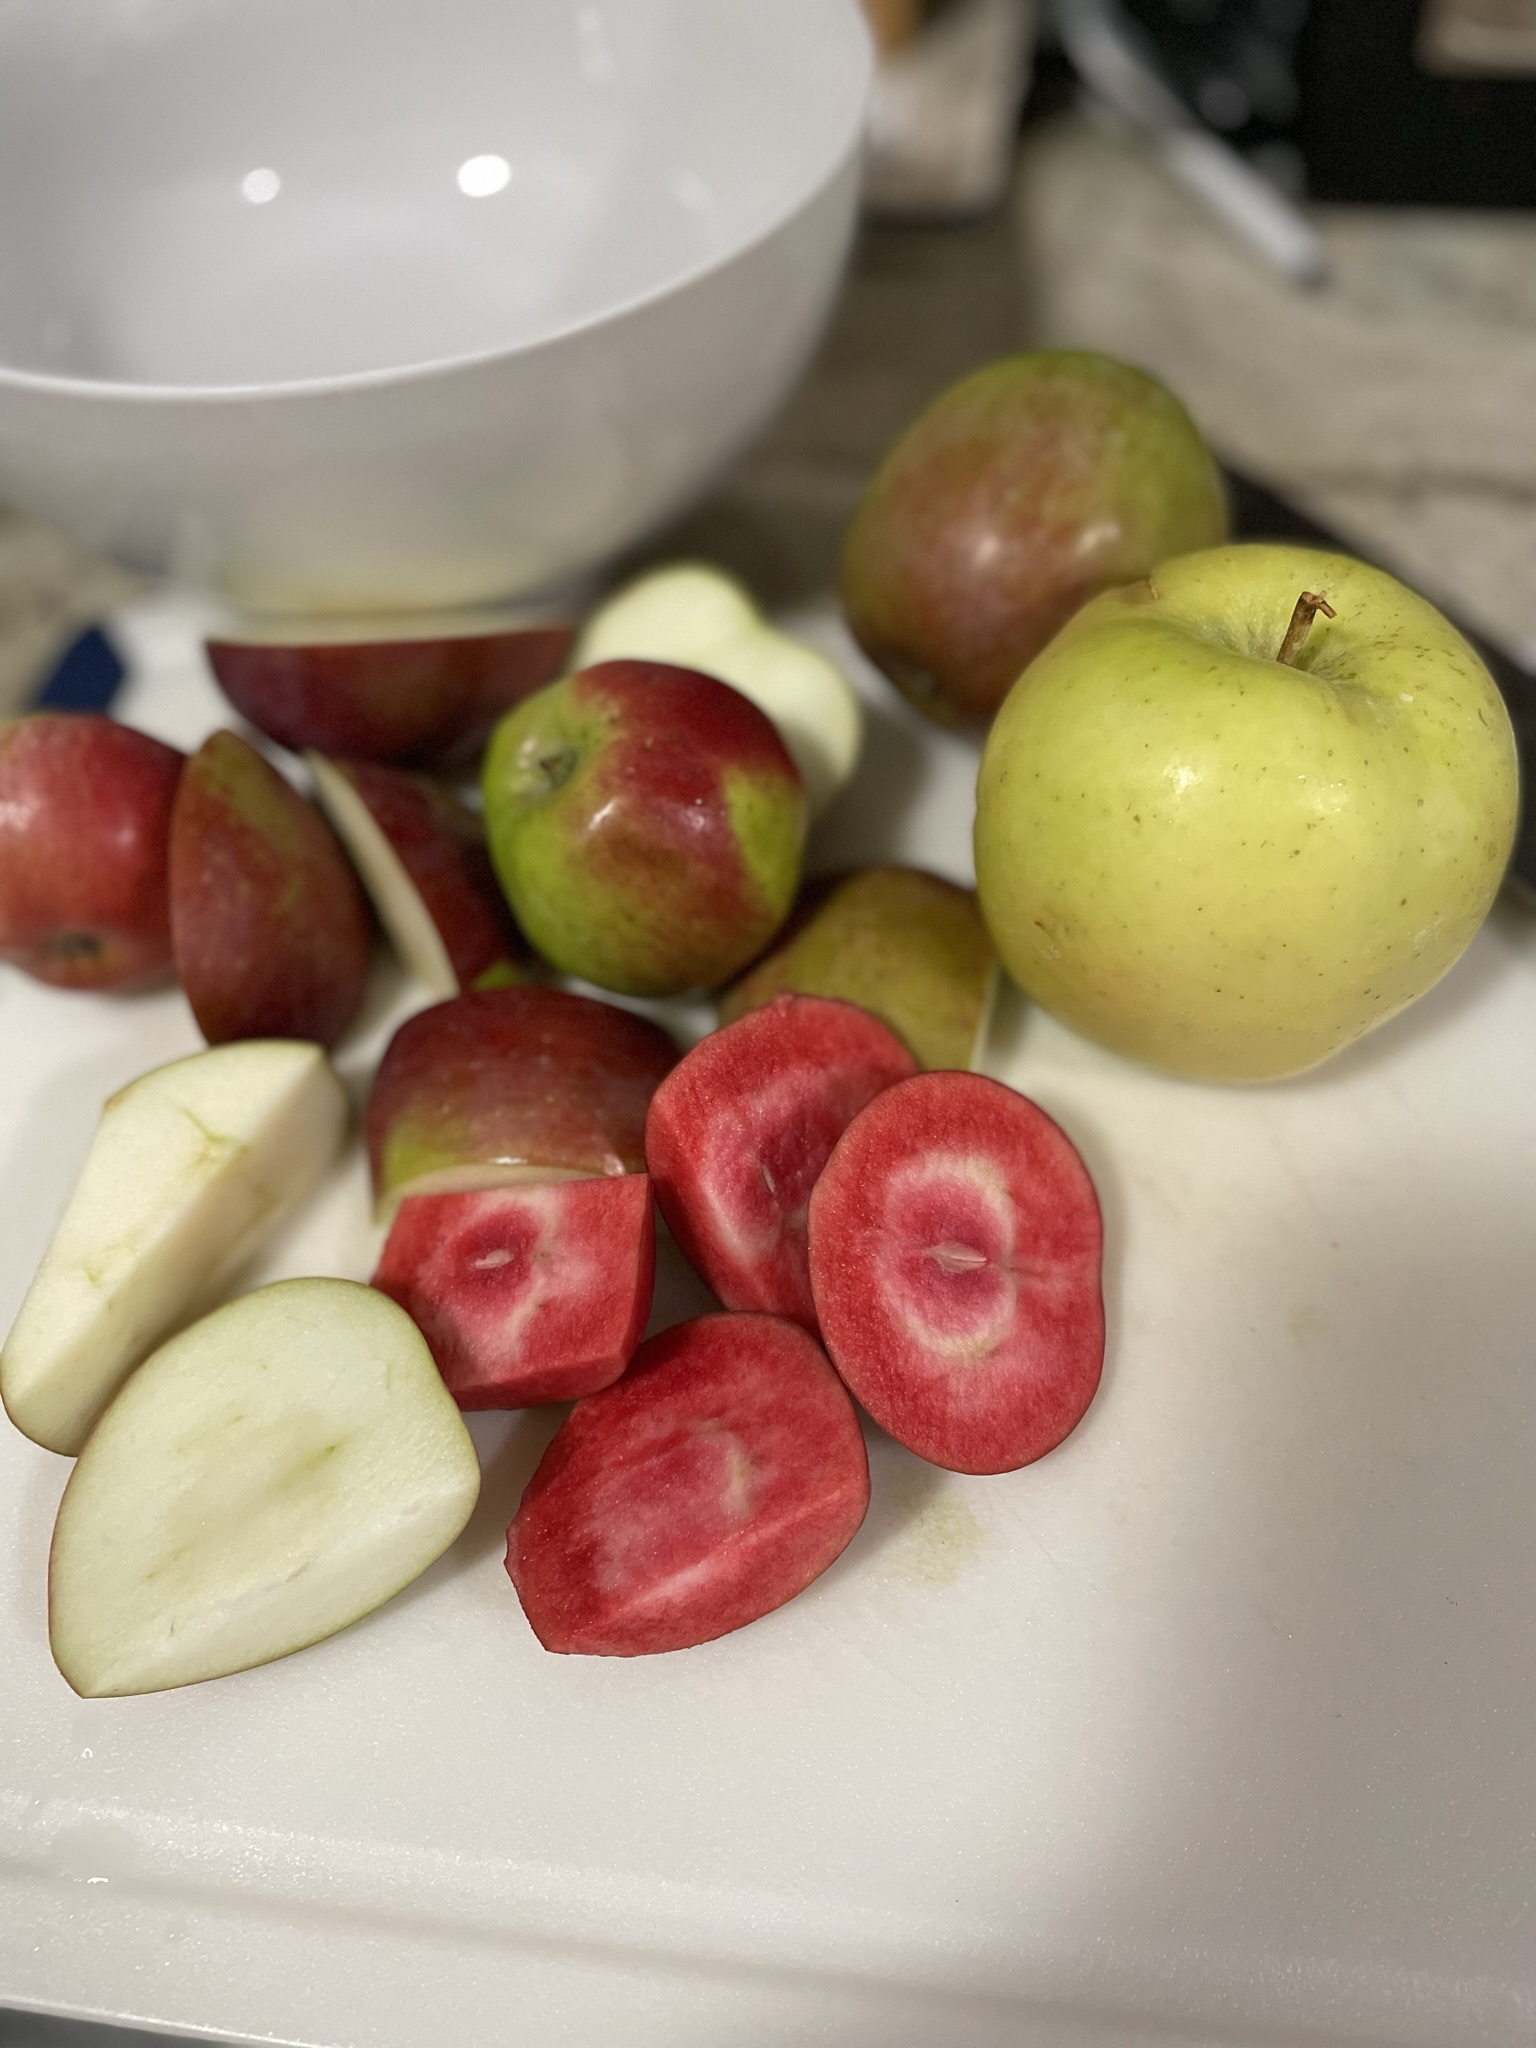
Even though summer vegetables are basically gone, I renewed by CSA through the fall to take advantage of some more hearty root vegetables and squashes. Pumpkin patches are abundant and the last of the apple varieties are ripening and orchards near the Seattle area are offering u-picks. Lucky for me, I get apples in my CSA! Other than eating my apples fresh with some peanut butter or hazelnut spread, I love them in a crumble-topped apple pie (in my opinion apple crumb is better than one of those lattice apple pies).

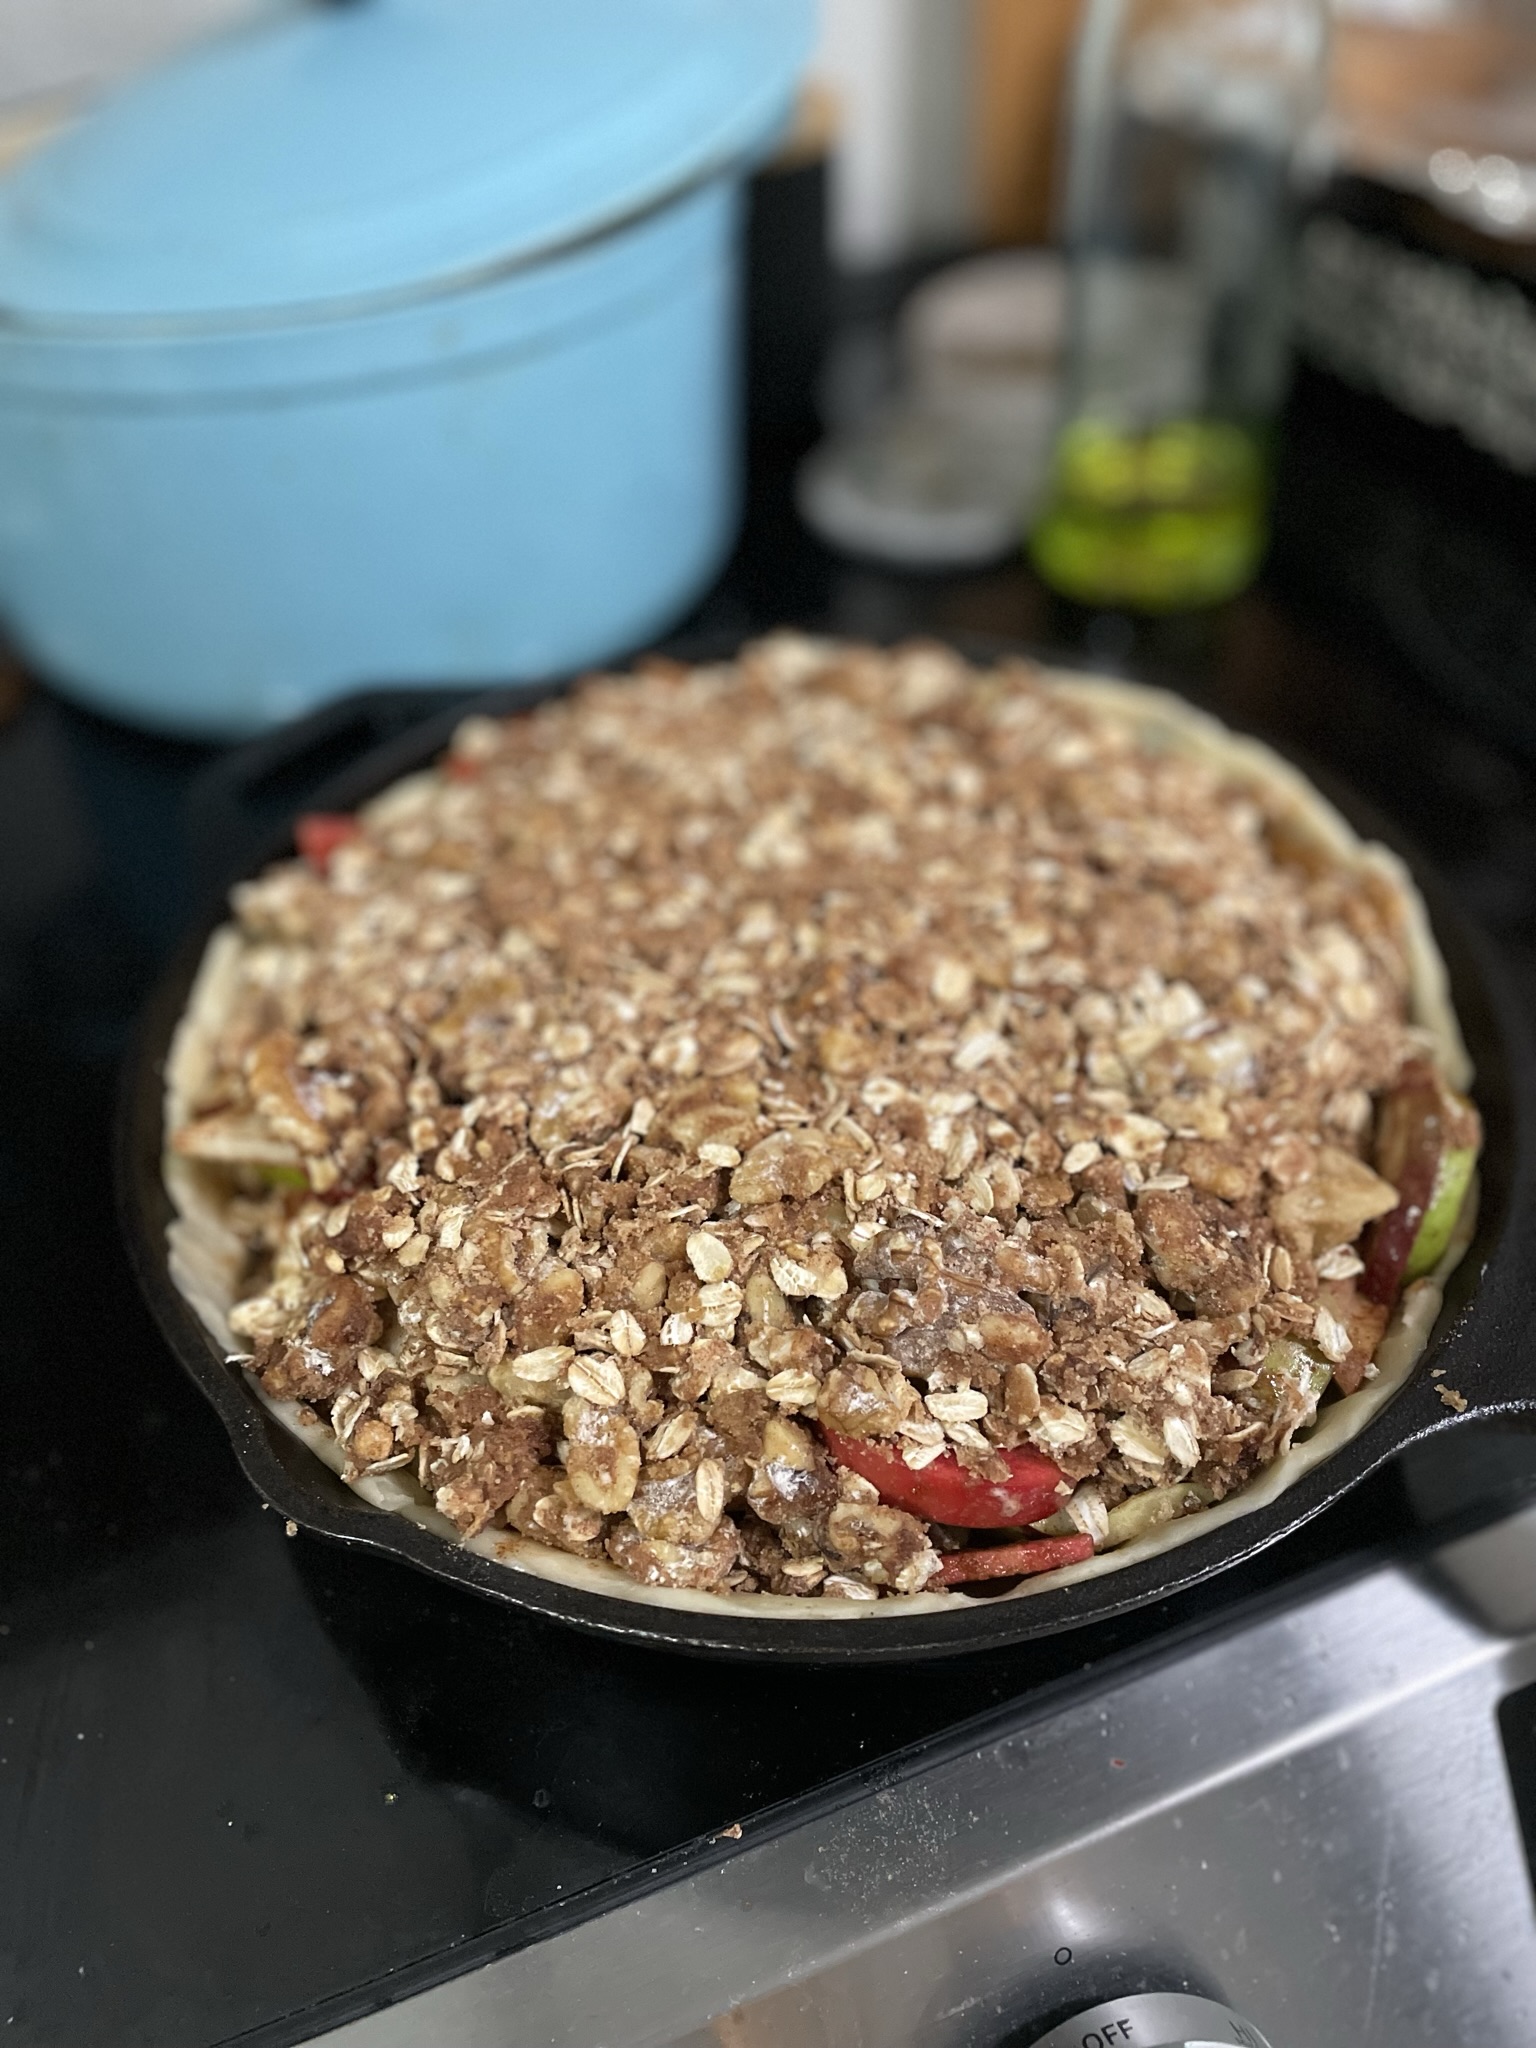
I love using my cast iron skillet when making pies and other baked goods. The cast iron really ensures a crispy crust (no soggy bottoms!) and is sturdy enough that you don’t have to worry about it falling out of your hands when you are pulling your juicy, hot pie out of the oven. If using a glass pie dish, an extended bake time may be required.

Ingredients

Apples – I find you can really use any type of apple, but the best would be honeycrisp or granny smith. Other apples can leave your pie too dry or too mushy. In my case, my mystery CSA apples ended up leaving me with a pie on the drier side. You could also swap this apple filling with peaches or berries.

Apple Crumb Pie

Print Recipe
An easy apple pie that doesn't require you to make that complicated lattice top.
Course Dessert
Keyword apple, crumble, pie
Cook Time 42 minutes

Ingredients

  • 1 pie crust

Apple Filling

  • 4 cups apples sliced
  • 1/4 cup brown sugar
  • 1 tsp vanilla
  • 1/4 tsp salt
  • 1/2 tsp cinnamon
  • 1 tbsp cornstarch
  • 1 tsp apple cider vinegar

Crumble

  • 1/2 cup flour
  • 1 cup rolled oats
  • 1 cup walnuts chopped
  • 1/2 cup brown sugar
  • 1 tbsp cinnamon
  • 1/4 tsp salt
  • 3/4 cup vegetable oil

Instructions

  • If using frozen pie crust, remove from freezer to thaw in refrigerator.
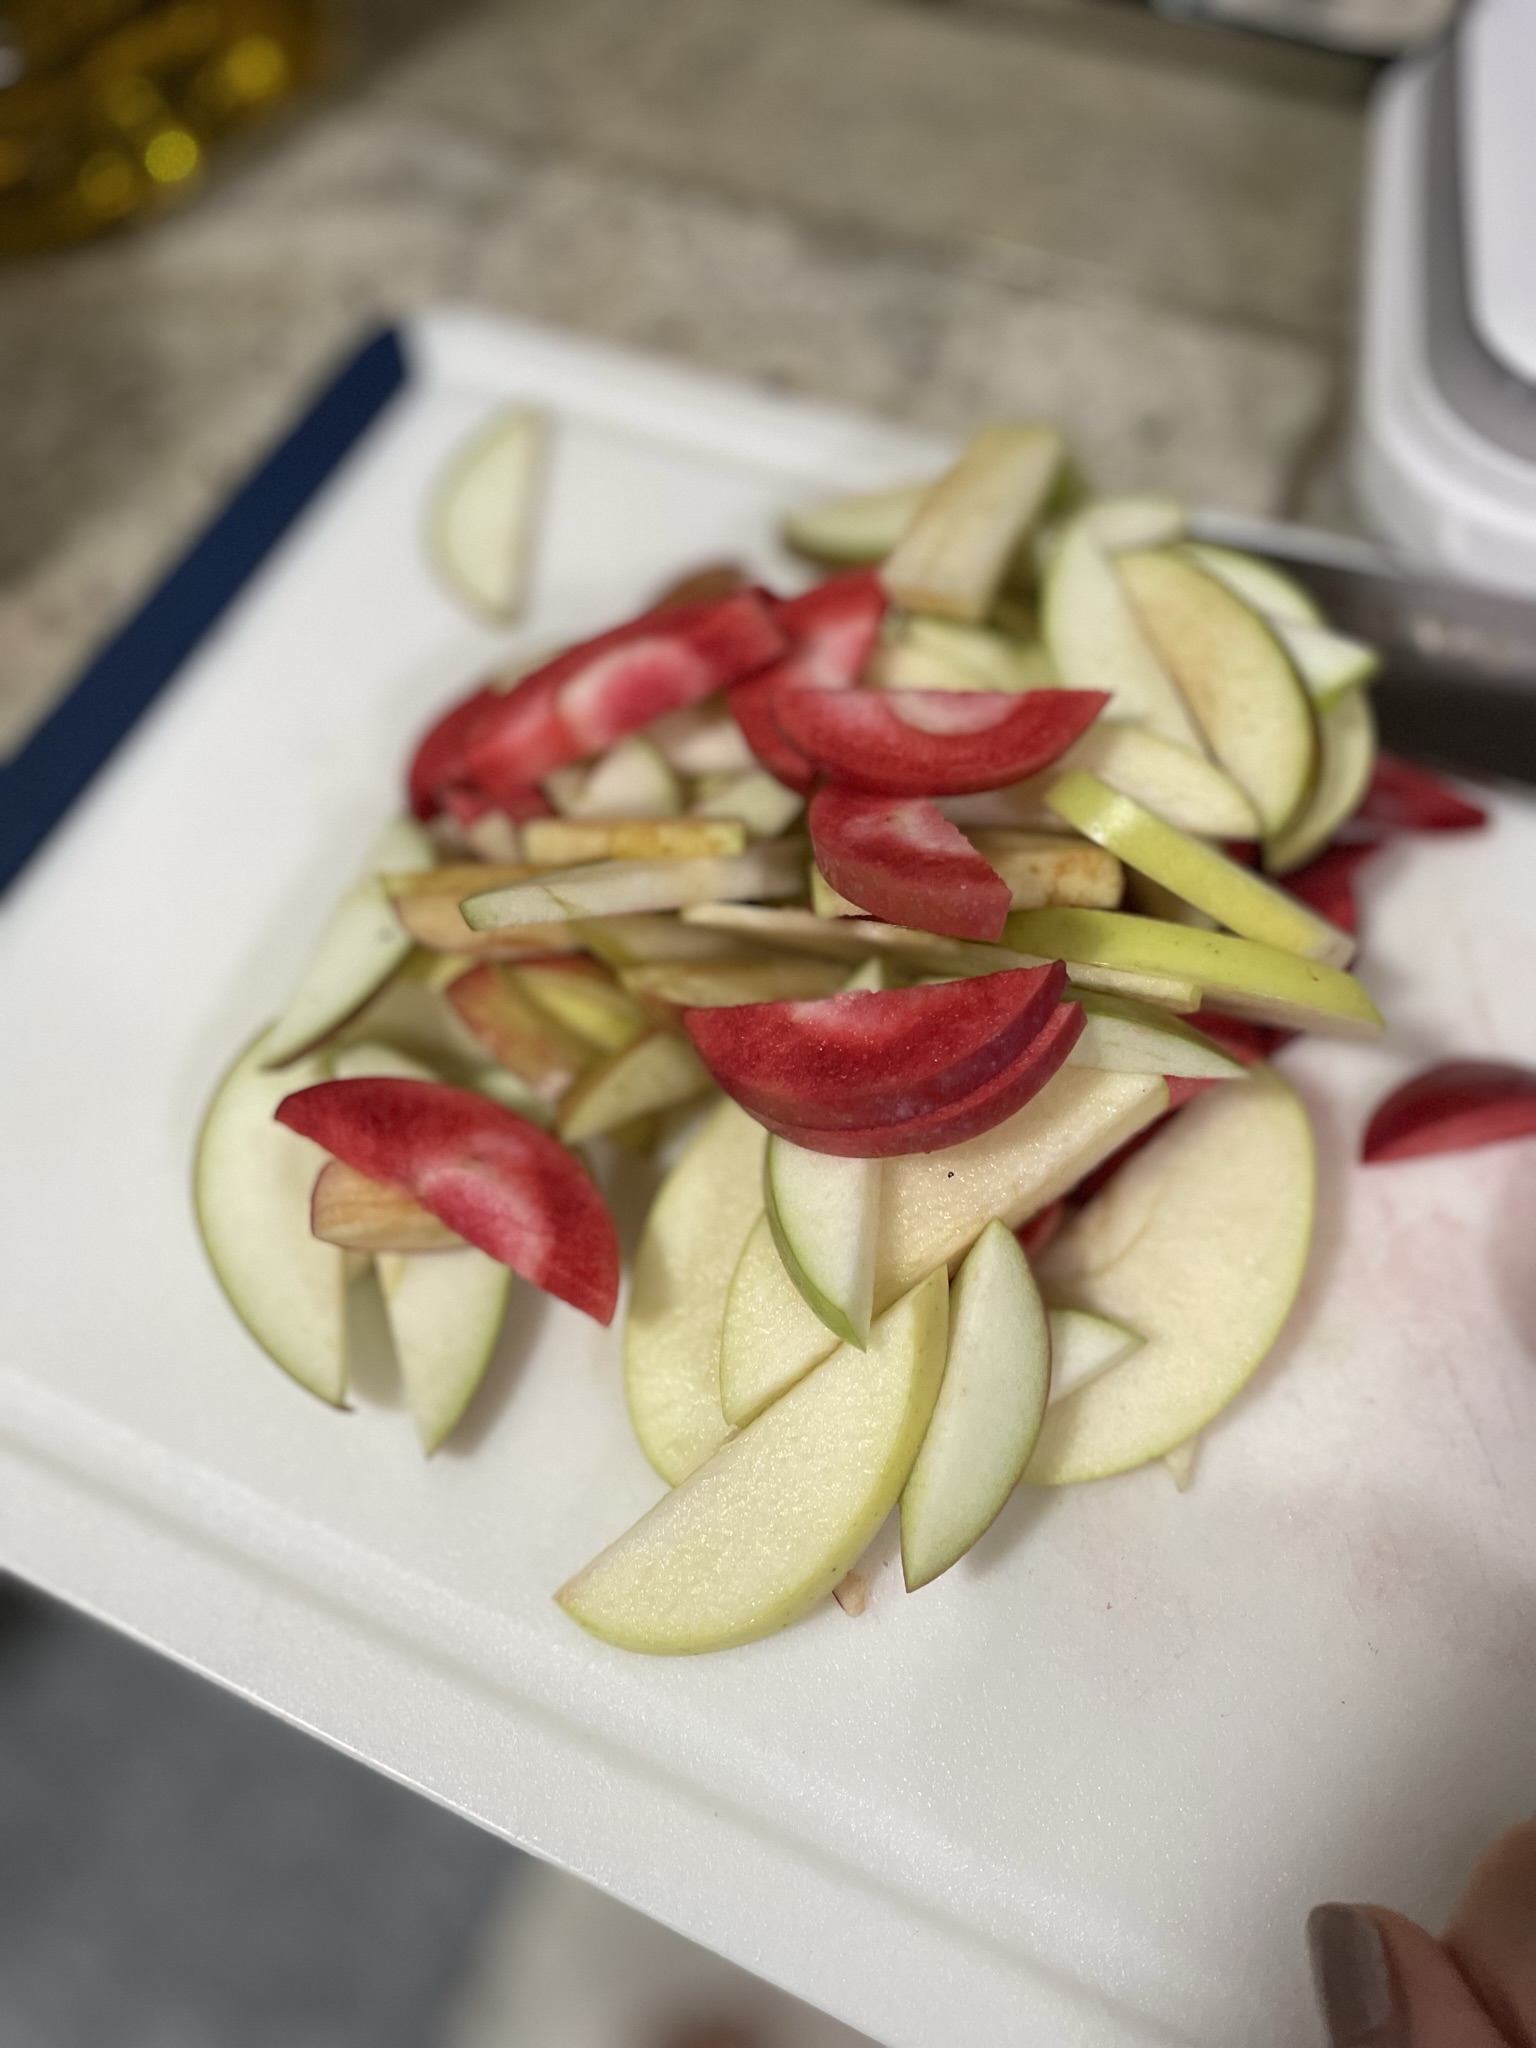
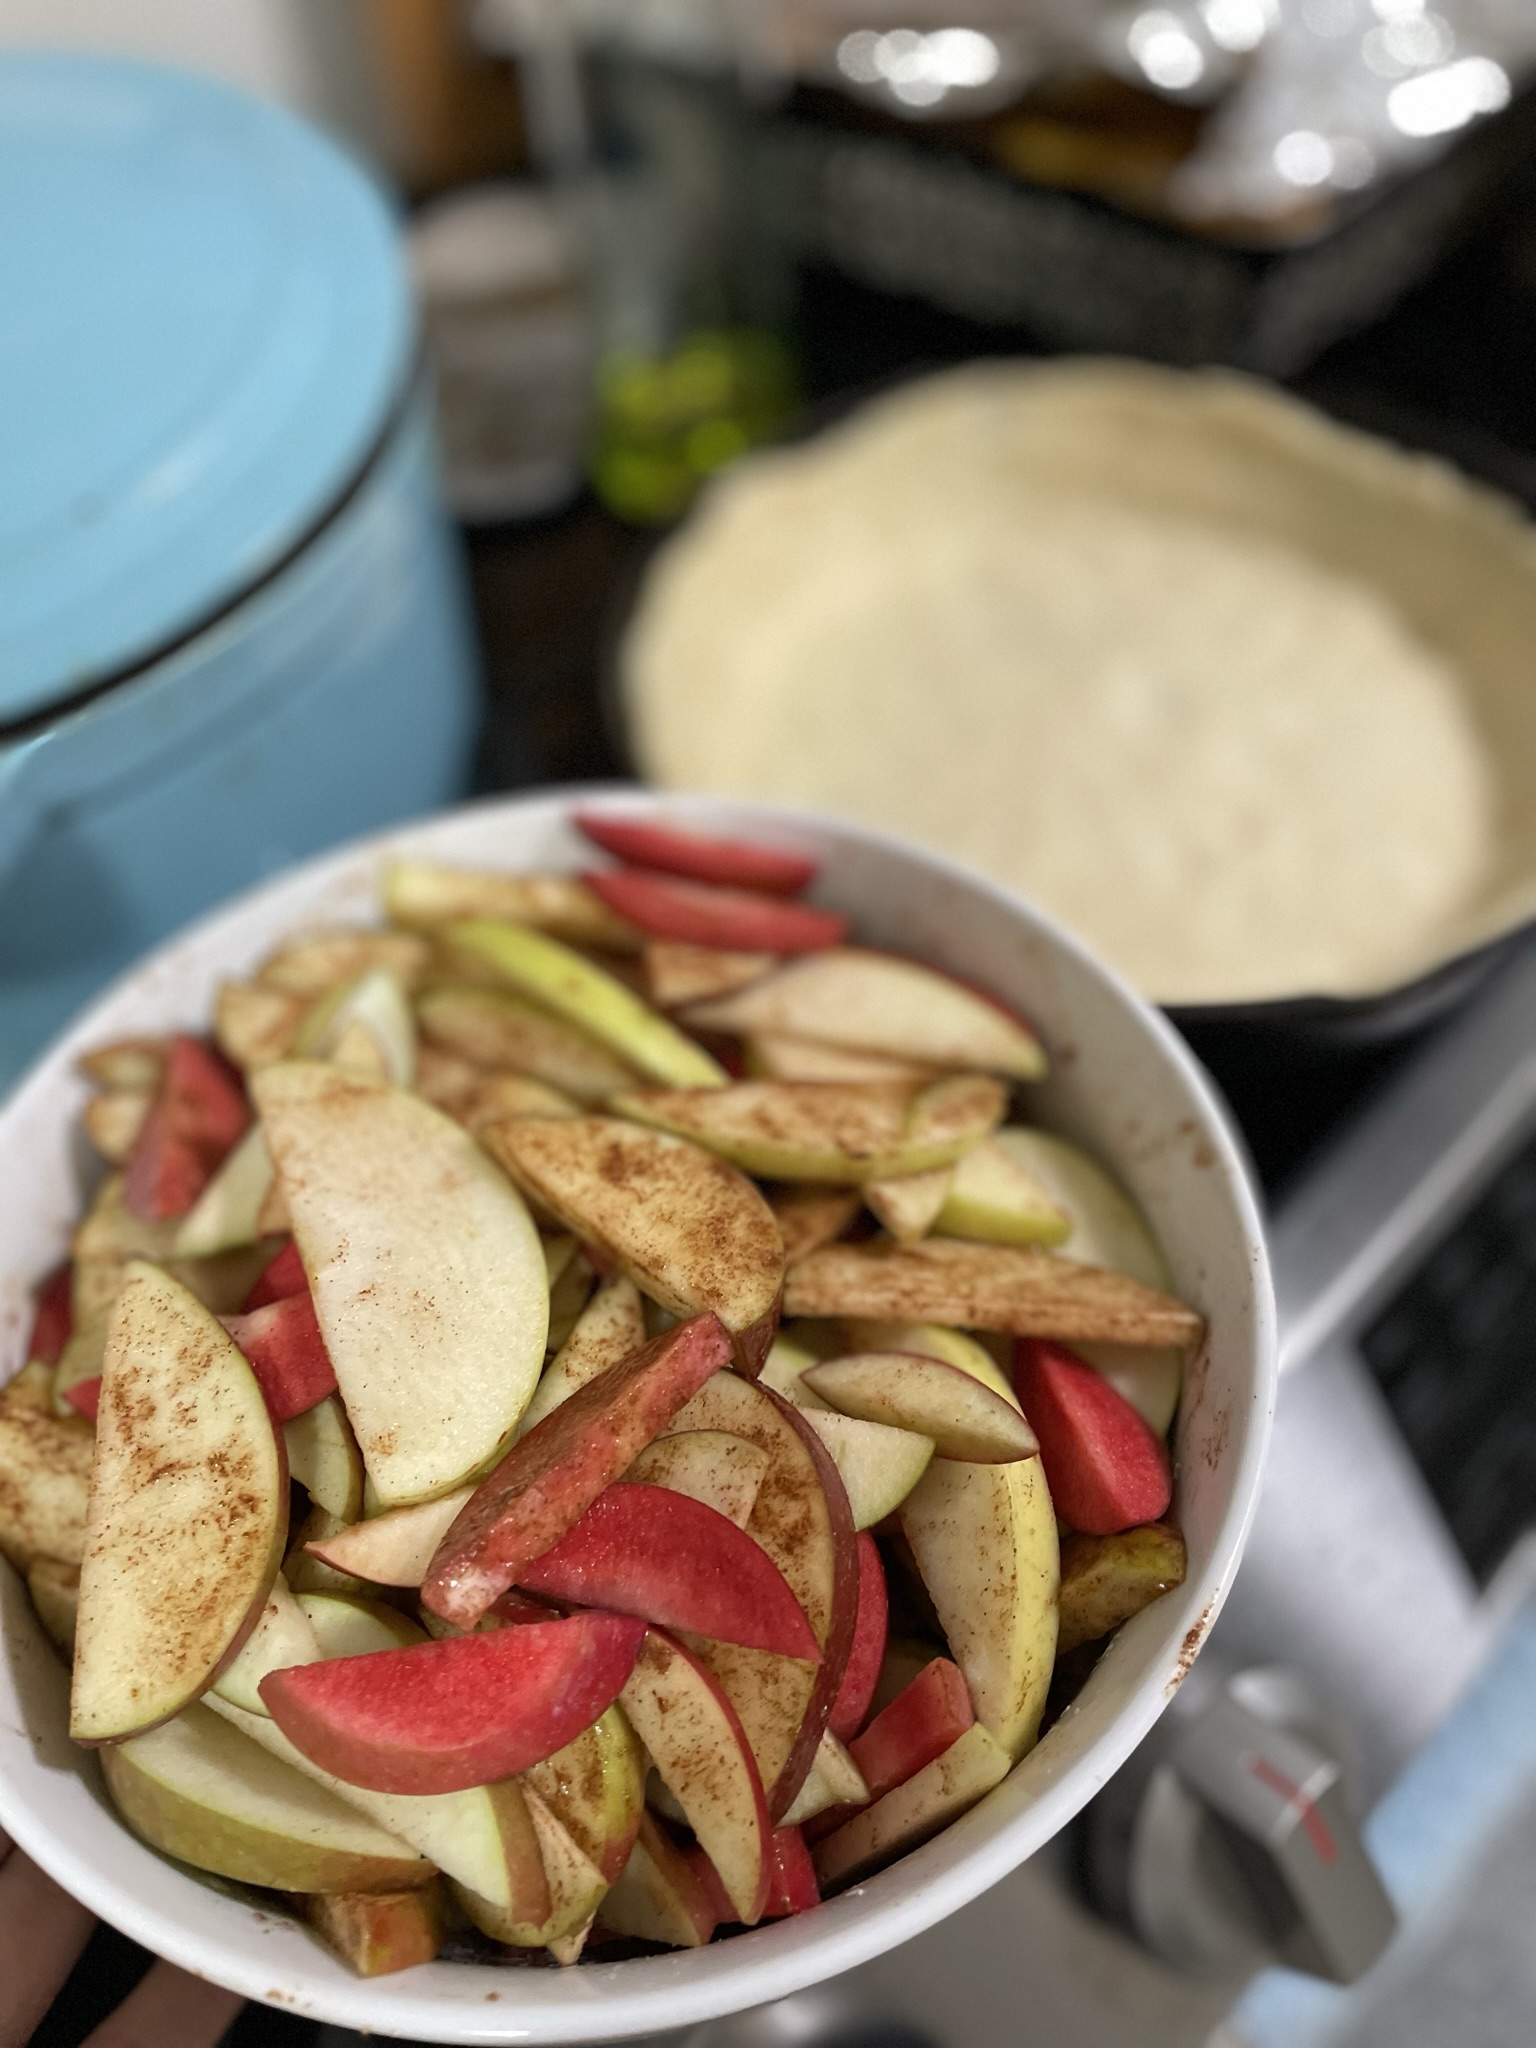
  • Chop apples into 1/4 inch slices. Combine with remaining apple filling ingredients (brown sugar, vanilla, salt, cinnamon, cornstarch, apple cider vinegar).
  • Mix apple mixture and set aside.
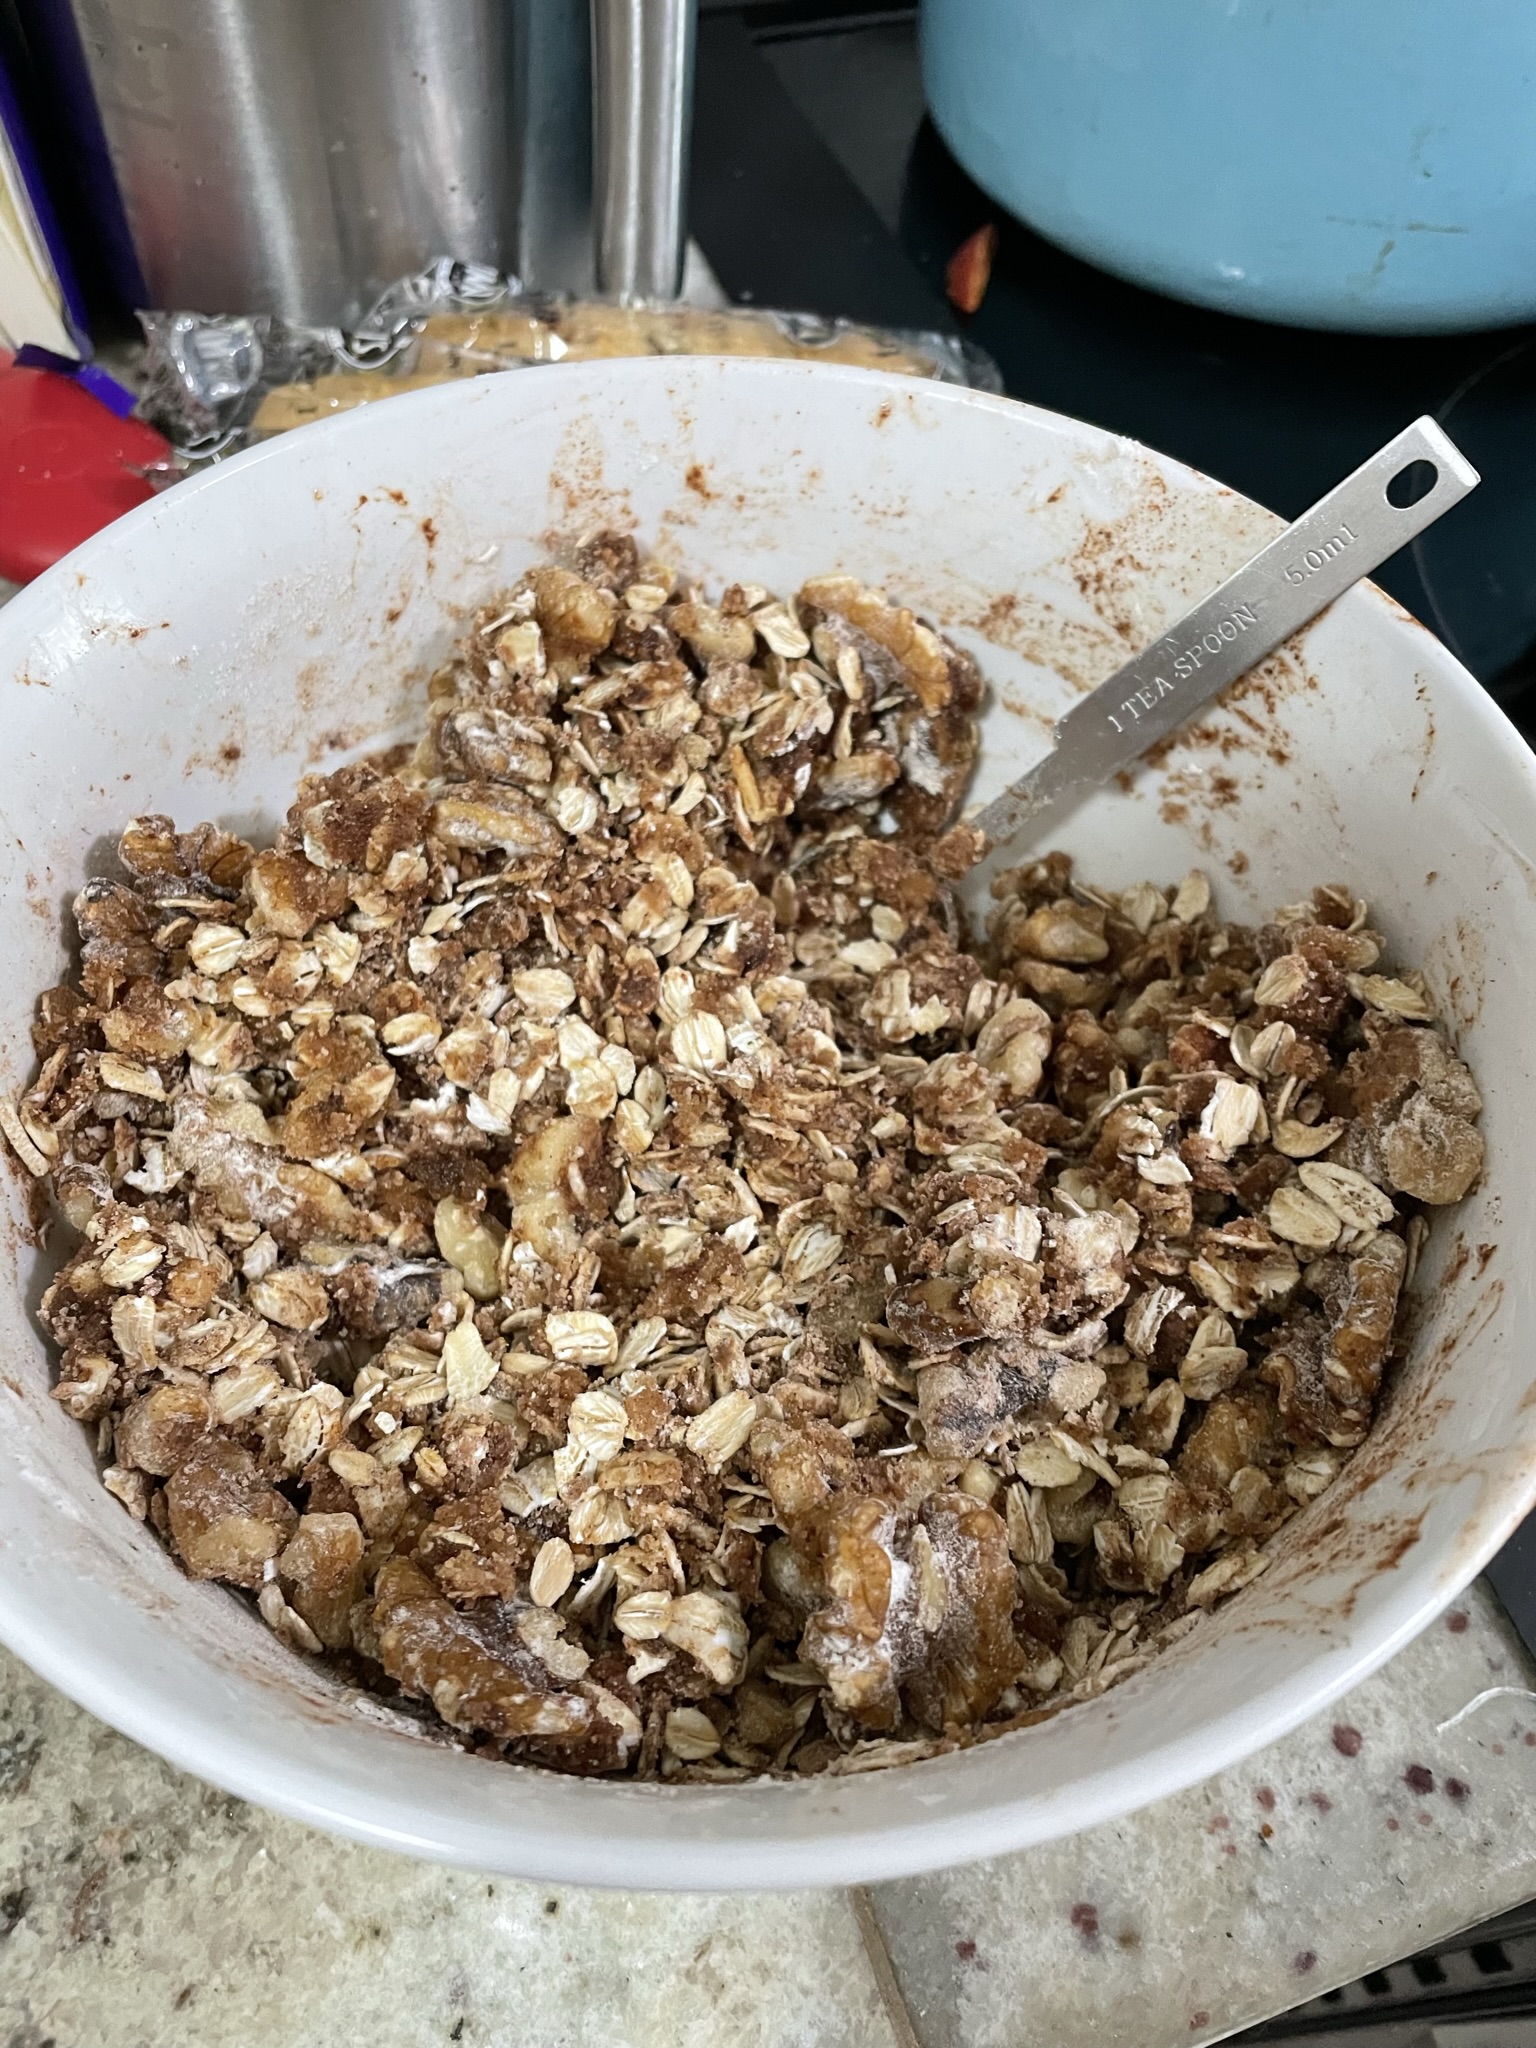
  • Make crumble topping by mixing together flour, oats, walnuts, brown sugar, cinnamon, salt and vegetable oil. Set aside.
  • Remove pie crust and roll out to pie dish size.
  • Fill in pie crust with apples in an even layer.
  • Top pie evenly with crumble mixture.
  • Bake at 350F for 45 minutes. If top is browning too quickly, cover with foil.
  • Allow to rest 10 minutes after baking before slicing. Enjoy!

Try some another apple recipe like Cinnamon Apple Rhubarb Loaf!

Feeling a savory kind of pie? Try Savory Asparagus Galette.

Pumpkin Cheesecake Bars

Hot take: I do feel the first week of September is a little early for Starbucks to debut their fall menu (pumpkin spice latte), but I understand they are a business and it really does generate plenty of revenue for the die hard pumpkin fans. It’s hard for me to call the first week of September fall, because I’m still in the denial phase that summer is mostly over. However, the last week of September, my arms are open to welcome the coming rain and cooler temps. I will accept pumpkin and make them into pumpkin bars.

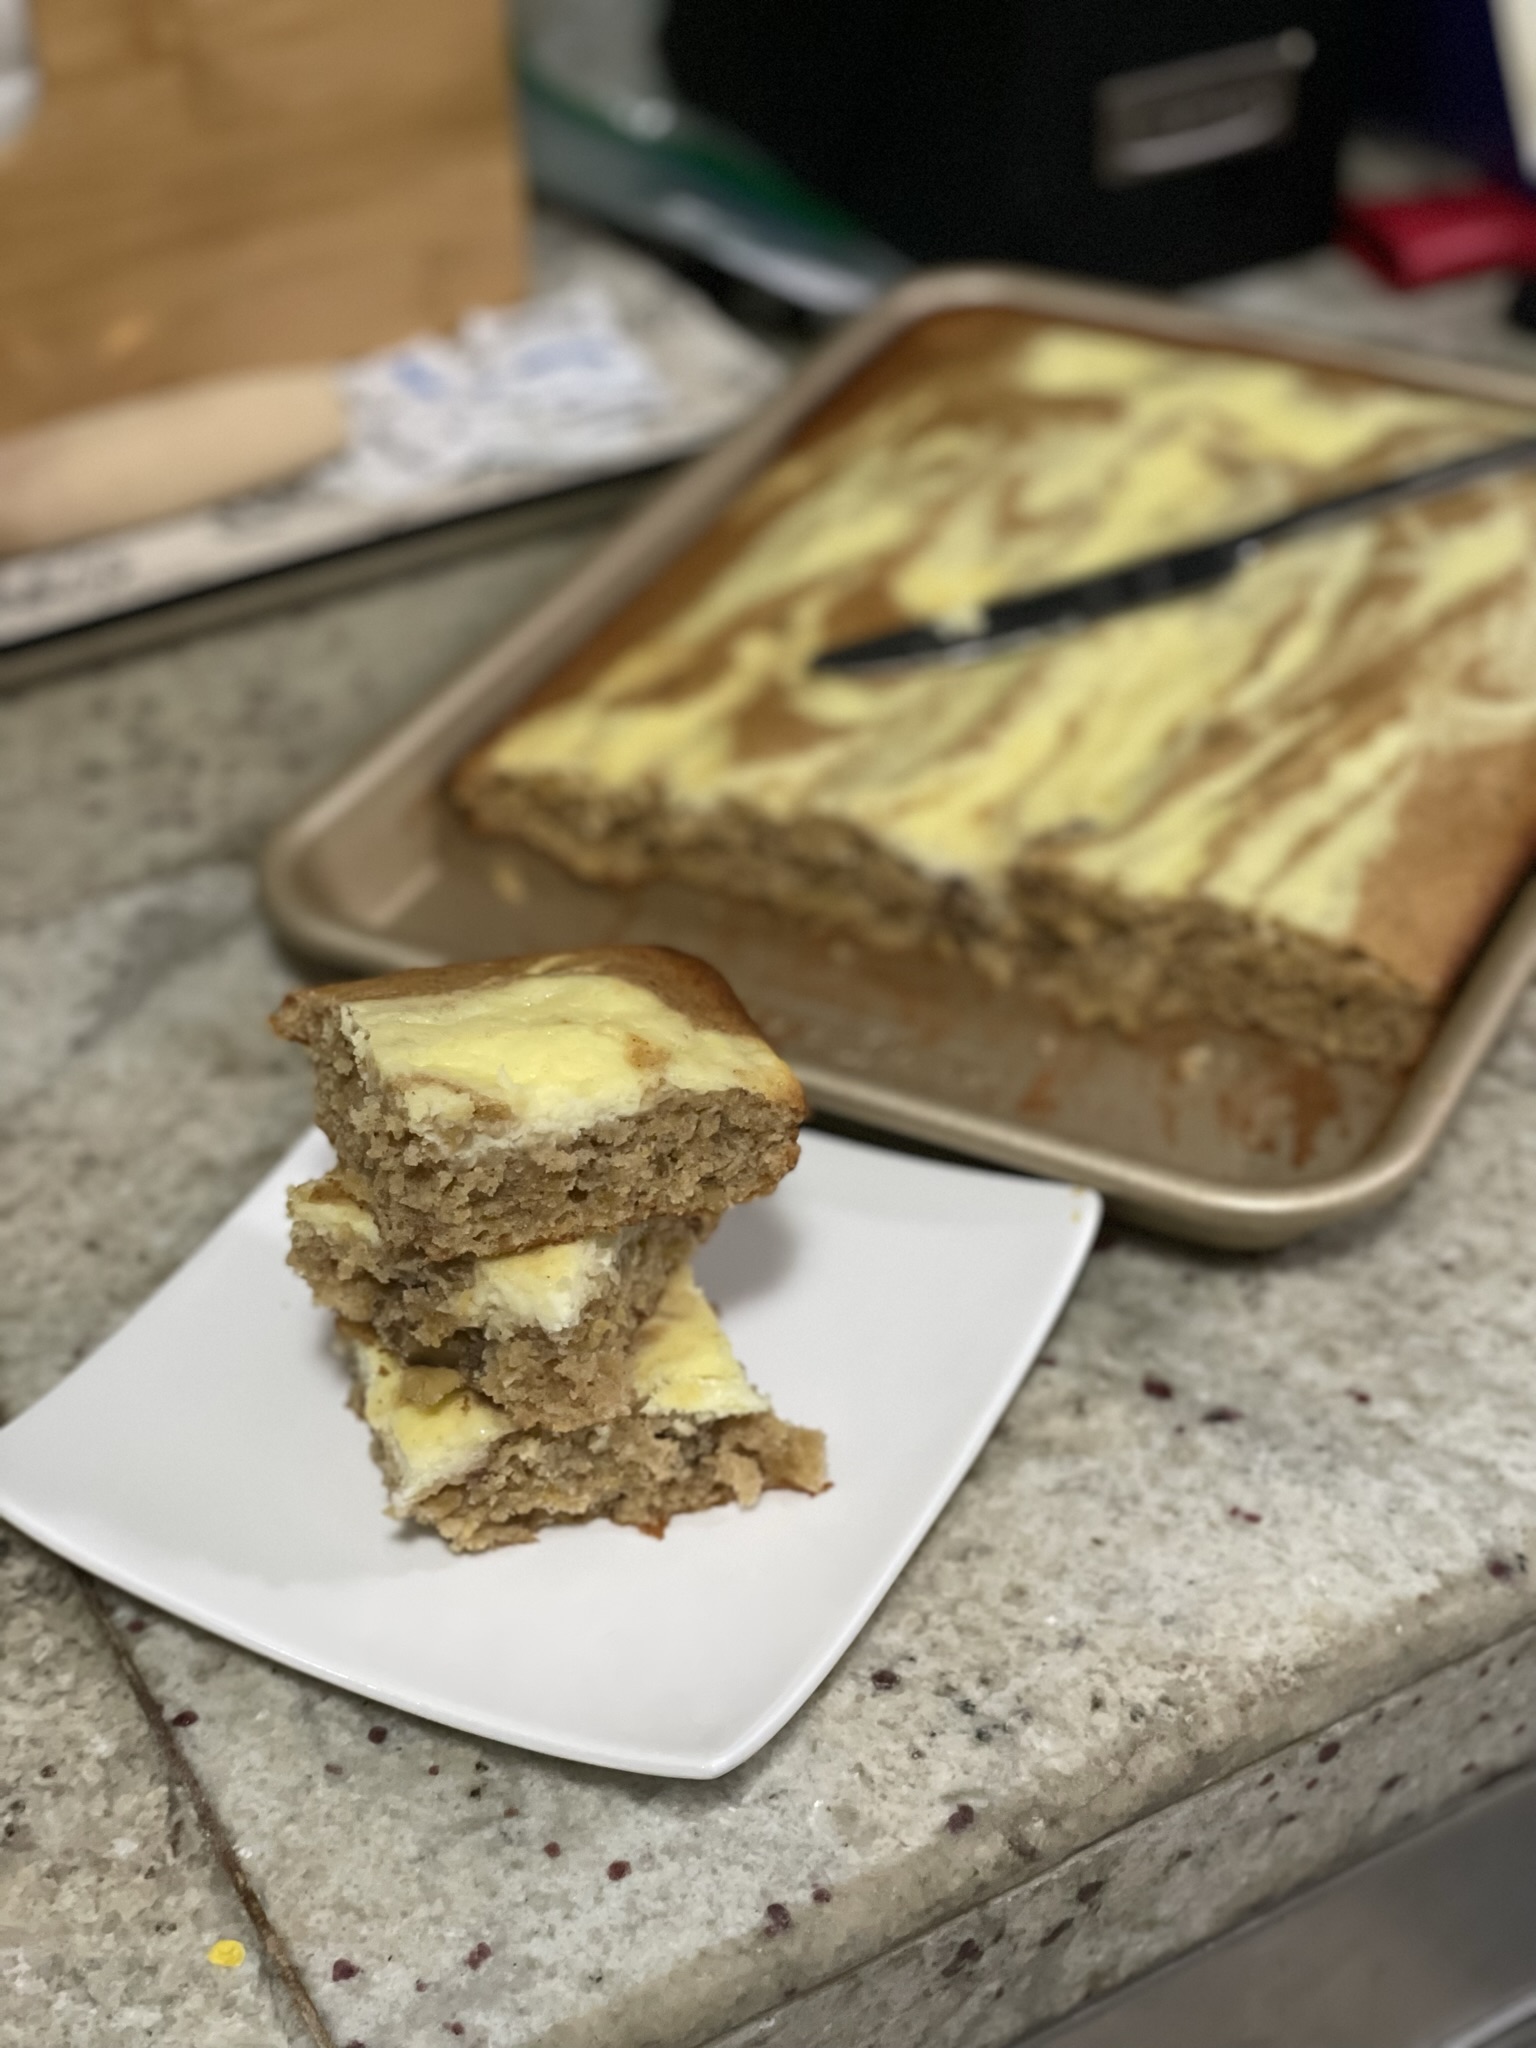
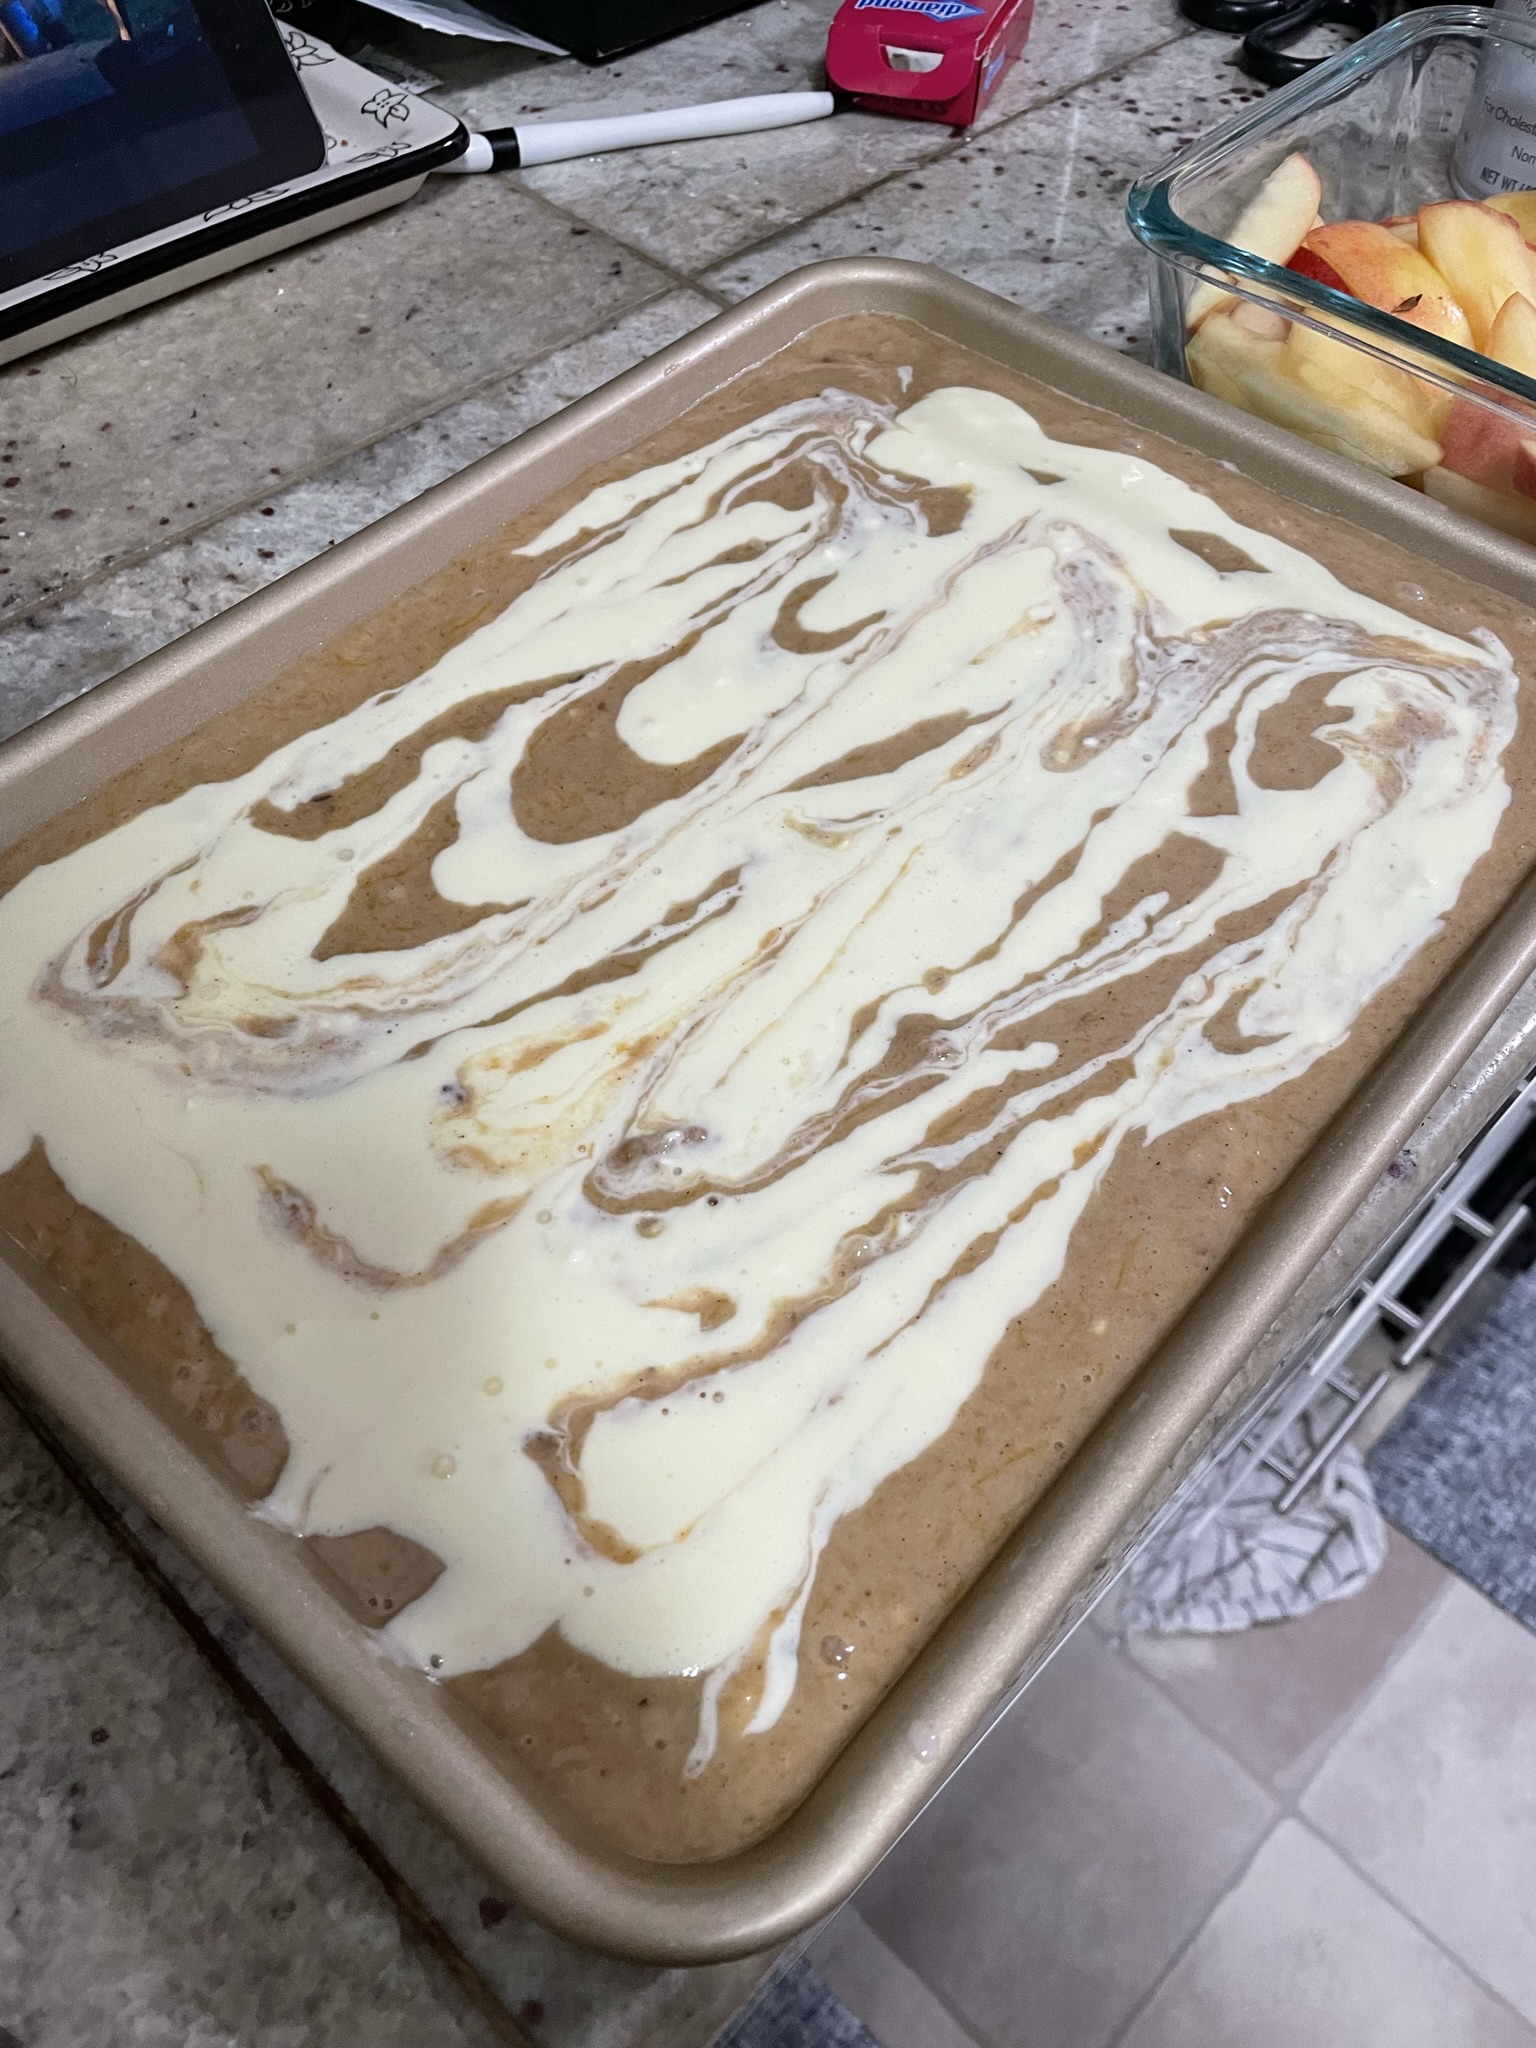
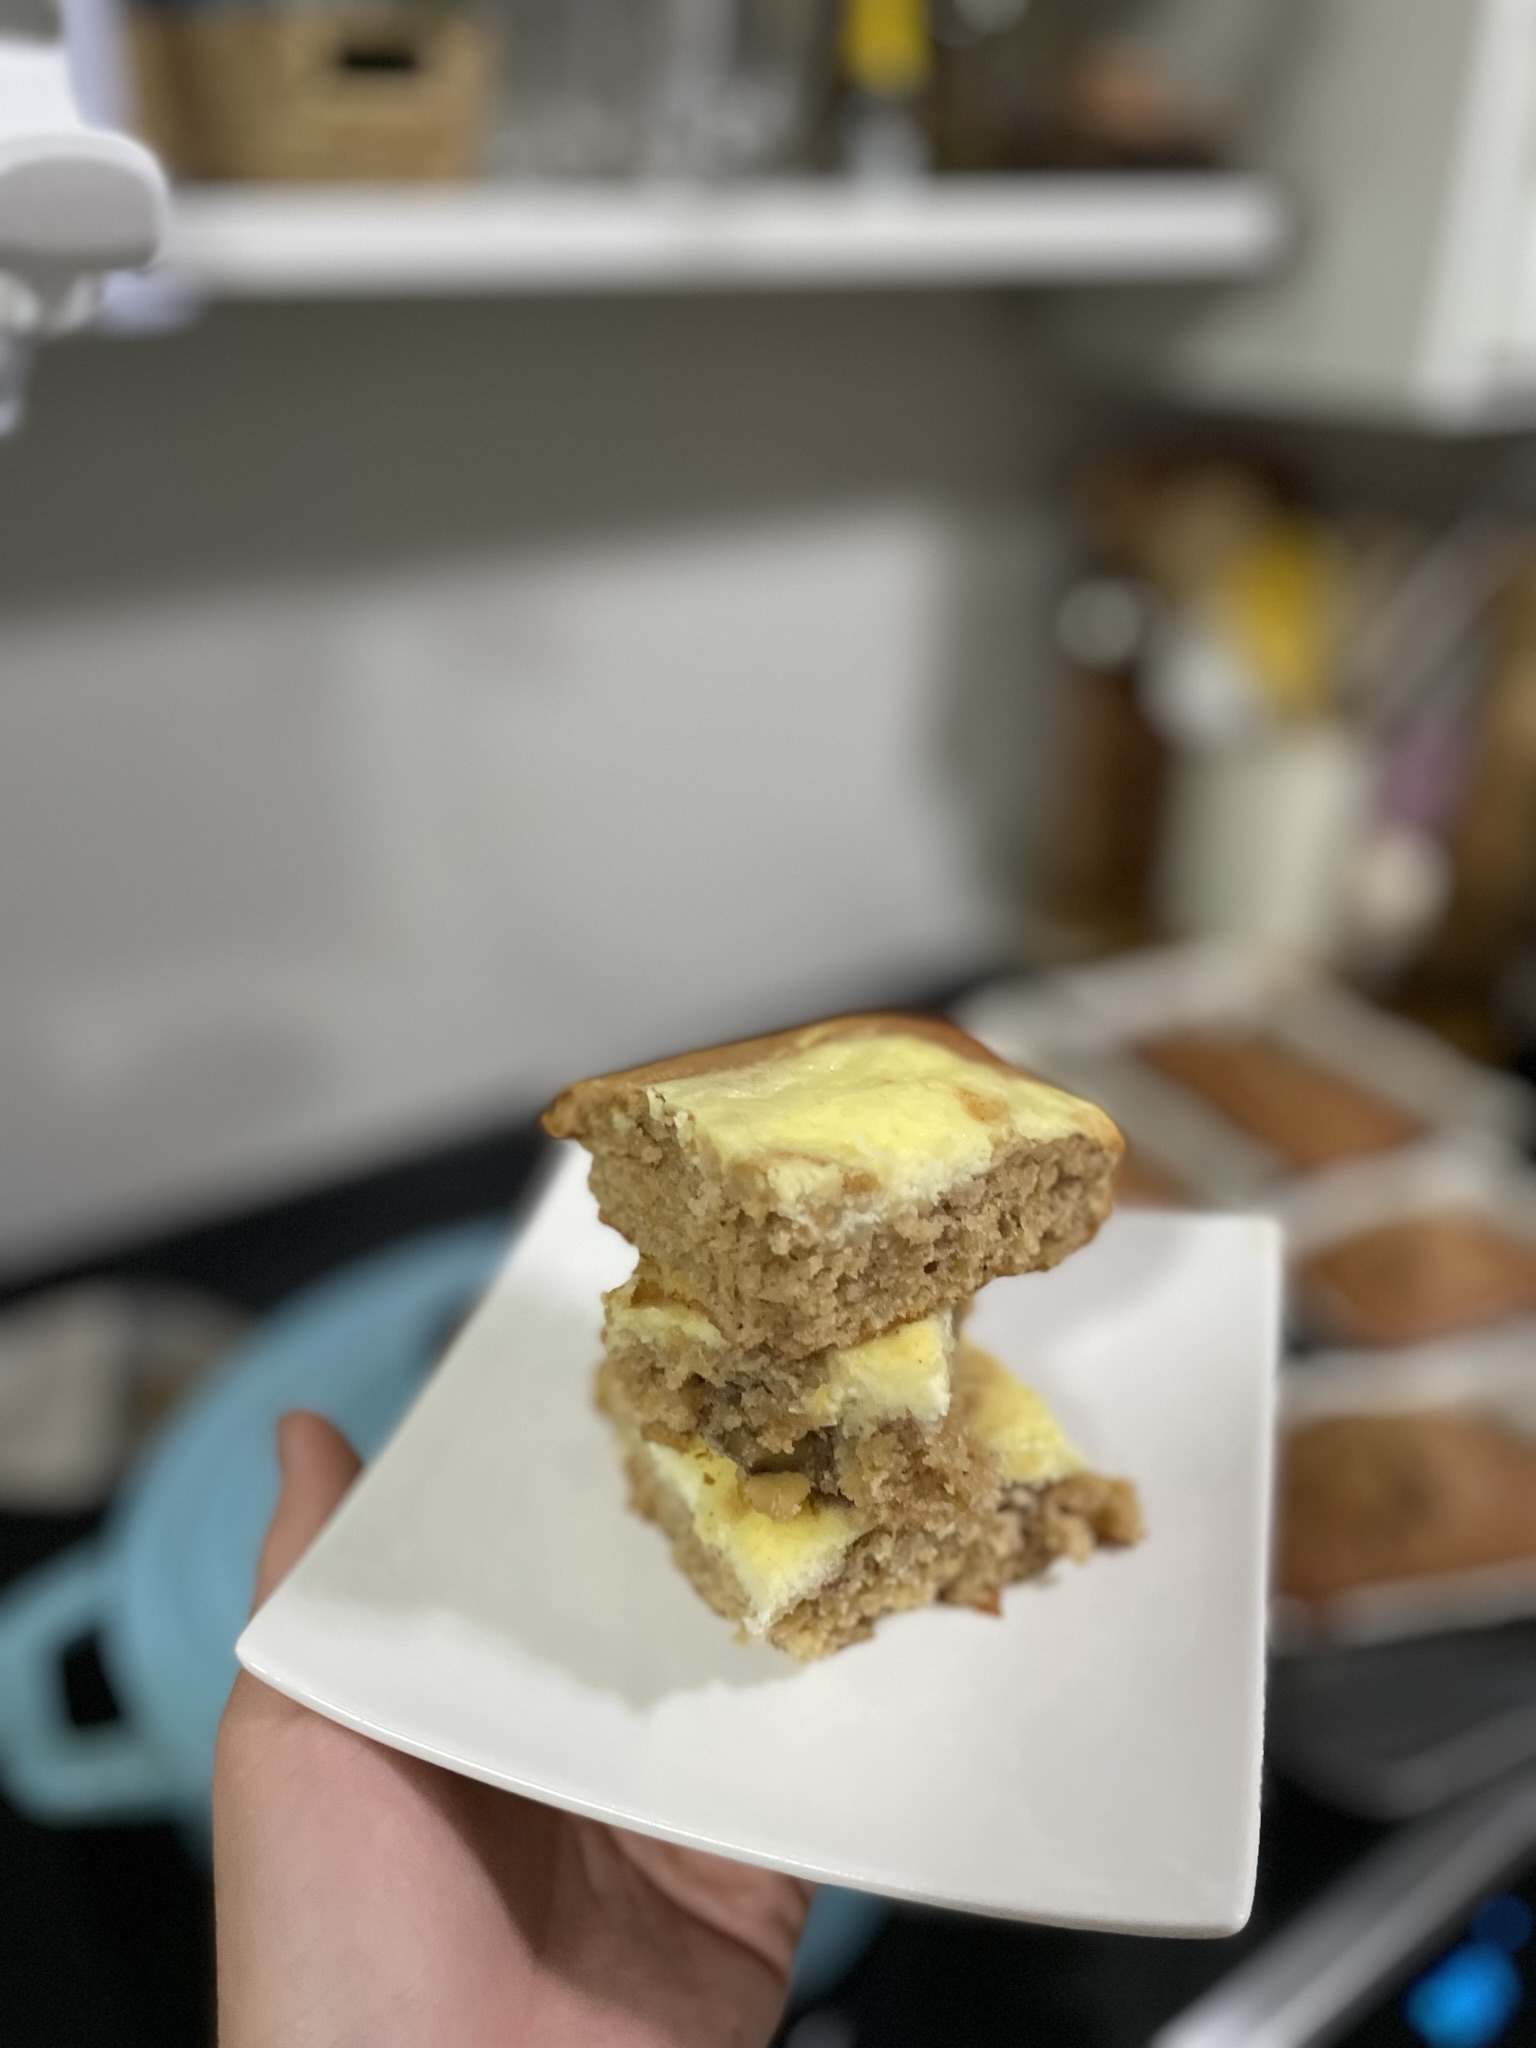
These pumpkin bars are pretty quick to mix together and it’s so fun to swirl the cream cheese topping. The tart cream cheese balances the sweet, spiced pumpkin and the walnuts add a good textural change.

Ingredients

Pumpkin puree – I like to make my own Homemade Pumpkin Puree with fresh pumpkin, but you can always use canned.

Cream cheese – If you don’t like cheesecake/cream cheese, you can eliminate the swirl altogether. The pumpkin bars can be eaten alone or you can make a simple powdered sugar/milk icing to top them if you do want a little bit of a decorative touch.

Walnuts – I prefer toasted walnuts in my desserts but this would also be lovely with toasted pecans or hazelnuts. If you prefer no nuts, do that too!

Pumpkin Cheesecake Bars

Print Recipe
Spiced pumpkin bars with a tart, cream cheese swirl and crunchy walnuts.
Course Dessert
Keyword bars, cheesecake, cream cheese, dessert, pumpkin

Equipment

  • quarter baking sheet with lip OR 13×9 baking dish

Ingredients

Pumpkin Bar

  • 1 cup pumpkin puree
  • 2 eggs
  • 1/2 cup white sugar
  • 1/2 cup brown sugar
  • 1 tsp cinnamon
  • 1/2 tsp ginger
  • 1/4 tsp cloves
  • 1/4 tsp nutmeg
  • 3/4 cup vegetable oil
  • 1/4 tsp salt
  • 1 3/4 cups all-purpose flour
  • 2 tsp baking powder
  • 1/2 cup toasted walnuts

Cheesecake Swirl

  • 4 ounces cream cheese softened
  • 1 egg
  • 1 tbsp sugar
  • pinch of salt

Instructions

Pumpkin Bar

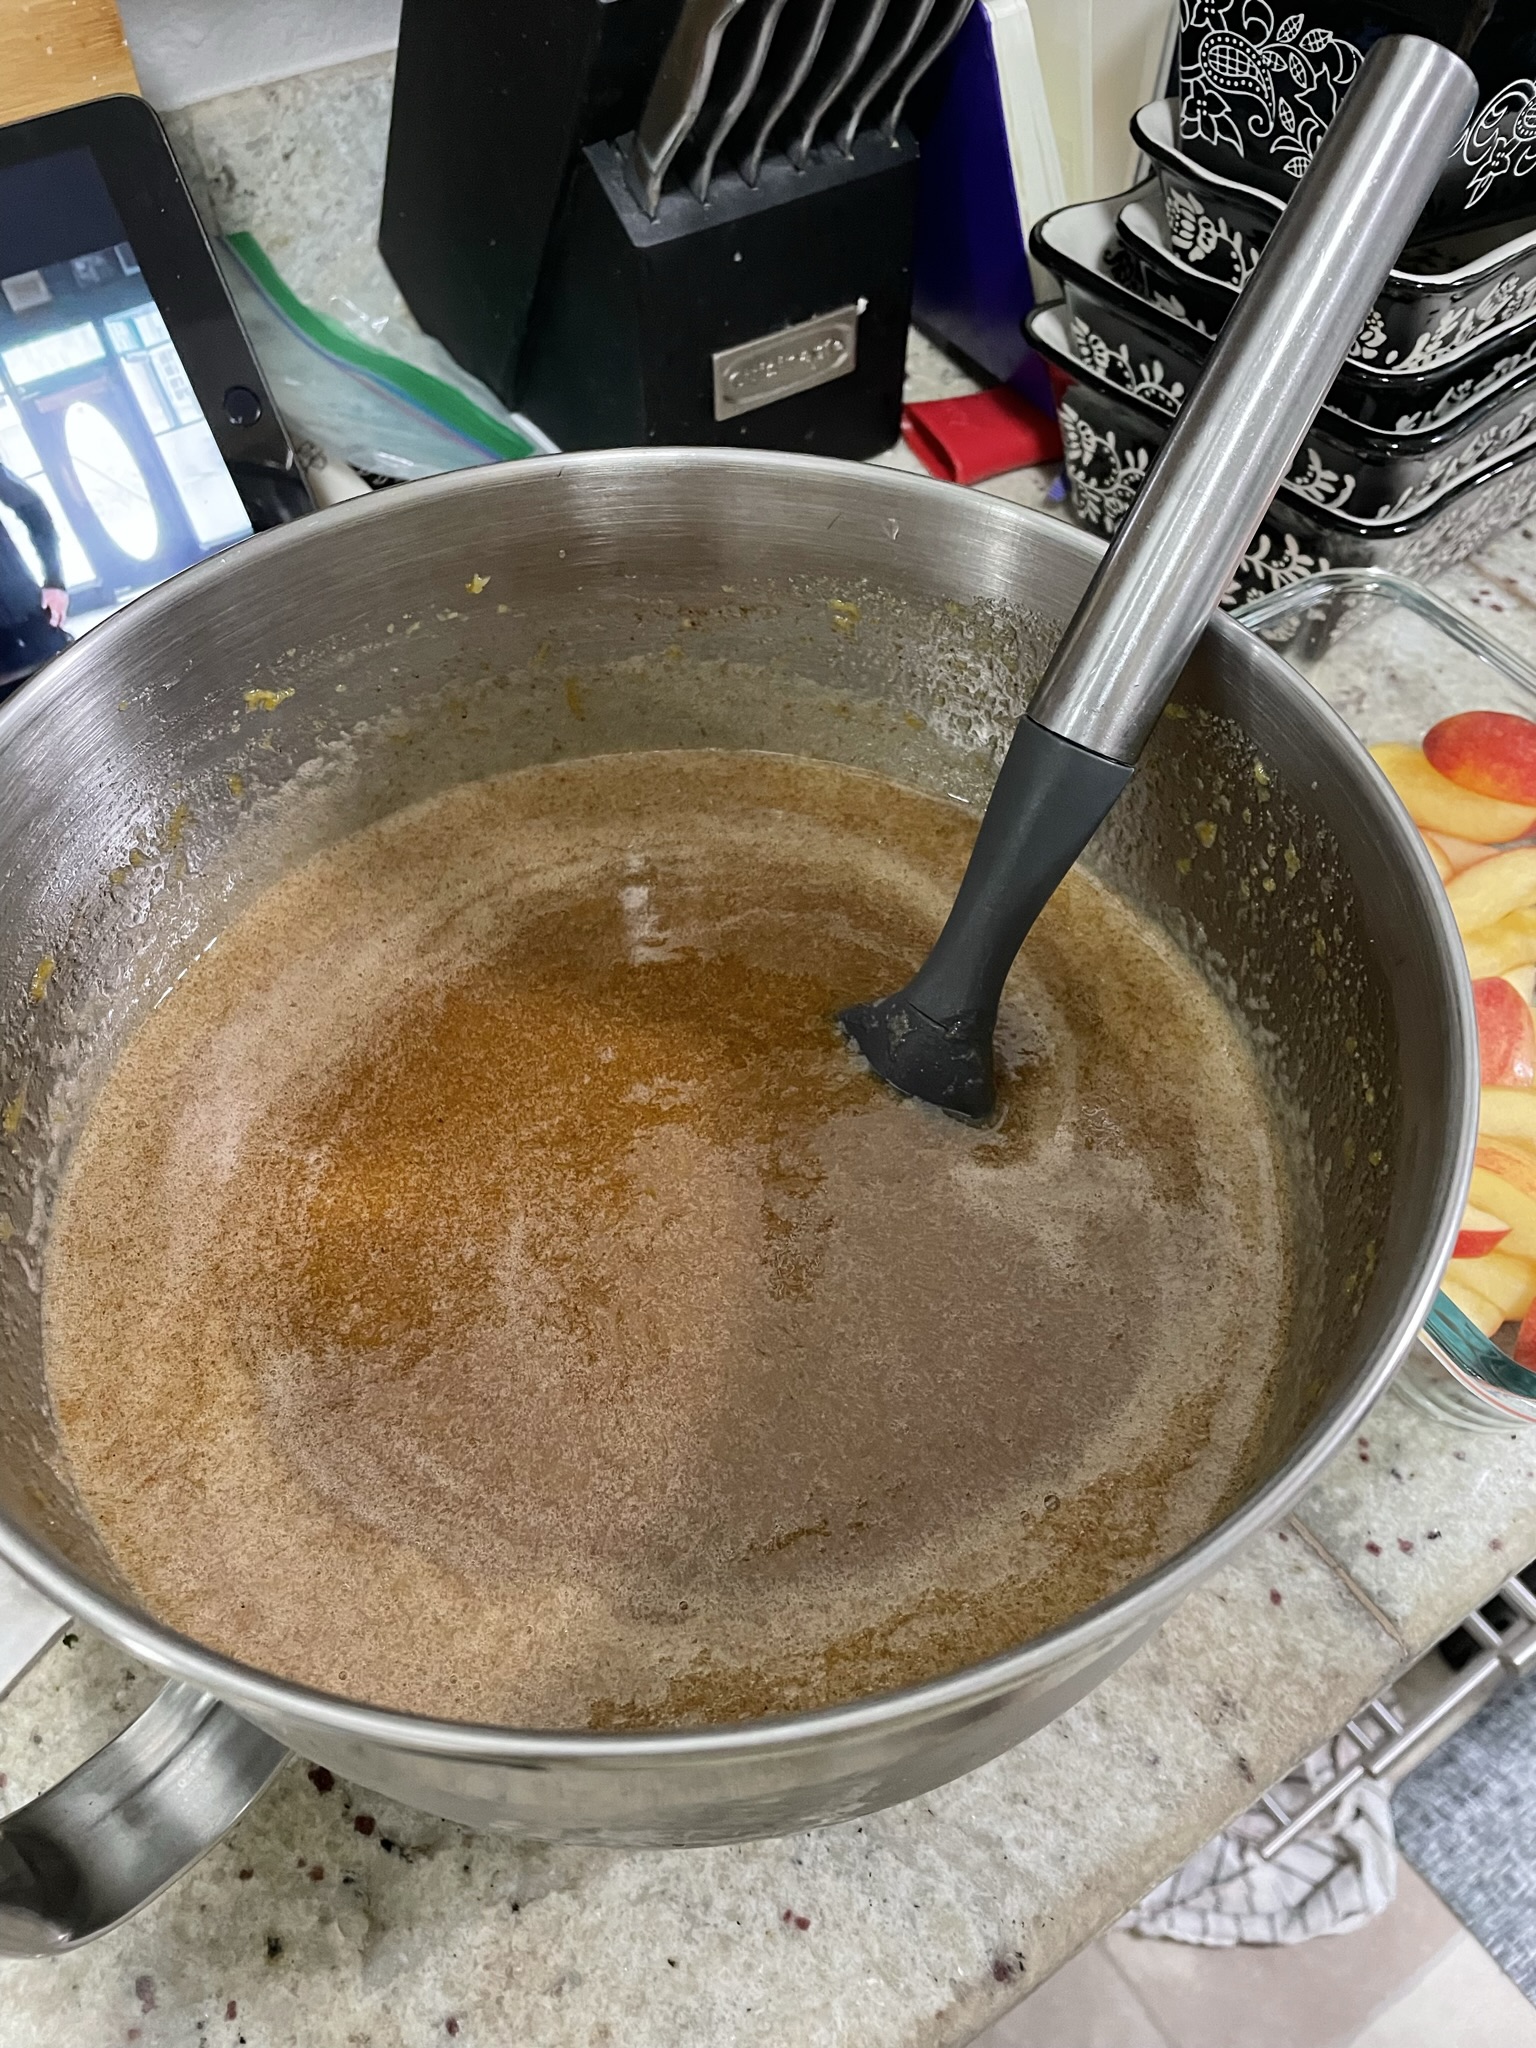
  • Combine pumpkin puree, oil, and eggs. Mix well until combined.
  • Mix in white and brown sugars, cinnamon, ginger, cloves, nutmeg, and salt.
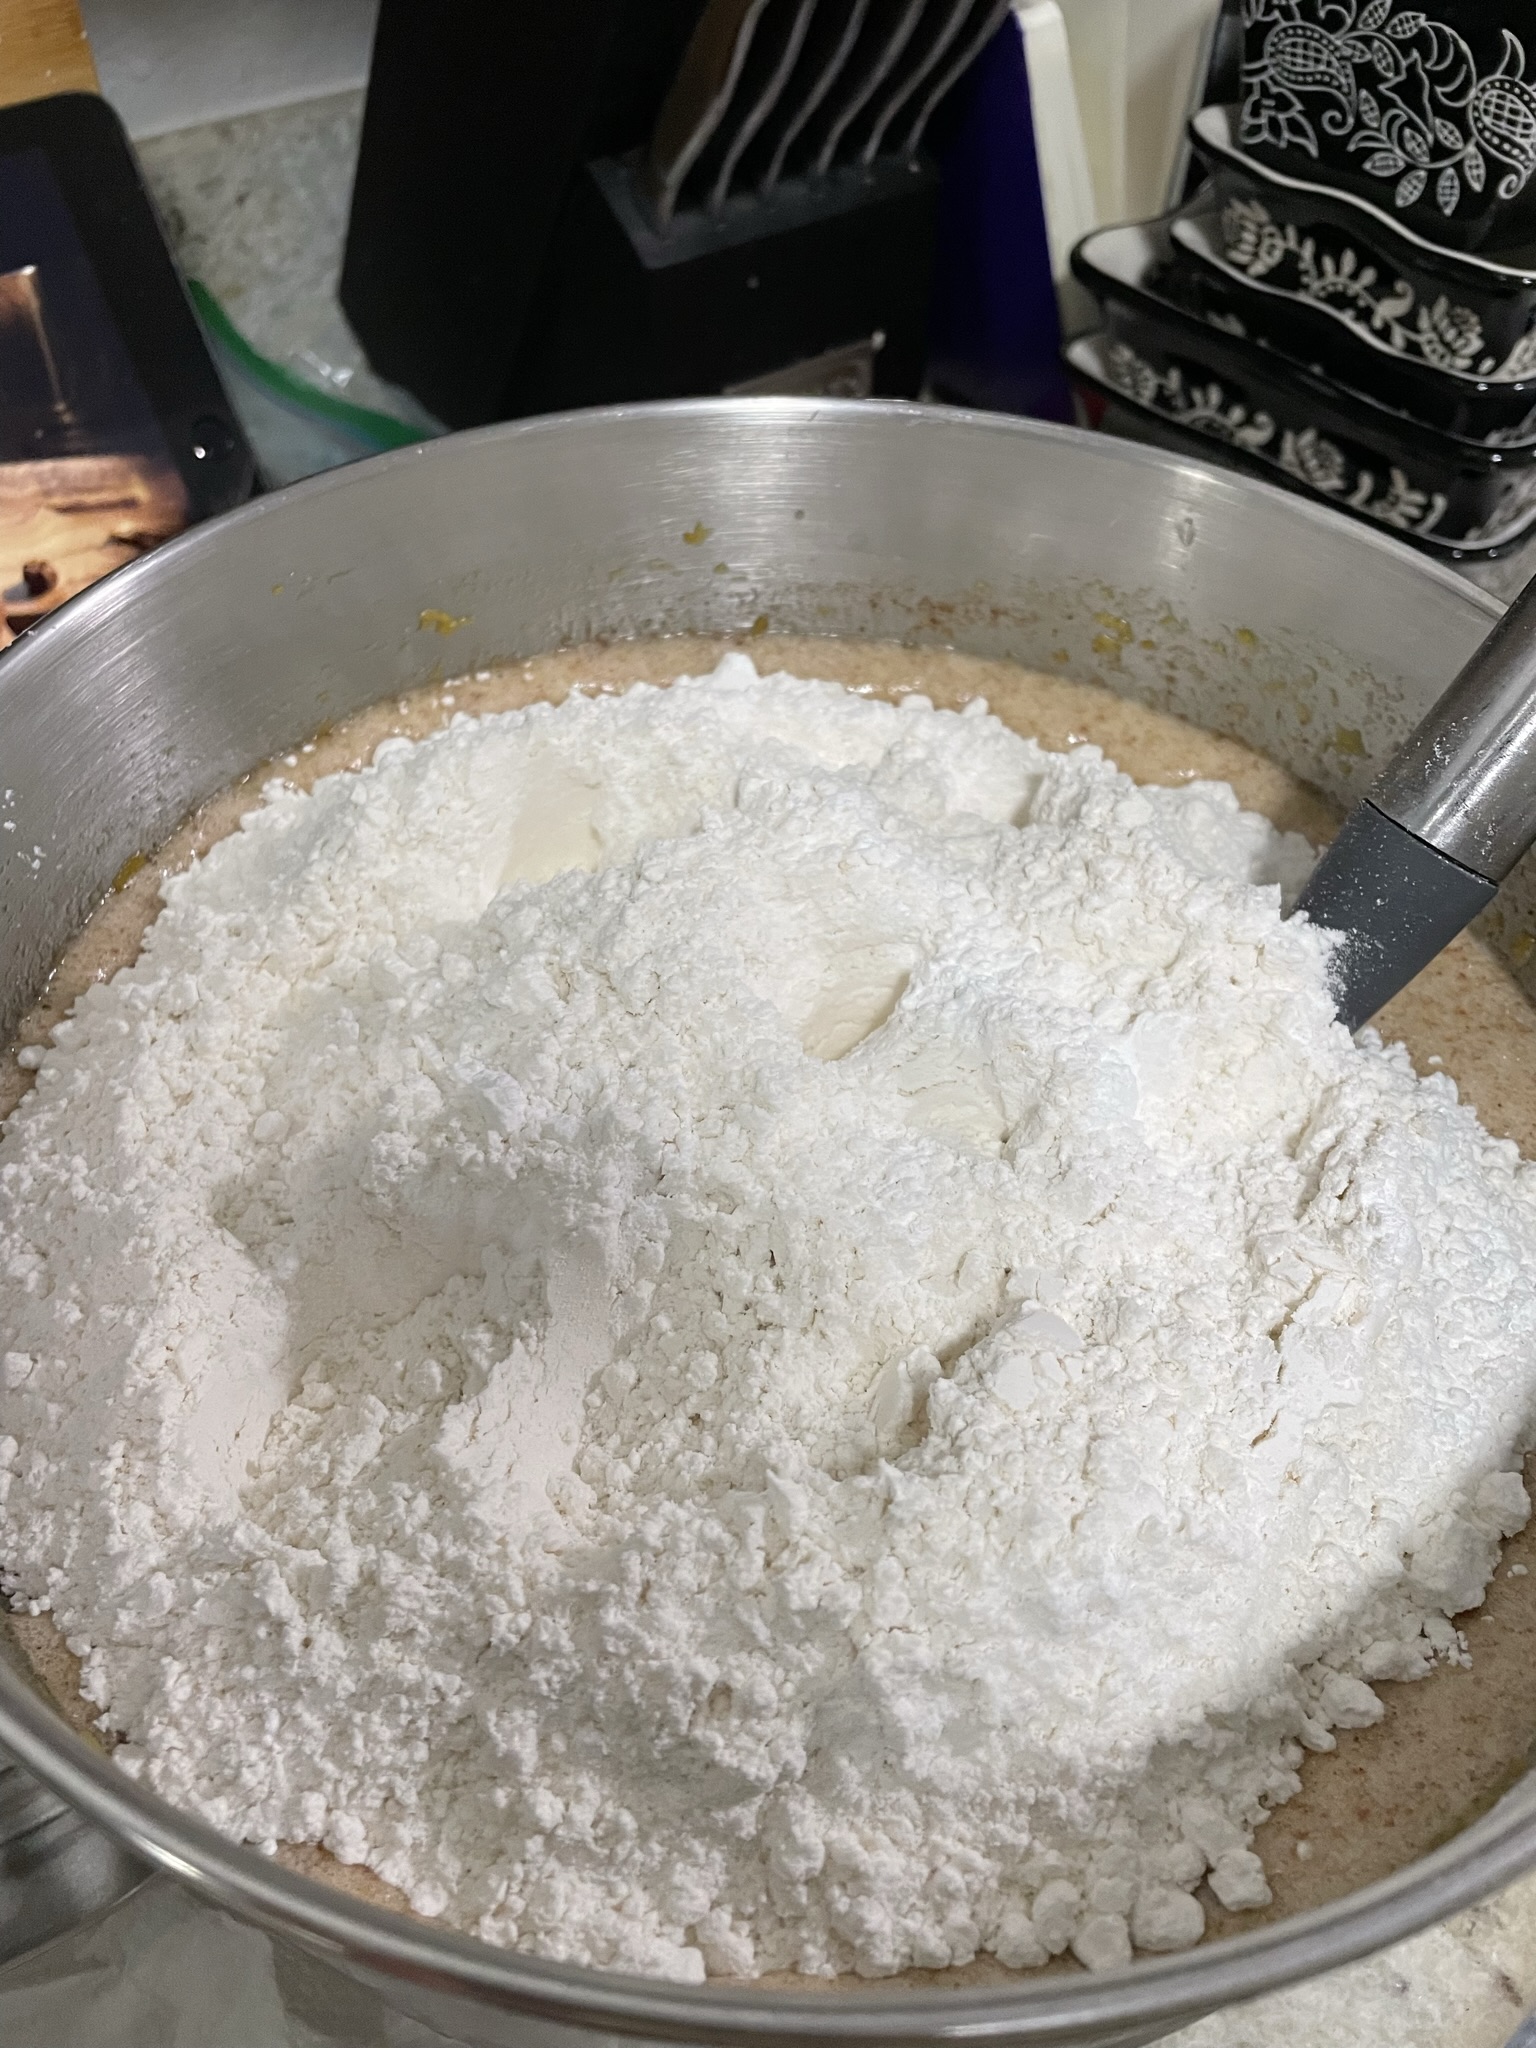
  • Add in flour and baking soda and mix until streaky.
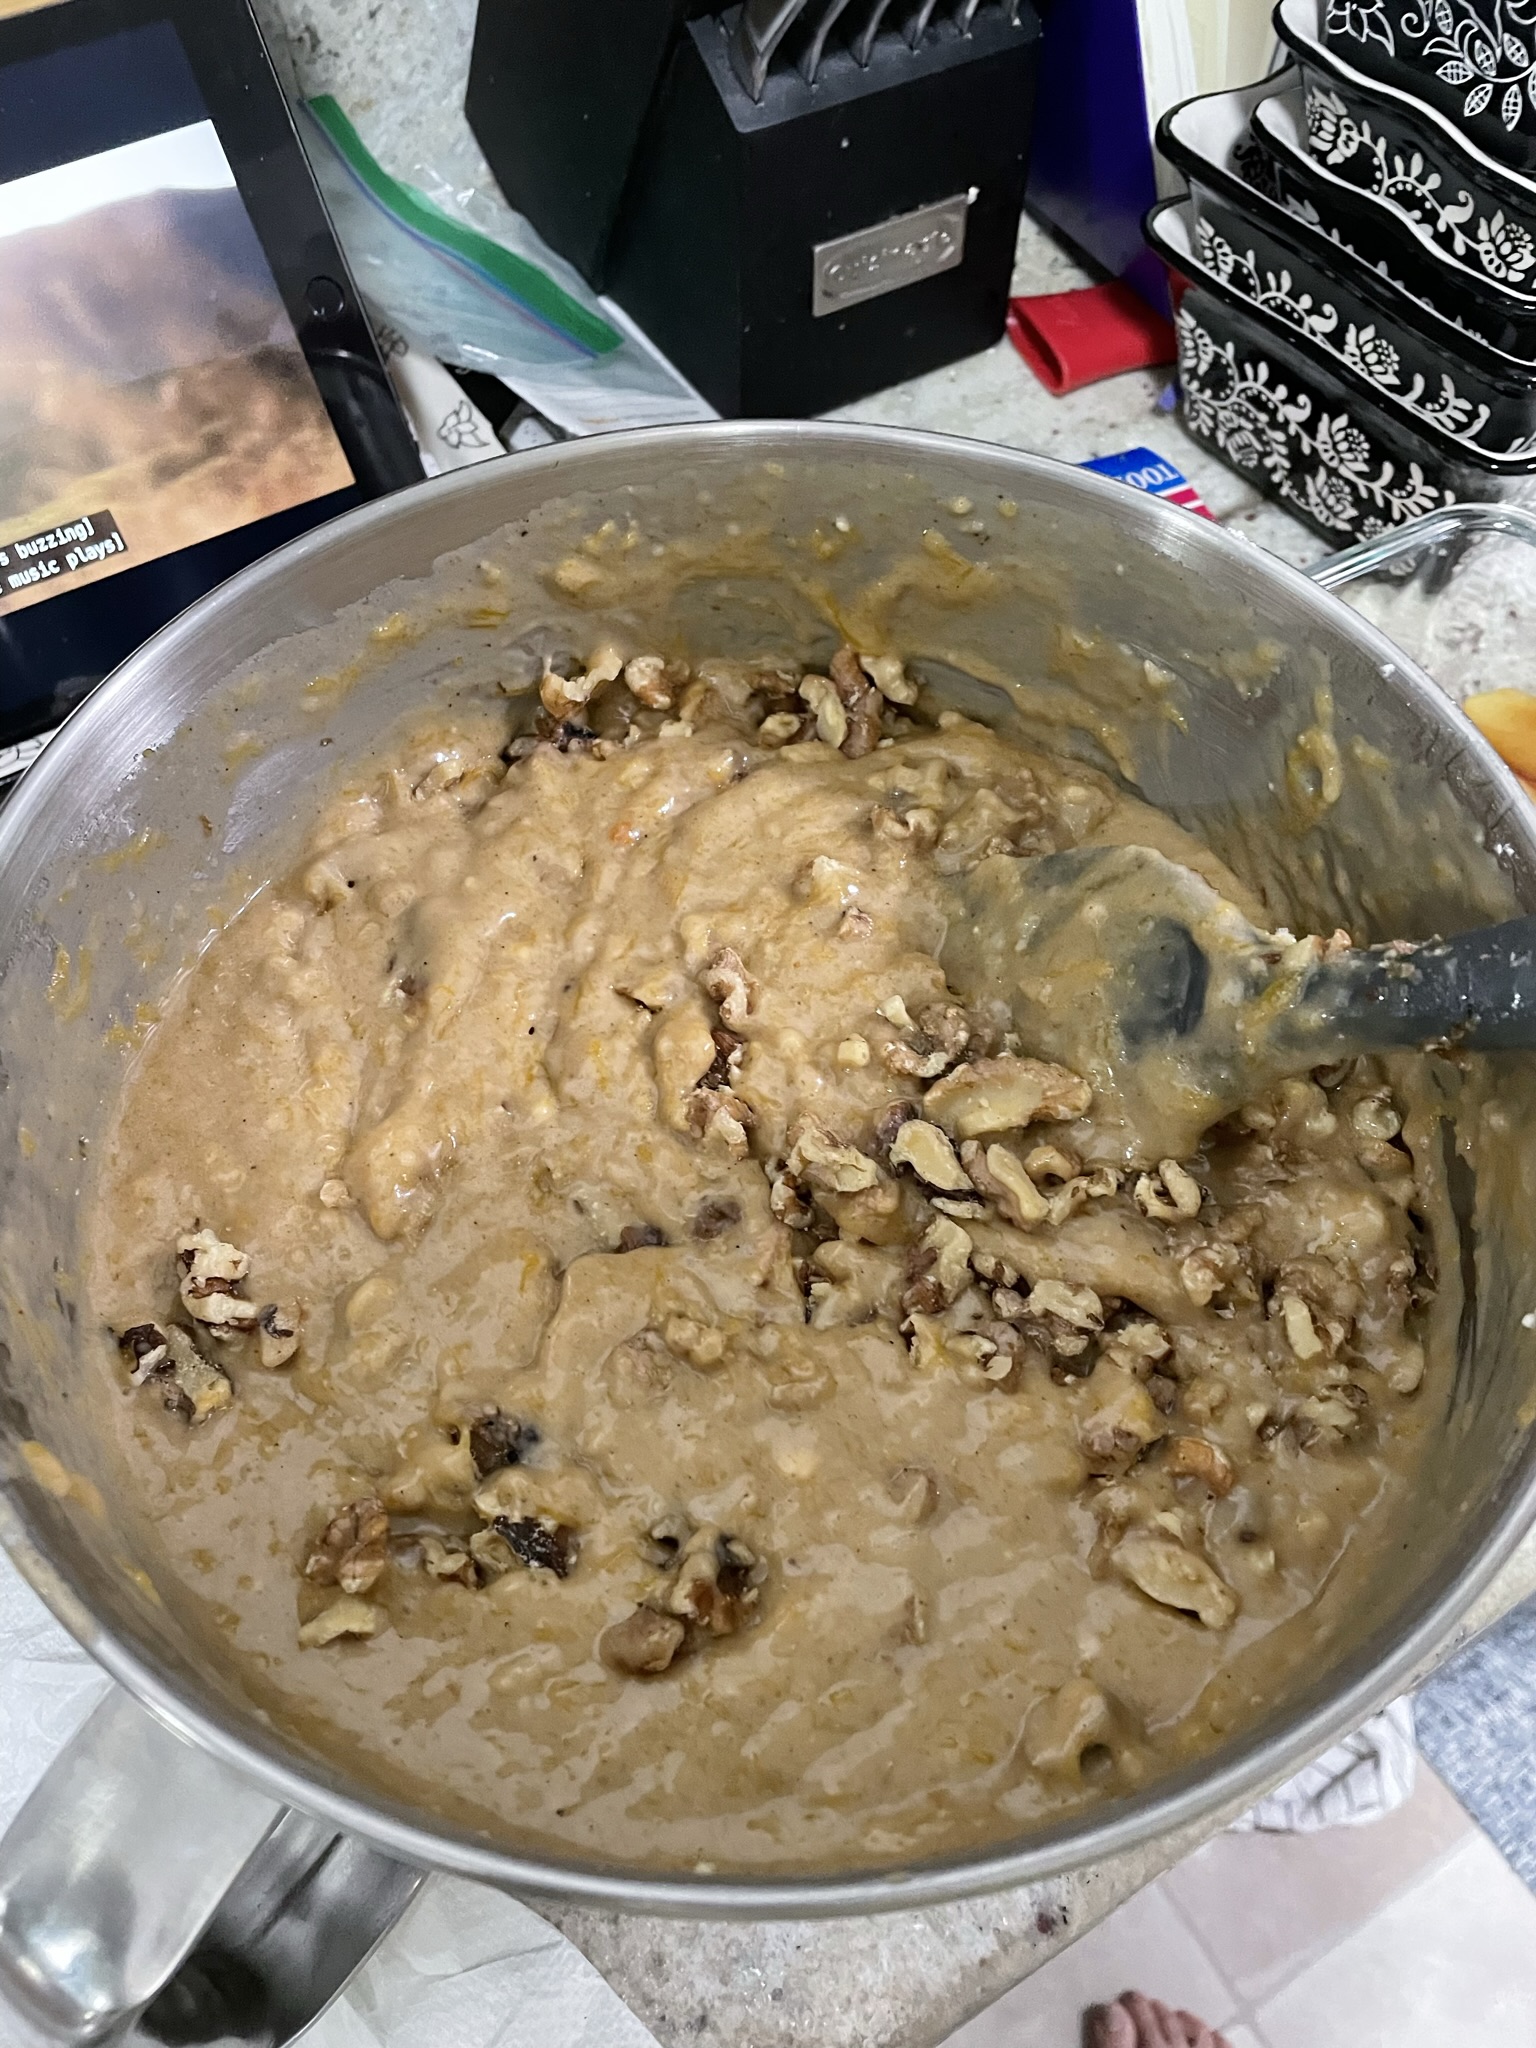
  • Add in toasted walnuts and finish mixing.

Cheesecake Swirl

  • Mix together softened cream cheese, egg, sugar, and salt until blended smooth. Make sure there are no lumps.

Assembly

  • Pour the pumpkin bar mixture into baking sheet/dish and ensure it is leveled.
  • Drizzle cheesecake swirl over the pumpkin bar into lines.
  • Using a spatula/spoon/chopstick/utensil of choice, cut lines through the cheesecake and pumpkin batters to "swirl" the two together. Don't go overboard otherwise it will turn into a mixture.
  • Bake at 350F for about 30 minutes, until bars have puffed up, cheesecake has set, and toothpick comes out clean.

Some other pumpkin recipes: Pumpkin Soup, Pumpkin Pull Apart Bread, Pumpkin Panang Curry with Spinach and Paneer

Tomato Basil Soup

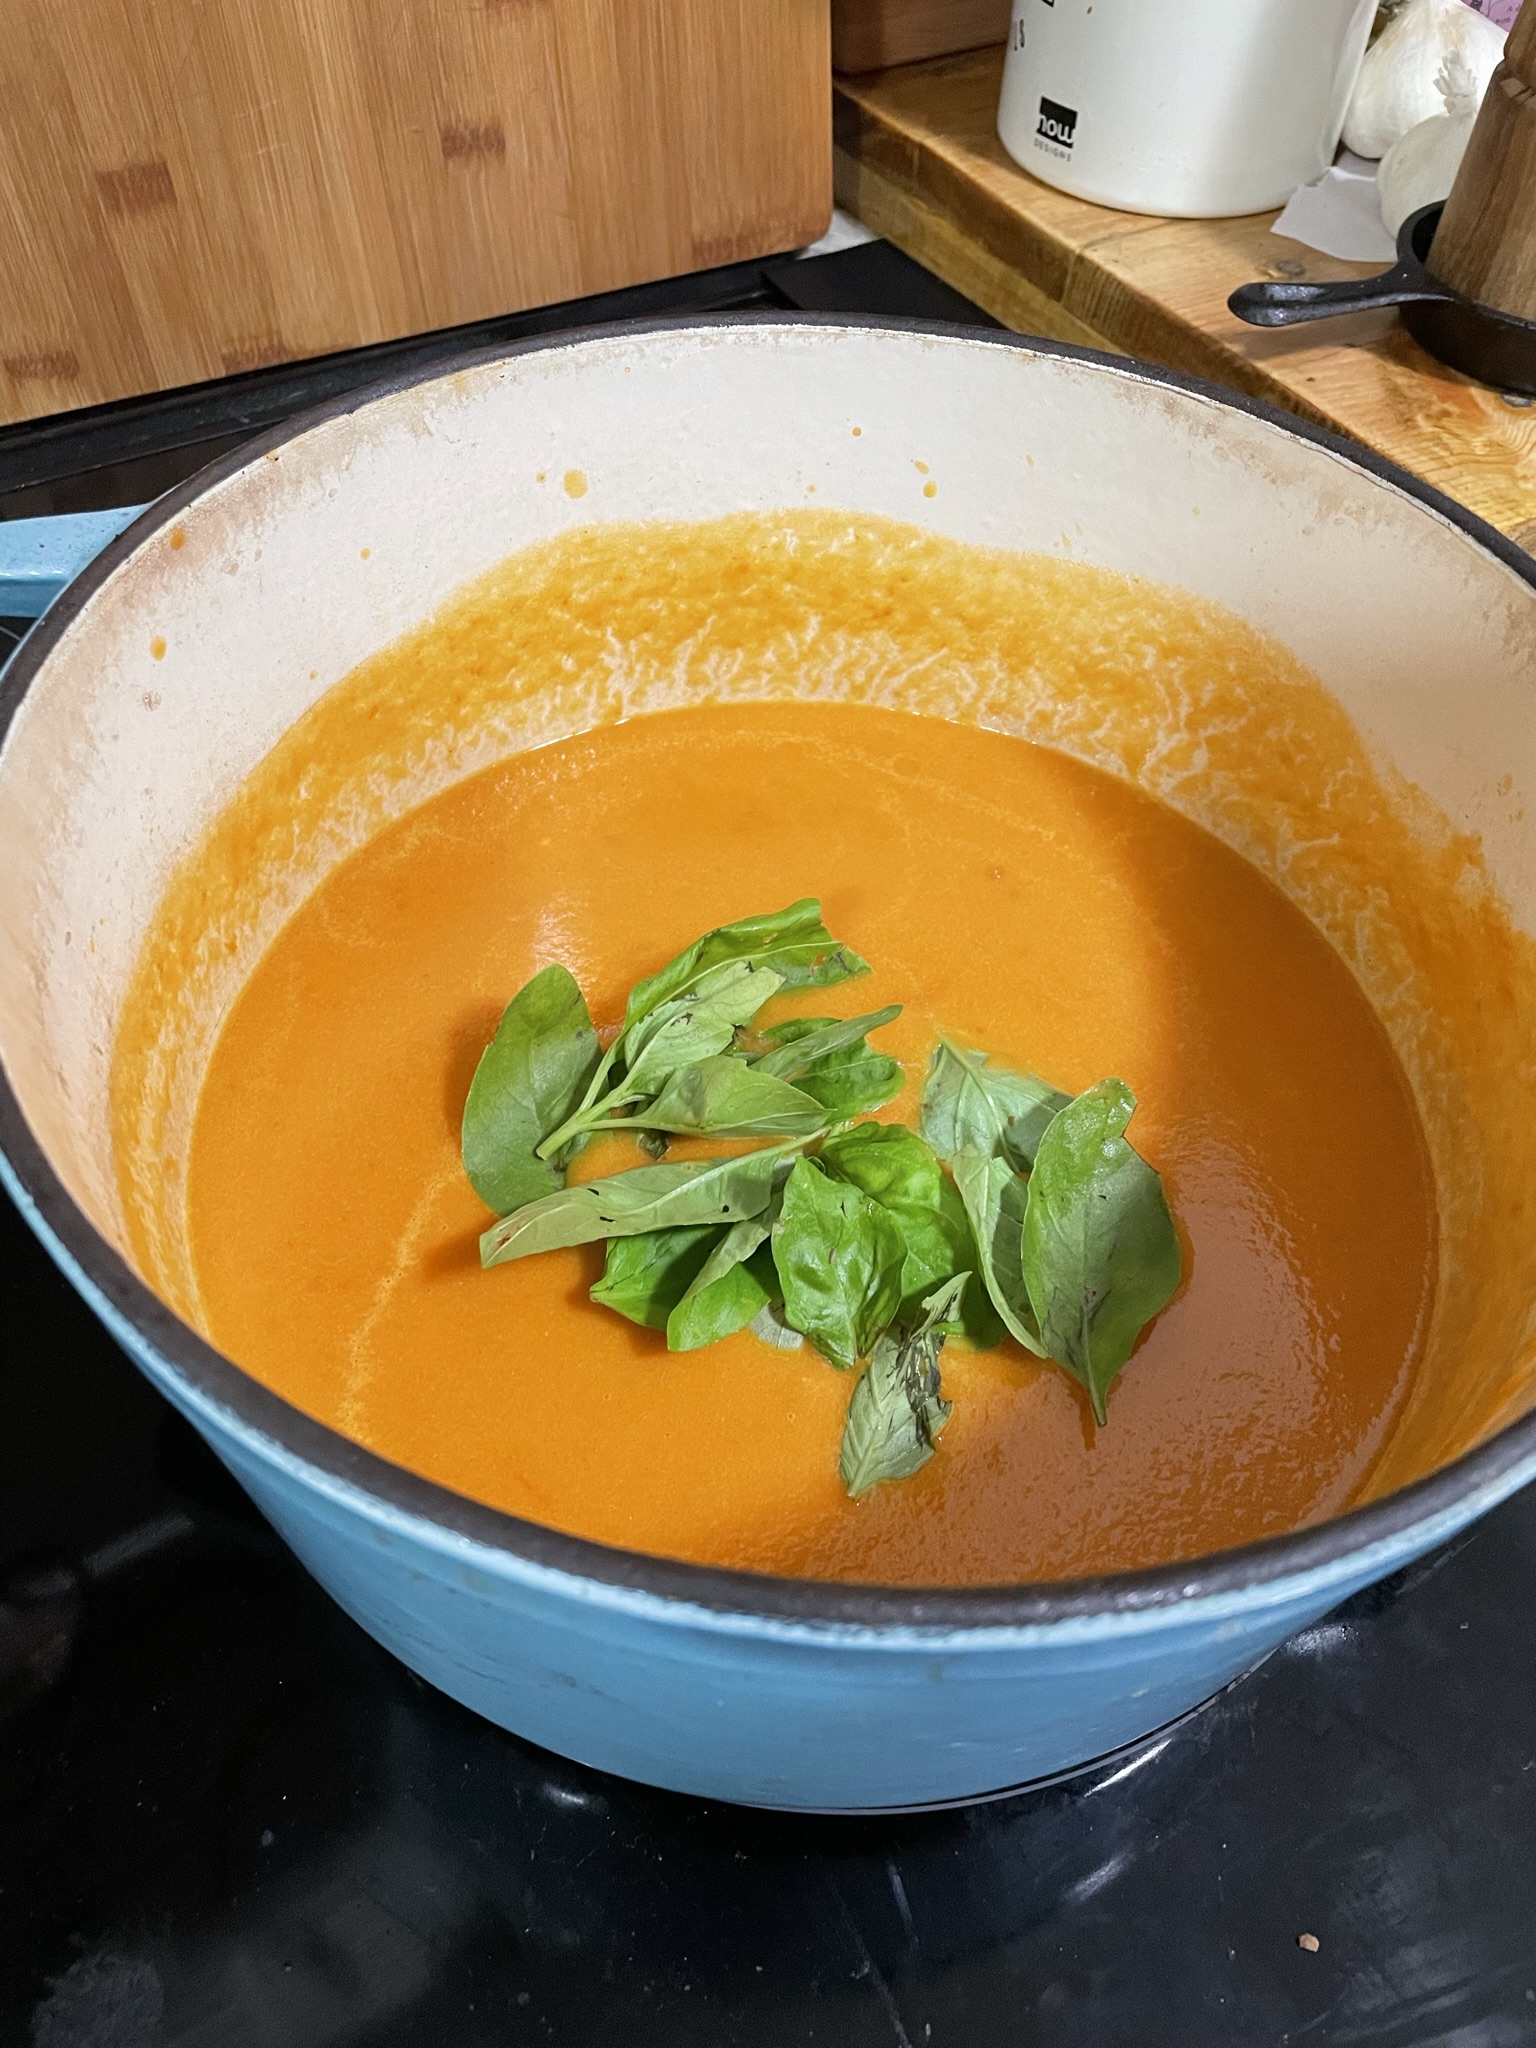
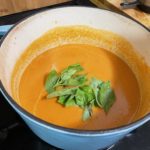
It’s getting darker in the mornings and weather is dropping below 60F, so it’s soup season! Tomato season is drawing to a close, so the farms near me are rushing to harvest all their tomatoes before the cold sets in. These fresh tomatoes are so juicy and so sweet. I always end up with too many to eat fresh in sandwiches and salads, so I turn to tomato soup when I need to get through them all. This tomato soup thickens up on its own over time and requires very little work to make it shine. It doesn’t require a lot of baby-sitting and there are few ingredients required. After all my ingredients have spent a few hours together, I like to blend them up for a smooth texture. If you like the chunks, leave it as it!

I also like to save some leftover My Favorite Focaccia, chop it up into small cubes, and bake to dry out to make croutons. These croutons are lovely to top the soup with. If you would rather just have some bread to dip into the tomato soup, the fresh focaccia is great too.

Ingredients

Tomatoes – Use any that you like!

Basil/Heavy Cream – Both of these are entirely optional. I love to use fresh basil for this soup, but you can most certainly substitute with dried. I love a splash of the heavy cream in the soup to mellow out the acidity of the tomatoes and make the soup even creamier.

Tomato Basil Soup

Print Recipe
End the summer by using up your remaining tomatoes with this tomato basil soup
Course Soup
Keyword basil, soup, tomato

Equipment

  • blender

Ingredients

  • 1 tbsp olive oil
  • 5 lbs tomatoes
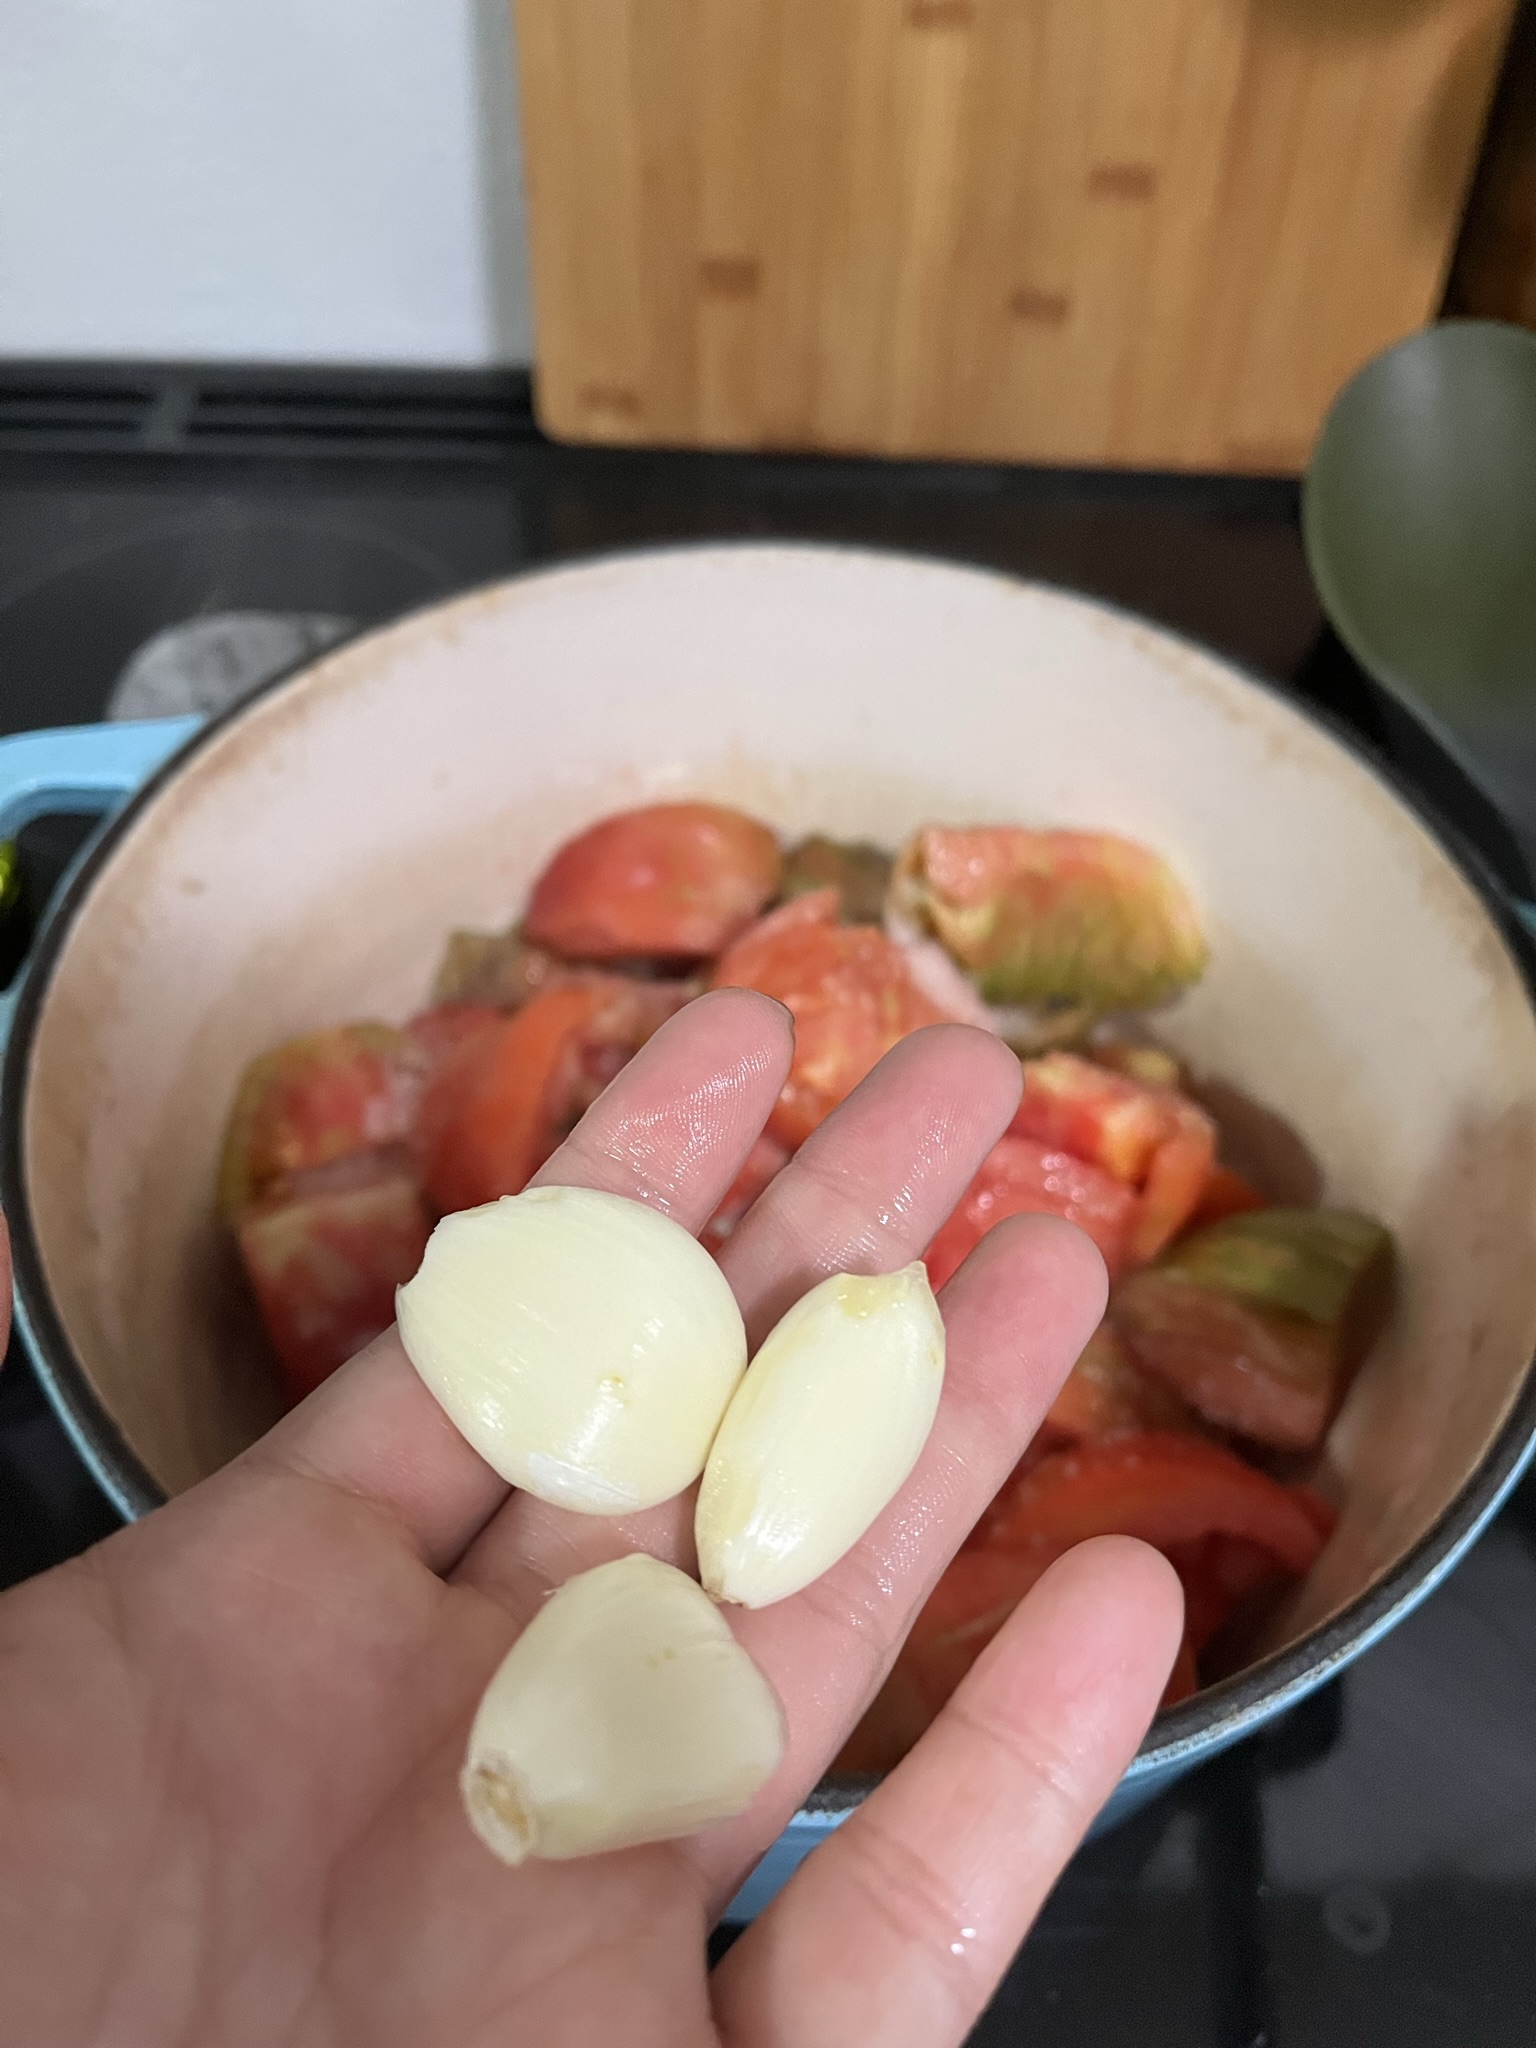
  • 3 cloves garlic
  • 1 tsp salt
  • 1/2 cup fresh basil
  • 1/4 cup heavy cream

Instructions

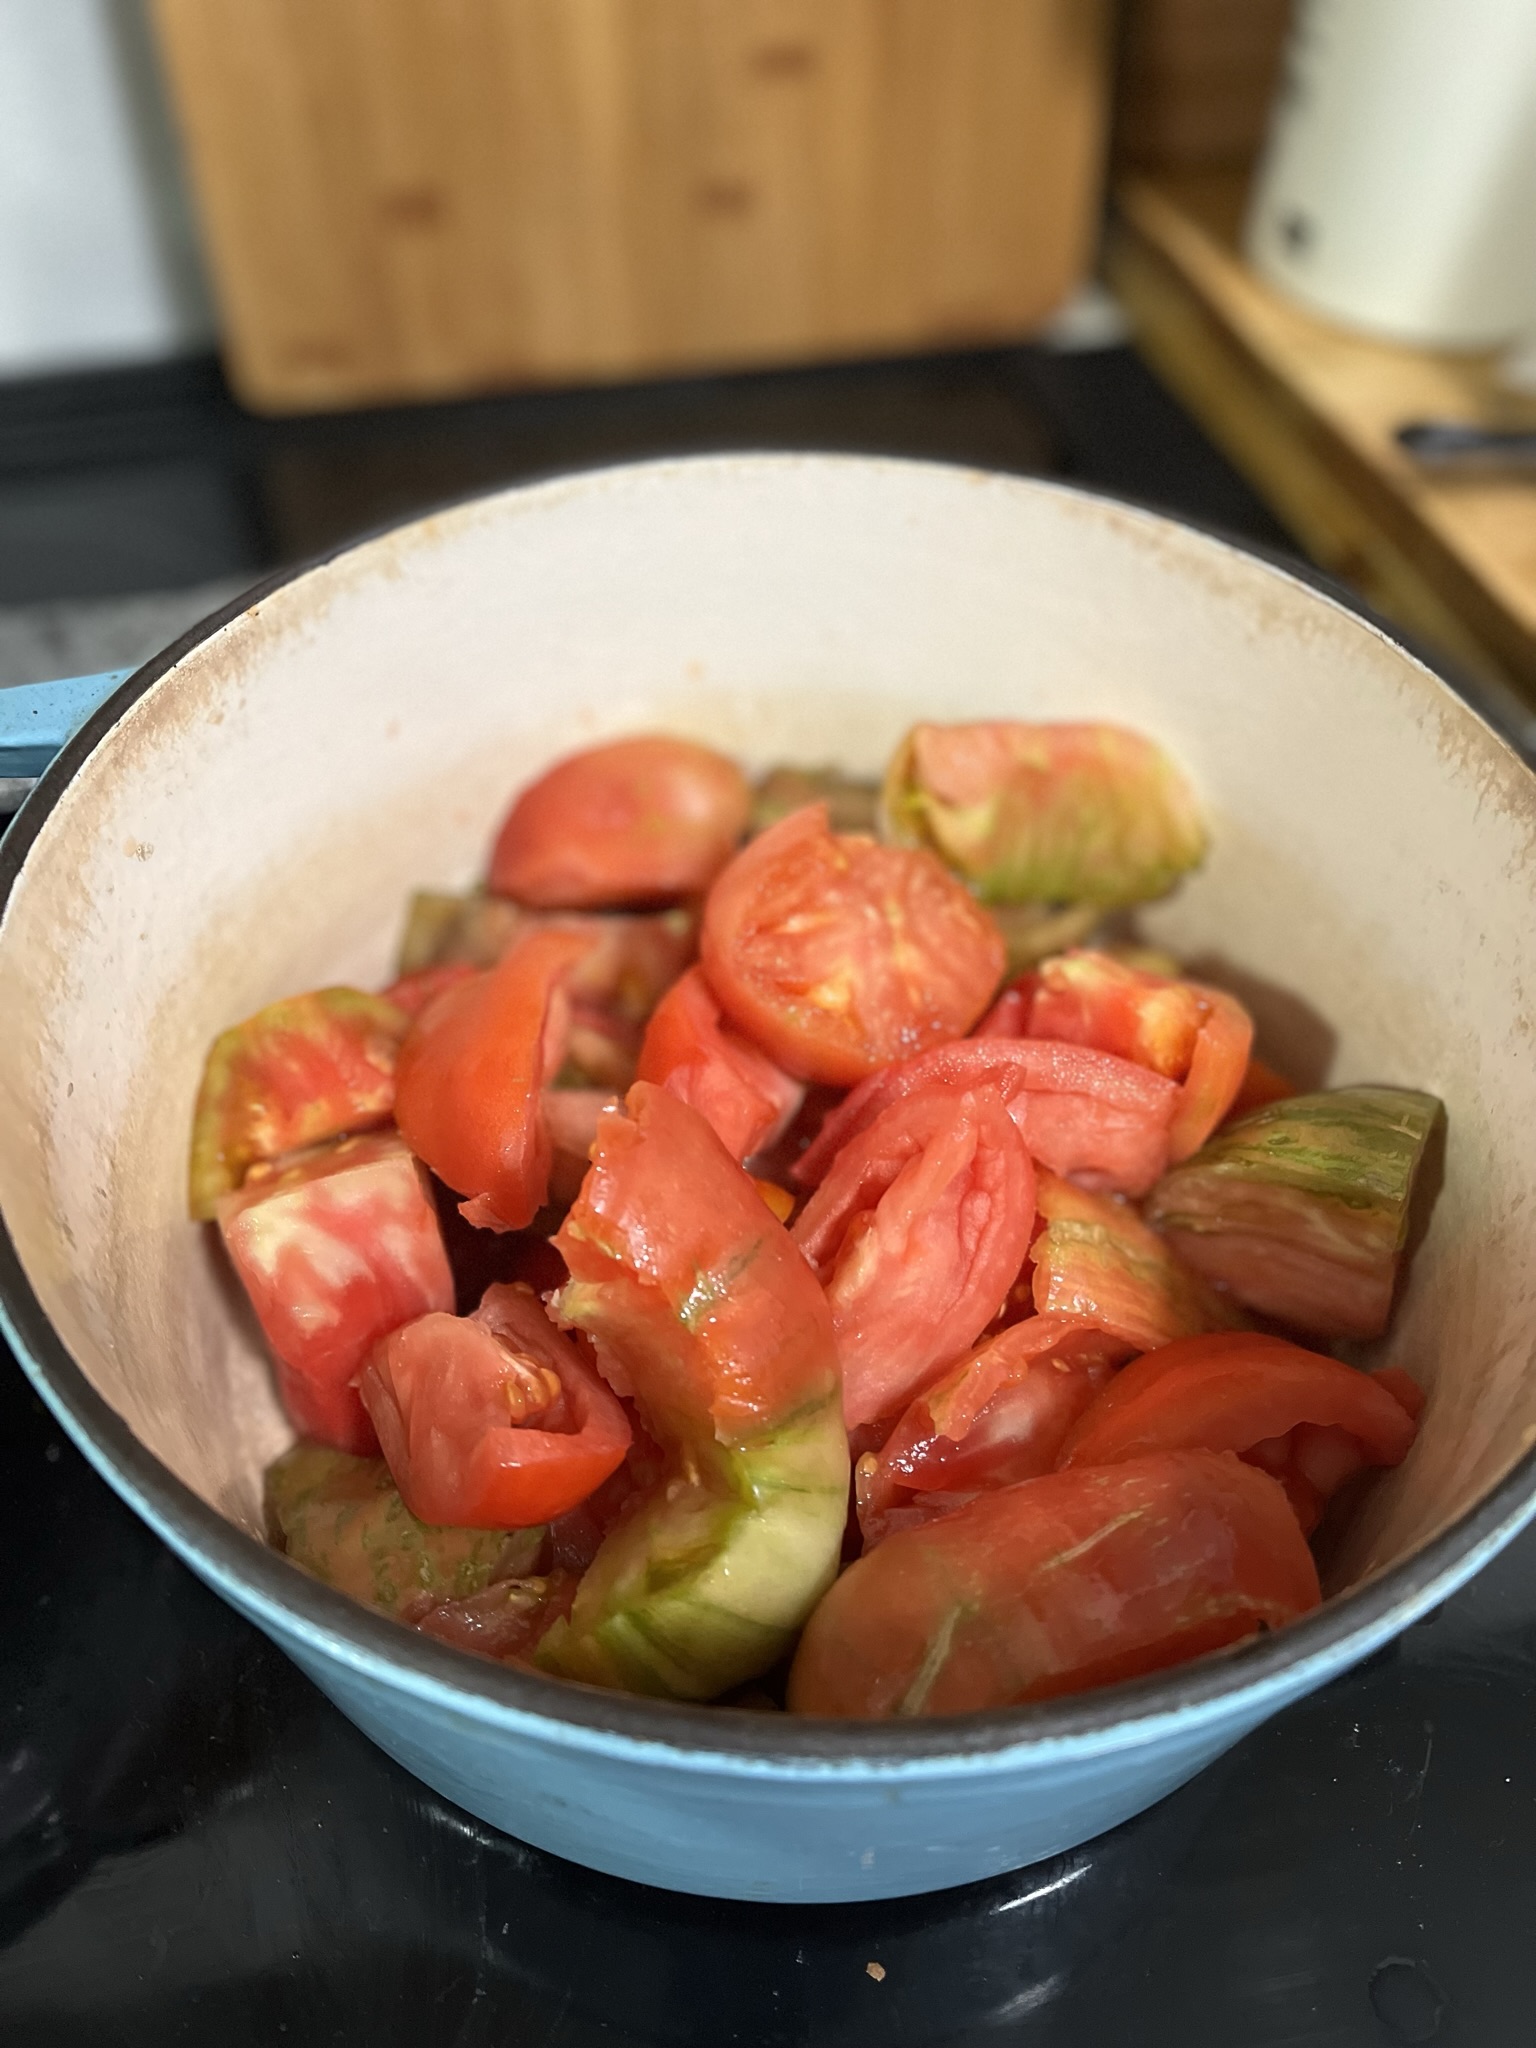
  • Wash, core, and chop tomatoes into quarters. These do not need to be perfect as the tomatoes will cook down.
  • Add tomatoes, salt, olive oil, and garlic to the pot on medium heat.
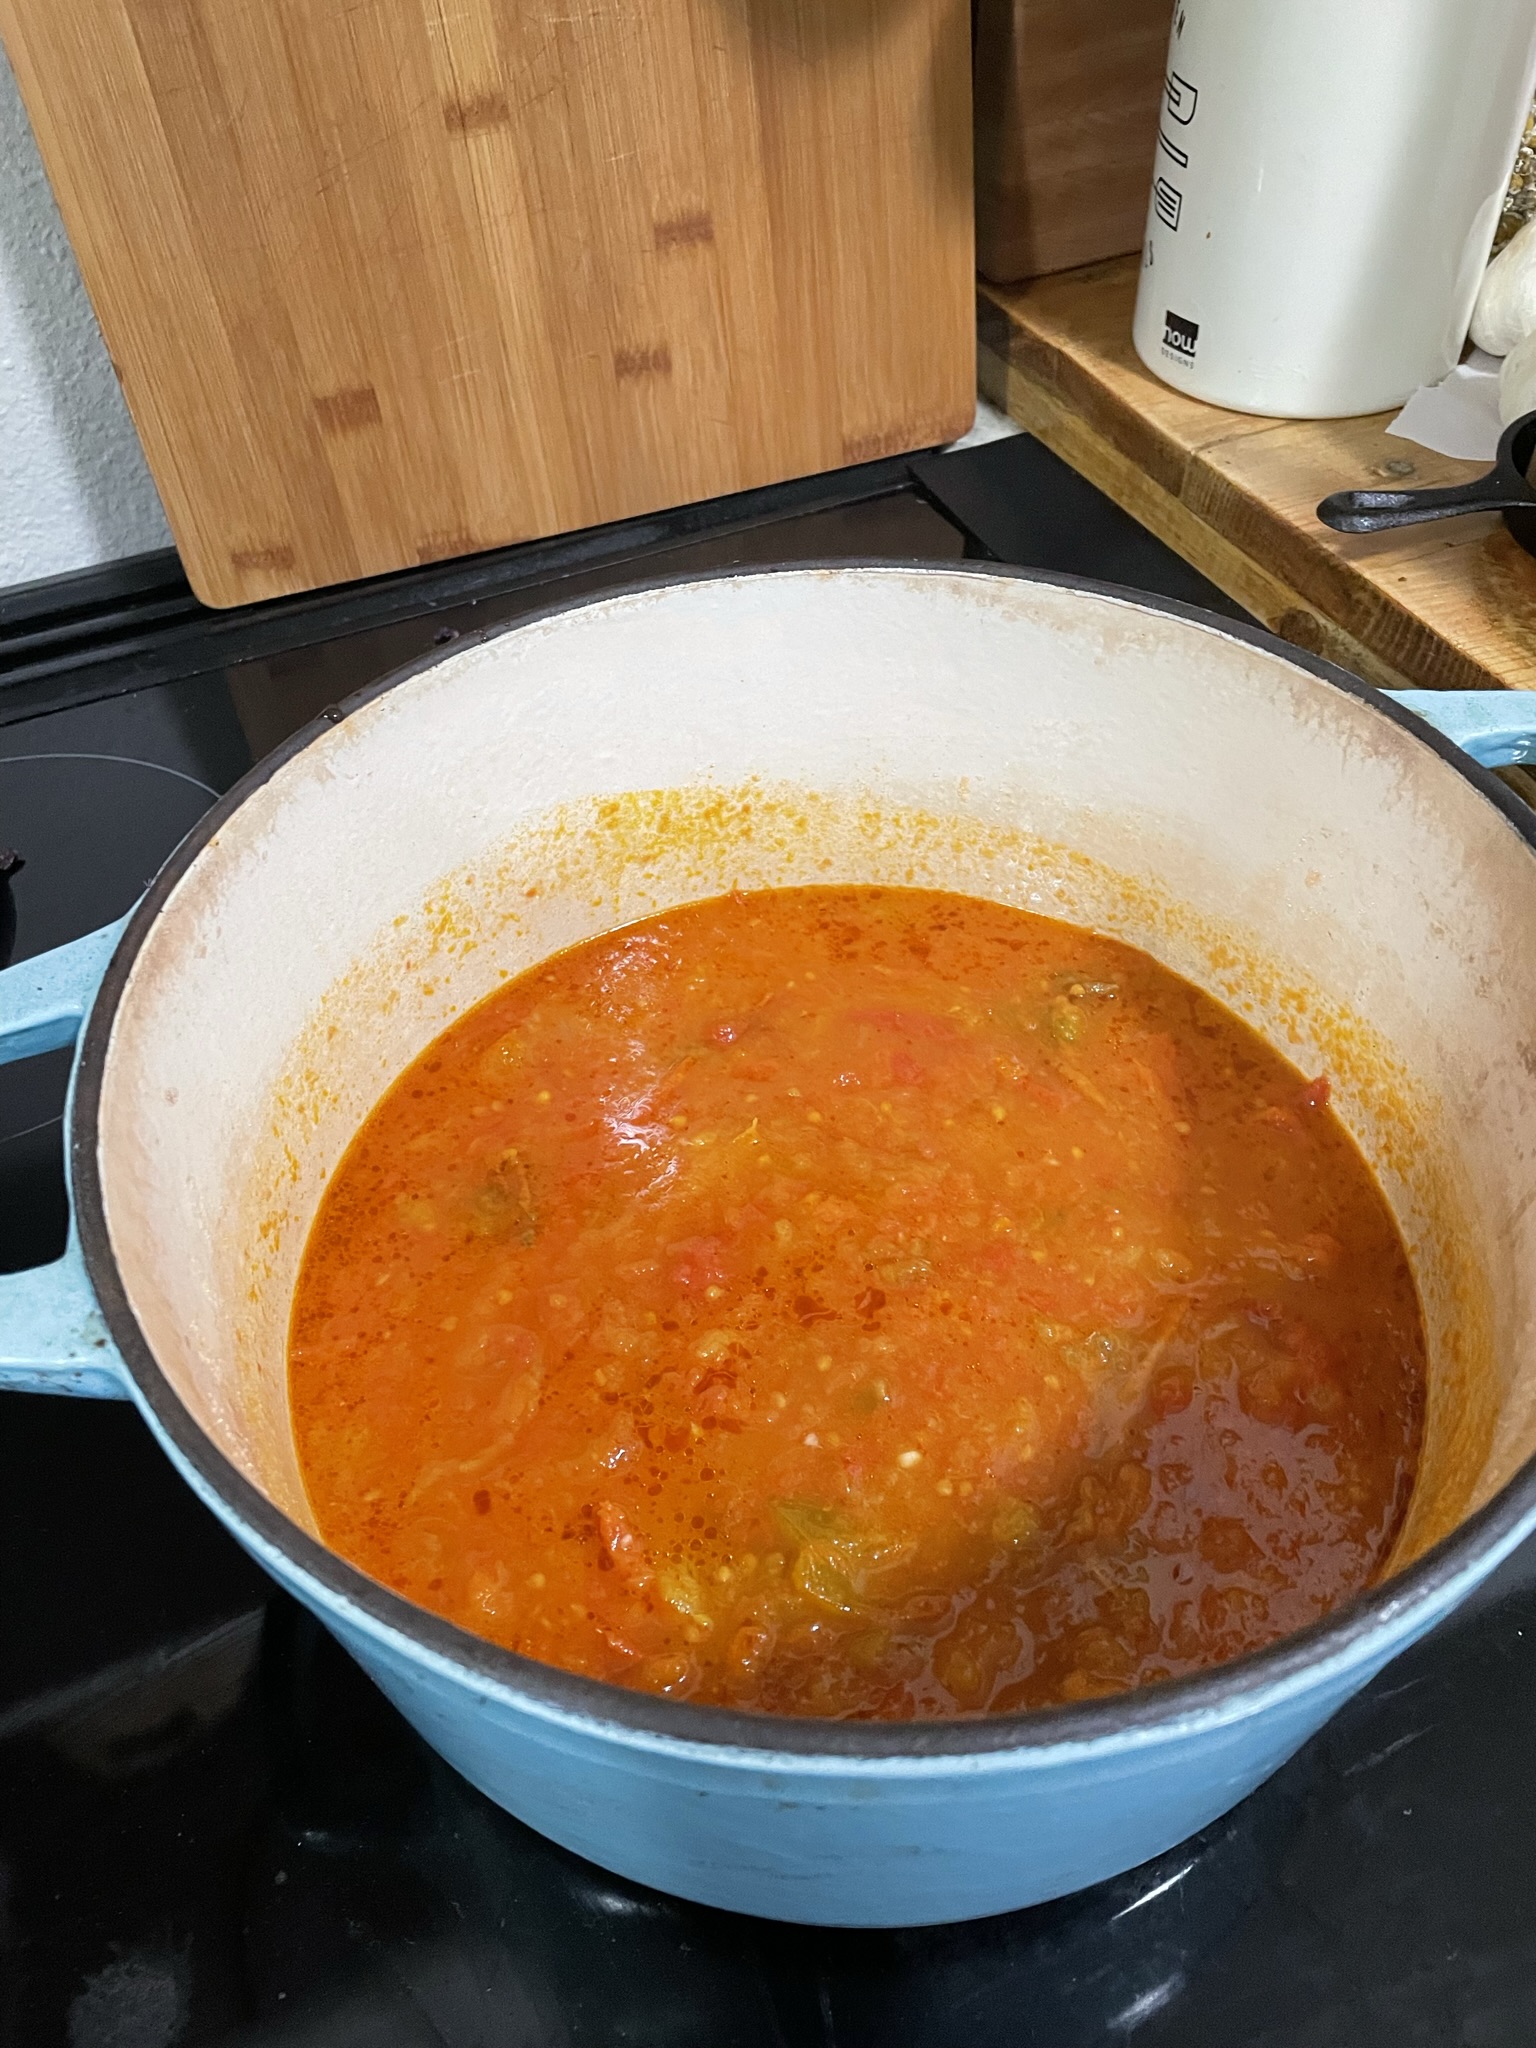
  • Cover with a lid for 20 minutes for the juices to start coming out of the tomatoes.
  • Uncover the pot, mix, recover, and reduce the heat to medium-low.
  • Leave the soup to simmer for 2-4 hours. The soup will reduce and intensify the tomato flavor.
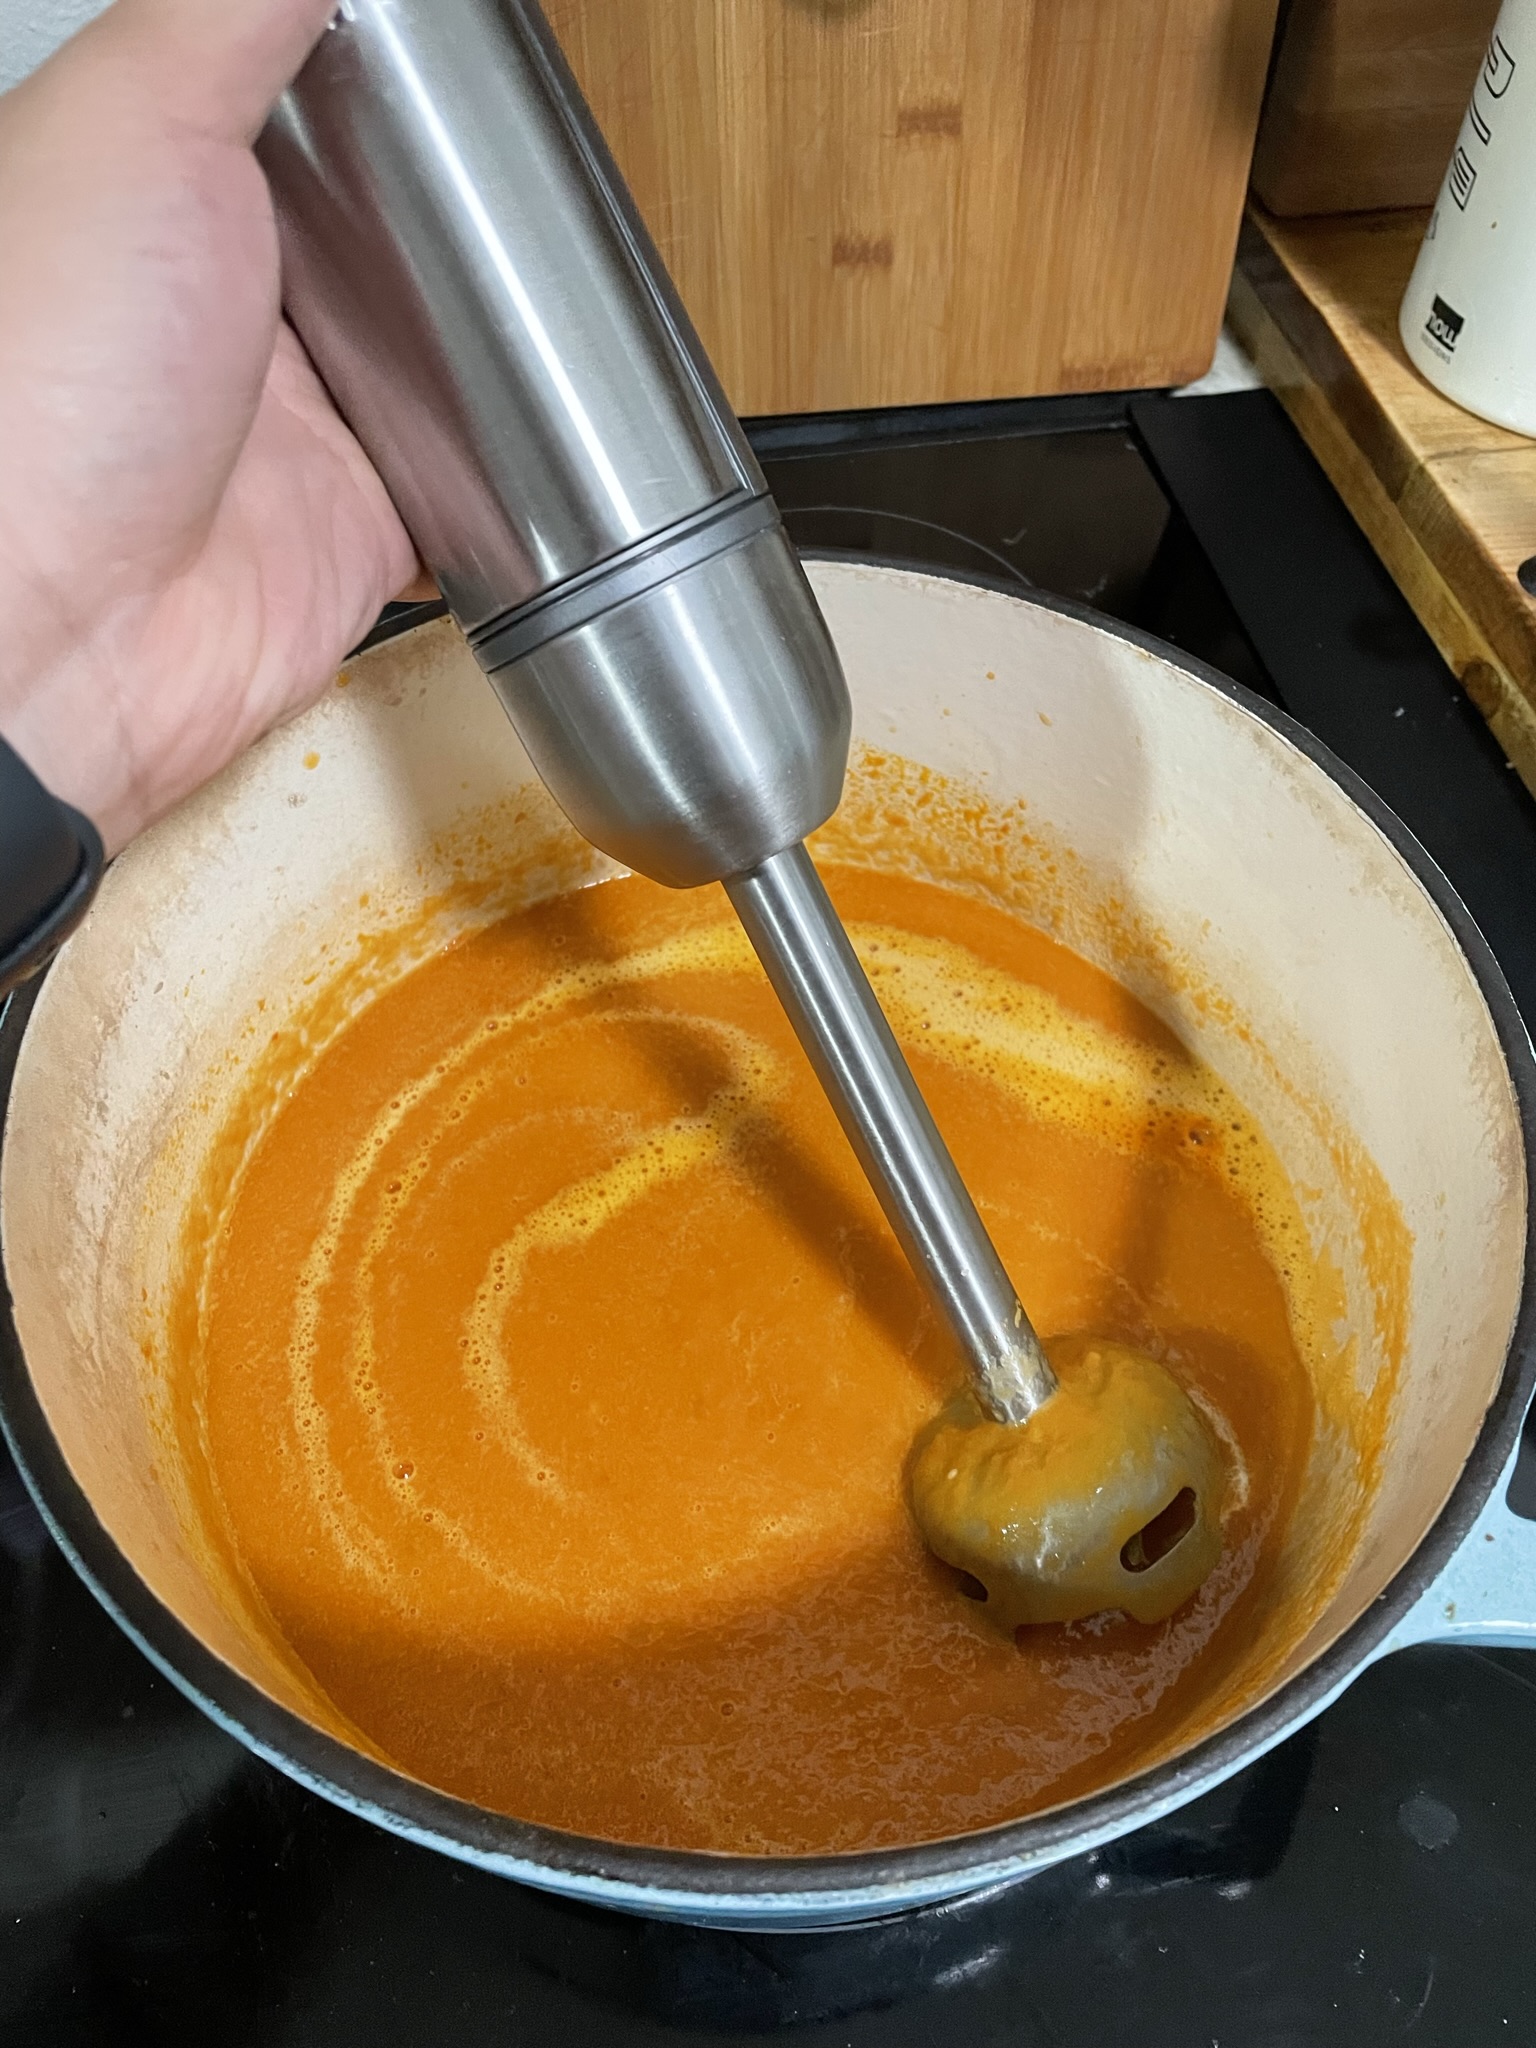
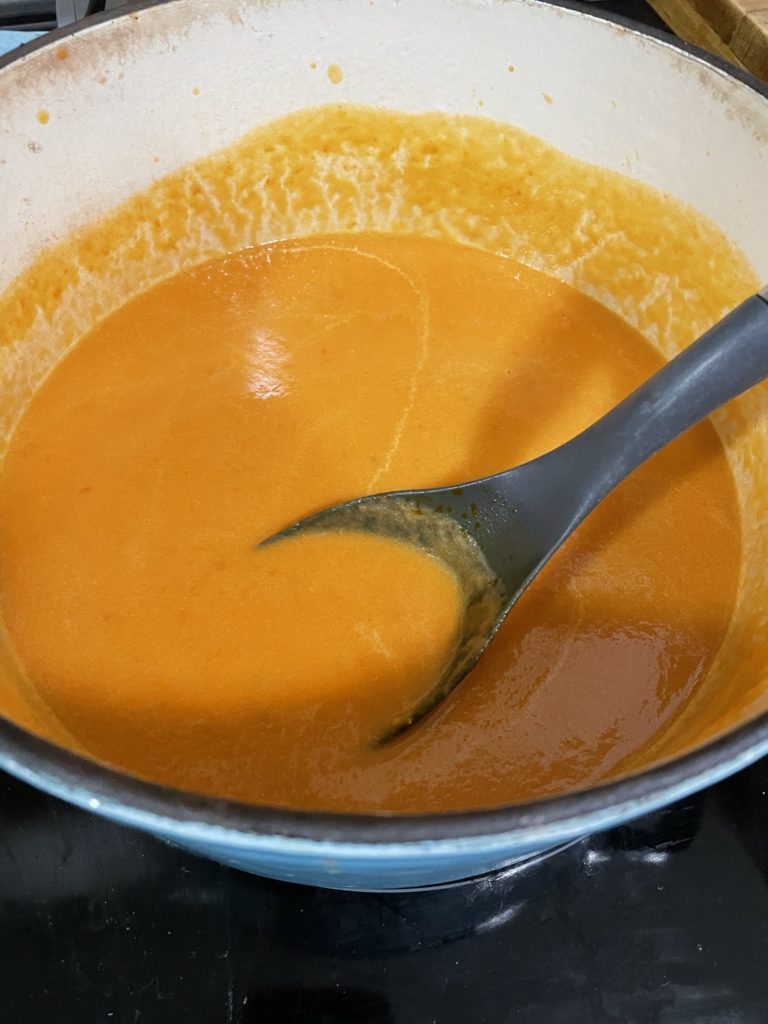
  • Blend the soup to your desired smoothness.
  • Optional – Stir in heavy cream for extra creaminess and top or blend in some fresh basil. Season with additional salt as needed.

Want more fall soups? Try Pumpkin Soup

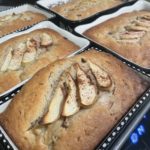
Cinnamon Apple Rhubarb Loaf

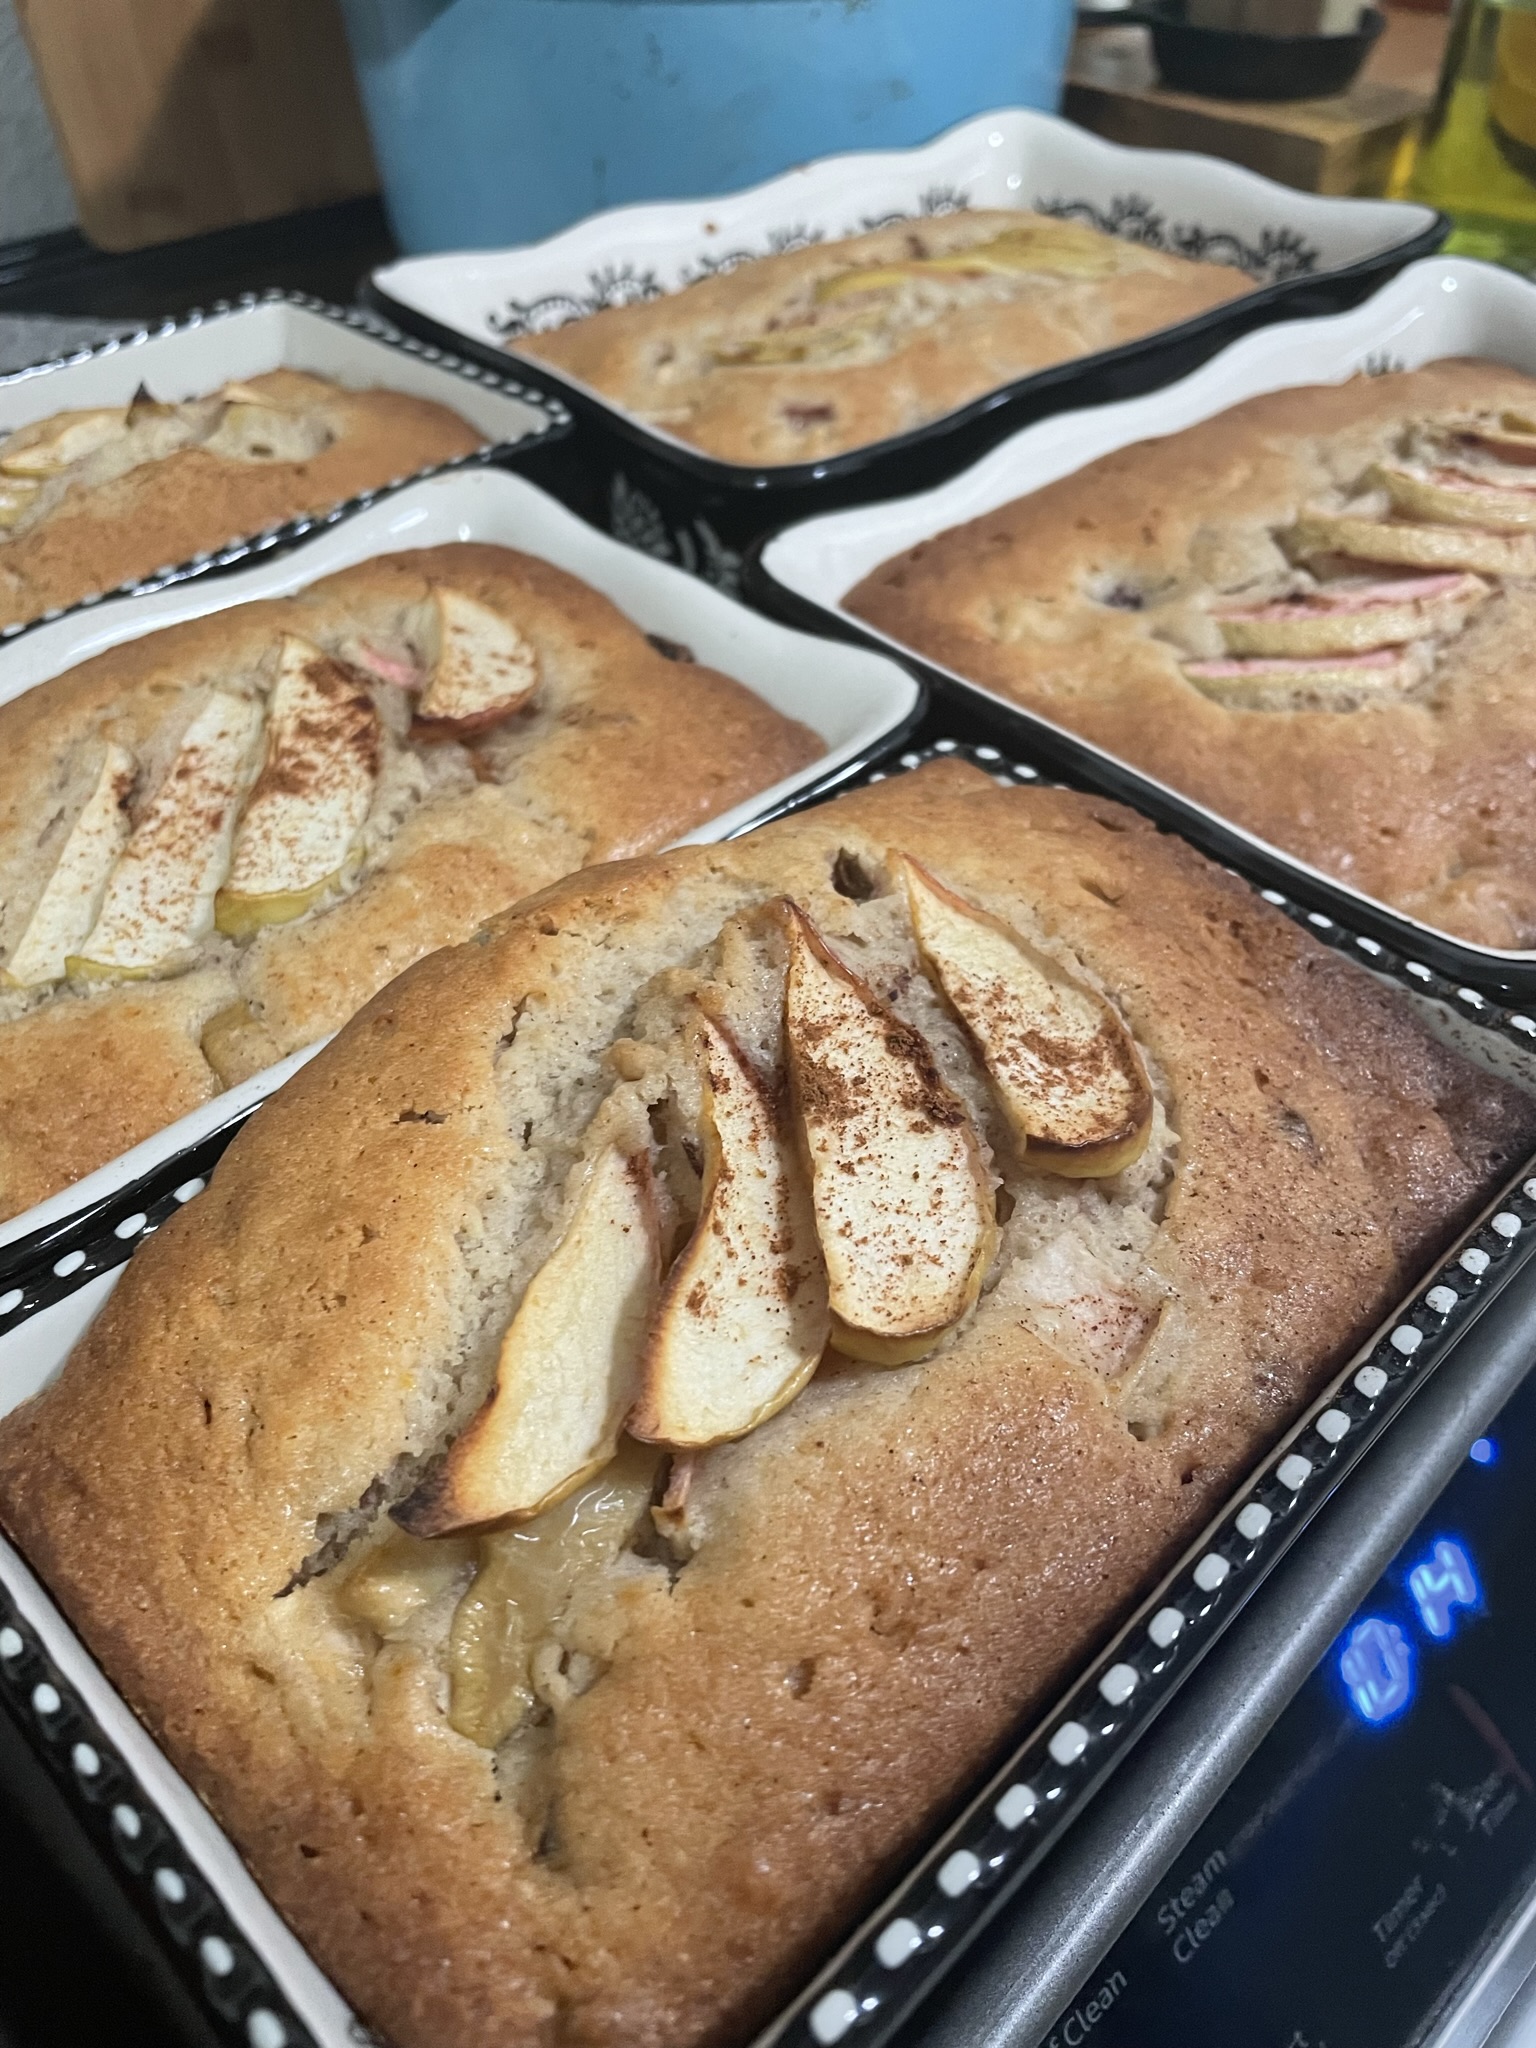
Goodbye summer. :’-) Apples are in season and that means fall is coming. As much as I love summer, fall might have be my favorite season. There’s a mix of sunny and cloudy days and the weather starts cooling down. I can break out my fun sweaters and fluffy coats and I can start baking whenever I want, not having to worry about how hot the kitchen will get. At dinners with friends, more red wine and darker beers come out, and desserts get a lot spicier (cinnamon, nutmeg, clove, etc). This loaf is a little cakey, the tiniest bit tart, and full of cinnamon to transition you into fall.

Ingredients

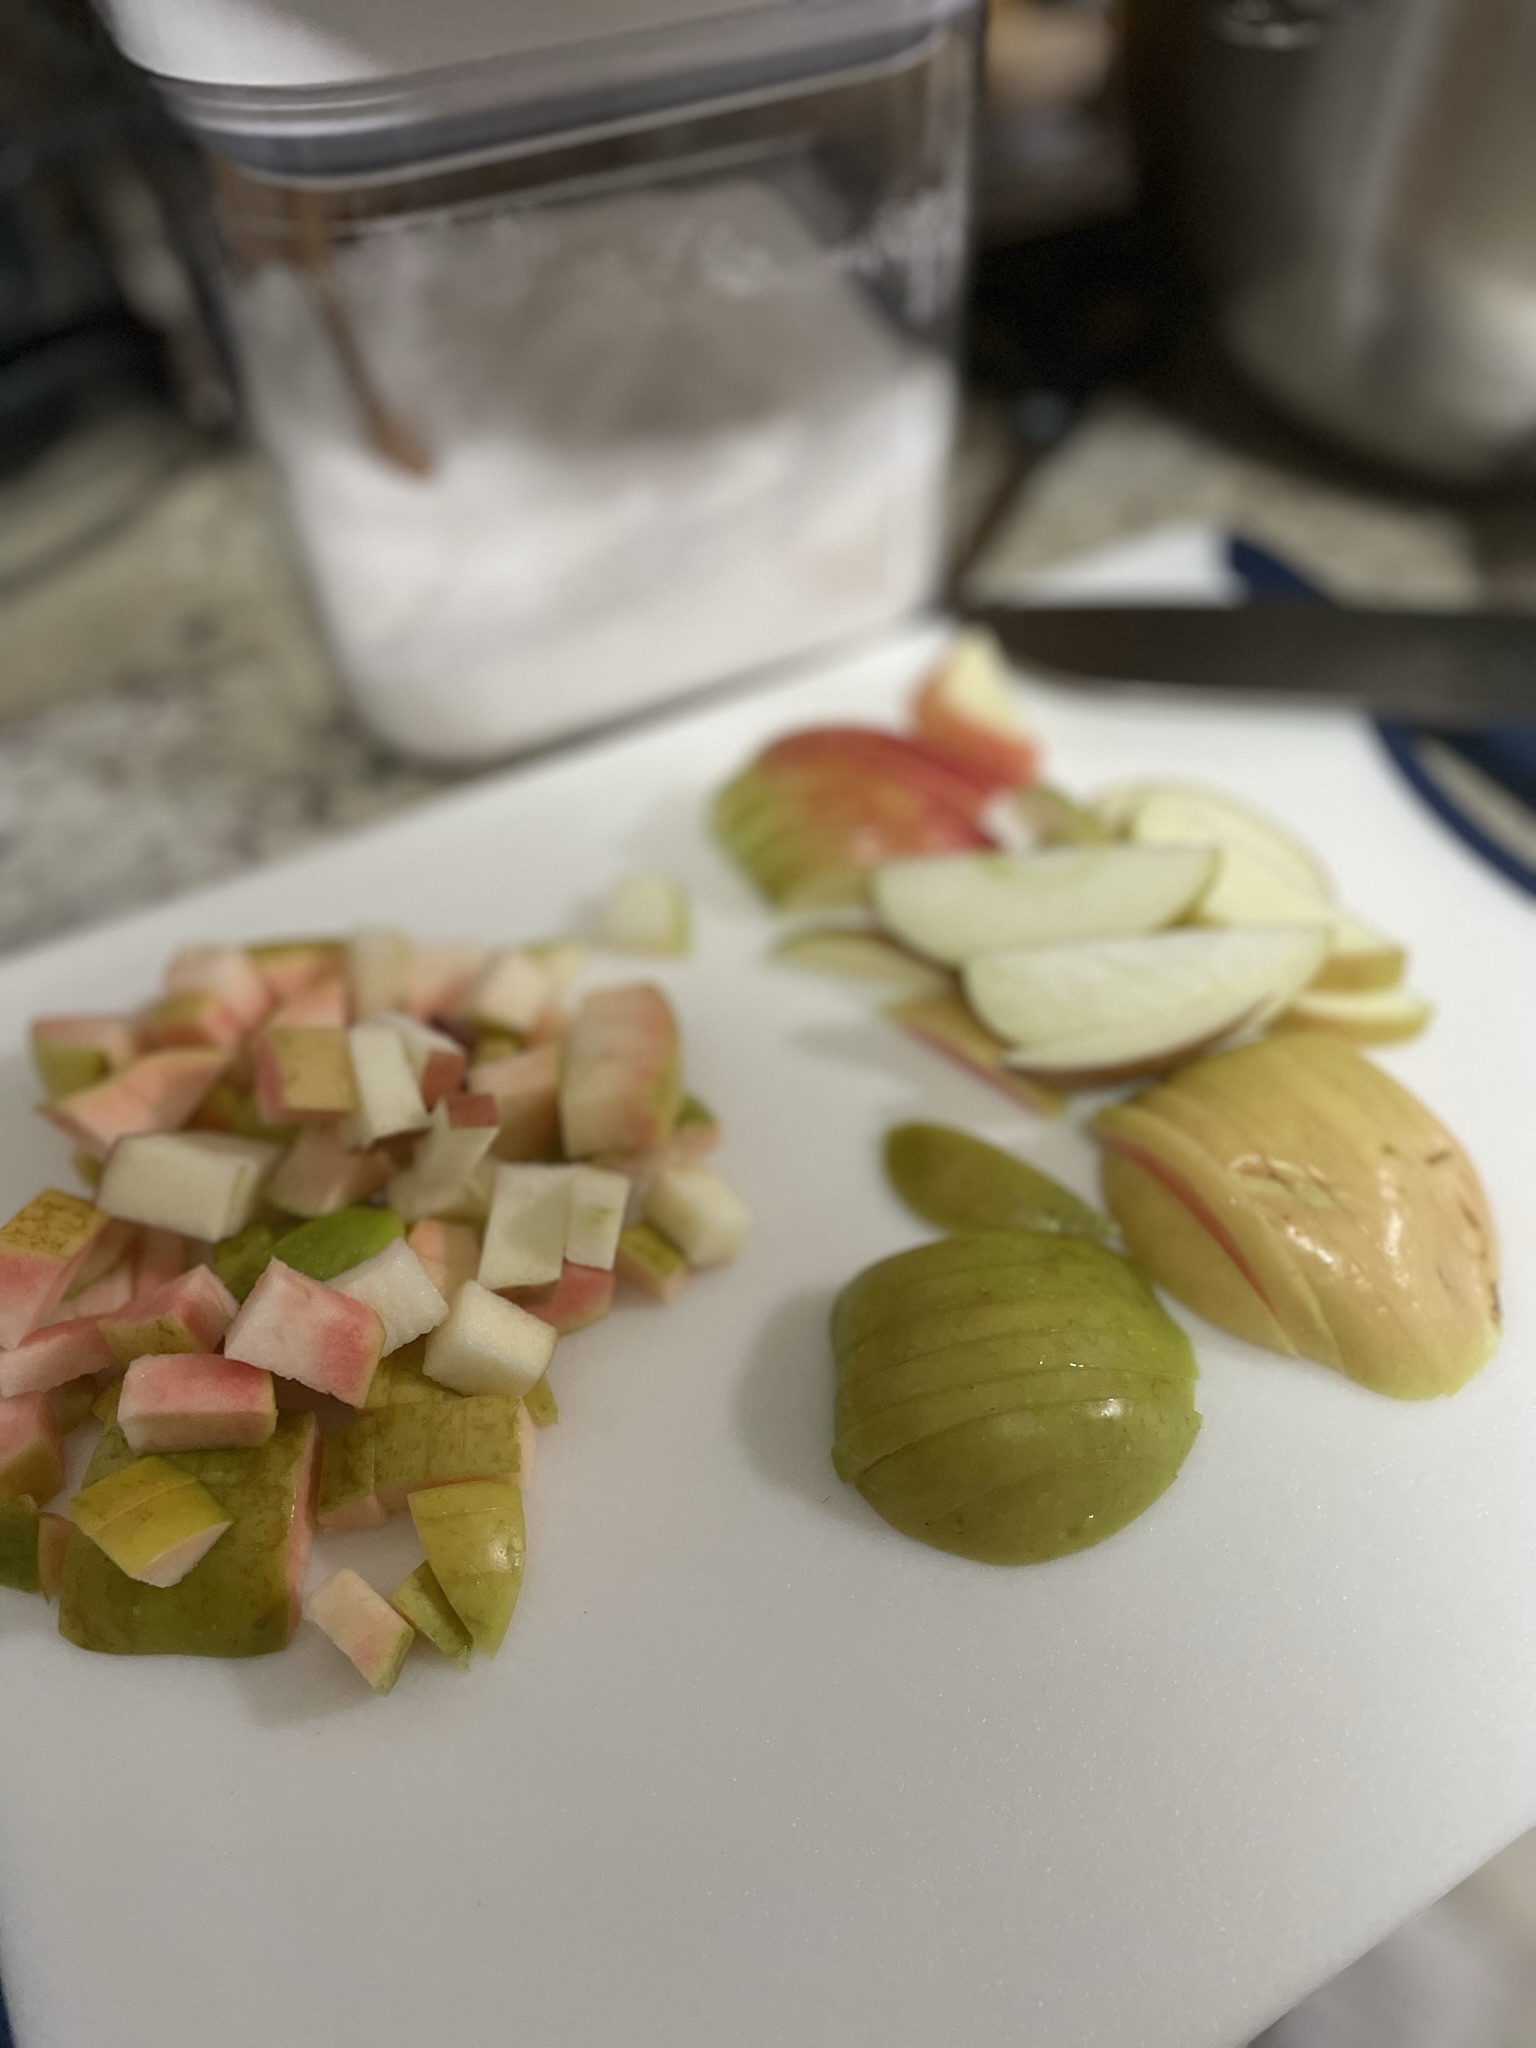
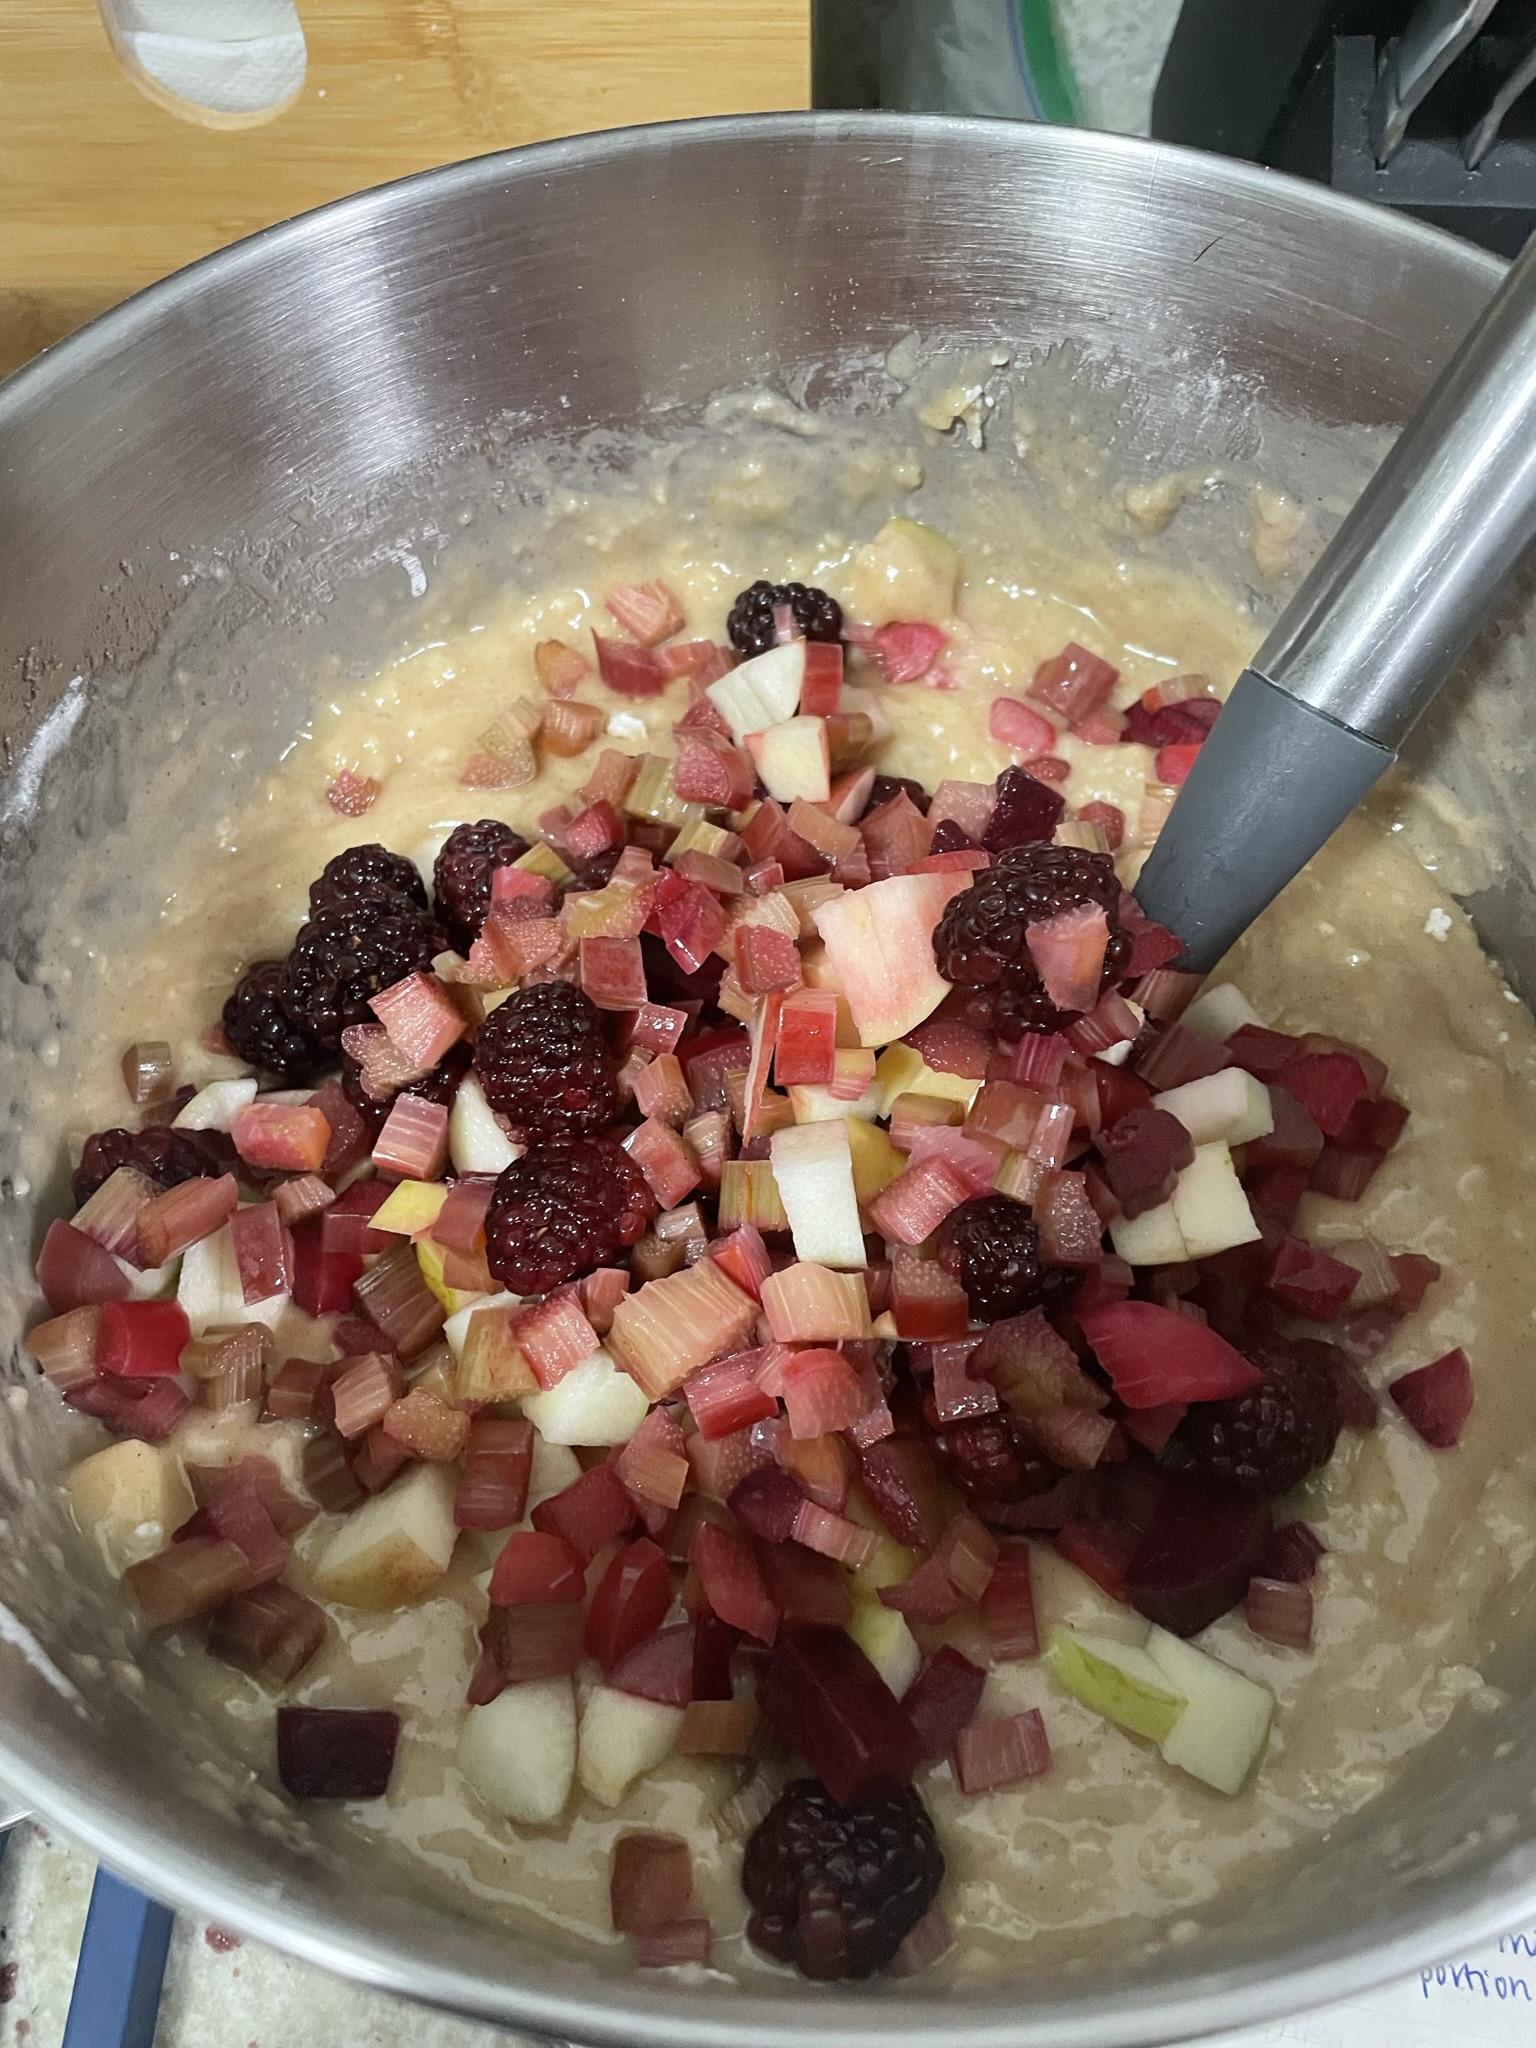
Apples/Rhubarb – When baked, I think apples and rhubarb end up having a similar texture (tender but mushy), so you can only tell the difference in the loaf if you were to pick each piece out and eat them separately. The apples are a sweeter mush while the rhubarb is a more sour mush. If you don’t like rhubarb, just do all apple!

Cinnamon Apple Rhubarb Loaf

Print Recipe
The transition baking loaf to get you into fall.
Makes 2 regular 9×5 loaves or 4 mini 6×3.5 loaves
Course Breakfast, Dessert
Keyword apple, bread, cinnamon, rhubarb

Equipment

  • loaf pans 2 regular 9×5 loaves or 4 mini 6×3.5 loaves

Ingredients

  • 2 eggs
  • 1 cup vegetable oil
  • 1 cup white sugar
  • 1/2 cup heavy cream
  • 1/4 cup water
  • 1 tsp vanilla
  • 1 tbsp cinnamon
  • 1/2 tsp salt
  • 3 cups flour all-purpose
  • 1 tbsp baking powder
  • 2 cups apples diced, +extra sliced to top
  • 2 cups rhubarb diced

Instructions

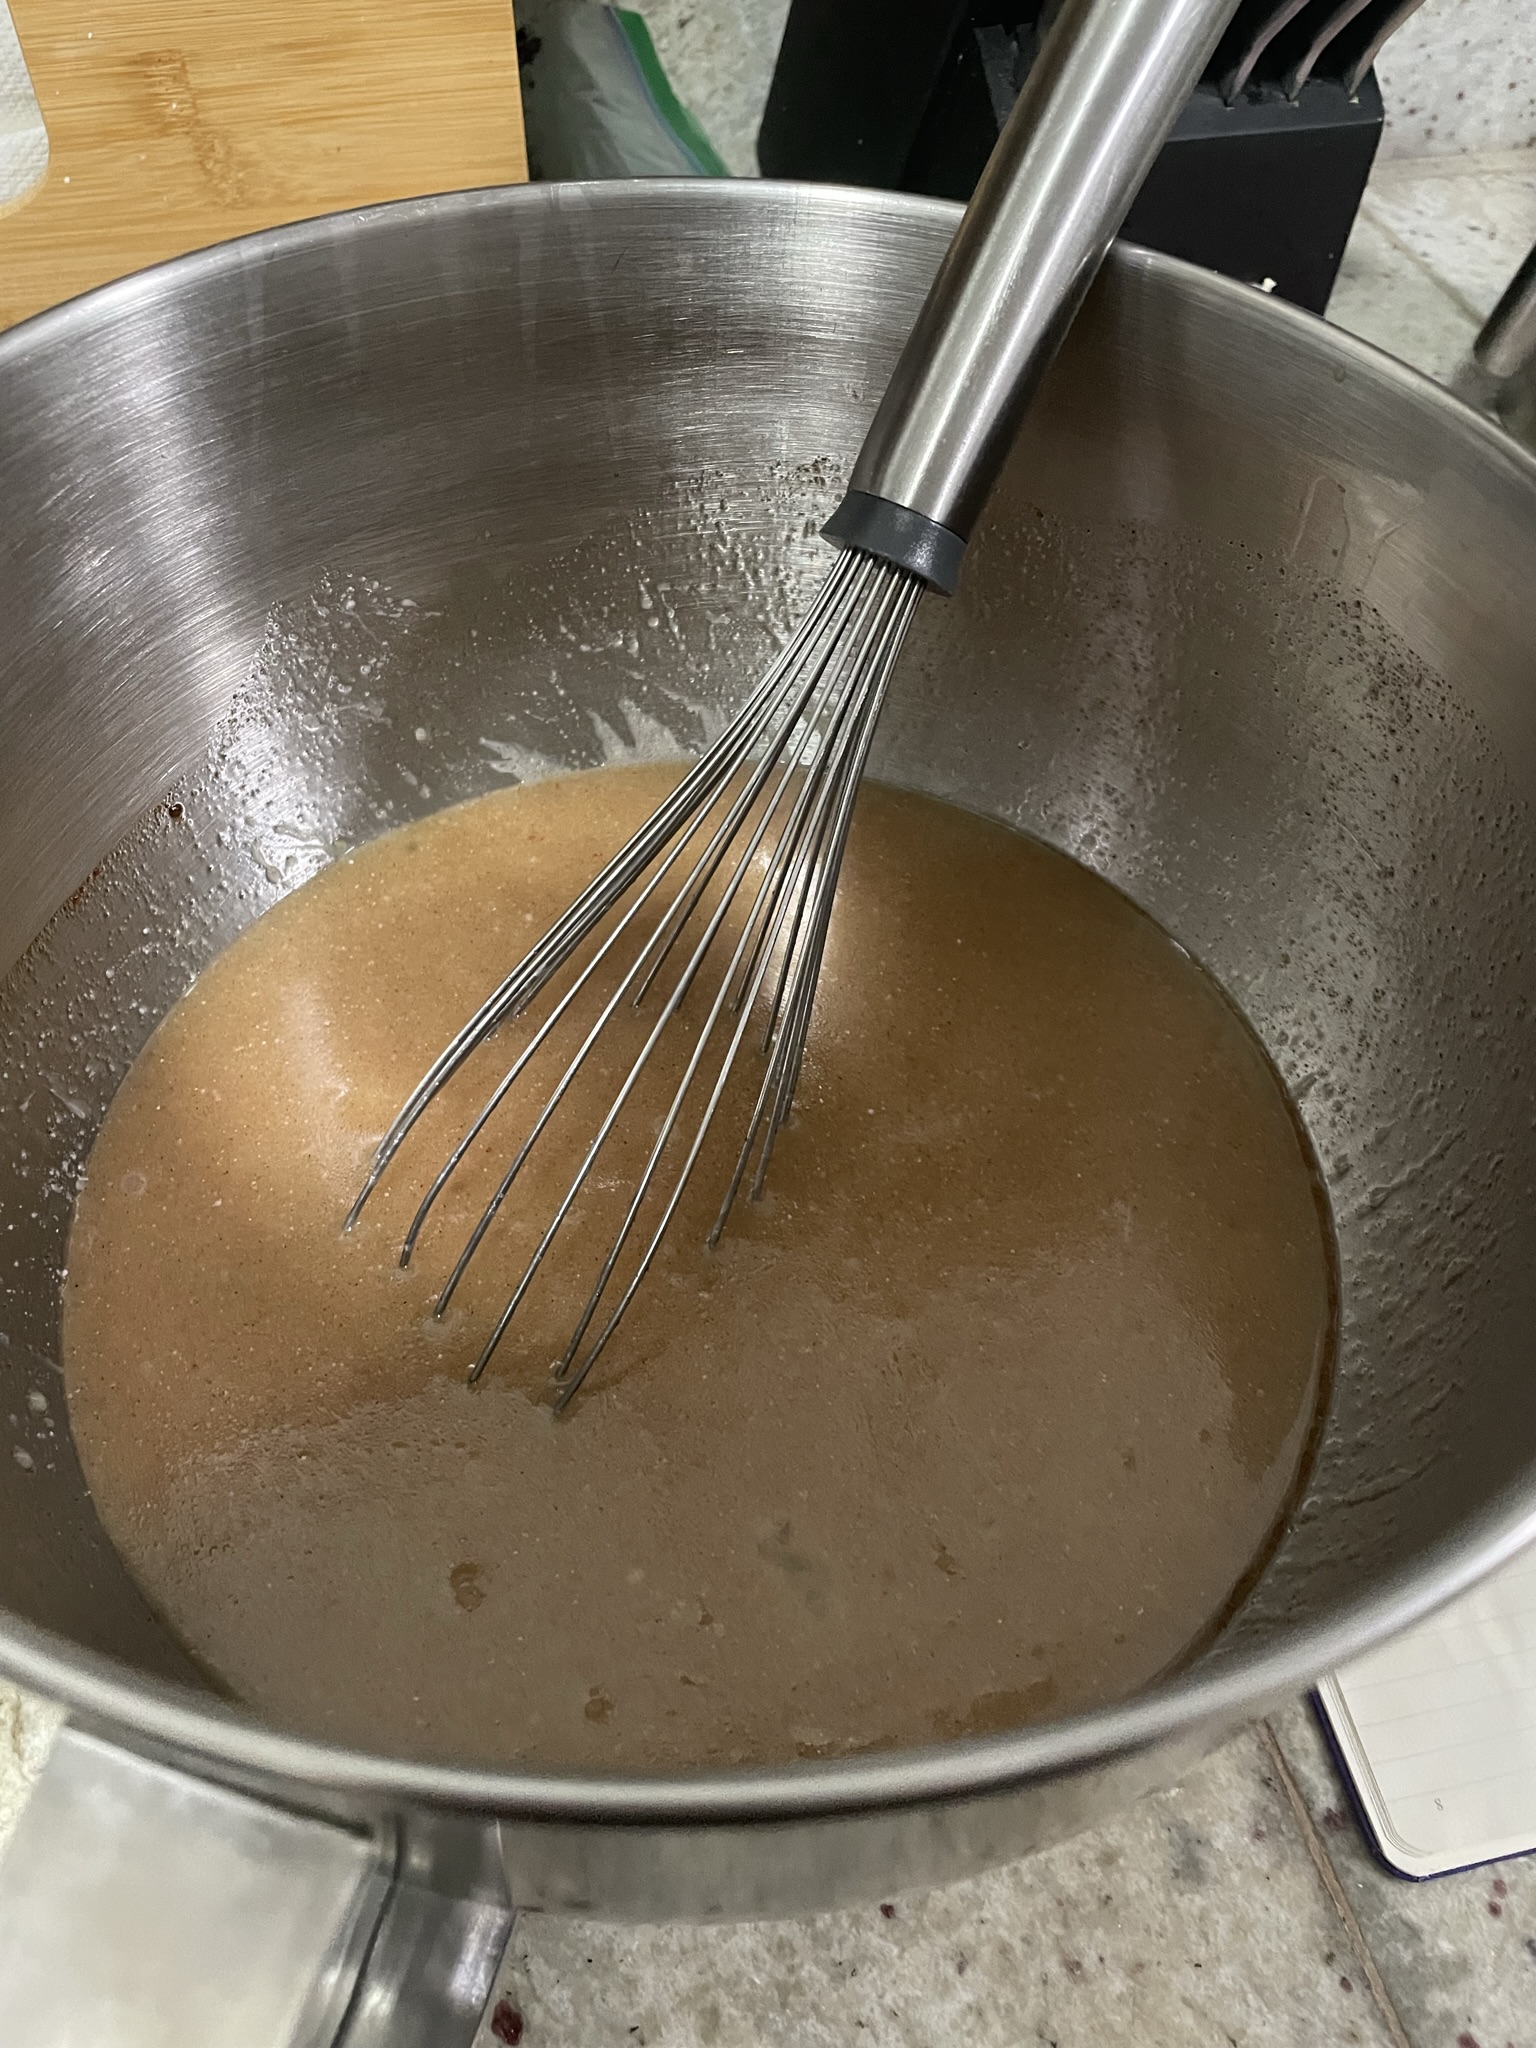
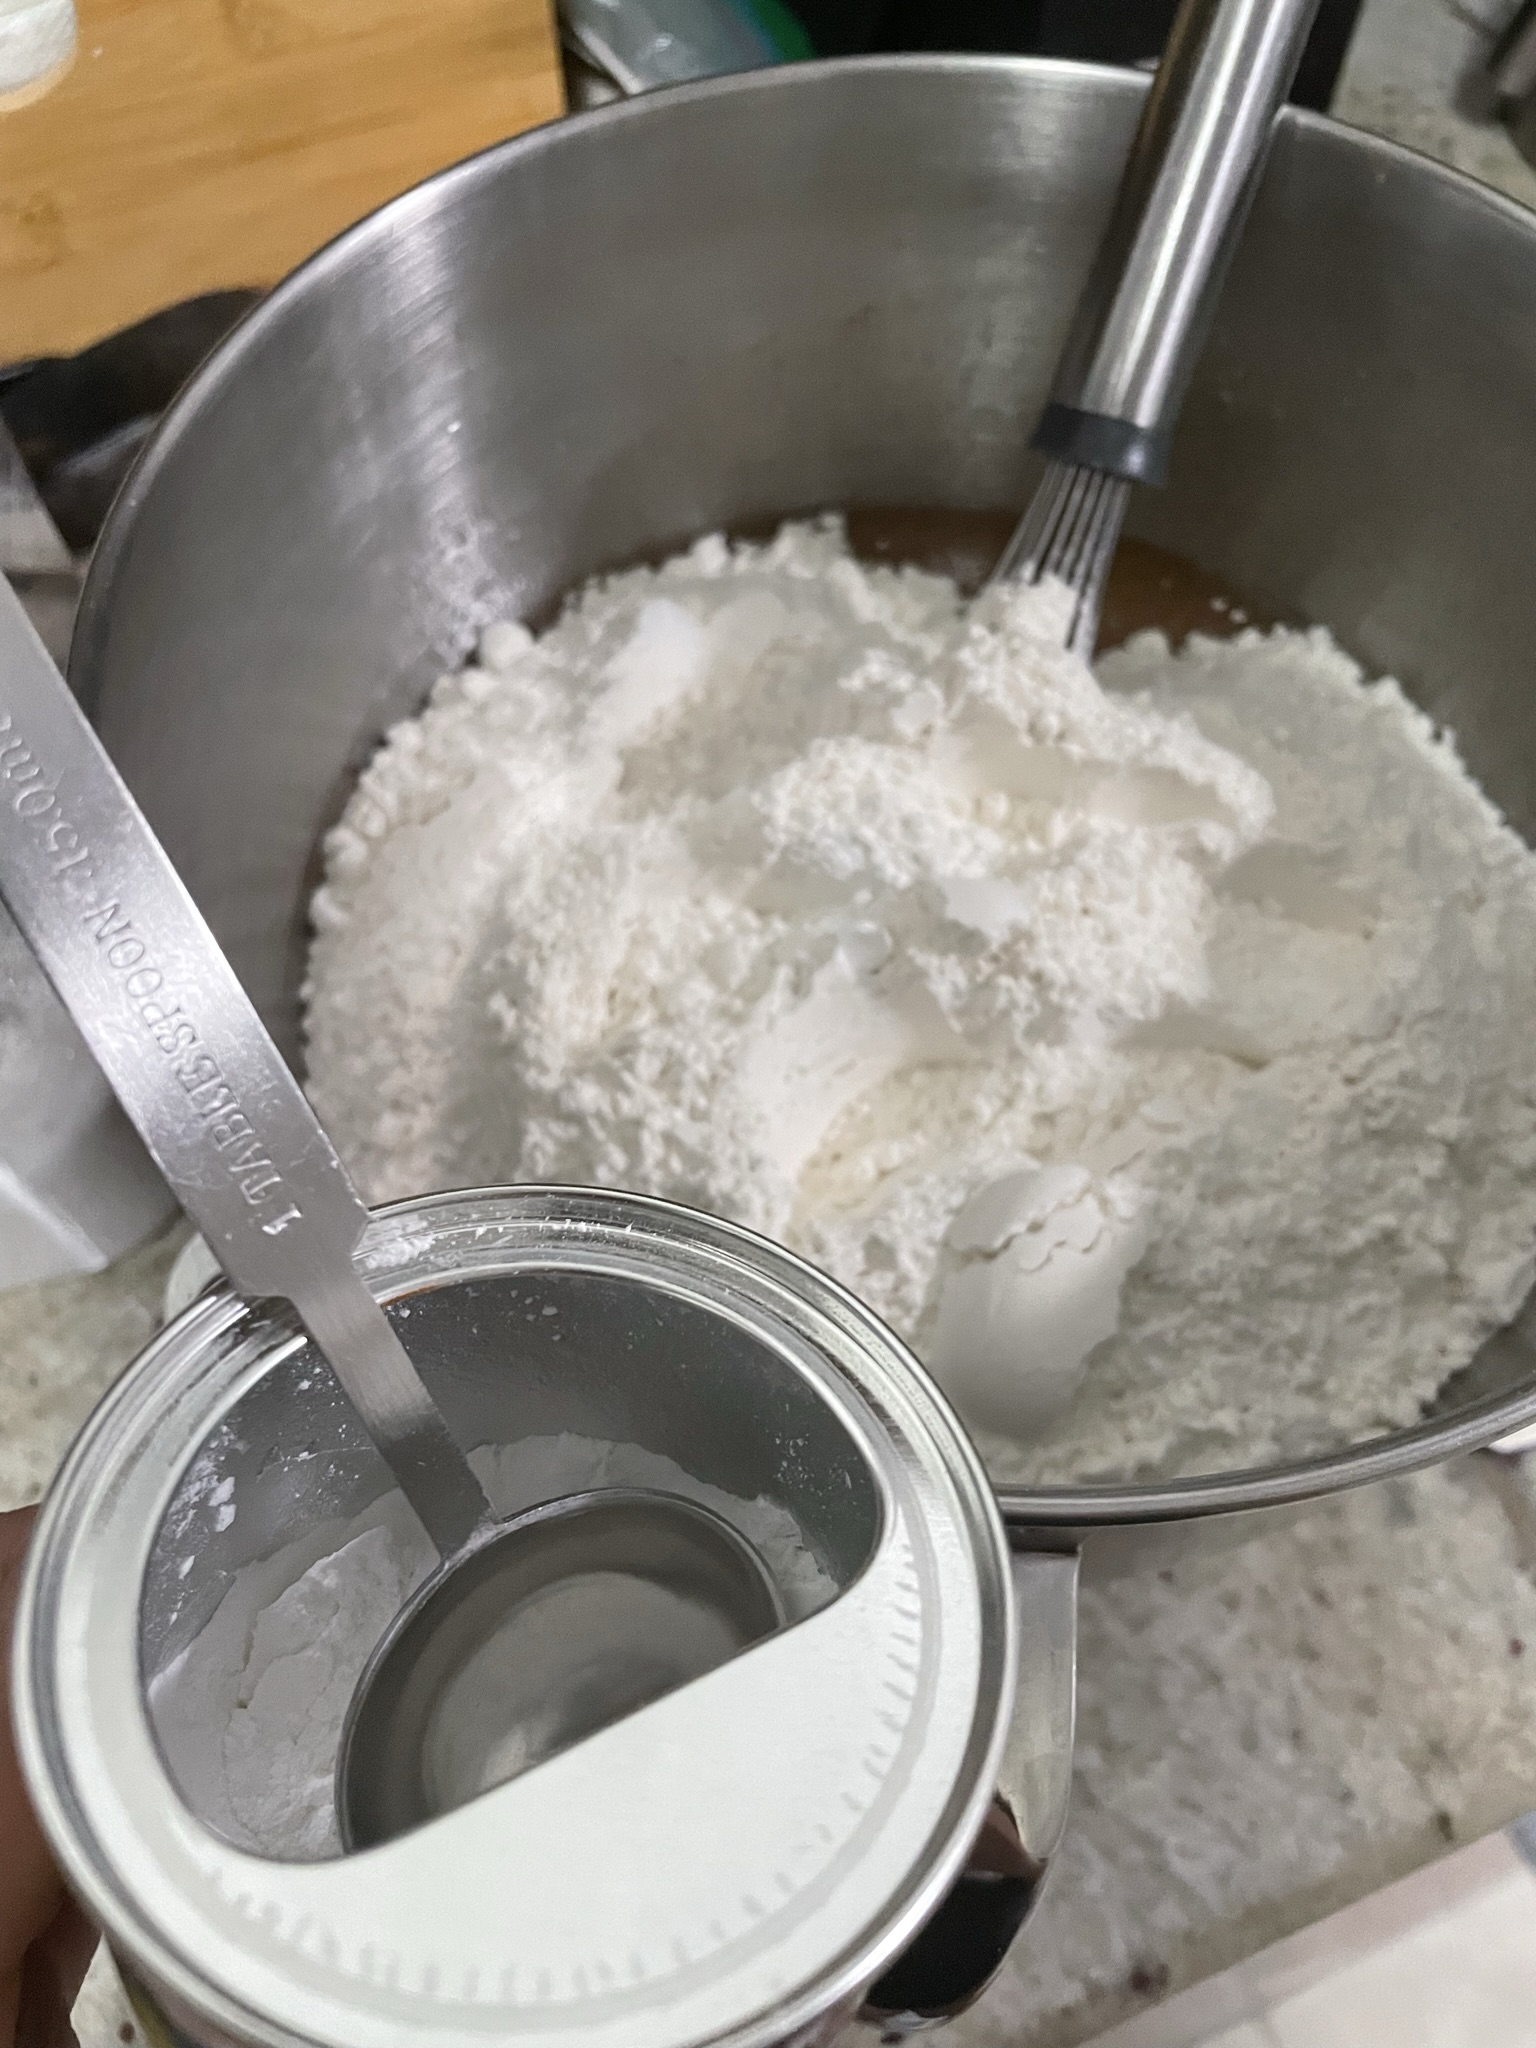
  • Mix oil, eggs, vanilla, cream, water, sugar, cinnamon, and salt until well combined.
  • Add flour and baking powder. Mix until streaky.
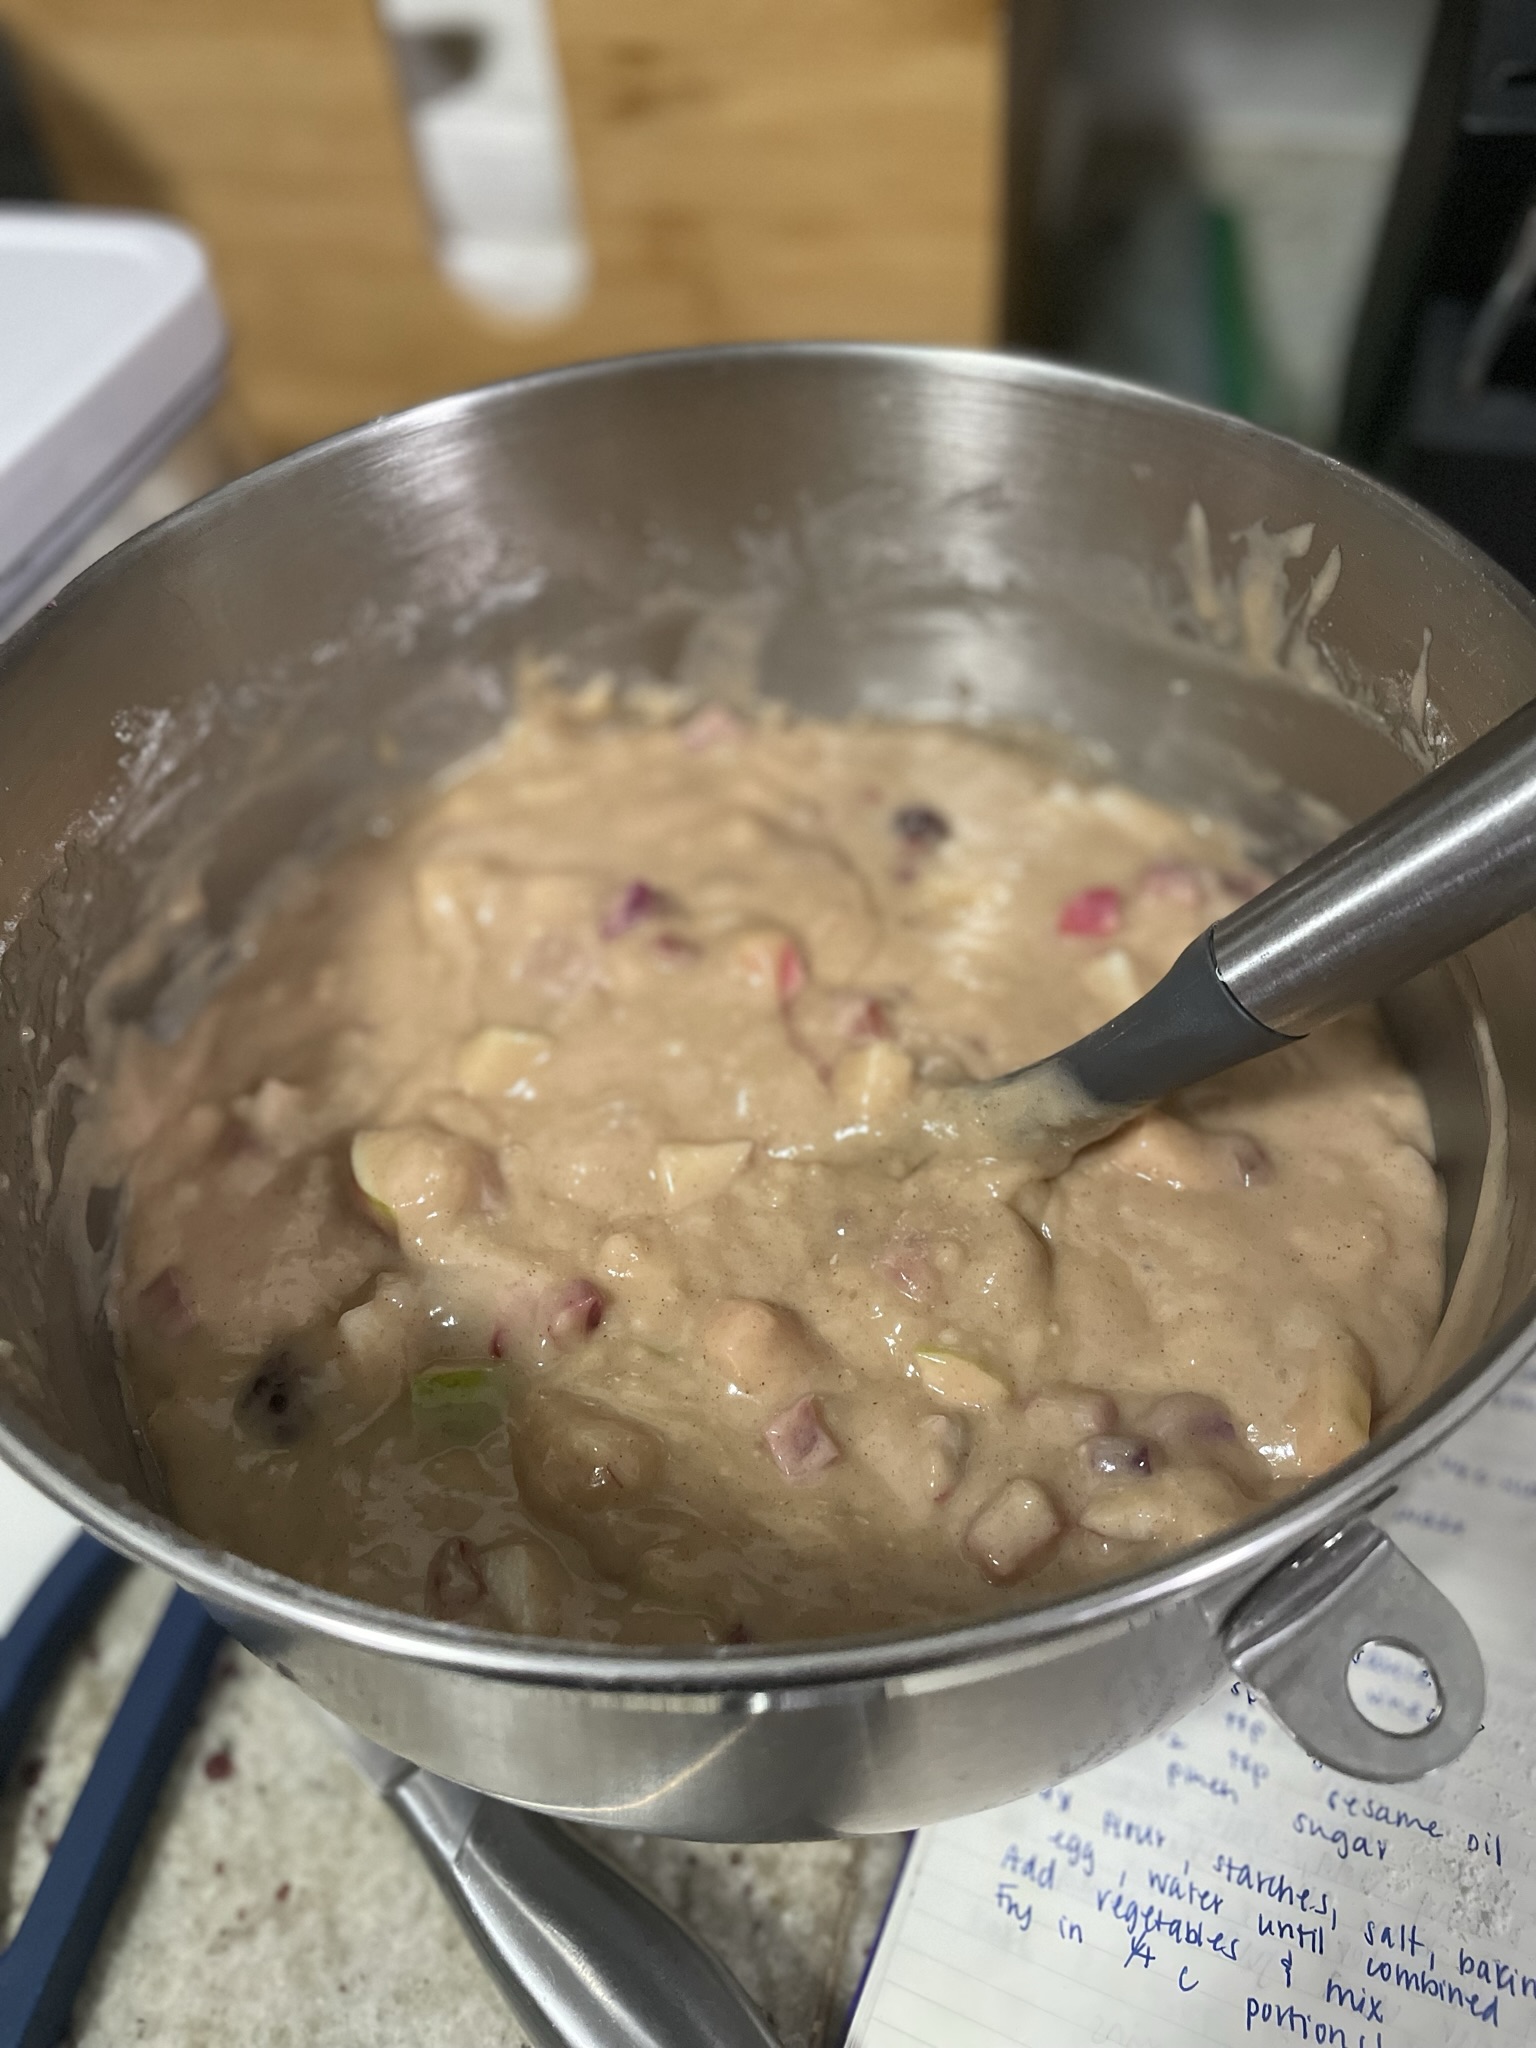
  • Add apples and rhubarb until fully mixed.
  • Grease baking pans.
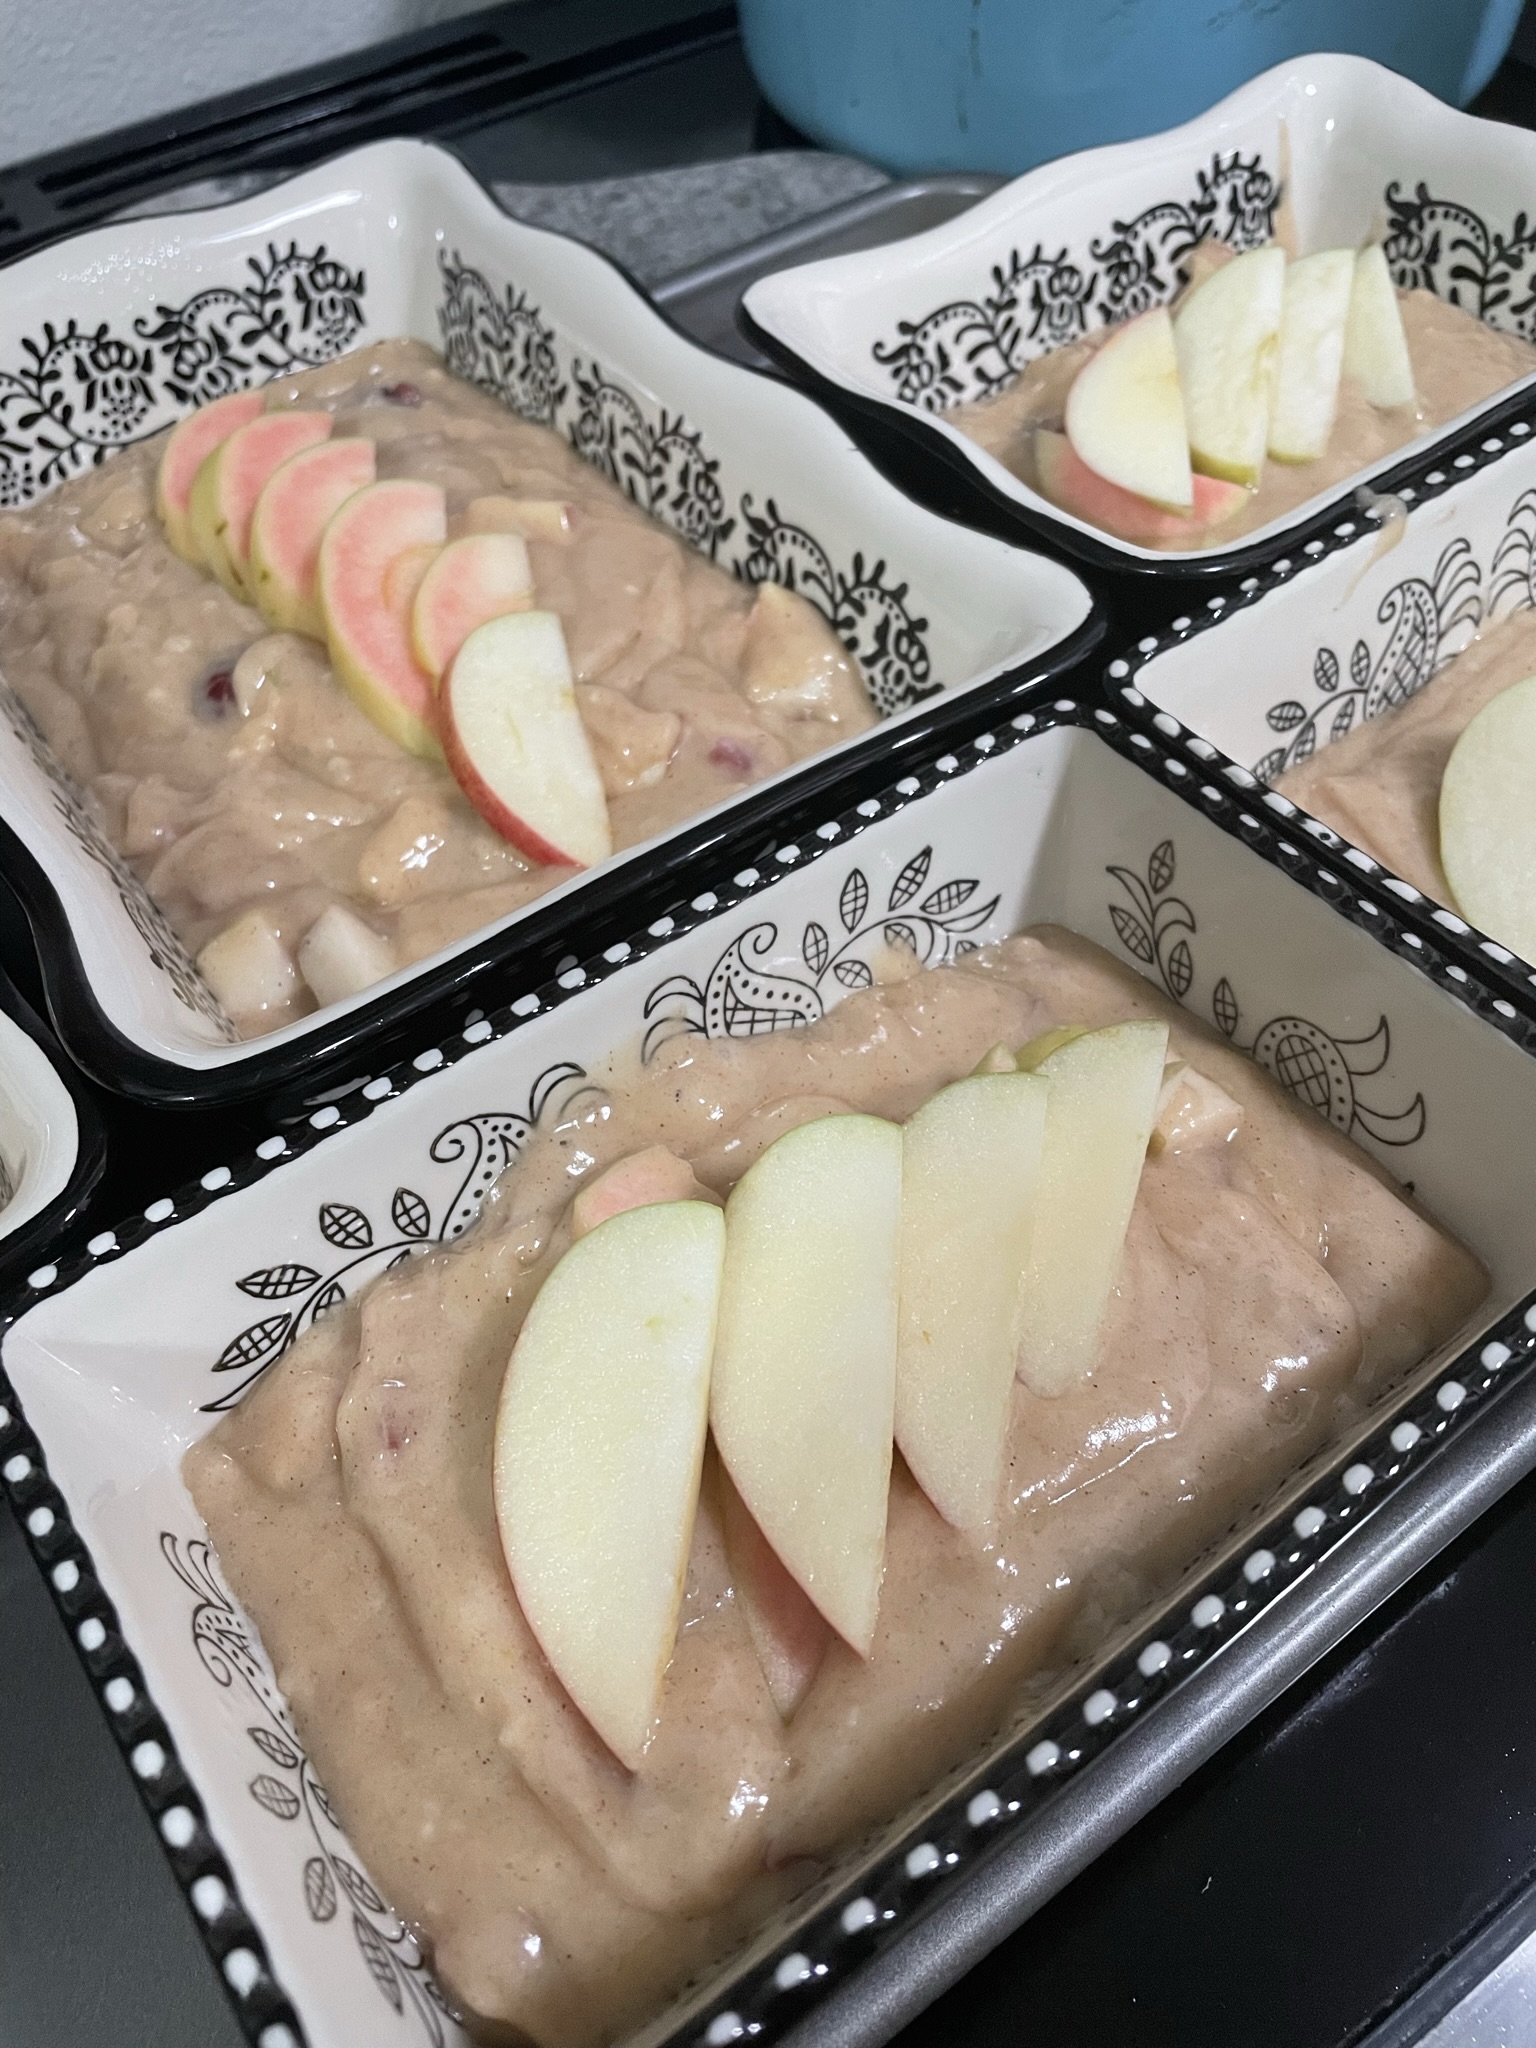
  • Divide batter among baking pans.
  • Fan apple slices over the top of each loaf and dust with cinnamon.
  • Bake at 350F for 75 minutes until golden brown. Test with a toothpick.

Interested in a different kind of loaf? Try Zucchini Bread, Banana Bread, or Pumpkin Pull Apart Bread.

Congee (Using Day-Old Rice)

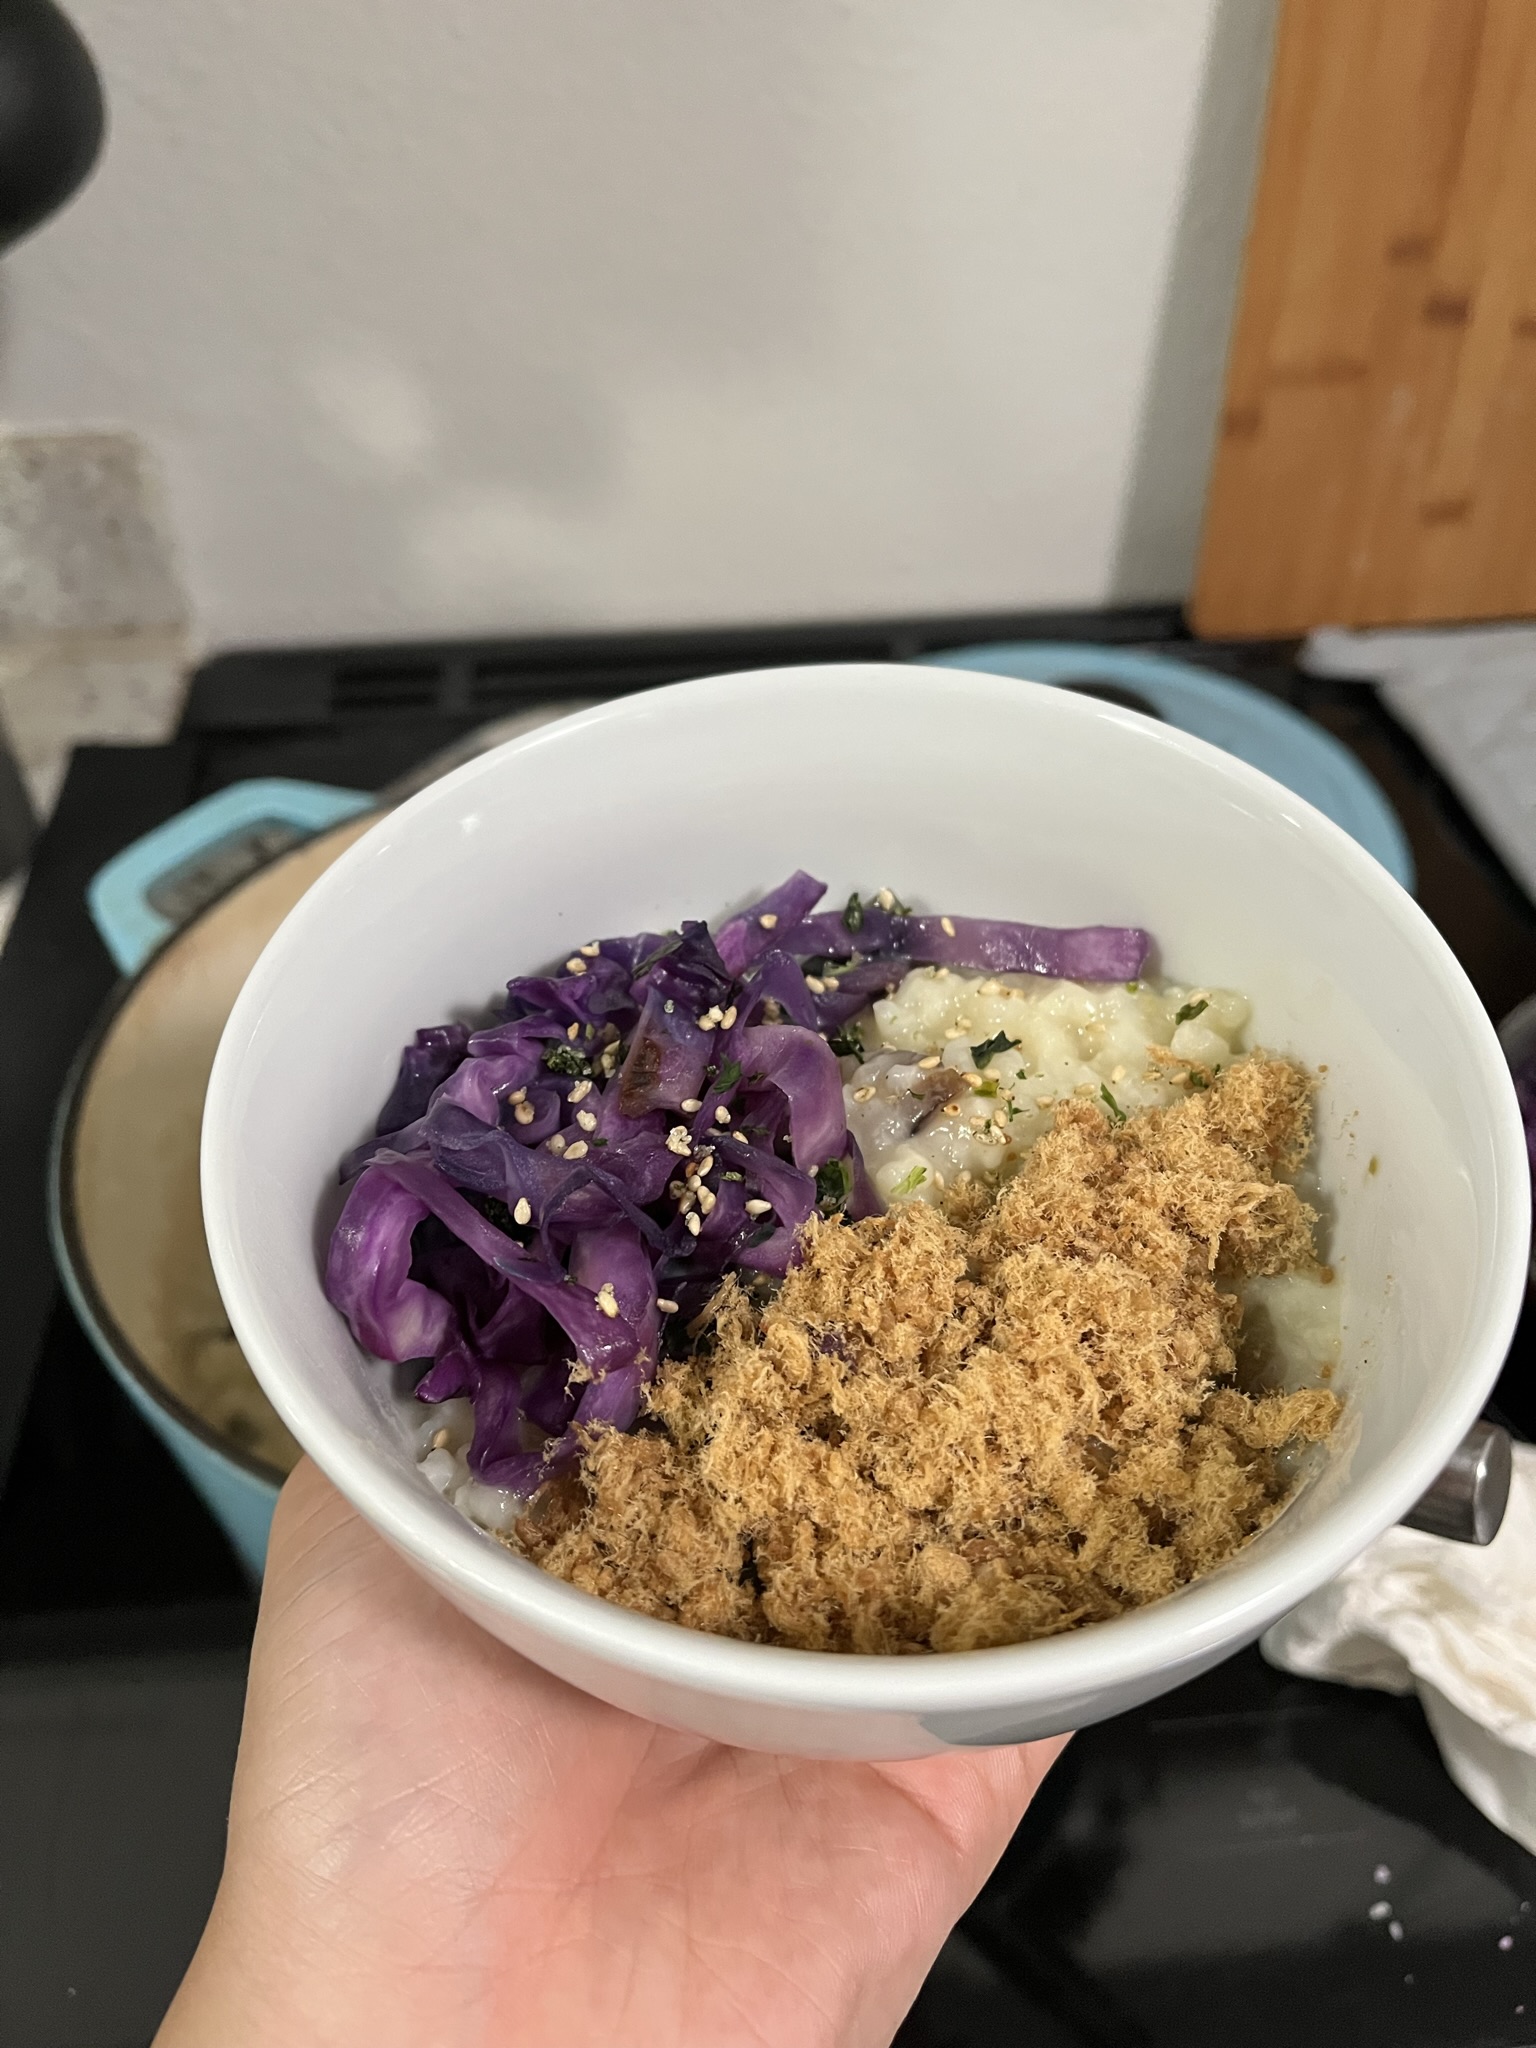
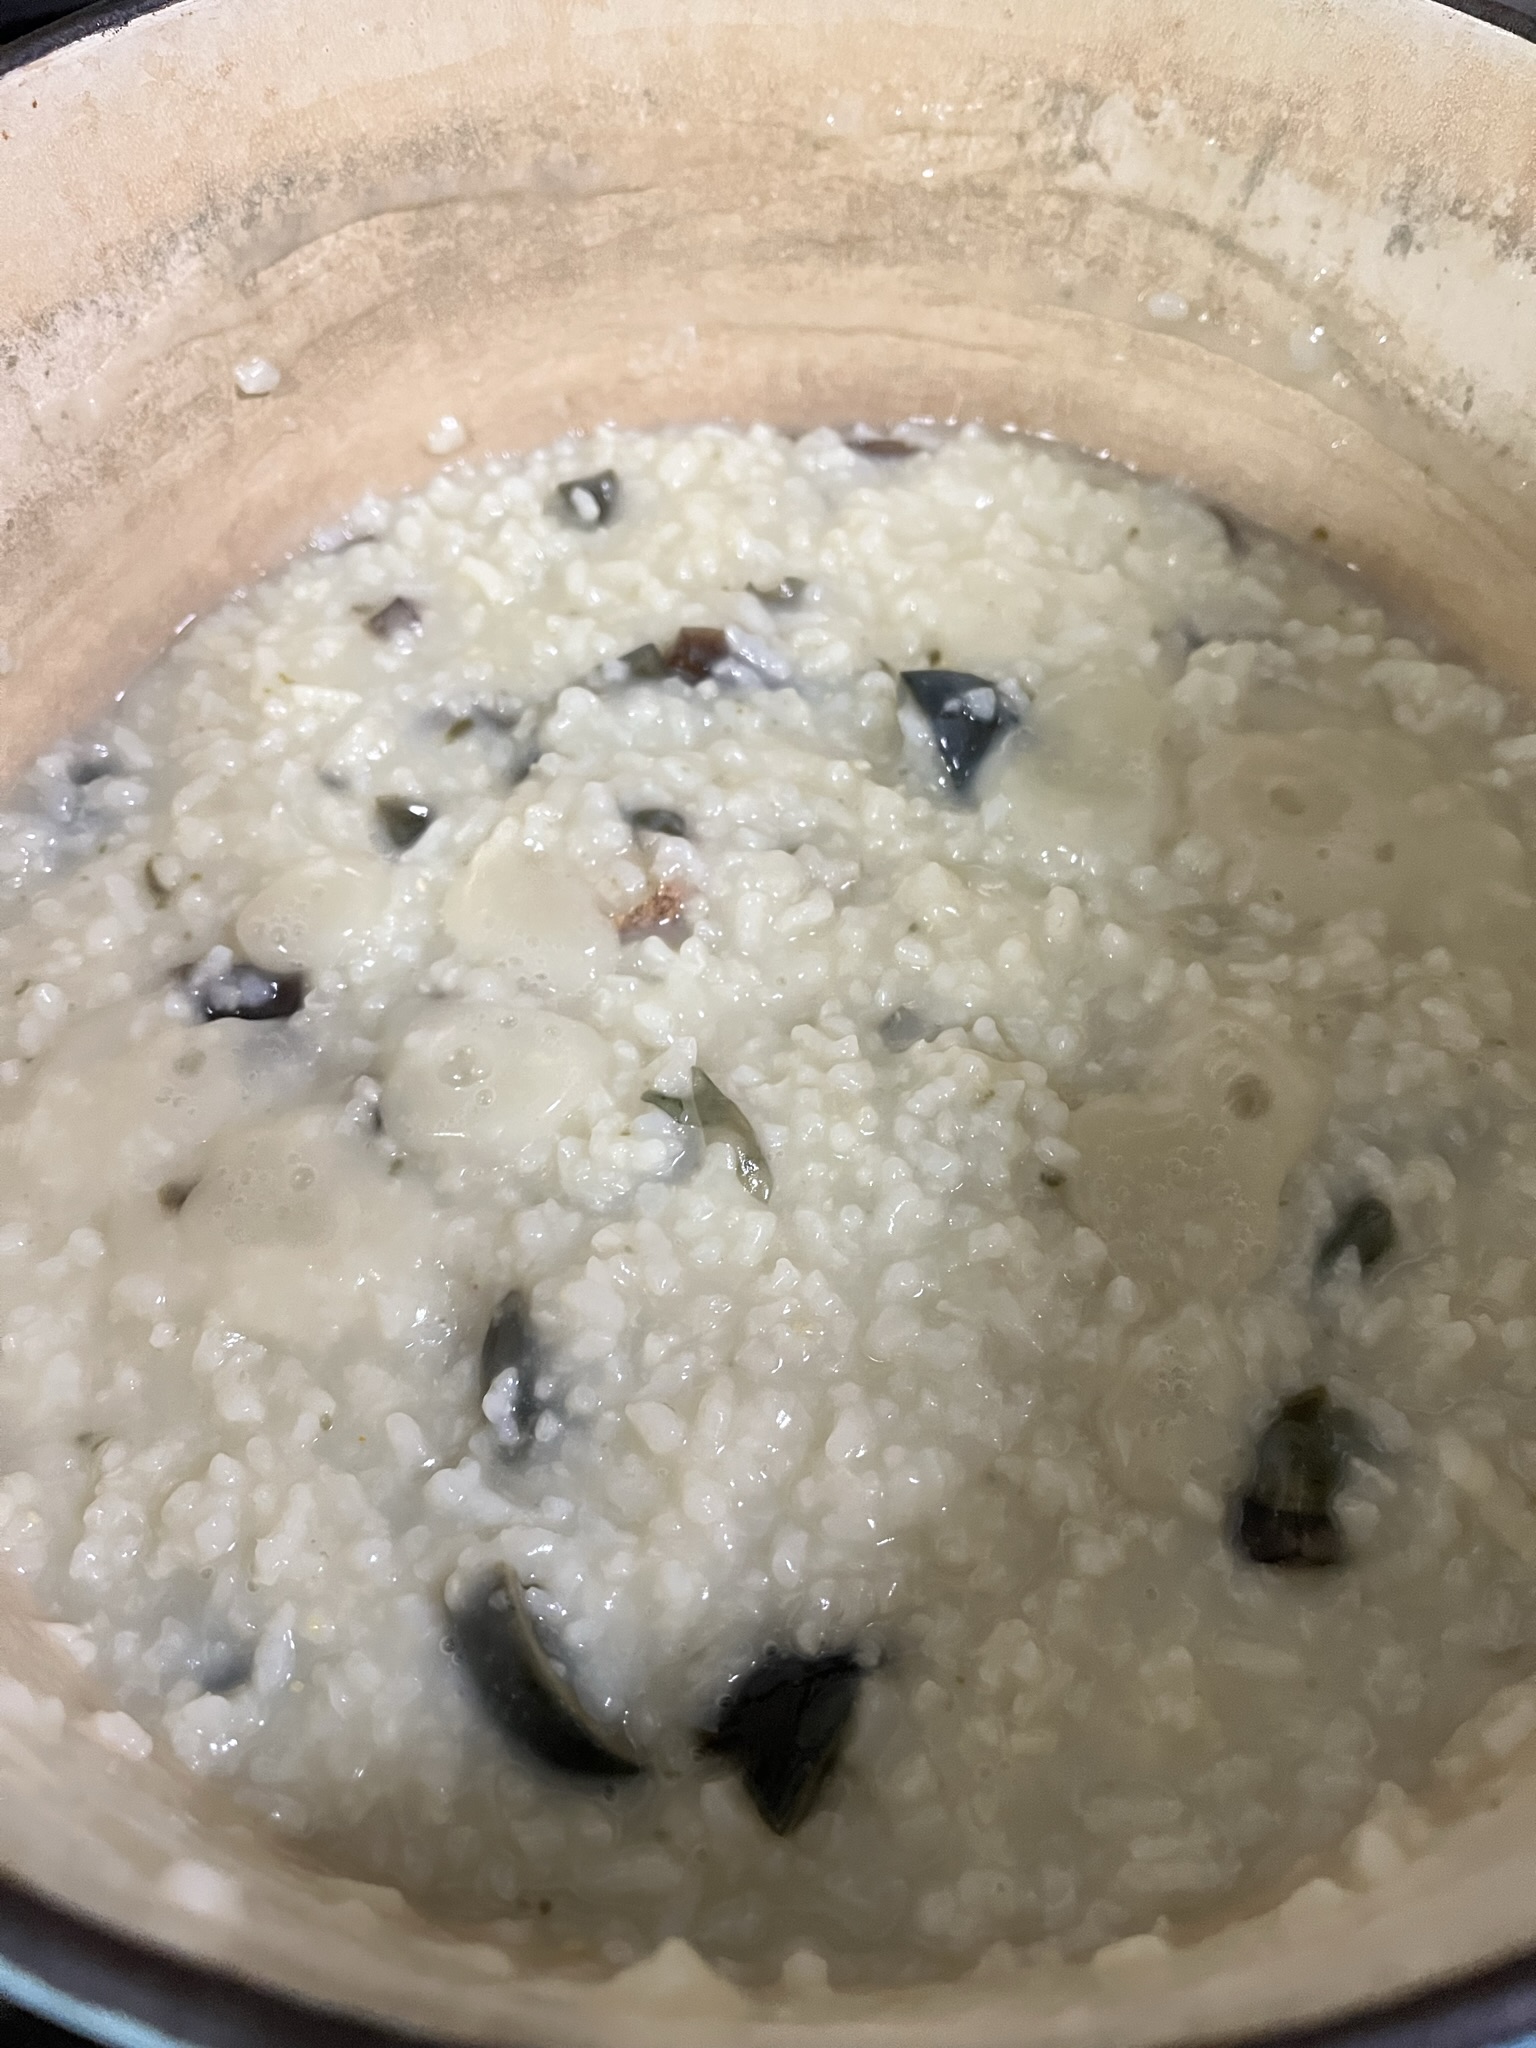
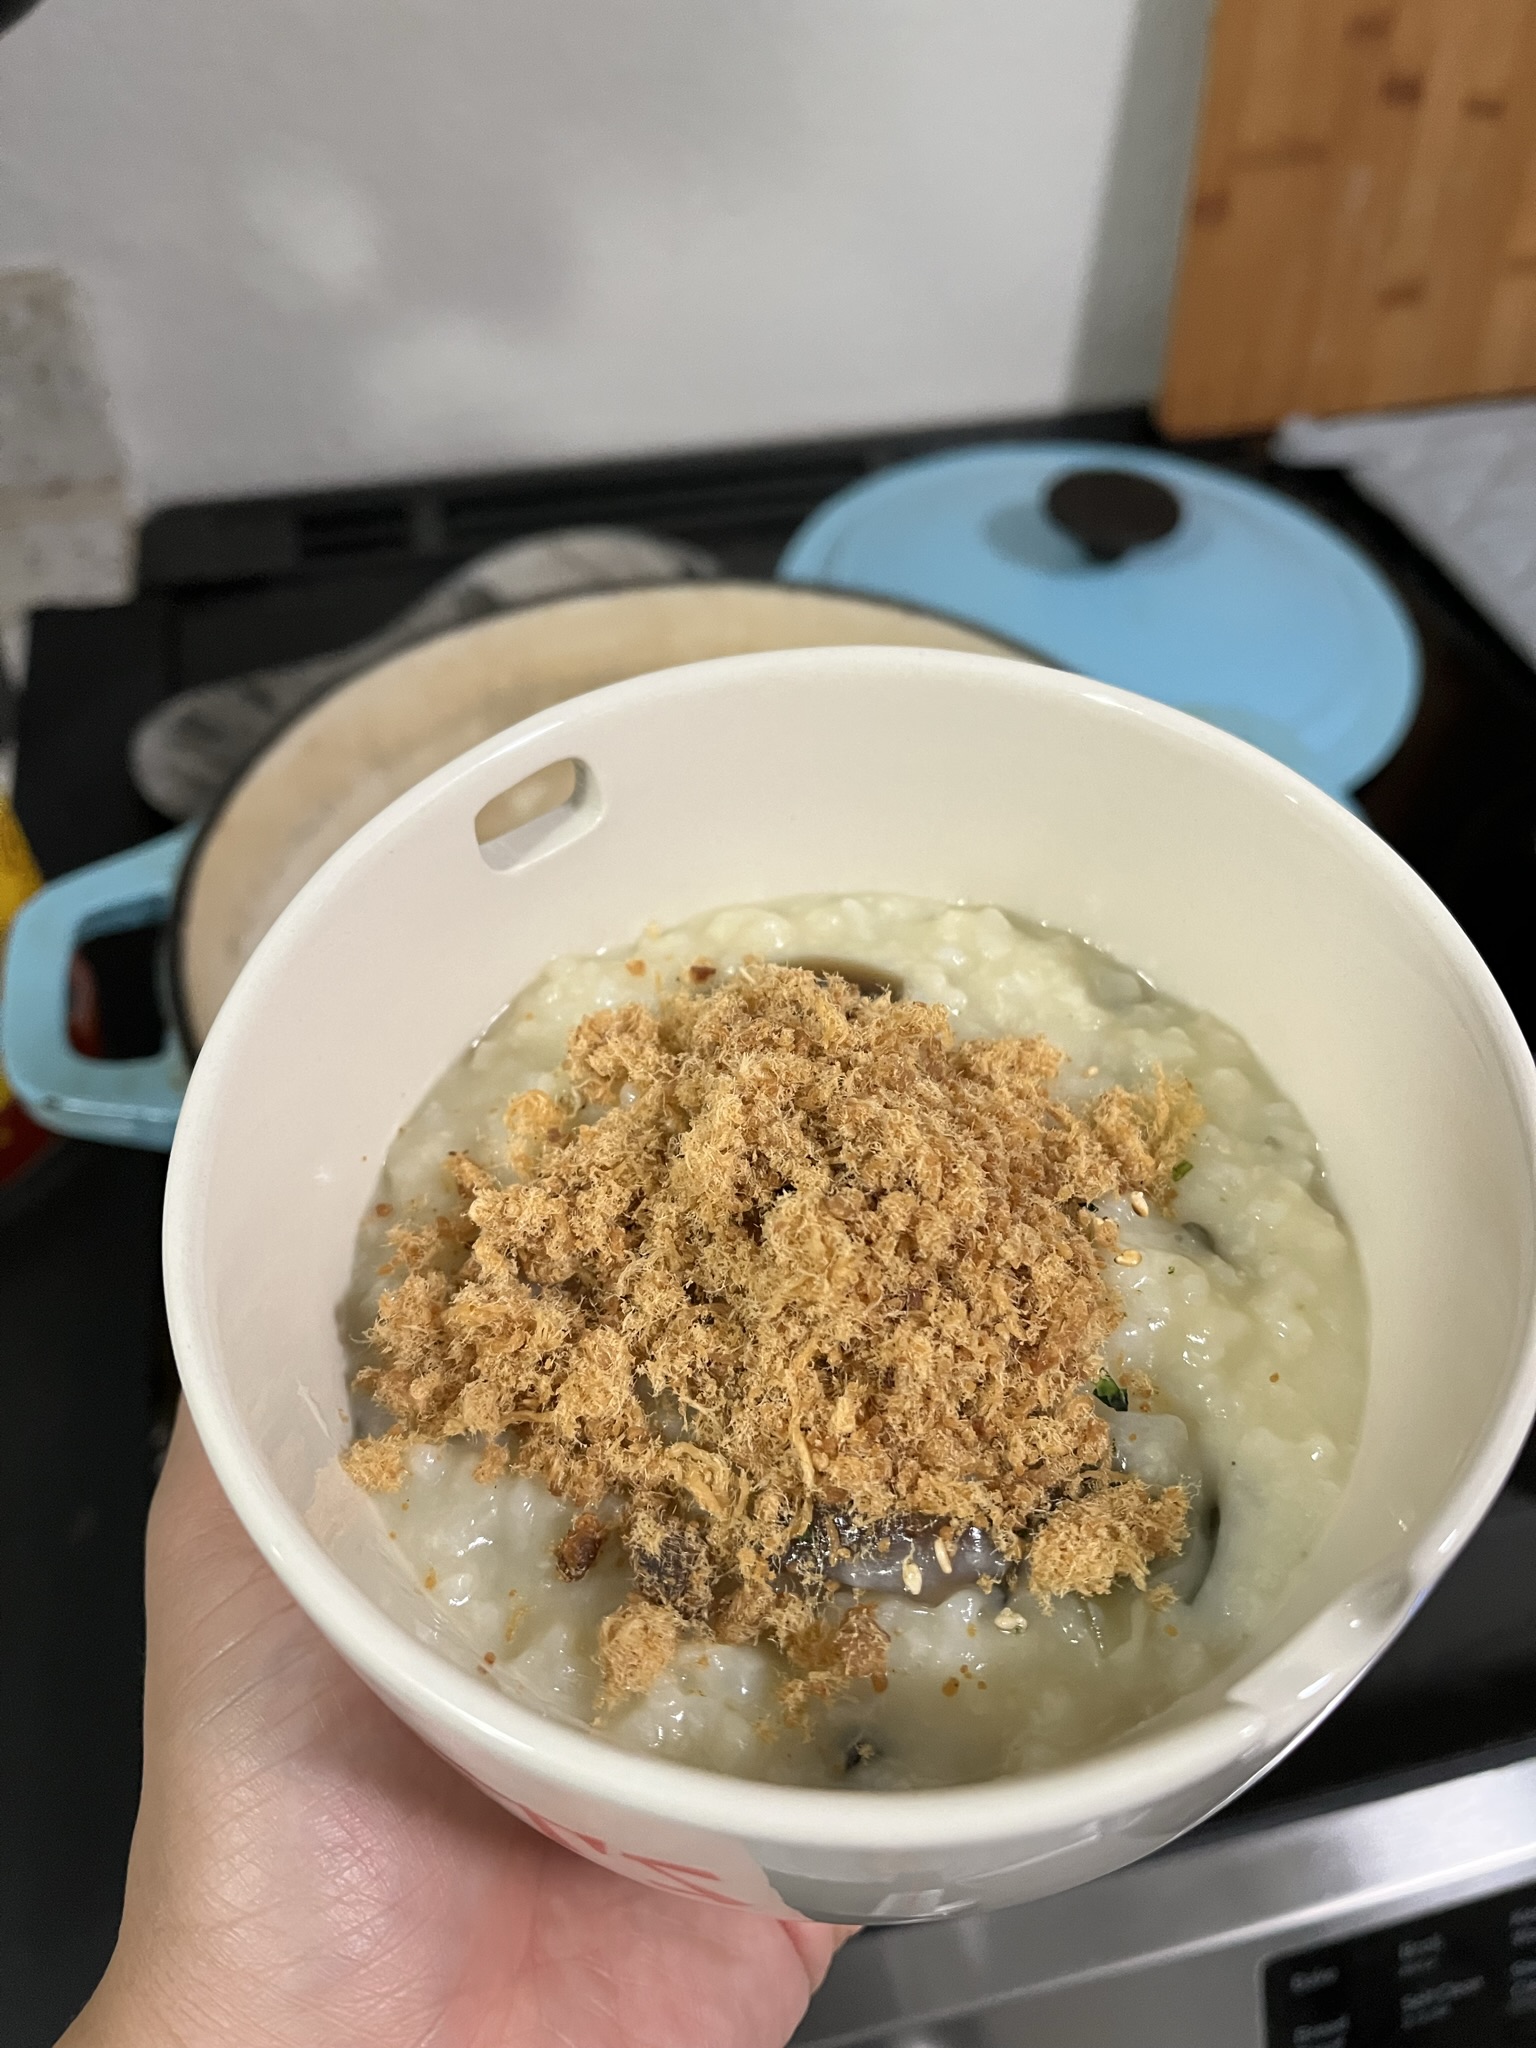
Congee is a rice porridge of Asian origins. Most Asian countries have some kind of congee variation and all are delicious. I crave congee during the winter months and when I’m sick. It’s so easy to make and so satisfying. Congees can be customized with flavors in the base or in the toppings, but this recipe will keep the base simple so you can top it with anything that sounds delicious. This congee recipe will utilize day-old/leftover rice, but you can always make congee by just adding extra water to your raw rice grains if trying to make congee instead of fluffy rice. For some inspiration, I most recently made congee by adding century eggs to the base and topping with garlicky purple cabbage, pork floss, and furikake.

Ingredients

Rice – I’ve found that you can really use any kind of rice you want to make congee. I’ve experimented with jasmine, short-grain, and even brown rice. The long cook time of congee causes all rice varieties to break down eventually into a thick, starchy broth, so they all work.

Broth – Use any kind of broth you like, or substitute with the equivalent of water and your favorite bouillon. Use vegetable, chicken, beef, or anything else!

Congee Toppings

Congee can be eaten plain, but the fun of it comes with the toppings. Some of my favorites include:

  • pork floss
  • green onion
  • century egg
  • soft-boiled egg
  • garlic sautéed vegetables
  • furikake
  • crispy onions
  • kimchi
  • shrimp
  • chinese donuts
  • chili oil

Congee

Print Recipe
A quick, hearty meal utilizing leftover rice. Customize your congee with extra flavorings or toppings.
Course Appetizer, Breakfast, Main Course, Side Dish, Soup
Cuisine Asian
Keyword congee, porridge, rice

Equipment

  • 1 large pot

Ingredients

  • 4 cups rice leftover
  • 8 cups water
  • 1 clove garlic
  • 1 chunk ginger thumb-sized
  • 2 tbsp bouillon pick your flavor
  • salt

Instructions

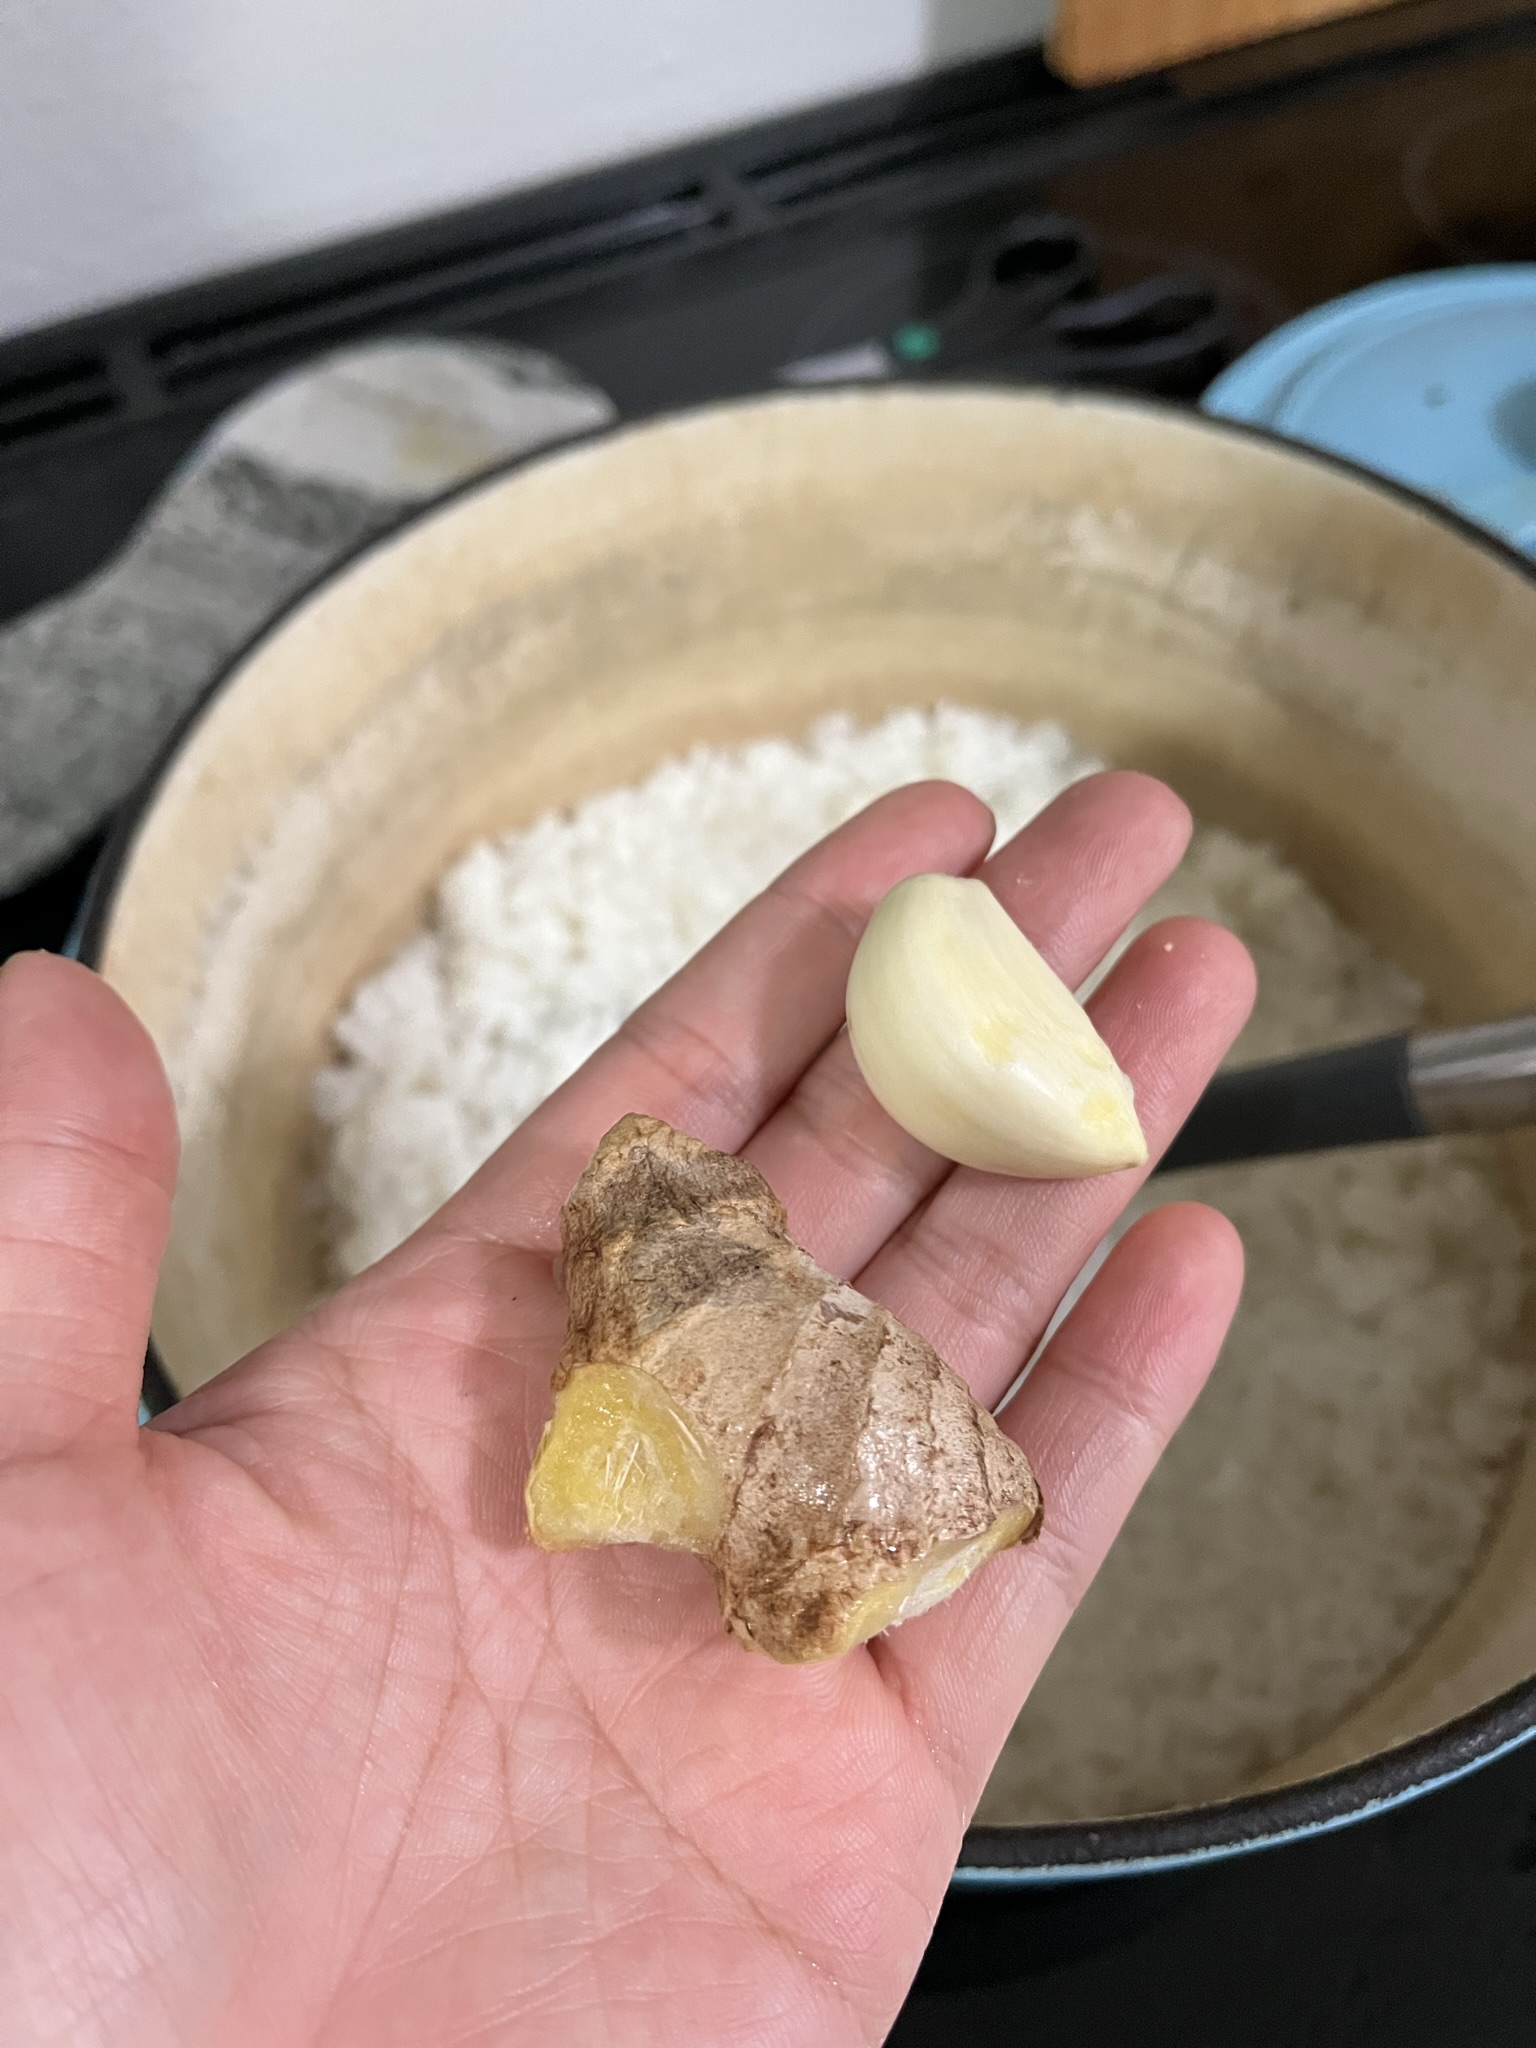
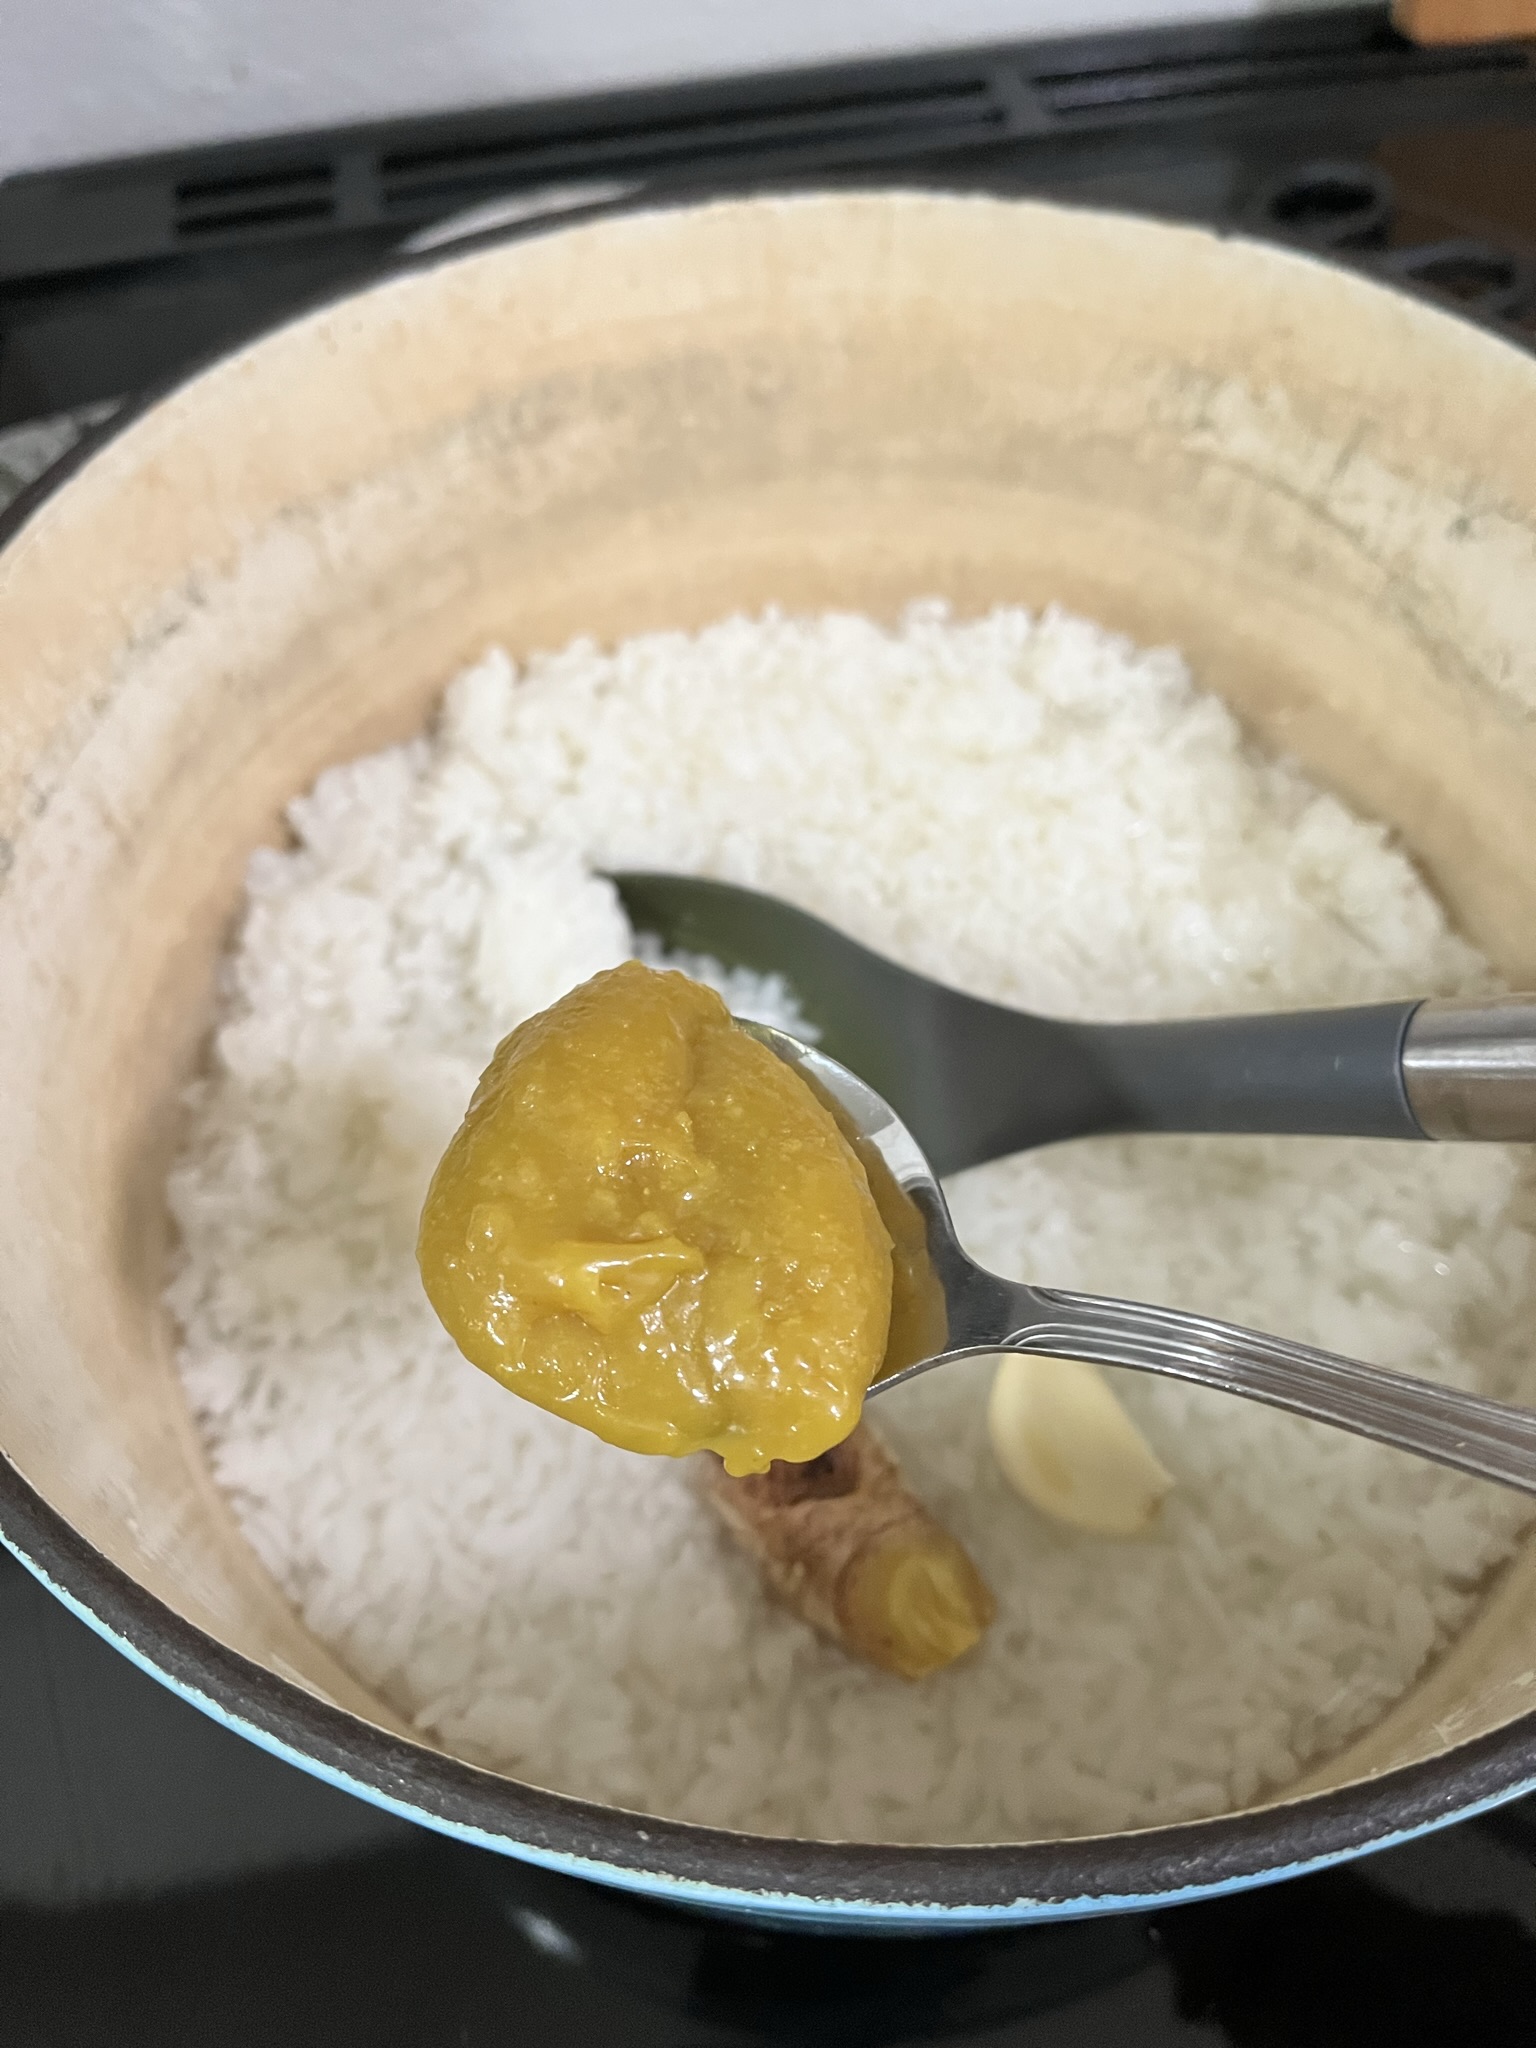
  • In your pot, add rice, water, garlic, ginger, and bouillon on medium heat.
  • Bring to a boil and mix and break apart rice.
  • When rice is submerged under the water, bring the mixture to a simmer and cover for 20 minutes.
  • Uncover, mix, and taste for salt, adding more if necessary.
  • If you like a thinner/soupier congee, add water. If you like century eggs, I'd also recommended adding them in at this point too.
  • If additional ingredients have been added, simmer for another 10 minutes. Otherwise, enjoy with your favorite toppings!

Top your congee with Shrimp & Snap Pea Stir Fry or Mapo (ish) Tofu.

Have a dessert after like Kitchen Sink Cookies or Peach Galette.

Blackberry Rhubarb Muffins

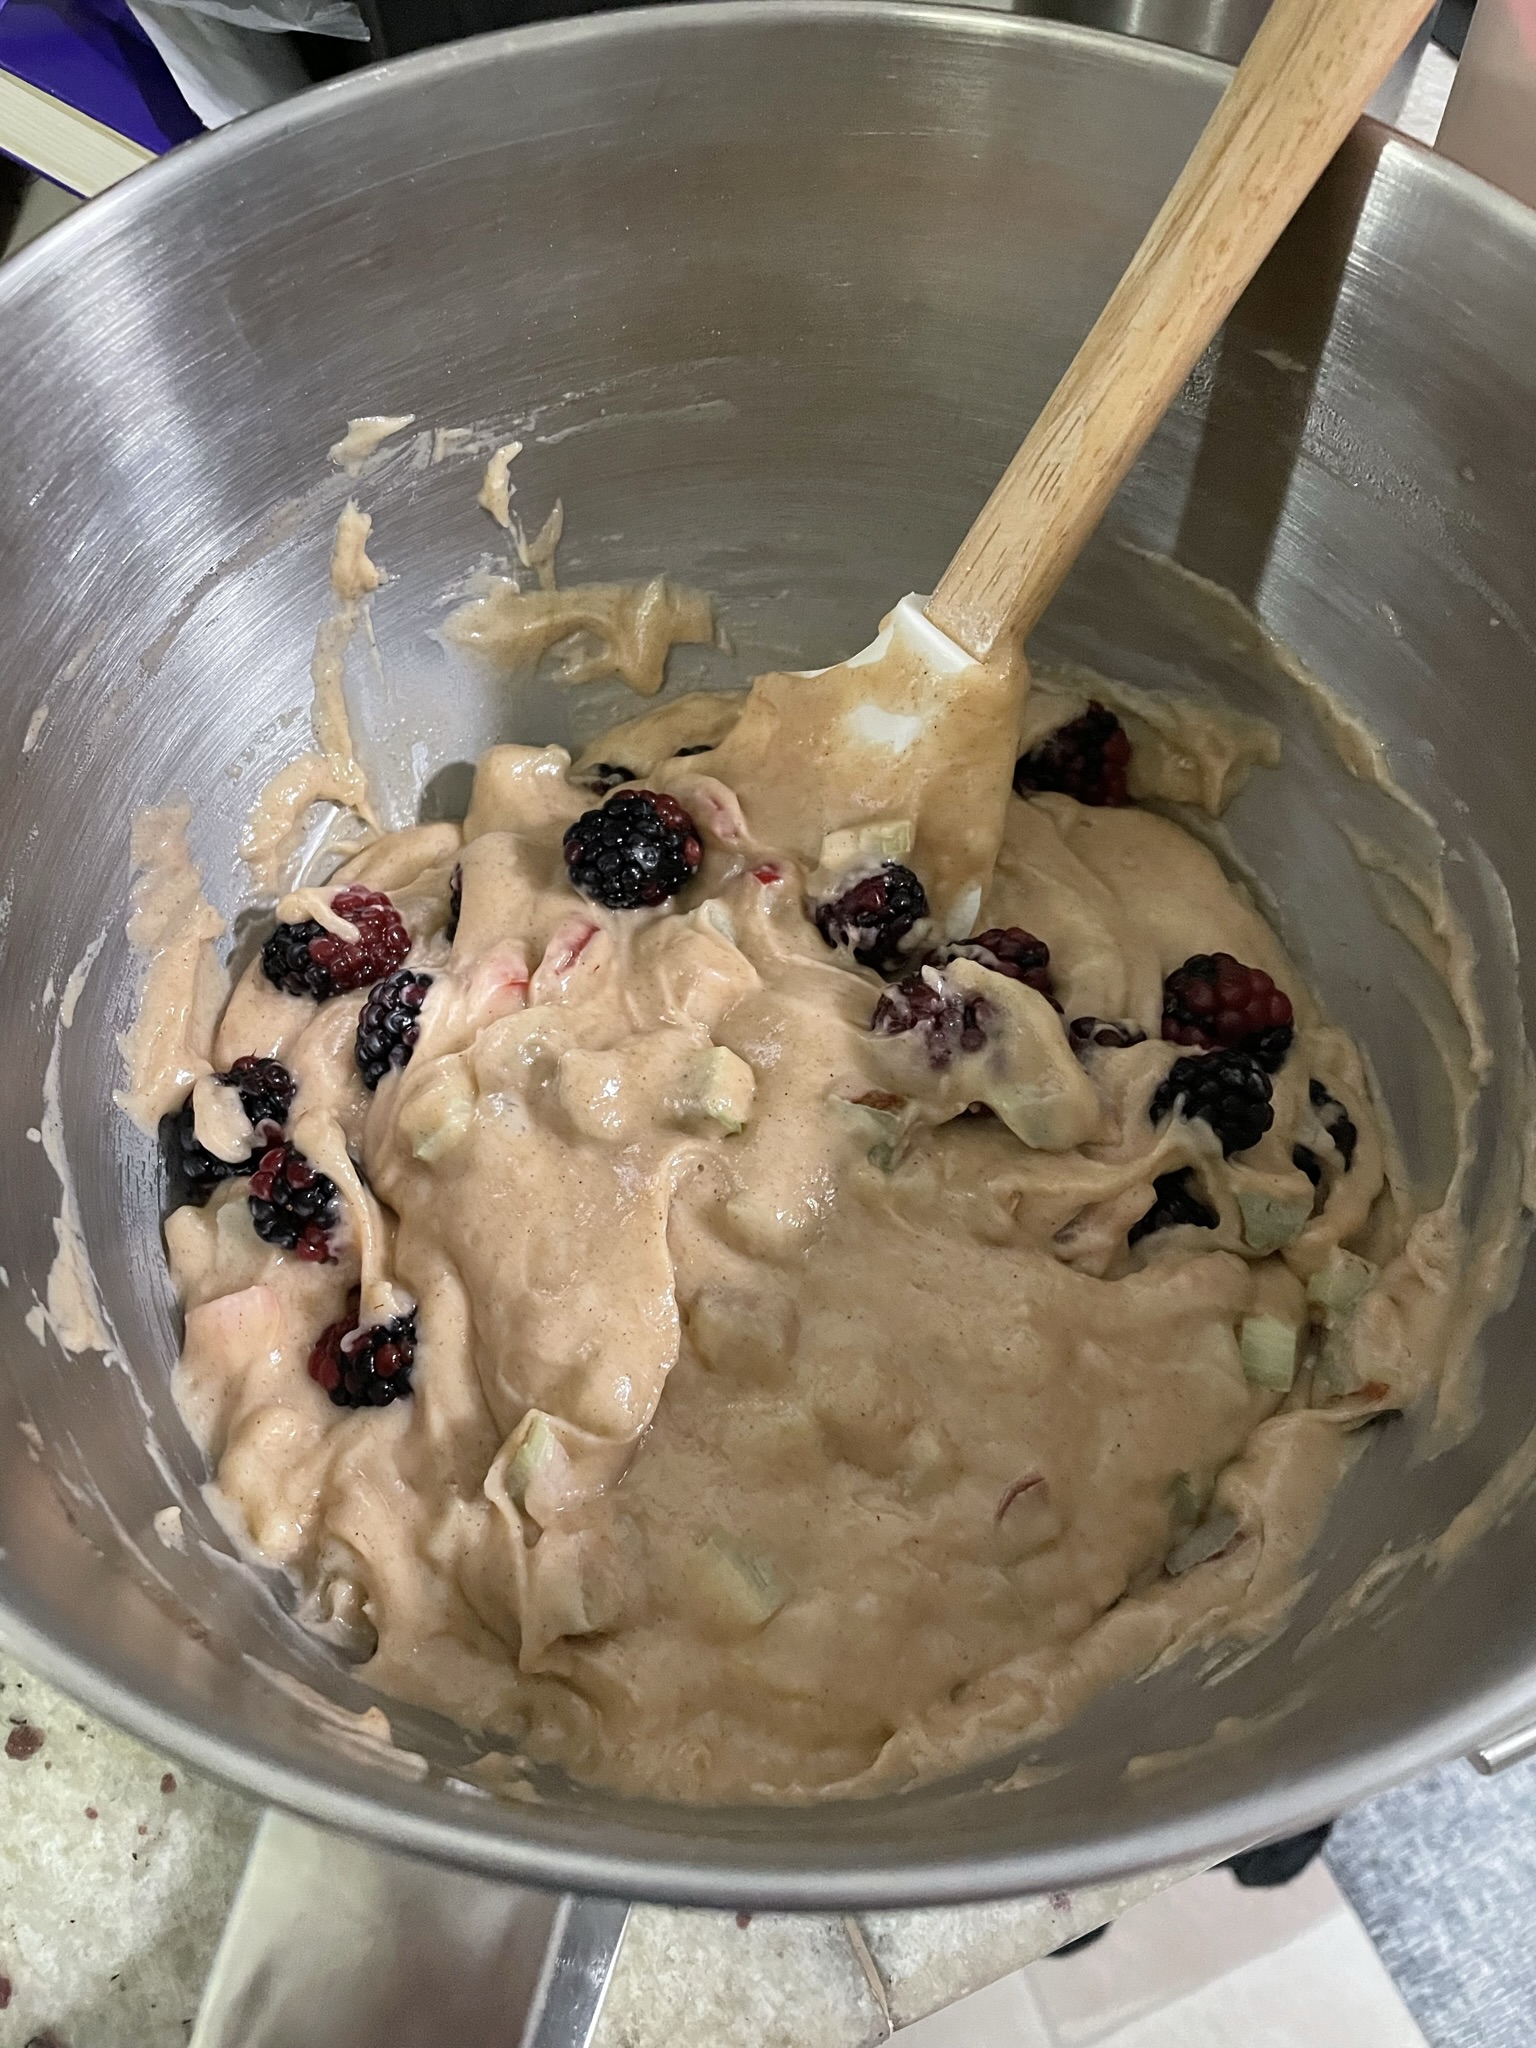
Have I mentioned how much I love summer? Fruits are so abundant and vegetables just go absolutely wild. Rhubarb grows like a weed and some varieties of blackberries in Washington are actually a weed. They’re spiny and apparently very difficult to get rid of if you have an overgrowth in your yard, but they certainly produce lovely fruit. If you have any summer fruits that just can’t be consumed fast enough, add them to this muffin recipe or a sweet treat.

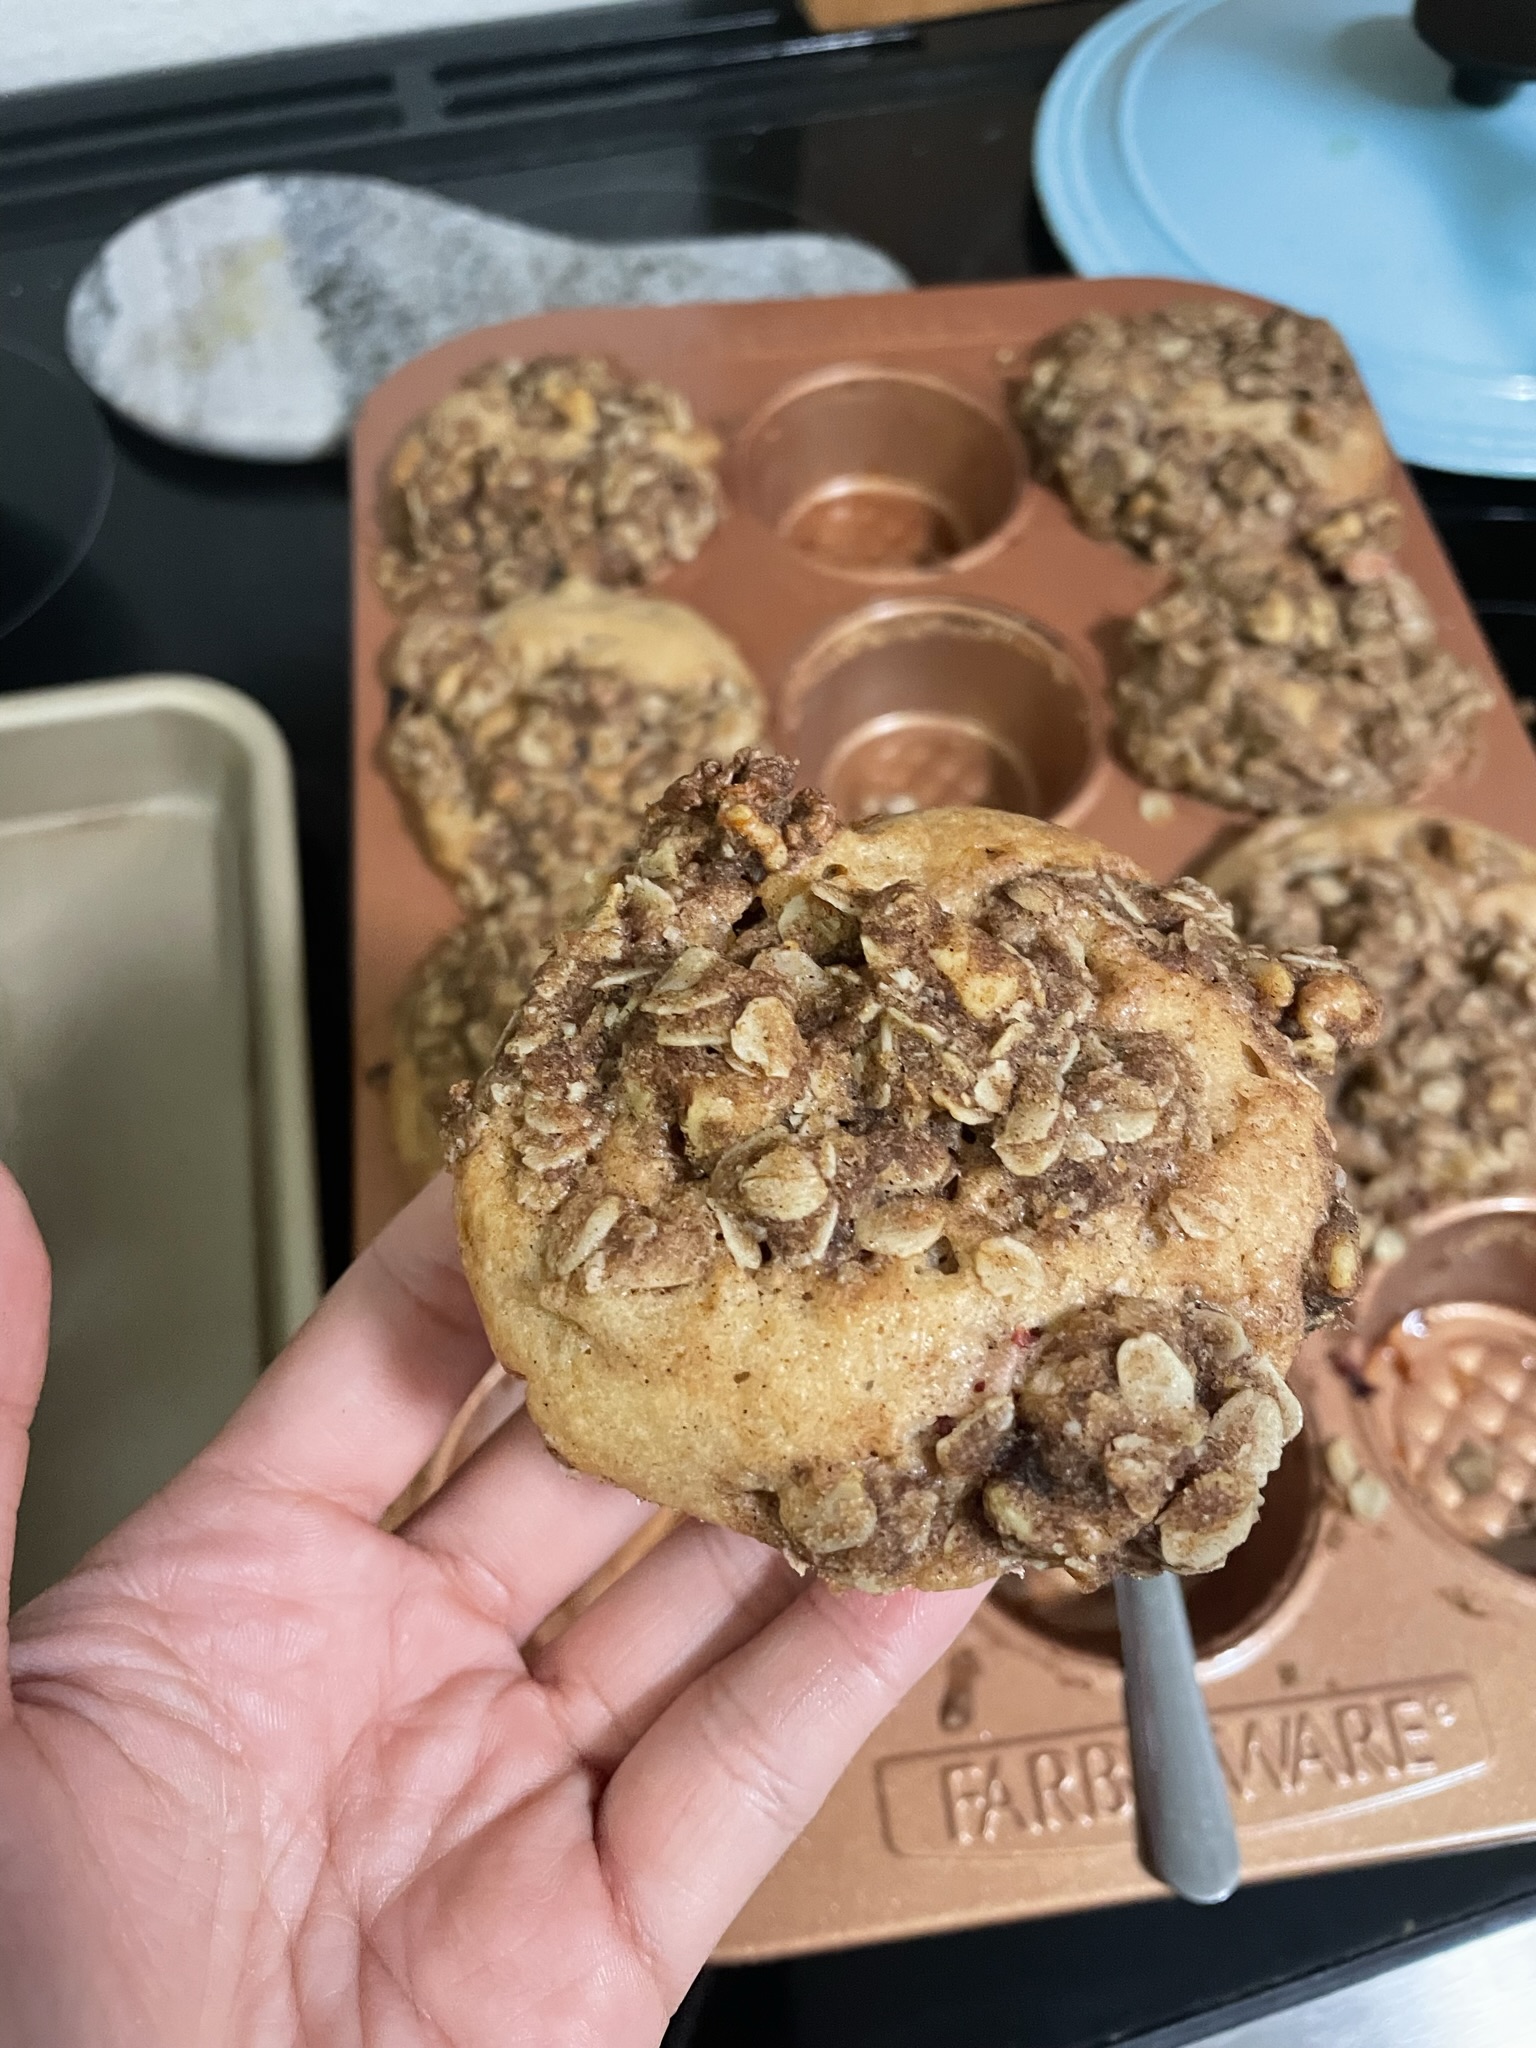
These fruity muffins have a sweet, crunchy topping and their fluffy base is filled with tart rhubarb chunks and juicy blackberries. If you don’t like rhubarb, you might even like them in this application. I gave them to some friends and they thought that they were apples! This recipe could also be adapted to a large baking dish as a coffee cake-esque dessert with a crunchy topping.

Ingredients:

Fruit – The blackberries and rhubarb could really be substituted for any fruit that you might like! If swapping the fruit filling, keep the total volume of fruit the same (3 cups). If using no fruit, increase the quantity of milk to 1 full cup. Some other fruits that might be lovely in this would be raspberries, strawberries, blueberries, apples, and peaches.

Topping – The crunchy topping is entirely optional. If you just want a fluffy fruity baked muffin, skip the topping. If you’re keeping the topping but want this muffin to be a little bit more of a balanced meal, adding a few tablespoons of hemp hearts would be a great additional source of protein and fiber in these muffins.

Blackberry Rhubarb Muffins

Print Recipe
Have it for breakfast, have it for dessert, I don't judge.
Keyword blackberry, breakfast, dessert, muffins, rhubarb
Servings 2 dozen muffins

Equipment

  • 1 muffin pan

Ingredients

Muffins

  • 1 cup vegetable oil
  • 2 eggs
  • 1 tsp vanilla
  • 3/4 cup milk
  • 1 cup sugar
  • 1 tbsp cinnamon
  • 1/2 tsp salt
  • 3 cups flour all-purpose
  • 1 tbsp baking powder
  • 1 cup blackberries
  • 2 cups rhubarb 1-inch cubes

Topping

  • 1/2 cup flour all-purpose
  • 1 cup rolled oats
  • 1 cup walnuts chopped
  • 1/2 cup brown sugar
  • 1 tbsp cinnamon
  • 1/4 tsp salt
  • 3/4 cup vegetable oil

Instructions

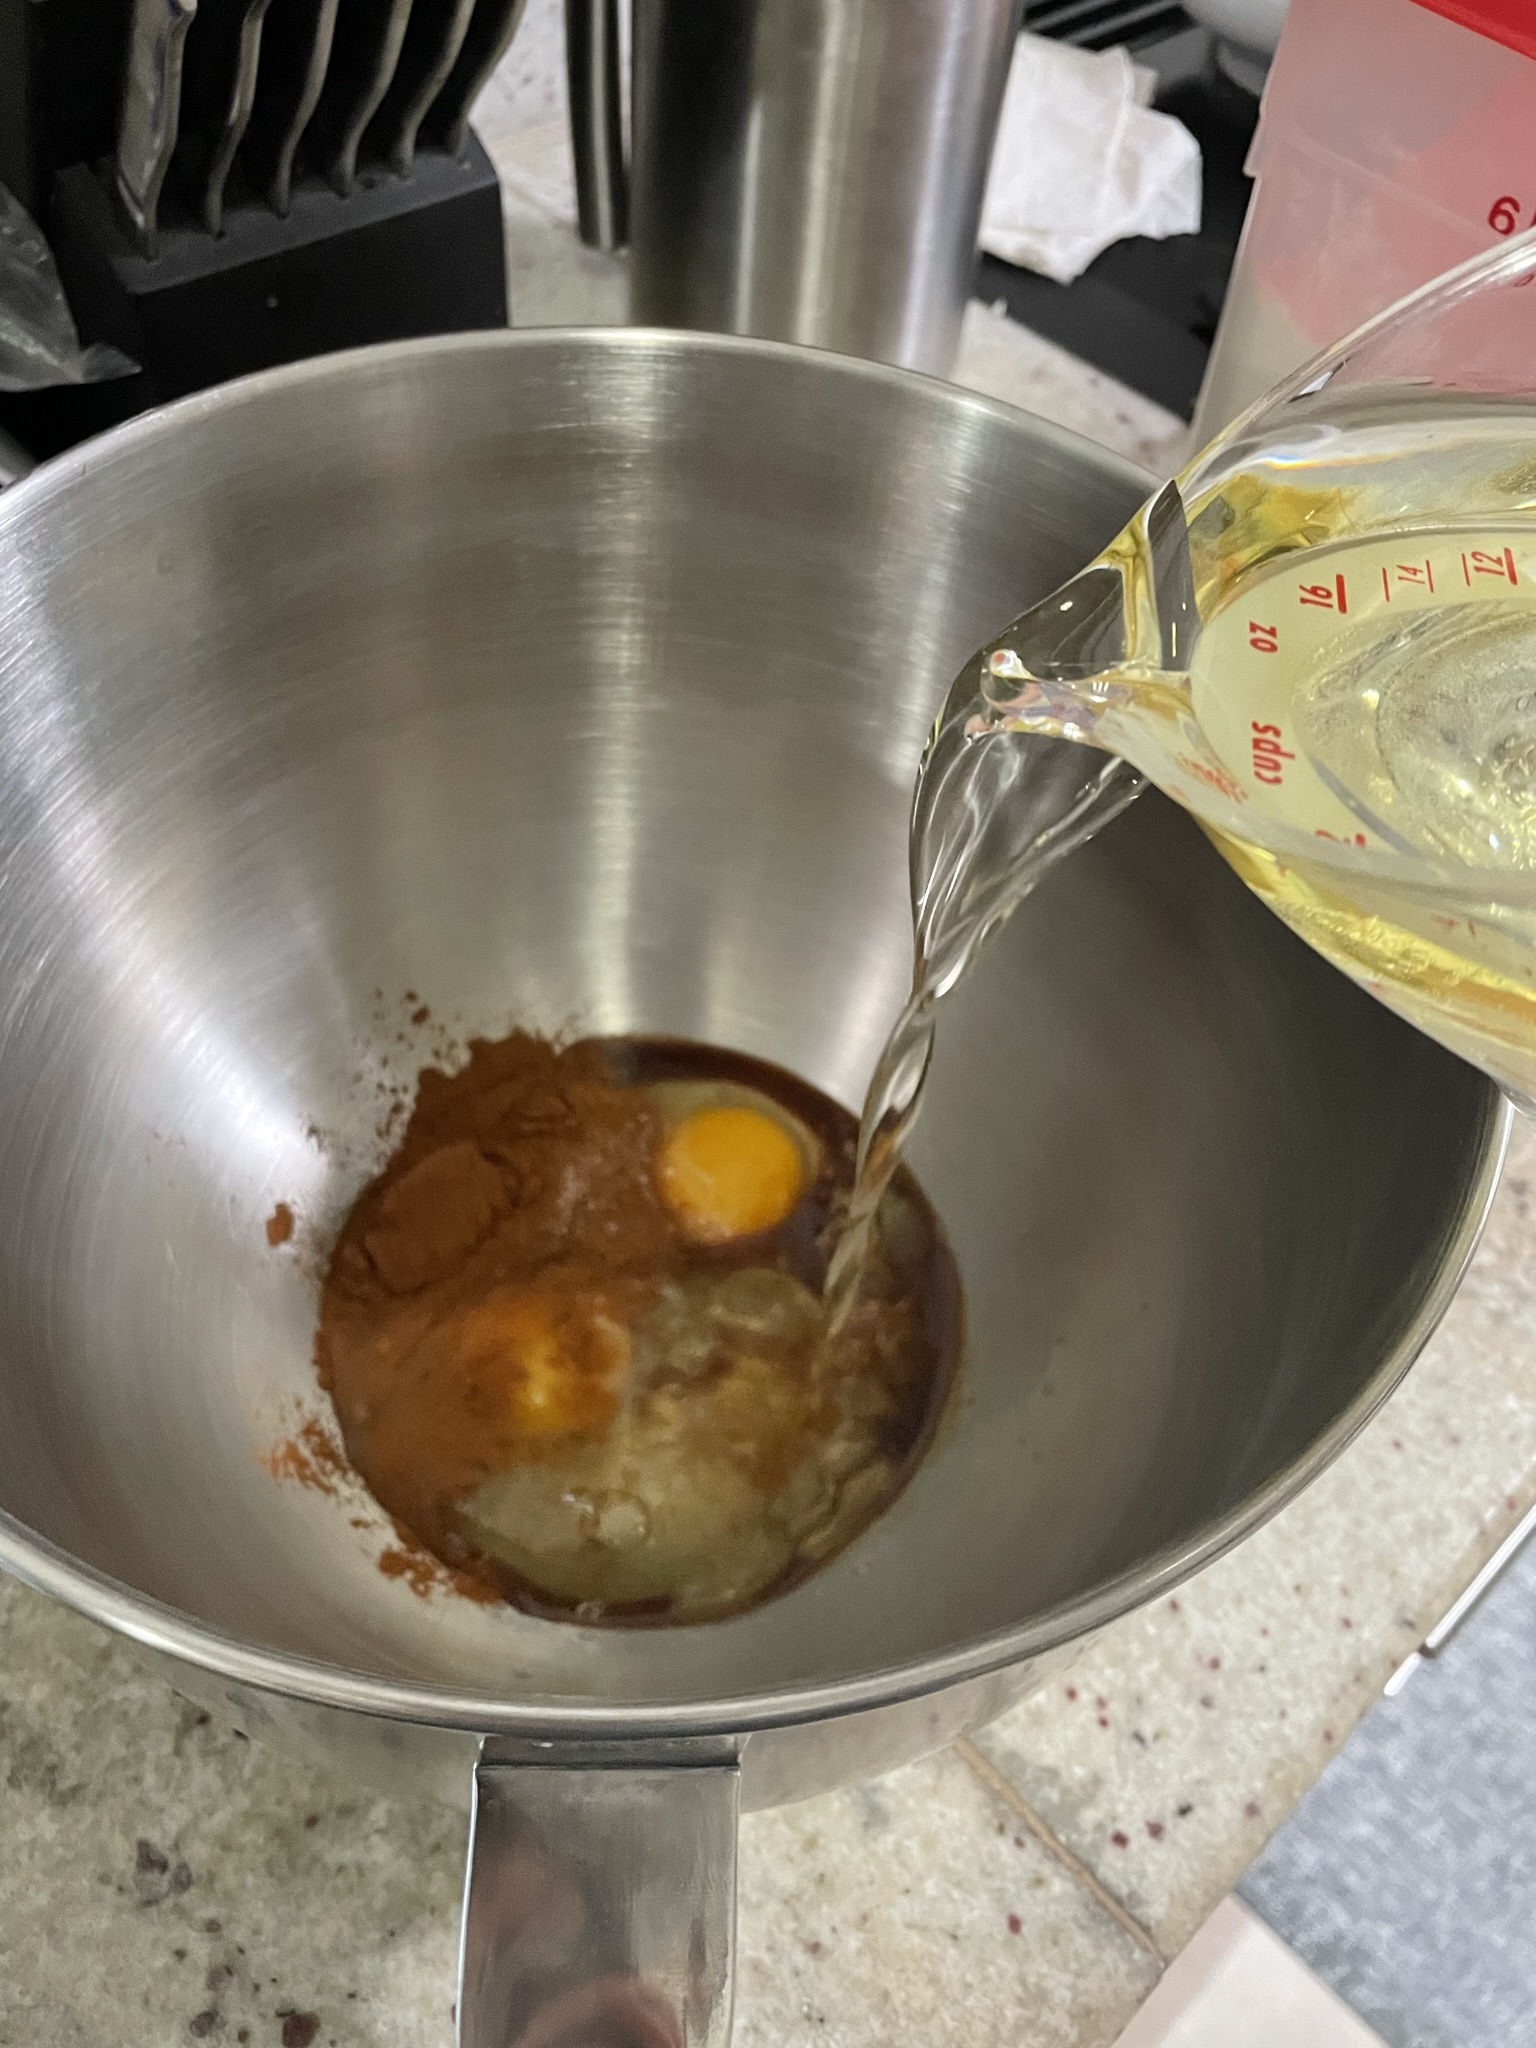
  • Make the muffins first. Mix oil, eggs, vanilla, milk, sugar, cinnamon, and salt until well combined.
  • Add in flour and baking powder. Mix until almost completely combined. If flour is still a little streaky, that’s totally ok.
  • Add in blackberries and rhubarb and finish mixing. Mix until just combined.
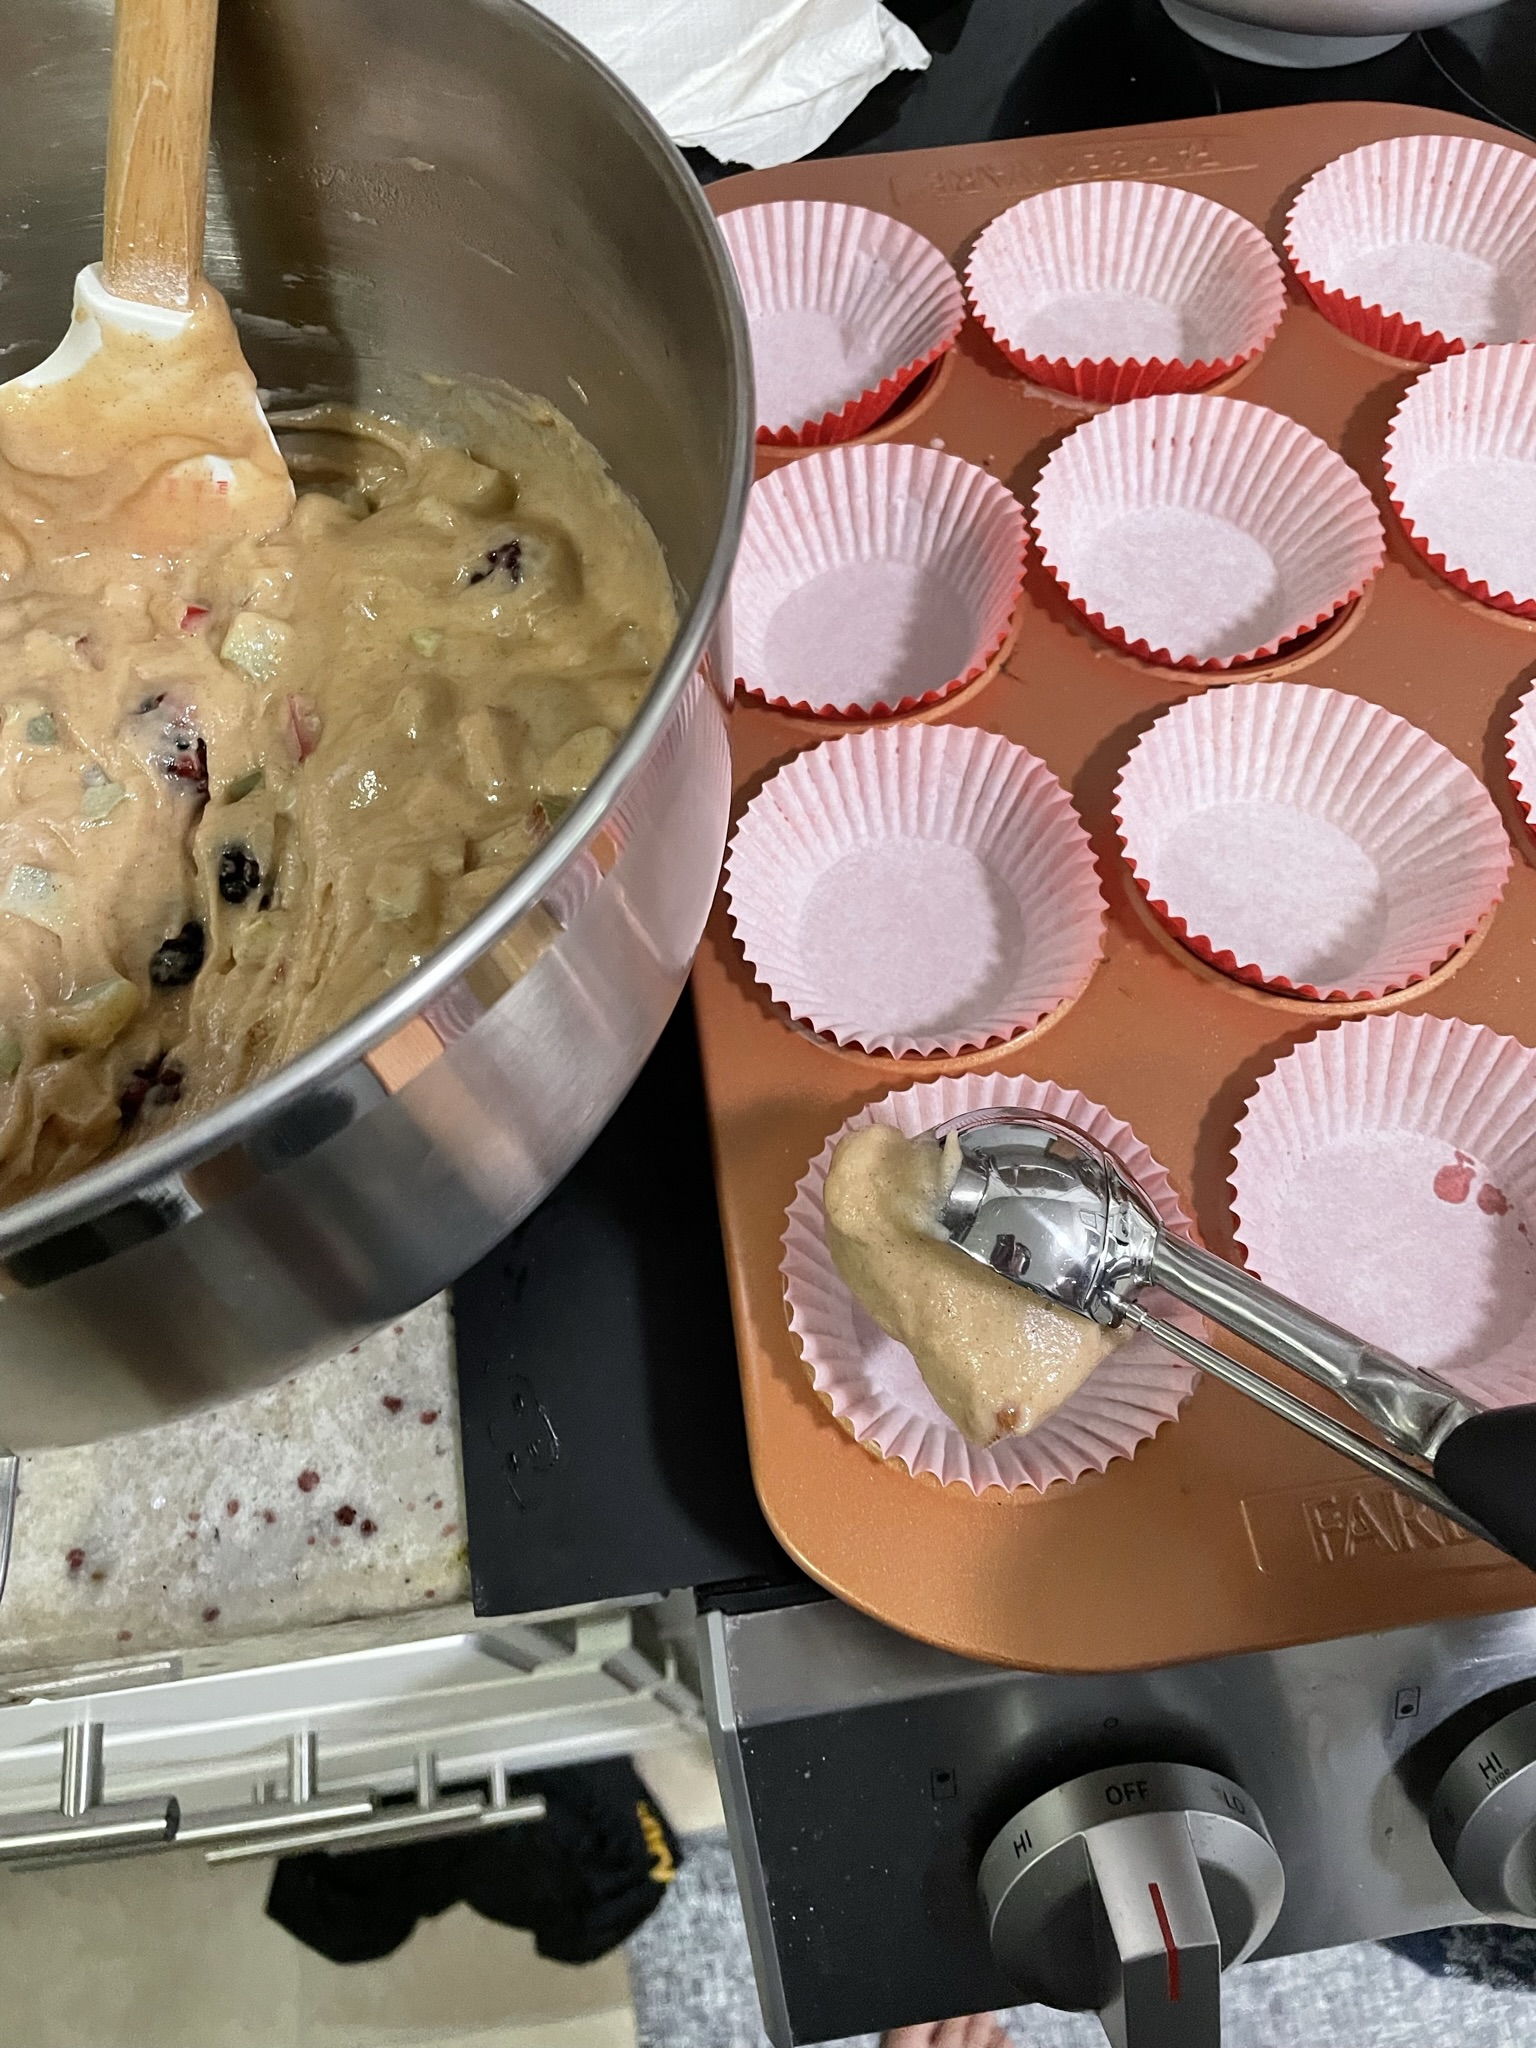
  • Using a quarter cup measure, scoop batter into greased and/or lined muffin tins.
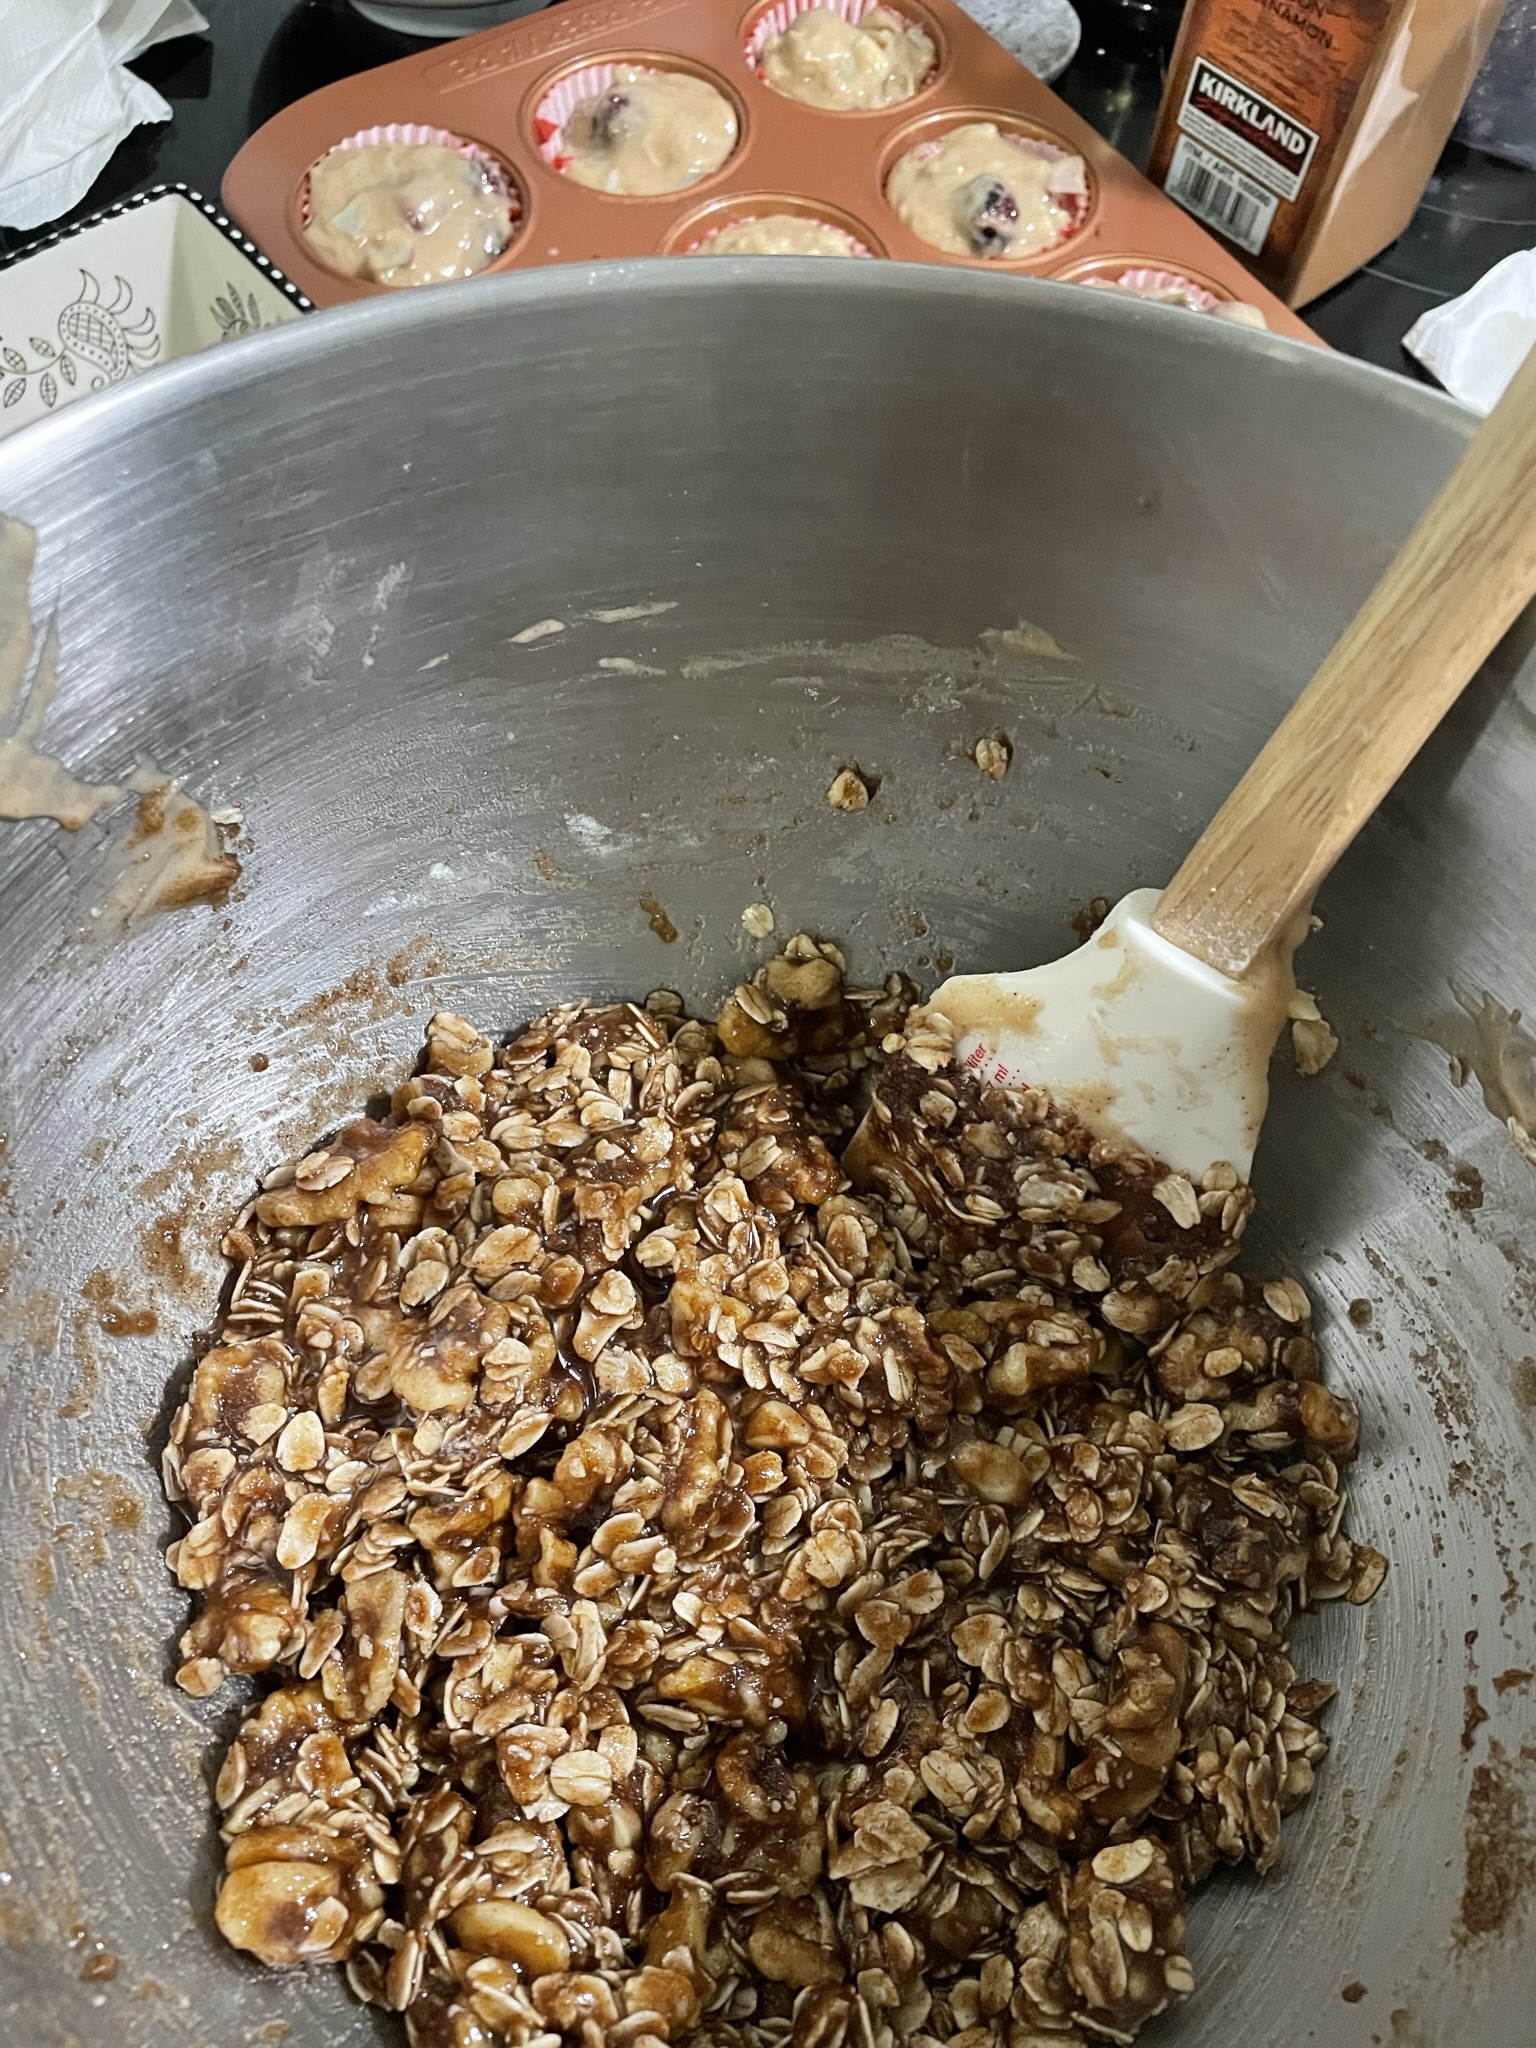
  • After scooping all the muffin batter, the topping can be made in the same bowl, or can be made separately to your preference.
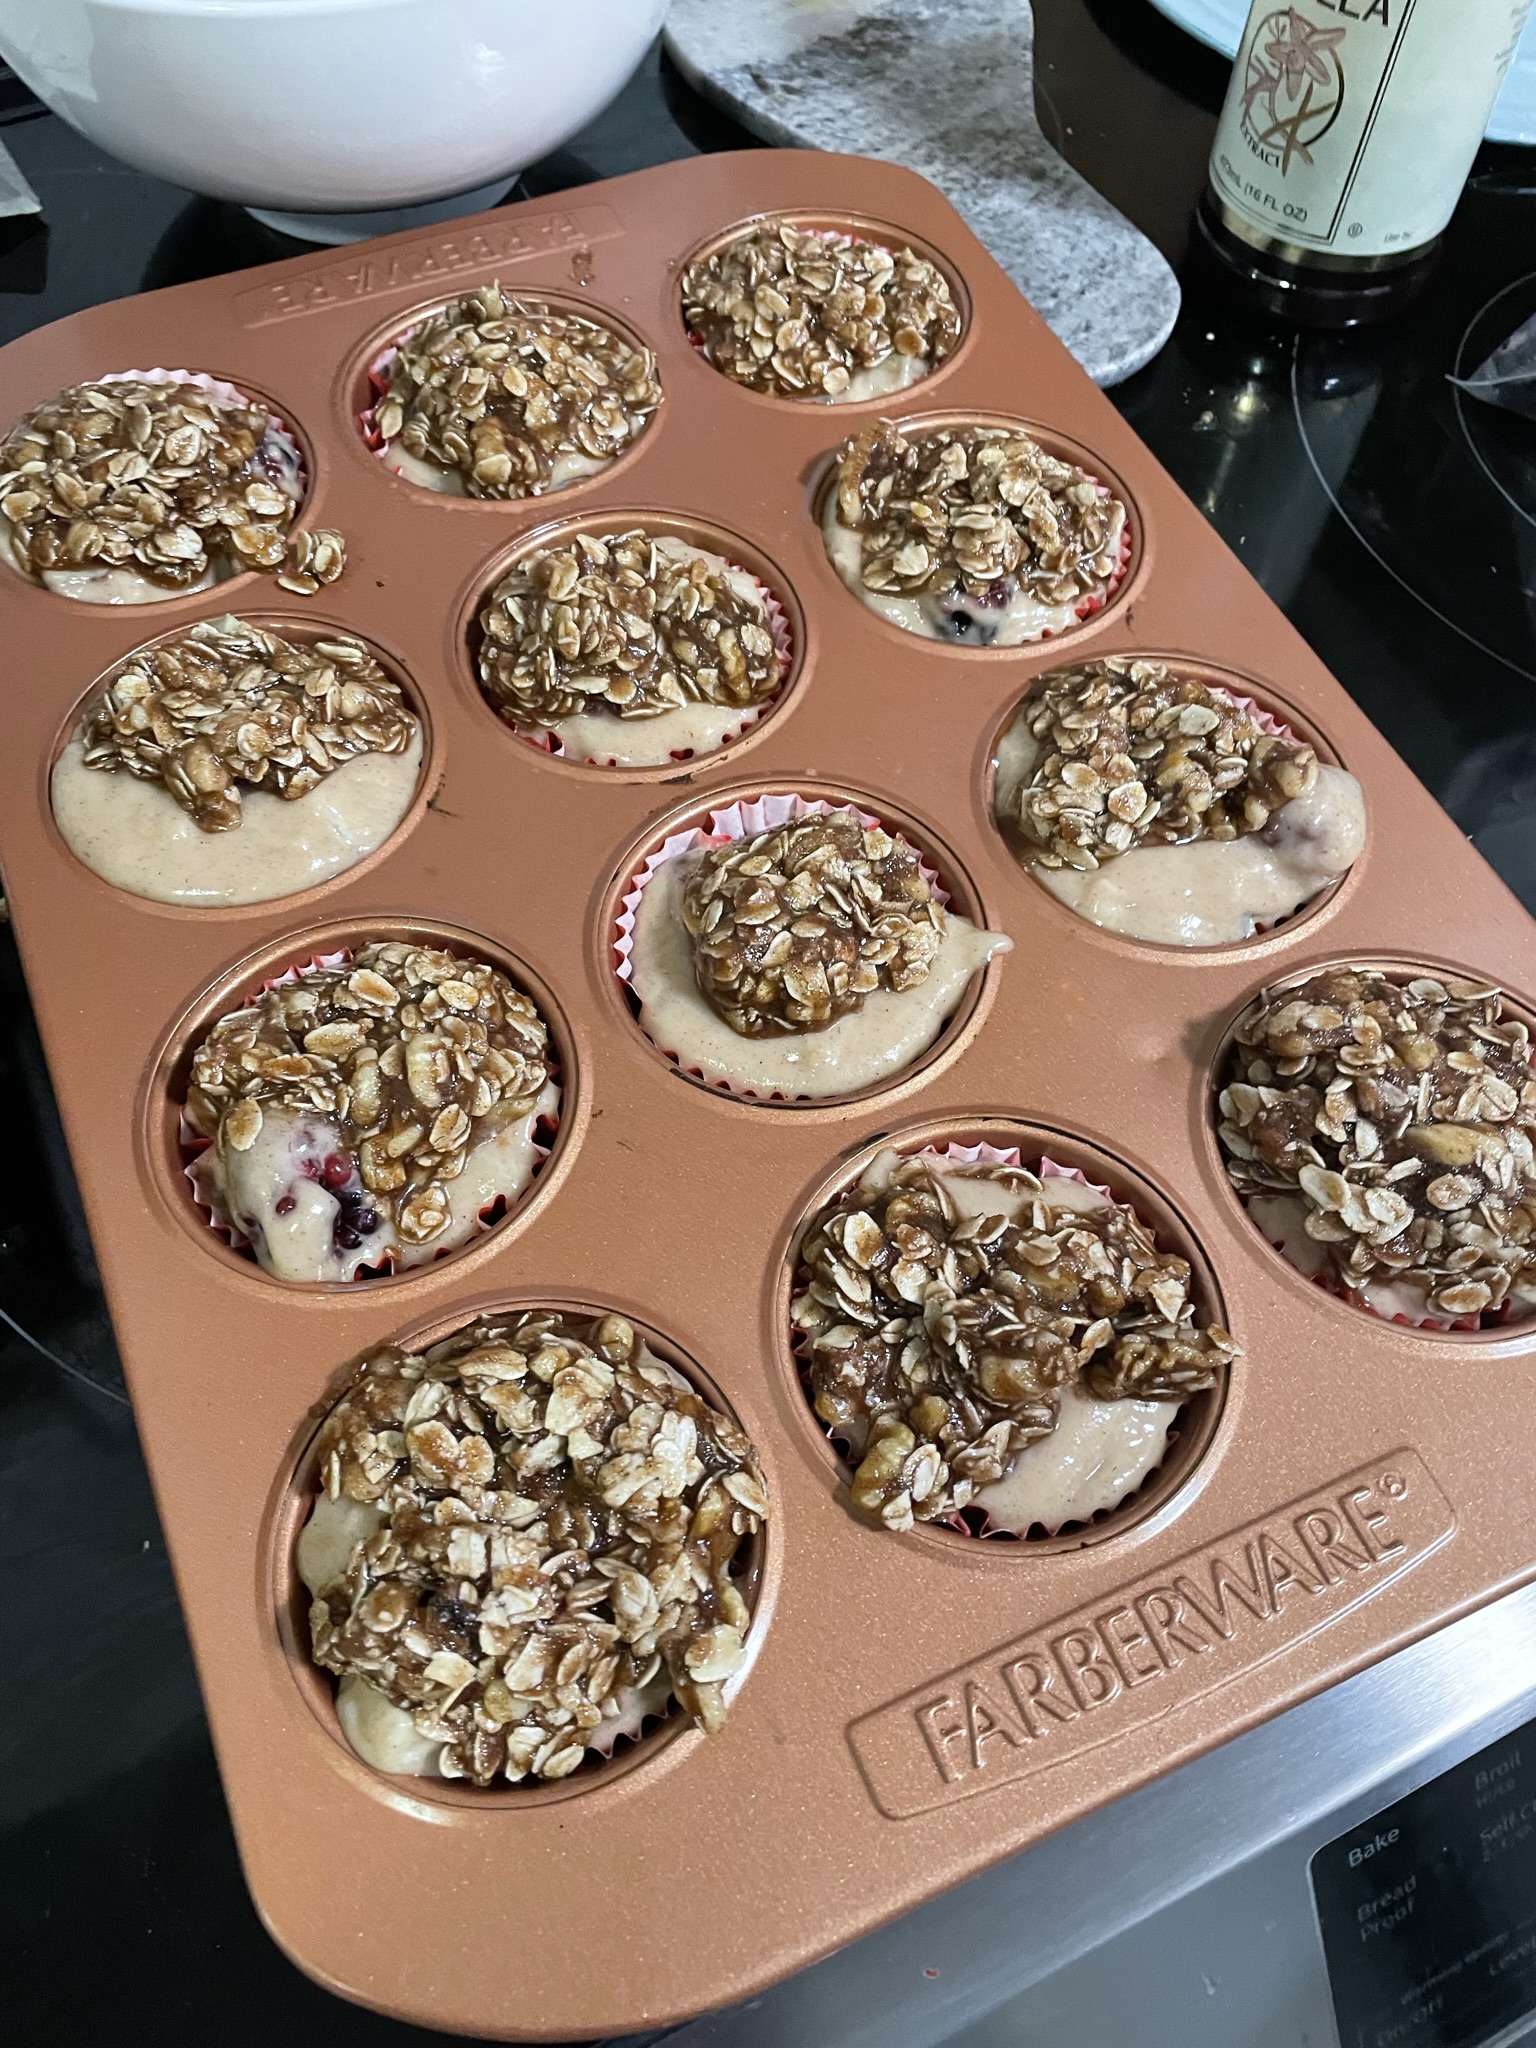
  • For the topping, mix all ingredients together and scoop about 1 tbsp of topping onto each muffin. Muffins will look very full but you’ll get some really lovely muffin tops!
  • Bake at 350F for a total of 60 minutes. Bake covered for the first 40 minutes and uncover for the last 20 minutes. Verify done-ness using a toothpick. If it comes out clean, it's done!

More rhubarb? Make Blueberry Rhubarb Jam or Blueberry Rhubarb Pound Cake.

Like the crispy topping? Put it on top of a Banana Bread or Zucchini Bread.

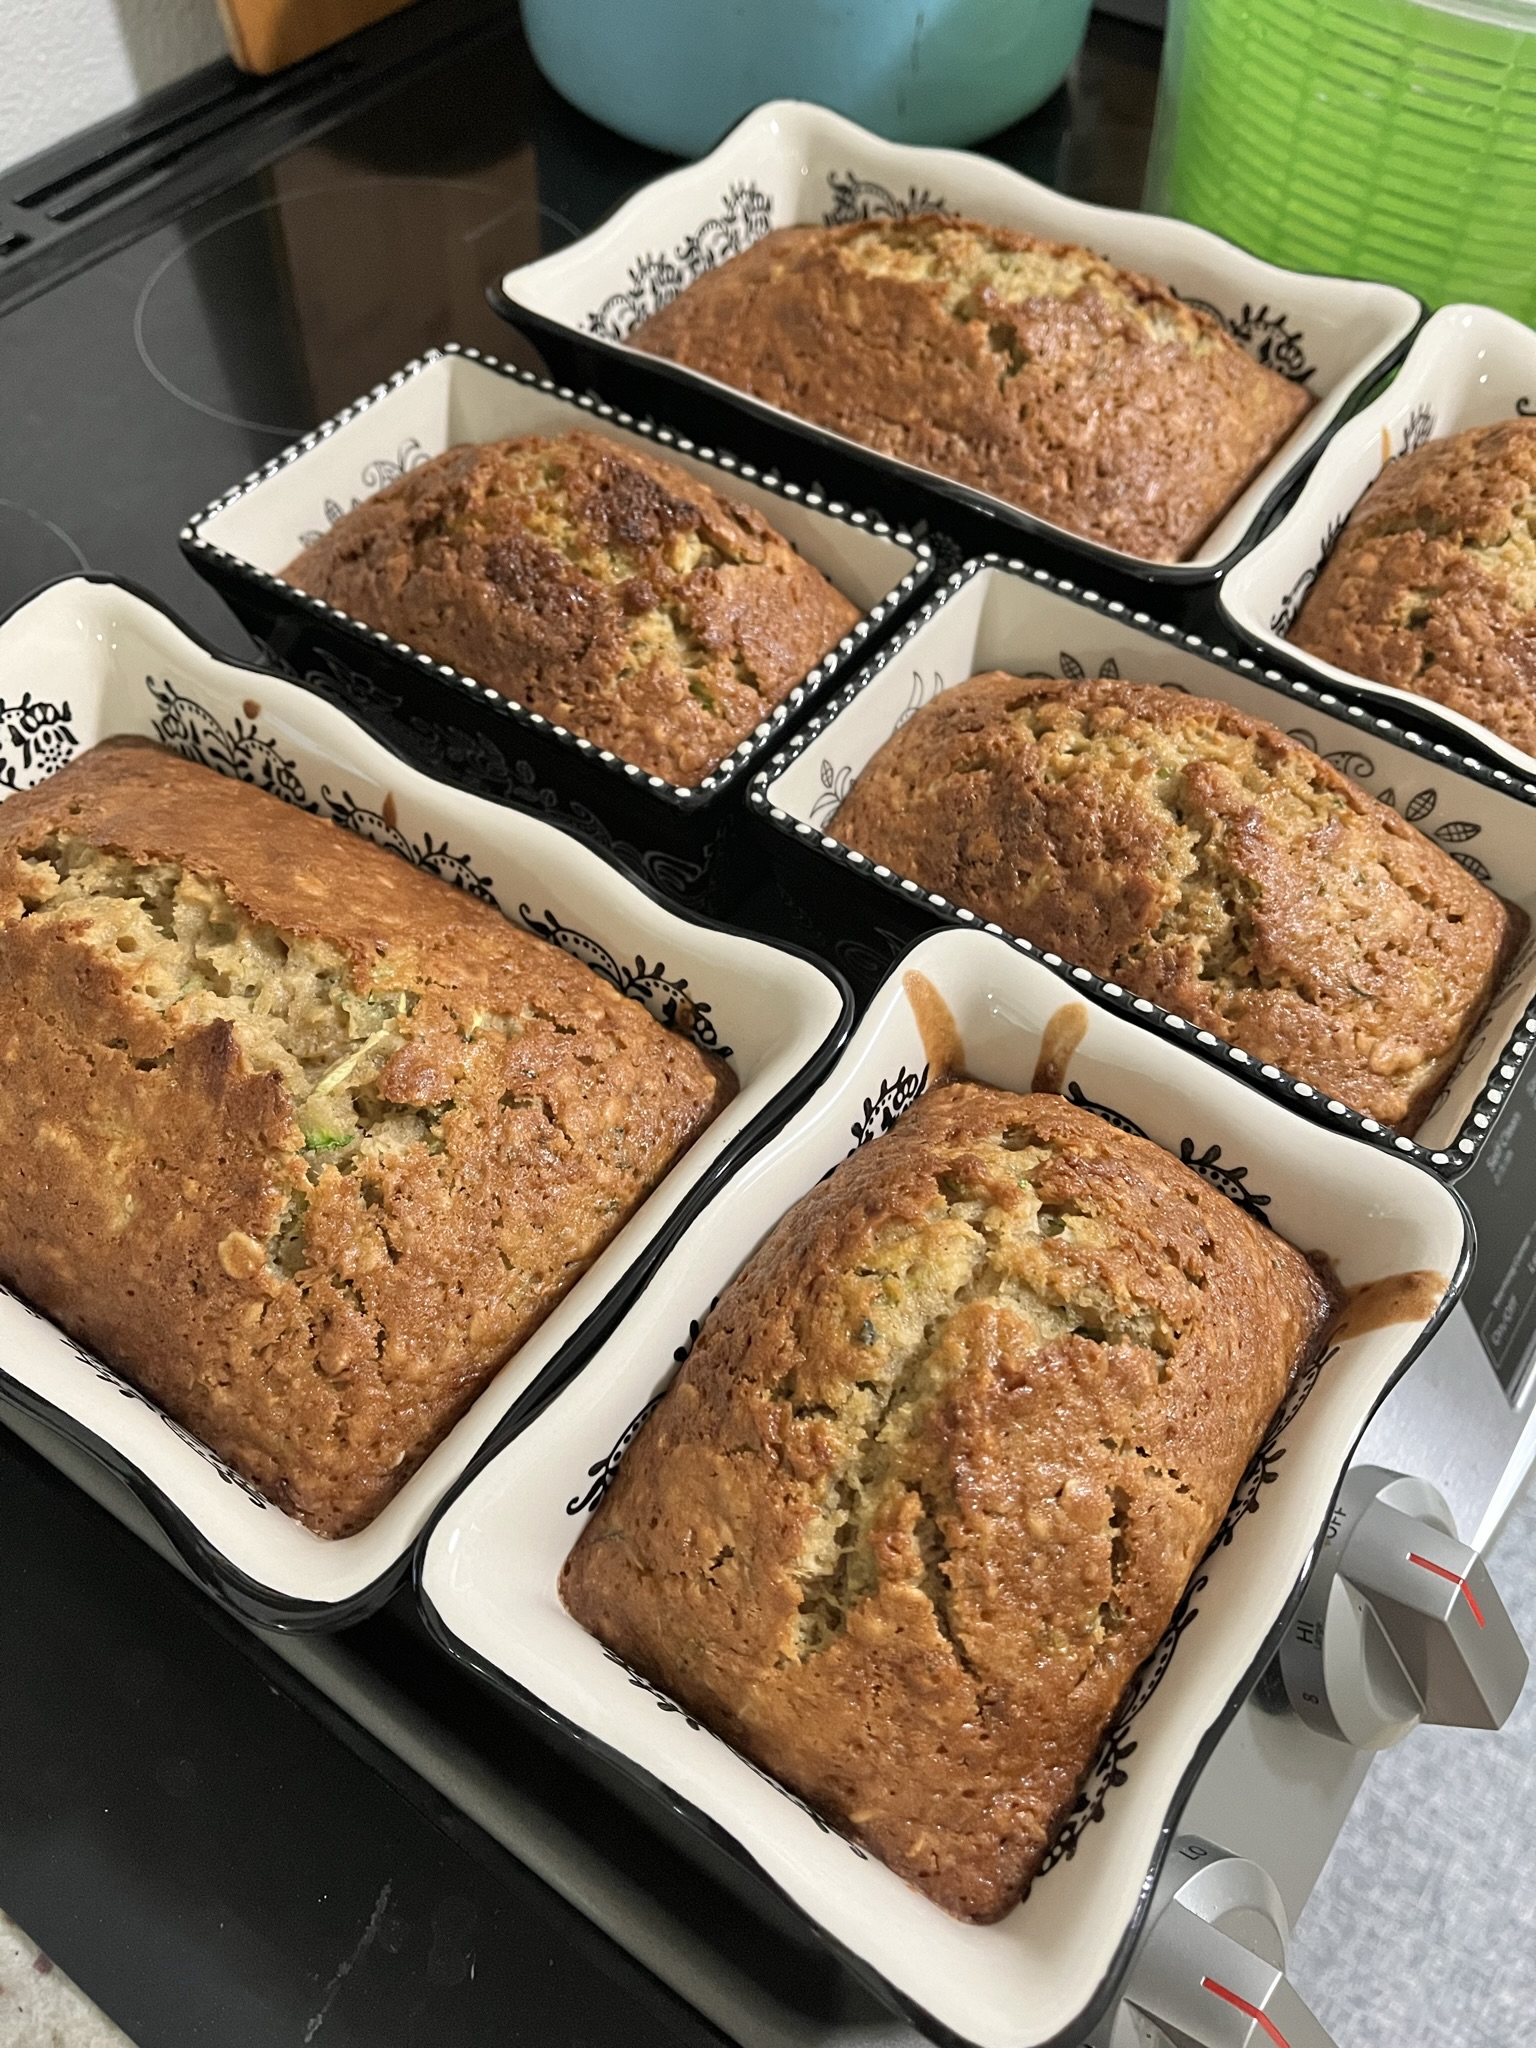
Zucchini Bread

It appears everywhere I turn there is an abundance of zucchini. The other week it was also “leave a zucchini on your neighbor’s porch” day? The other day I went wine tasting and they were also giving away a variety of squashes and zucchinis! There was a small farm on-site at the tasting room and it appeared their zucchini plants were exploding and they couldn’t consume them all.

The local farm where I get my produce has also been producing some massive zucchinis: some thicker than my head and longer than my forearm. When I get these larger zucchinis, I find that they can be extremely seedy and sometimes bitter. If I want to eat them roasted or in a stir-fry, the bitterness can still appear even if I’ve removed all the seeds. When I get one of these big guys, I like to just shred the whole thing and use it all in a loaf. The bitterness of the zucchini completely disappears in the loaf and the seeds dissolves into a moist bread.

This recipe already makes 2 standard 9×5 loaves of zucchini bread, but if I have a lot of zucchini, I like to double the recipe so I have extra loaves to give away! The bread keeps for months in the freezer if well wrapped.

Ingredients

Zucchini – I’ve found that you can use any variety of zucchini/squash. Green, yellow, or even the patty-pan ones make a great zucchini bread!

Zucchini Bread

Print Recipe
Perfect for when you find yourself in a pile of zucchini!
Makes 2 regular 9×5 loaves or 4 mini 6×3.5 loaves
Course Breakfast, Dessert
Keyword bread, zucchini
Cook Time 1 hour

Equipment

  • loaf pans

Ingredients

  • 3 eggs
  • 1 cup vegetable oil
  • 1 cup white sugar
  • 1/2 cup brown sugar
  • 1 tbsp vanilla extract
  • 1 tsp salt
  • 1 tbsp cinnamon
  • 3 cups zucchini shredded, packed
  • 3 cups flour all purpose
  • 1 tsp baking soda
  • 1/2 tsp baking powder
  • 1 cup rolled oats

Instructions

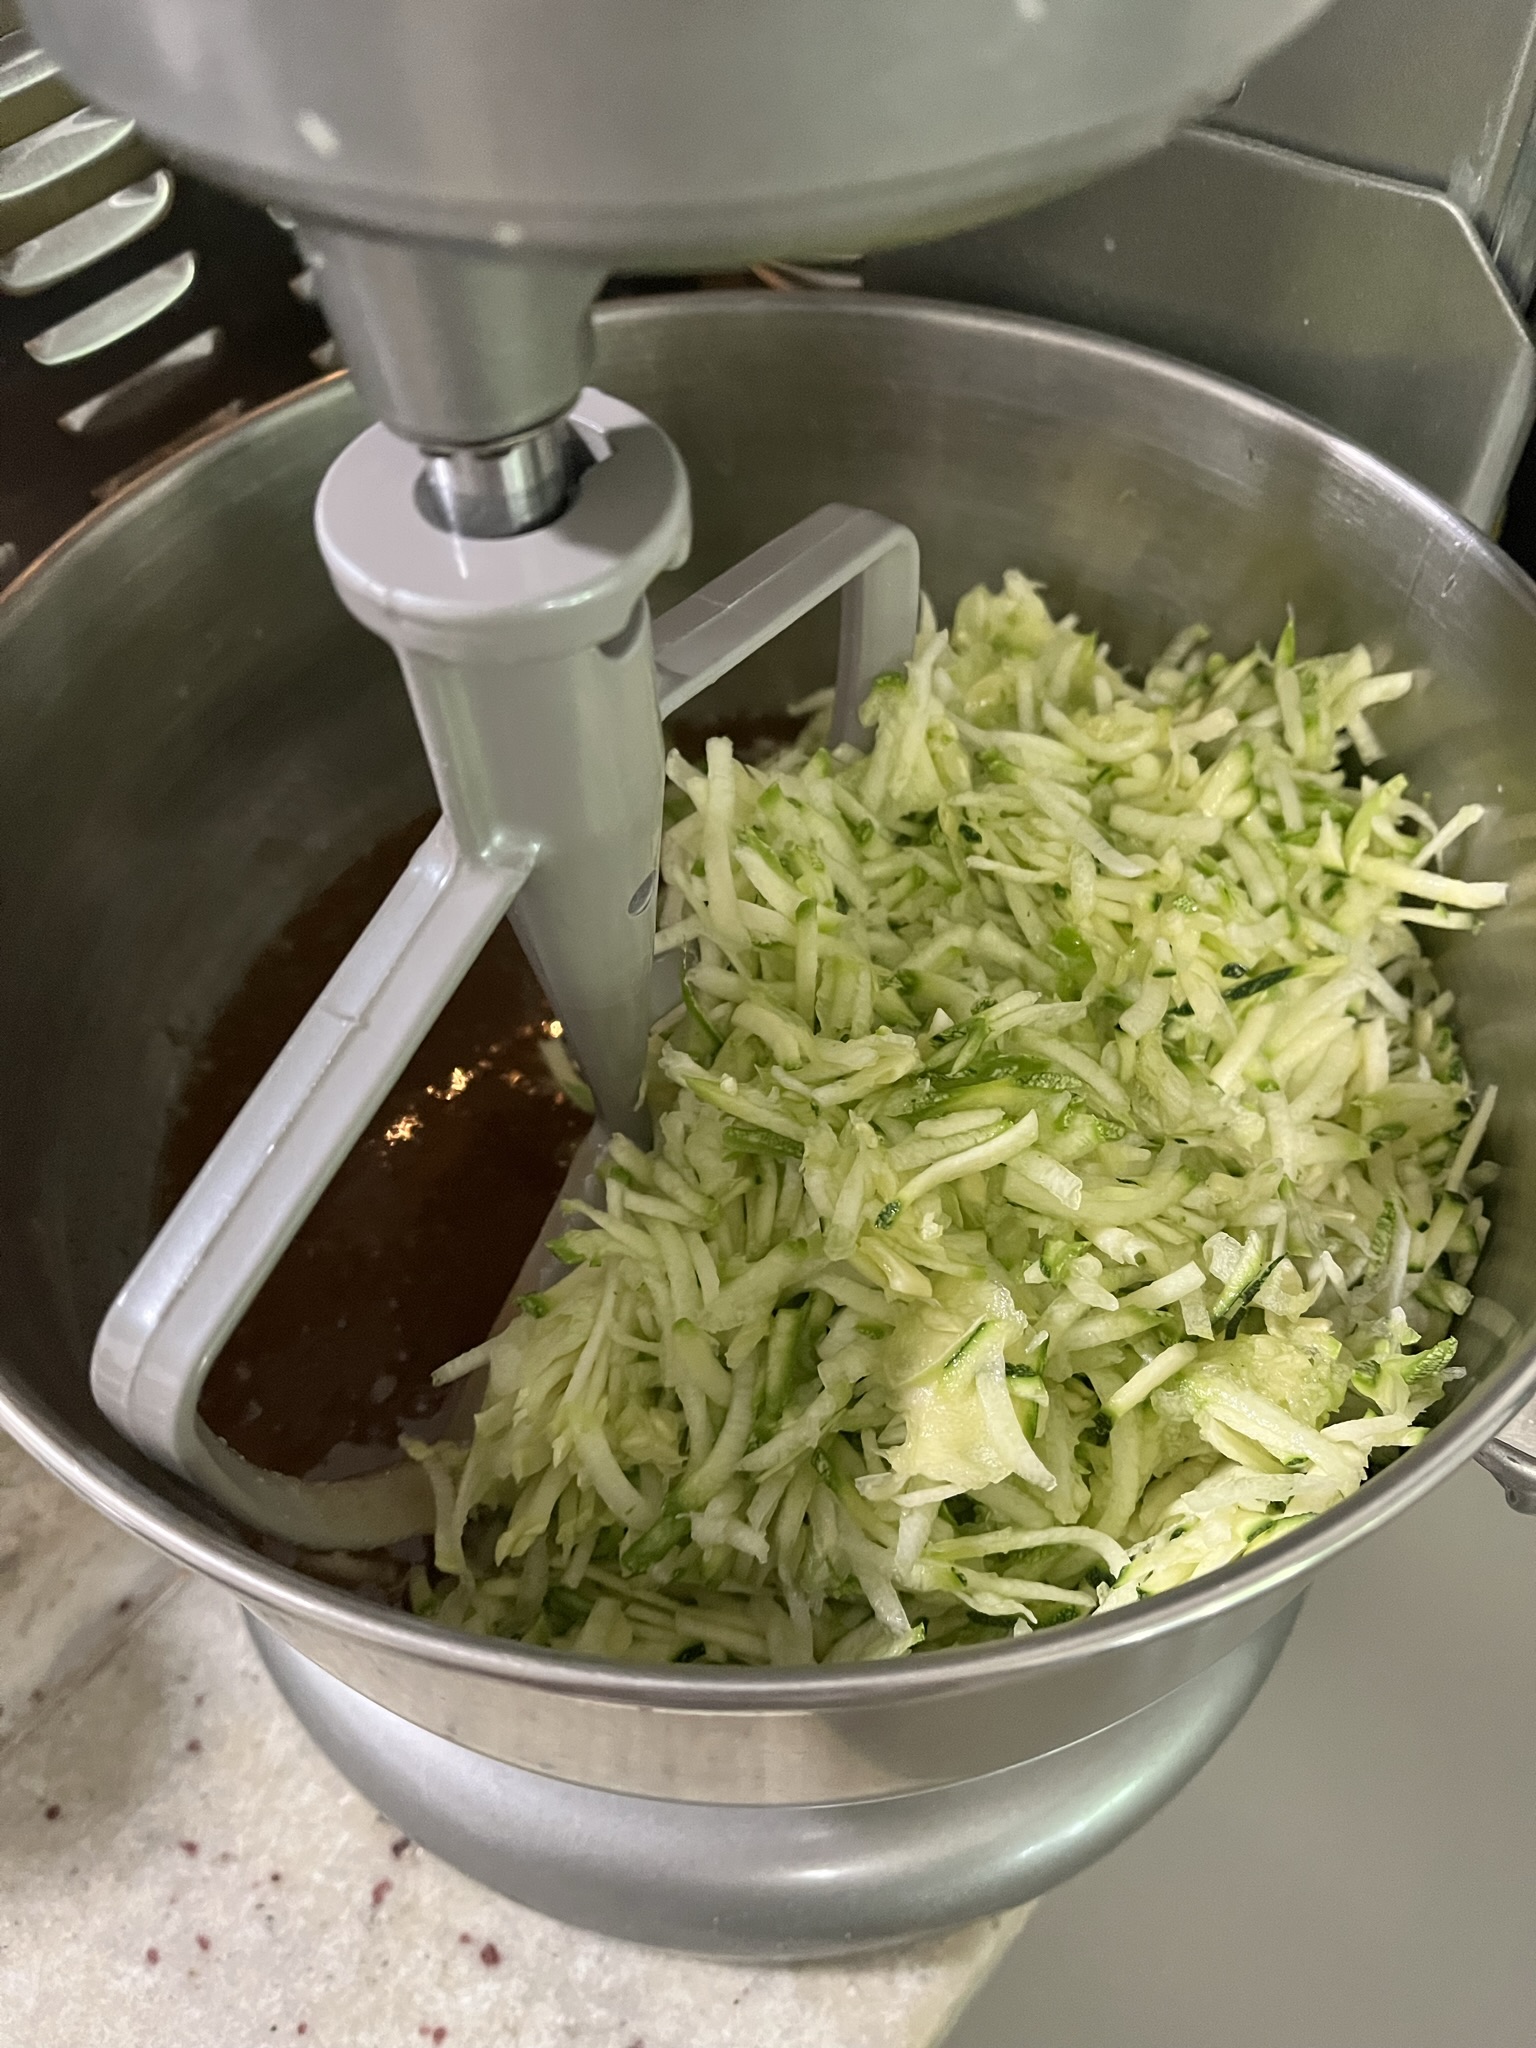
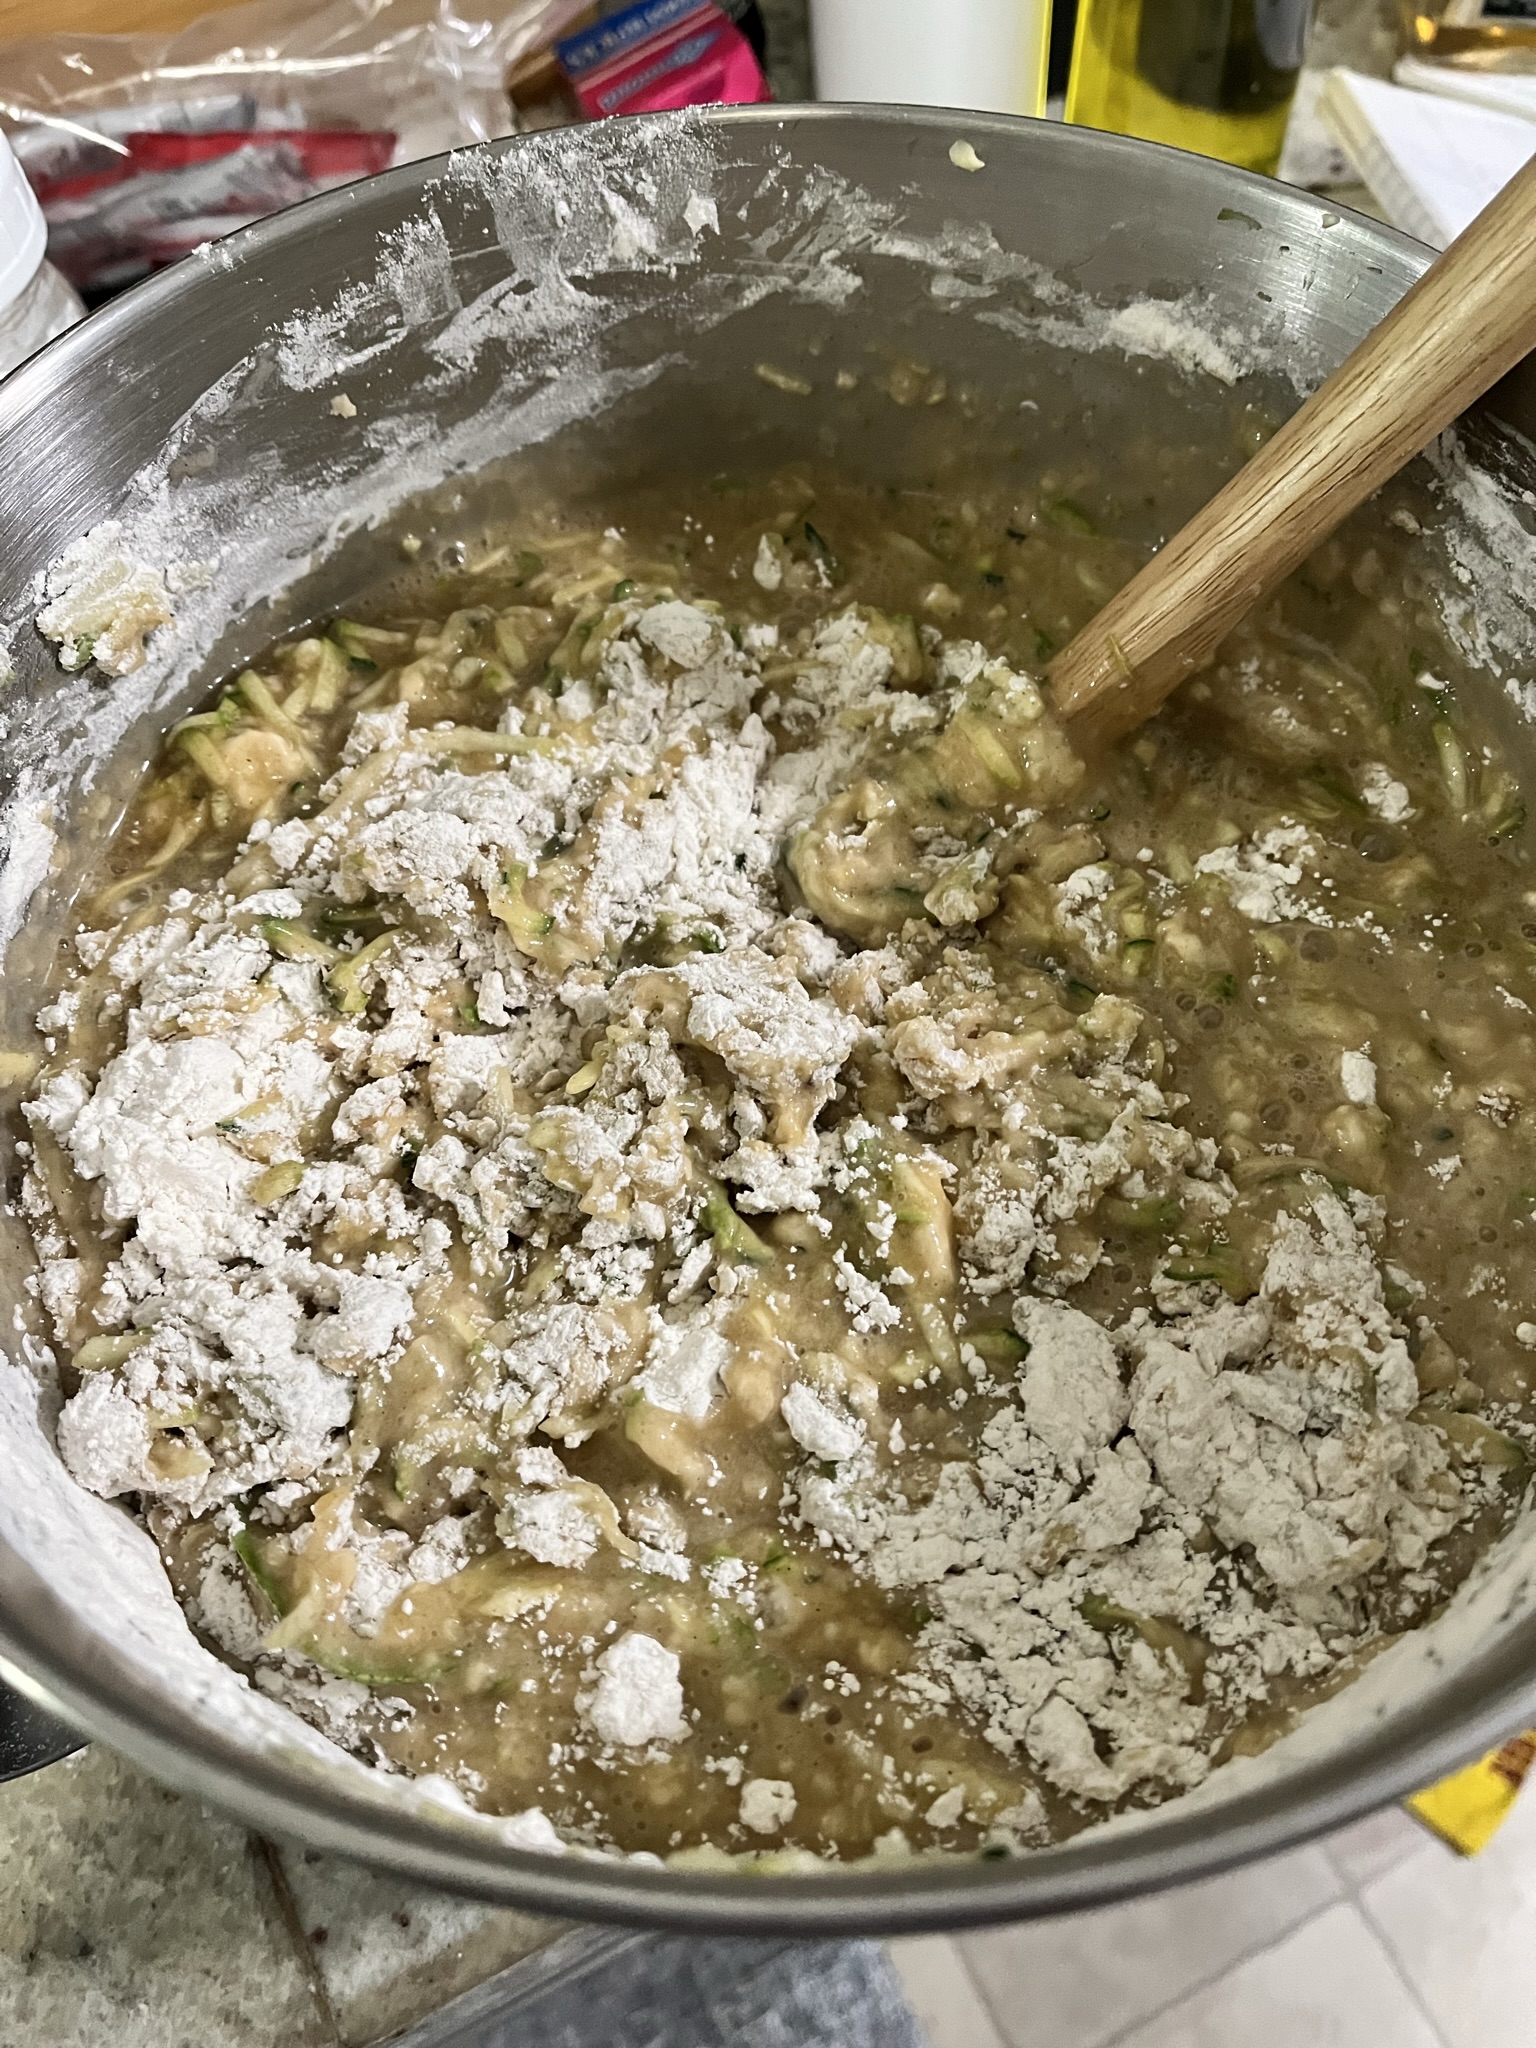
  • If zucchini is not yet shredded, do this first! If you have more than 3 cups packed, that's ok. I wouldn't use over 3.5 cups of shredded zucchini for this recipe.
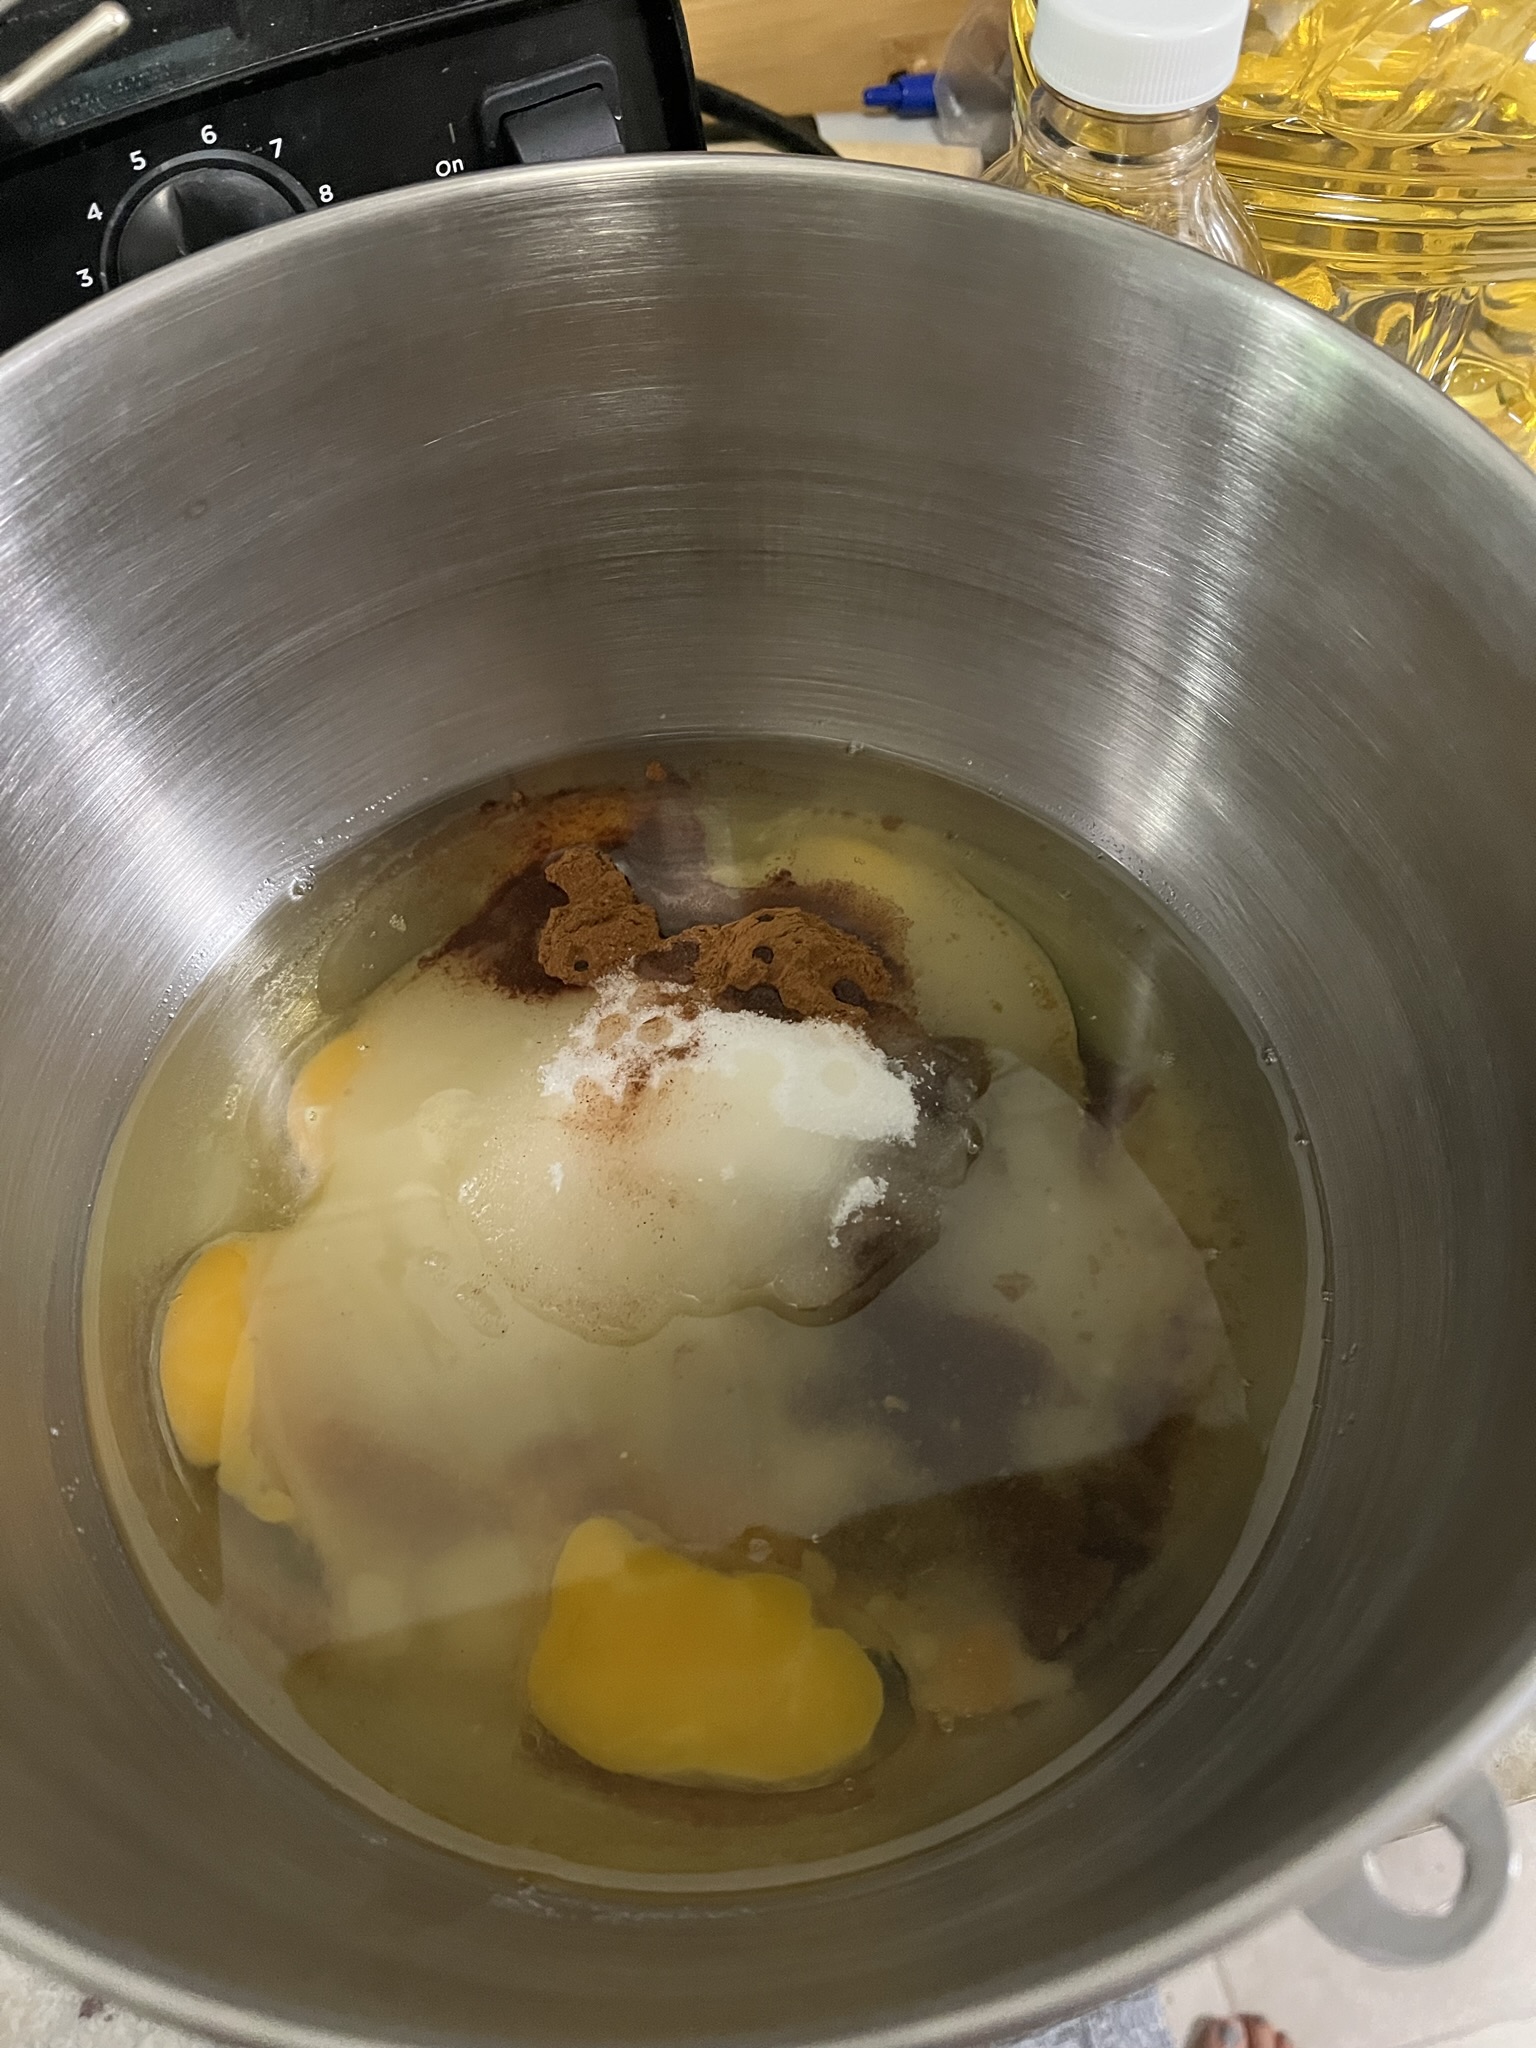
  • Mix together eggs, oil, sugars, vanilla, salt, and cinnamon until well combined.
  • Add zucchini and mix.
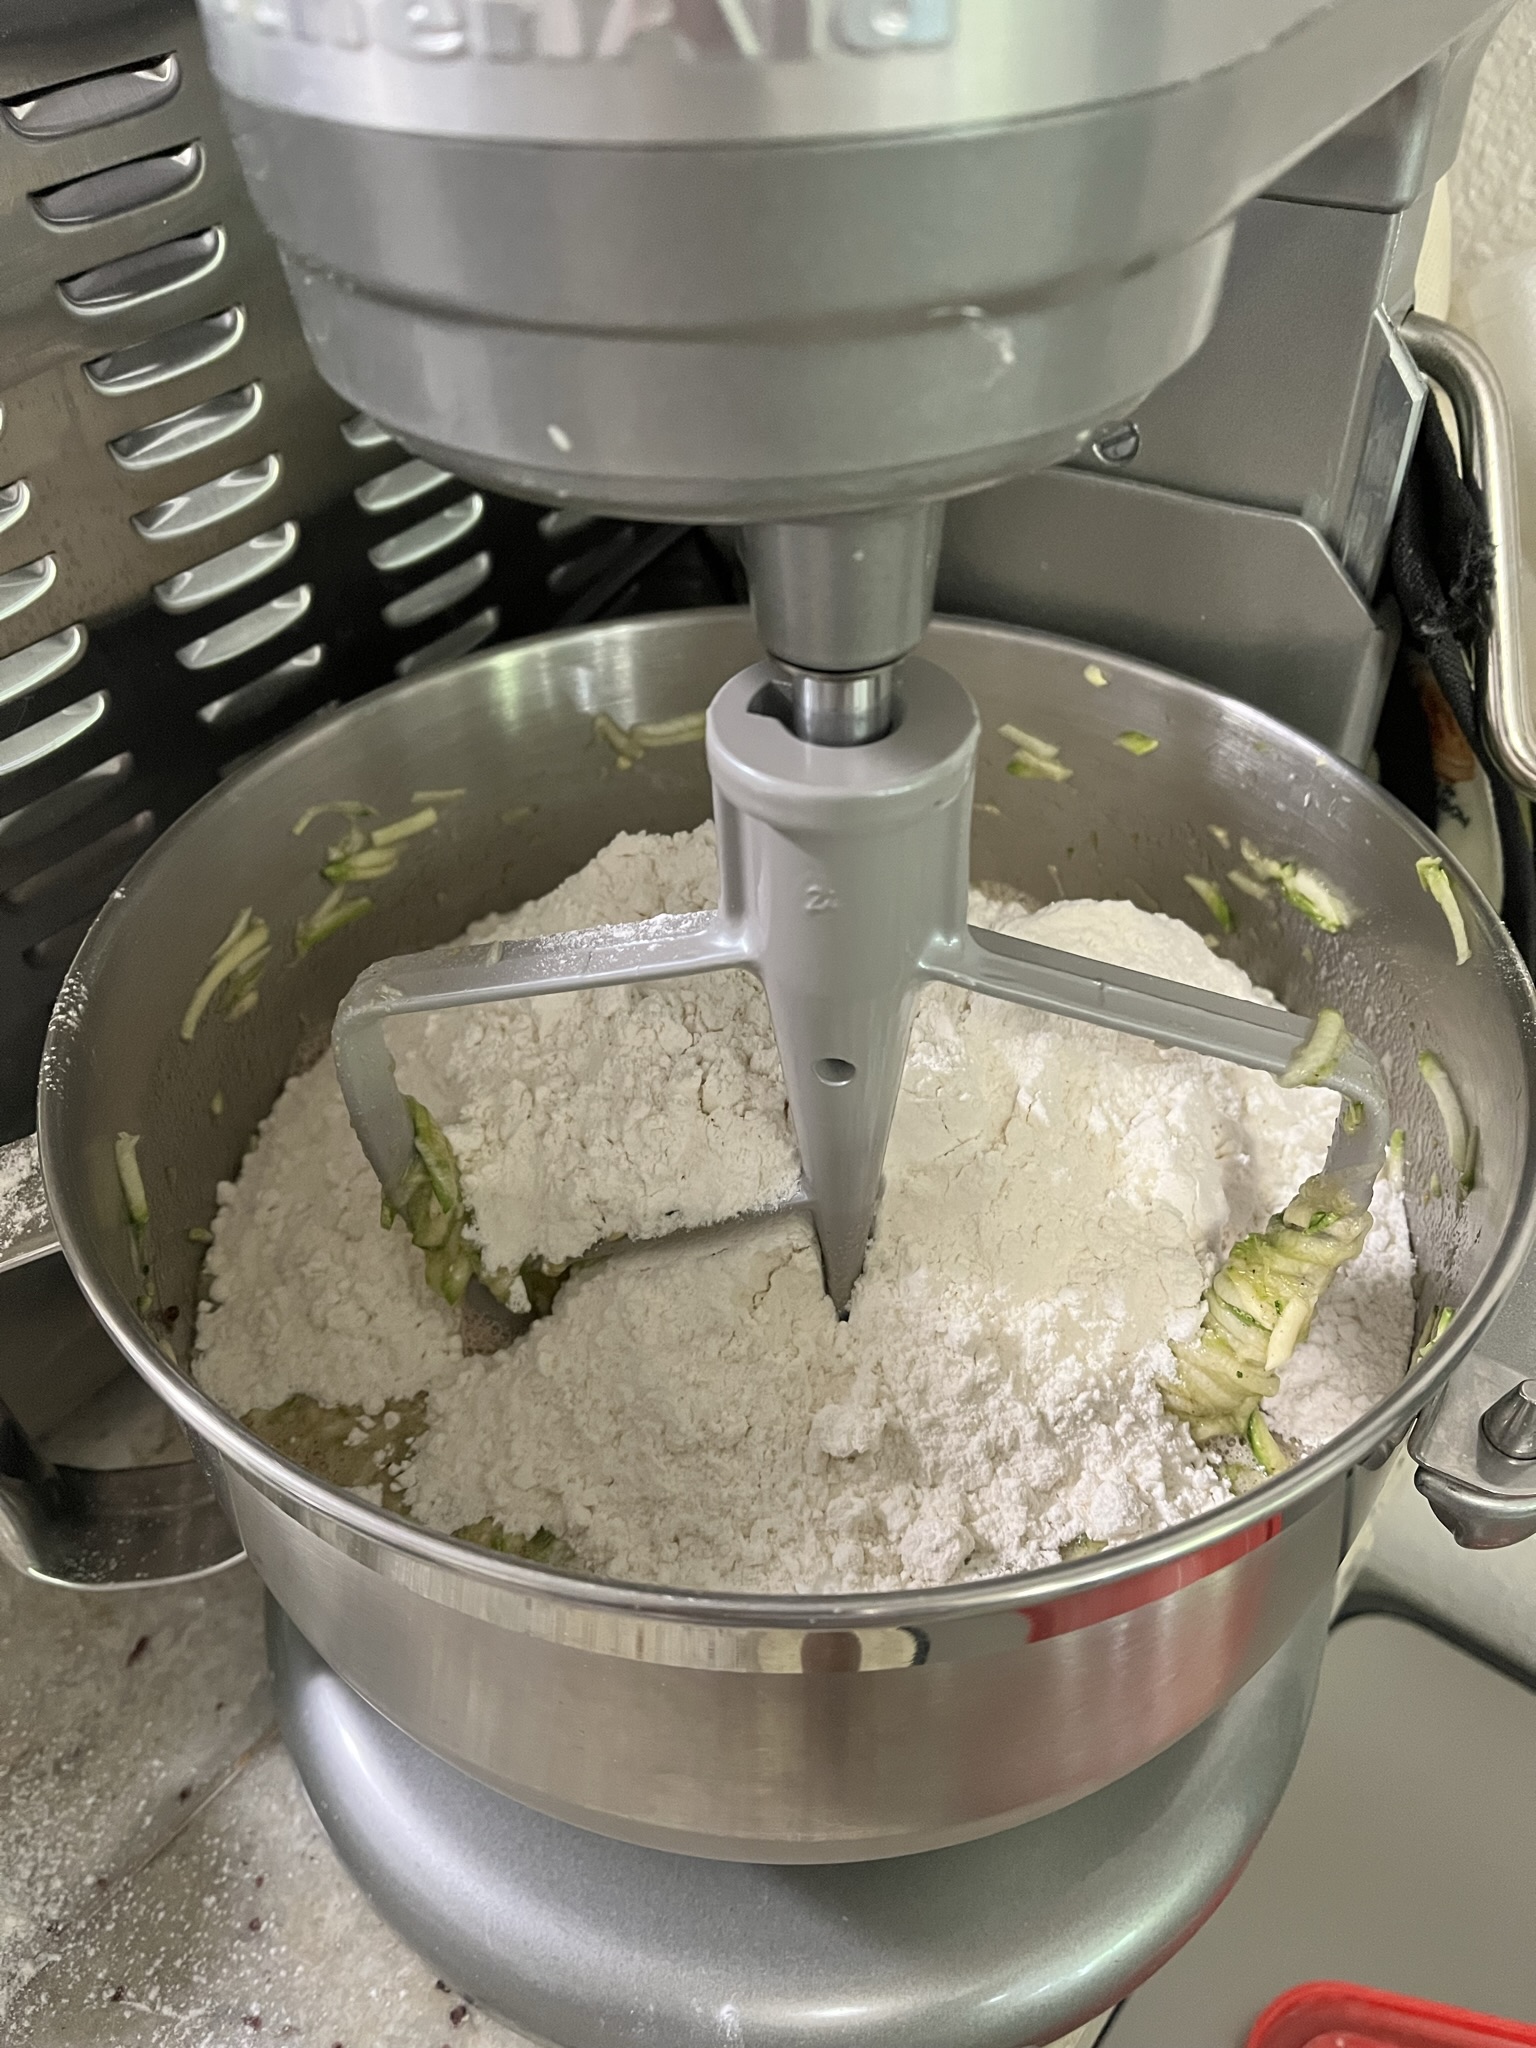
  • Add flour, baking soda, and baking powder. Mix until batter is just a little streaky.
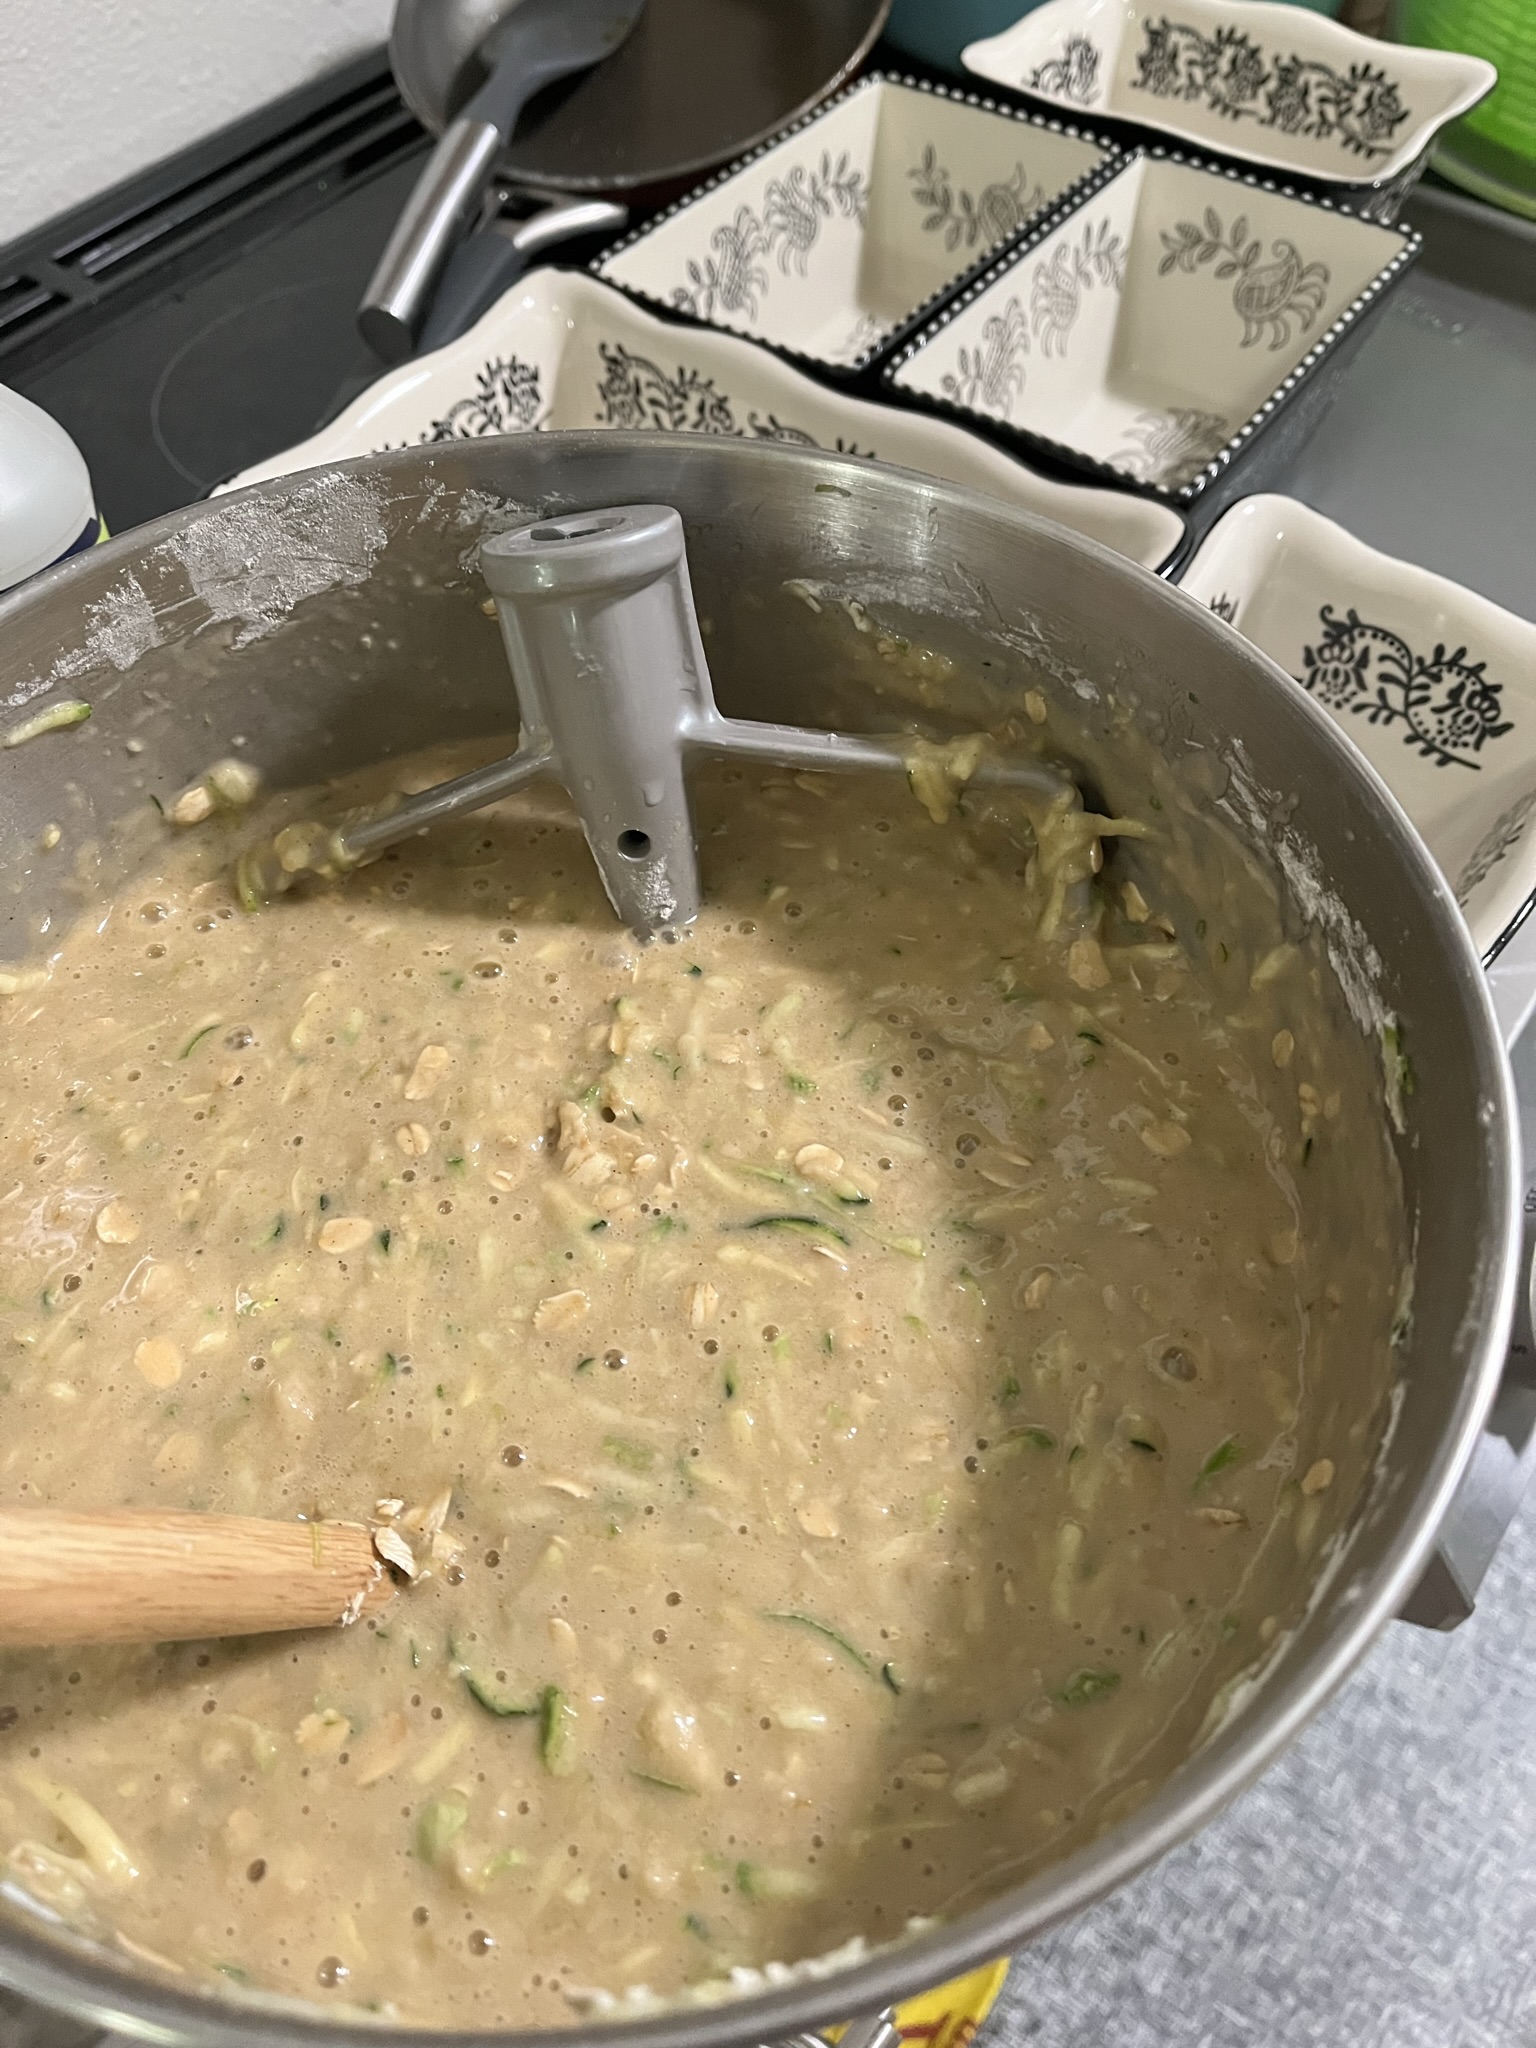
  • Add in the oats and continue mixing until just combined.
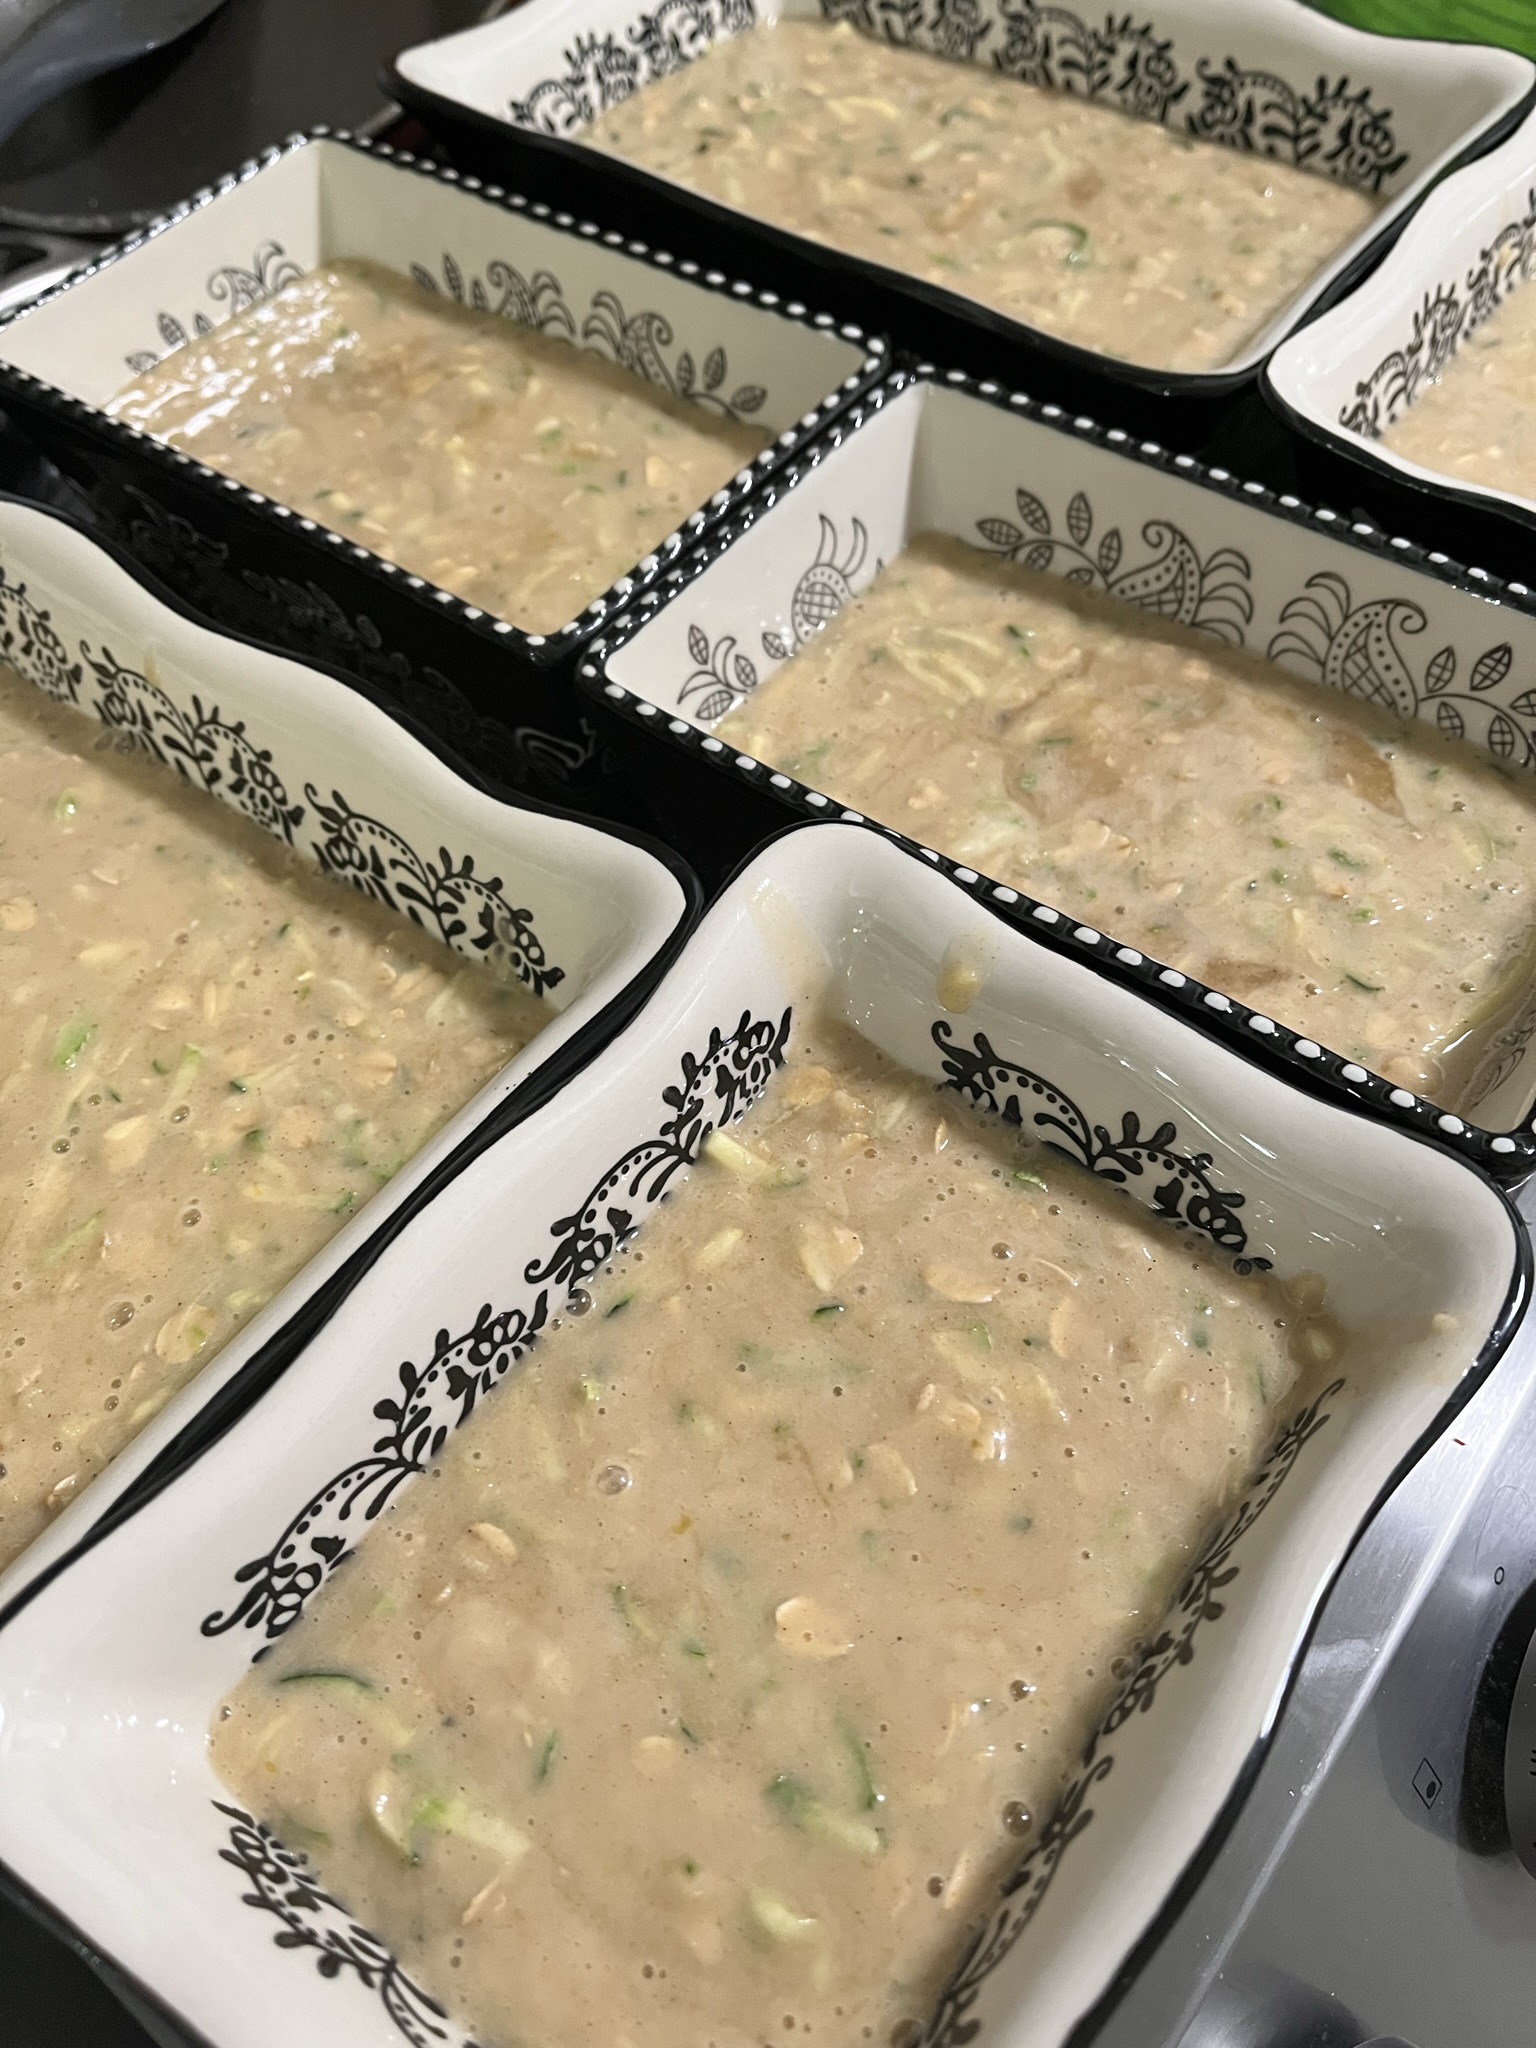
  • Divide into loaf pans and bake at 350F for about 60 minutes until a toothpick comes out clean. Tent with foil if the tops brown too quickly.

Try some other baked goods like Banana Bread or Pumpkin Pull Apart Bread.

If you have extra zucchini bread, you can use it to even make Bread Pudding.

Bread Pudding

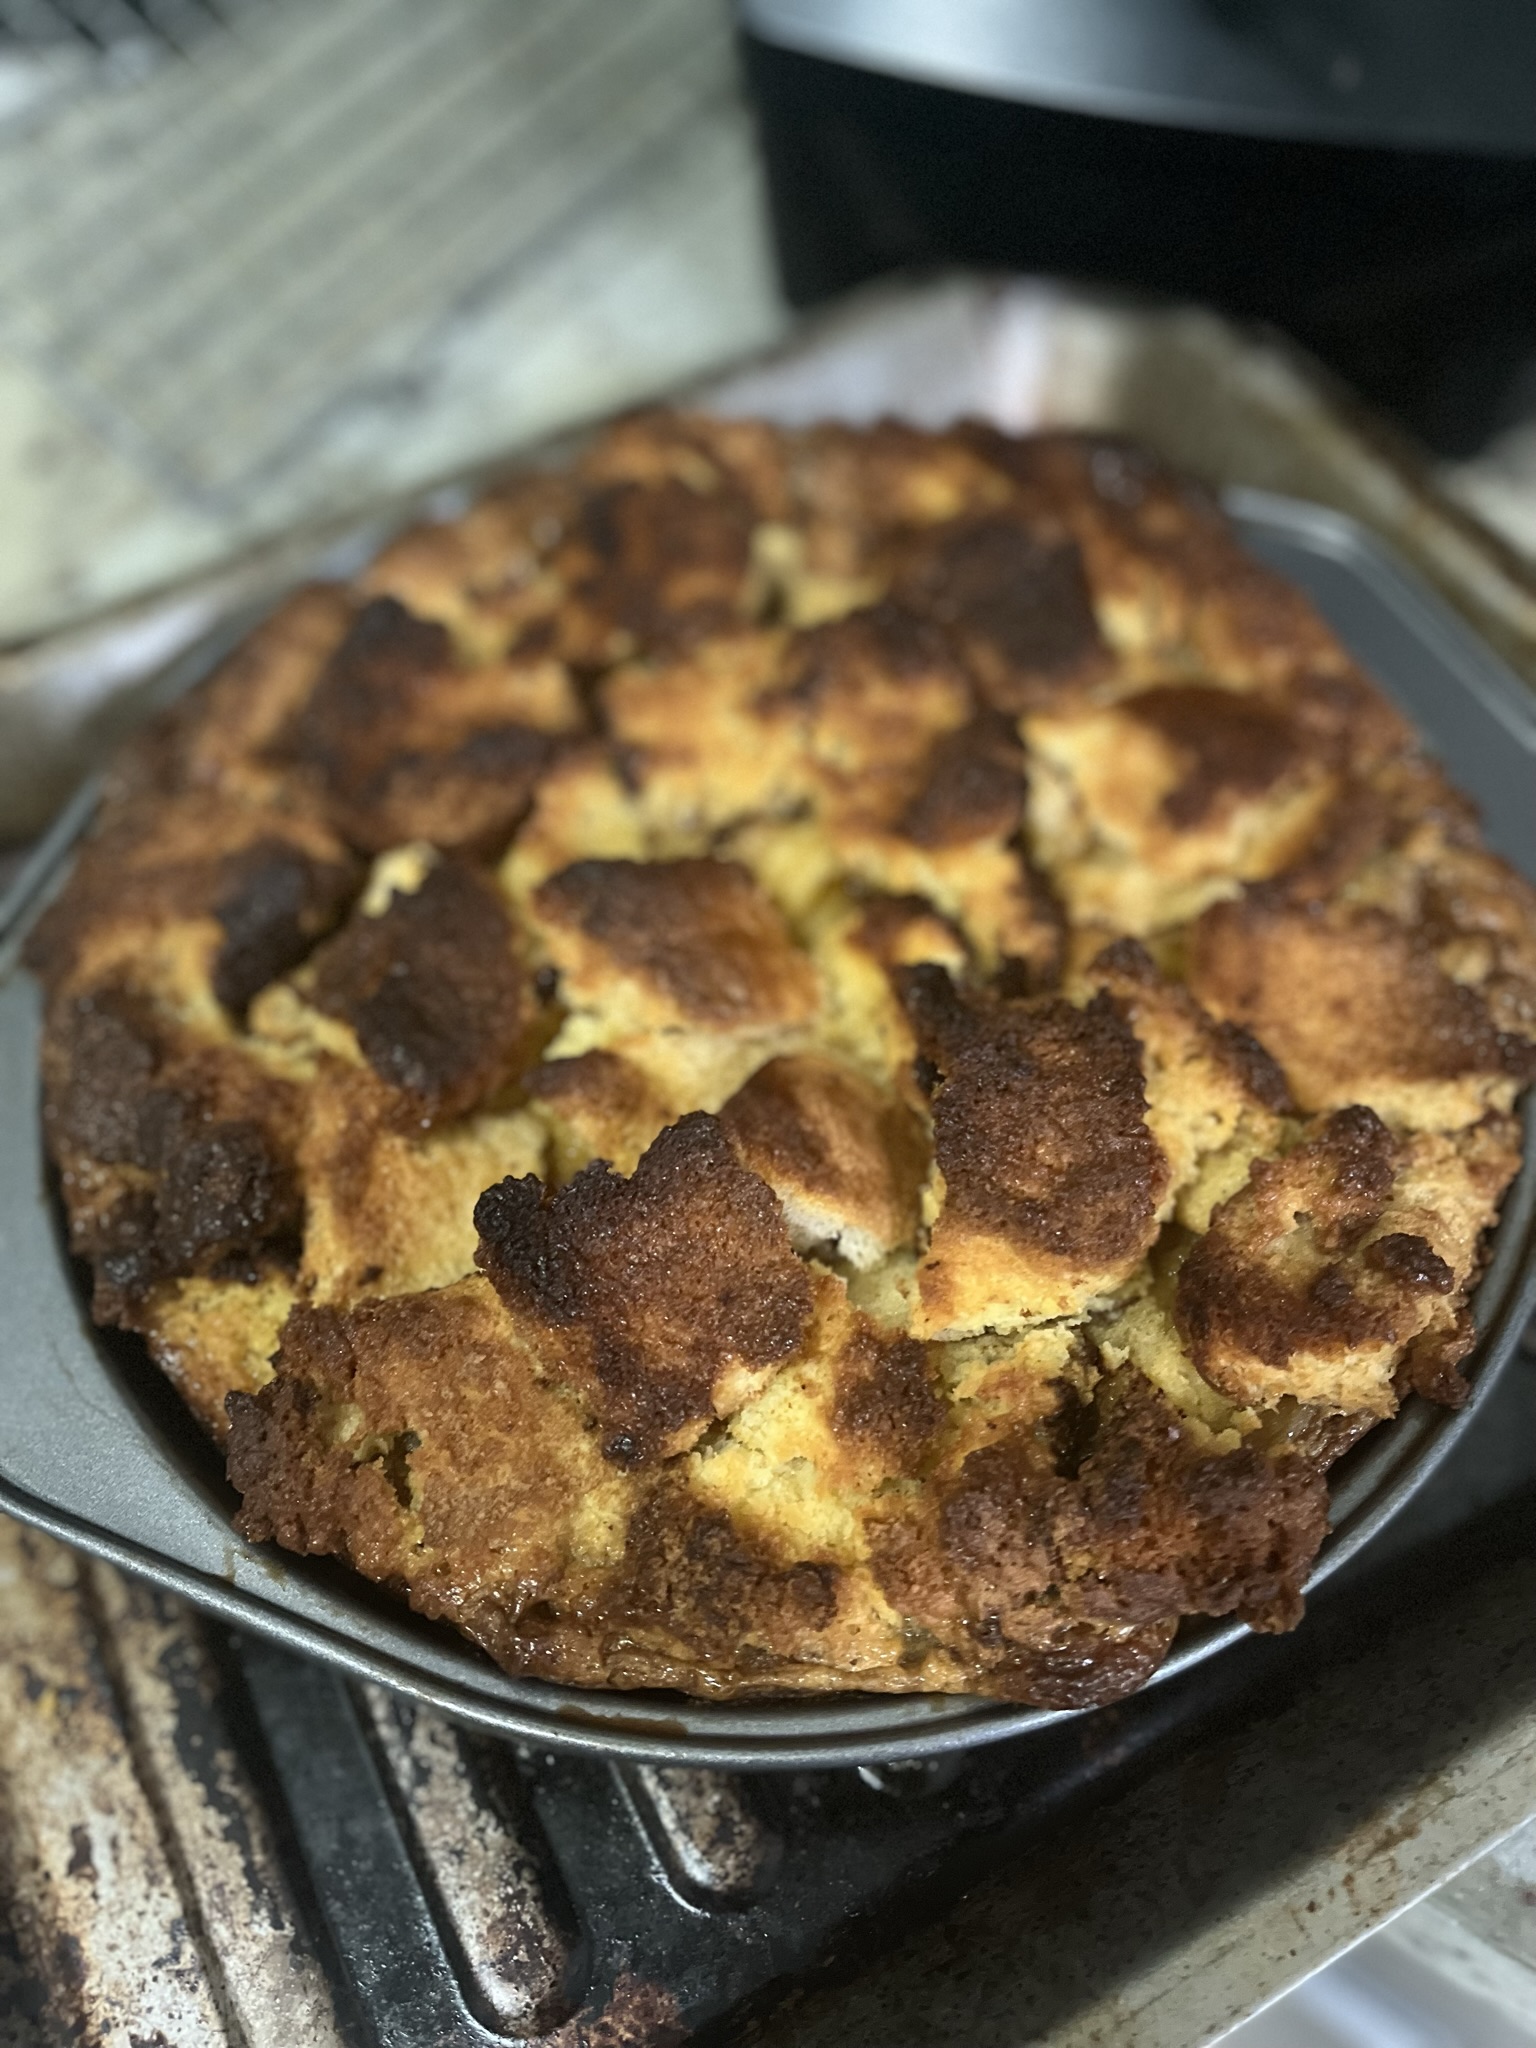
A crowd favorite, because… who doesn’t like bread?? Bread pudding is so customizable – the bread can be swapped for other tasty bread-like treats (cakes, cinnamon rolls, etc) and any kind of mix-in could be added too. It can be made in almost any pan (no springform pan/pans with removable bottoms – I made this mistake) so it can be in any shape.

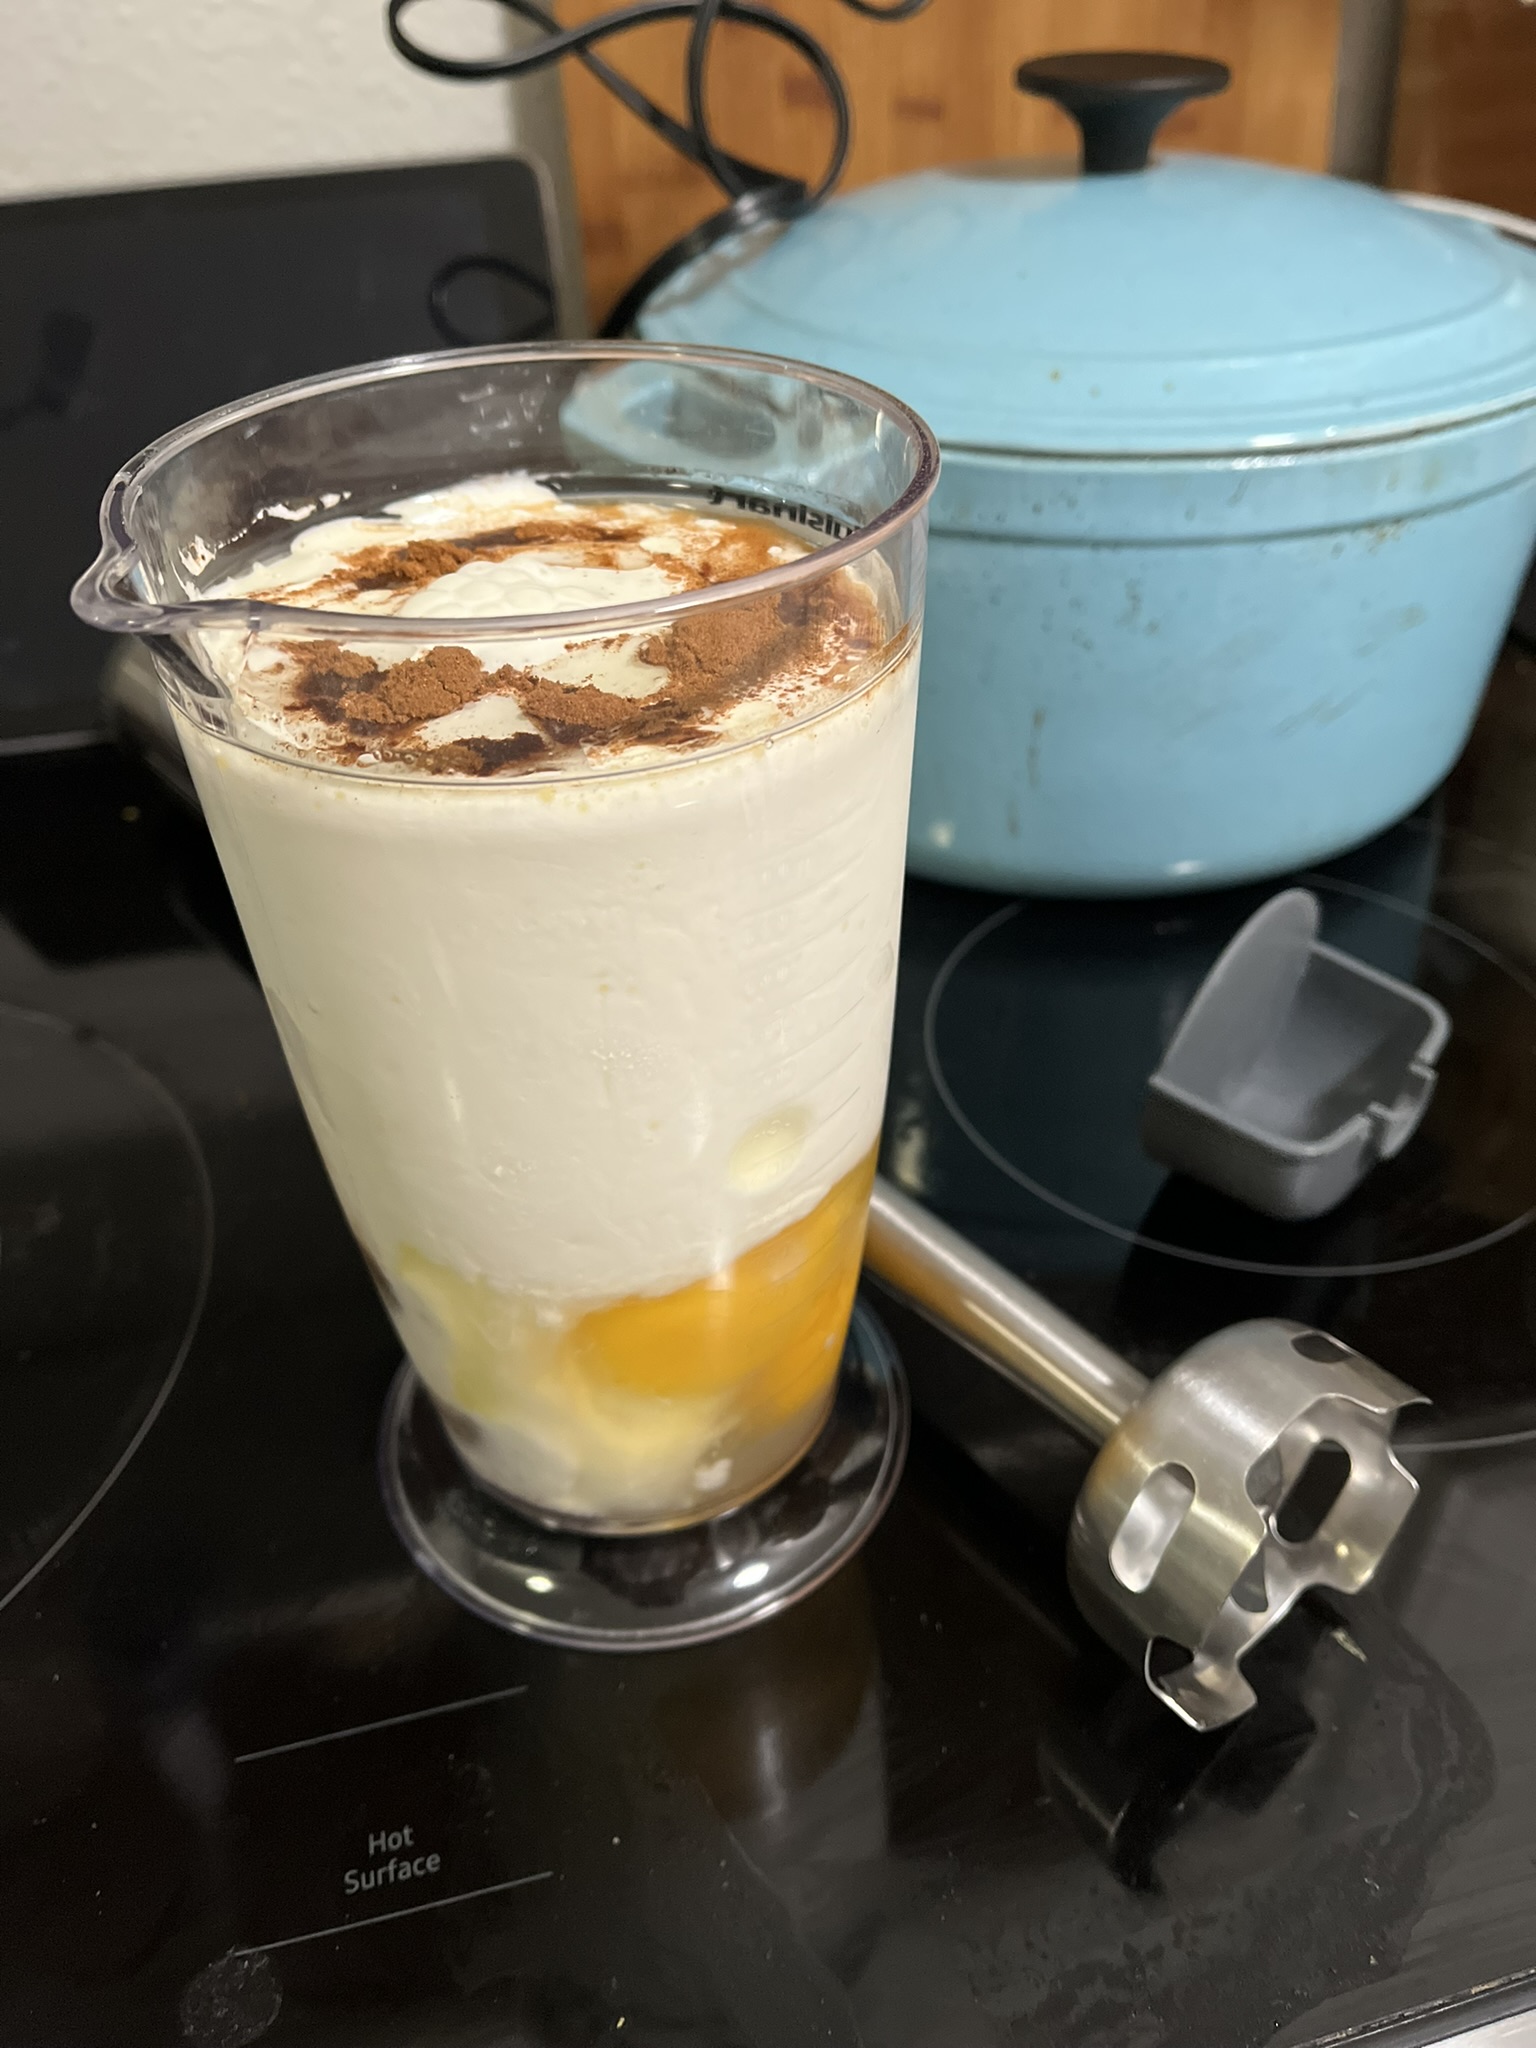
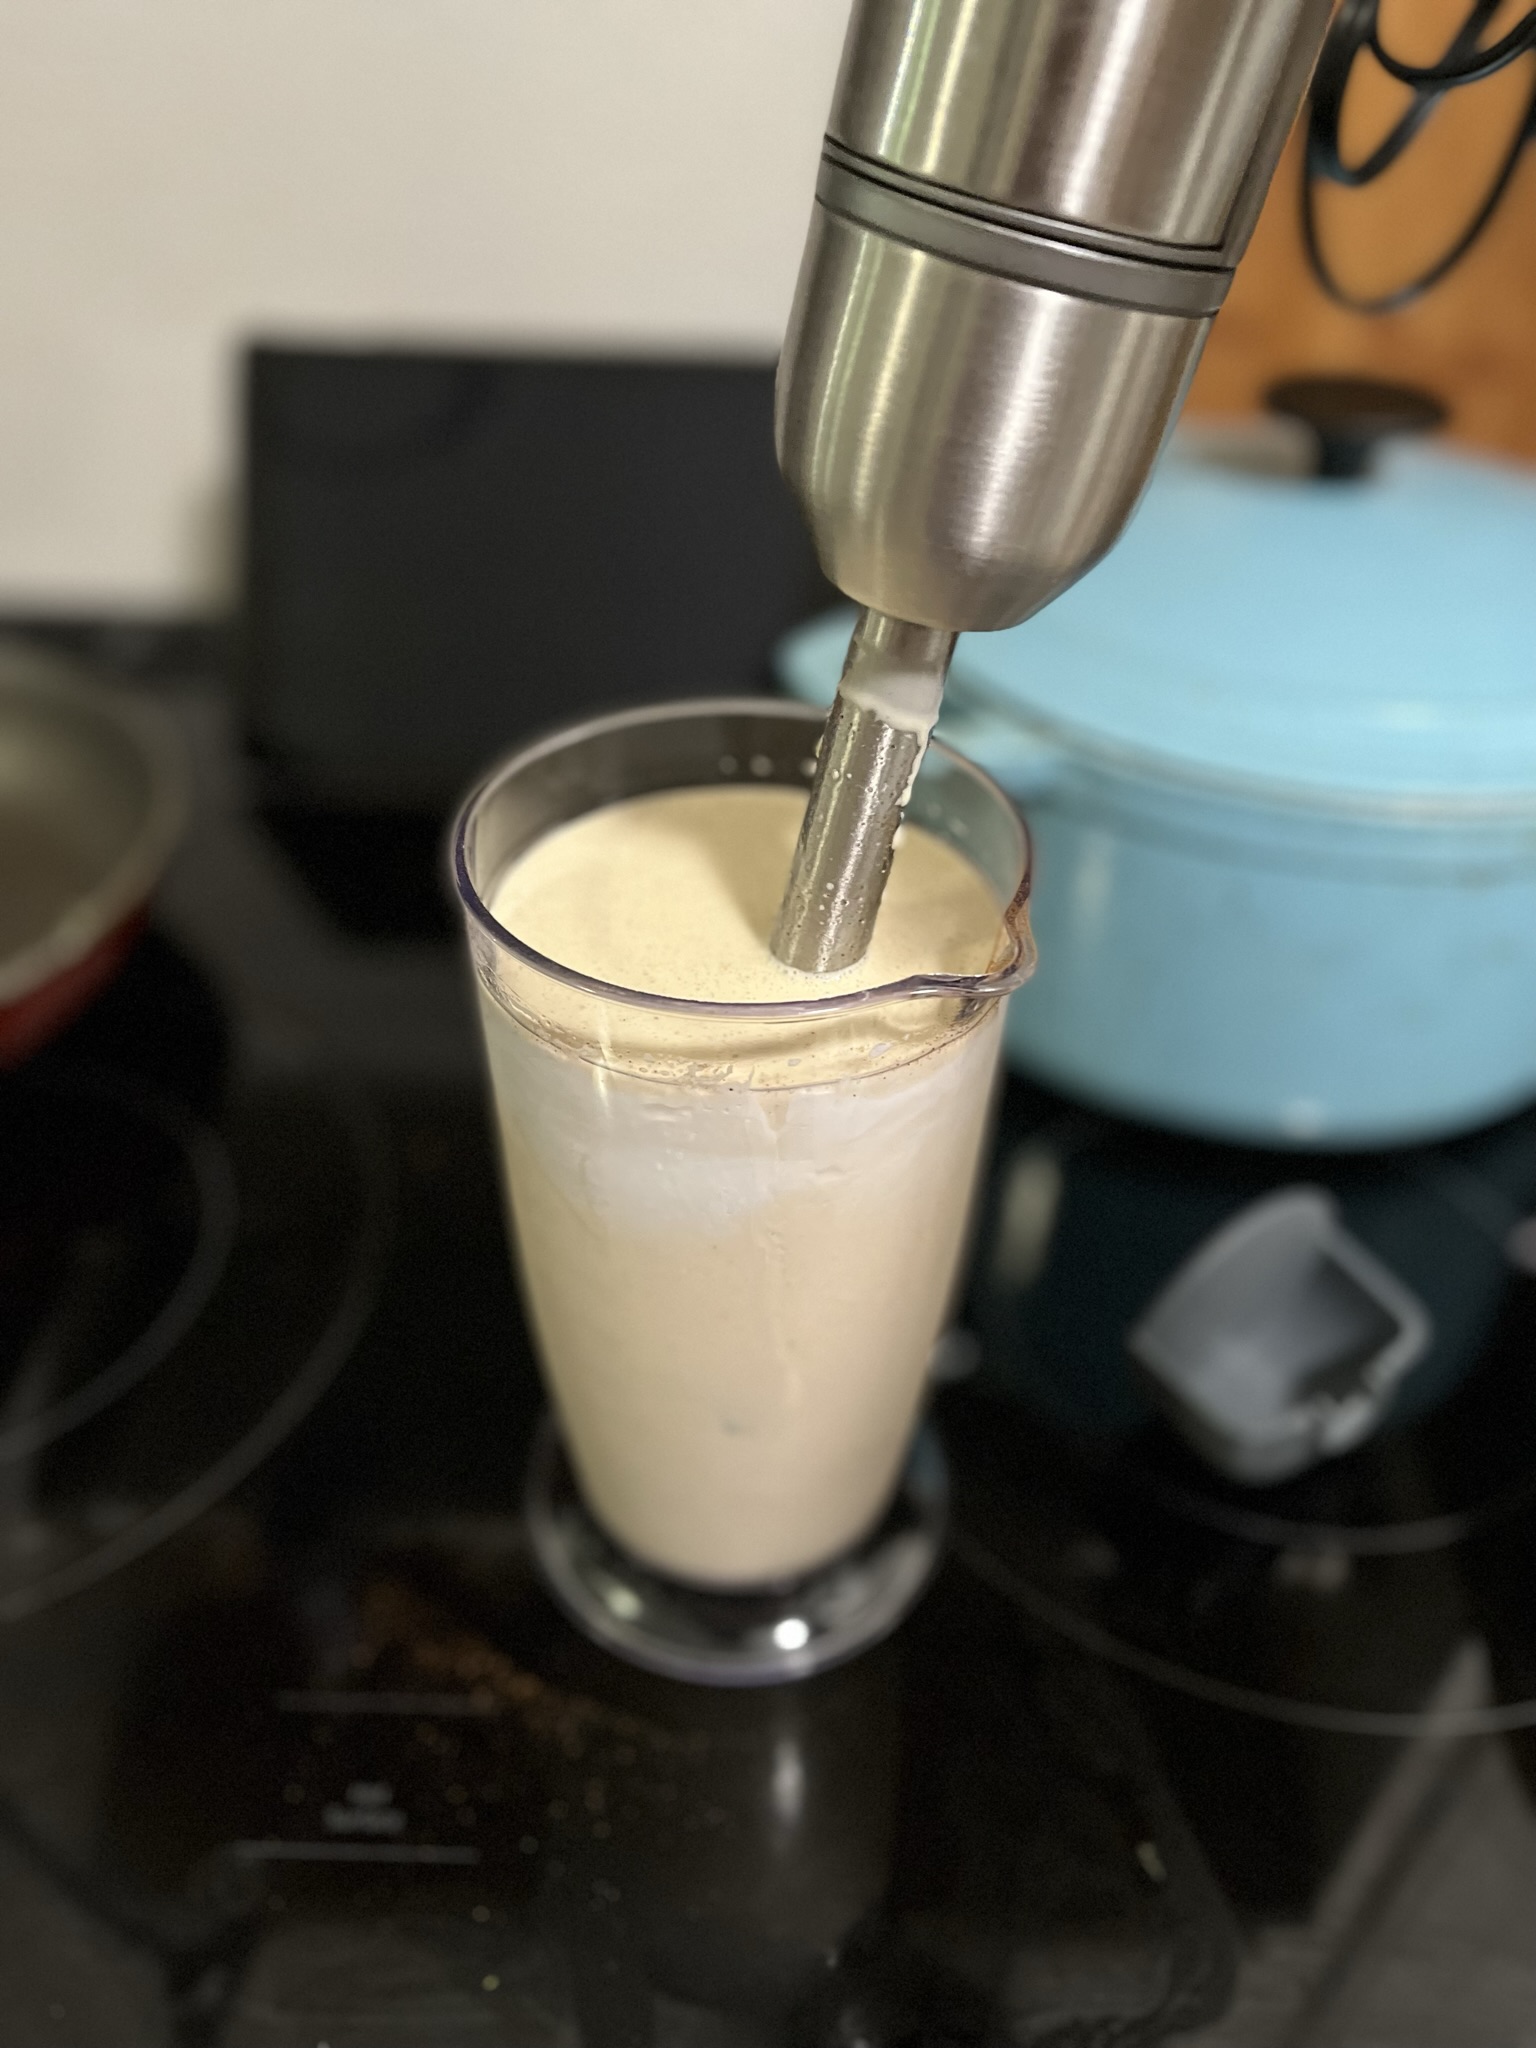
For a large crowd, bread pudding can be made in a large casserole dish or for a celebration I like to make a bread pudding in a pie dish or cake pan for that “birthday cake” vibe. It helps to have an immersion blender to make the custard, but it isn’t required. This bread pudding recipe is an excellent base for a custard-y bread pudding that isn’t overwhelmingly sweet. I usually like to pair it with a fun, sometimes boozy, whipped cream to further play with the textures.

Bread Pudding

Print Recipe
Customize this bread pudding with other flavors, mix-ins, or fancy sauces!
Course Dessert
Keyword bread, bread pudding

Equipment

  • immersion blender optional

Ingredients

  • 8 cups "bread"
  • 2 cups heavy cream
  • 1/2 cup brown sugar
  • 1 tsp vanilla
  • 1 tsp cinnamon
  • pinch of salt

Instructions

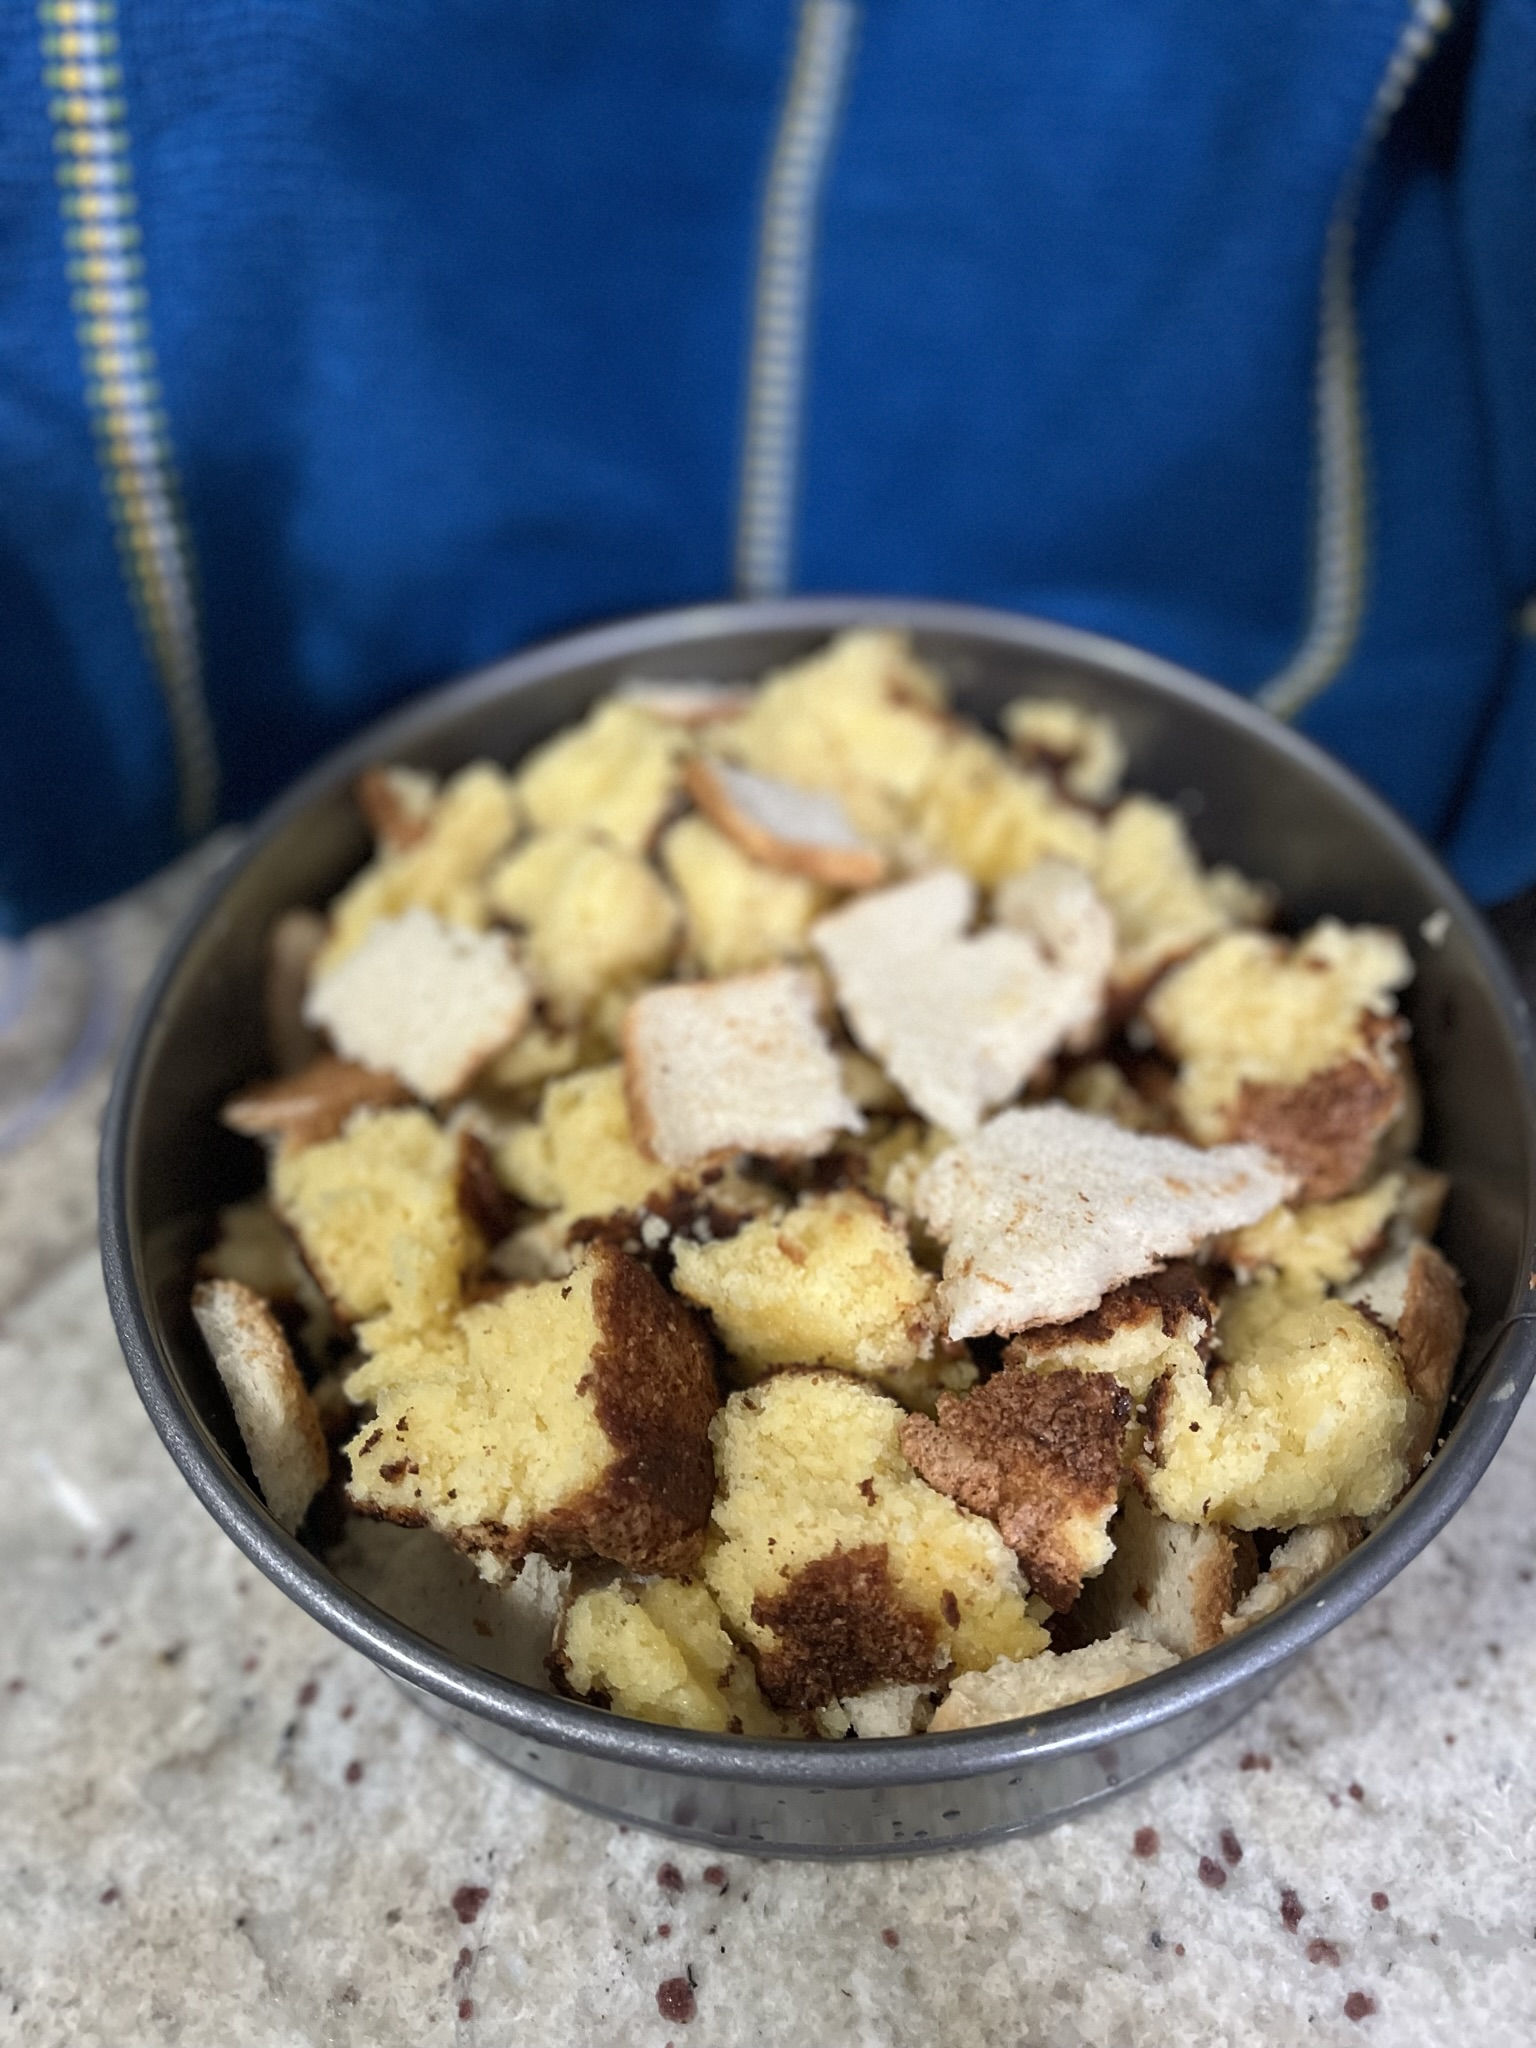
  • Cut or rip your "breads" into smaller bite size pieces. I like to use a mix of sandwich bread, sourdough, and even leftover cake.
  • In a separate container, blend or mix together the eggs, heavy cream, salt, sugar, vanilla, and cinnamon.
  • Add bread to your baking dish and cover with the liquid custard mixture.
  • Bake at 350F for 45 minutes or until center is set and no longer jiggly. If the top is getting too brown, tent with foil.
  • Serve straight from the oven or at room temperature!

More desserts? Have some Peach Galette or Chocolate Chip Walnut Cookies.

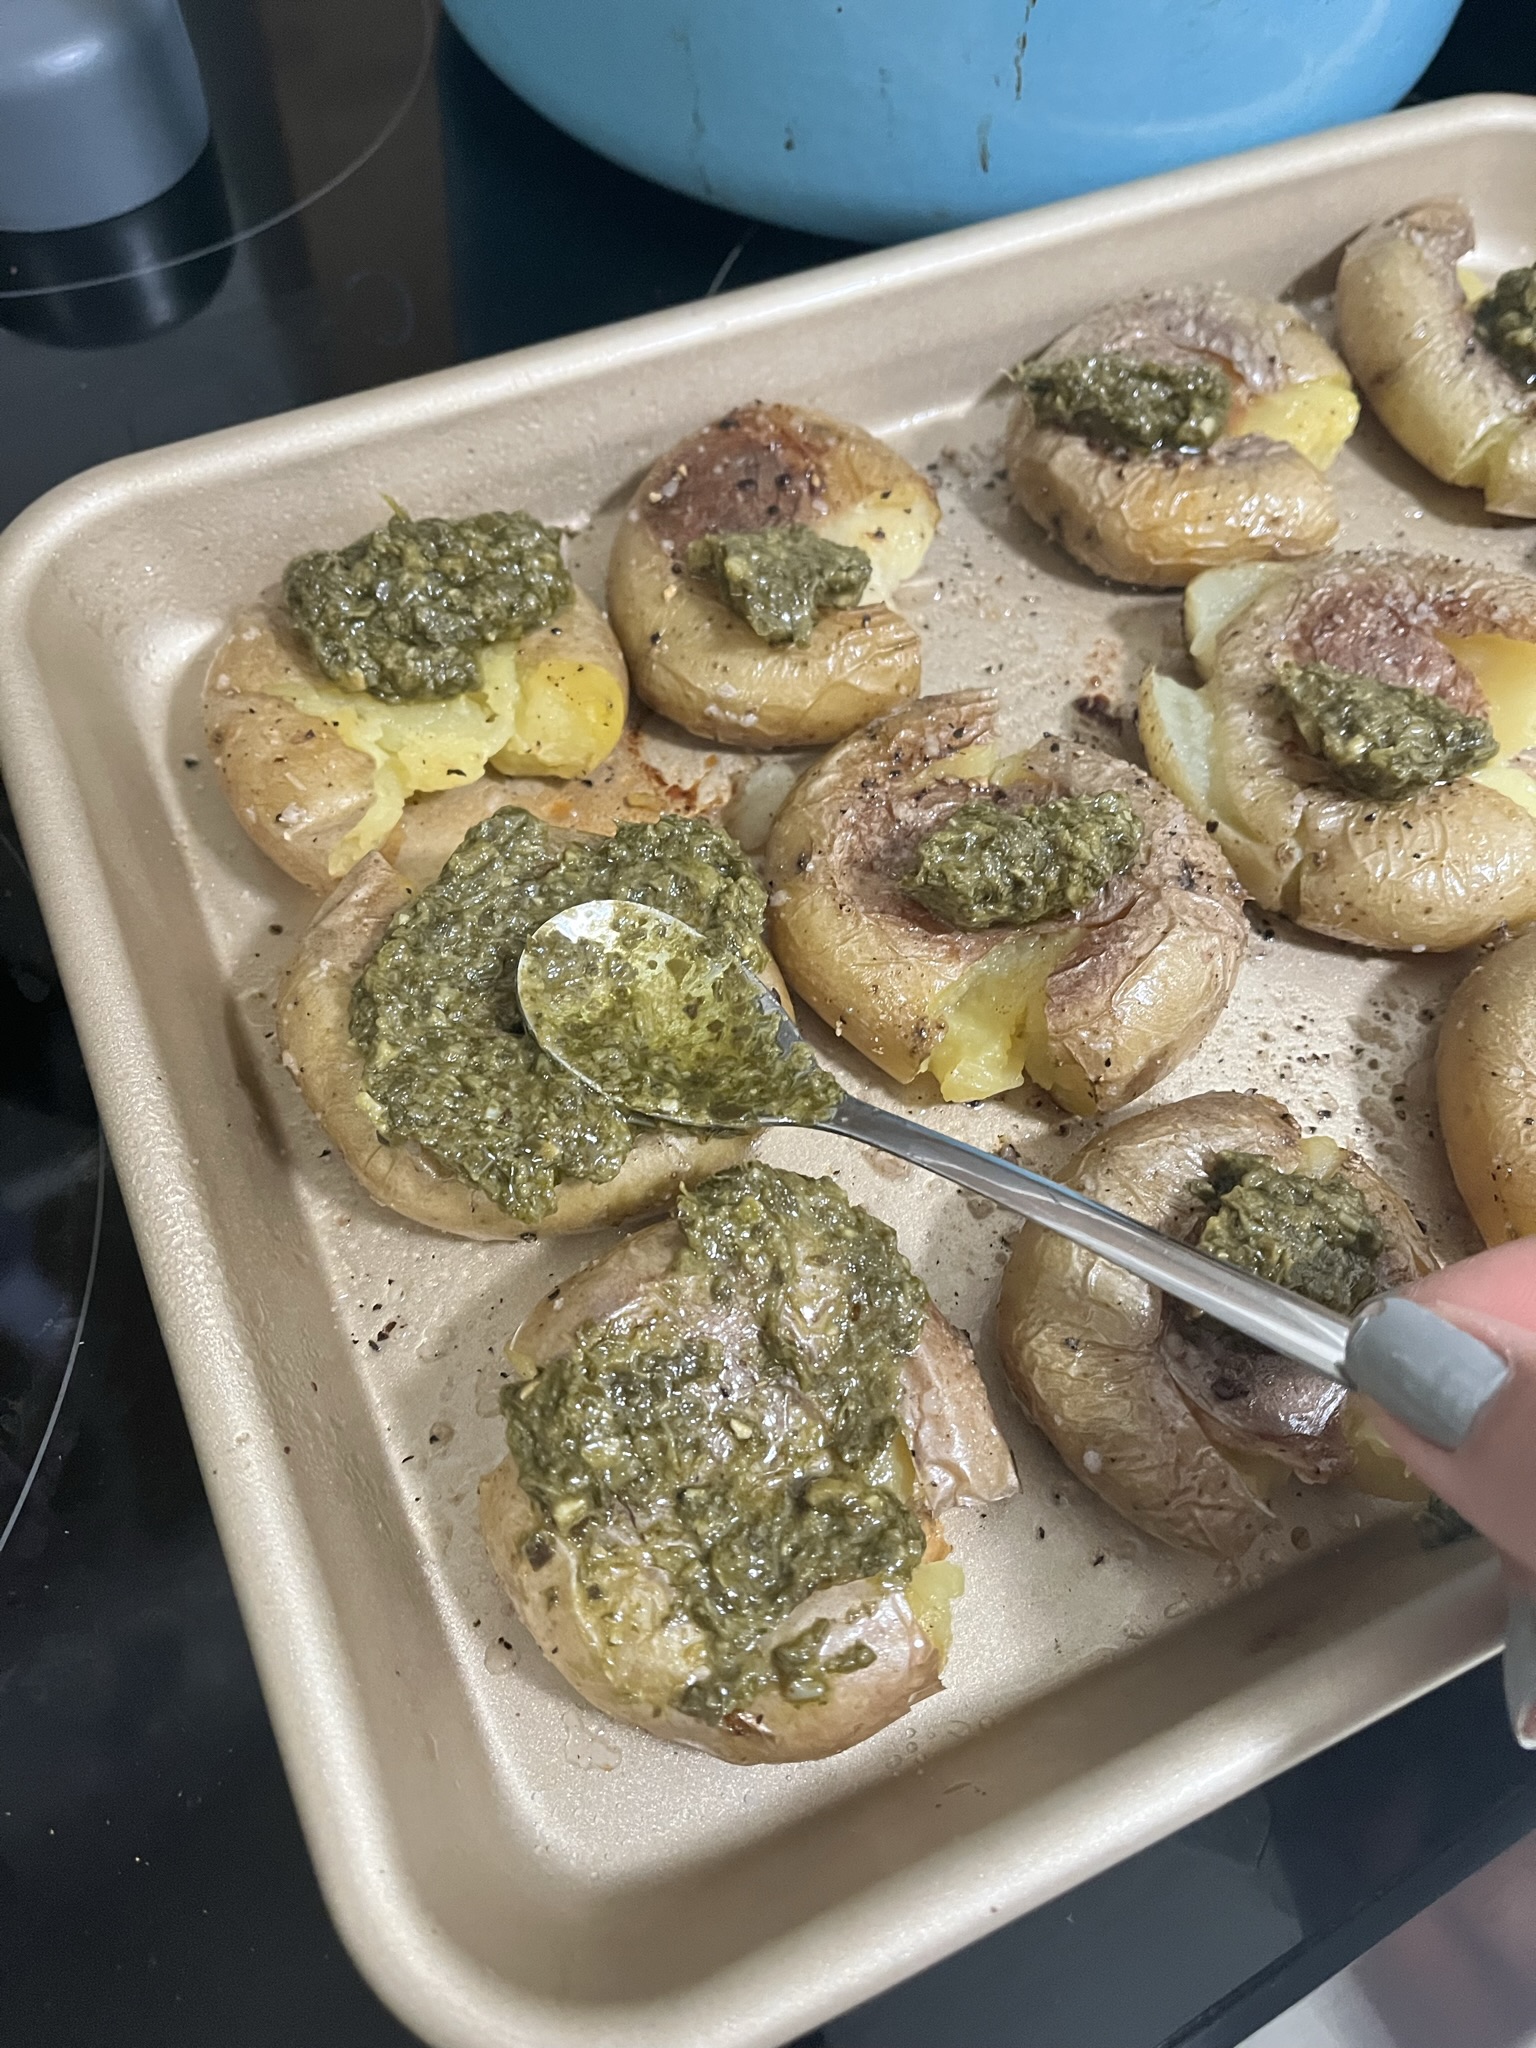
Pesto Roasted Potatoes

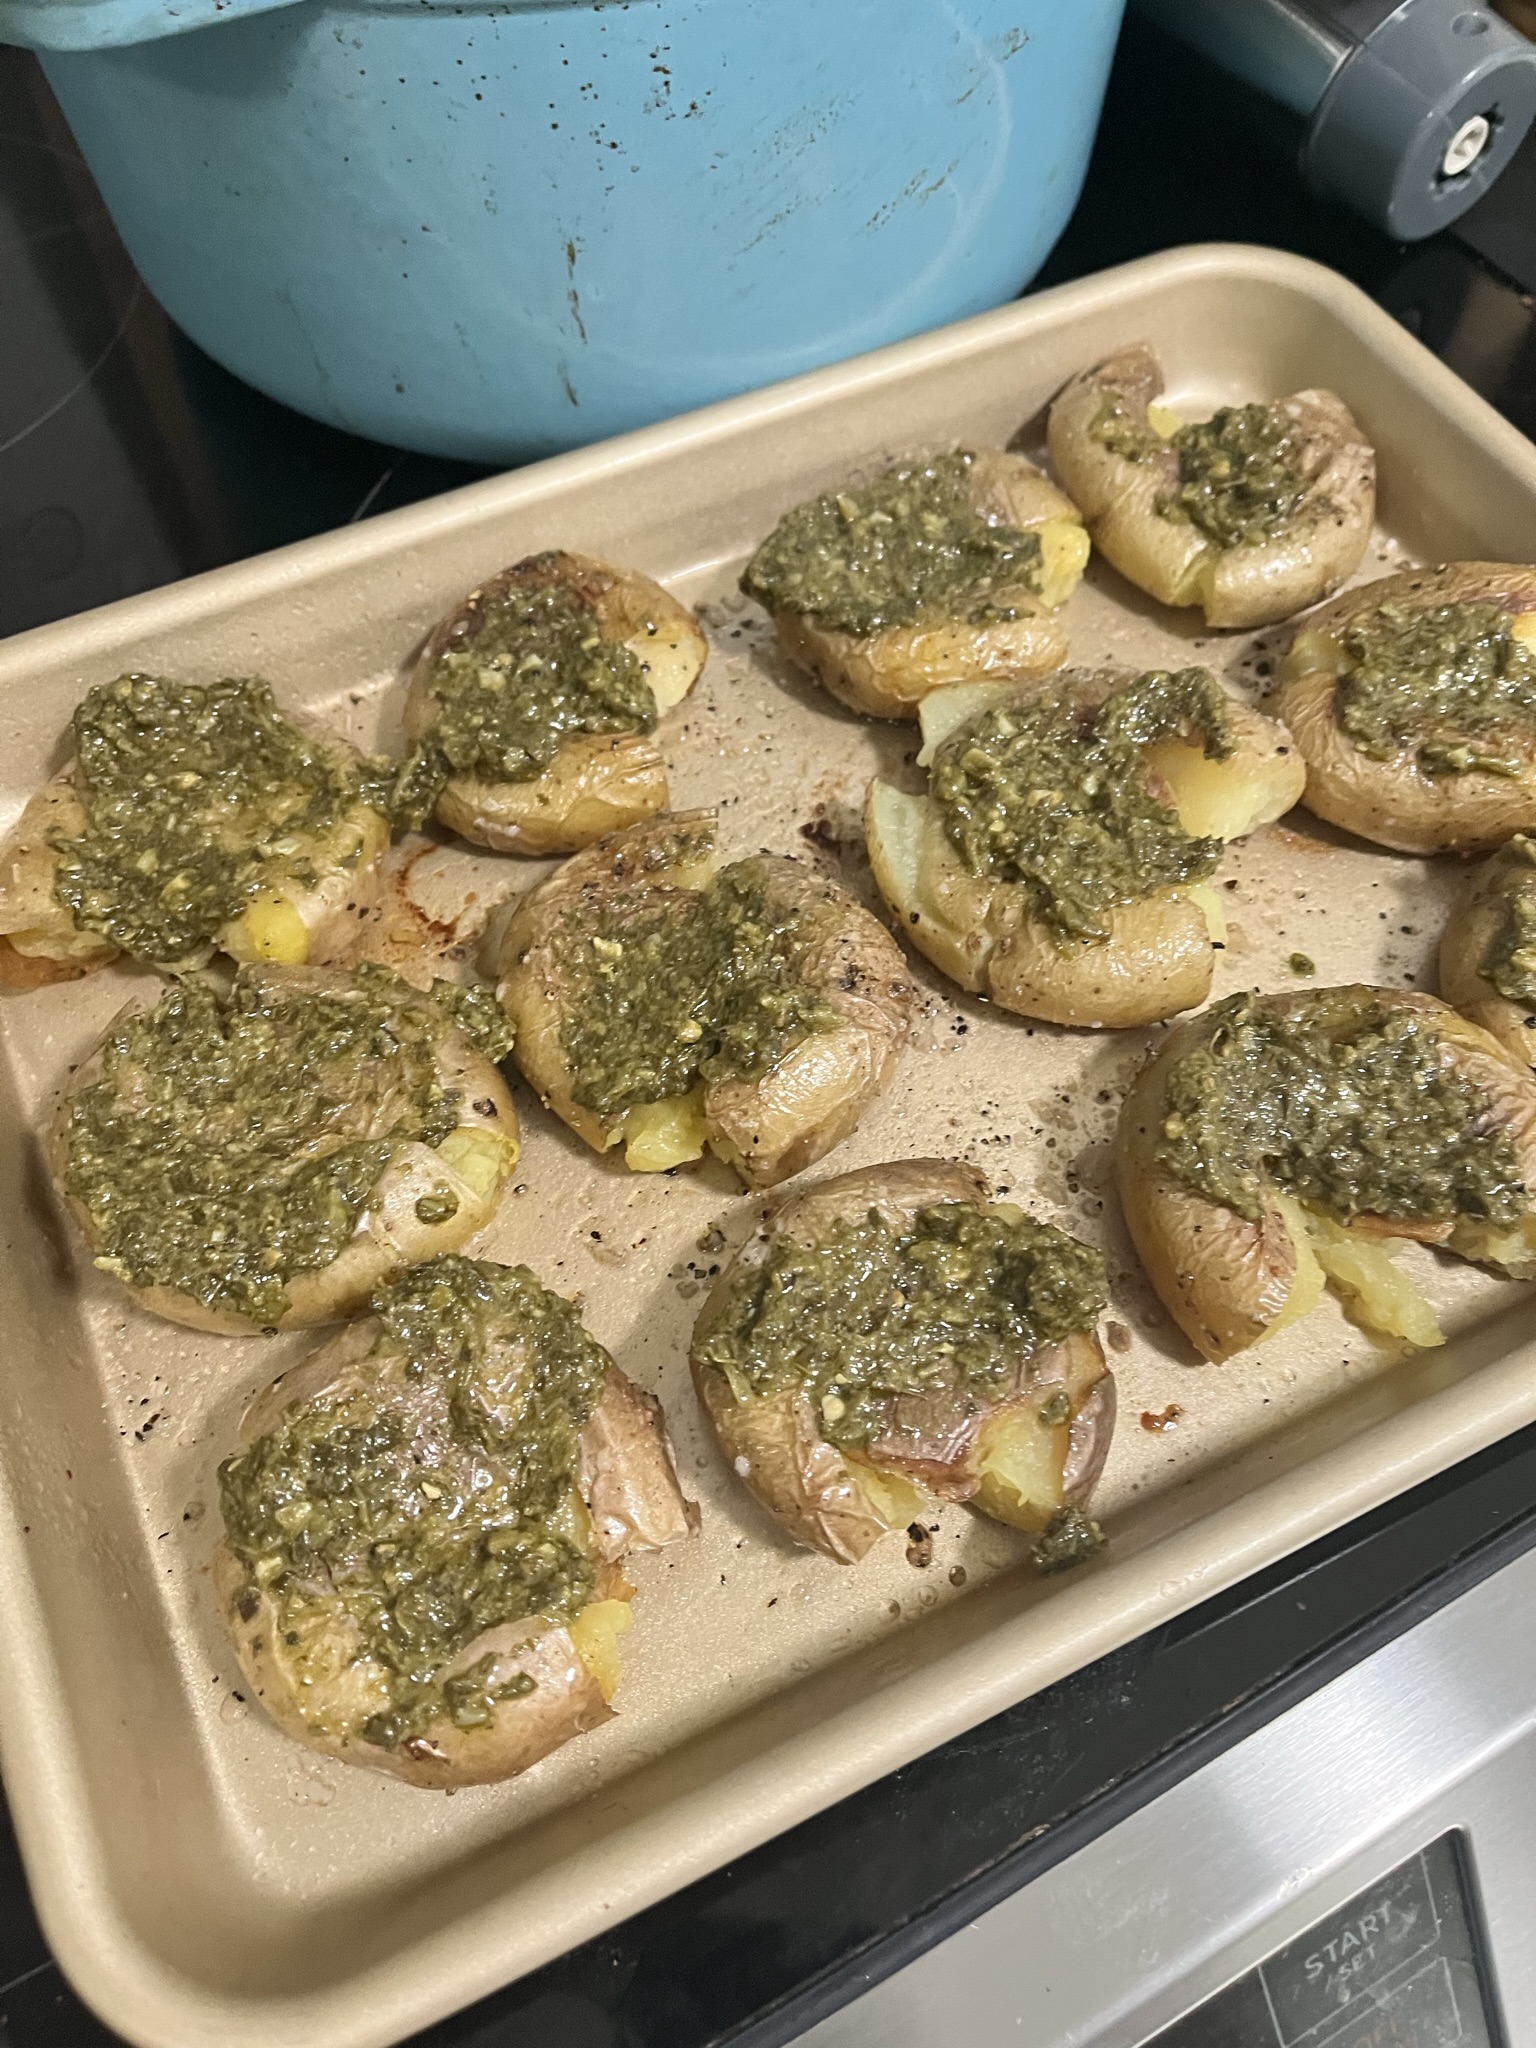
Anything mini is automatically delicious and not to mention, cute! Fingerling potatoes are perfect for roasting and are so low maintenance. They really do well with simple seasoning and can be left in the oven to crisp up. I like using non-stick baking sheets for these potatoes to ensure I can eat all the crispy bits and that none will be left on the pan. I had plenty of leftover Basil Pesto from last week, so I wanted to incorporate it into another dish. Simple roasted potatoes are jazzed up with some pesto and are a perfect summer side to a salad and a grilled protein. You could even add extra pesto and chill the potatoes for a pesto potato salad.

Ingredients

Pesto – You can use any store bought pesto or make mine! Find the recipe here: Basil Pesto.

Potatoes – I like using fingerling/baby potatoes since they just require a quick scrub, no chopping required. If you want to use a bigger potato, I’d recommend using a Yukon gold or other creamy potato.

Pesto Roasted Potatoes

Print Recipe
Served warm or cold as a salad, these pesto potatoes are a perfect summer side.
Course Side Dish
Keyword pesto, potatoes, roasted potatoes

Ingredients

  • 1 lb potatoes
  • 1/2 cup pesto
  • salt
  • pepper

Instructions

  • Thoroughly clean and dry your potatoes. If using larger potatoes, cut into fourths.
  • Coat potatoes in olive oil, salt and pepper.
  • Add in a single layer to a sheet tray and bake at 350F for 40 minutes.
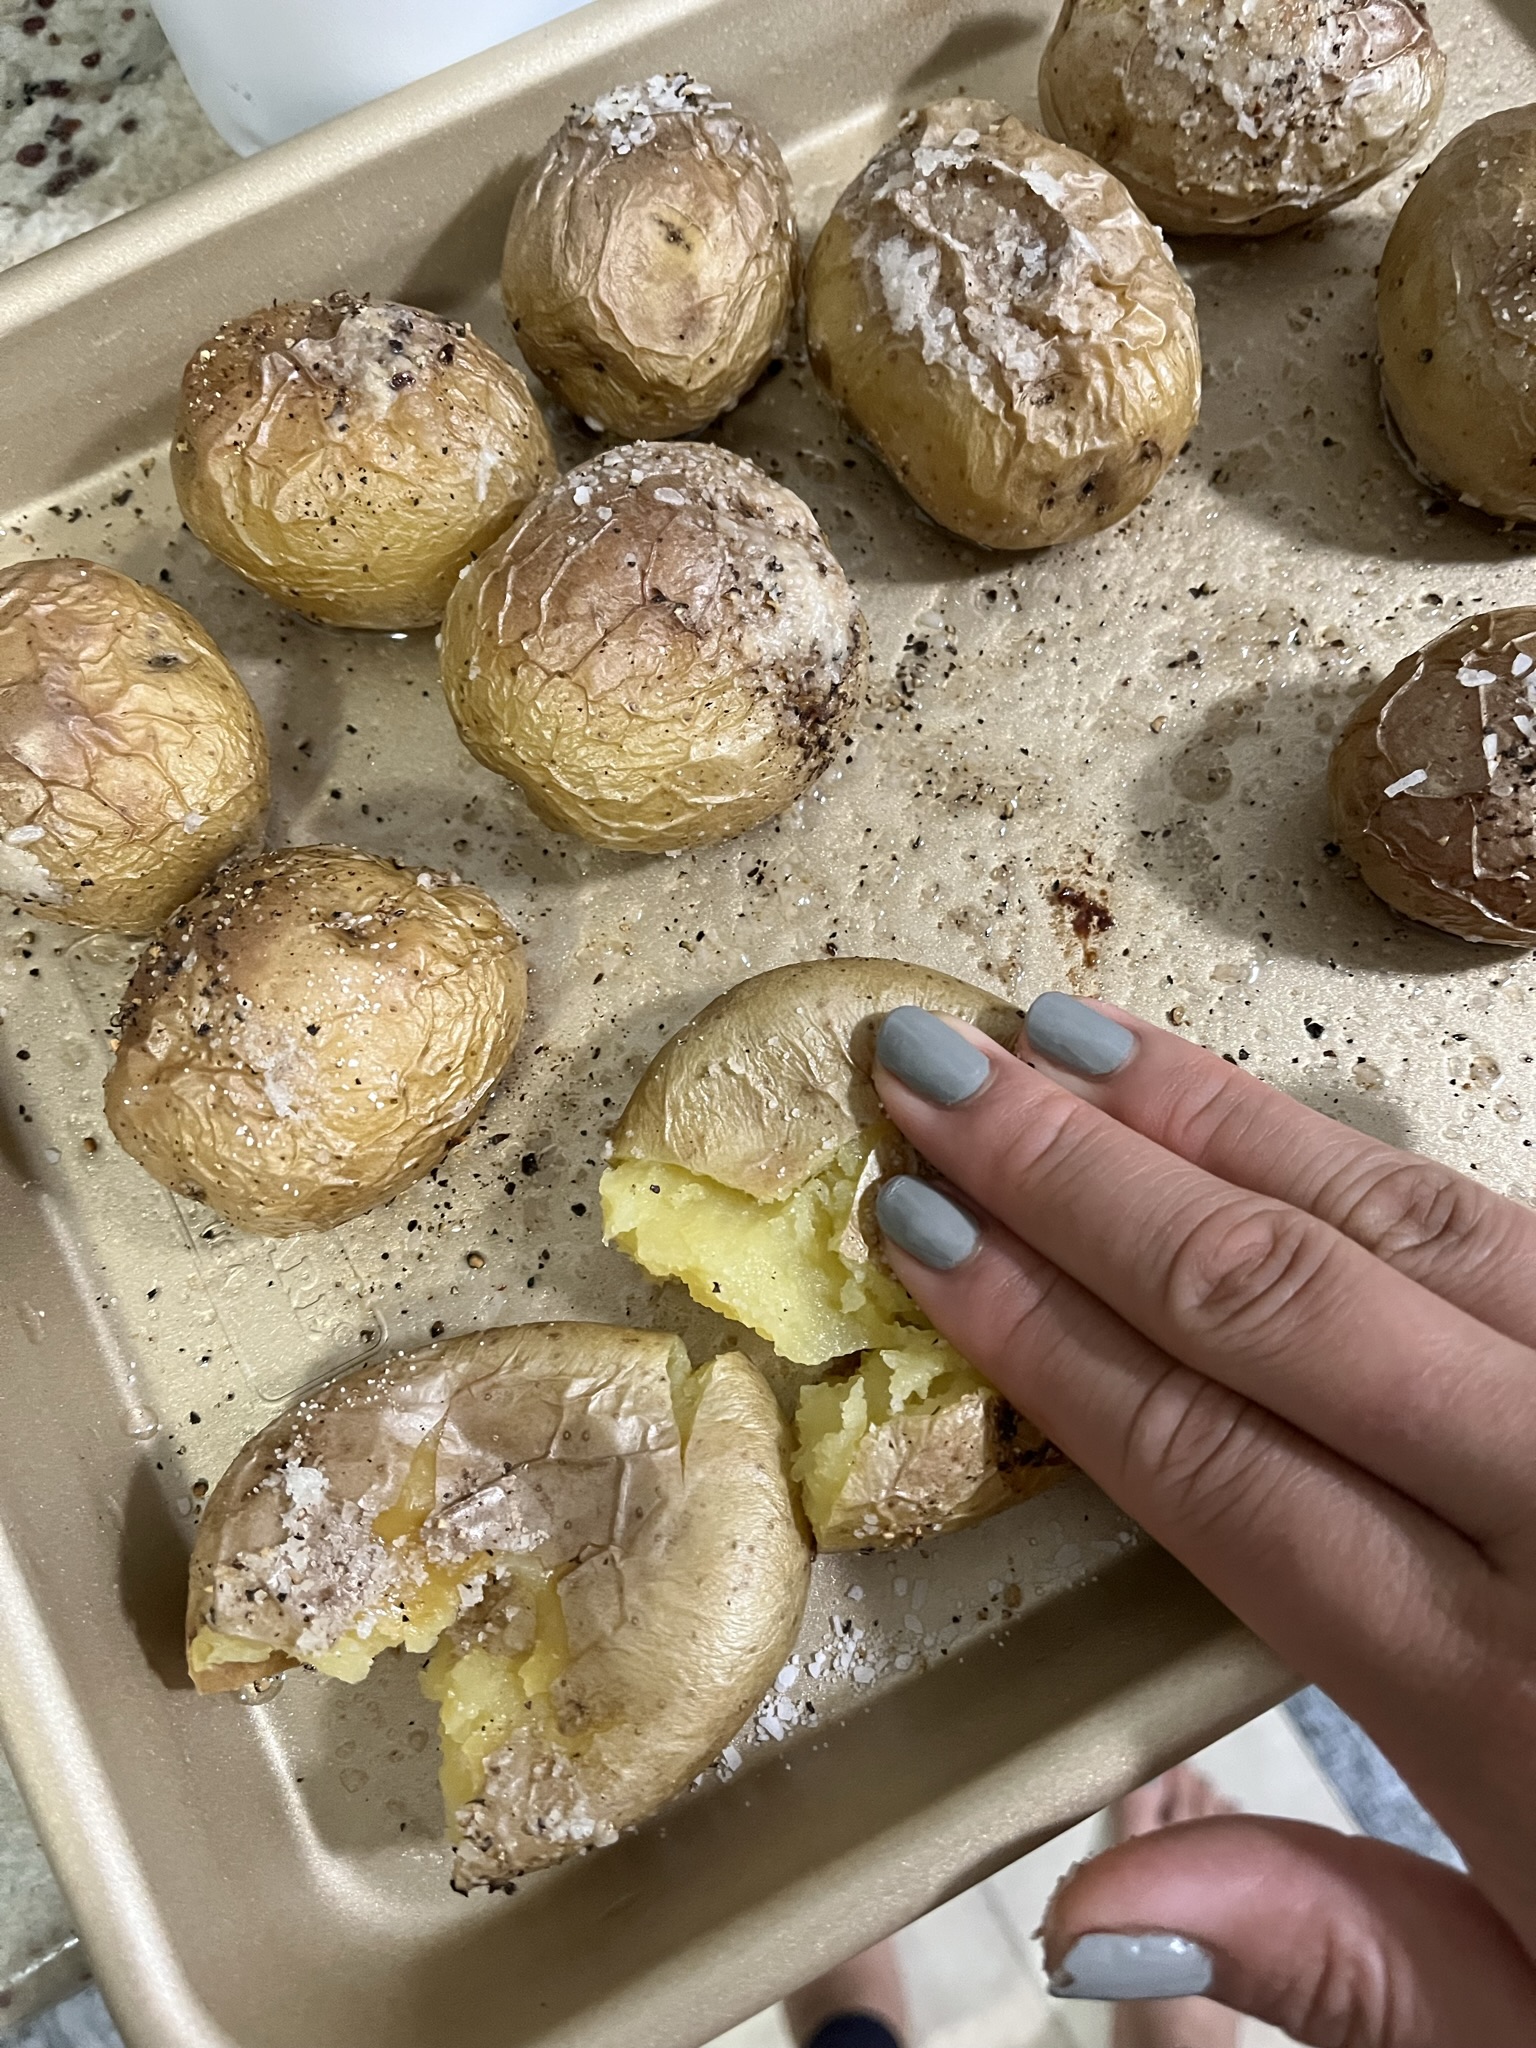
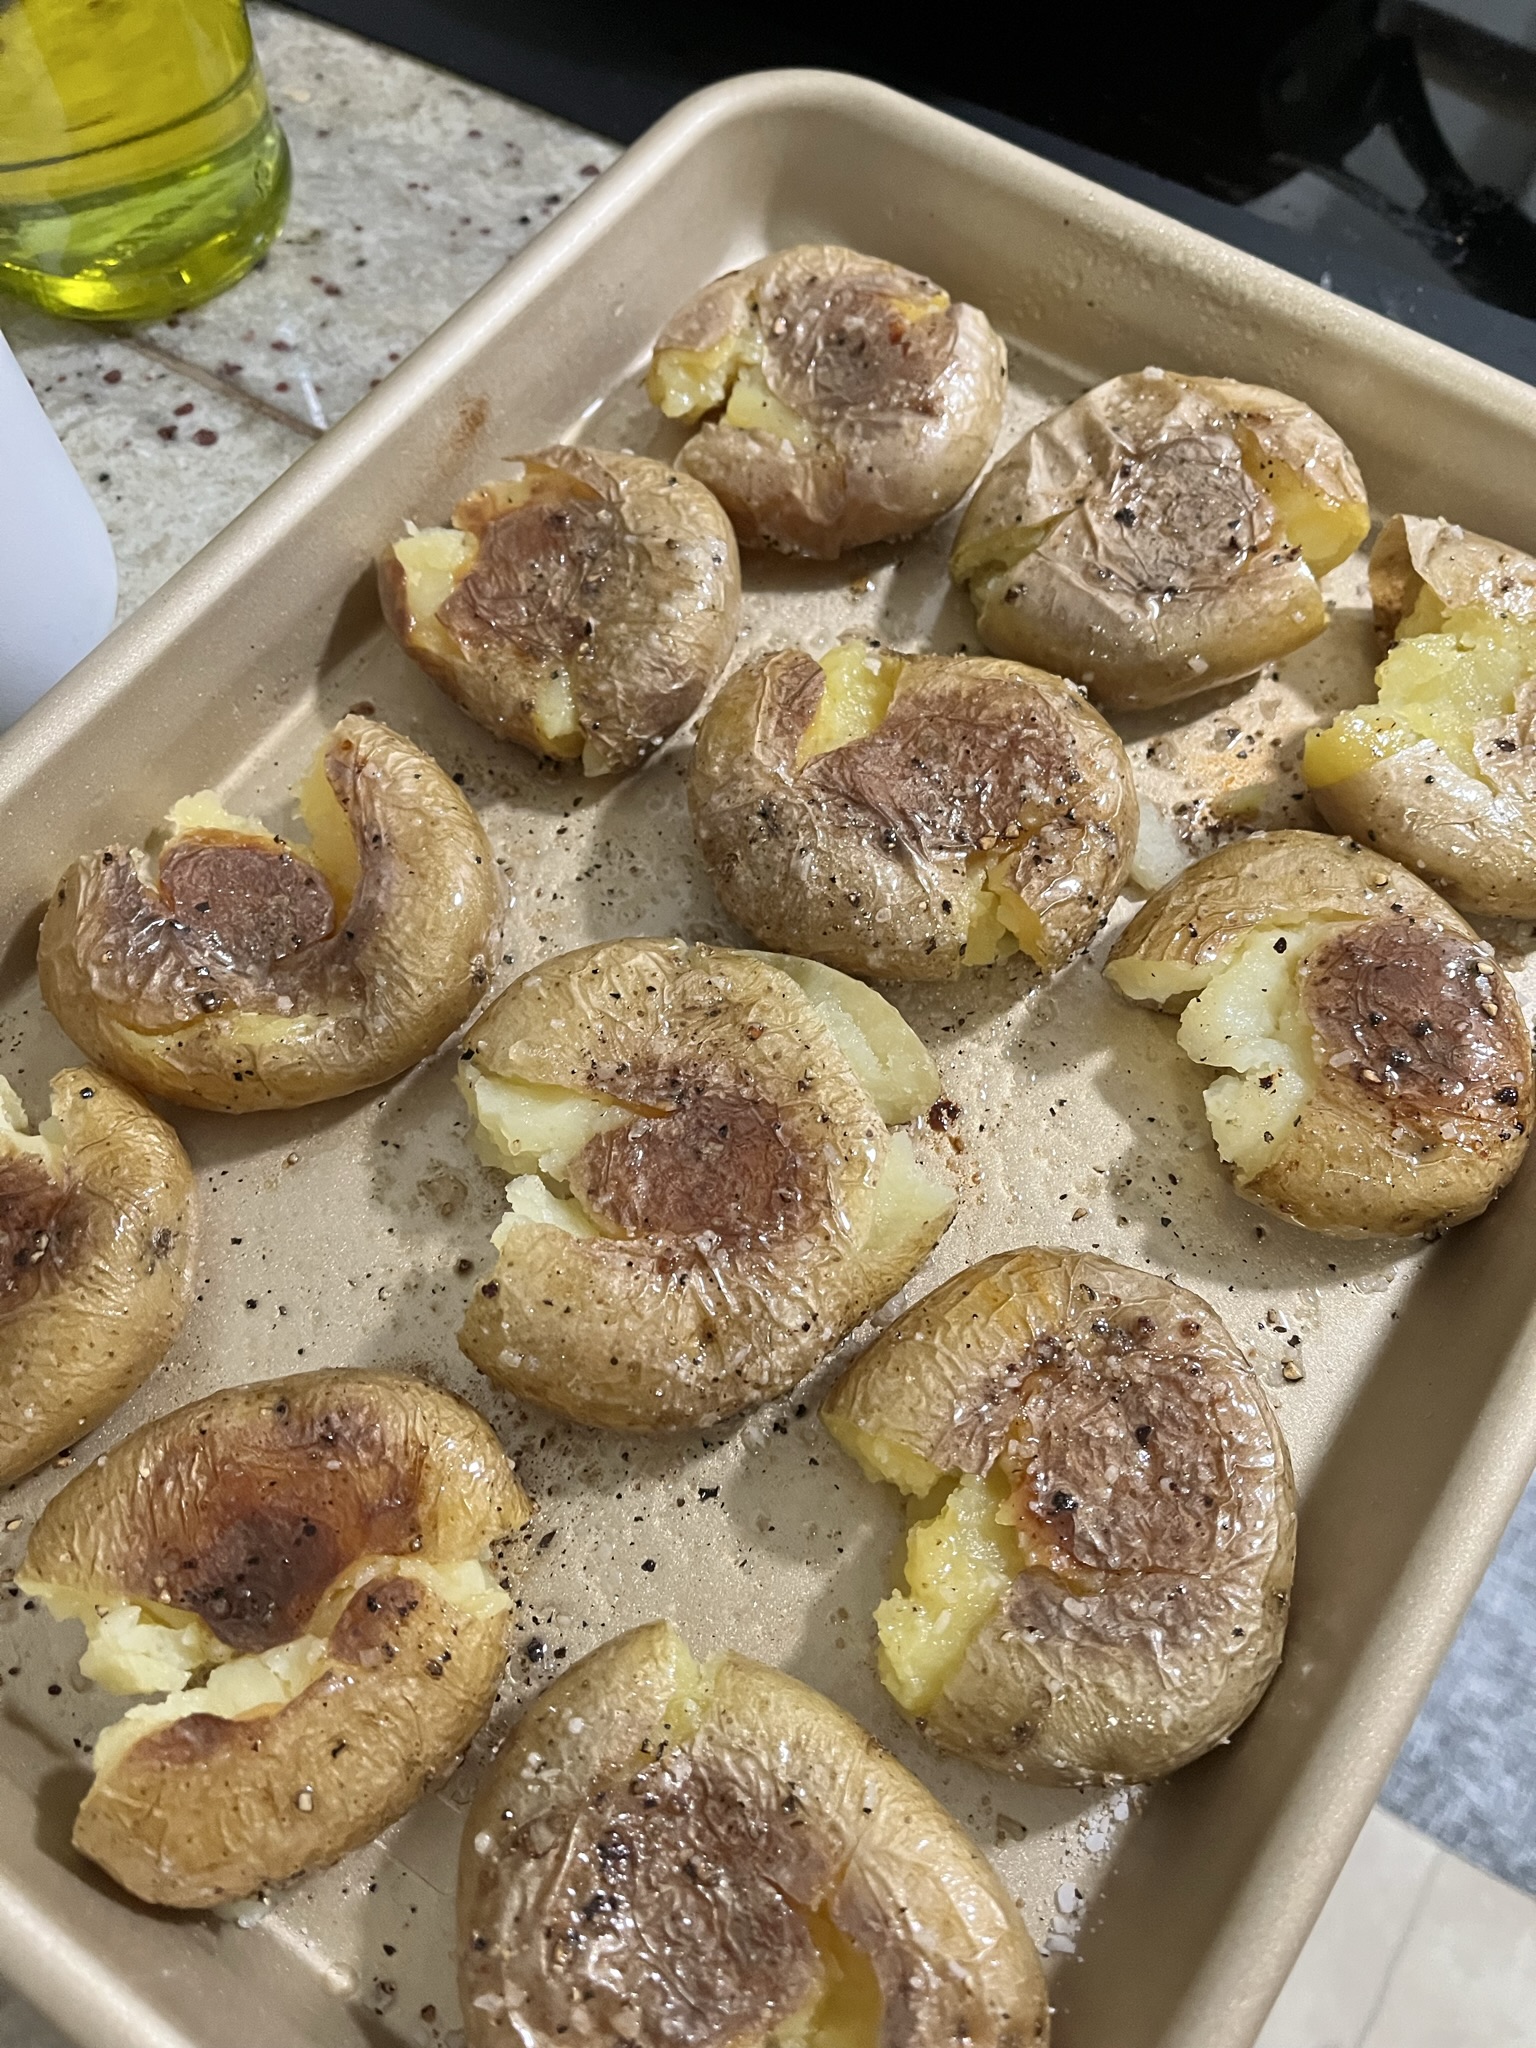
  • Remove from the oven and squish to flatten. The new crevices that have appeared will create more texture as the potatoes continue to cook.
  • Drizzle more olive oil onto the potatoes and bake at 375F for another 15 minutes.
  • Remove potatoes, and top with about 1/2 tsp of pesto per fingerling potato. Spread the pesto on the surface of the potato.
  • Return to the oven for another ~3 minutes on broil for the pesto to toast.
  • Serve immediately or chill with extra pesto mixed in for a pesto potato salad.

Need more sides? Have some Honey Balsamic Roasted Brussels Sprouts.

Serve these at your BBQ with some Black Bean Burgers.