Basil Pesto

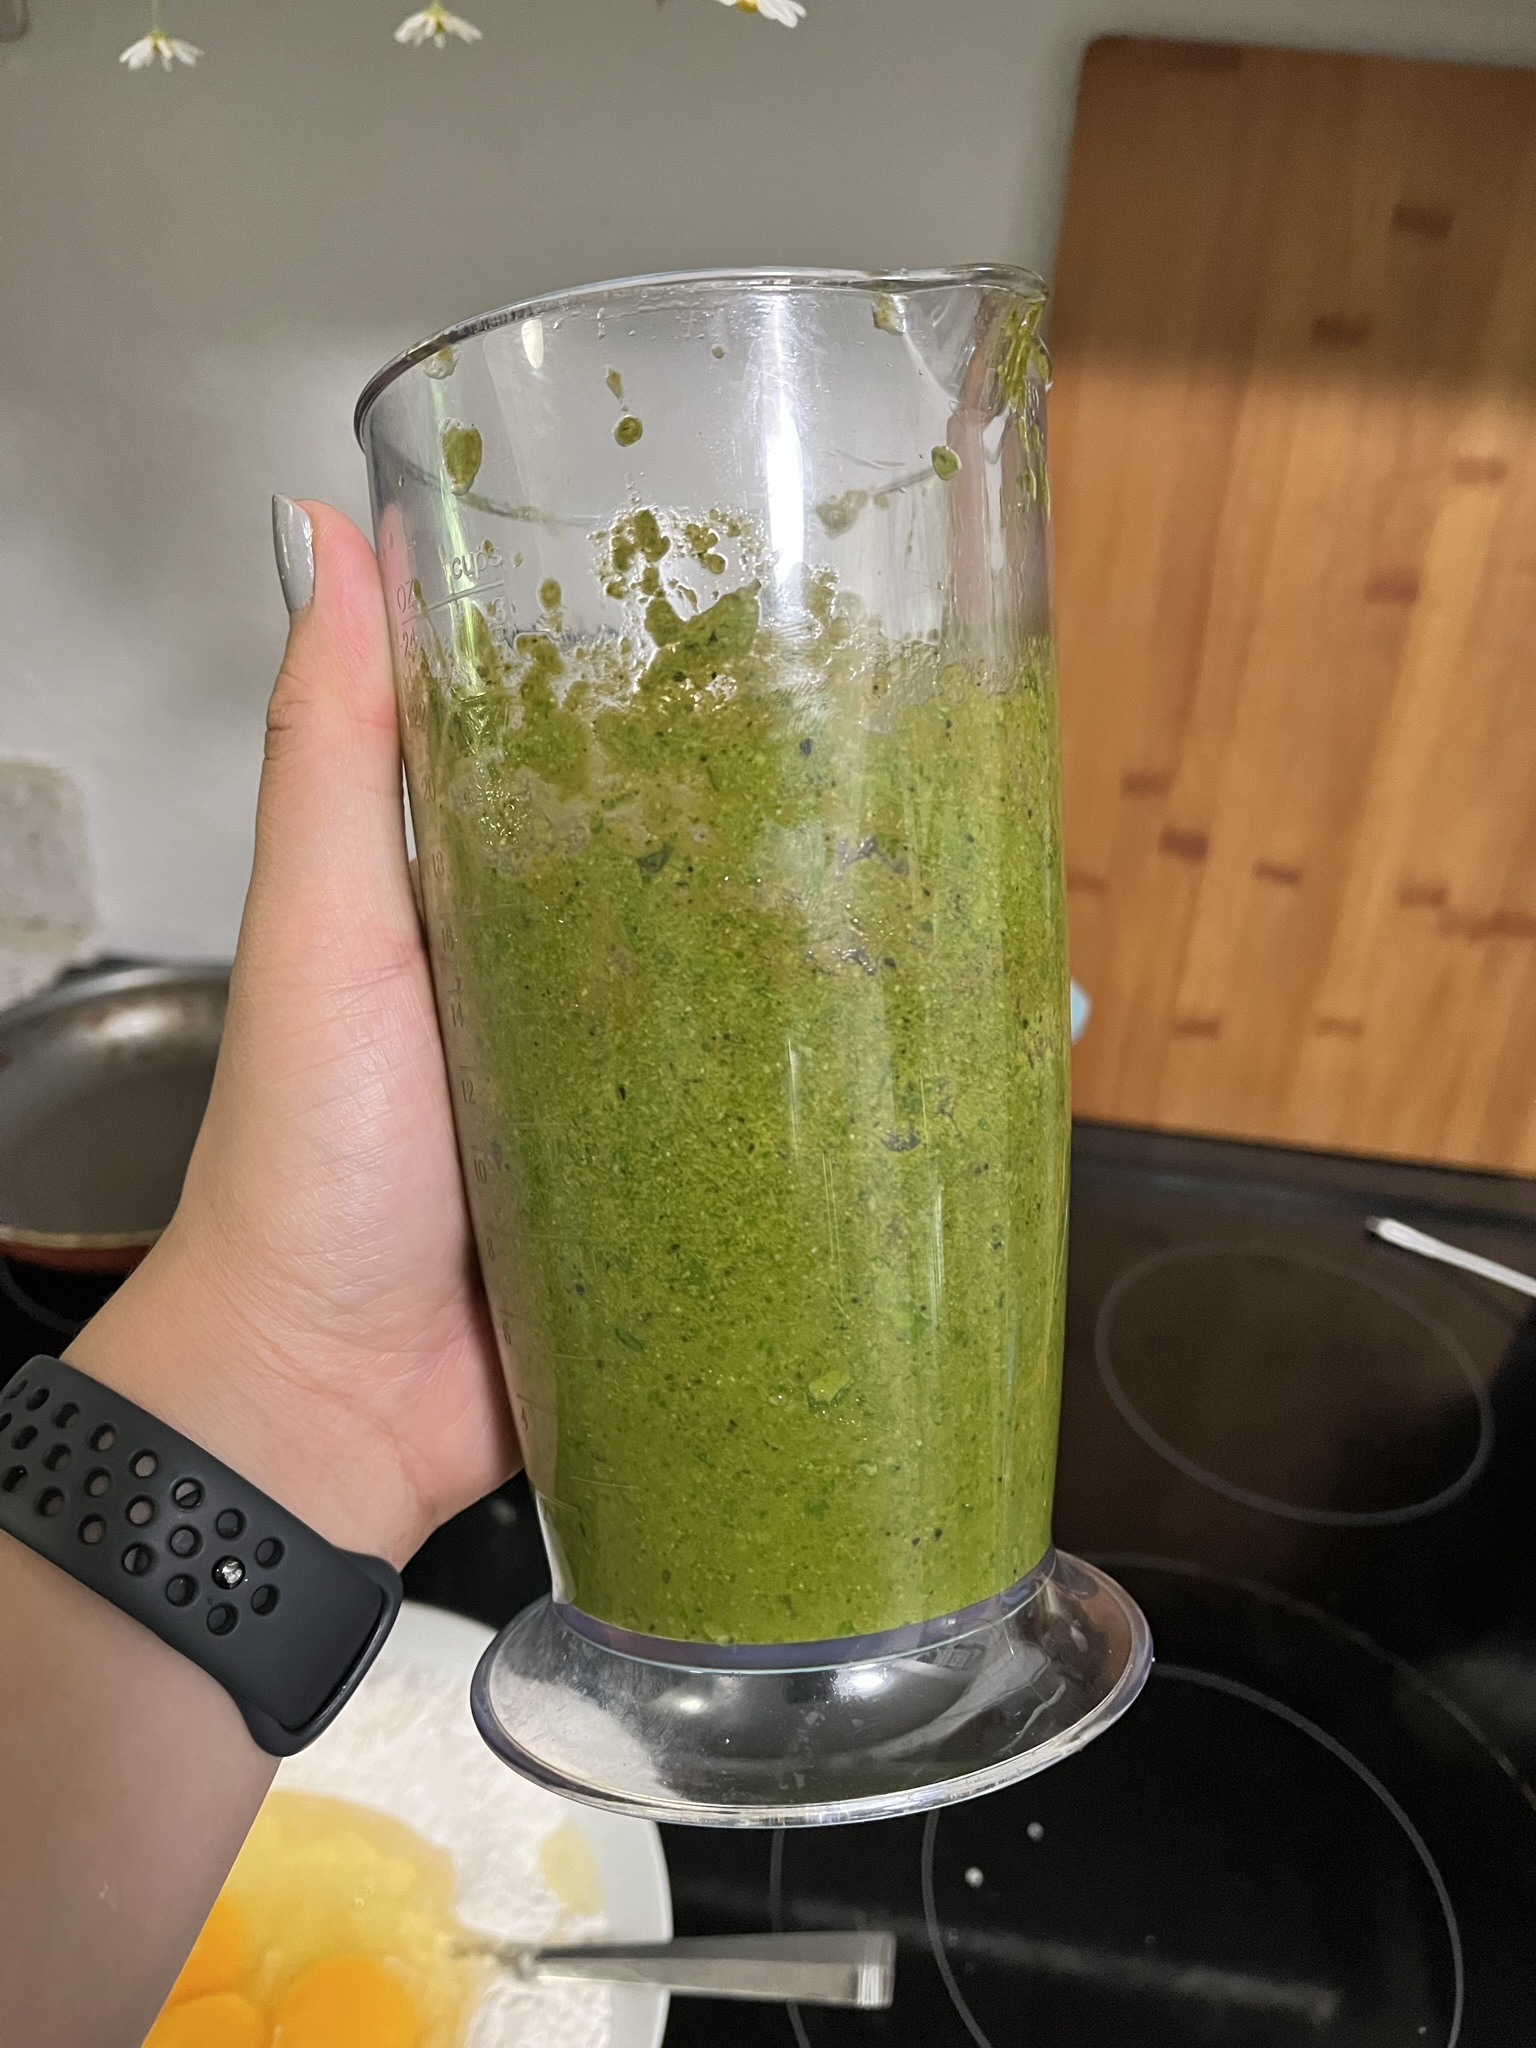
Summer’s just getting hotter in the PNW and the herbs are not happy. I’m hearing and seeing herb gardens wilting in the heat! Pick those herbs before they dry up into nothing. If I’m not using my basil to top my pho or throwing it into a noodle or rice stir-fry, I’ll use it to make a pesto. I’ve tried a few grocery store pesto jars, but I’ll always go for my homemade version if I can (I know I’m a snob). I find that pesto from the grocery store can often be overly salty, not basil-y fragrant enough, or oddly sweet. The pesto from the grocery store typically isn’t a very vibrant green either, so you know its not the most fresh.

If you make a large quantity of pesto, it can be frozen for later. I’d recommended freezing in ice cube trays so you can portion out how much you might need at one time. When you need to use it, melt with some leftover pasta water if making pasta or leave in the refrigerator if using as a dip on the side. If storing in the refrigerator, cover the top with a layer of olive oil to prevent oxidation.

Ingredients

Basil – Pesto is generally made with basil, but the basil can be swapped for variety of other herbs. I’ve made pesto before with carrot tops, spinach, or cilantro.

Pine nuts – Basil pesto traditionally uses pine nuts, but this can be substituted for other nuts (not legumes) that you have on hand. I’d recommend using walnuts or cashews. Pine nuts do really give the pesto a richer flavor, so try to stick with that!

Cheeses – I like pecorino romano more than I like parmesano reggiano, so I usually always have that on hand. I use all pecorino romano, but you can use one, the other, or a combination of both!

Olive oil – Umm non-negotiable.
Basil Pesto

Print Recipe
I promise, better than the grocery store.
Keyword basil, pesto

Ingredients

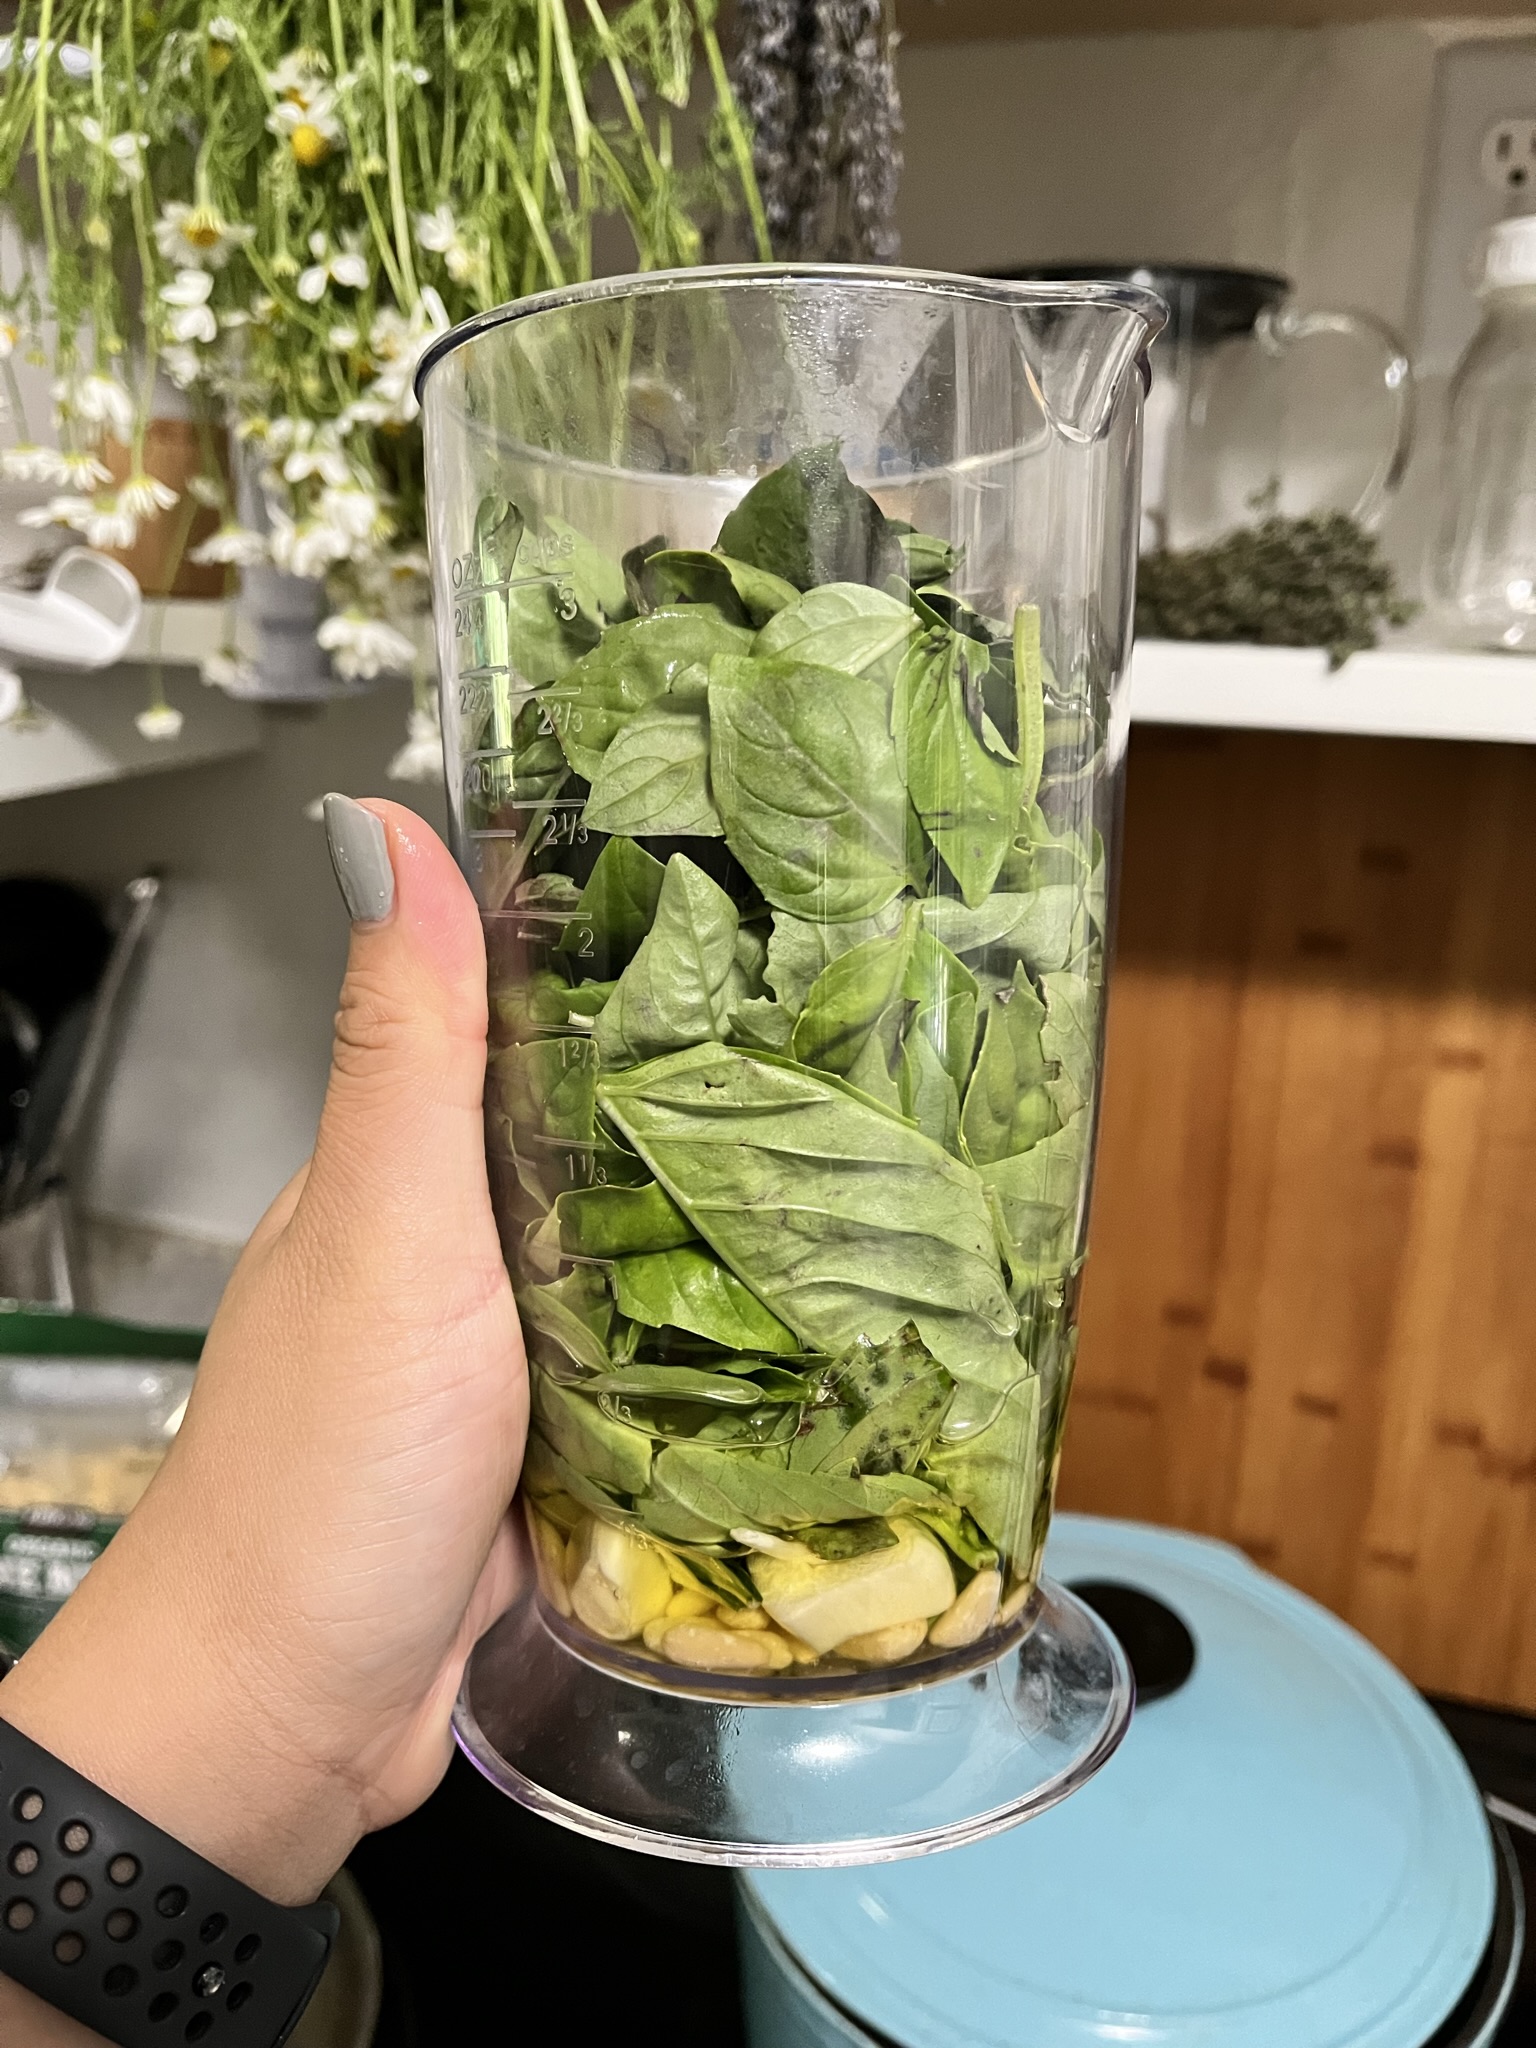
  • 2 cups fresh basil packed tight
  • 1/2 cup olive oil
  • 1/4 cup cheese parmesan/pecorino
  • 1/4 cup pine nuts
  • 1 clove garlic
  • 1 tsp salt

Instructions

  • Add all ingredients into your blender or mortar and pestle.
  • Mix/blend until completely combined. Adjust for salt.

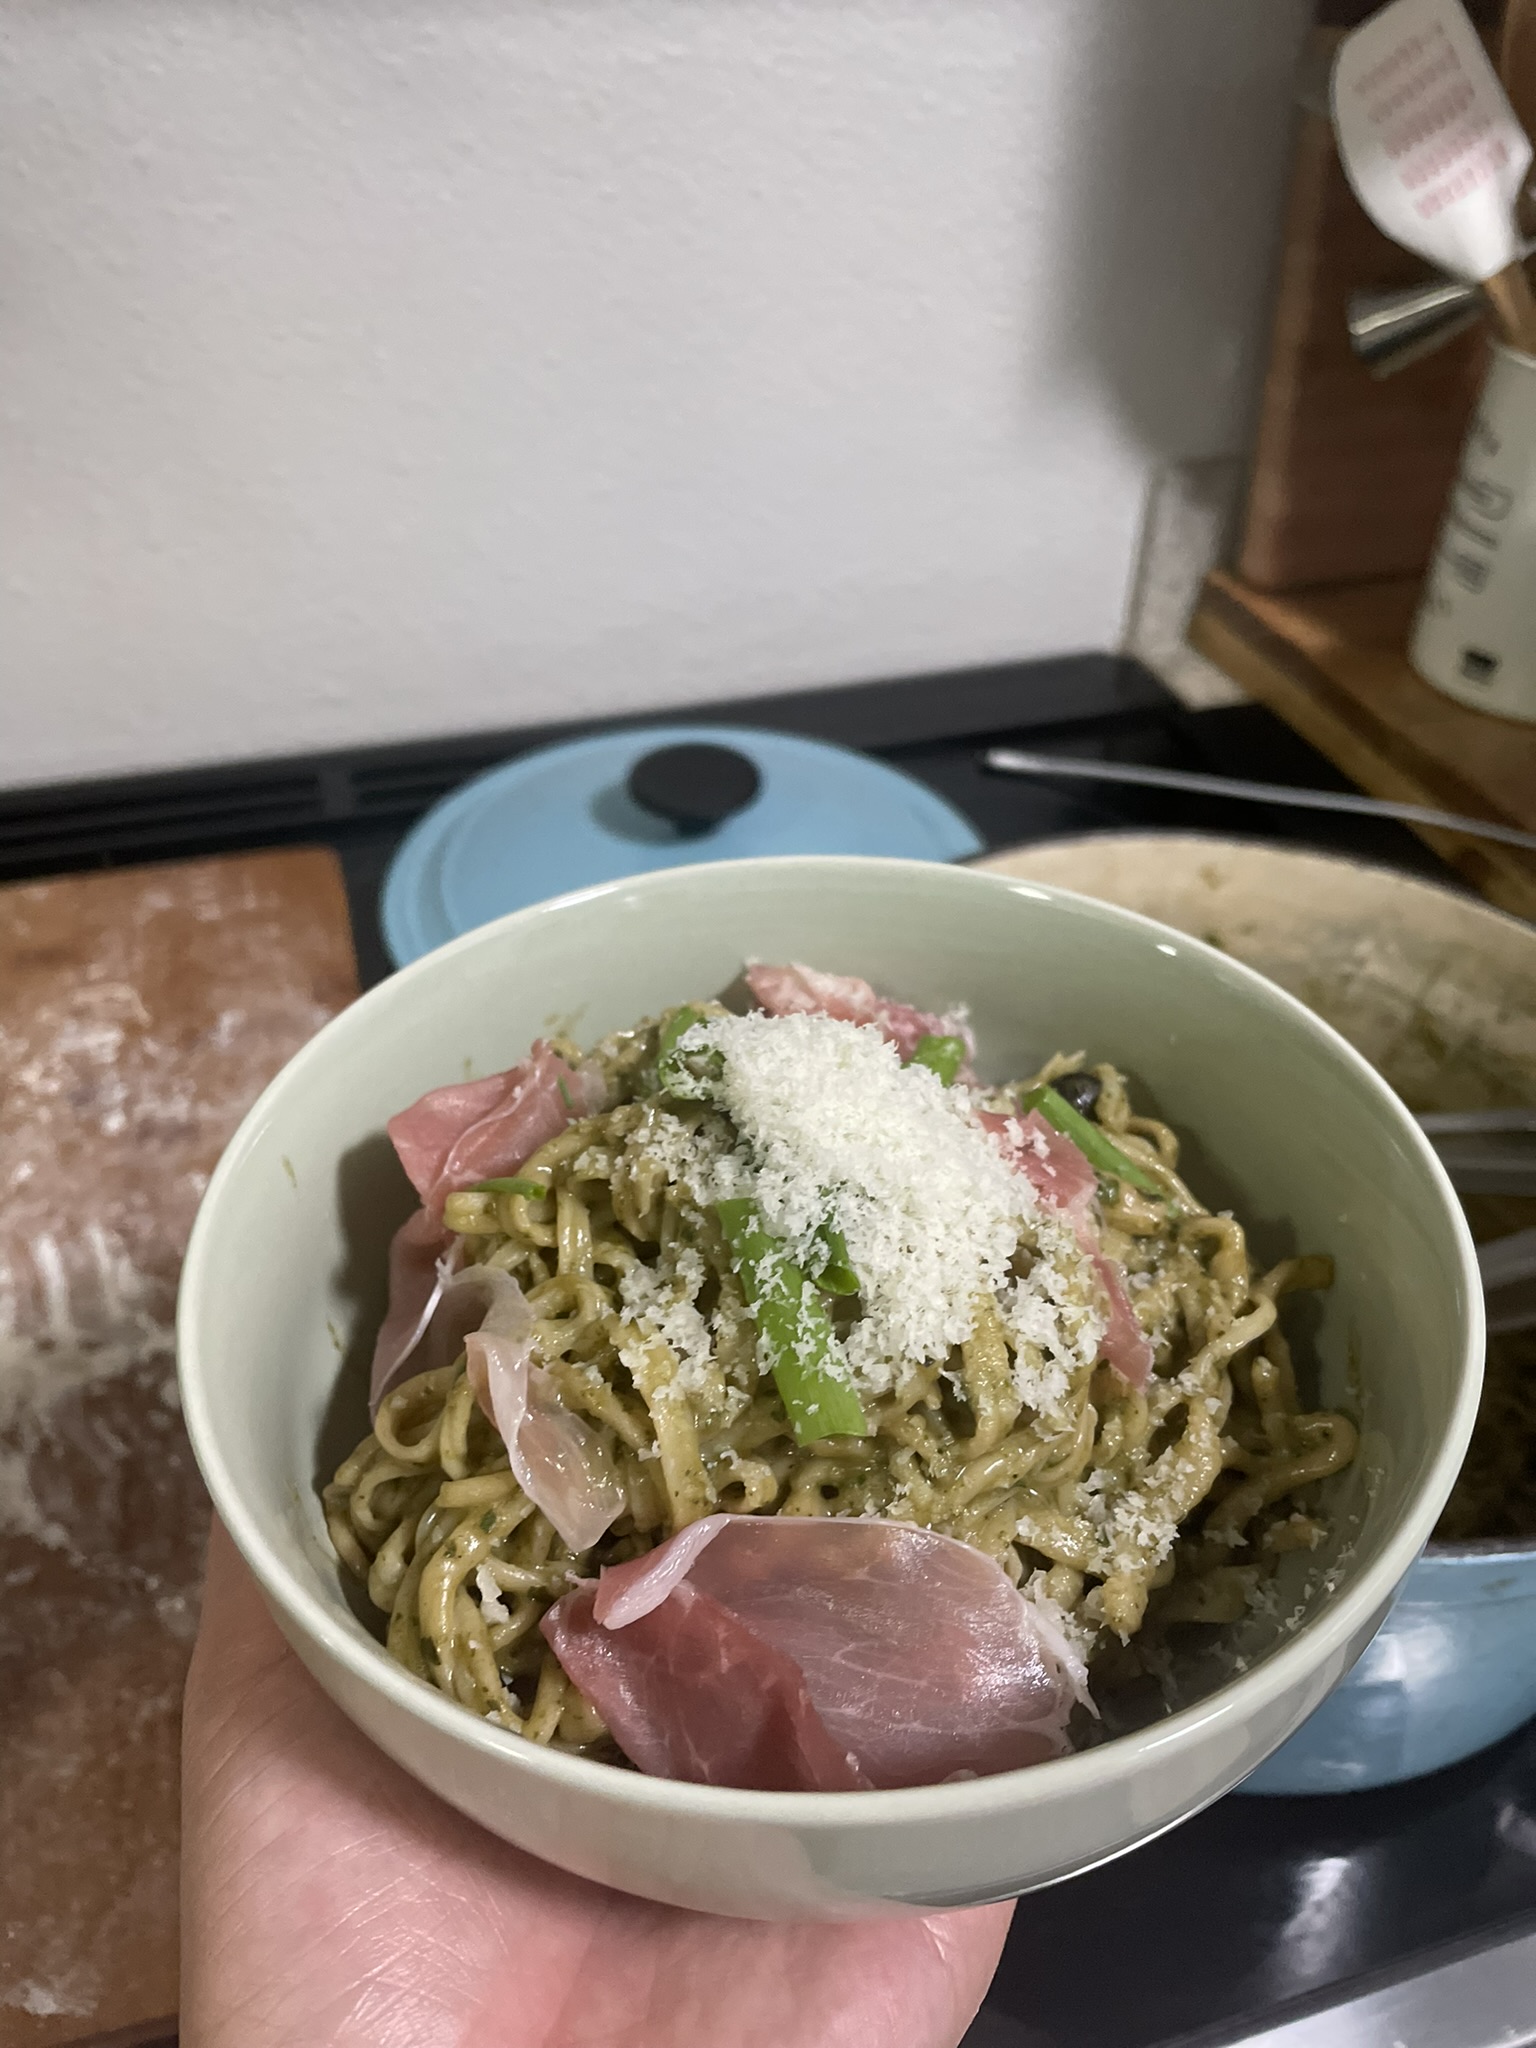
Make some Fresh Egg Pasta to go with it or serve it on the side of My Favorite Focaccia.
Fresh Egg Pasta

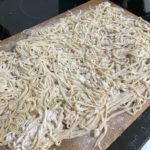
No one really has the time to make fresh pasta regularly, but it certainly is a treat when you have a few spare hours and want a mini-project to keep you busy. All the ingredients that are needed are most likely already on hand! Fresh pasta has a chewier, bouncier texture than the typical grocery store dried pasta. It’s more difficult to make all the fun shapes that you can easily find at the store, but I feel like fresh pasta is best enjoyed in a long noodle form anyway.

Fresh pasta is also a great meal to make with friends. Have each person come over with a different kind of sauce and tell them to be ready to work and covered in flour. You can make a couple dough balls in advance so that they have time to rest. When your friends arrive, set them up in an assembly line. Have a few people making more dough, a few people rolling and cutting, and a few people on boiling and sauce tossing. I love using my stand mixer and pasta maker attachments. At the end of the day, everyone will be so satisfied from a delicious meal and an evening of hard work.

Fresh Egg Pasta

Print Recipe
Simple ingredients that turn into such chewy, bouncy pasta.
Course Main Course
Keyword noodles, pasta
Servings 1 person

Equipment

  • 1 pasta roller

Ingredients

  • 90 grams all-purpose flour
  • 1 large egg
  • pinch of salt

Instructions

  • Weigh out your flour onto a surface or bowl and mix in the salt. I recommend multiplying this recipe by the number of people you are planning on serving. If you are having multiple sides/appetizers/desserts with the meal, you could make 1 recipe amount for 2 people.
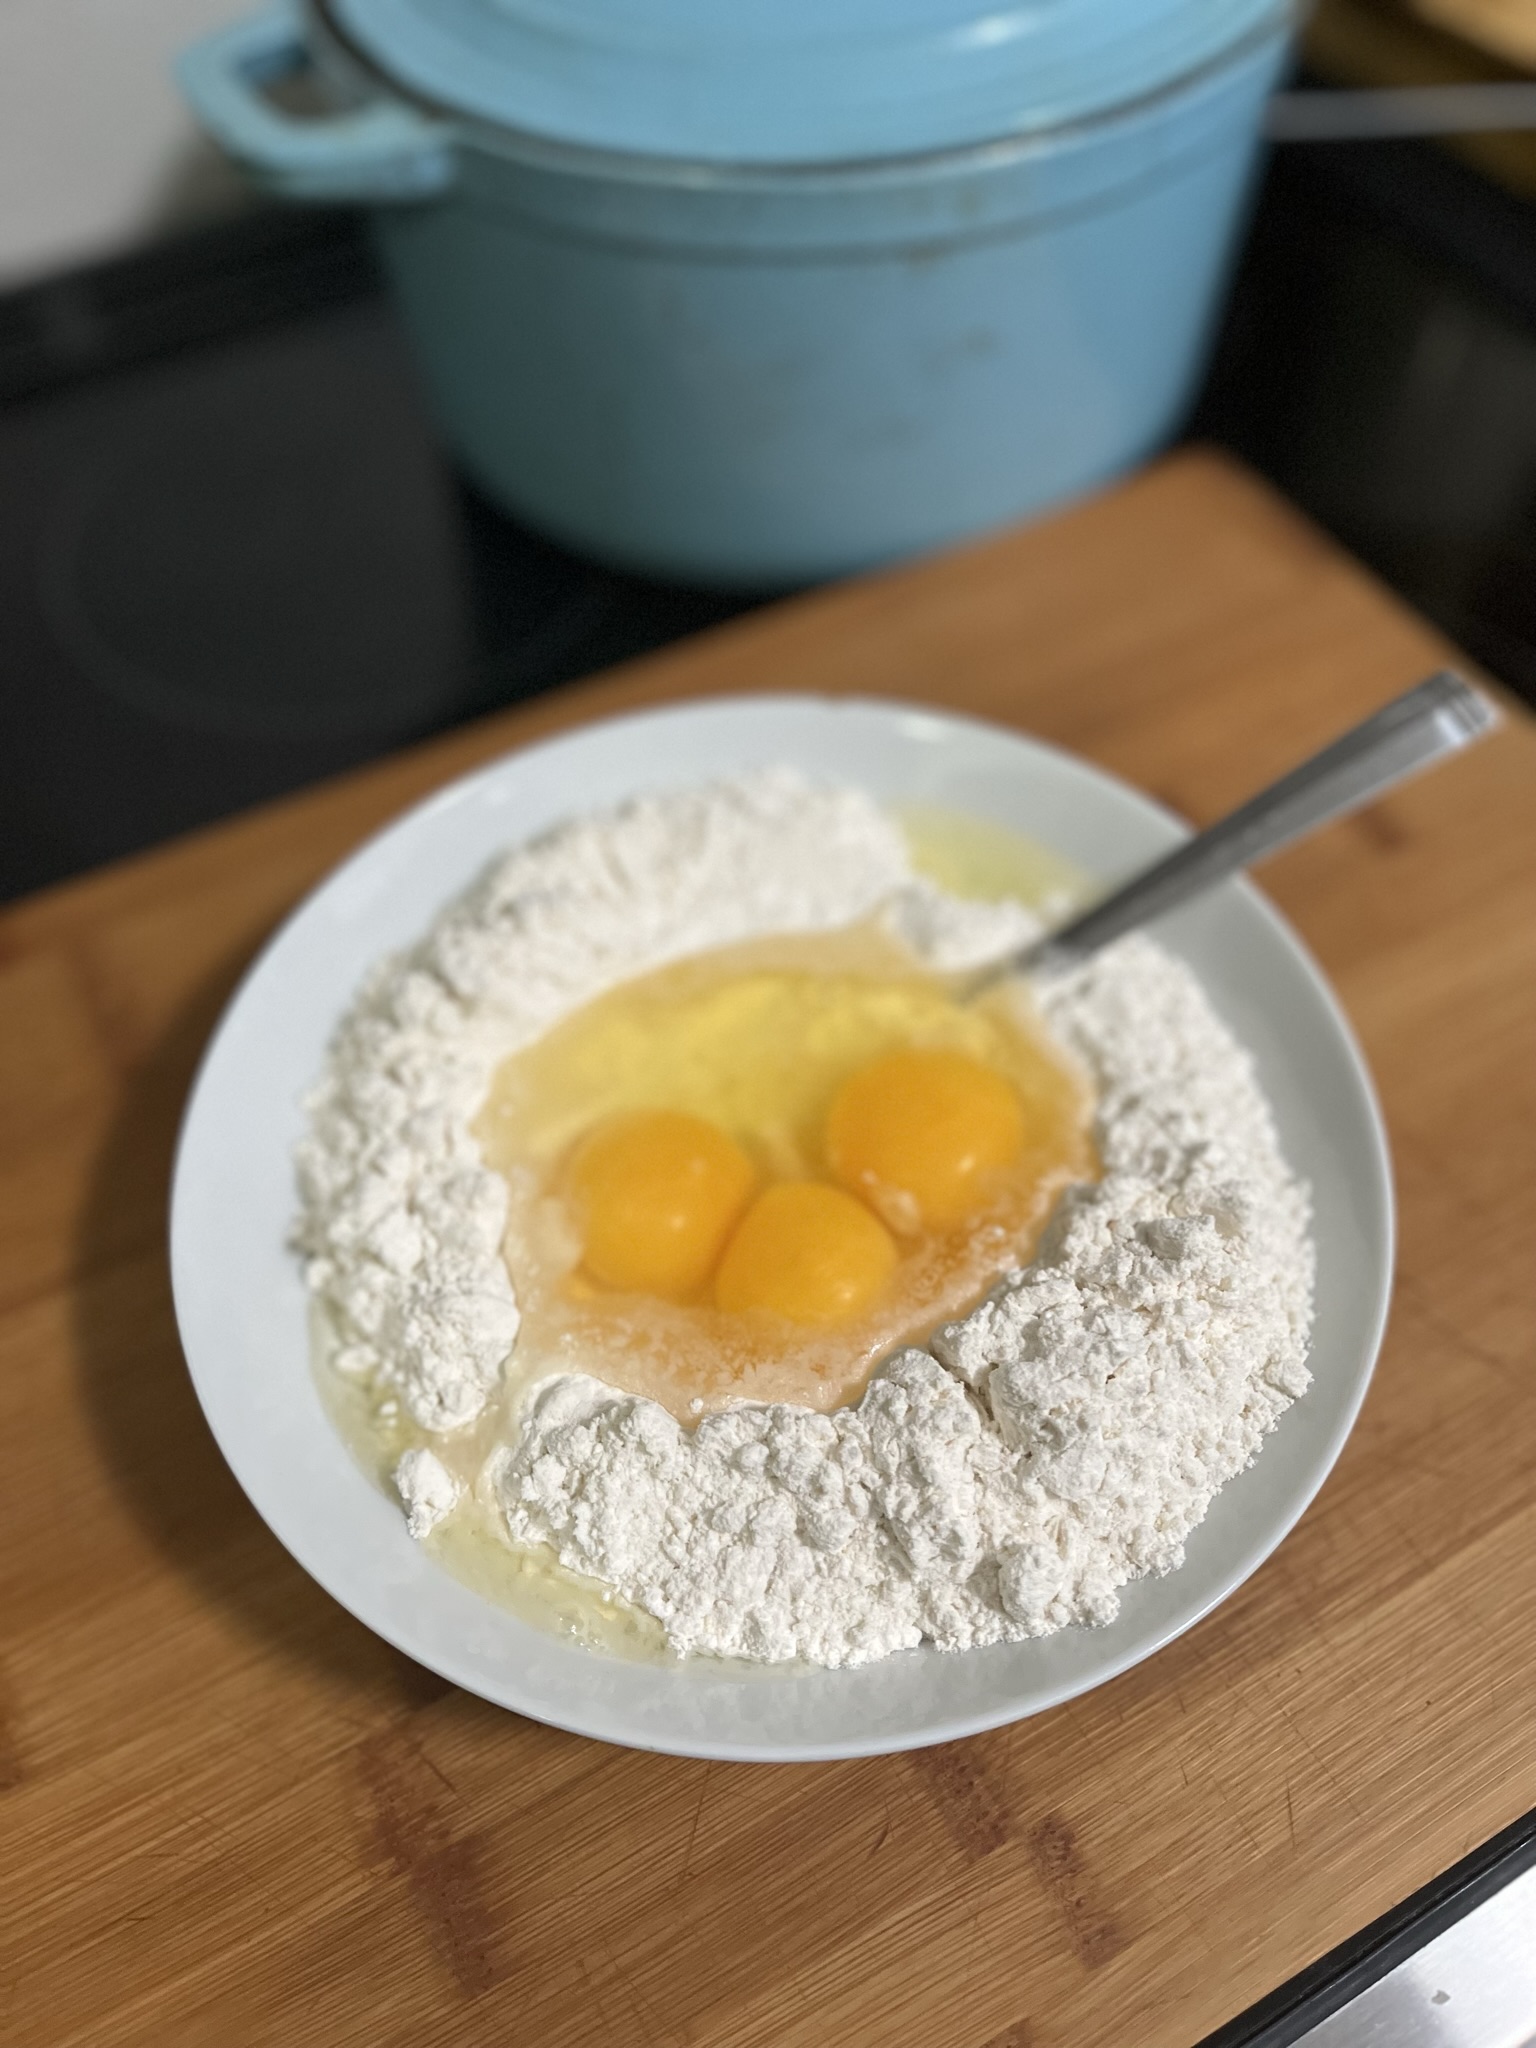
  • Make a well in the center of the flour/salt and crack the egg in.
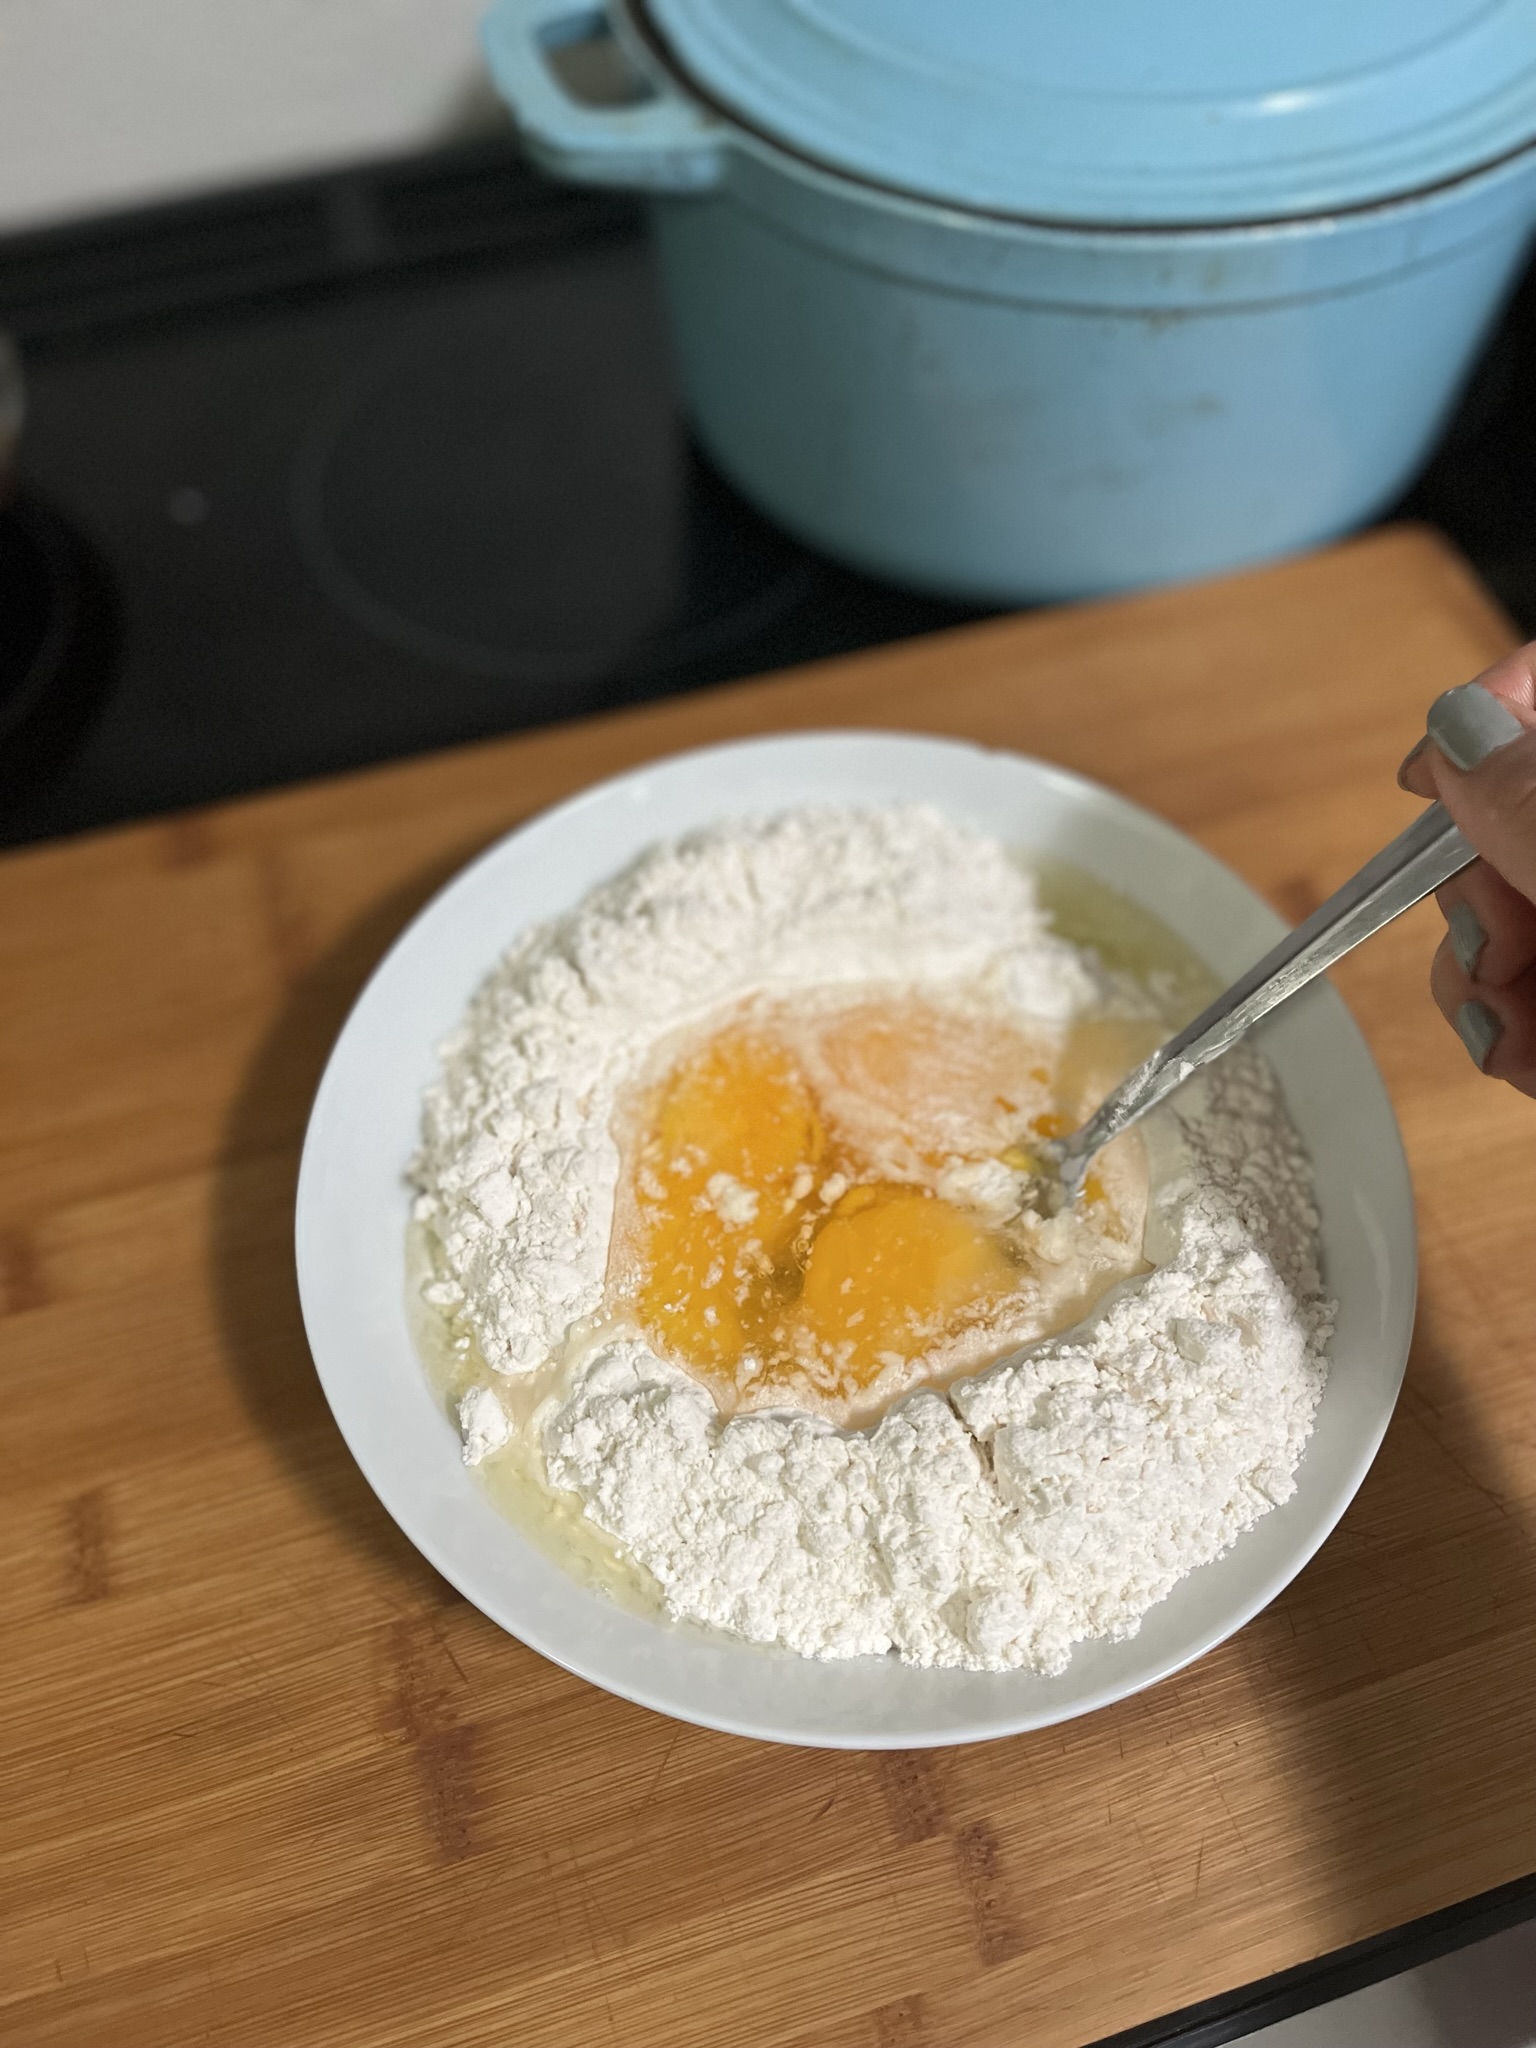
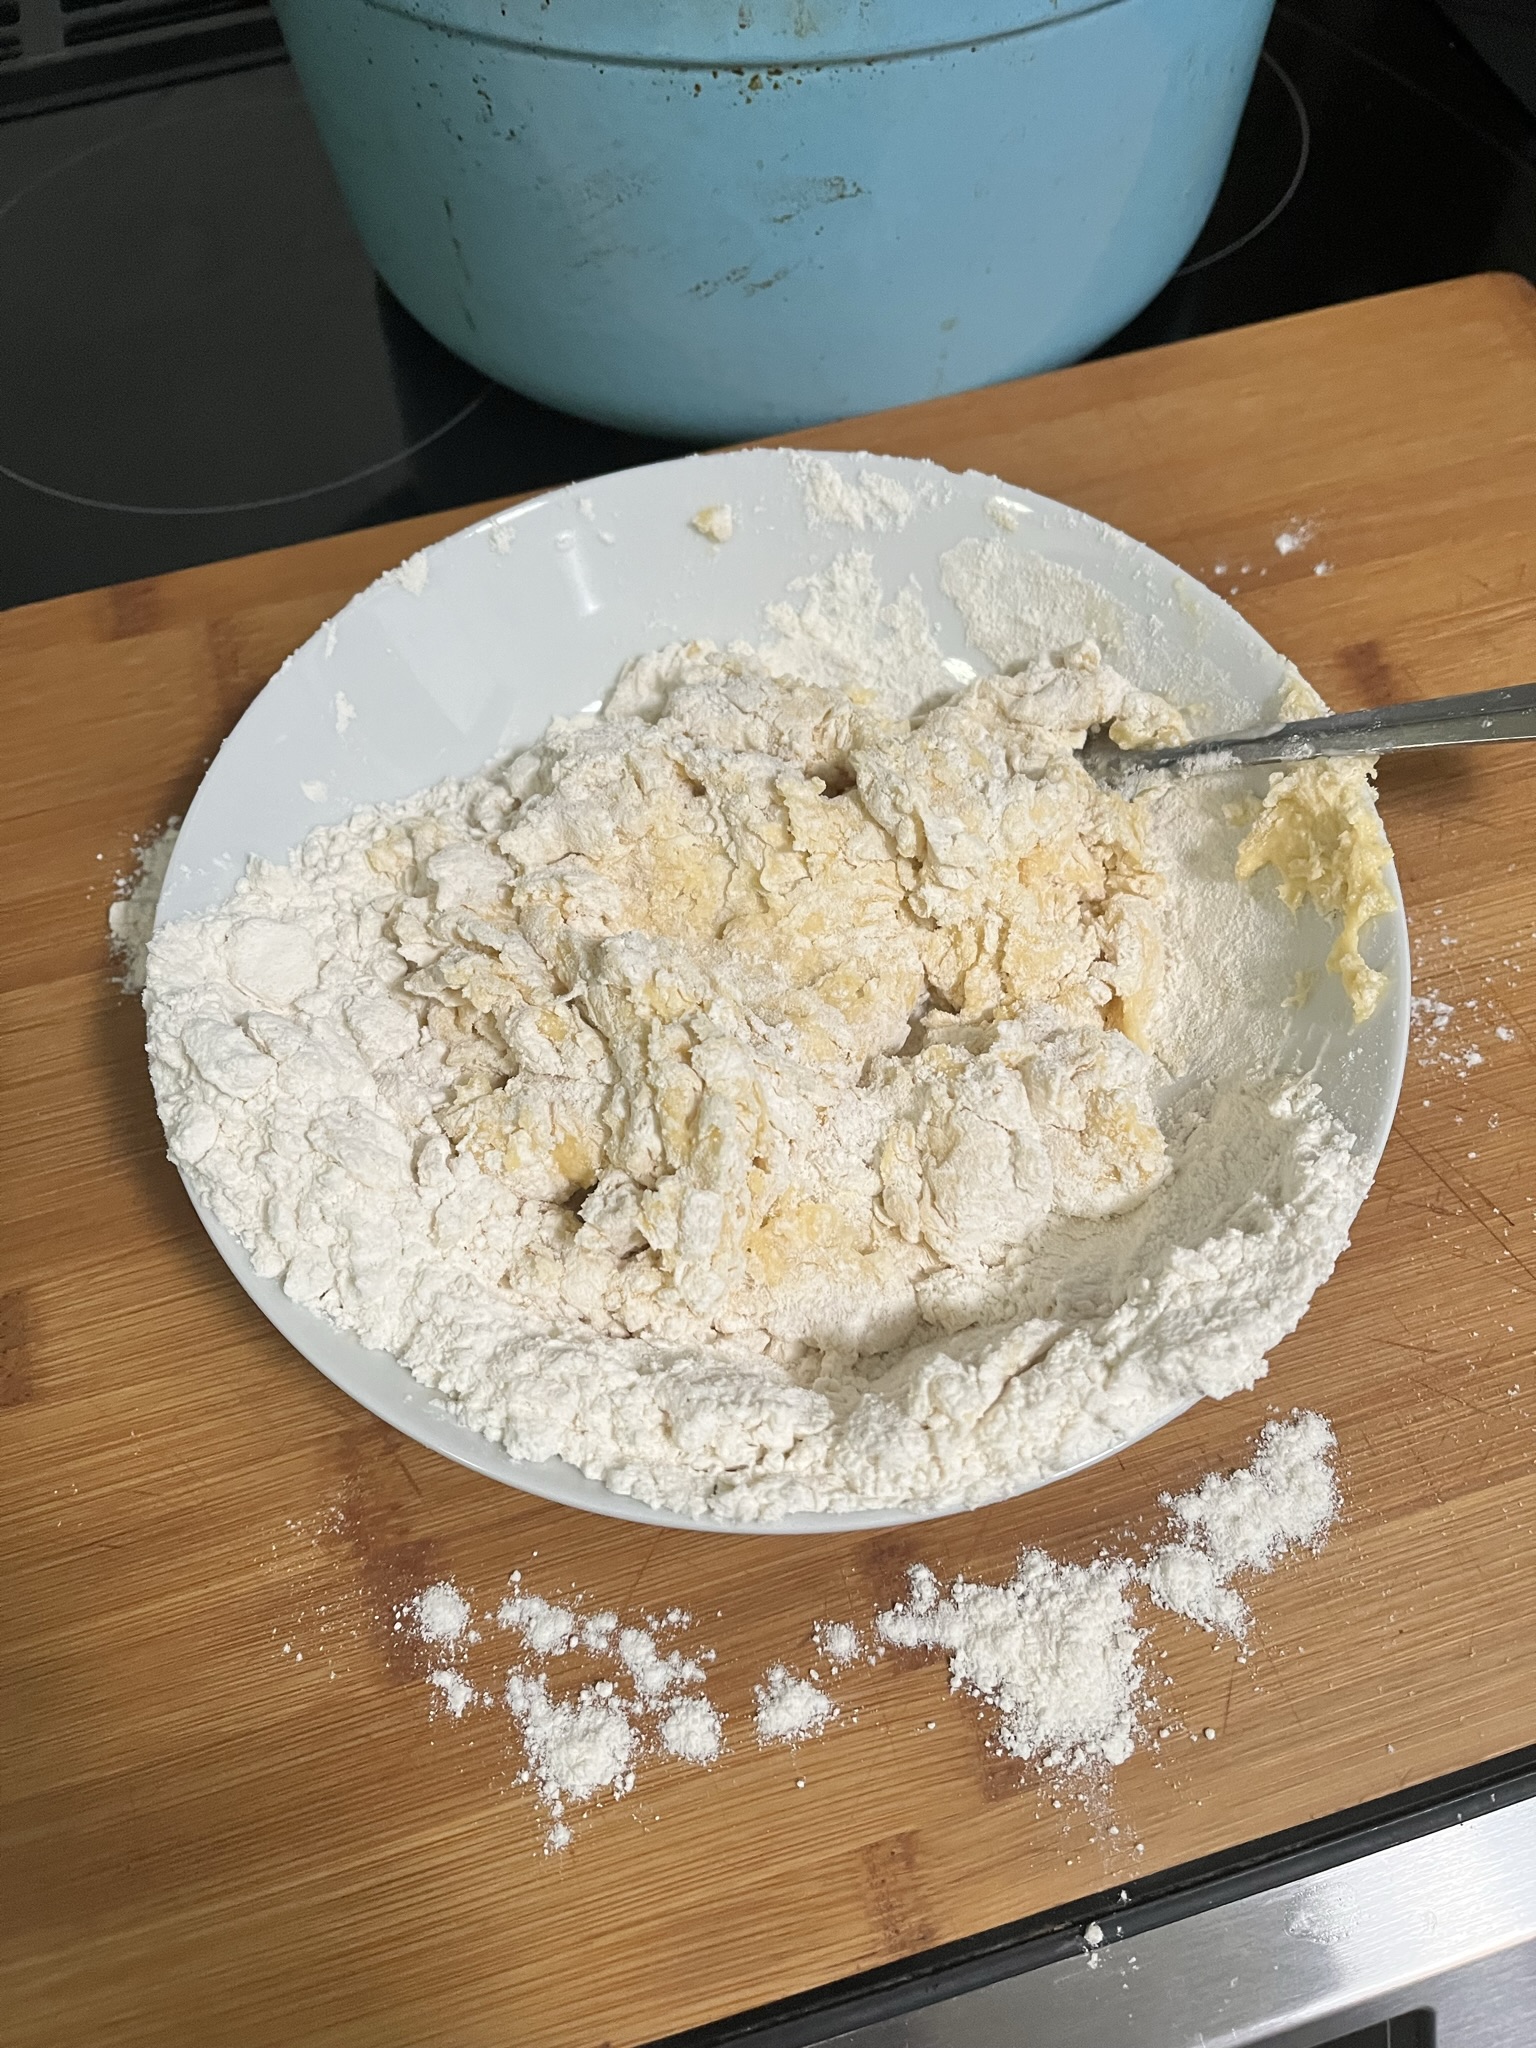
  • Using a fork or your fingers, break up the egg and slowly start mixing the surrounding flour walls into the egg.
  • Continue to mix the egg and flour.
  • When you can no longer mix the egg and flour with a fork, switch to your hands! If you have your mix in a bowl, I would recommend turning it out onto a flat surface at this time.
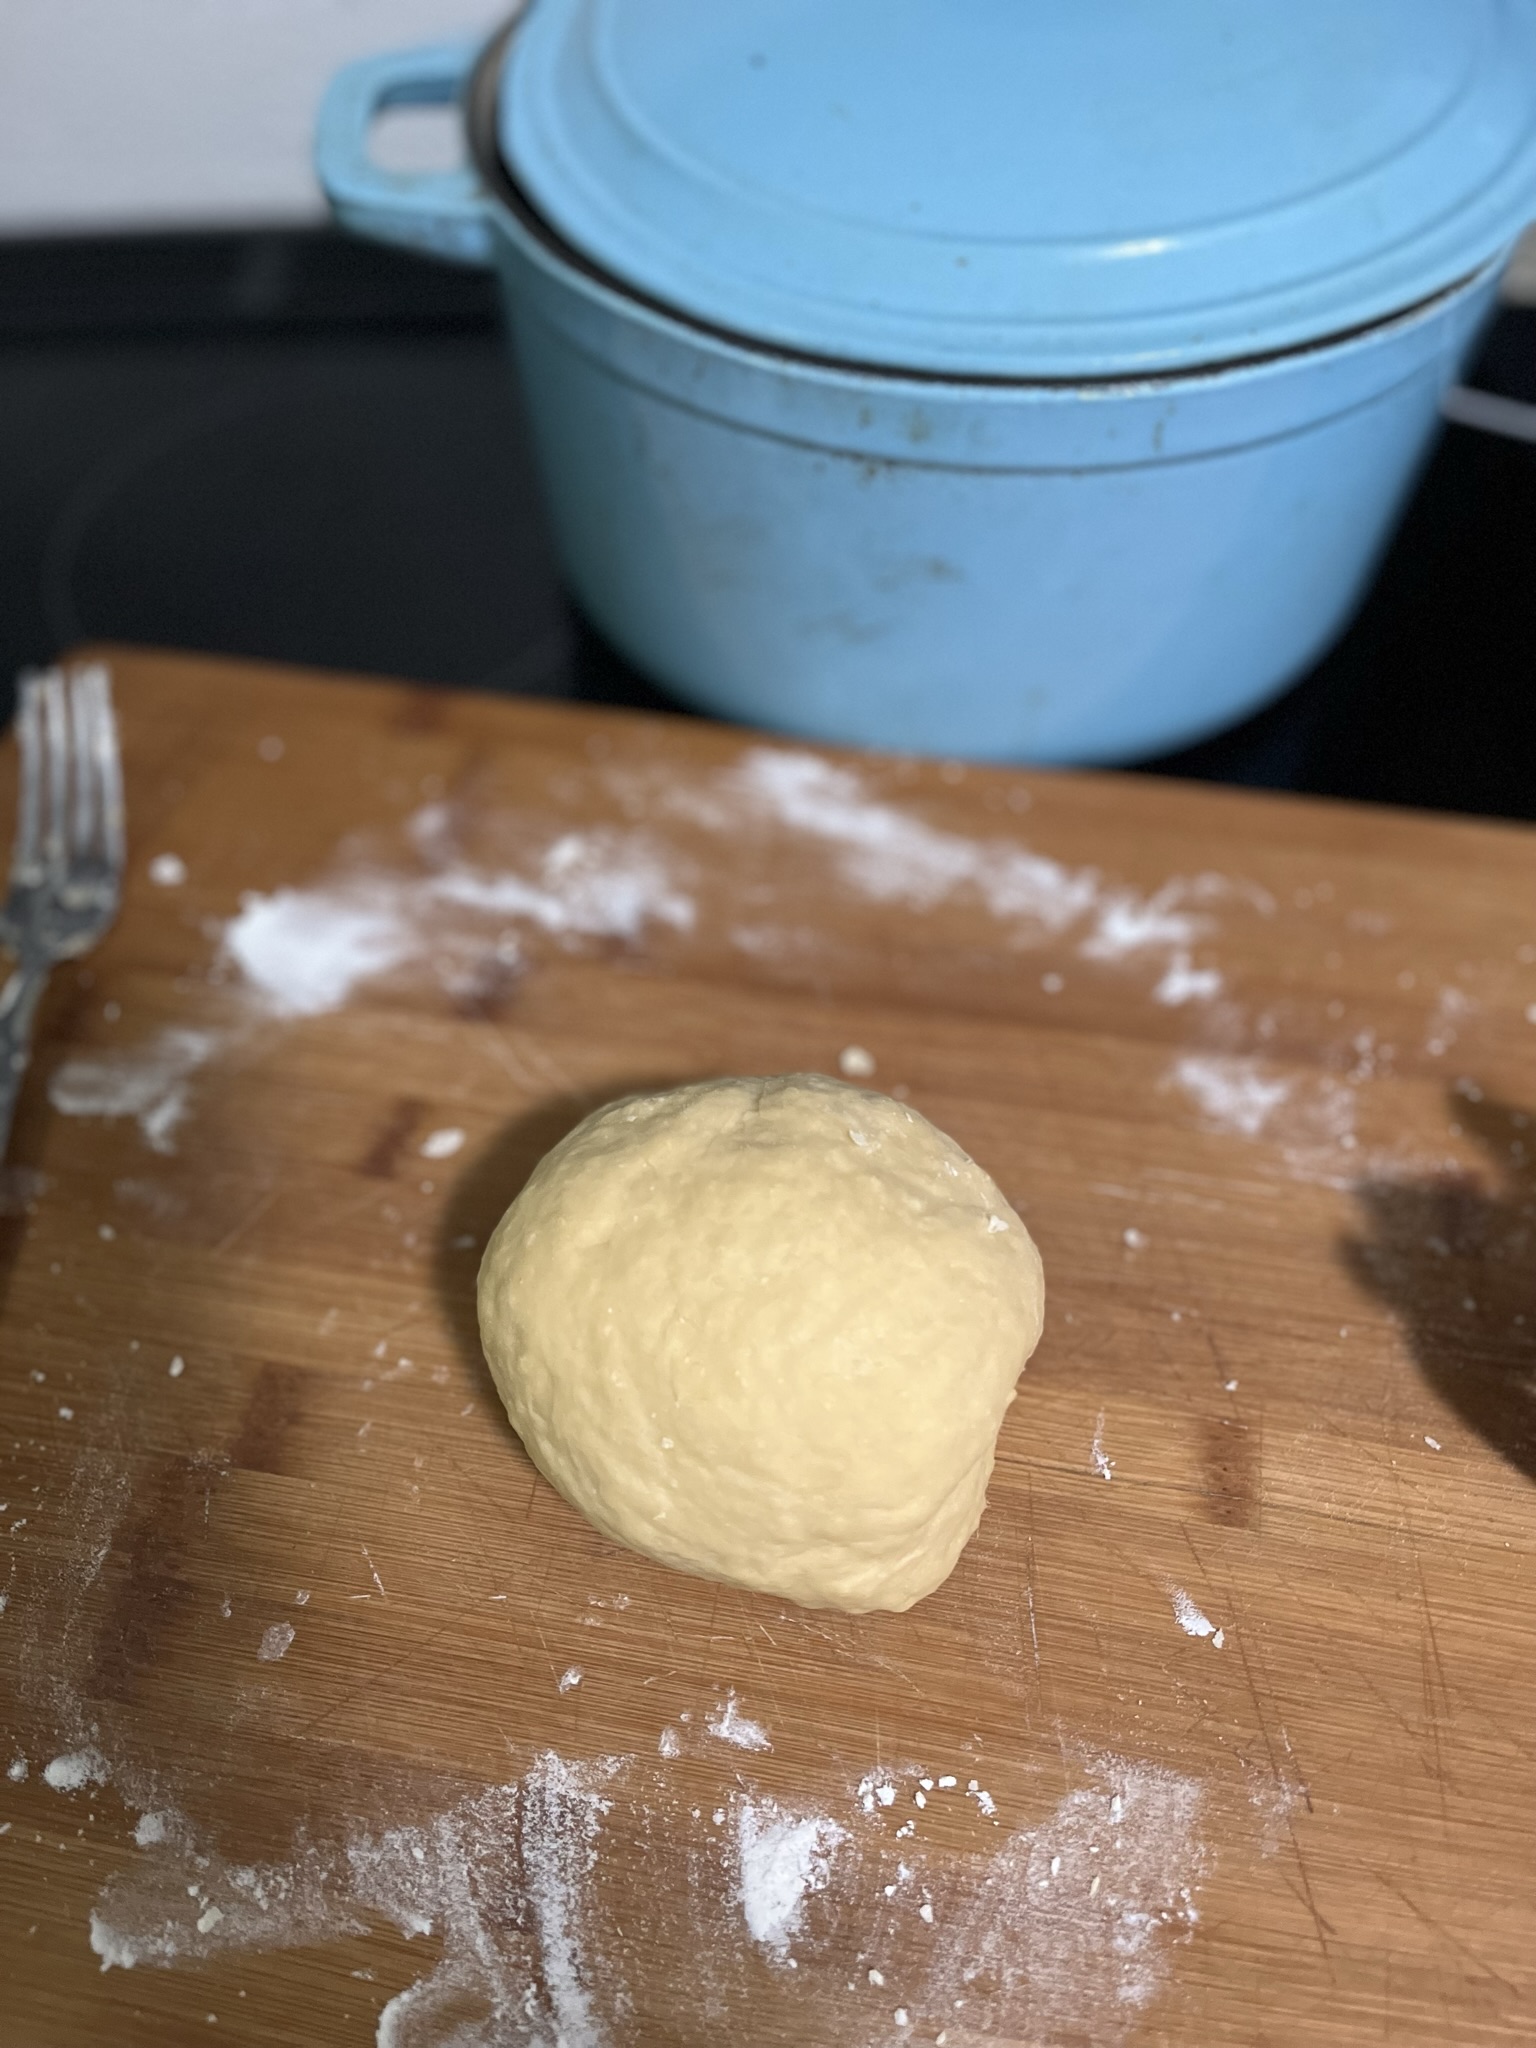
  • Continue pressing, folding, kneading the dough until you have a smooth dough ball. If the dough is still too sticky, add 1/2 tsp of flour at a time until the dough comes together. If the dough is too dry and falling apart, run your hands underwater so they are damp, and continue working the dough.
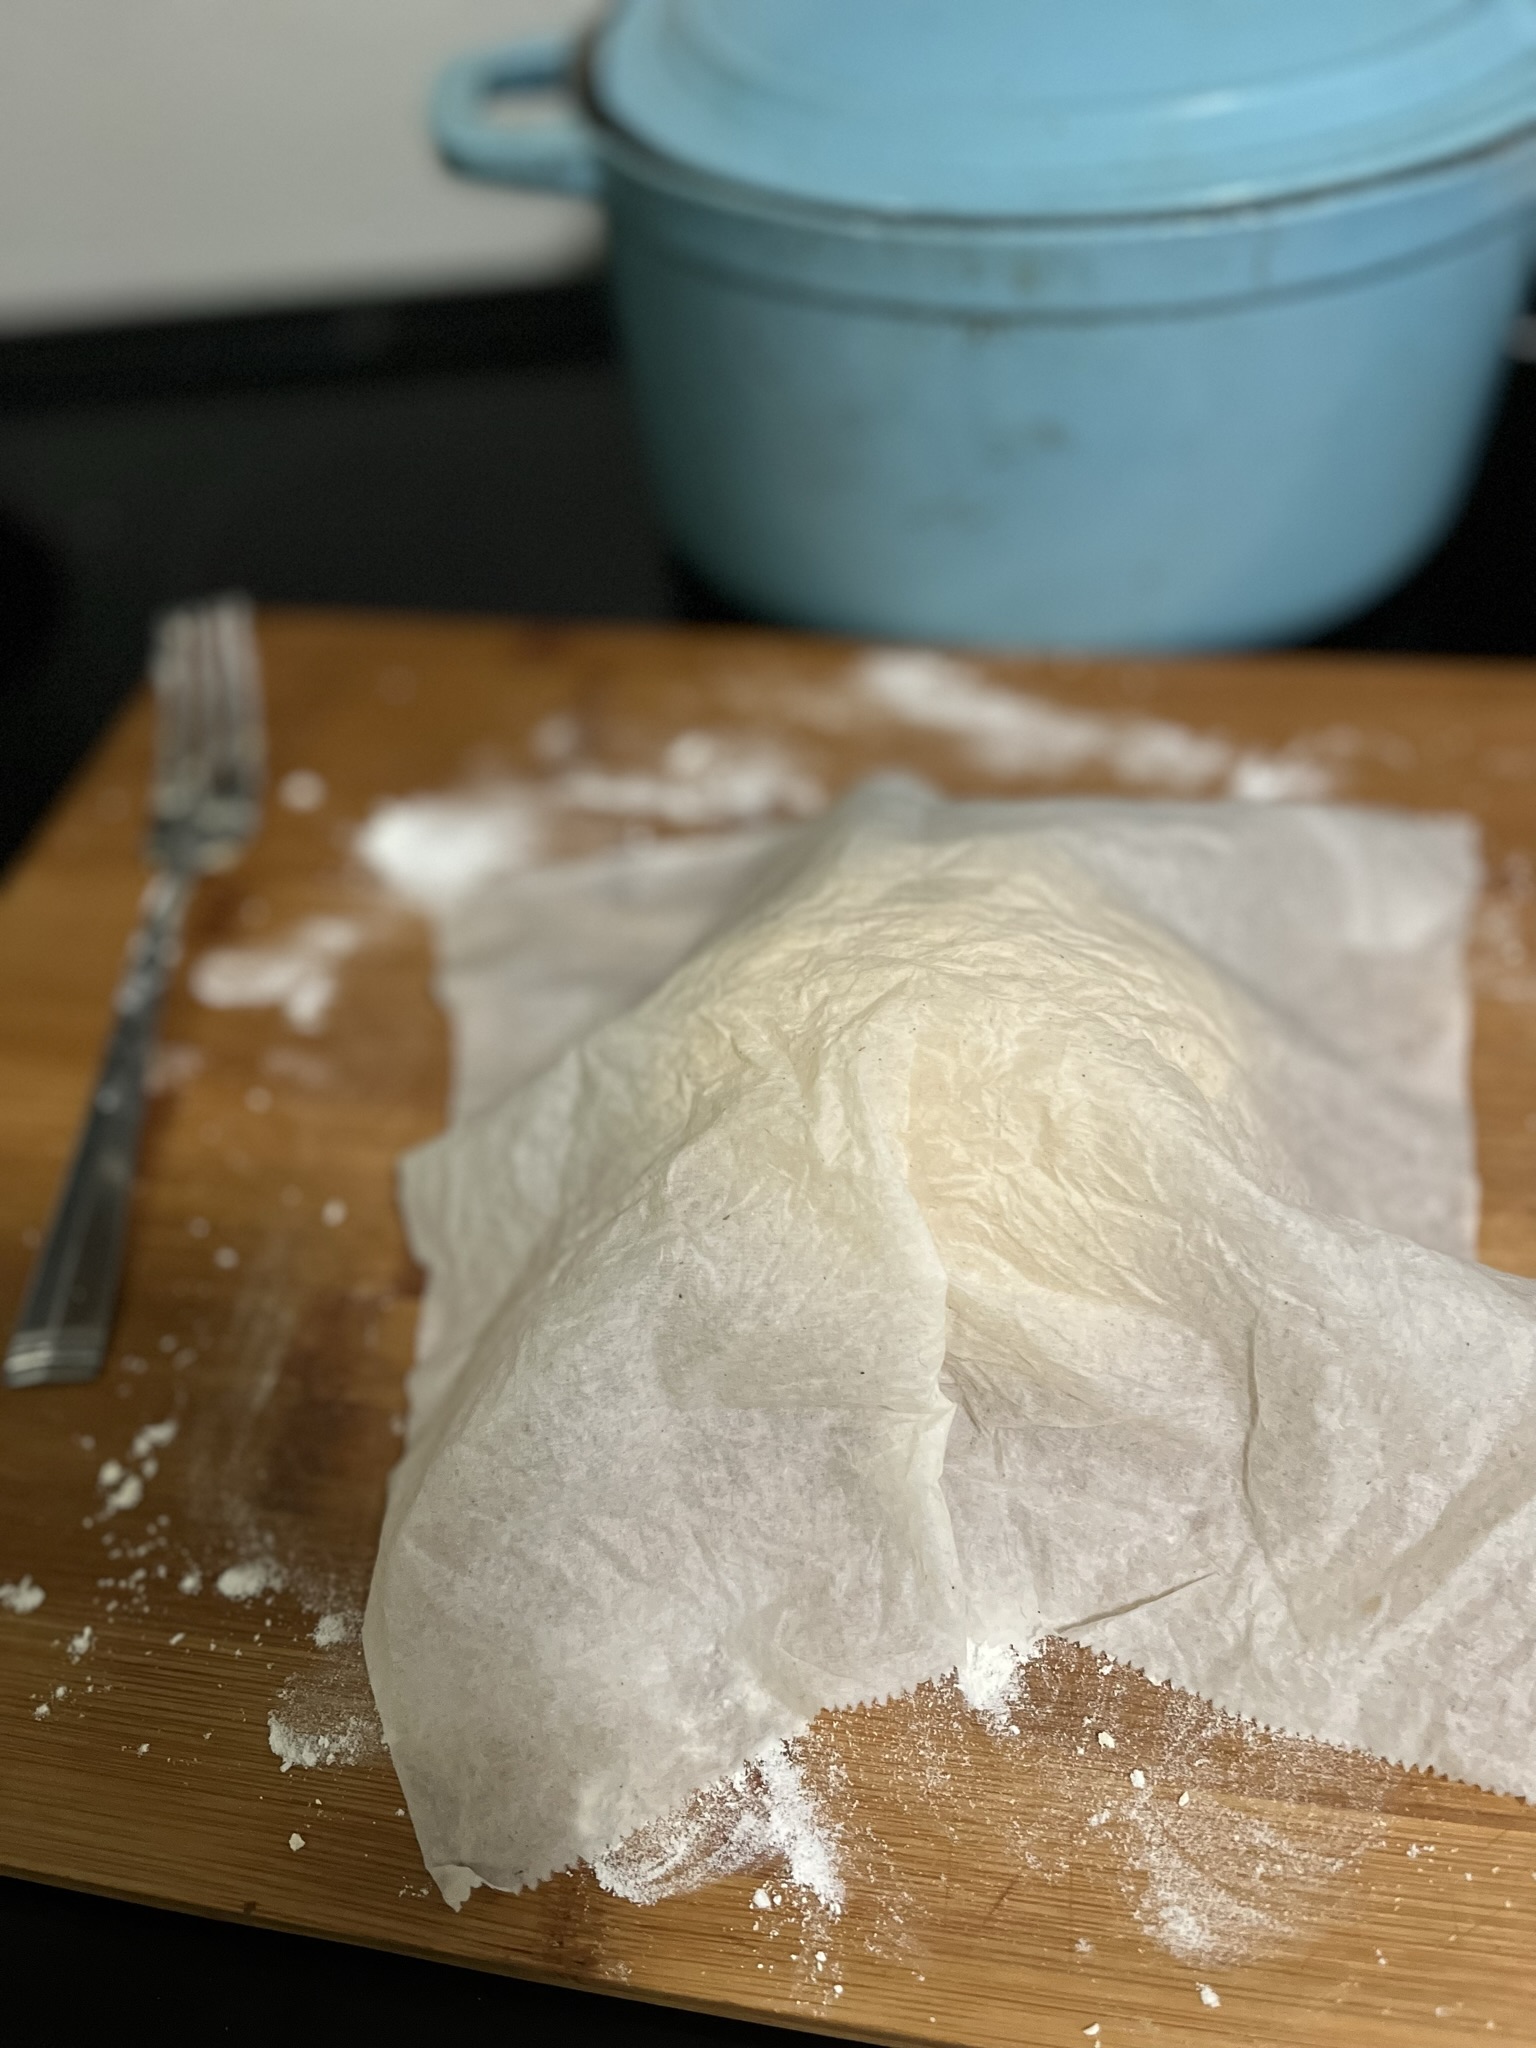
  • Shape the dough into a ball and cover with a damp towel for ~15 minutes to rest. After 15 minutes, the dough should be soft and smooth.
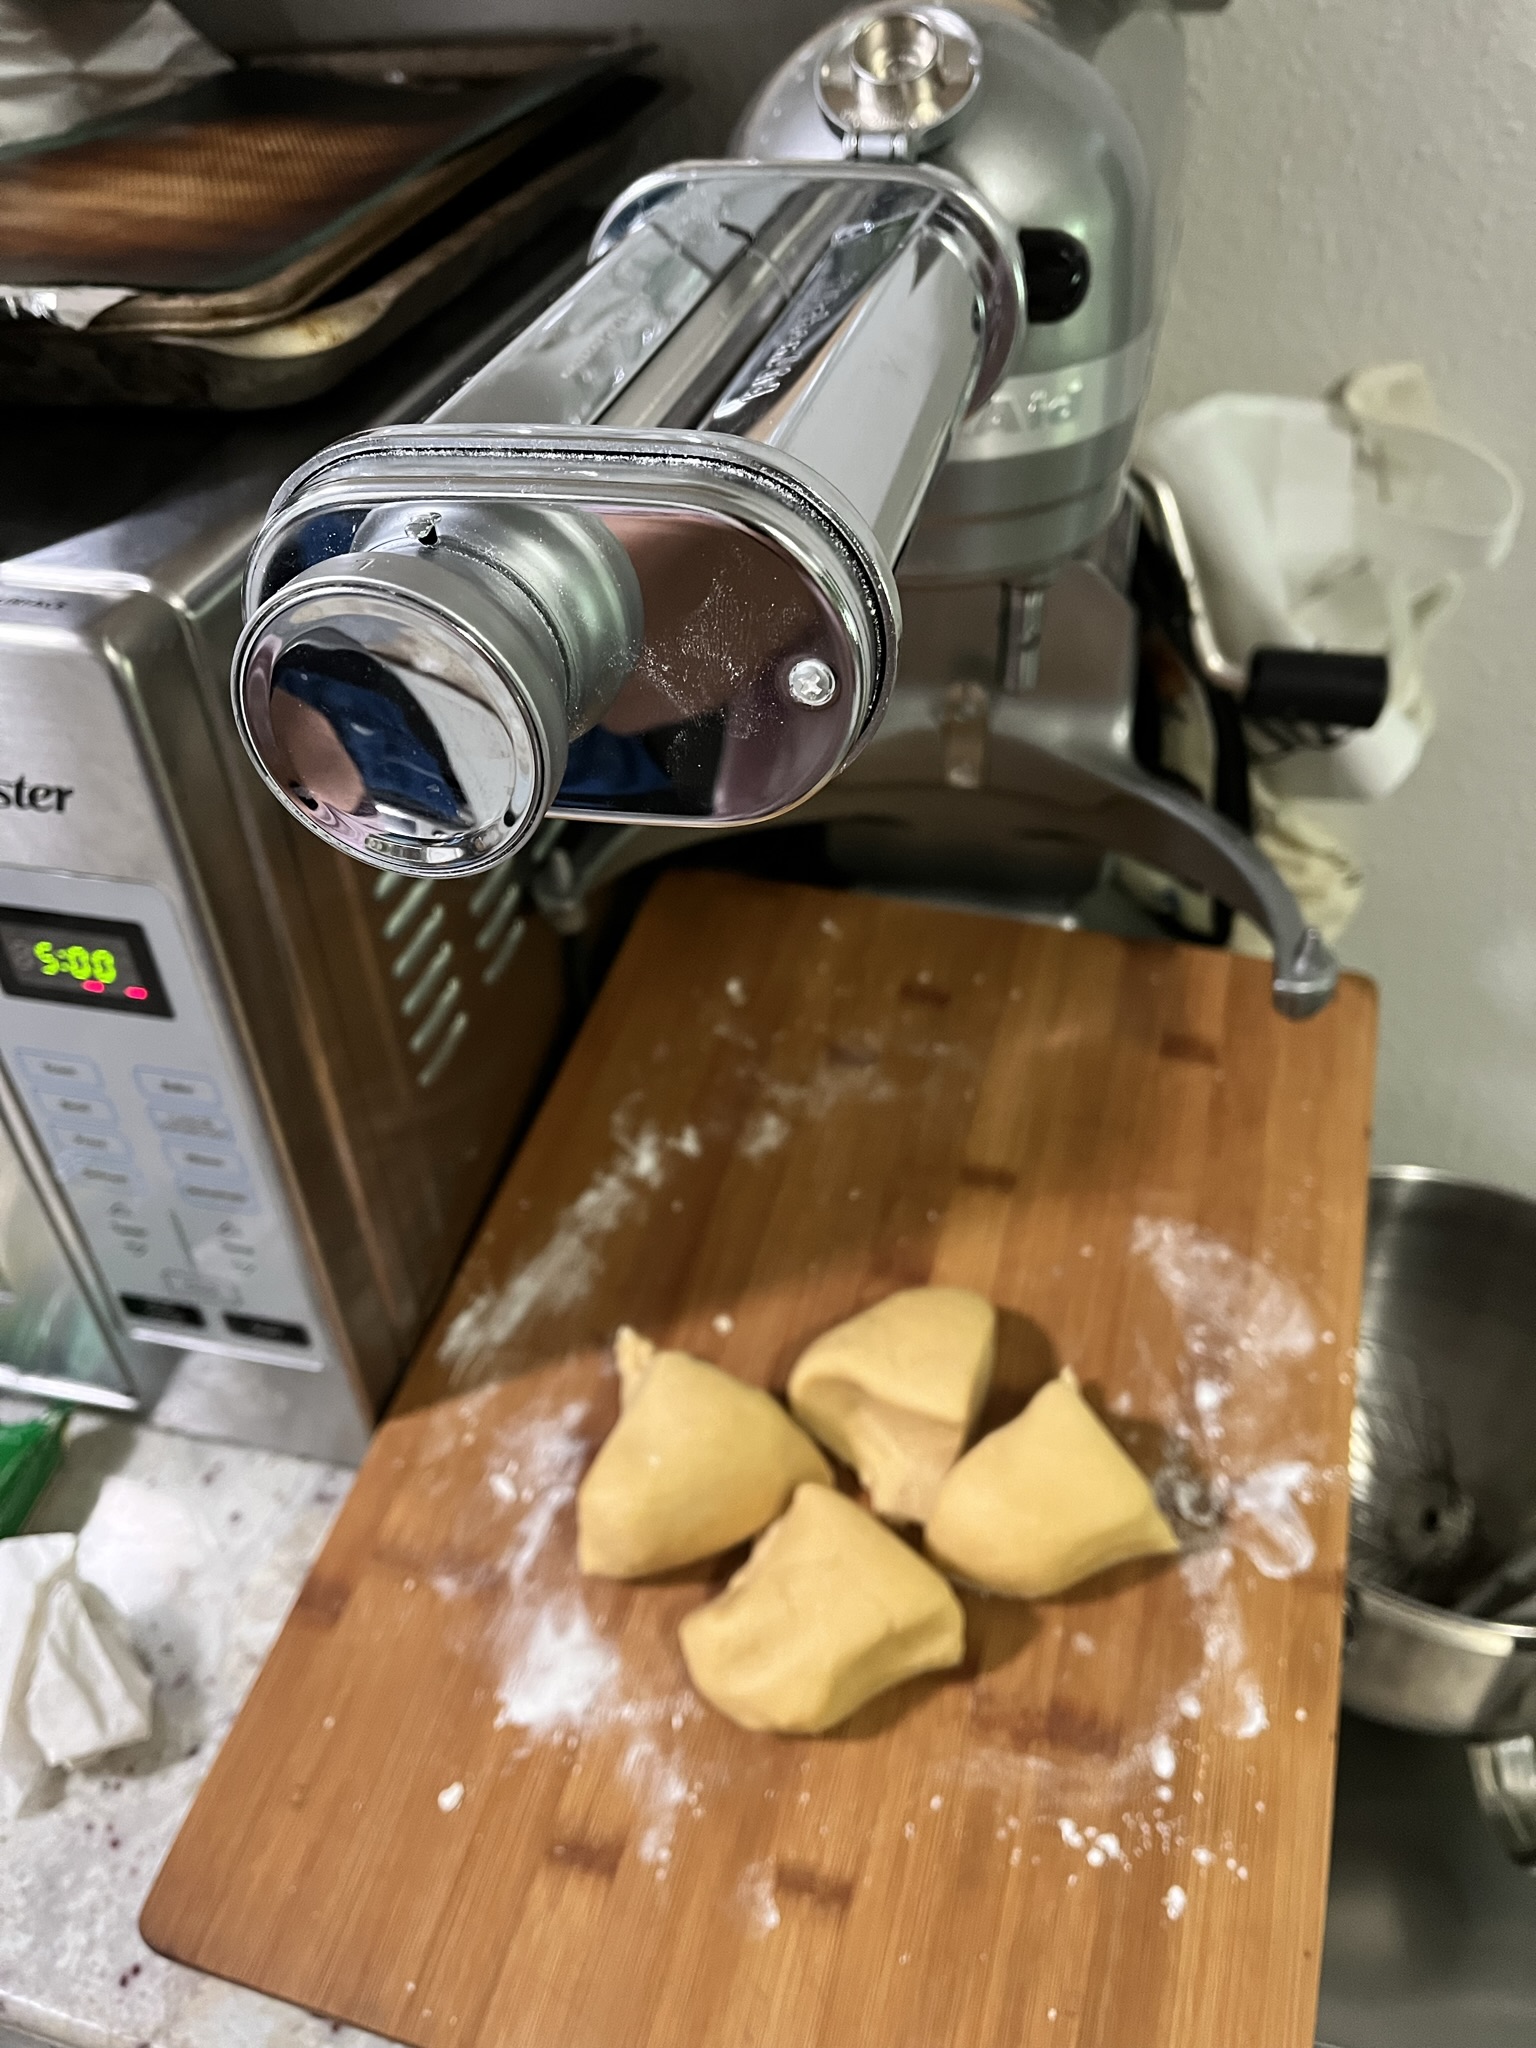
  • Cut the dough ball into smaller pieces to make it easier to work with when running through the pasta roller. Dust each side of the squished dough with flour to prevent sticking in the pasta roller.
  • Flatten the smaller dough balls and run through the pasta maker, starting at the widest setting and moving to the thinnest setting. Dust with additional flour if sheets are getting sticky or you notice significant wrinkles.
  • Cut sheet of pasta into shorter lengths to make them more manageable.
  • Repeat rolling of all pasta dough balls.
  • Change or adjust your attachment to whichever cutting form you like. I've really been liking the spaghetti shape right now.
  • Run the rolled sheets of pasta through the cutter one at a time.
  • Dust cut noodles with more flour to prevent them from sticking. If not using immediately, they can be frozen or hung to dry.
  • If serving immediately, cook in boiling water ~5 minutes until texture is to your liking.

Serve some veggies on the side like Honey Balsamic Roasted Brussels Sprouts.

Carbs on carbs, right? Have some bread or My Favorite Focaccia.
Black Bean Burgers

So here’s my beef (hehe) with most black bean burgers:

Flavor – Bean burgers that are sold at most restaurants and grocery stores can be over-seasoned. The seasonings typically used (paprika, chipotle chili pepper, cumin, etc) usually overwhelms the rest of the burger. It really distracts from the creaminess of the beans and the rest of the burger toppings.

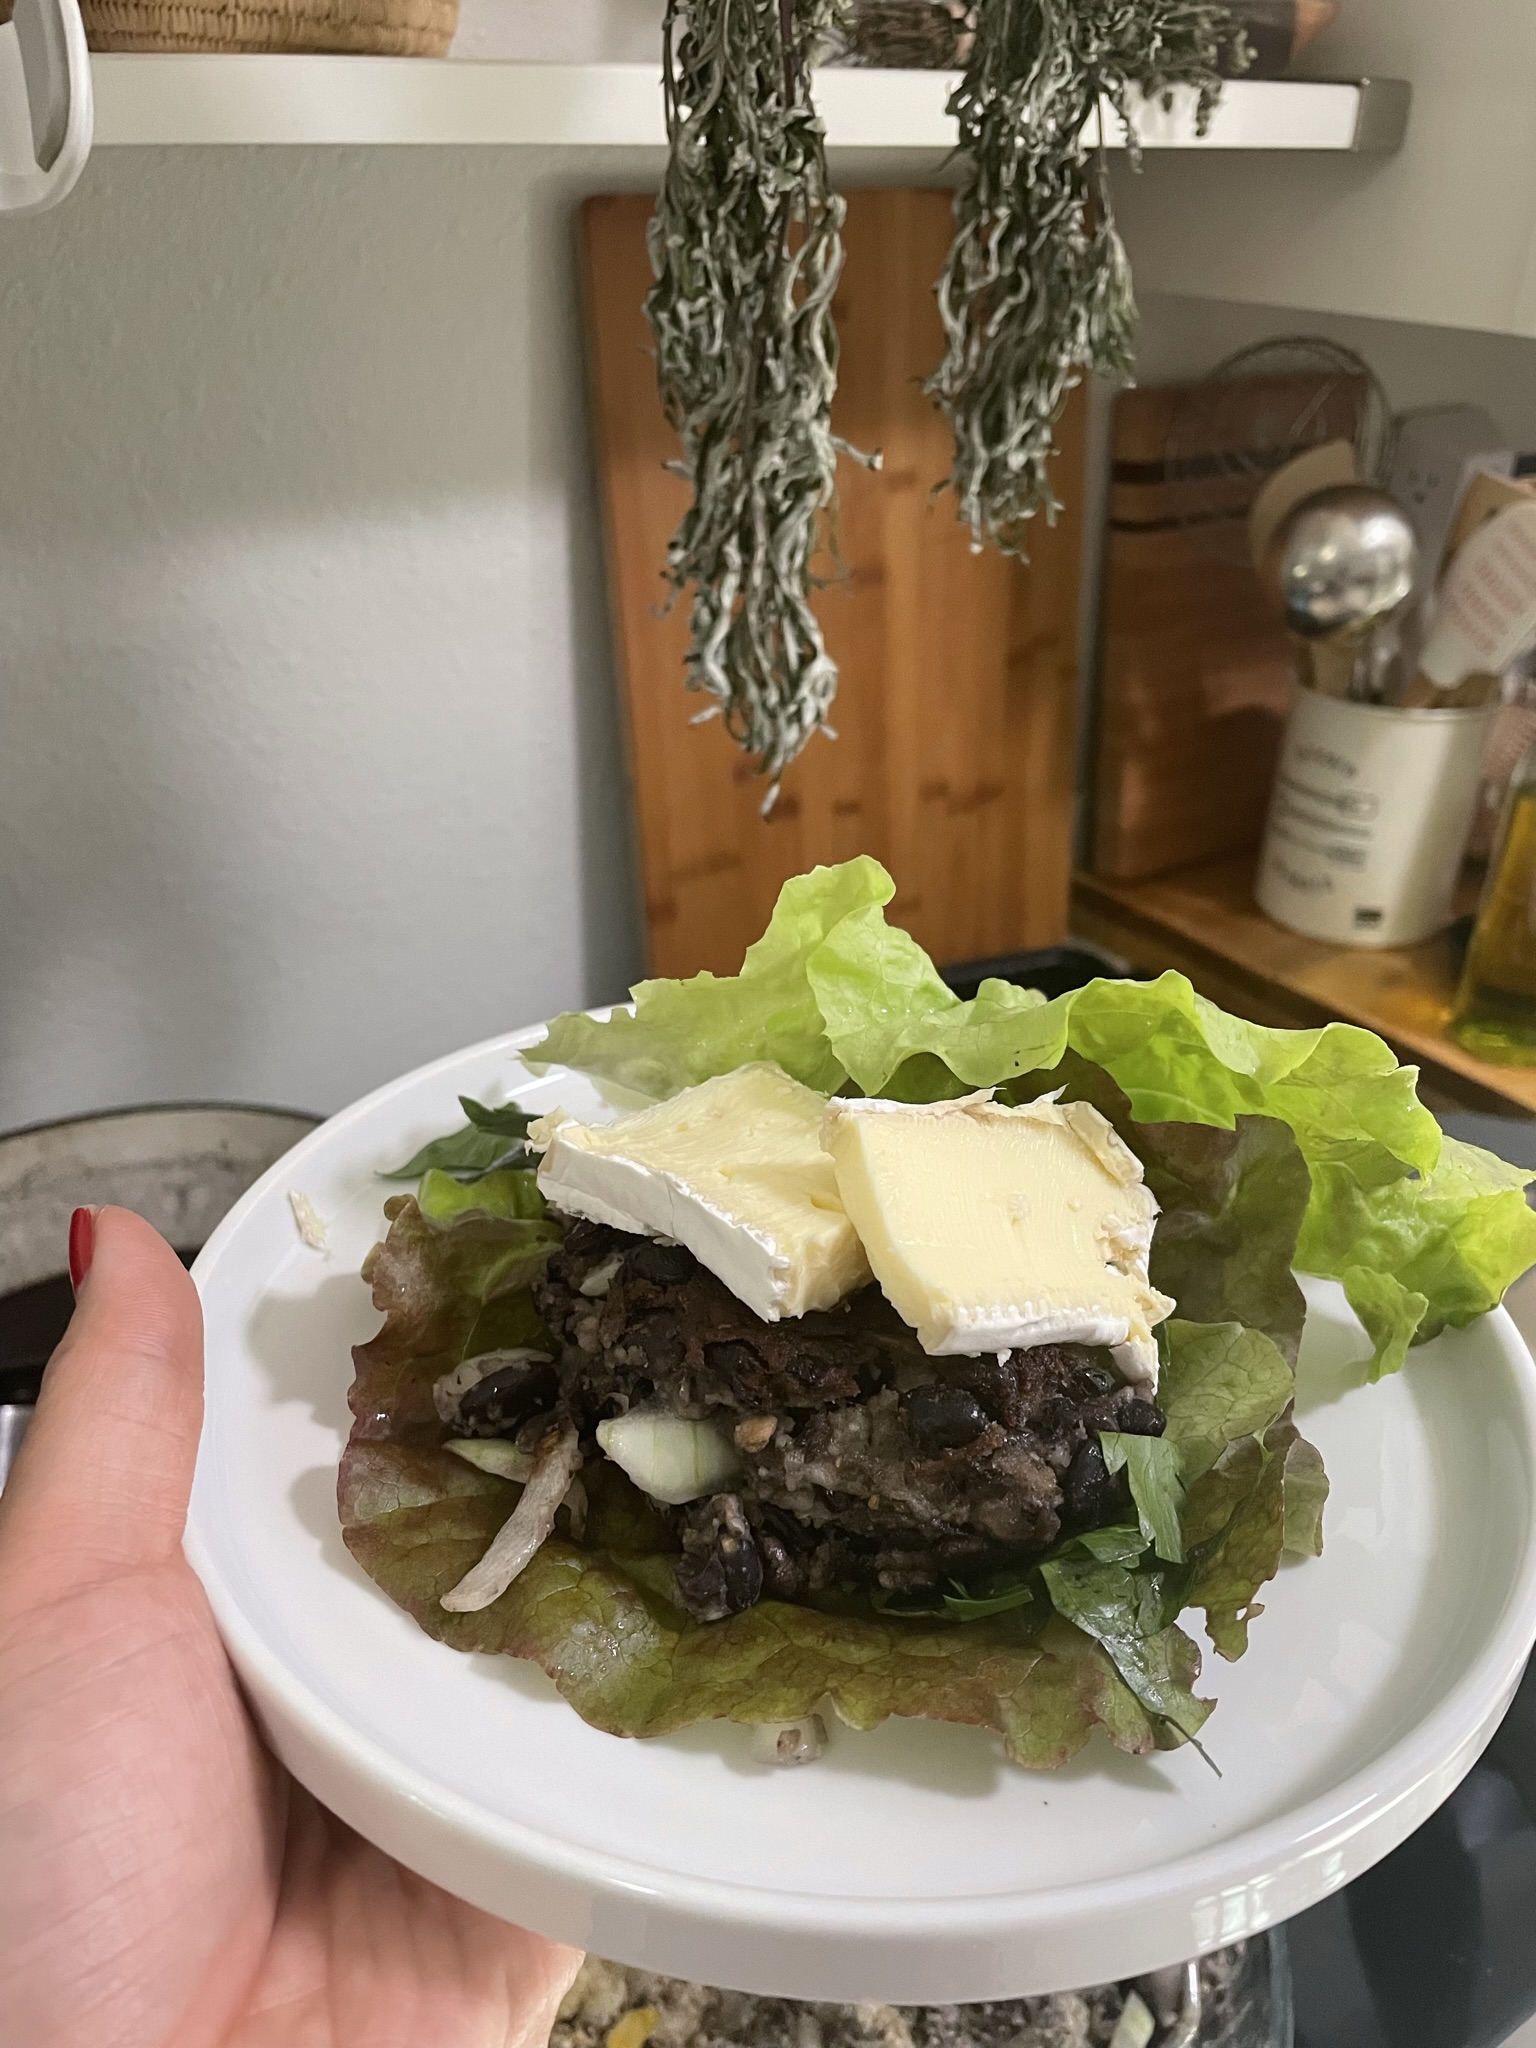
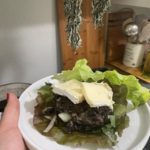
Texture – Some bean burgers I have are just straight mush. The beans have been pulverized into paste and then layered in between two soft buns, causing the entire burger to just turn into straight mush. This bean burger keeps textures interesting with every bite. The burger is flavorful on it’s own, but it isn’t distracting or overpowering if you’re trying some new burger topping combinations. I had mine with some brie, celery leaves, horseradish, and crunchy lettuce.

This recipe is great for meal prepping or creating a large quantity of burgers to freeze and save for a future time. I like to make this recipe to have burgers for dinner, and then keep the rest for another time. I will pre-shape my burgers and then put them in the freezer for another meal.

Ingredients

Beans – I used a mix of multiple kinds of beans. Black beans are the most commonly used, but feel free to mix it up with different types of beans.

Seasonings – I like to keep it simple with the seasonings, but if you like different flavors, go for it!

Eggs – Want to make this recipe vegan? Substitute the eggs with flax eggs (1 tbsp flax + 3 tbsp water)

Black Bean Burgers

Print Recipe
Finally – a black bean burger that isn't overwhelmed with seasonings or only has one texture.
Course Main Course
Keyword beans, black bean, burger, vegan, vegetarian
Servings 12 burgers

Equipment

  • 1 food processor optional

Ingredients

  • 6 cups beans cooked
  • 1 onion diced
  • 1 tbsp salt
  • 1 tbsp pepper
  • 1 tsp thyme
  • 1 tsp rosemary
  • 1 tsp sage
  • 1 cup breadcrumbs
  • 2 eggs

Instructions

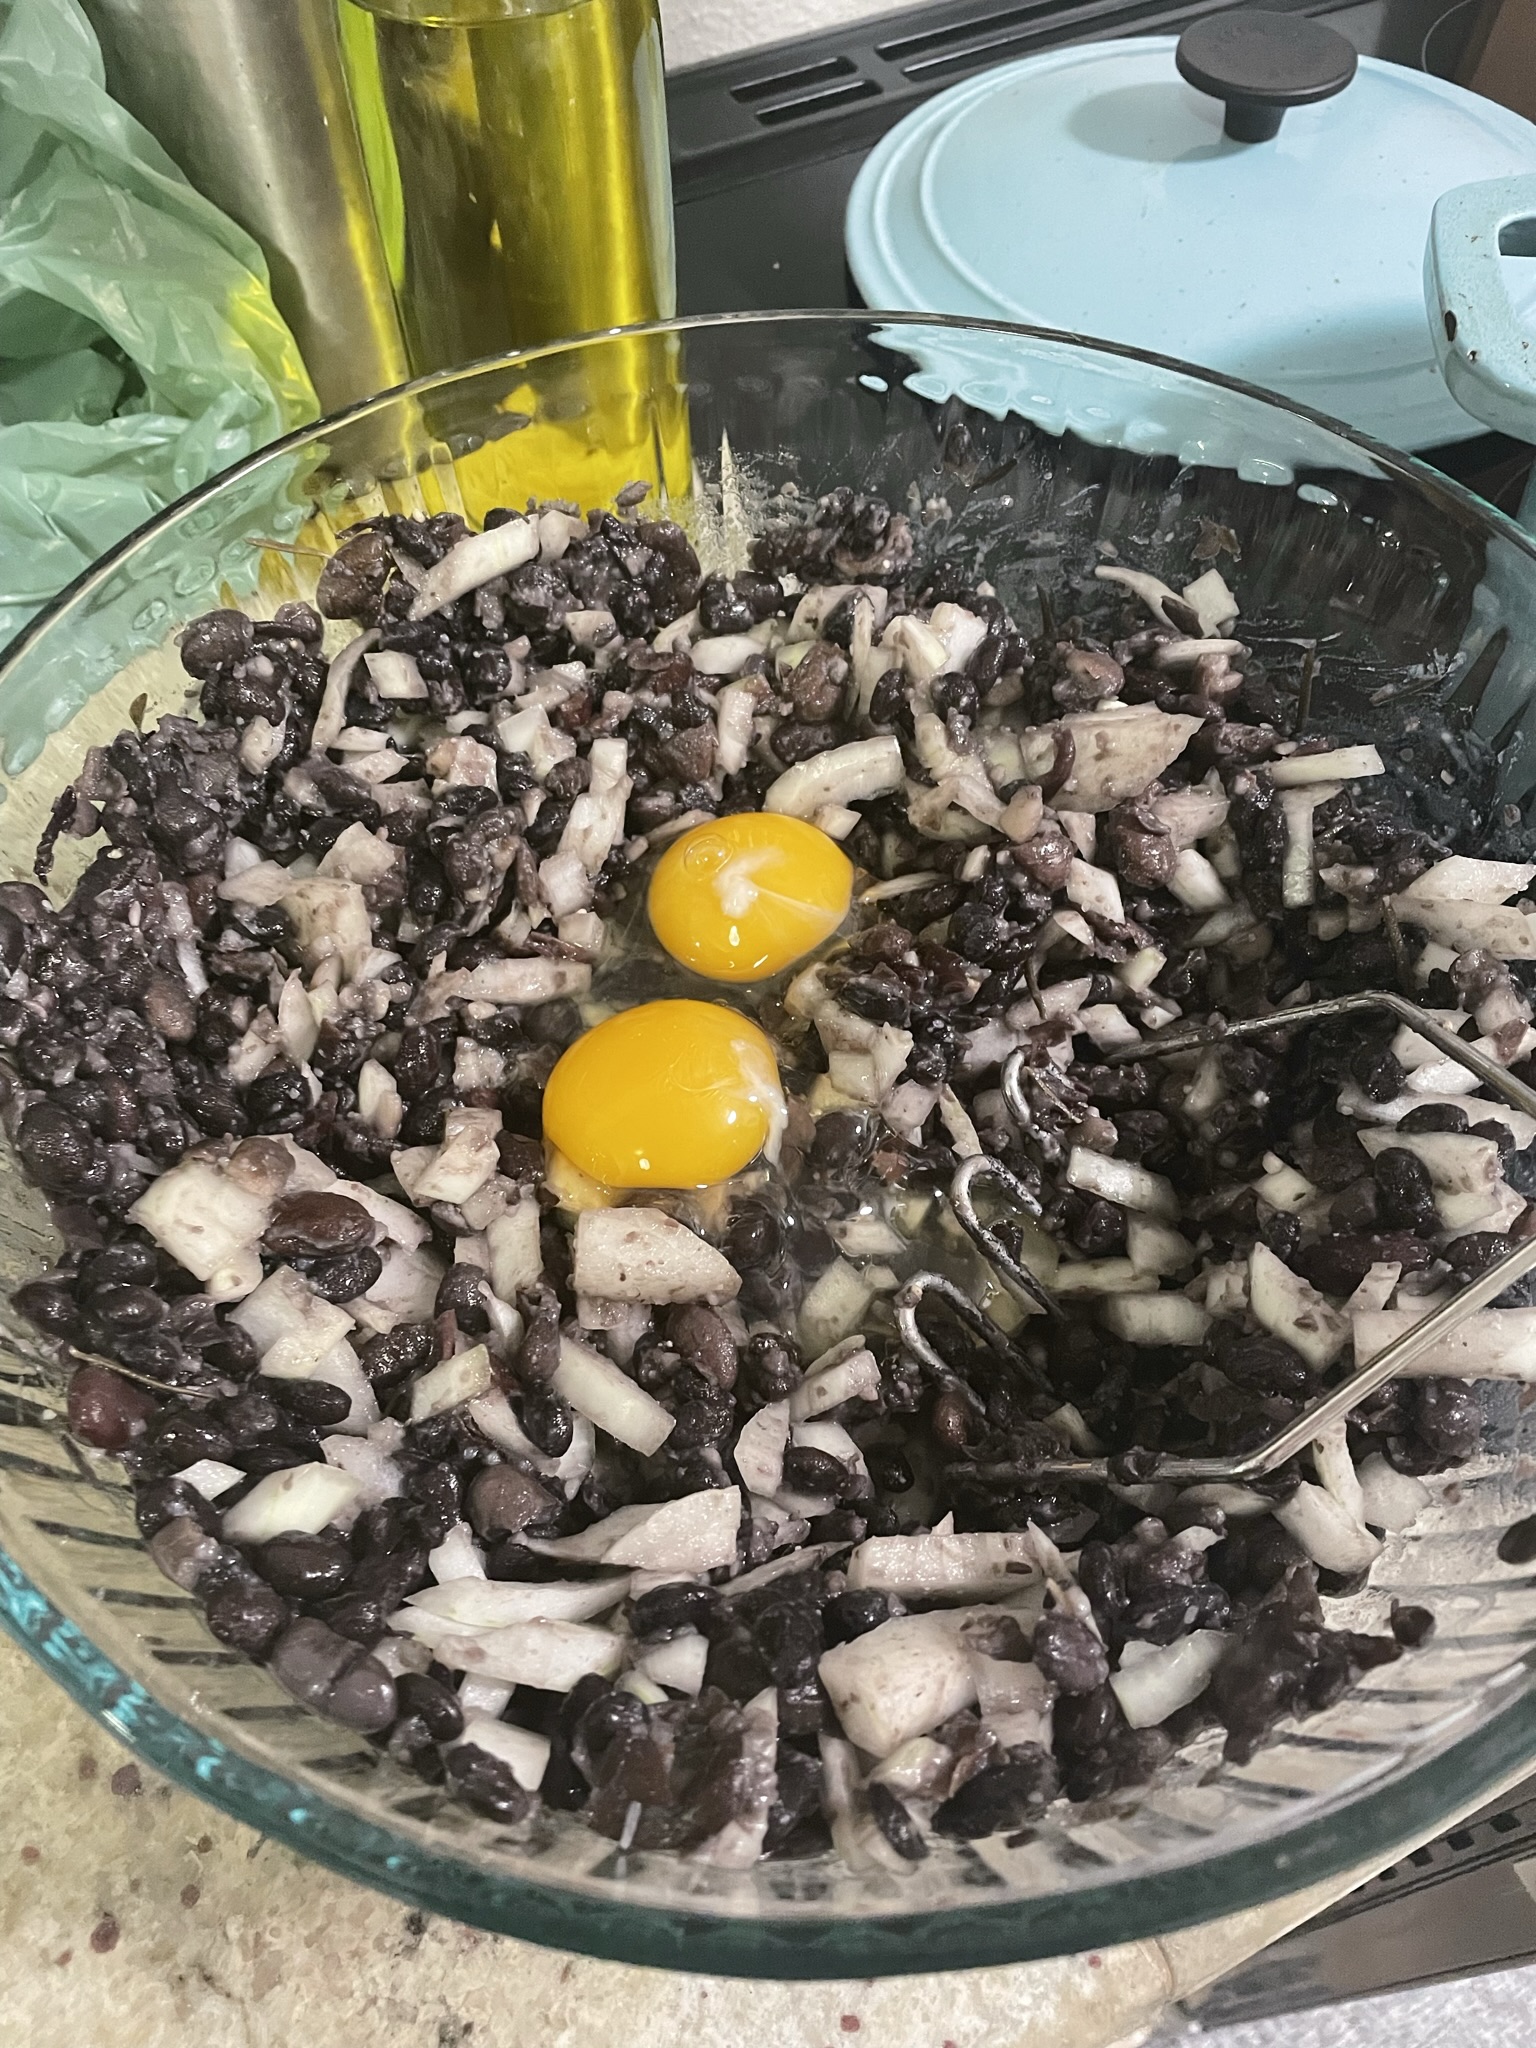
  • By hand or in a food processor, mash half of the beans to form a thick paste. It does not need to be completely creamy. If you like a burger more textured, leave the paste thicker! If you like the burger more creamy, mash until smooth.
  • Dice the onion. Dice in larger pieces for more texture or smaller pieces if you want the onion to "dissolve" more into the burger.
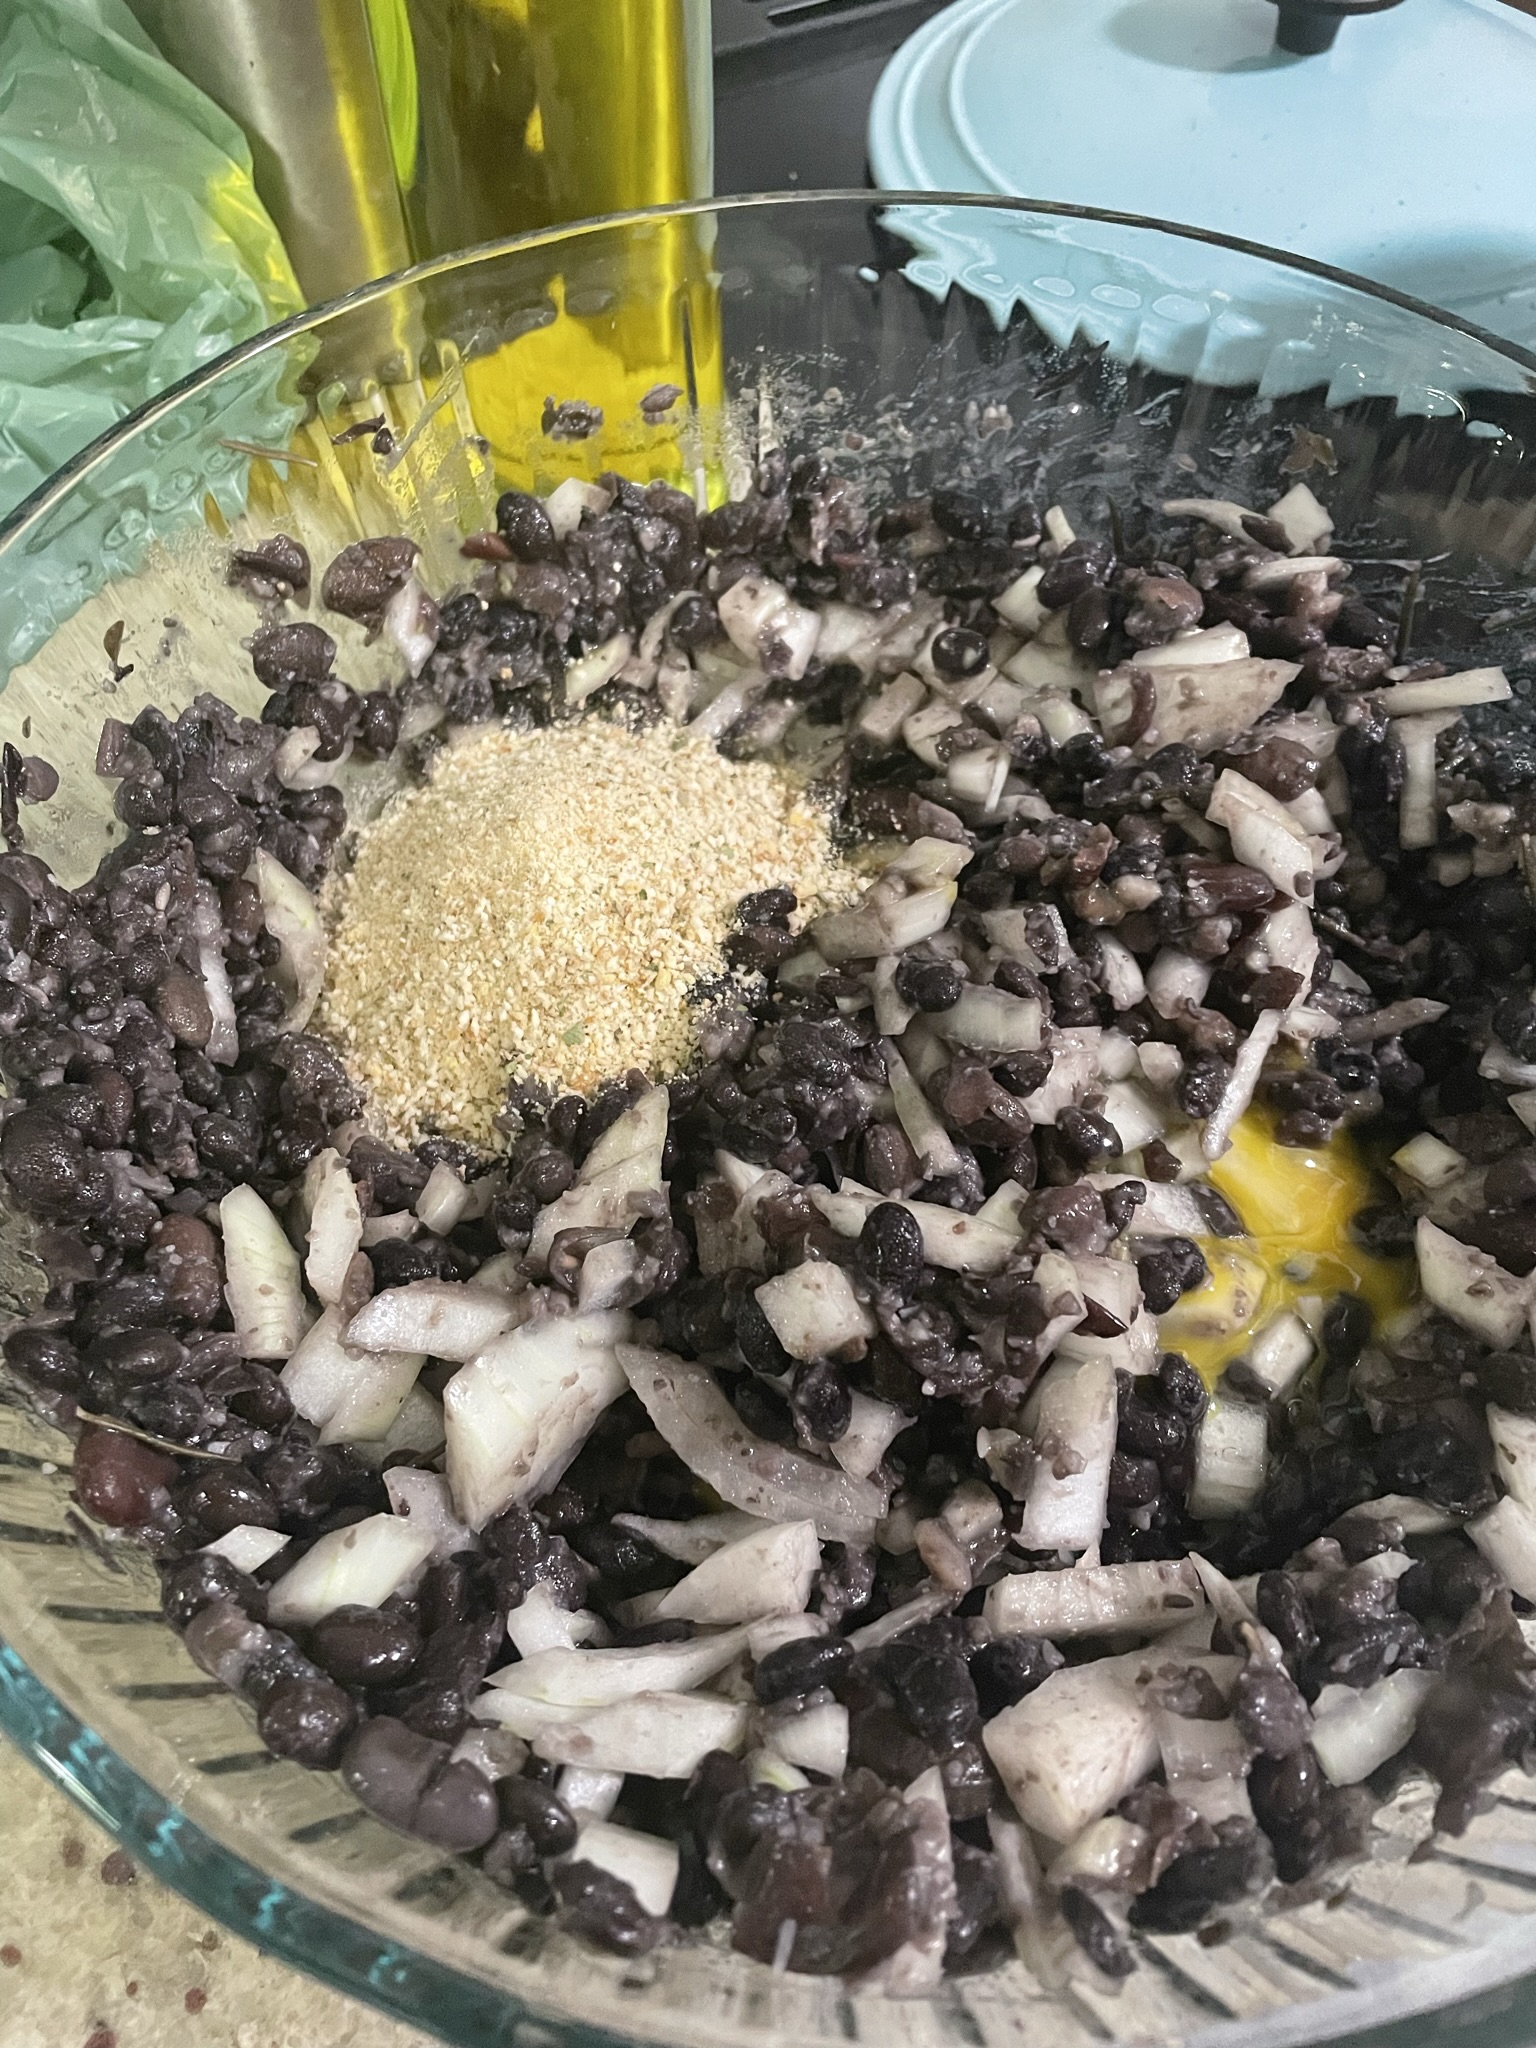
  • Mix the mashed beans with the whole beans and add seasonings (salt, thyme, rosemary, sage), eggs, and bread crumbs.
  • Using a 1/2 cup measure, shape portions of mixture into burgers. If you are making to freeze, shape and then freeze in a single layer. When burgers are frozen, transfer to a bag or container.
  • Cook on each side on medium-high heat for 5 minutes. Serve on your favorite bun with your favorite toppings!

Have some Honey Balsamic Roasted Brussels Sprouts on the side and maybe some summer-y Peach Galette for dessert.

Cheesy Egg Strata

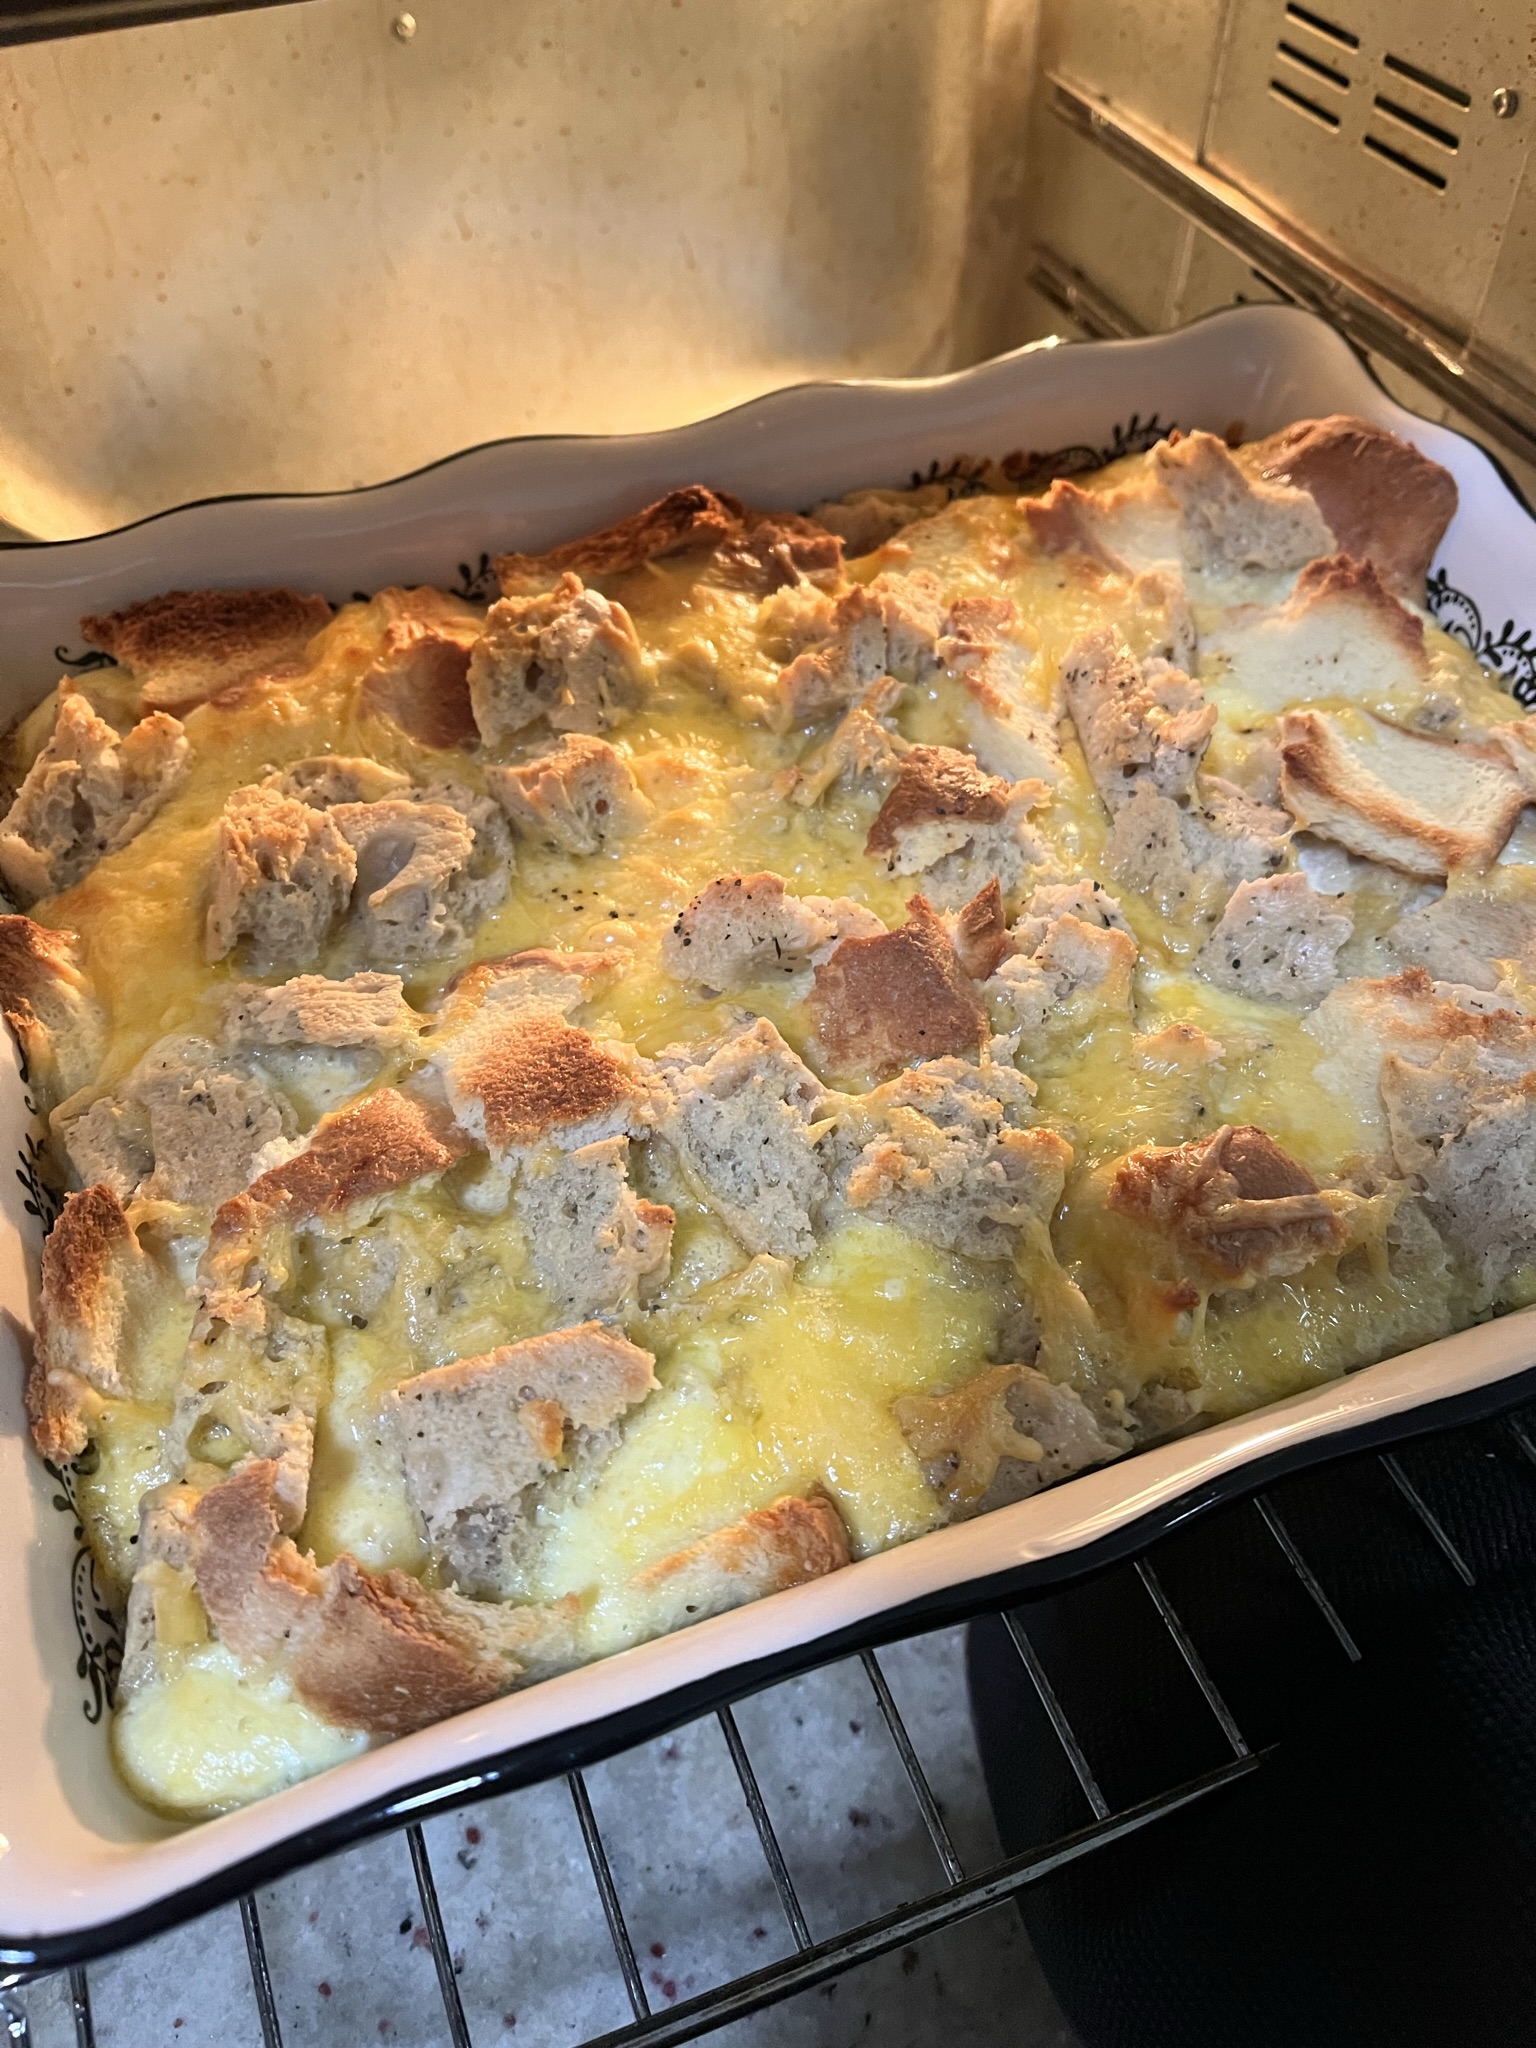
Summer is for brunching! Restaurant patios are open and everyone is trying to soak in the vitamin D while they can in the PNW. When you’ve maxed out on summer activities and need a weekend to relax, try doing brunch at home. I love to make strata when I have leftover bread or am going to a potluck (especially if it’s brunch themed). I typically save my sandwich bread butts, random sourdough loaf pieces, and chunks of focaccia in the freezer so I’m always ready to make a sweet or savory (aka strata) bread pudding. This recipe is for the most basic strata. Feel free to mix it up! I’ve made other variations of this strata with other mix-ins like mozzarella, pesto, rosemary, thyme, sundried tomatoes, salami, turkey, sausage, chicken, spinach, asparagus, and broccoli. Add what makes you happy!

Ingredients

Heavy cream/milk – I think this ratio of heavy cream and milk gives the most flavorful custard to your strata without being too bland. If you would like to use all milk and no cream, feel free to substitute, but it may not have the same level of flavor and richness.

Bread – Use any bread you have! I always save my pieces of stale bread in the freezer so my strata ends up being a variety of bread pieces like sandwich bread, focaccia, and sourdough crust.

Cheese – This is the basic strata I make since I can always find a block of cheese in my fridge or freezer. Feel free to add any kinds of mix-ins as you see fit!

Cheesy Egg Strata

Print Recipe
Perfect to feed a crowd at brunch! Requires simple ingredients and is so customizable!
Course Breakfast, Main Course
Keyword breakfast, brunch, strata

Equipment

  • 1 11 x 13 baking dish

Ingredients

  • 5 cups bread cubed or torn
  • 12 eggs
  • 1 cup heavy cream
  • 2 cups milk
  • 2 cups cheese shredded
  • 1 tsp salt
  • 1 tsp pepper

Instructions

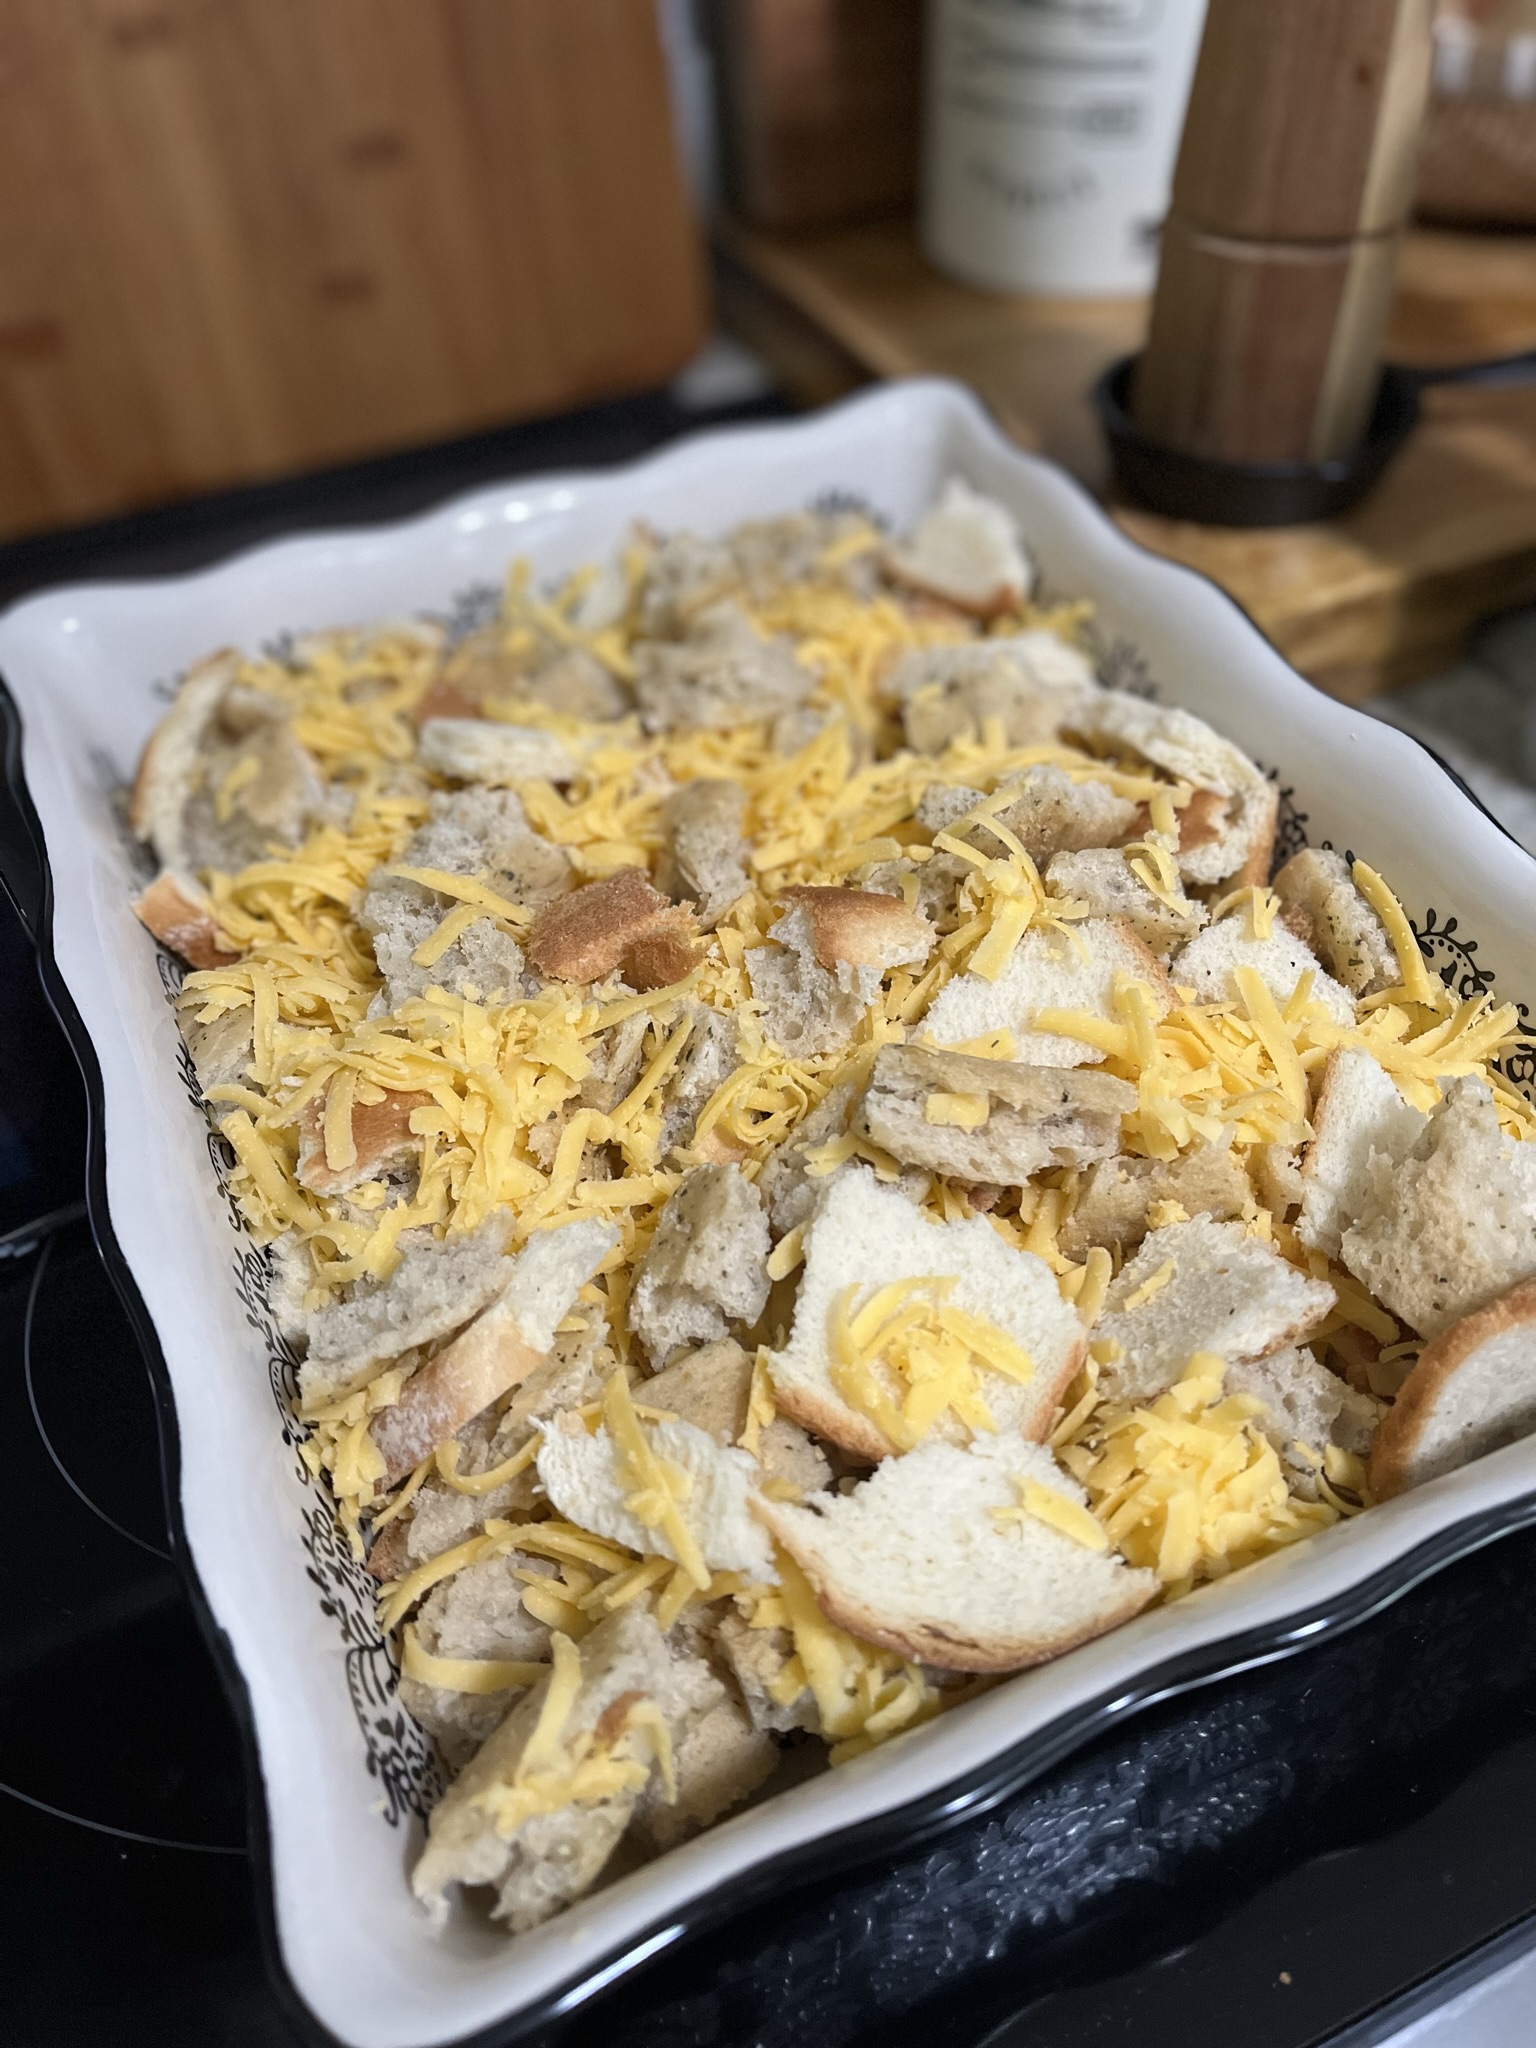
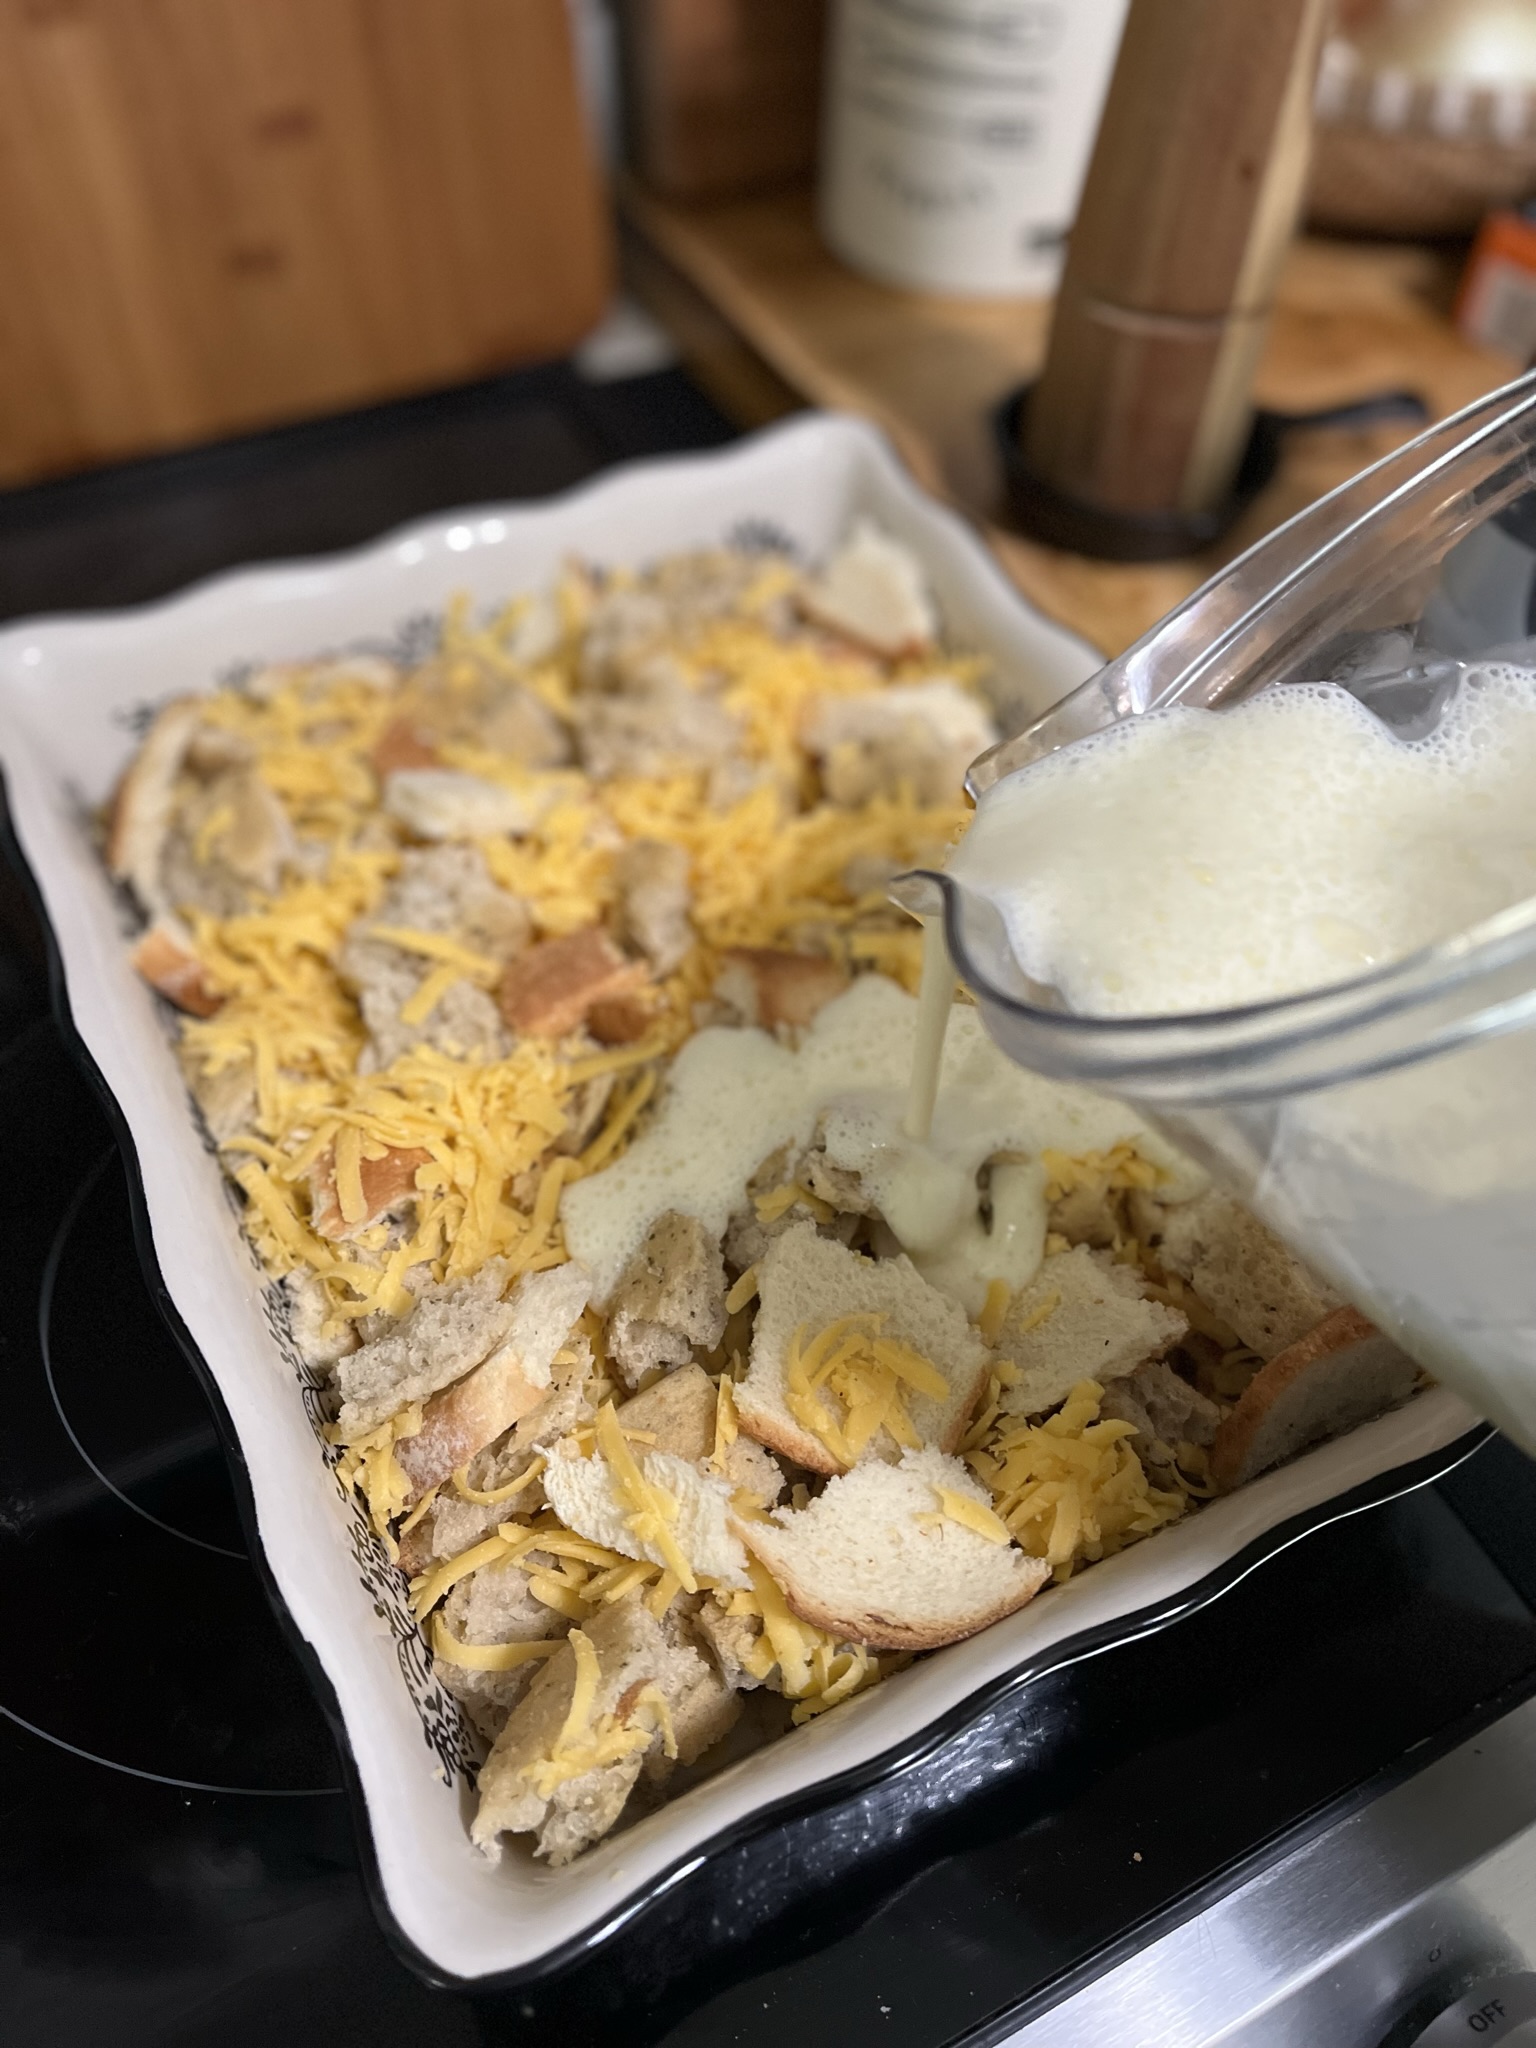
  • If not cubed already, cut or tear your bread into bite sized pieces. Mix in a baking dish with the cheese and any other mix-ins you might like.
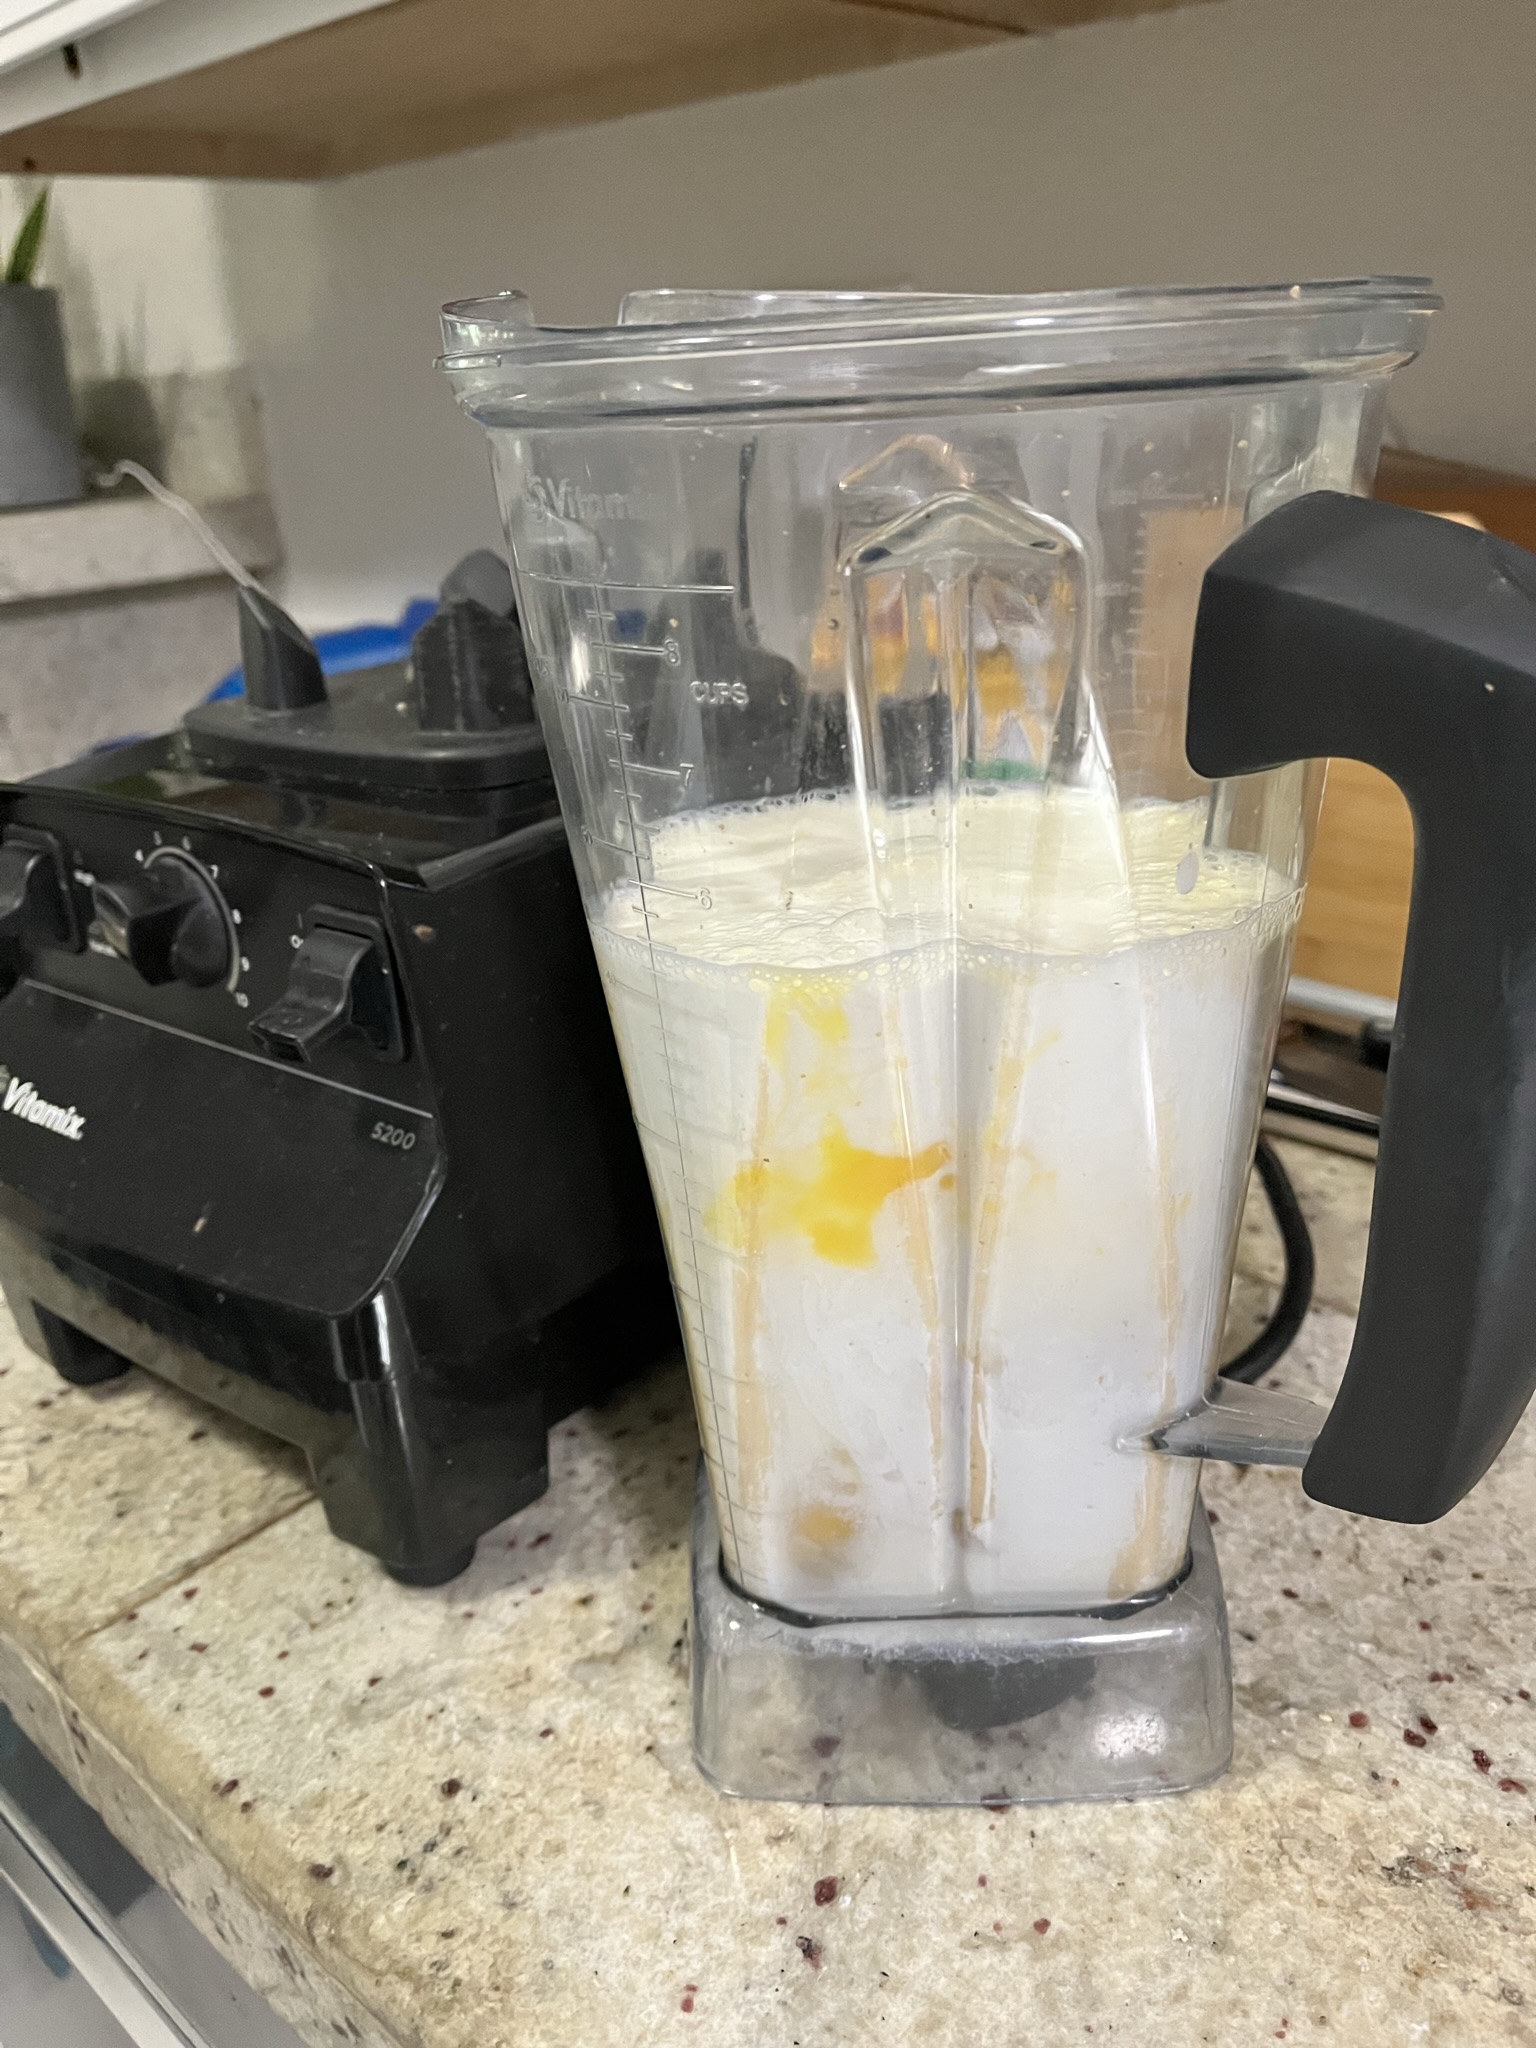
  • Mix eggs, heavy cream, milk, salt, and pepper until fully combined.
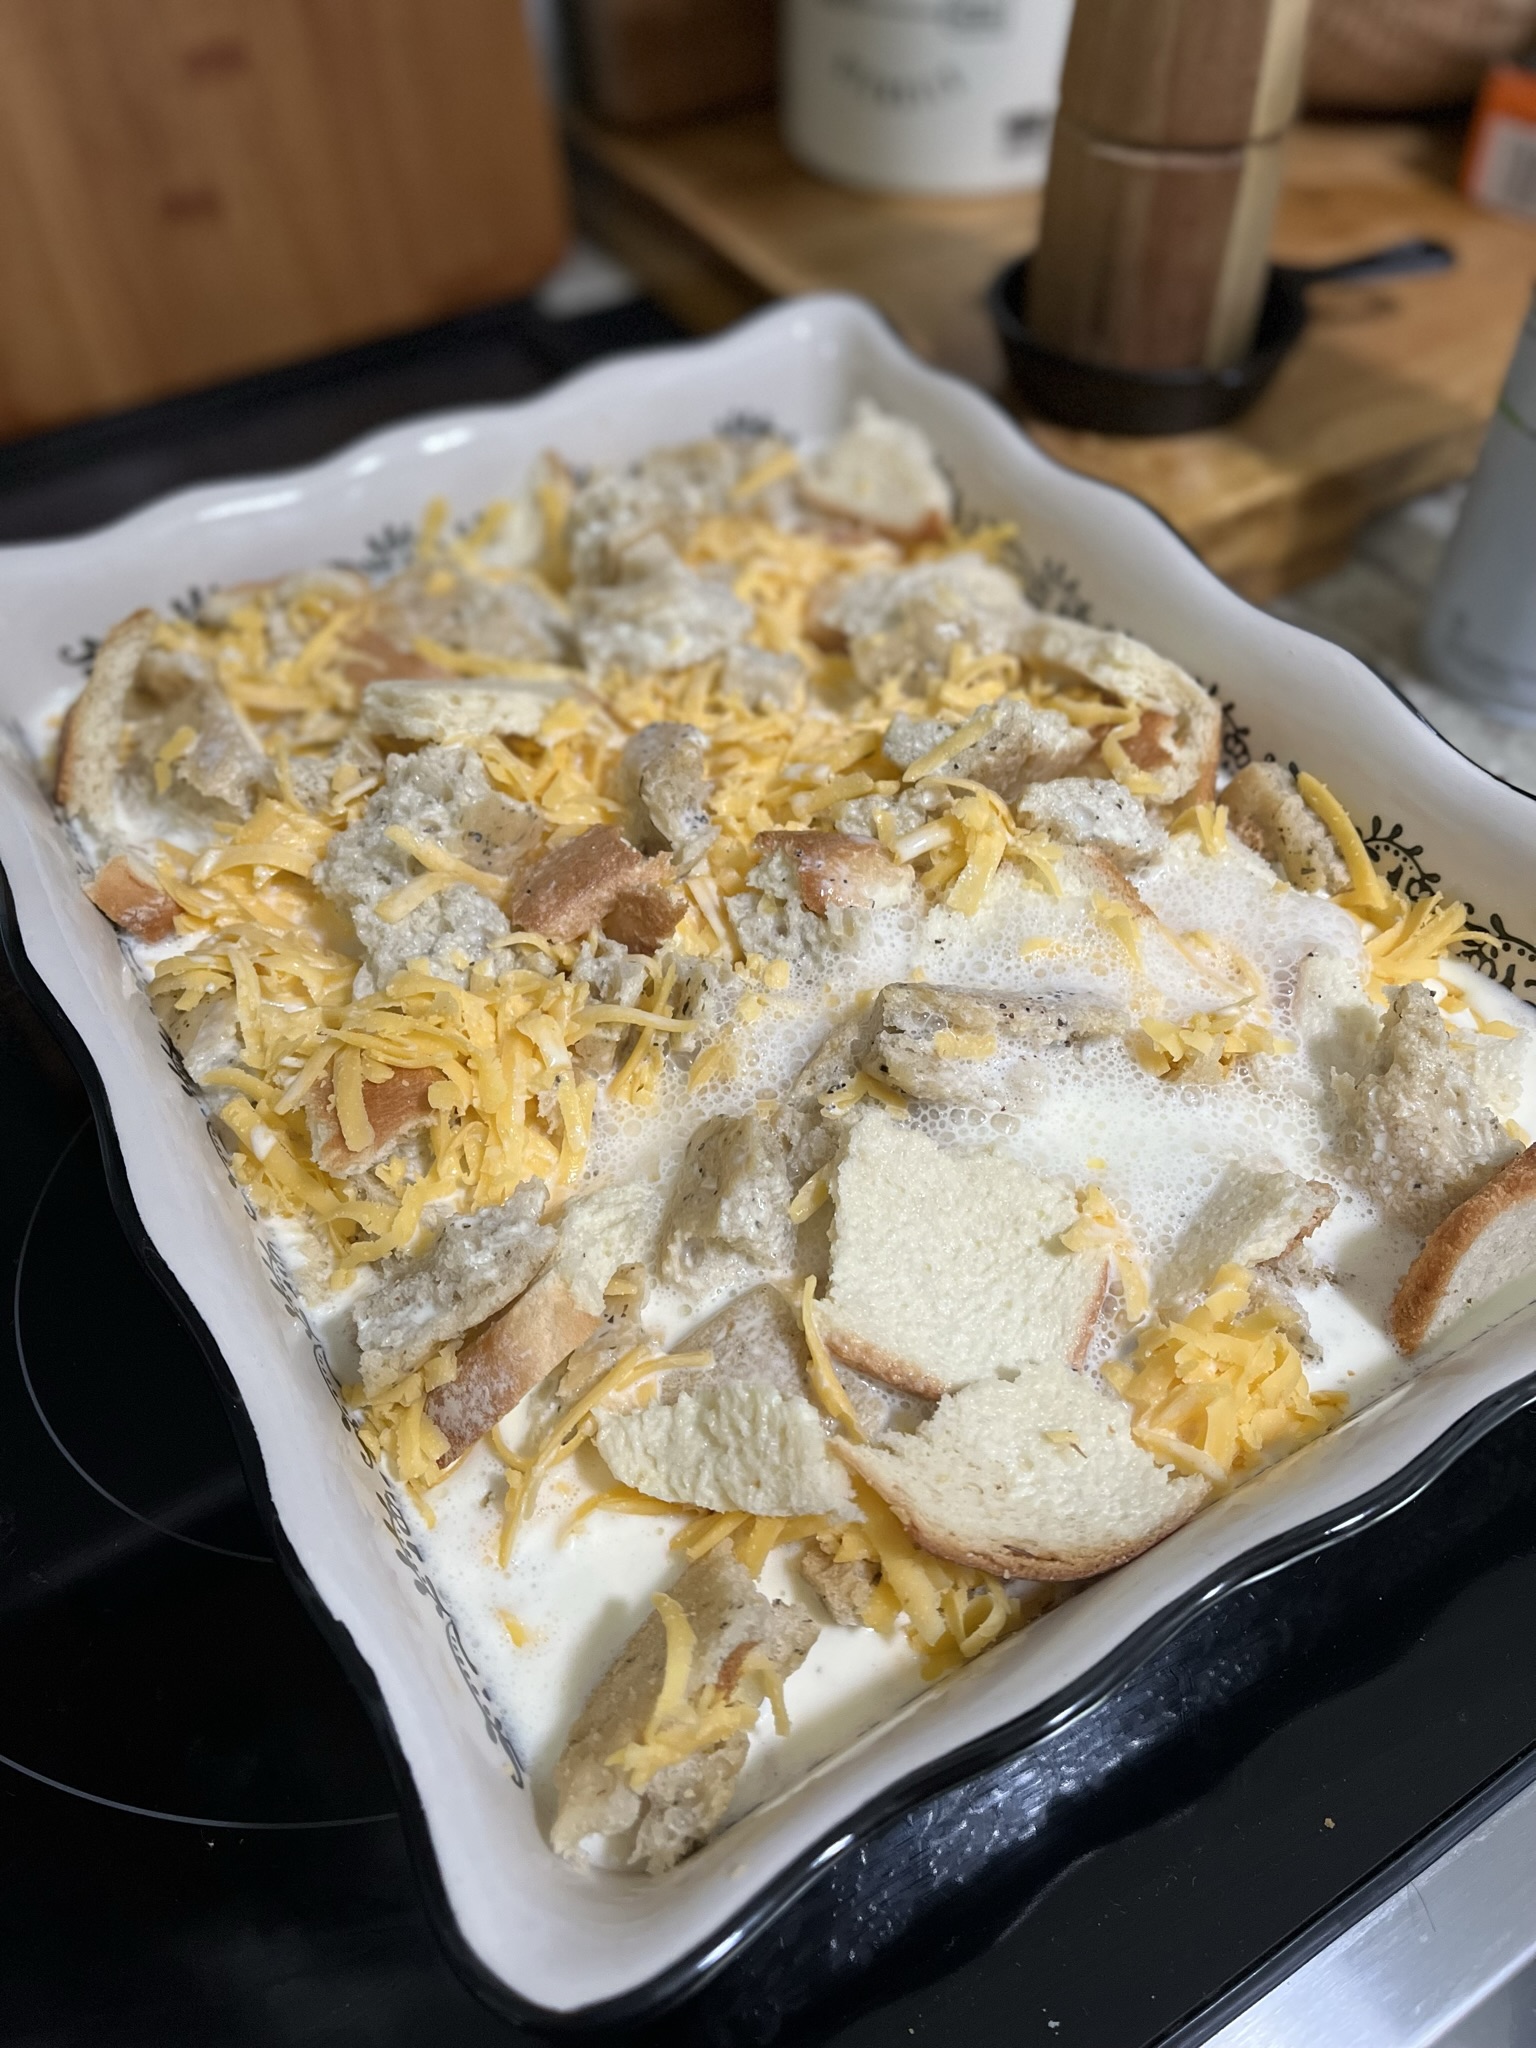
  • Pour liquid mixture in with the bread and gently mix to ensure that each piece of bread is coated in the milky egg mixture.
  • Cover and leave to rest in the refrigerator overnight or at least 4 hours.
  • Bake uncovered at 350F for ~30 minutes until top is browned, strata has puffed, and center is not jiggly. If the top is browning too quickly, cover with foil.

Want to make your own bread for strata? Try My Favorite Focaccia.
Need a side? Have some Savory Asparagus Galette.

Serve a brunch dessert after like Peach Galette.

Chocolate Chip Walnut Cookies

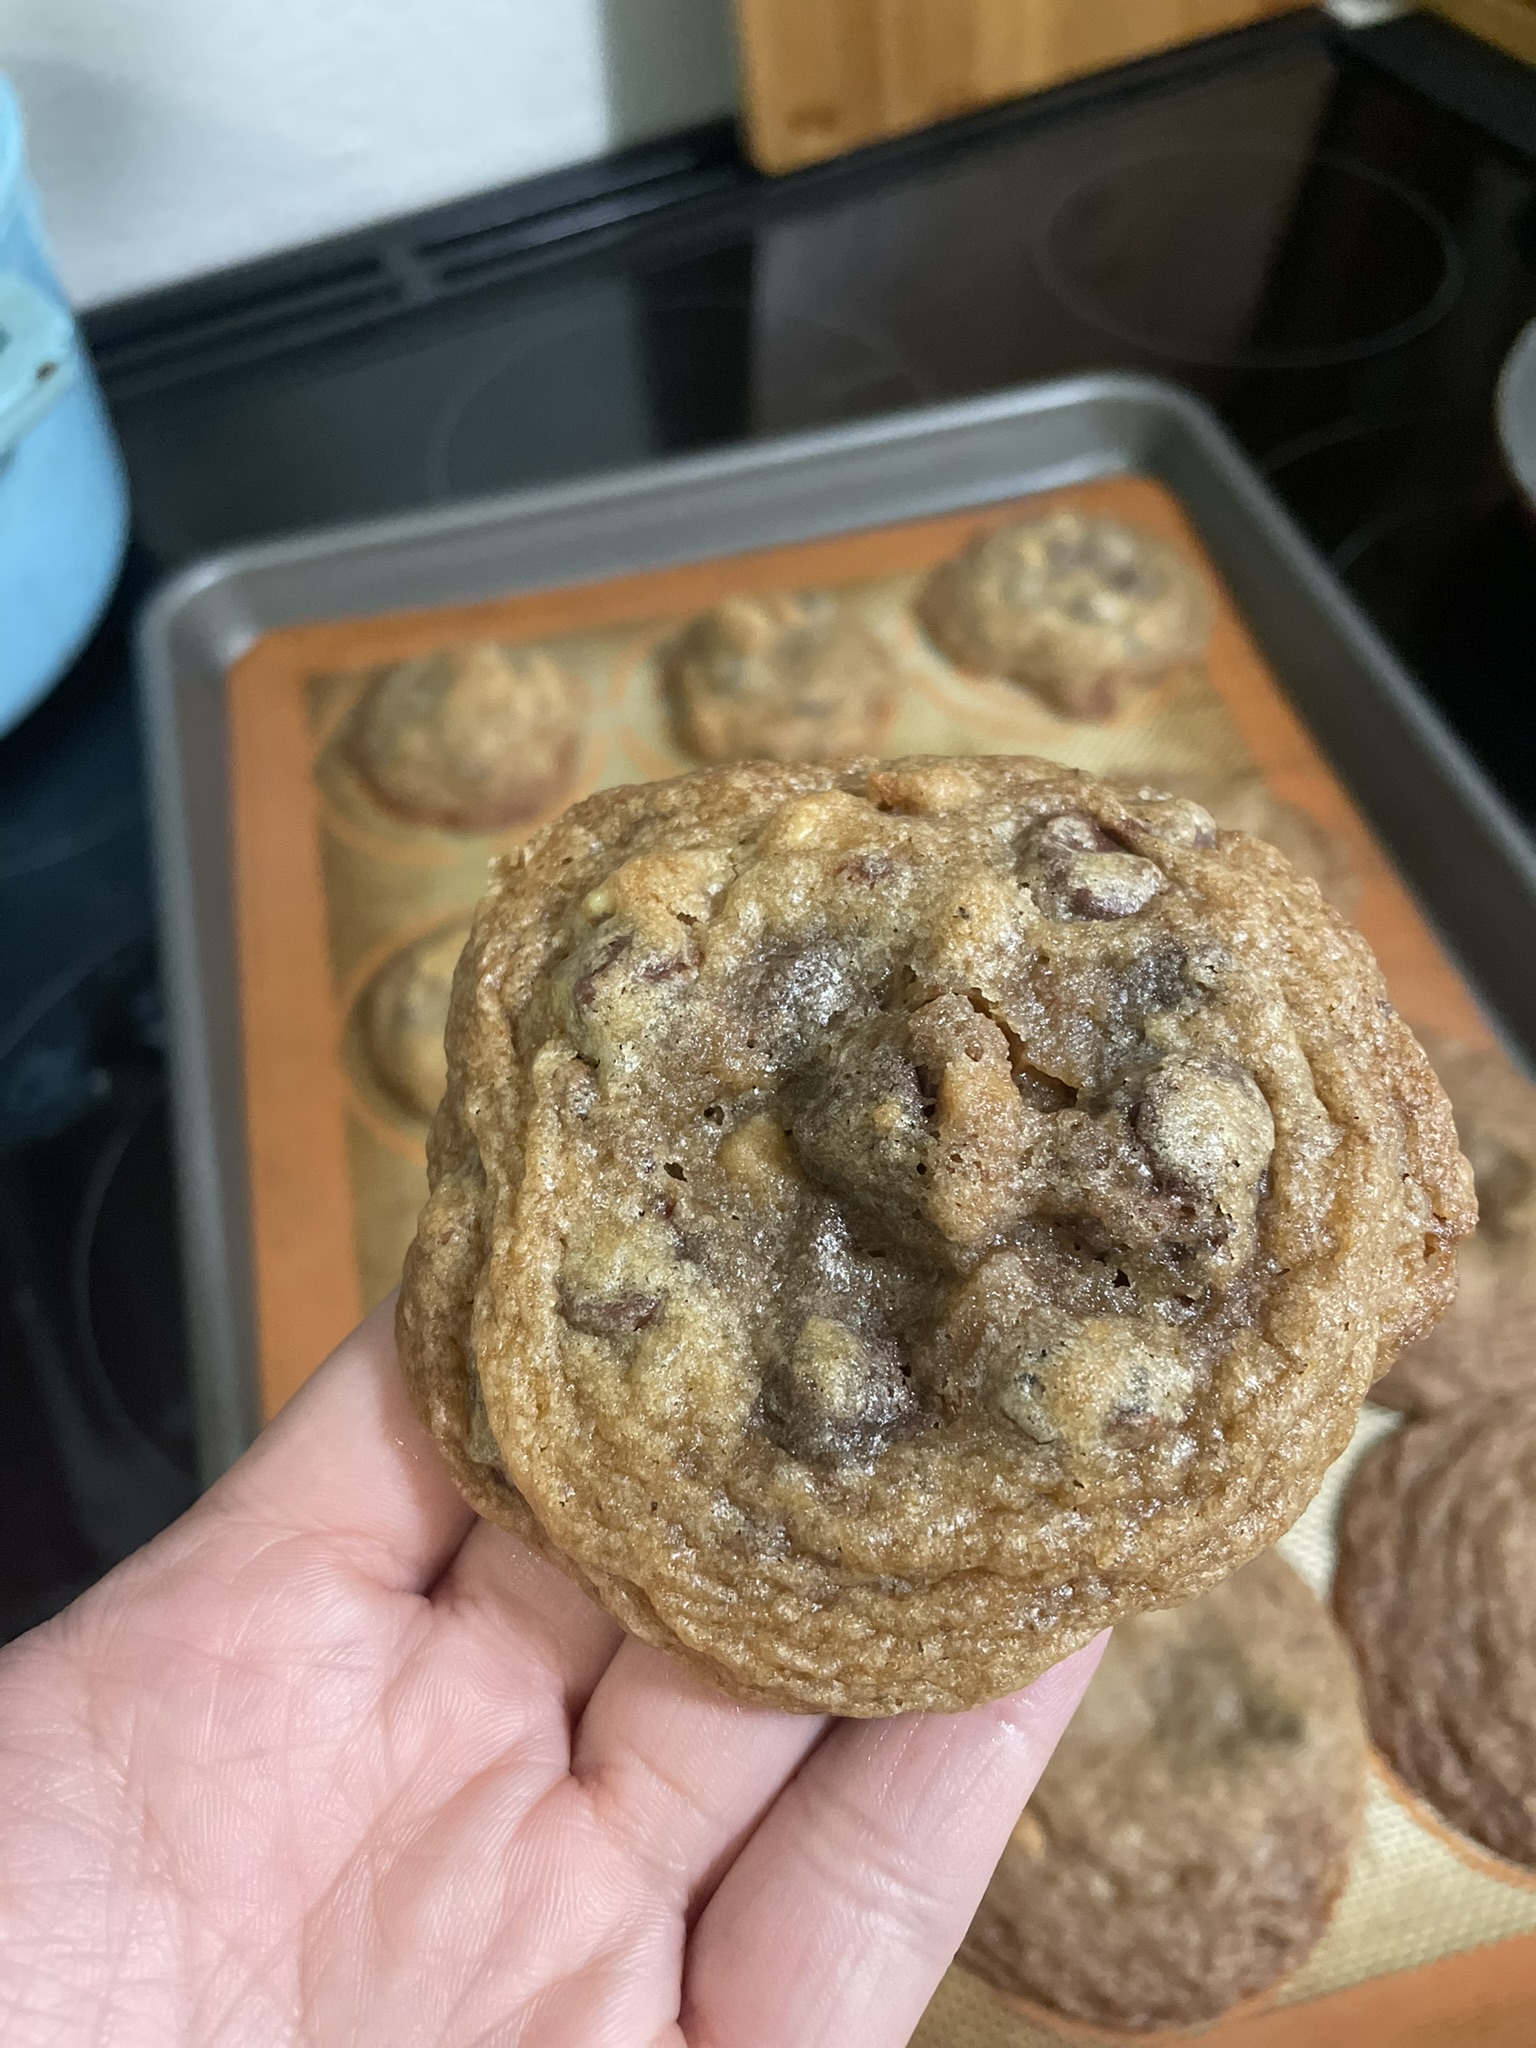
For the past couple weeks, I have been OBSESSED with making these cookies. I was inspired after trying the cookies from a local grocery store in the Seattle area, Metropolitan Market. They have a chocolate chip walnut cookie, aptly named, “The Cookie”, that is so dreamy. In store, they are constantly making new batches of “The Cookie”, so you can be sure that it’ll be warm and gooey when you buy one. Unfortunately, I cannot justify paying $5 for a chocolate chip walnut cookie, no matter how tasty it is, so this is my take on “The Cookie”.

Ingredients

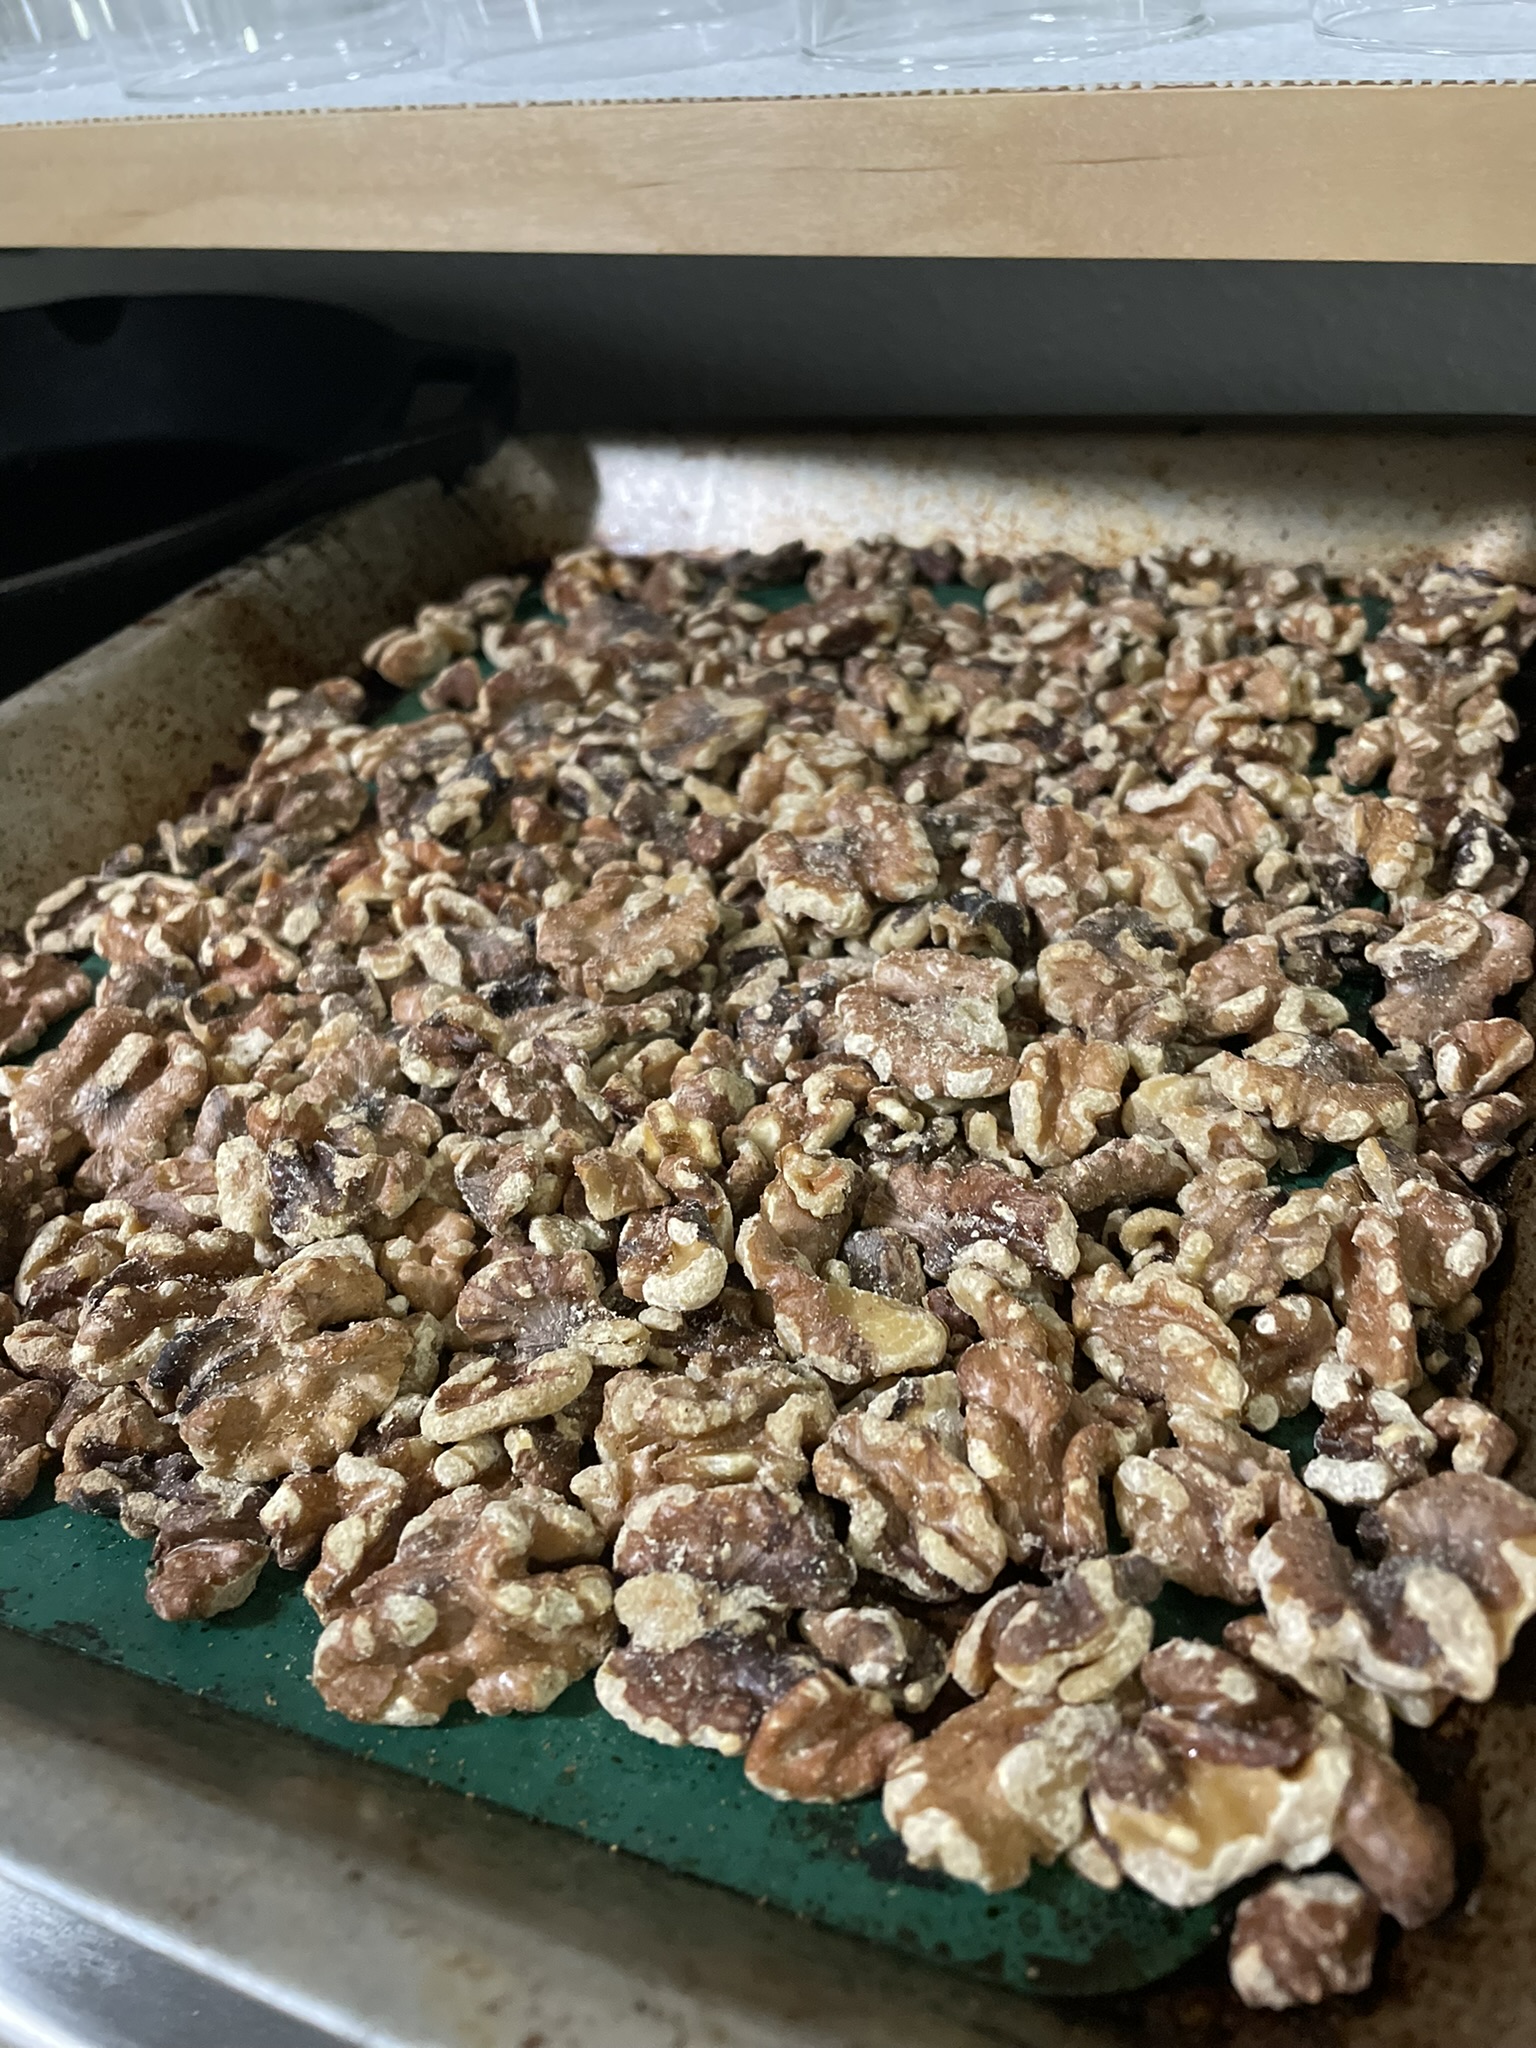
Walnuts – It is so important to toast your walnuts! Toasting the walnuts ensures that they keep a nice crunch during baking and storage, and amplifies the nutty flavor.

Chocolate – I like using a mix of chocolate chips and chopped chocolate, and semi-sweet and dark chocolate. It gives more flavor to the dough and provides more texture.

Salt – Salt inside and salt on top! I like a salty cookie.

Chocolate Chip Walnut Cookie

Print Recipe
Buttery, salty, chocolately, crunchy, chewy, gooey – everything you want in a cookie.
Course Dessert
Keyword chocolate chip, cookies, walnut
Servings 3 dozen cookies

Equipment

  • 1 mixer

Ingredients

  • 1 cup salted butter
  • 1 cup brown sugar
  • 1/2 cup white sugar
  • 2 eggs
  • 1 tbsp vanilla
  • 2 1/2 cups all-purpose flour
  • 2 tsp salt
  • 1 tsp baking soda
  • 2 cups walnuts toasted
  • 1 cup chocolate chips semi-sweet
  • 1 cup chopped chocolate dark
  • flakey salt

Instructions

  • Toast walnuts in an even layer on a baking sheet for at 350F. Check nuts after 5 minutes and then continue checking every 30 seconds for toastiness. You'll want to check often to prevent them from burning.
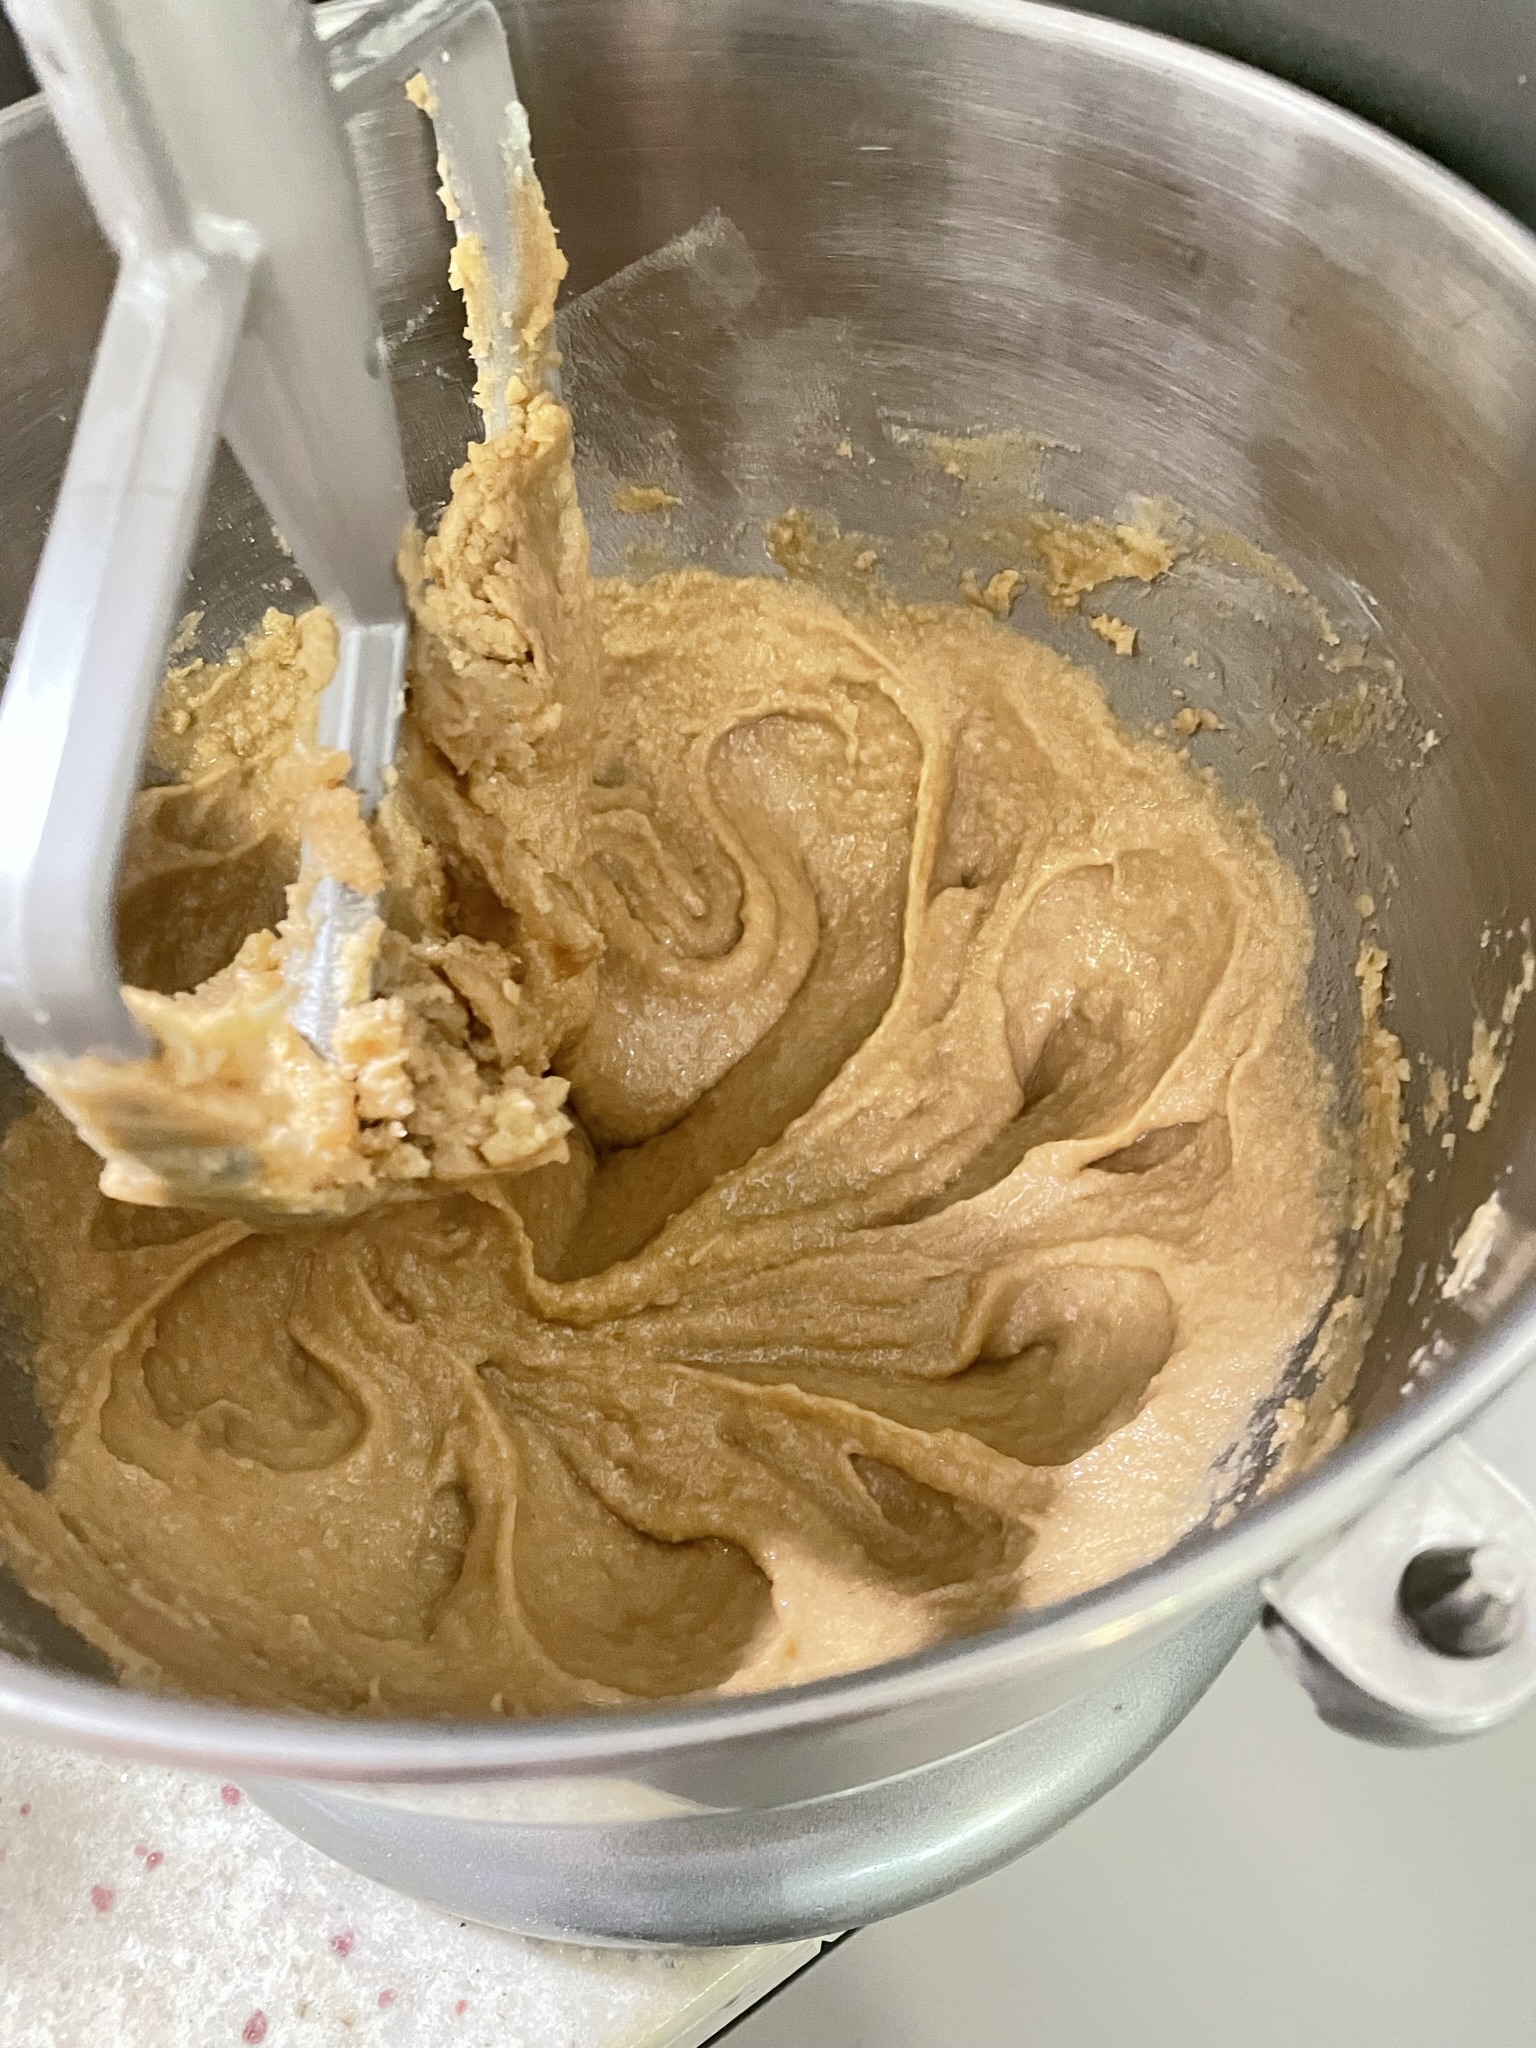
  • Cream together butter, brown sugar and white sugar until creamy and smooth. Periodically stop the mixer to scrape the butter and sugar off of the paddle.
  • While butter and sugars are creaming, chop your dark chocolate into thumb-nail sized chunks.
  • Add eggs to the mixer one at a time and continue mixing.
  • Scrap paddle and bowl. Add vanilla extract and salt and continue mixing.
  • Stop mixer and add flour. Sprinkle baking soda over flour mound.
  • Mix until most of the flour is combined.
  • Add in chocolate and walnuts and continue mixing until mix-ins and flour are completely distributed.
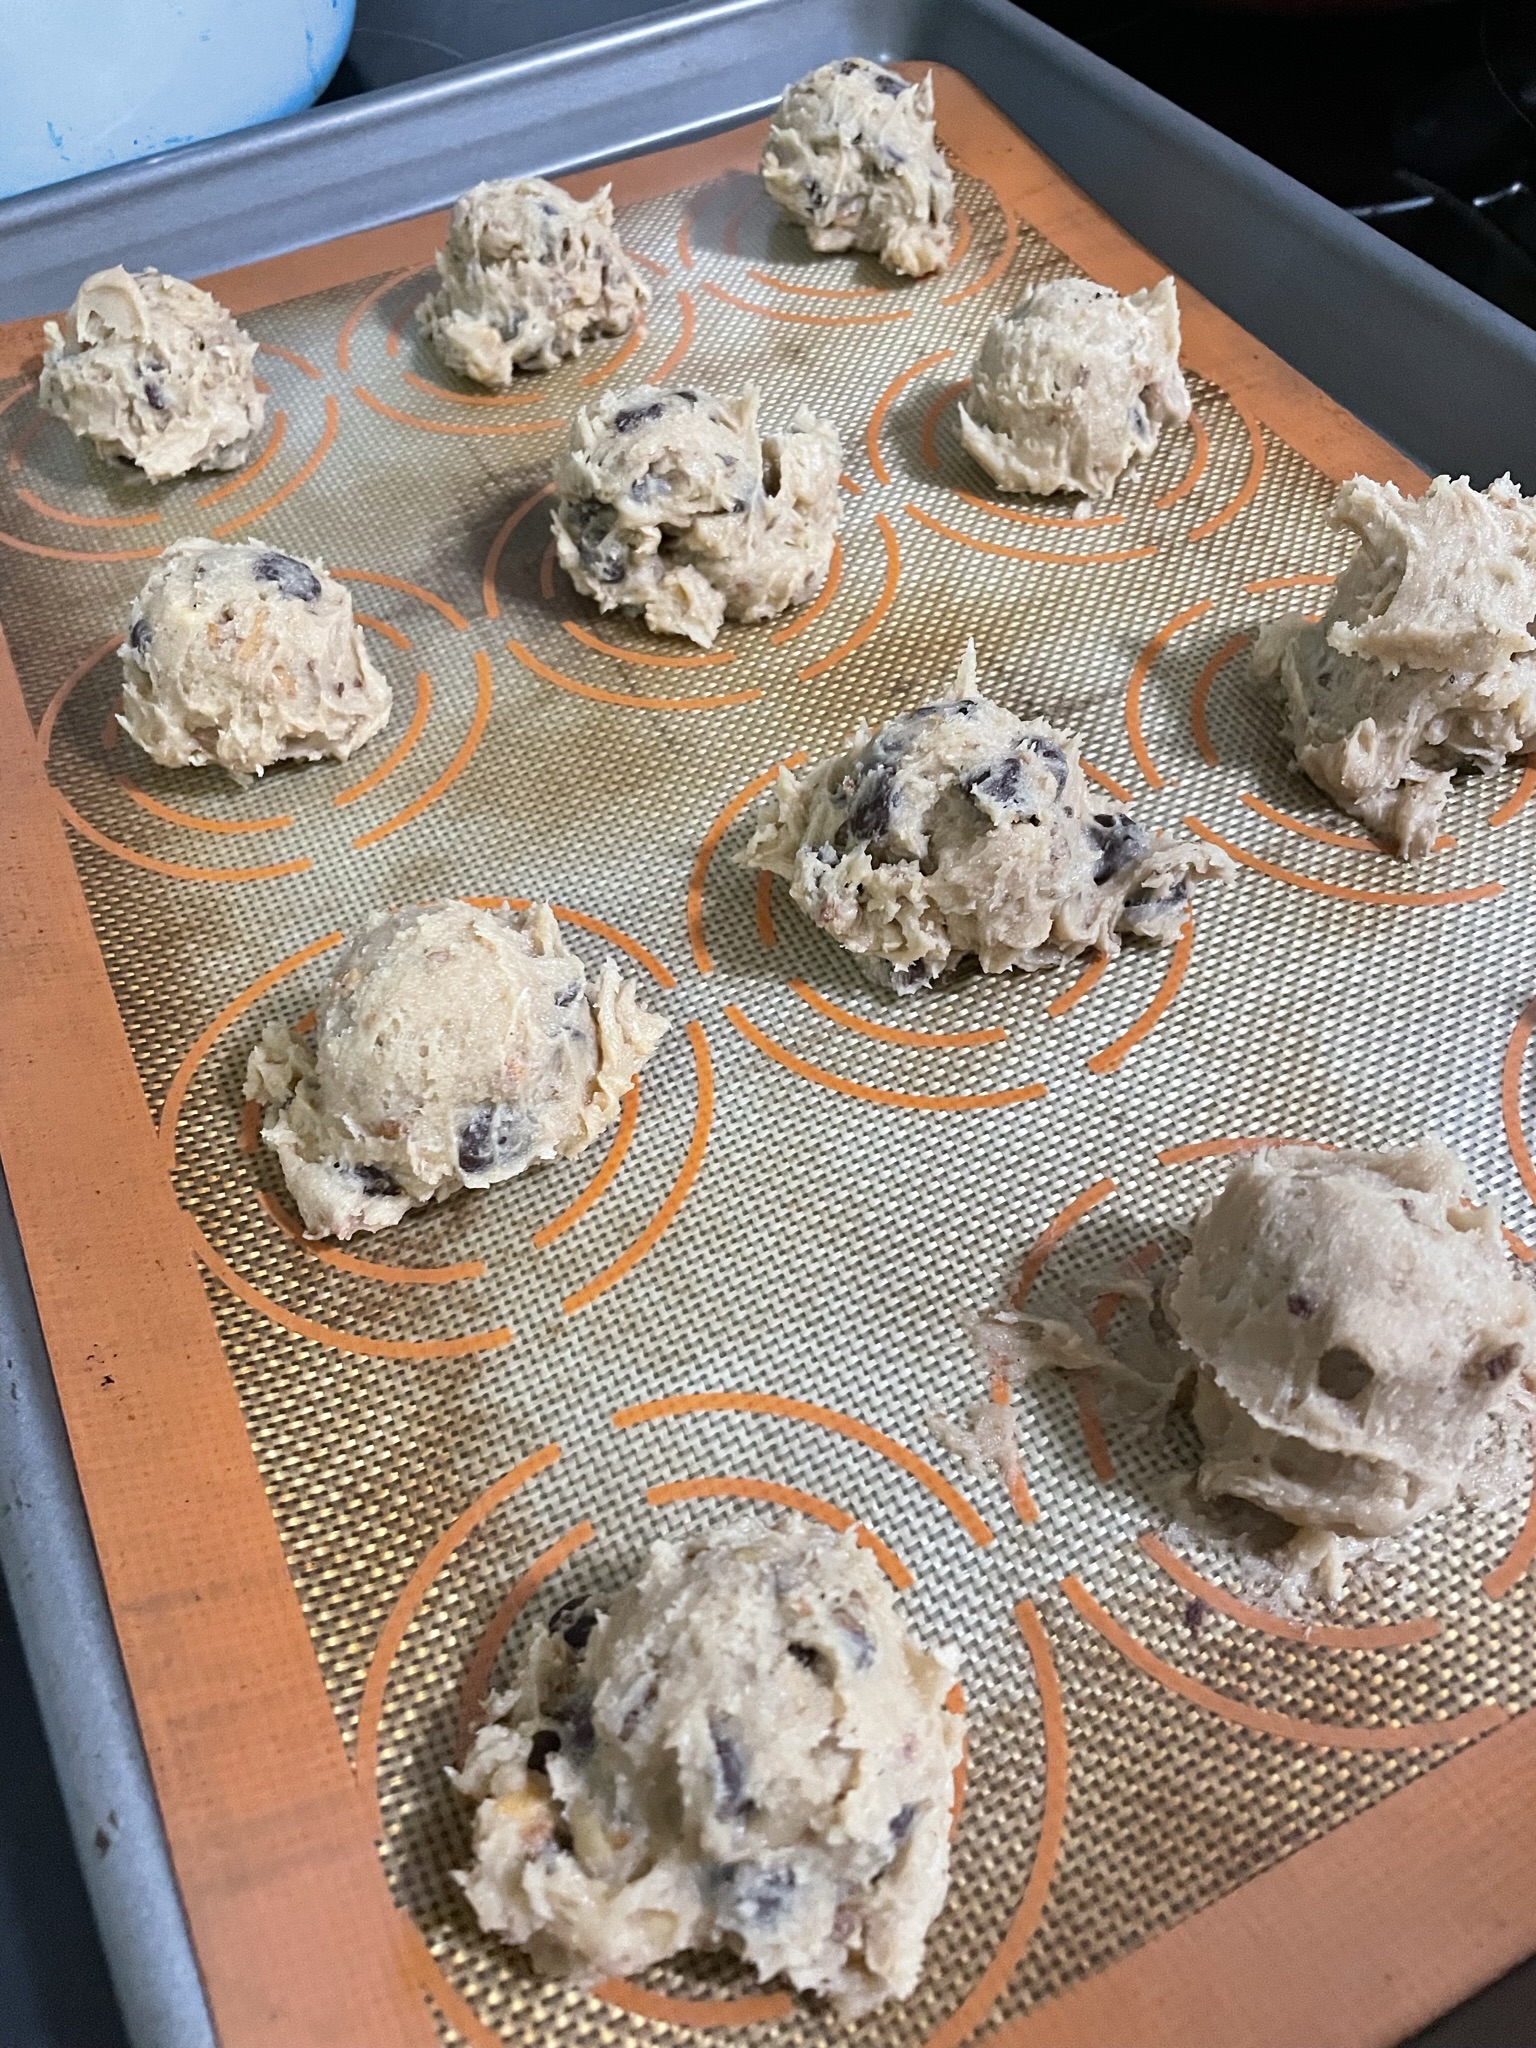
  • Scoop ~2 tbsps of dough per cookie. For extra cute cookies, dip the tops of the cookies in the leftover chopped chocolate for visible pools of chocolate.
  • Bake at 350F for ~12 minutes for the perfect crispy/chewy edge and gooey center.
  • After removing from the oven, sprinkle with flakey salt. Allow to cool ~10 minutes before taking a bite!

On a cookie kick? Have some Kitchen Sink Cookies or Crispy Gooey Chocolate Chip Cookies.

Balance that sugar with some vegetables like Honey Balsamic Roasted Brussels Sprouts or Savory Asparagus Galette.

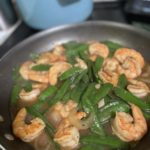
Shrimp & Snap Pea Stir Fry

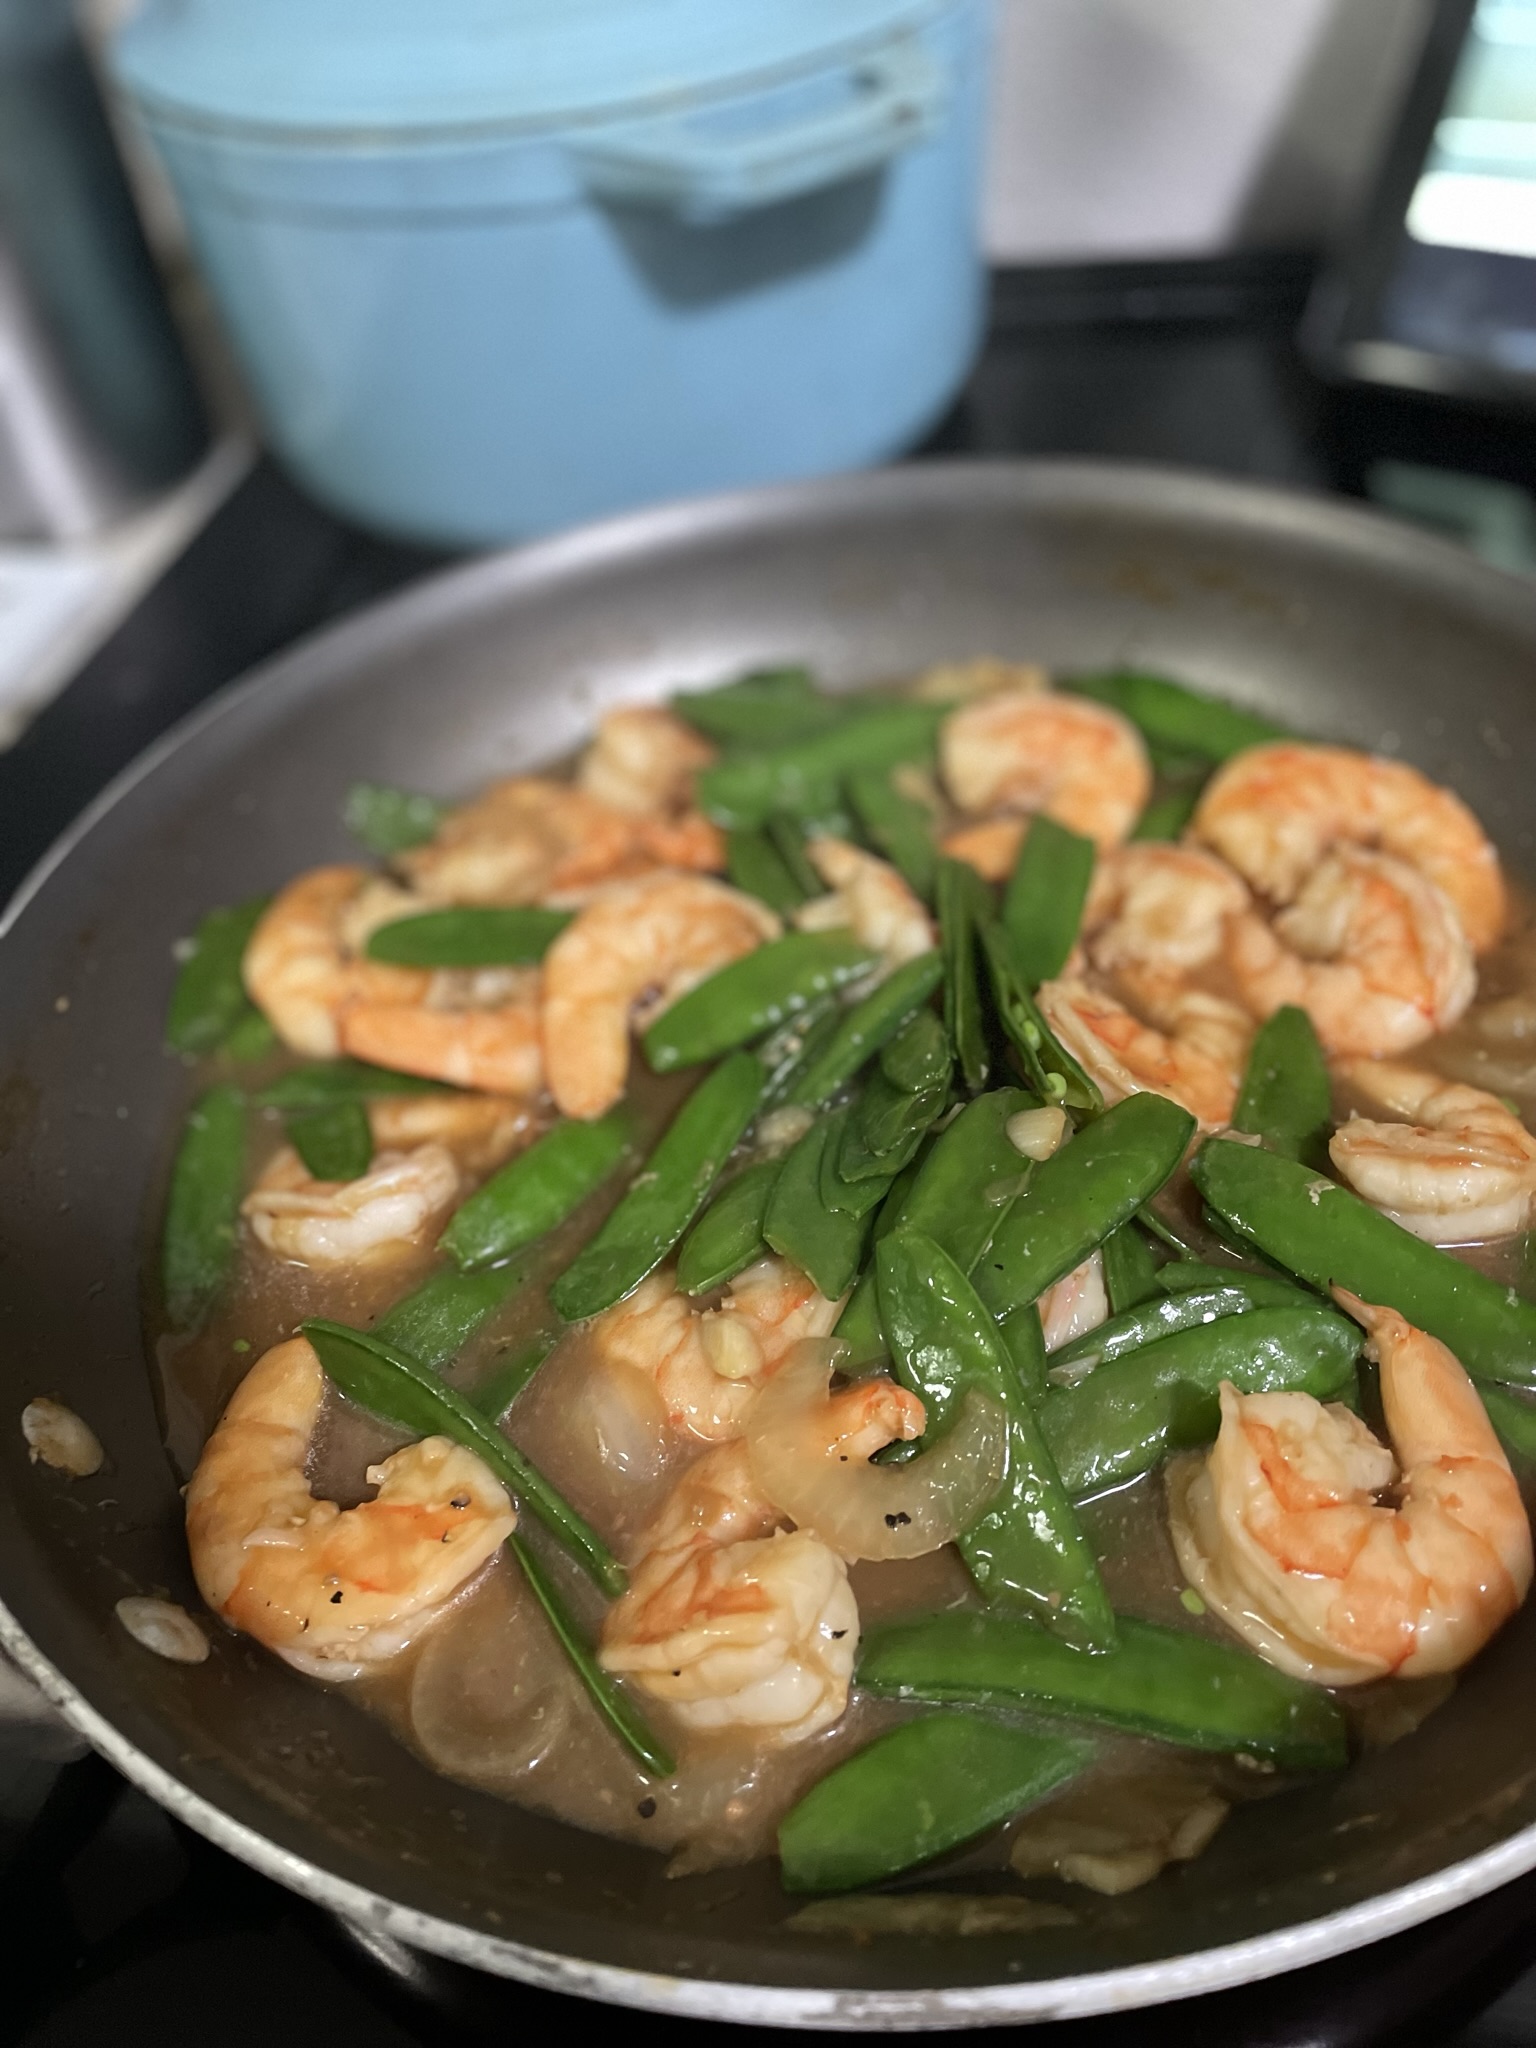
Summer is finally in swing in the Pacific Northwest! Finally my summer vegetables are coming in! So far, I’ve picked up three boxes of my CSA (community supported agriculture) boxes. My last two boxes had generous portions of snap peas. The first set of snap peas were easily destroyed. Raw snap peas are delightful as a crunchy snack by themselves or dipped in a hummus, spinach dip, or ranch. I wanted to cook this second set of snap peas, but wasn’t entirely sure what to make. I remember eating shrimp & snow pea stir fry with my family at Chinese restaurants, so I just swapped the snow peas for snap peas!

Ingredients

Shrimp – Really any protein could work here if you don’t want to use shrimp. Swap with chicken, pork, beef, tofu, or any other alternative proteins.

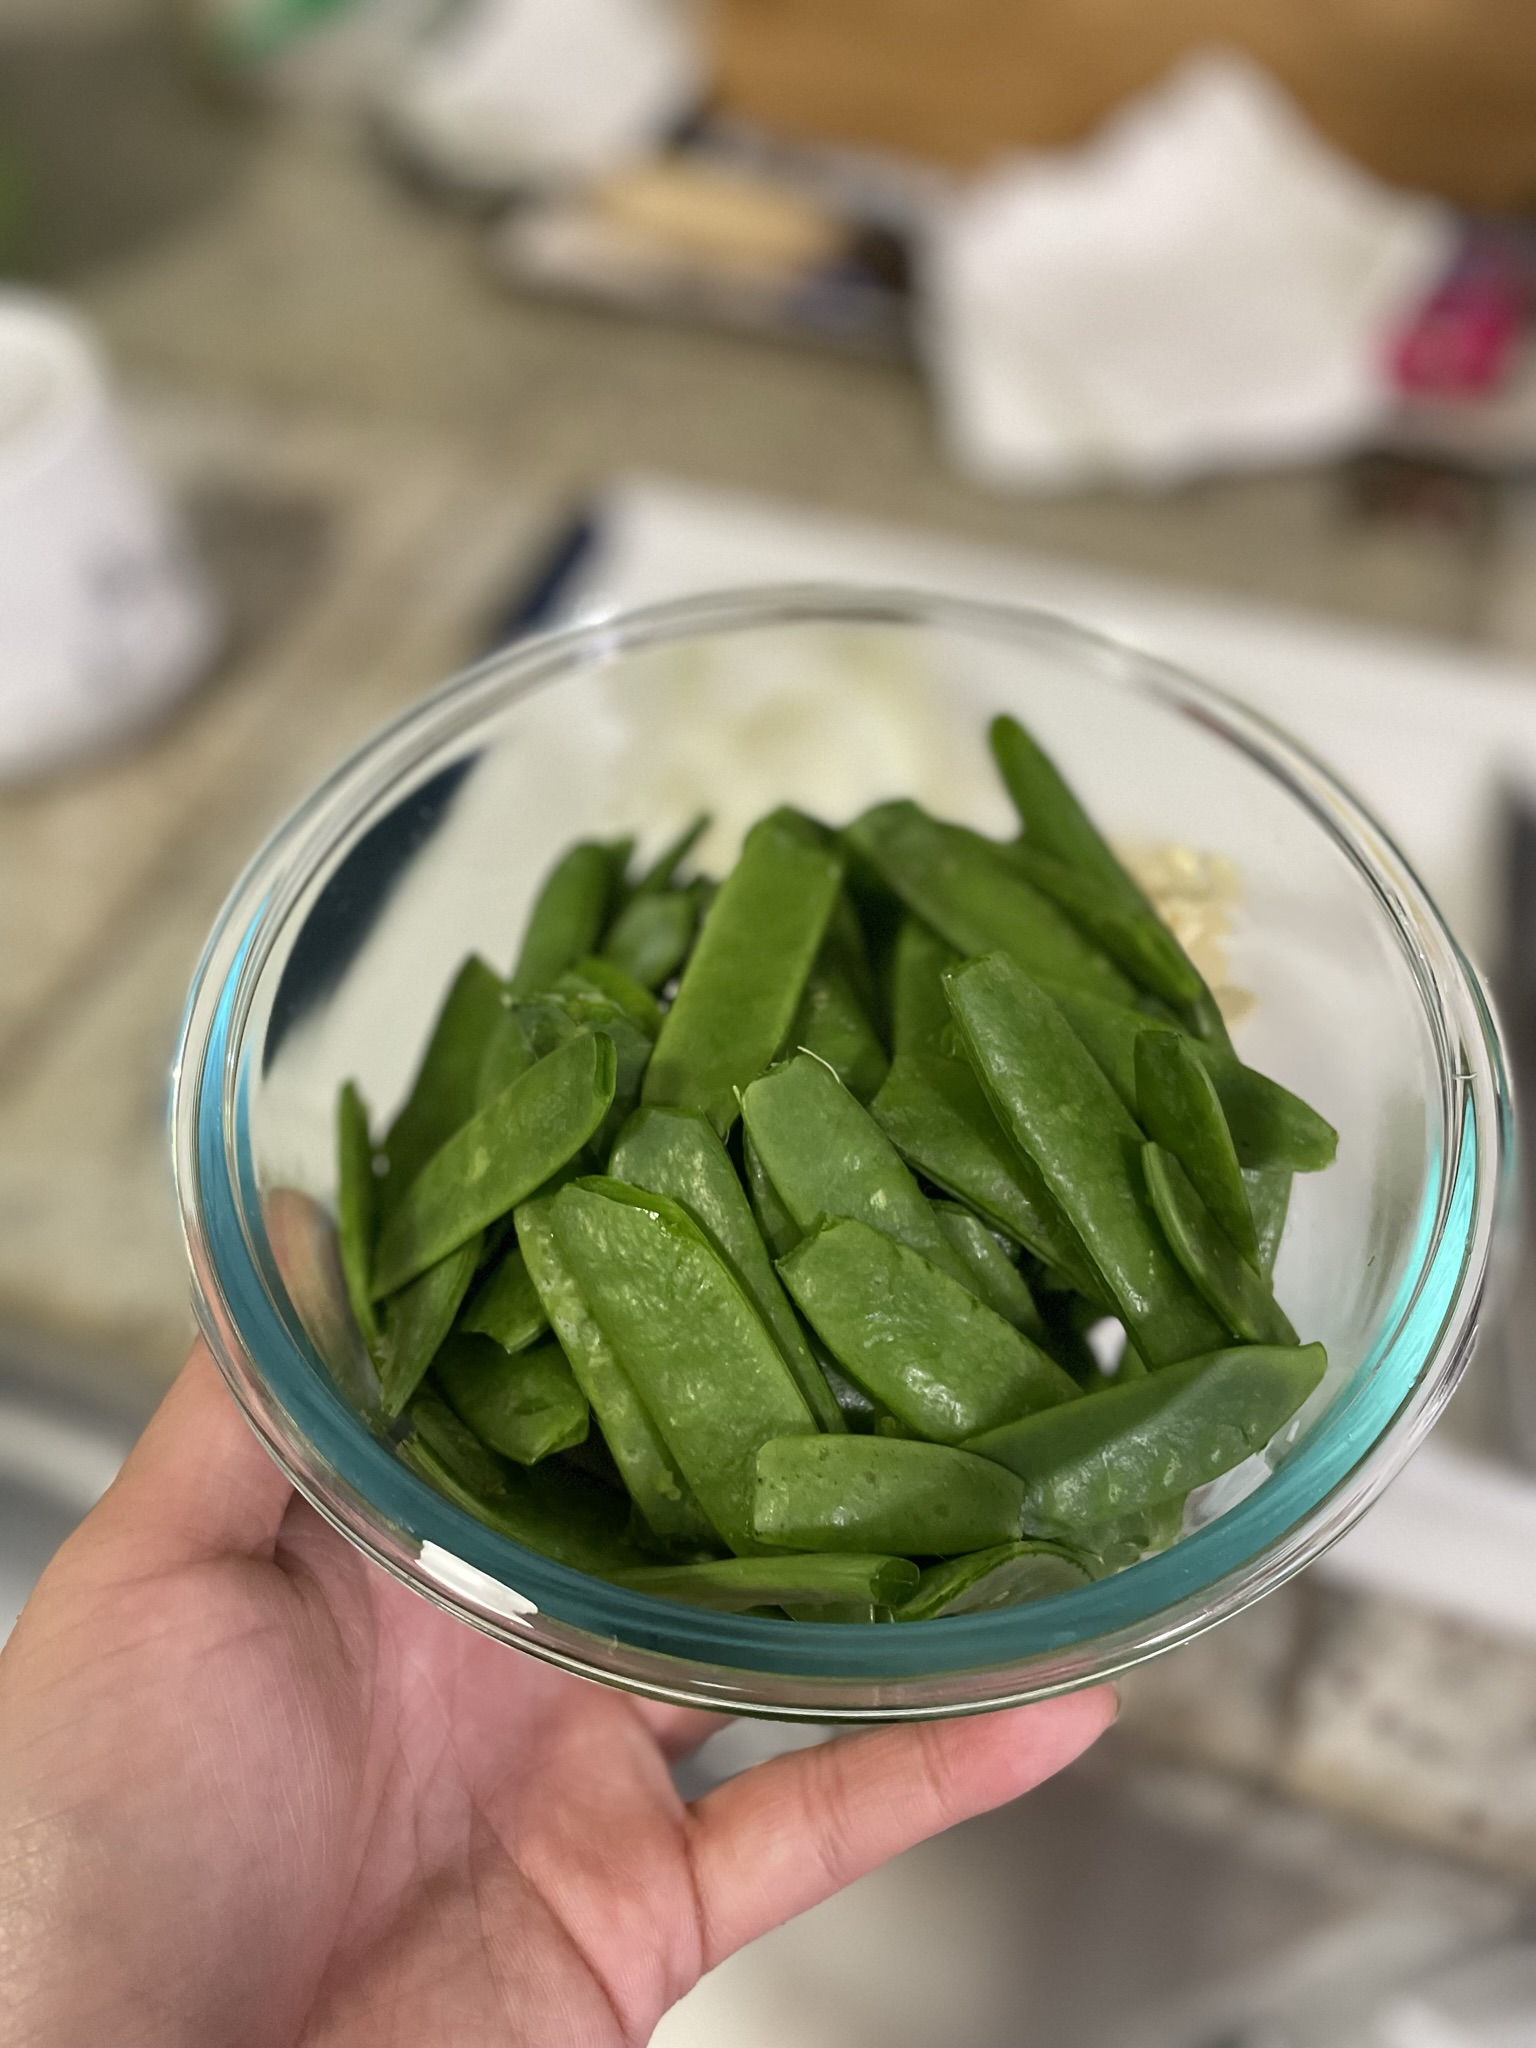
Snap peas – Because we cook these snap peas hot and fast, they can maintain their green color and still have a bite to them. If you don’t have snap peas, you can swap the vegetable here for another crunchy-adjacent vegetable like broccoli, brussels sprouts, or cabbage.

Soybean paste – The soybean paste adds a little funky fermented flavor to the sauce and also is where a majority of the sodium comes from. If you don’t have soybean paste, this can be substituted with bouillon.

Shrimp & Snap Pea Stir Fry

Print Recipe
An easy, health-conscious dinner that is made in one pan.
Course Main Course
Cuisine Asian
Keyword shrimp, snap pea, stir fry

Ingredients

  • 1 pound shrimp peeled & cleaned
  • 3 cups snap peas trimmed
  • 3 cloves garlic
  • 1/4 onion sliced
  • 1 tsp soybean paste
  • 1 tsp cornstarch
  • 1 cup warm water
  • 2 tsp soy sauce
  • black pepper

Instructions

  • Peel and de-vein shrimp.
  • Trim ends of snap peas to remove any tough parts.
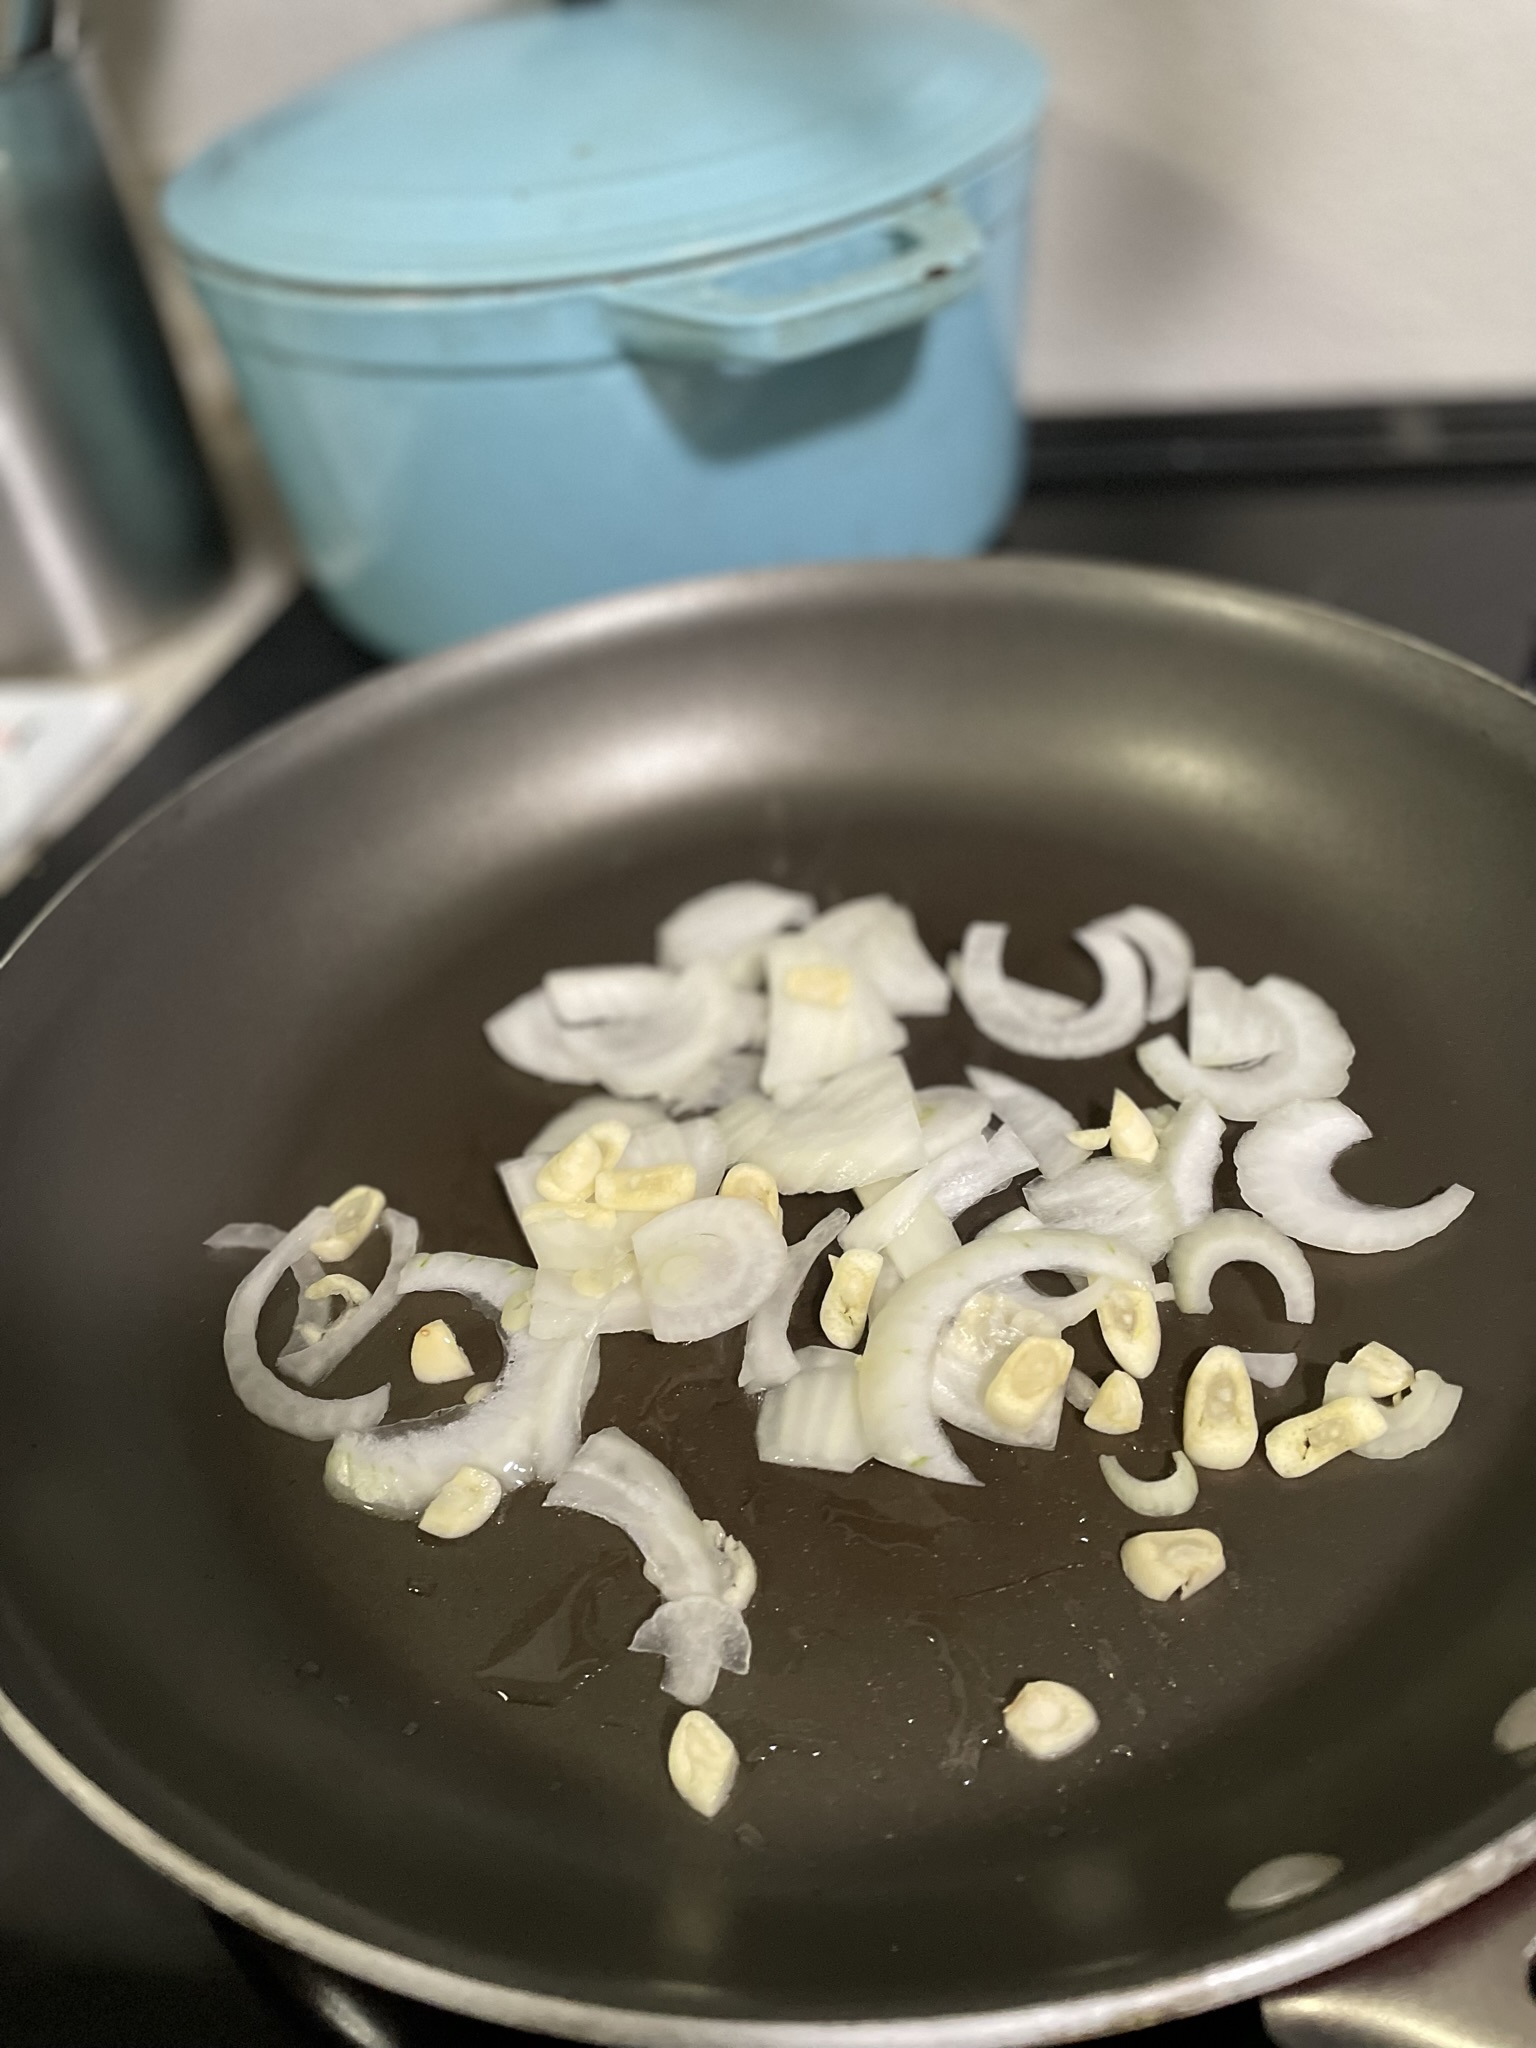
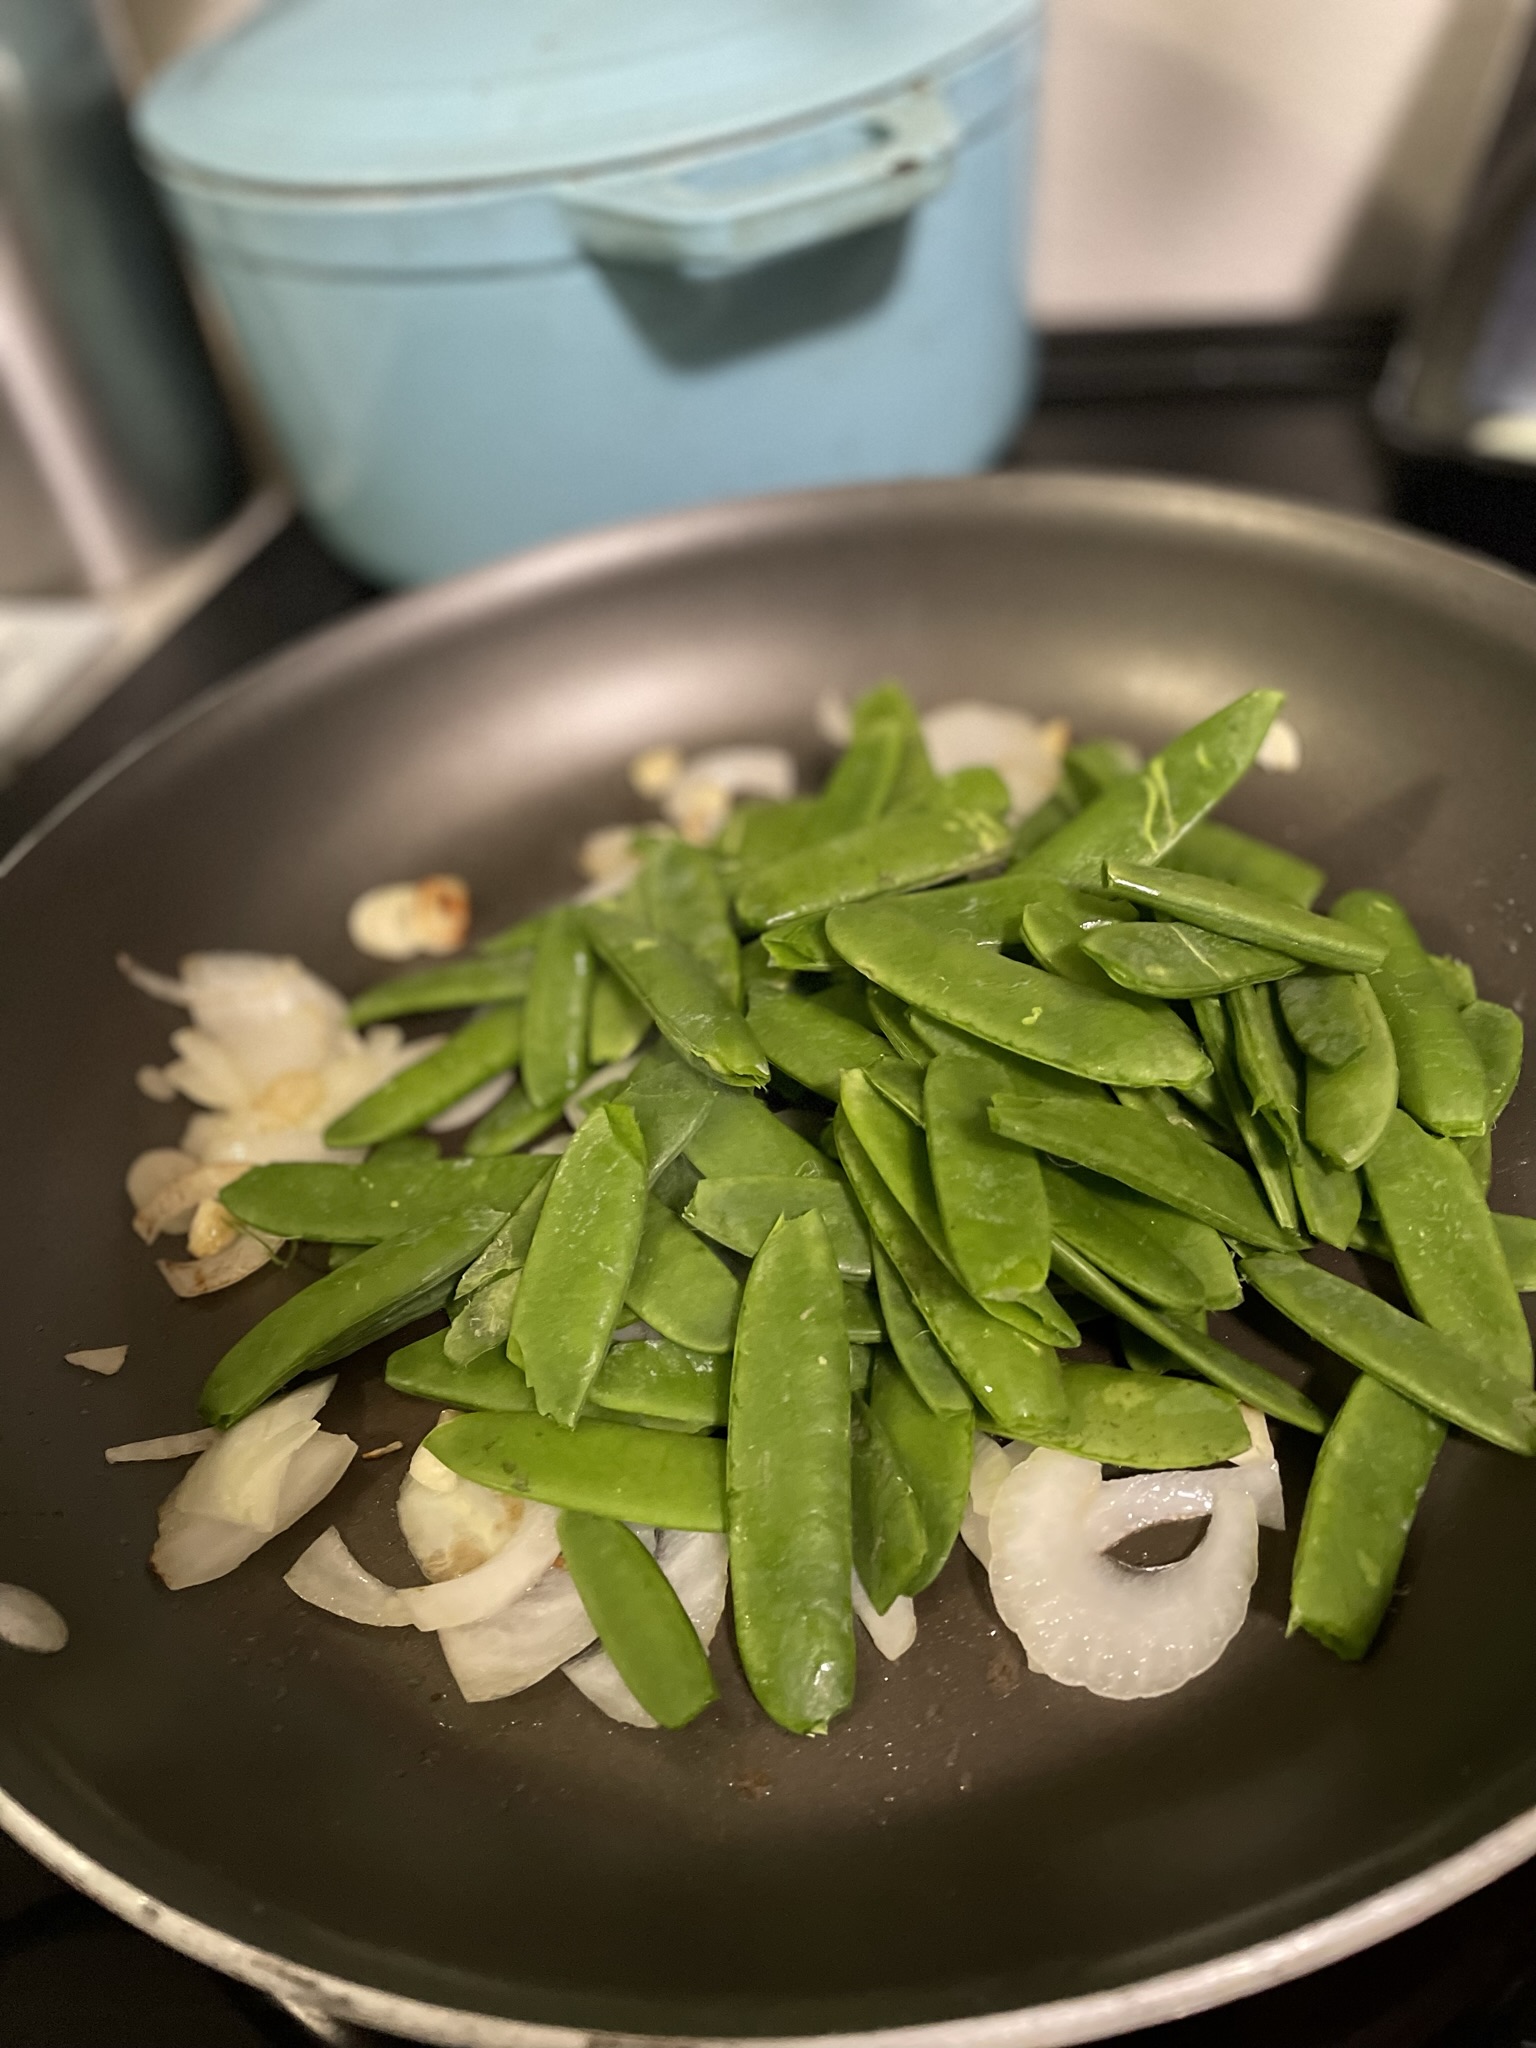
  • Slice onion and garlic. Saute with olive oil on medium high.
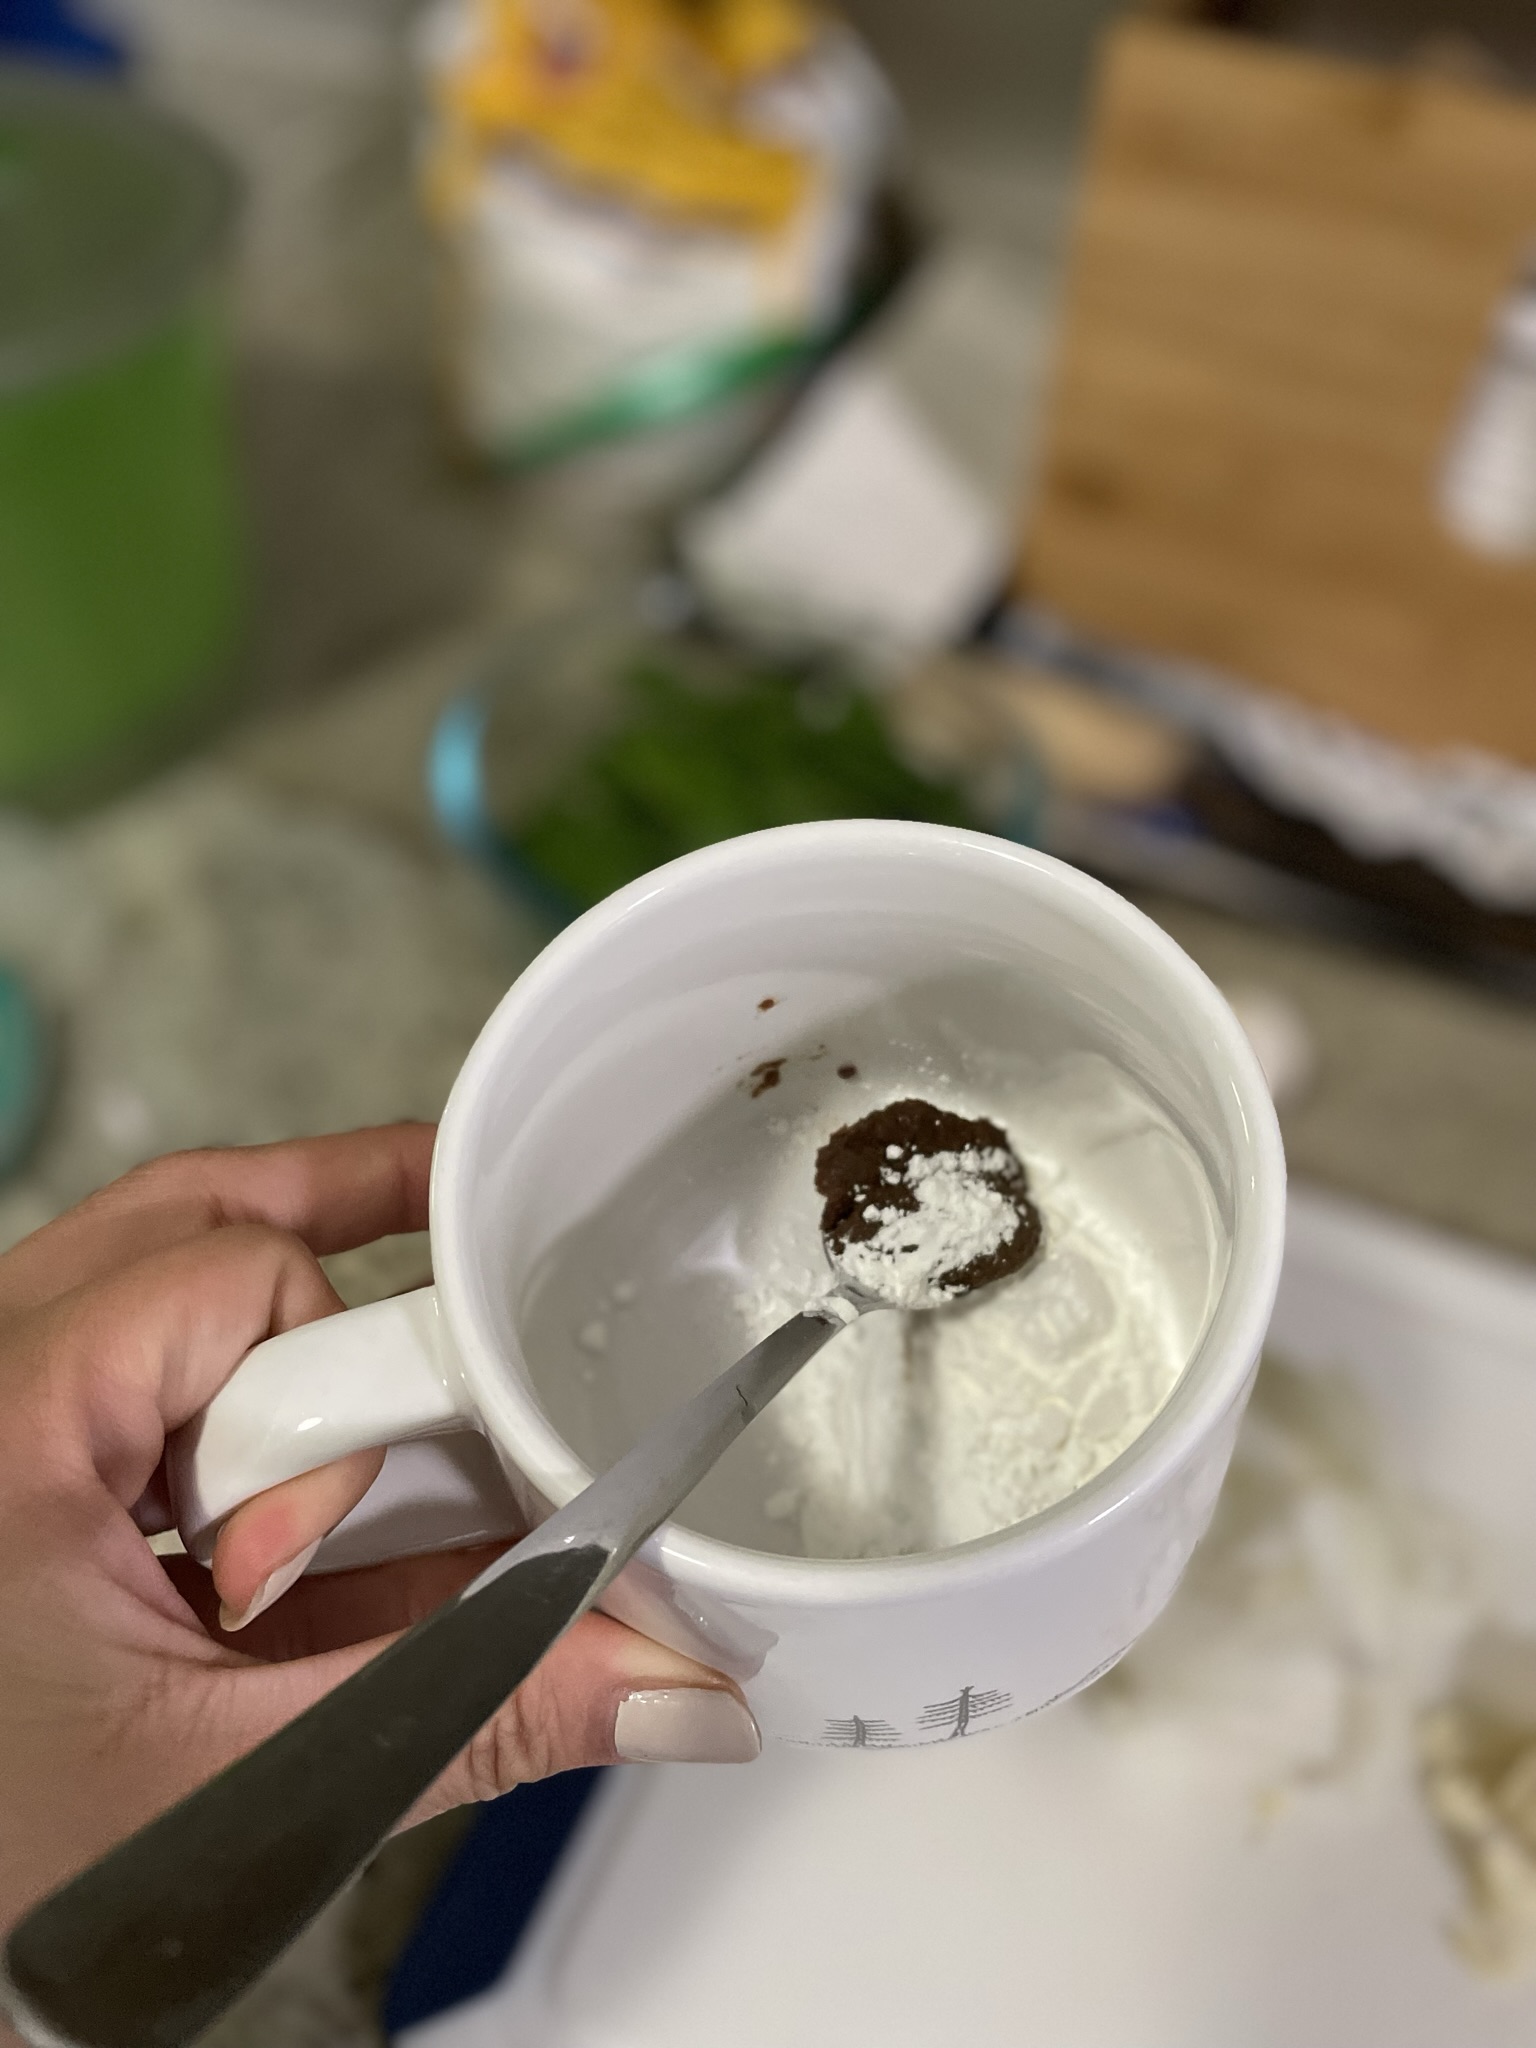
  • While onion and garlic is softening, mix warm water with cornstarch, soy bean paste, and soy sauce to make the sauce.
  • After onion and garlic has softened, add the snap peas to the pan, stirring gently.
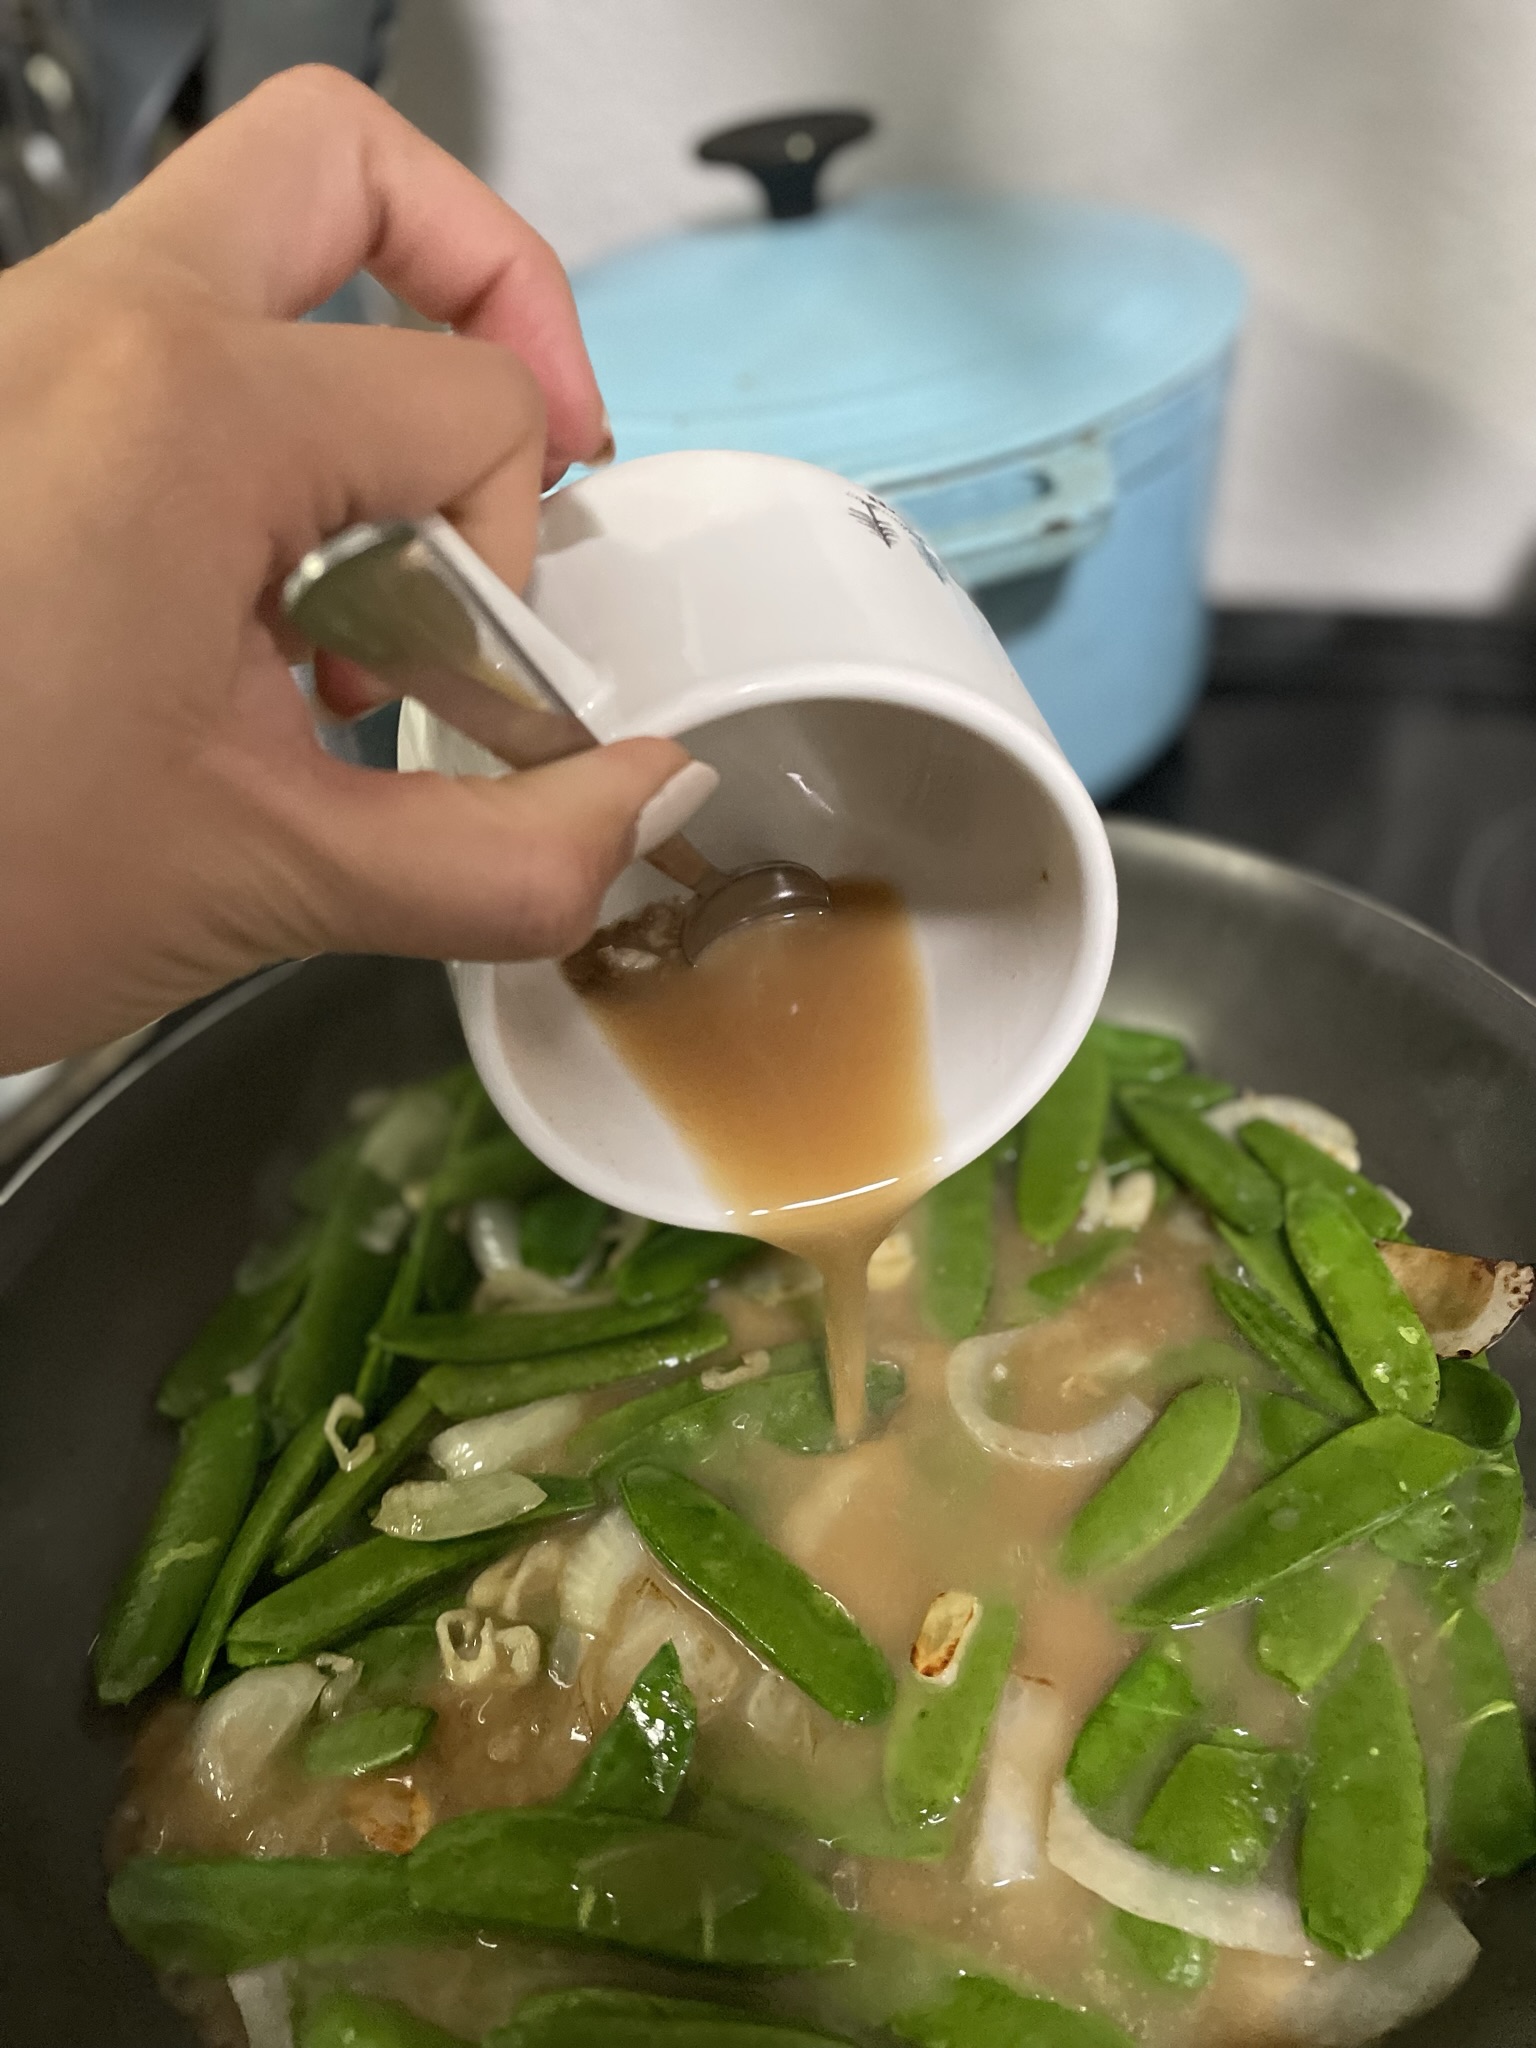
  • After 1 minute, pour in the sauce mixture and stir.
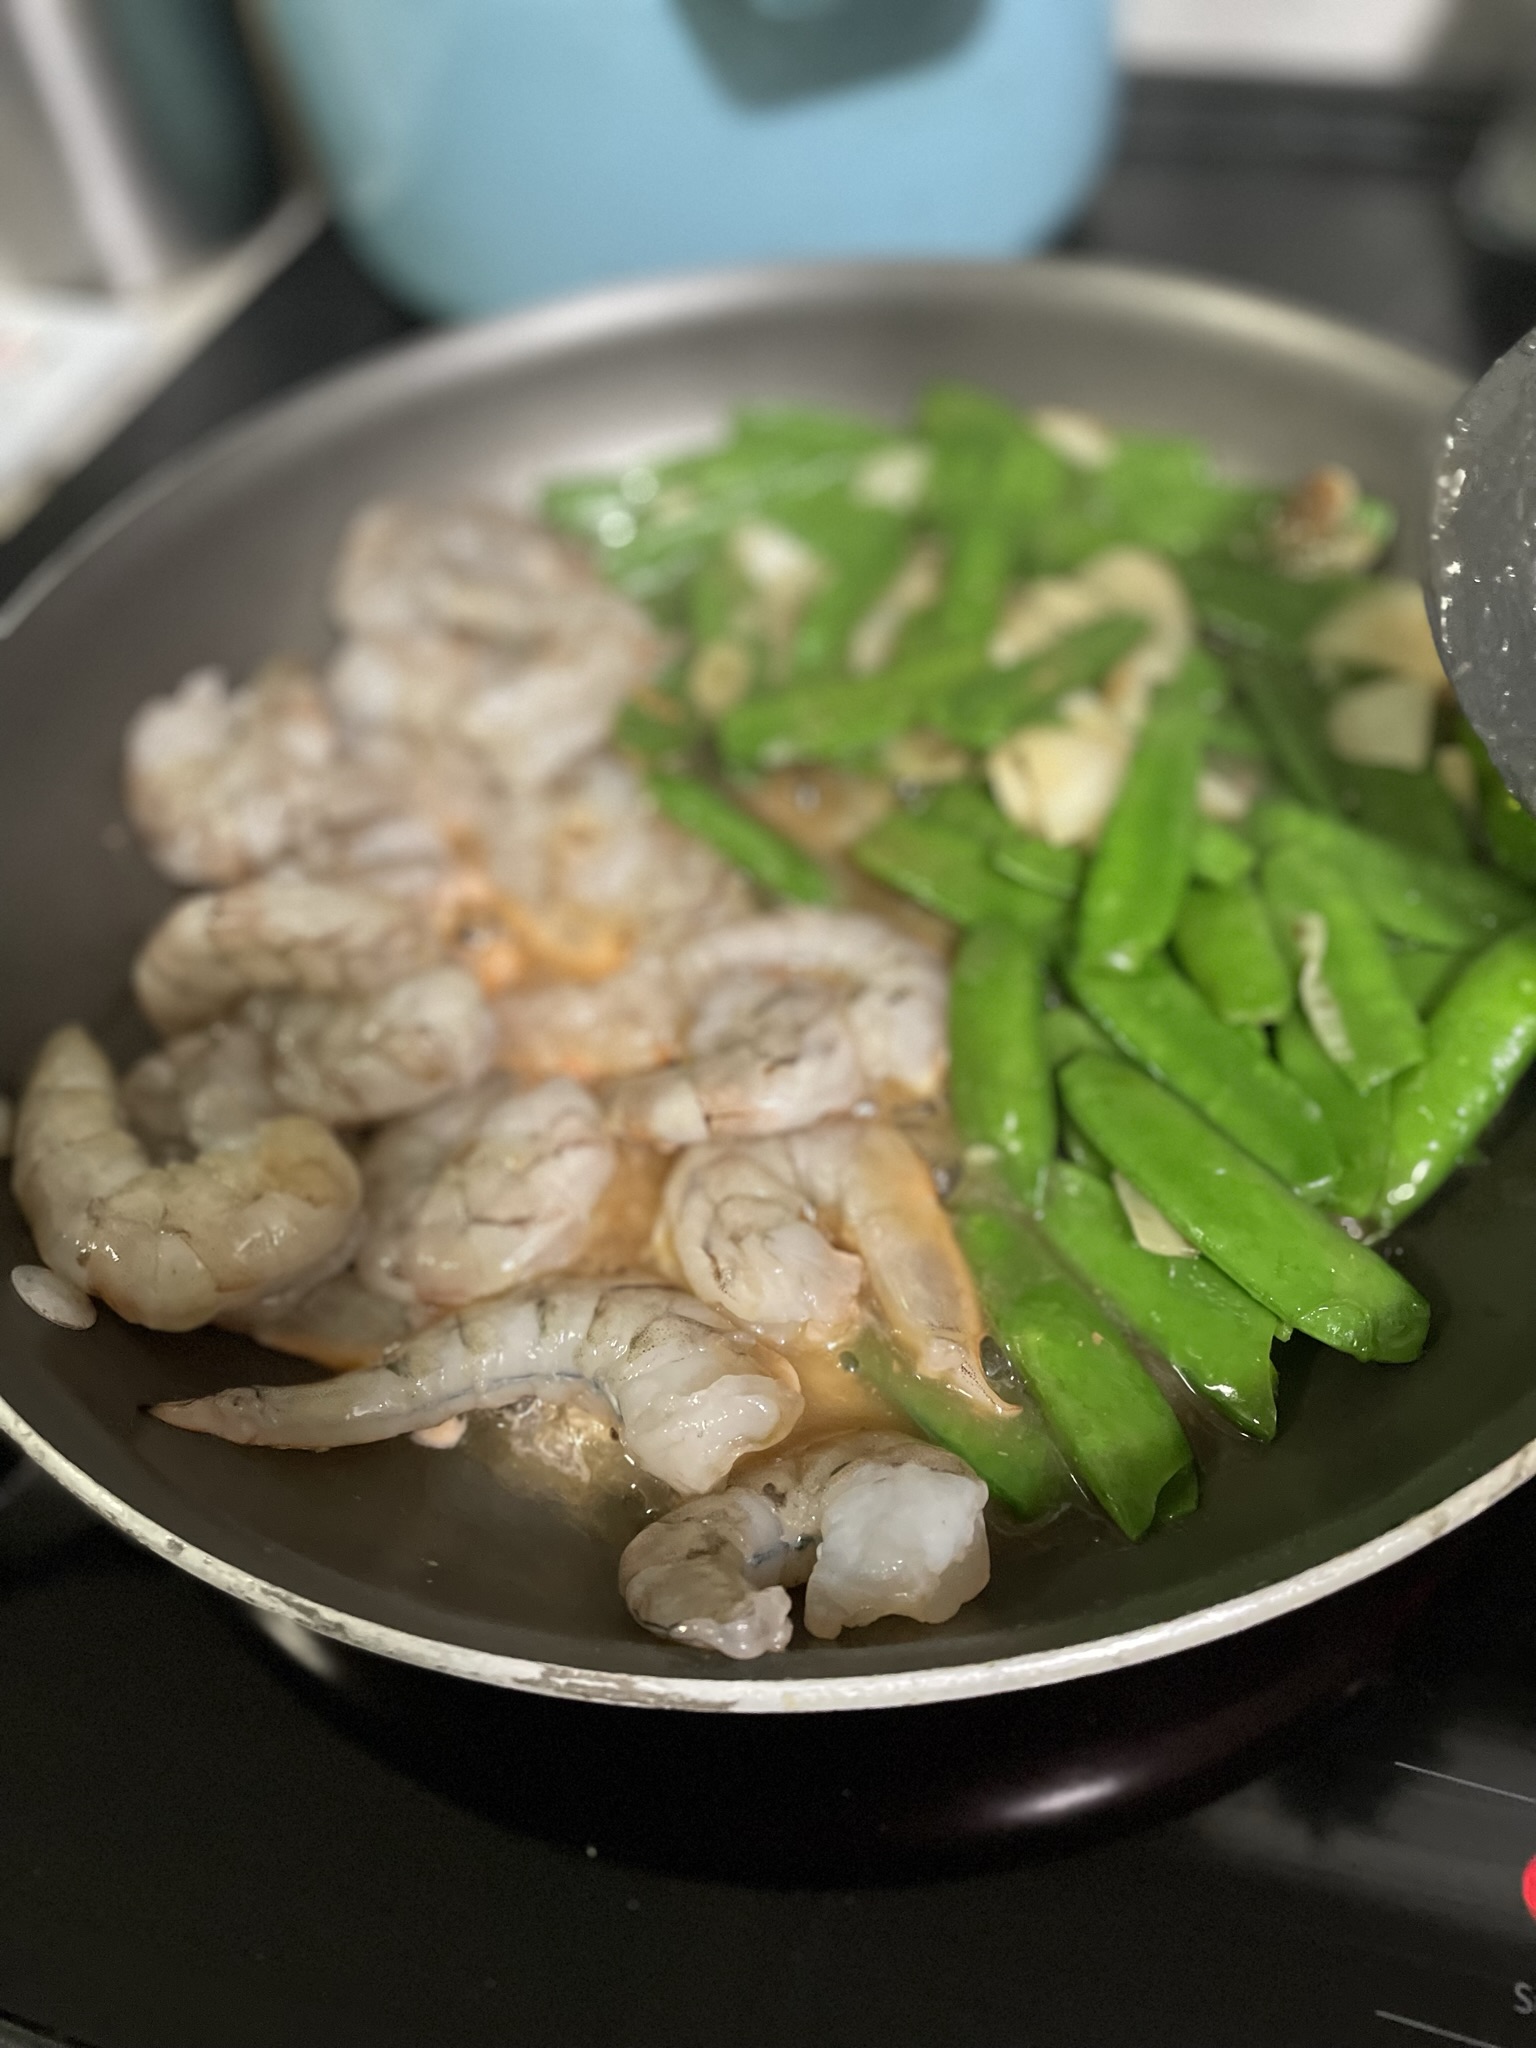
  • After about 2 minutes, sauce should start to bubble and thicken. Push sauce and snap peas to one side of the pan and add shrimp to the open side.
  • Stir shrimp after 1 minute to allow other shrimp to make contact with the pan.
  • After another minute, mix shrimp with snap peas and sauce.
  • Crack some fresh black pepper over top and serve with some rice!

Serve some Chicken & Cabbage Dumplings alongside this stir fry.

Want some dessert? Have some Kitchen Sink Cookies or a summer Peach Galette.

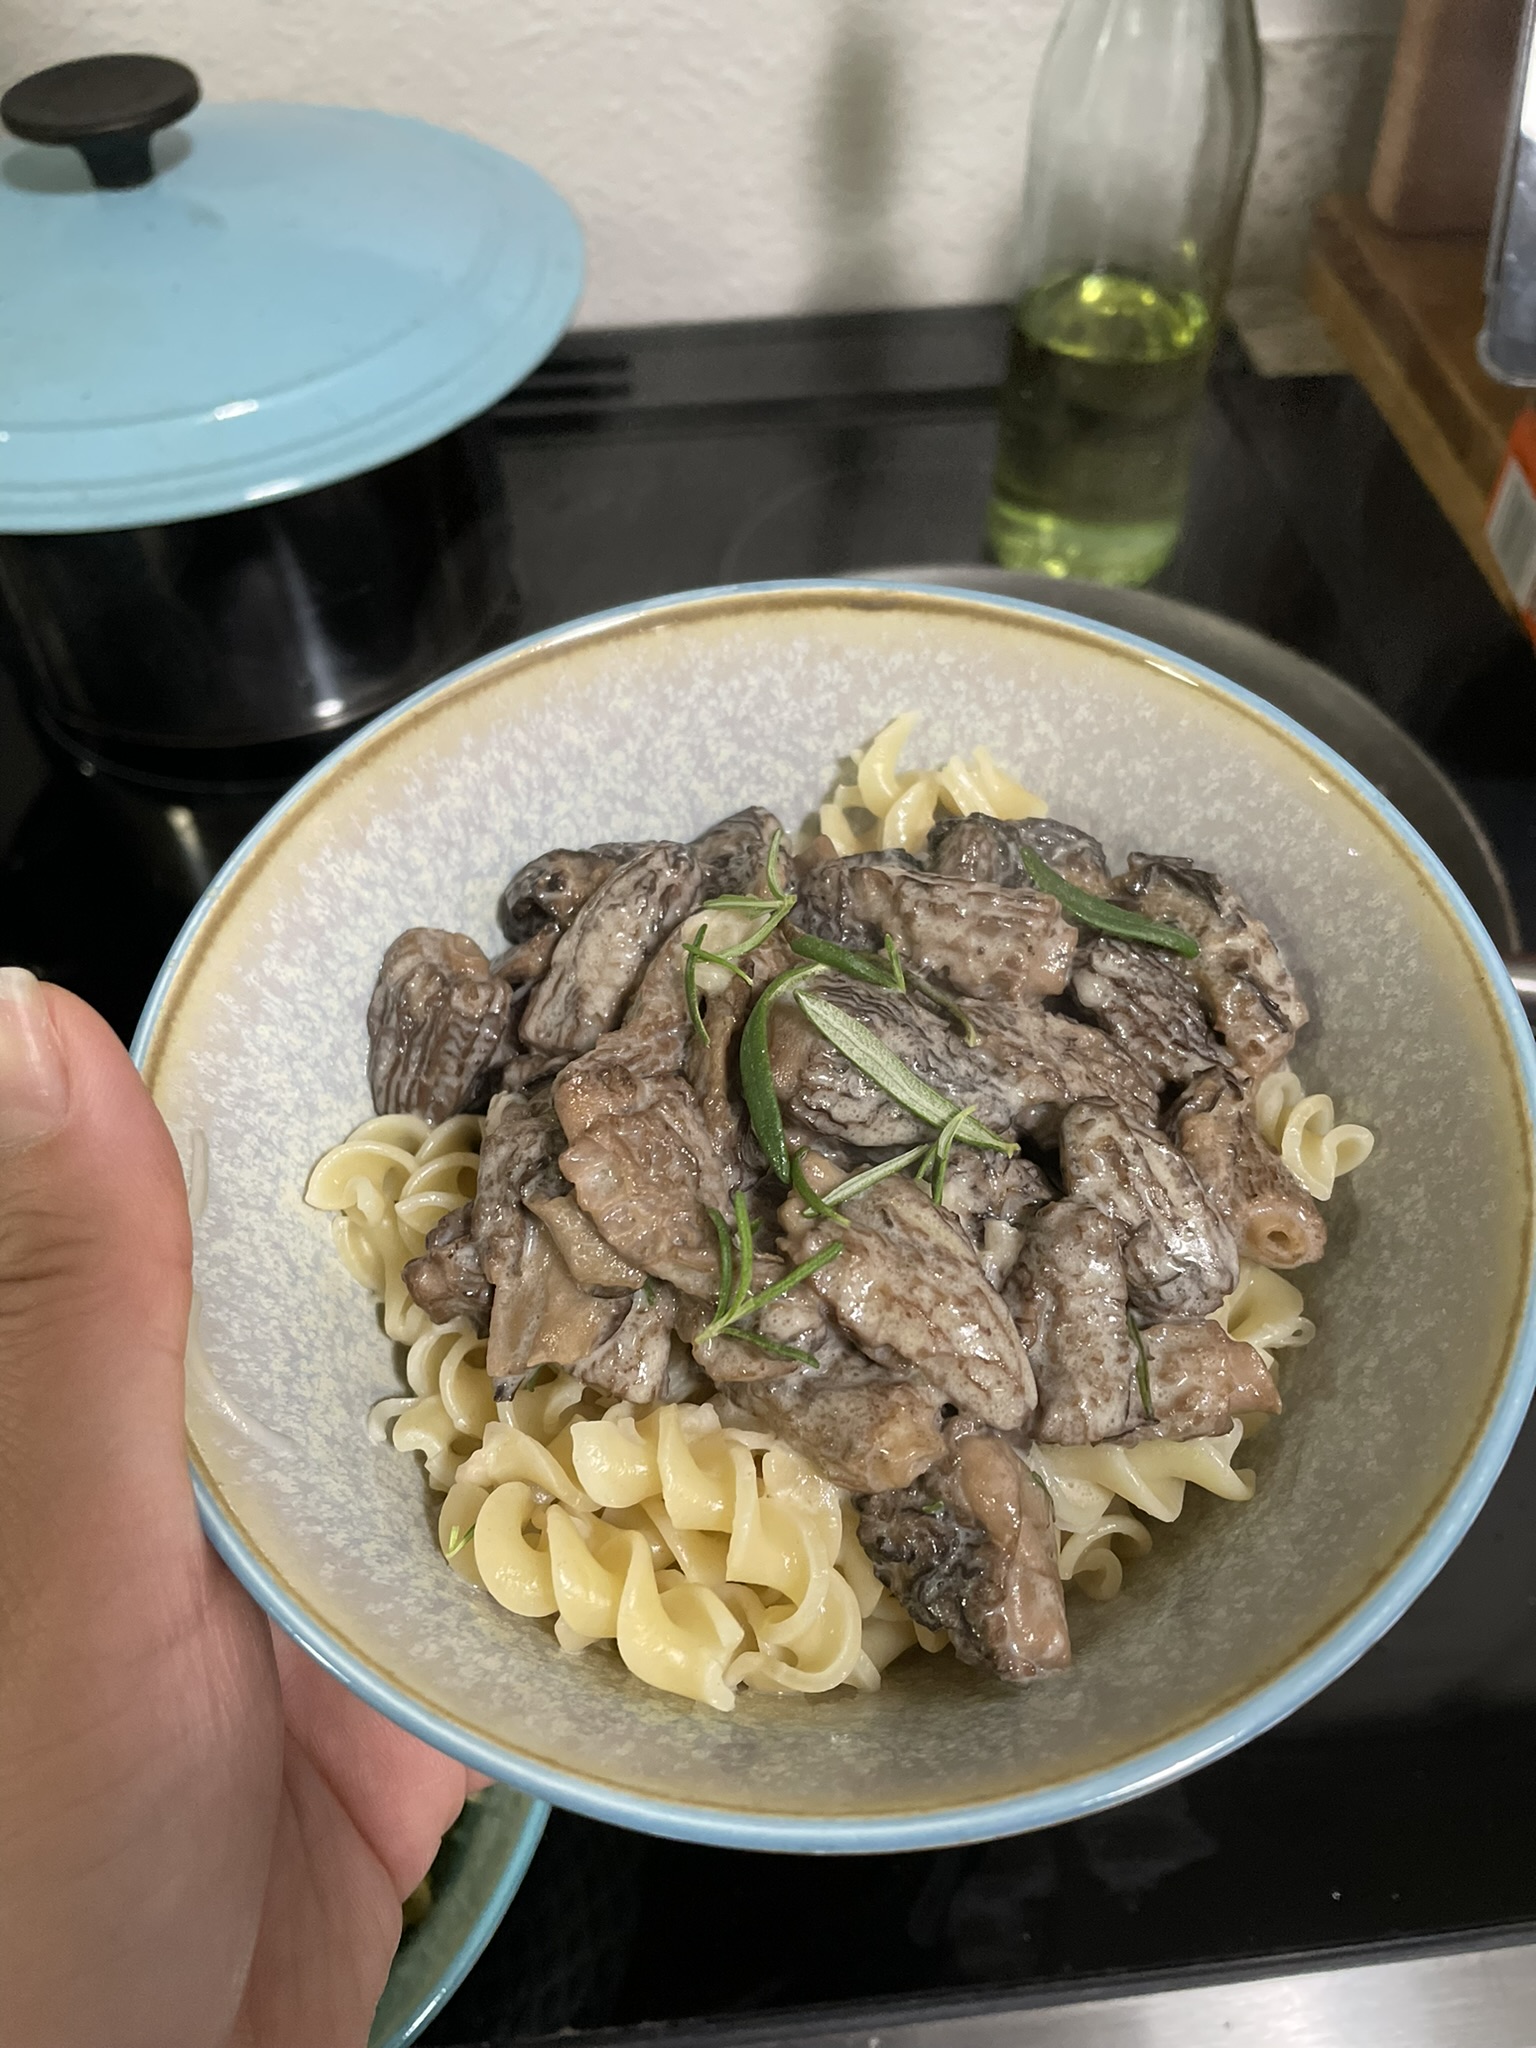
Creamy Morel Mushroom Pasta

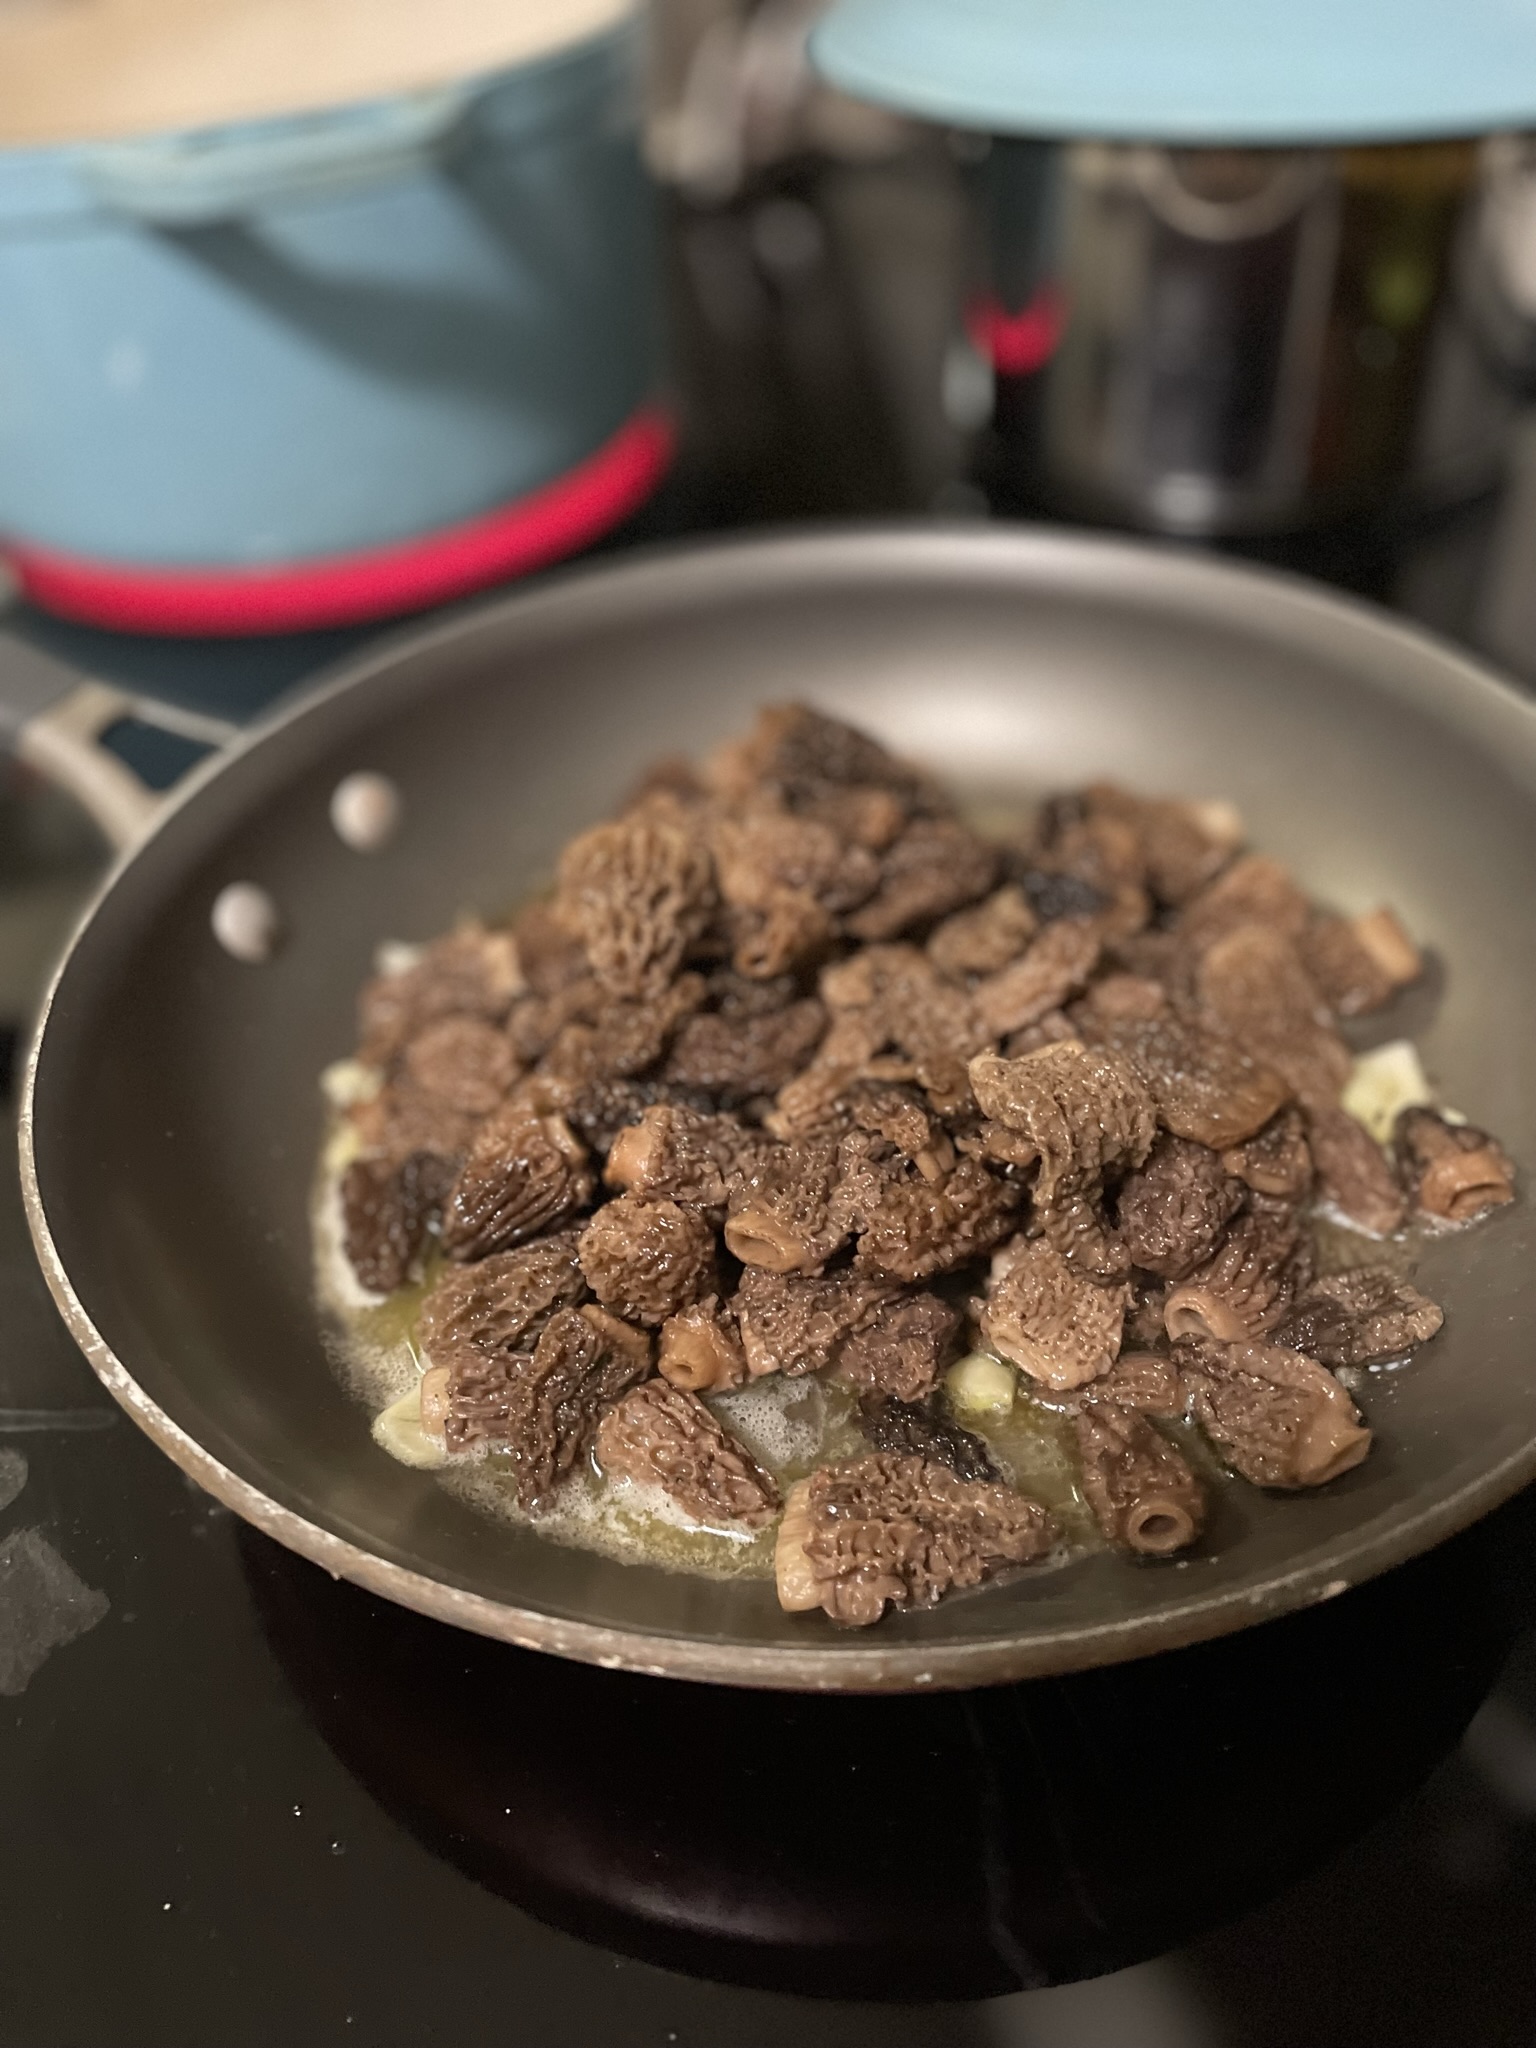
A few weeks ago, my friend dropped off some morel mushrooms that she had foraged in the PNW. I had heard of morel mushrooms before, but had never seen them before. Morels have a very distinct look: narrow stem with a honeycomb-looking cap and completely hollow on the inside. I sautéed a few up and was hooked on first bite. Morels have a really meaty texture and a relatively mild mushroom flavor. If you don’t like mushrooms, this might be a great mushroom to try to see how you may like it.

Prepping Morel Mushrooms

The cleaning process may be very involved if you are foraging for morels vs if you are buying them at the grocery store. Cutting the morel from the ground during harvest ensures that any extra dirt doesn’t get pulled up from the ground. If buying them from the grocery store, you may want to slice of a bit of the end of the stem to ensure that you aren’t getting any extra dirt in your finished dish. From there, slice your morels in half to inspect for any bugs, worms or holes that may be present. You will want to discard those mushrooms. Finally, after cutting your mushrooms, they can be dunked in salt water to dislodge any remaining dirt or use a gentle brush to remove the dirt from the mushroom cap.

Ingredients

Morel mushroom – You could really use any mushroom for this pasta dish. I’d recommend portobello, crimini, or shiitake mushrooms as more accessible substitutes, but really use whatever mushroom you’d like. If using larger mushrooms, cut them into smaller bite-sized pieces.

Garlic – The garlic makes the sauce all that more interesting but doesn’t overpower the mushroom flavor.

Pasta – Use whatever shape you like! I had some spirals available on hand but this would be really great with some long noodles too.

Creamy Morel Mushroom Pasta

Print Recipe
A simple way to enjoy those seasonal morel mushrooms.
Course Main Course
Keyword morel, mushrooms, pasta

Ingredients

  • 2 cloves garlic
  • 1 tbsp olive oil
  • 2 tbsp butter
  • 2 cups morel mushrooms
  • 1 cup milk
  • salt
  • pepper
  • rosemary

Instructions

  • Clean your morel mushrooms and cut into your desired size. If you have smaller mushrooms you can leave them whole too.
  • Cook pasta according to package directions.
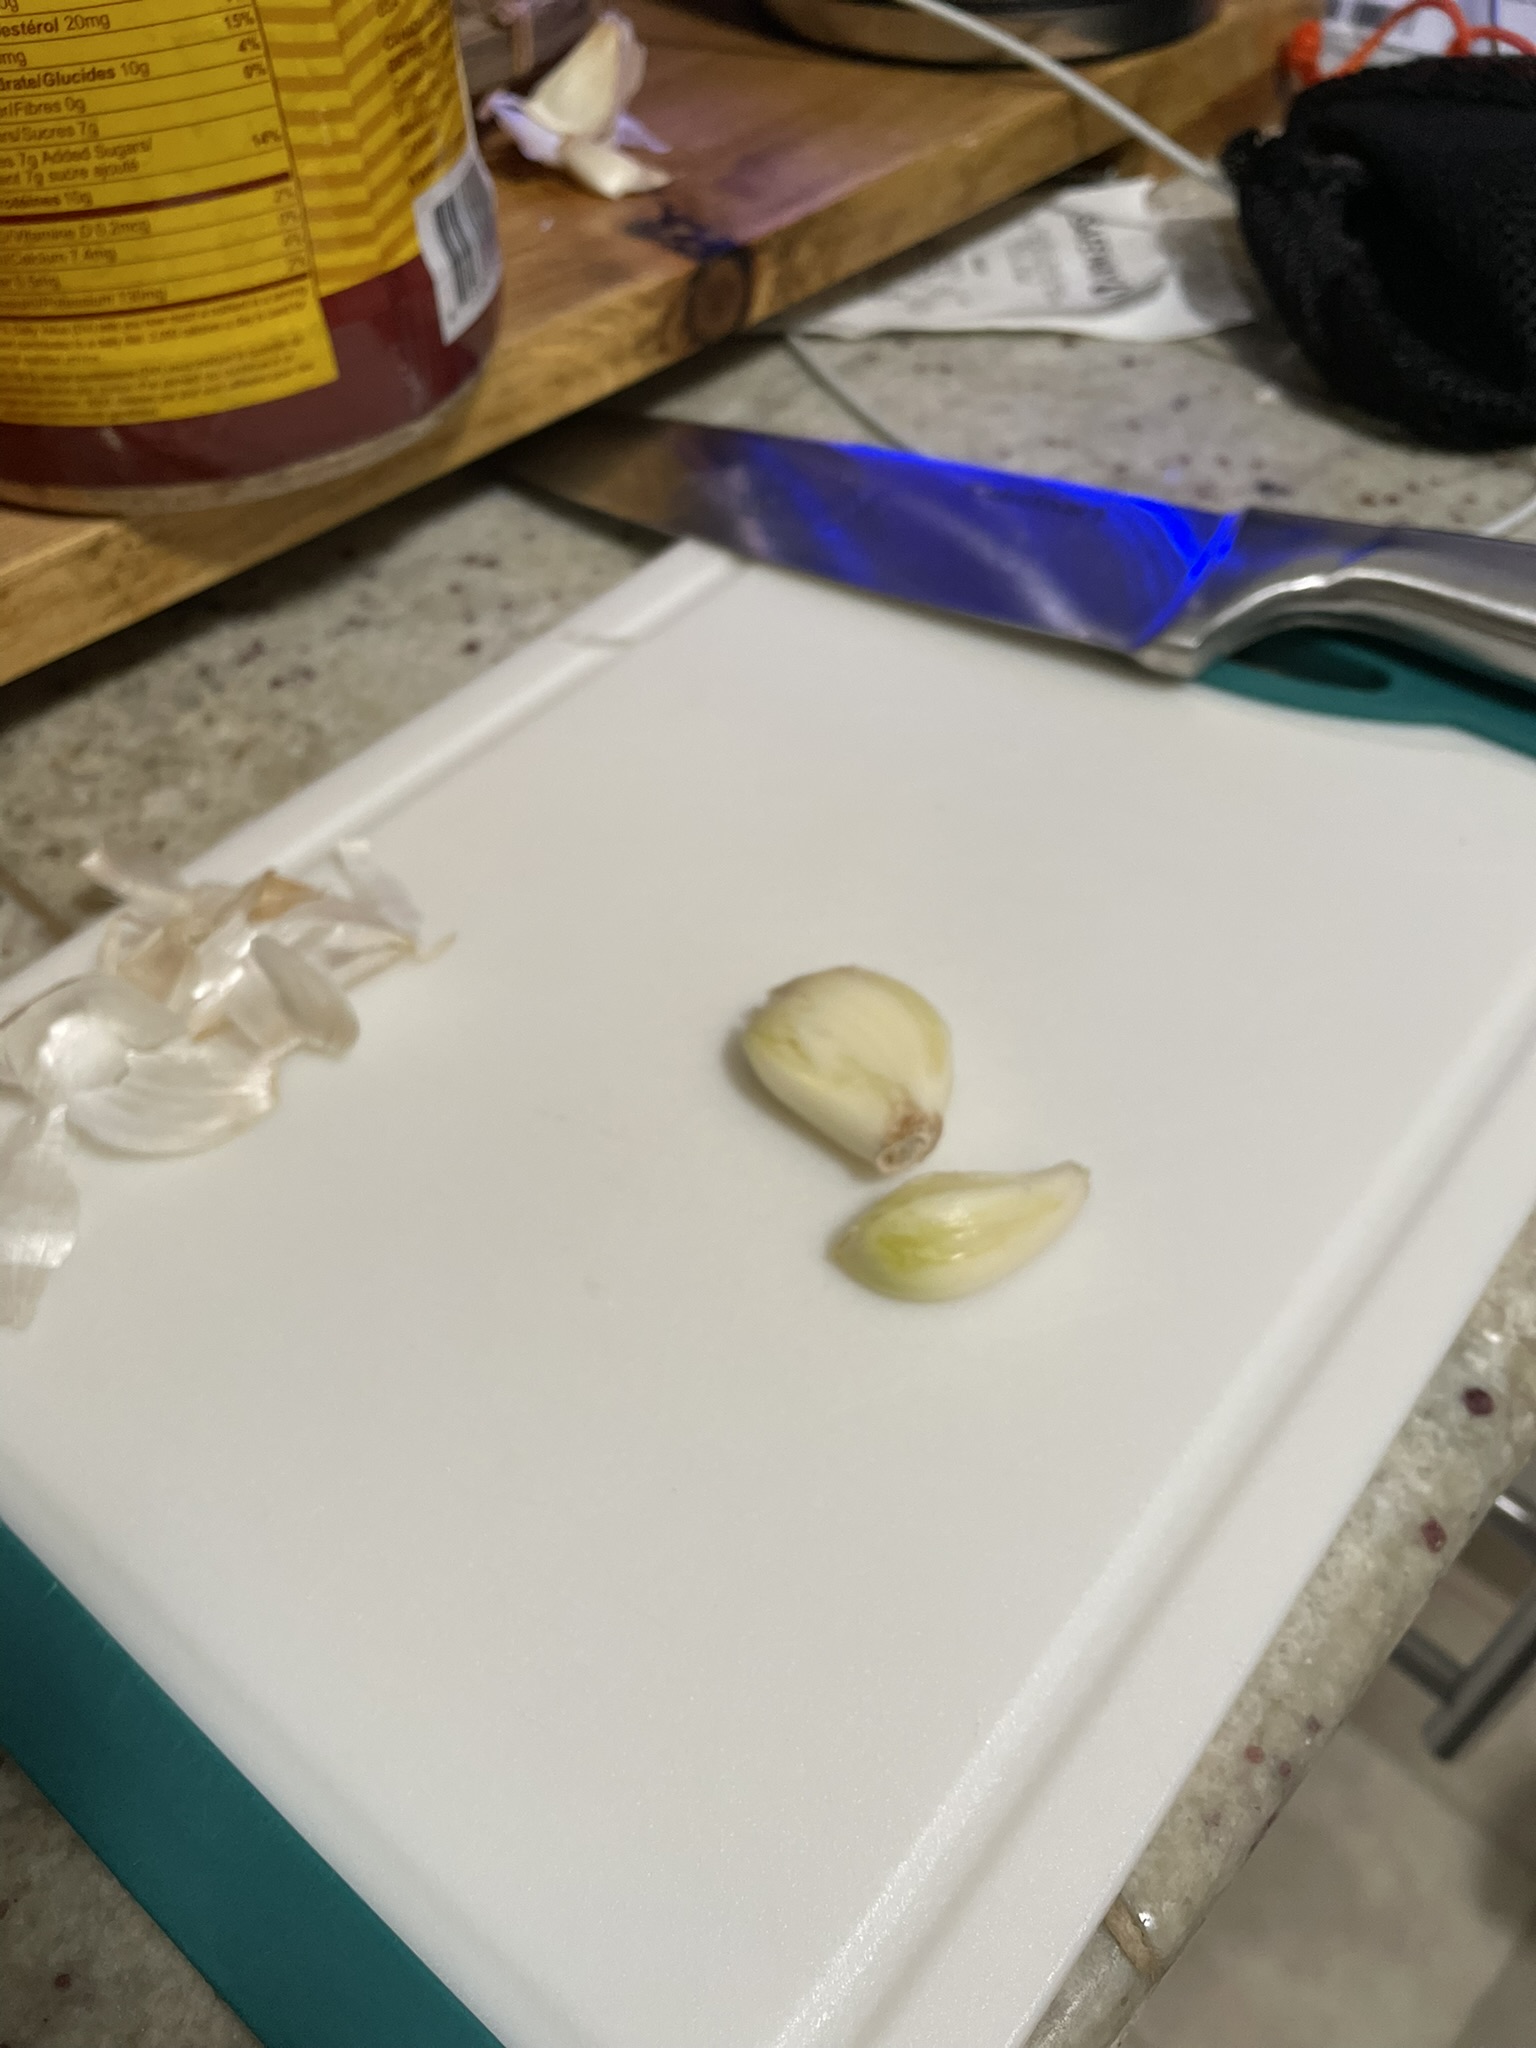
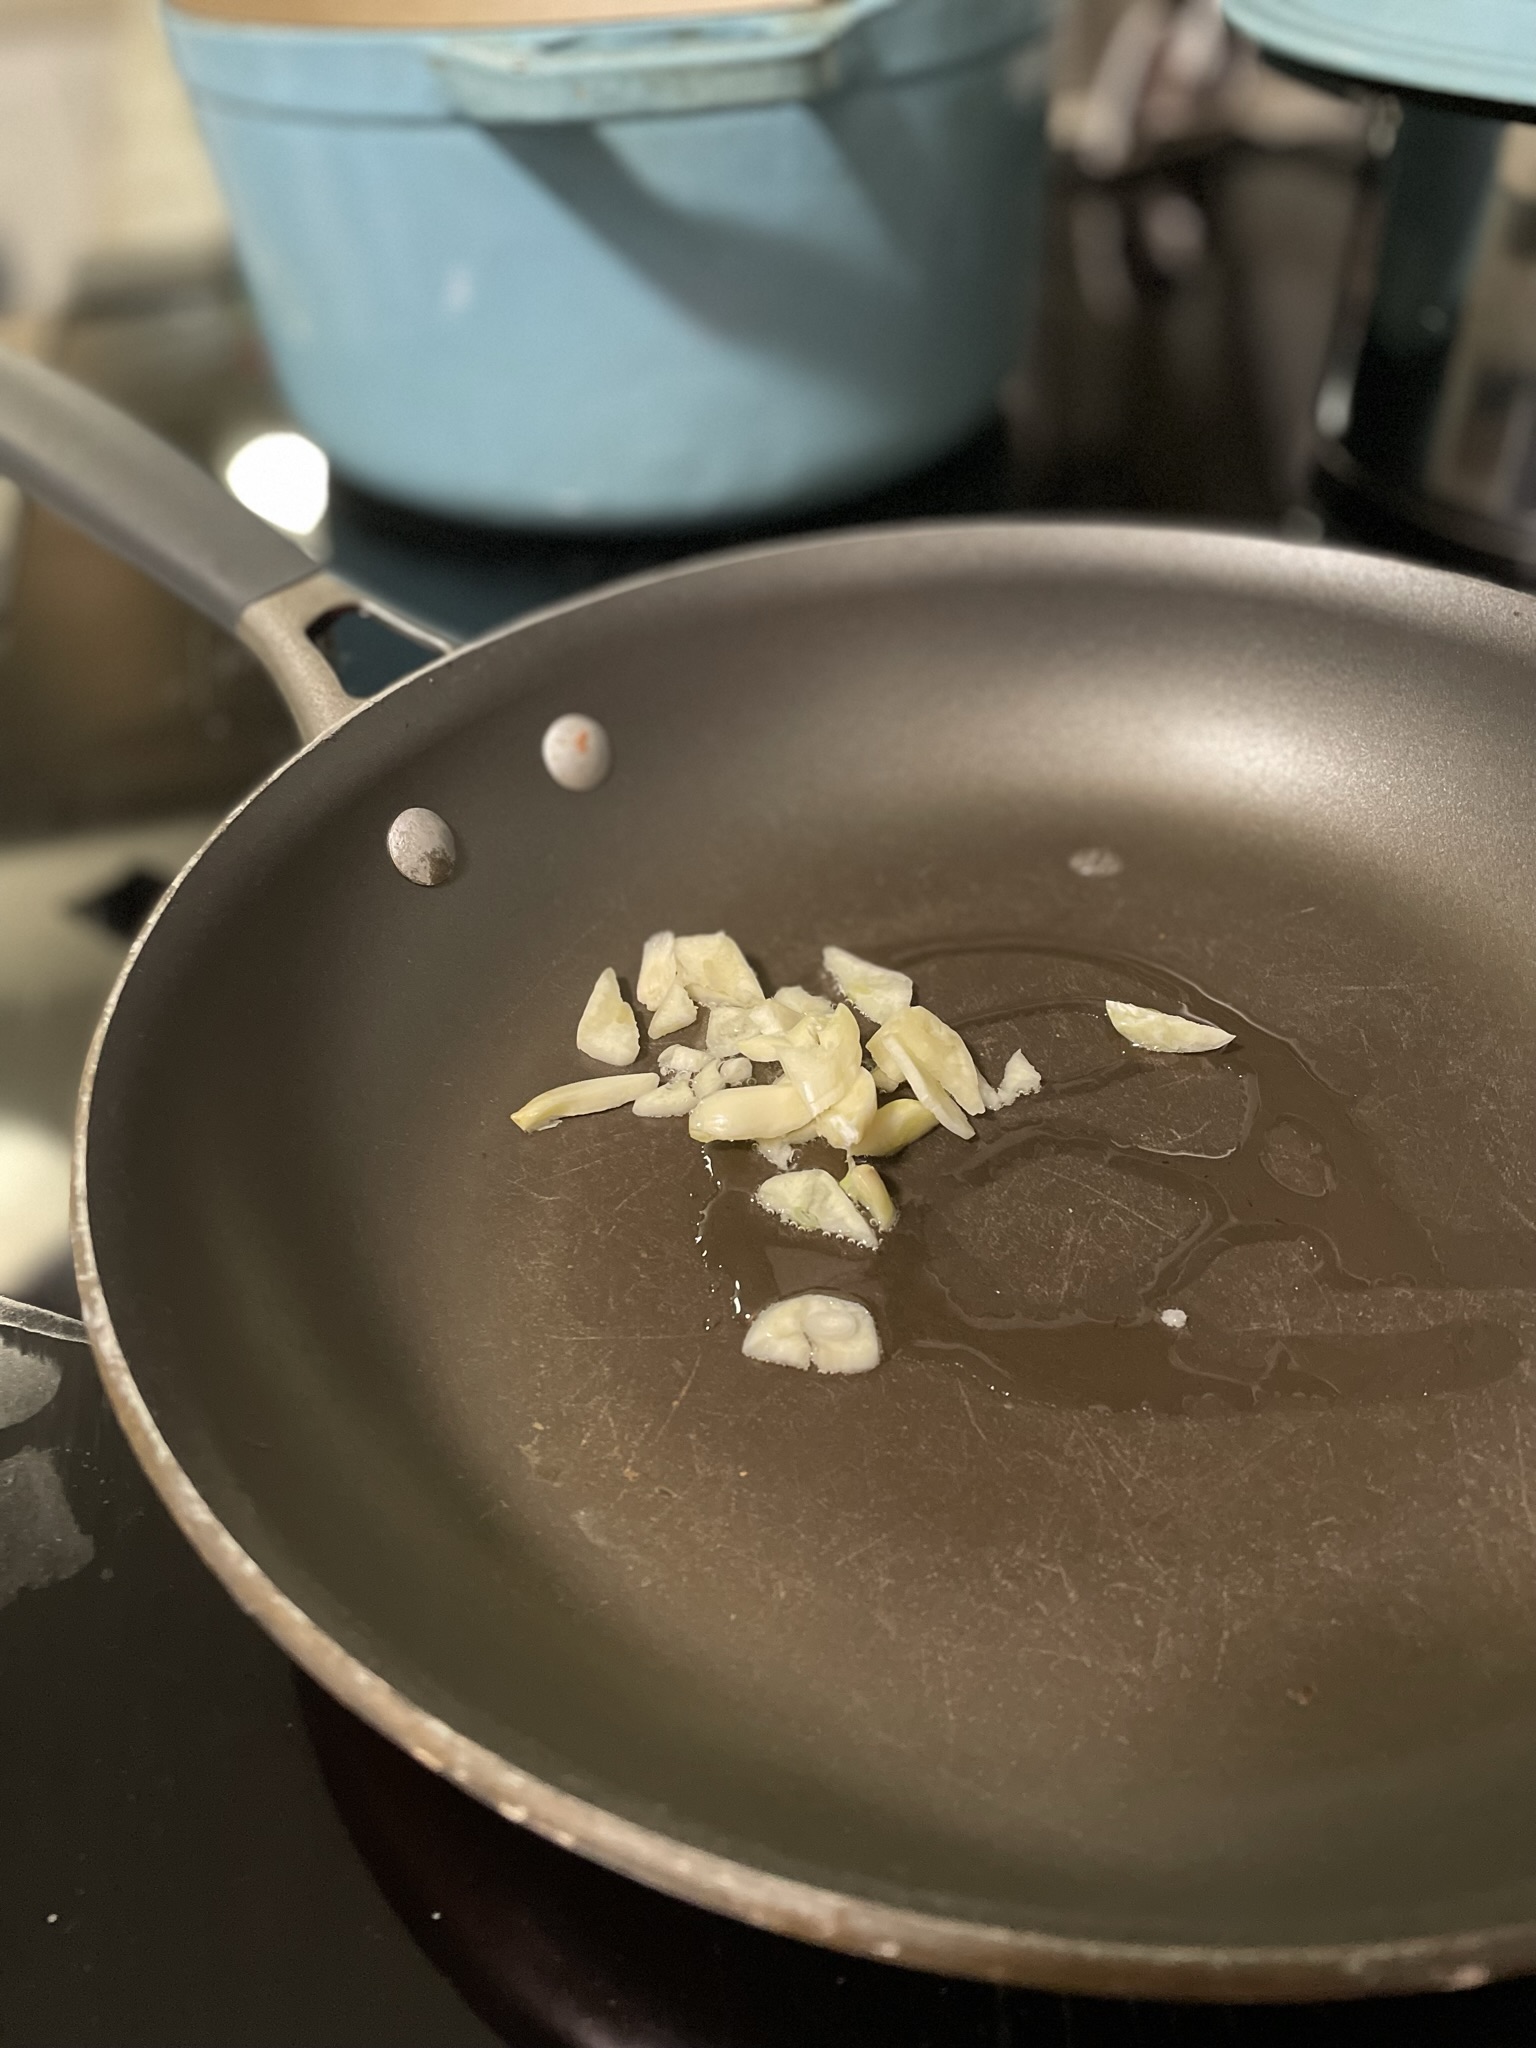
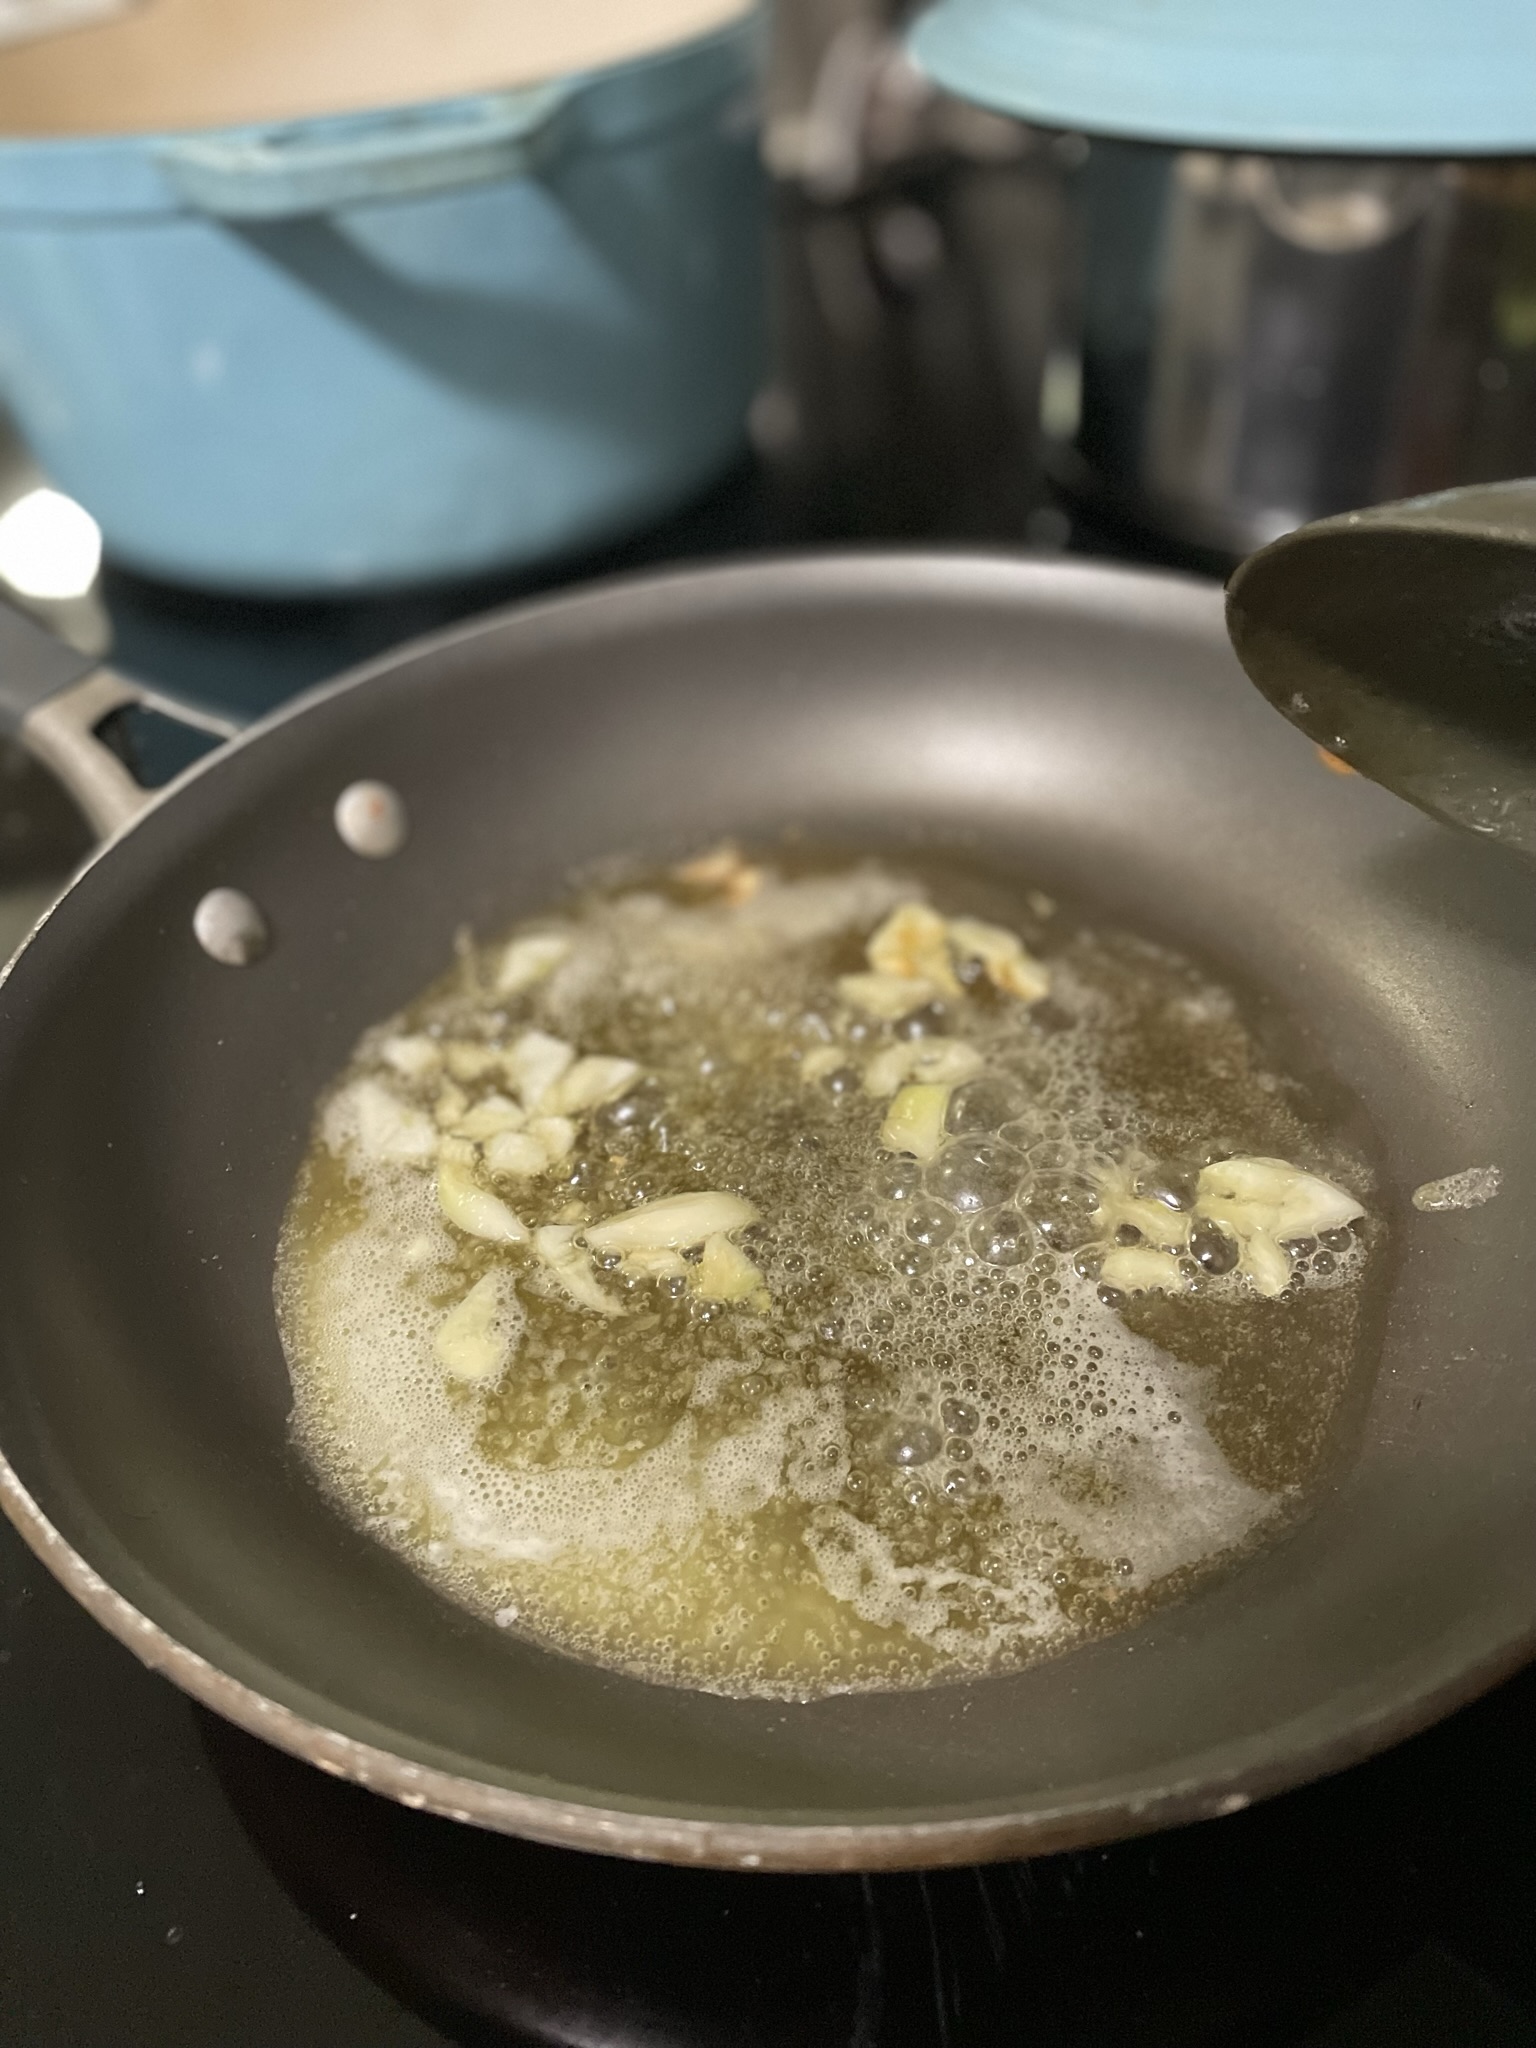
  • Slice garlic into thin slivers and saute in olive oil until softened.
  • Add butter and then morels, continuing to cook. Morels will shrink in size.
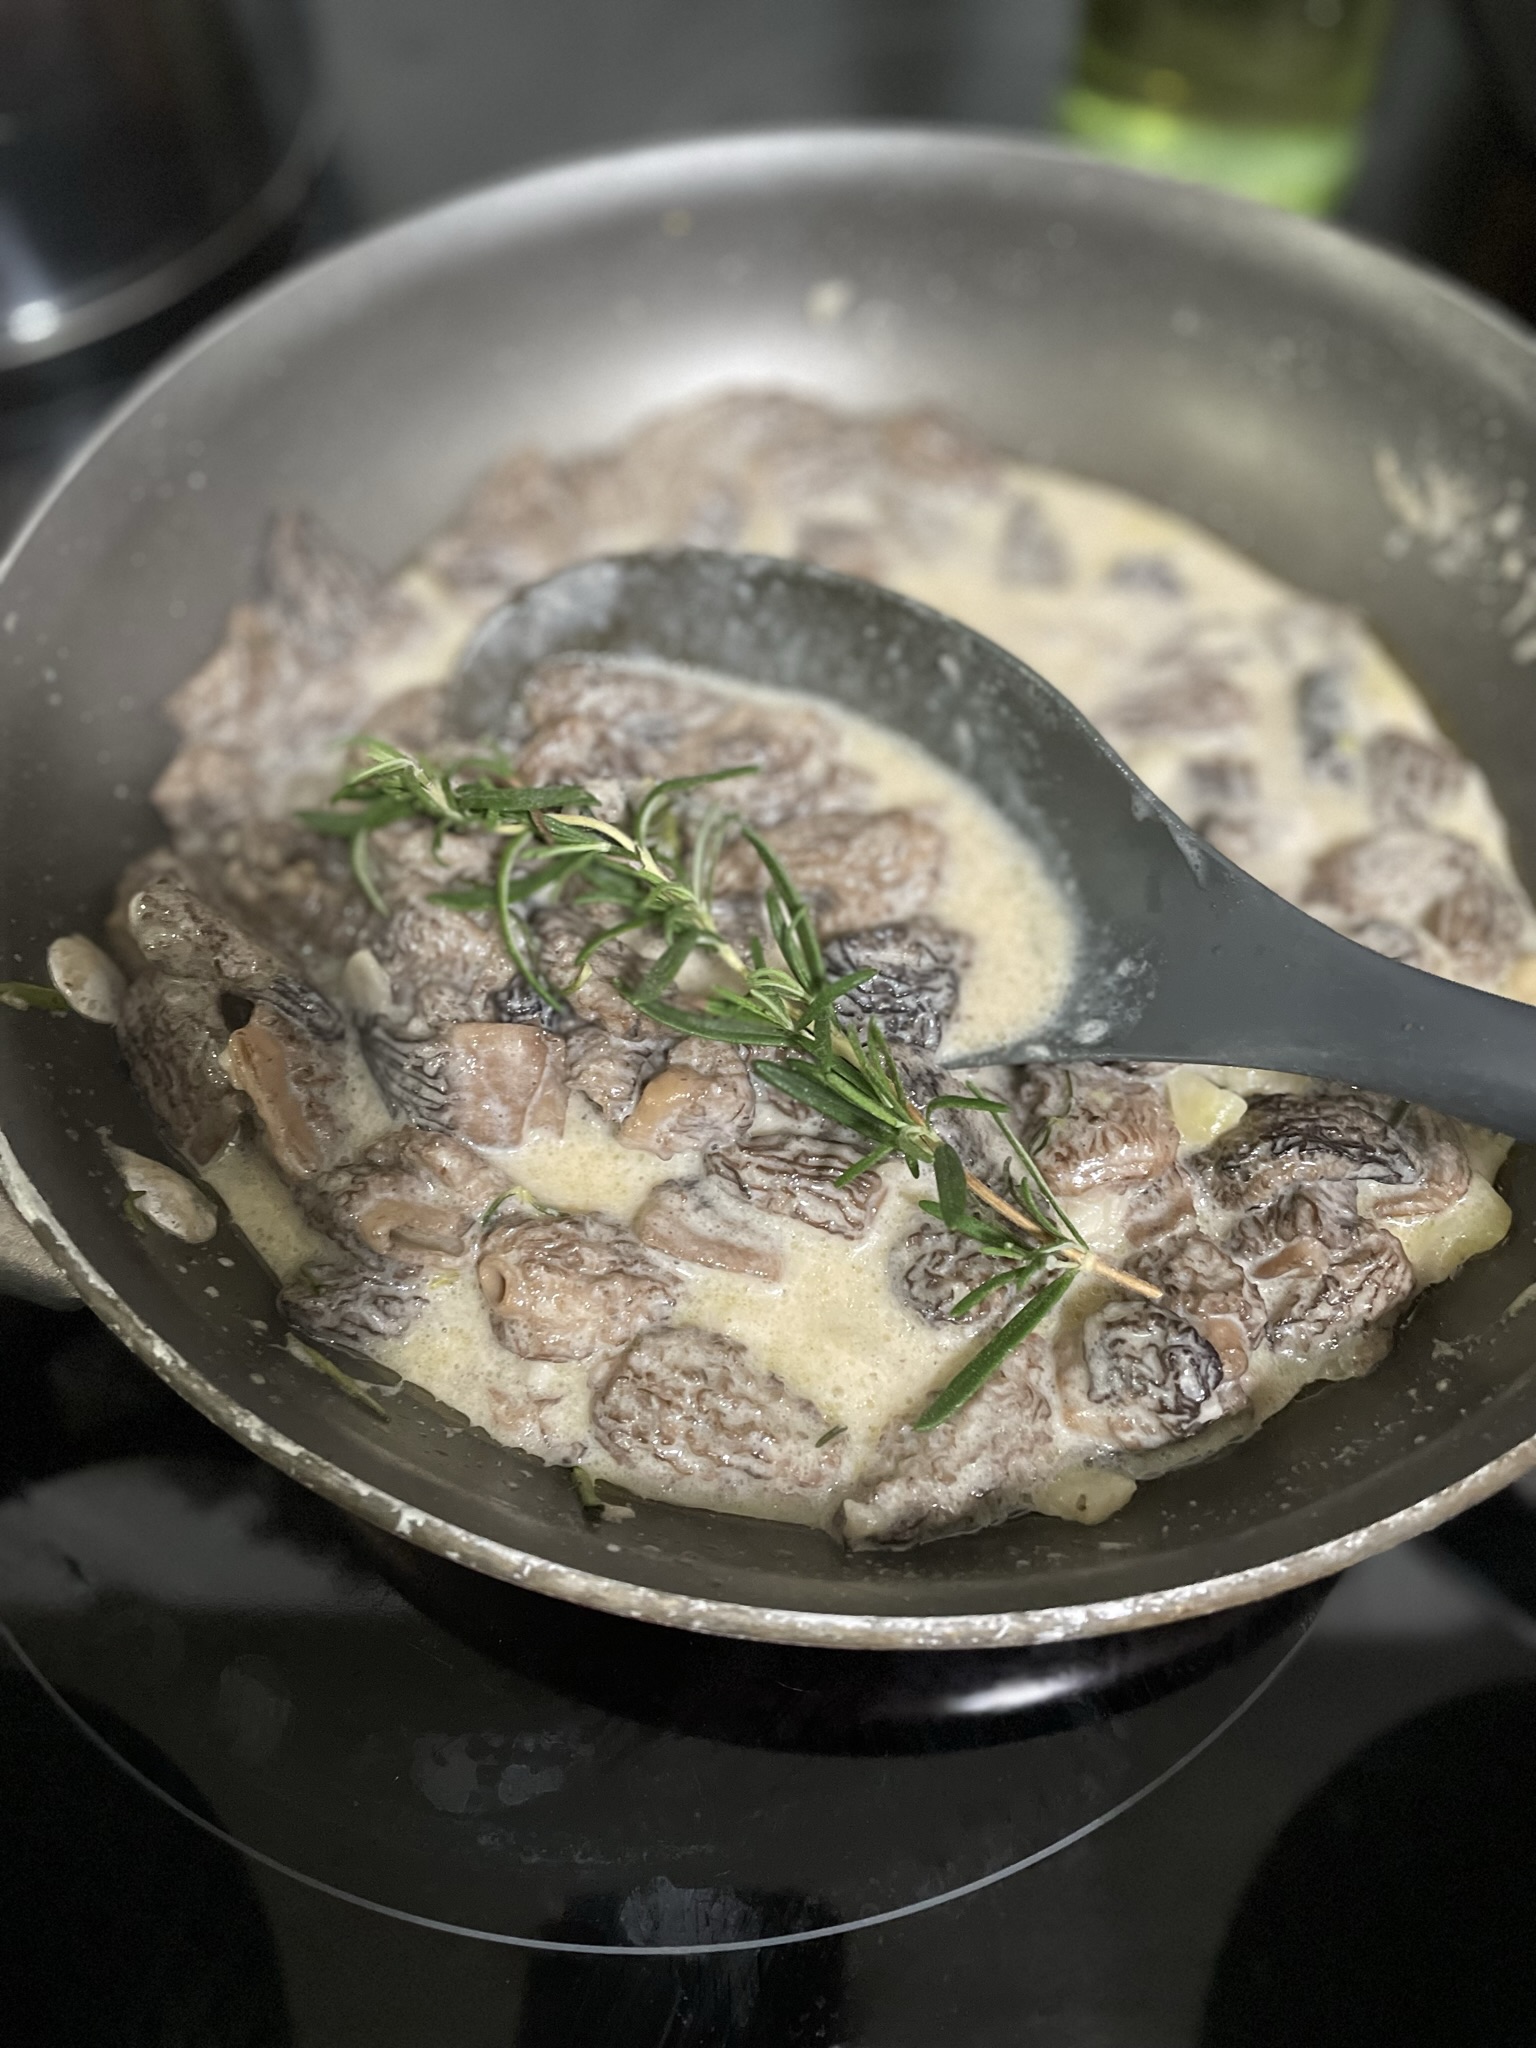
  • Add milk. Continue simmering to thicken the sauce.
  • Add salt & pepper to taste and mix in some fresh rosemary.
  • Spoon sauce and mushrooms over your pasta and top with more rosemary!

Try some other pasta like Sun-dried Tomato and Goat Cheese Pasta.
Want a side for this pasta? I’d make some Honey Balsamic Roasted Brussels Sprouts to accompany.
Having a dinner party? Make a dessert like Peach Galette to accompany.

Blueberry Rhubarb Jam

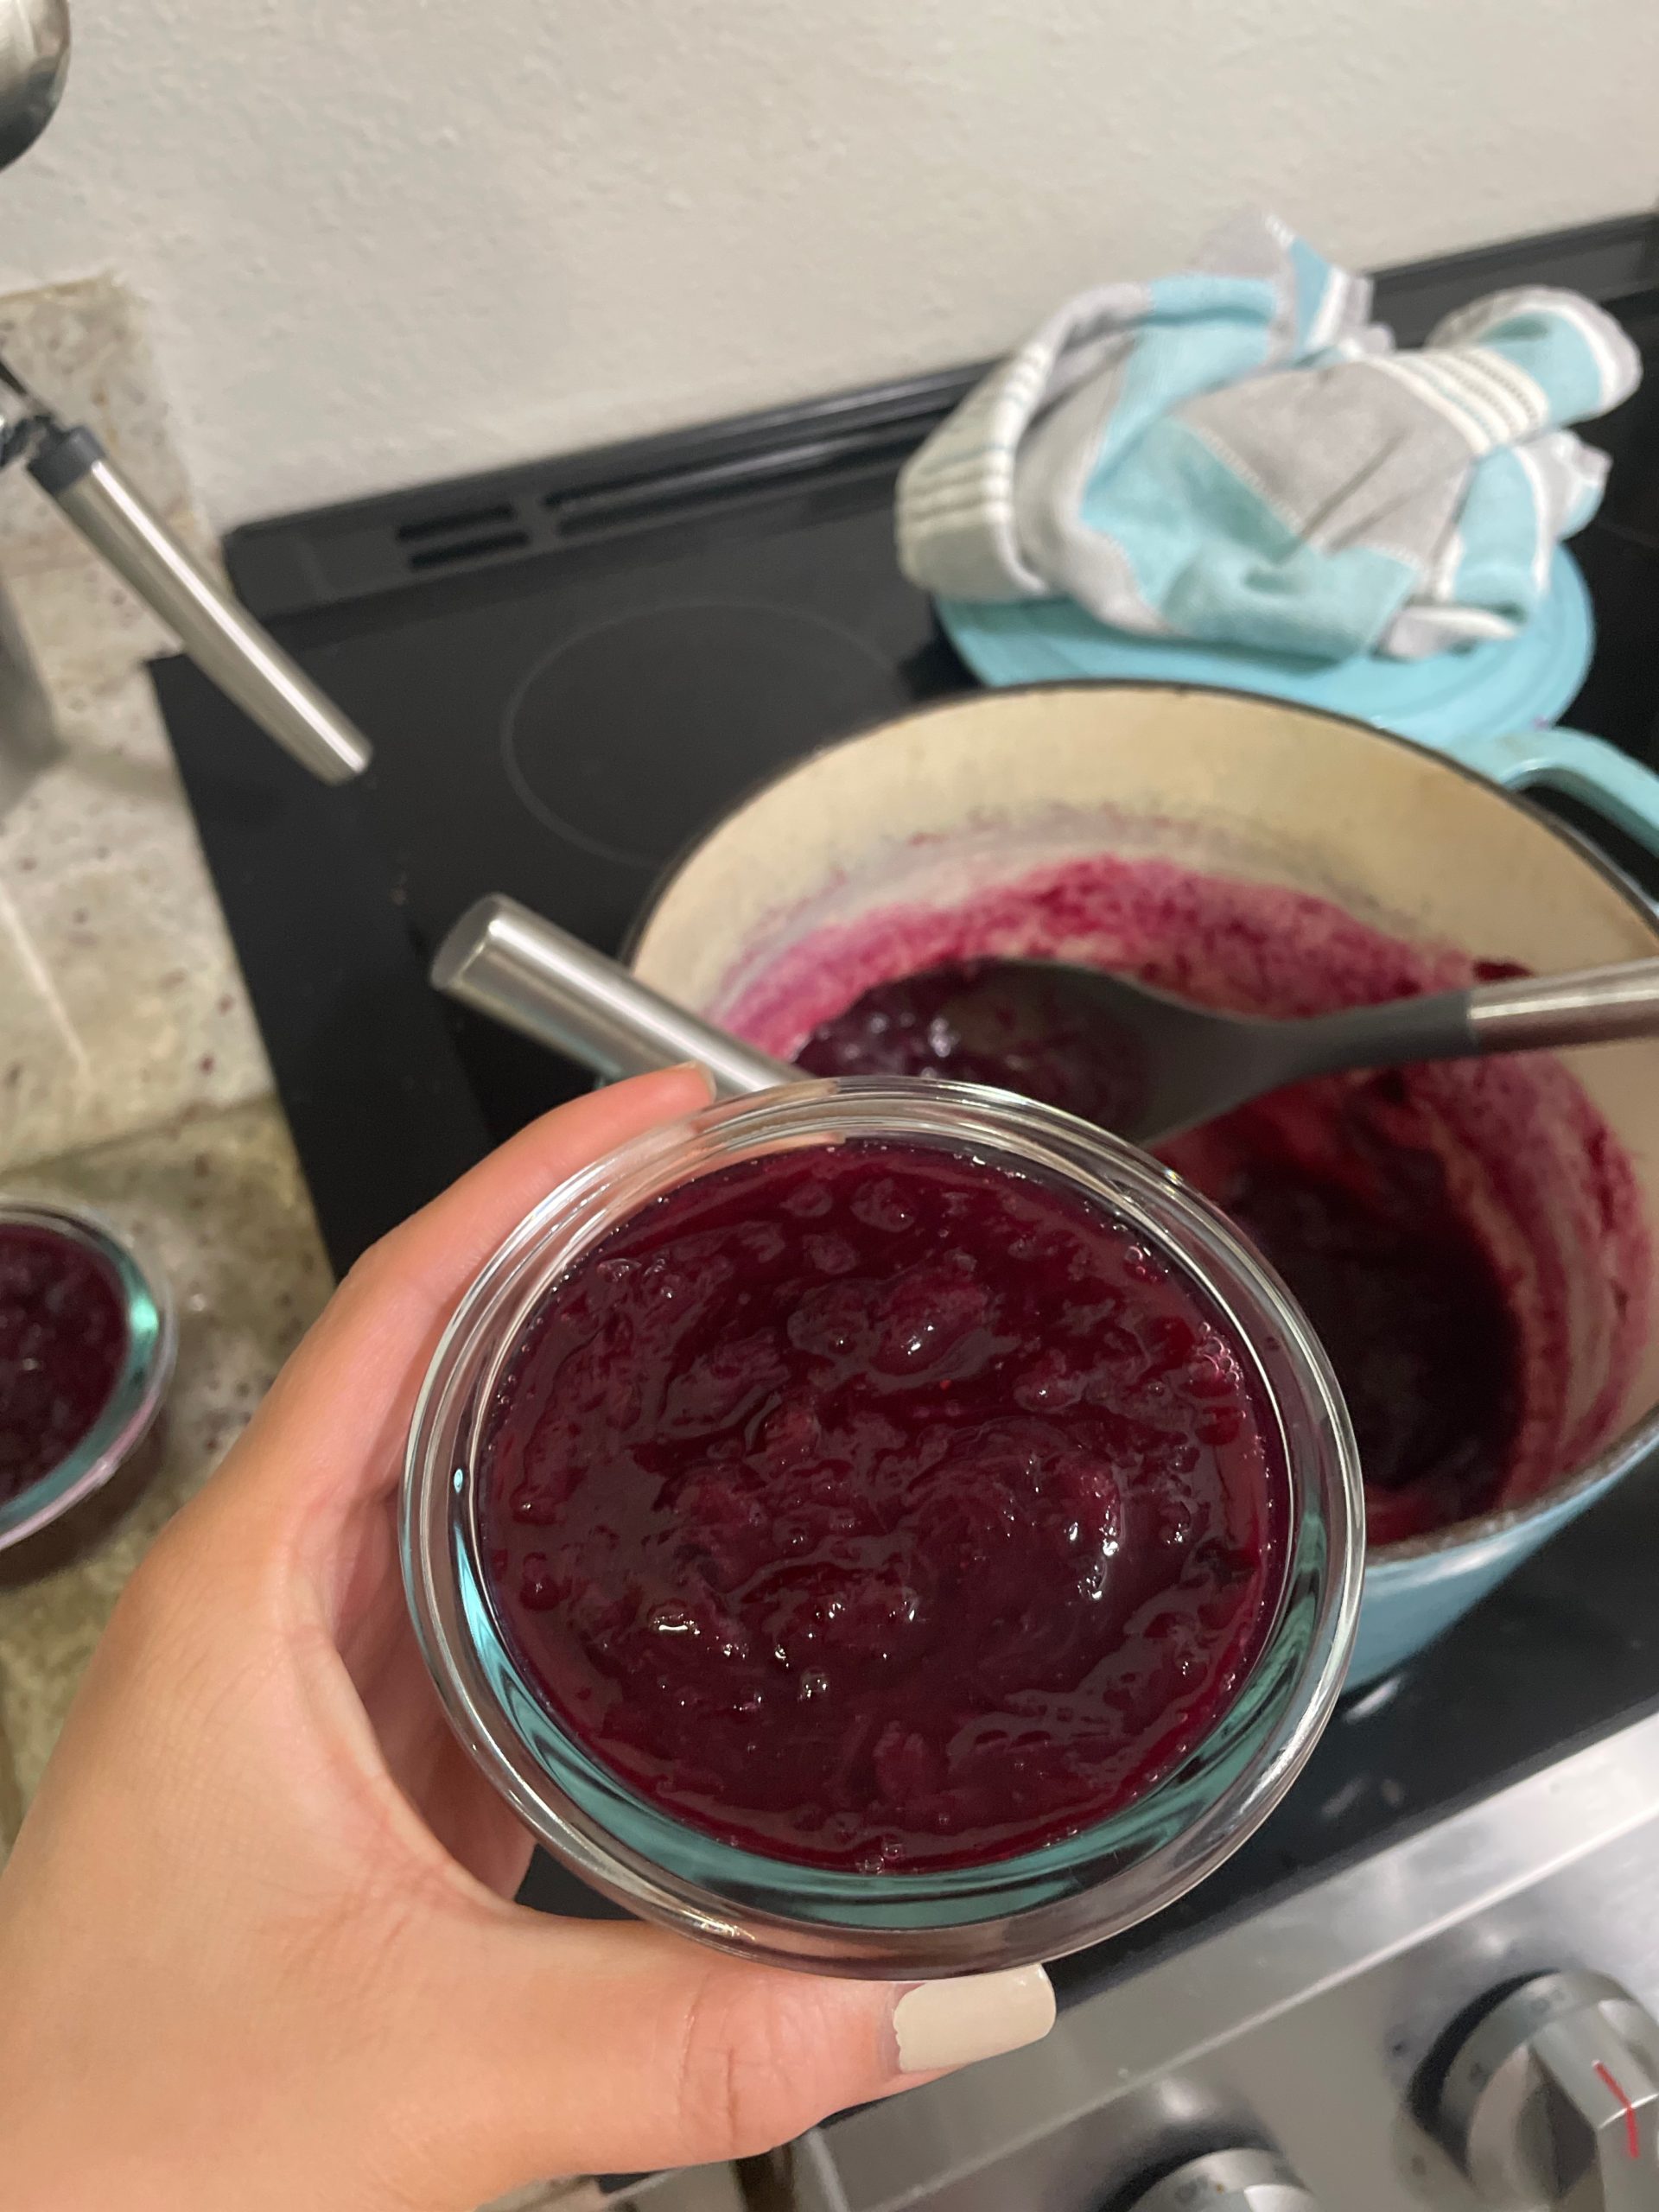
With rhubarb in season, I’m getting rhubarb left and right from friends and neighbors! With all this excess, jam is the perfect way to preserve all the extra rhubarb. This sweet and sour jam is lovely for a cake filling, swirled into a loaf, or on a slice of bread.

Ingredients

Rhubarb – Be careful! The leaves of rhubarb are poisonous when consumed. Use only the stalks. When eaten raw or cooked, rhubarb stems add a lovely tartness to your jam. No additional acid like lemon juice needed to balance your jam.

Blueberries – Blueberries give some sweetness to your jam and are a beautiful color! I had blueberries on hand, but you can swap for any other berry or fruit you might fancy. Swap with the most popular rhubarb combination, strawberry, or try others like raspberries or marionberries.

Blueberry Rhubarb Jam

Print Recipe
This sweet and sour jam is lovely for a cake filling, swirled into a loaf, or on a slice of bread.
Course Dessert
Keyword blueberry, jam, rhubarb

Ingredients

  • 2 cups rhubarb
  • 1 cup blueberries
  • 1/2 cup sugar
  • 1/4 tsp salt

Instructions

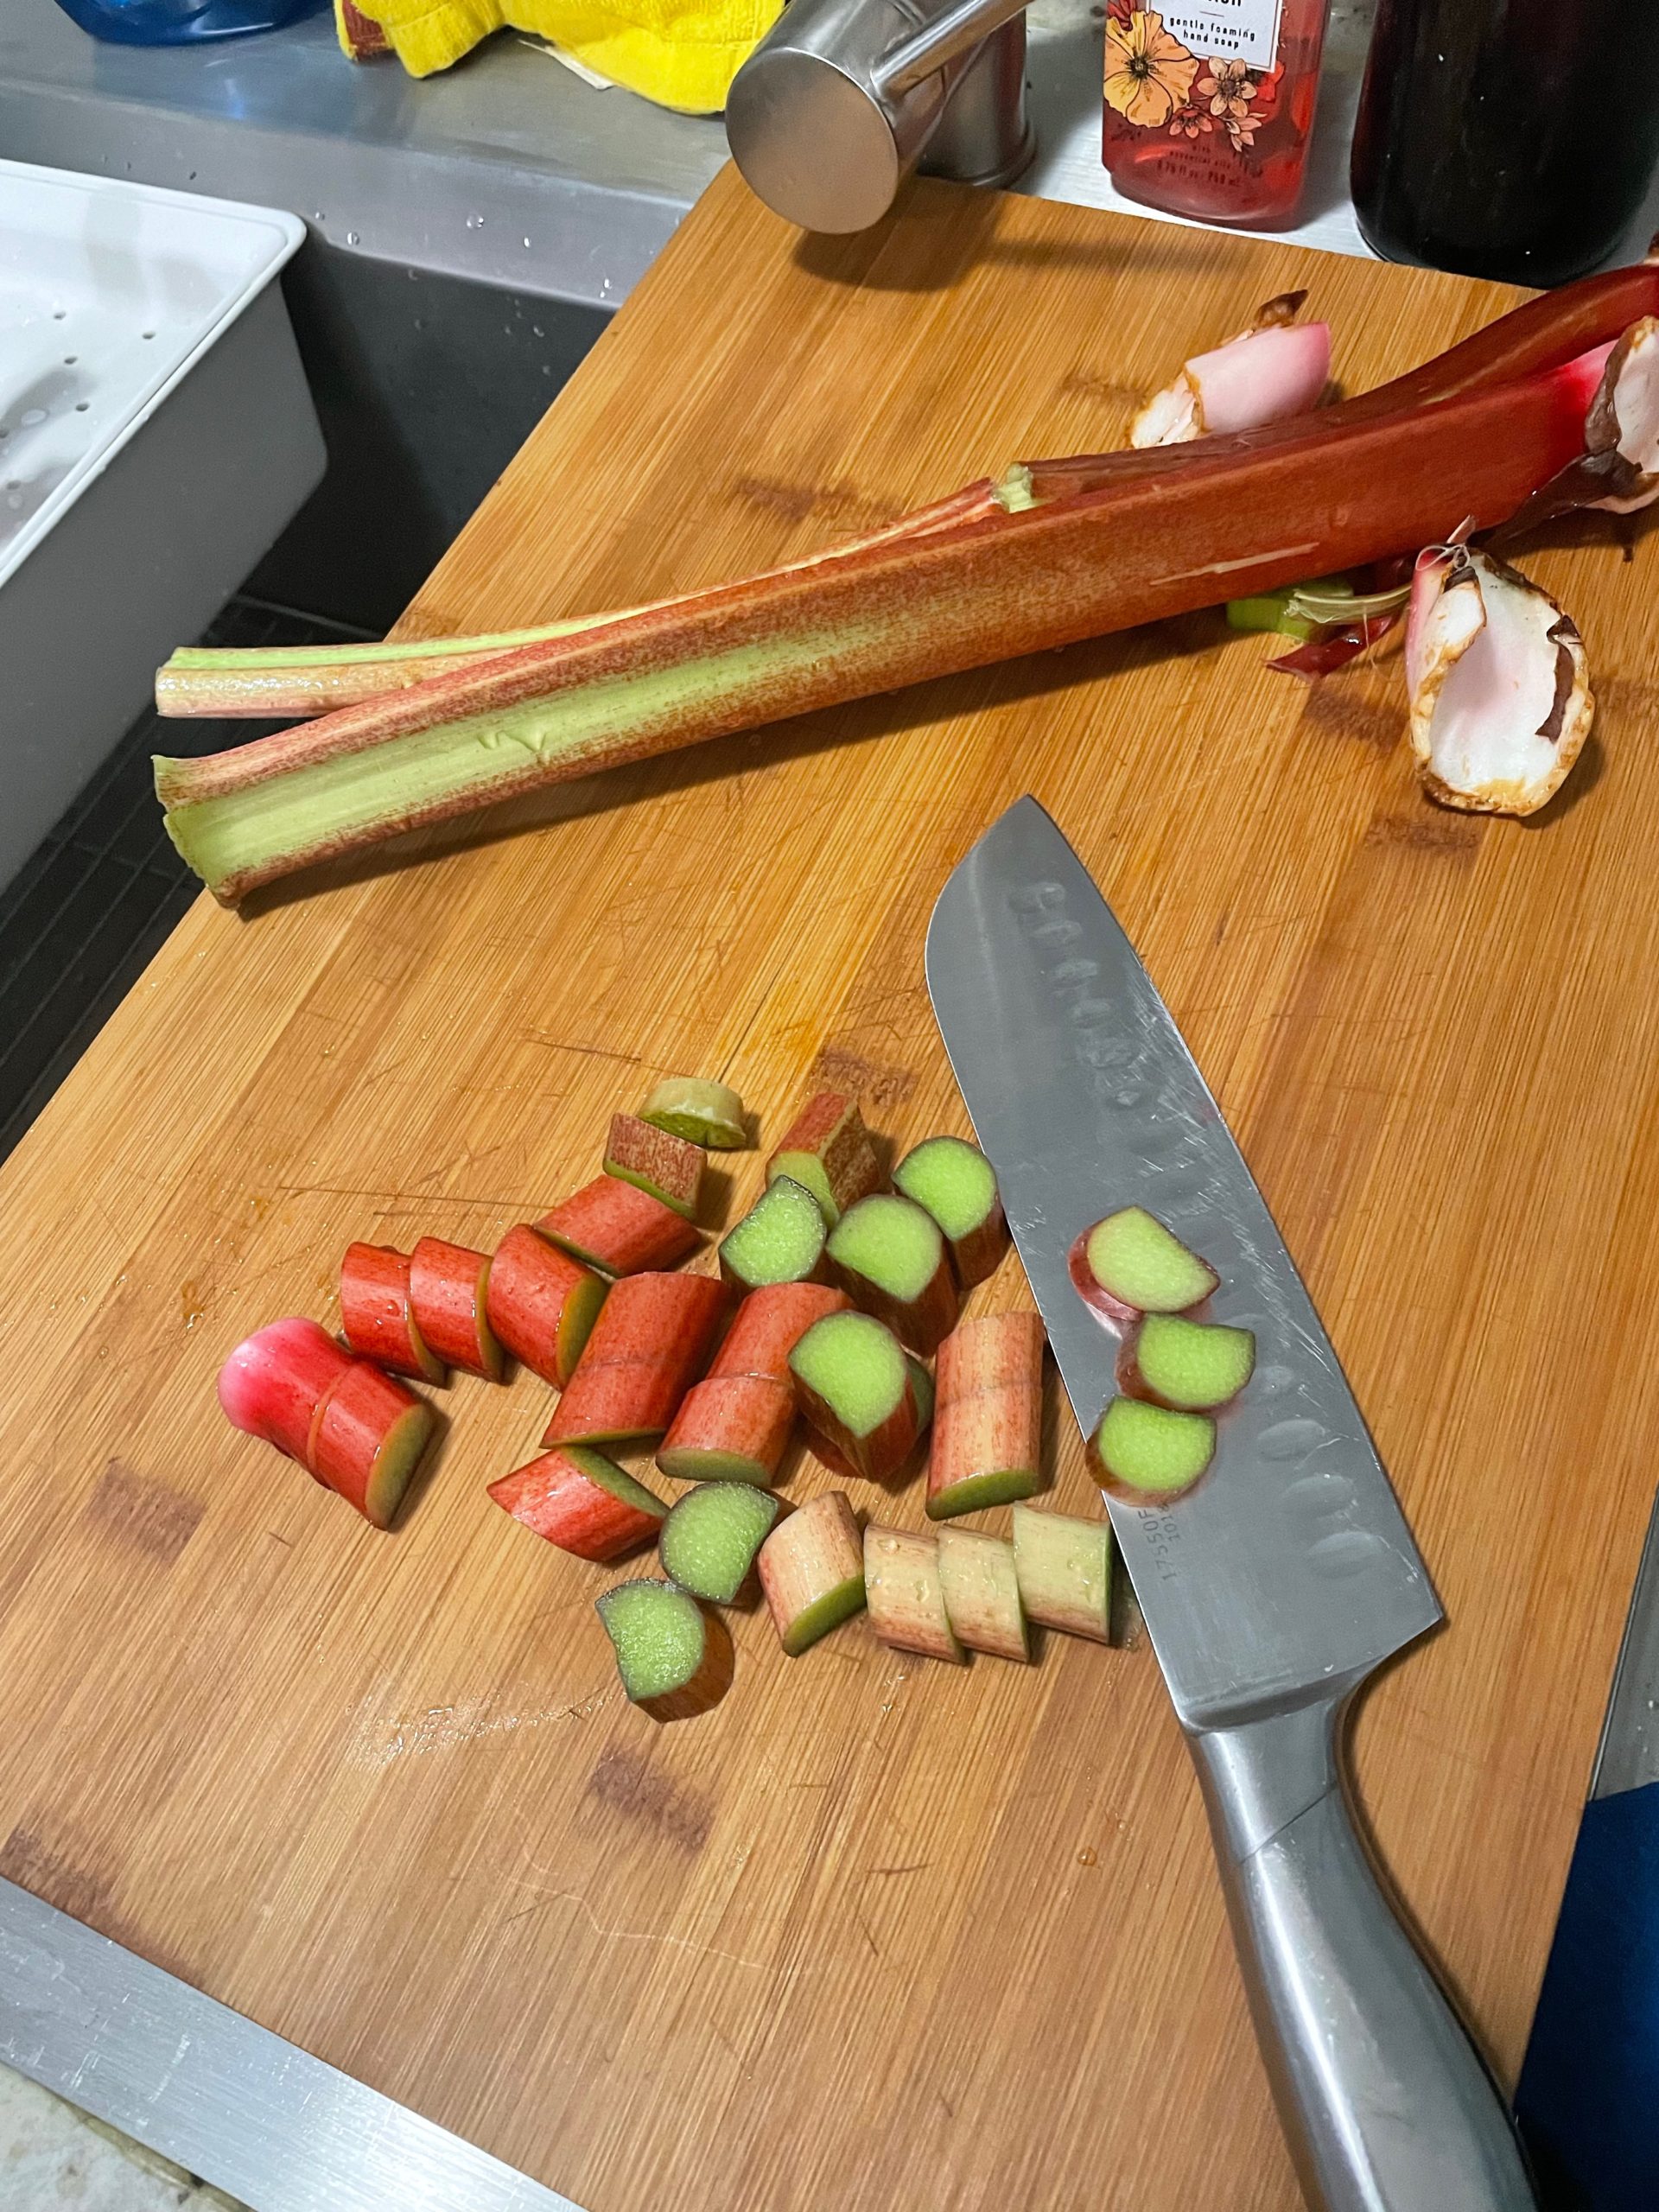
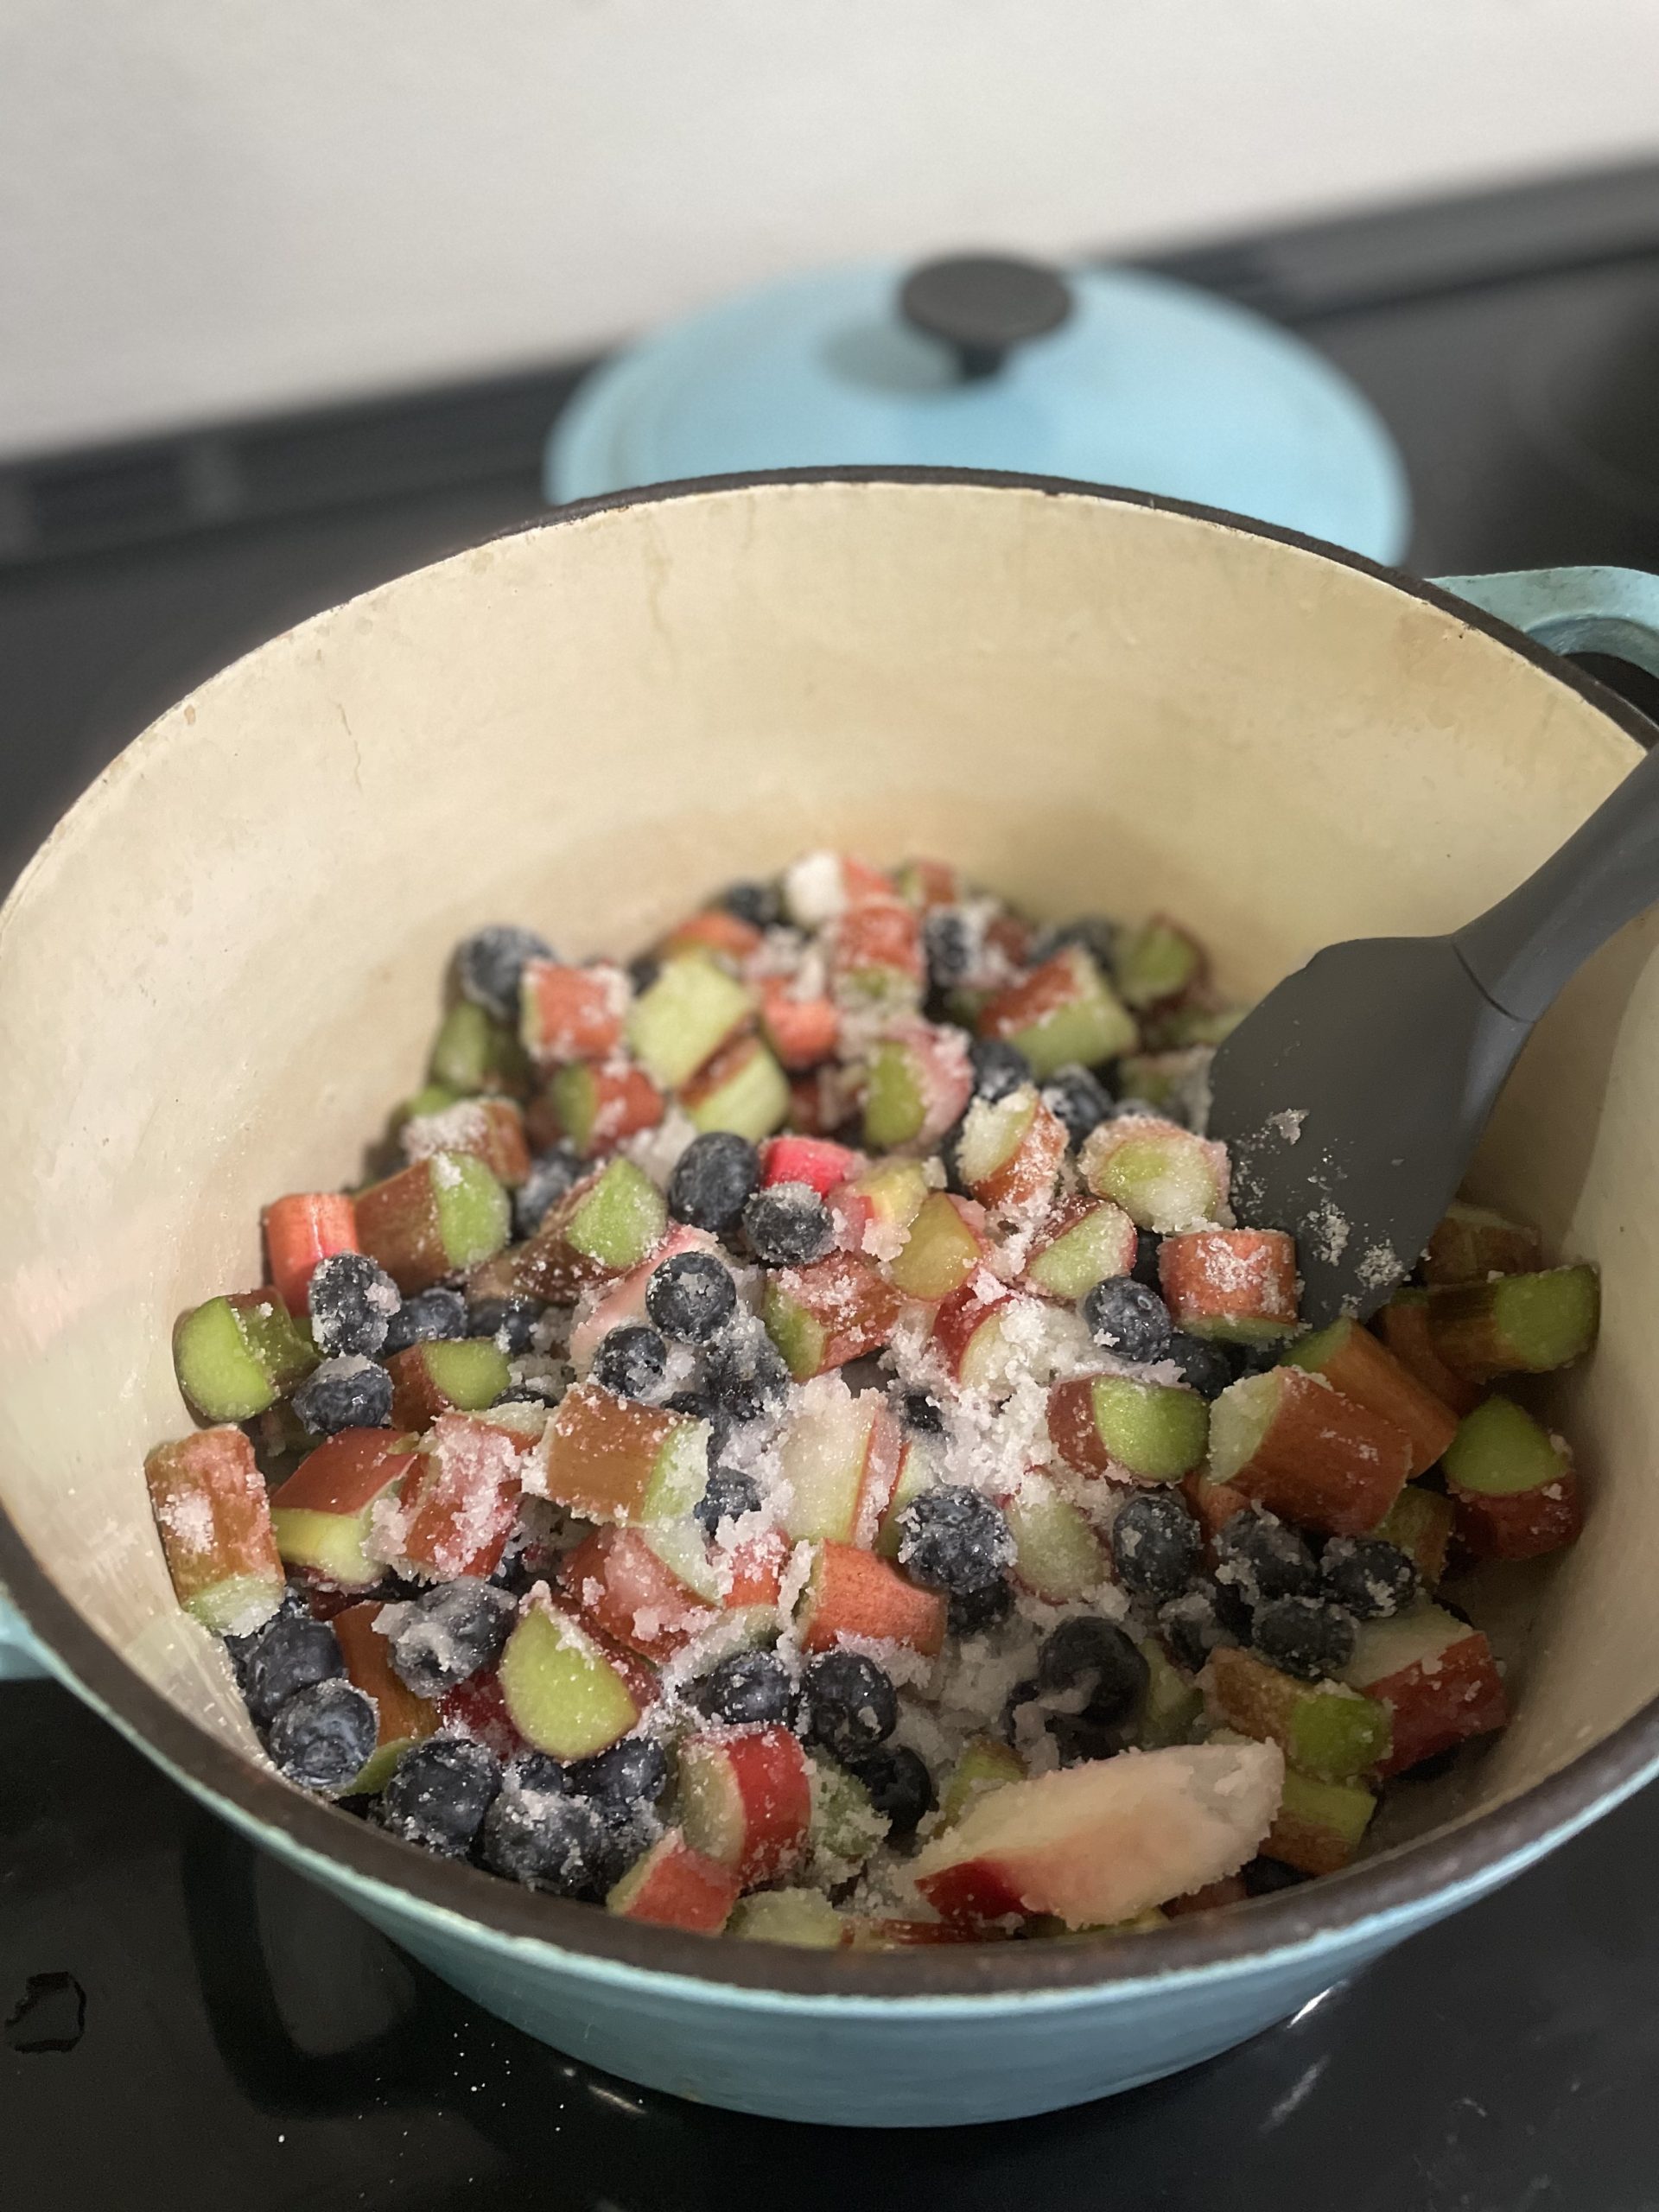
  • Wash, trim, and cut your rhubarb. I cut mine into various shapes and sizes so that there would be various textures in the jam after it cooked down. Feel free to cut into any size you desire as long as you can fit it in your mouth!
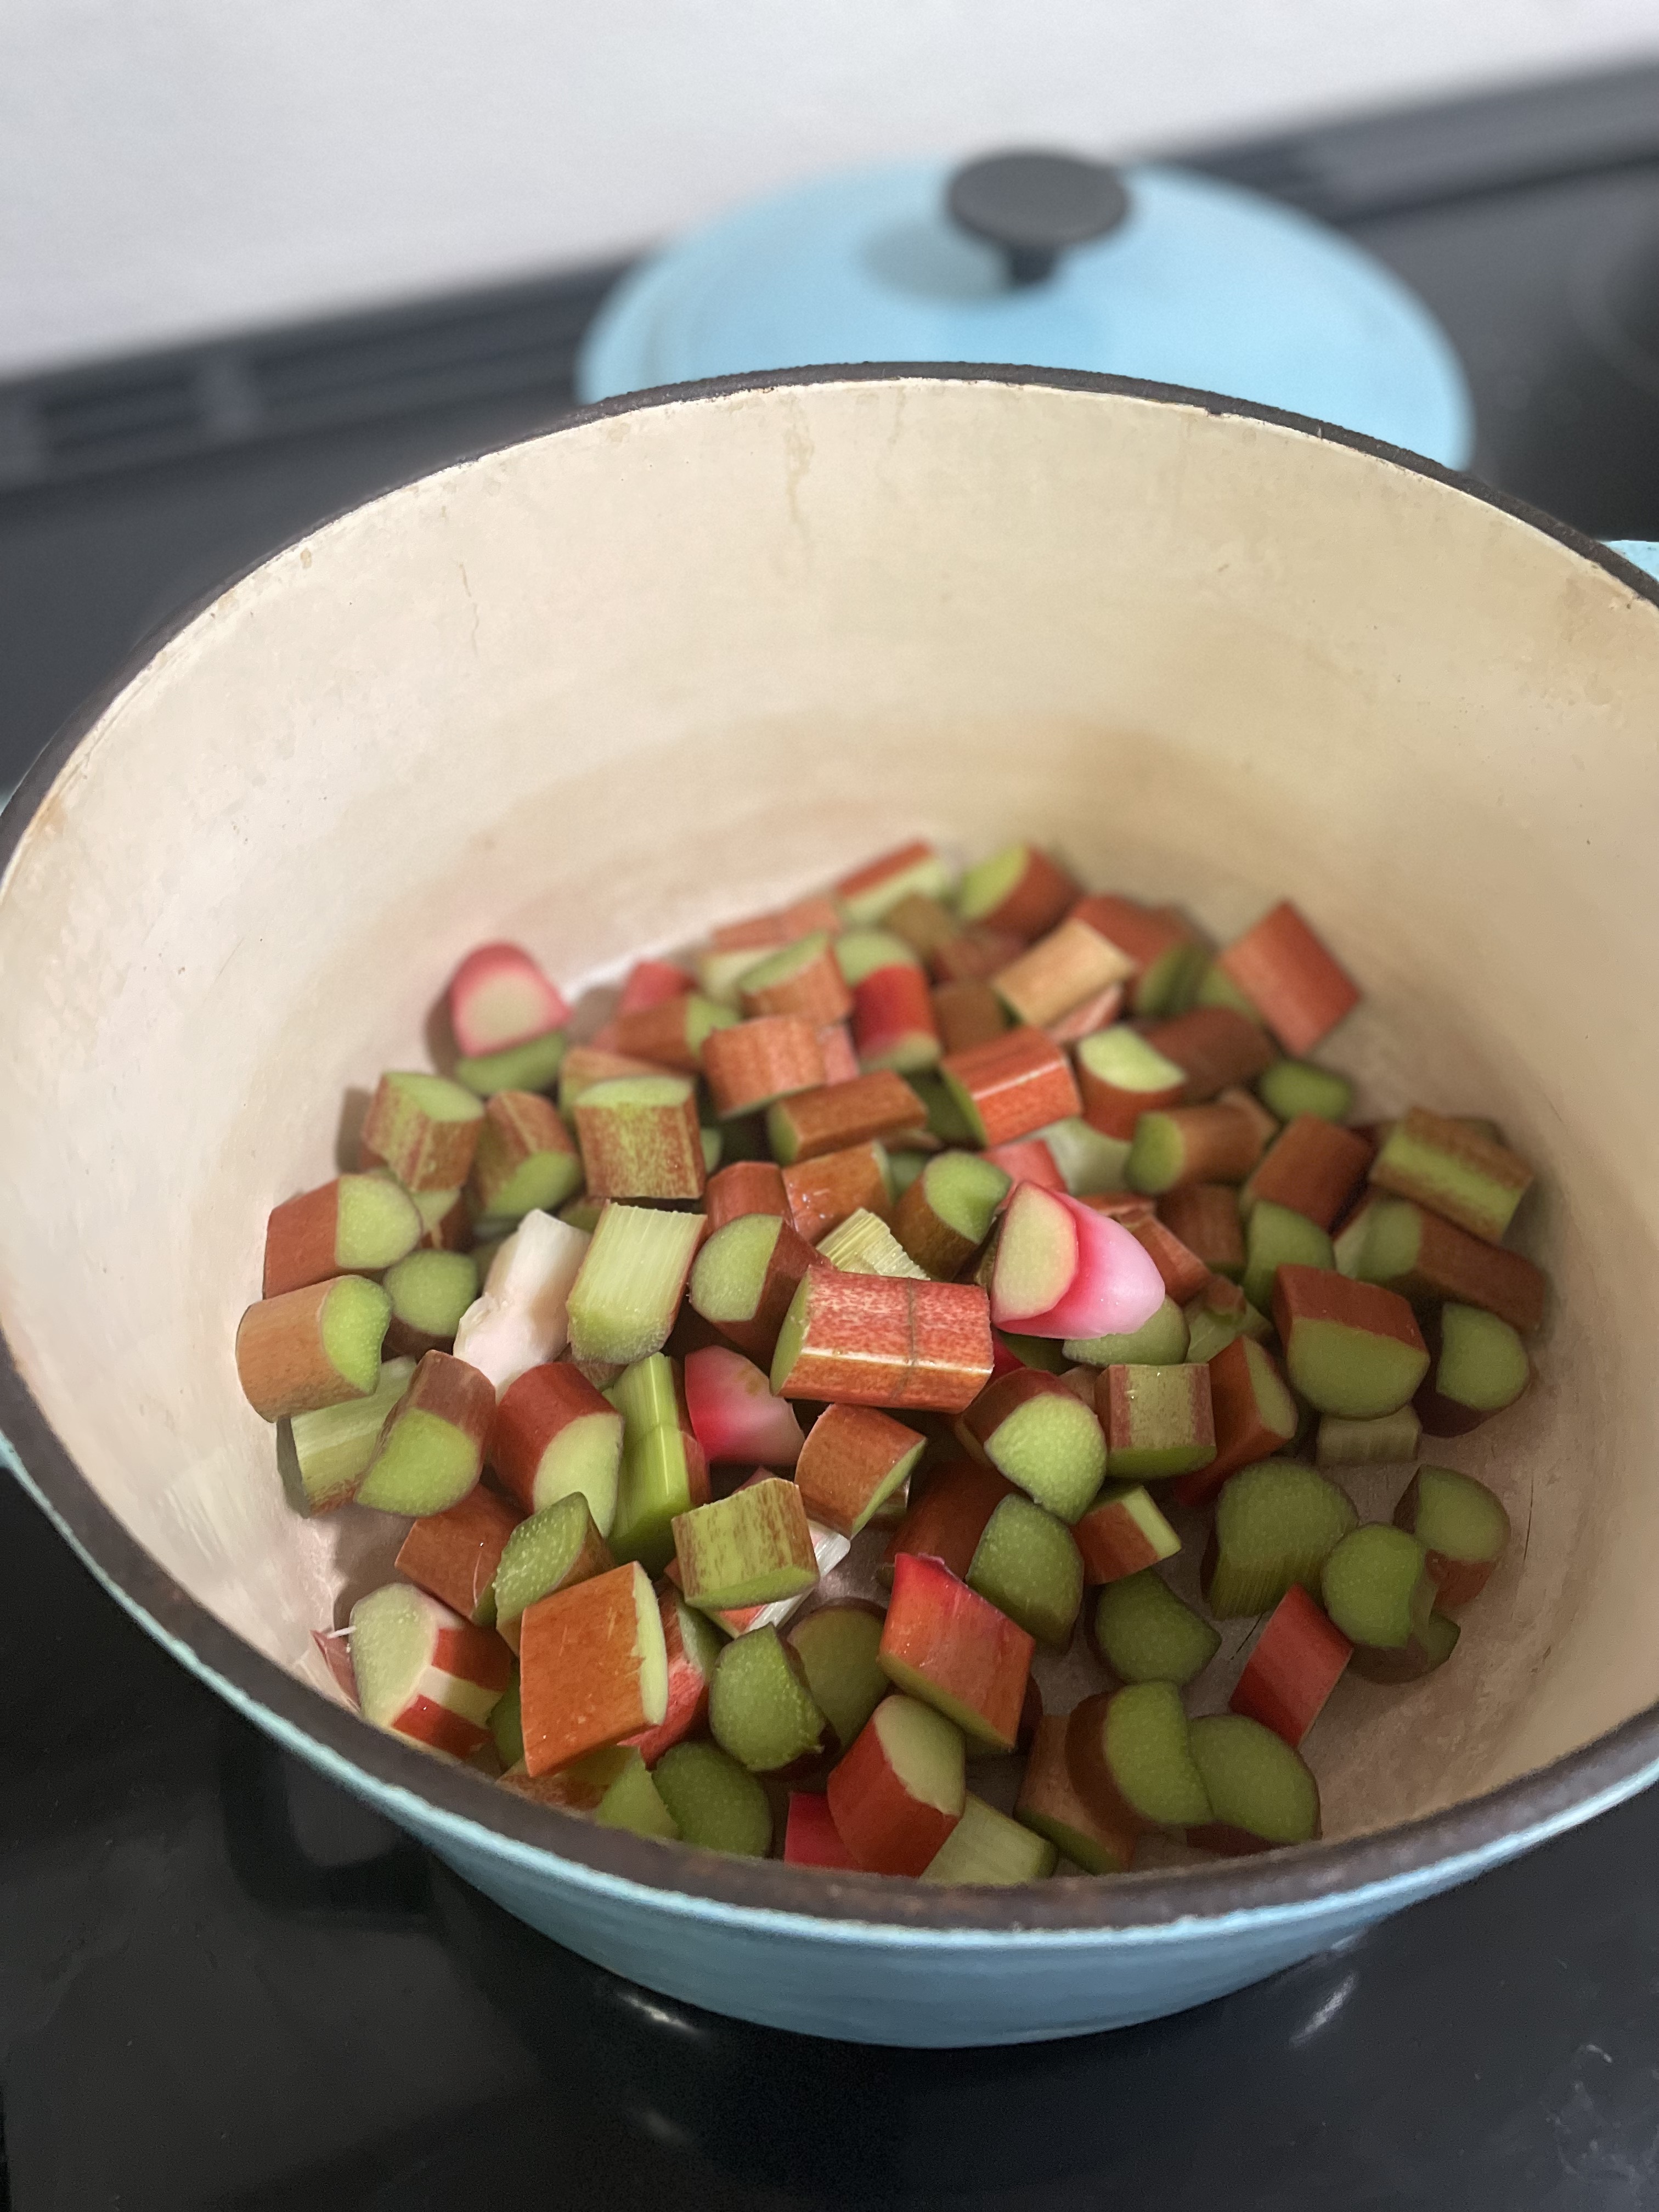
  • Add rhubarb, blueberries, sugar, and salt to a heavy bottom pot and stir together.
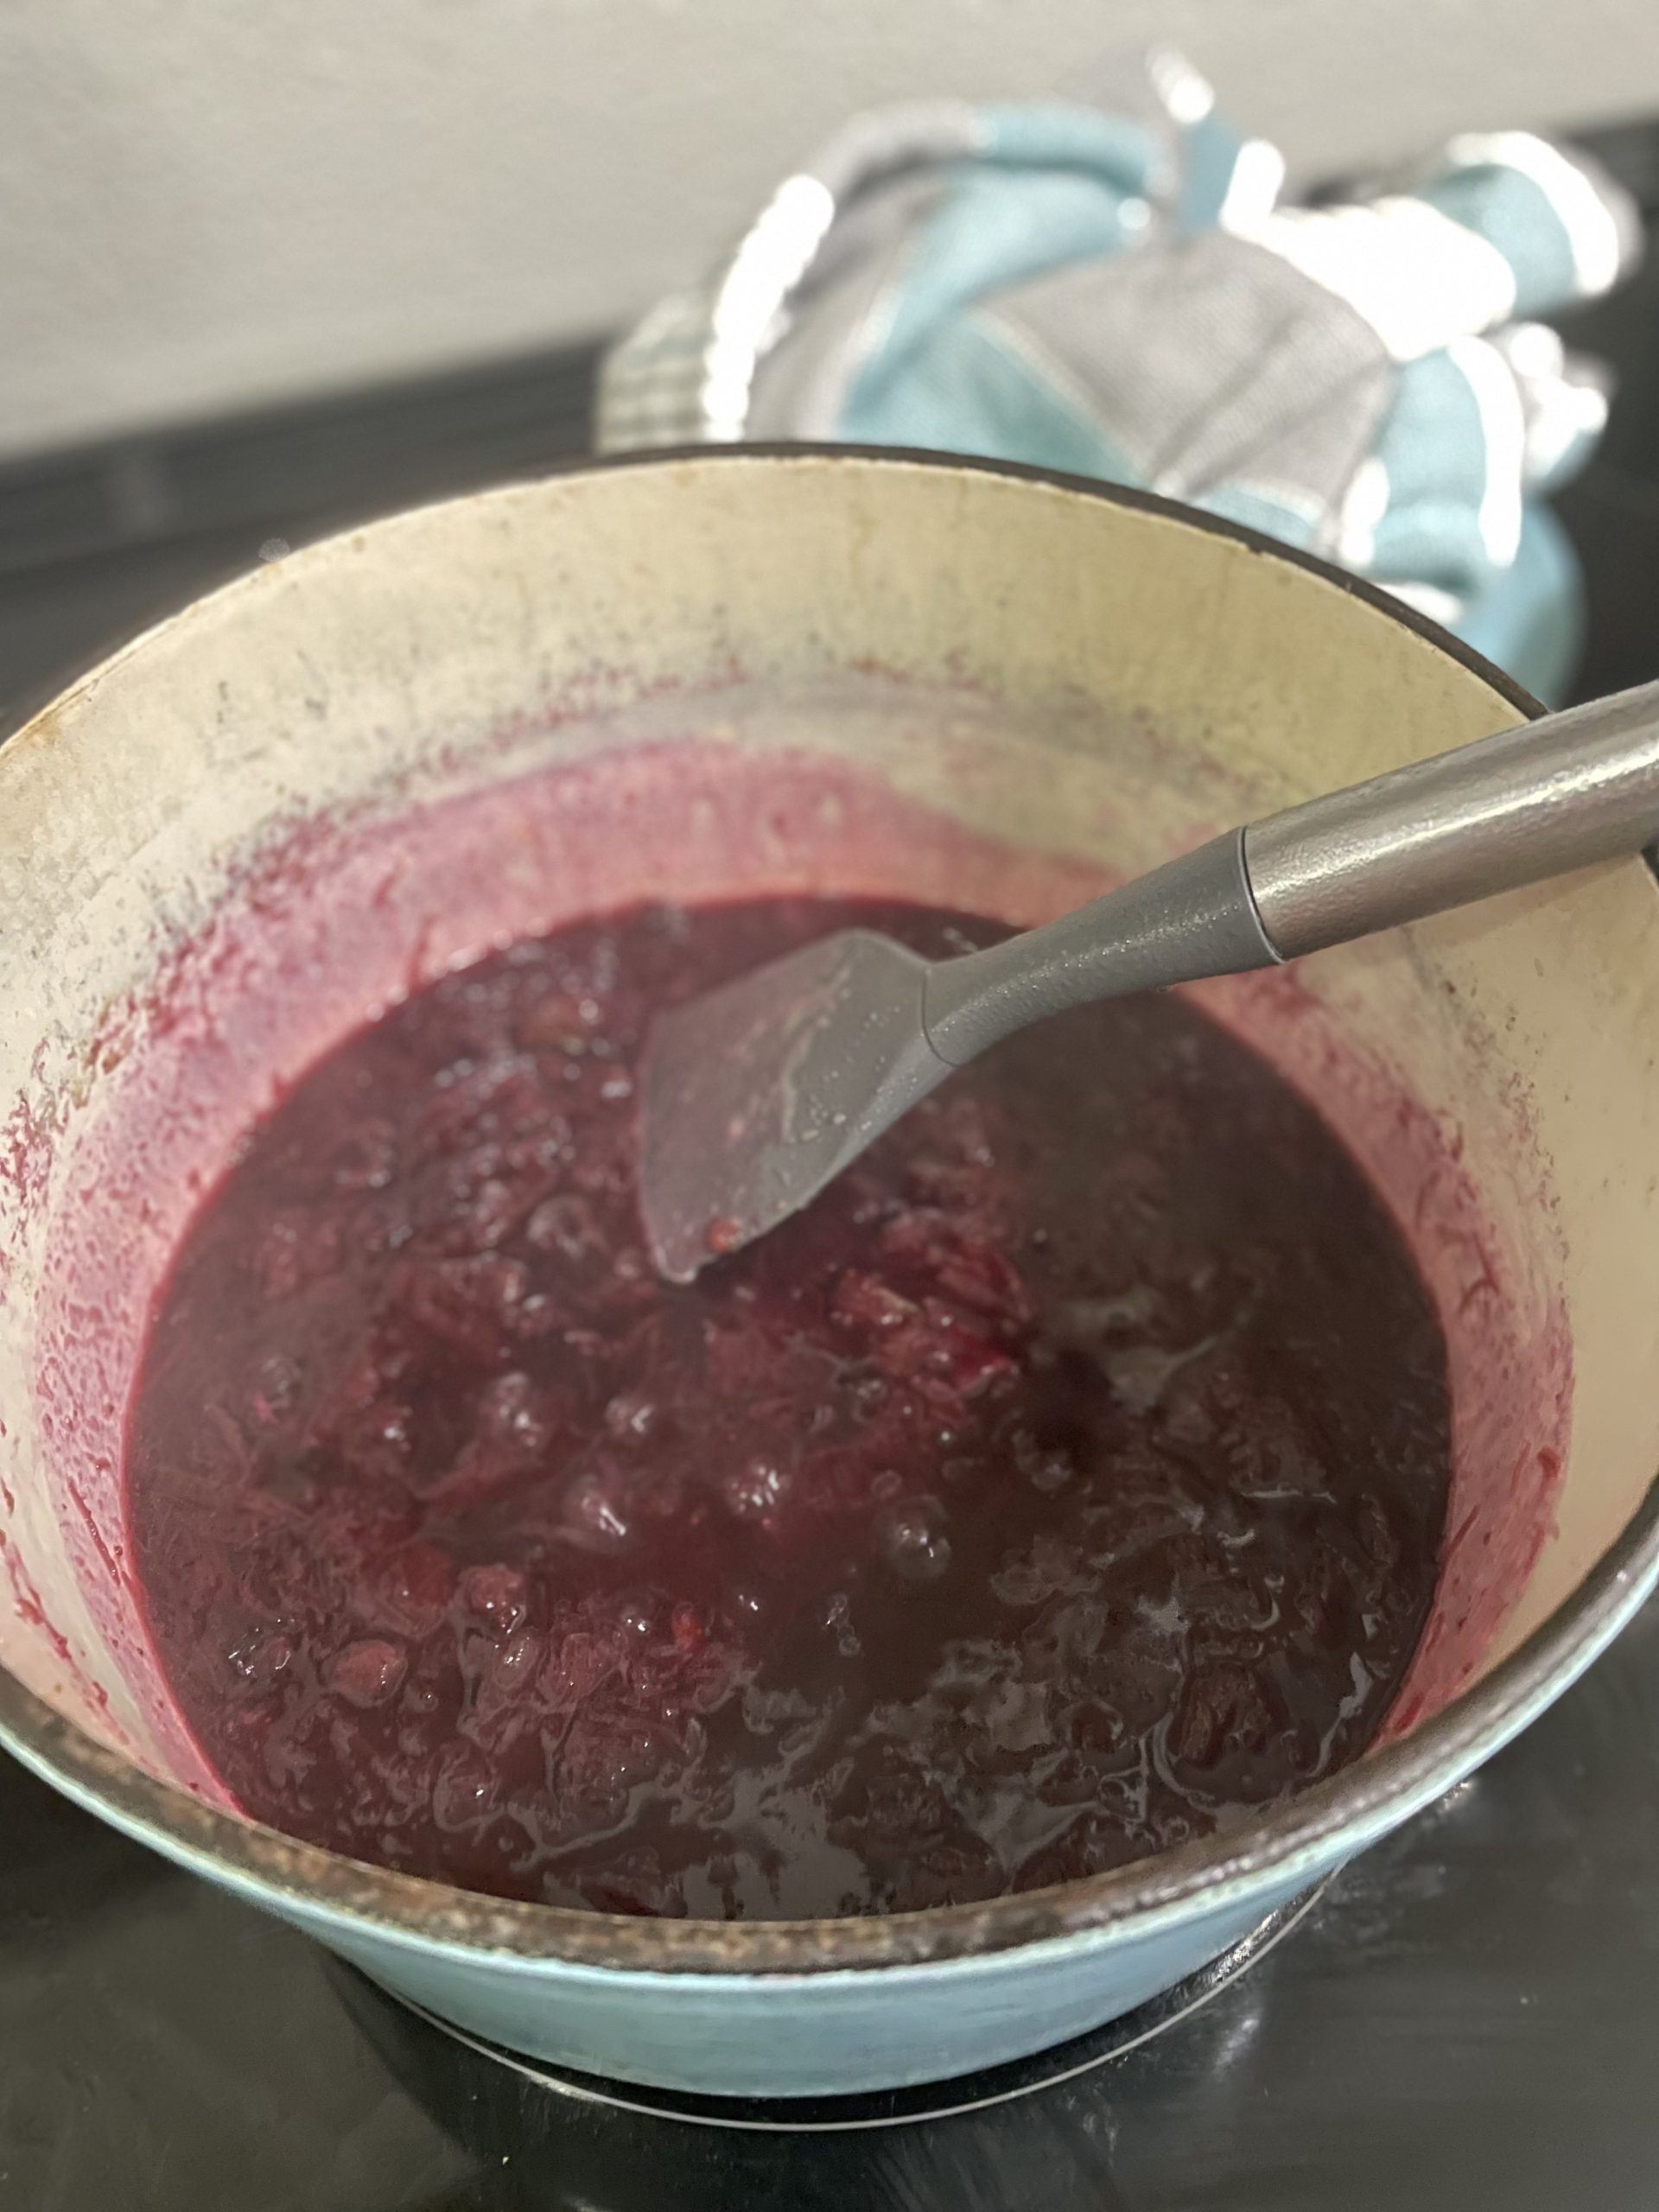
  • Put on medium heat until mixture starts to simmer.
  • Reduce heat, cover pot, and allow to continue simmering for another 30 minutes. Stir every 10 minutes or so.
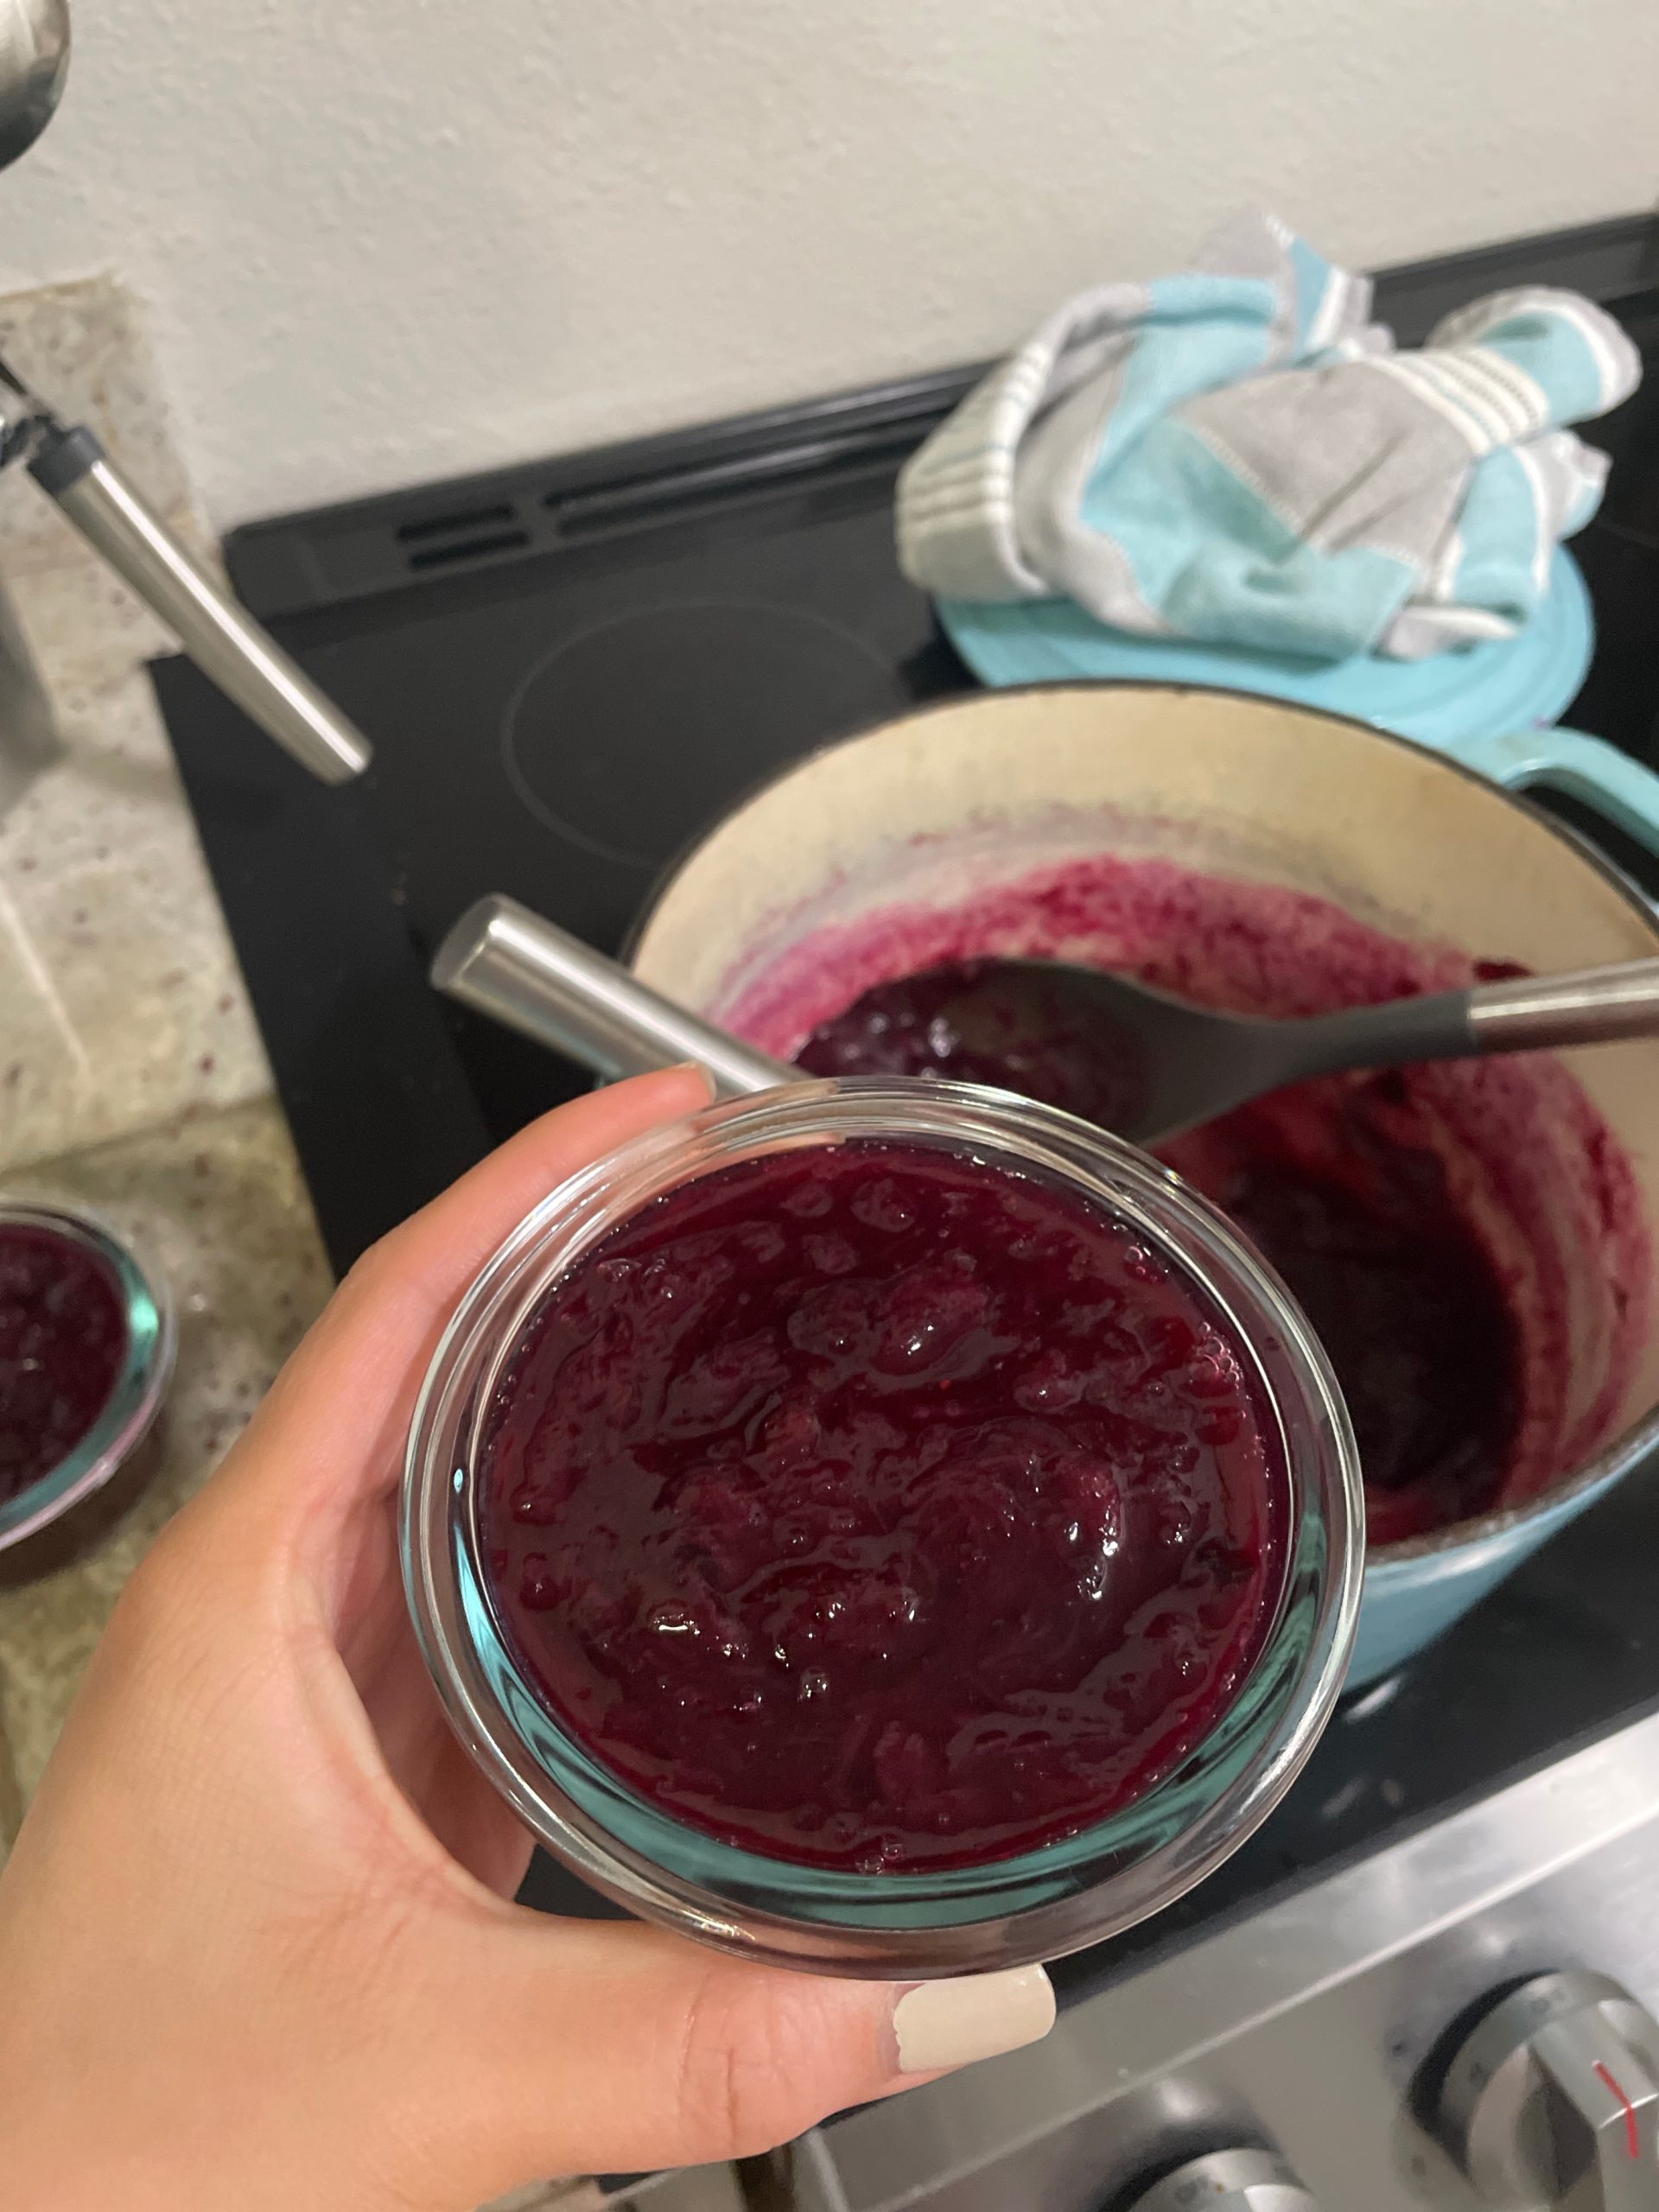
  • Jam should be thick and not too sweet! Allow to cool slightly before jarring or freezing.

Use this jam to make Blueberry Rhubarb Pound Cake or use swap it as the filling in the Peach Galette.

Try another dessert like Kitchen Sink Cookies.

Blueberry Rhubarb Pound Cake

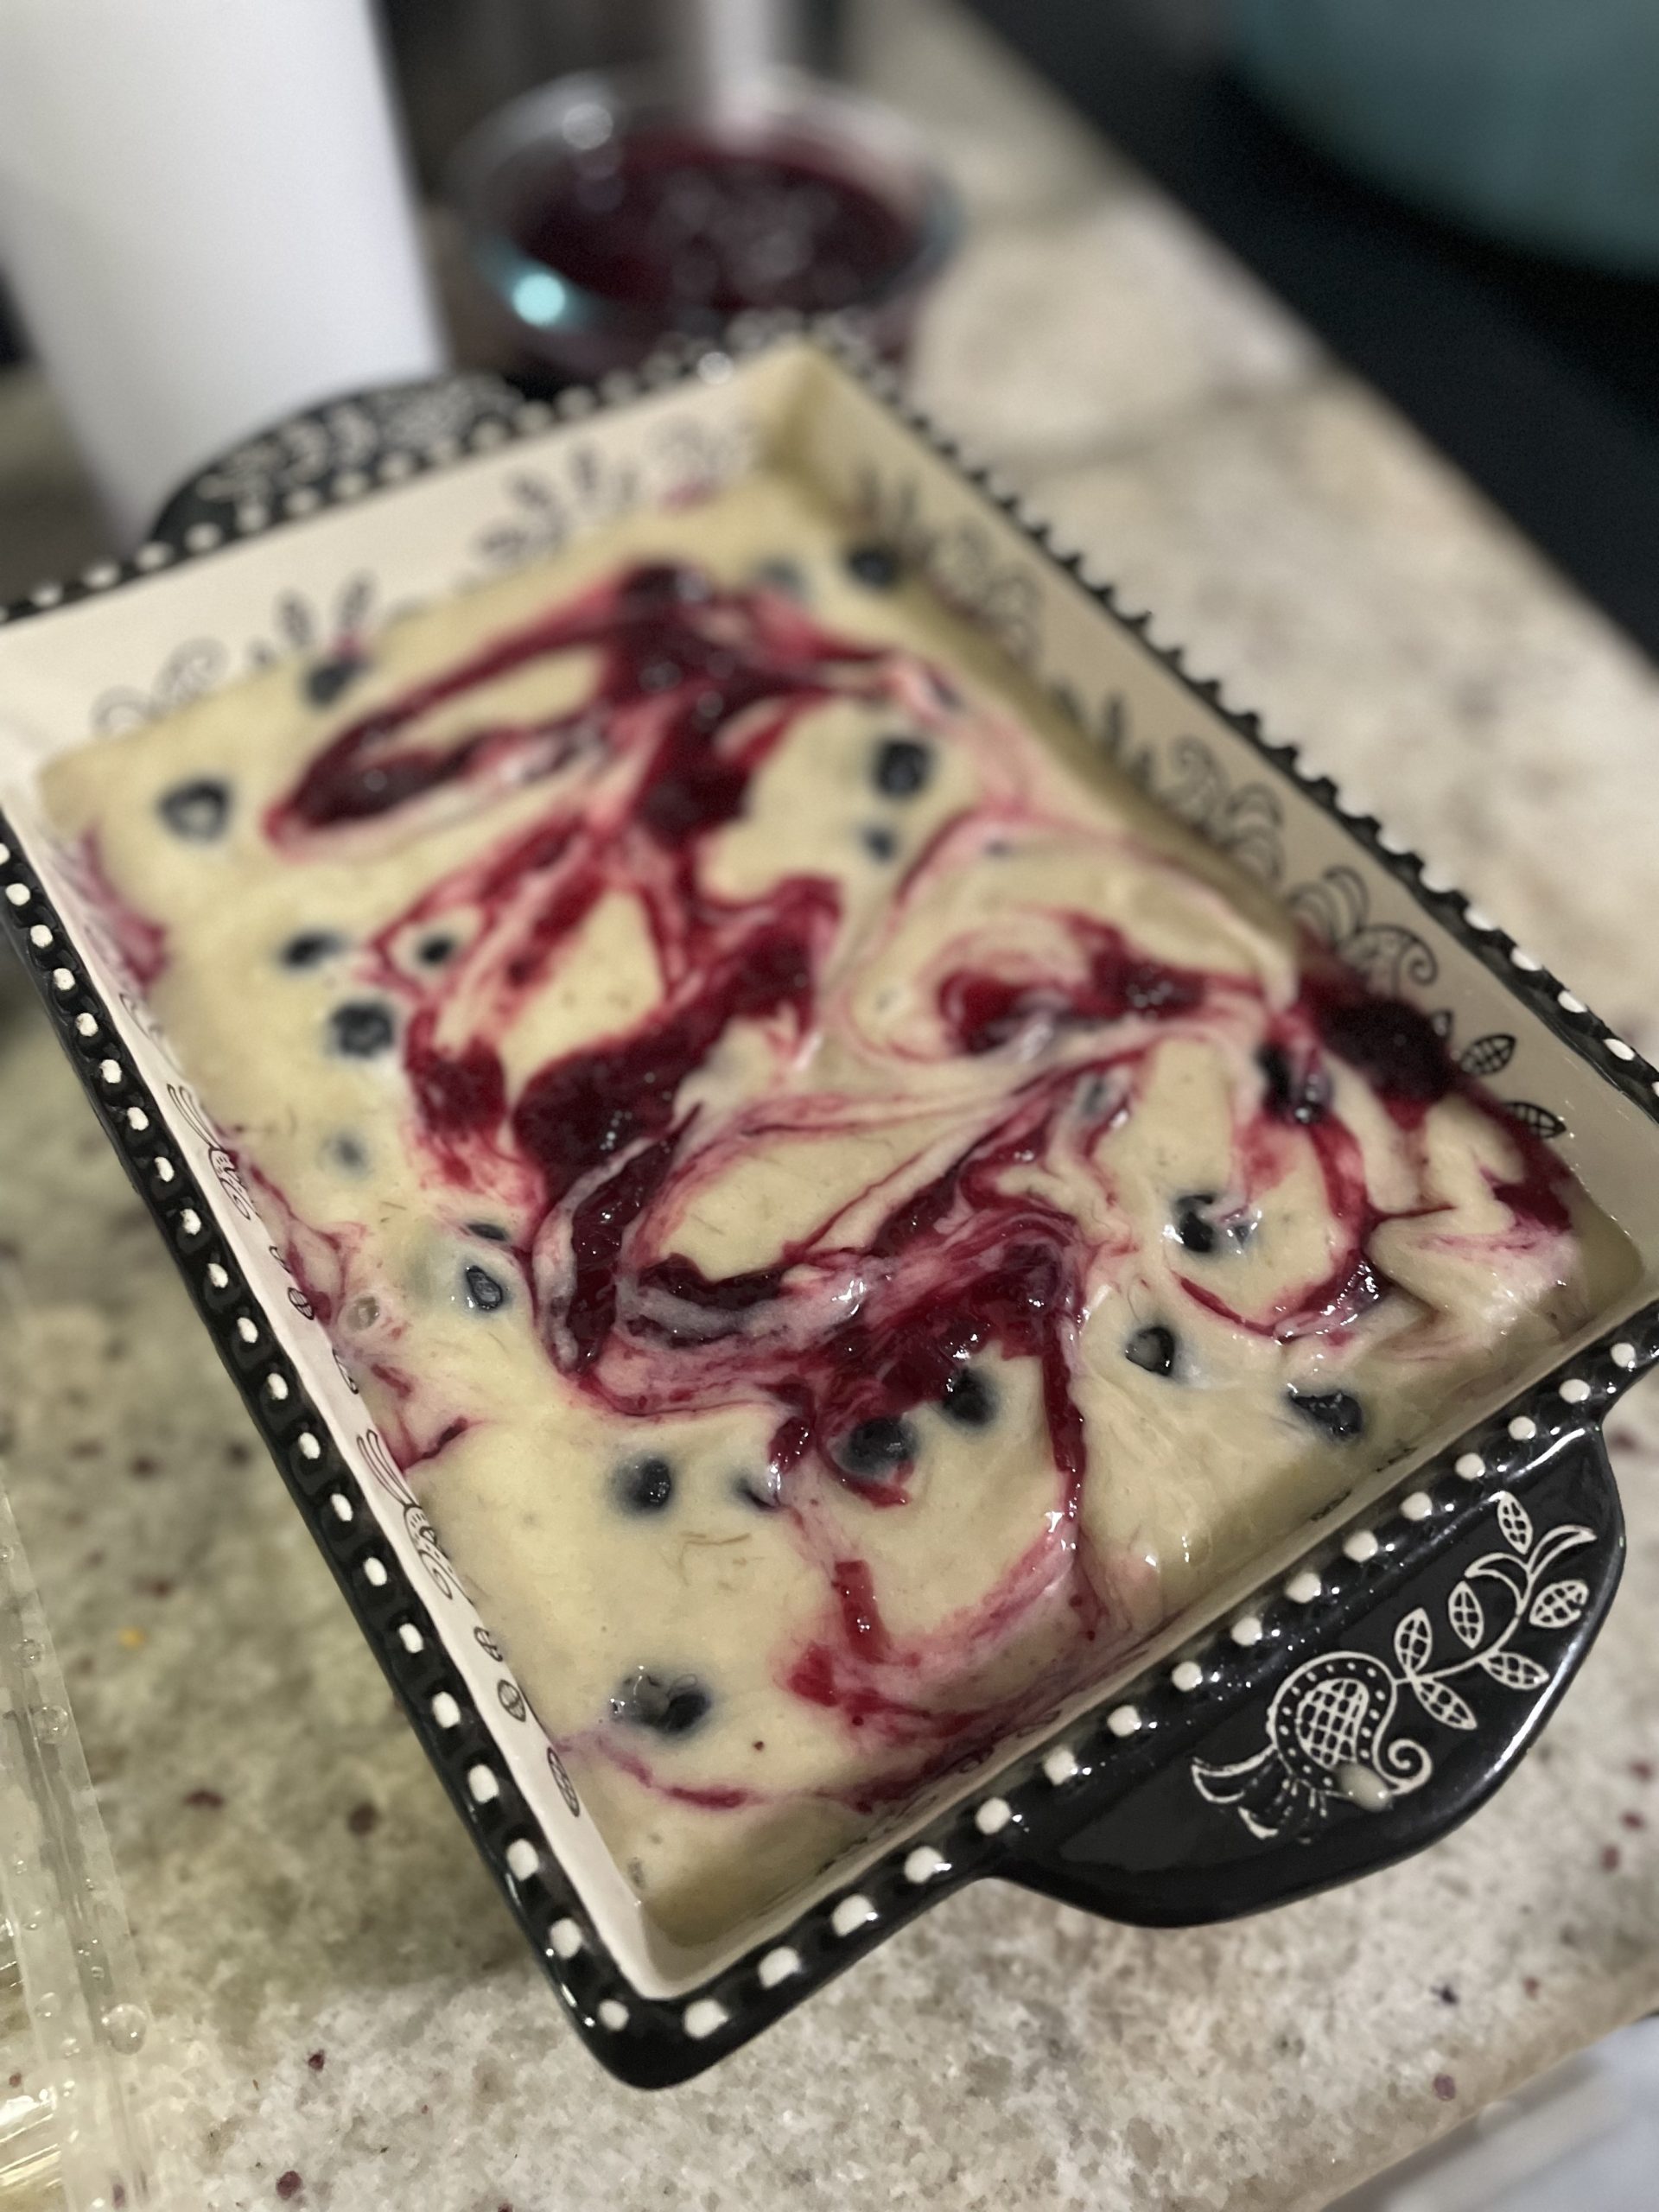
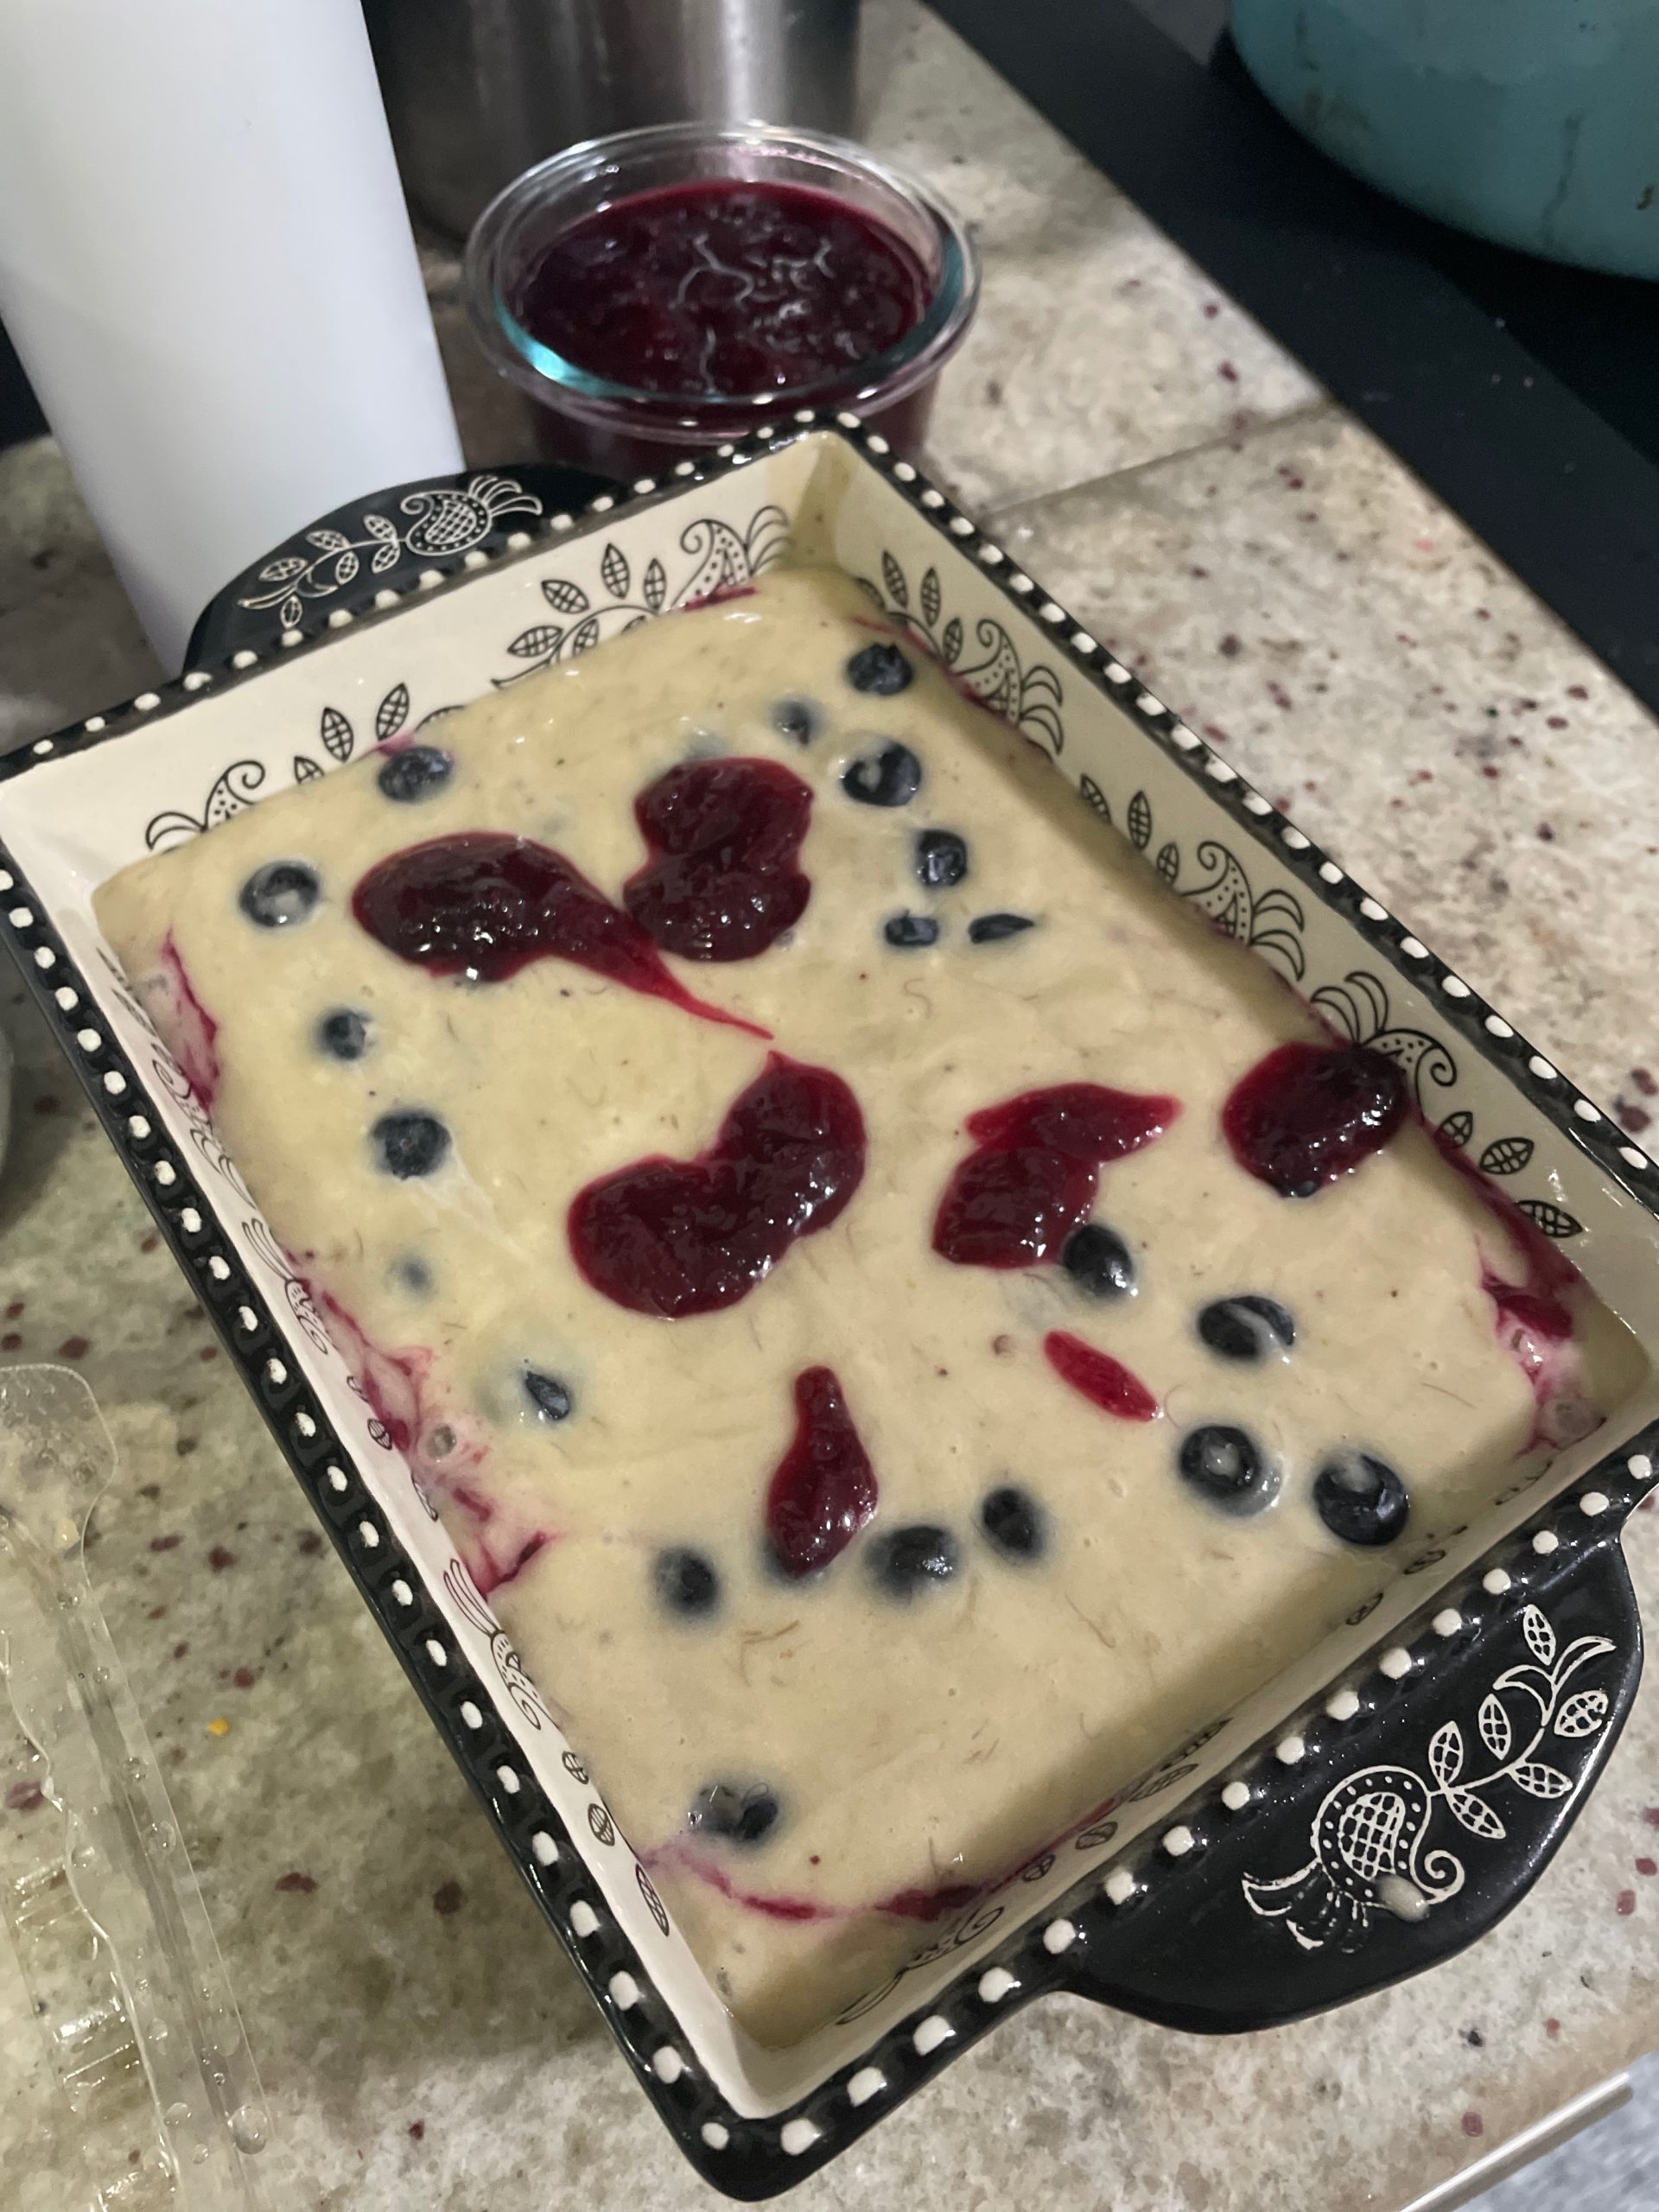
Don’t come for me! This is not a traditional pound cake in any sense. No pounds used in measurements for any ingredient. I’d like to think this pound cake is slightly more health-full with some simple swaps. The cake is still very moist and rich with a dense crumb. I like adding some fillings to my pound cake to diversify the texture.

Ingredients

Jam – I used a homemade rhubarb and blueberry jam. Rhubarb is in season now so it seems all my friends and neighbors’s gardens are overflowing with rhubarb and they don’t know what to do with it. If you decide to make a rhubarb jam, be careful! The leaves of rhubarb are poisonous. Use only the stalks. When eaten raw or cooked, rhubarb stems are tart and the blueberries are bright and sweet. Rhubarb and blueberry isn’t a common jam combination, so feel free to use any jam that you like. A marionberry jam would be delicious!

Blueberries – Fresh blueberries give a pop to the bread when sliced and are nice little surprises to bite into. I used blueberries that were extra from making the jam. If you’re using a different fruit jam in the recipe, consider using the fresh version of that fruit in the bread. If you use a marionberry jam, use marionberries or blackberries.

Yogurt – This adds moisture and tang to the bread. You can substitute with sour cream.

Blueberry Rhubarb Pound Cake

Print Recipe
Course Breakfast, Dessert
Keyword blueberry, pound cake, rhubarb
Cook Time 1 hour

Ingredients

  • 3/4 cup sugar
  • 1/4 cup yogurt
  • 1/4 cup blueberry-rhubarb jam + extra for swirling
  • 1/4 tsp salt
  • 3 eggs
  • 3/4 cup vegetable oil
  • 1 3/4 cup flour all-purpose
  • 1 1/2 tsp baking powder
  • 1/4 tsp baking soda
  • 1/2 cup blueberries

Instructions

  • Mix together the sugar, yogurt, jam, salt, eggs, and oil.
  • In a separate bowl, mix together the flour, baking powder, and baking soda.
  • Add the dry mixture to the wet mixture and mix until just combined.
  • Grease a loaf pan and pour in half the mixture.
  • Optional: Add a few tablespoons of jam and swirl into the mix. Sprinkle in half of the blueberries.
  • Pour the remaining half of cake mixture.
  • Optional: Swirl some additional jam.
  • Sprinkle in the remainder of the blueberries.
  • Bake at 350F for approximately 1 hour until a toothpick comes out clean. If the top of the loaf is getting too brown, cover with foil.

Savory Asparagus Galette

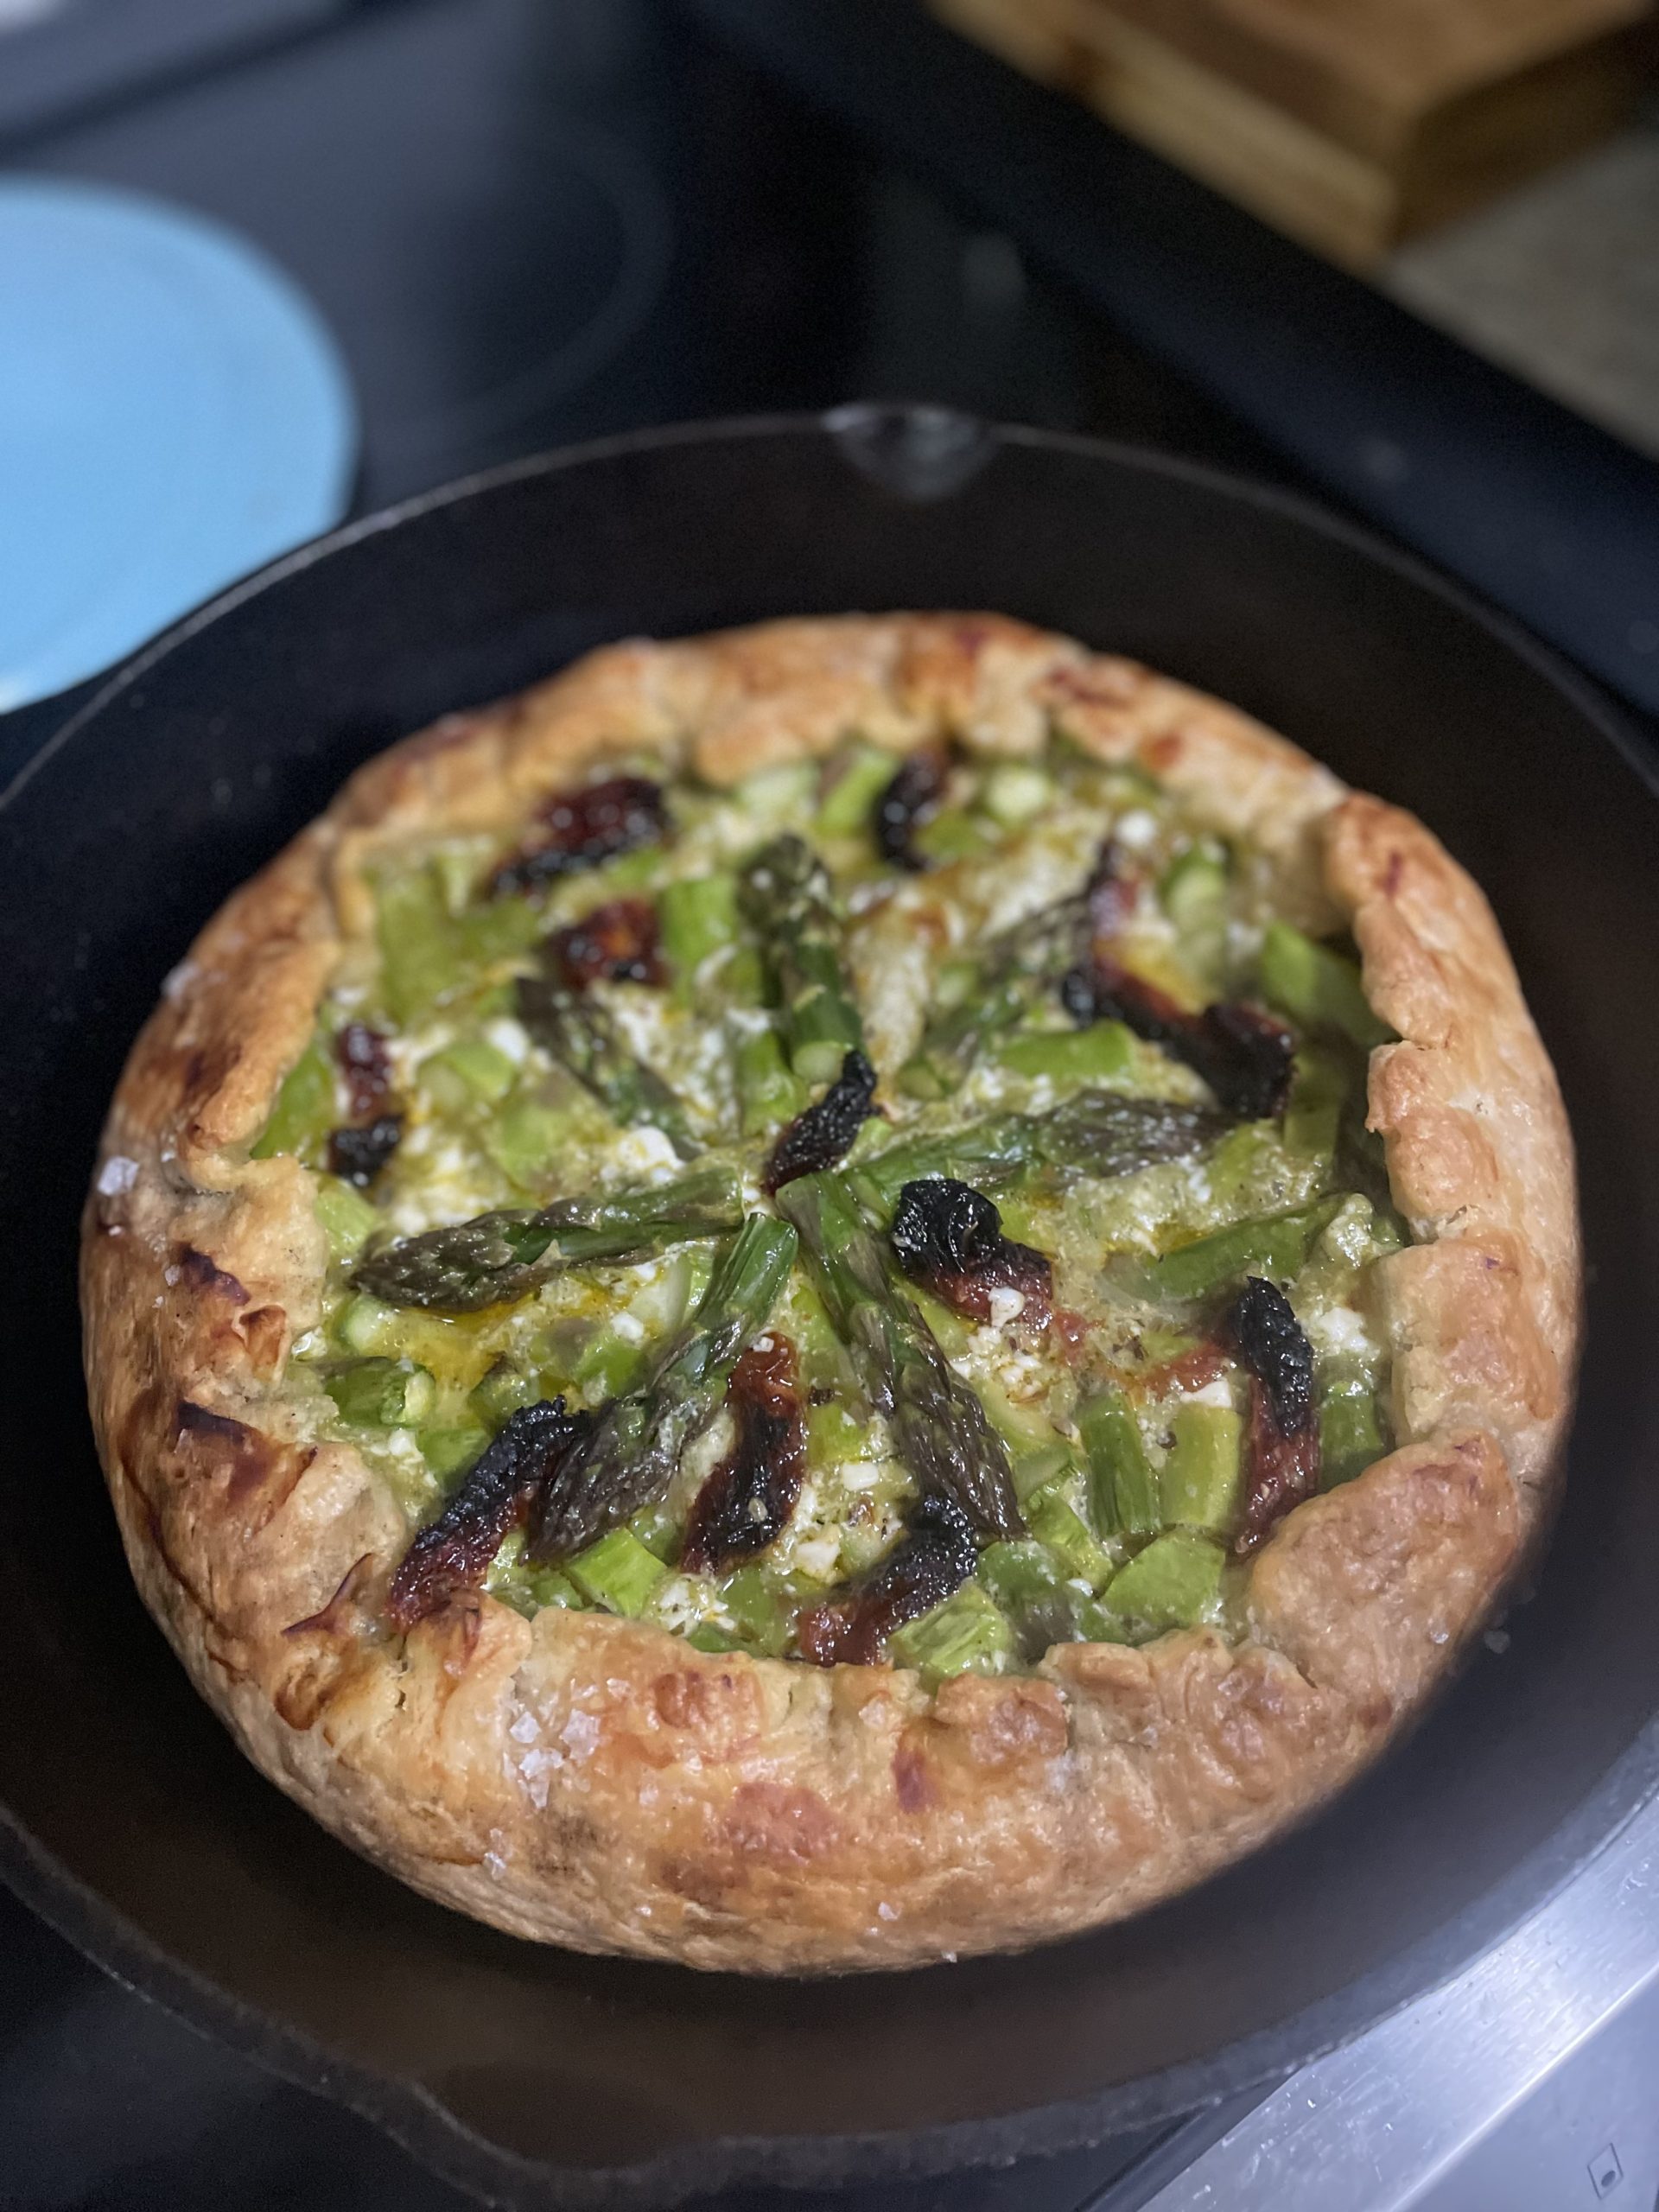
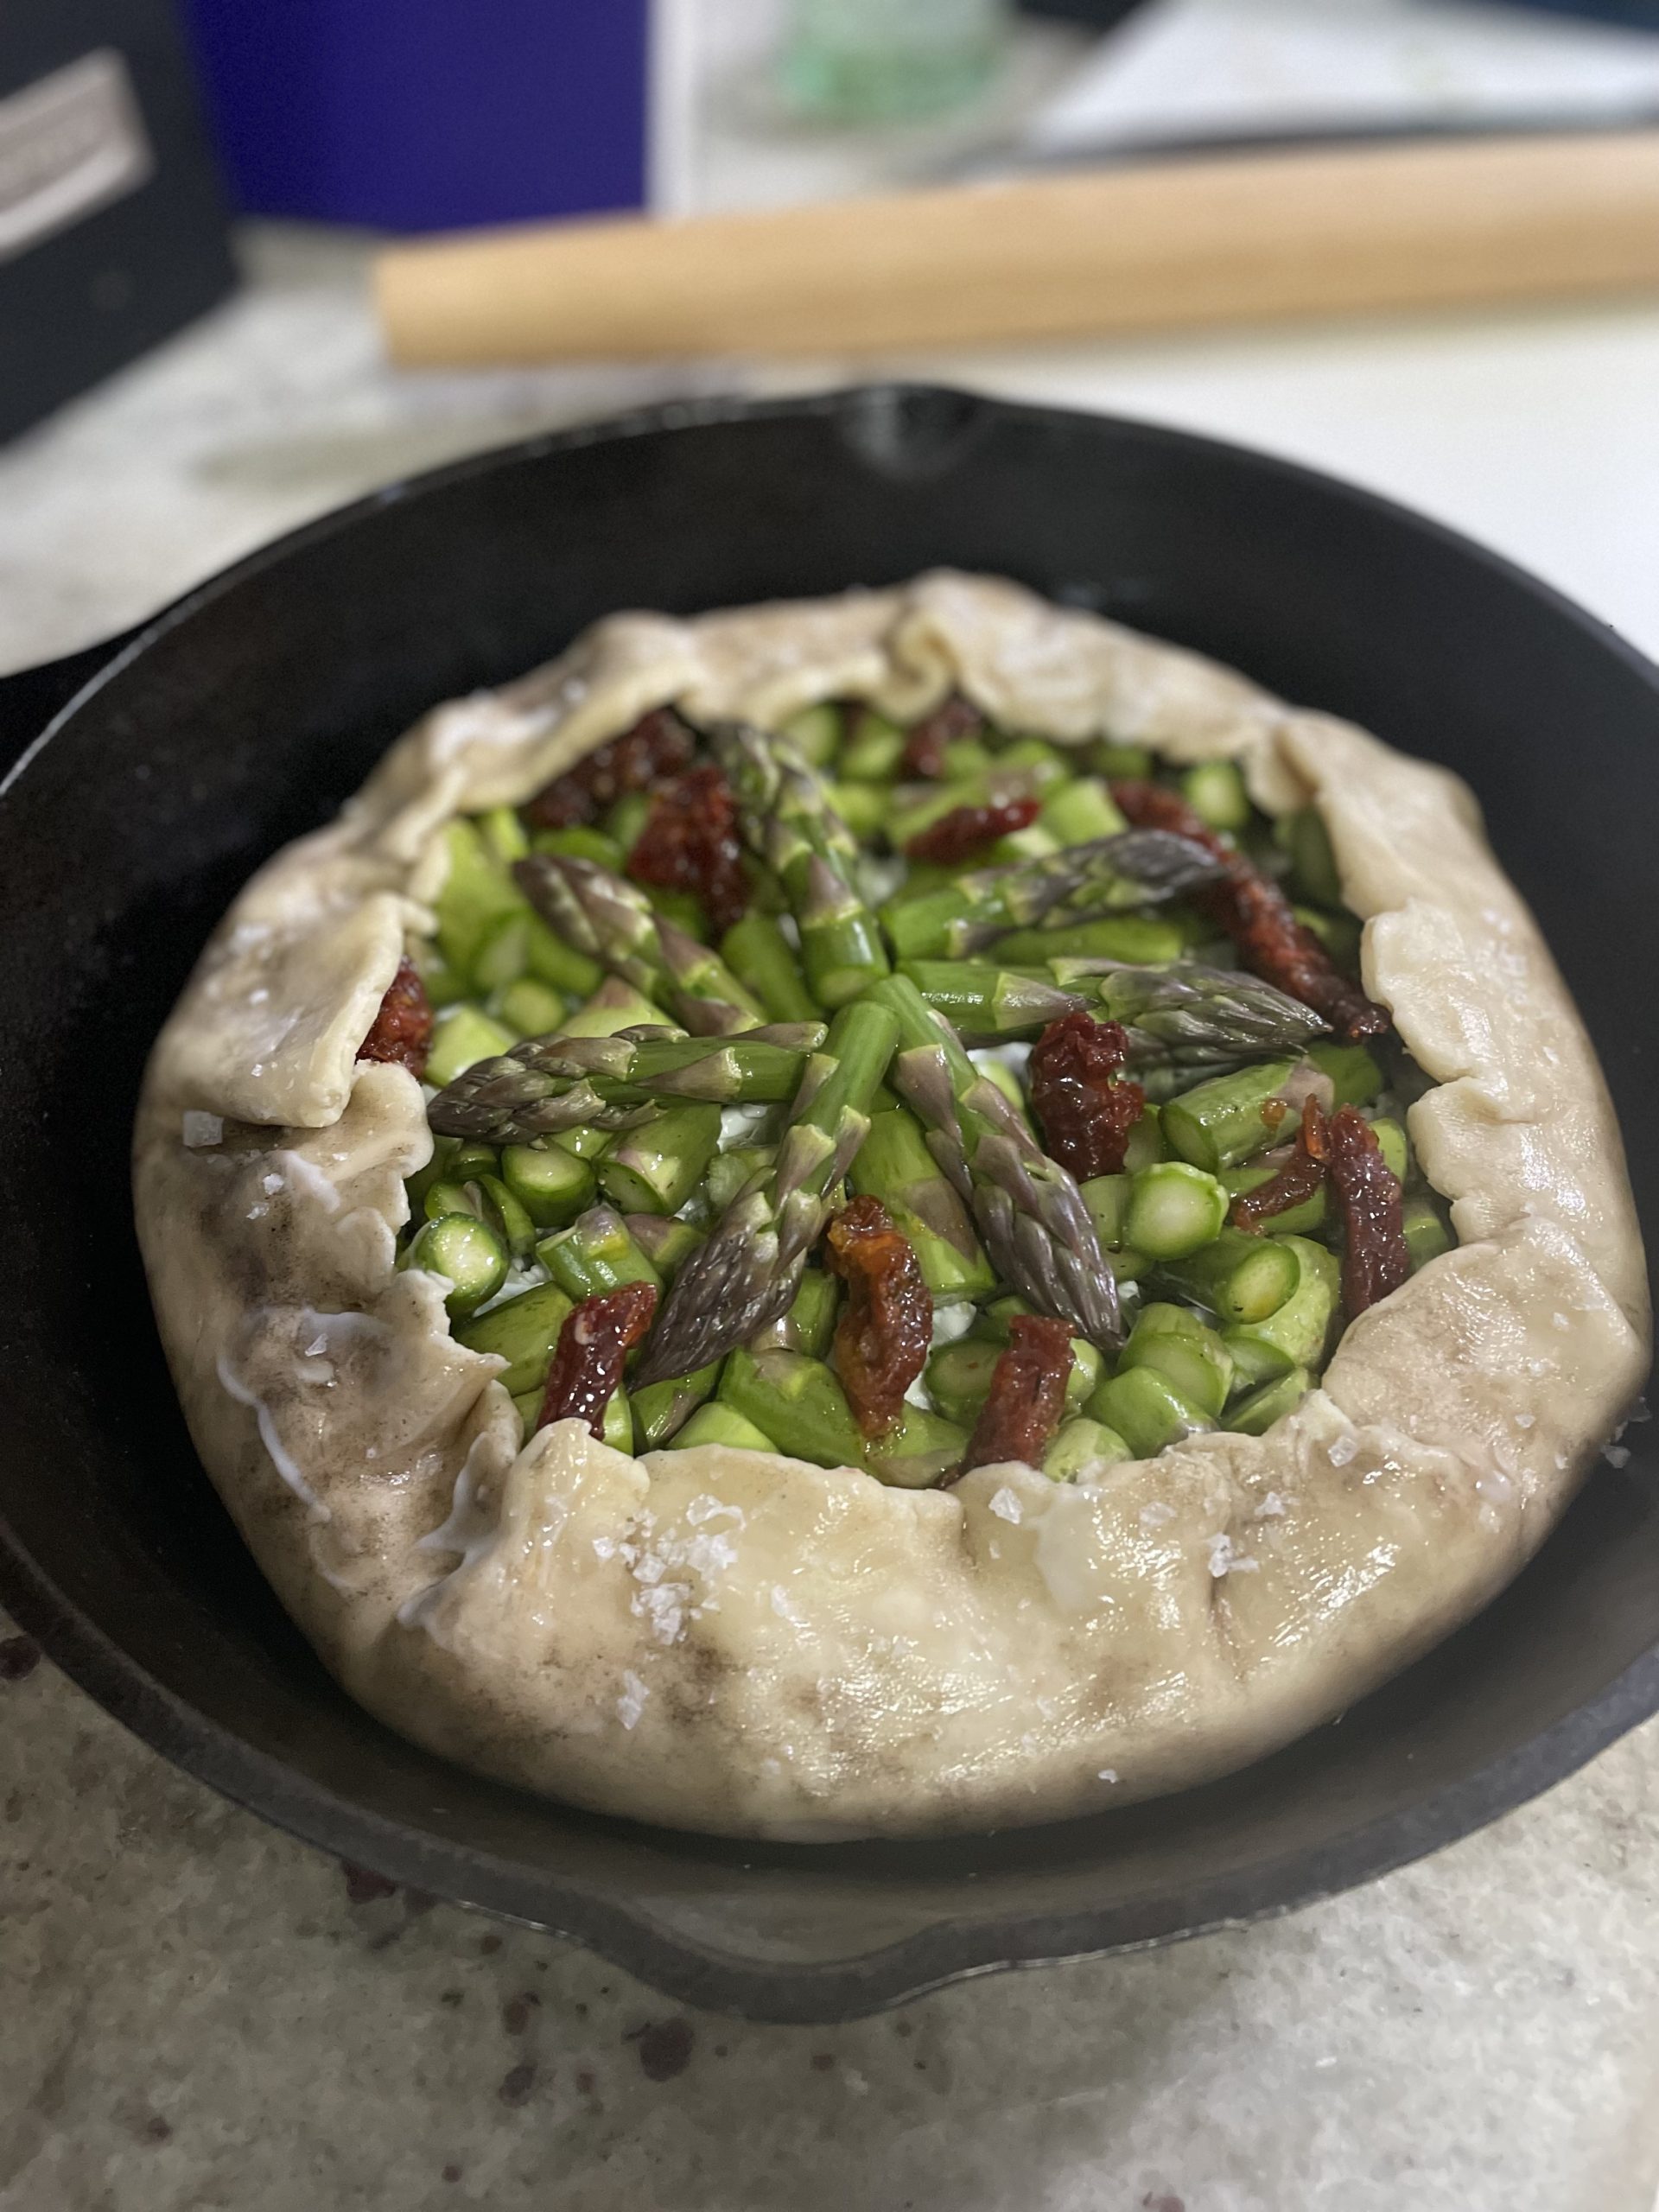
Summer is coming and that means there will be an abundance of vegetables in season! I just renewed my CSA (community supported agriculture) box for this summer and I cannot wait for the vegetables this season. Asparagus is in peak season right now so I’ve seen them on sale quite a bit in the grocery stores near me. I had some pie dough in the refrigerator from when I last made a whole bunch of dough, so I figured I would mix these together and out came a savory asparagus galette. A buttery crust with tender asparagus simply seasoned with some cheese – chef’s kiss!

Ingredients

Pie dough – Use my recipe or use your own! Do what makes you happy.

Asparagus – I used asparagus because I had quite a bit on hand since it was on sale, but I think this recipe would work with any other vegetable that is less “watery” like broccoli or Brussel sprouts.

Cheese – I used a fun pesto flavored Gouda that I got from Costco, but feel free to use any cheese you’d like! If you want to use plain gouda you could even mix it with a little bit of pesto. Asparagus takes up flavor of whatever else it’s with, so you could make an asparagus galette with something sharper like cheddar or even pepper jack.

Savory Asparagus Galette

Print Recipe
A savory pie full of tender veggies with a buttery crust. Have it as an appetizer, the main dish with a side salad, or along side something else!
Course Appetizer, Main Course, Side Dish
Keyword asparagus, savory galette, savory pie
Cook Time 30 minutes

Ingredients

  • 1 pie crust
  • 1 lb asparagus
  • 1/2 cup gouda
  • 1/4 cup cottage cheese
  • salt
  • pepper
  • 1 tbsp sun-dried tomatoes optional

Instructions

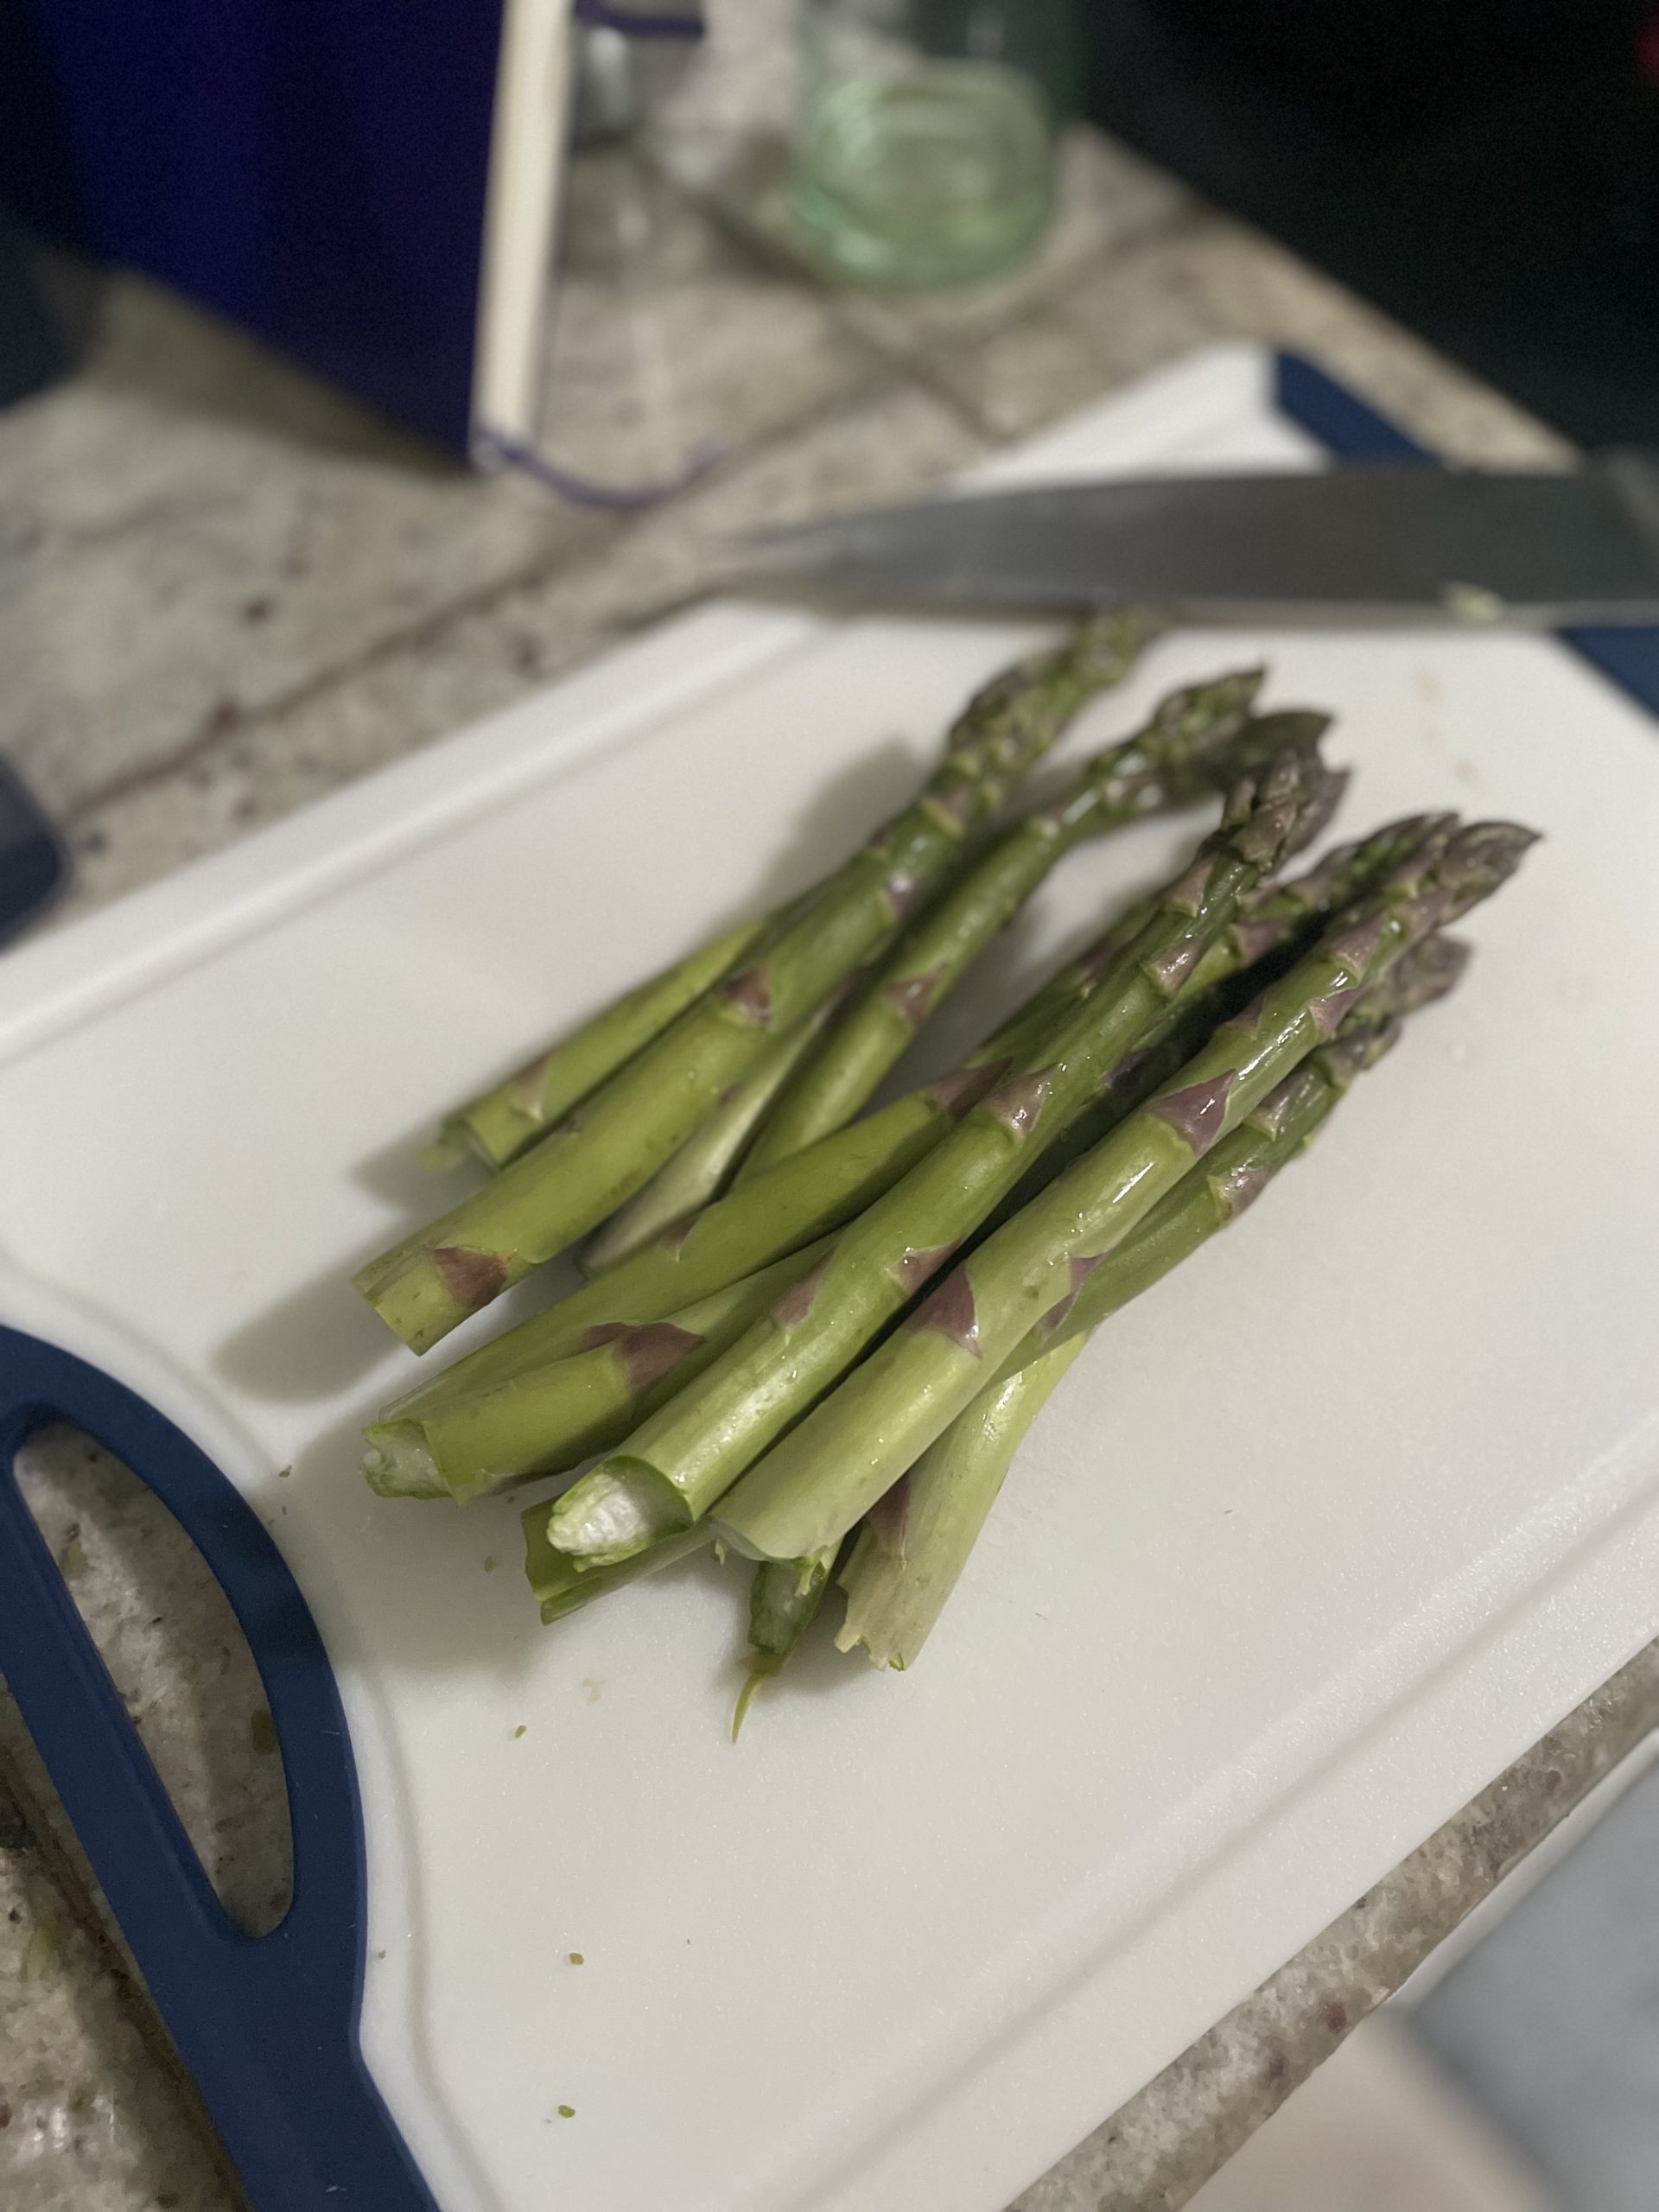
  • Wash and trim your asparagus. I like to trim mine by just breaking off the ends. This ensures that you get all of the tough part of the asparagus off. If you just cut off the ends, you're likely to still have the tough part still on the stalk.
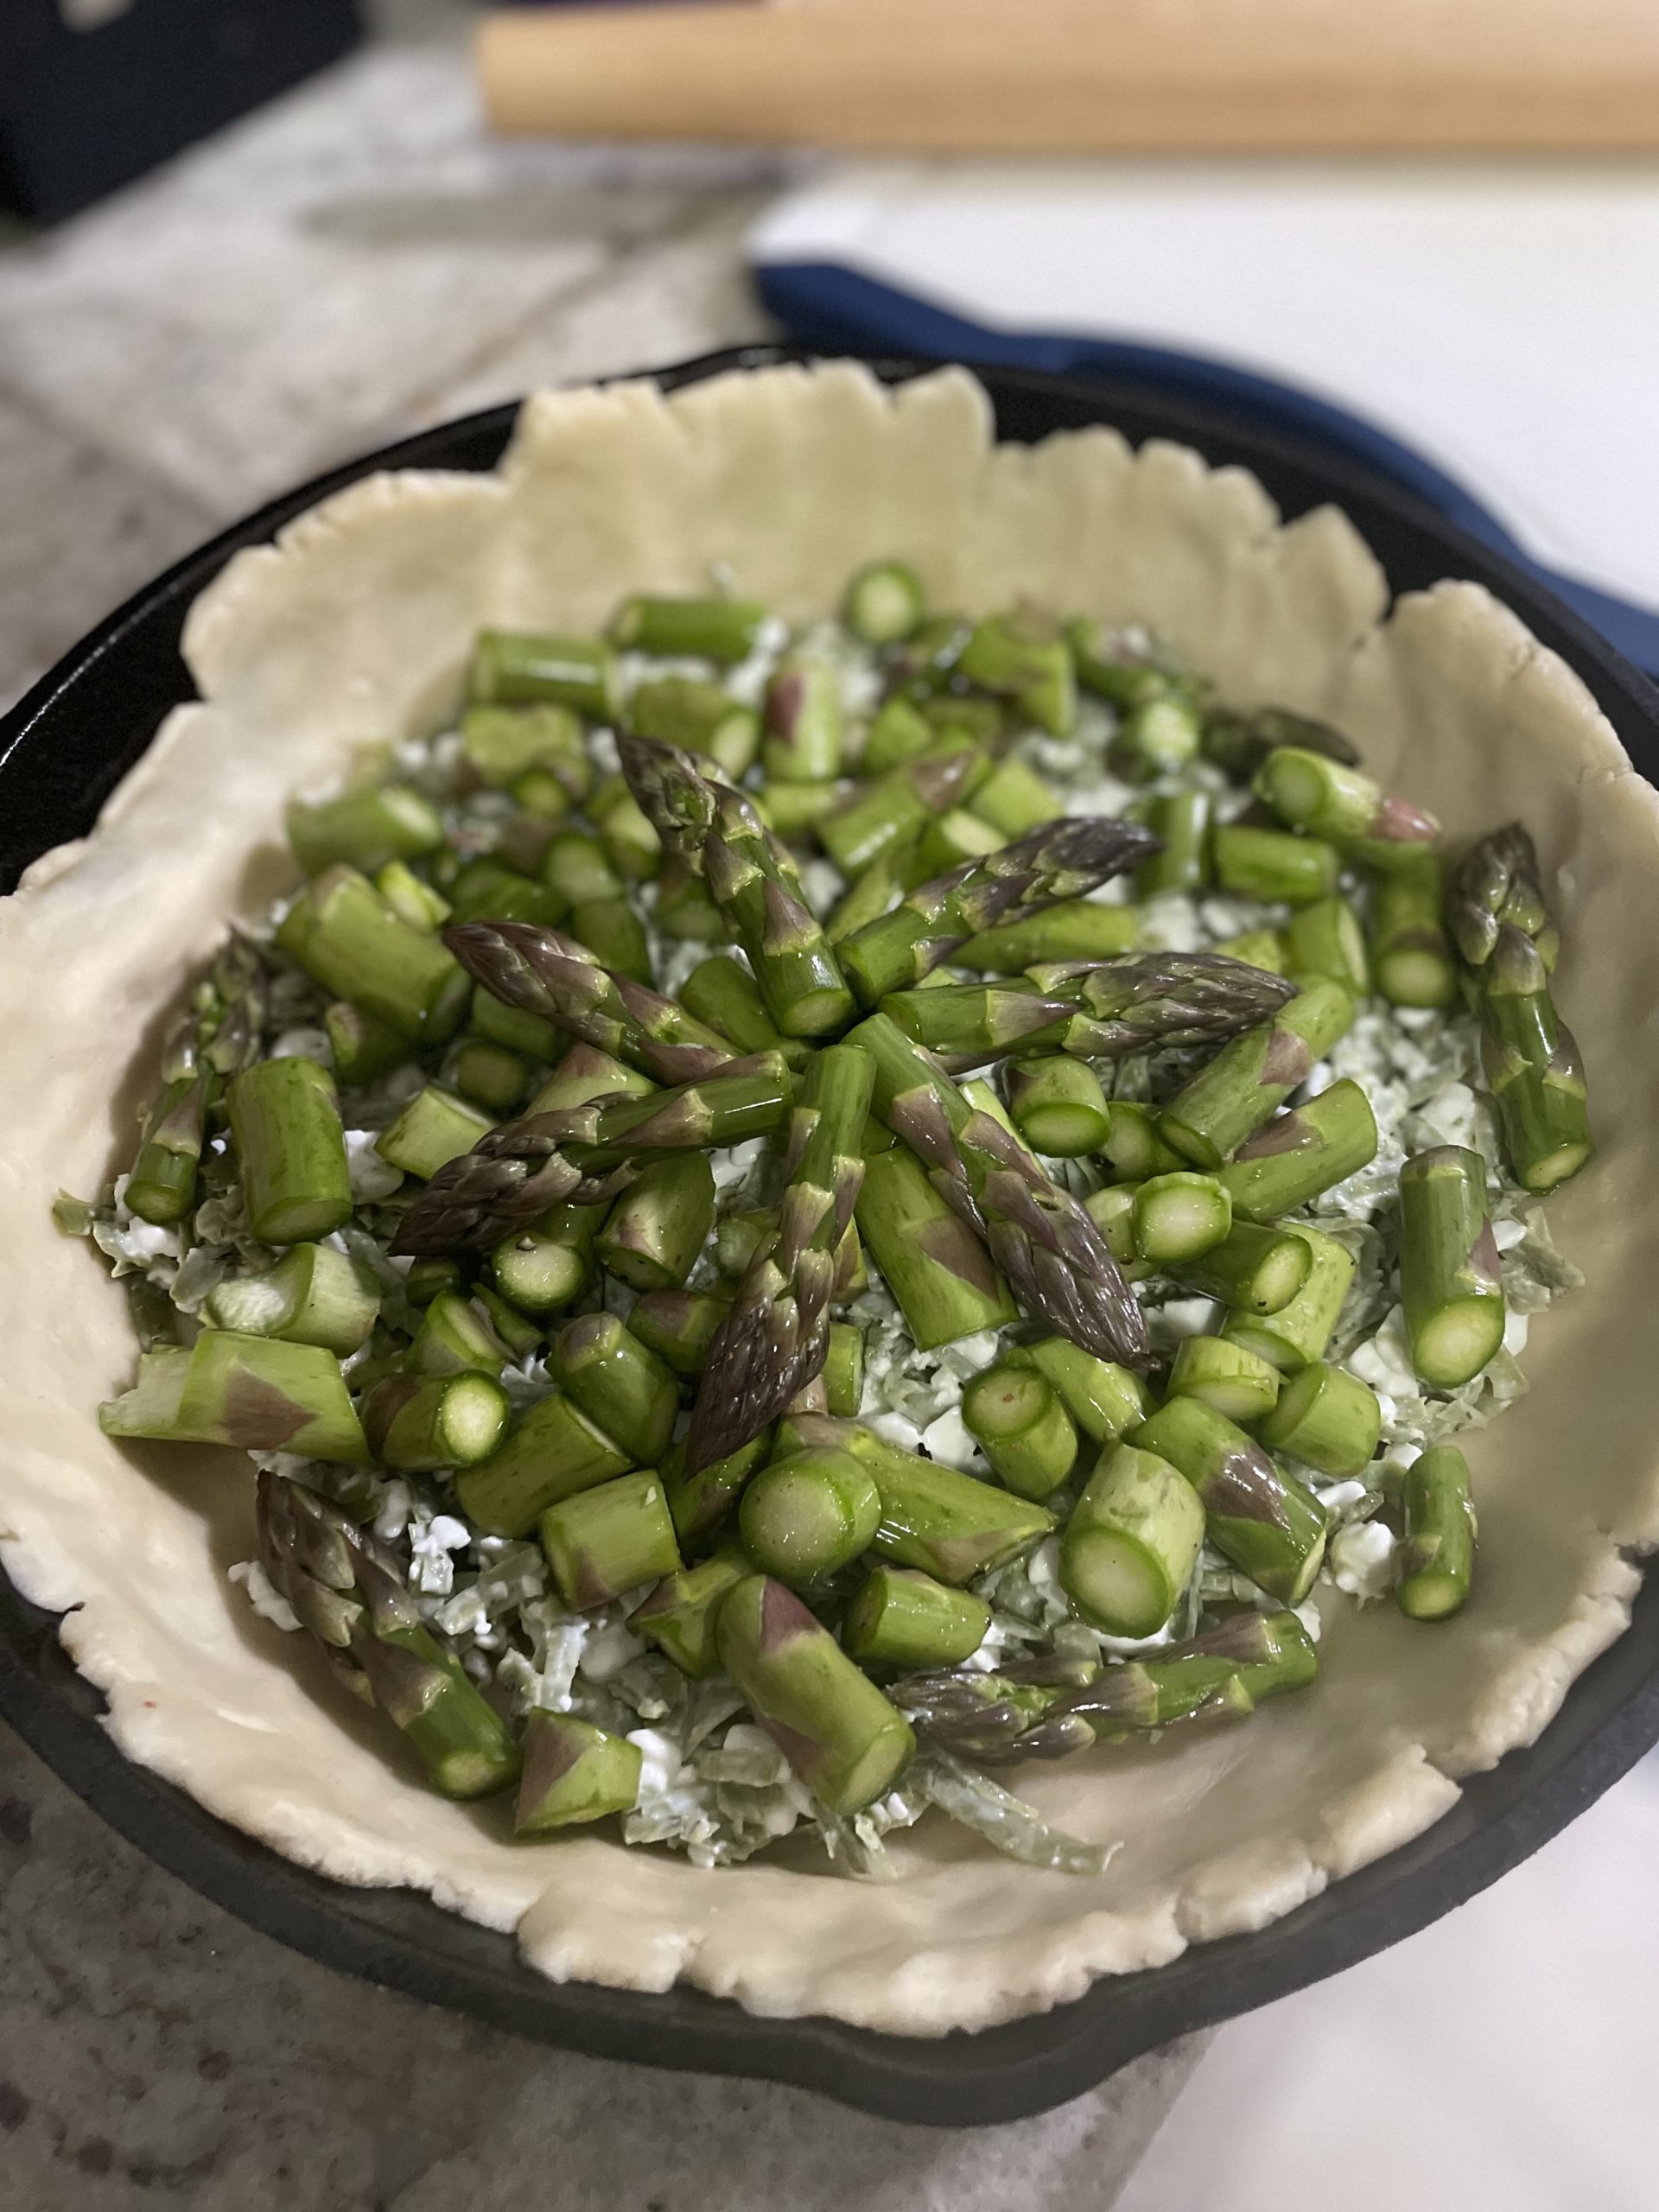
  • Cut pieces of asparagus into various sizes so that there will still be a variety of texture in the pie. Larger pieces will have more of a bite while smaller pieces will be more tender.
  • Toss asparagus pieces in a sprinkle of salt and pepper. Leave aside.
  • Roll out pie crust to fit your pie dish or cast iron OR if you're making it just on a sheet tray, make it whatever size you like. Ensure there is extra overhang to fold over to make it into a galette.
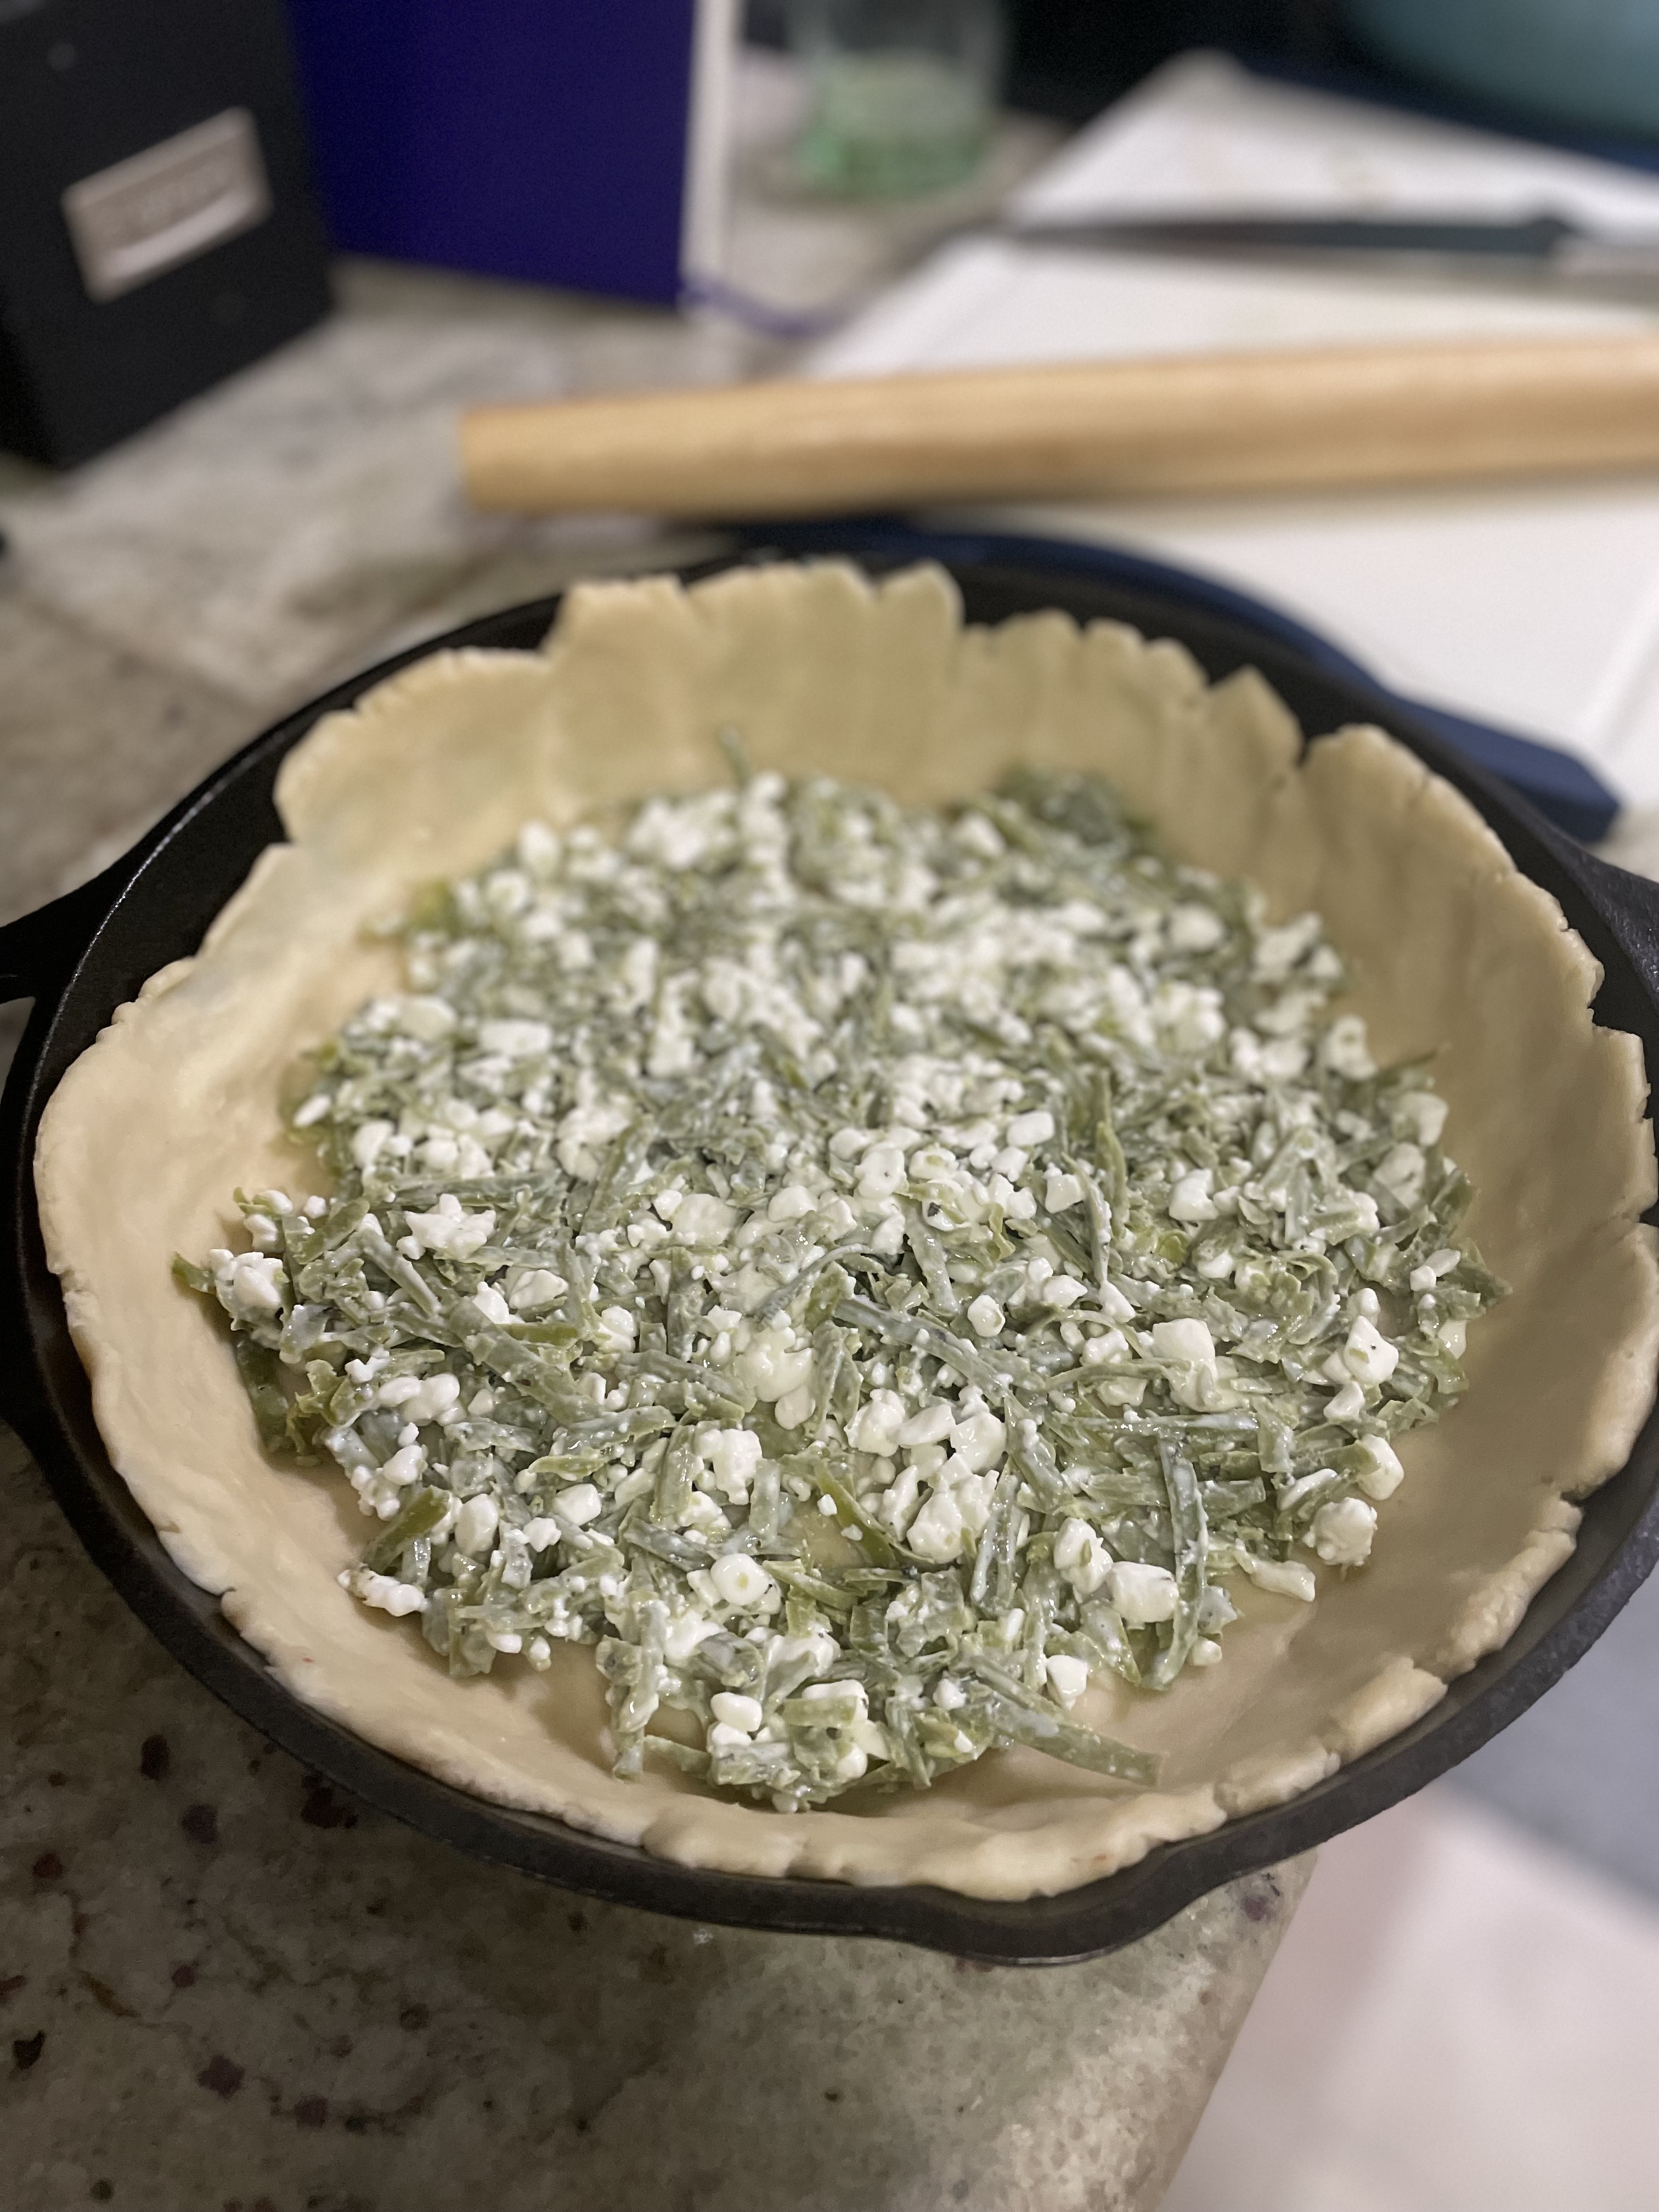
  • Mix together the cottage cheese and gouda and spread into the base of the crust.
  • If any water has released from the asparagus, drain and pat dry. Add asparagus into an even layer into the galette.
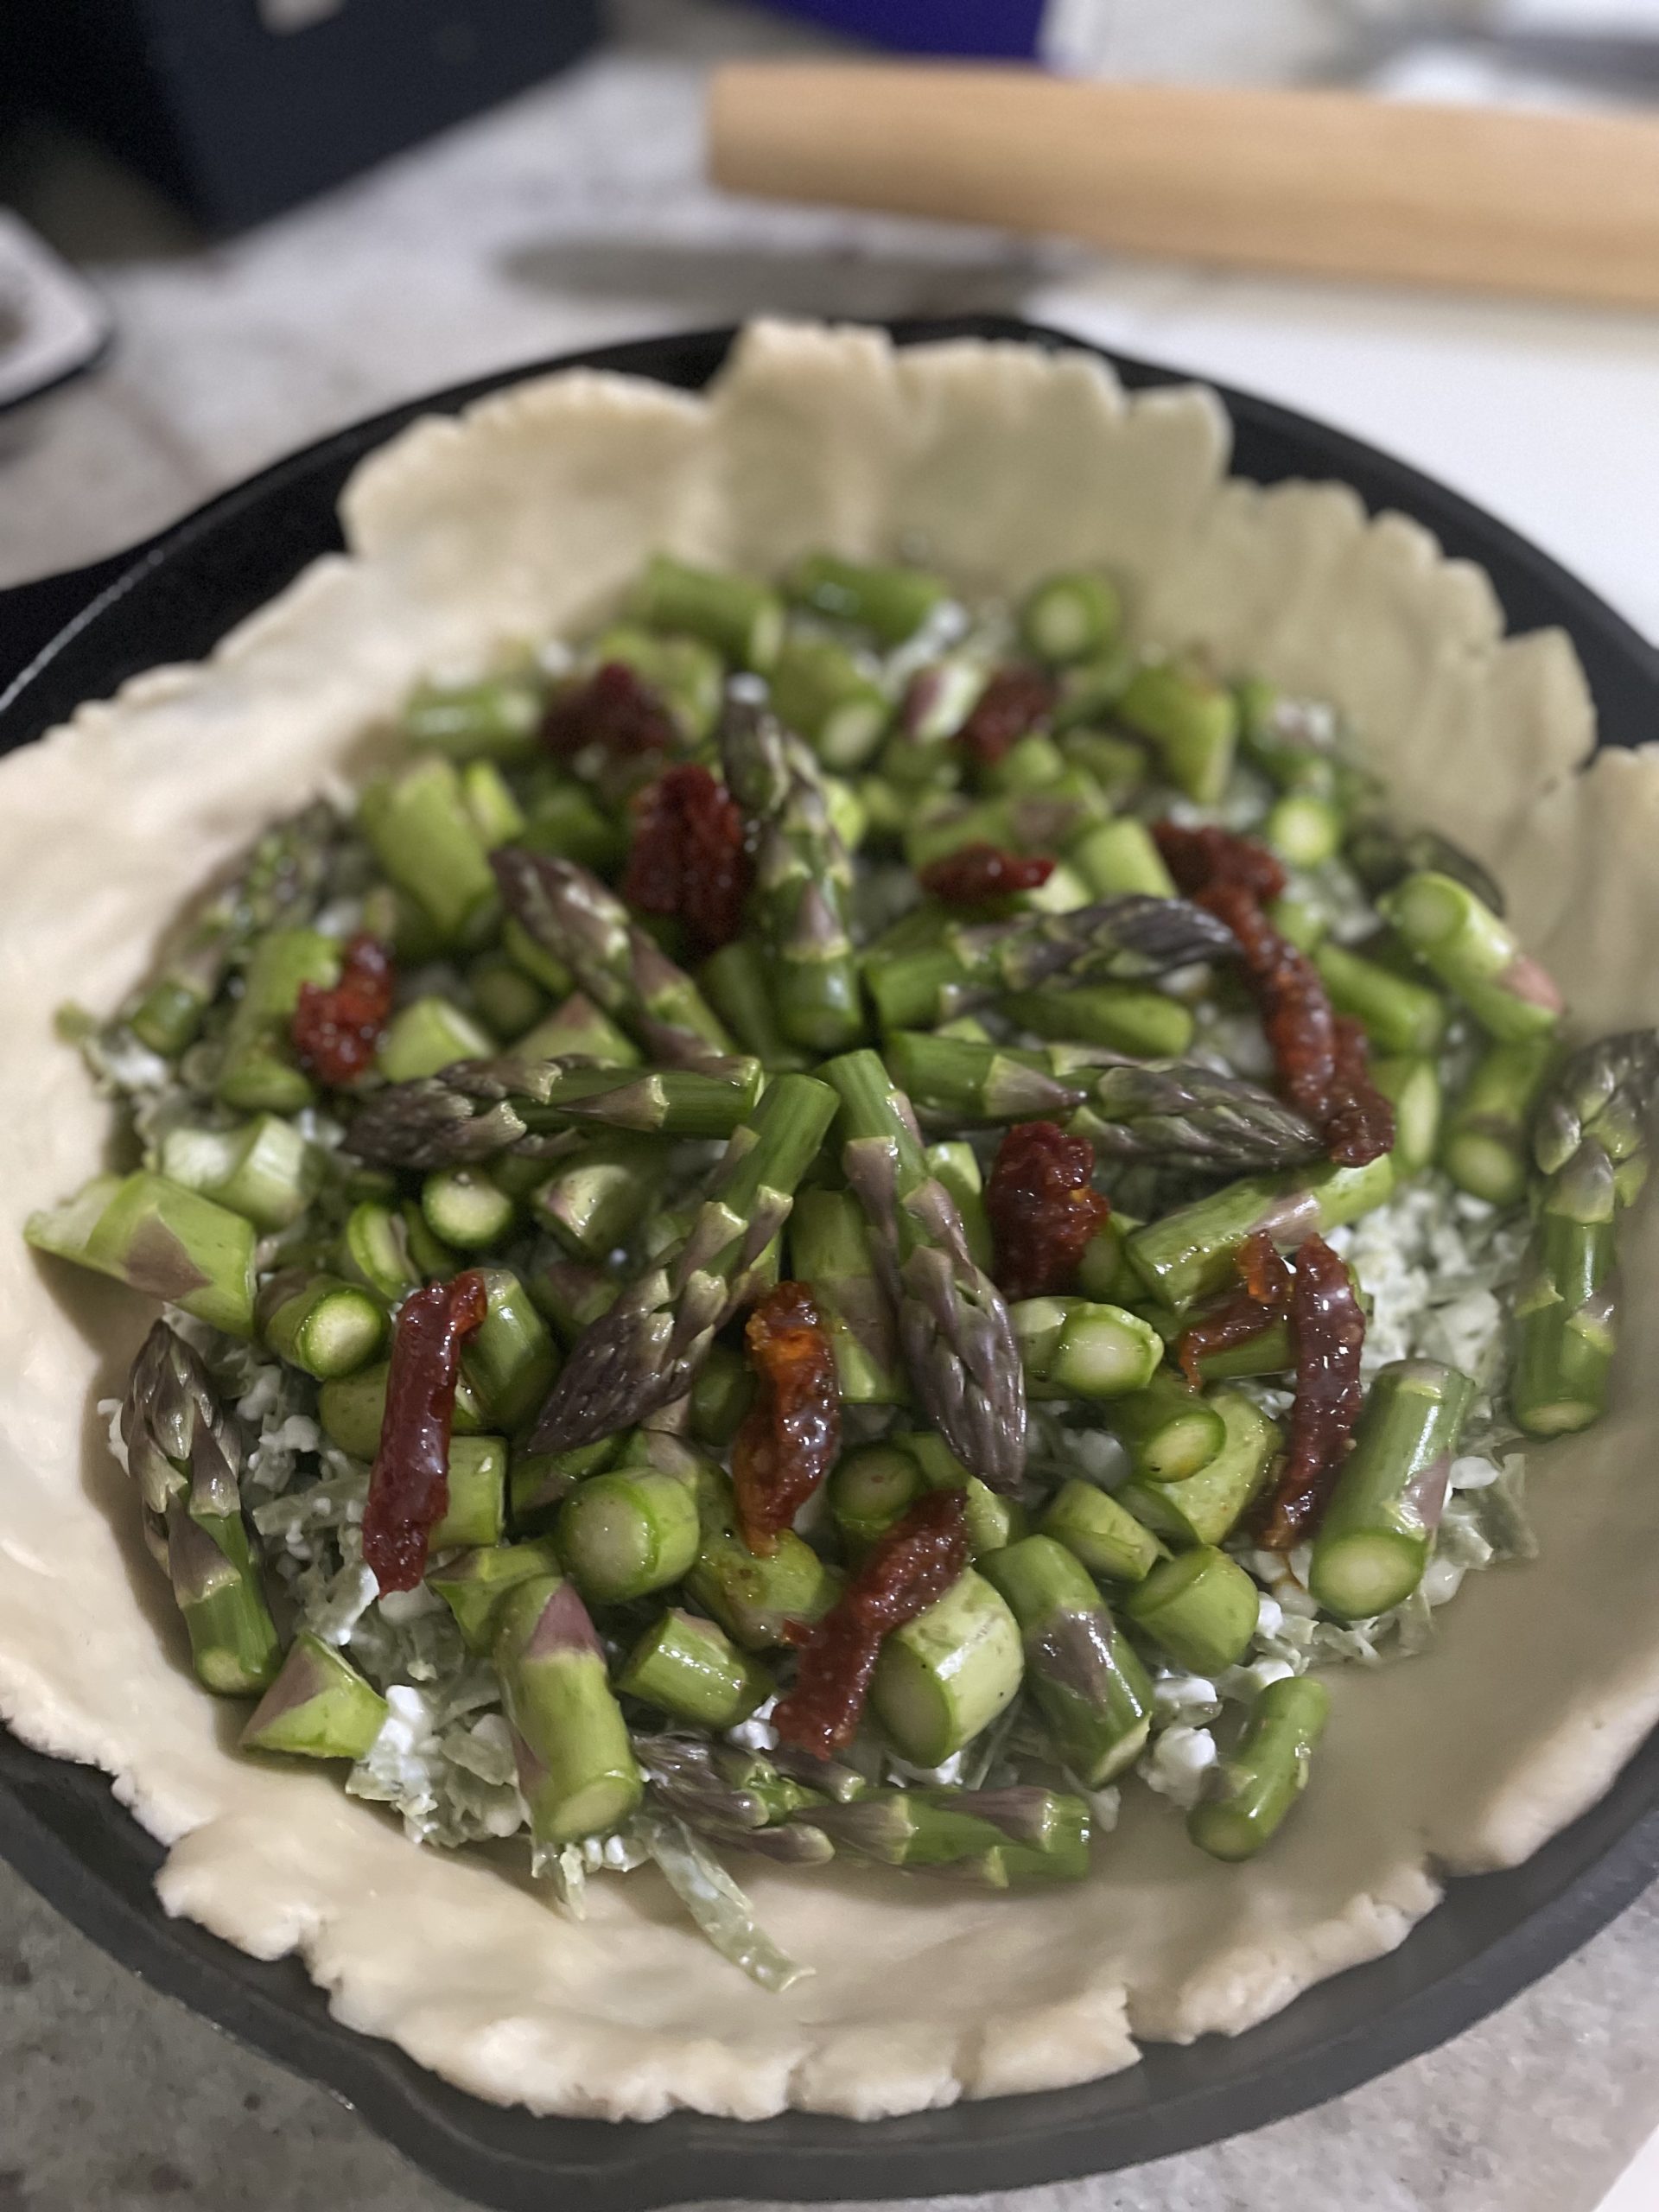
  • Optional, top with sun-dried tomatoes.
  • Fold edges of crust over the rest of the galette and brush with egg wash for a shine.
  • Bake at 400F for about 30 minutes until golden brown, if asparagus is browning too quickly, tent just the center of the galette with some foil.

Pie Crust

Print Recipe
An easy pie crust that comes together in a food processor.
Keyword pie, pie crust
Servings 1 crust

Equipment

  • 1 food processor

Ingredients

  • 1 1/4 cup flour
  • 1/2 tsp salt
  • 1 stick cold butter
  • 3 tbsp cold water
  • turbinado sugar/demerara sugar for sprinkling

Instructions

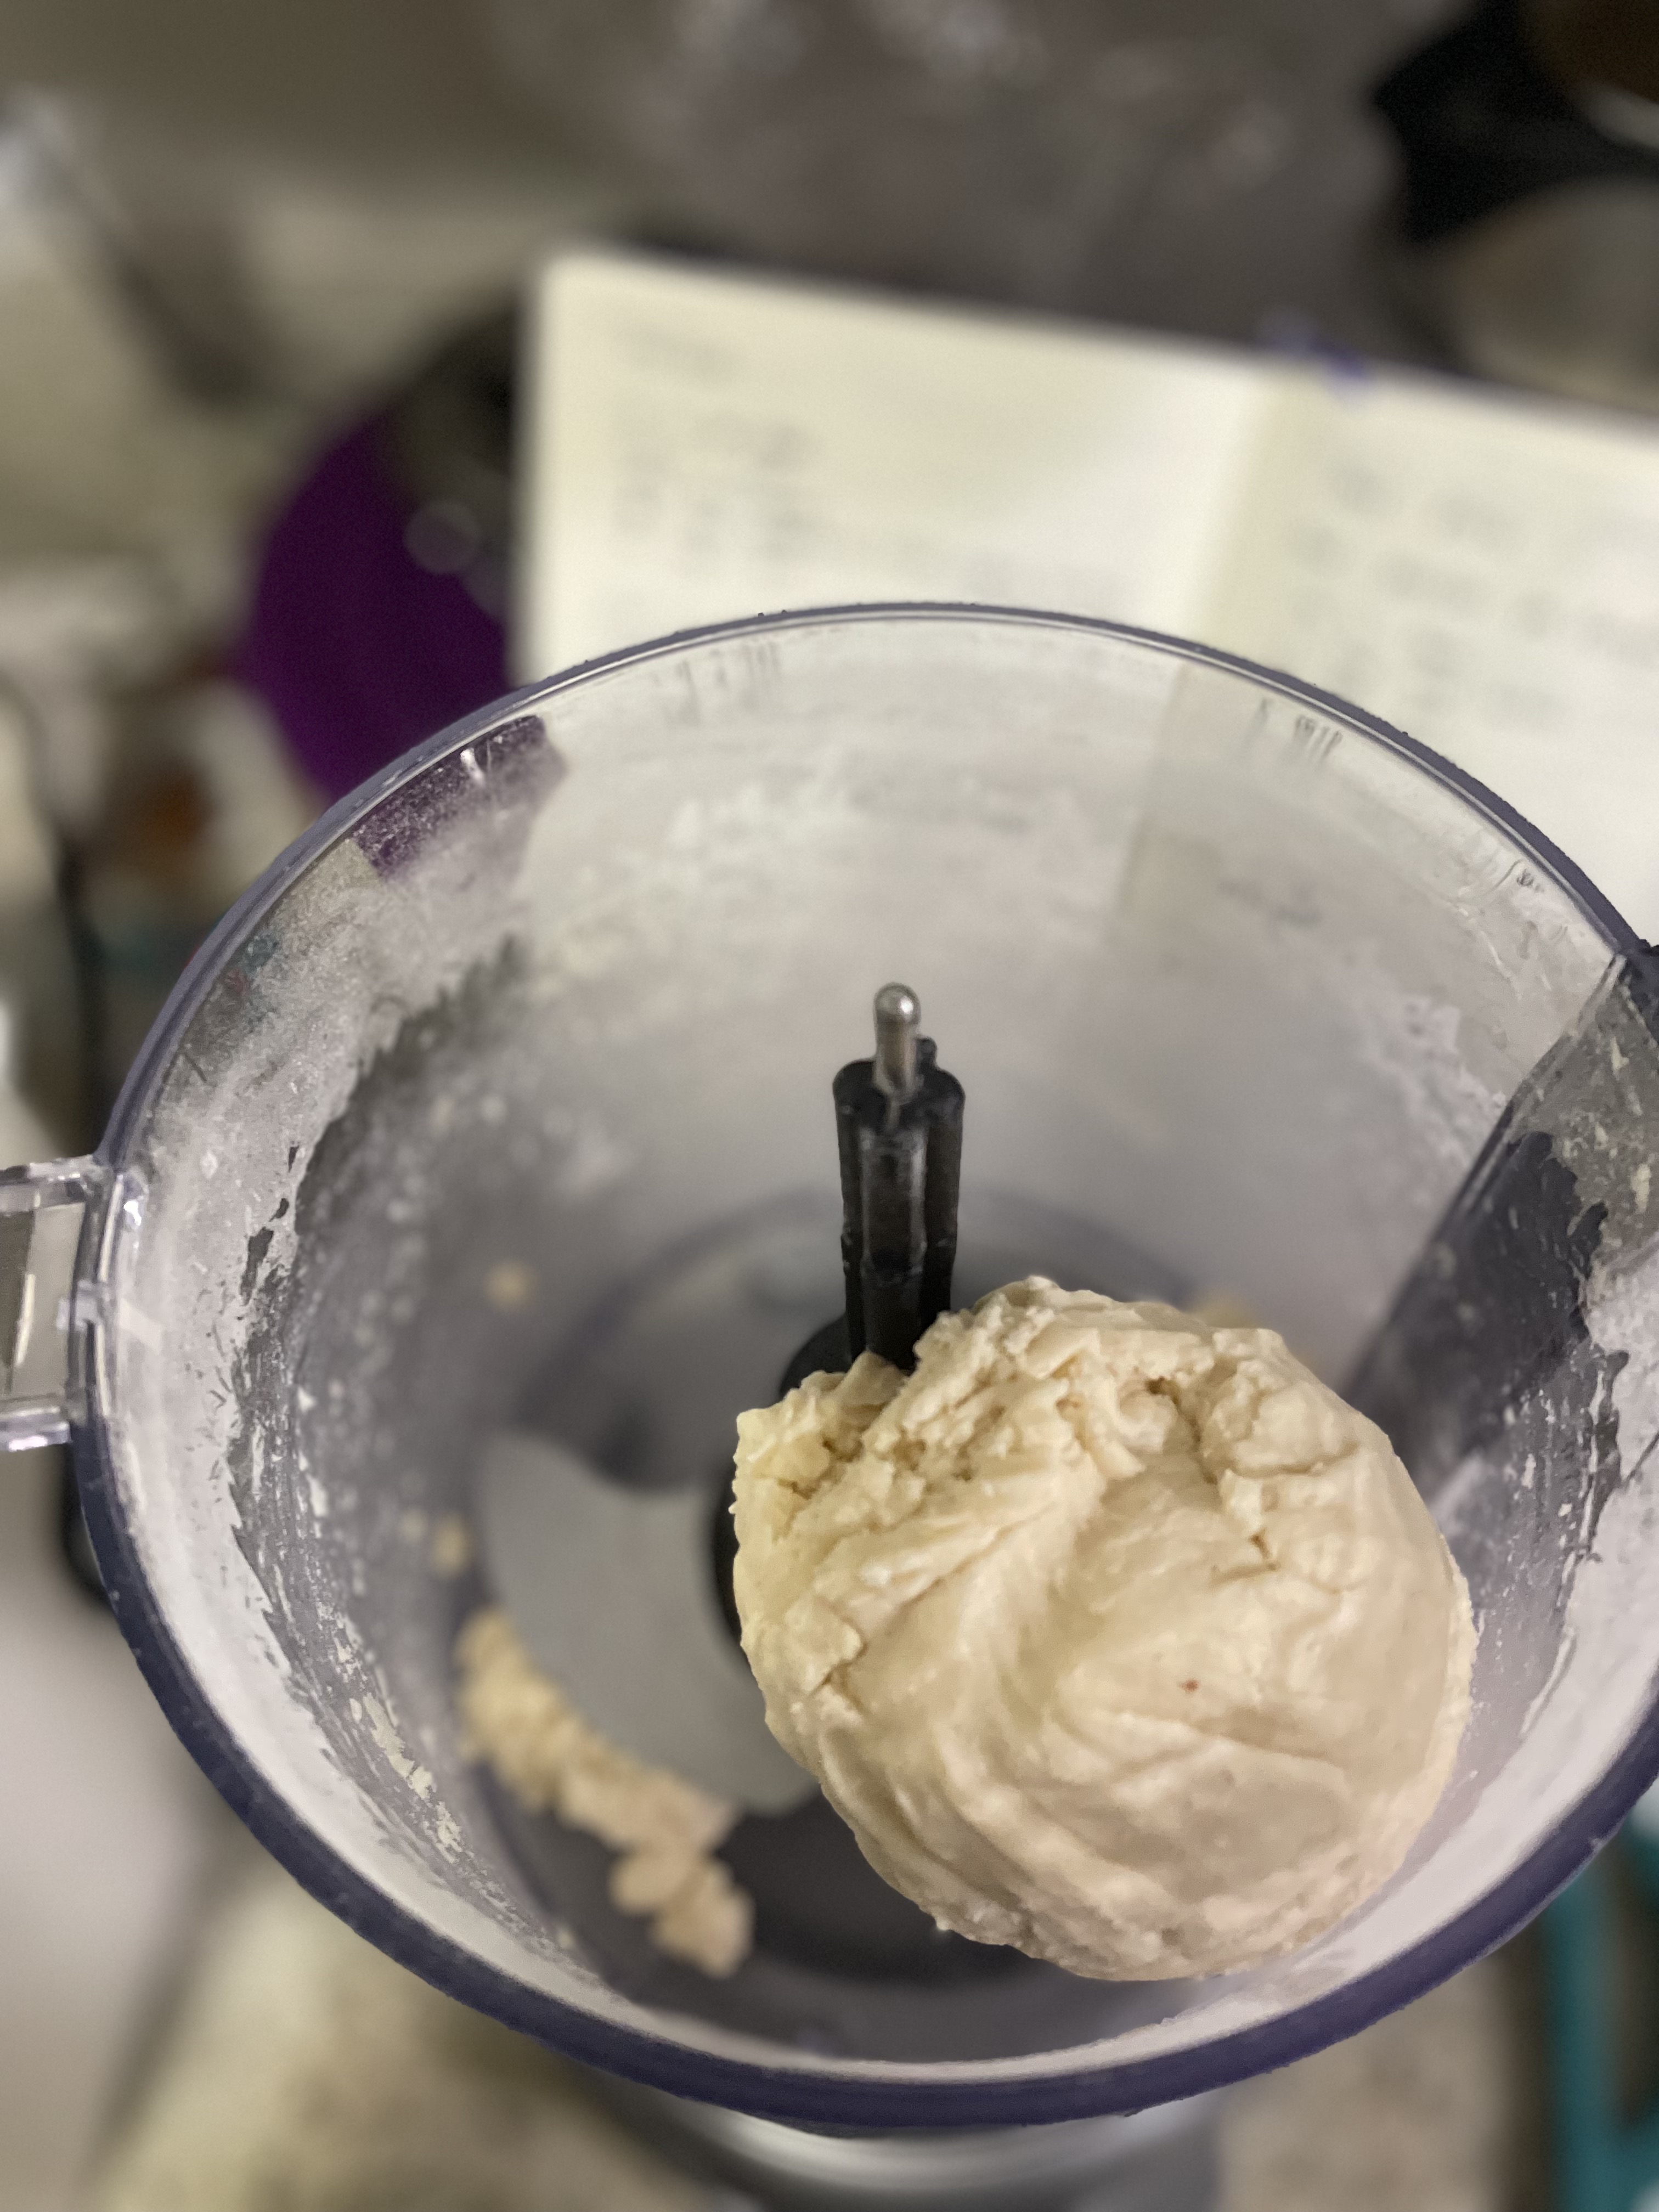
  • Make the pie crust first. In a food processor, add flour, salt, and cubed butter.
  • Pulse ~20 seconds until mixture is mealy.
  • Add water and continue blending until dough comes together in a chunk. Refrigerate dough while you mix the filling.

Here’s a sweet galette: Peach Galette

Want another vegetable side? Honey Balsamic Roasted Brussels Sprouts