Spring Rolls + Peanut Dipping Sauce

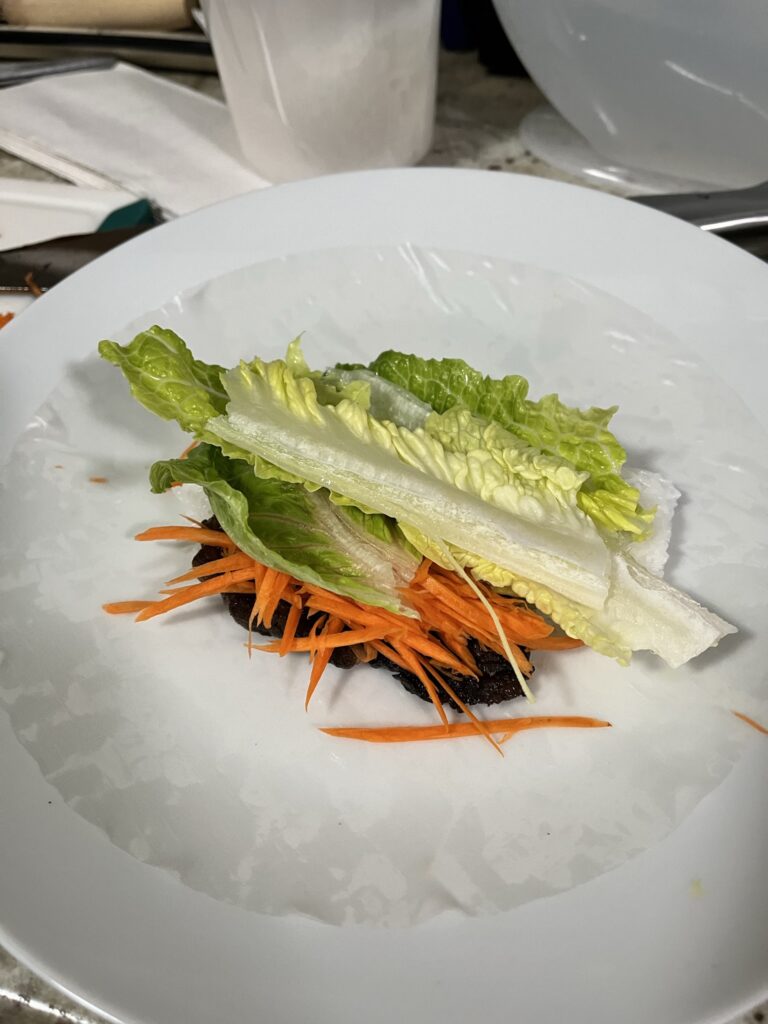
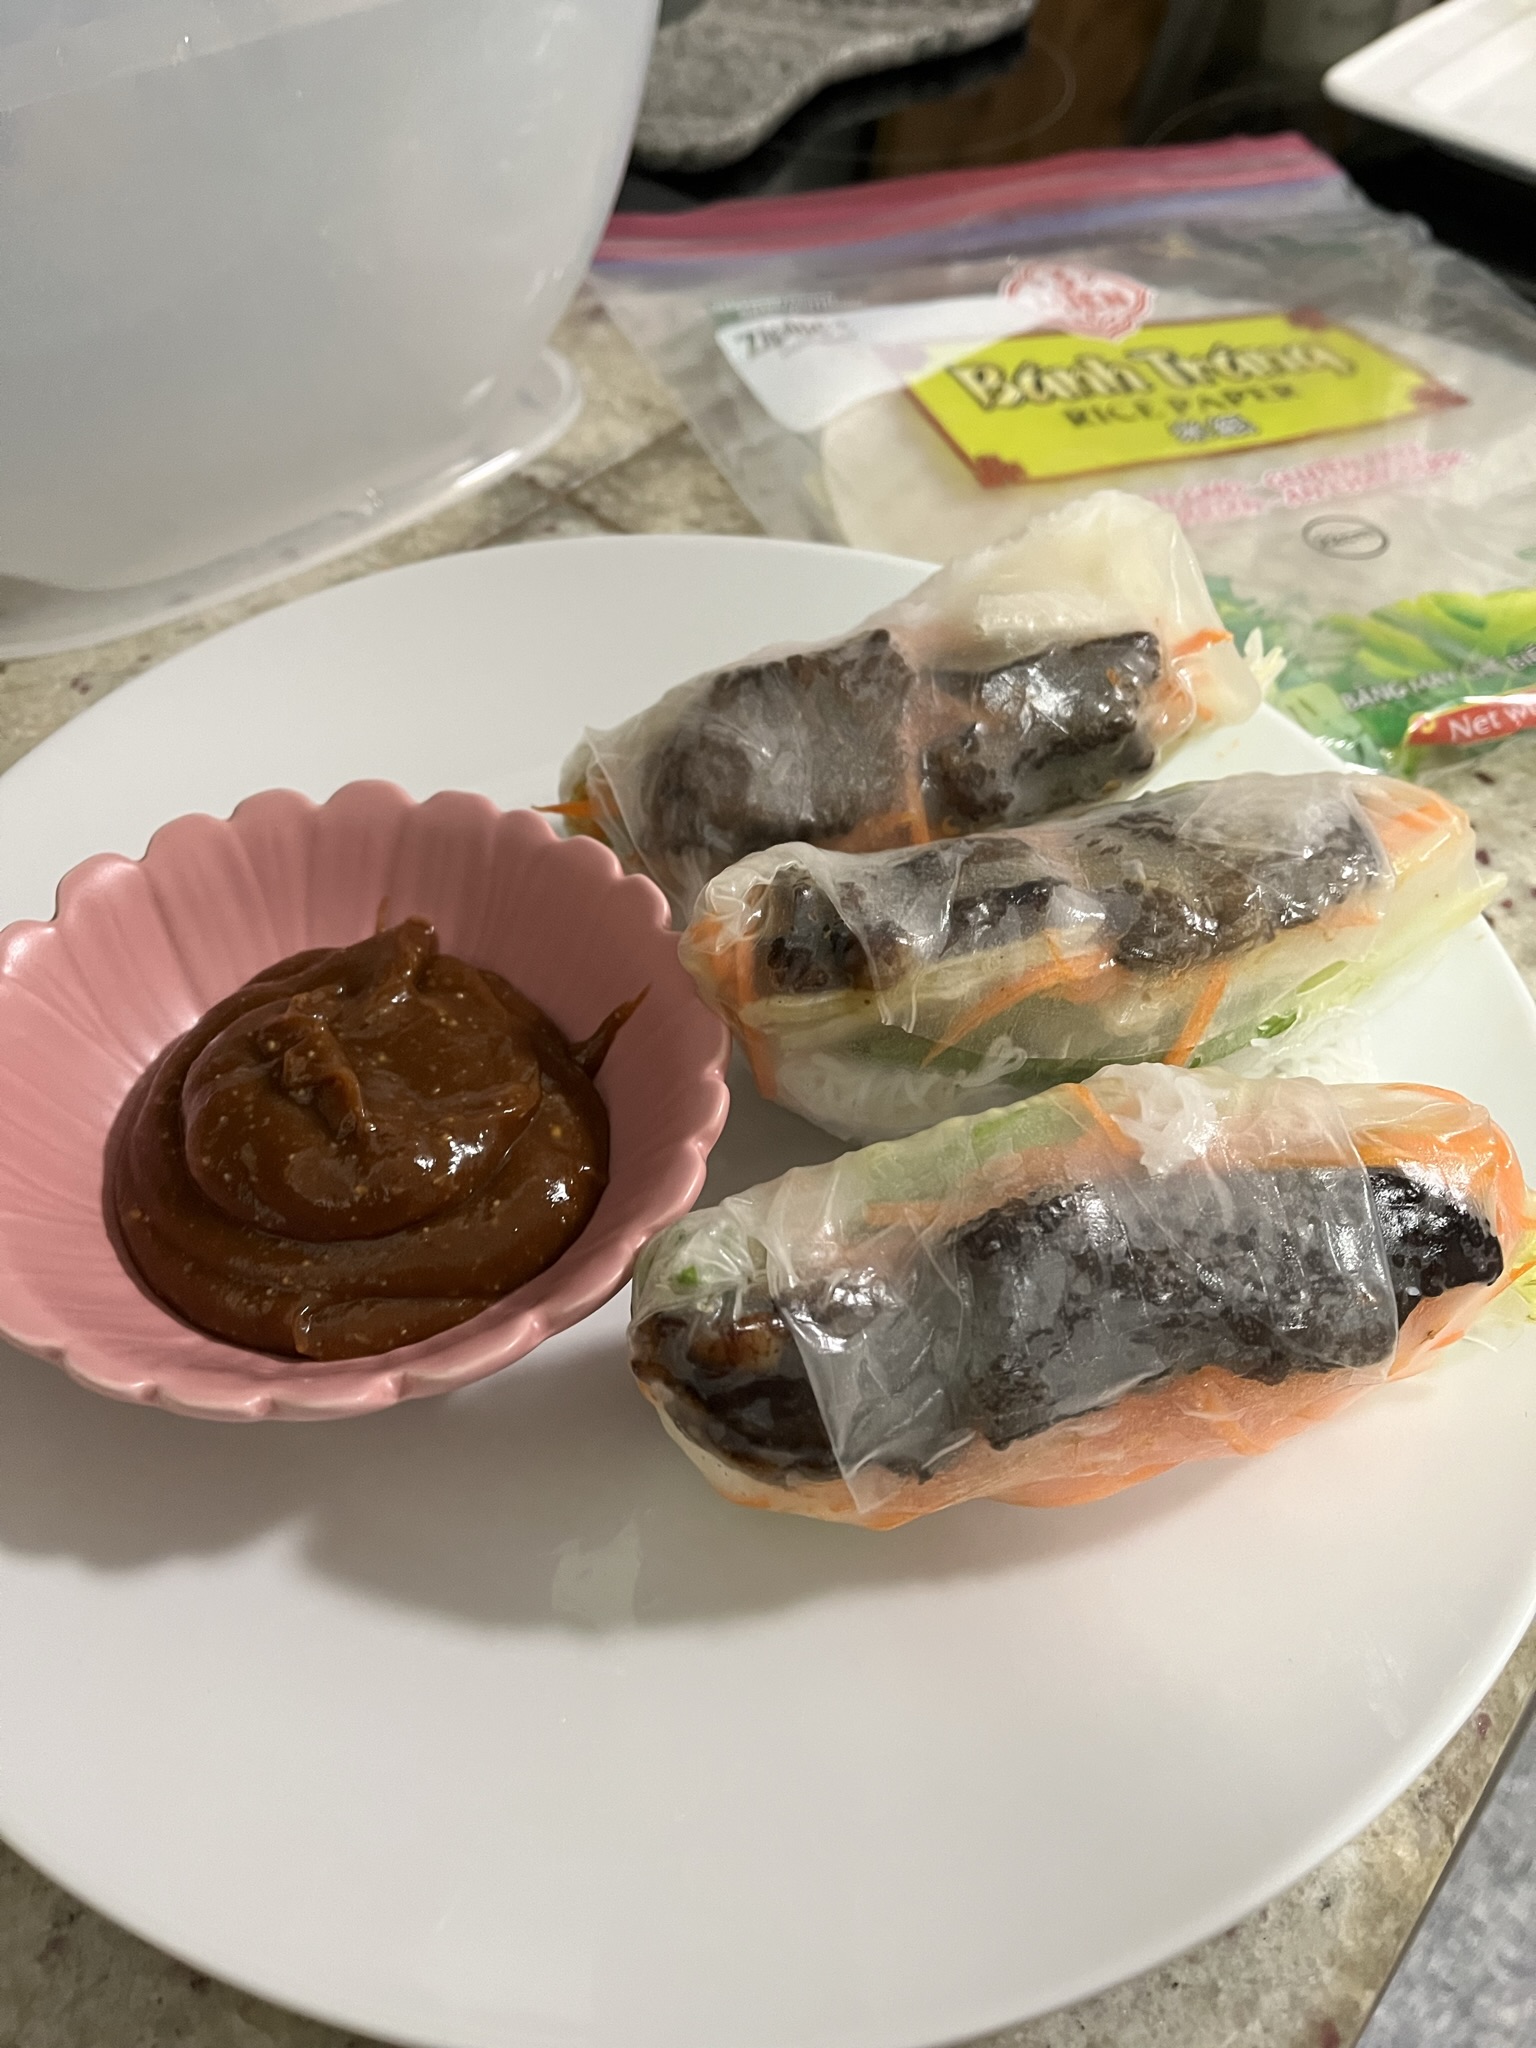
When I need to consume a lot of vegetables but I don’t want to deal with forking salad greens into my mouth, I turn to a spring roll. A yummy, portable roll of goodness that is also great at utilizing leftovers. There are some “traditional” spring roll combinations, but I like to take the sauce and then insert whatever I have available into the actual roll. My “leftovers” glamorized as a spring roll included some short rib, shredded carrot, lettuce, and vermicelli noodles.

These are perfect as an appetizer at a dinner party, or make them XL for a full meal! It’s not as pretty, but the sauce can be spooned inside with the filling, and rolled up so no extra dipping is required.

Traditional Combos:

  1. jicama, carrot, Chinese sausage, sliced scrambled egg, lettuce & herbs
  2. shrimp, pork belly, vermicelli noodles, lettuce & herbs

Make your spring roll your own! Start with a protein, have a noodle, and then fill the rest with fresh veggies and herbs.

Process:

  1. Gather your fillings and cut larger items into strip-like shapes, if possible. They will fit in the rolls better this way.
  2. Wet your rice paper with cold or room temperature water. Hot water will soften the paper faster, however it will be stickier and harder to roll.
  3. Add your fillings in the center of the paper, closer to the bottom half of the roll. Don’t overstuff!
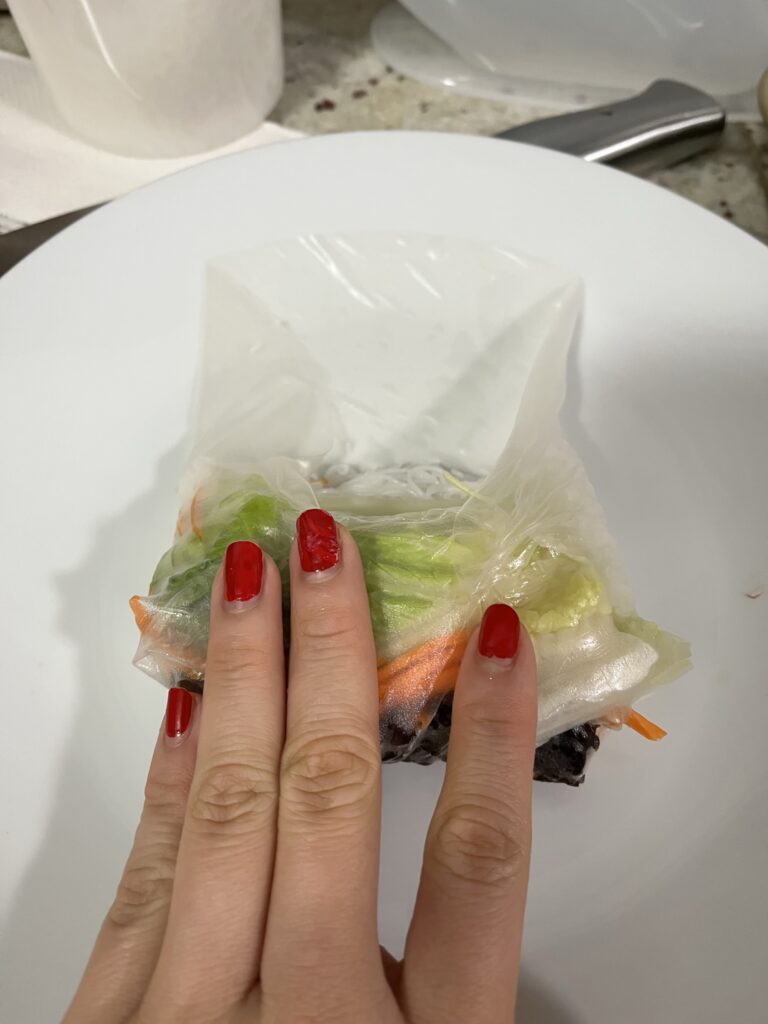
  4. Fold the bottom of the rice paper over the fillings, using one hand to hold everything in place. Use another hand to fold the left and right sides in towards the center.
  5. Finally, roll the fillings directly up to seal the roll.

Spring Roll Dipping Sauce

Print Recipe
An easy peanut-hoisin sauce that is sweet & savory, perfect to complement your spring rolls.
Keyword hoisin sauce, peanut sauce, spring roll

Ingredients

  • 1/2 cup peanut butter
  • 1/2 cup hoisin sauce
  • 1/4 cup warm water

Instructions

  • In a bowl, mix together the peanut butter and hoisin sauce.
  • Add water 1 tbsp at a time, mixing until completely combined before adding another tbsp of water. It may look like the dipping sauce is "breaking" and not coming together, but it will become more aerated and combined as you continue mixing.
  • Add more water to reach your desired consistency!

Need a main course now? Have some 10-Minute Soy Ginger Noodles or Honey Soy Vegetable Stir Fry.
Pasta Salad

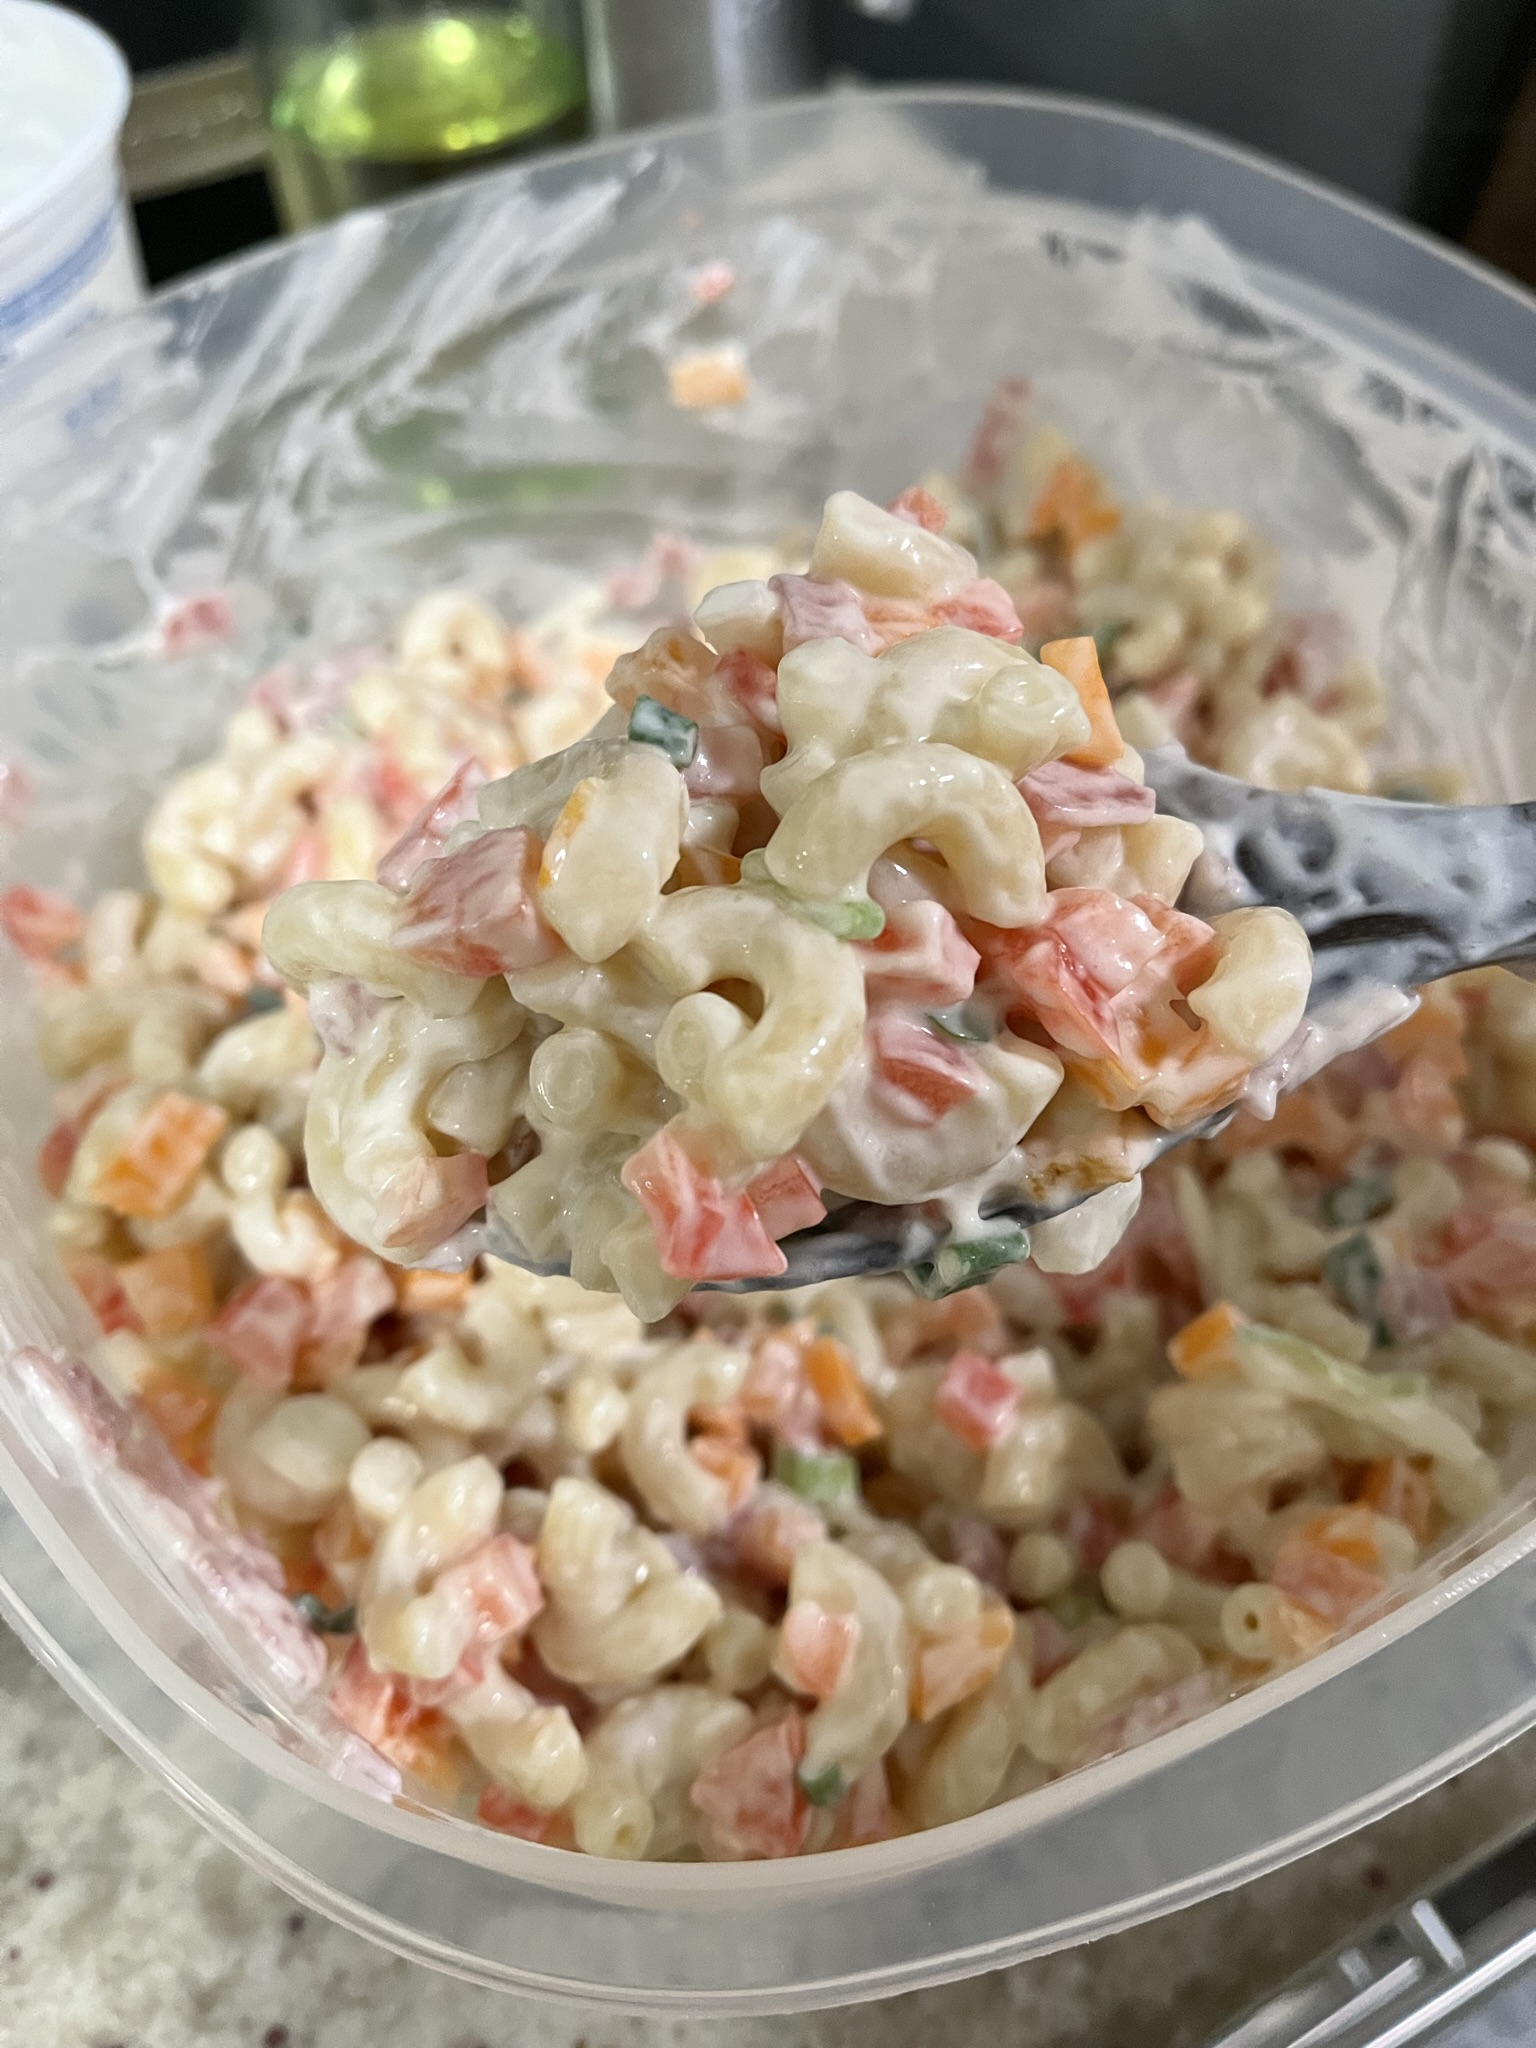
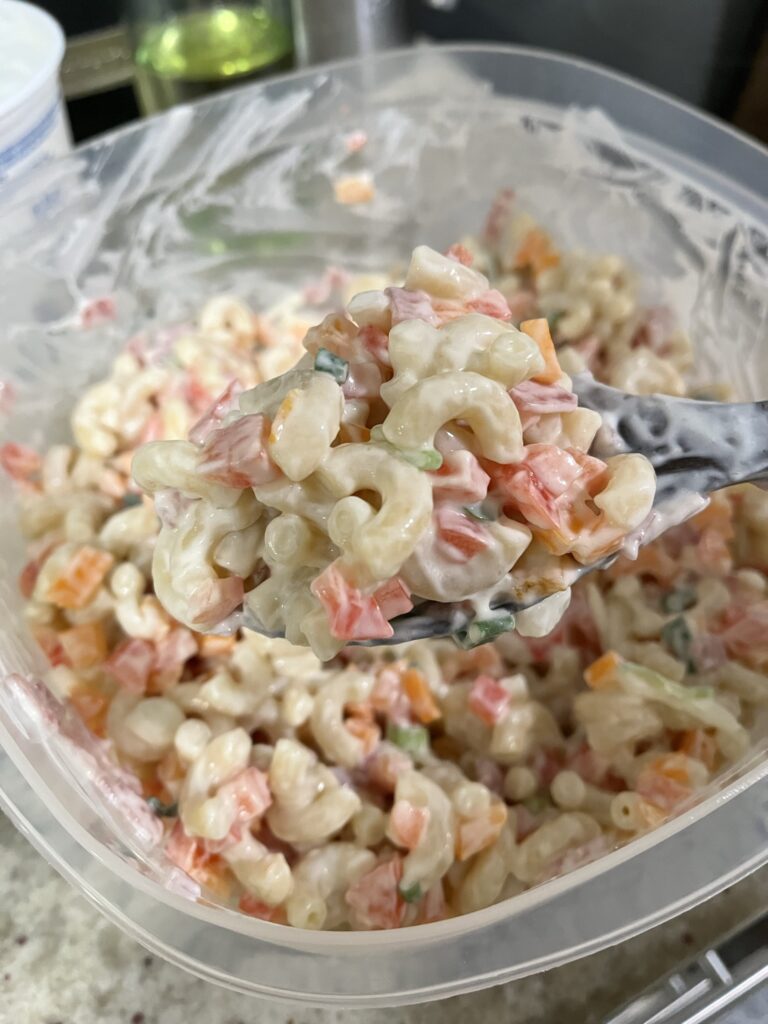
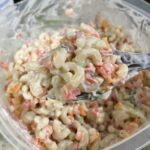
For some reason, everyone has really been loving a lunchtime work meeting, so I’ve been trying to make more “prepped” lunches for days where I really can’t step away for long to take a break (is this an unhealthy work environment?) I also recently got a walking pad to slide under my desk for when I’m feeling restless, and meals on the go (on the walking pad) should be relatively spill resistant and easy to transport from plate to mouth. In comes, the pasta salad! No reheating required. I can easily spoon this from the master pasta salad container into another bowl, bring it back to my desk/walking pad, and shovel some into my mouth in between meetings.

Ingredients

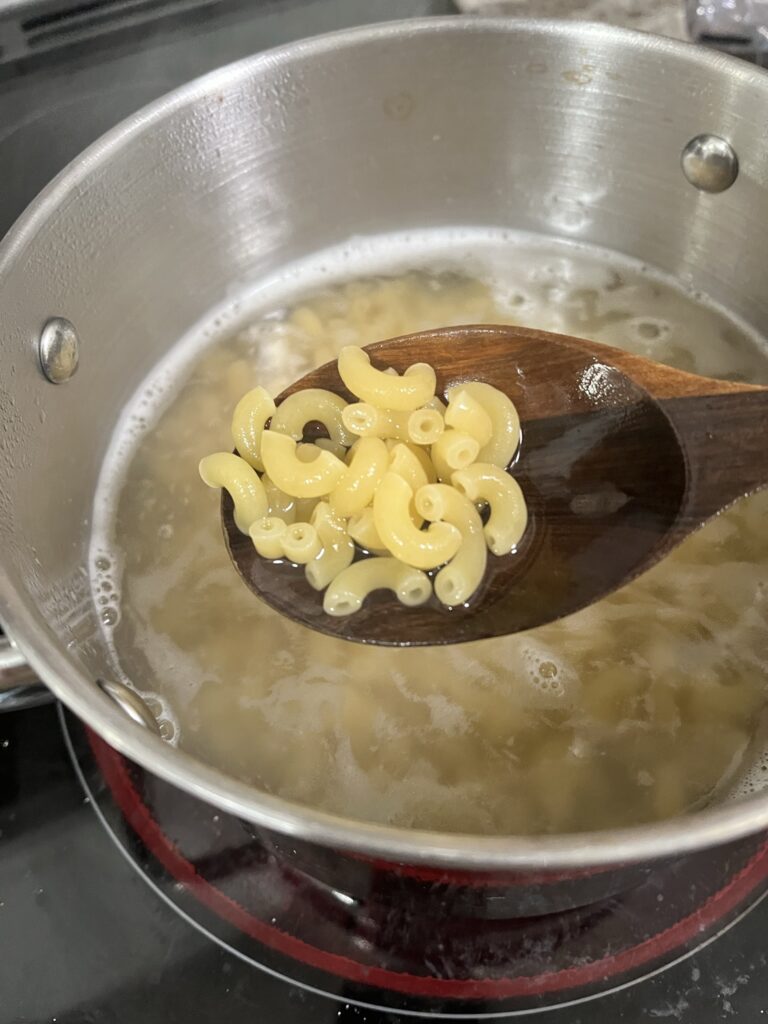
Pasta – I like using some macaroni or rotini for pasta salad. Their size makes consumption simple since they are easily spooned or forked up. Minimal spills!

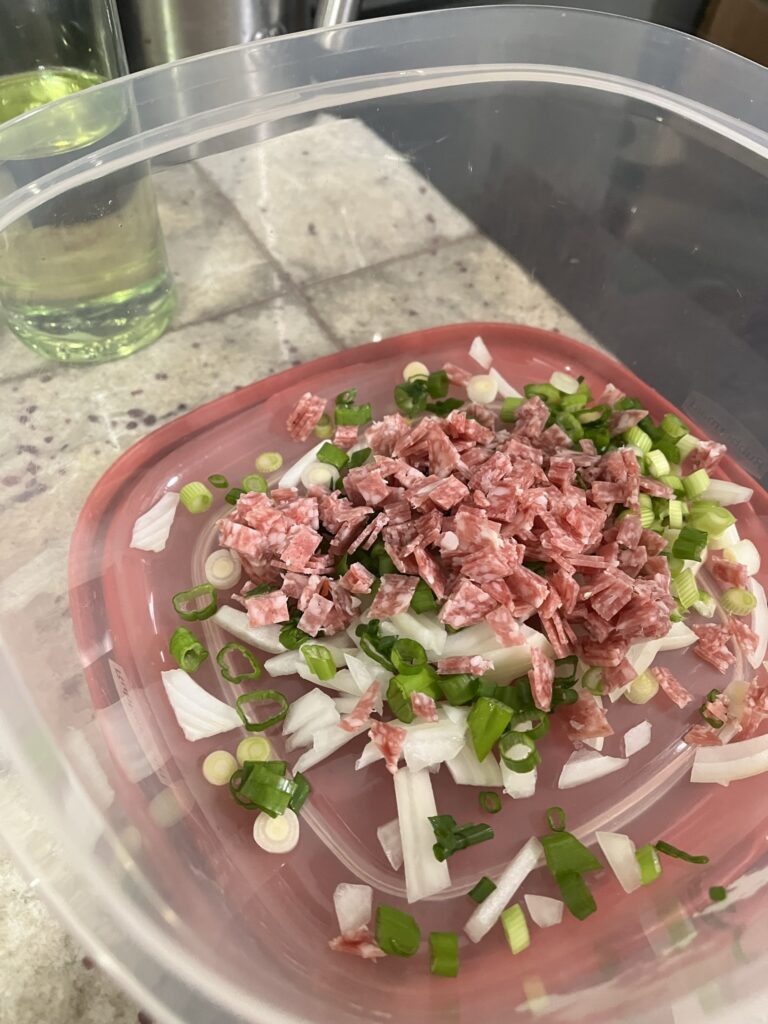
Vegetables – I like crunchy vegetables like bell peppers and onions. This could also be really lovely with diced pickles or zingy capers. The key is the consistency in the chop so nothing seems too large in a bite.

Sauce – Our dressing/sauce here is a mayo-sour cream blend that is brightened up using some vinegar. You can use all sour cream or all mayo, but the additional vinegar will be to taste.

Salami – feel free to leave this out to make it meatless 🙂

Pasta Salad

Print Recipe
Pasta salad, perfect to prep for a busy week or make in bulk for a fun gathering.
Course Main Course, Salad, Side Dish
Keyword pasta, salad

Ingredients

  • 1 pound pasta macaroni preferred
  • 1 cup mayonnaise
  • 1 cup sour cream
  • 1 tbsp red wine vinegar
  • 1 tsp sugar
  • 1/2 tsp salt
  • pepper
  • 2 bell peppers diced
  • 1/4 cup diced red or sweet onion
  • 1 stalk green onion sliced
  • 1/4 cup salami diced

Instructions

  • Boil pasta accordingly to package.
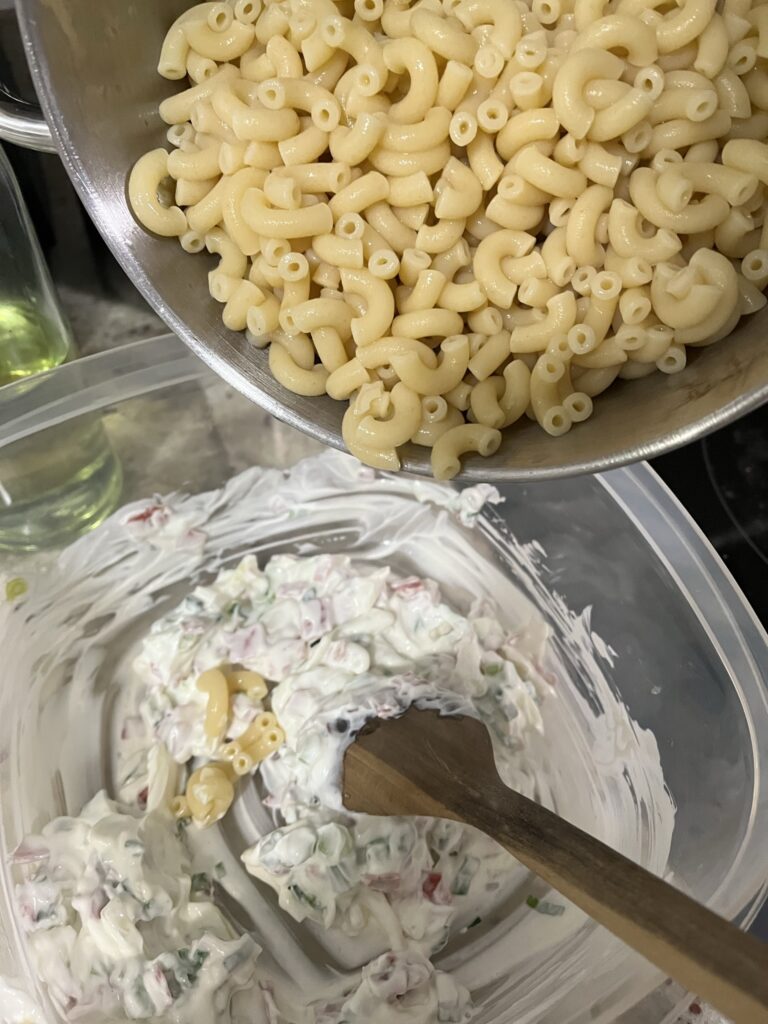
  • In a large container, mix together diced onion, green onion, salami, mayonnaise, sour cream, vinegar, salt, pepper, and sugar.
  • When pasta is done, drain and rinse.
  • When pasta is relatively cool to the touch, add to the sauce and mix.
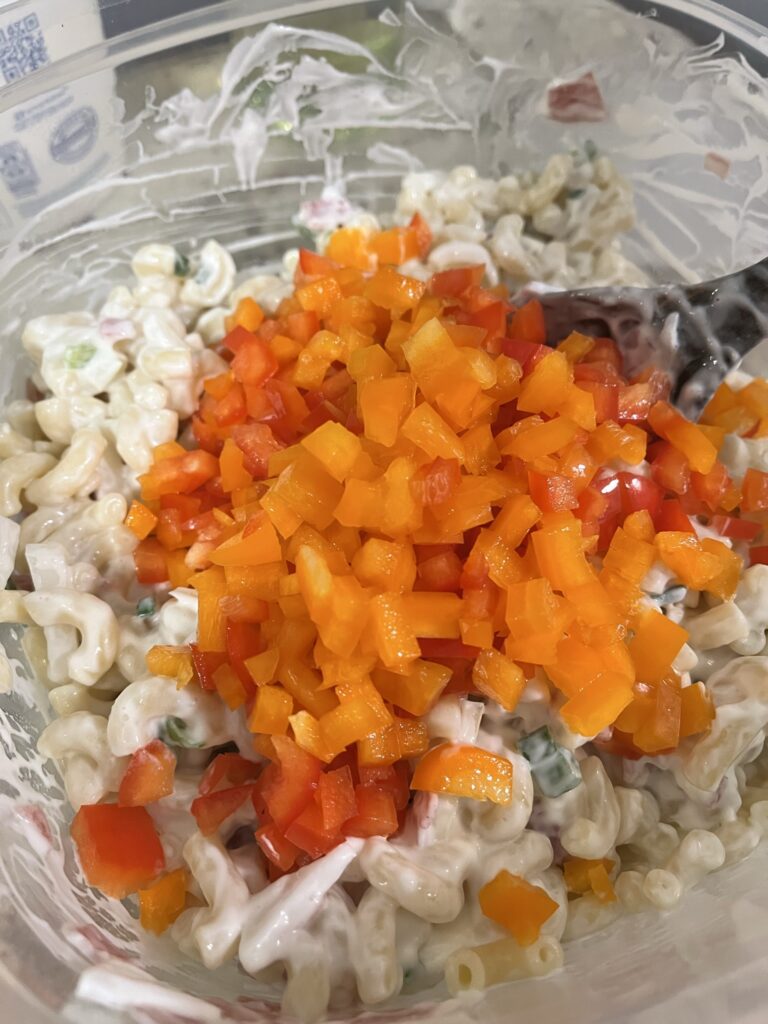
  • Mix in bell peppers. Taste and adjust seasonings for salt & pepper.
  • Allow to refrigerate at least 2 hours and then serve!

Salad party? Try The Work From Home Salad

Have some soup with it – Tomato Basil Soup or Pumpkin Soup

The Work From Home Salad

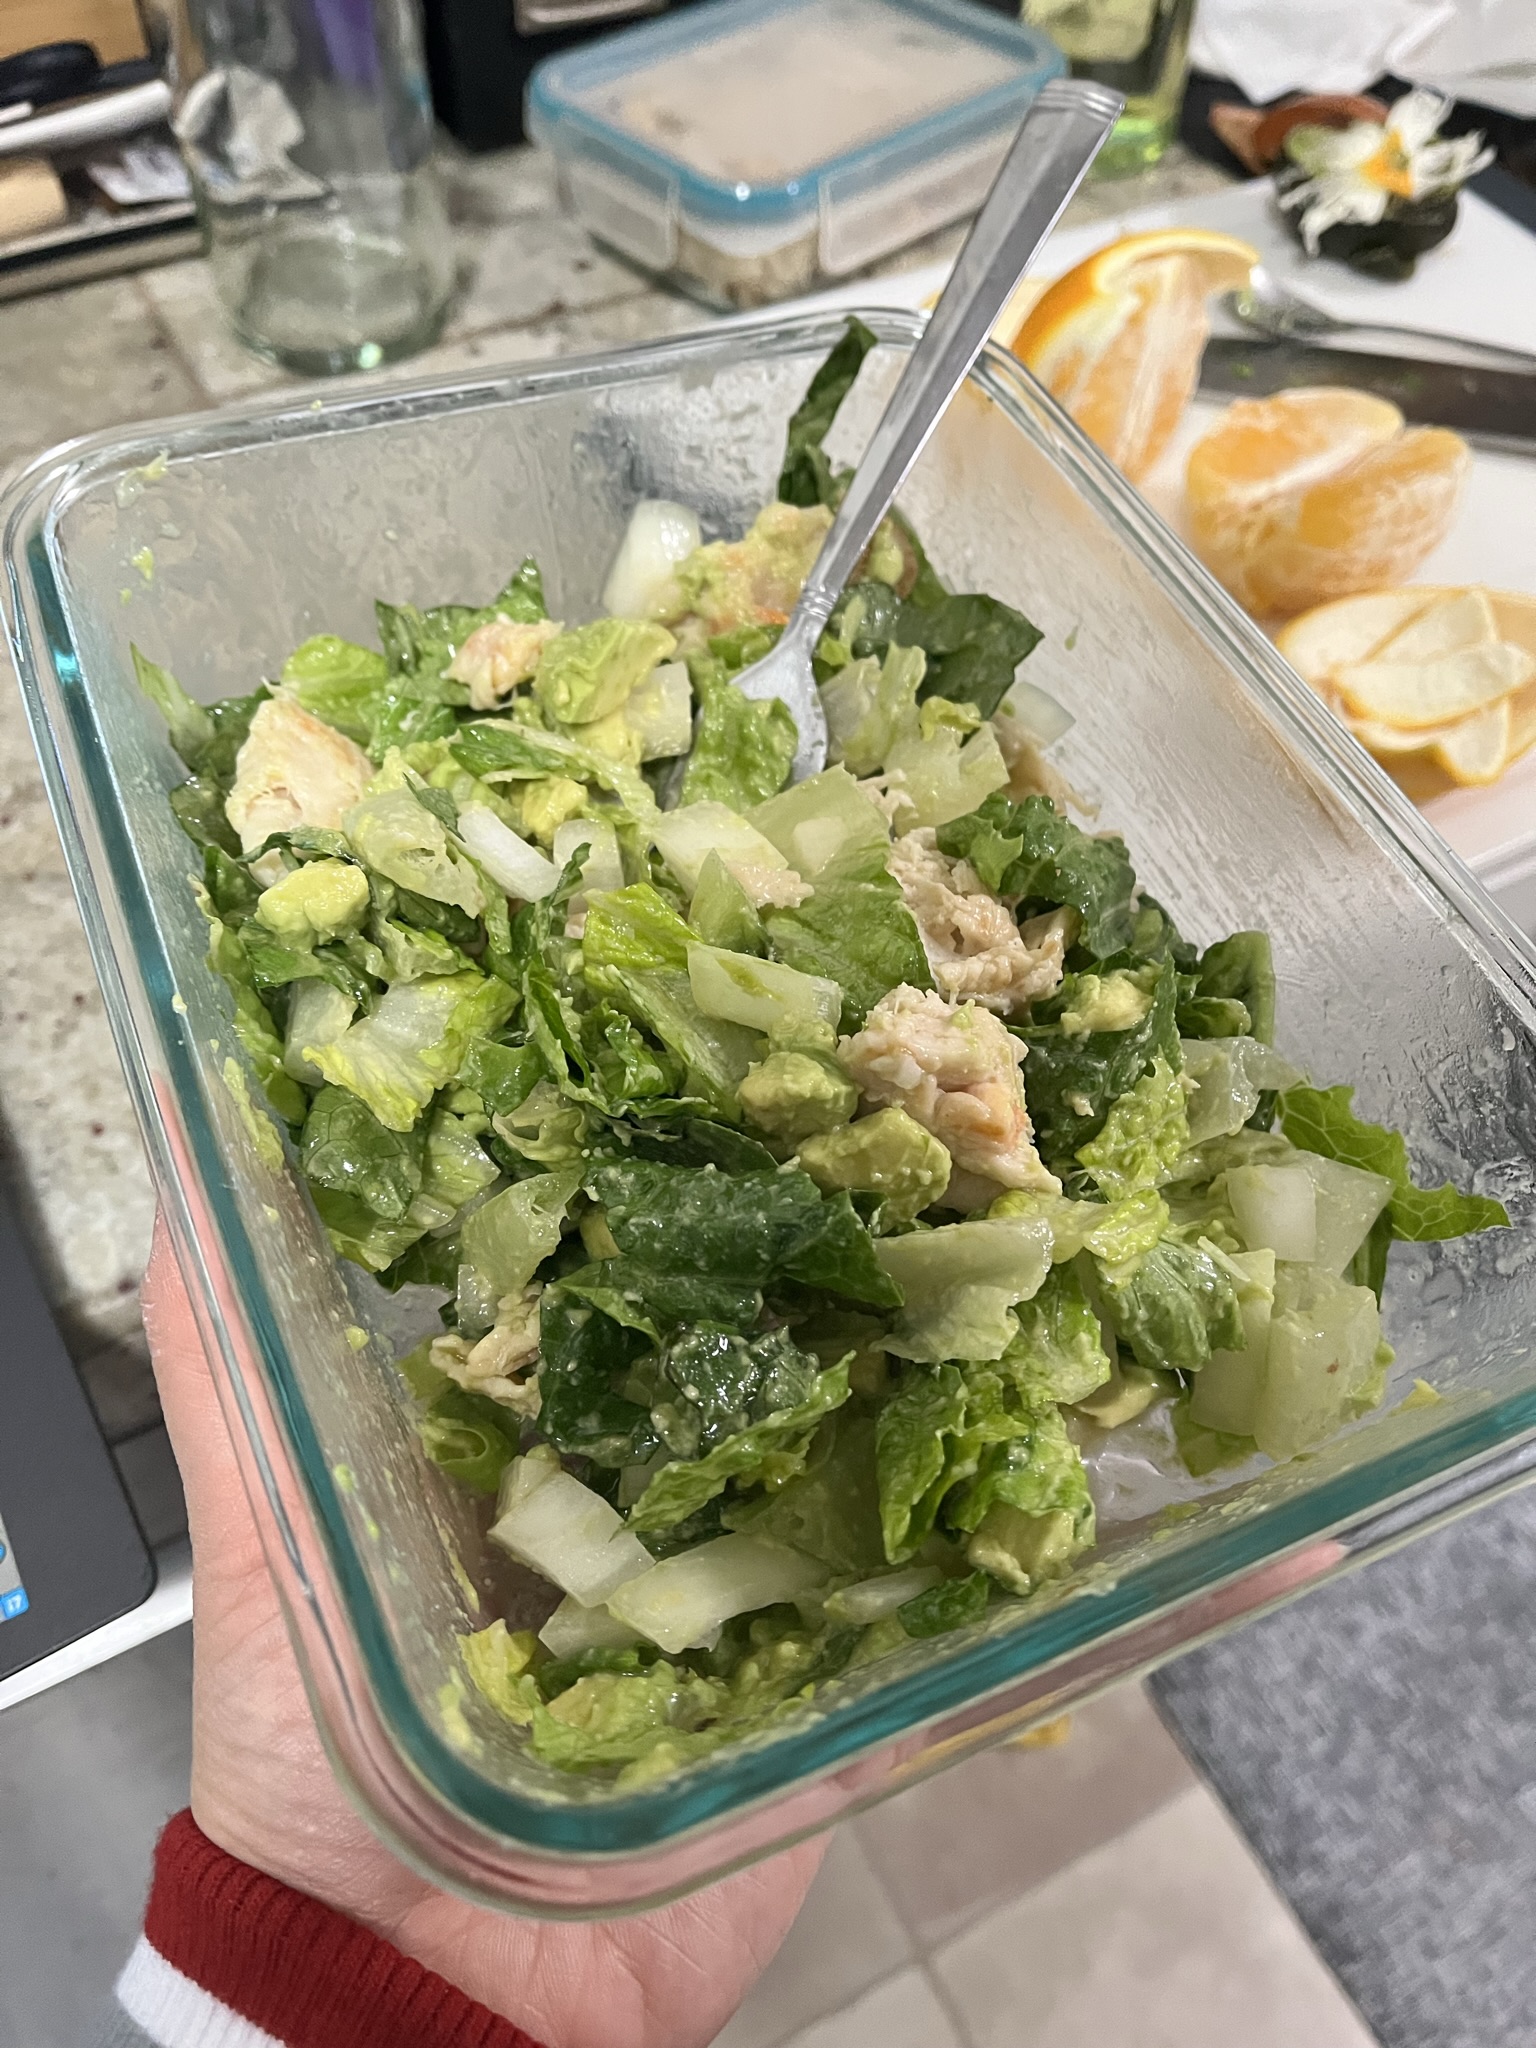
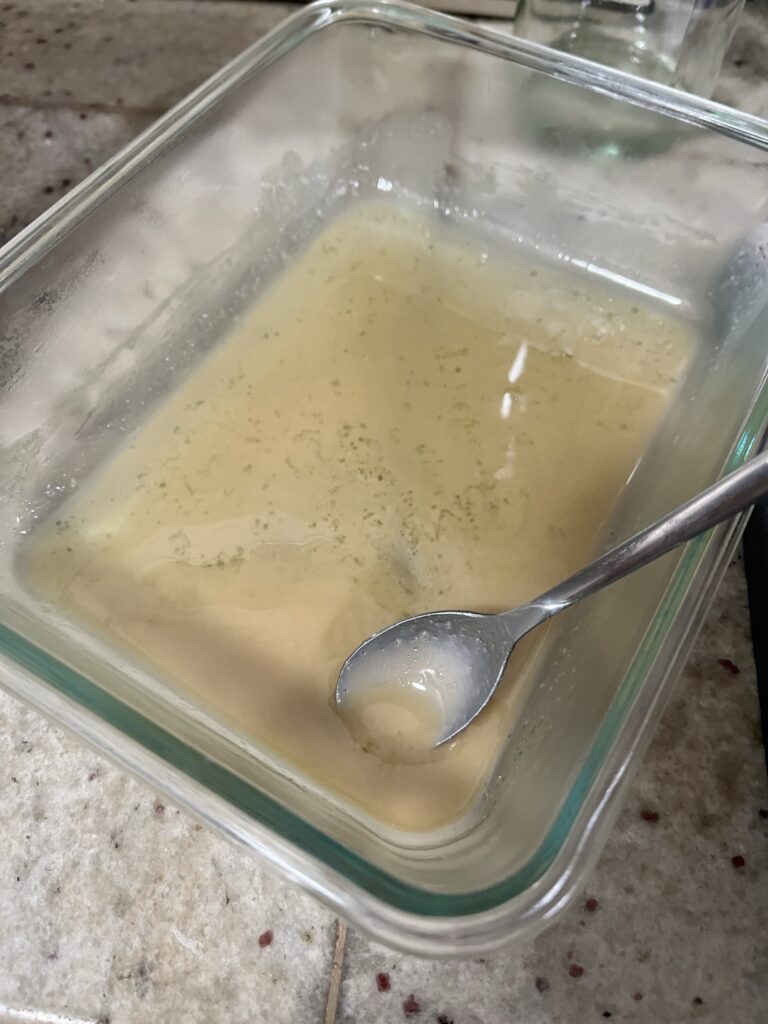
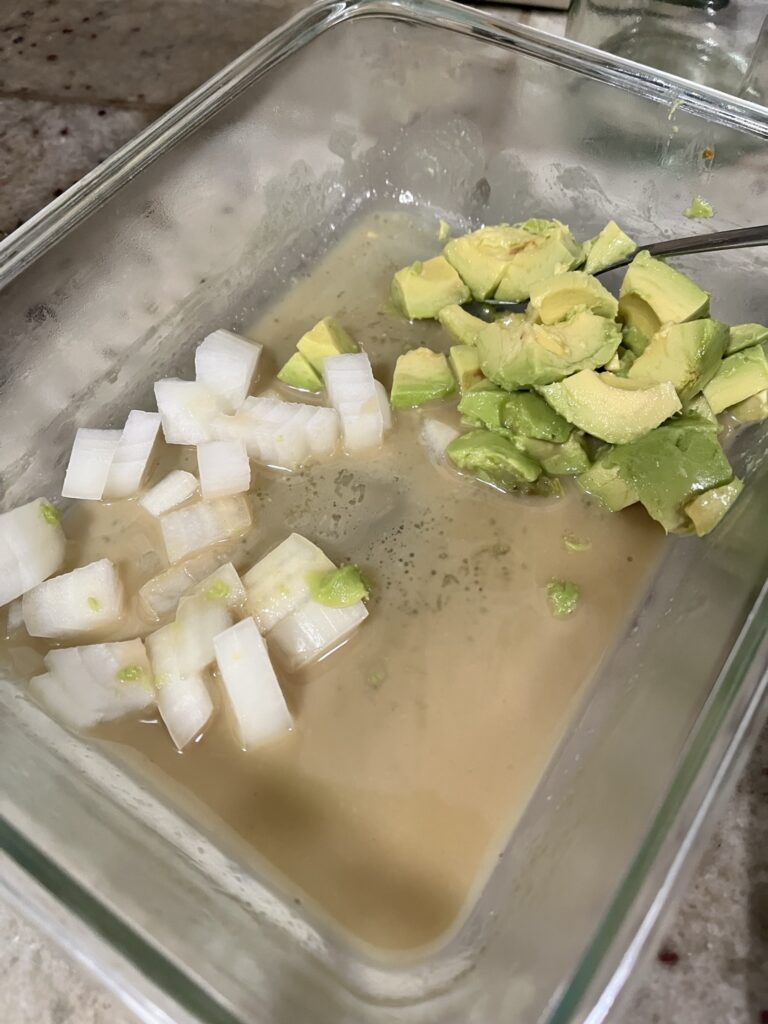
After working from home for about 6 months now, I’ve needed to come up with quick, easy lunches for days that I’m either feeling really lazy to make lunch; don’t have leftovers to eat; or don’t have time to make something. Six months later… I have a go-to WFH lunch salad. The salad really is made by the dressing, which comes together really quickly and really only requires one spoon to make (less dishes!). The dressing always stays the same, while the contents of the salad will always change based on what’s currently available in my fridge.

Ingredients

Tahini – this is the base that makes a creamy dressing!

Sesame oil – this makes the dressing so fragrant and complements the tahini so well

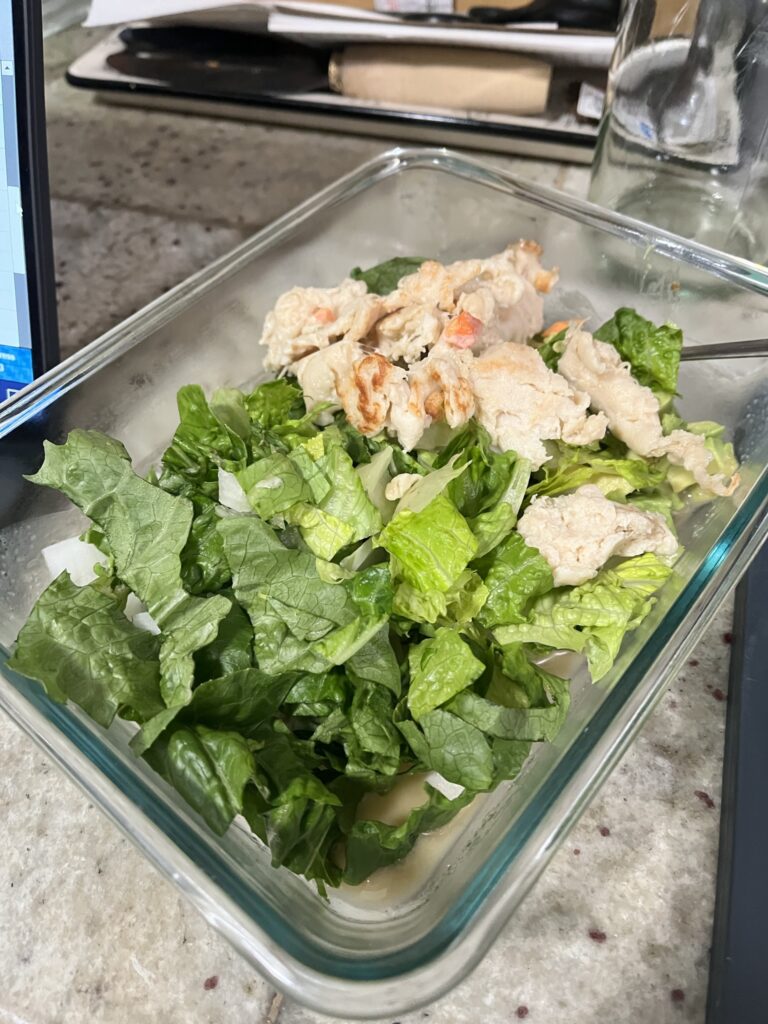
Salad – i like a crunchy romaine, but feel free to use whatever base green you prefer like iceberg, red/green leaf lettuce, butter, kale, etc. other fun additions would be cucumber, bell peppers, roasted vegetables and nuts.

Protein – i opted for a veggie protein substitute, but this salad would be great with any protein of choice like air-fried tofu, chicken, shrimp, or steak.

Work From Home Salad

Print Recipe
This creamy sesame dressing is fast and easy, the perfect accompaniment to your weekday lunch greens.
Course Salad
Keyword dressing, salad, sesame, tahini

Ingredients

Dressing

  • 1 tsp sesame oil
  • 2 tsp tahini
  • 1 tbsp olive oil
  • 1 tsp honey
  • 1/4 tsp salt

Salad

  • 1/2 head romaine lettuce
  • 1/4 cup onion
  • 1/2 avocado
  • 1/2 cup protein of choice

Instructions

  • In a large container with a lid, mix together all of the salad dressing ingredients. Taste and add additional salt if necessary.
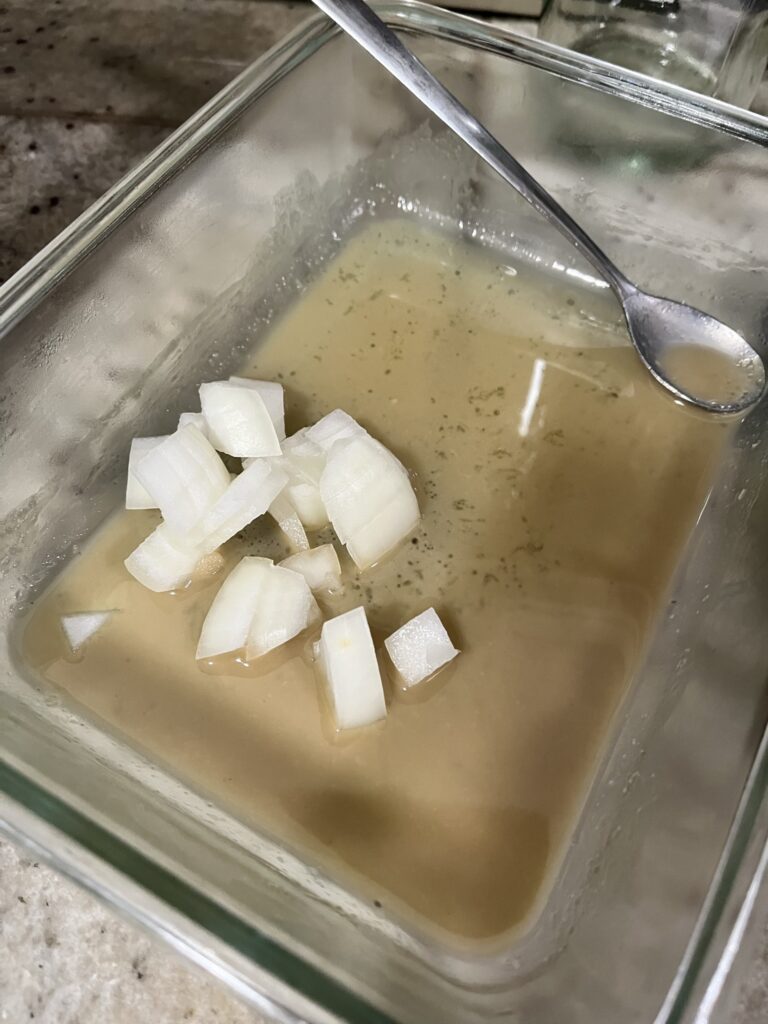
  • Chop onion to desired size and add to dressing. Mix into the dressing to "marinate" the onion in the dressing.
  • Chop romaine lettuce into bite sized chunks and add to container.
  • Chop avocado and add to container.
  • Add protein of choice.
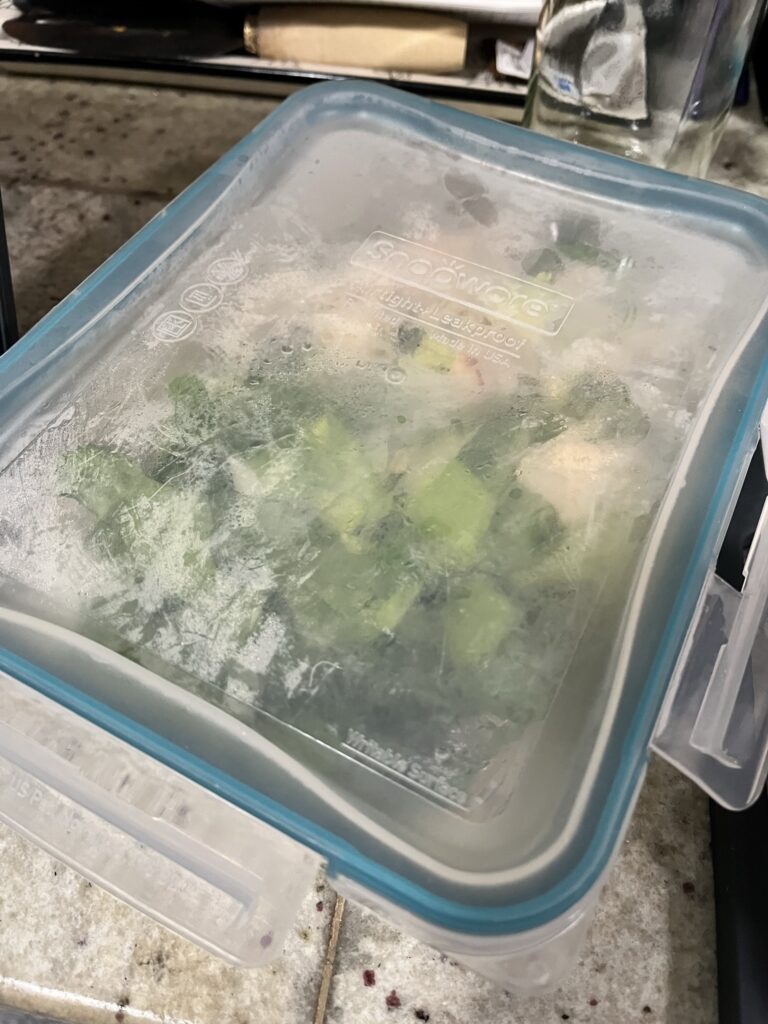
  • Attach lid to container and shake to toss the salad and disperse the dressing!

Try this salad alongside a pizza using Pizza Dough or with Shrimp & Snap Pea Stir Fry.
Lasagna

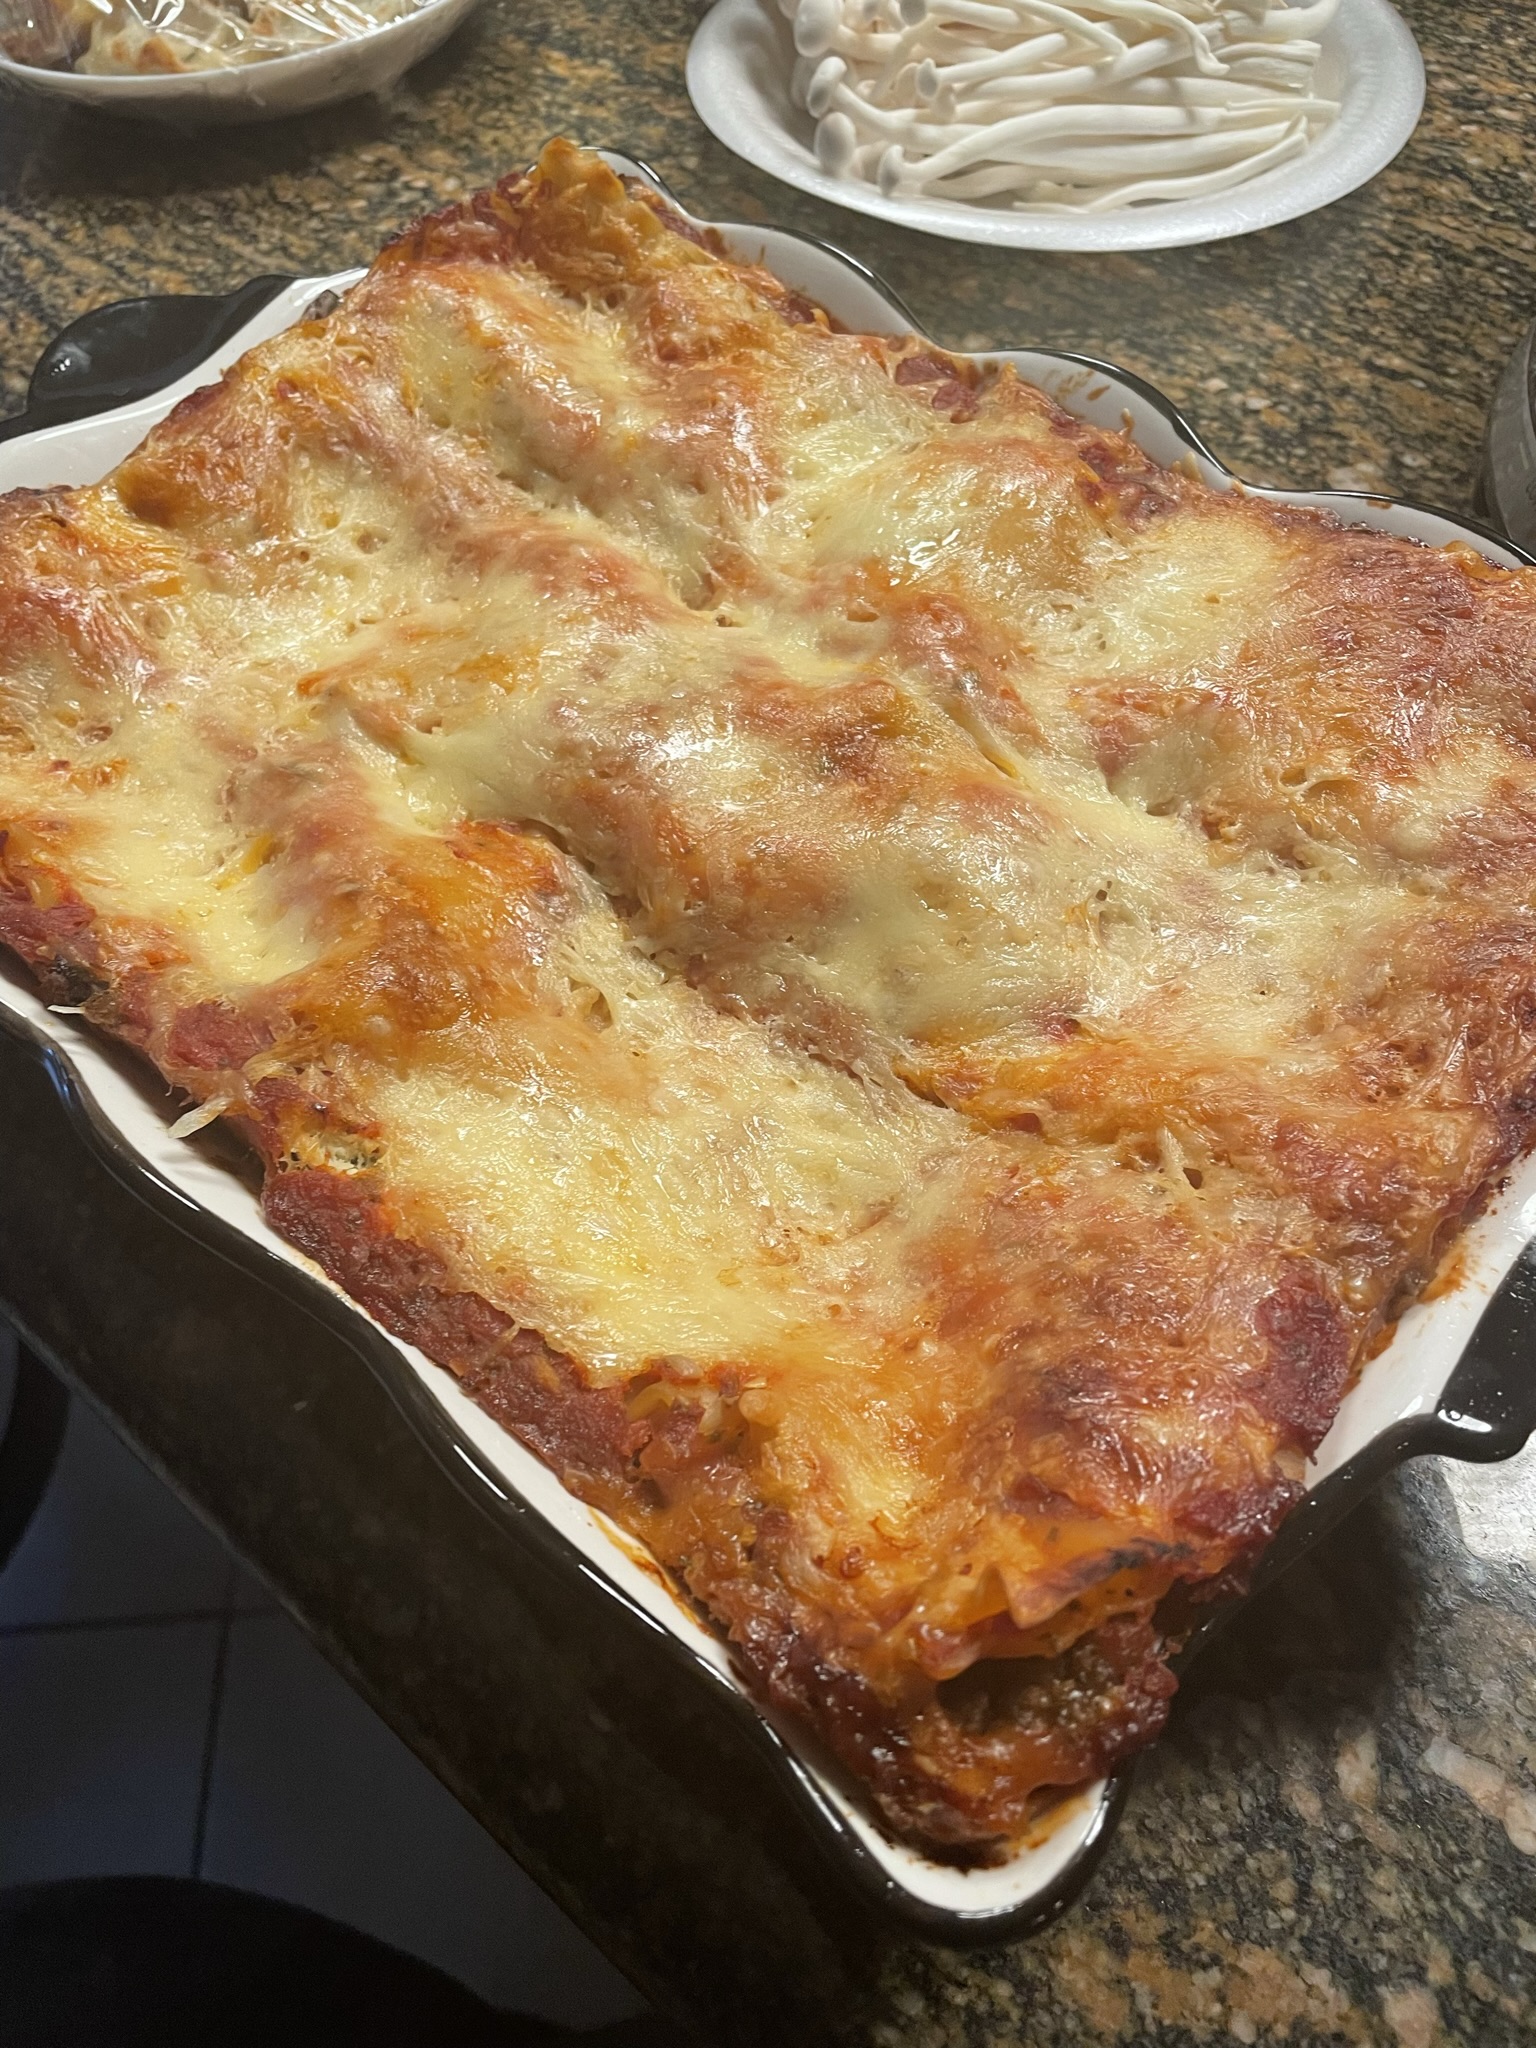
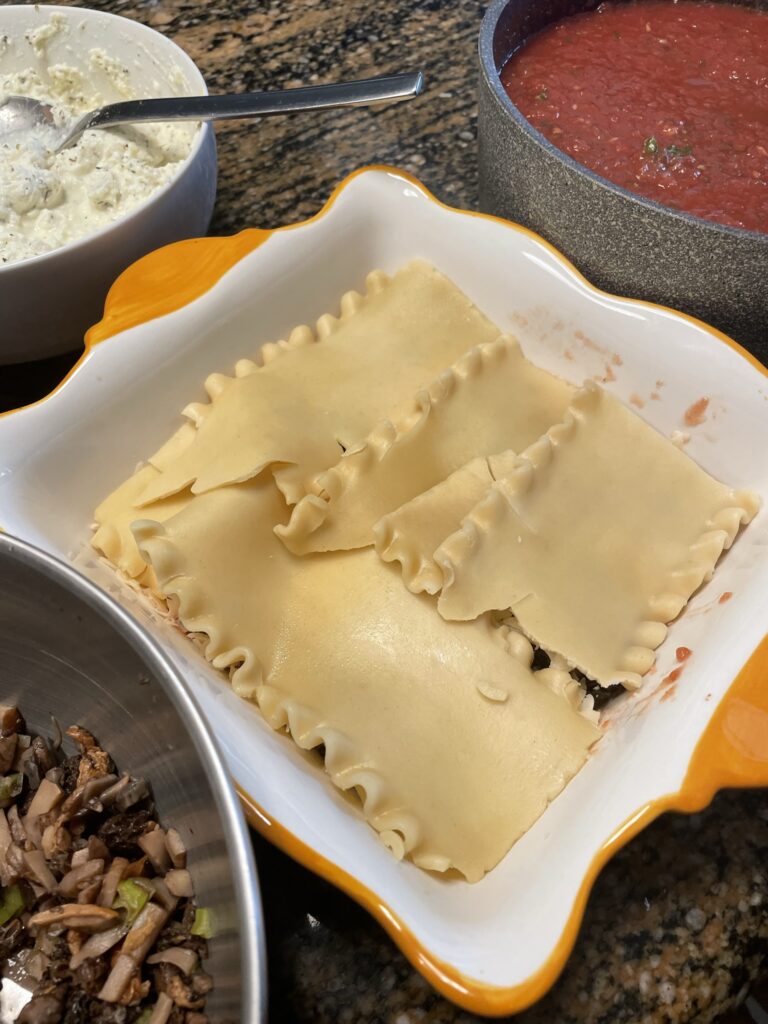
Holidays were easy in terms of food preparation requirements this year. Each person was instructed to bring an item to share so really each person only had to make one thing! I’m an overachiever that likes leftovers so I made 3.25. I will take credit for 1/4 of this lasagna for contributing to the sauce and being an assembler during layering. This lasagna is saucy from the homemade tomato sauce and ricotta spread, has a good cheese pull from layers of extra cheese, and crispy edges so the center will satisfy your soft-lasagna people and the edges will satisfy your crispy-lasagna people.

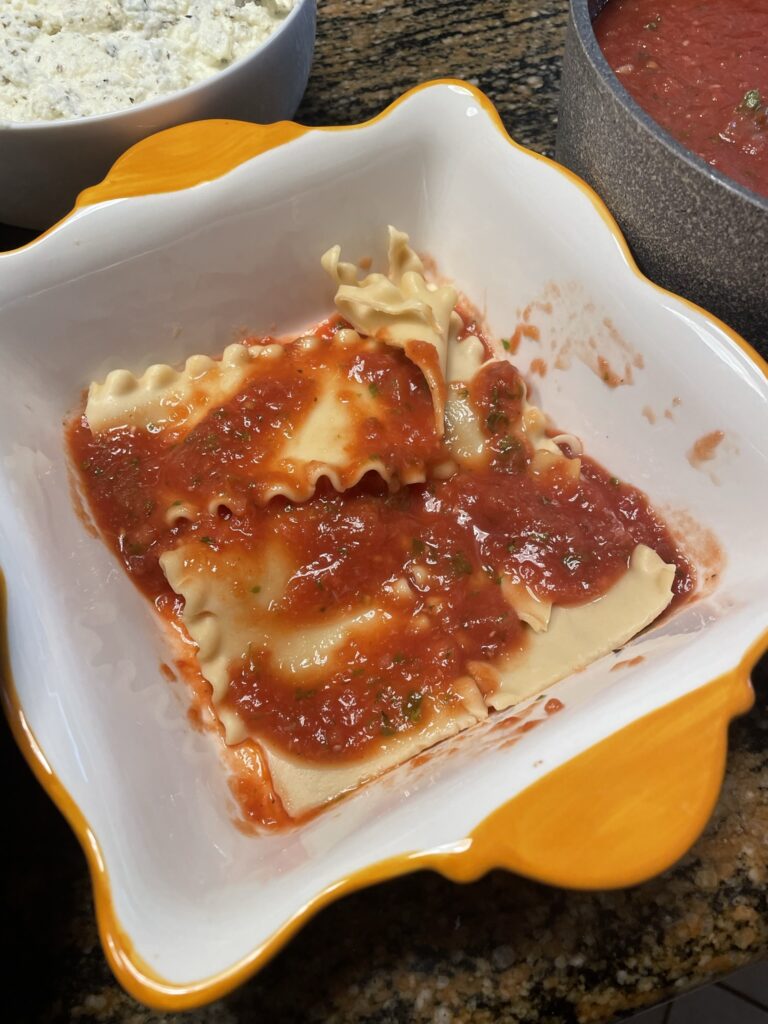
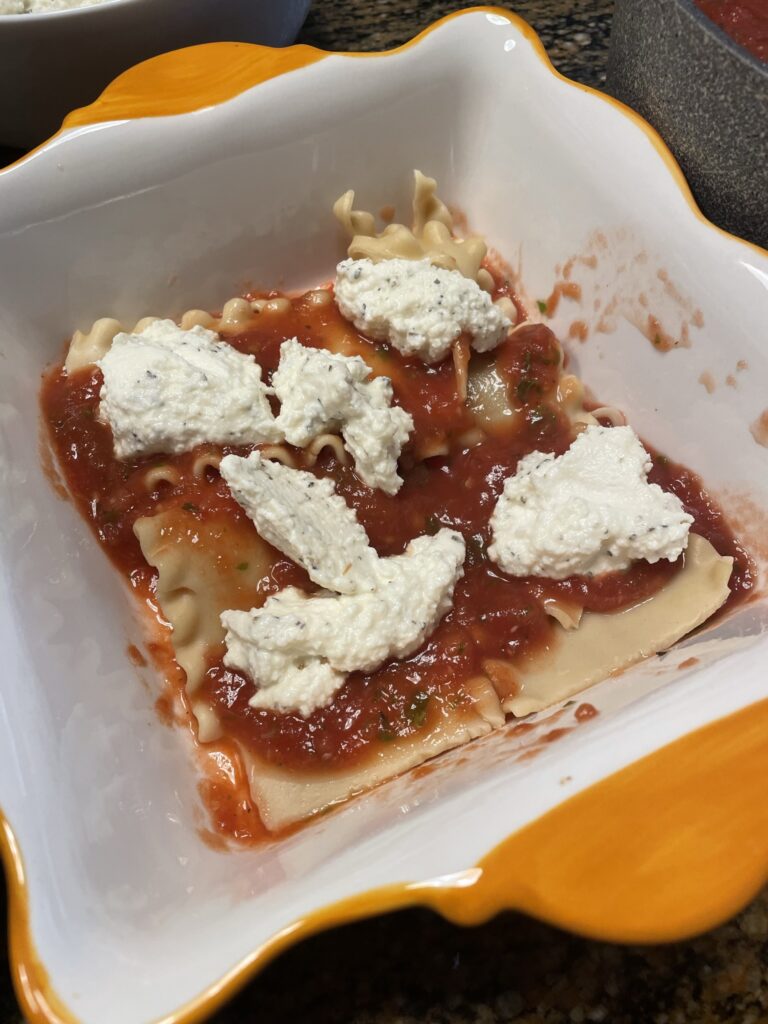
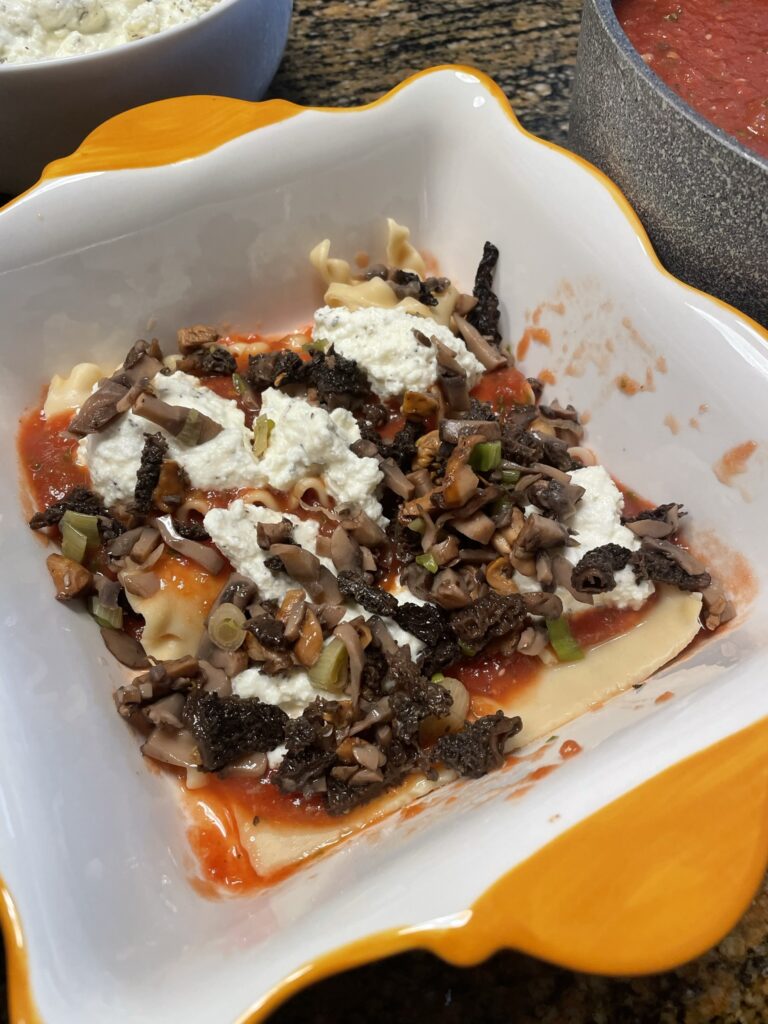
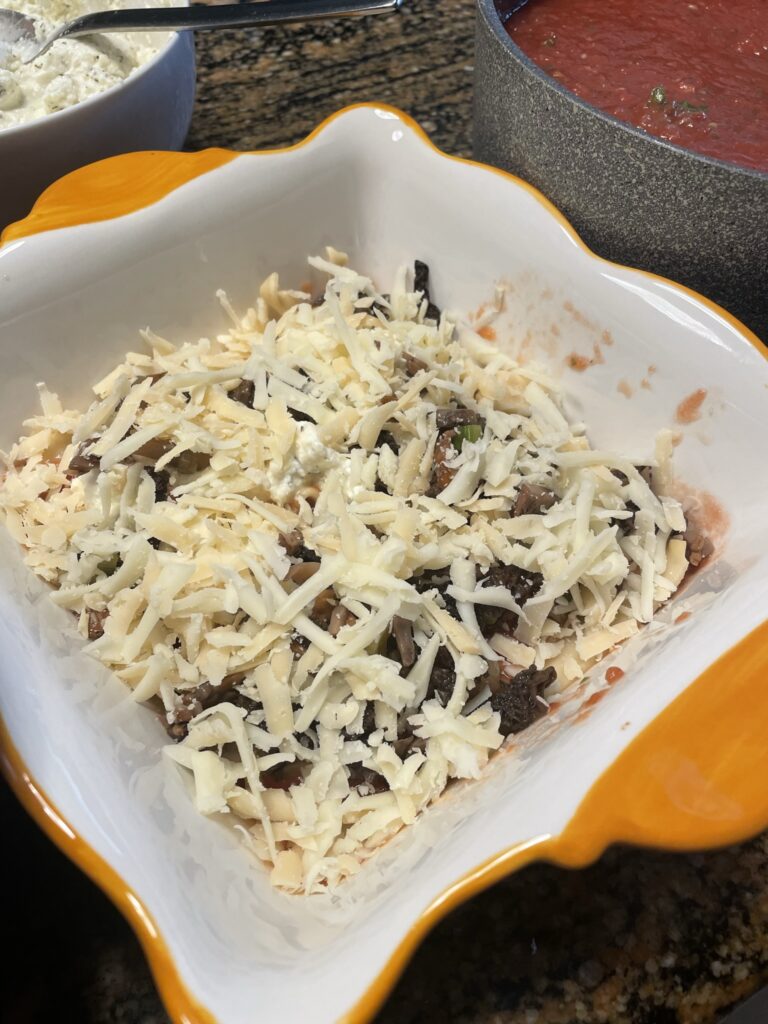
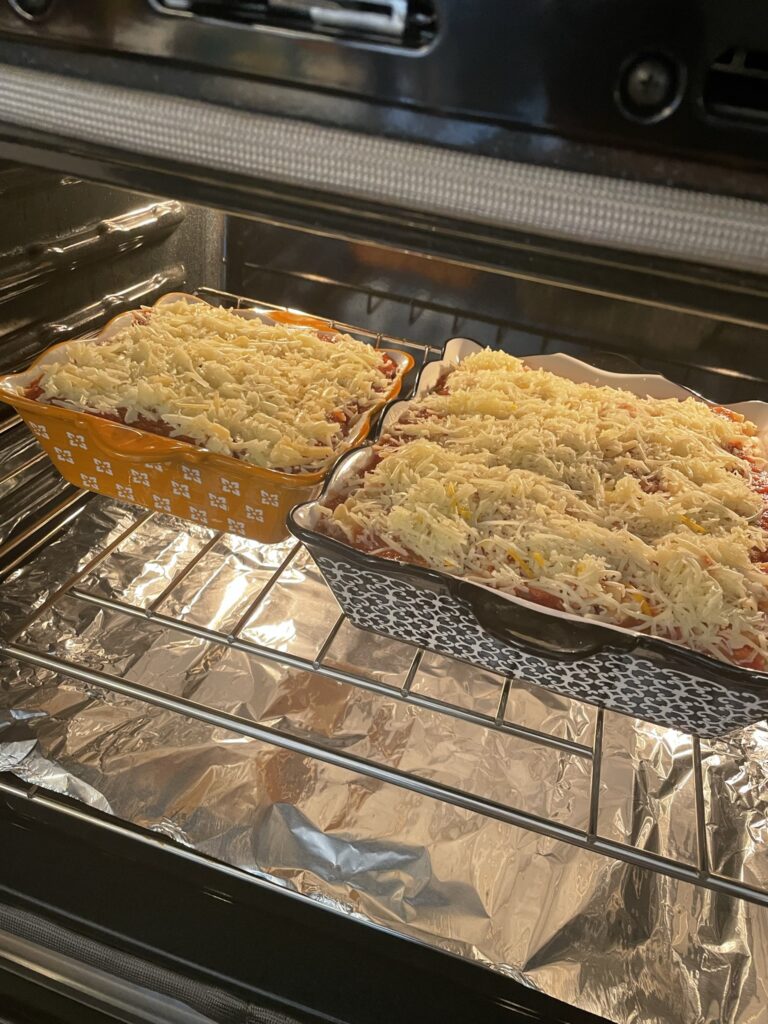
We made two lasagnas. The first lasagna was a “classic” spicy Italian sauce and the second lasagna was a vegetarian one with mushroom as our filling. Depending on the size of your dish, you may need to break some of your lasagna noodles. If you use a 9 x 13 dish, you will not need to break any noodles!

Ingredients

Tomato Sauce – use your favorite but I like to make my own by further reducing my Tomato Basil Soup.

Protein – I would suggest a spicy Italian sausage for this if you’d like some meat, but it’s also really delicious with a variety of mushrooms (morel, button, chanterelle) and if you’re feeling adventurous, some olives!

Cheese – I like using a combination of mozzarella, monterey jack, and parmesan.

Lasagna

Print Recipe
Cheesy, saucy lasagna with a gooey center and crispy edges to satisfy any lasagna lover.
Course Main Course
Keyword lasagna, pasta
Cook Time 45 minutes

Equipment

  • 9×13 baking dish

Ingredients

  • 32 ounces tomato sauce
  • 16 ounces mozzarella cheese shredded
  • 8 ounces monterey jack cheese shredded
  • 8 ounces Parmesan cheese shredded
  • 9 sheets lasagna noodles
  • 2 cups ricotta cheese
  • 1 egg
  • 1 tsp Italian seasoning
  • 1 lb Italian sausage cooked

Instructions

  • Par cook your lasagna noodles just a few minutes shy of the required cooking time on the box. Ensure your noodles are in salted water and stir every minute to ensure they do not stick.
  • If Italian sausage has not been cooked yet, saute until browned and broken into smaller pieces. Remove from any casing if required.
  • While noodles are cooking, make your ricotta mixture by mixing together ricotta, egg, and Italian seasoning.
  • Mix your mozzarella, monterey jack, and parmesan cheeses together.
  • Now that your ingredients are prepped, it is time to assemble!
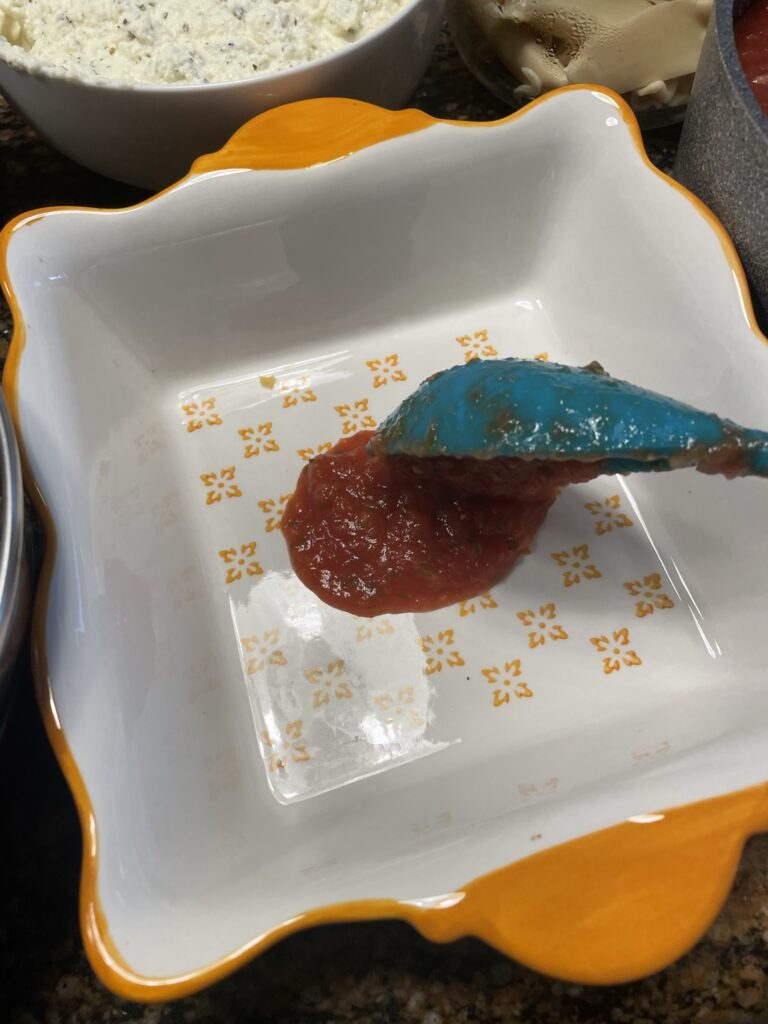
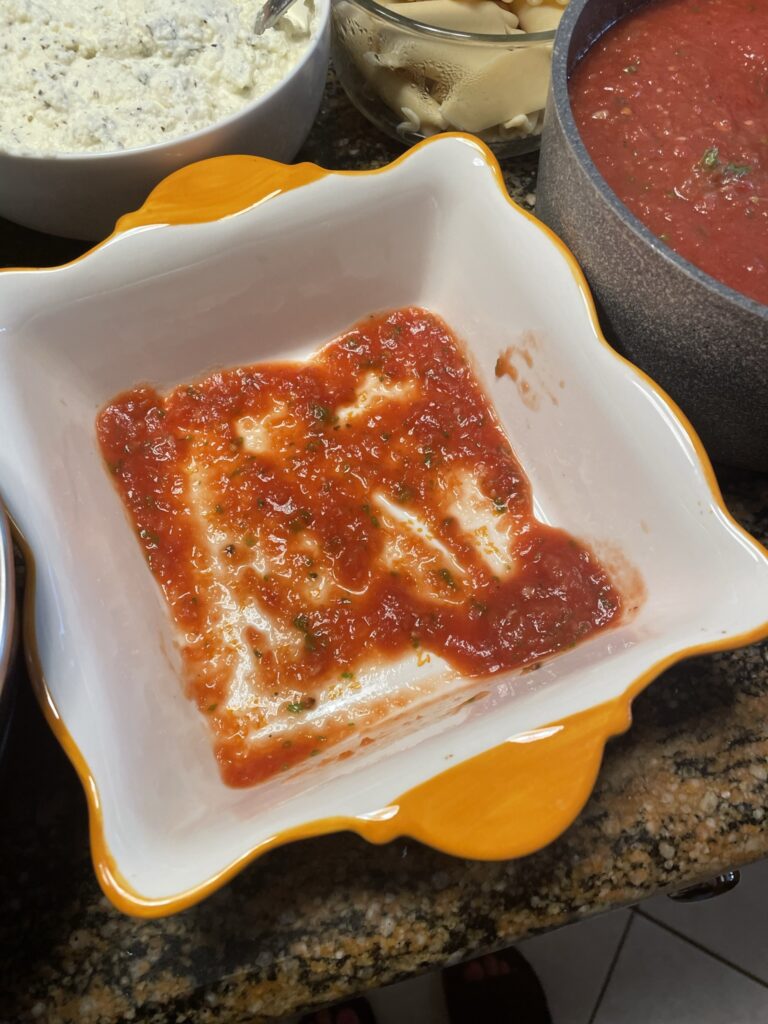
  • At the bottom on the dish, add about 1 cup of sauce and spread.
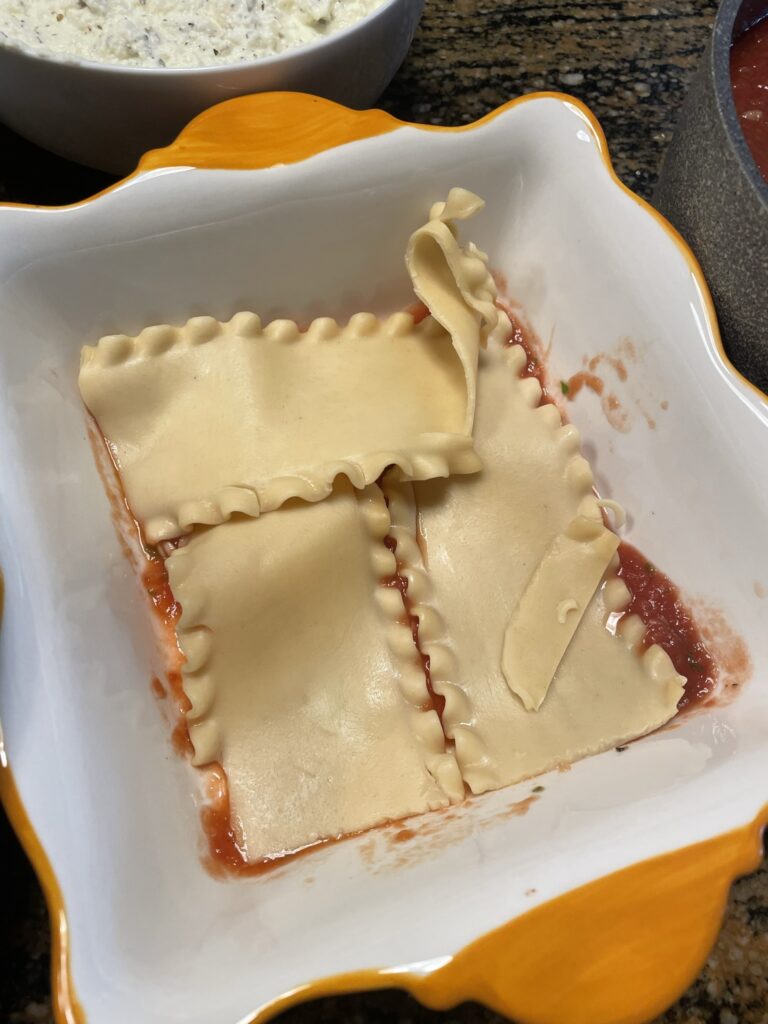
  • Next, layer 3 cooked lasagna, 1 cup of sauce, and half of ricotta cheese mixture. Sprinkle about 1 cup of cheese and half of the sausage.
  • Repeat another layer of pasta, sauce, ricotta cheese, cheese mix, and sausage. You will have used up all of the ricotta cheese and sausage mix.
  • On the last layer, place your last 3 lasagna noodles on top of the mix, spread the remaining sauce and layer the top with remaining cheese.
  • Bake at 350F for about 45 minutes until the top is golden brown and bubbly. If You may need to place a sheet tray under your baking dish in case any cheese bubbles over.
  • Let cool about 10 minutes before serving. Enjoy!

Try some other pasta recipes like Creamy Morel Mushroom Pasta or Sun-dried Tomato and Goat Cheese Pasta.

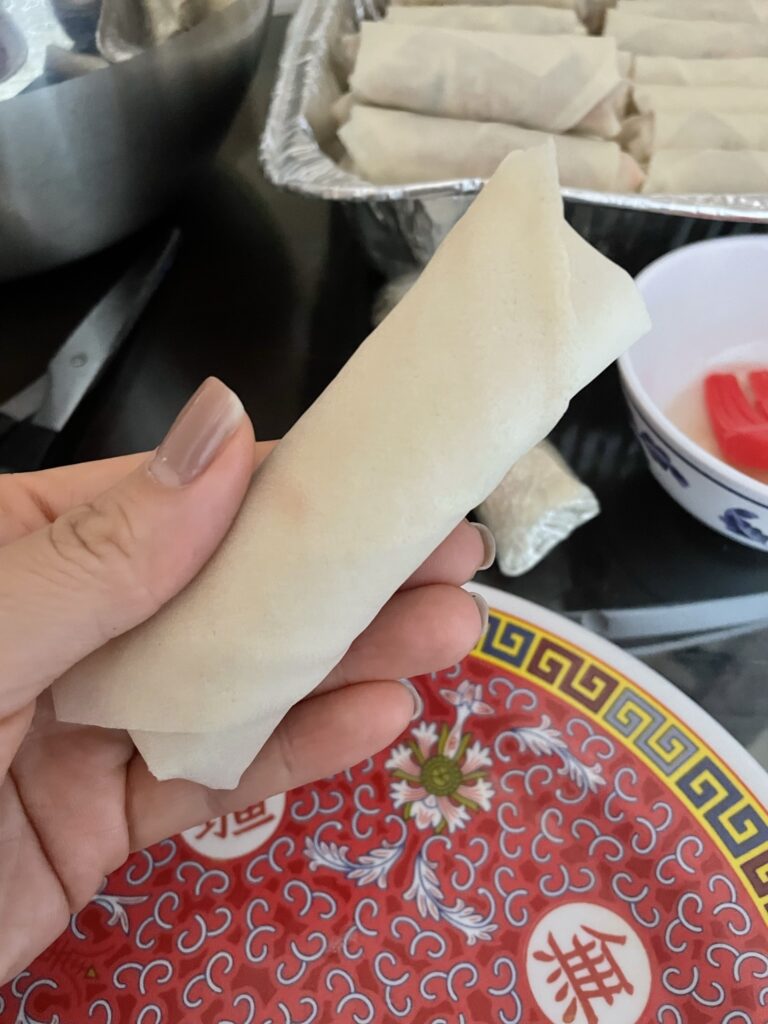
How to Roll an Egg Roll

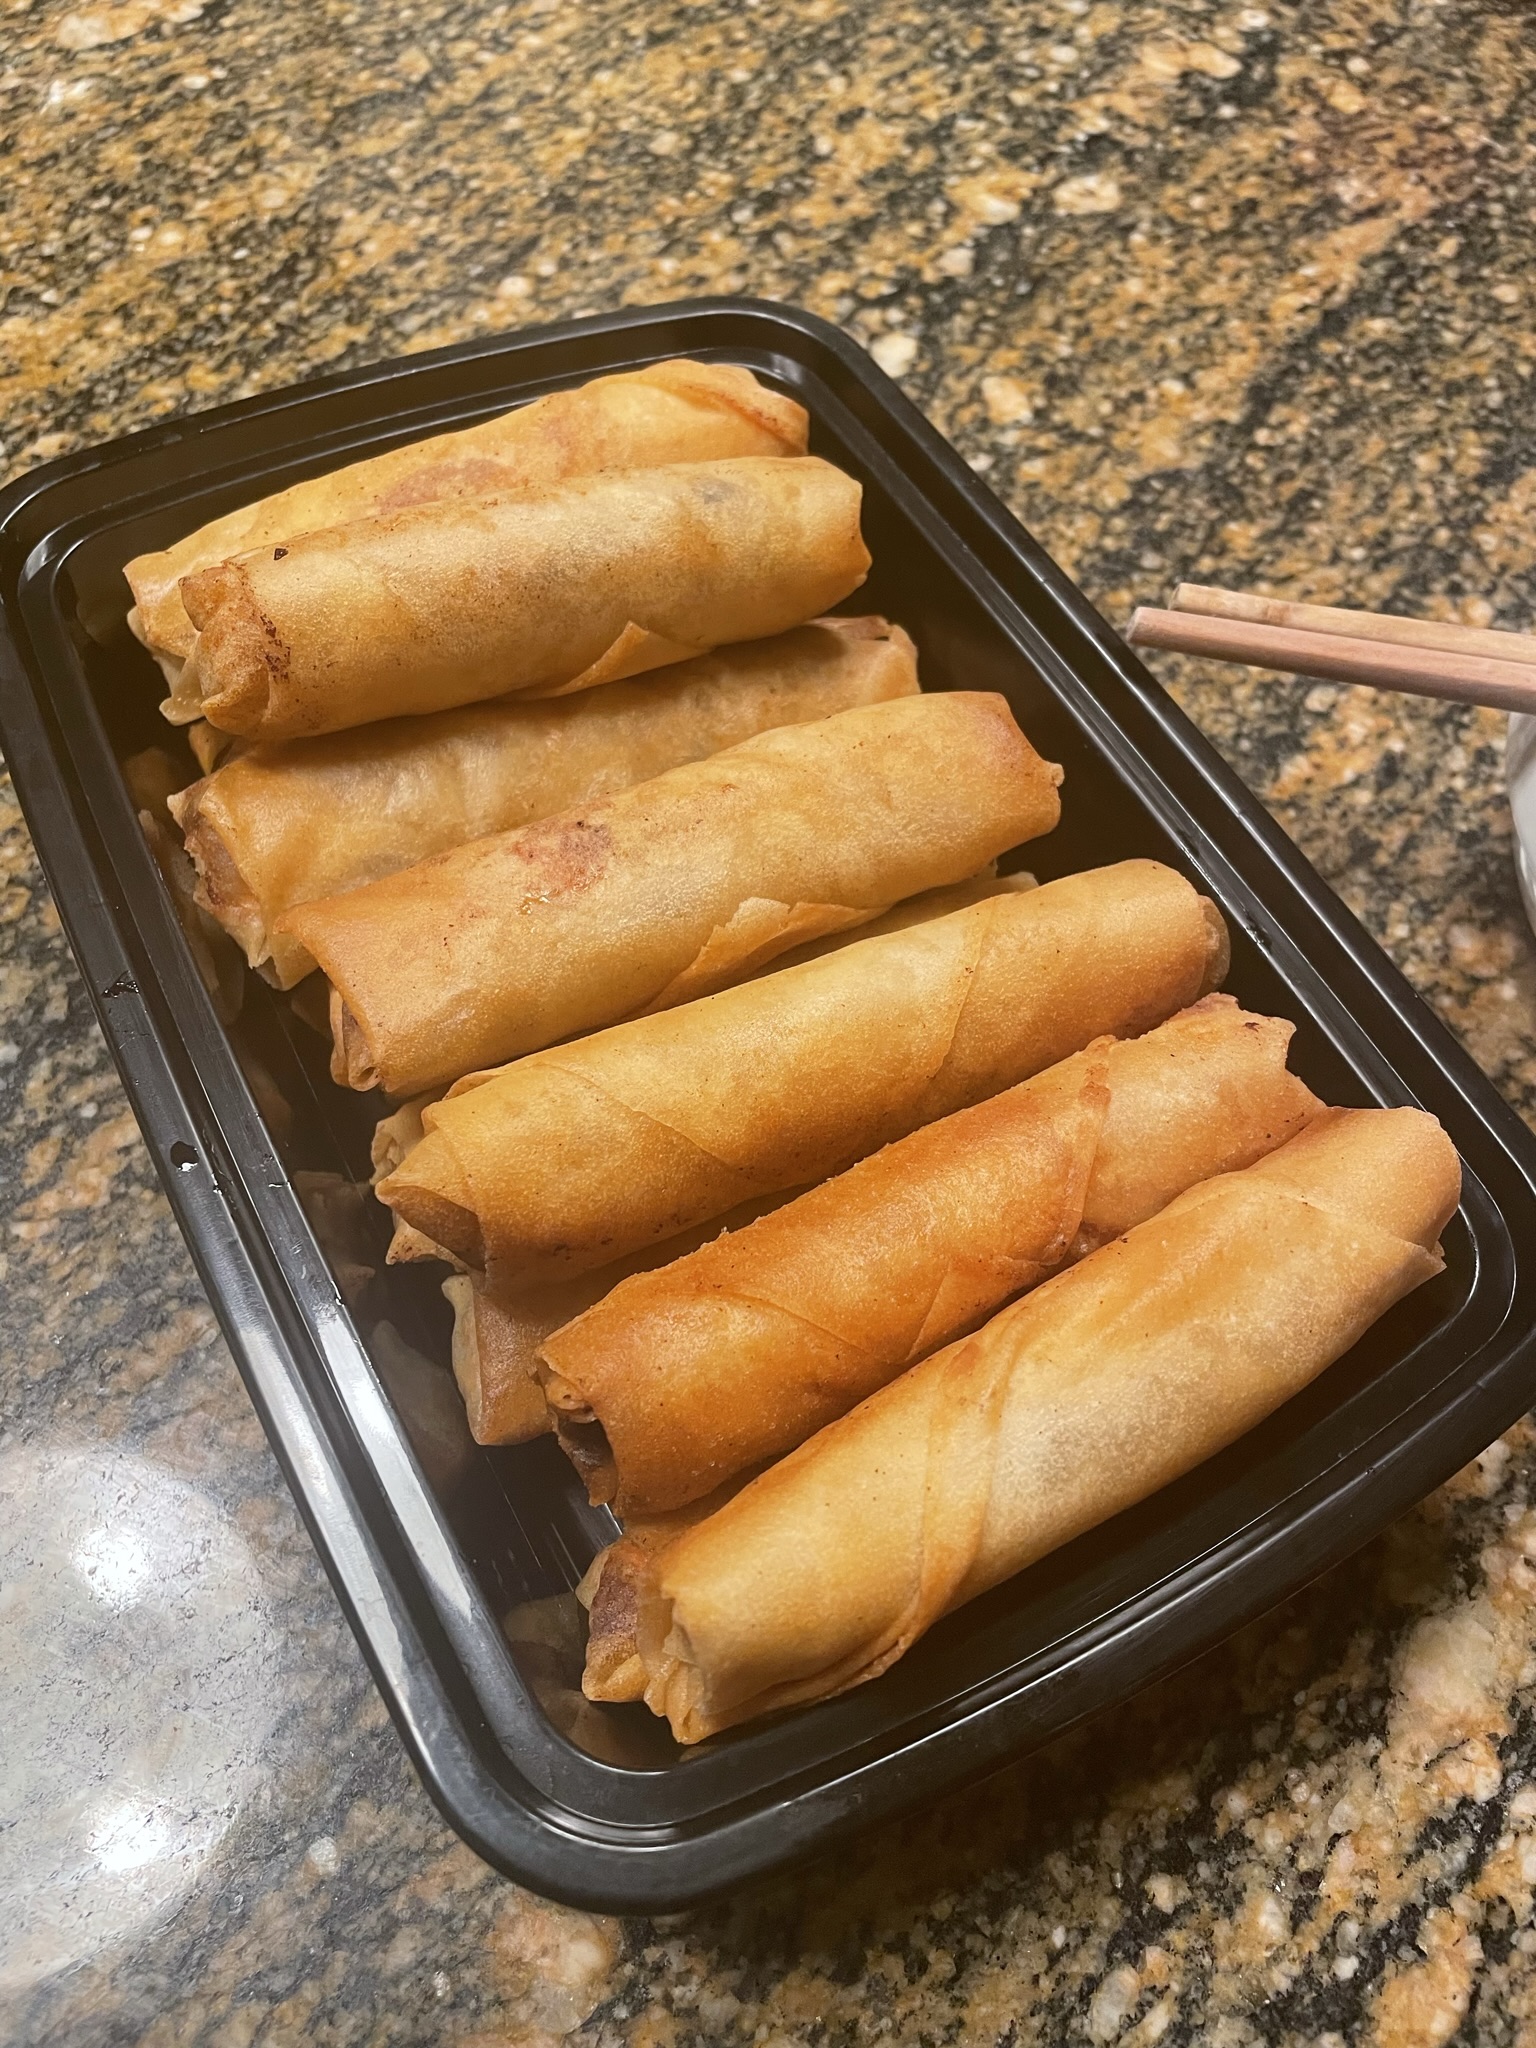
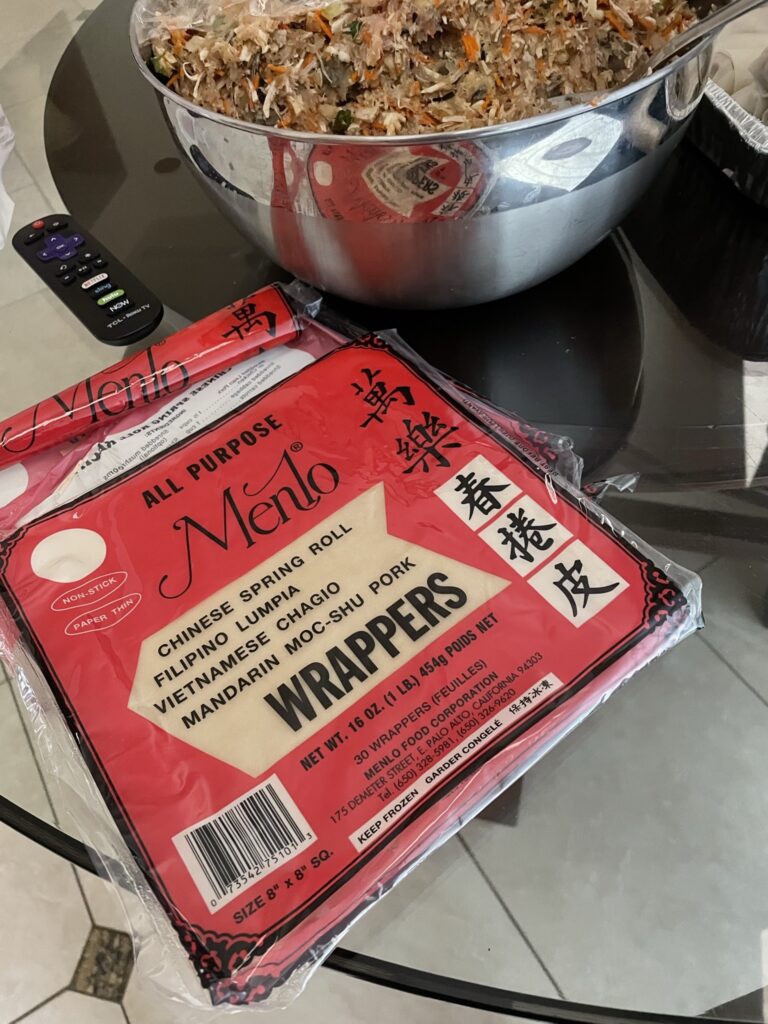
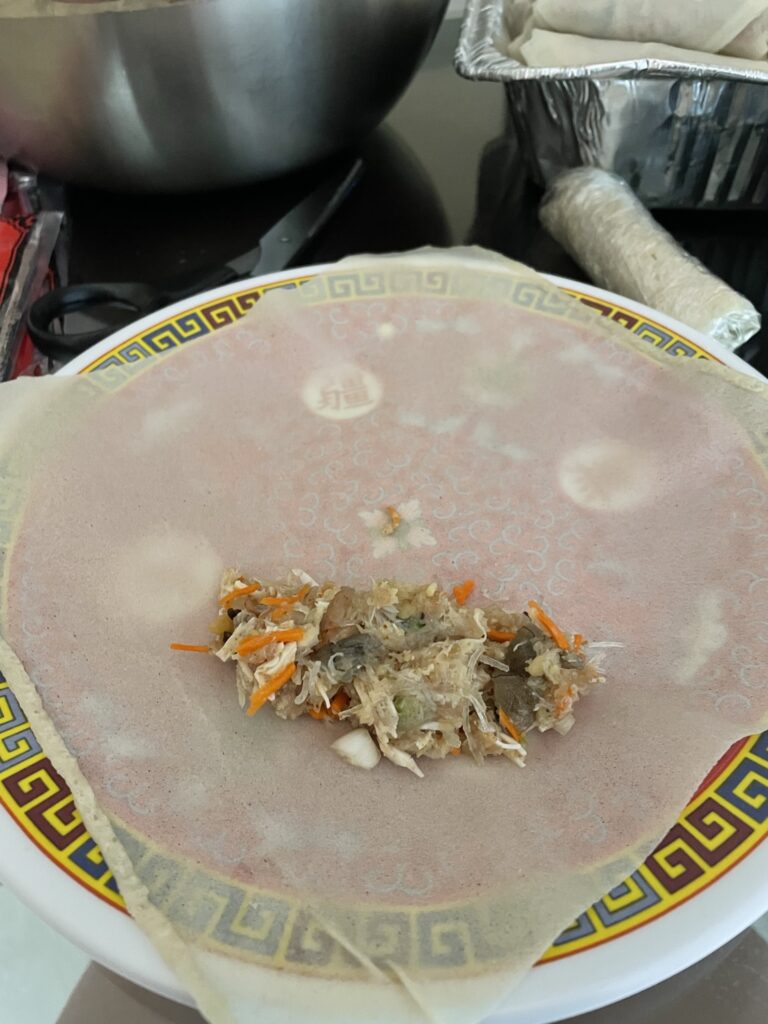
Being home for the holidays means being put to work by my mother and bulk rolling a batch of almost 200 egg rolls to fry, eat the day of, and then freeze the rest for easy reheating for the next couple months. Call them what you want: egg roll, spring roll, crispy roll, lumpia, etc; everyone has a special way they like to make theirs. They all consist of some kind of flavored and spiced filling with a wrapper that is deep fried. I’ve made egg rolls with friends and other family before, but I think this method is the best method for making a “full-sized” egg roll.

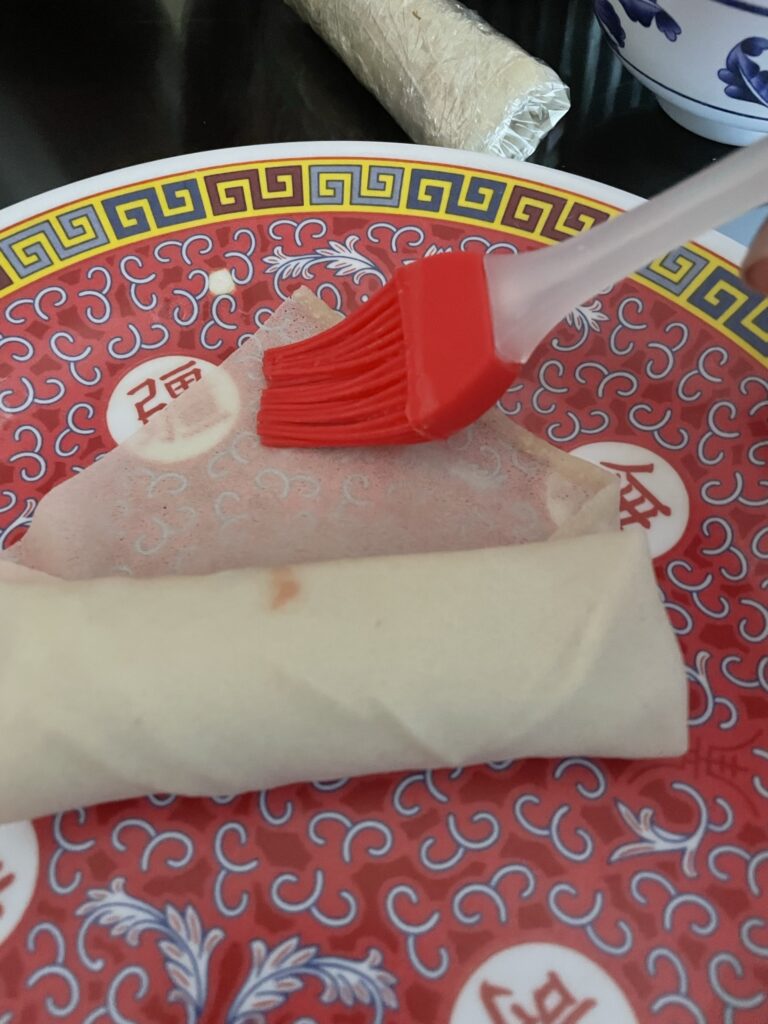
The filling is fully encased in the wrapper, ensuring that none of the contents spill out. This also reduces the amount of little bits that get broken off or end up staying in the oil that end up burning. A bit of egg wash helps keep the egg roll together, ensuring a tight seal and a tight roll. A tight roll reduces the amount of oil absorption too!

Everyone has their own filling recipe, but most people don’t make their own wrapper. It’s so much effort to make a wrapper that’s paper thin, not sticky, and cut them all to the exact same size. I channel my inner-Ina Garten, and just buy the wrappers. I recommend the Menlo wrappers for the crispiest texture I’ve found so far!

If you can, I recommend finding an assistant that will help you peel the egg roll layers apart, as it makes the process much faster!

Steps

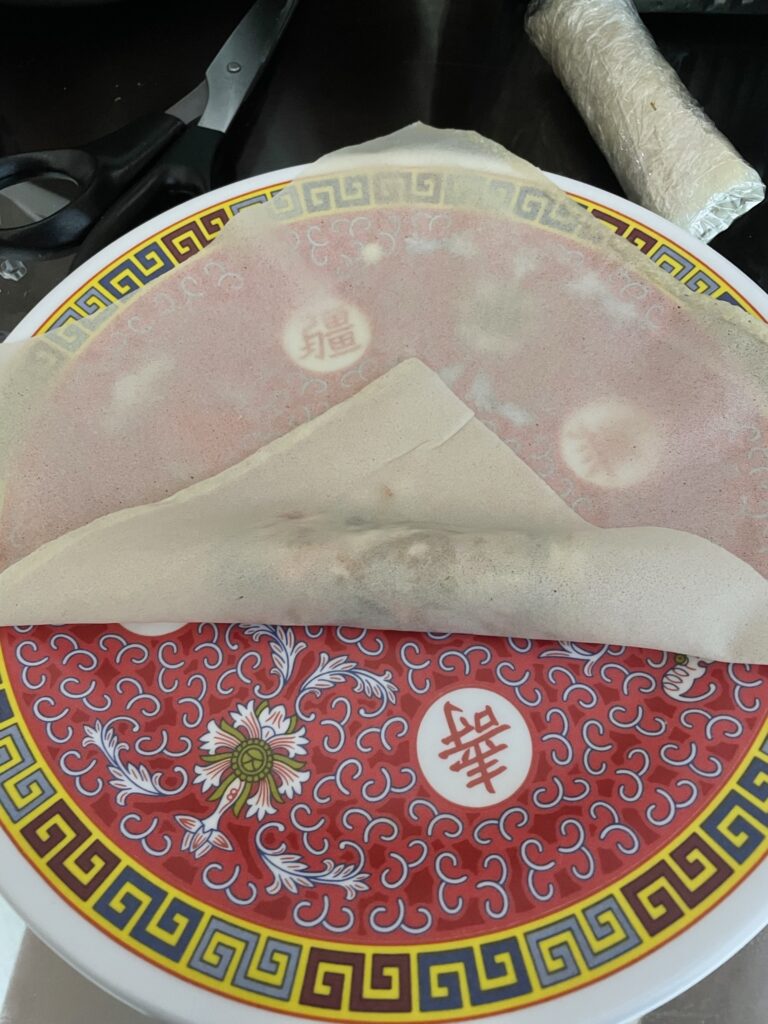
  1. Unroll your first wrapper and place on your plate with a point facing you.
  2. Scoop about 2 tbsp of filling onto the lower third of wrapper in a log shape.
  3. Fold the bottom corner forward all the way over the filling.
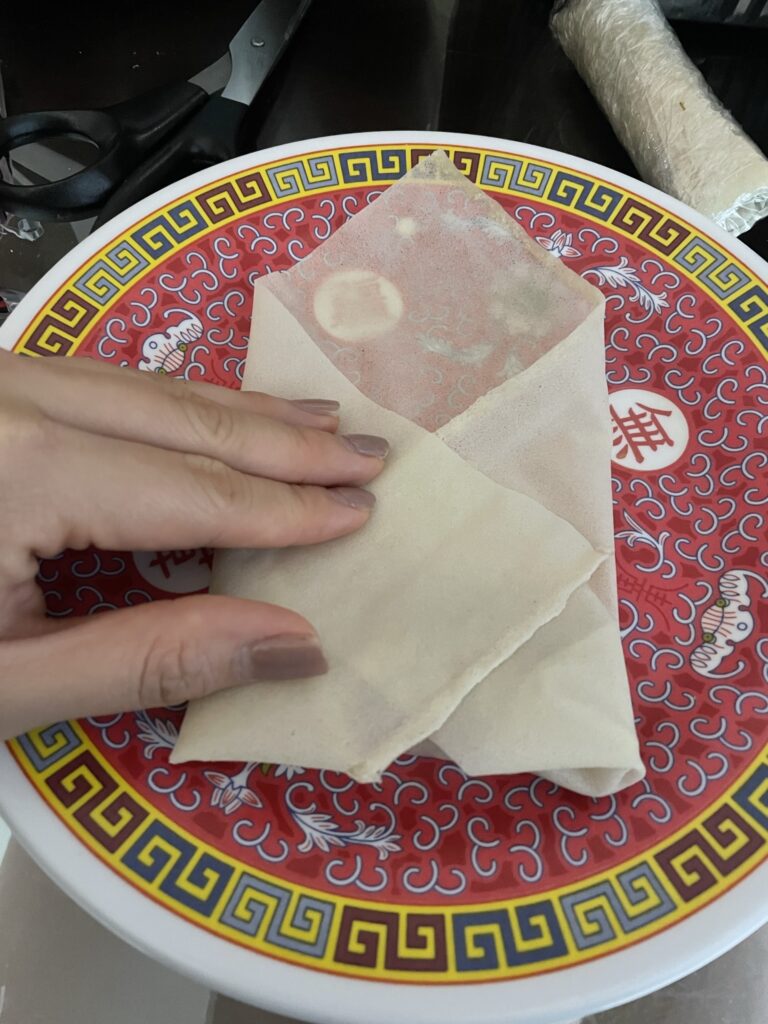
  4. Fold in the left and right sides, tight against the filling.
  5. From the filling, roll the egg roll forward.
  6. Once the roll is almost to the egg, stop and dab a bit of egg white on the top corner to seal it together.
  7. Finish the roll!

Not feeling crispy? Try Homemade Dumpling Wrappers & Dumpling Folding Guidance

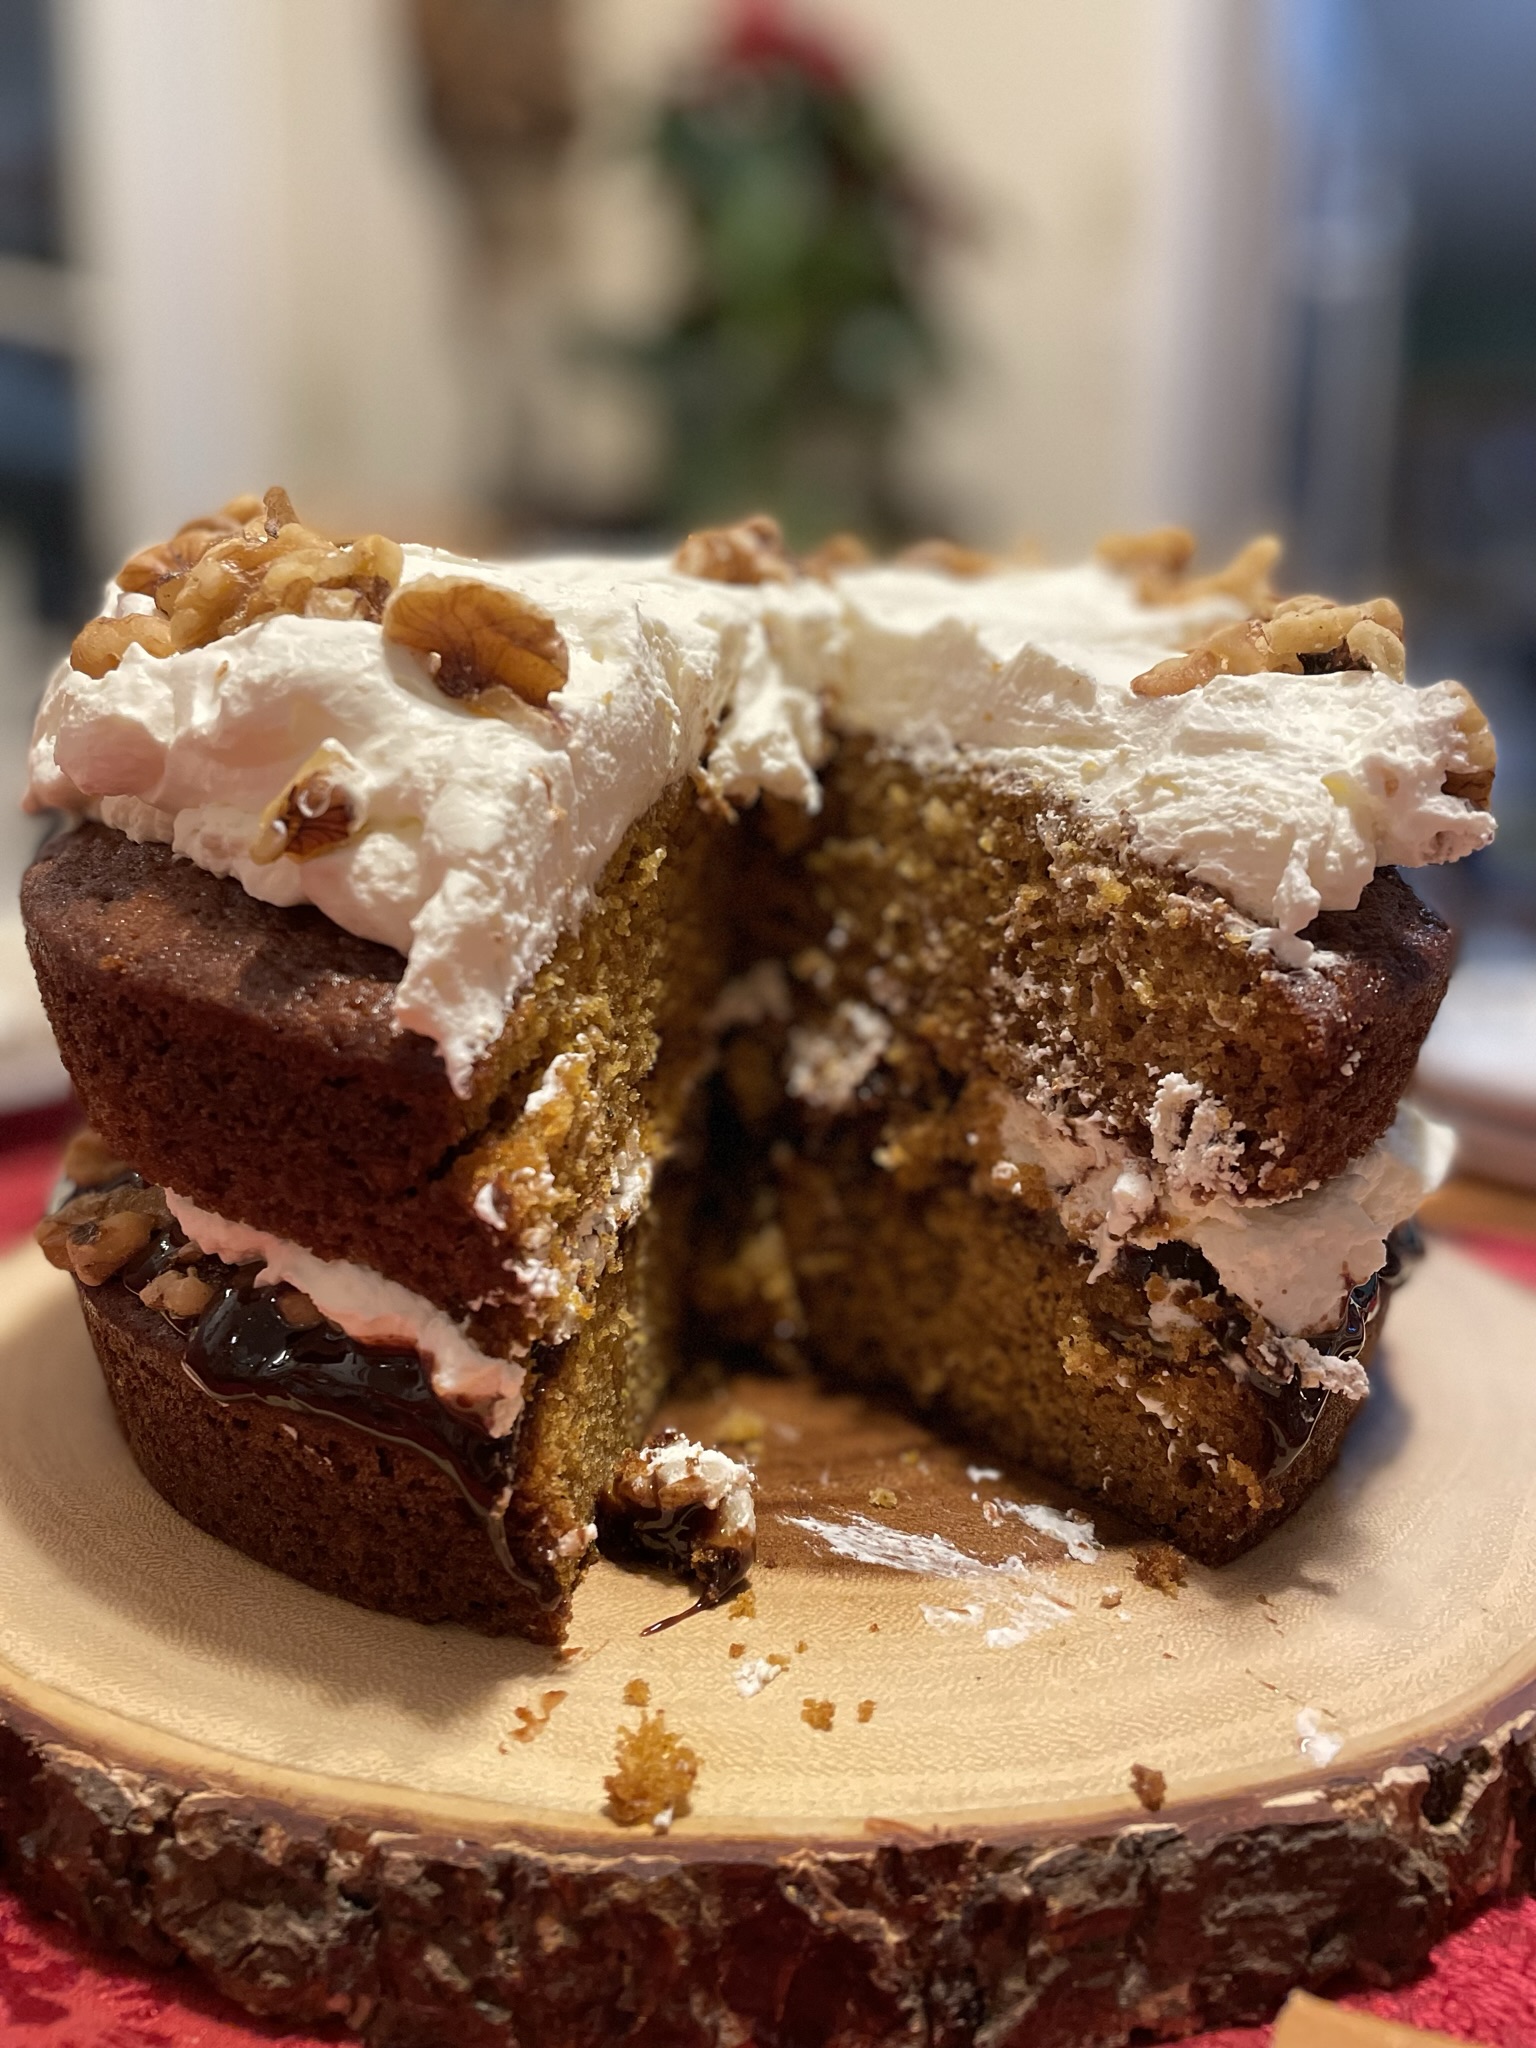
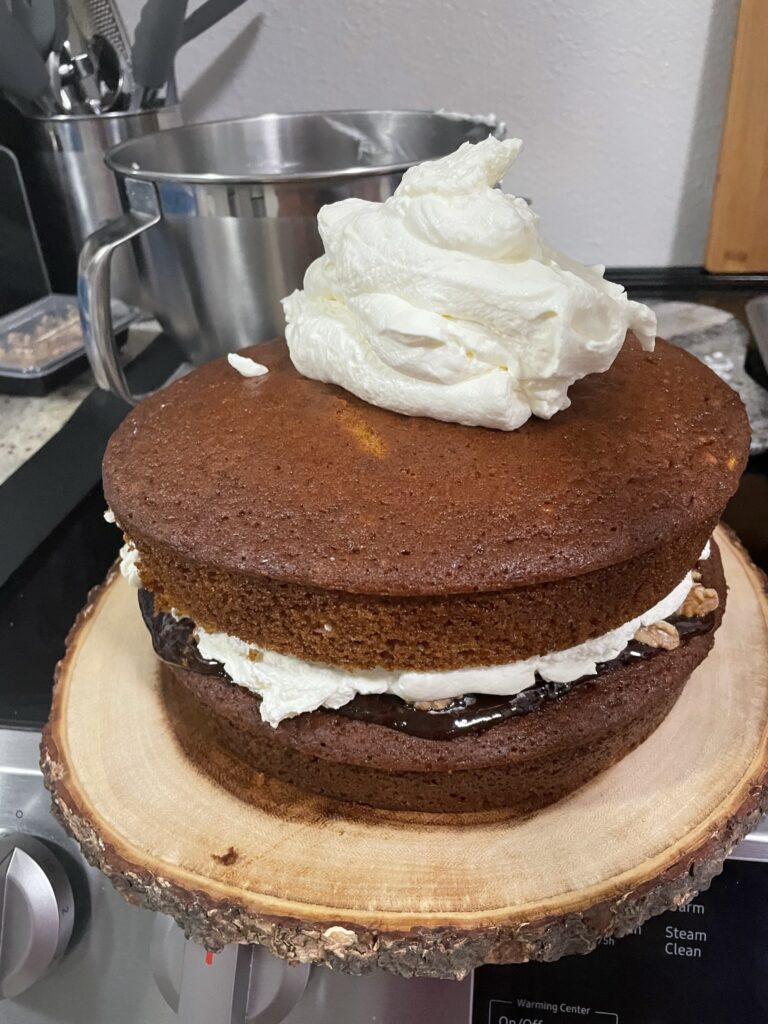
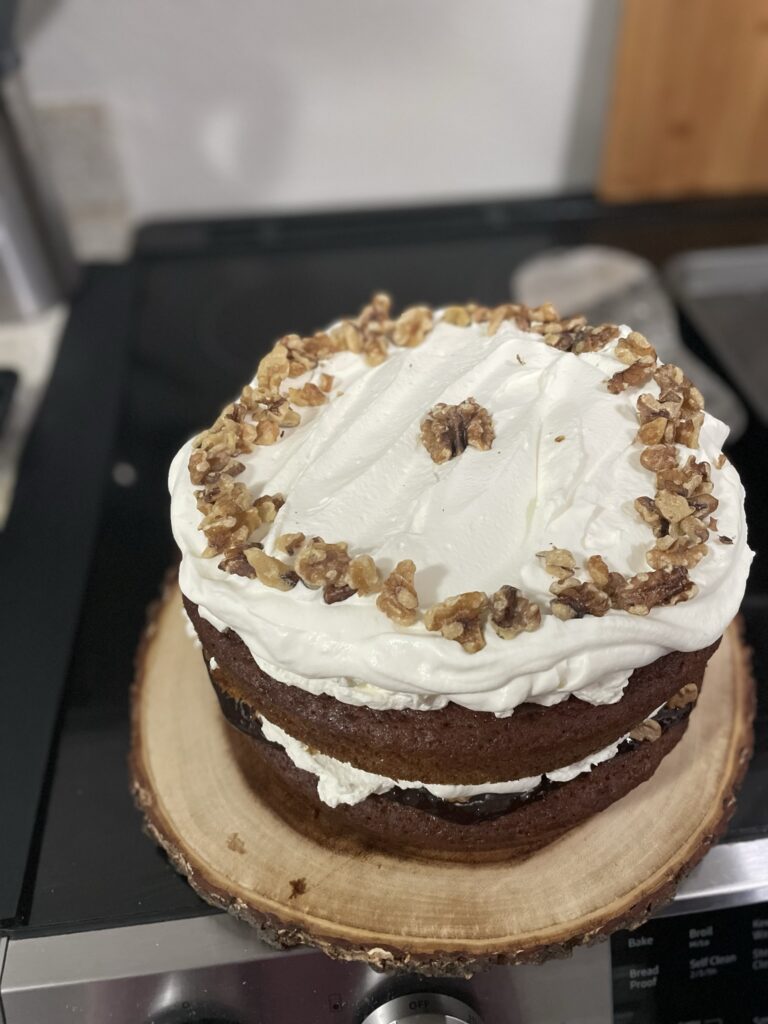
Pumpkin Walnut Cake with Chocolate Hazelnut Spread

I’ve exhausted my pumpkin resources for the year, so this will (sadly) most likely be the last pumpkin recipe for a while. Might as well end it on something big and extravagant like a multi-layer pumpkin cake! There’s a restaurant near me that have serve absolutely massive cakes. Definitely something straight from Matilda. They’re two layers and just so impressive. Each cake layer has got to be at least 4 inches, so the cake with the frosting pushes a full foot in height. I don’t have the cake pans to make a cake 4 inches thick and 2 feet in diameter (and it’s probably a a good thing that I cannot make a cake that large, who would eat it all?). For a normal sized gathering, my cake is much more reasonably sized.

Ingredients

Pumpkin – I like using fresh pumpkin! You can make your own using my recipe, Homemade Pumpkin Puree.

Sugar – This cake is not too sweet, just enough!

Oil – I use vegetable oil in this recipe. It’s much easier to mix into a batter and makes a really moist batter. Also can I say it’s slightly healthier than butter?

Pumpkin Walnut Cake with Chocolate Hazelnut Spread

Print Recipe
A semi-fancy cake for any fall gathering.
Course Dessert
Keyword cake, chocolate, hazelnut, pumpkin, walnut

Equipment

  • 2 cake pans 10-inch

Ingredients

Cake

  • 3 eggs
  • 1 cup sugar
  • 1 cup brown sugar
  • 1 tsp salt
  • 1.5 cups oil
  • 2 cups pumpkin puree
  • 1 tbsp cinnamon
  • 1 tsp clove
  • 1 tsp nutmeg
  • 1 tsp ginger
  • 3.5 cups flour all-purpose
  • 3 tsp baking soda

Whipped Cream

  • 2 cups heavy cream
  • 1/4 tsp salt
  • 1 tbsp sugar

Other toppings

  • 1 cup hazelnut spread
  • 1 cup walnuts toasted

Instructions

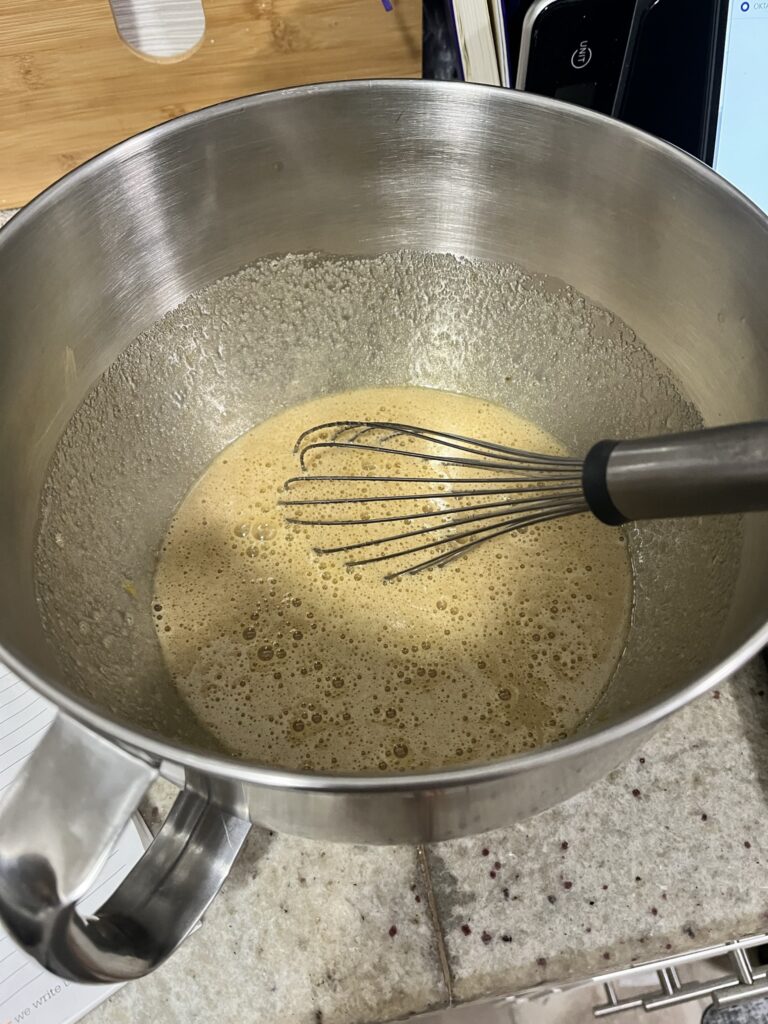
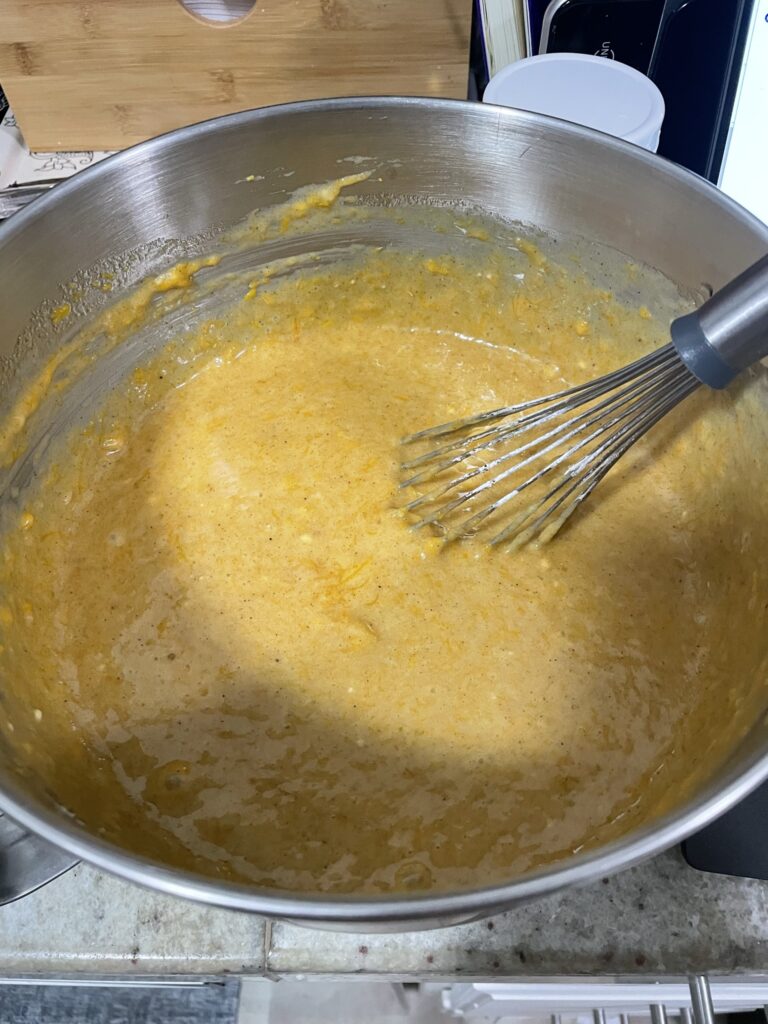
  • Mix together eggs, sugars, salt, oil, pumpkin and baking spices until well combined.
  • After no lumps remain, add all-purpose flour and baking powder, mixing until just combined.
  • Spray baking pans with non-stick spray and evenly distribute batter into pans.
  • Bake at 350F for ~45 minutes until a toothpick comes out clean.
  • If baking ahead, the cakes can be removed from the pans, wrapped in plastic, and then placed in the freezer for easier handling when it's time to assemble. Do not assemble the cake until the cake layers have been fully cooled.
  • To make the whipped cream, add the heavy cream, salt and sugar to a mixer or mix by hand until stiff peaks are achieved.
  • Assemble the cake in the following order:
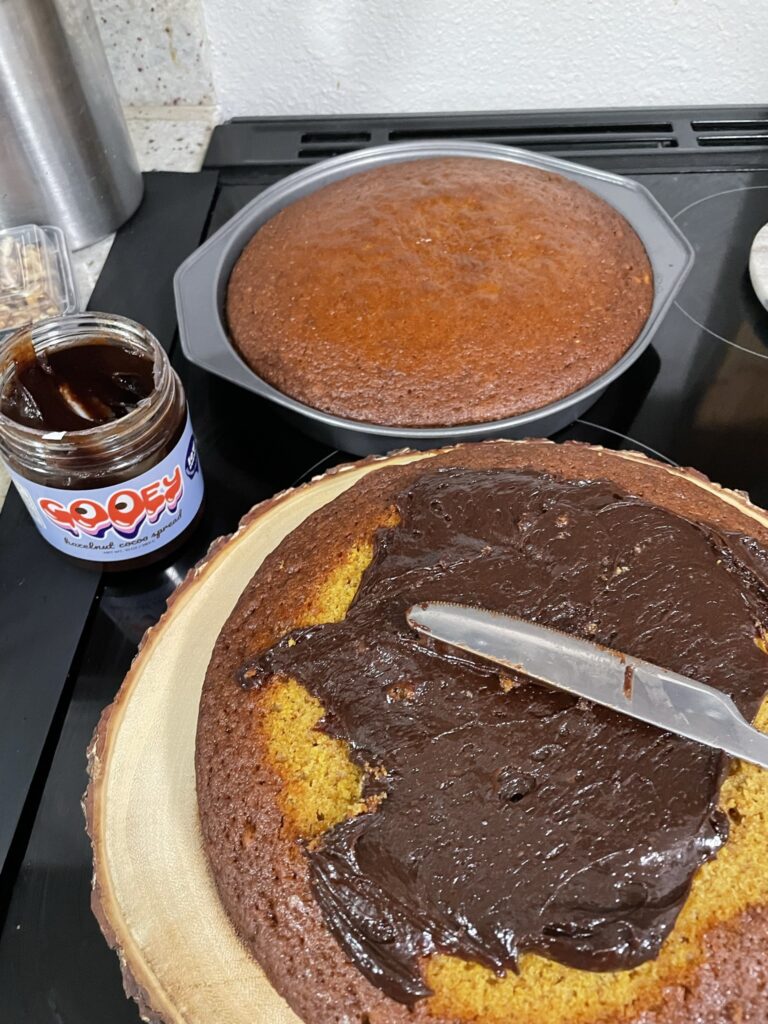
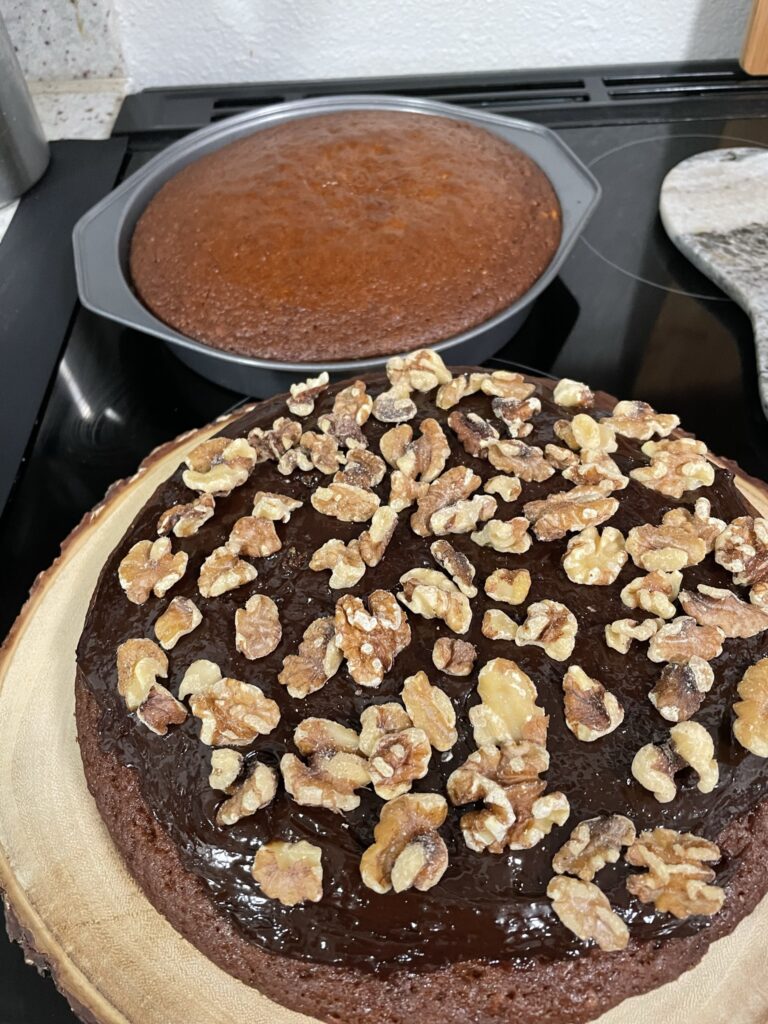
    1st layer of cake, hazelnut spread, half of the toasted walnuts, half of the whipped cream, 2nd layer of cake, rest of the whipped cream, and rest of the walnuts
  • Keep refrigerated until time to serve.

Some other pumpkin recipes: Pumpkin Basque Burnt Cheesecake and Pumpkin Cheesecake Bars.

Sourdough

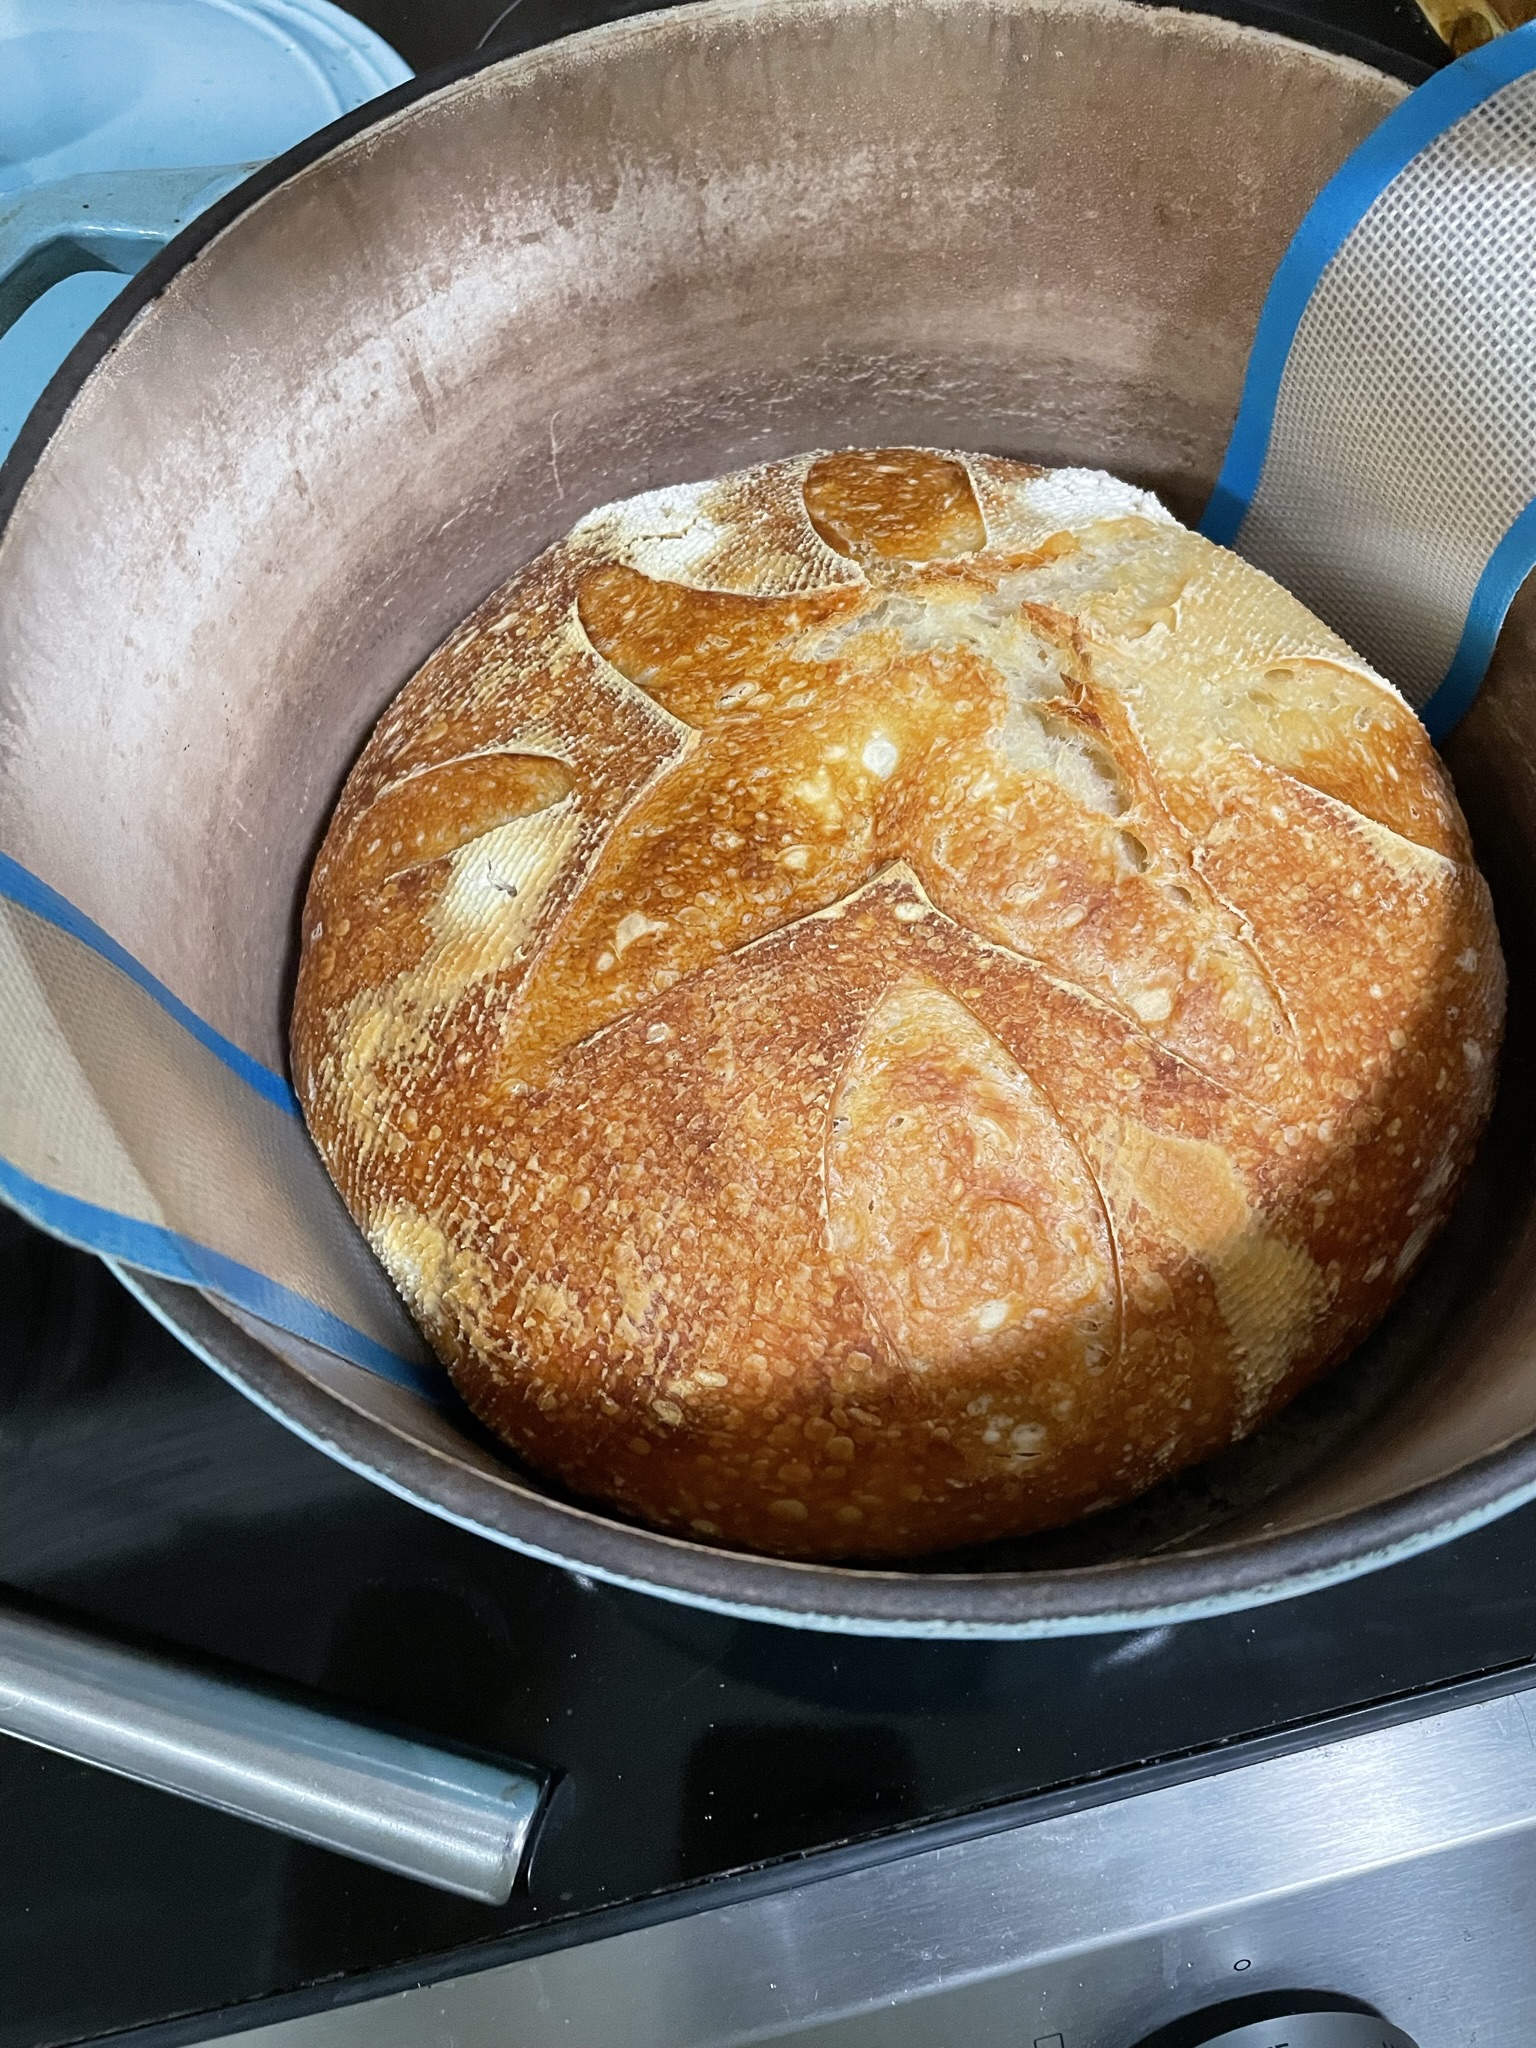
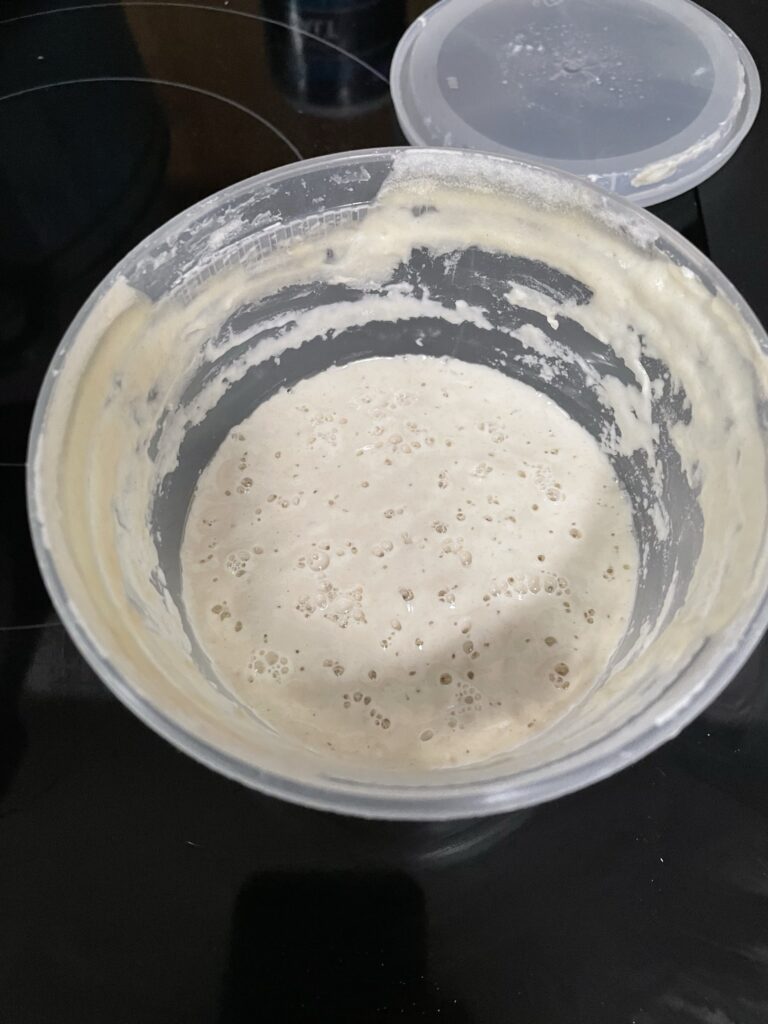
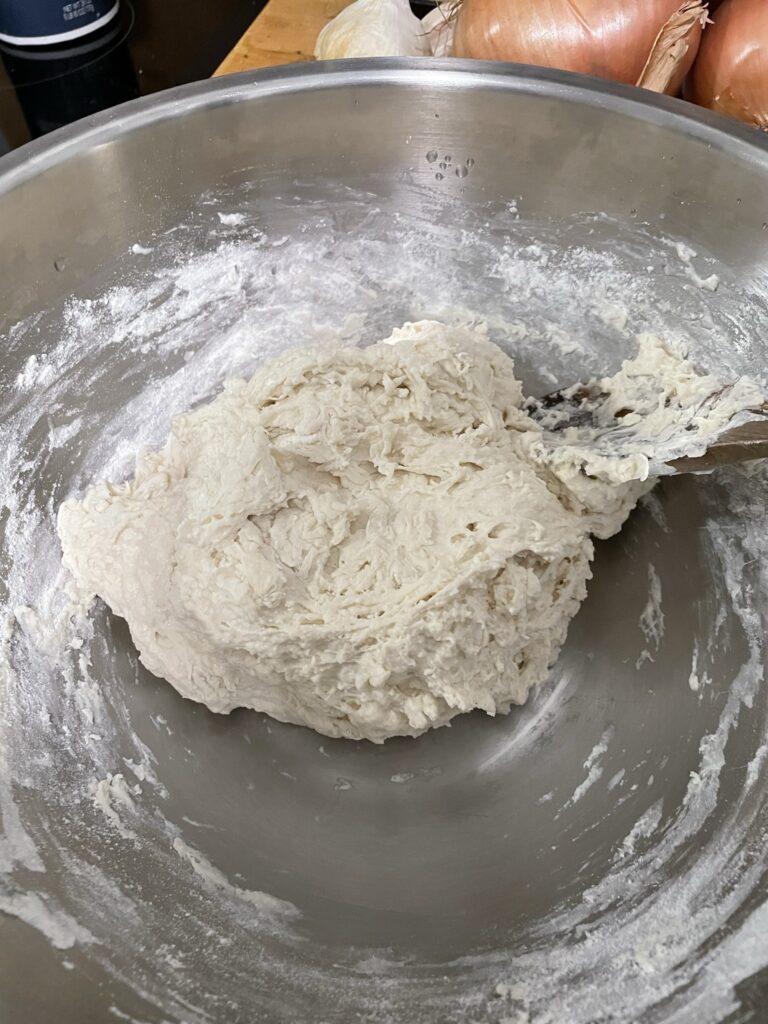
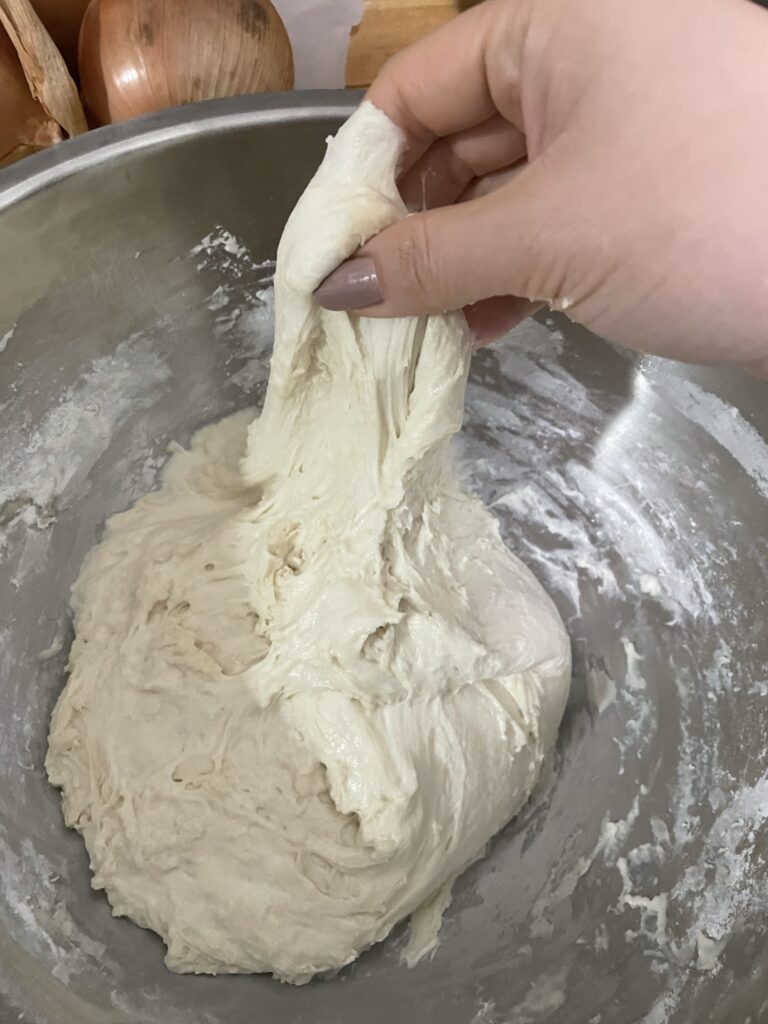
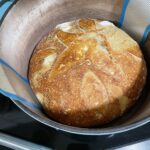
Temperatures have dropped so I am much more willing to turn on my oven to blasting 400F+ temps. My sourdough starter has been revived from the depth of my freezer where it has been hibernating in the summer. When it gets cold, I bake sourdough (almost) every day. The oven just helps warm up the kitchen! With holiday parties coming, I find a loaf of sourdough with (don’t you dare think butter board) some flavored olive oil, a balsamic glaze, aioli and maybe a little pate is perfect to bring with a bottle of wine. I’ll share my sourdough feeding schedule, daily prep, and baking that has resulted in some fluffy loaves with a crispy crunchy crust that’s so yummy to snack on.

Ingredients:

All-purpose flour – This is a purposely very simple bread recipe that uses AP flour. If you are going to use a different type of flour, I would NOT recommend this recipe as the feeding schedule may differ and steps might be rearranged (such as autolyzing). Basically, only use this method if you are making loaves with AP flour. 🙂

Schedule:

Once I’ve started on my sourdough schedule, I end up consolidating all the steps into one day so that I can continuously have fresh starter and be able to bake a loaf of sourdough each day.

Day 1

Evening before, 7-9 PM: feed sourdough start with 35 g bread flour & 35 g room temp water

Day 2

Next morning, 6-9 AM: make dough, recipe below, allow to rest at room temp in the same mixing bowl throughout the day

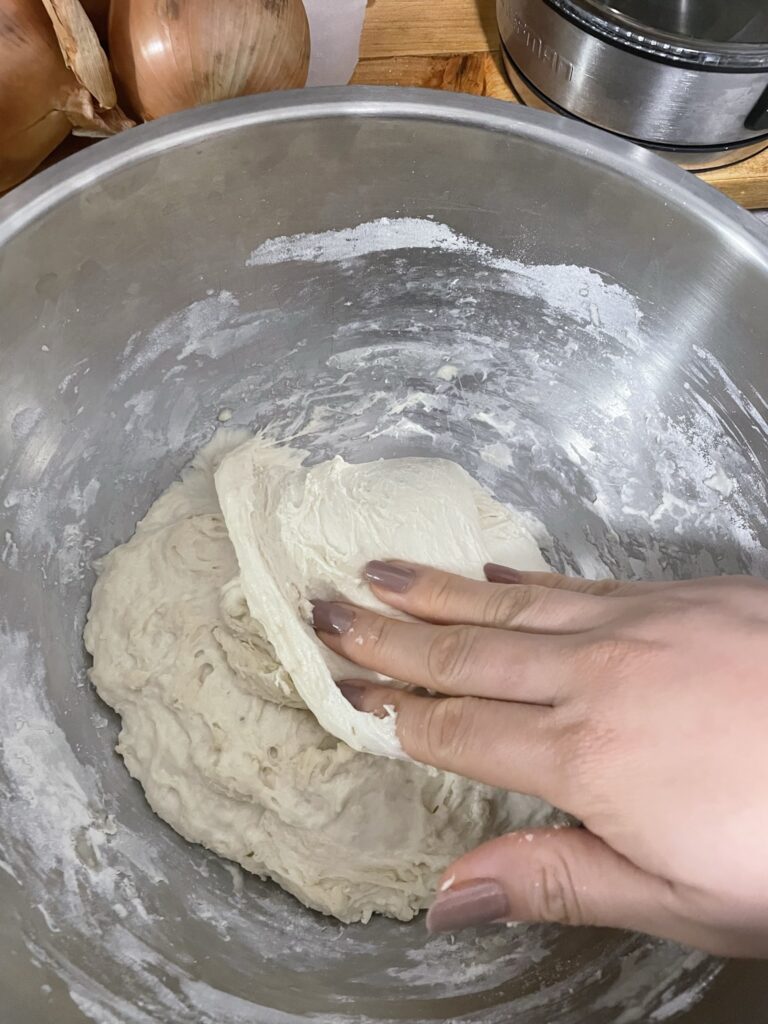
Throughout the day: give the dough a couple folds here and there when you have chance, no big deal if you can’t

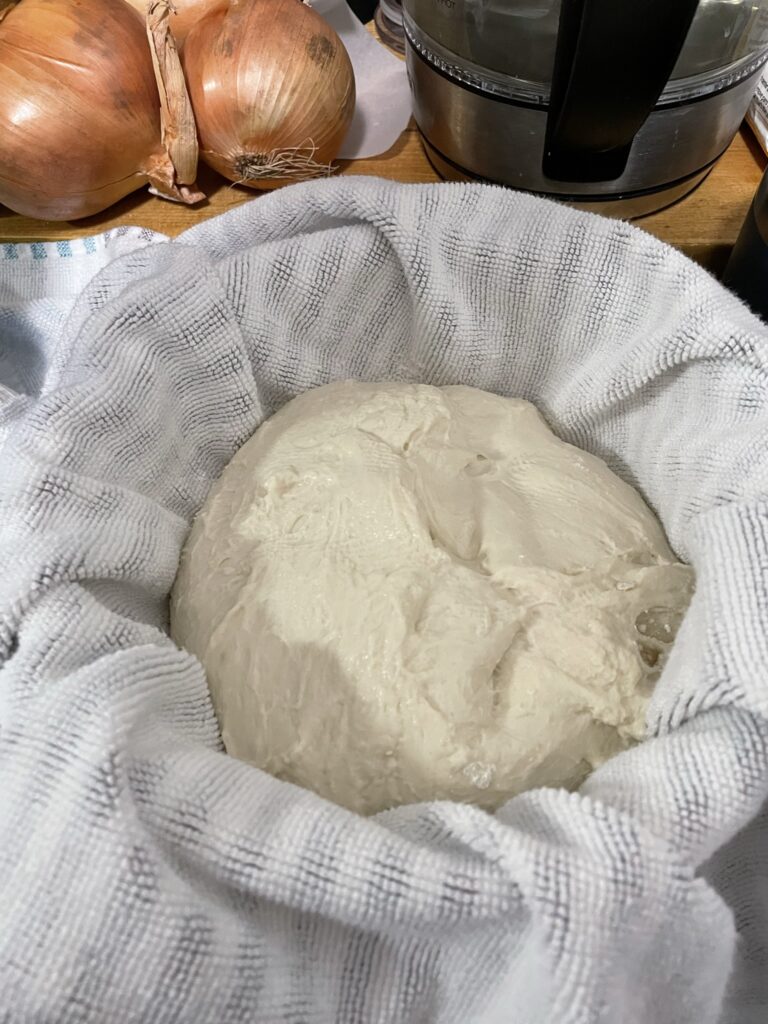
Evening, 7-9 PM: move dough into banneton or towel lined bowl & leave in refrigerator

Day 3

Next day, one hour before baking: Remove from refrigerator and allow to come back to room temp

Bake!

Sourdough

Print Recipe
An easy, passive sourdough recipe that only requires all-purpose flour, salt, water, and starter.
Keyword bread, sourdough

Equipment

  • 1 dutch oven

Ingredients

  • 330 grams water
  • 70 grams sourdough starter bubbly
  • 12 grams salt
  • 500 grams all-purpose flour

Instructions

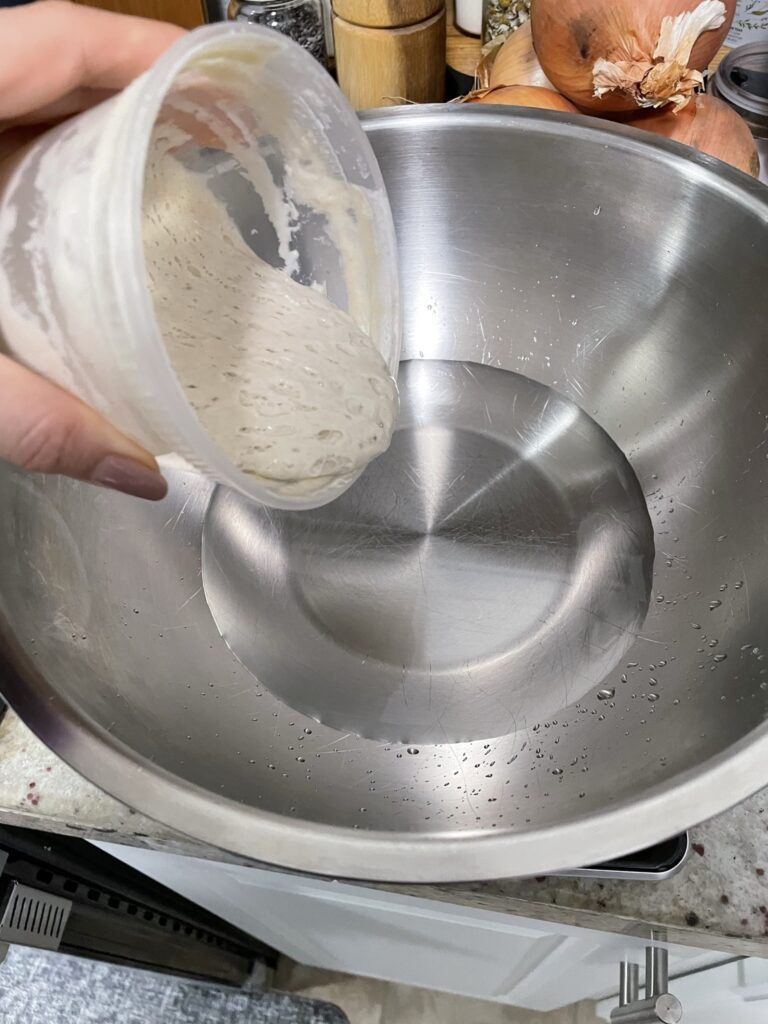
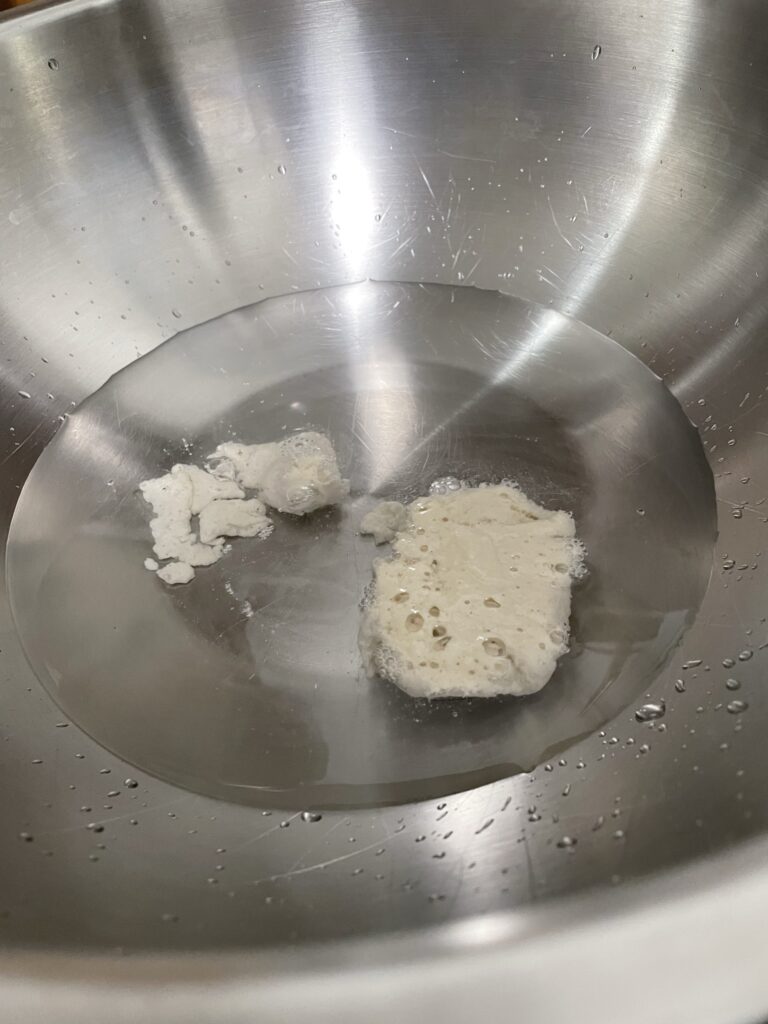
  • In a bowl, mix together water and sourdough starter. Starter should be floating in the water, indicating it is the most active and will give you the most lift for your bread.
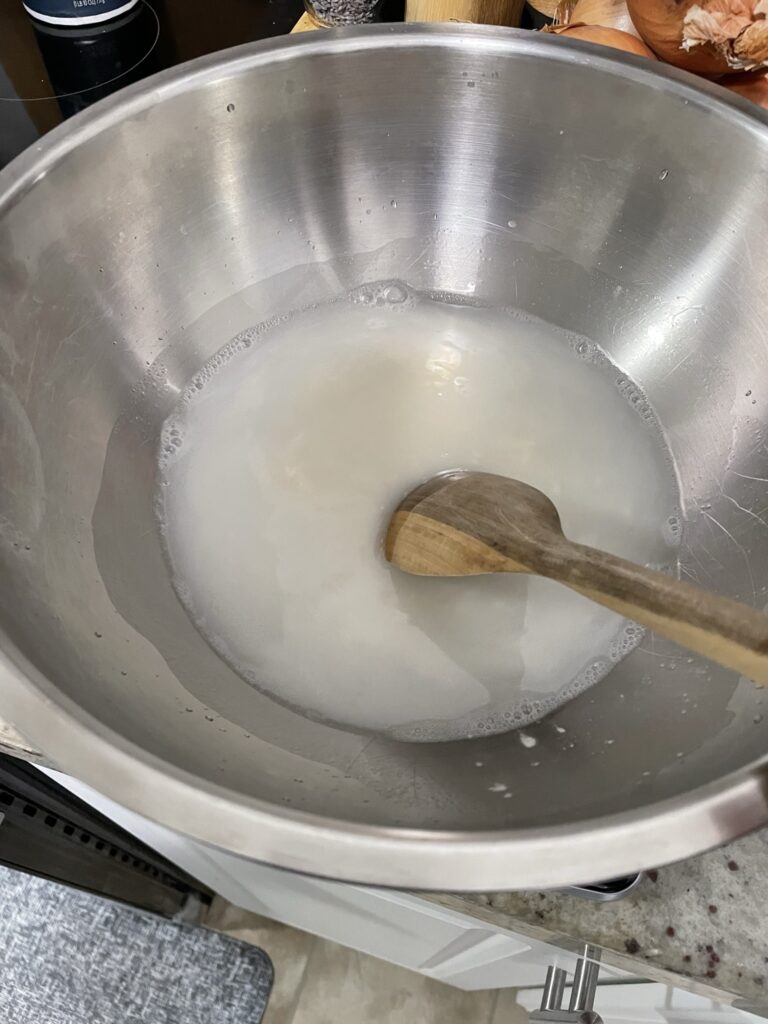
  • After mixed, add salt and mix again.
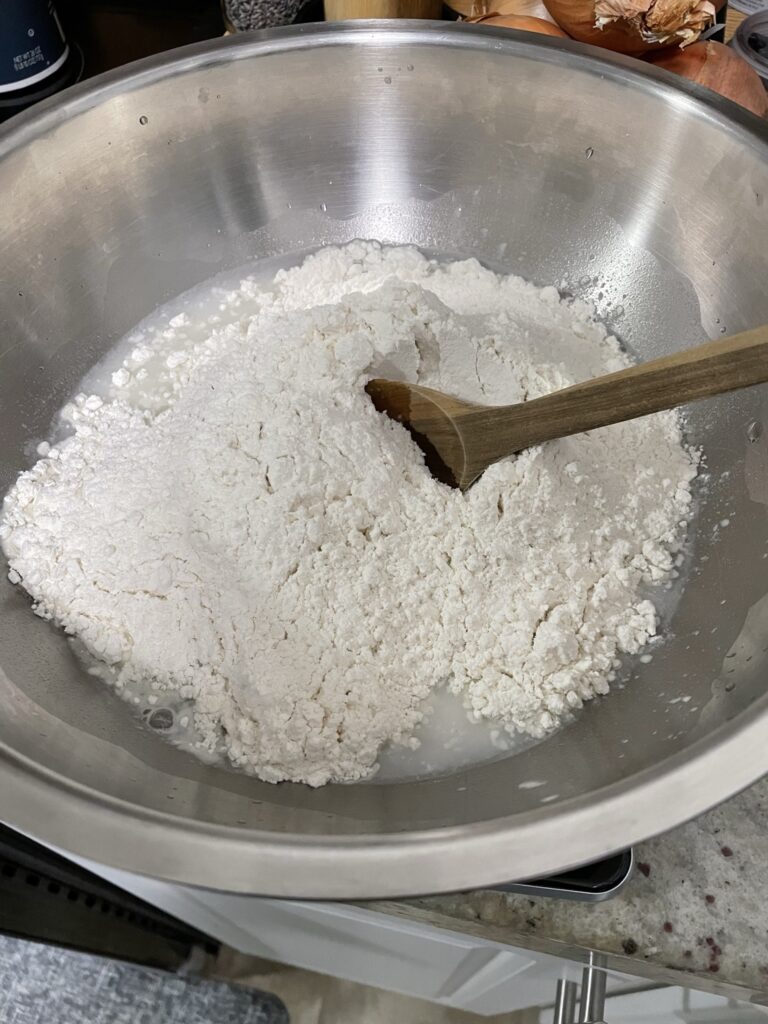
  • Add flour and mix until combined.
  • Cover with a dish towel and give it a few folds throughout the day if possible.
  • Transfer to banneton or towel-lined bowl.
  • When ready to bake, transfer to a parchment lined dutch oven.
  • Preheat oven to 425F. When ready, put loaf in dutch oven with lid on for 20 minutes. After 20 minutes, remove lid and bake for an additional 40 minutes, until golden brown on the top.
  • Allow to rest for at least 10 minutes before cutting into the loaf.

Leftover sourdough? Use it in Bread Pudding or Cheesy Egg Strata.

Pumpkin Basque Burnt Cheesecake

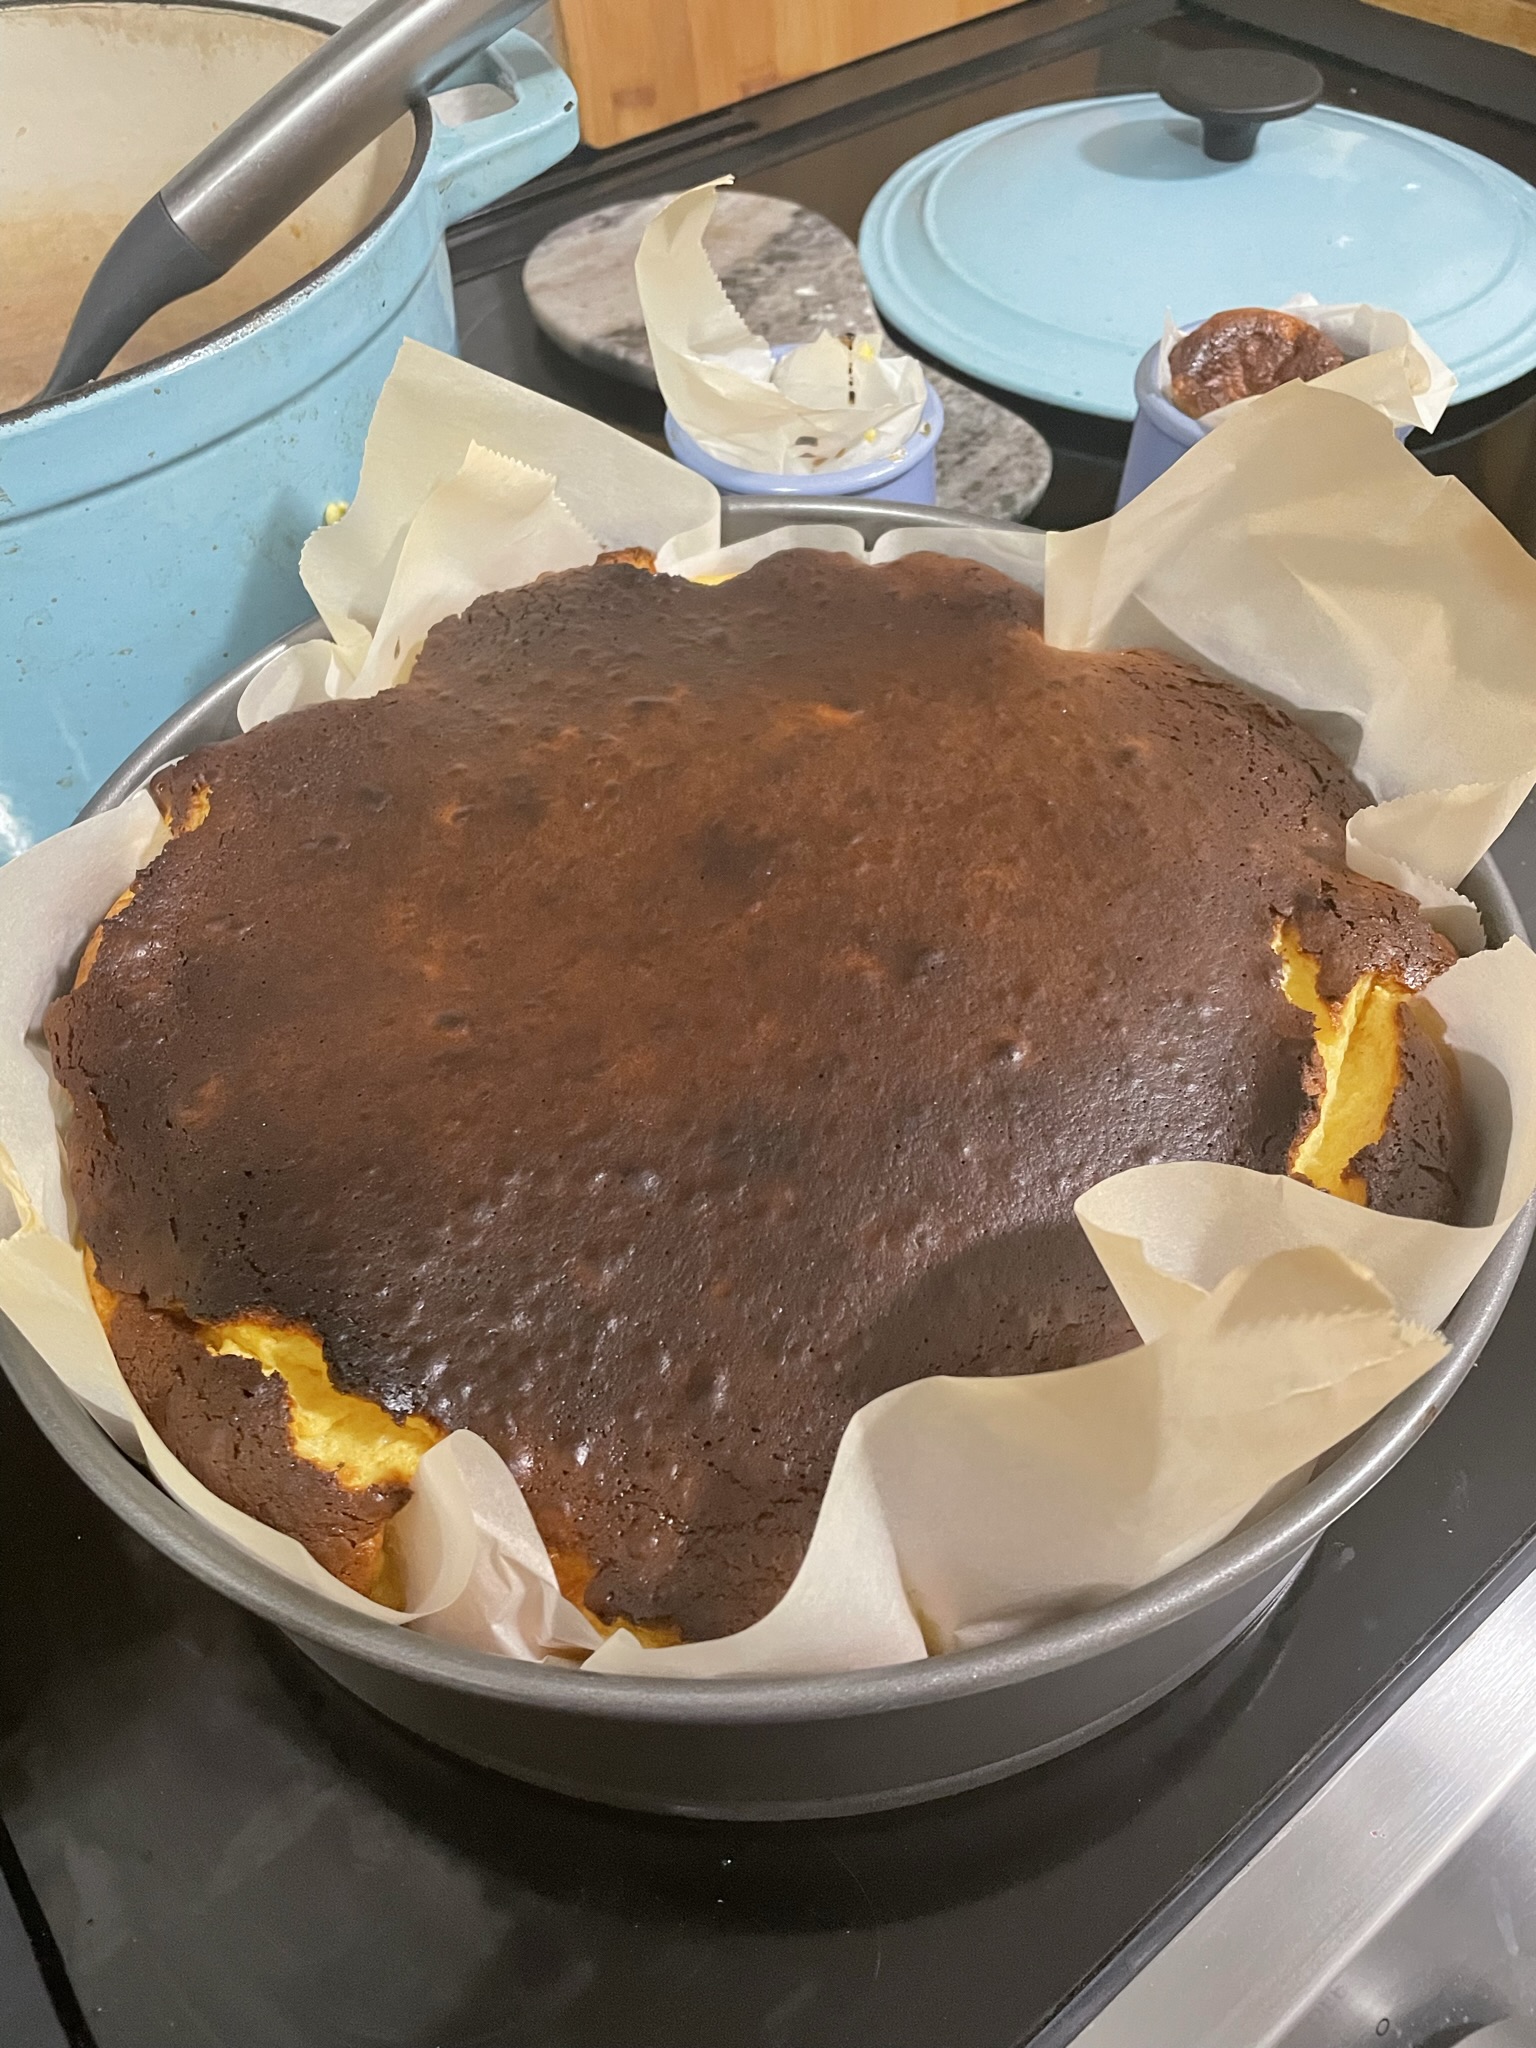
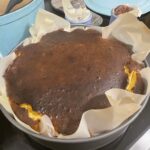
November is over, but that doesn’t mean I’m going to stop cooking with pumpkin (in my opinion, it’s not even really the “pumpkin” you taste, it’s just the combination of spices)! If Starbucks has the pumpkin spice latte running until the new year, I’m going to keep pumpkin around. Costco even has their signature pumpkin pies through Christmas at least. The holiday season seems to really focus on pies, but what about cheesecake? Specifically pumpkin cheesecake! Most cheesecakes take way too much time, requiring the graham cracker crust, a water bath, and God forbid your cheesecake have a crack on top. That’s why I opt for a Basque-style cheesecake, with a roasty toasty top that’s just so beautiful when you peel back the parchment paper layers.

Ingredients

Pumpkin – I use fresh pumpkin, but feel free to use whatever is easier! Learn how to make Homemade Pumpkin Puree.

Cream cheese – This recipe is not healthy. It’s the holidays. 🙂

Eggs – These really give the cheesecake the puff!

Sugar – I think this is the minimum amount of sugar you could use, otherwise the cheesecake will start being more savory and even approaching bland.

Pumpkin Basque Burnt Cheesecake

Print Recipe

Equipment

  • 1 12 in spring form pan
  • parchment paper

Ingredients

  • 1.5 pounds cream cheese room temp
  • 1 cup sugar
  • 1 cup pumpkin puree
  • 2 cups heavy cream
  • 6 eggs
  • 1 tsp salt
  • 1 tbsp cinnamon
  • 1 tsp clove
  • 1 tsp ginger
  • 1 tsp nutmeg
  • 1/3 cup all-purpose flour

Instructions

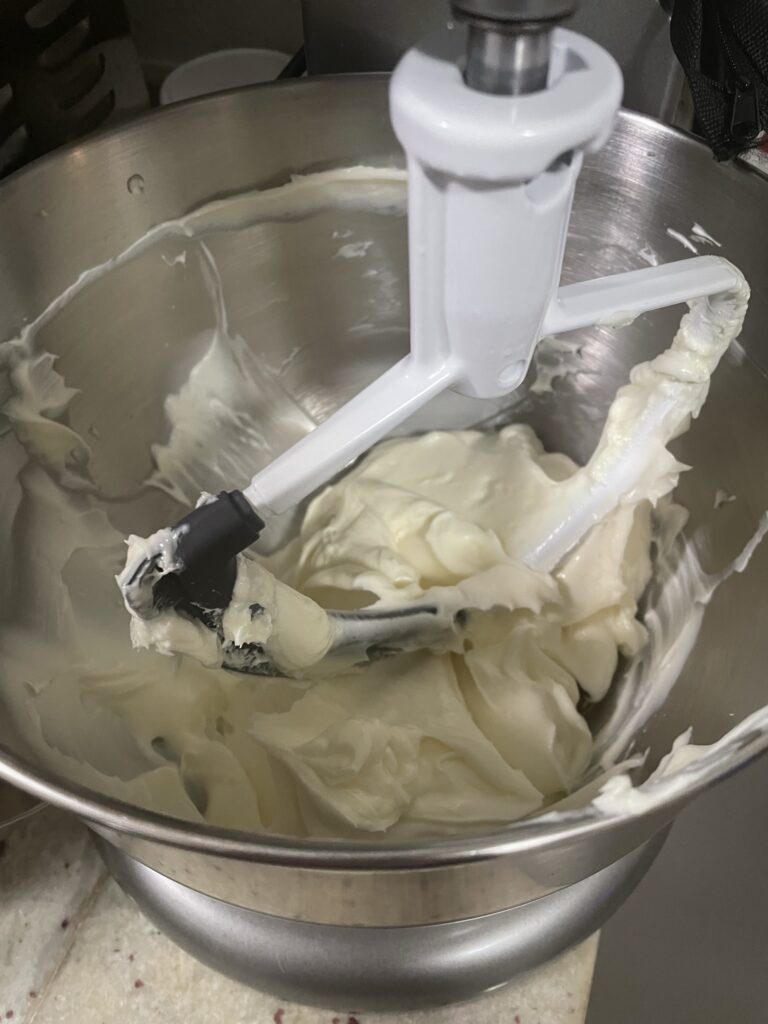
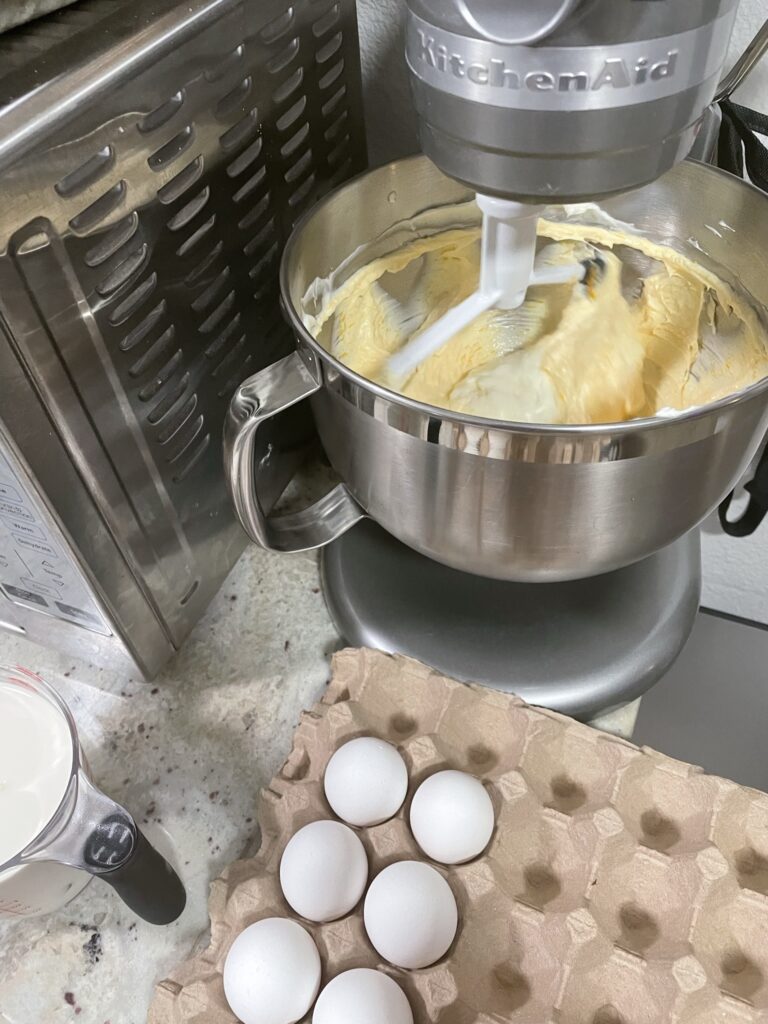
  • In a mixer, add cream cheese and sugar and beat with paddle until smooth.
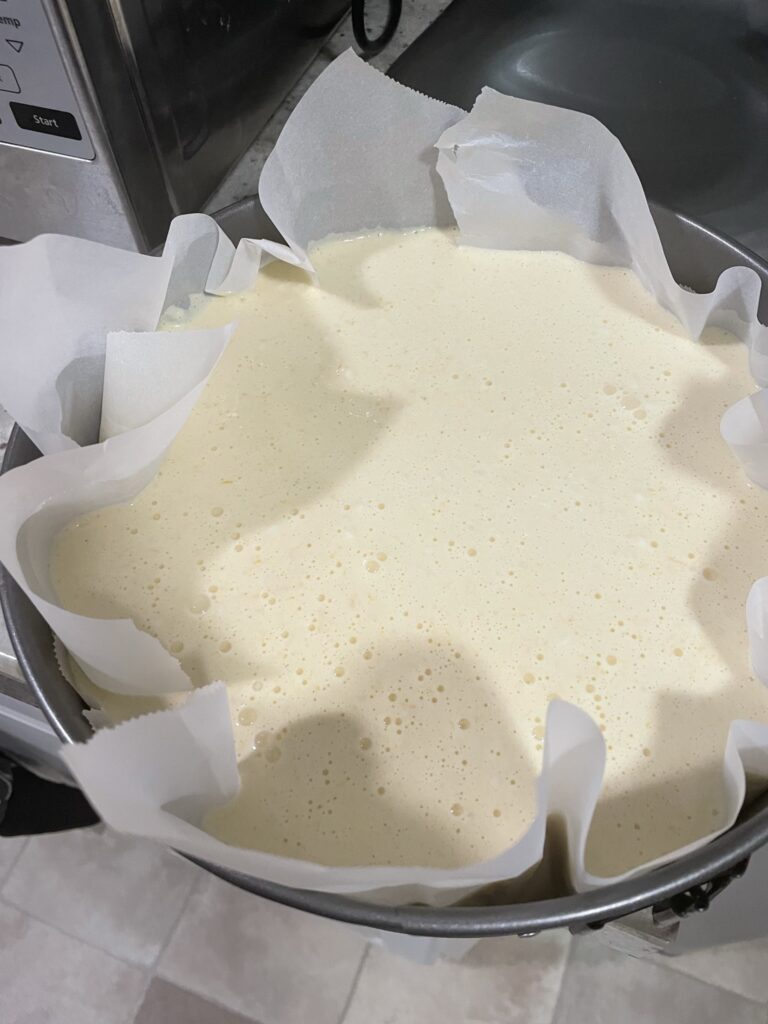
  • While mixing, snap springform pan together. Rip a sheet of parchment to cover bottom and the sides, folding the extra parchment that covers the sides of the pans. If your sheet of parchment is not big enough, use more parchment, overlapping the sheets.
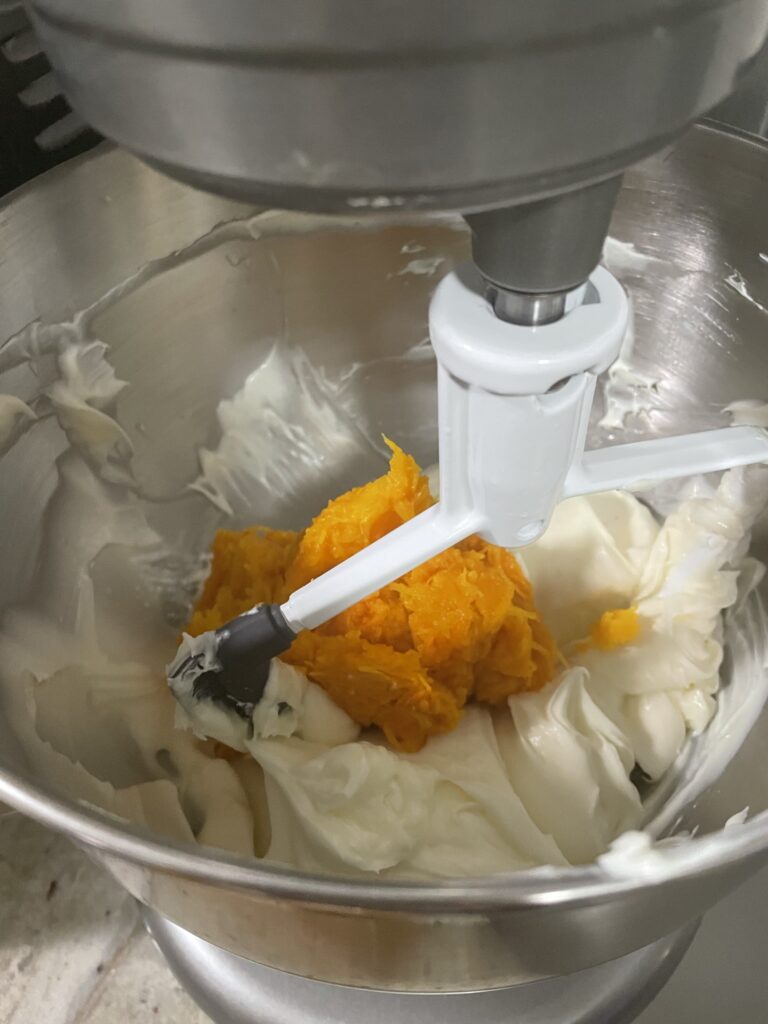
  • Once cream cheese and sugar are well-combined. Add pumpkin and continue mixing.
  • Stop mixer to scrape bowl and paddle. Continue mixing.
  • Add eggs one at a time, waiting until each egg has been fully incorporated before adding the next.
  • Stop mixer to scrape bowl and paddle. Continue mixing.
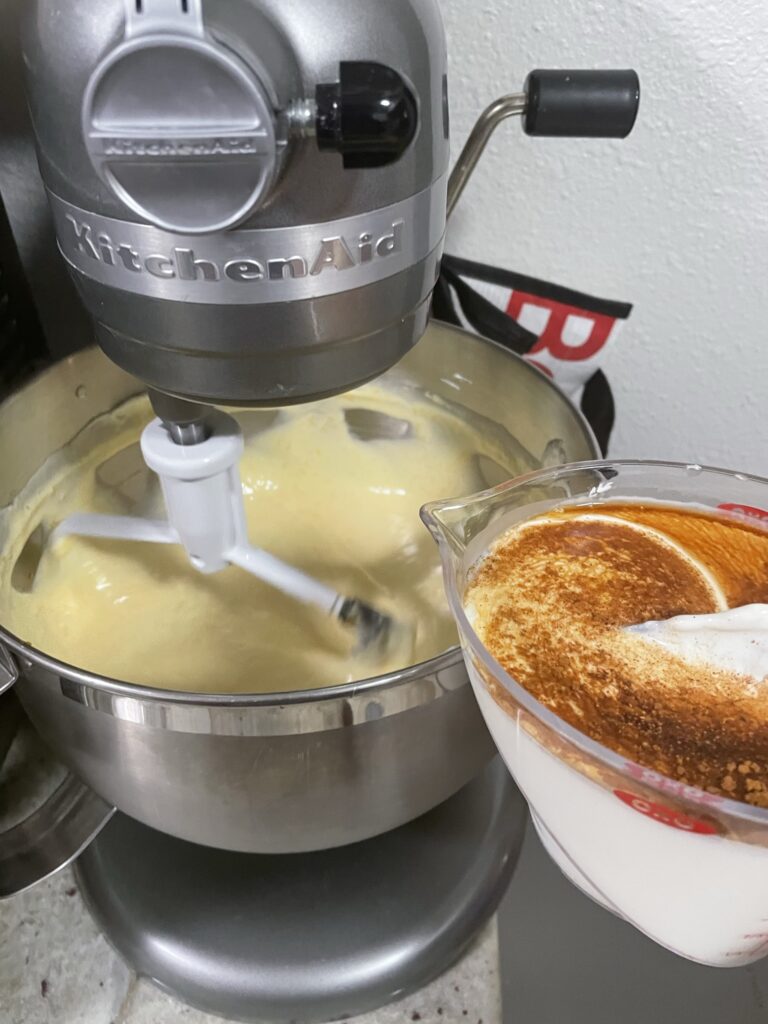
  • Mix salt, cinnamon, nutmeg, clove, and ginger into heavy cream. Pour heavy cream mixture into the mixer.
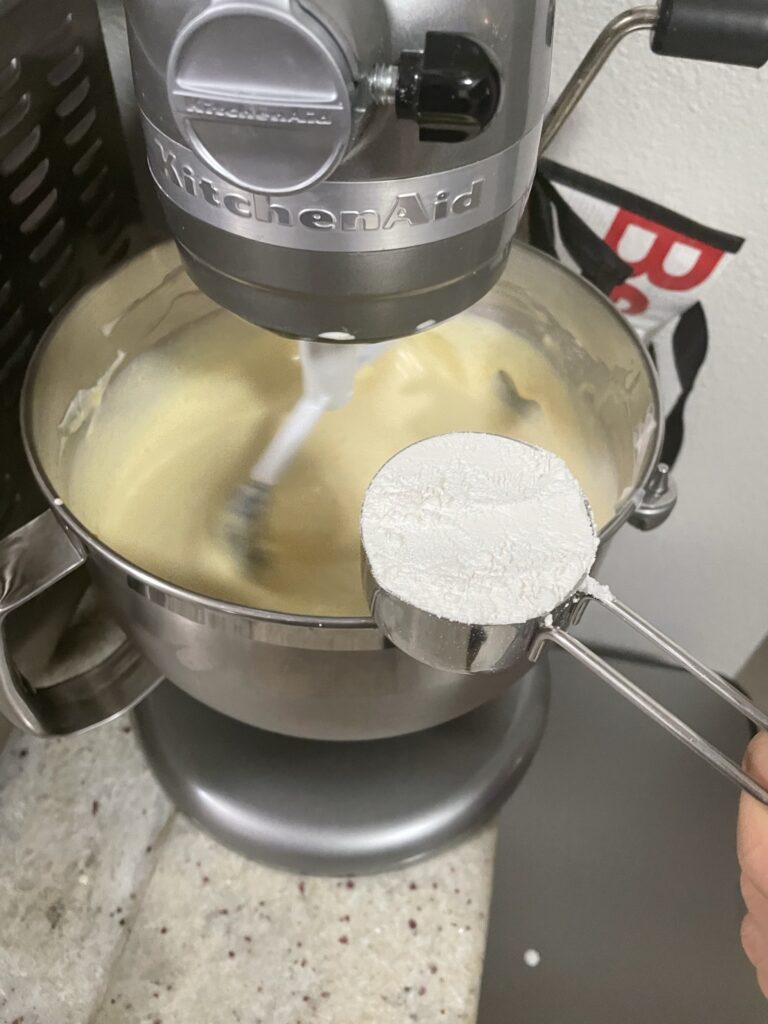
  • While mixer is running, add flour and mix again for ~10 more seconds.
  • Stop mixer and finish mixing by hand until flour is gone.
  • Pour into parchment lined spring form pan. Bake at 400F for ~60 minutes in the middle rack. Tent with foil if top starts browning too quickly.
  • Remove from the oven after baking. The top should be a deep, golden brown and cheesecake should be puffy and jiggly. It will fall as it cools.
  • Serve at room temp!

Try other pumpkin desserts: Pumpkin Pull Apart Bread, Pumpkin Cheesecake Bars,

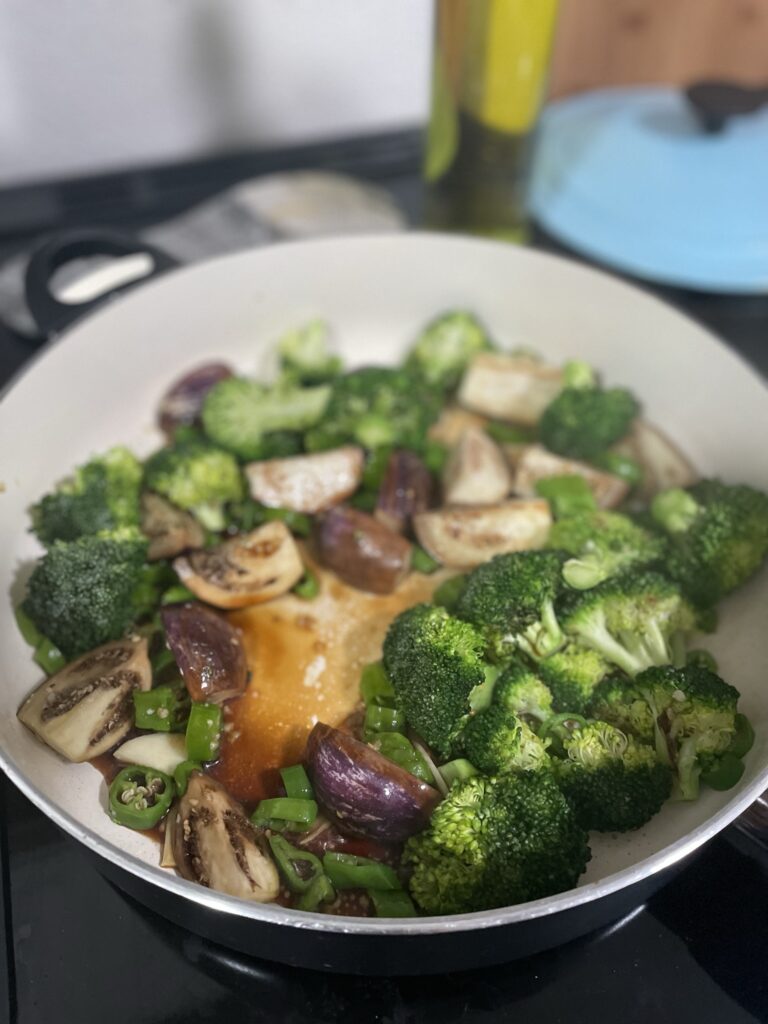
Honey Soy Vegetable Stir Fry

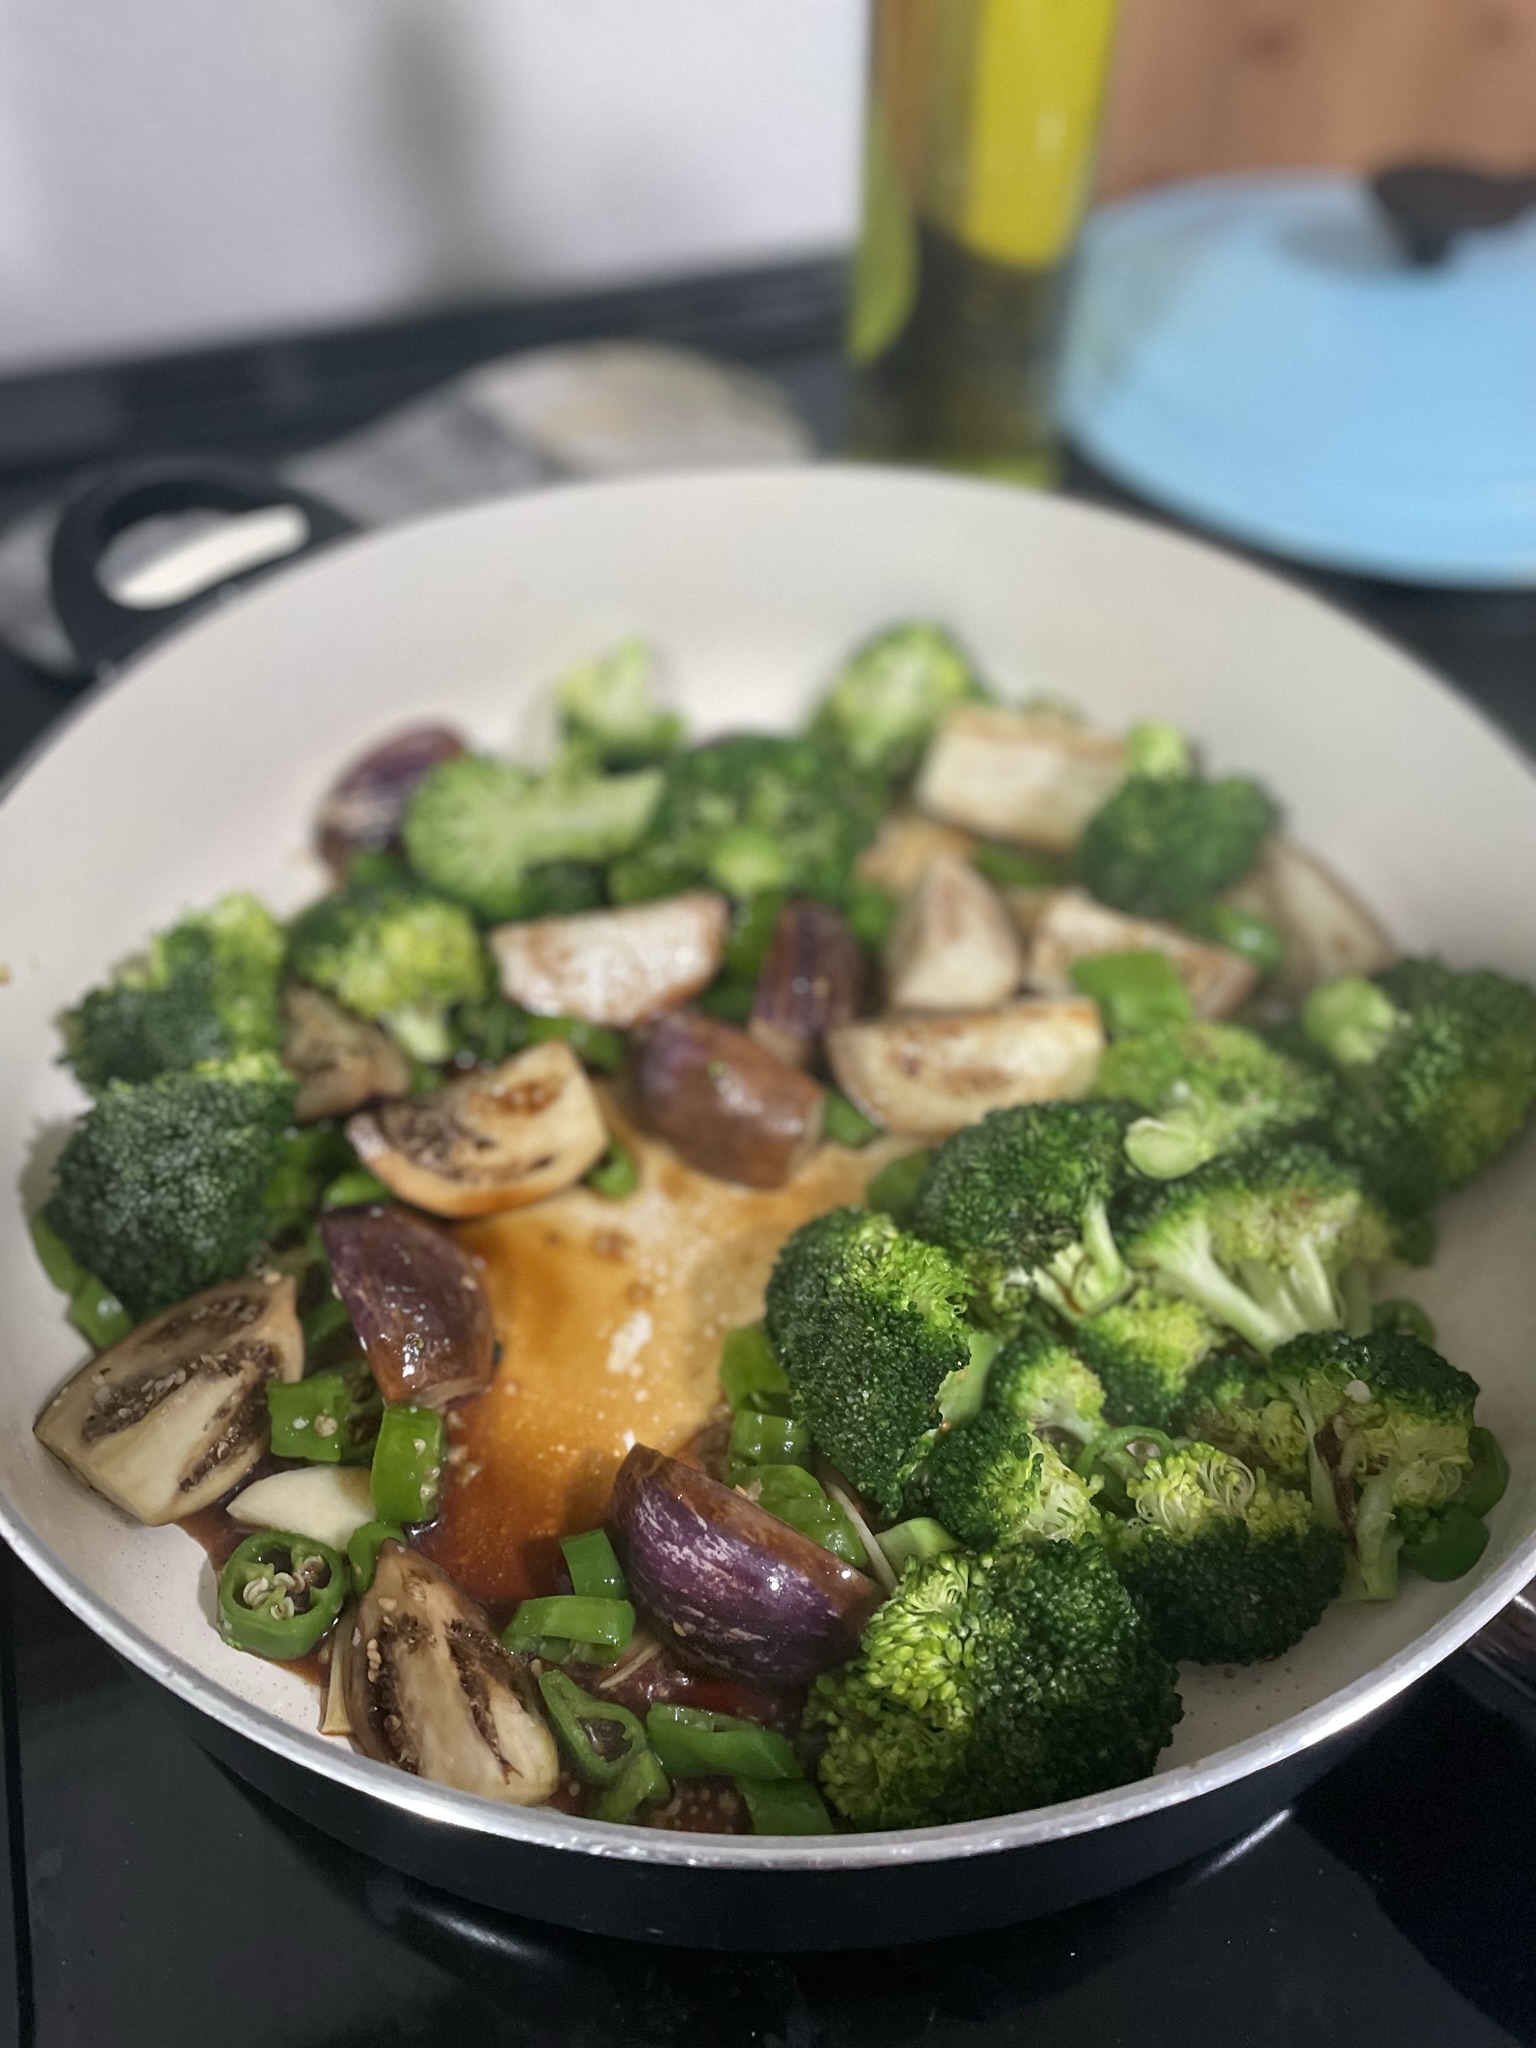
In order to prepare for all of the unhealthy eating next week, I needed to cleanse with a healthy, fibrous vegetable stir fry before it turns into exclusively protein, carbs, sugar, and wine. The greens of summer are slowly disappearing, so I’m taking advantage of the fresh vegetables before it gets too cold. The base of this recipe really is just the sauce that is used at the end to coat the vegetables and give them some extra flavor, so the vegetables can easily be swapped with your personal favorites.

Ingredients

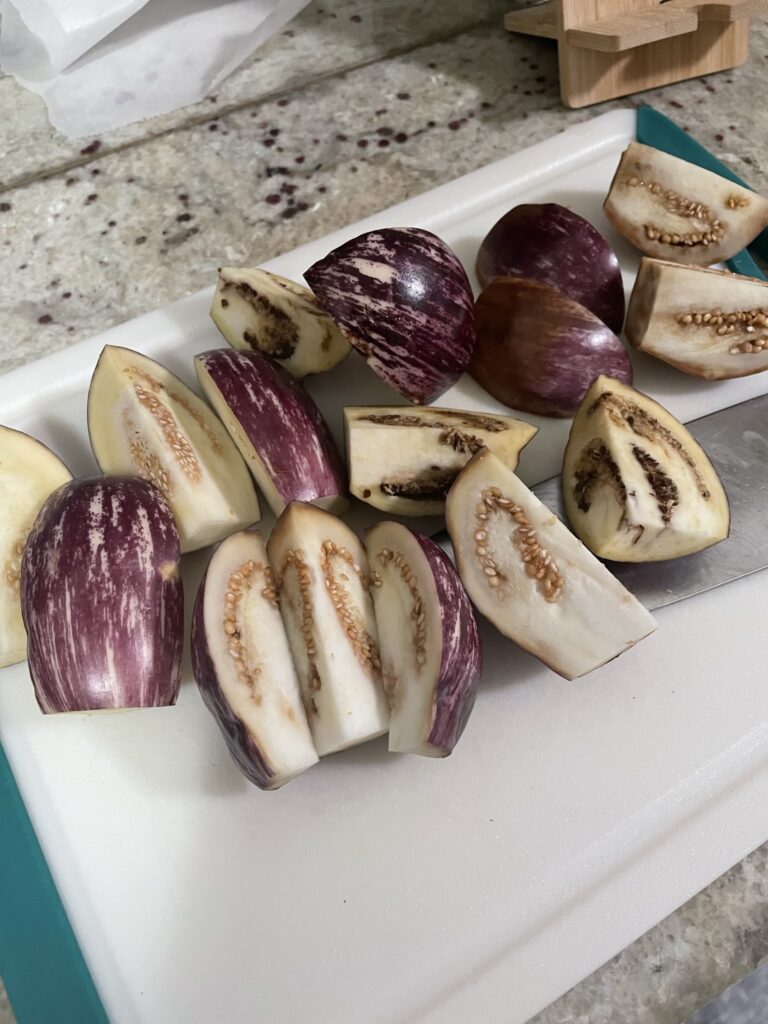
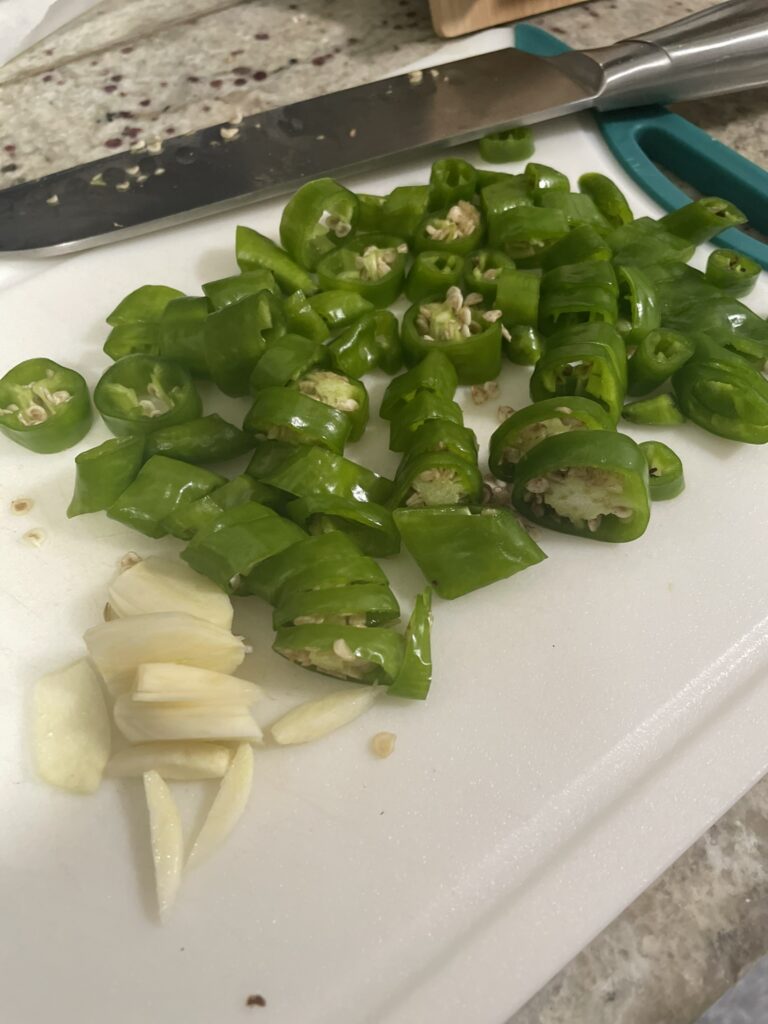
Vegetables – I used a mix of broccoli, eggplant, and peppers. Feel free to use whatever you like! Only use broccoli if you only like broccoli, or add different vegetables like celery, onions, bokchoy, or cabbage.

Sauce – Half, double, or triple the sauce quantity if you’re extra saucy or if you’re just making a smaller quantity of vegetables.

Honey Soy Vegetable Stir Fry

Print Recipe
A quick stir-fry to throw on a bed of rice.
Course Side Dish
Keyword honey, soy sauce, stir fry, vegetable

Equipment

  • 1 large pan

Ingredients

  • 1 clove garlic sliced
  • 3 pounds assorted vegetables cut in approximately the same size
  • 1/2 cup soy sauce
  • 2 tbsp honey
  • 1 tsp corn starch
  • 1 tsp sesame oil

Instructions

  • Wash and clean your vegetables, ensuring they are cut all to about the same size.
  • Heat up a large pan with a splash of oil on high.
  • When oil is shimmering, add vegetables to the pan. Do not move for 1 minute to sear.
  • After 1 minute, add sliced garlic and stir. Turn stove down to medium.
  • Allow vegetables to continue cooking for 5 more minutes. While cooking, mix together soy sauce, honey, and cornstarch.
  • Add the sauce and stir. Allow to keep cooking until sauce has just simmered and thickened.
  • Remove from heat and enjoy!

Try another Shrimp & Snap Pea Stir Fry!

Balance the healthy vegetables with a healthy vegetable dessert like Zucchini Bread.

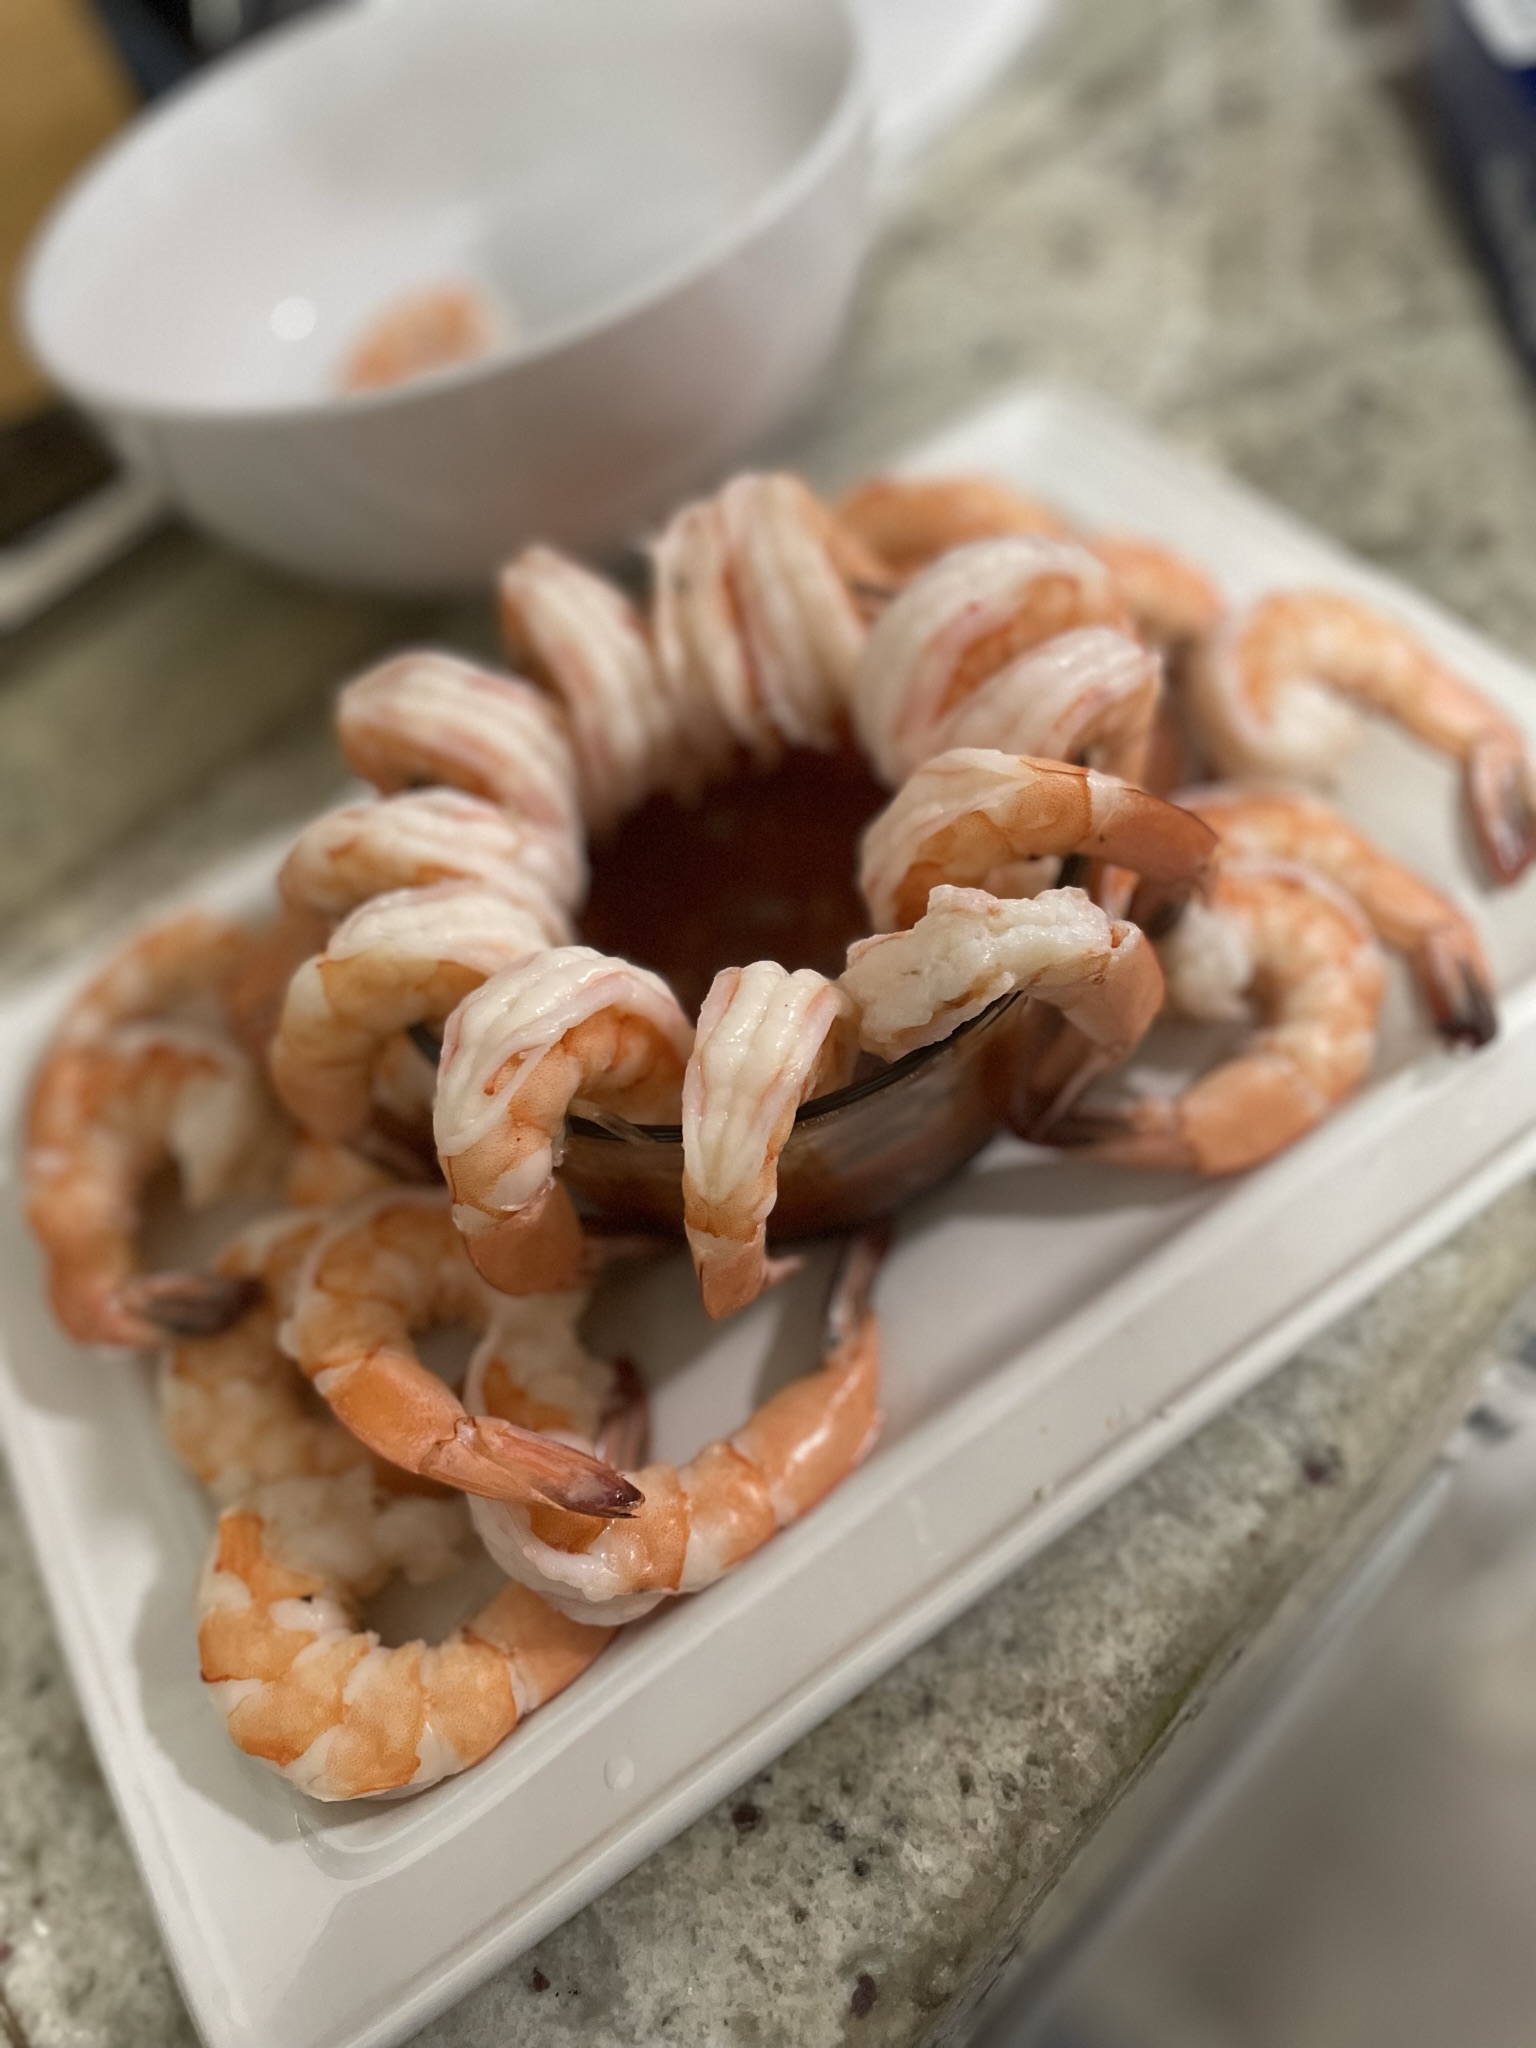
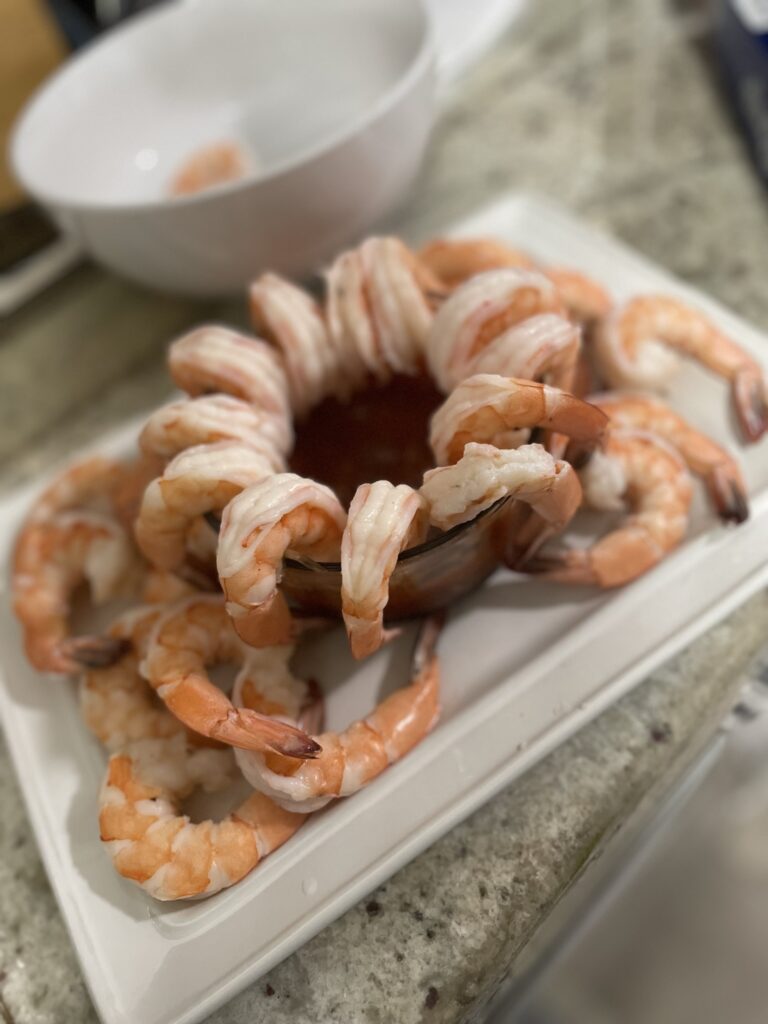
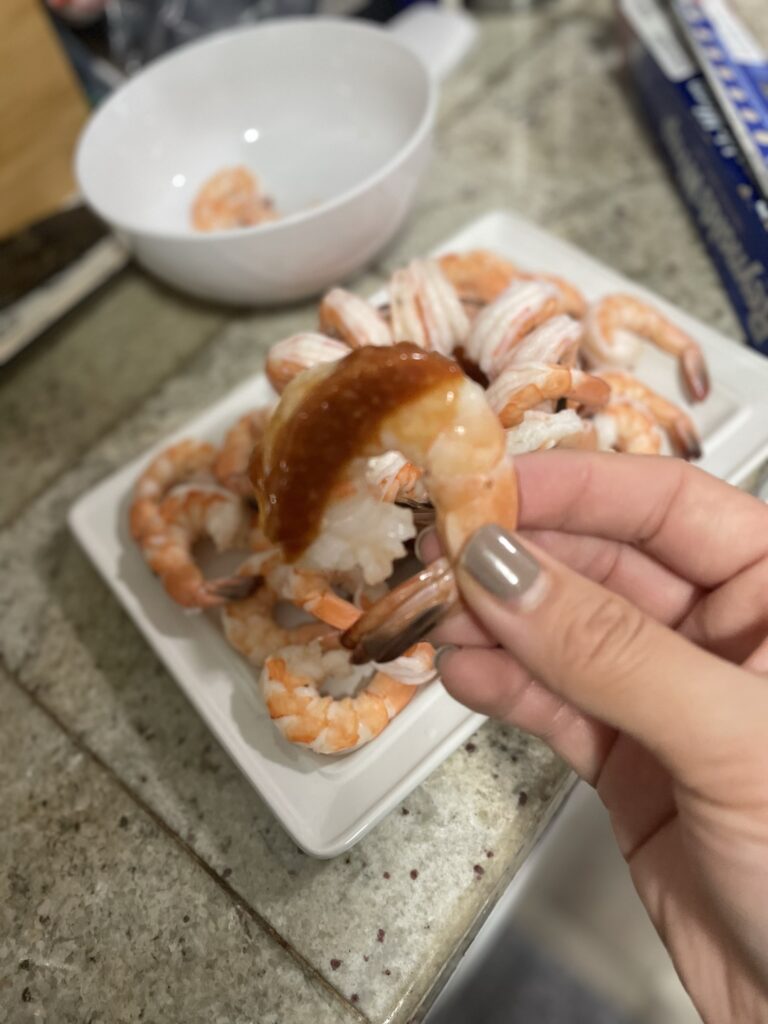
Shrimp Cocktail

We’re entering holiday season and that usually entails potlucks, gatherings, entertaining, and most importantly, lots of tasty food! Before the main course is served, I always find myself snacking on something like a charcuterie board or some bread & butter (butter board, anyone?). Another app-y snack that I find can be overlooked during holiday season that is SO EASY to make is shrimp cocktail. A snappy shrimp in a tangy, sharp cocktail sauce helps break up the heaviness of a holiday meal and also clears out your sinuses.

Ingredients

Shrimp – I buy frozen, farmed, shell-on Vannamei shrimp that I shell and de-vein at home. I like taking the shells to make a shrimp stock to use for a sipping broth or to use in a soup. If you don’t have time for shelling/deveining, feel free to buy shelled and cleaned shrimp. I recommend buying raw shrimp that you can cook yourself. Sometimes the pre-cooked shrimp at the grocery store end up a little mushy. I also use 21-25 count shrimp, meaning that there are 21-25 shrimp in a pound. These shrimp are on the larger side to hold maximum cocktail sauce, without requiring a second dip.

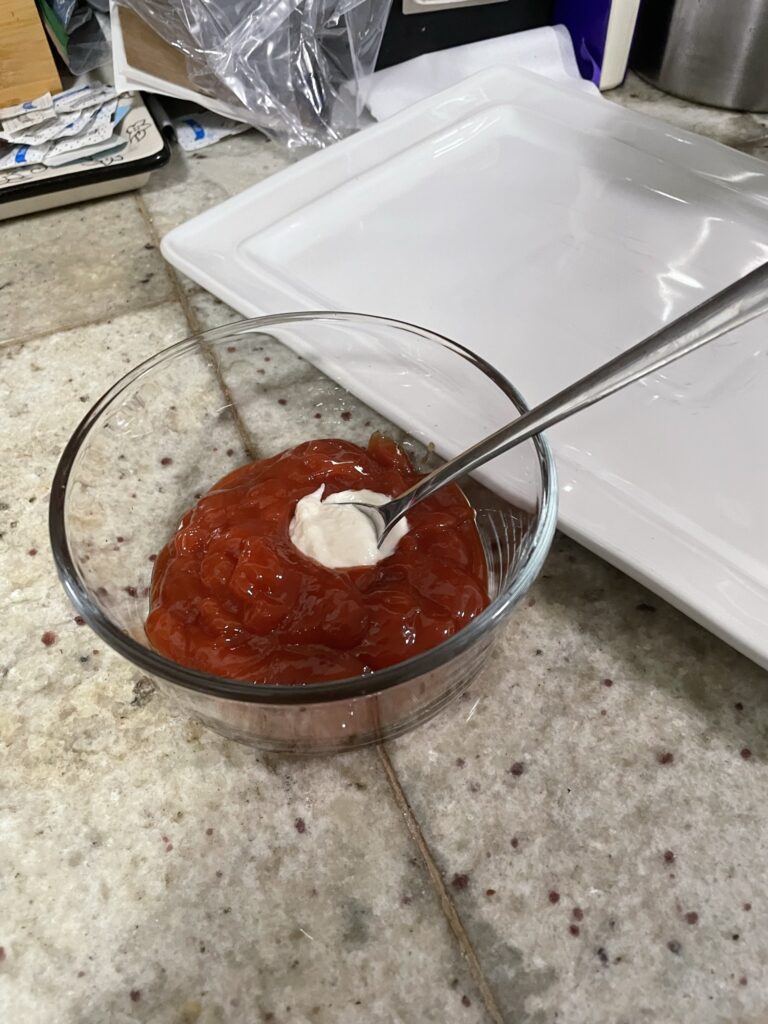
Cocktail sauce – I think the best part of this recipe is the cocktail sauce, since you can customize how sharp and zingy the horseradish is. If you’re in a pinch, feel free to purchase some cocktail sauce to serve on the side.

Shrimp Cocktail

Print Recipe
Snappy shrimp dipped in a zingy, horseradish-y cocktail sauce are a perfect appetizer for any season.
Course Appetizer, Side Dish, Snack
Keyword cocktail, shrimp

Ingredients

Shrimp

  • 2 lbs shrimp 21-25 count
  • salt

Cocktail Sauce

  • 1/2 cup ketchup
  • 2 tsp horseradish cream
  • 1/4 tsp soy sauce

Instructions

  • If not already done, shell and devein your shrimp, keeping the tails on. Set aside.
  • Set a pot with 8 cups of water to boil with 1 tbsp of salt.
  • While water is boiling, make the cocktail sauce! Mix together ketchup, horseradish, and soy sauce. Feel free to use more or less horseradish depending on your tastes. Refrigerate.
  • When water has come to a boil, add shrimp and gently stir to ensure all shrimp are submerged.
  • Boil for on medium heat for about 3 minutes until shrimp are pink and cooked through. Prepare bowl of ice water.
  • Immediately transfer to bowl of ice water to stop shrimp from cooking.
  • Drain shrimp and pat dry to prevent shrimp from getting mushy. Transfer to another container and put in the refrigerator for at least 2 hours.
  • Remove cocktail sauce and shrimp from refrigerator, arrange as desired, and serve!

Have some other holiday sides like Honey Balsamic Roasted Brussels Sprouts or Creamy Mashed Potatoes.