One Week Alaskan Cruise (May 2022)

Itching to travel, I booked a cruise with my family to Alaska in November 2021. I’ve always wanted to go to Alaska and after doing some research, booking an Alaskan cruise is one of the best ways to do it. If you are going to ever do a cruise at all, Alaska is one of the best destinations. You are able to see southwestern Alaska, an area that is mainly only accessible by boat or plane, and it provides activities for any kind of vacationer. You can have a lounge-y relaxing trip by staying on the boat and just seeing the ports you stop at, or you can find an adventure at each town.

I booked a 7-day cruise out of Seattle with Norwegian Cruise Line. Beware with booking and paying in full! Once you have paid in full, you cannot get any price adjustments on your cruise, even if the price drops later. My cruise price ended up decreasing almost $600 a person, but I was unable to get an adjustment. We were only awarded 50% credit for the next cruise we book, if we book another. We received about $300 travel credit per person.

We traveled on the Norwegian Bliss out of Seattle, WA with stops in Sitka, Juneau, Icy Strait Point/Hoonah, Ketchikan, and Victoria BC.


Food
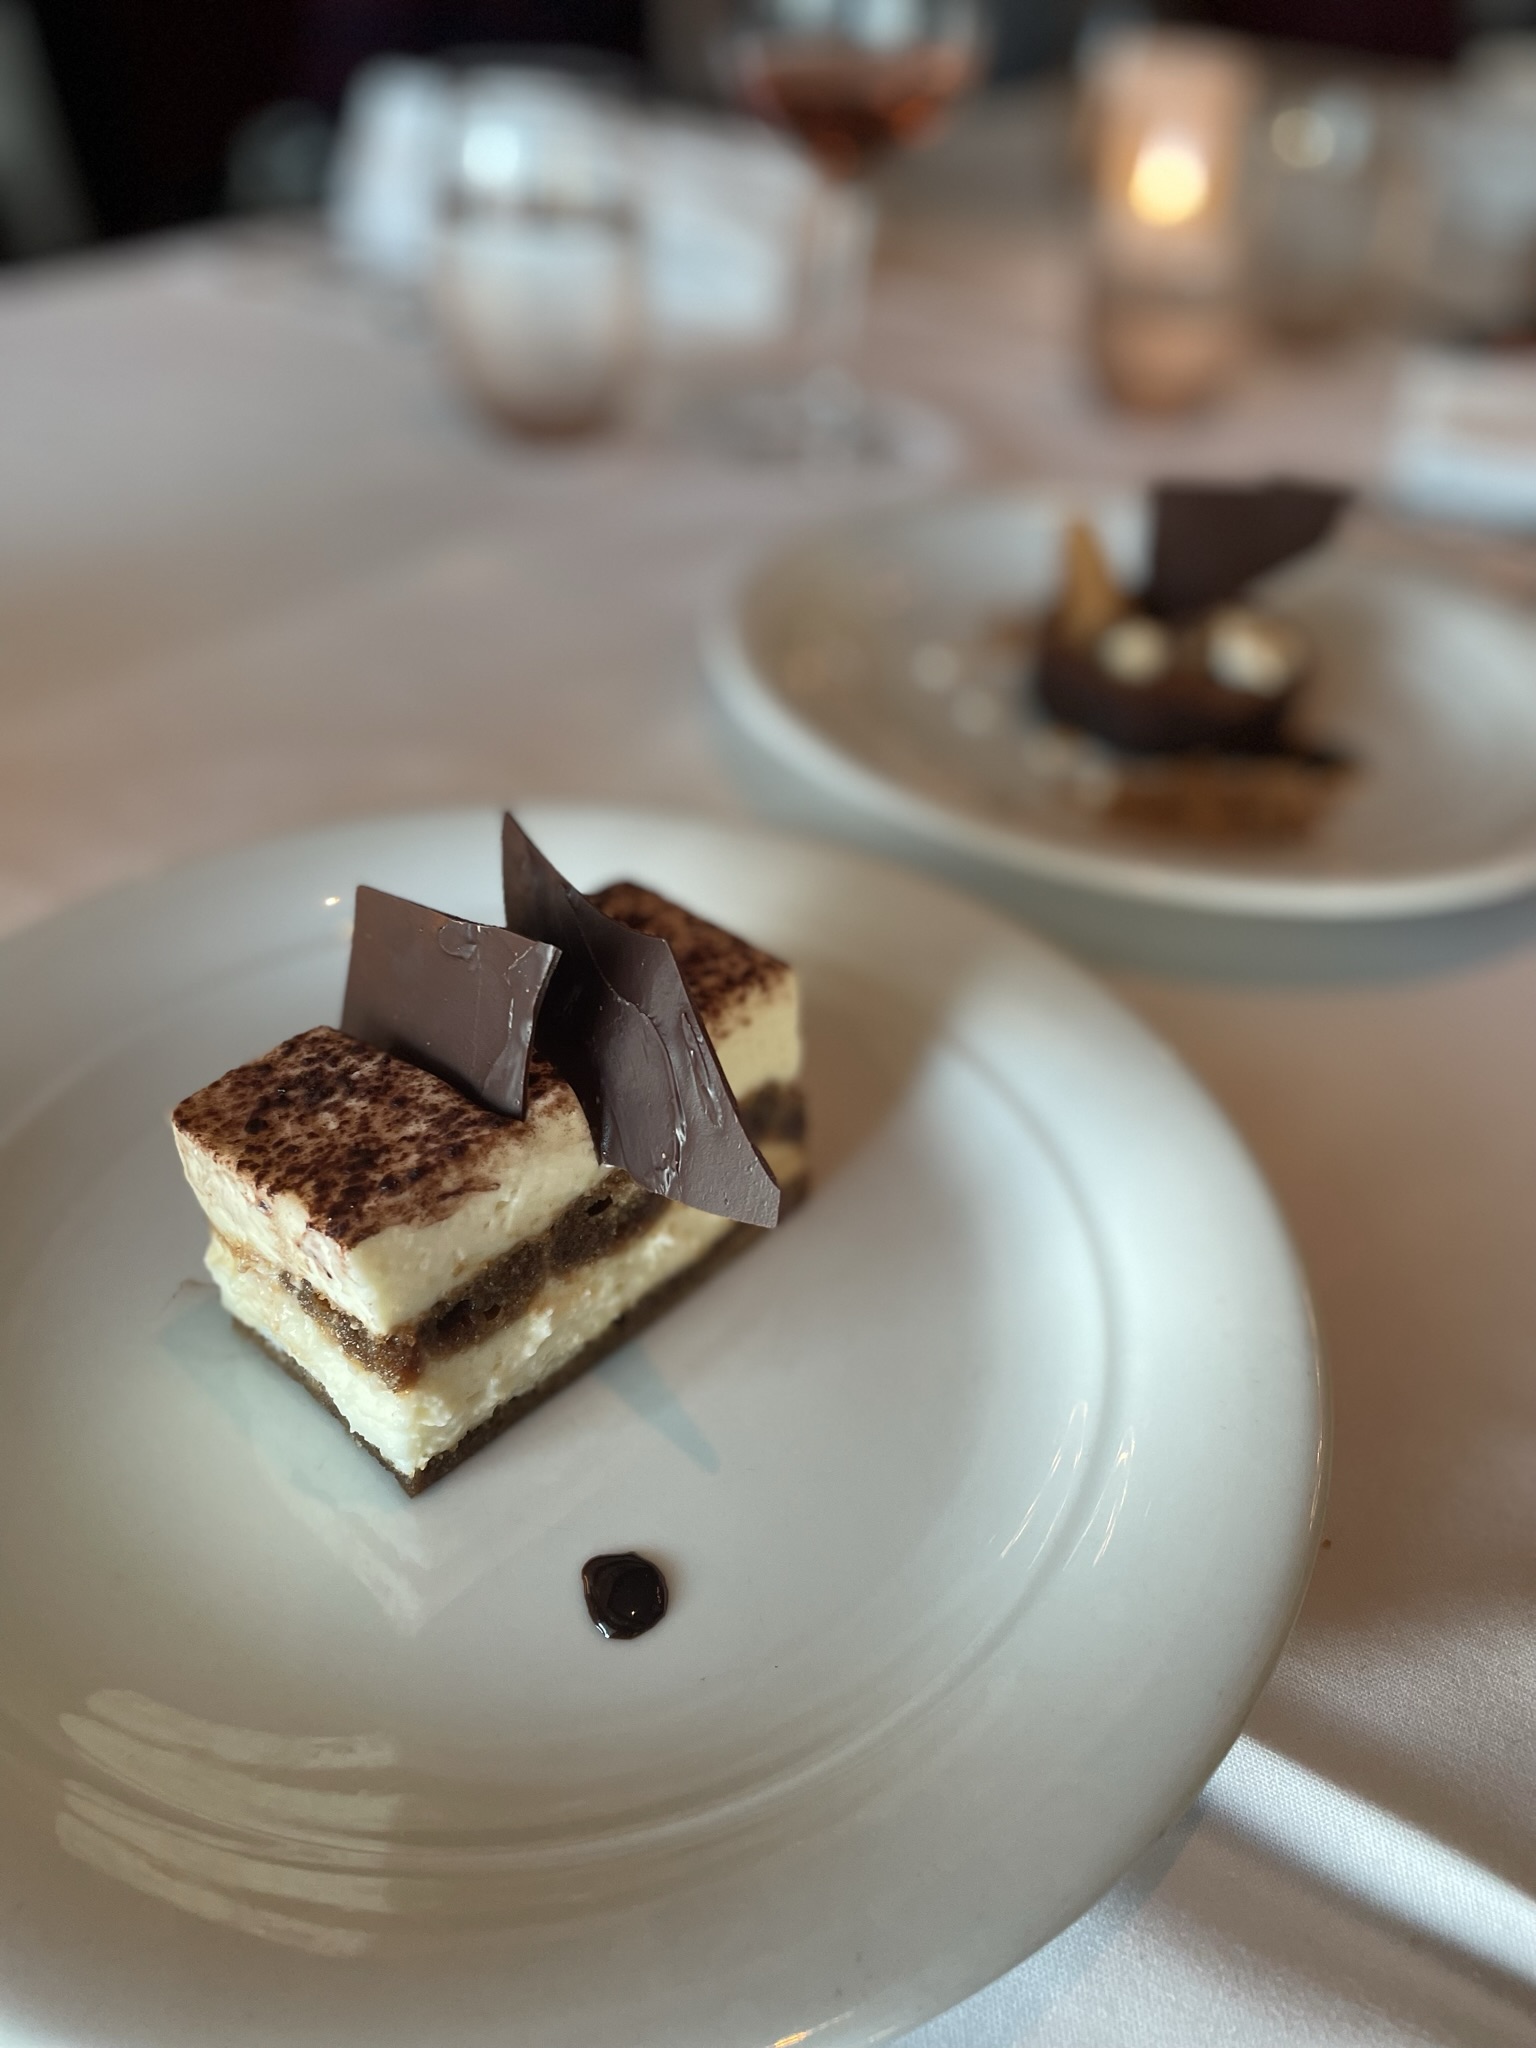

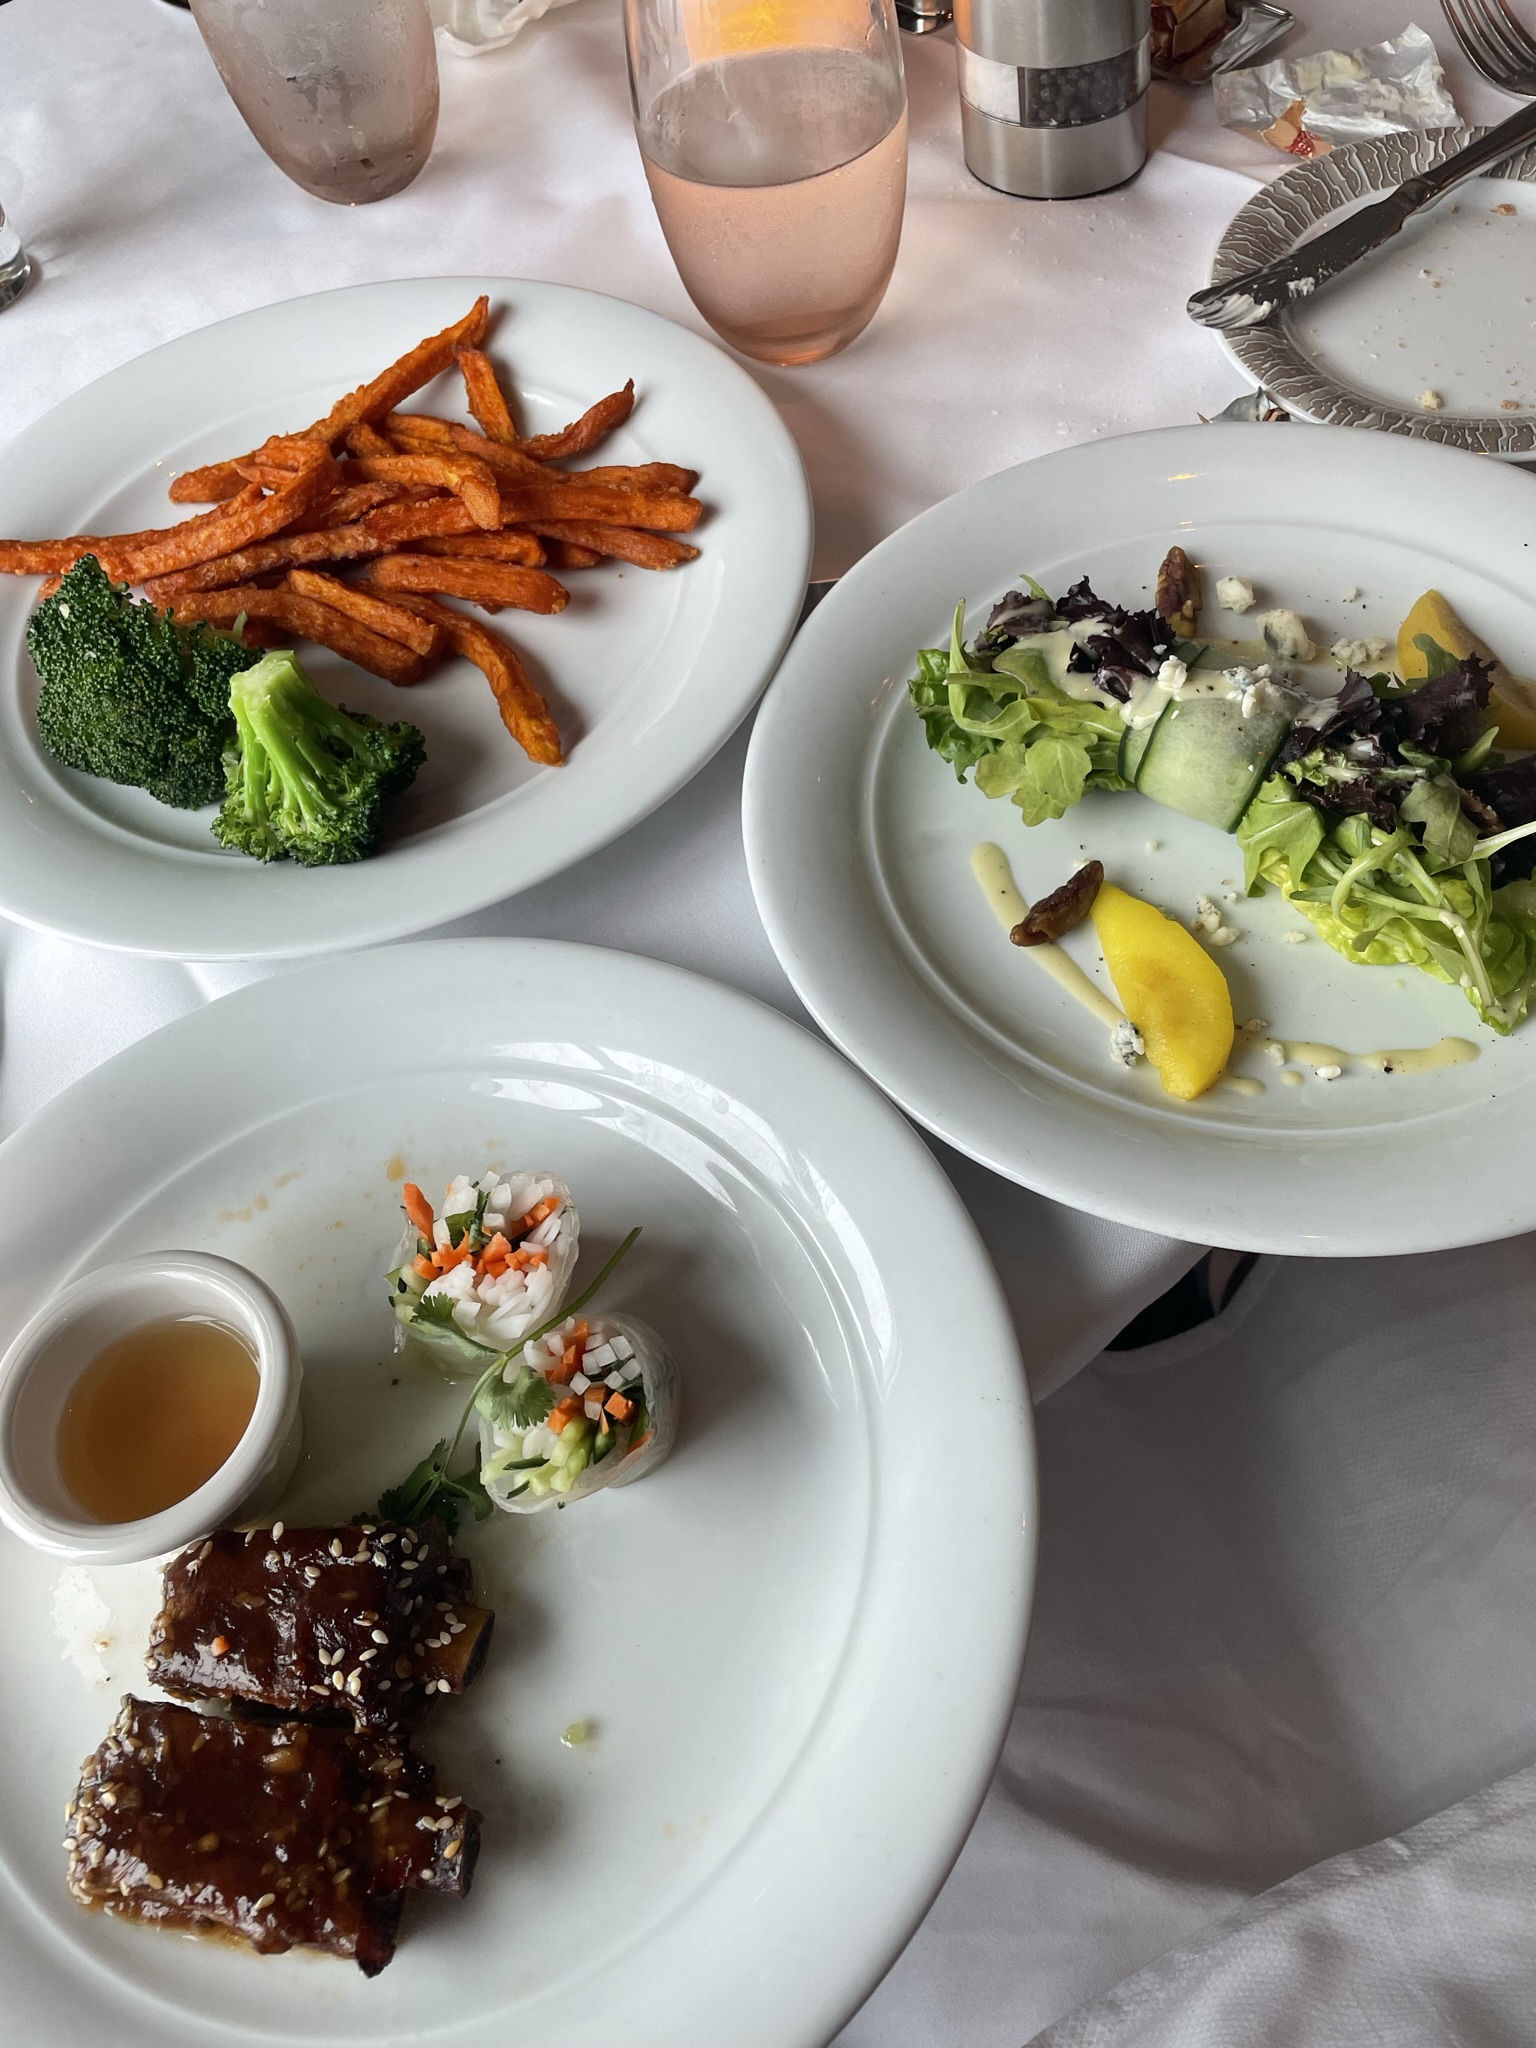
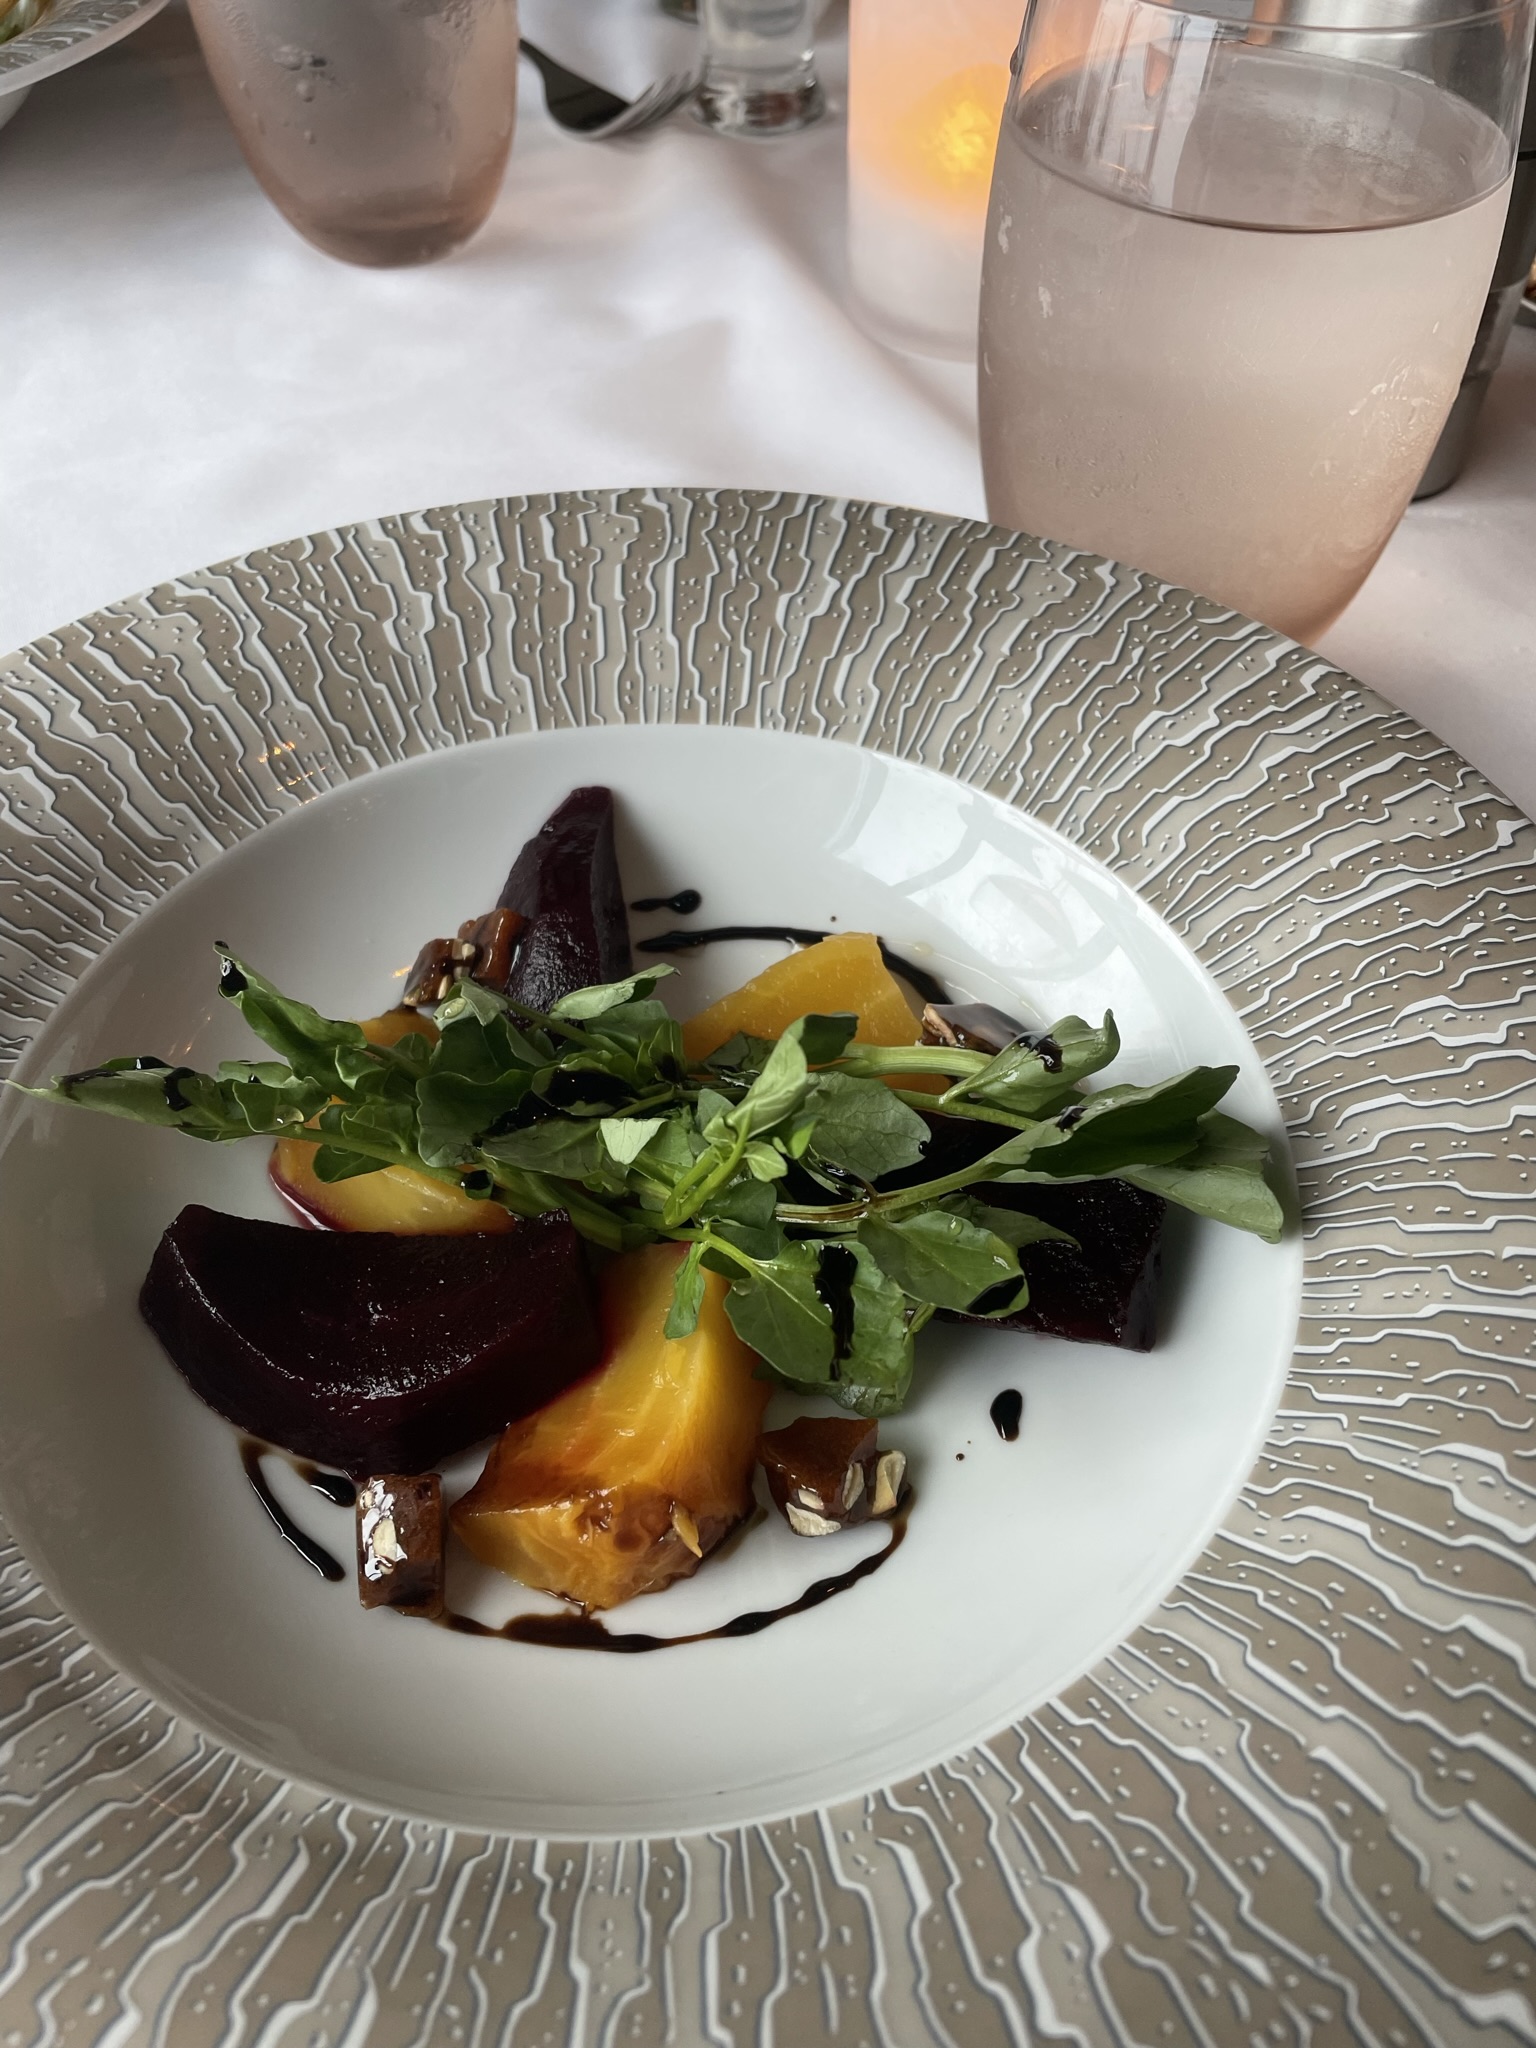
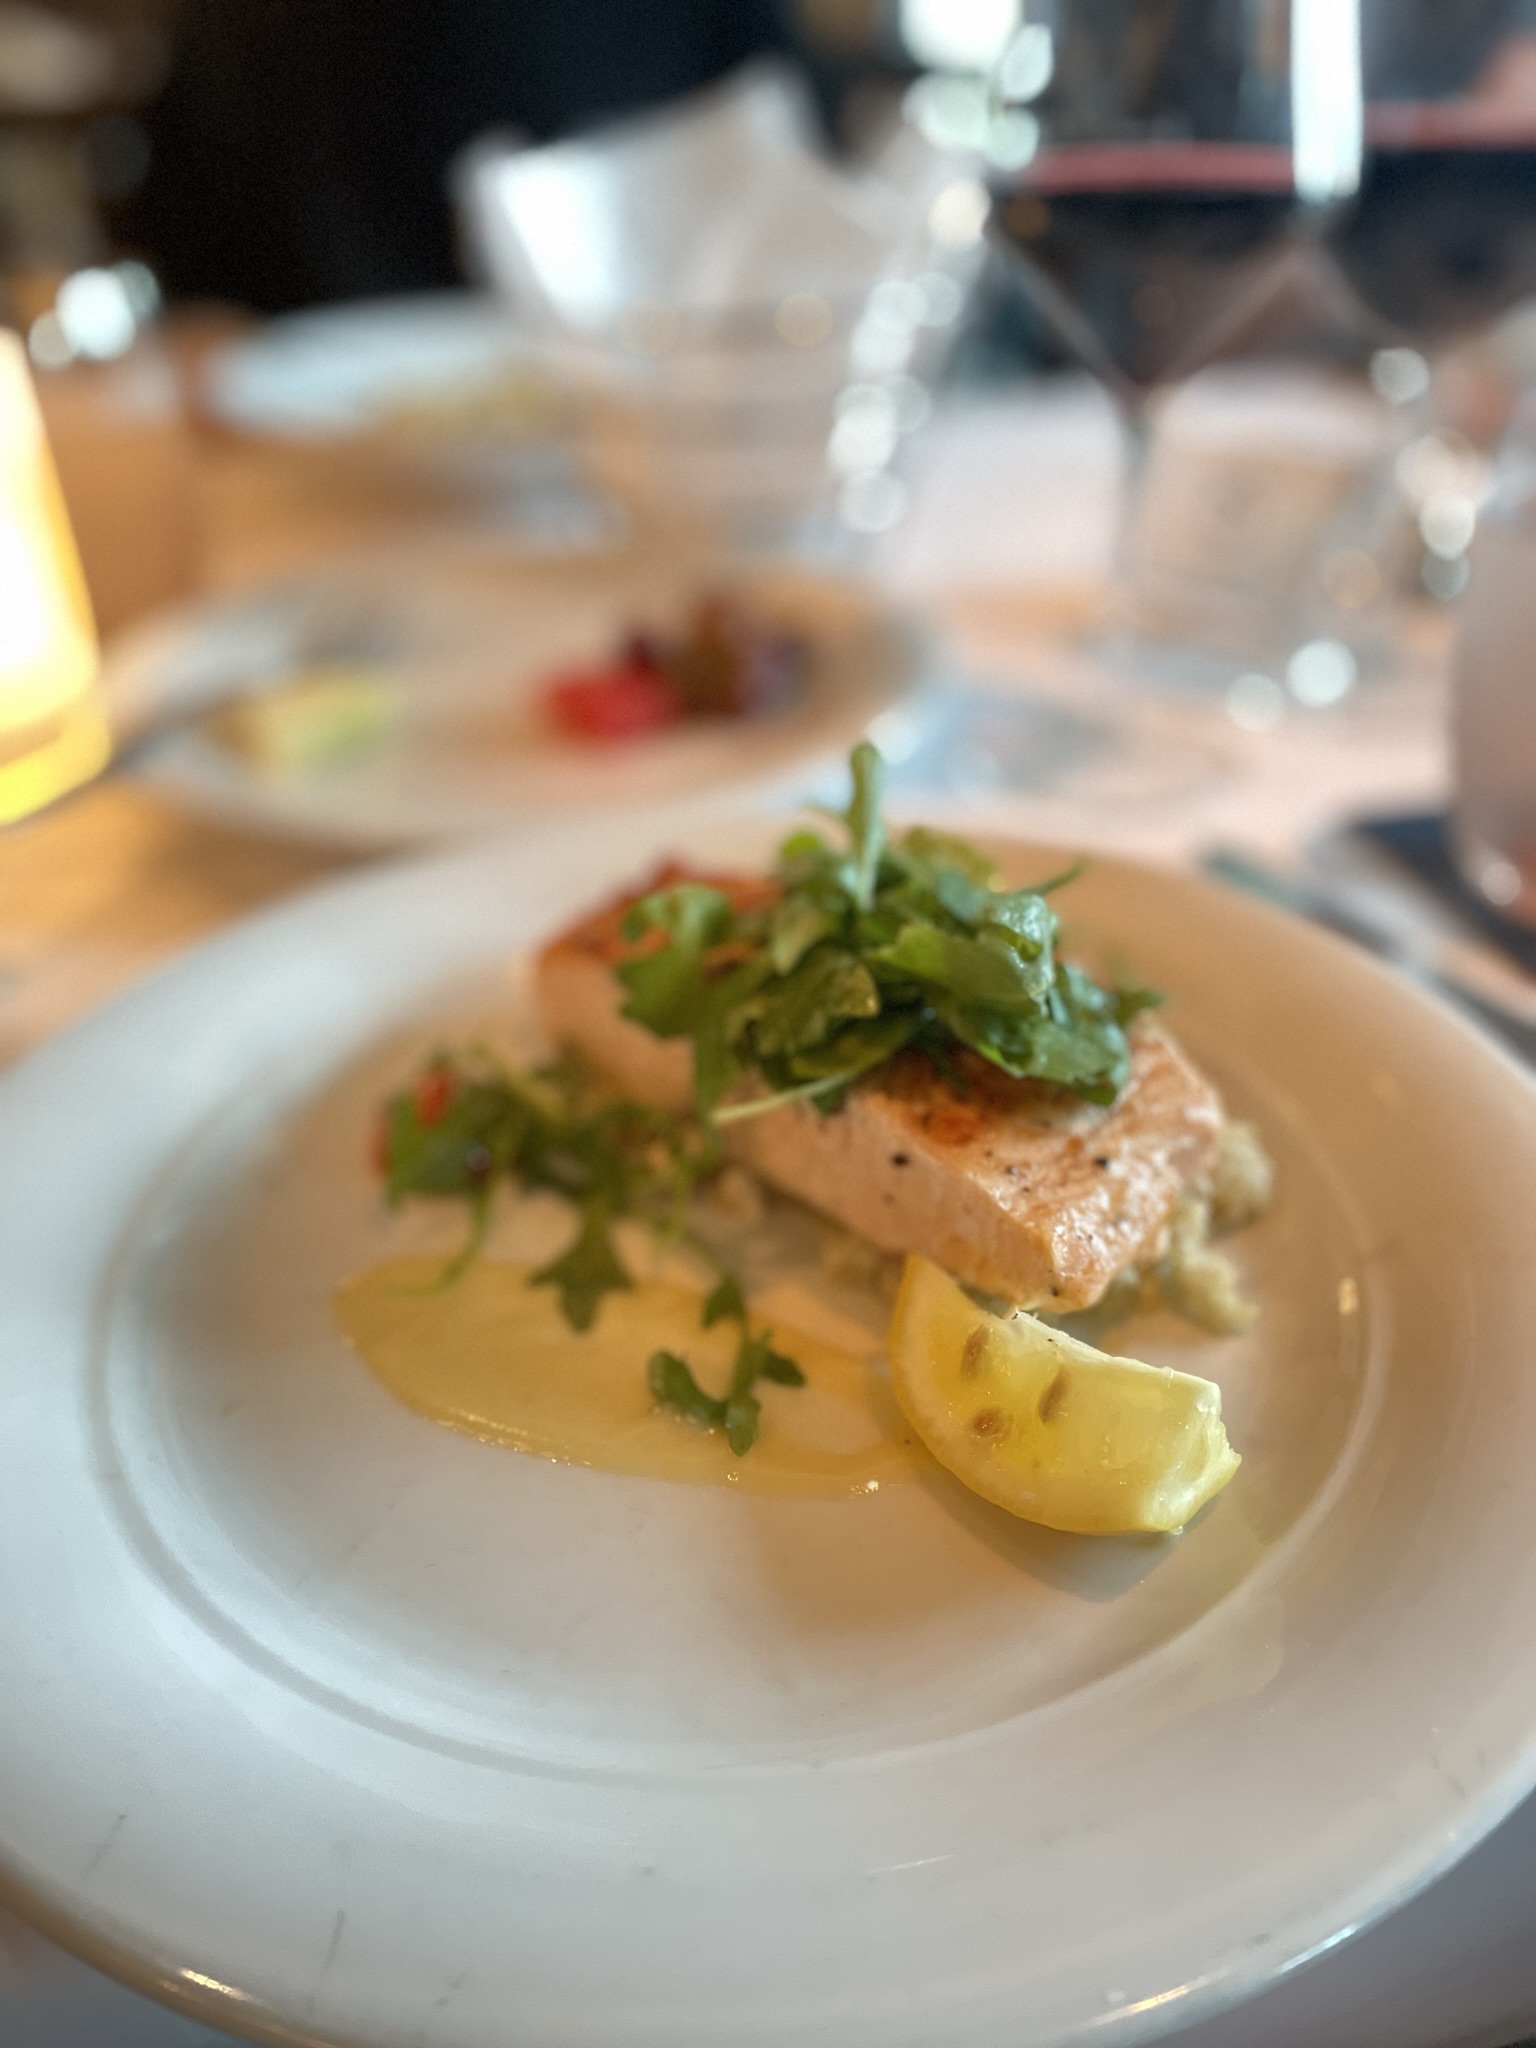
Honestly, food was not what I was expecting. There is certainly plenty of food available and more than you could possibly consume, but not at the quality I was expecting based on my past cruise experience with Royal Caribbean.

For complimentary dining, you could eat at a few sit-down restaurants or at the buffet. The buffet was always extremely overwhelming and food options weren’t well spread out across all the stations available. There were some items that were only located in the same area, causing long lines that would meander through the dining hall. It was difficult to find tasty, interesting vegetables to eat. There was generally a salad bar but it was difficult to find vegetables prepared in a more enticing way.

For the sit-down restaurants, the reservation system was confusing. If you had a reservation, you would still be asked to wait ~30 minutes before being seated. Fortunately, there were bars in front of all the restaurants, so we were able to get some drinks in while we were waiting. The sit-down restaurants were SLOW! Dinners at the sit-down dining rooms took about 2 hours for our 3 courses.

My favorite place to eat was The Local, a more casual sit-down restaurant, that had more bar-style food. It was always quick to get in, ordering was easy as the menu never changed, and the service was fast. They had the best wings and desserts.

There were also specialty restaurants you could make reservations to eat at as well. These places were smaller and the food was higher quality. You could purchase dining packages for credits to eat at these places or just pay a la carte. Our cruise package came with some specialty dining packages so we were able to experience a sushi restaurant and a teppanyaki restaurant, too!


Room


Depending on what kind of cruiser/vacationer you are, your choice in stateroom booking may differ! We had plans to explore as much of the ship and ports as possible, with minimal downtown in our rooms. We booked an inside stateroom. Inside staterooms have no windows and are completely dark with the lights off, except for some glow from the TV and other electrical devices. If you plan to spend most of your time away from your room, this is the most cost-effective option. It’s comfortable for two adults, but more people would get a little squishy. Children could be manageable, but I’d recommend a bigger room if trying to fit more people in.

If you are on the cruise for 100% cruise experience, I’d recommend getting a room with a balcony! Those are so dreamy and beautiful, but beware that there are minimal hours of darkness on a summer Alaskan cruise… If you’re sensitive to light while sleeping you may regret this choice.


Itinerary

Sitka – the first and oldest city in Alaska

We were in Sitka on Memorial Day so we weren’t able to do everything that we planned to do. Originally, we planned to take the local bus (blue line) to Fortress of the Bear, but the buses were not running on the holiday.

Instead, we decided to go on a hike! Beware – this hike was not easy on the knees. We went for a little walk through a neighborhood and hopped onto the Sitka Cross Trail on Pherson St. It’s quite an incline if you go this way, so it might be easier to get on the trail from the Baranof St./Downtown Sitka entrance. Once we were on the trail, we continued walking to get to the Harbor Mt./Gavan Hill Trail. The trail was marked with plenty of signs, so it was easy to find which way we wanted to go. Most of the trail is very wide, so keep your eyes and ears open for any bikers. Once we started up the Harbor Mt./Gavan Hill Trail, we found that most of the way had been prepared with wooden steps. This made it easy to stay on trail but hard on the knees as we were coming down. We continued up the trail to the lookout point of Sitka. This hike was a lot of work! The trail continues, but hikers we met coming down let us know that there was plenty of snow, requiring microspikes. The lookout is beautiful on a sunny day. Don’t forget your sunscreen and take plenty of pictures!

We made our way down from the lookout and came out at the Baranof St./Downtown Sitka entrance. We walked along the pier and took in beautiful views of the water. There were a few shops in the main city center that we perused and a fry-bread stand and some food trucks.


Juneau – there are no roads that connect Juneau to the rest of Alaska or North America; it is only accessible by plane or boat

One goal we had in Alaska was to see a glacier. As we have all heard, glaciers are melting and water levels are rising. Who knows when all the glaciers will melt? After getting off the ship, we hustled to get onto our bus to Mendenhall Glacier in Tongass National Forest. We bought bus tickets via M & M Tours of Juneau. The Blue Bus ended up being about $50/person after taxes and was very convenient for our purposes. We were picked up from where the cruise shuttle had dropped us off to the parking lot near the visitor center. The drivers were amazing and provided fun facts on the drive. The price of the shuttle also includes your day-pass for visiting the glacier. We walked around the glacier look-out, the photo point, and did the 2 mile round-trip walk to Nugget Falls. Don’t forget to stop inside the Visitor Center too! Plenty of cute souvenirs and a great learning opportunity to understand more about the glacier and how it’s changed over time.

After spending the morning exploring the glacier, we were hungry! We took the Blue Bus back to town and got in line for Tracy’s Crab Shack. Tracy’s sells a few varieties of Alaskan King crab and other types of crab as well. They have their main crab operation outdoors, so you can see them tossing the massive crab legs into their vats of boiling liquid. We had some King and Dungeness crab to share, and it was divine! After stuffing ourselves, we had to take a walk around town. It was a hot day, so we cooled down with some ice cream from the Alaskan Fudge shop.


Icy Strait Point/Hoonah – Icy Strait Point is privately owned by Alaskan Natives with ties to Hoonah

Icy Strait Point and Hoonah didn’t quite have as many accessible trails or activities within walking distance, so we decided to participate in one of the cruise ship’s excursions. Our trip package offered $50 off an excursion, so we booked the backcountry Jeep tour. It gave us a chance to see more of the area than we would have been able to see on our own and was a nice break from two days of lots of walking.
We had booked the excursion prior to the cruise, so the tickets were already waiting for us in our rooms when we had arrived the first day. The tickets were very clear on where and when to meet. We checked in at the meeting point and walked just a short distance to get to the Jeeps. Our group of 8 perfectly split between two Jeeps and we were off! Our guide provided fun facts and information through the radio as we were driving. It was so beautiful seeing the nature and wildlife.

I would recommend booking an excursion or some kind of tour if your ship also plans to stop here. Icy Strait Point was developed to be a tourist destination and there is not much else to do outside of exploring the cannery. The few restaurants and cafes close early or have odd hours in which they are actually open. All the restaurants we tried were already closed or no longer accepting orders at 1 PM.


Ketchikan – home of the highest zip code in the US: 99950

The Misty Fjords, about 40 miles of Ketchikan, is what Bob Ross dreams of. The scenery so incredible that it looks fake when you take a picture of it. I knew this was something I wanted to see with my family, so I researched the best ways to experience it. I booked a seaplane with SeaWind Aviation and we were ready to fly!

SeaWind picked us up right at port, so we didn’t have to bother with getting on the shuttle to get into town. Communication was so prompt and professional. All my questions were answered and our pilot was so experienced that I had no concerns about getting into a tiny aircraft. We opted for a 1.5-hour flight with a landing in the fjords. Once we landed, looking at the surroundings was surreal. This was the highlight of the entire trip. We were able to take in the landscape and see plenty of wildlife like swimming deer and black bears.

After the flight, we were dropped back off in downtown Ketchikan. We spent the rest of the day gushing over the amazing seaplane experience, sampling some smoked salmon, and buying all sorts of souvenirs.


Victoria BC – known as the City of Gardens

Unfortunately, we were only in Victoria for a few hours in the evening. Catching a shuttle to downtown took the most time. This was the only stop on our cruise where there was no complimentary shuttle. When you get off the ship, there are many signs for the shuttle line or to purchase tickets for a different tour. We got on the shuttle to downtown Victoria, costing us about $10/person. It gave us just enough time to walk around the downtown area and see Chinatown, the Empress Hotel, and the Parliament Buildings.

Overall – Alaskan Cruise

This was an amazing experience, and I am so happy I was able to share it with family and close friends. I probably wouldn’t go on a cruise again just because there are still so many other places to explore, but I would highly recommend it for others! I definitely want to return to Alaska to visit the more northern cities and go to the other national parks like Denali or the Kenai Fjords.

Blueberry Rhubarb Jam

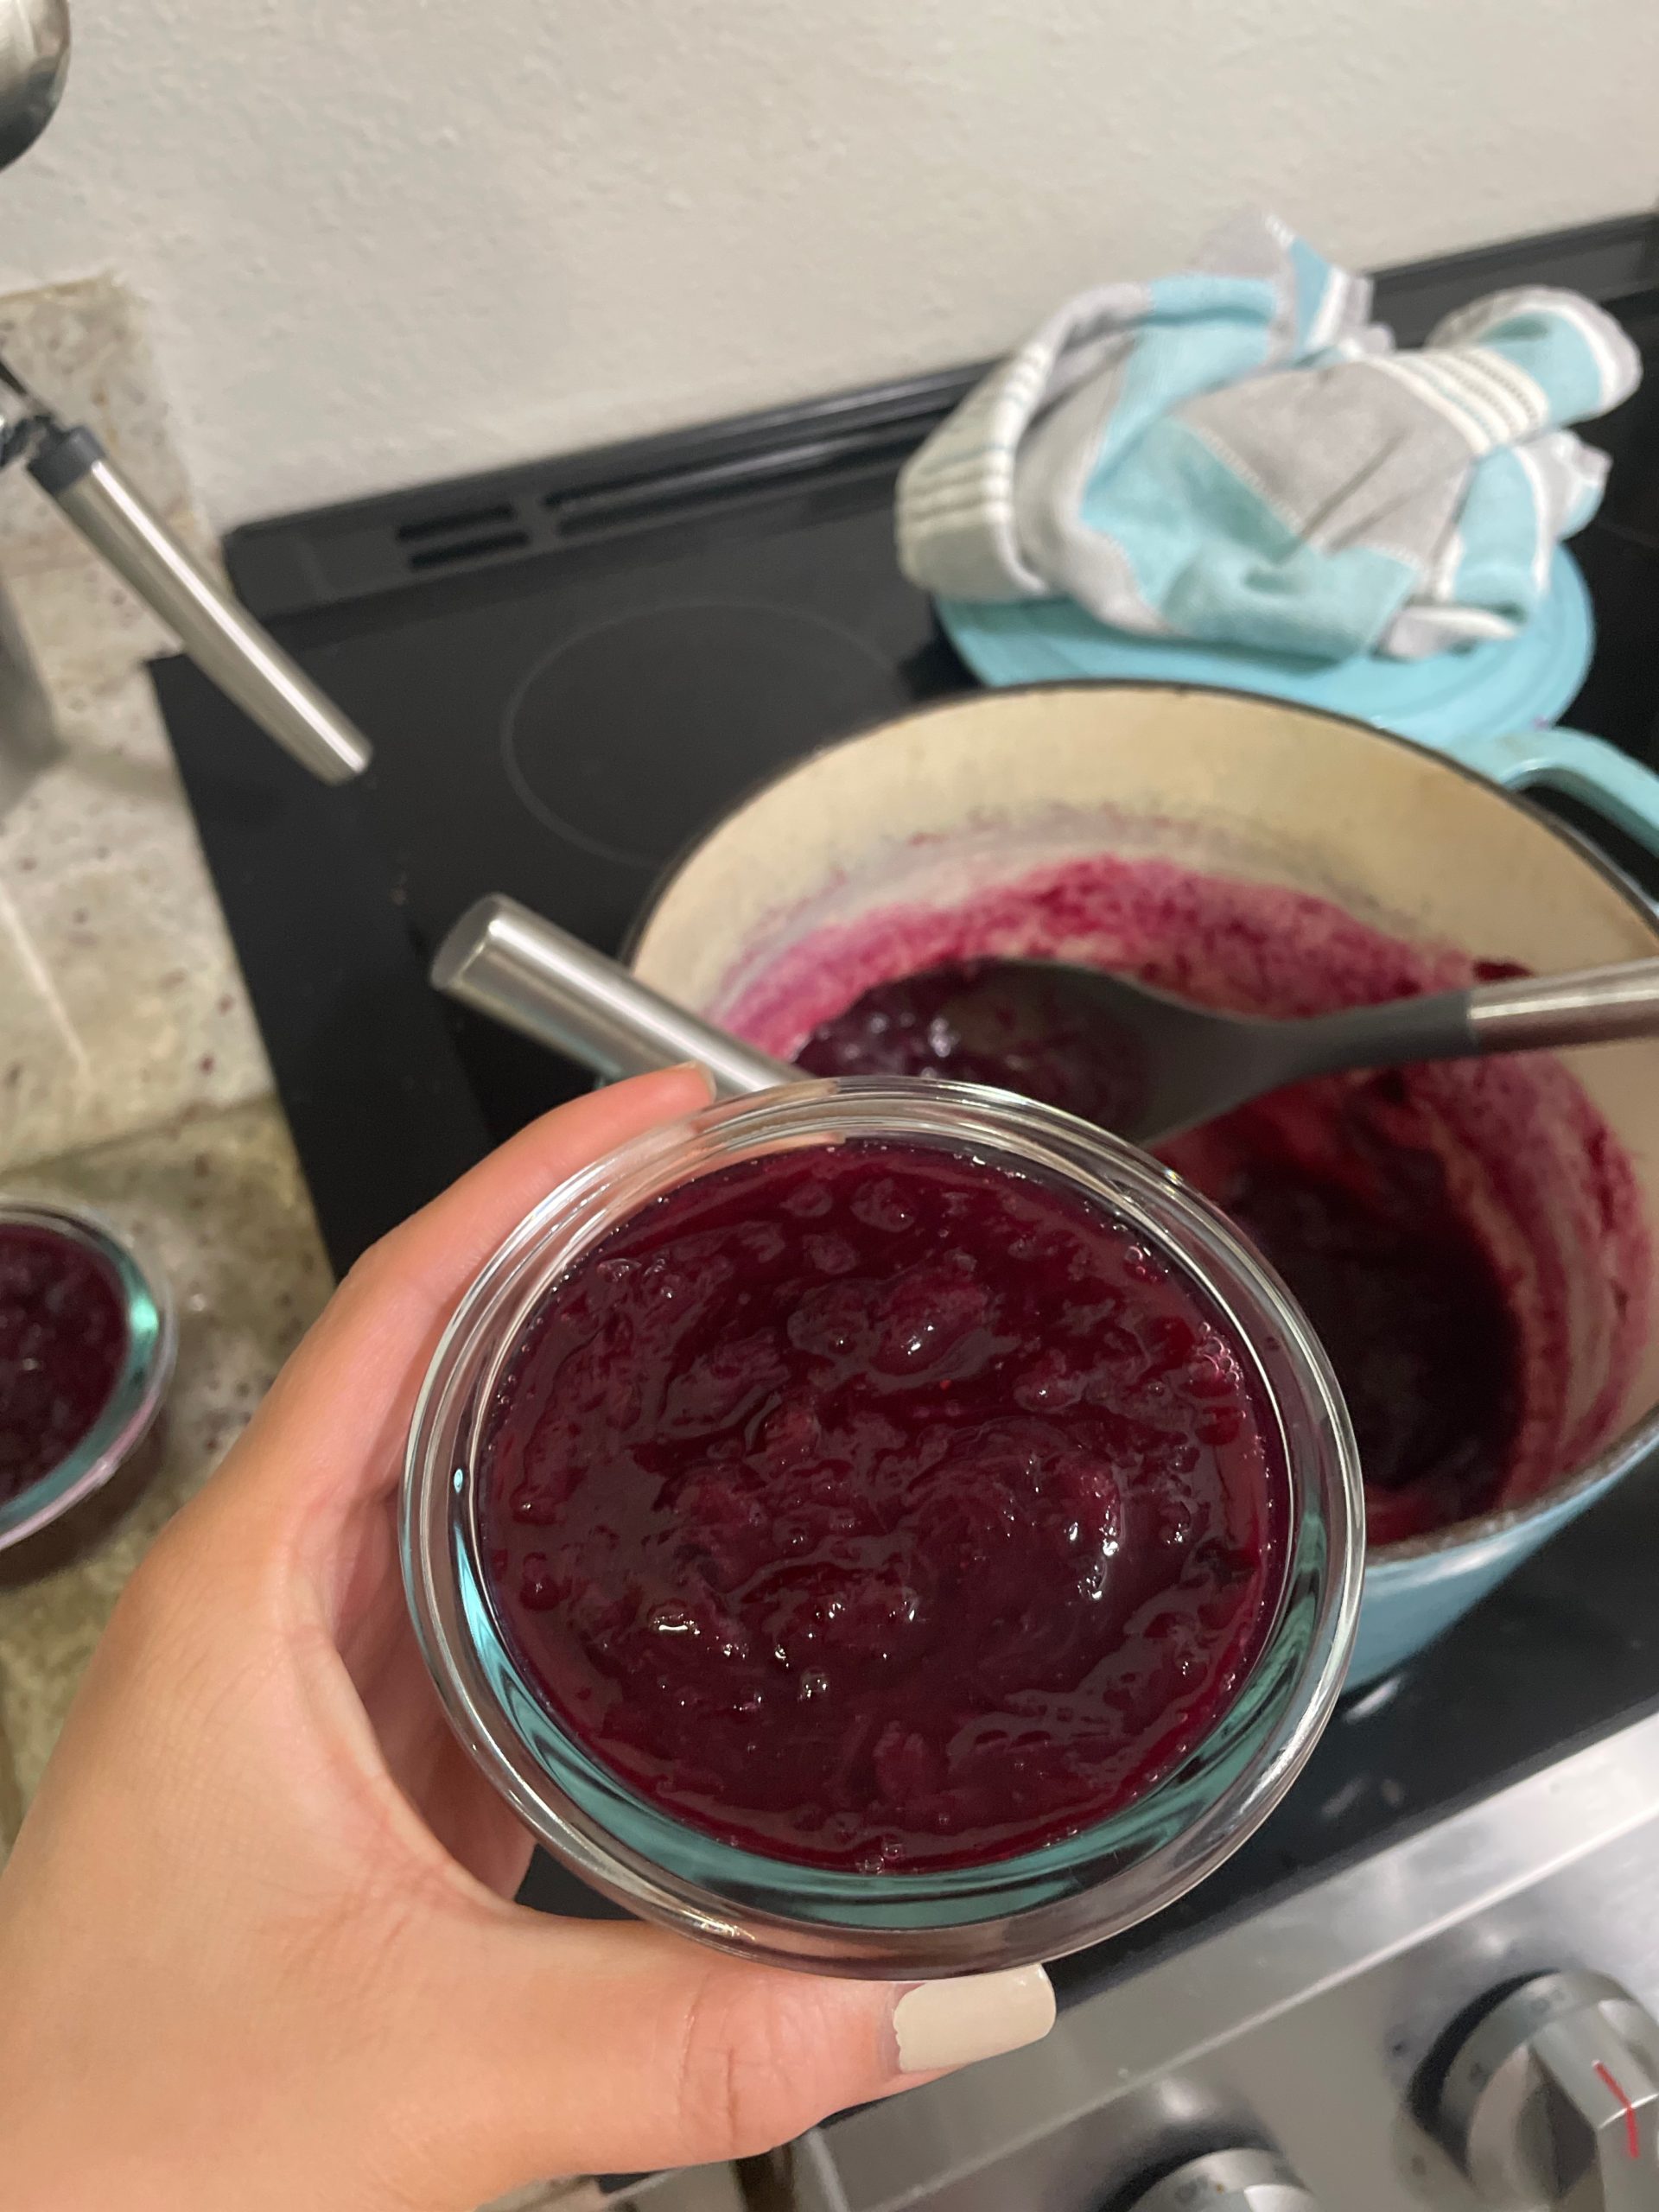
With rhubarb in season, I’m getting rhubarb left and right from friends and neighbors! With all this excess, jam is the perfect way to preserve all the extra rhubarb. This sweet and sour jam is lovely for a cake filling, swirled into a loaf, or on a slice of bread.

Ingredients

Rhubarb – Be careful! The leaves of rhubarb are poisonous when consumed. Use only the stalks. When eaten raw or cooked, rhubarb stems add a lovely tartness to your jam. No additional acid like lemon juice needed to balance your jam.

Blueberries – Blueberries give some sweetness to your jam and are a beautiful color! I had blueberries on hand, but you can swap for any other berry or fruit you might fancy. Swap with the most popular rhubarb combination, strawberry, or try others like raspberries or marionberries.

Blueberry Rhubarb Jam

Print Recipe
This sweet and sour jam is lovely for a cake filling, swirled into a loaf, or on a slice of bread.
Course Dessert
Keyword blueberry, jam, rhubarb

Ingredients

  • 2 cups rhubarb
  • 1 cup blueberries
  • 1/2 cup sugar
  • 1/4 tsp salt

Instructions

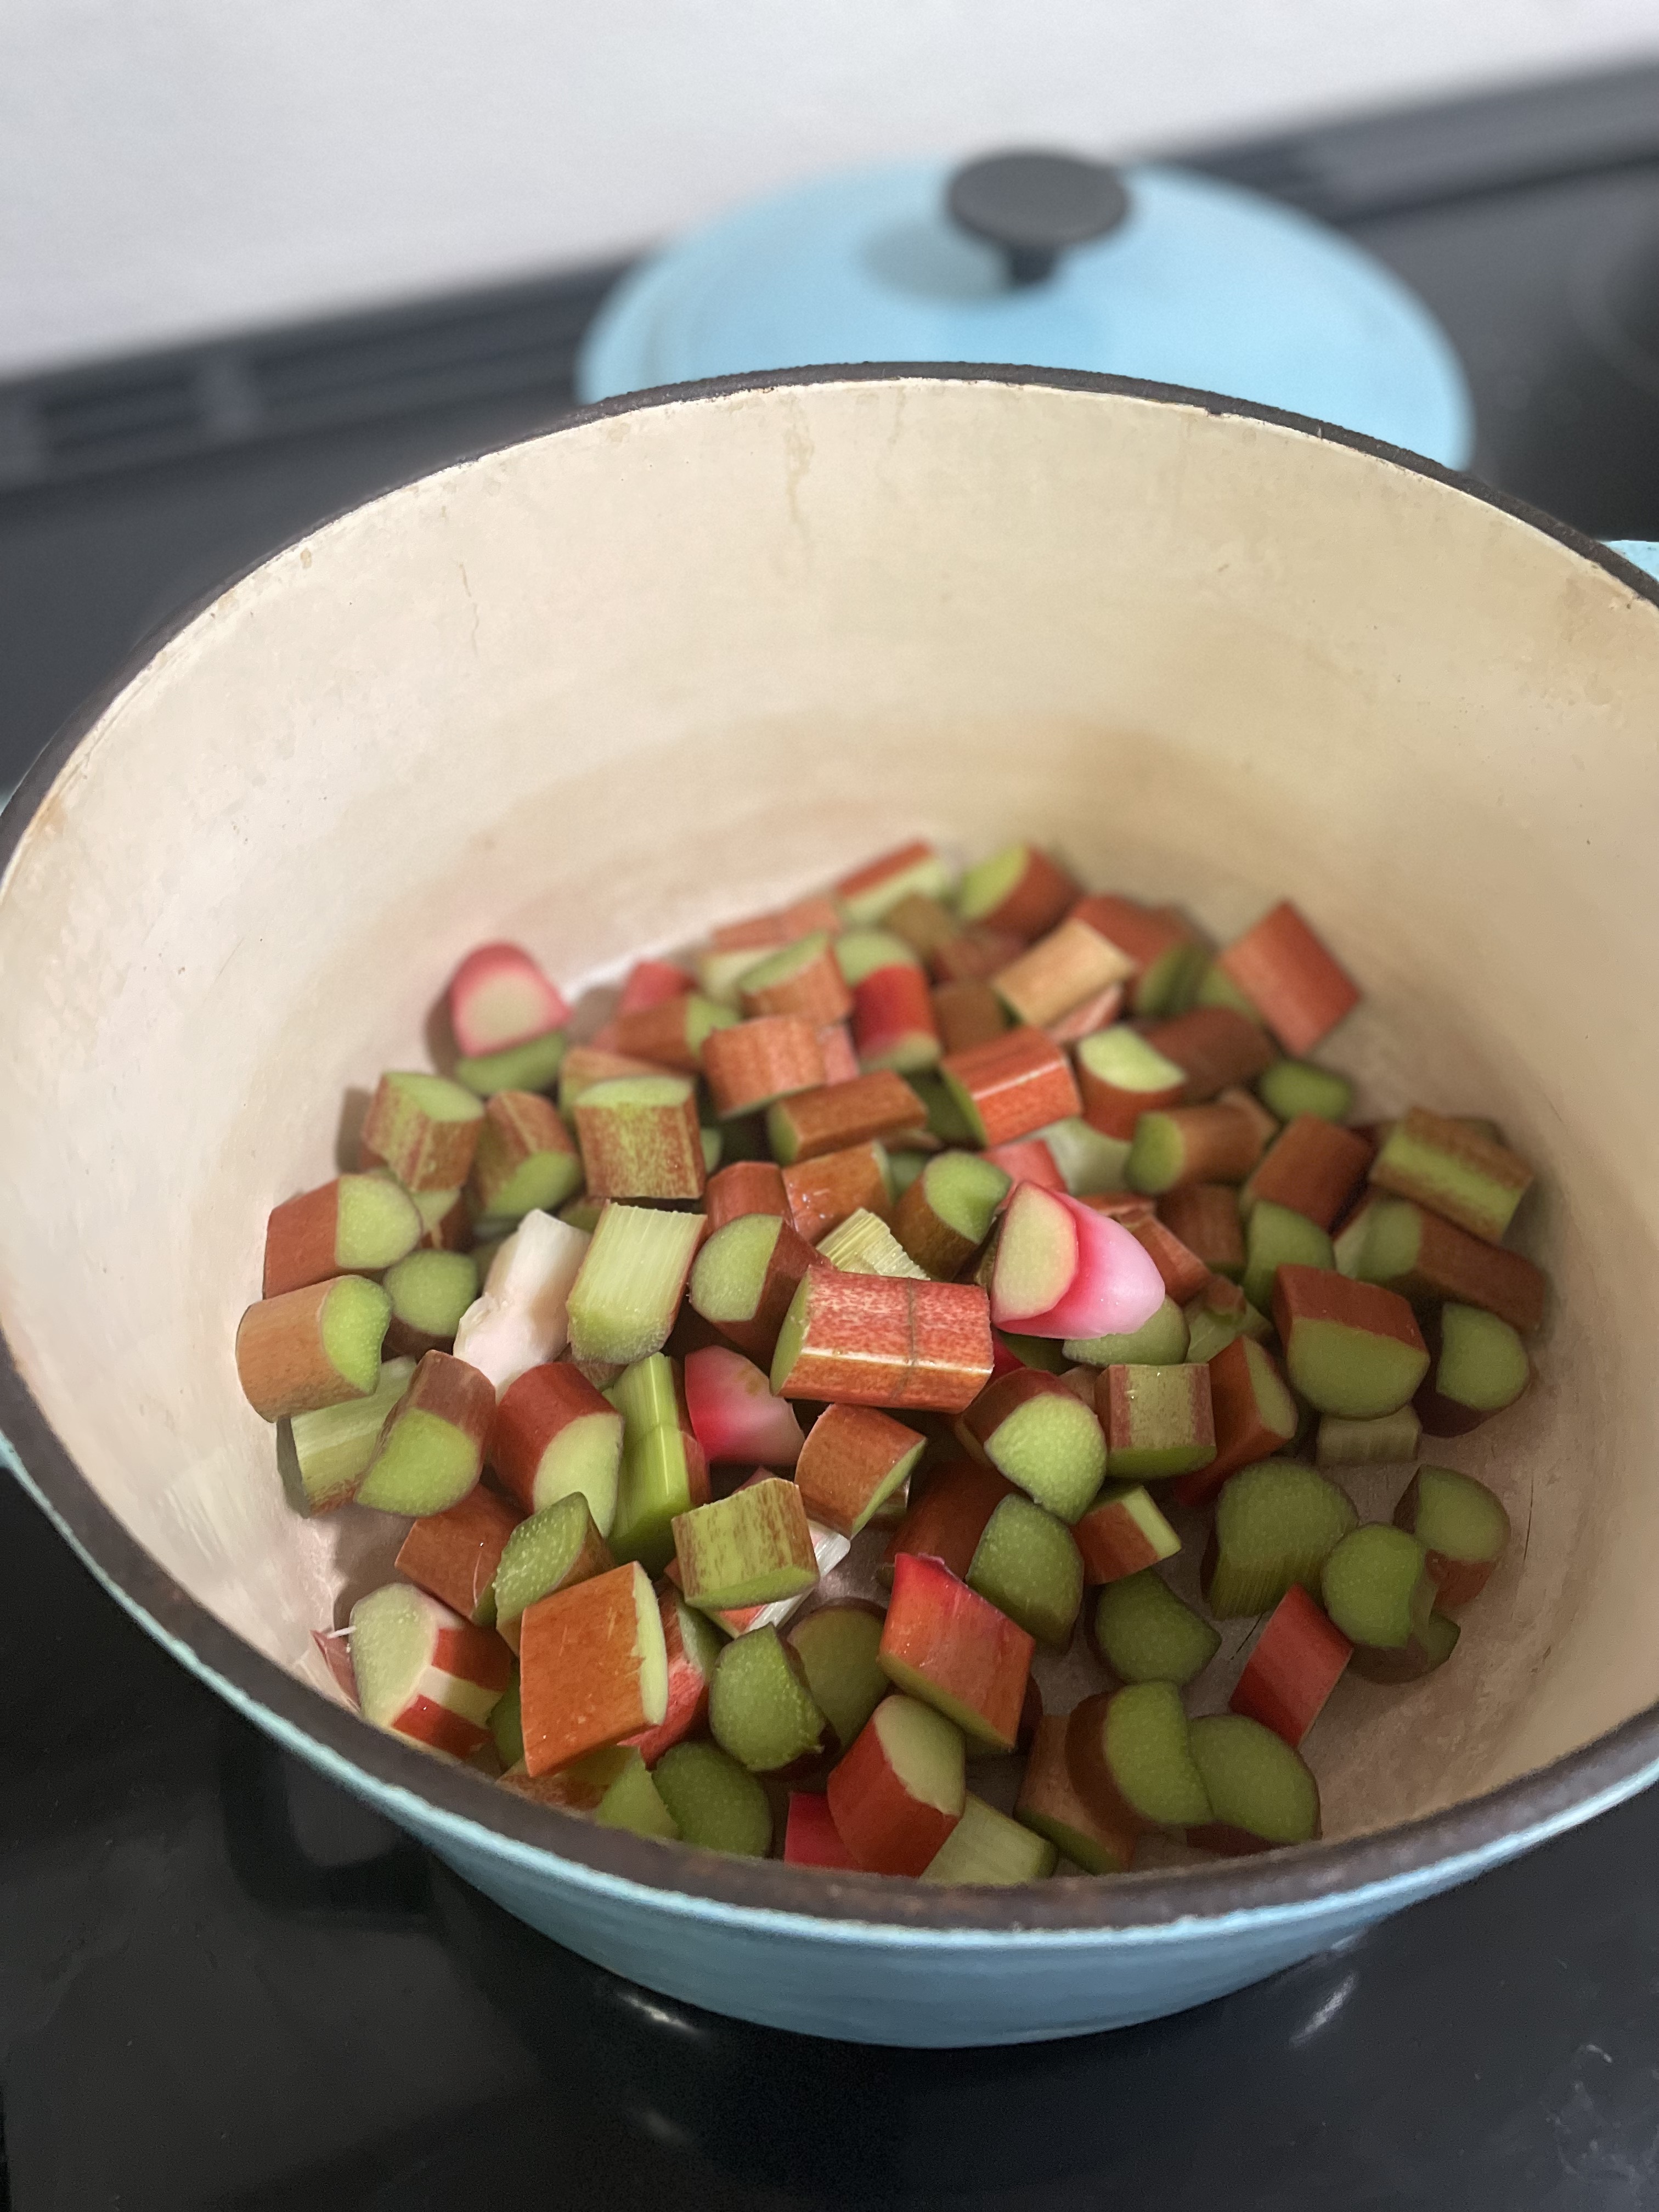
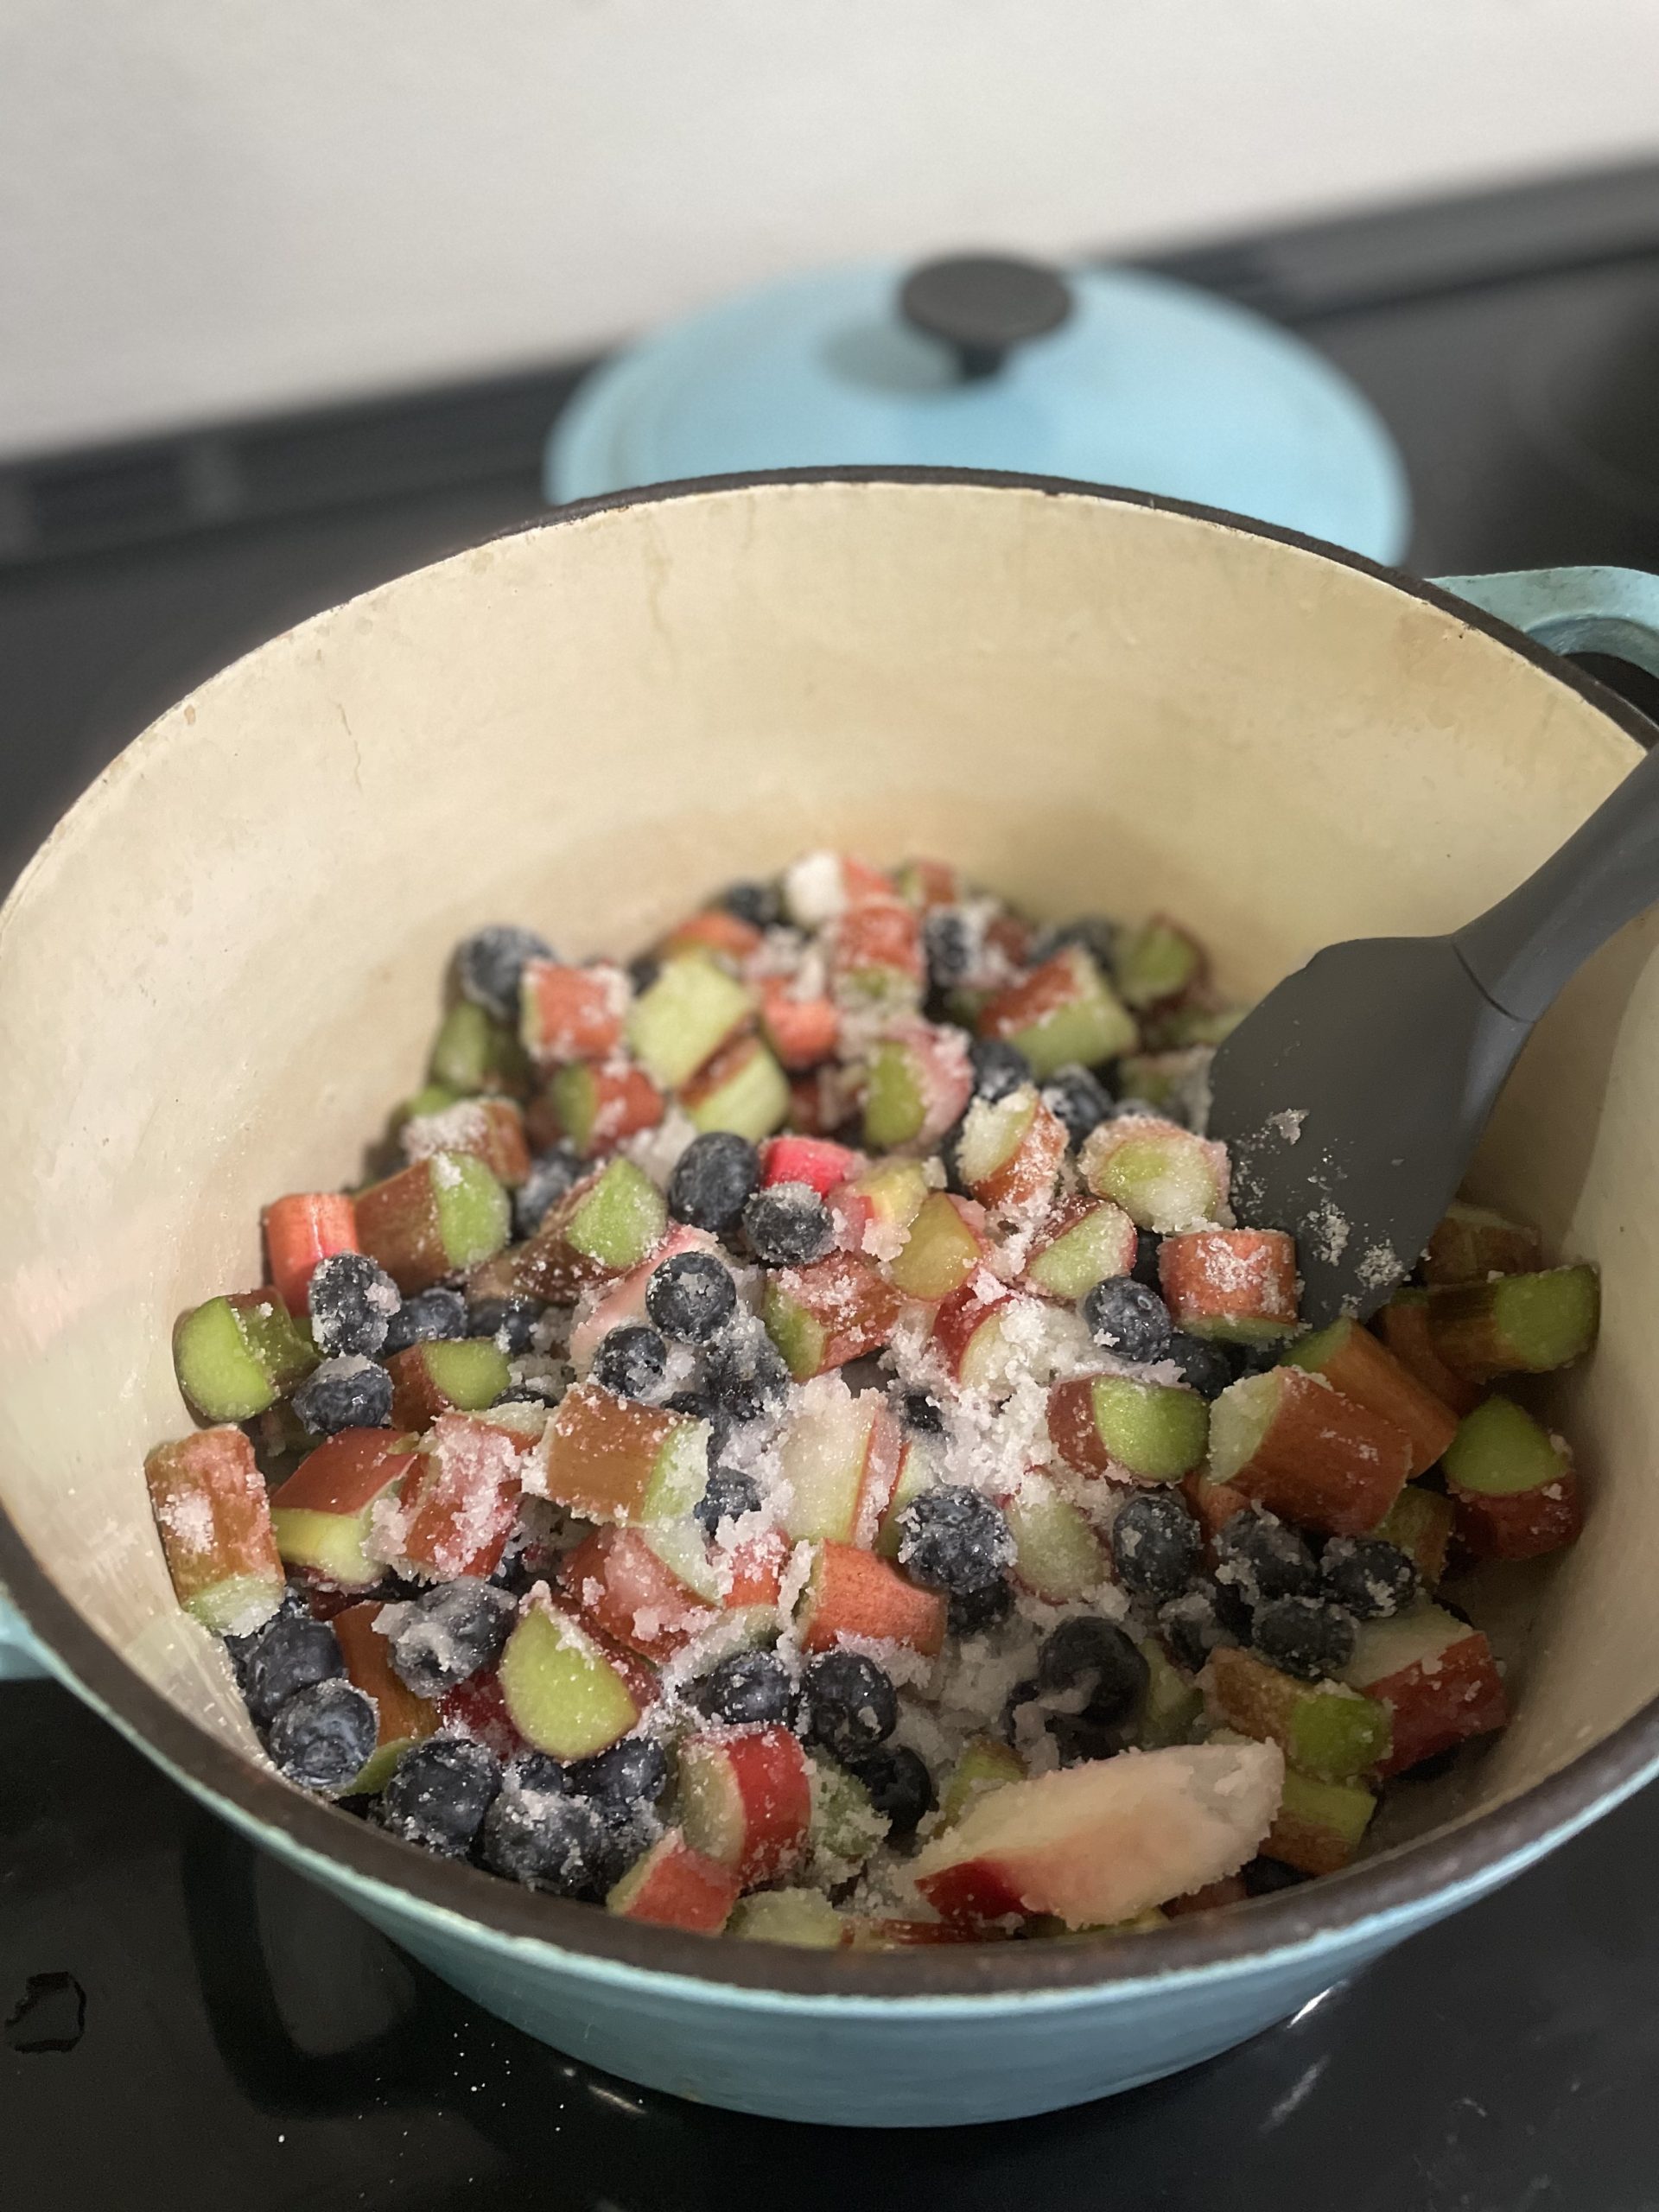
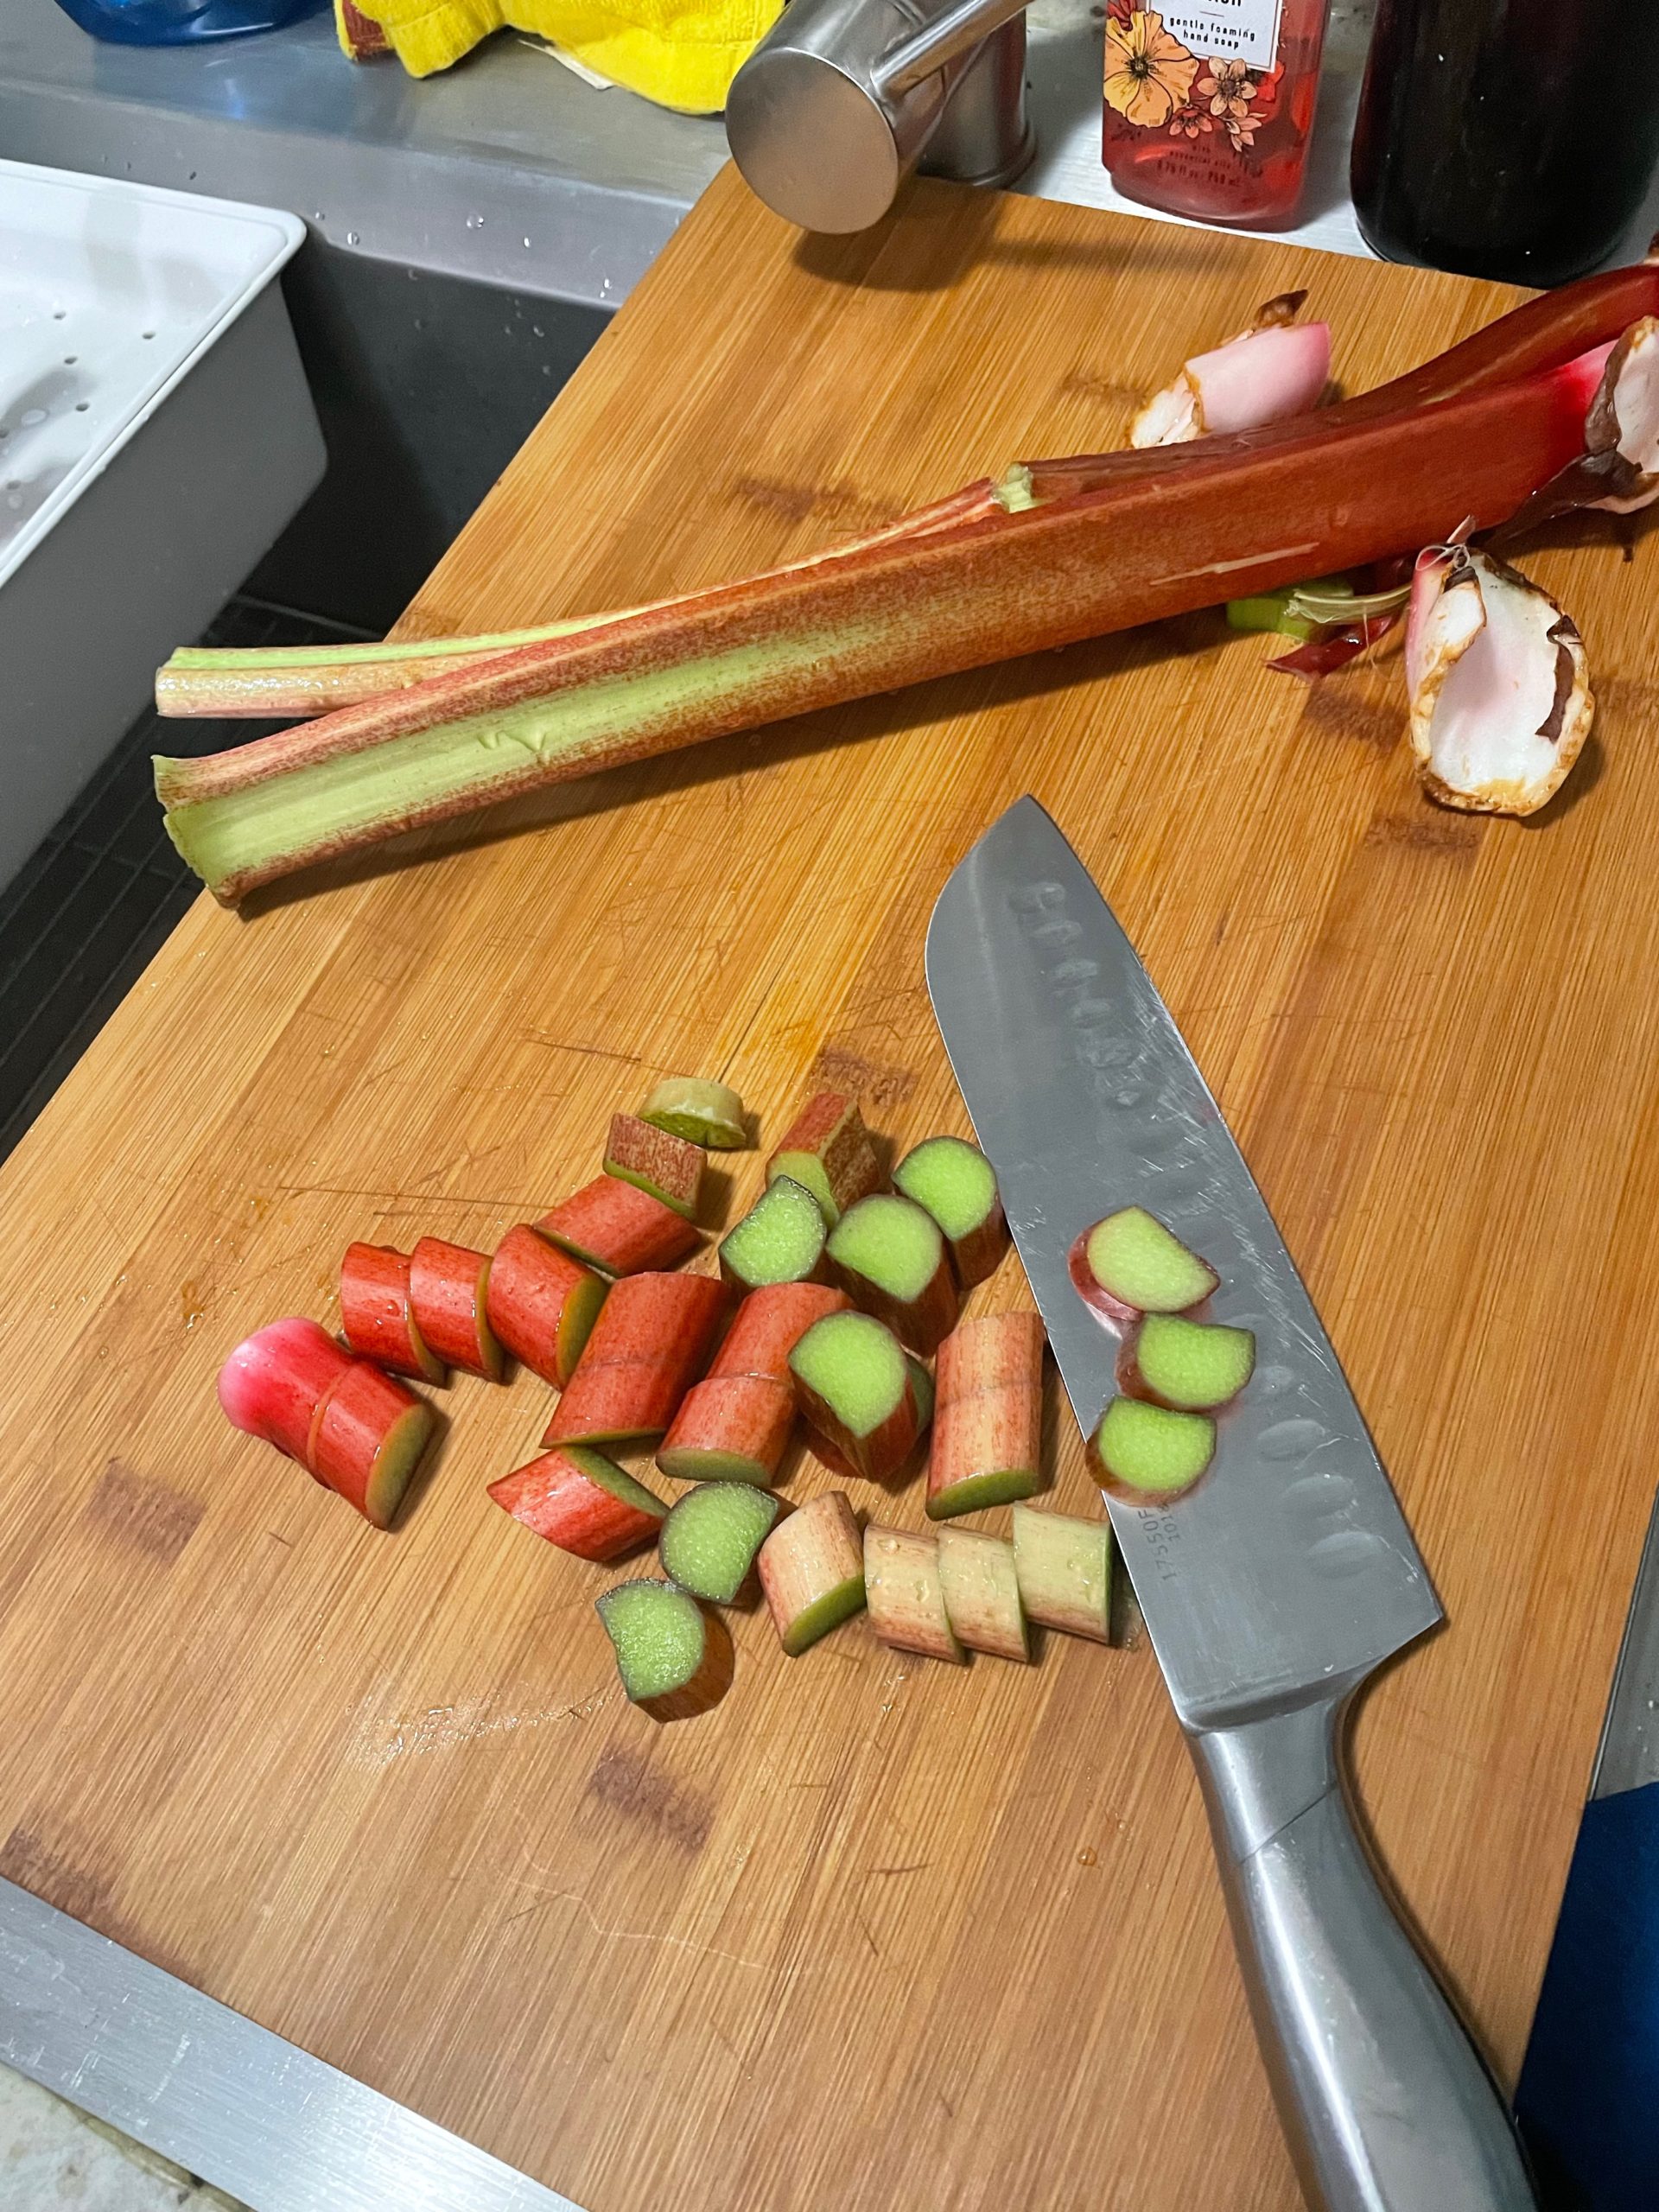
  • Wash, trim, and cut your rhubarb. I cut mine into various shapes and sizes so that there would be various textures in the jam after it cooked down. Feel free to cut into any size you desire as long as you can fit it in your mouth!
  • Add rhubarb, blueberries, sugar, and salt to a heavy bottom pot and stir together.
  • Put on medium heat until mixture starts to simmer.
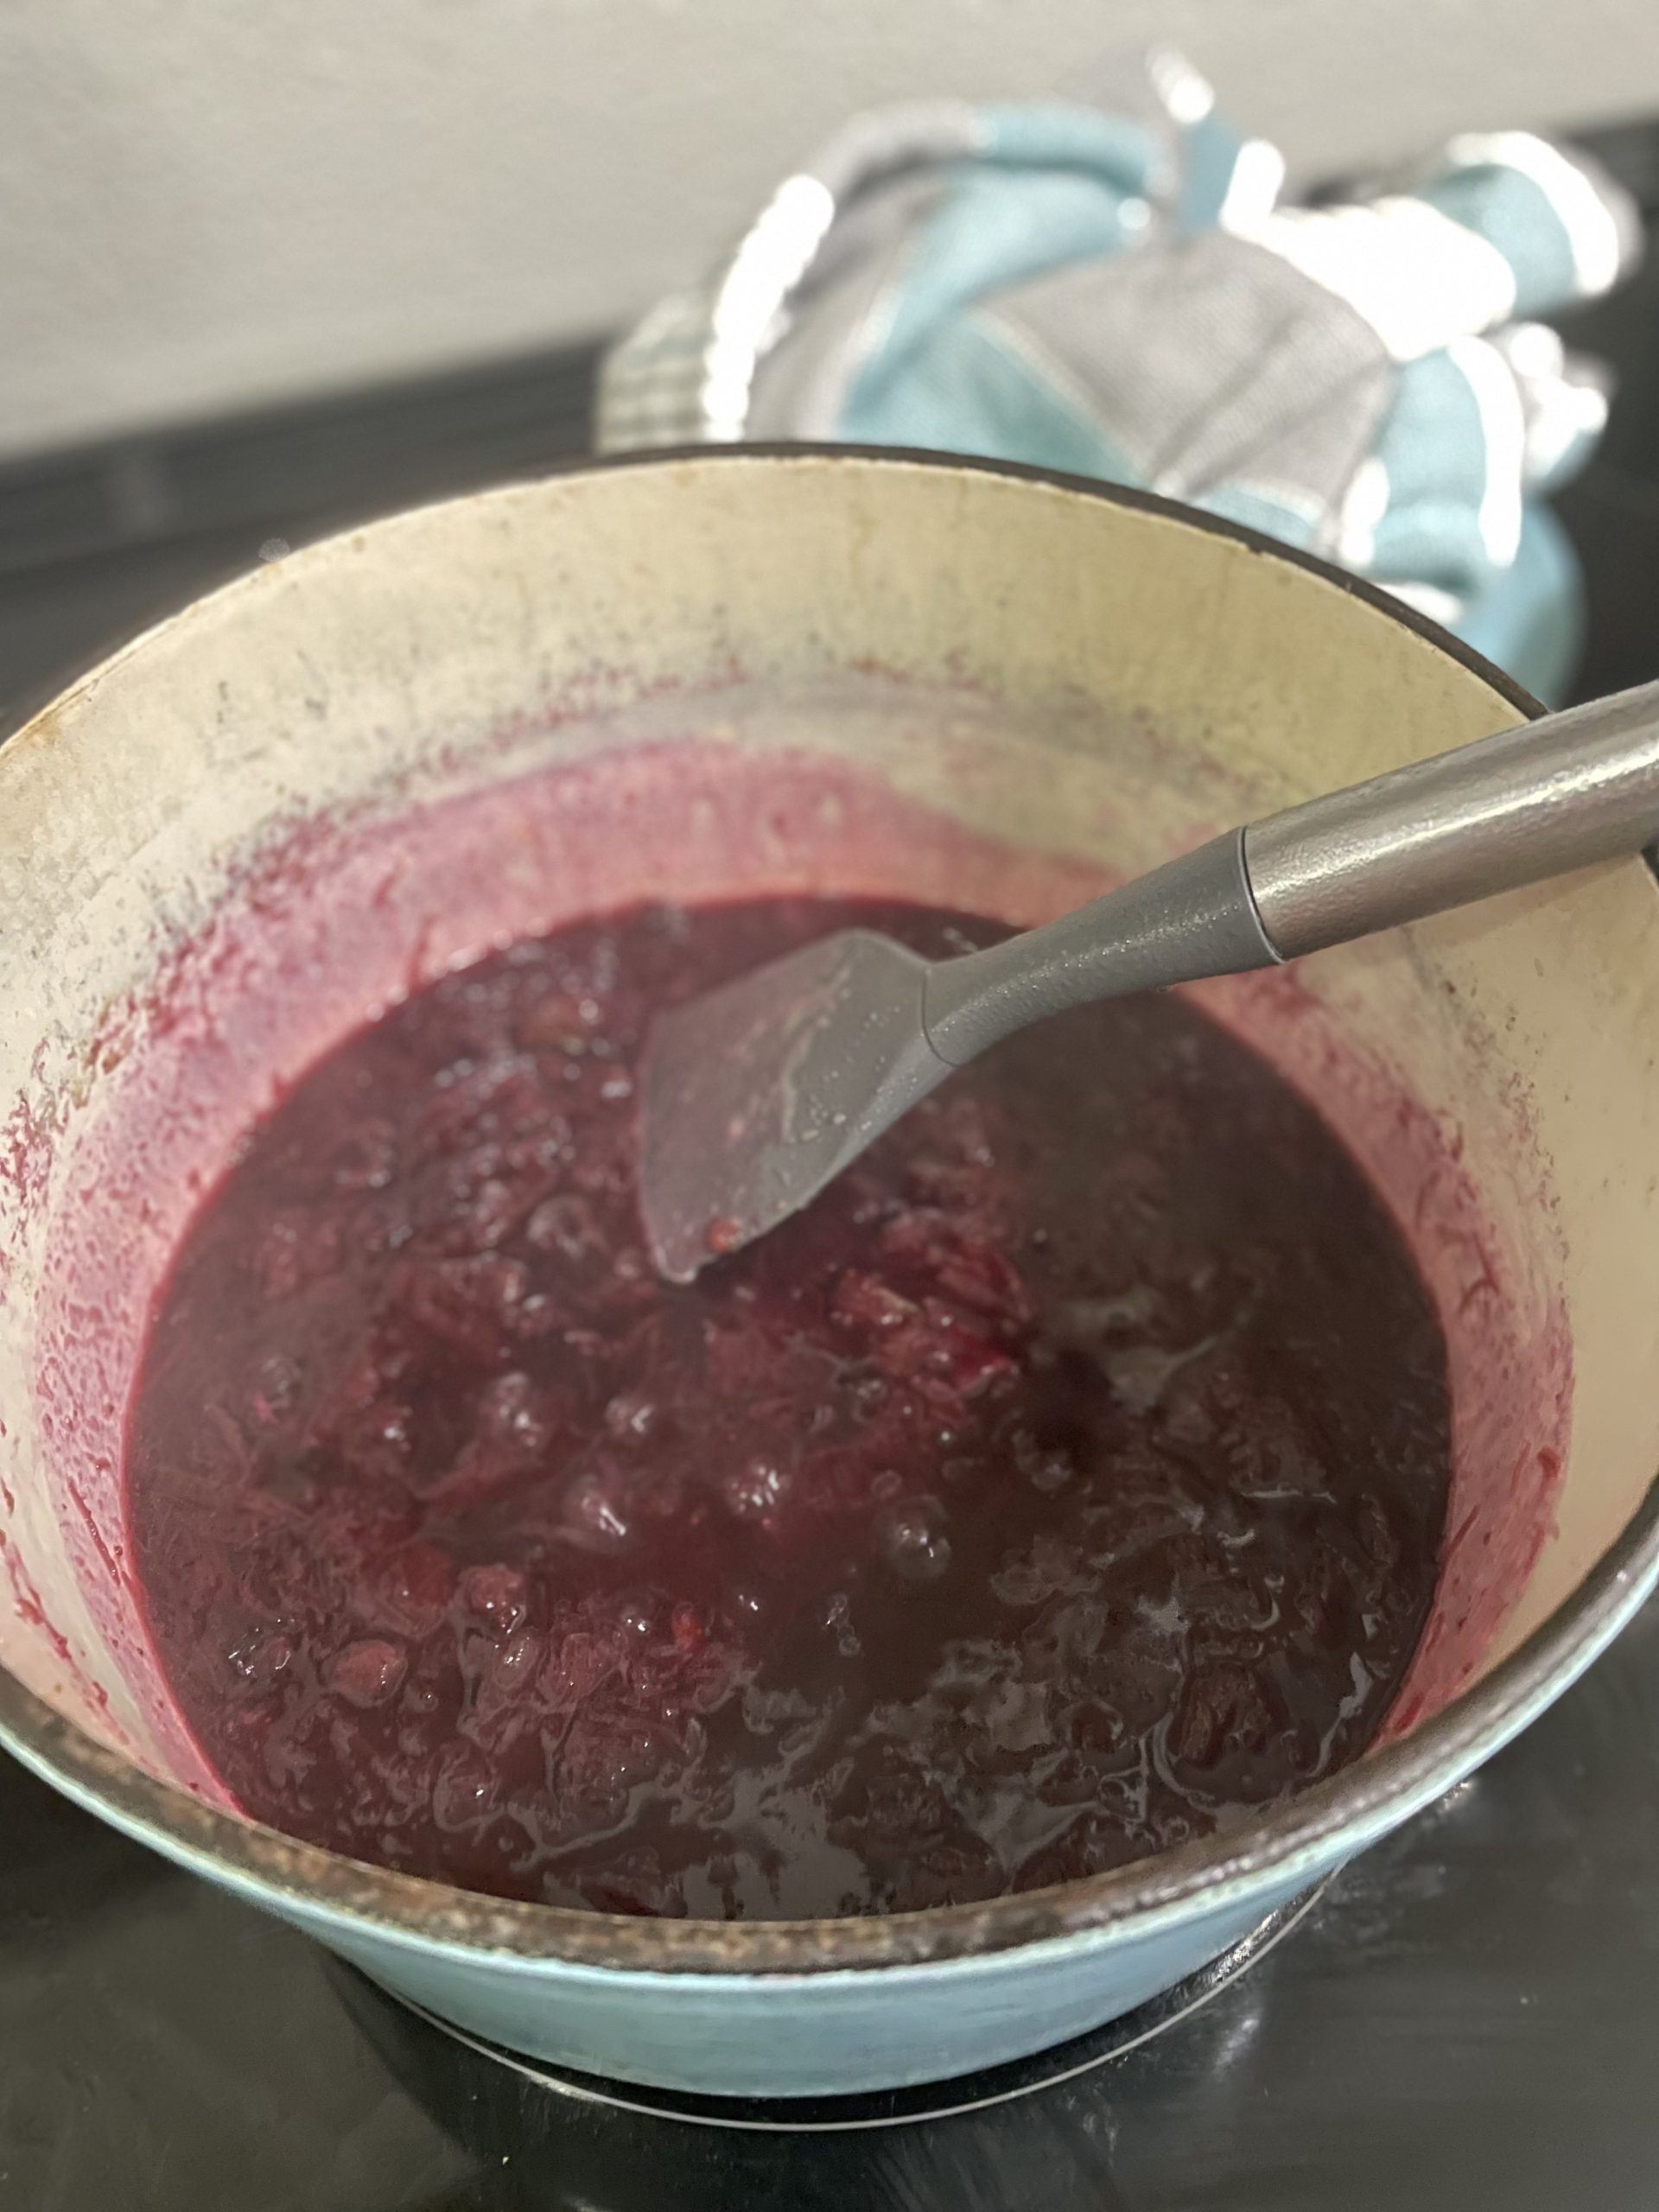
  • Reduce heat, cover pot, and allow to continue simmering for another 30 minutes. Stir every 10 minutes or so.
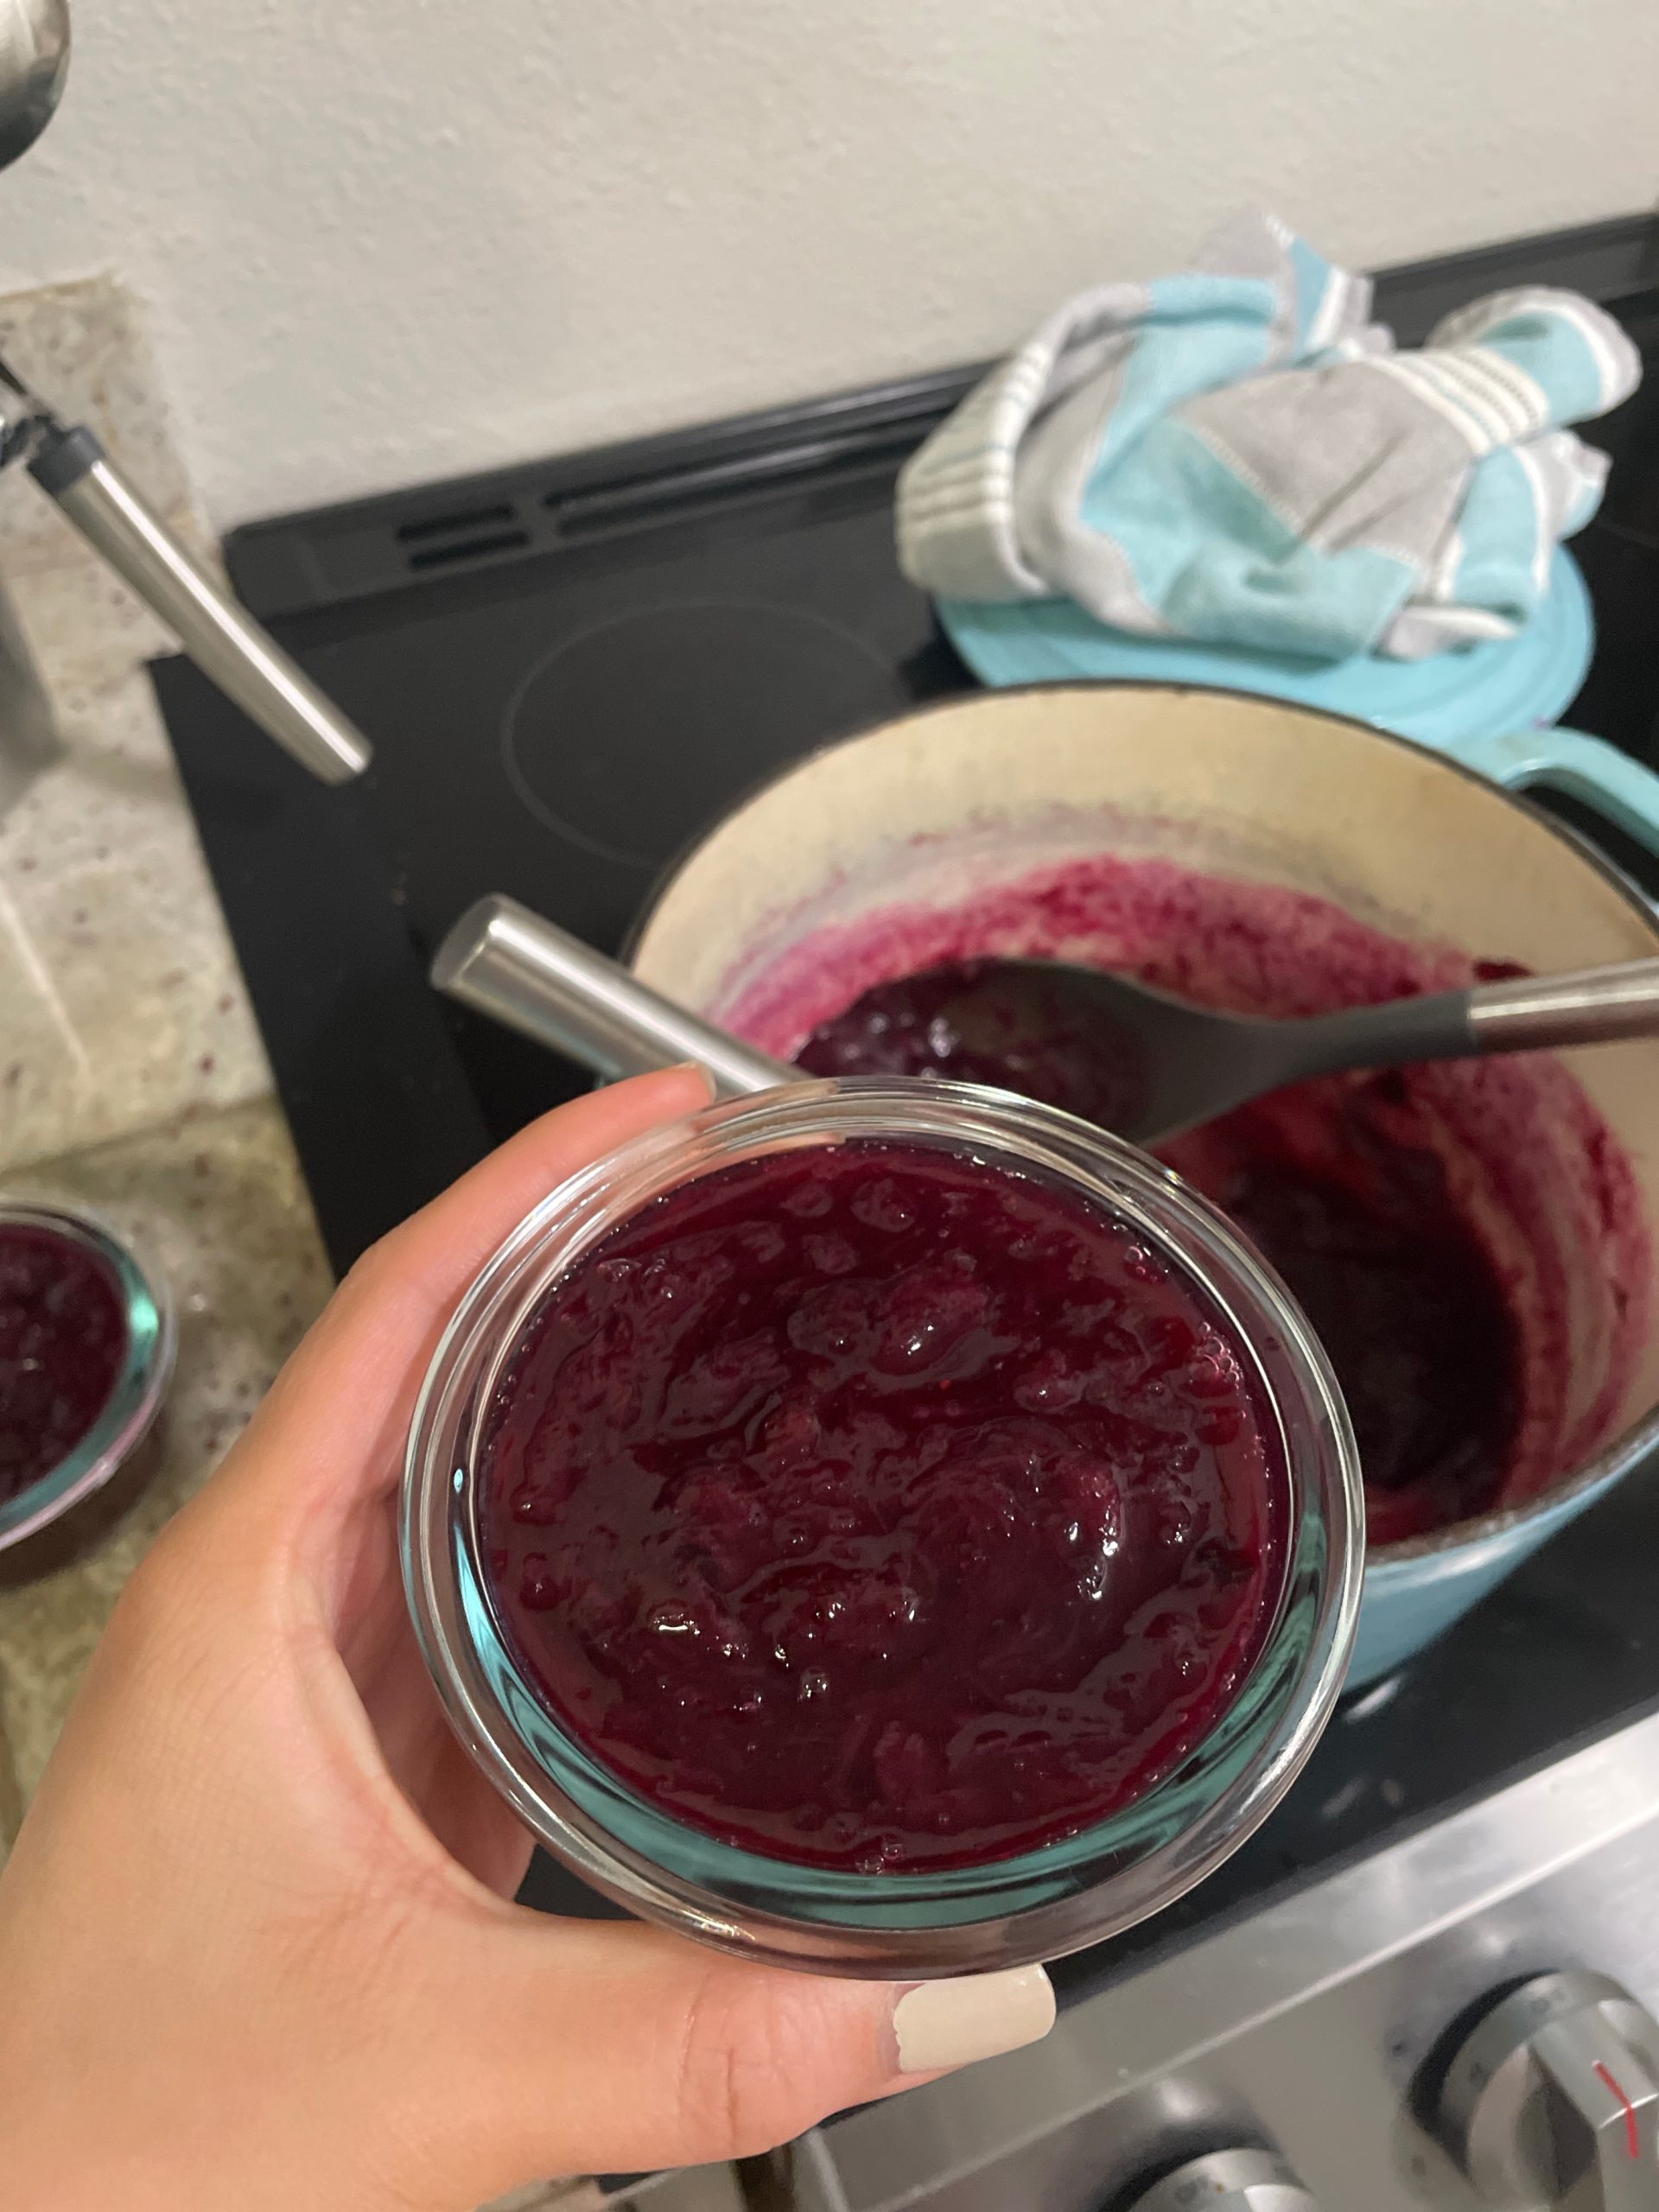
  • Jam should be thick and not too sweet! Allow to cool slightly before jarring or freezing.

Use this jam to make Blueberry Rhubarb Pound Cake or use swap it as the filling in the Peach Galette.

Try another dessert like Kitchen Sink Cookies.

Blueberry Rhubarb Pound Cake

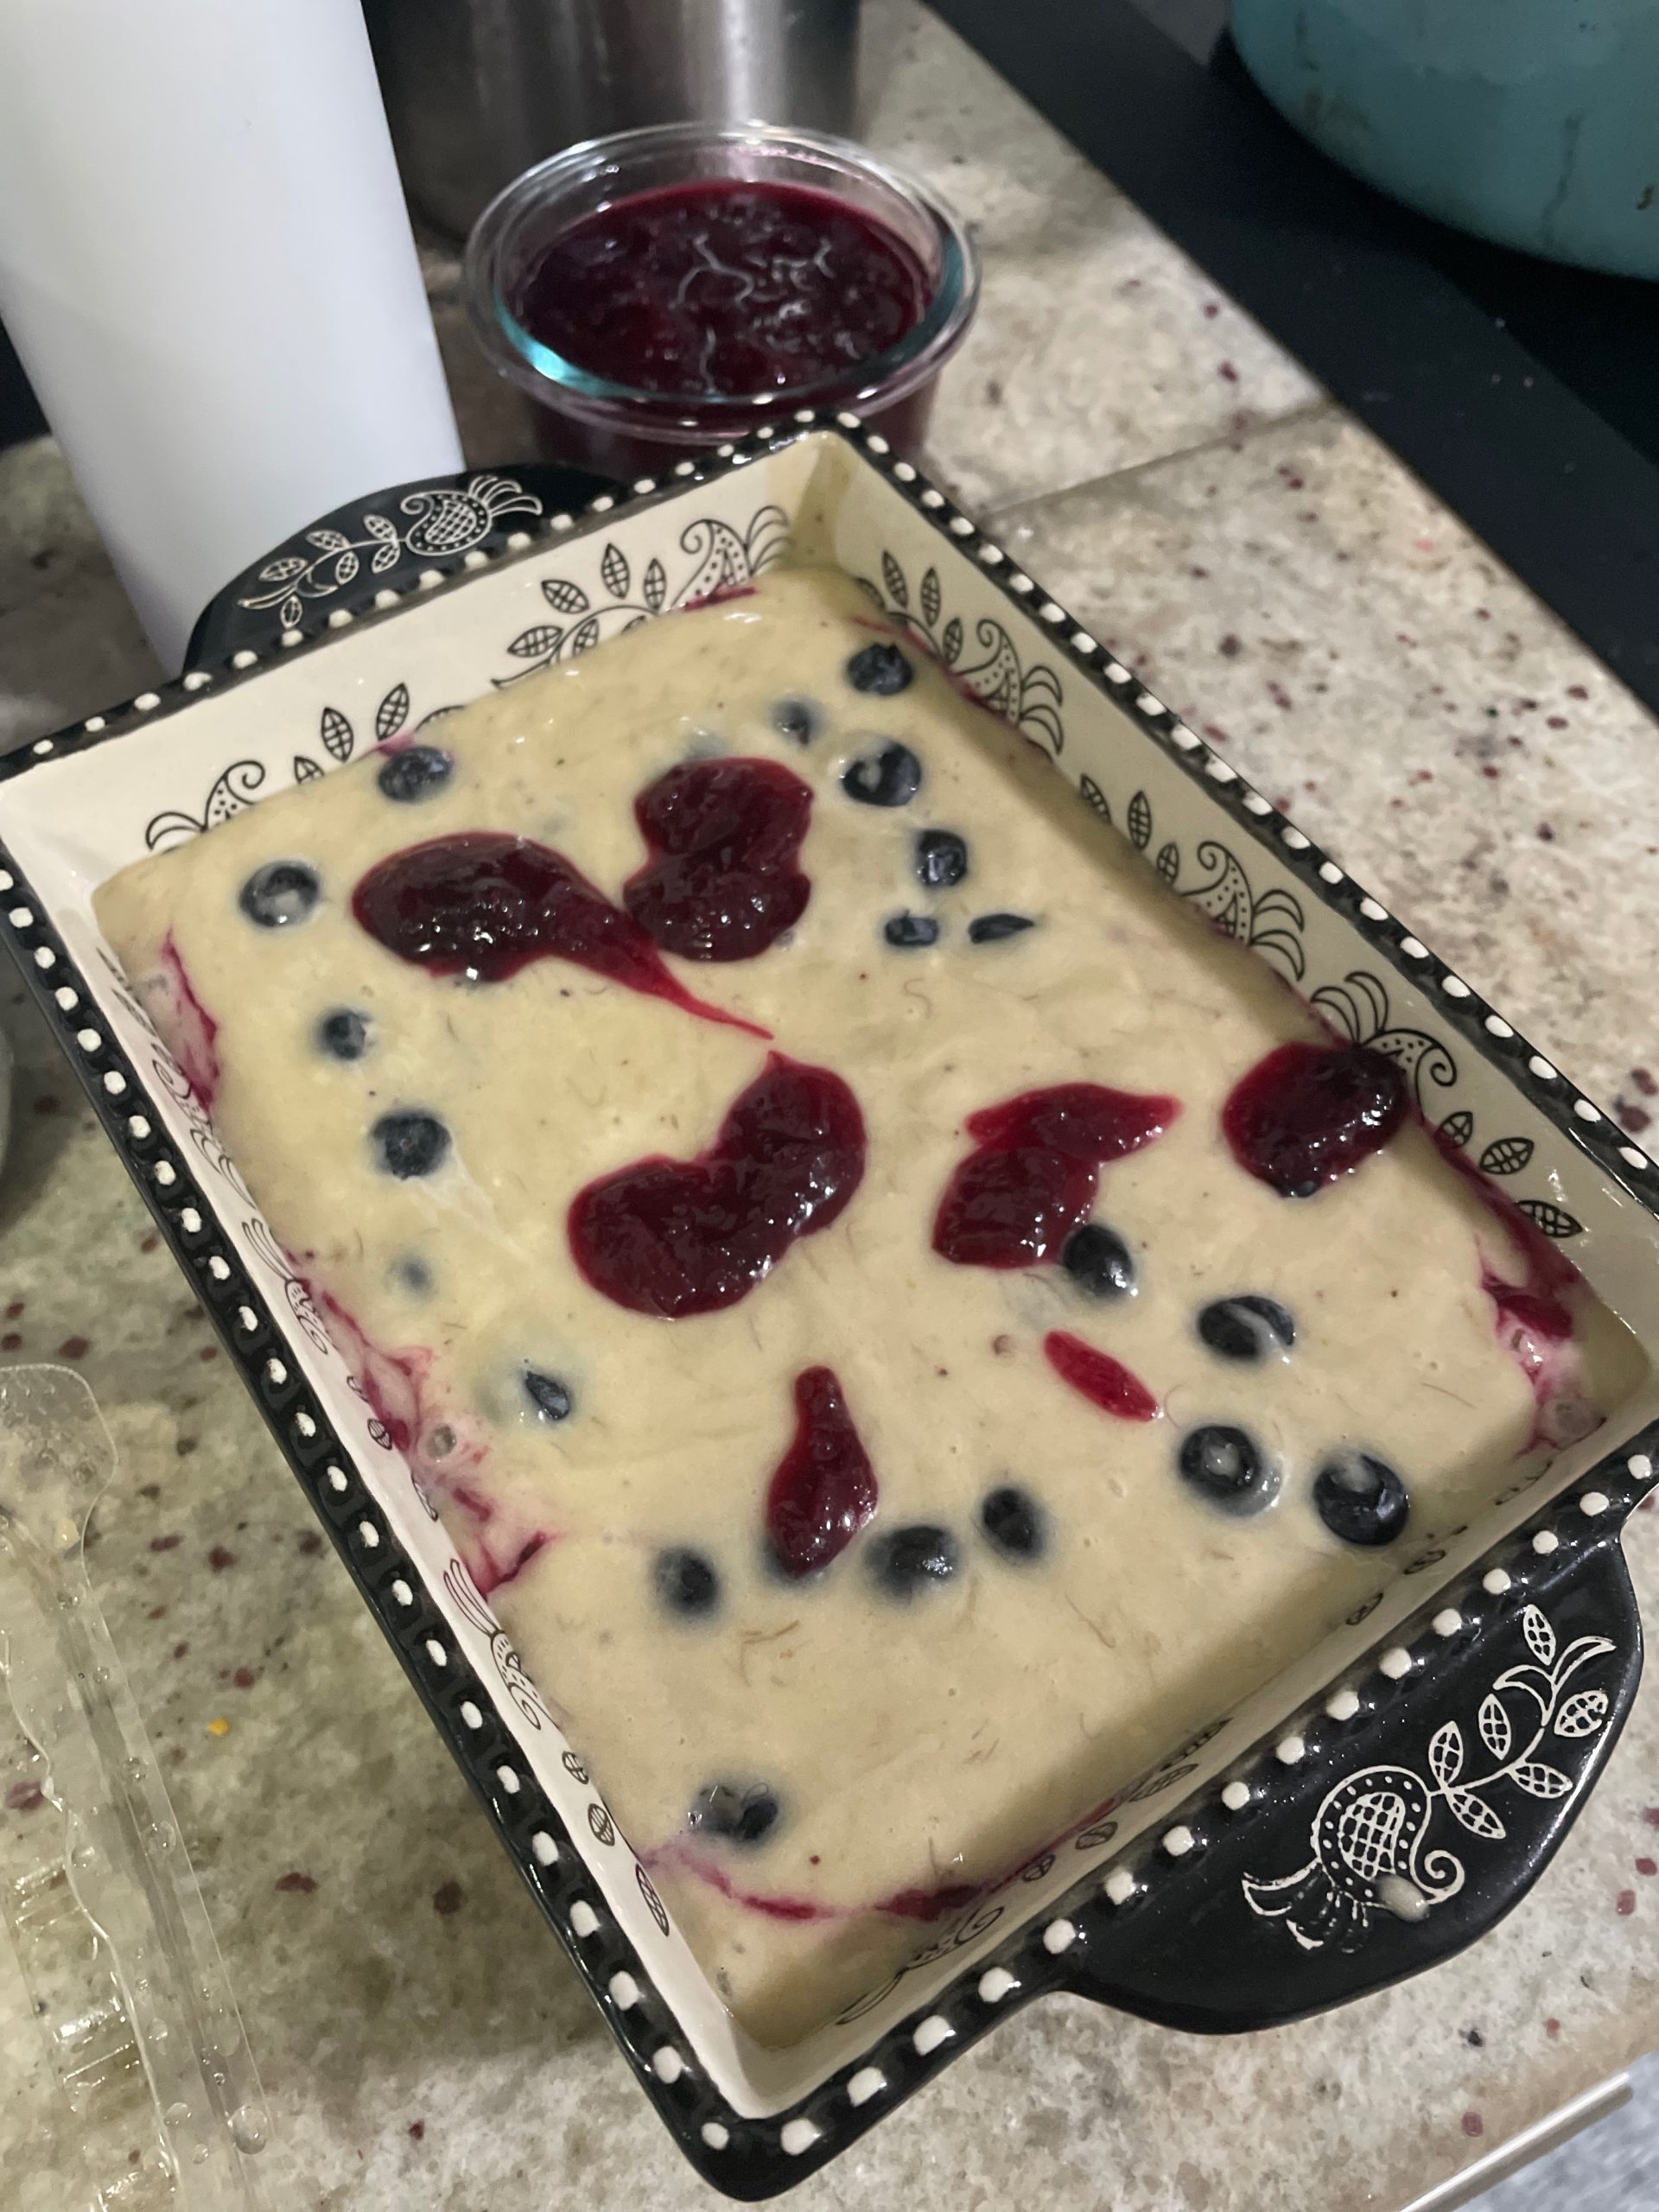
Don’t come for me! This is not a traditional pound cake in any sense. No pounds used in measurements for any ingredient. I’d like to think this pound cake is slightly more health-full with some simple swaps. The cake is still very moist and rich with a dense crumb. I like adding some fillings to my pound cake to diversify the texture.

Ingredients

Jam – I used a homemade rhubarb and blueberry jam. Rhubarb is in season now so it seems all my friends and neighbors’s gardens are overflowing with rhubarb and they don’t know what to do with it. If you decide to make a rhubarb jam, be careful! The leaves of rhubarb are poisonous. Use only the stalks. When eaten raw or cooked, rhubarb stems are tart and the blueberries are bright and sweet. Rhubarb and blueberry isn’t a common jam combination, so feel free to use any jam that you like. A marionberry jam would be delicious!

Blueberries – Fresh blueberries give a pop to the bread when sliced and are nice little surprises to bite into. I used blueberries that were extra from making the jam. If you’re using a different fruit jam in the recipe, consider using the fresh version of that fruit in the bread. If you use a marionberry jam, use marionberries or blackberries.

Yogurt – This adds moisture and tang to the bread. You can substitute with sour cream.

Blueberry Rhubarb Pound Cake

Print Recipe
Course Breakfast, Dessert
Keyword blueberry, pound cake, rhubarb
Cook Time 1 hour

Ingredients

  • 3/4 cup sugar
  • 1/4 cup yogurt
  • 1/4 cup blueberry-rhubarb jam + extra for swirling
  • 1/4 tsp salt
  • 3 eggs
  • 3/4 cup vegetable oil
  • 1 3/4 cup flour all-purpose
  • 1 1/2 tsp baking powder
  • 1/4 tsp baking soda
  • 1/2 cup blueberries

Instructions

  • Mix together the sugar, yogurt, jam, salt, eggs, and oil.
  • In a separate bowl, mix together the flour, baking powder, and baking soda.
  • Add the dry mixture to the wet mixture and mix until just combined.
  • Grease a loaf pan and pour in half the mixture.
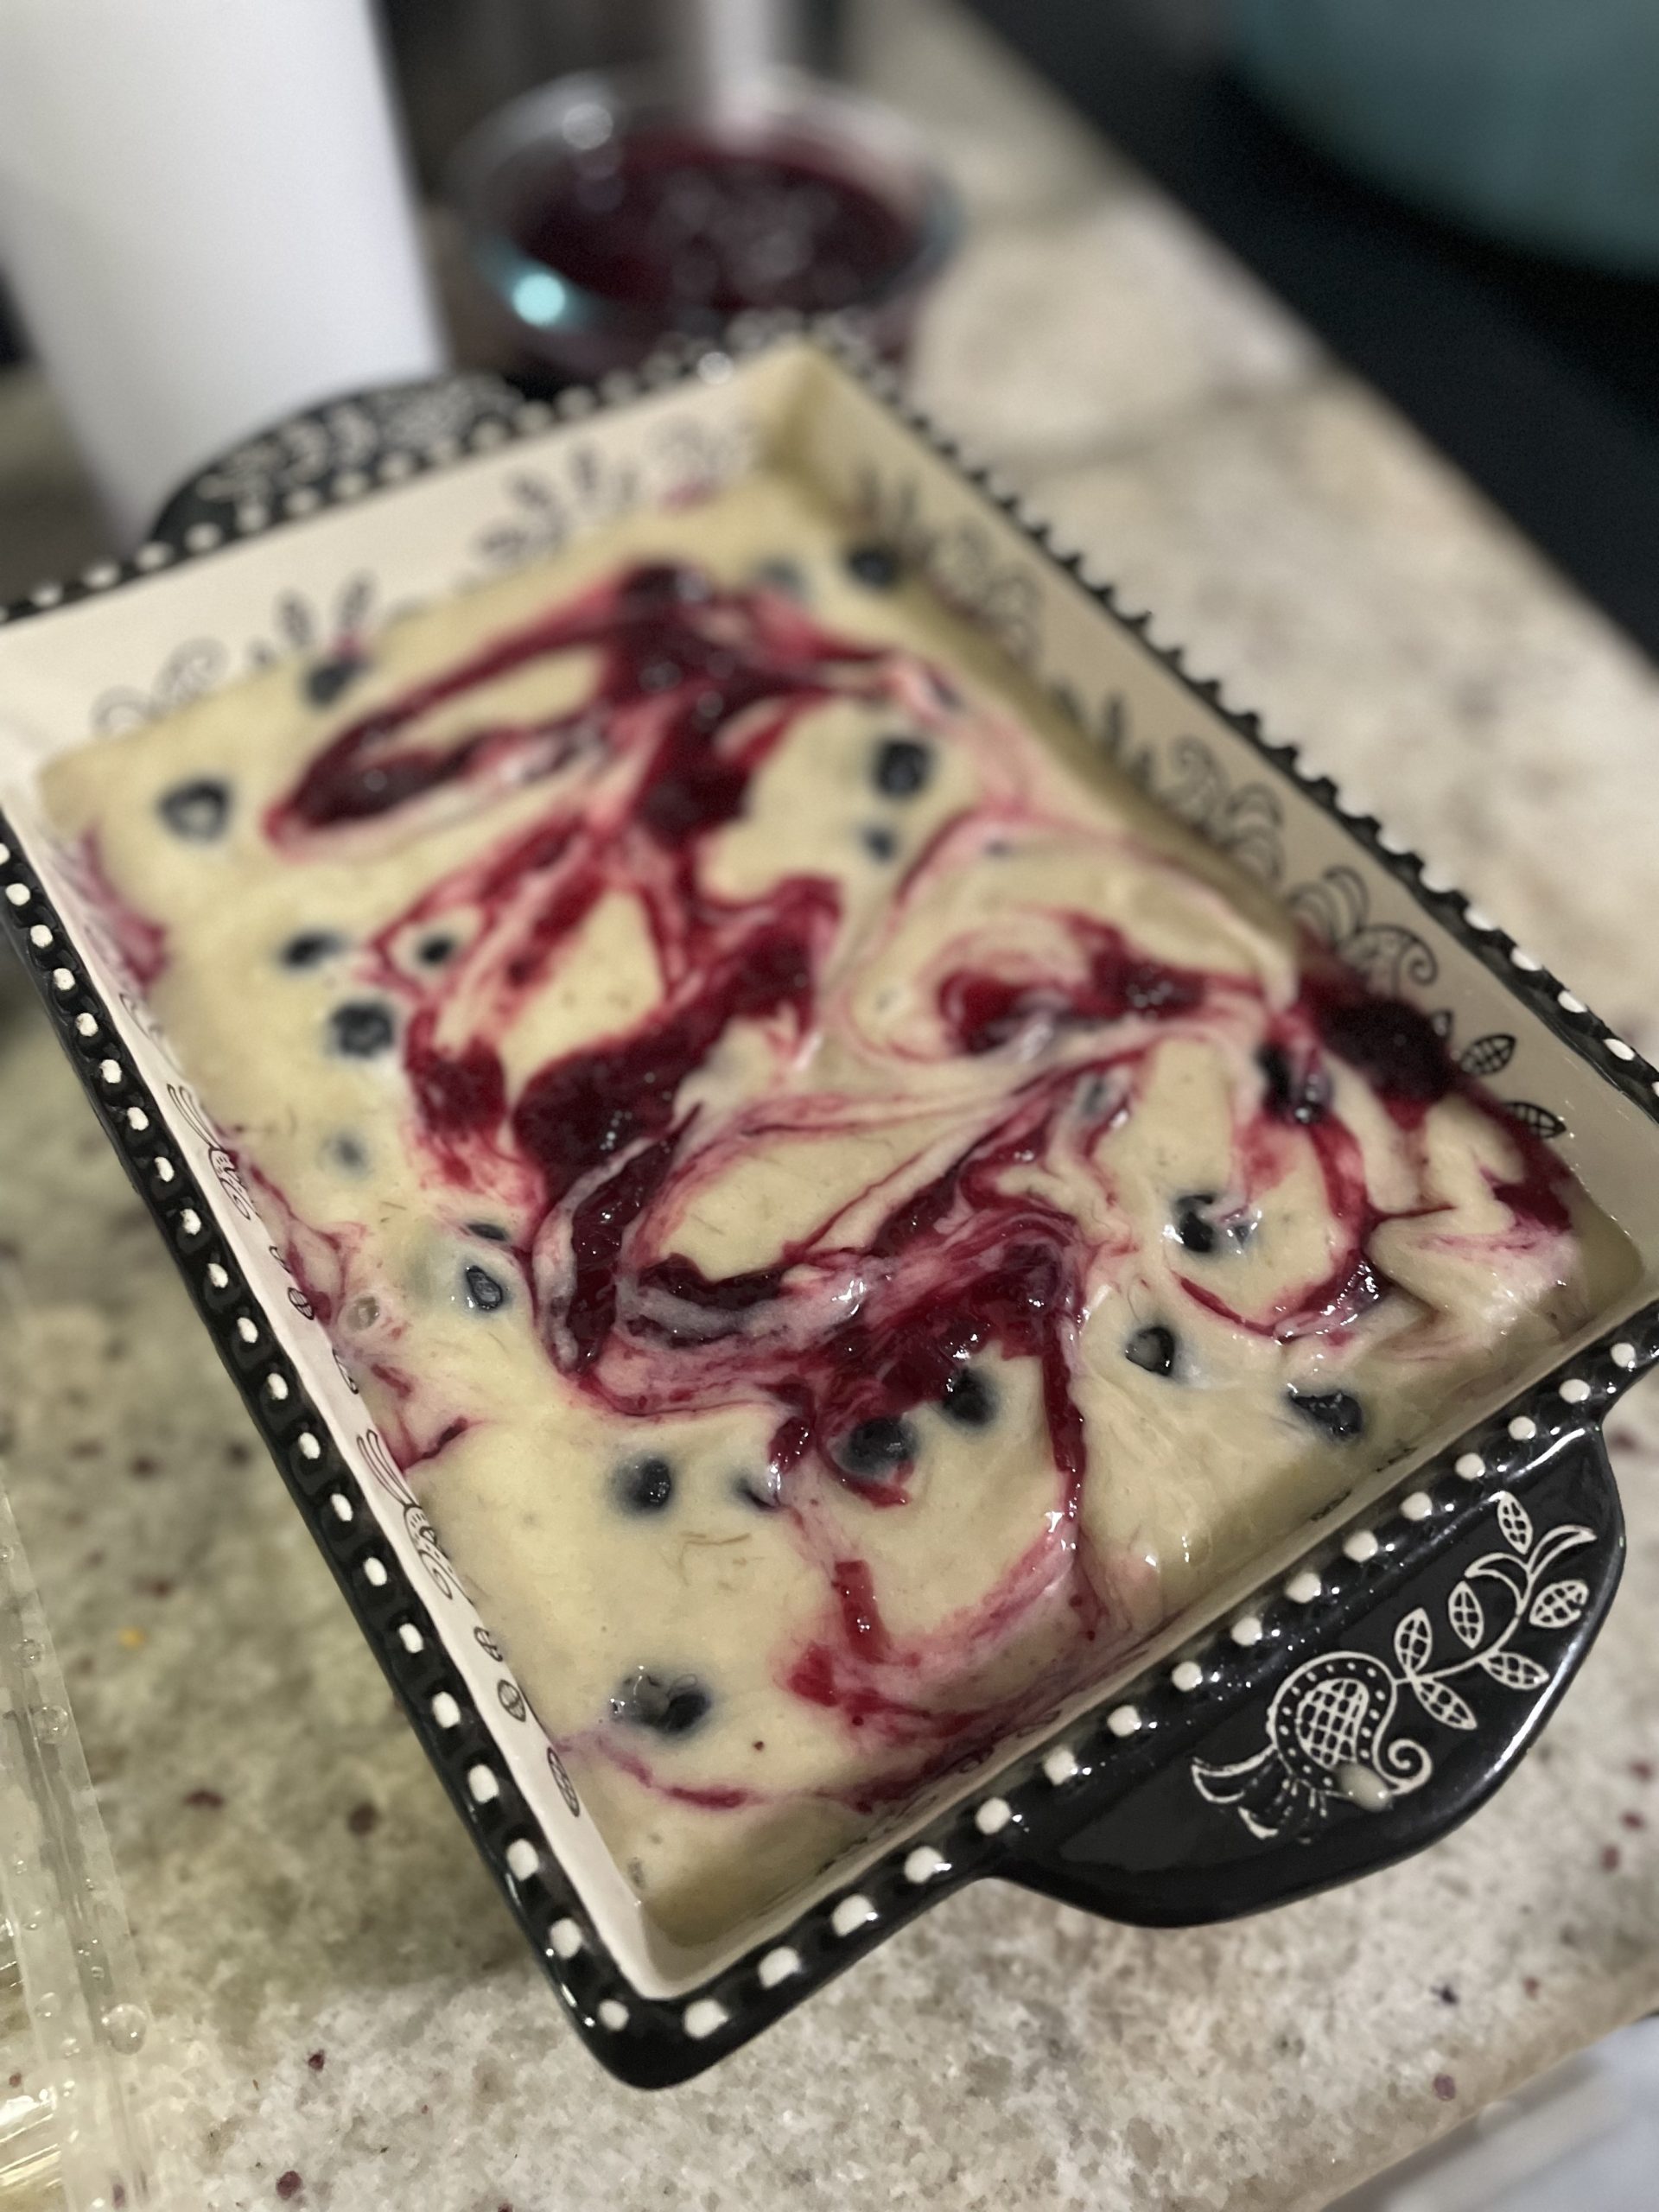
  • Optional: Add a few tablespoons of jam and swirl into the mix. Sprinkle in half of the blueberries.
  • Pour the remaining half of cake mixture.
  • Optional: Swirl some additional jam.
  • Sprinkle in the remainder of the blueberries.
  • Bake at 350F for approximately 1 hour until a toothpick comes out clean. If the top of the loaf is getting too brown, cover with foil.

Savory Asparagus Galette

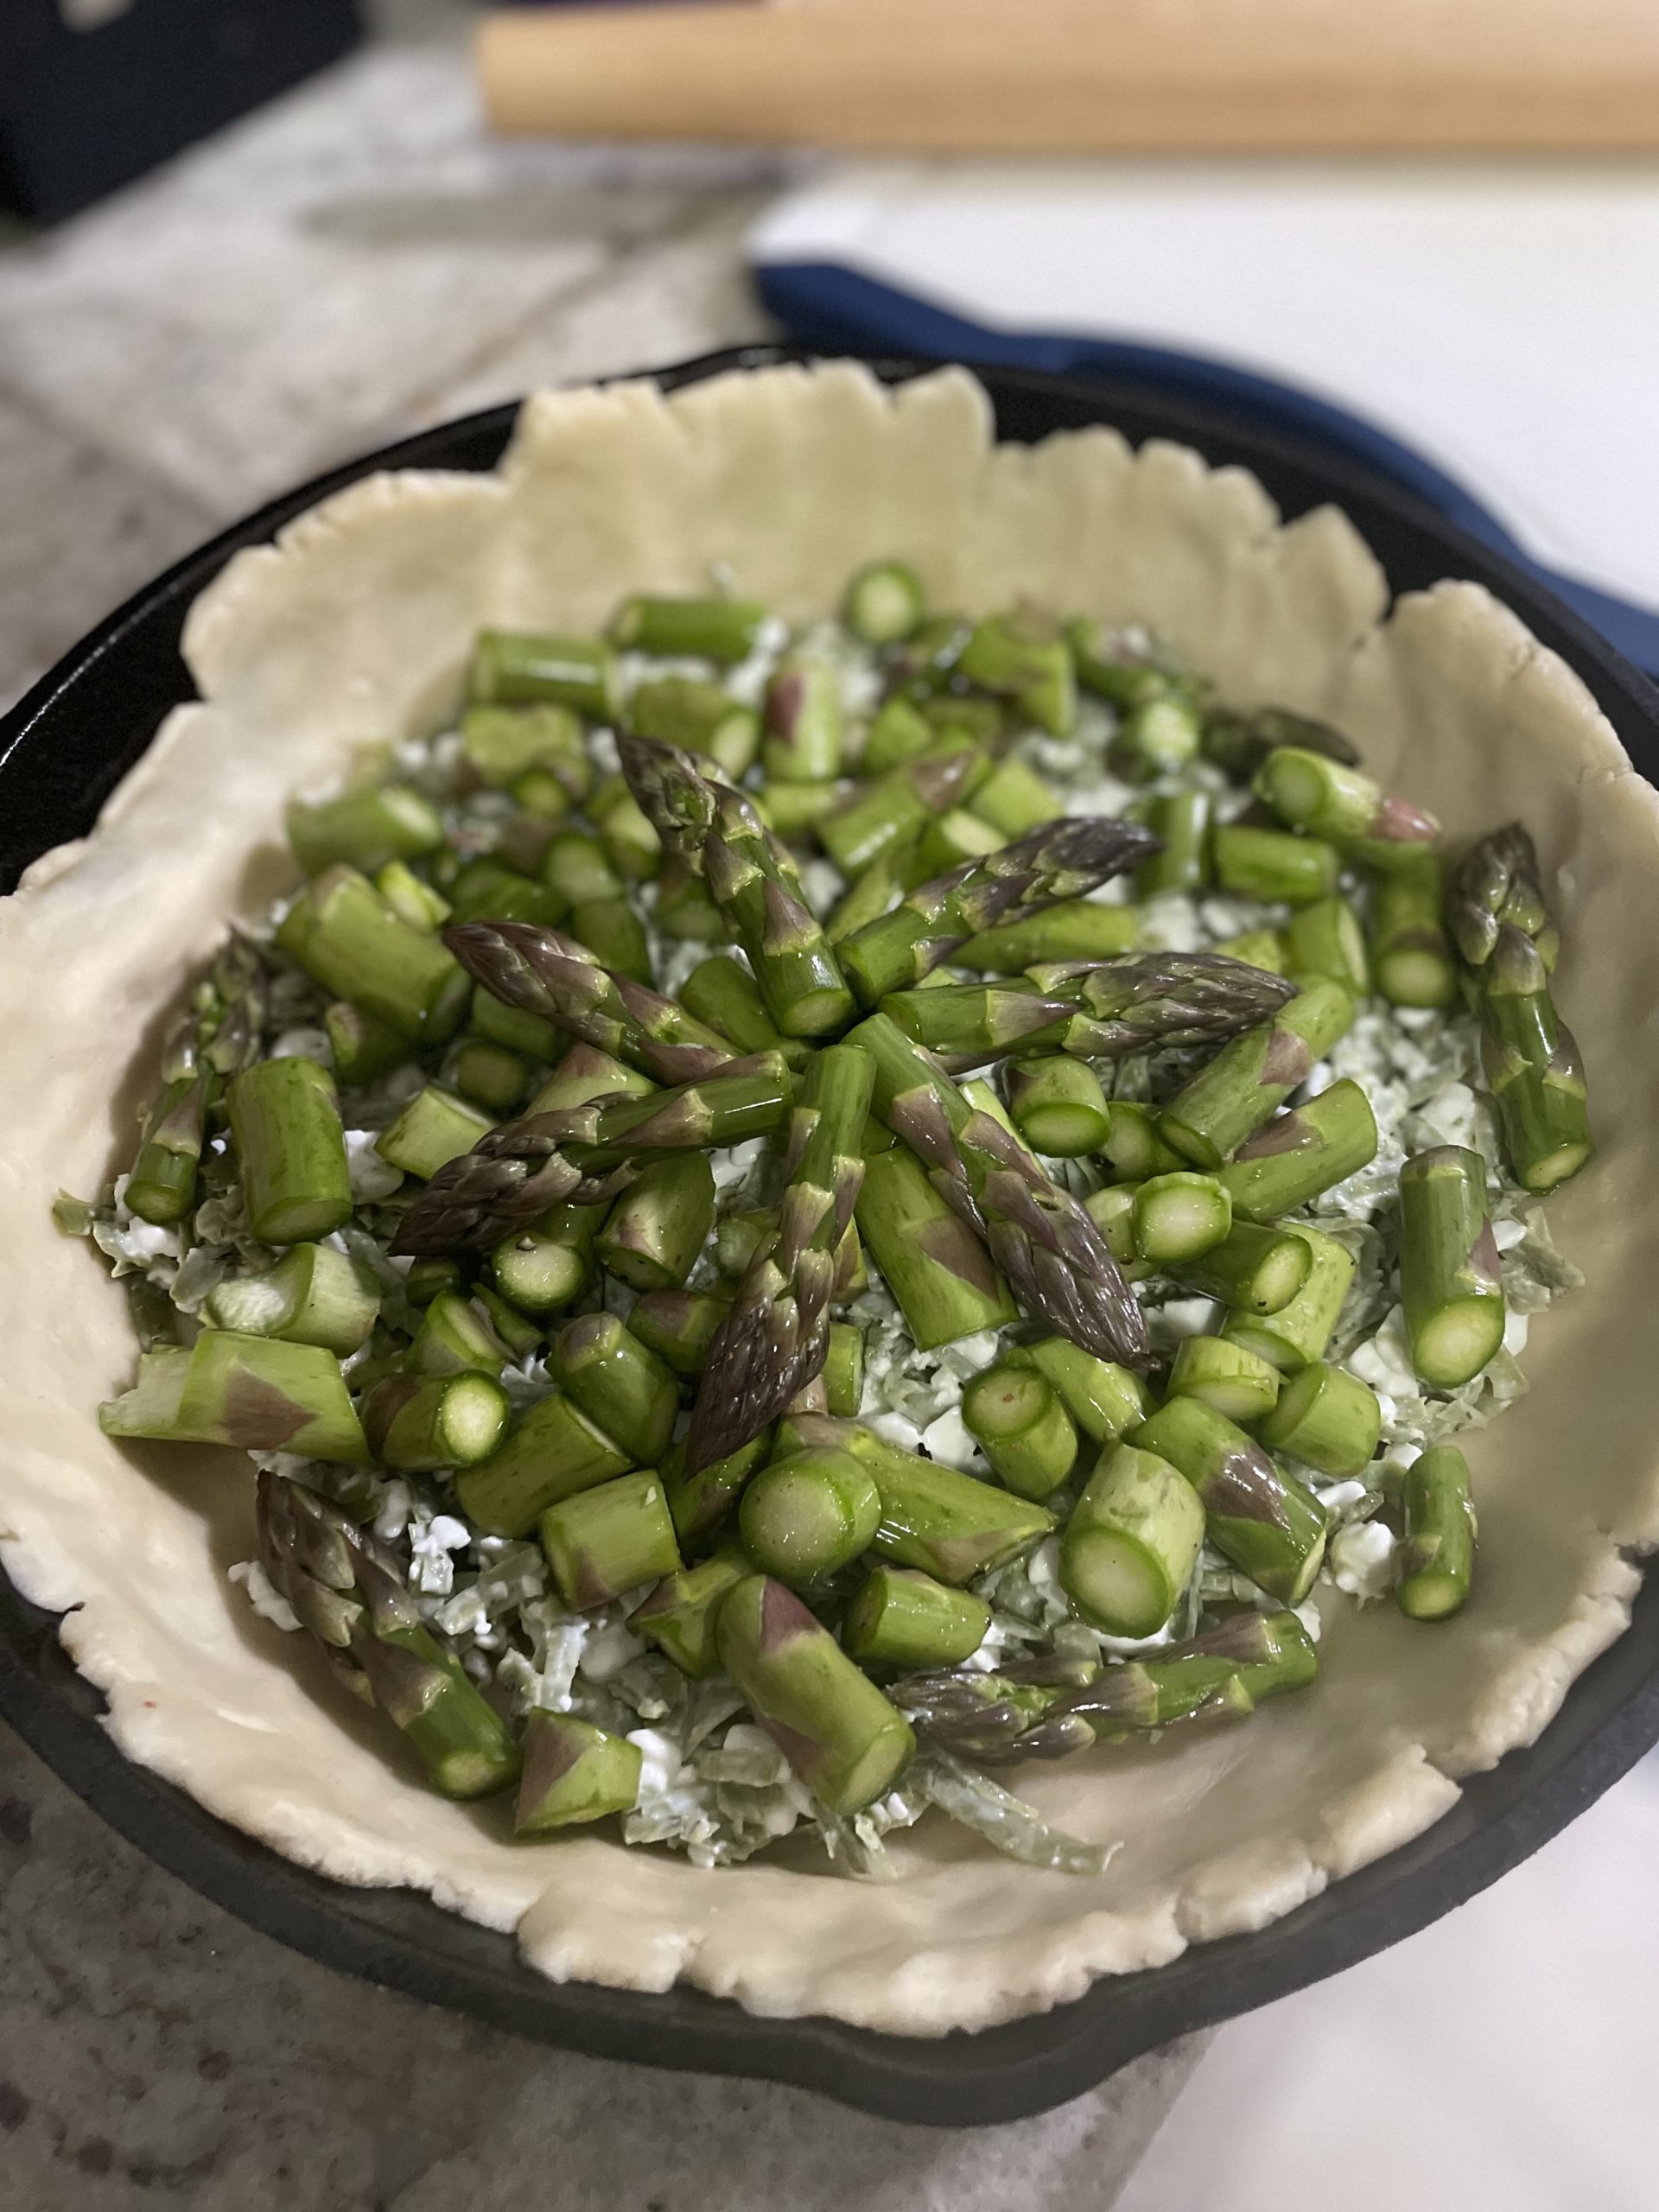
Summer is coming and that means there will be an abundance of vegetables in season! I just renewed my CSA (community supported agriculture) box for this summer and I cannot wait for the vegetables this season. Asparagus is in peak season right now so I’ve seen them on sale quite a bit in the grocery stores near me. I had some pie dough in the refrigerator from when I last made a whole bunch of dough, so I figured I would mix these together and out came a savory asparagus galette. A buttery crust with tender asparagus simply seasoned with some cheese – chef’s kiss!

Ingredients

Pie dough – Use my recipe or use your own! Do what makes you happy.

Asparagus – I used asparagus because I had quite a bit on hand since it was on sale, but I think this recipe would work with any other vegetable that is less “watery” like broccoli or Brussel sprouts.

Cheese – I used a fun pesto flavored Gouda that I got from Costco, but feel free to use any cheese you’d like! If you want to use plain gouda you could even mix it with a little bit of pesto. Asparagus takes up flavor of whatever else it’s with, so you could make an asparagus galette with something sharper like cheddar or even pepper jack.

Savory Asparagus Galette

Print Recipe
A savory pie full of tender veggies with a buttery crust. Have it as an appetizer, the main dish with a side salad, or along side something else!
Course Appetizer, Main Course, Side Dish
Keyword asparagus, savory galette, savory pie
Cook Time 30 minutes

Ingredients

  • 1 pie crust
  • 1 lb asparagus
  • 1/2 cup gouda
  • 1/4 cup cottage cheese
  • salt
  • pepper
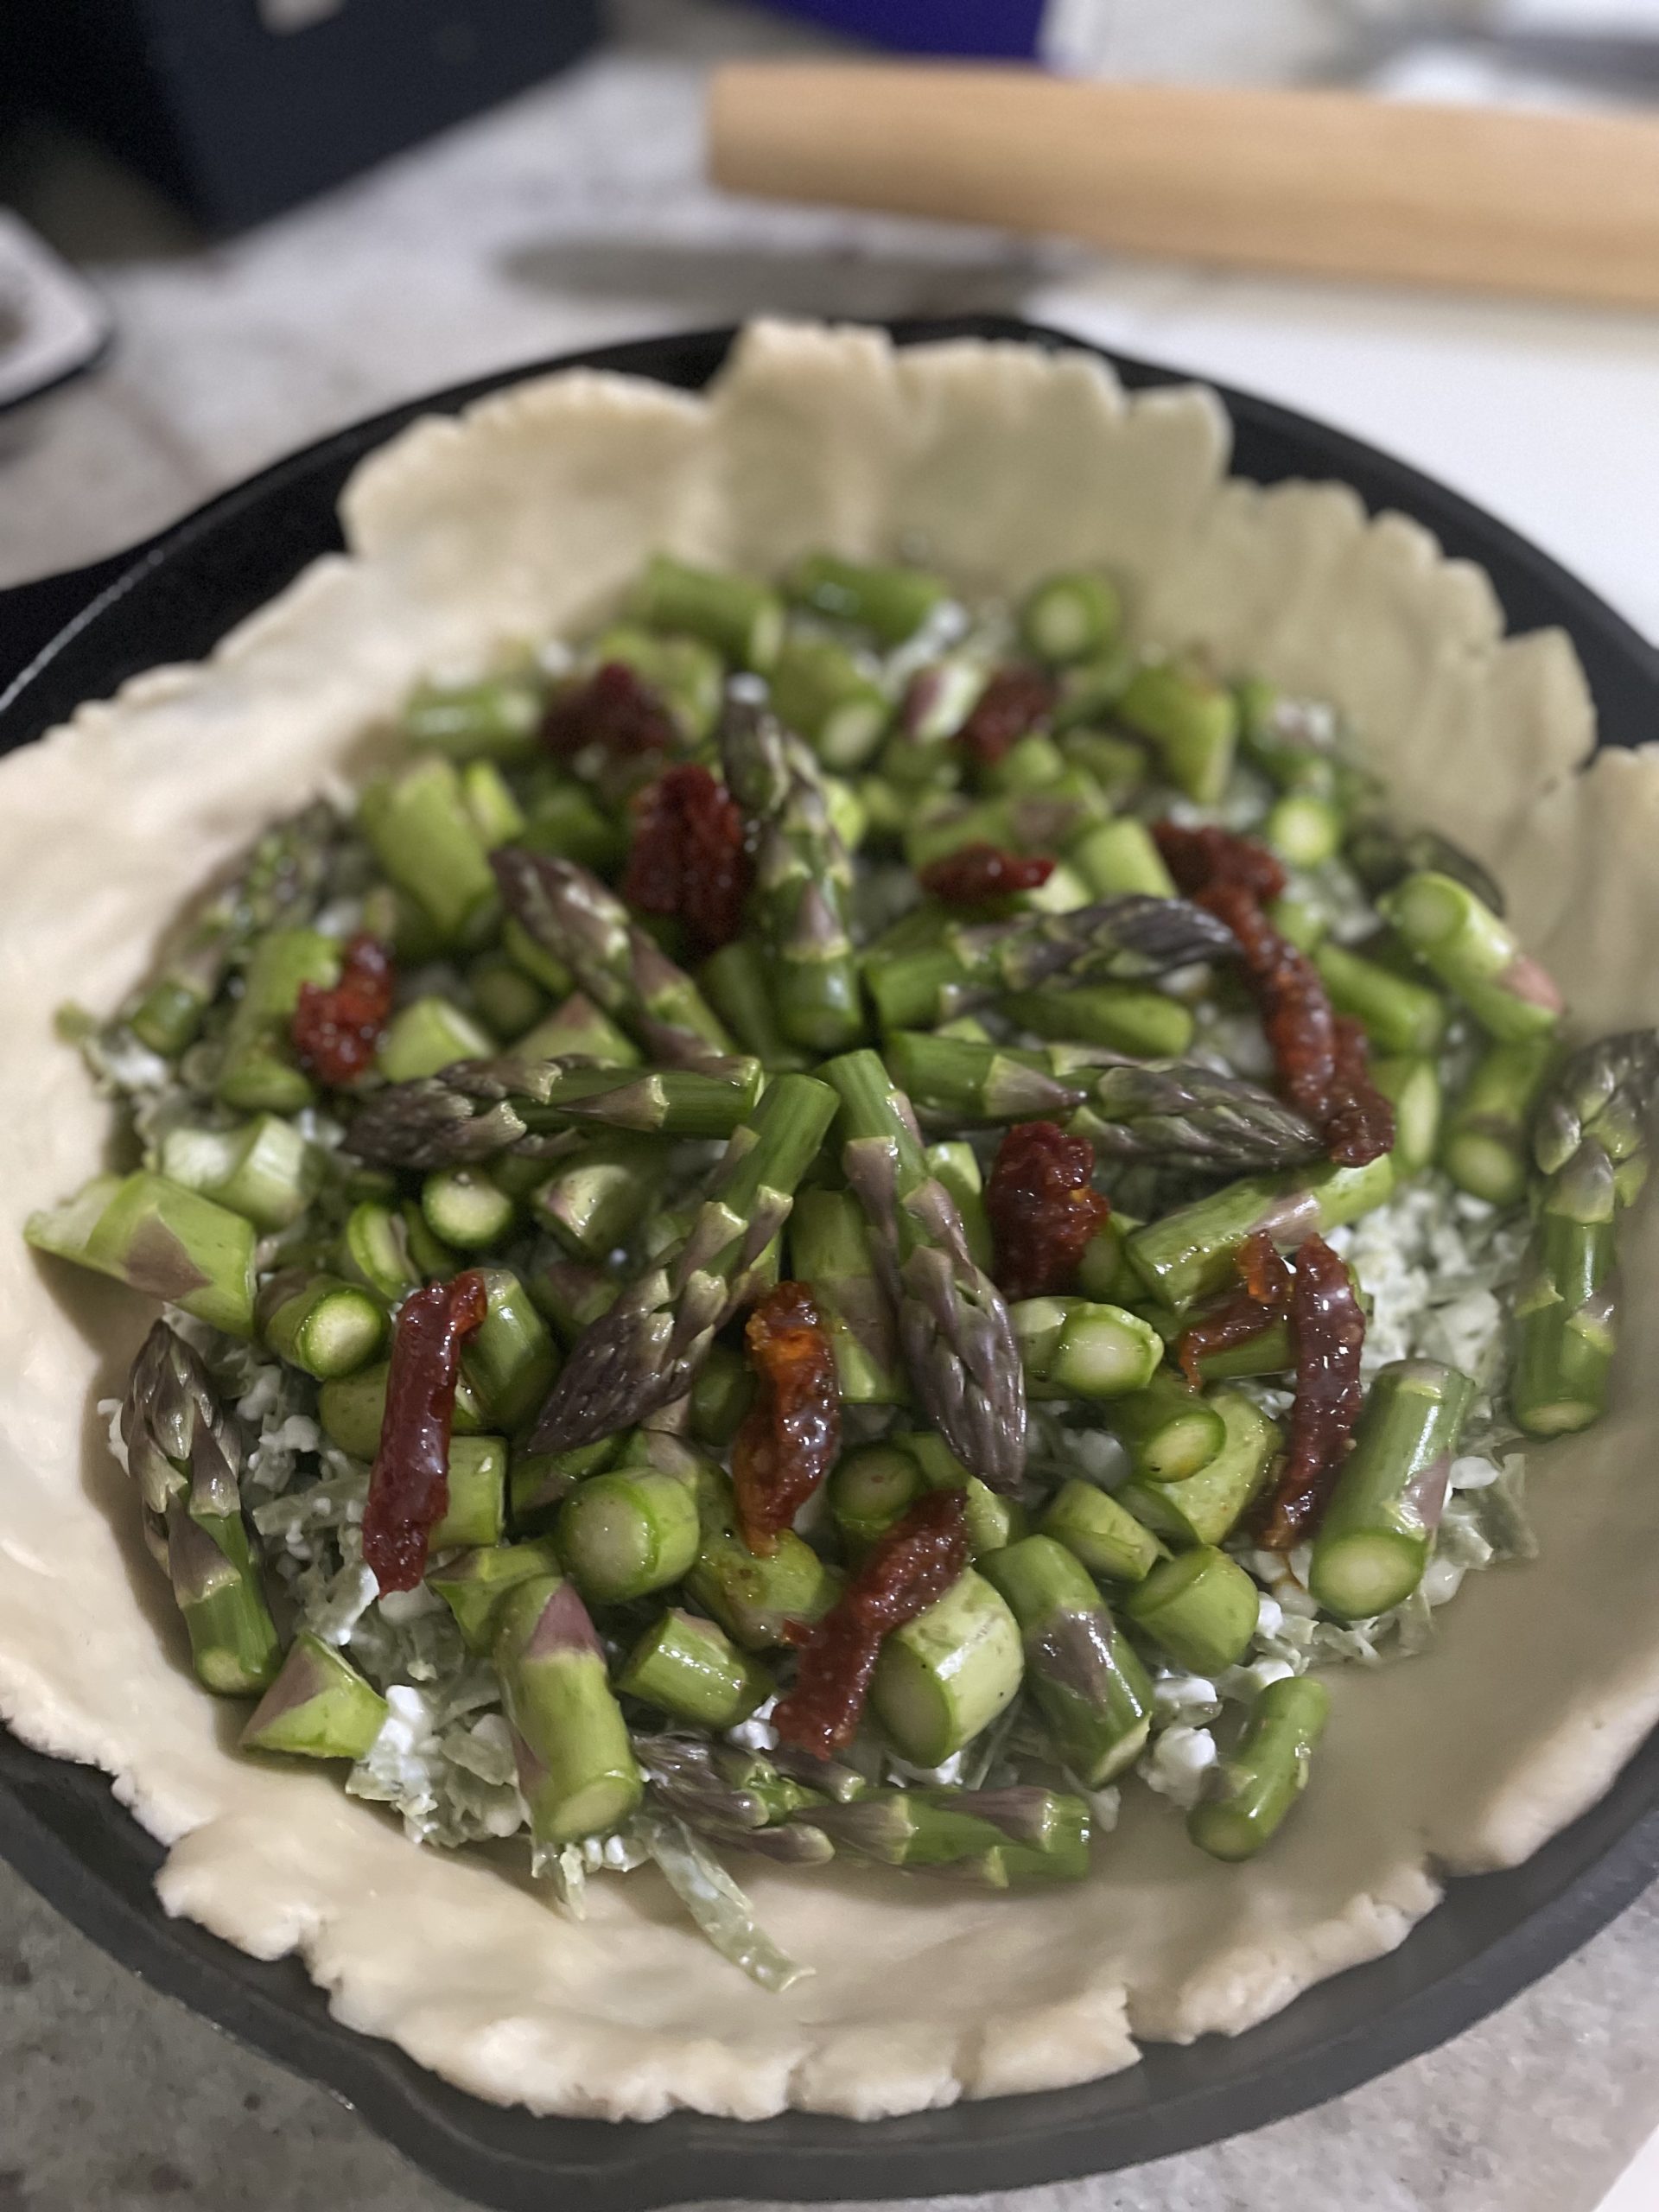
  • 1 tbsp sun-dried tomatoes optional

Instructions

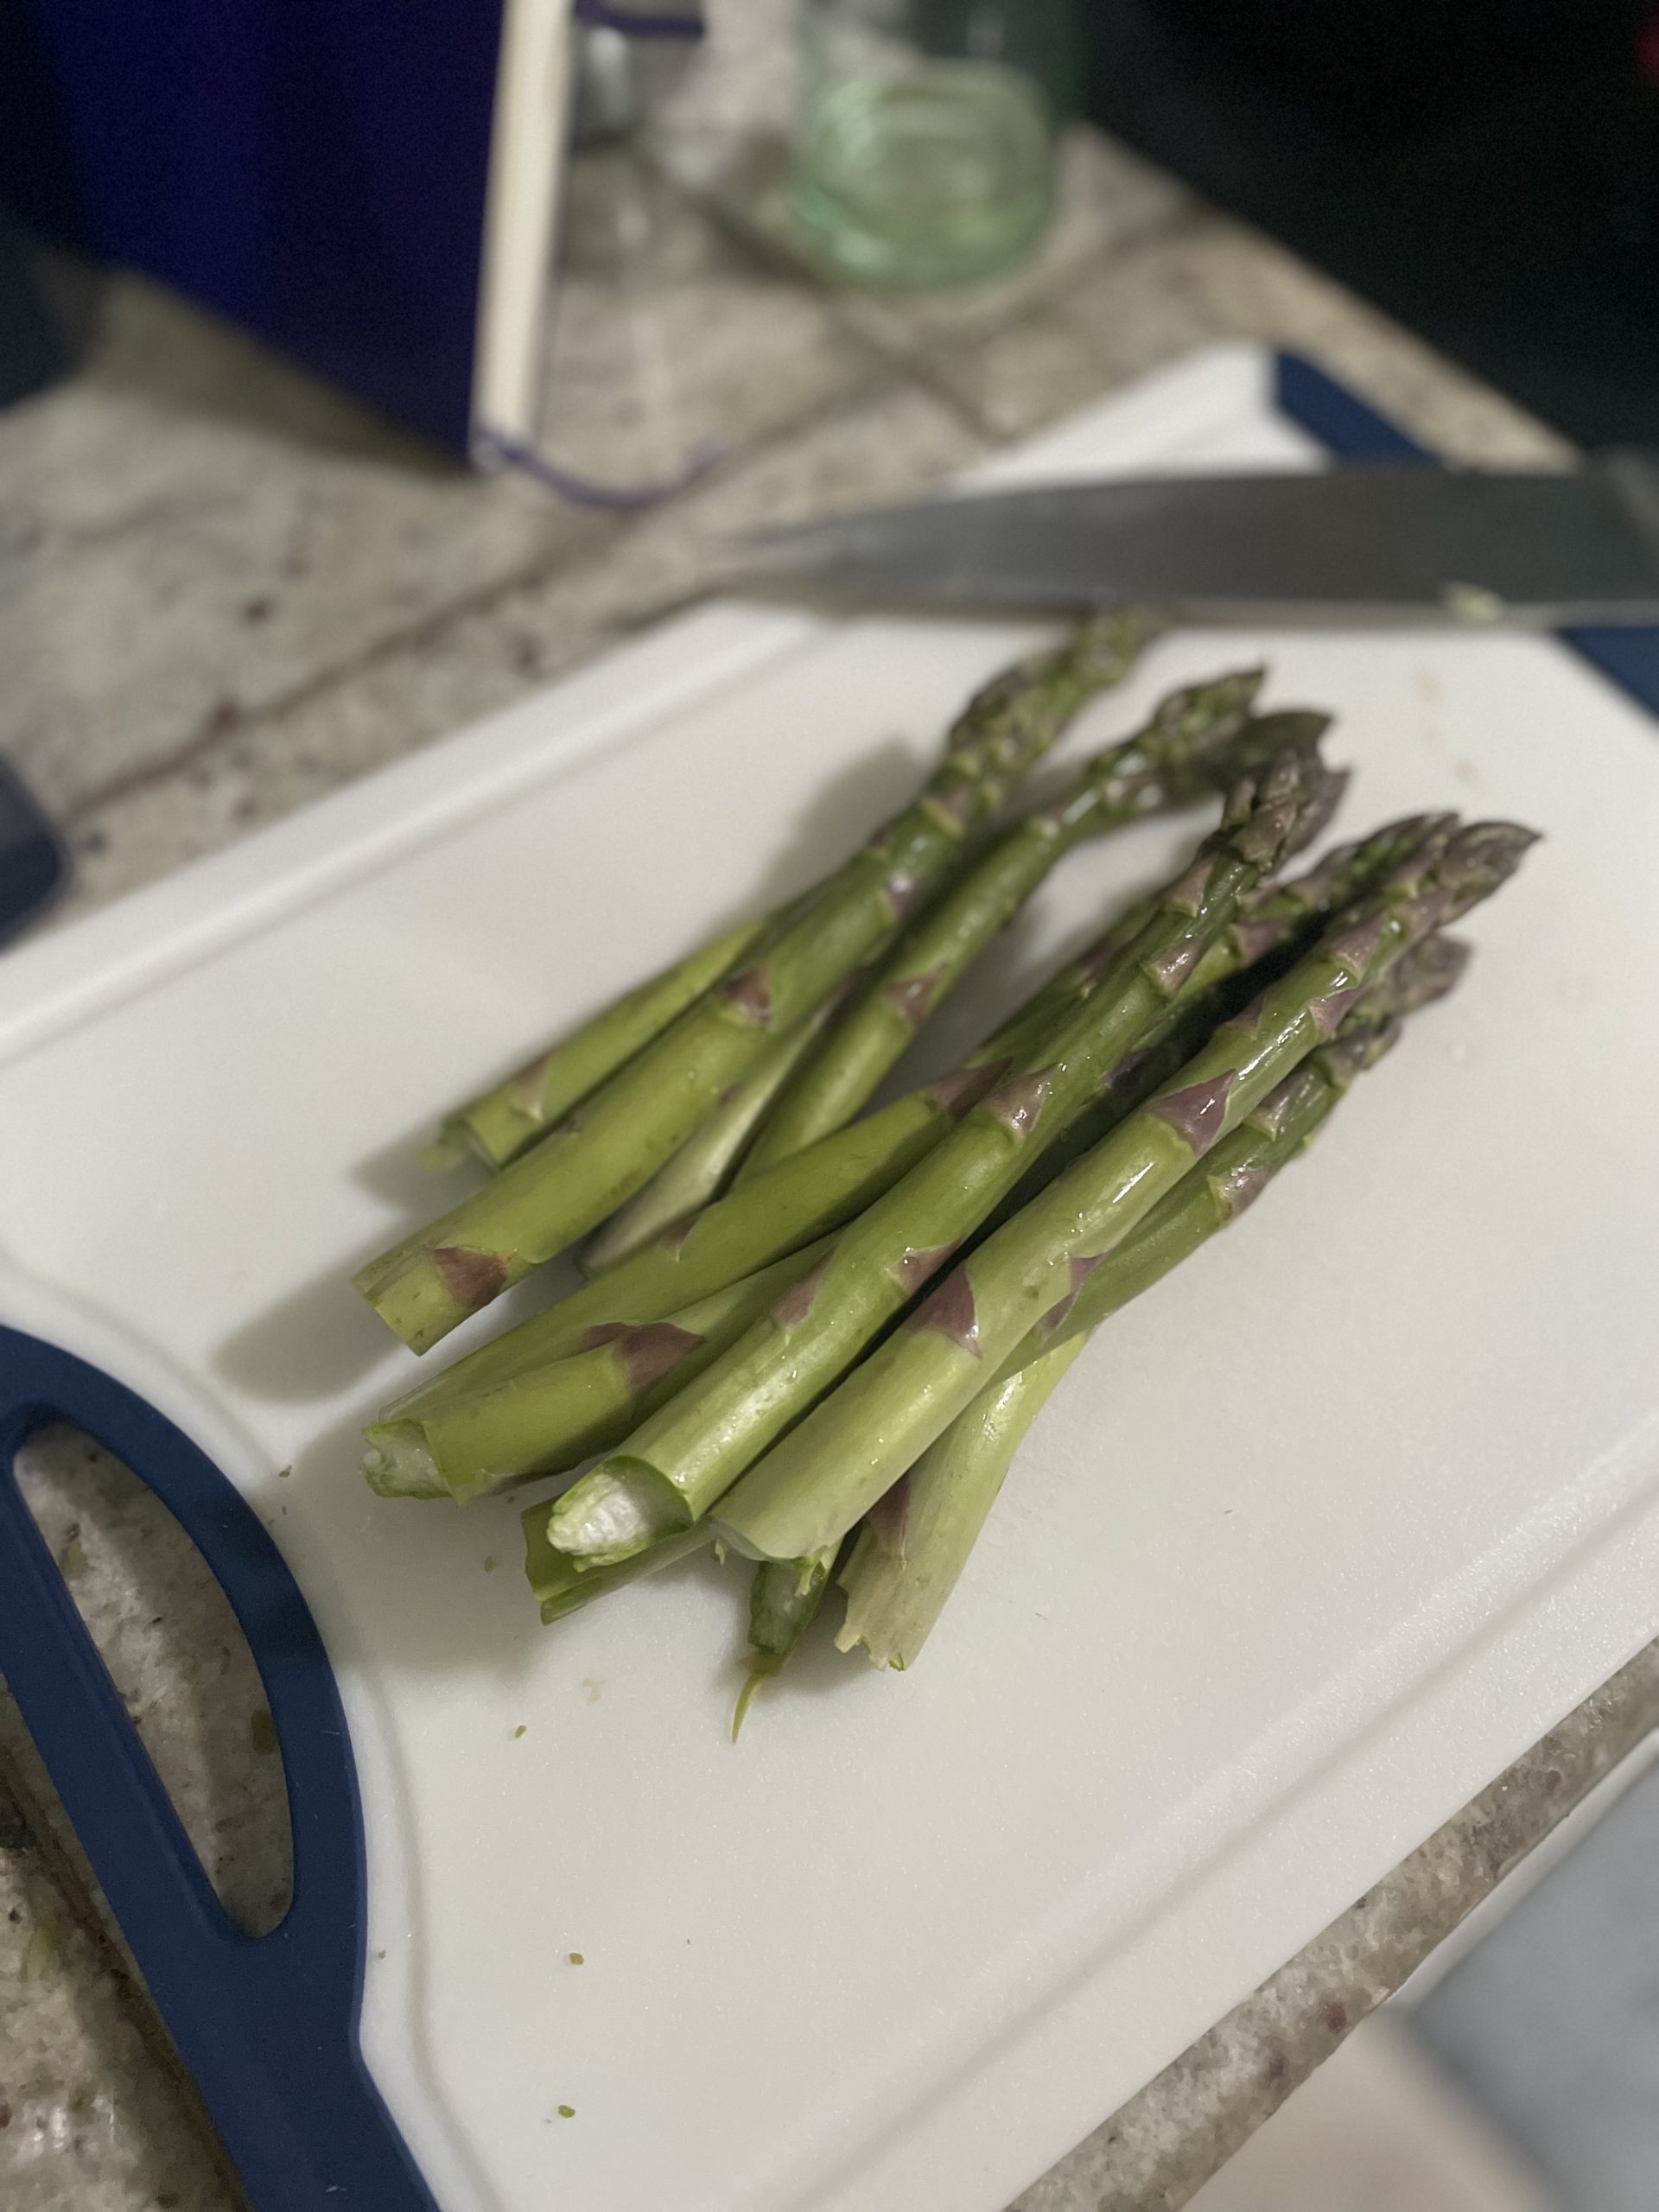
  • Wash and trim your asparagus. I like to trim mine by just breaking off the ends. This ensures that you get all of the tough part of the asparagus off. If you just cut off the ends, you're likely to still have the tough part still on the stalk.
  • Cut pieces of asparagus into various sizes so that there will still be a variety of texture in the pie. Larger pieces will have more of a bite while smaller pieces will be more tender.
  • Toss asparagus pieces in a sprinkle of salt and pepper. Leave aside.
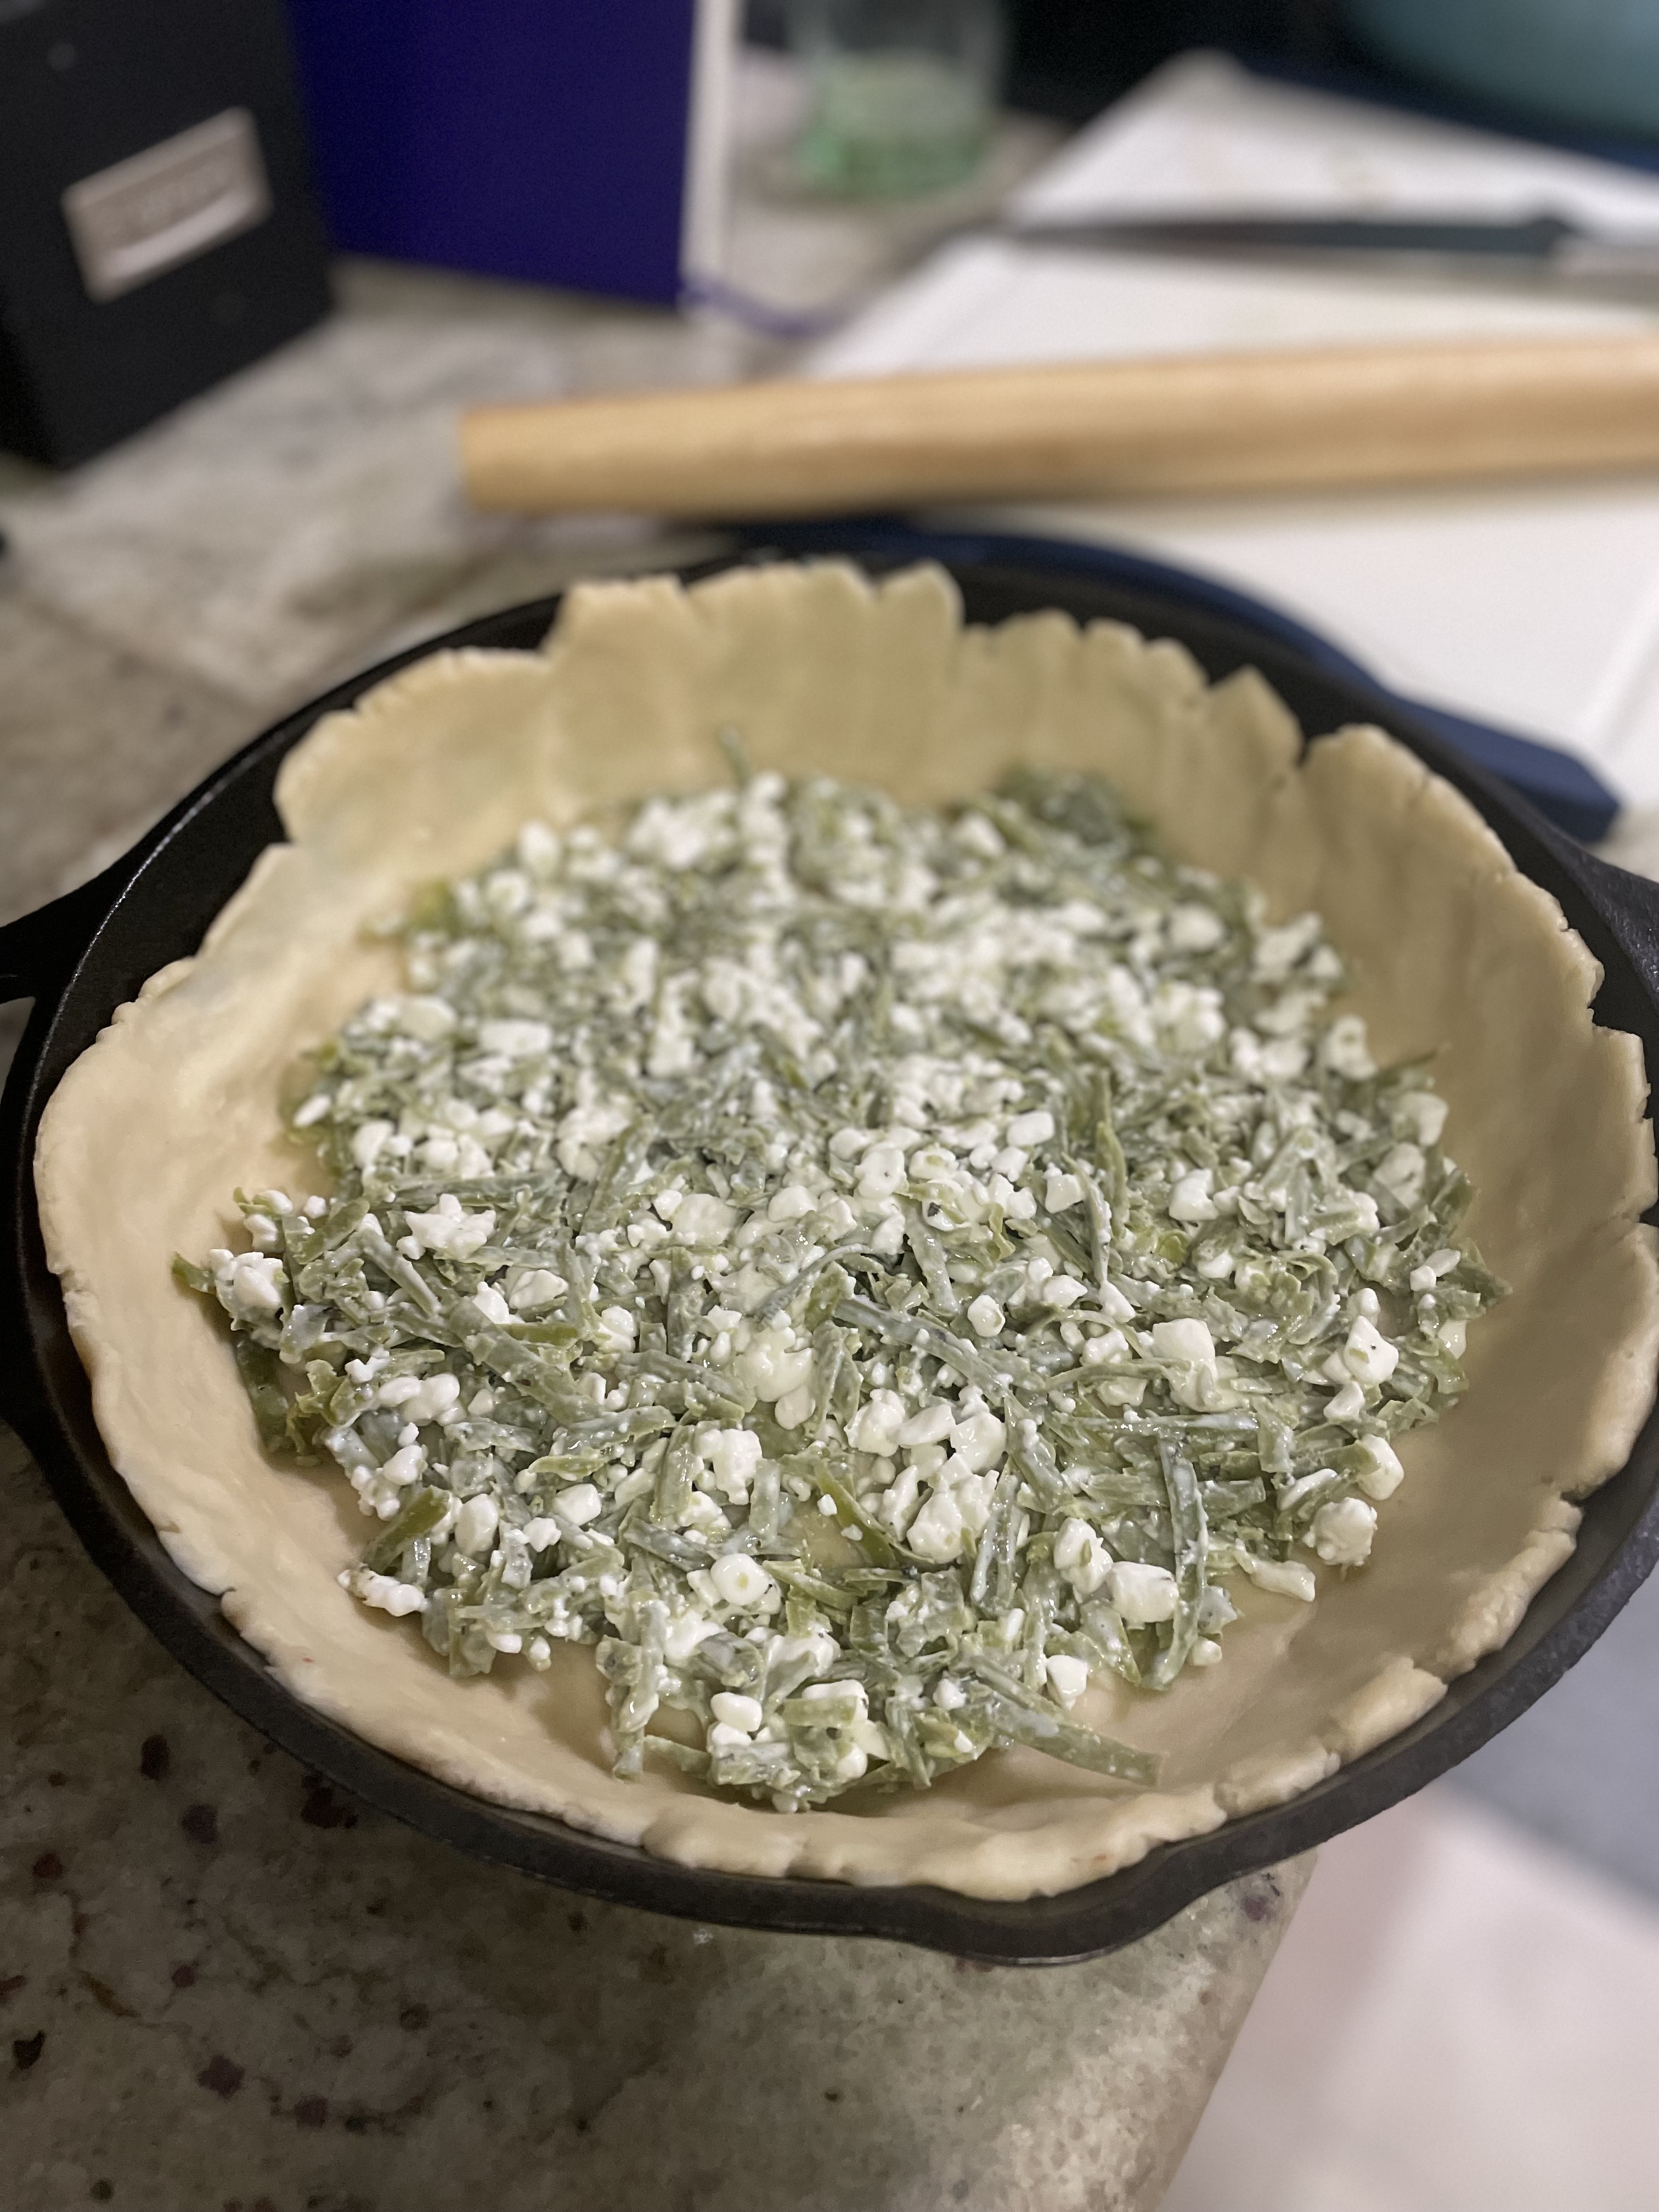
  • Roll out pie crust to fit your pie dish or cast iron OR if you're making it just on a sheet tray, make it whatever size you like. Ensure there is extra overhang to fold over to make it into a galette.
  • Mix together the cottage cheese and gouda and spread into the base of the crust.
  • If any water has released from the asparagus, drain and pat dry. Add asparagus into an even layer into the galette.
  • Optional, top with sun-dried tomatoes.

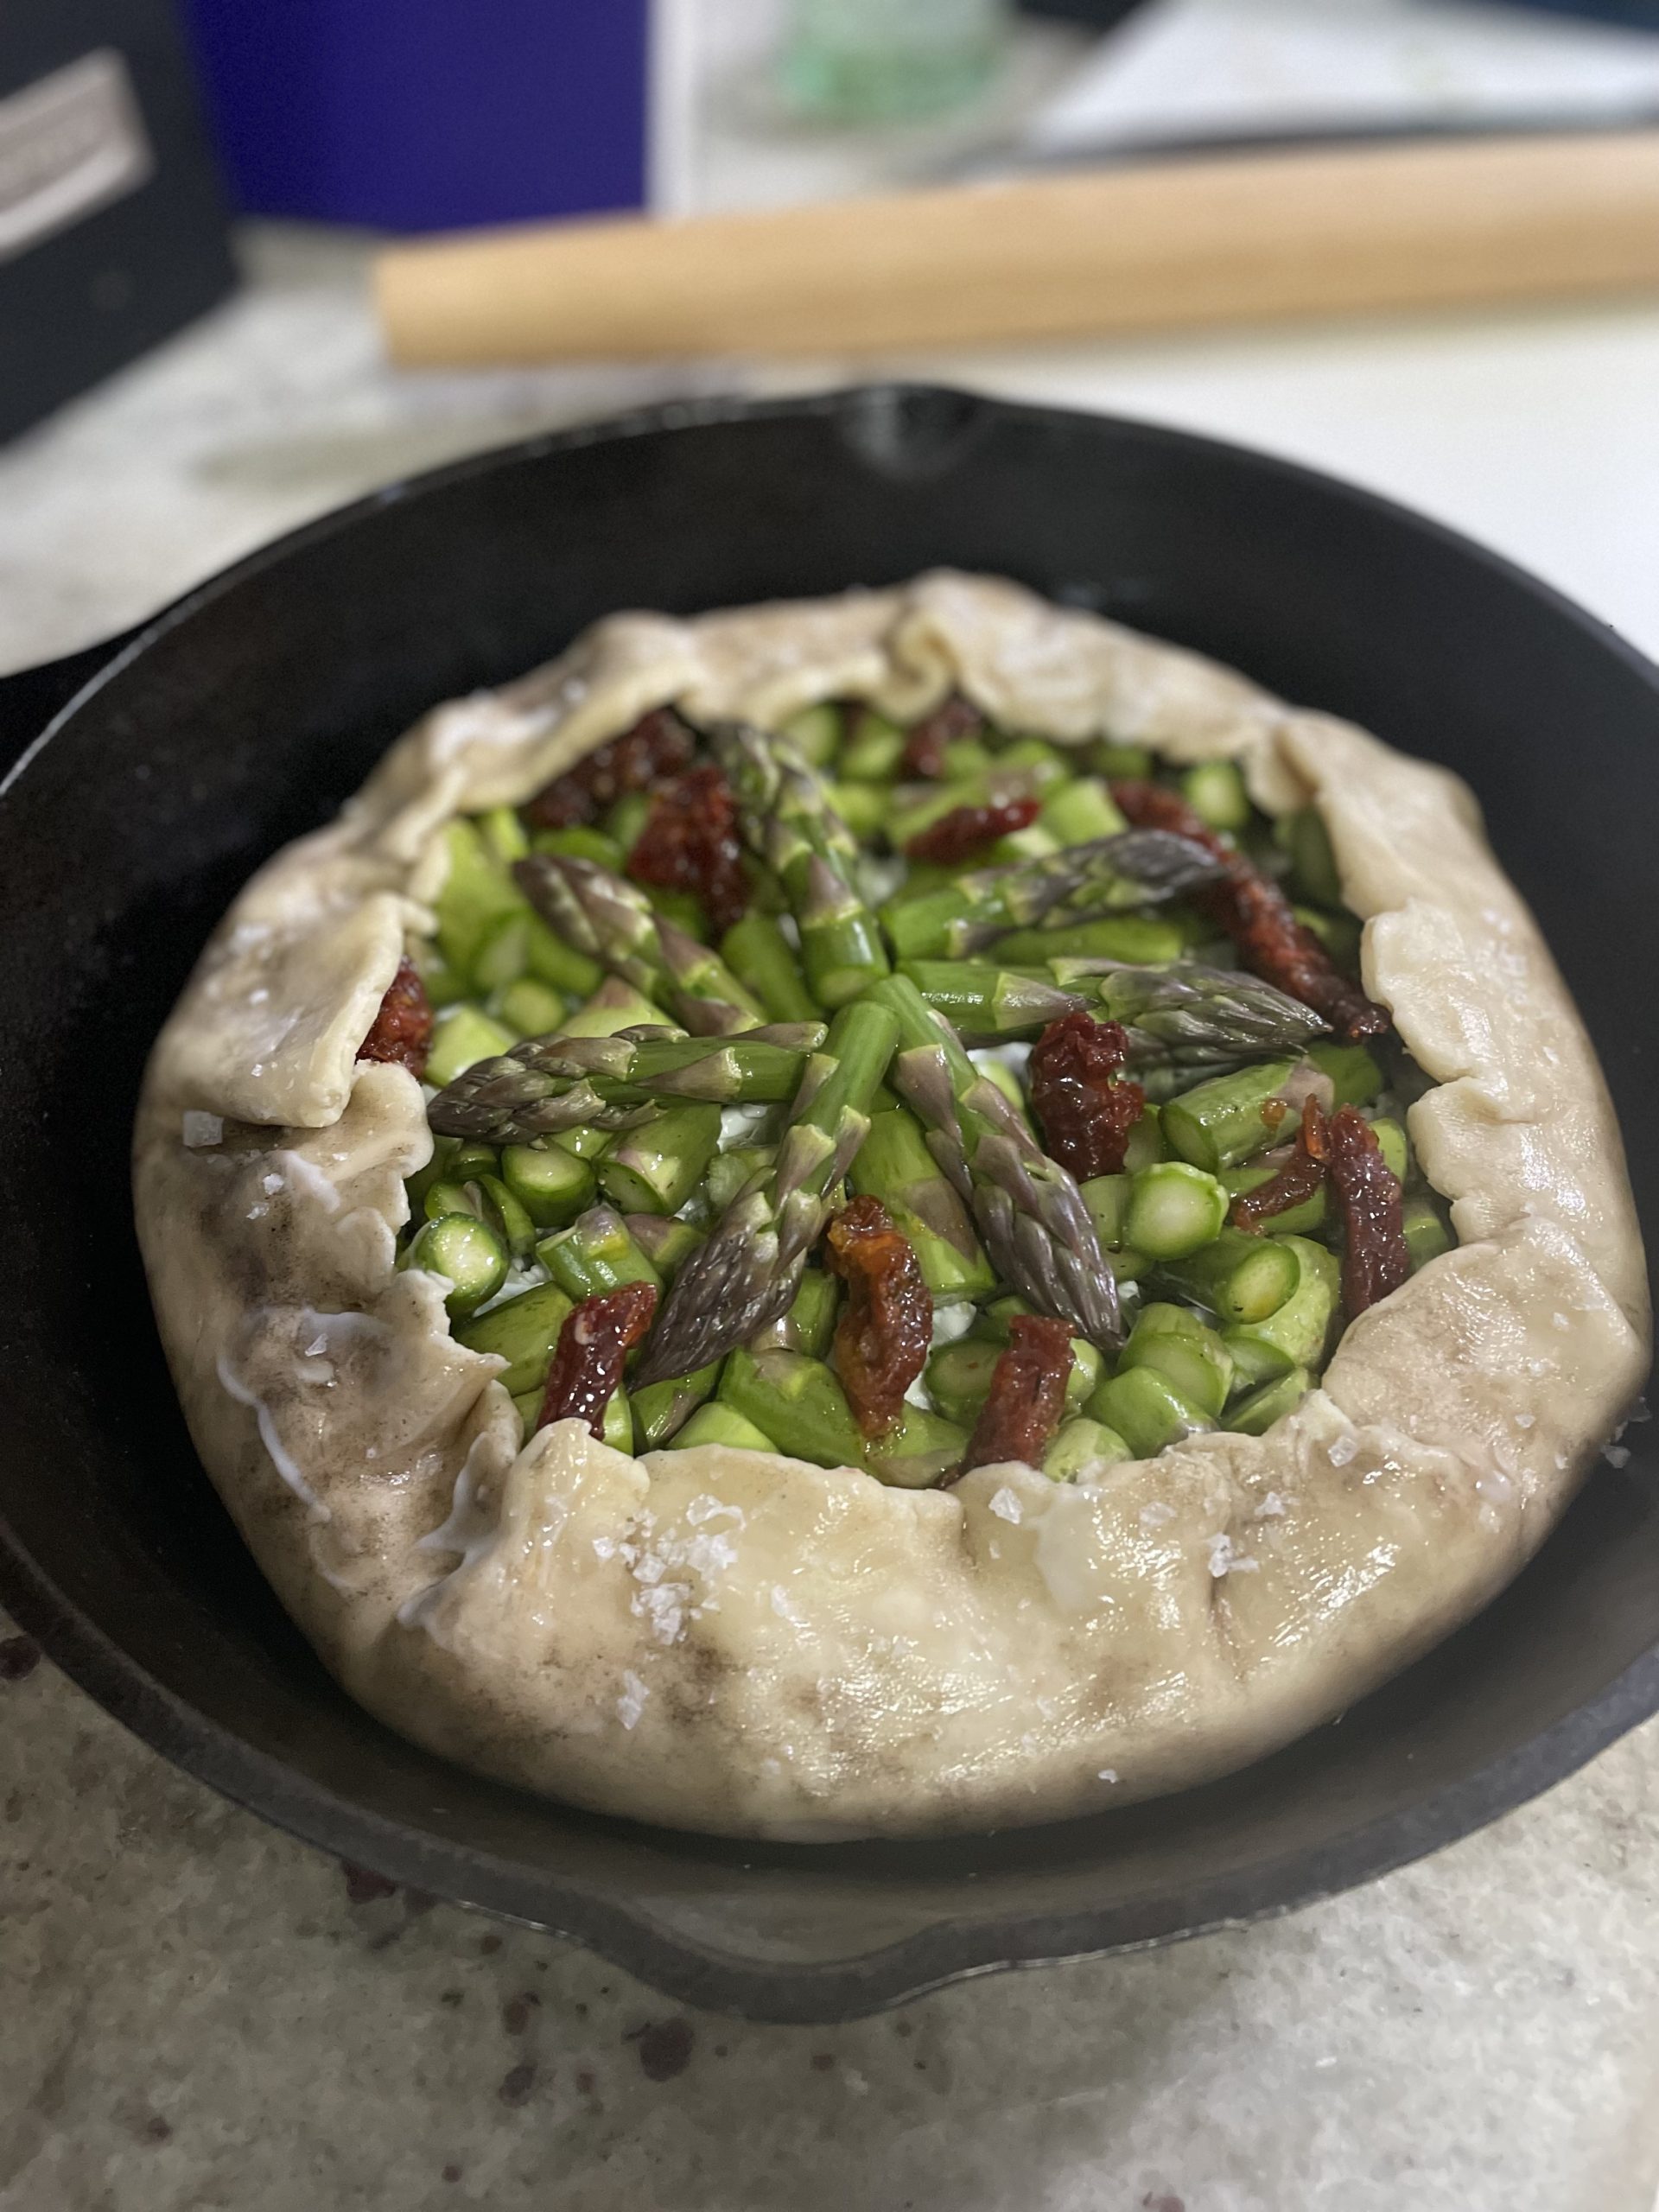
  • Fold edges of crust over the rest of the galette and brush with egg wash for a shine.
  • Bake at 400F for about 30 minutes until golden brown, if asparagus is browning too quickly, tent just the center of the galette with some foil.

Pie Crust

Print Recipe
An easy pie crust that comes together in a food processor.
Keyword pie, pie crust
Servings 1 crust

Equipment

  • 1 food processor

Ingredients

  • 1 1/4 cup flour
  • 1/2 tsp salt
  • 1 stick cold butter
  • 3 tbsp cold water
  • turbinado sugar/demerara sugar for sprinkling

Instructions

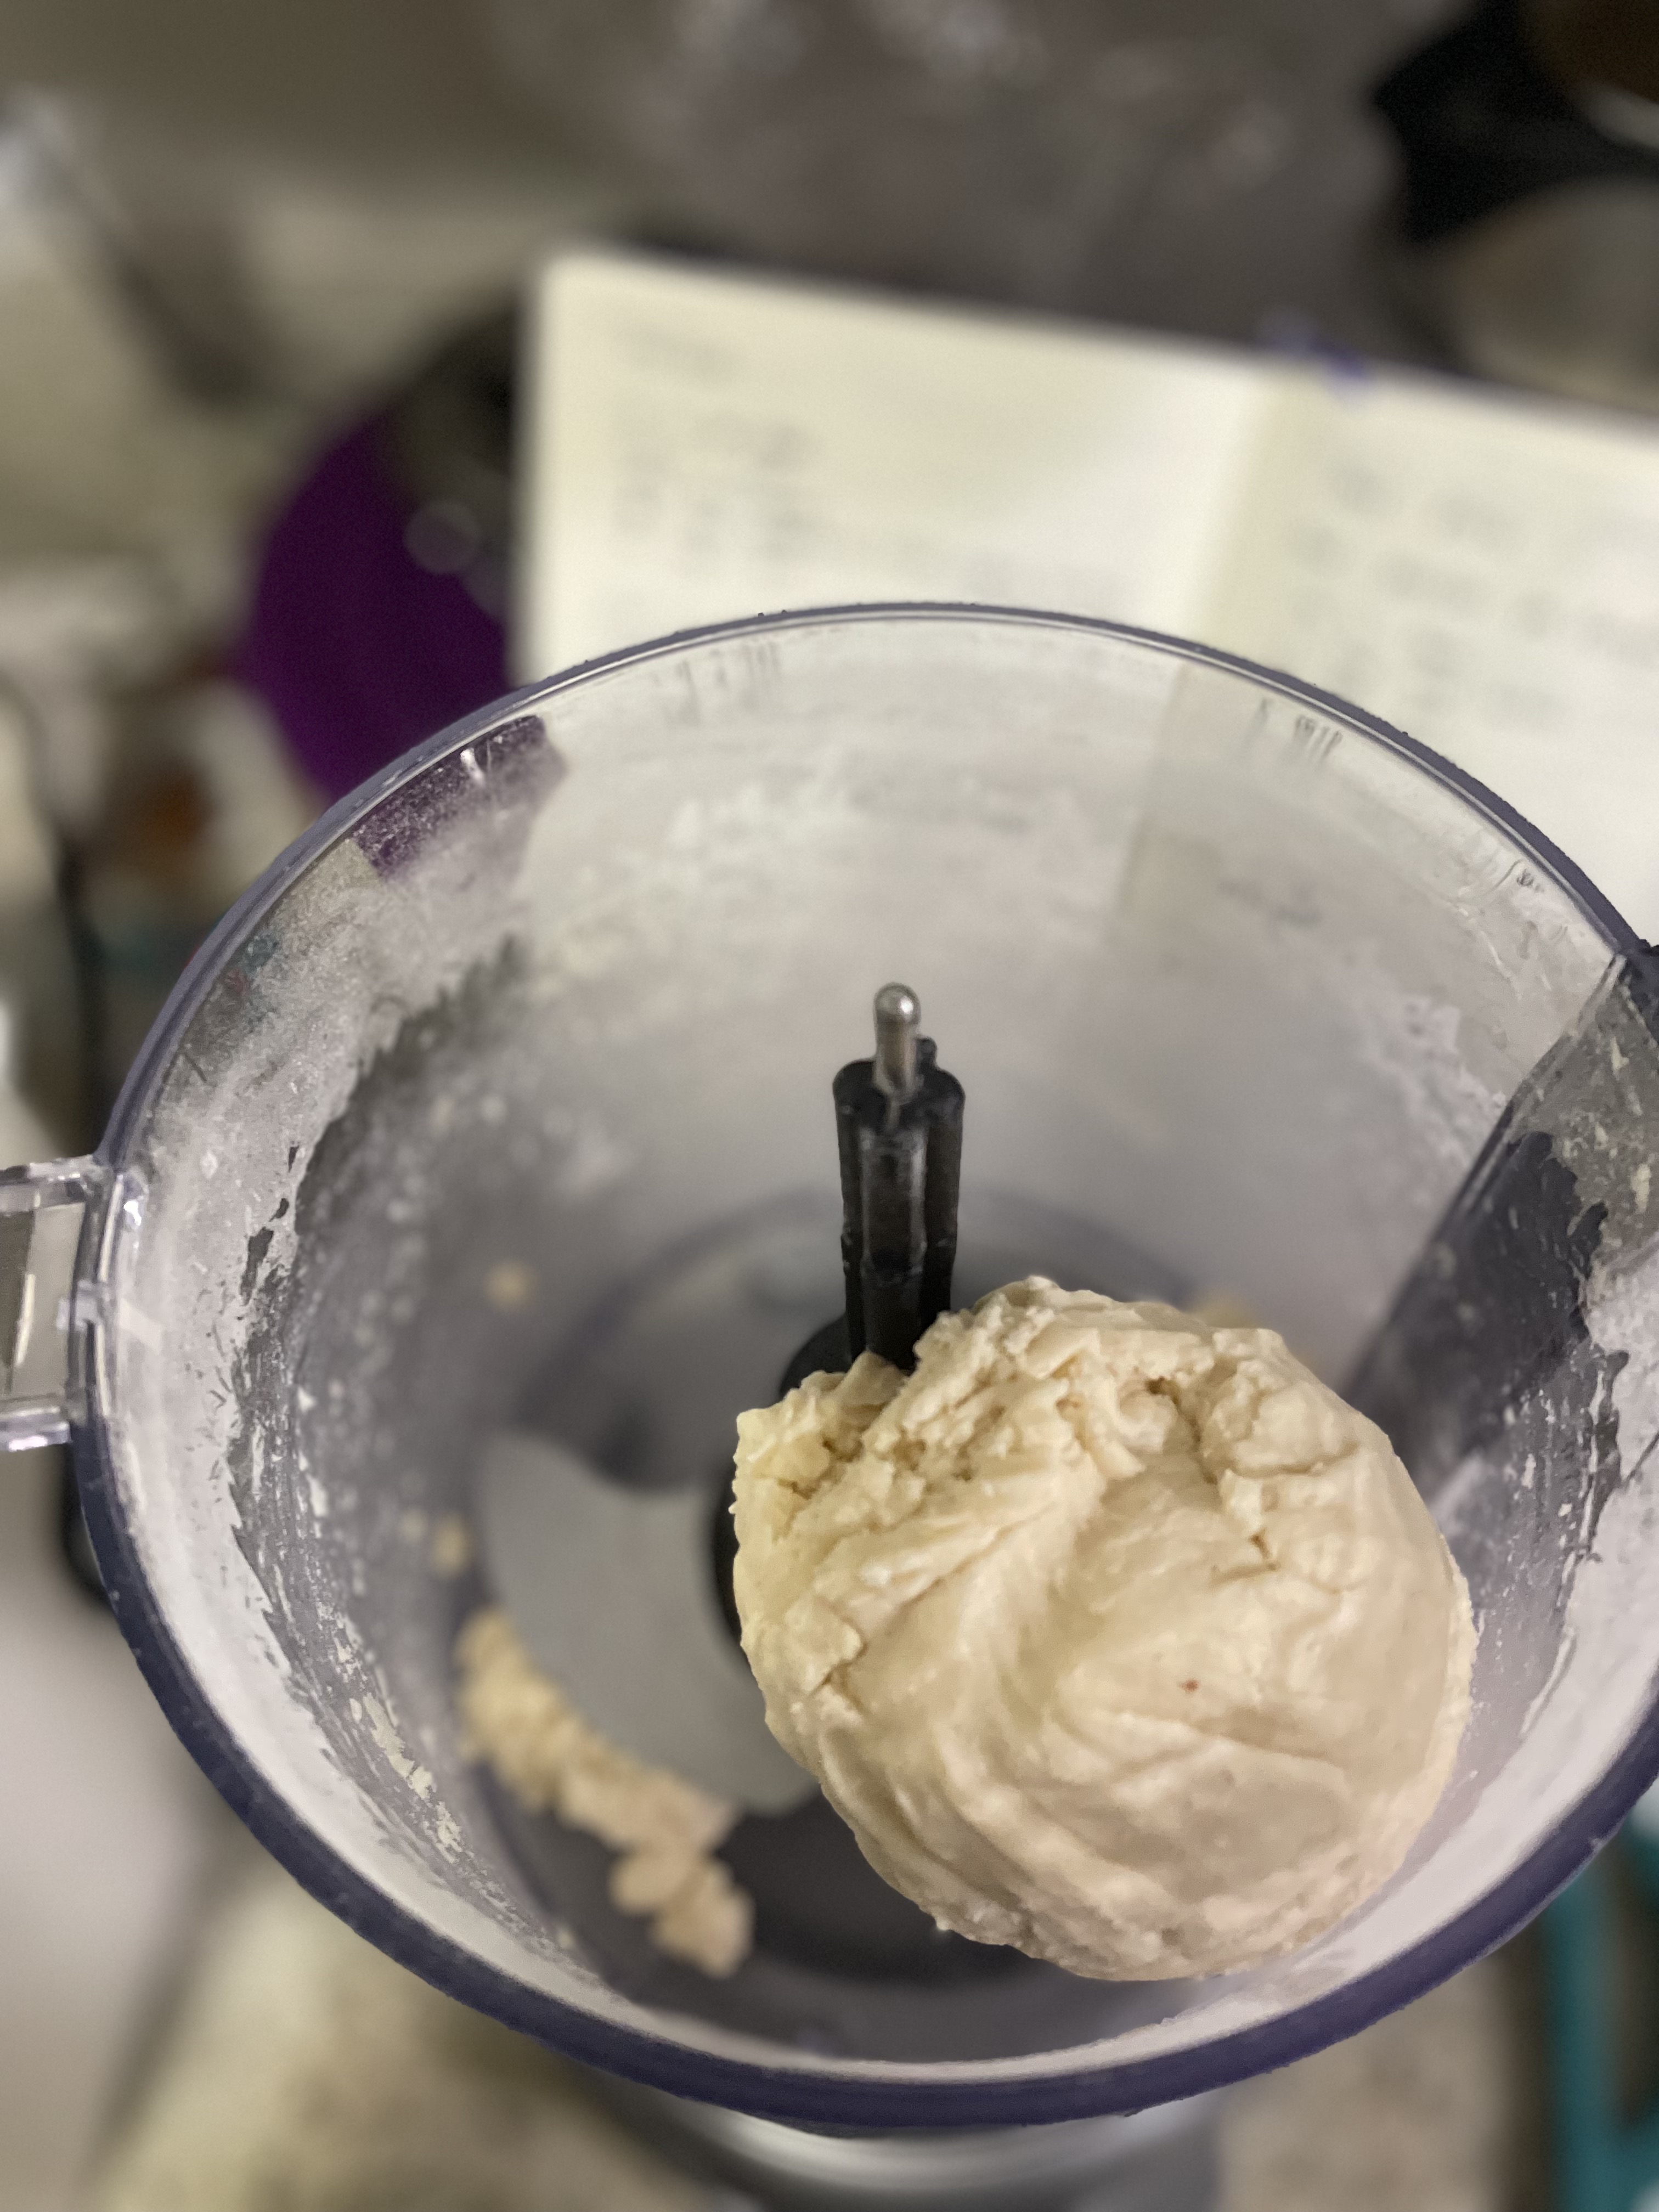
  • Make the pie crust first. In a food processor, add flour, salt, and cubed butter.
  • Pulse ~20 seconds until mixture is mealy.
  • Add water and continue blending until dough comes together in a chunk. Refrigerate dough while you mix the filling.

Here’s a sweet galette: Peach Galette

Want another vegetable side? Honey Balsamic Roasted Brussels Sprouts

Pizza Dough

Deep-dish or thin-crust; I don’t judge a pizza. I love making pizzas at home since you can customize them however you want and use toppings that they might not have even at the fancy, artisan pizza restaurant. This is a super simple pizza dough recipe that requires very few ingredients and very little hands-on time. If you don’t want to mix the dough by hand, you can use a stand mixer to make it even easier.

This pizza dough can be stretched out to make pizzas, breadsticks, and even garlic knots. Try some of my favorite pizza topping combinations:

  • Pesto, goat cheese, broccoli
  • Red sauce, spicy sausage, mushrooms, shredded mozzarella
  • Olive oil, fresh mozzarella, prosciutto, arugula, balsamic glaze

Ingredients

Flour – I’ve always used all-purpose flour for this pizza dough recipe for it to be as easy as possible. If you want to use whole-wheat flour, I wouldn’t substitute more than 1/4 of the total amount of flour for whole-wheat. Whole-wheat flour can cause the dough to be come really dry.

Yeast – I use active dry yeast. You can use instant yeast too and you don’t have to wait for the mix to bloom.

Salt – You need to add salt to the dough or else it’ll taste like dirt. Feel free to add any other spices or herbs at this point too like oregano, rosemary, garlic, onion powder, or even herbs de Provence.

Sweetener – Some sweetener helps give the yeast something to eat so that the dough can rise. Depending on what I have on hand, I’ll switch between honey, agave, or white sugar.

Pizza Dough

Print Recipe
An easy pizza dough that can be used for pizzas (of course) or even breadsticks and garlic knots.
Makes 2 large 12" pizzas or 4 9"x11" pizzas.
Course Main Course
Keyword pizza, pizza dough, yeast
Prep Time 1 day

Equipment

  • 1 Stand mixer optional

Ingredients

  • 800 grams all-purpose flour
  • 500 grams lukewarm water
  • 4 grams yeast
  • 16 grams salt
  • 8 grams sweetener
  • 12 mL olive oil a generous drizzle

Instructions

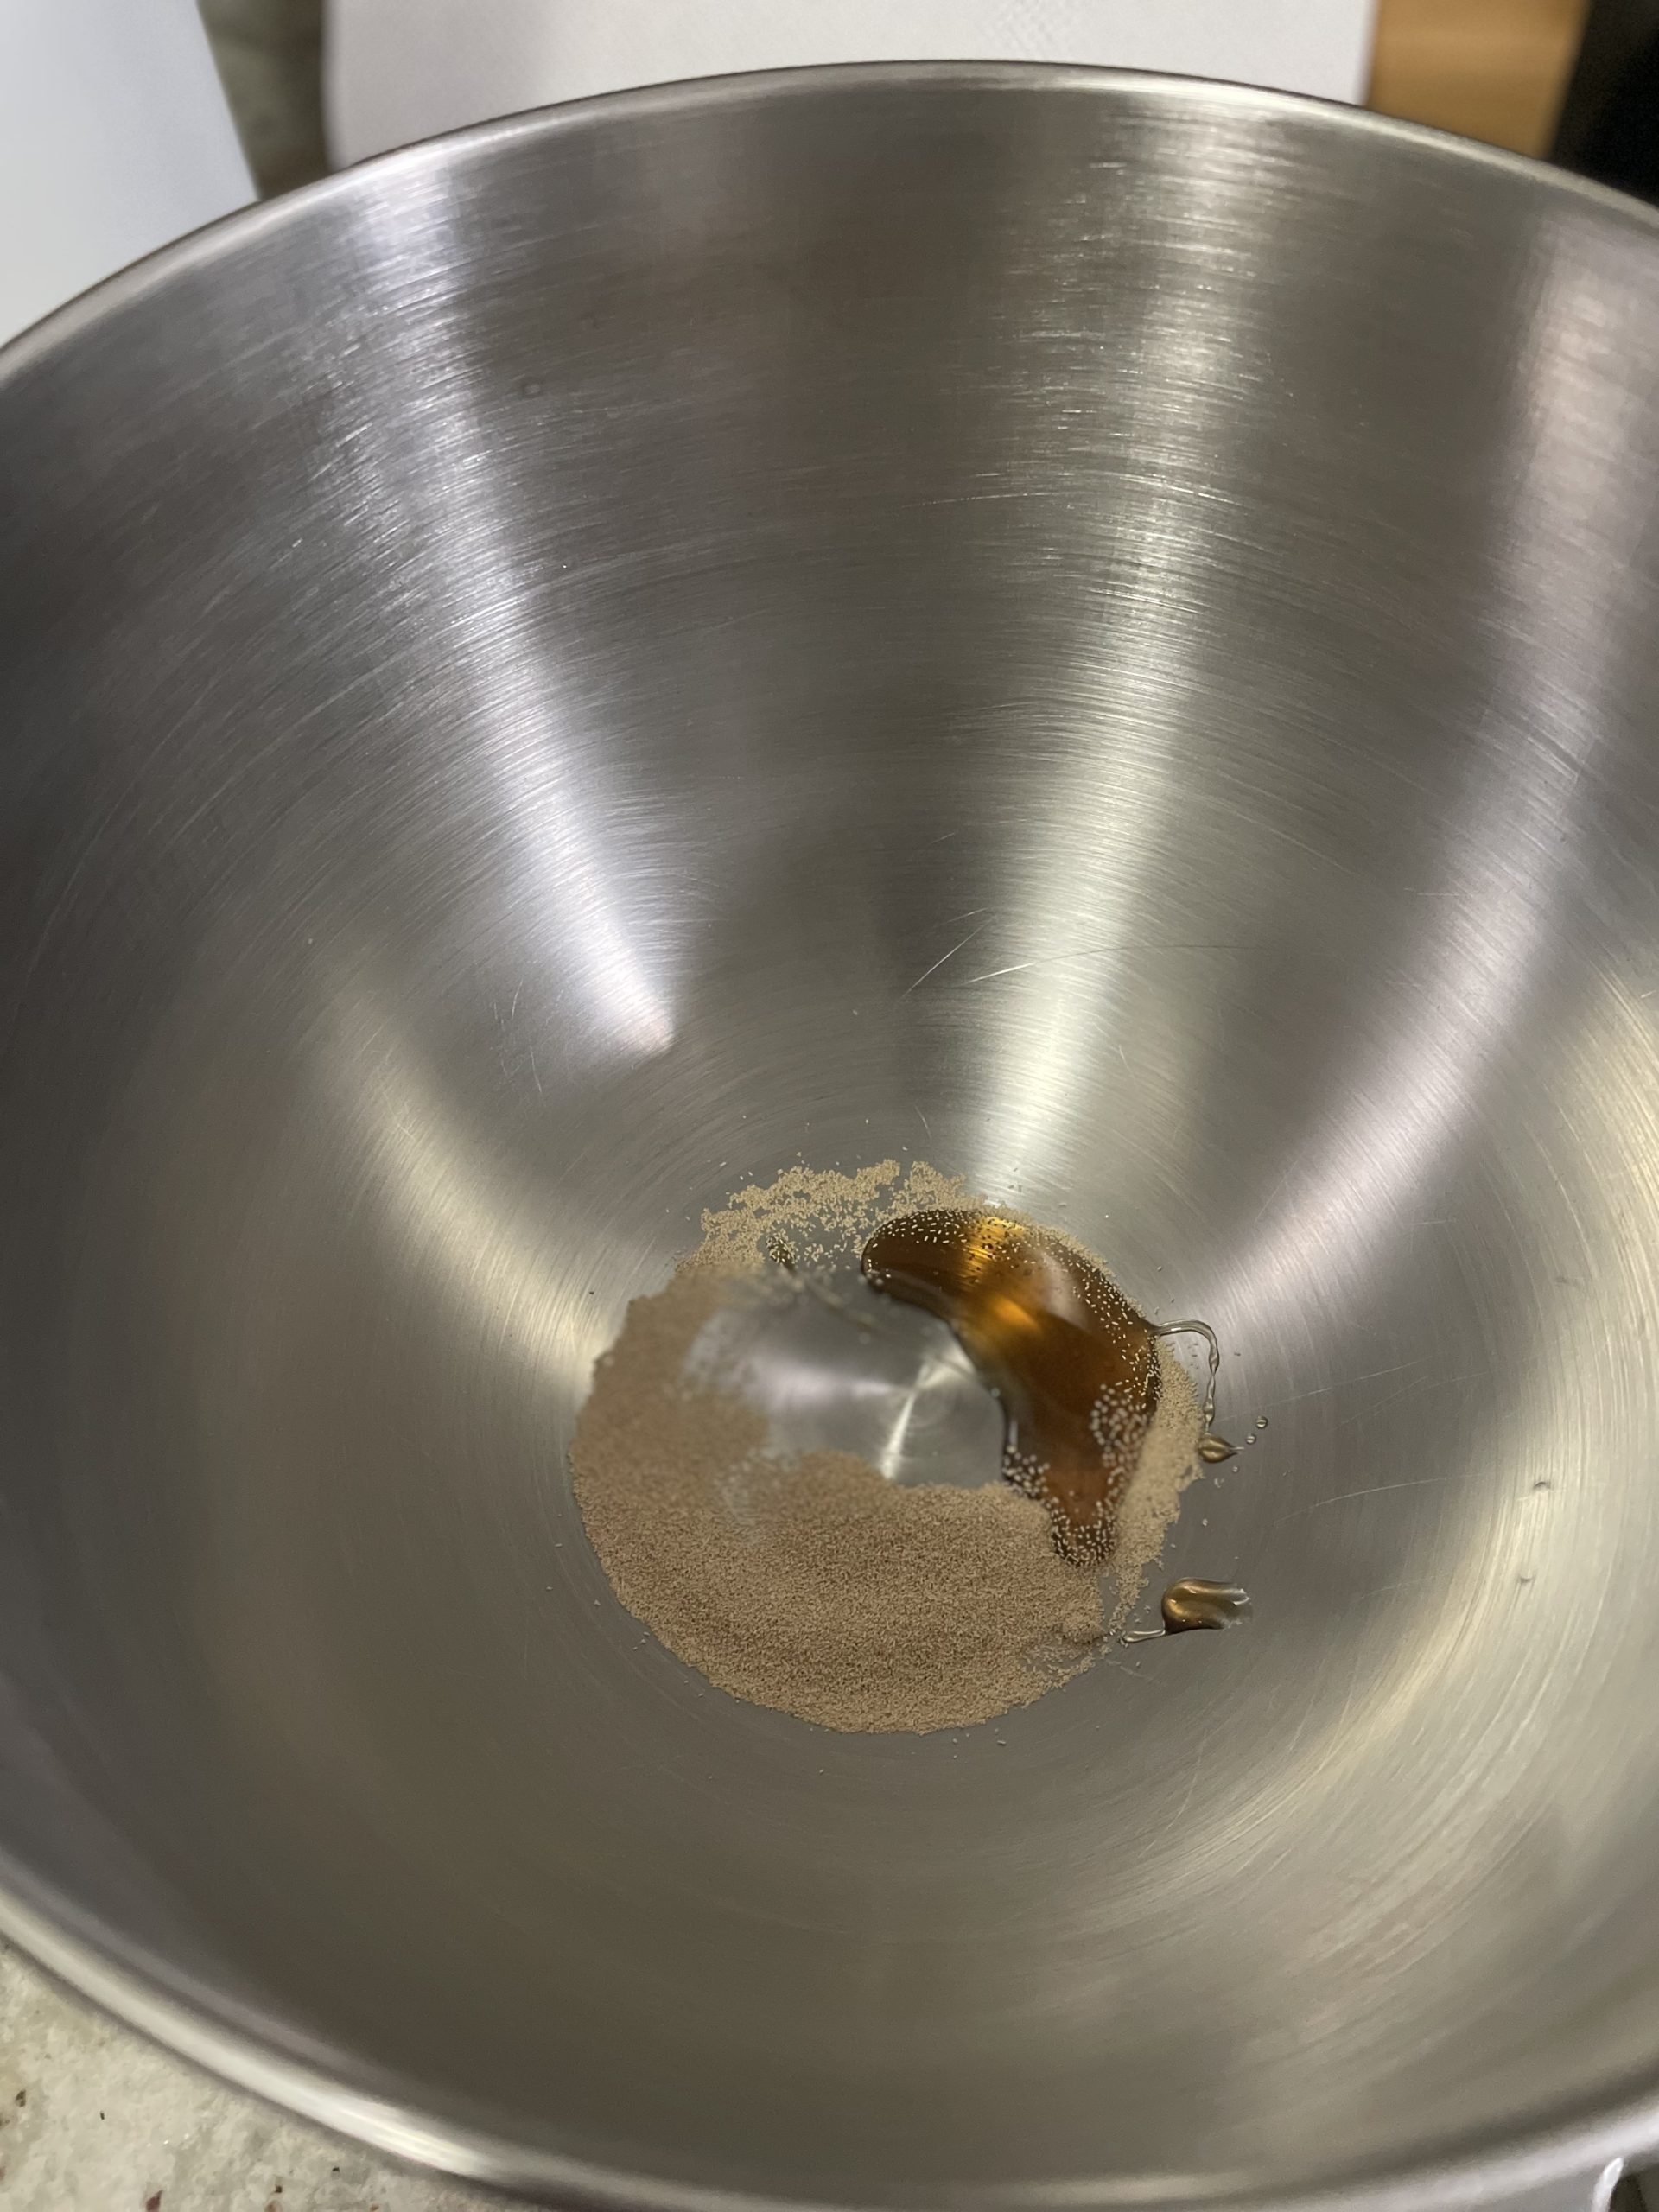
  • Mix together warm water, yeast, and sweetener. Set aside for a moment for the yeast to bloom. Yeast will get cloudy and foamy. If using instant yeast, you do not need to wait for the mixture to bloom.
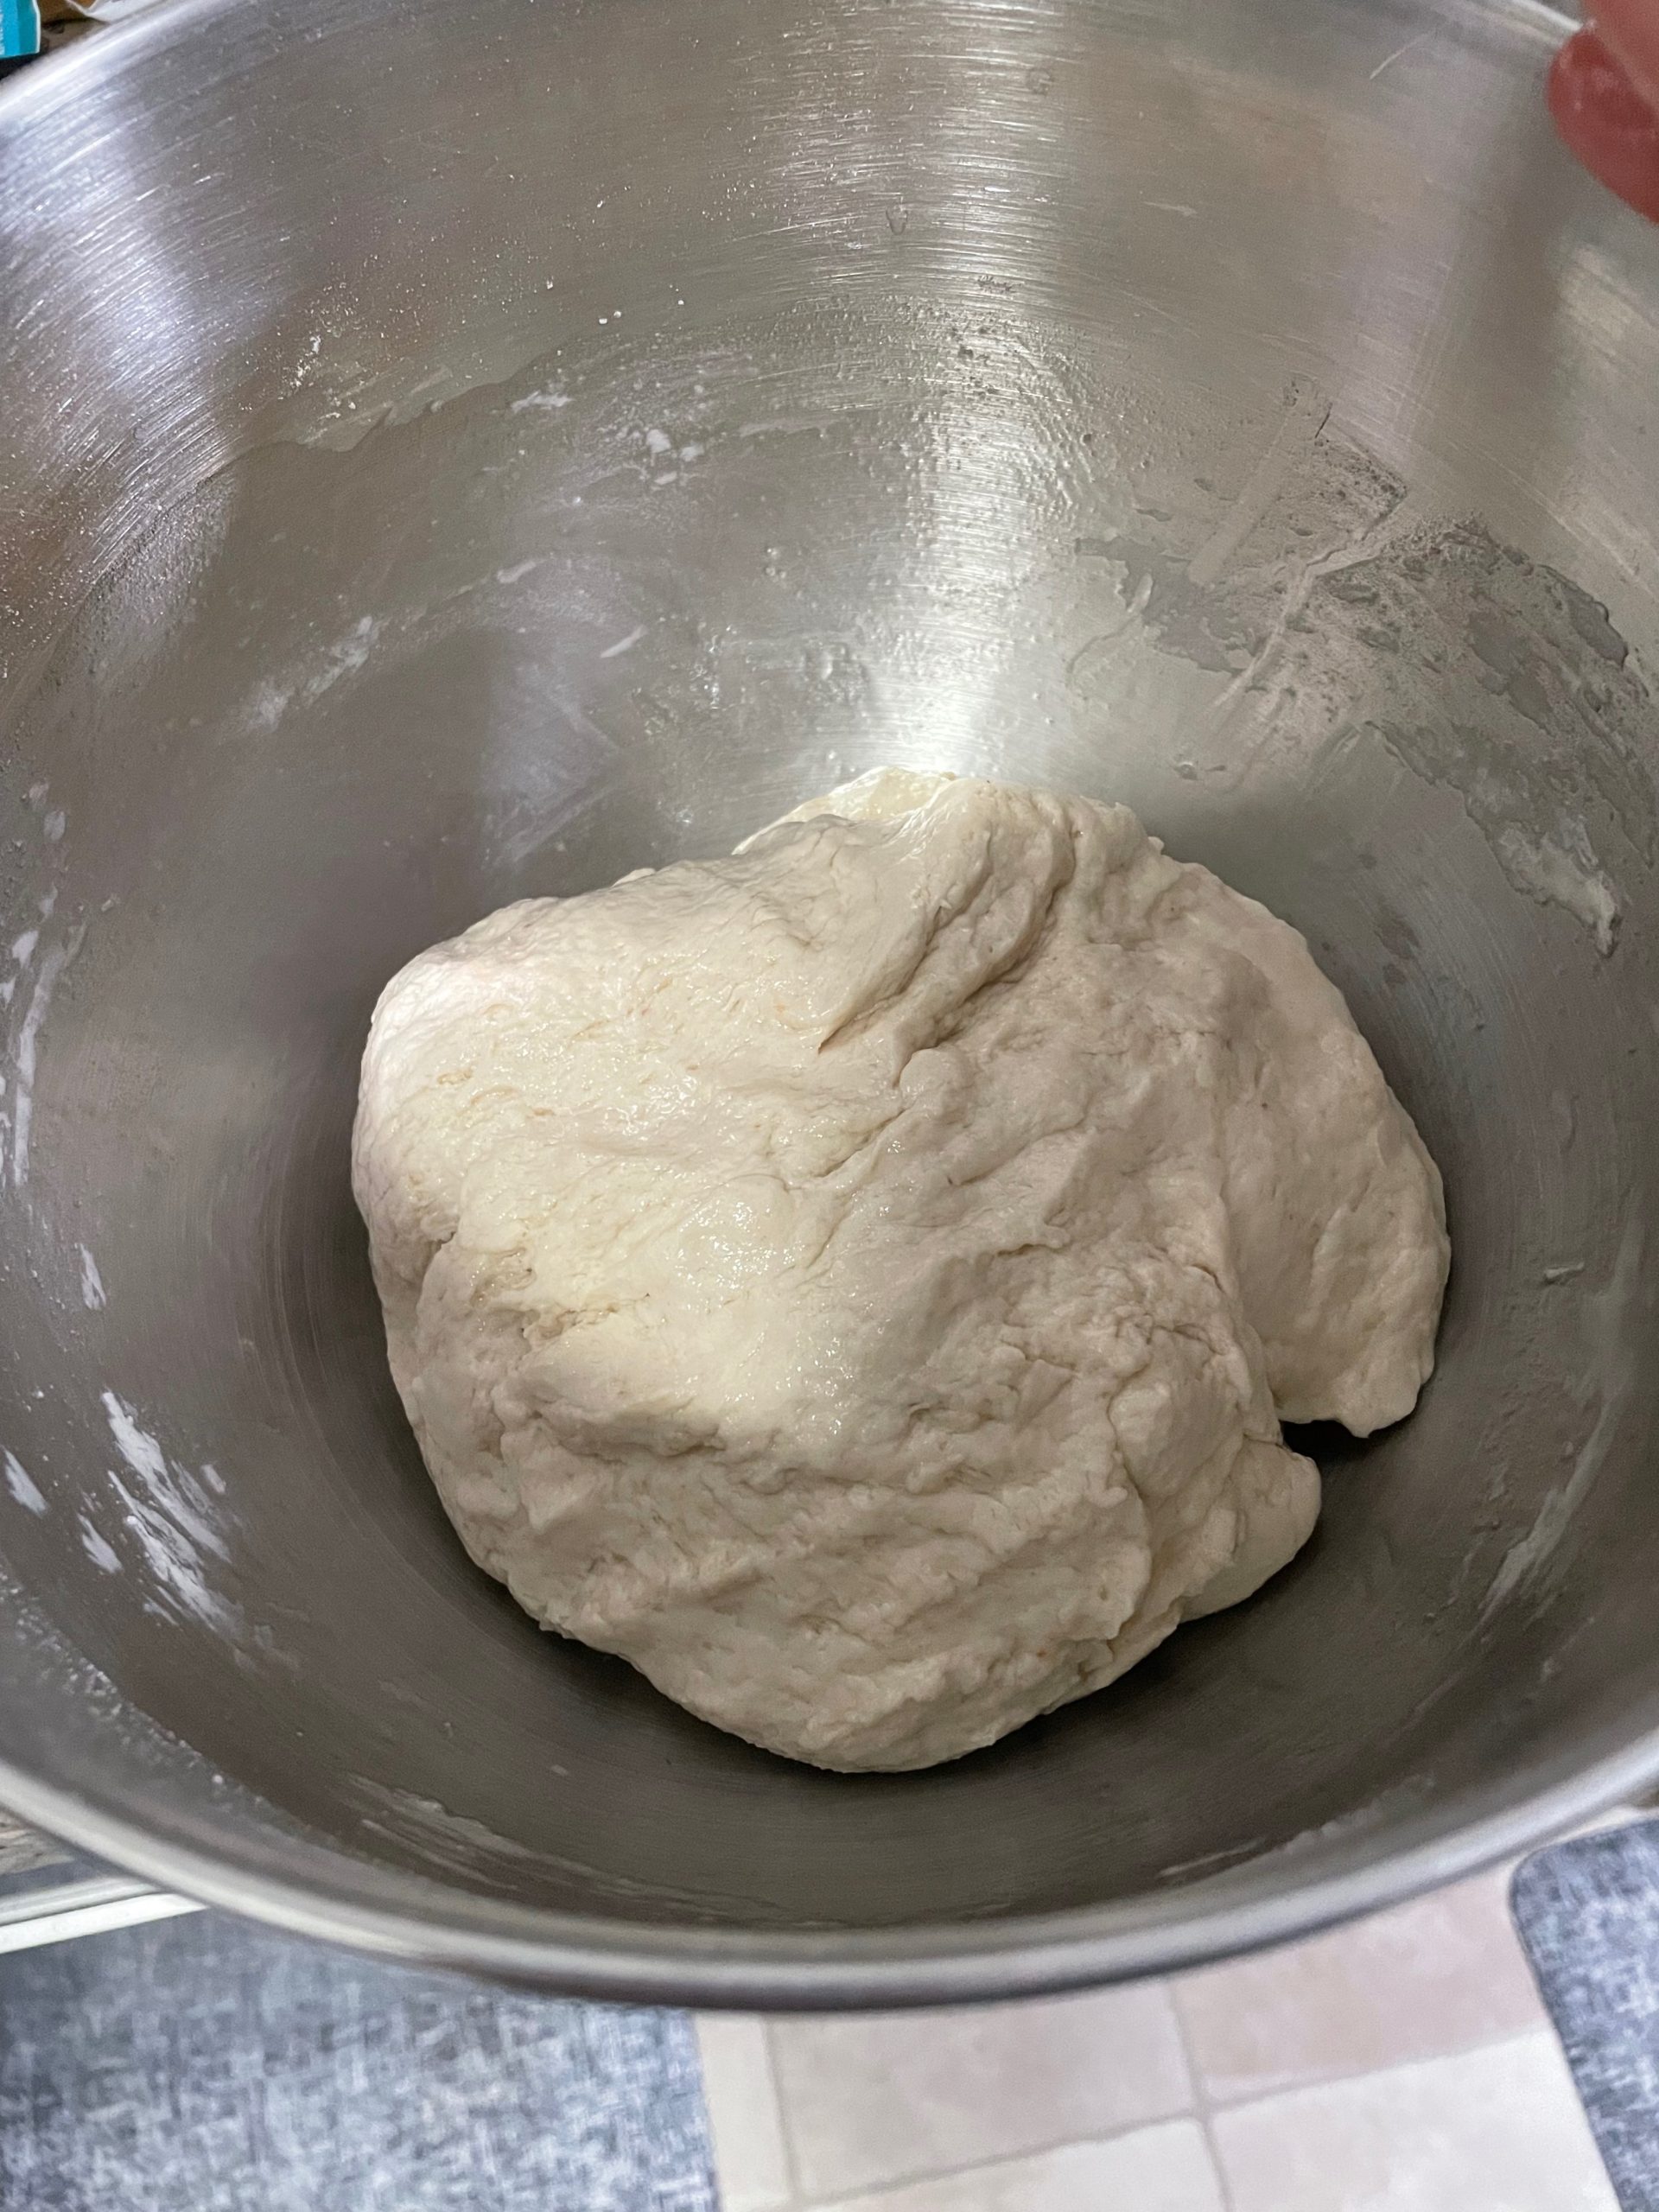
  • Add flour and salt. Mix by hand or use a stand mixer with the dough hook attachment.
  • Once the mix has come together, add a generous drizzle of oil while the mixer is running.
  • Once combined into one ball around he dough hook or dough comes together and is smooth, remove the bowl from the mixer.
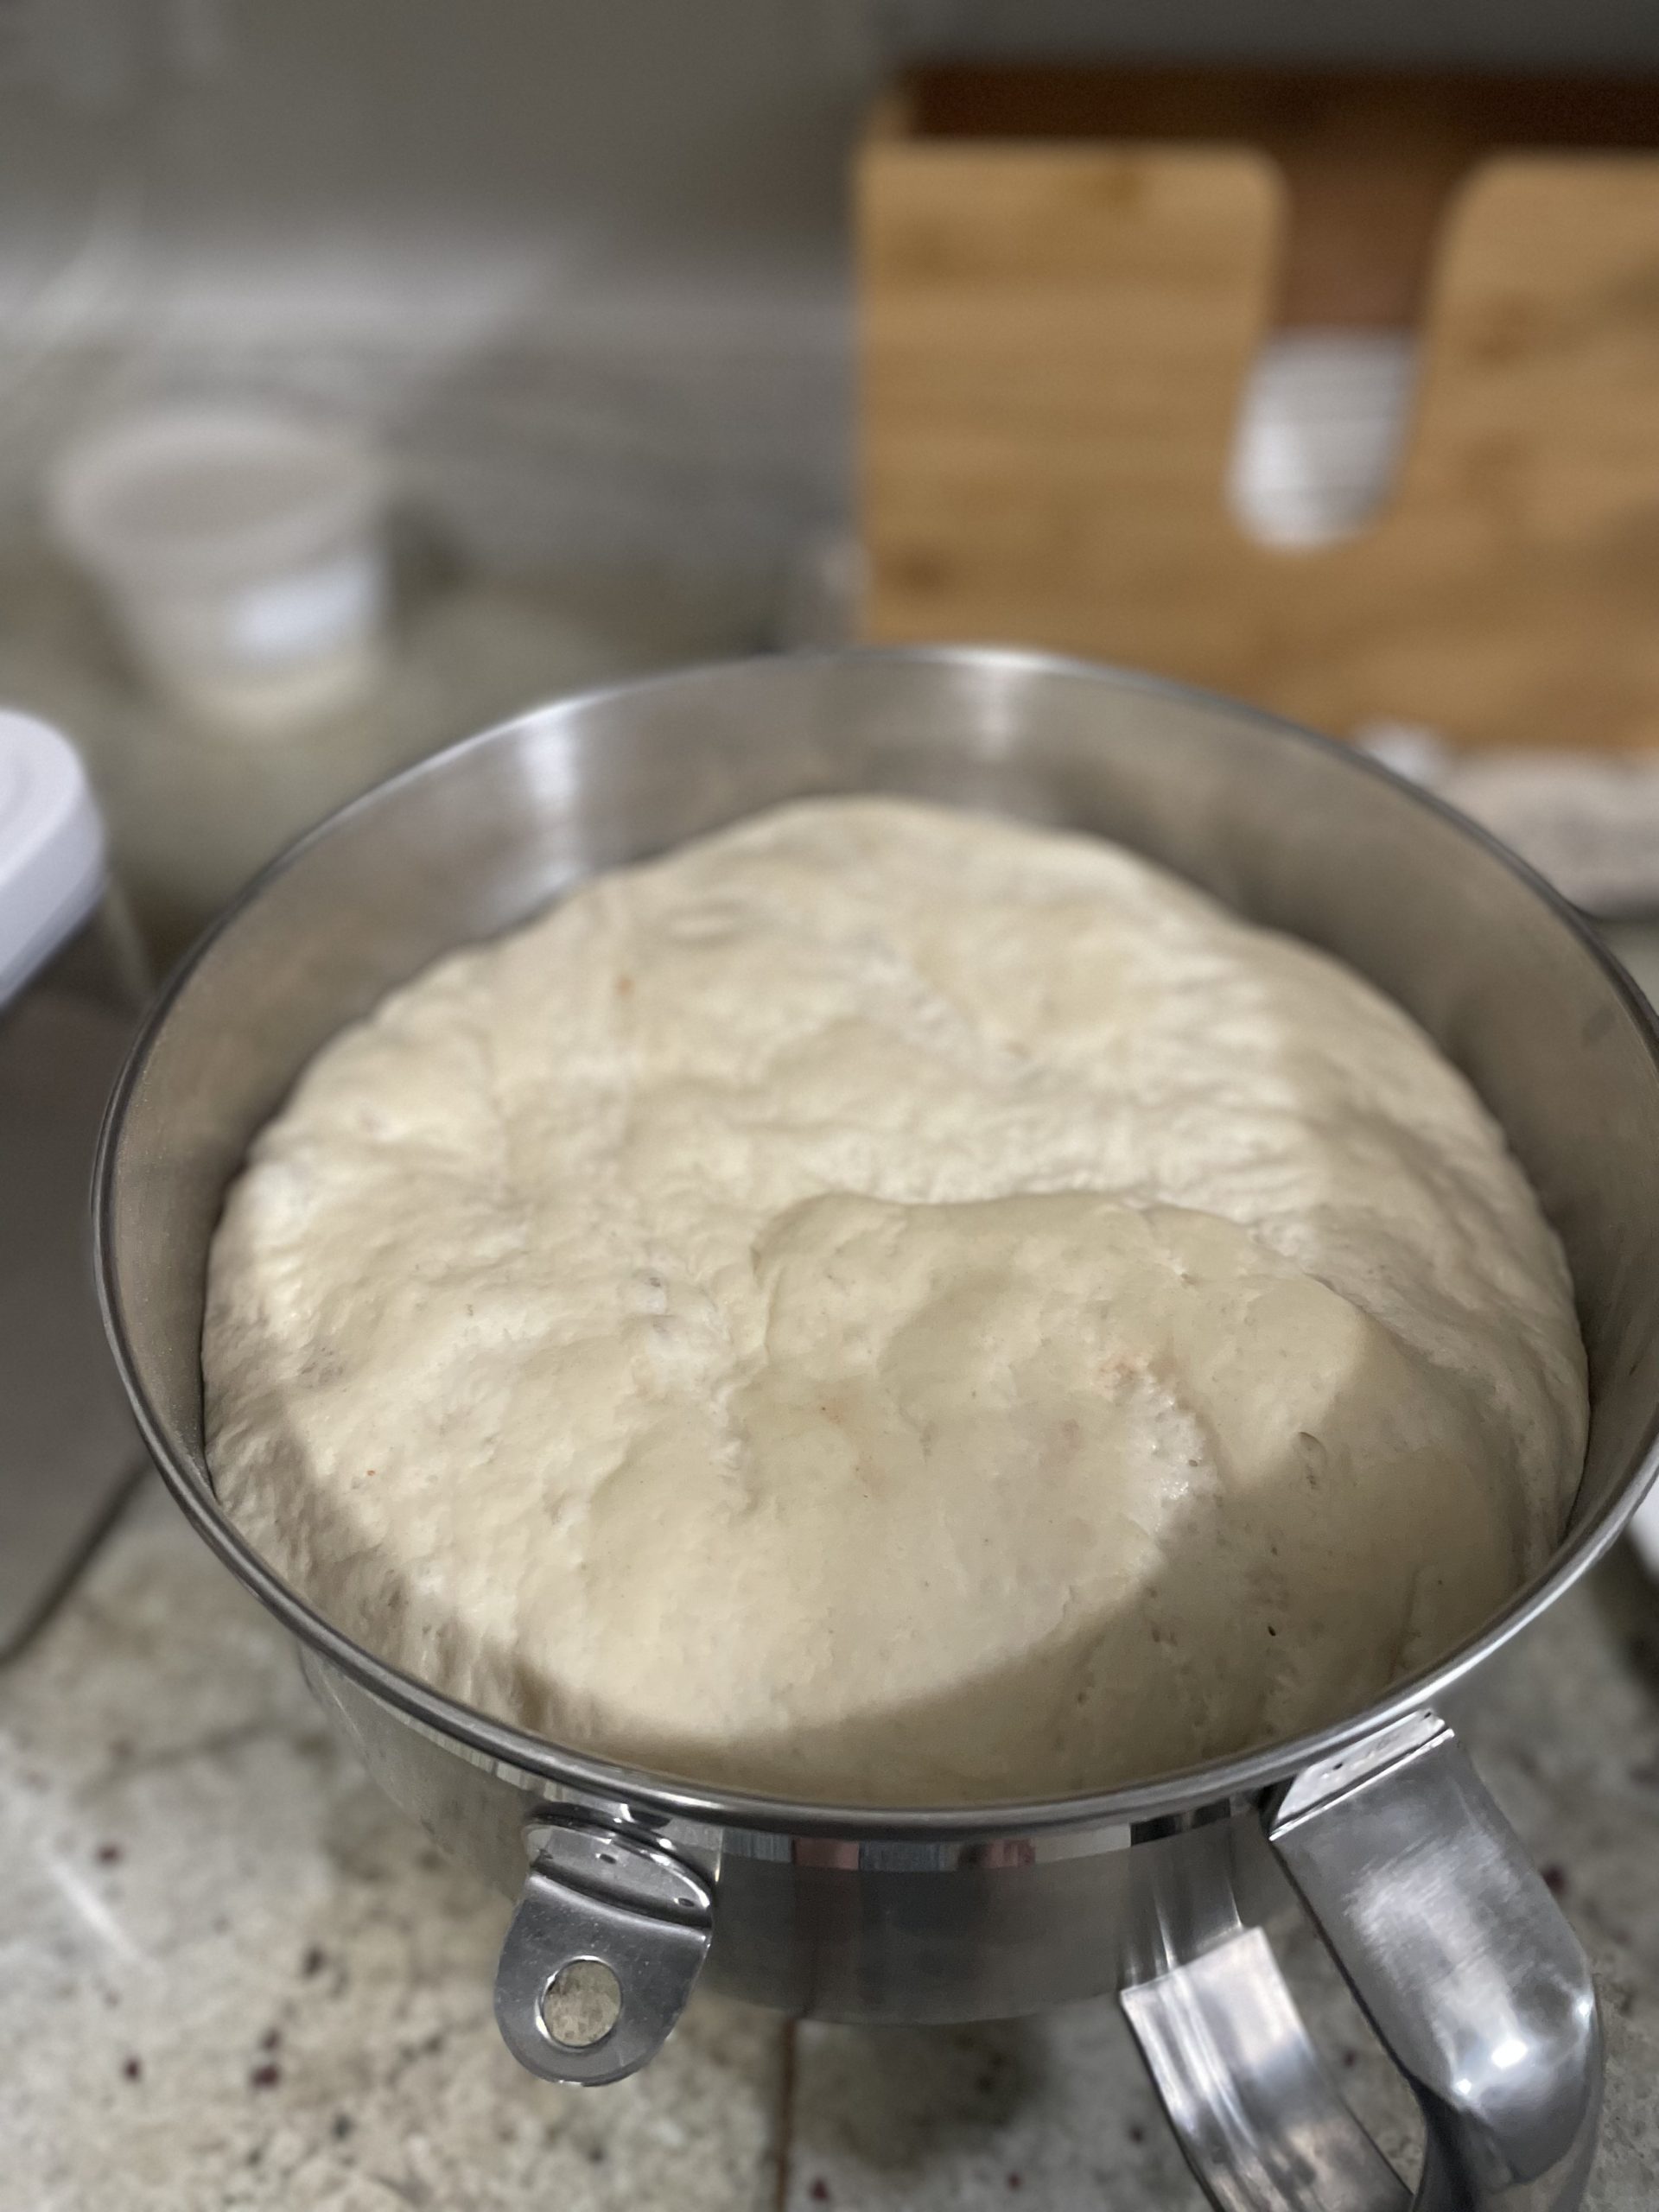
  • Cover and let proof in the refrigerator 24 hours.
  • After 24 hours, separate into 2 or 4 balls, depending on size pizza you are planning on making.
  • Stretch dough and add toppings! Freeze any extra dough you have left.
  • Bake your pizza on a pizza pan or on a sheet of parchment in the oven at 450F for ~10-15 minutes until bottom is set and cheese is gooey.

Oven’s on so might as well make a side like Honey Balsamic Roasted Brussels sprouts.

Sweet pie? Try a topless one. Peach Galette.

Chicken & Napa Cabbage Soup

There have been glimpses of sunshine this week in the PNW and I cannot wait for summer. When it’s rainy, cold, or I’m feeling a little sick, I love to have soup. Chicken noodle soup is the soup that most people reach for when they’re feeling sick, but this chicken soup has much more comforting flavors for me. This soup is warm and satisfying with really simple ingredients. The chicken bouillon shortcut gives you a flavorful soup in a short amount of time, so you can whip this together in under 30 minutes for a weeknight meal.

Ingredients

Chicken – I like using chicken thighs since they stay relatively moist even if you end up cooking this soup longer than you intend to. I’ve also used tofu at a complete replacement for chicken or done even half chicken and half tofu. If you choose a different protein, you may need to pick a cut that will give a more “shreddy” texture like pork butt/shoulder or chuck roast. Other protein options will require longer cooking time to reach peak tenderness.

Chicken bouillon – I like using “Better than Bouillon” since I can get it in a massive jar at Costco, but feel free to use any other bouillon you like. You can also use chicken stock instead of water and bouillon. If you’ve substituted the protein, feel free to use a different bouillon flavor too!

Napa cabbage – I like the thick, crunchiness of a leaf of Napa vs other cabbages. This could be substituted with other crunchy veggies like bok choy, Brussel sprouts, or other cabbages.

Chicken & Napa Cabbage Soup

Print Recipe
Warm & satisfying soup, ready in under 30 minutes.
Course Soup
Keyword cabbage, chicken, soup
Servings 4

Ingredients

  • 2 chicken thighs
  • 5 cups water
  • 1 tsp chicken bouillon
  • 4 cups shredded Napa cabbage
  • 3 cups spinach
  • 2 tsp salt
  • 2 tbsp sesame oil

Instructions

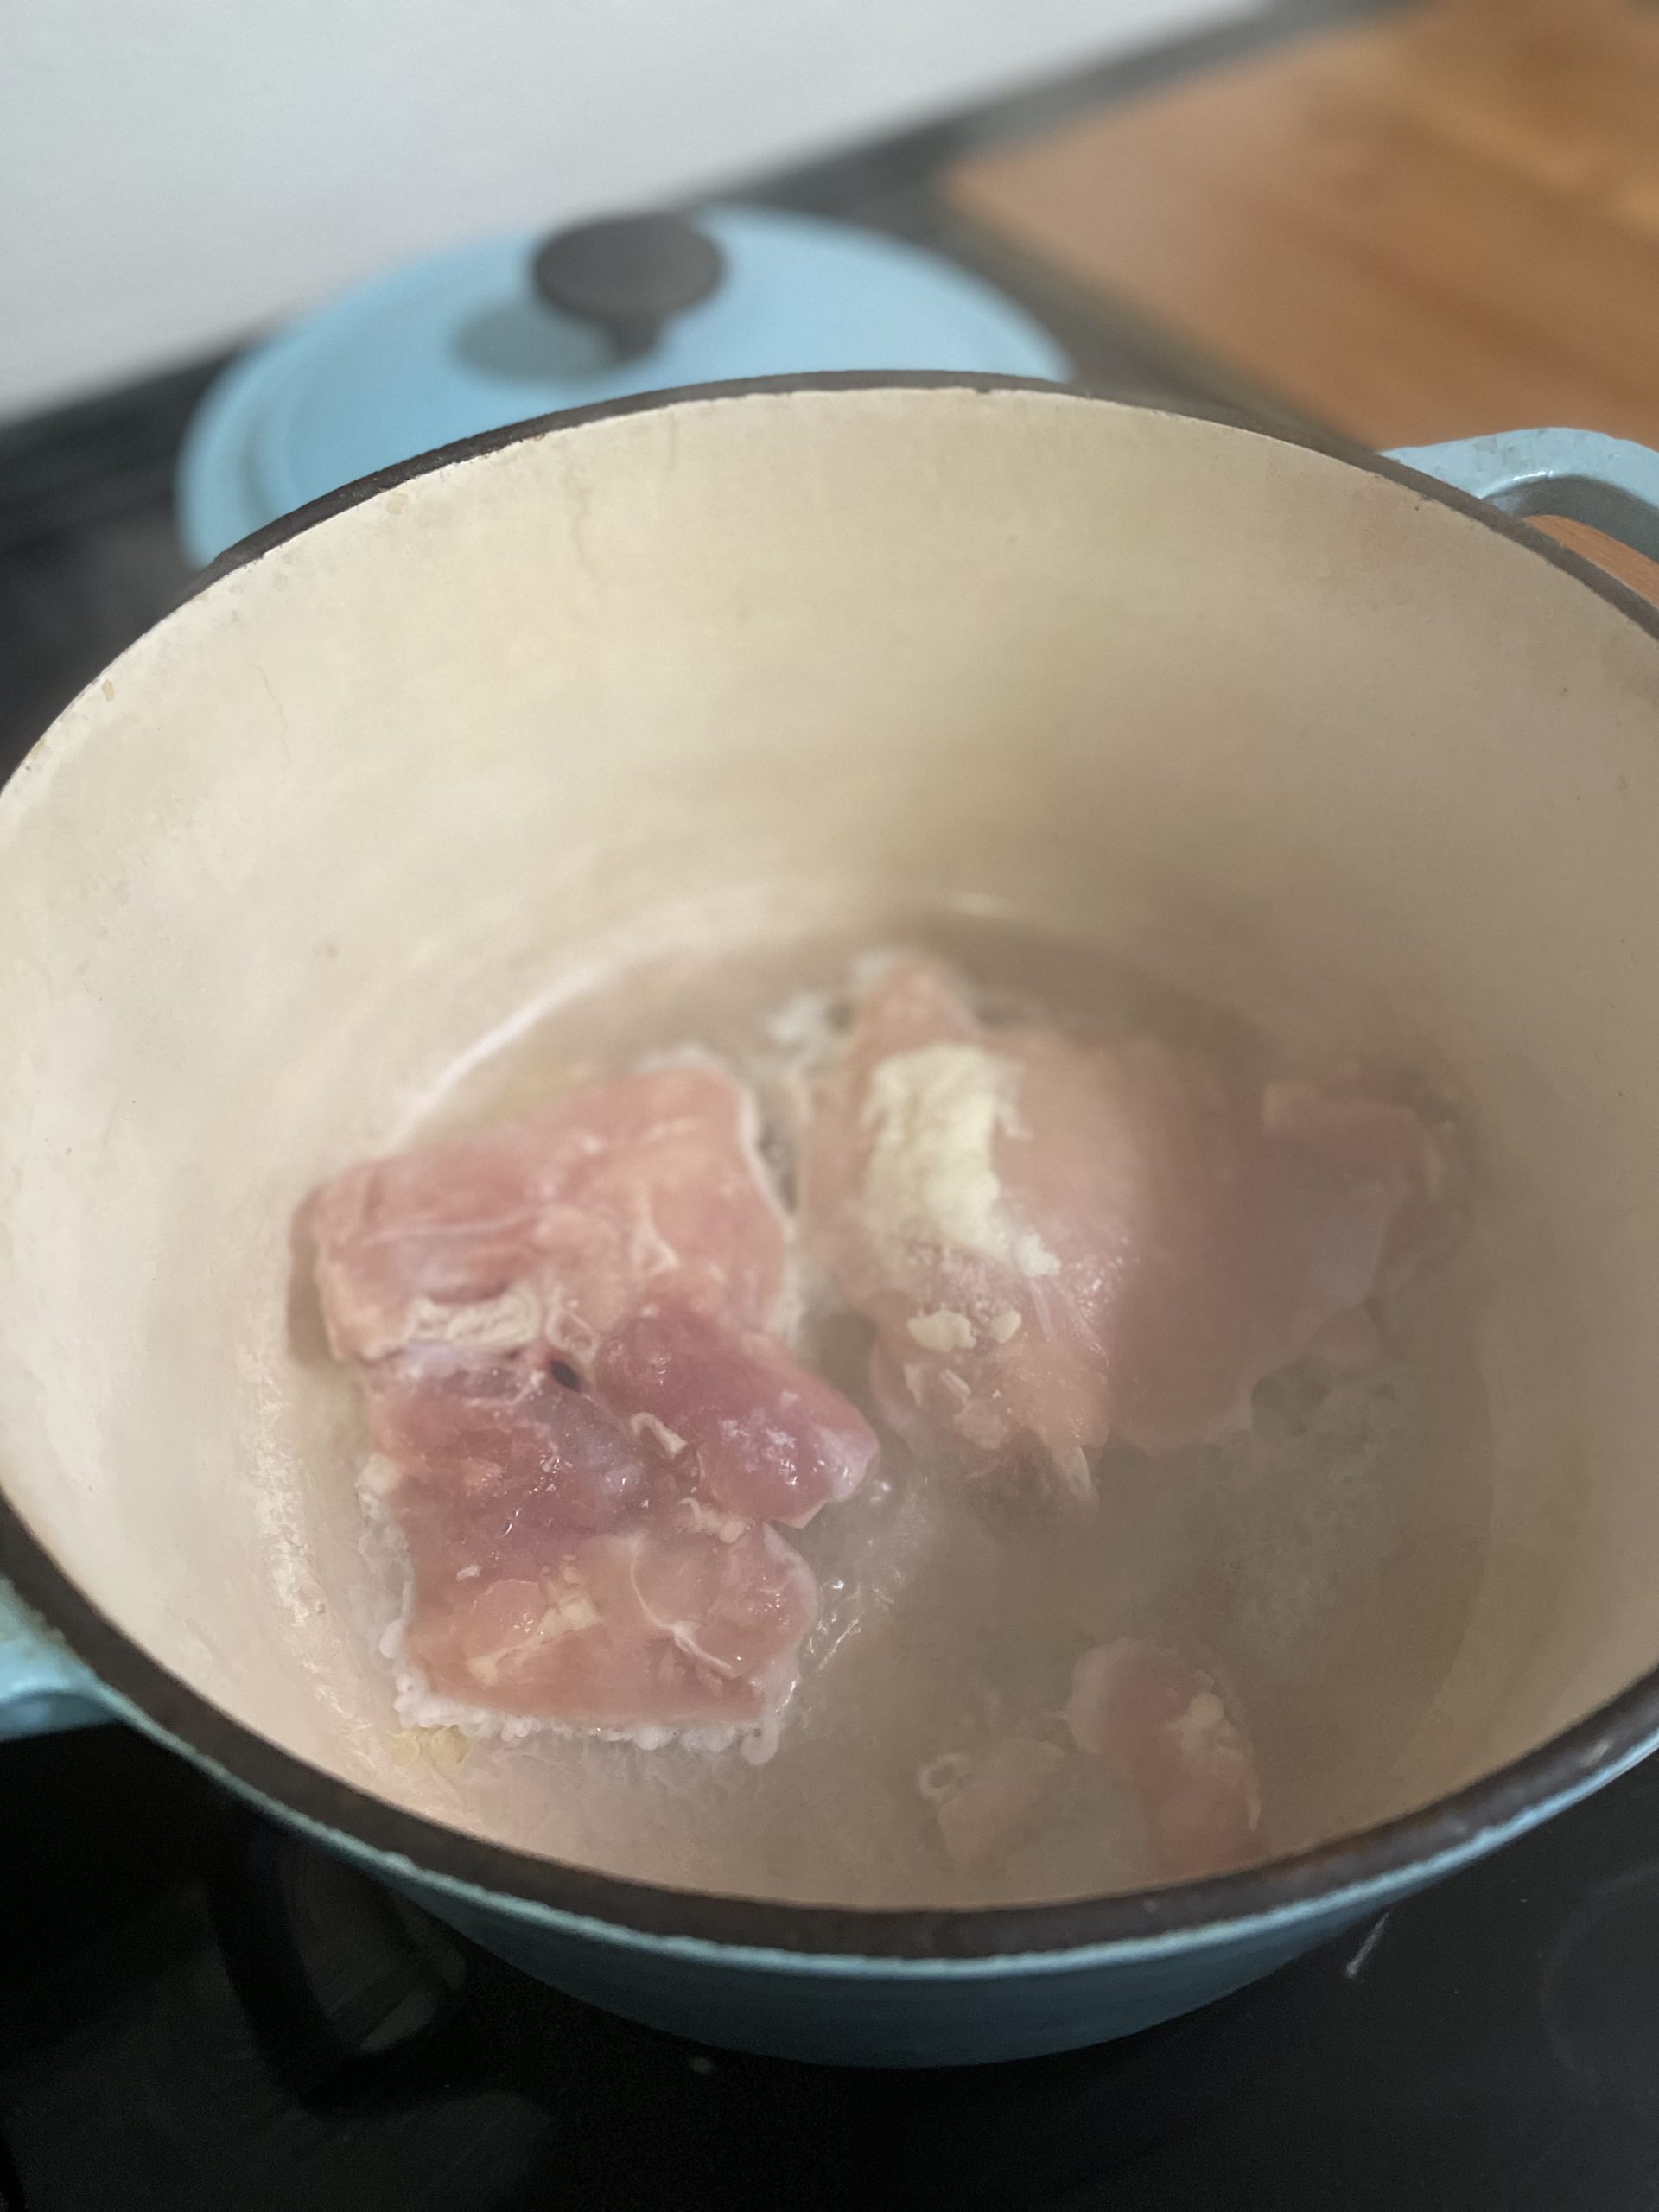
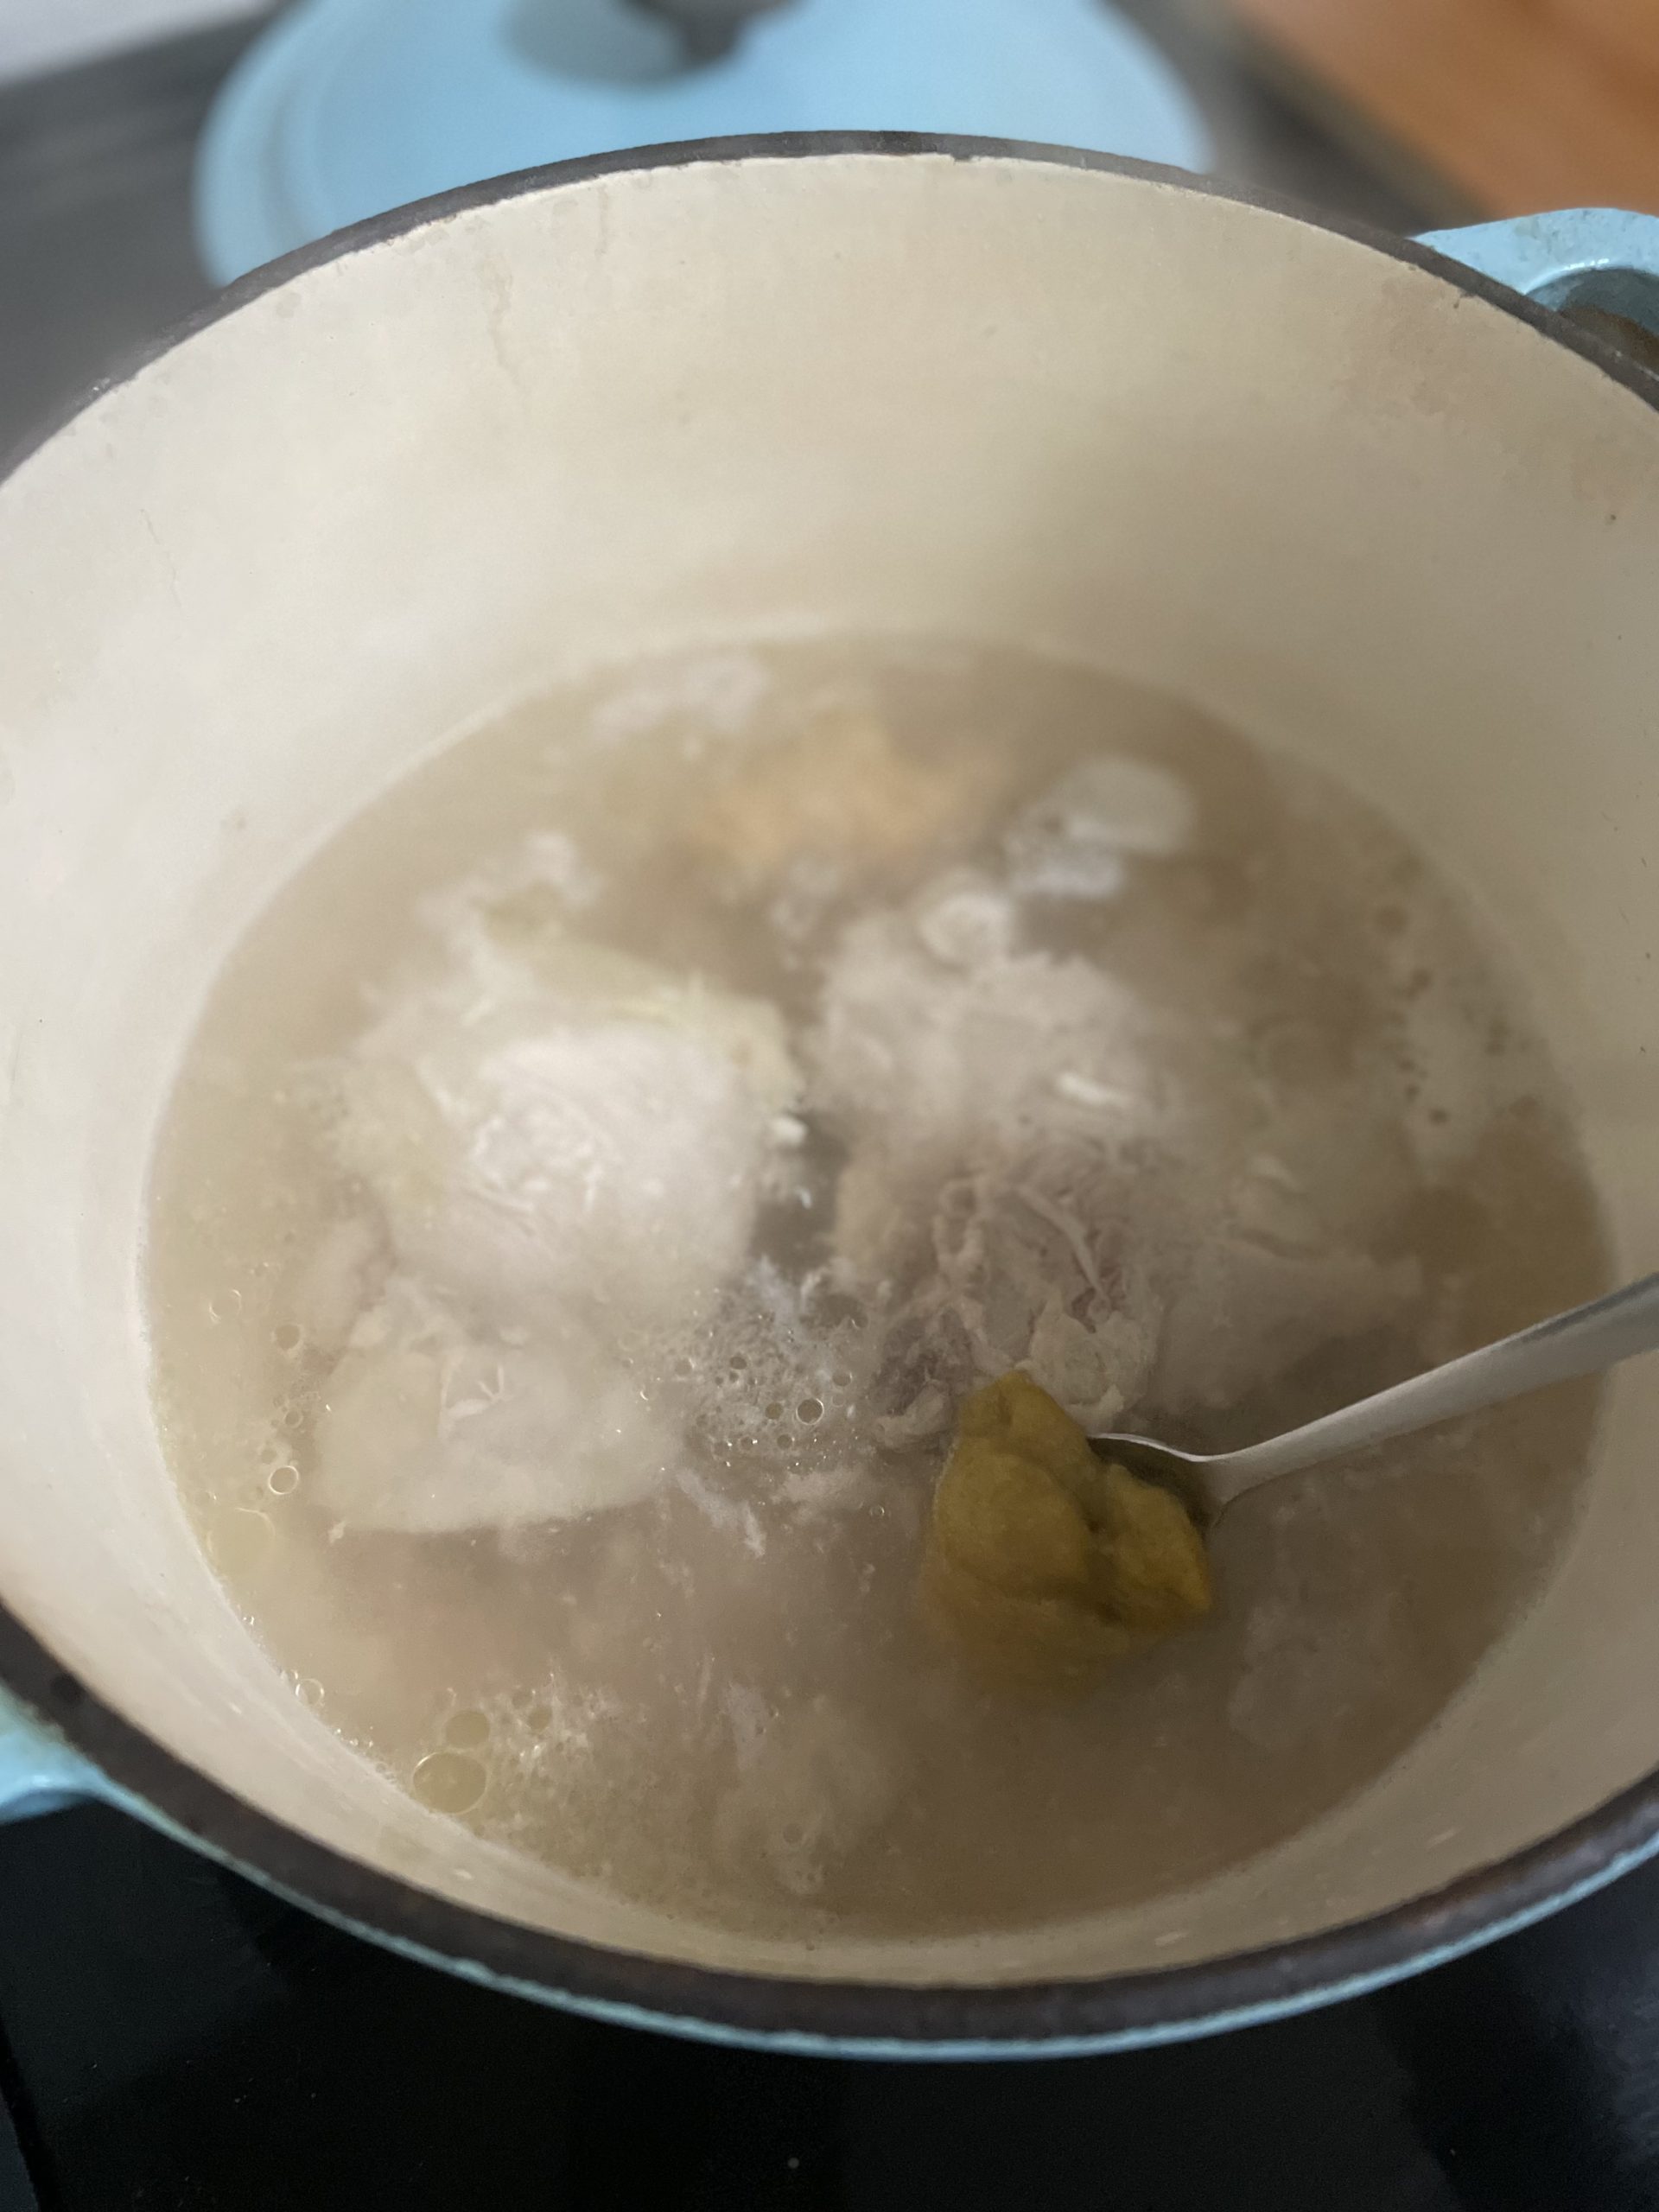
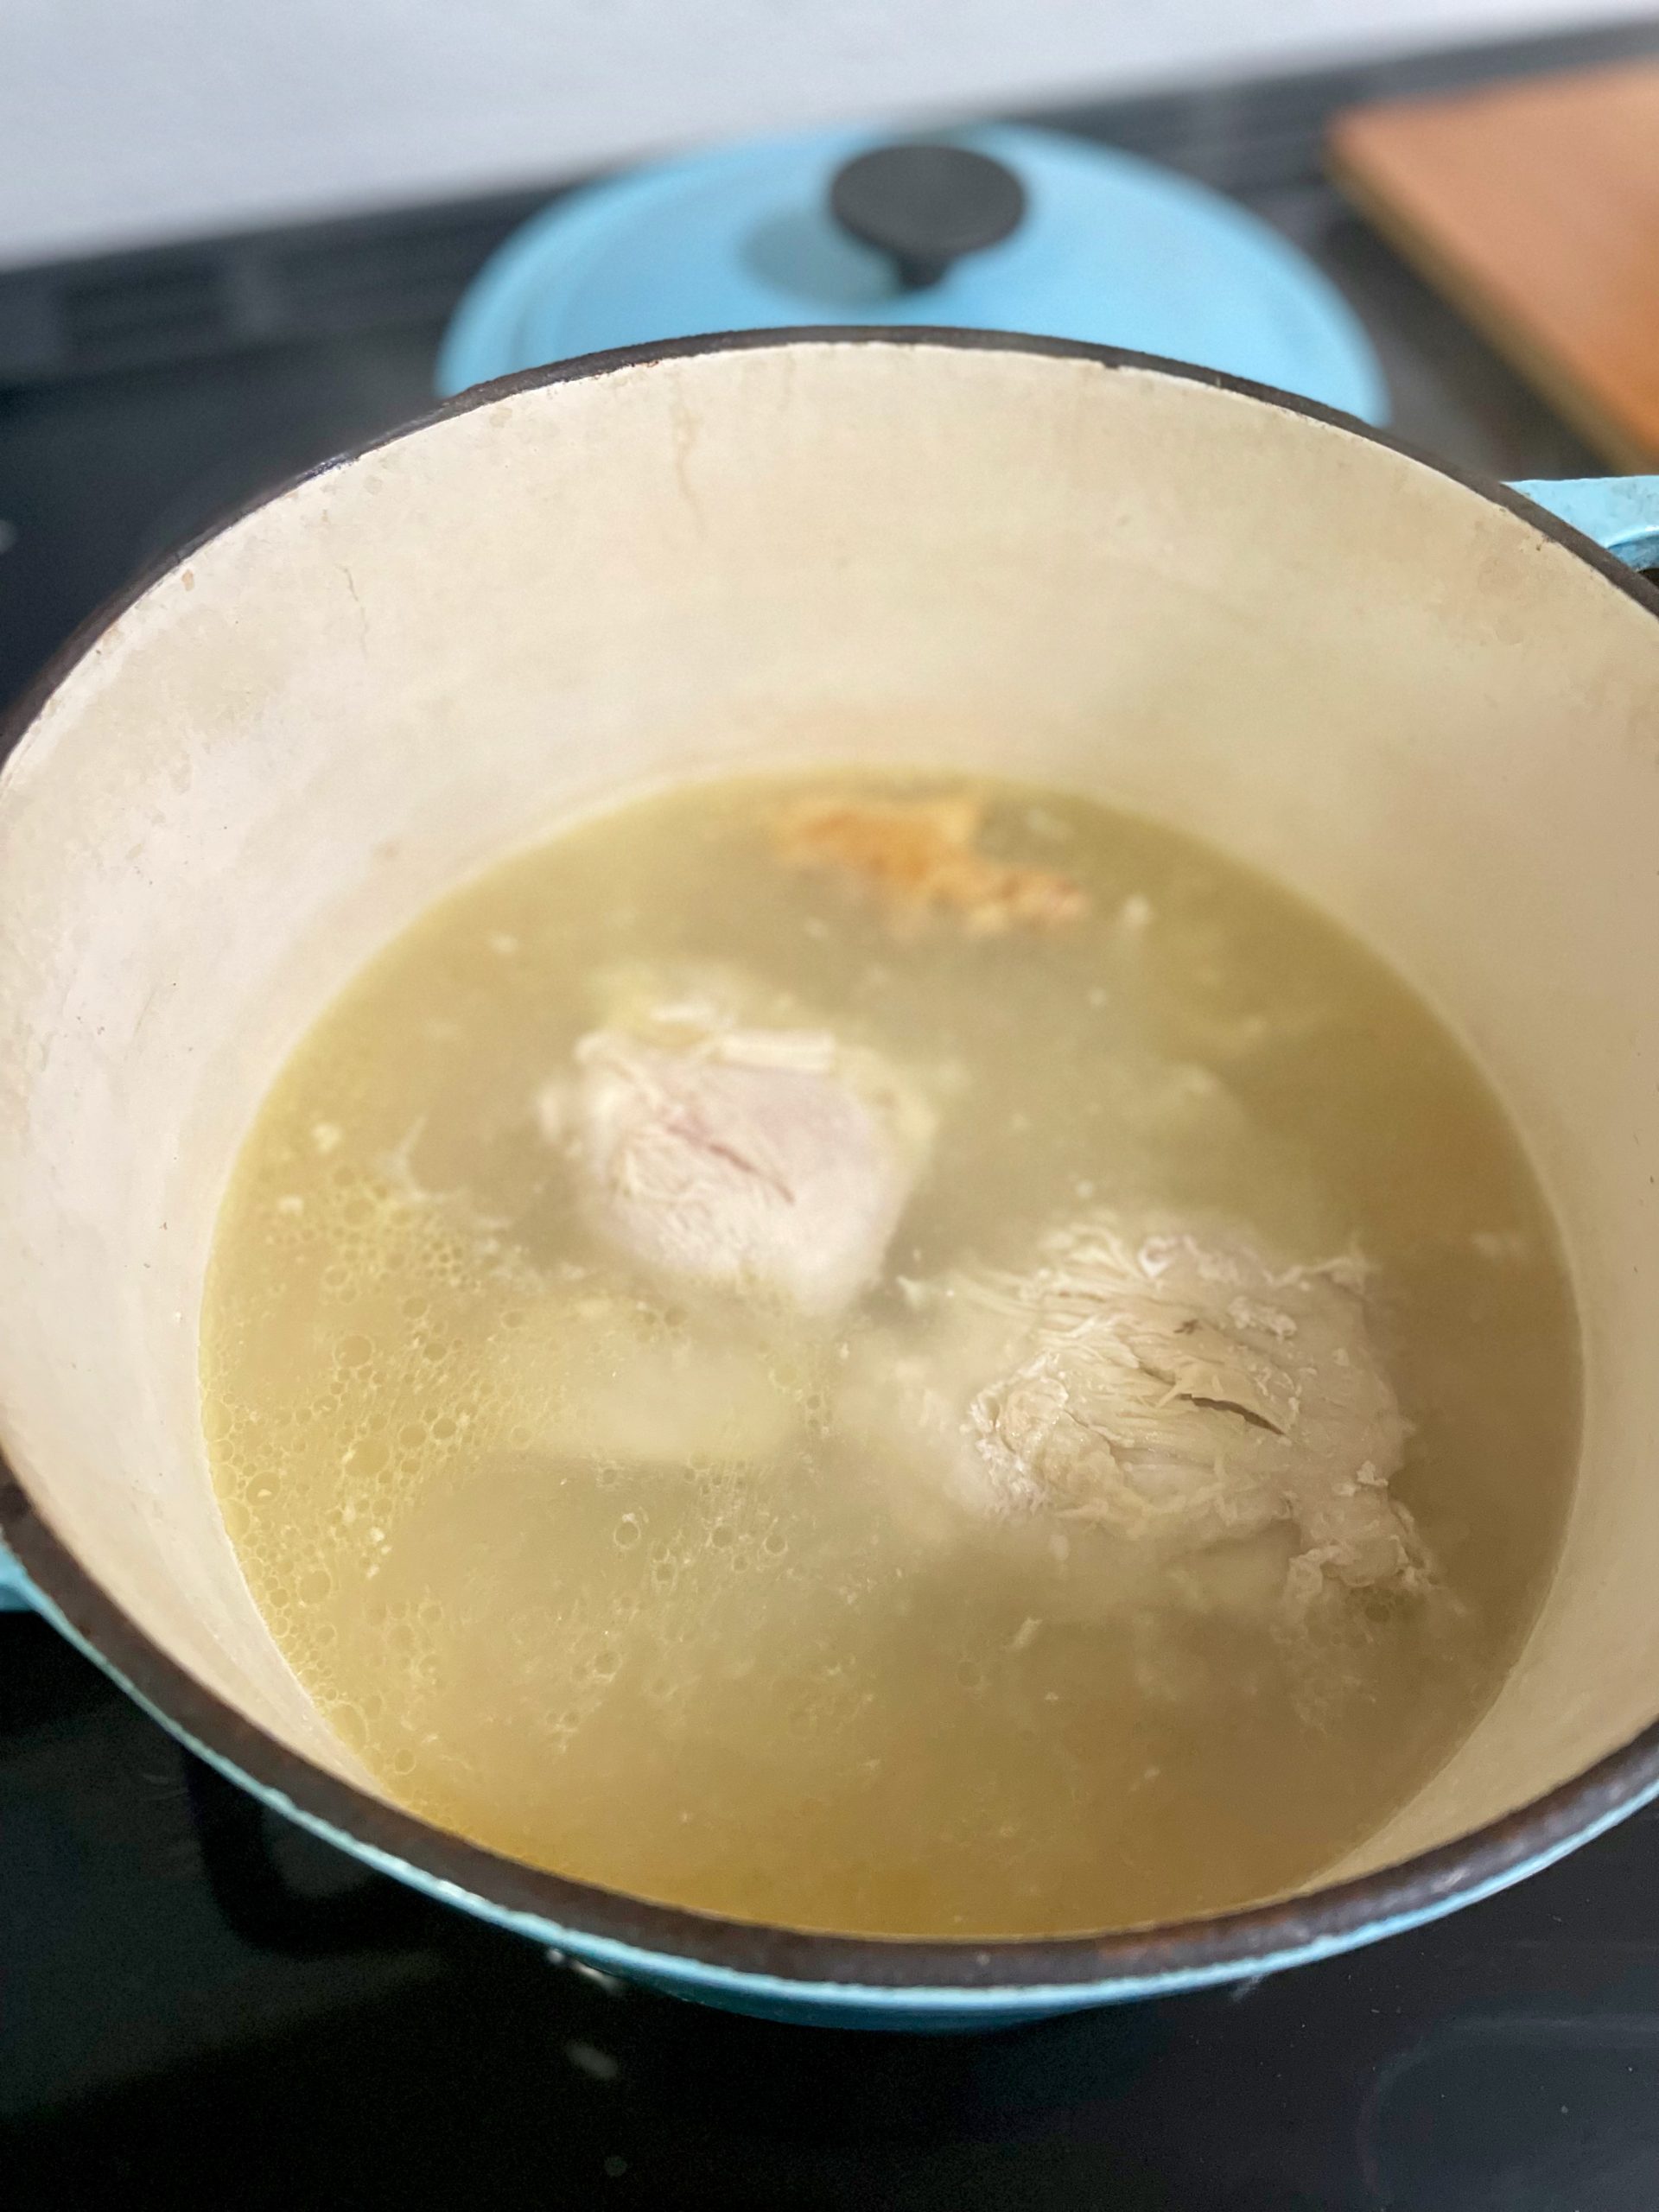
  • In a heavy pot, cook chicken until cooked on the exterior. This prevents the soup broth from getting cloudy. Don't worry if the chicken is not fully cooked in the center!
  • Add water and bouillon.
  • Cover pot and bring to a boil. Allow to boil for 5 minutes.
  • While the pot is boiling, you can shred your cabbage.
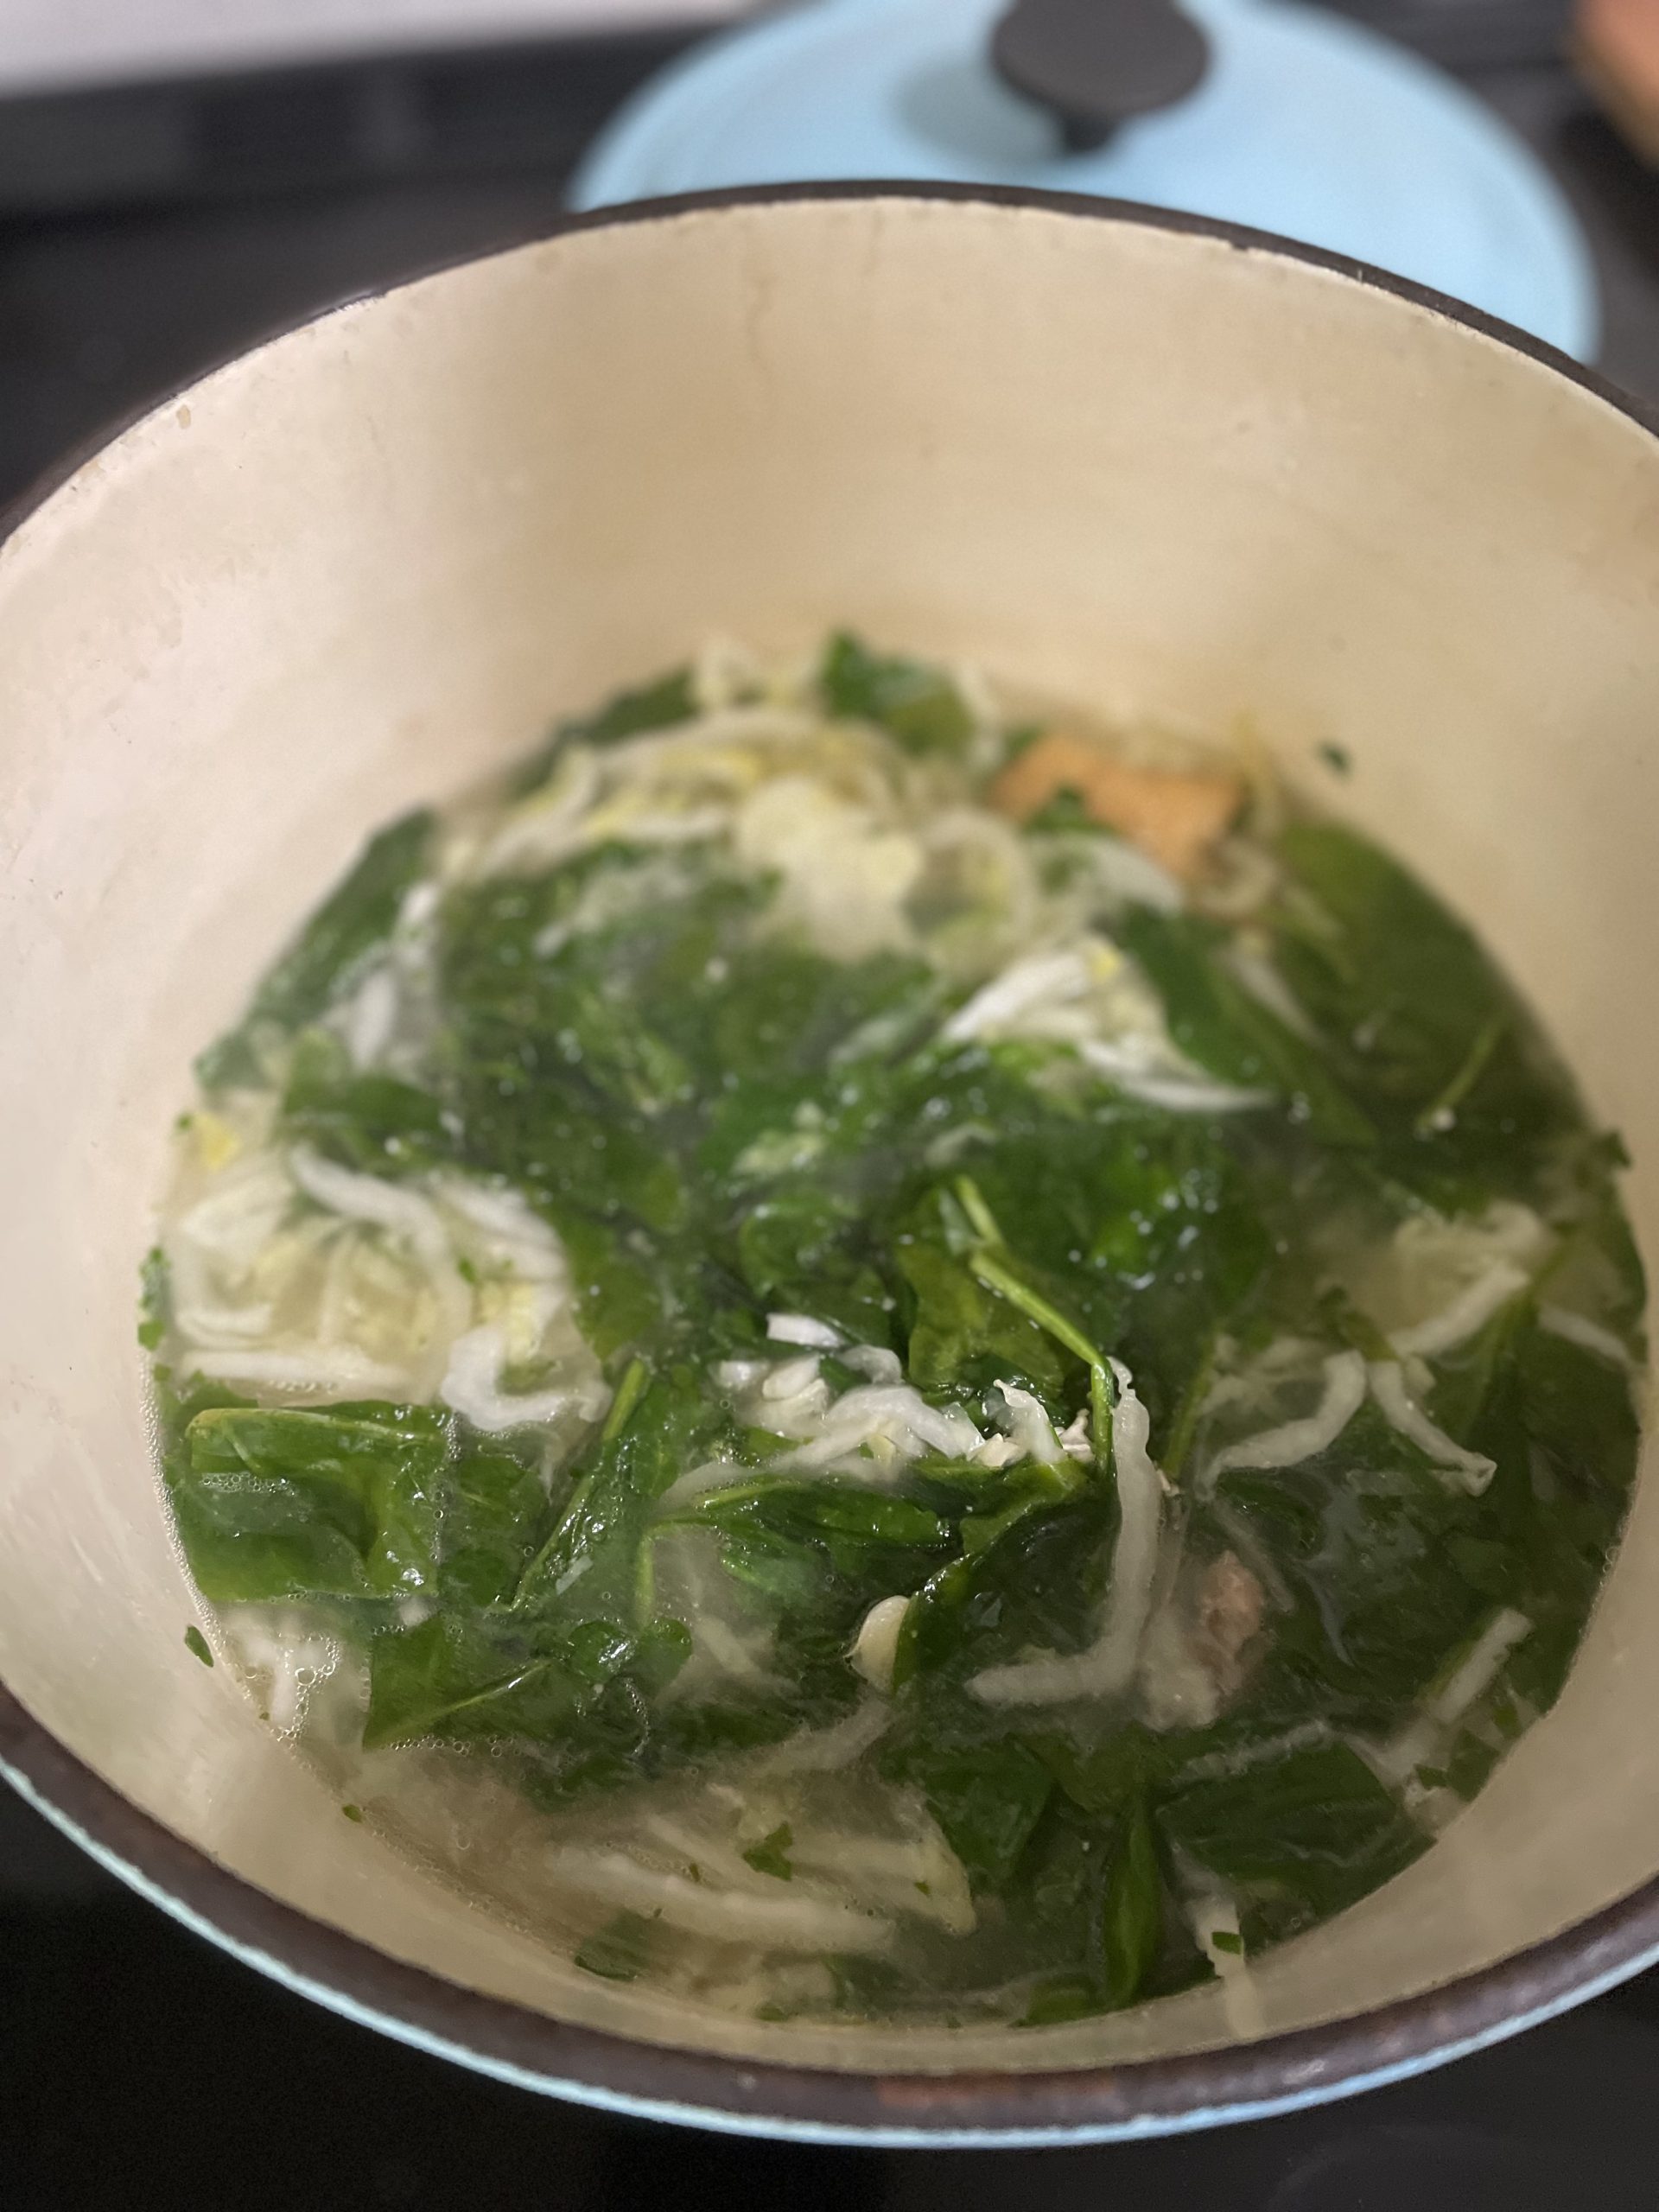
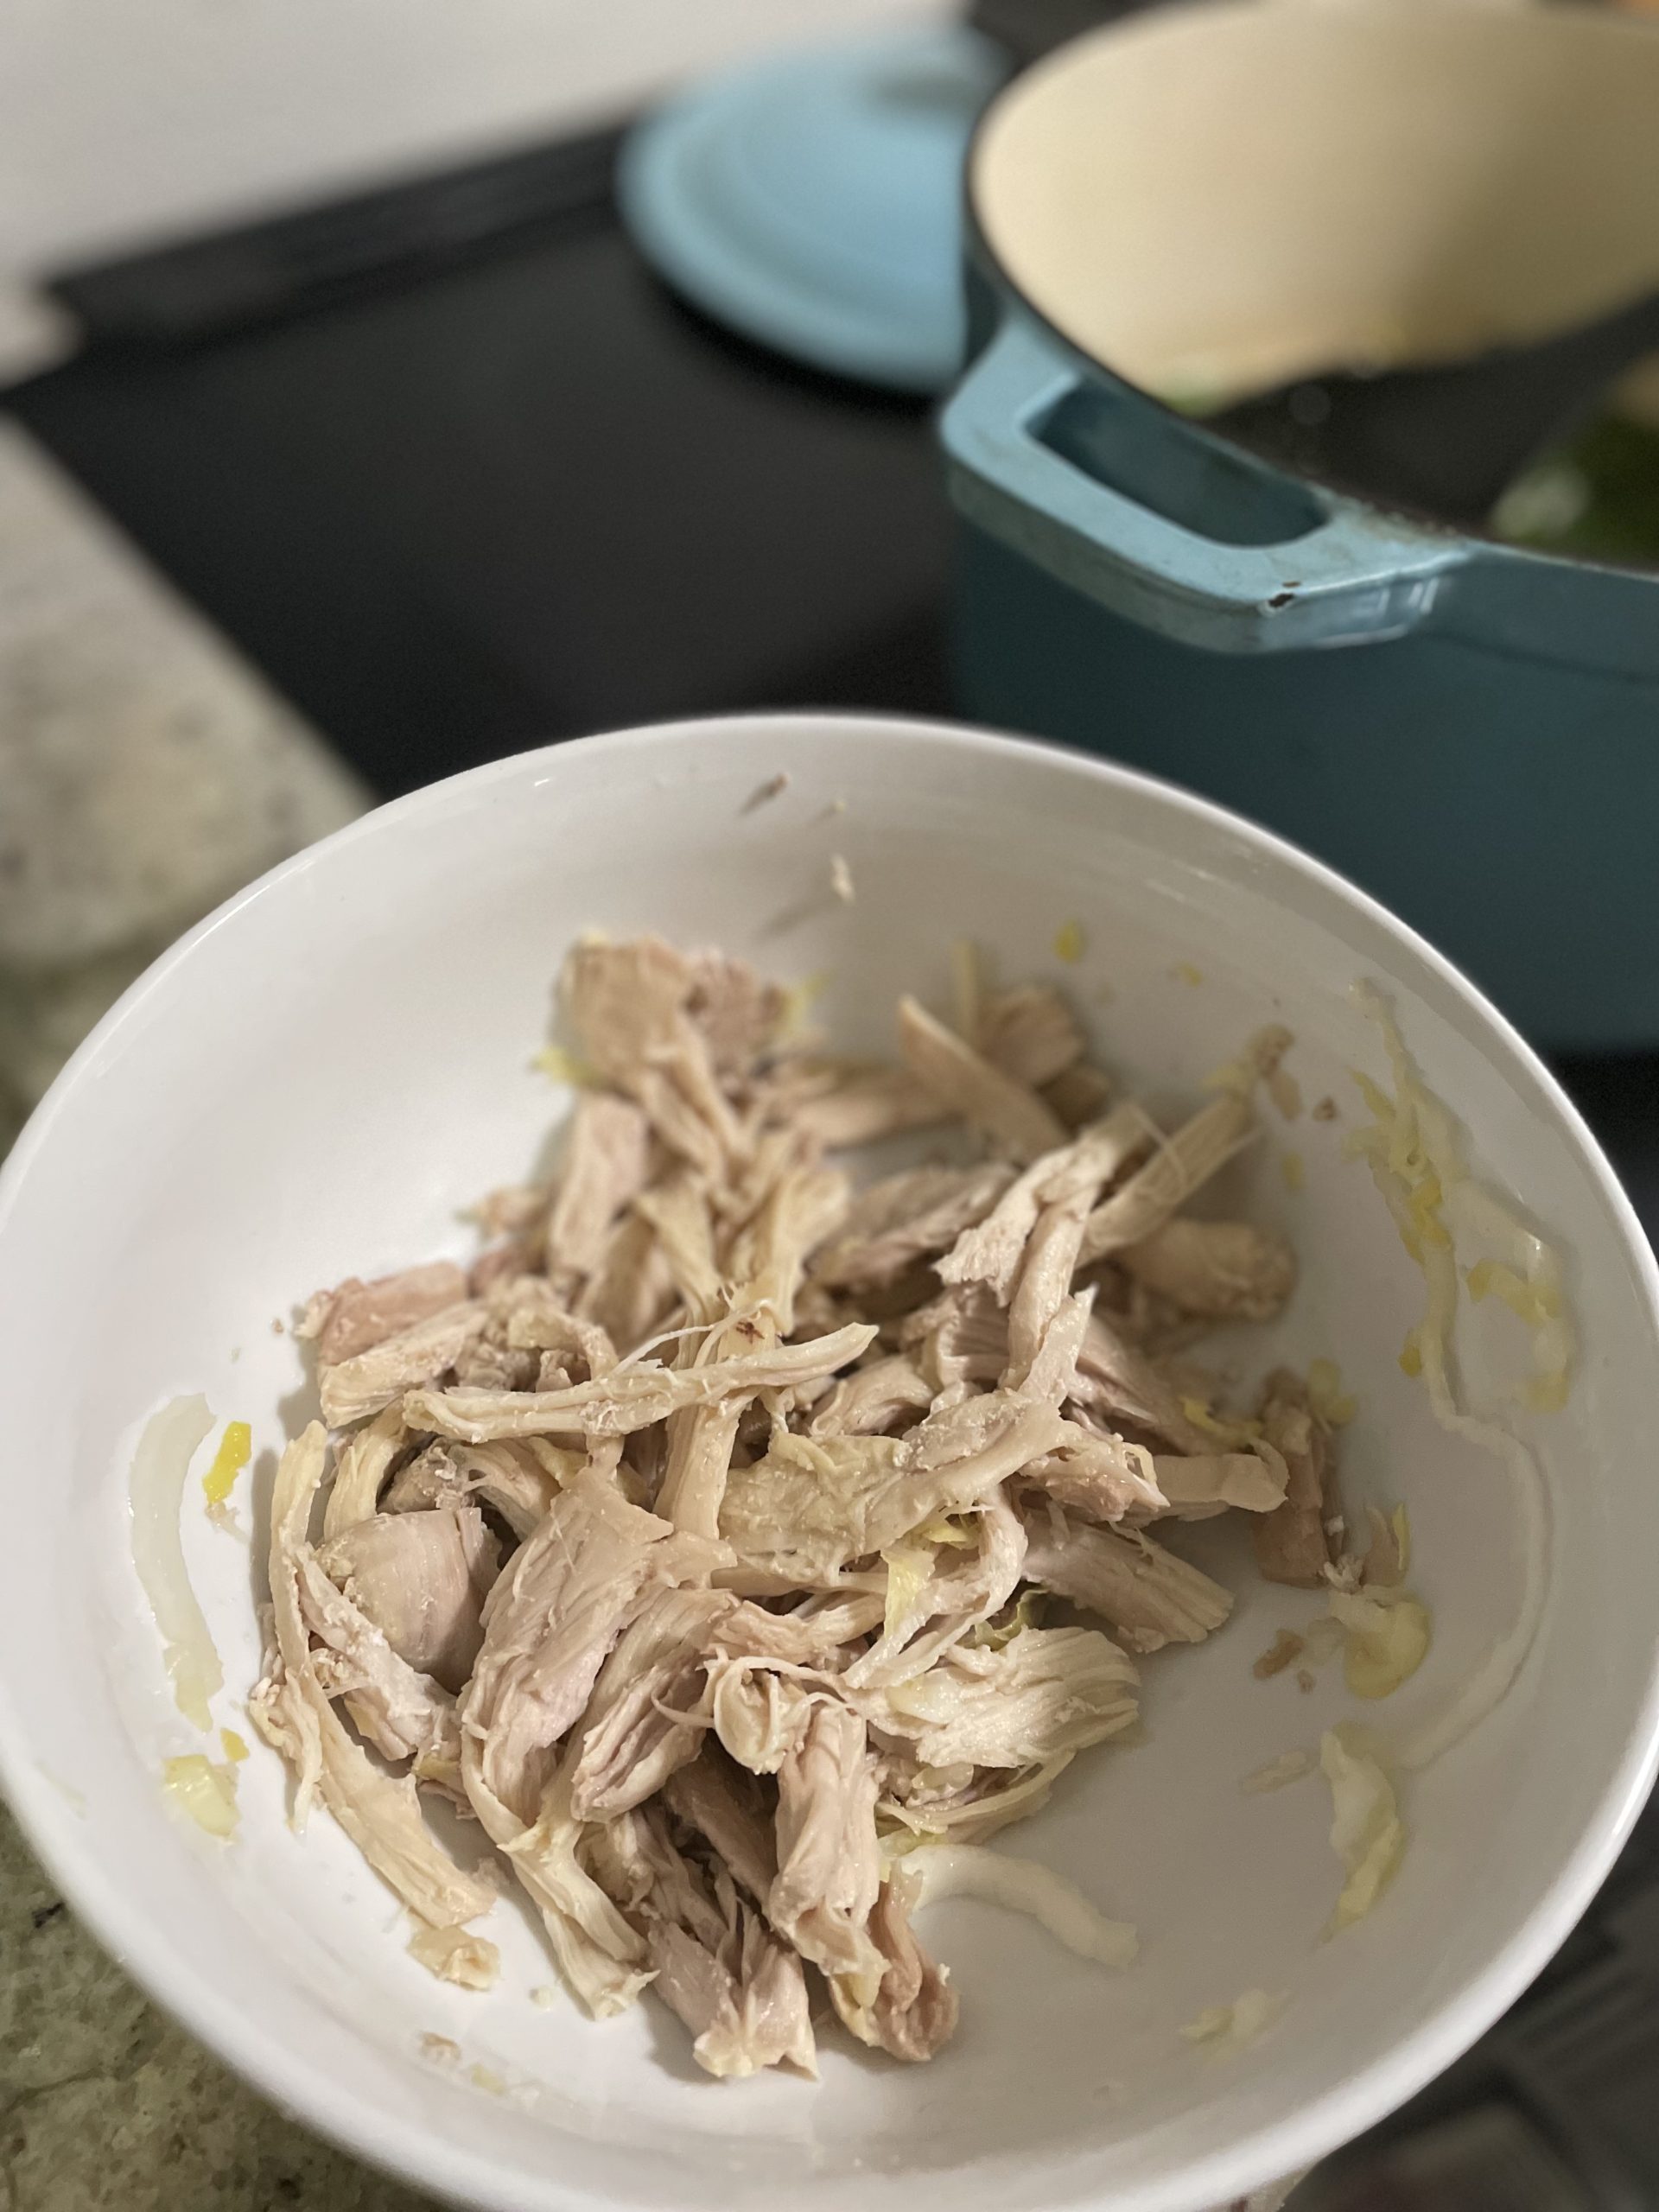
  • After 5 minutes, remove the chicken from the water. Turn heat to low and add Napa cabbage and spinach. Give a quick stir.
  • Shred chicken and return to pot.
  • Taste the broth and add salt, approximately 2 tsps. If you don't need that much, don't add that much! If you need more, add more!
  • Finish with sesame oil and serve.

You could even add some Chicken & Cabbage Dumplings to the soup too.

Have a dessert like Crispy Gooey Chocolate Chip Cookies or Kitchen Sink Cookies

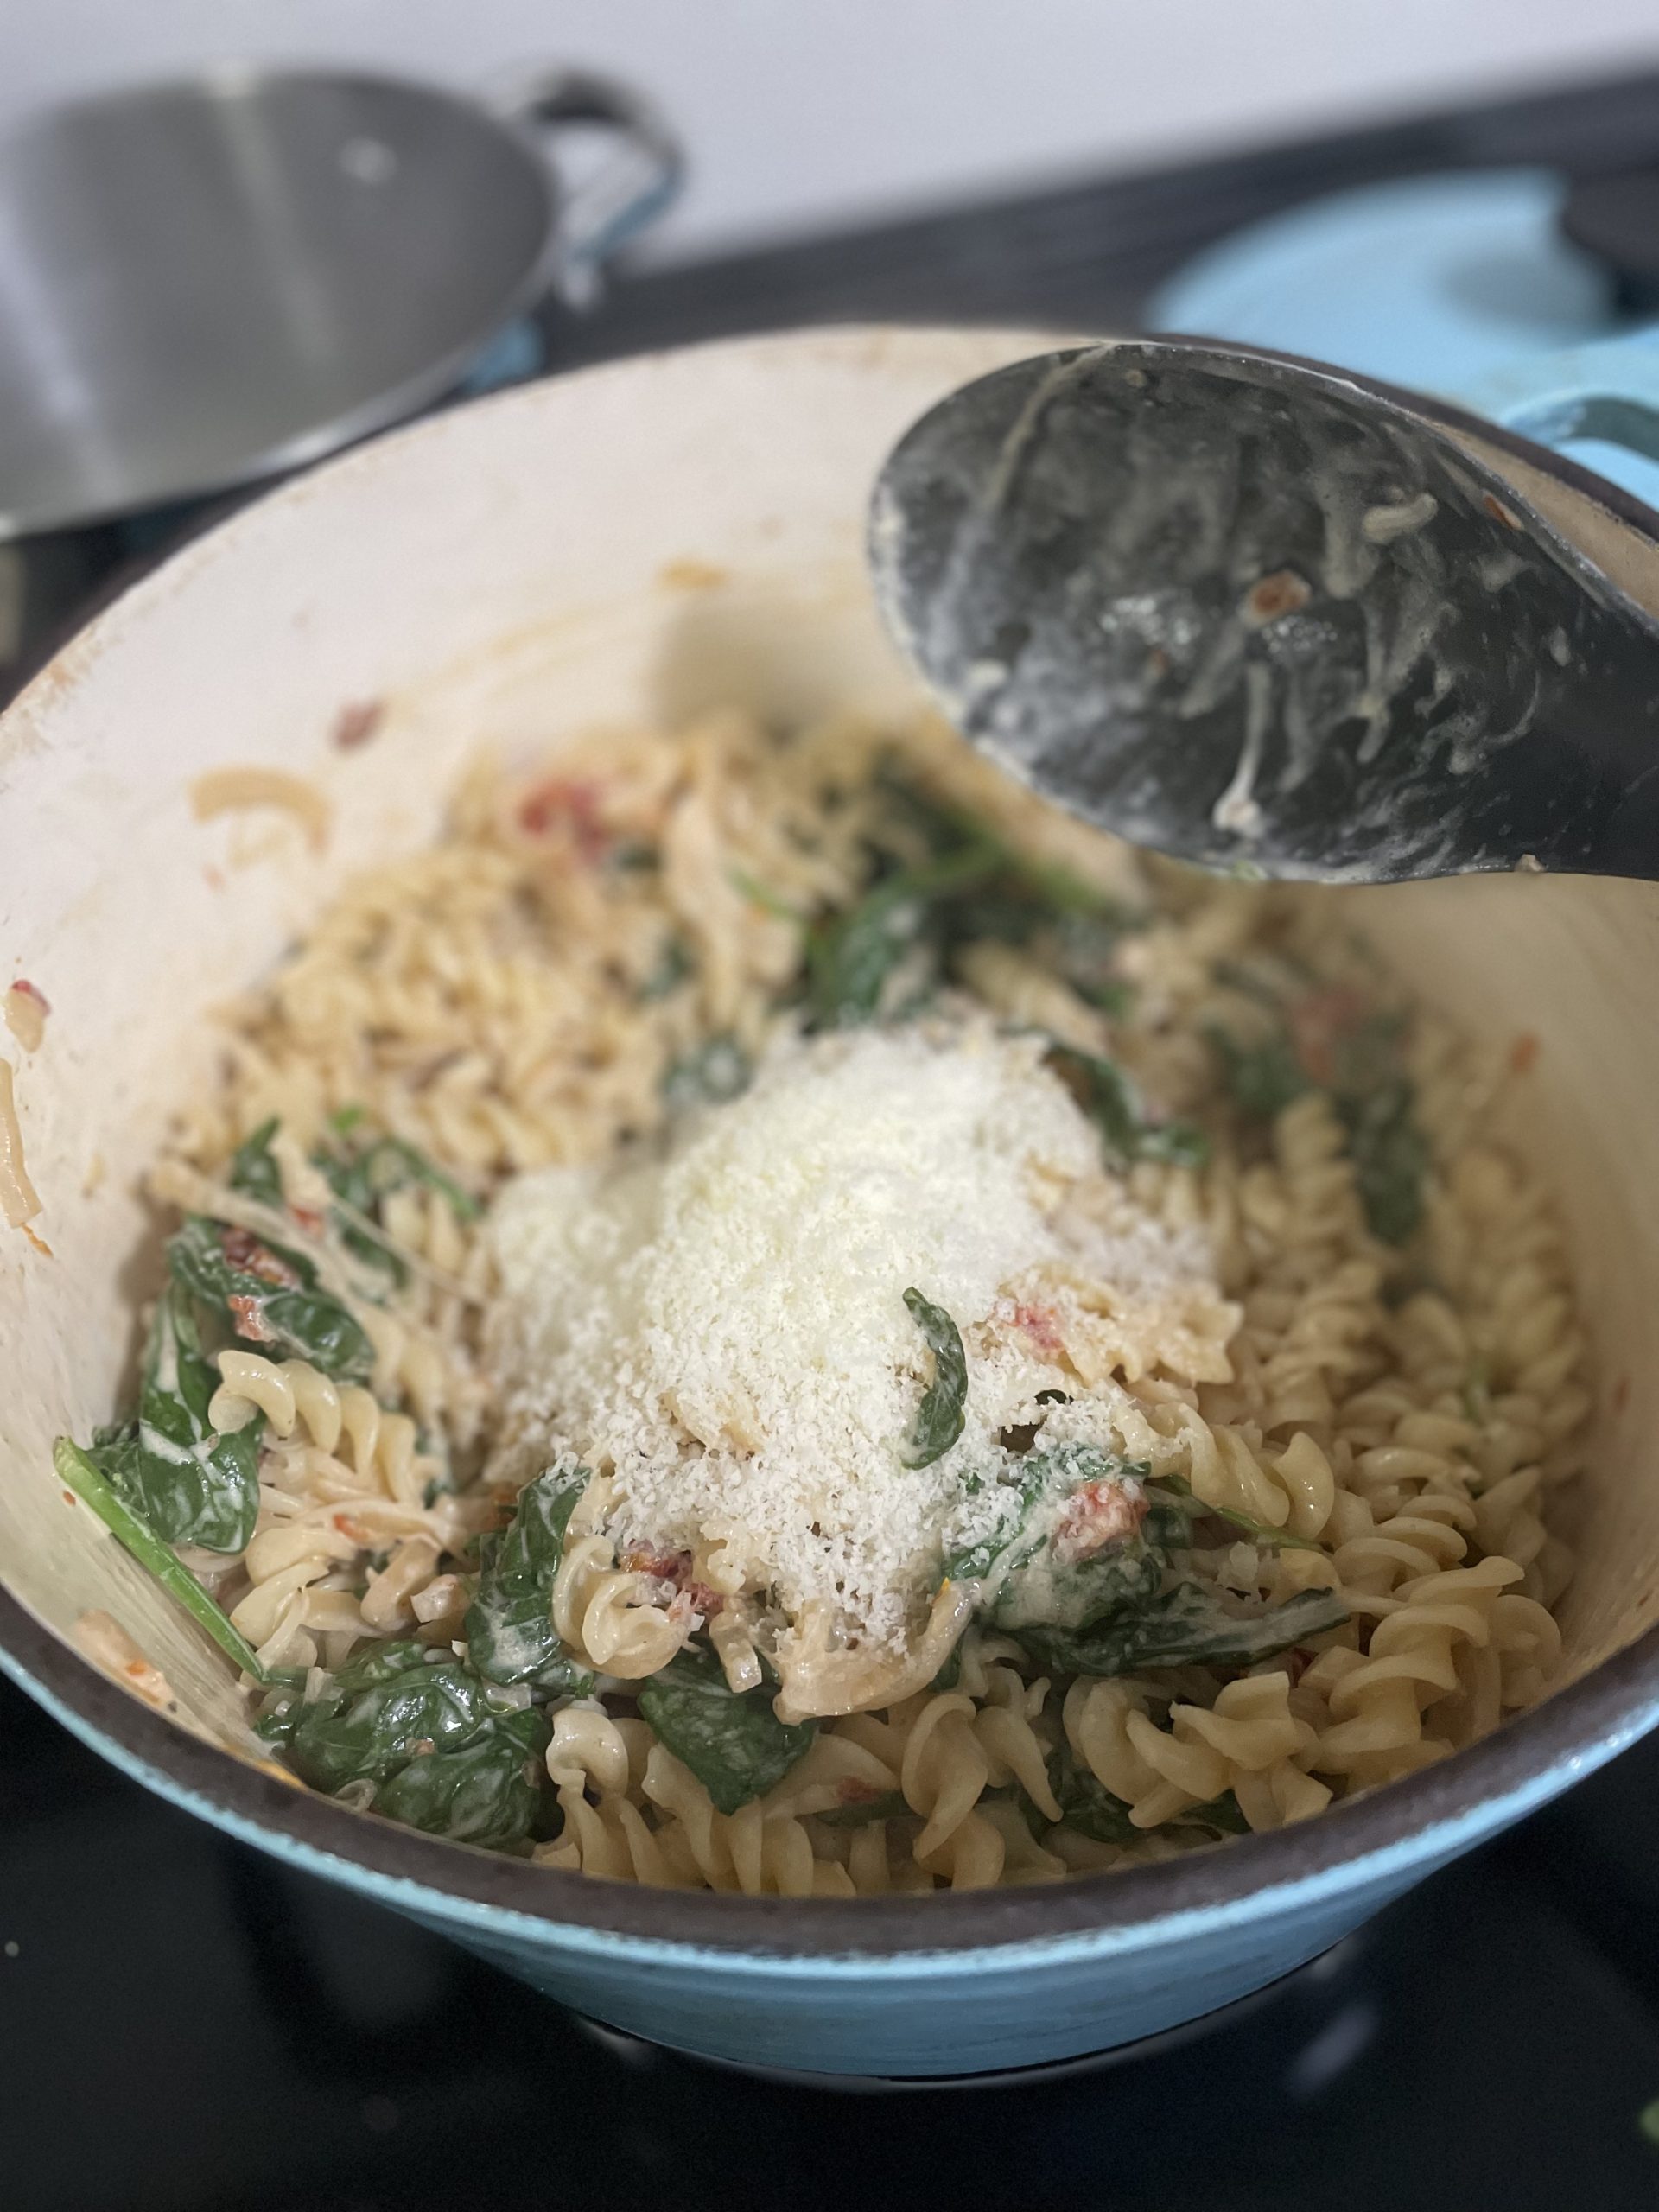
Sun-dried Tomato and Goat Cheese Pasta

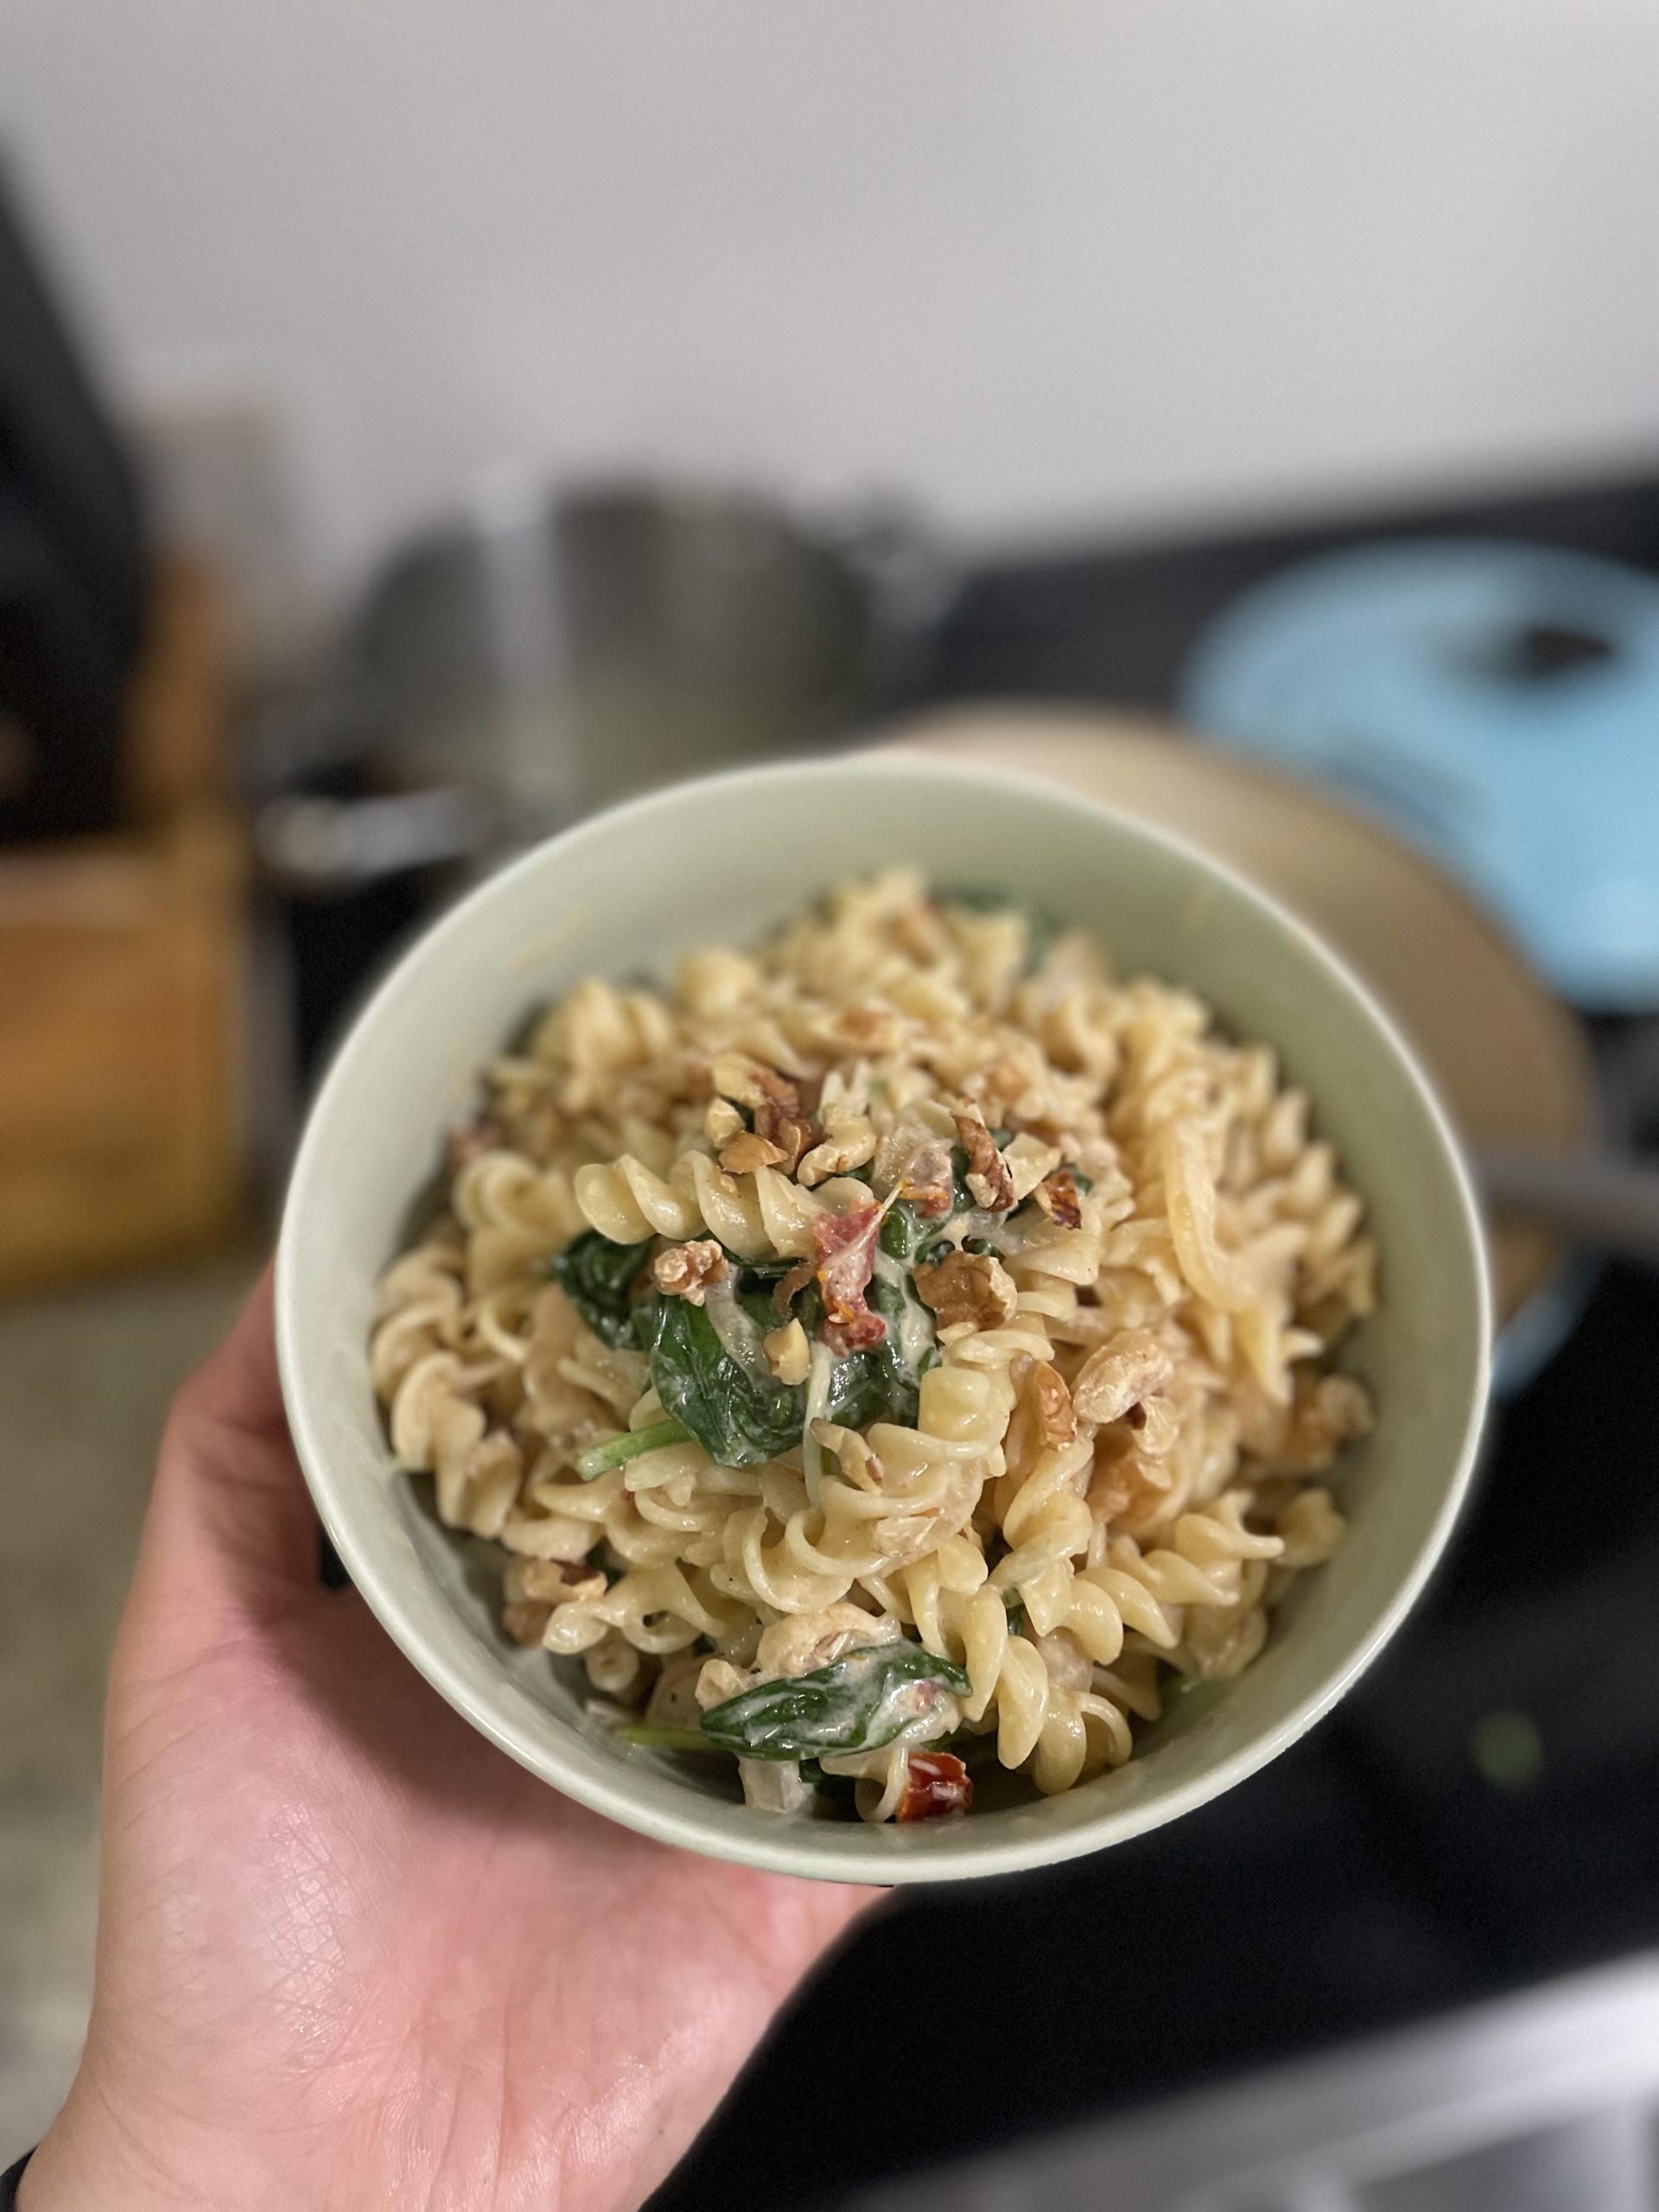
When I want a creamy pasta dinner in a pinch, I turn to goat cheese for a quick, tangy sauce that comes together quickly. Perfect for a weeknight dinner, this pasta comes together in about 30 minutes and will satiate any carb cravings. Make it your own by adding different herbs, spice it with some pepper flakes, or top it with breadcrumbs or walnuts for an added crunch.

Ingredients

Pasta – Use any noodle type you like! I opted for more of a fusilli shape since its able to hold more sauce in it. This is also really great with a spaghetti, penne, or bucatini.

Goat cheese – I know goat cheese isn’t for everyone, so this can definitely be substituted for cream cheese or marscapone. You’ll want a thicker, creamy cheese to help develop a thick, luscious sauce.

Sun-dried Tomato Goat Cheese Pasta

Print Recipe
A sauce-y pasta dinner perfect for a weeknight meal.
Course Main Course
Keyword goat cheese, pasta

Ingredients

  • 1 tbsp olive oil
  • 1 sweet onion thinly sliced
  • 1/4 cup sun-dried tomatoes chopped
  • 1/2 cup white wine
  • 1 cup milk
  • 2 cups spinach
  • 5 ounces goat cheese
  • 16 ounces pasta
  • 1/4 cup parmesan optional

Instructions

  • Cook pasta according to packaging instructions.
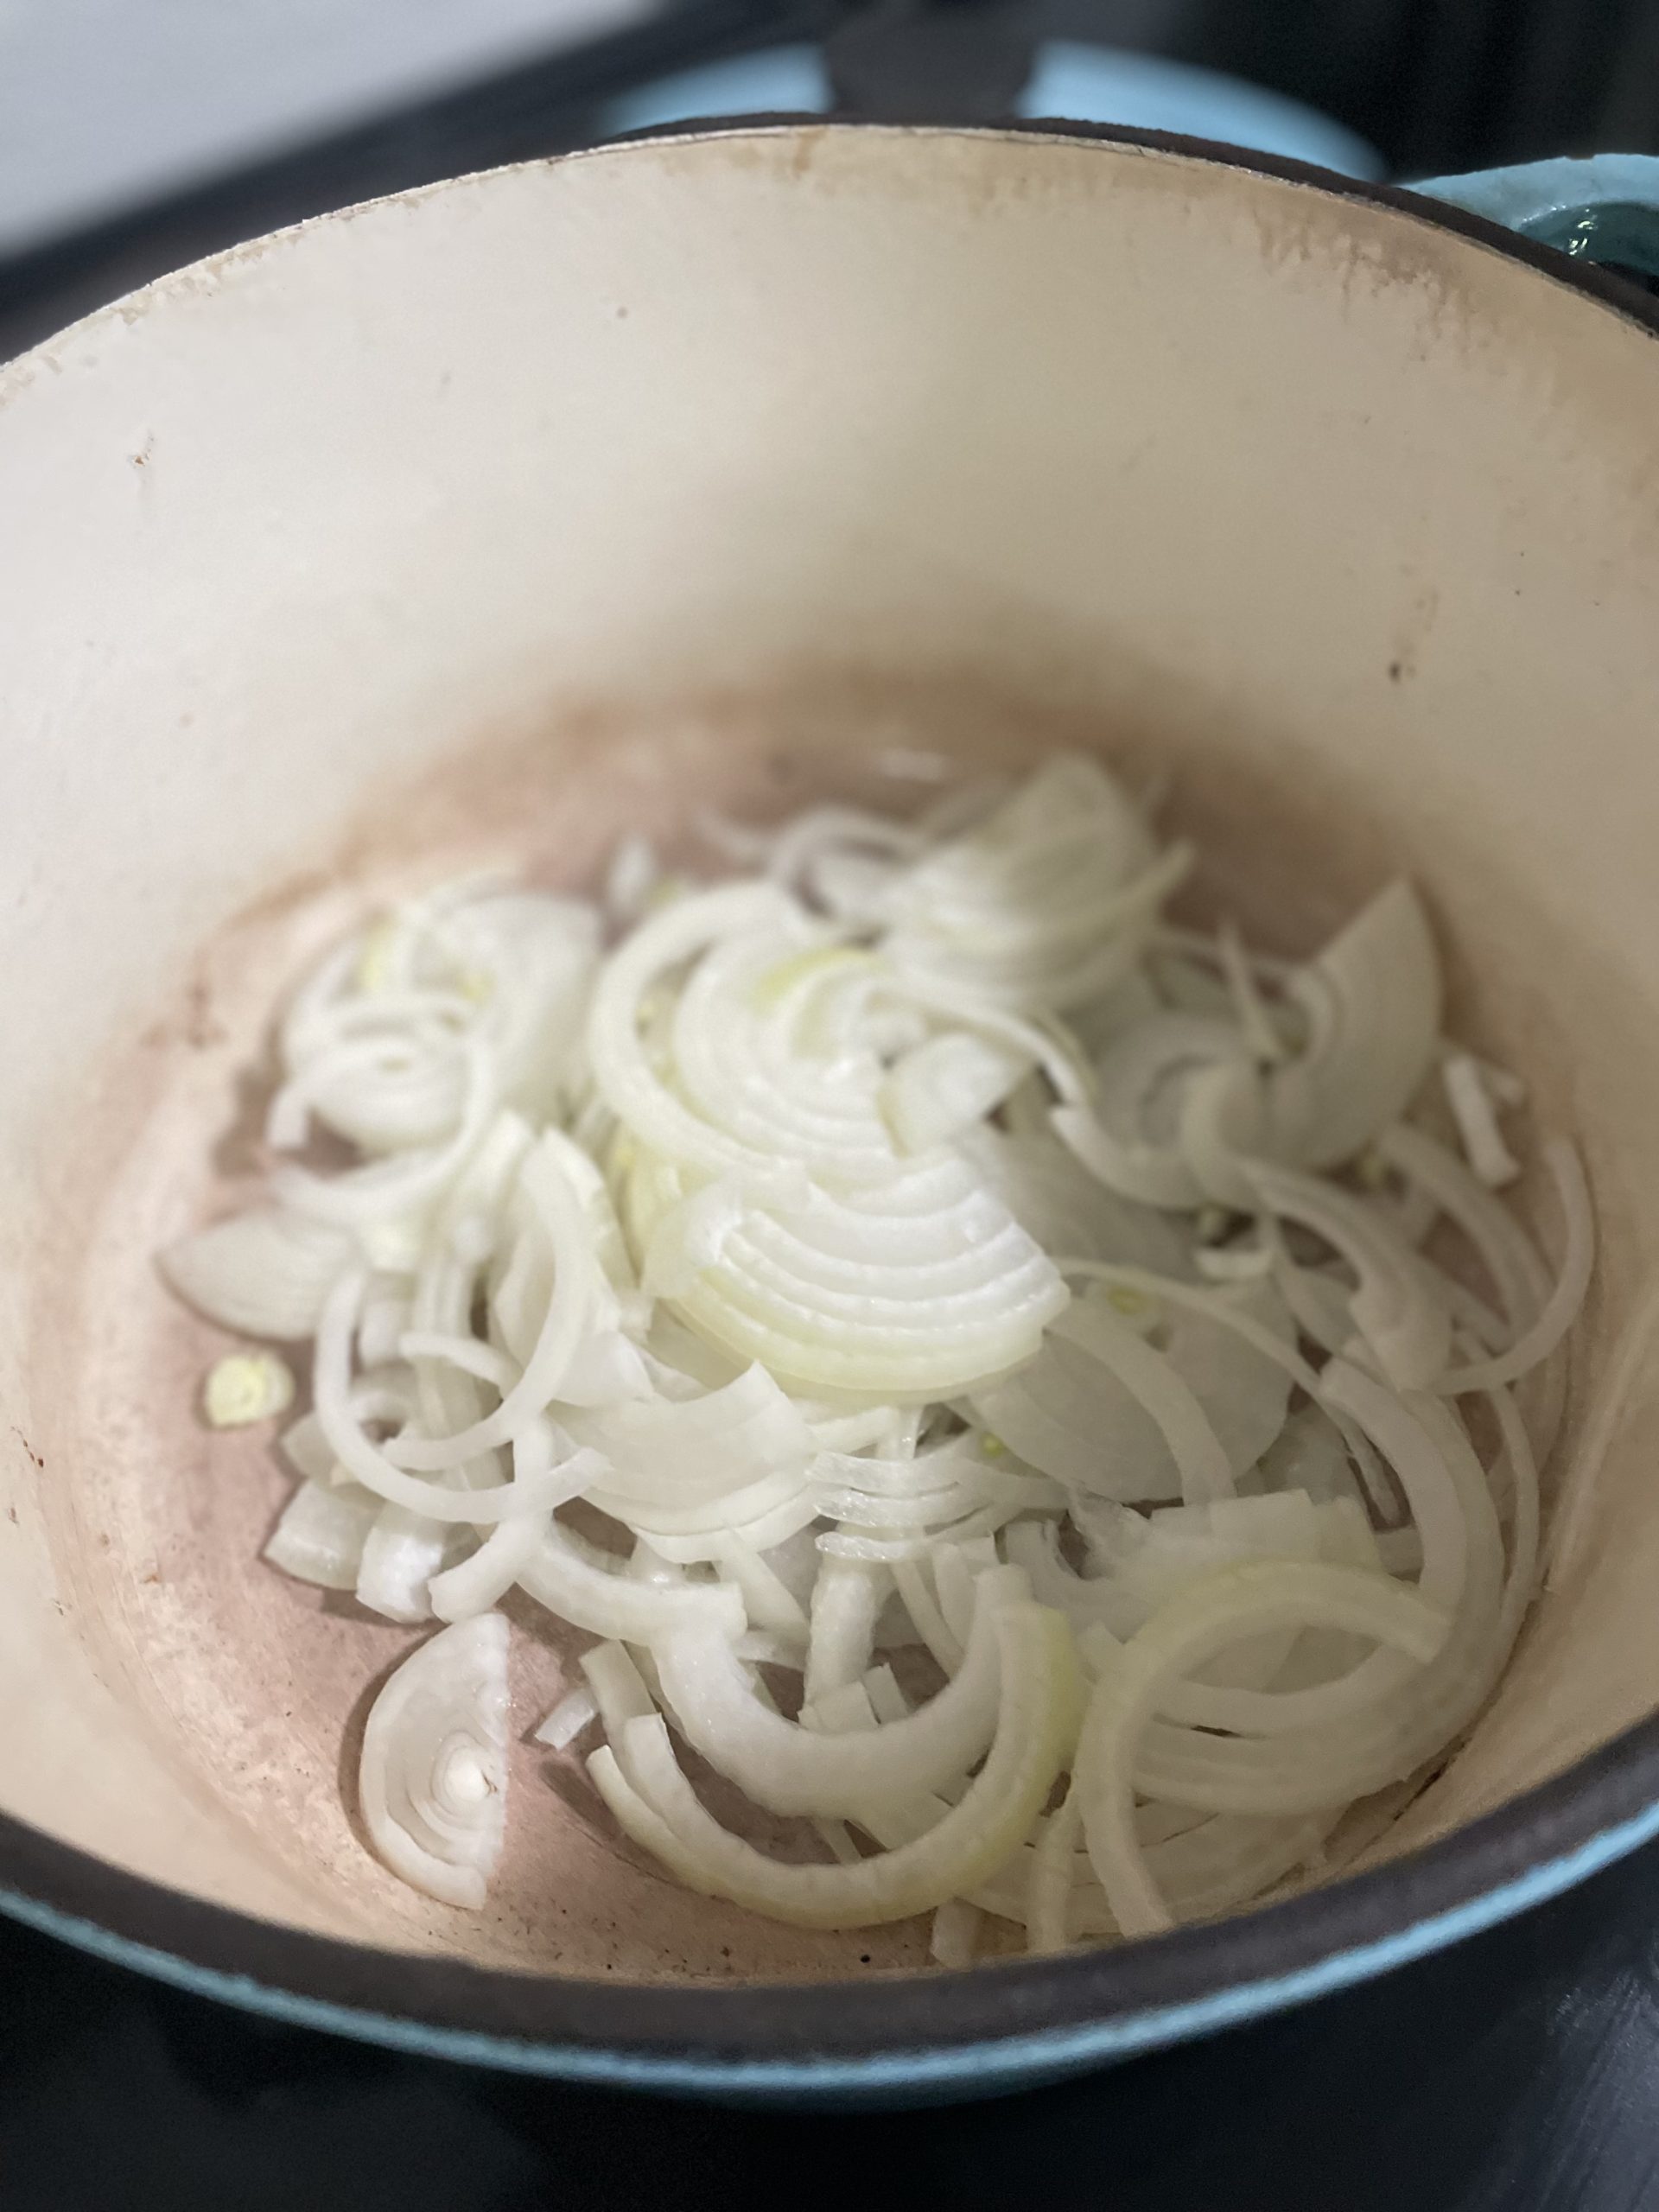
  • While water is boiling and pasta is cooking, sauté onions in a heavy bottom skillet with olive oil, salt, and pepper on medium heat.
  • When onions are starting to brown, add sun-dried tomatoes and continue to cook until onions are caramelized.
  • Turn heat down to medium-low and add in the white wine. Scrape any bits off the bottom of the pot.
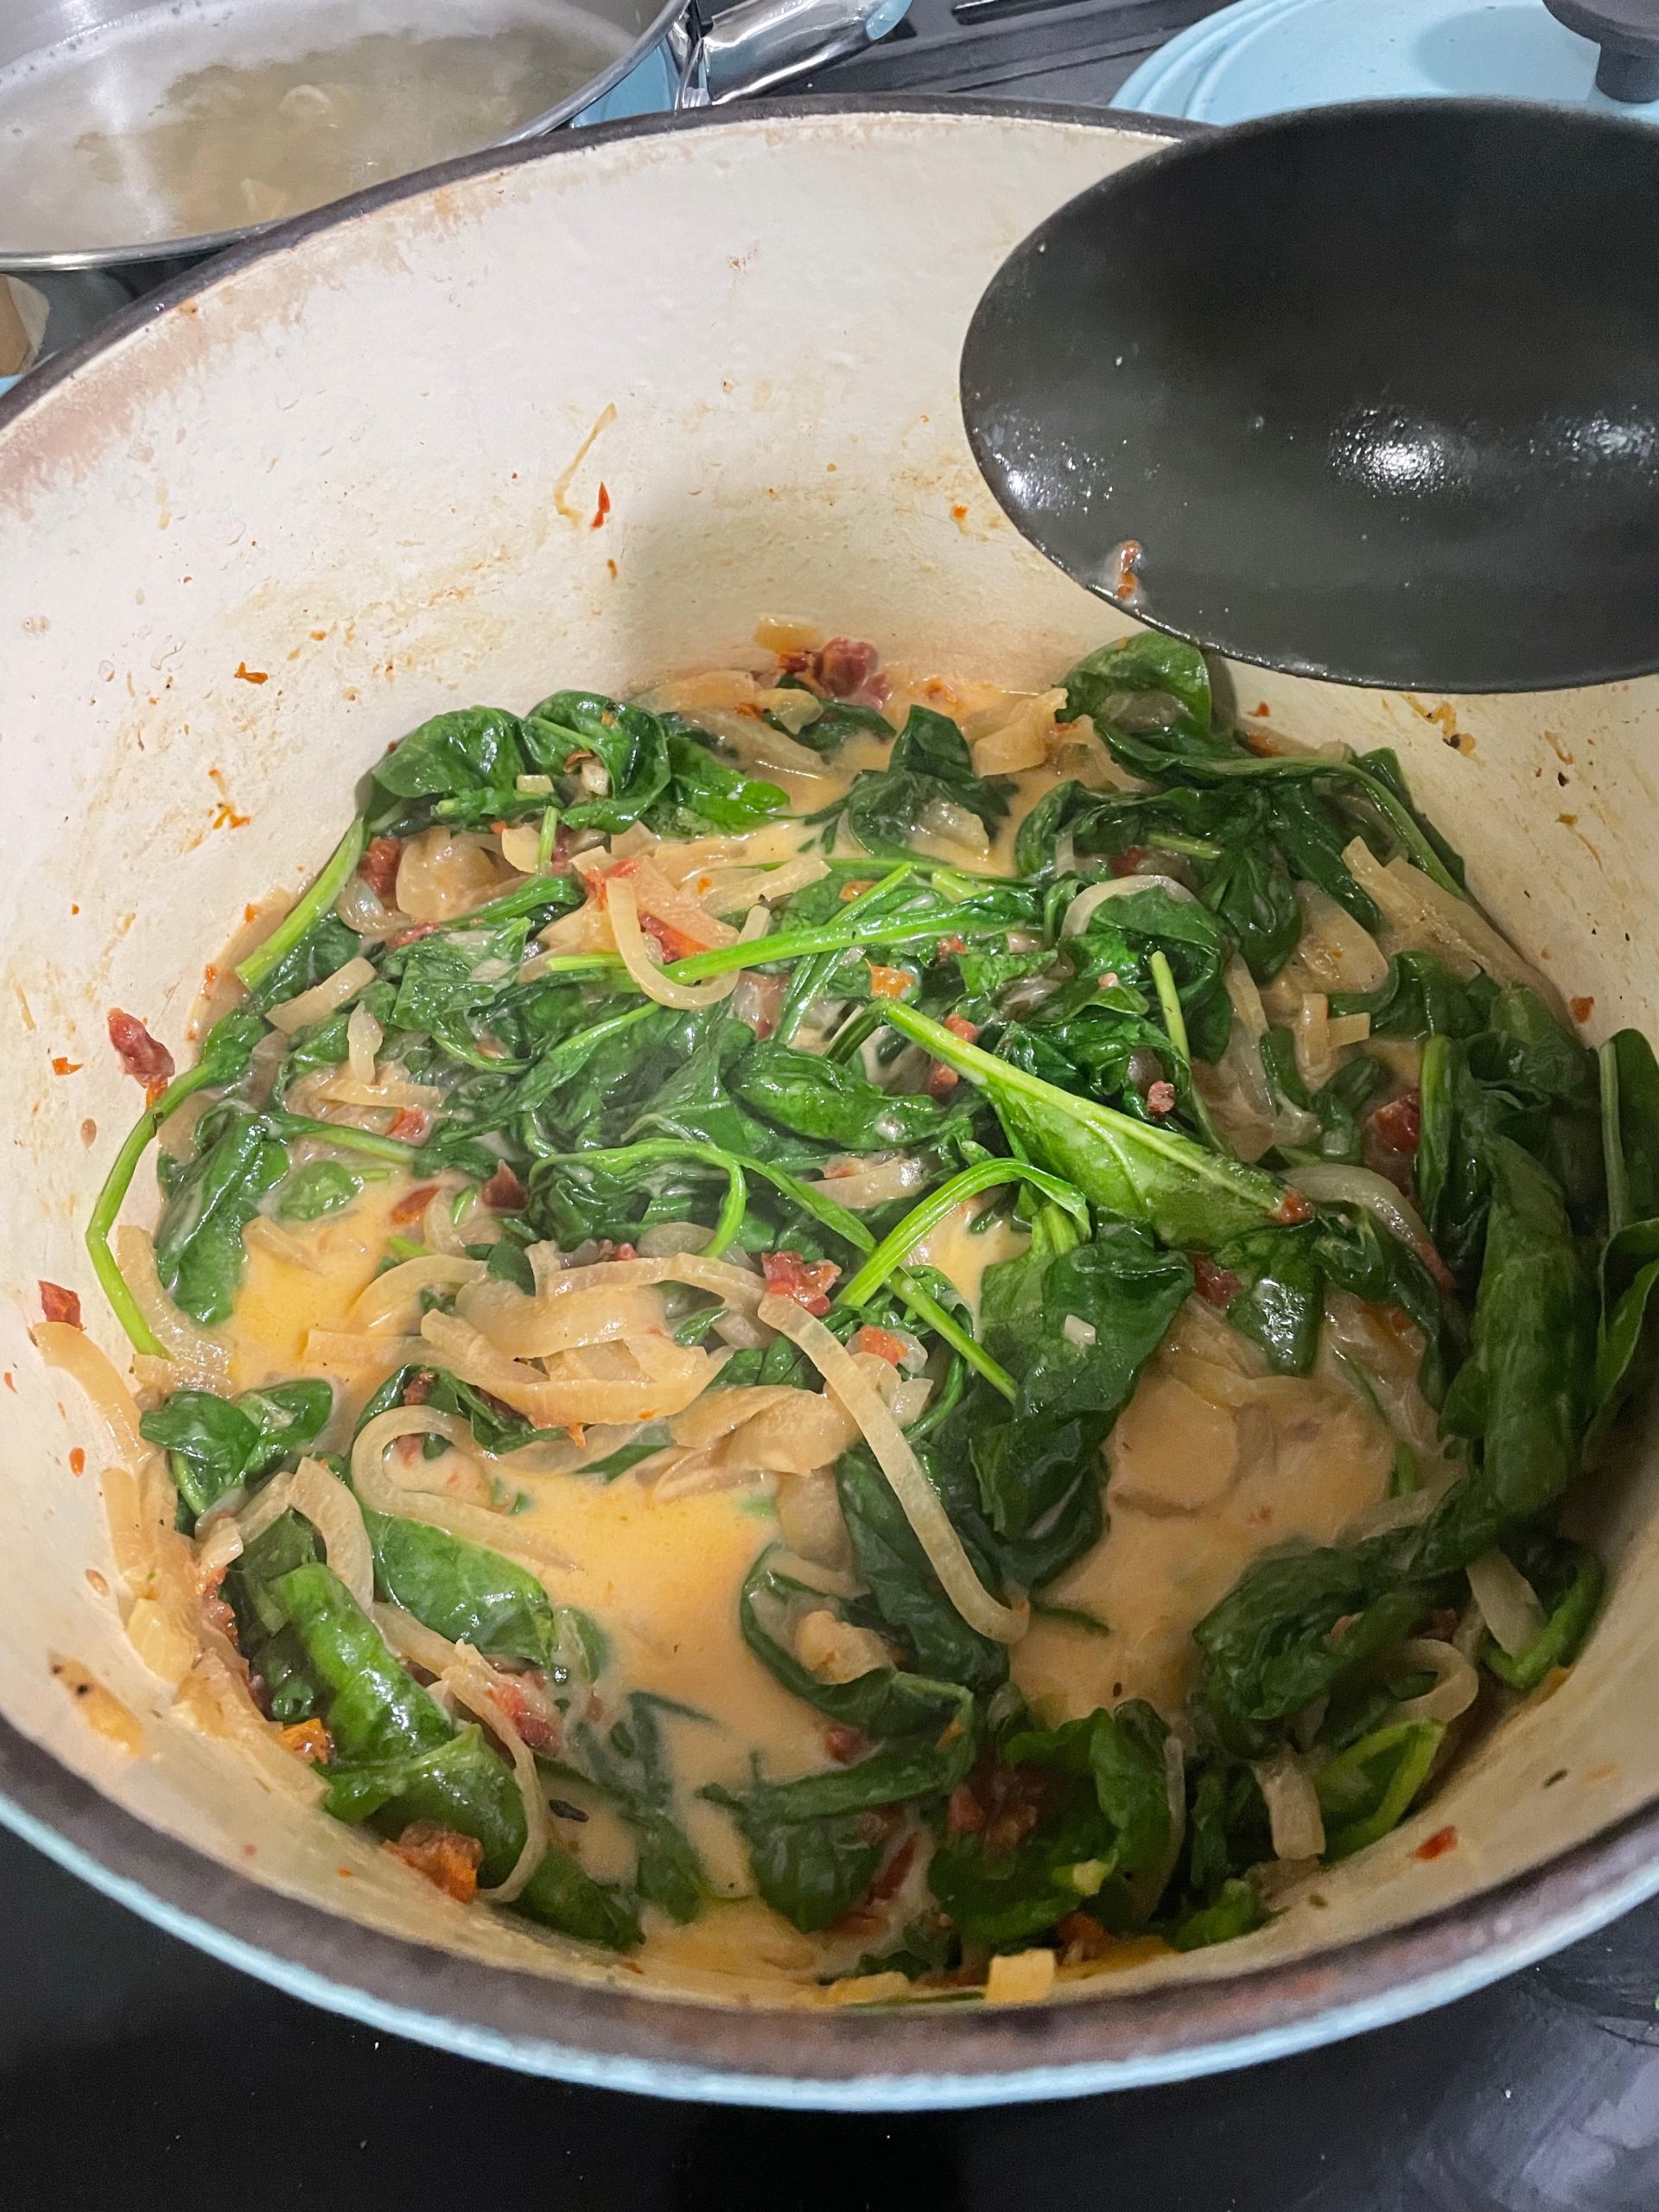
  • Add milk, goat cheese, and spinach and mix to combine. Ensure that all of the goat cheese has been thoroughly mixed into the sauce.
  • When sauce elements are combined, add in the cooked pasta and stir gently. If sauce needs loosening up, add some pasta water.
  • (optional) Stir in parmesan.
  • Taste pasta for seasonings and add extra salt and pepper as needed.
  • Serve pasta and add any other toppings like toasted walnuts, breadcrumbs, or red pepper flakes.

Try something else for dinner like Mapo (ish) Tofu or Honey Balsamic Roasted Brussels Sprouts.

Want dessert? Sourdough Discard Cinnamon Rolls or Kitchen Sink Cookies.

Four Days in New York City (March 2022)

new york city

New York City is somewhere I’ve always wanted to visit. It’s always a popular location in movies and television, I had to check it out. Full of history, culture, and delicious food, it’s difficult to pack in the most in only four days, but we did our best. I planned my trip around where we were staying and tried to hit places in an order that made most “geographic” sense.

Accommodations:

Since we booked almost 6 months in advance, we were able to find a really cool place to stay. We found an Airbnb above an off-Broadway theater that was perfect for three people. Coming and going was easy and it was in a great location. There just isn’t really a true kitchen, but that didn’t really matter since we were eating out every meal anyway.

Day 1:

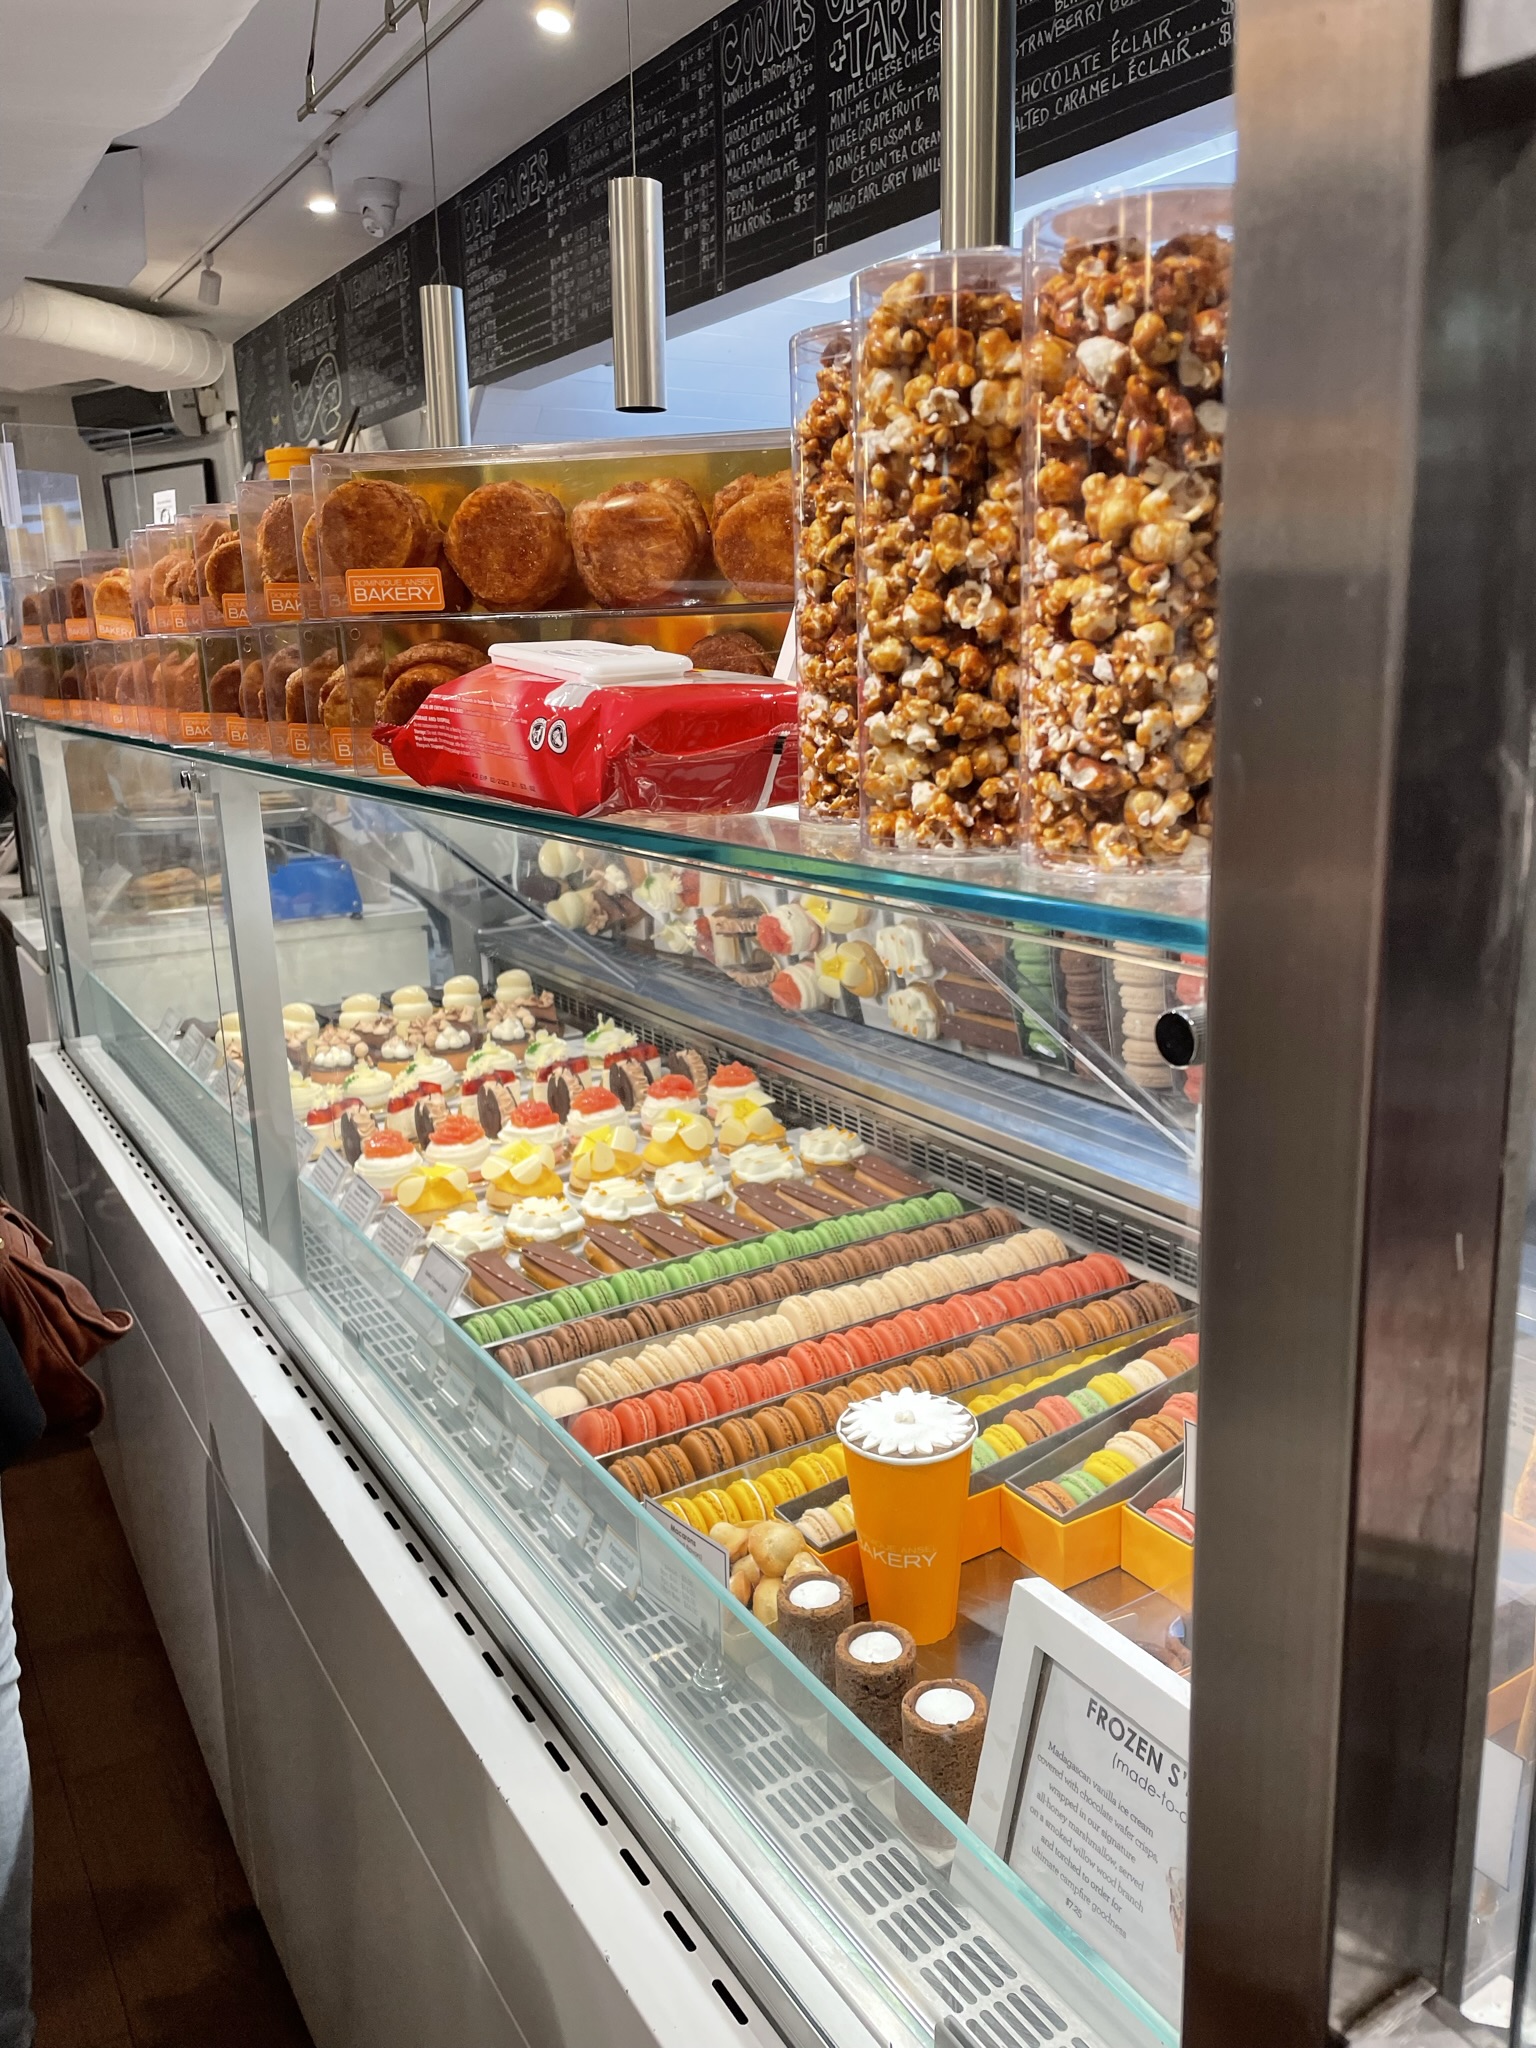
I took a red-eye flight from Seattle to Newark, landing at 6 AM. That early in the morning, it was actually comparable for 3 people to just Uber into the city instead of taking the bus to the Port Authority terminal. We Uber-ed straight to Dominique Ansel Bakery and arrived right at opening at 8 AM. Even on a Thursday there was still a line out the door. Dominique Ansel is famous for introducing the world to the “cronut”. There are a limited number of cronuts sold per day, so you have to get in quite early or be lucky to get on the pre-order to get one. There’s a different flavor each month too! We tried the cronut, the DKA (Dominique’s Kouign Amann), and the banana bread tiramisu. They were divine.

After breakfast, we were able to drop off our items at at the Airbnb a little early since the theater was already open. We walked along the Hudson River Greenway to Little Island, taking in the sights and views of the Hudson River and Jersey.

We then walked back to the SoHo area, did some window shopping, and then ended up doing lunch at Balthazar. I had made reservations about a week in advance. Weekday lunch was also very busy. This restaurant is packed pretty tight. So tight that they actually move your table out of the way so you can squeeze into the bench. After you sit down, they move your table back. If you want to get out, you have to move the entire table.

After lunch we Uber-ed to The Battery, a park on the southern tip of Manhattan for our ferry to Ellis Island and the Statue of Liberty. We booked tickets online and were able to skip quite a bit of the line when going through security. The ferry ride was pretty quick to both islands. Your ticket lets you go to both islands, but different tiers exist for how much of the Statue of Liberty you want to experience. You can just visit the Statue, climb to the pedestal, or climb to the crown.

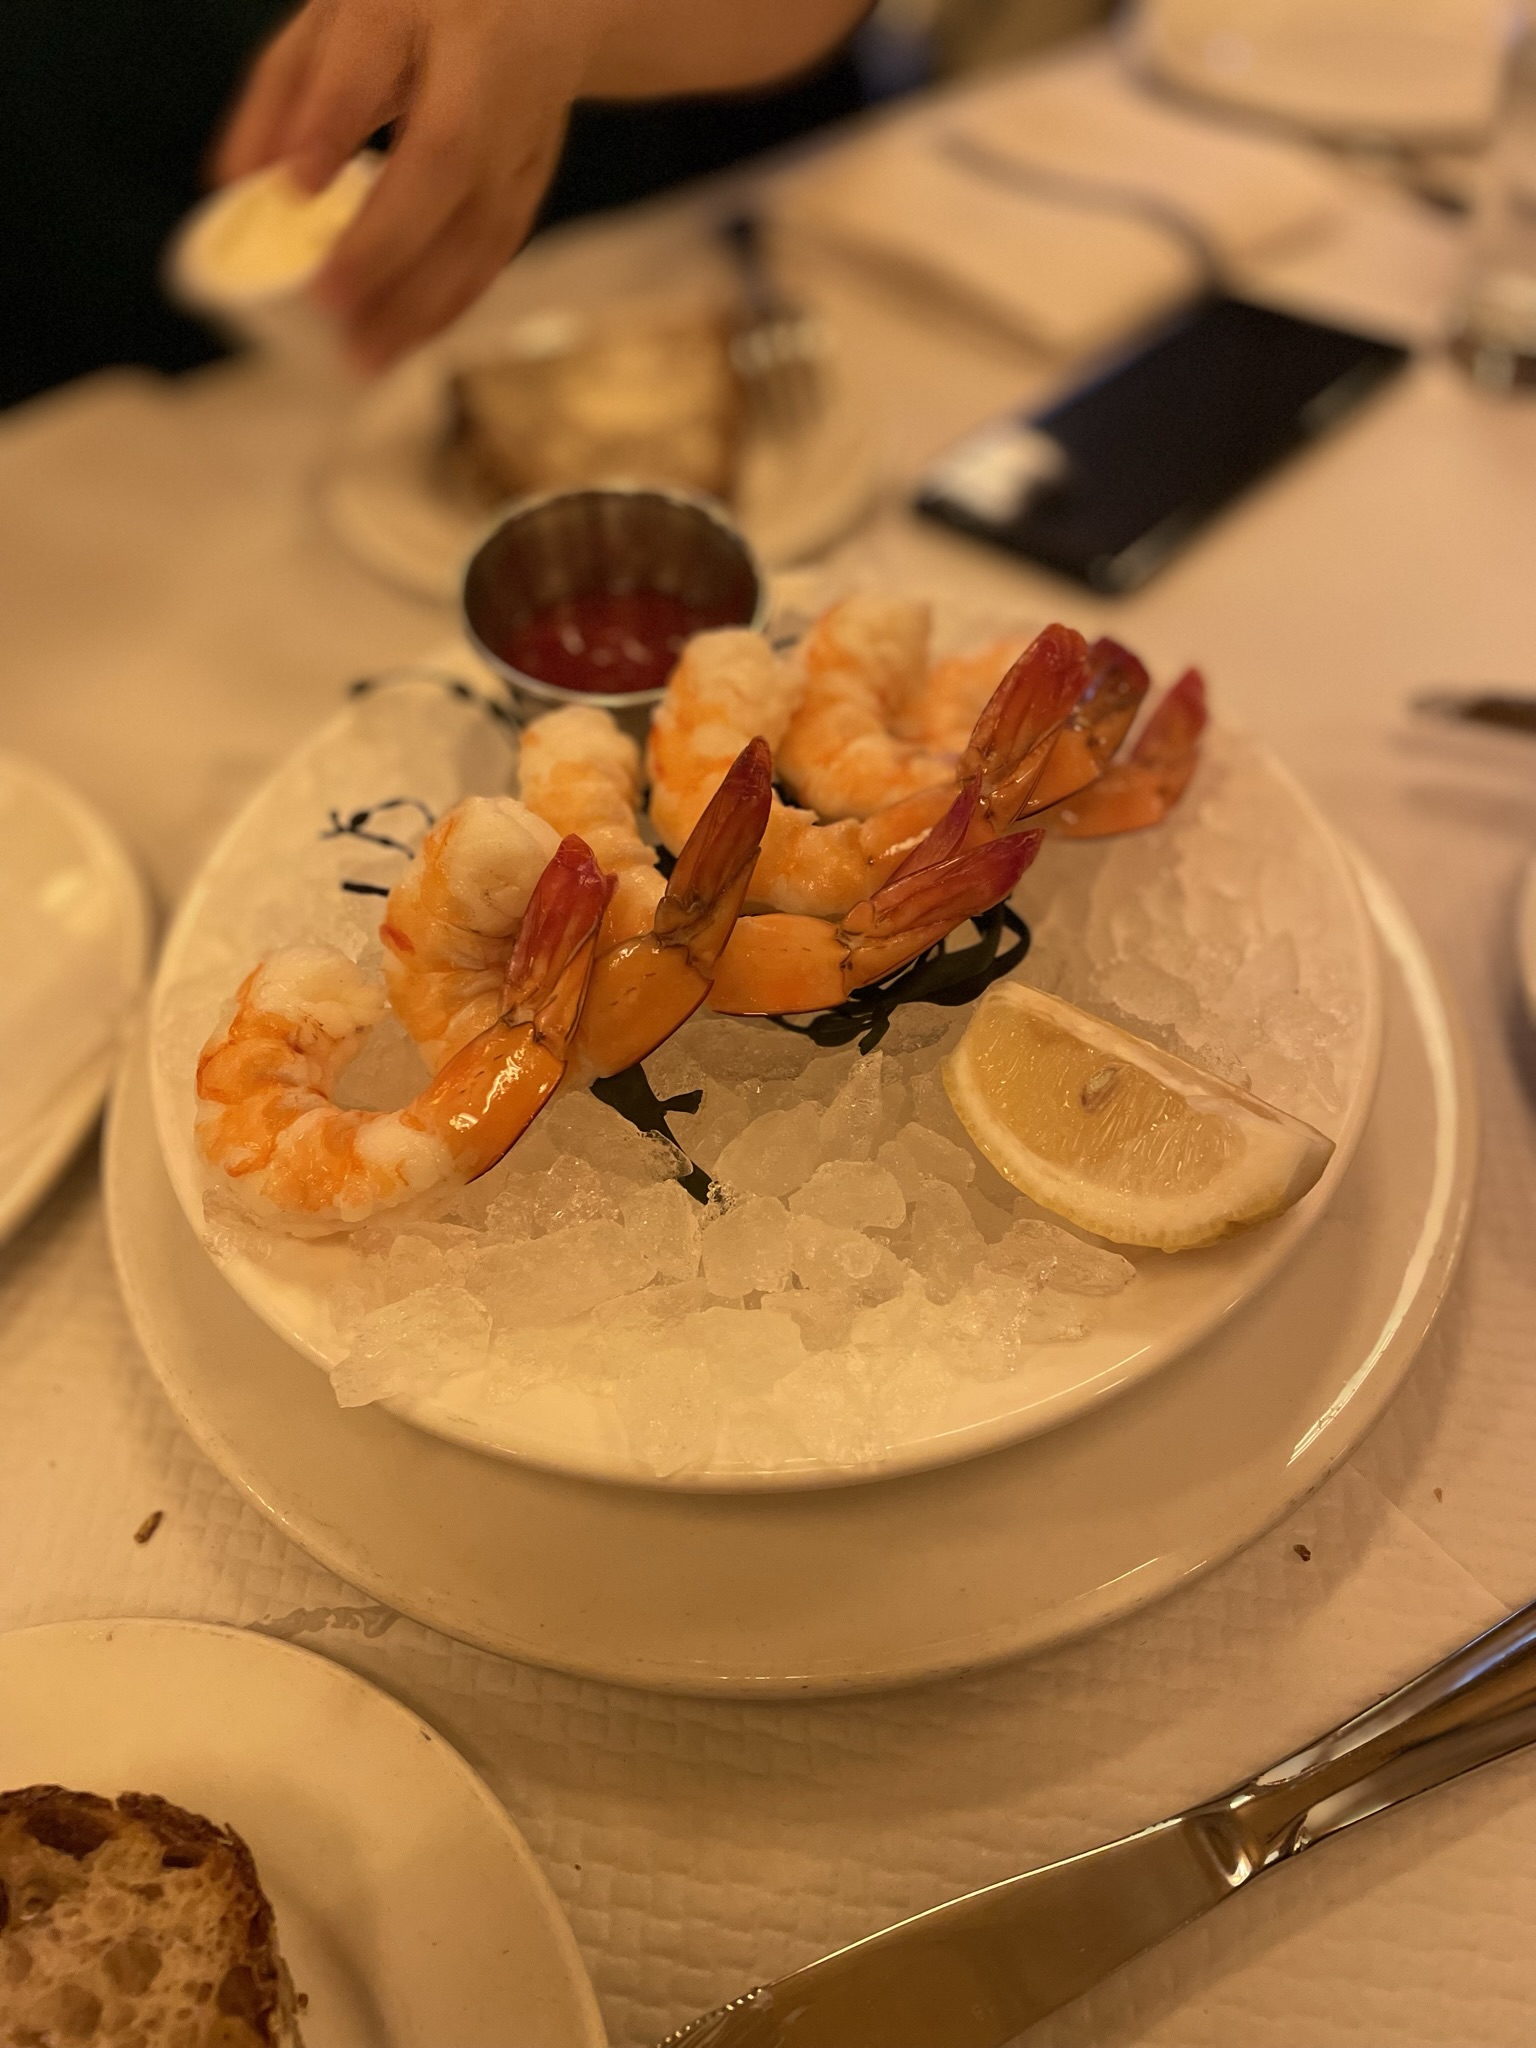
We took the ferry back to Manhattan and then decided to walk around the Financial District. We saw the famous Charging Bull, walked through Wall Street, and saw the New York Stock Exchange building. There are many small bars and restaurants in the area that were popping for happy hour. We stopped by Luke’s Lobster and had some lobster/shrimp/crab rolls and clam chowder as a little snack. The clam chowder was lovely on a chilly day.

We Uber-ed back to the Airbnb to take a little rest before dinner. We got a restaurant for Madame Vo’s for dinner. Walking through Washington Square Park was lovely in the twilight. The Arch was lit up as the light was dimming.

Day 2:

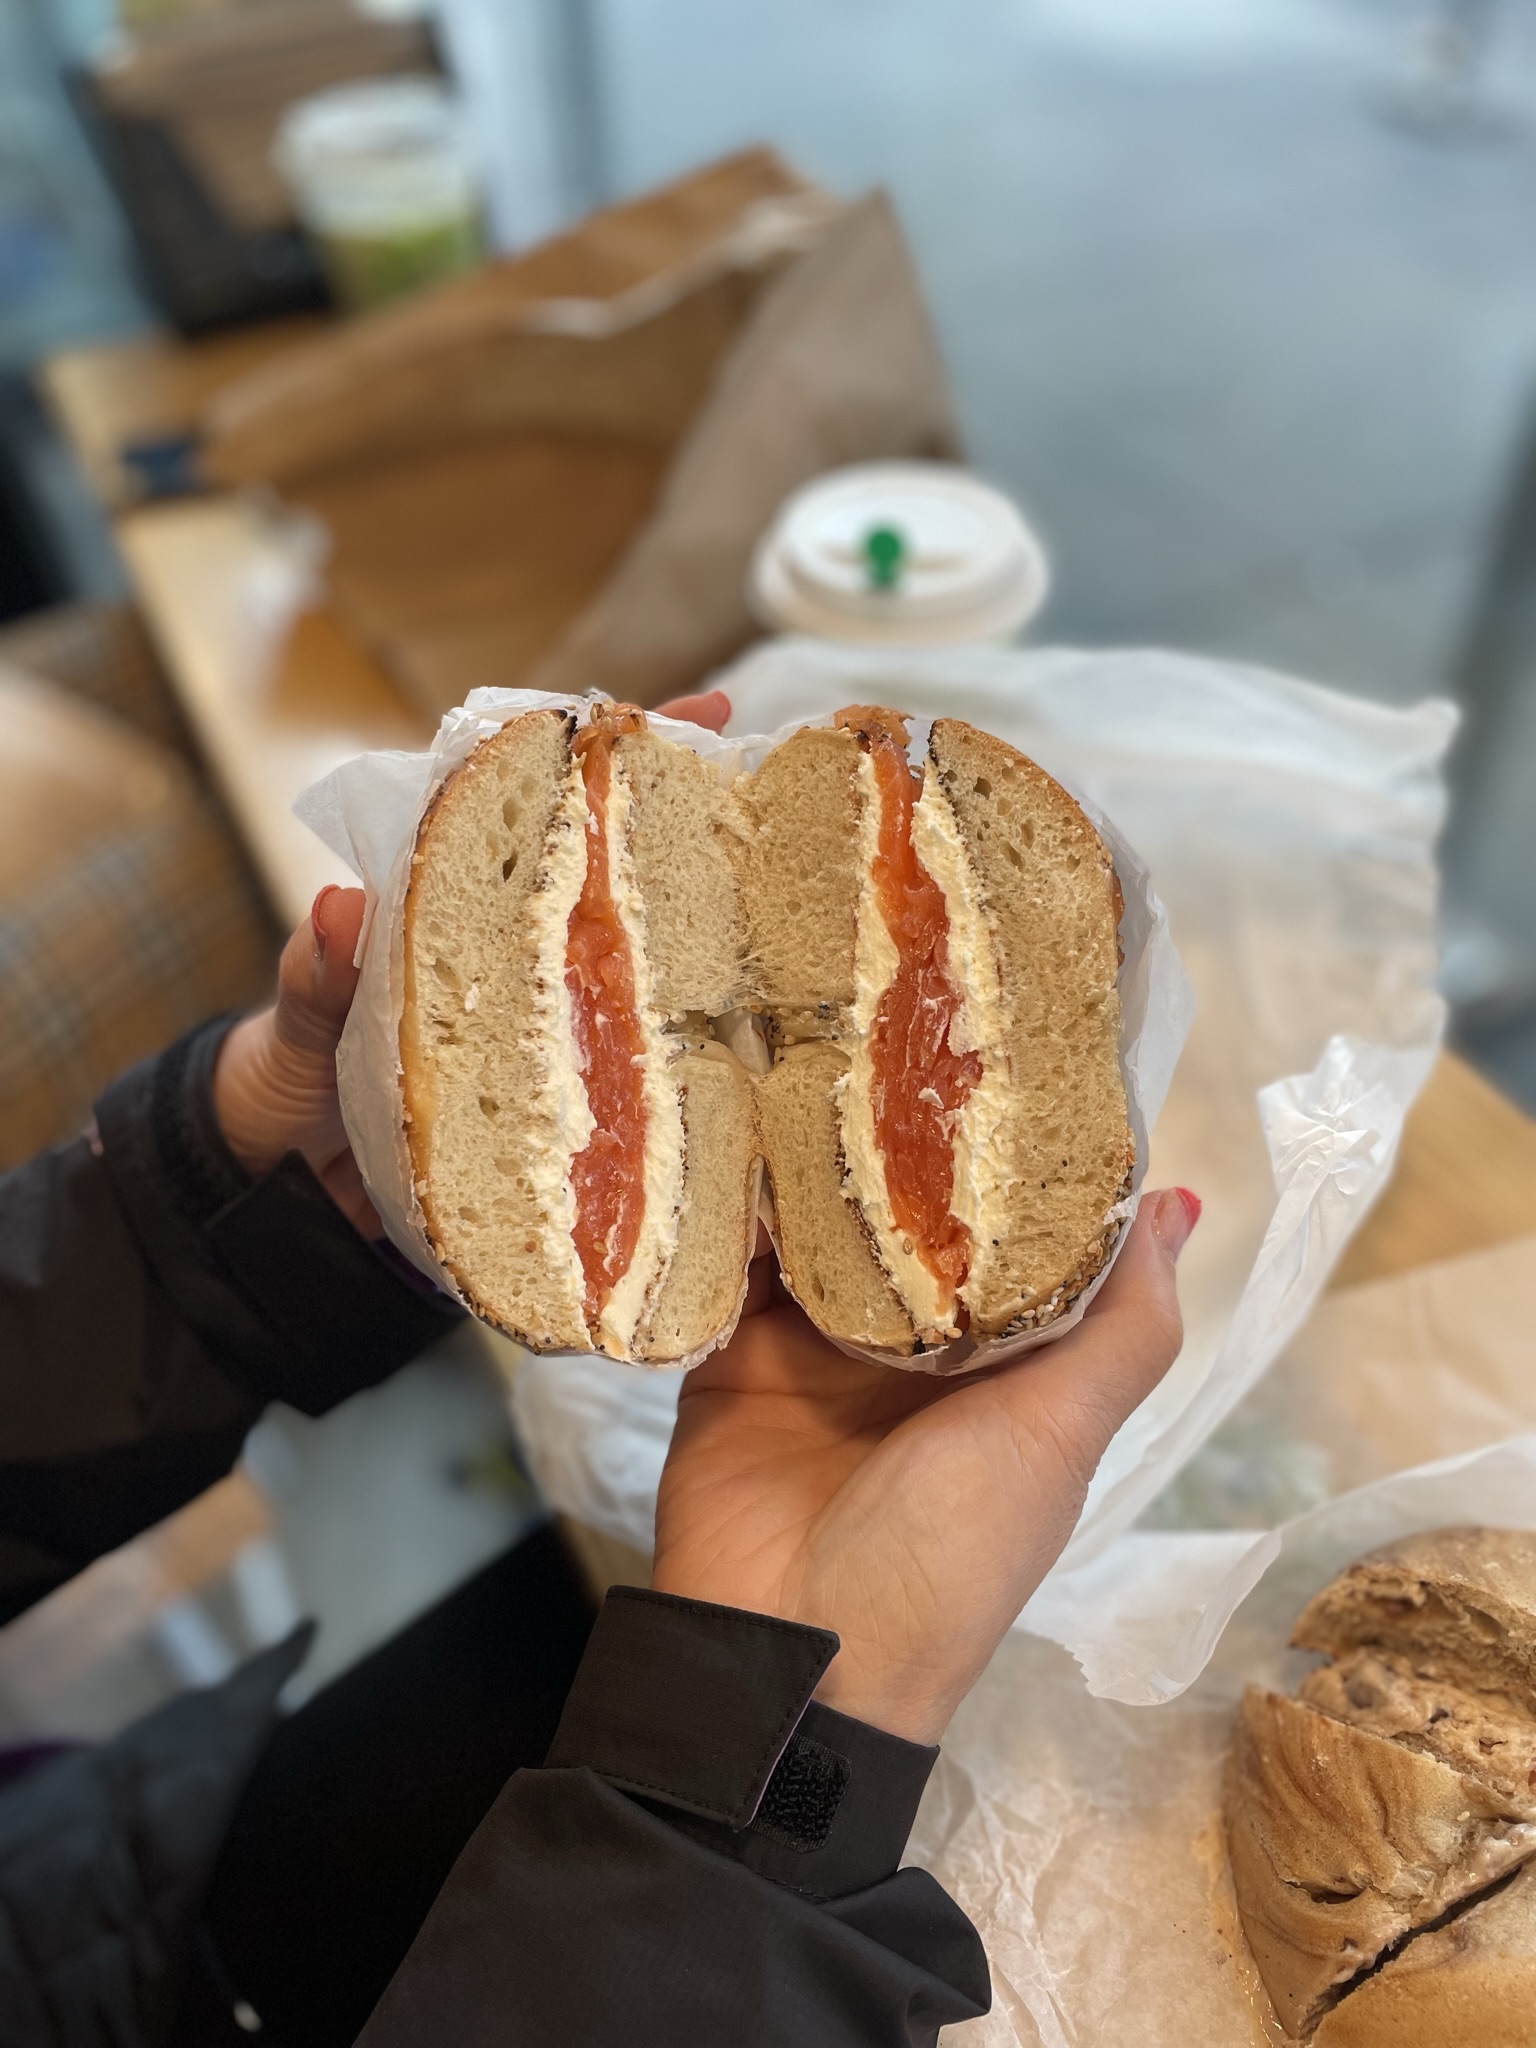
Bagels are a NY must. We stopped by Brooklyn Bagel Company to really understand what New York bagels have over everyone else. I tried an everything bagel with regular schmear and smoked salmon. The fish was not fish-y smelling at all and the bagels were unbelievably chewy and flavorful. There really is a different in bagels.

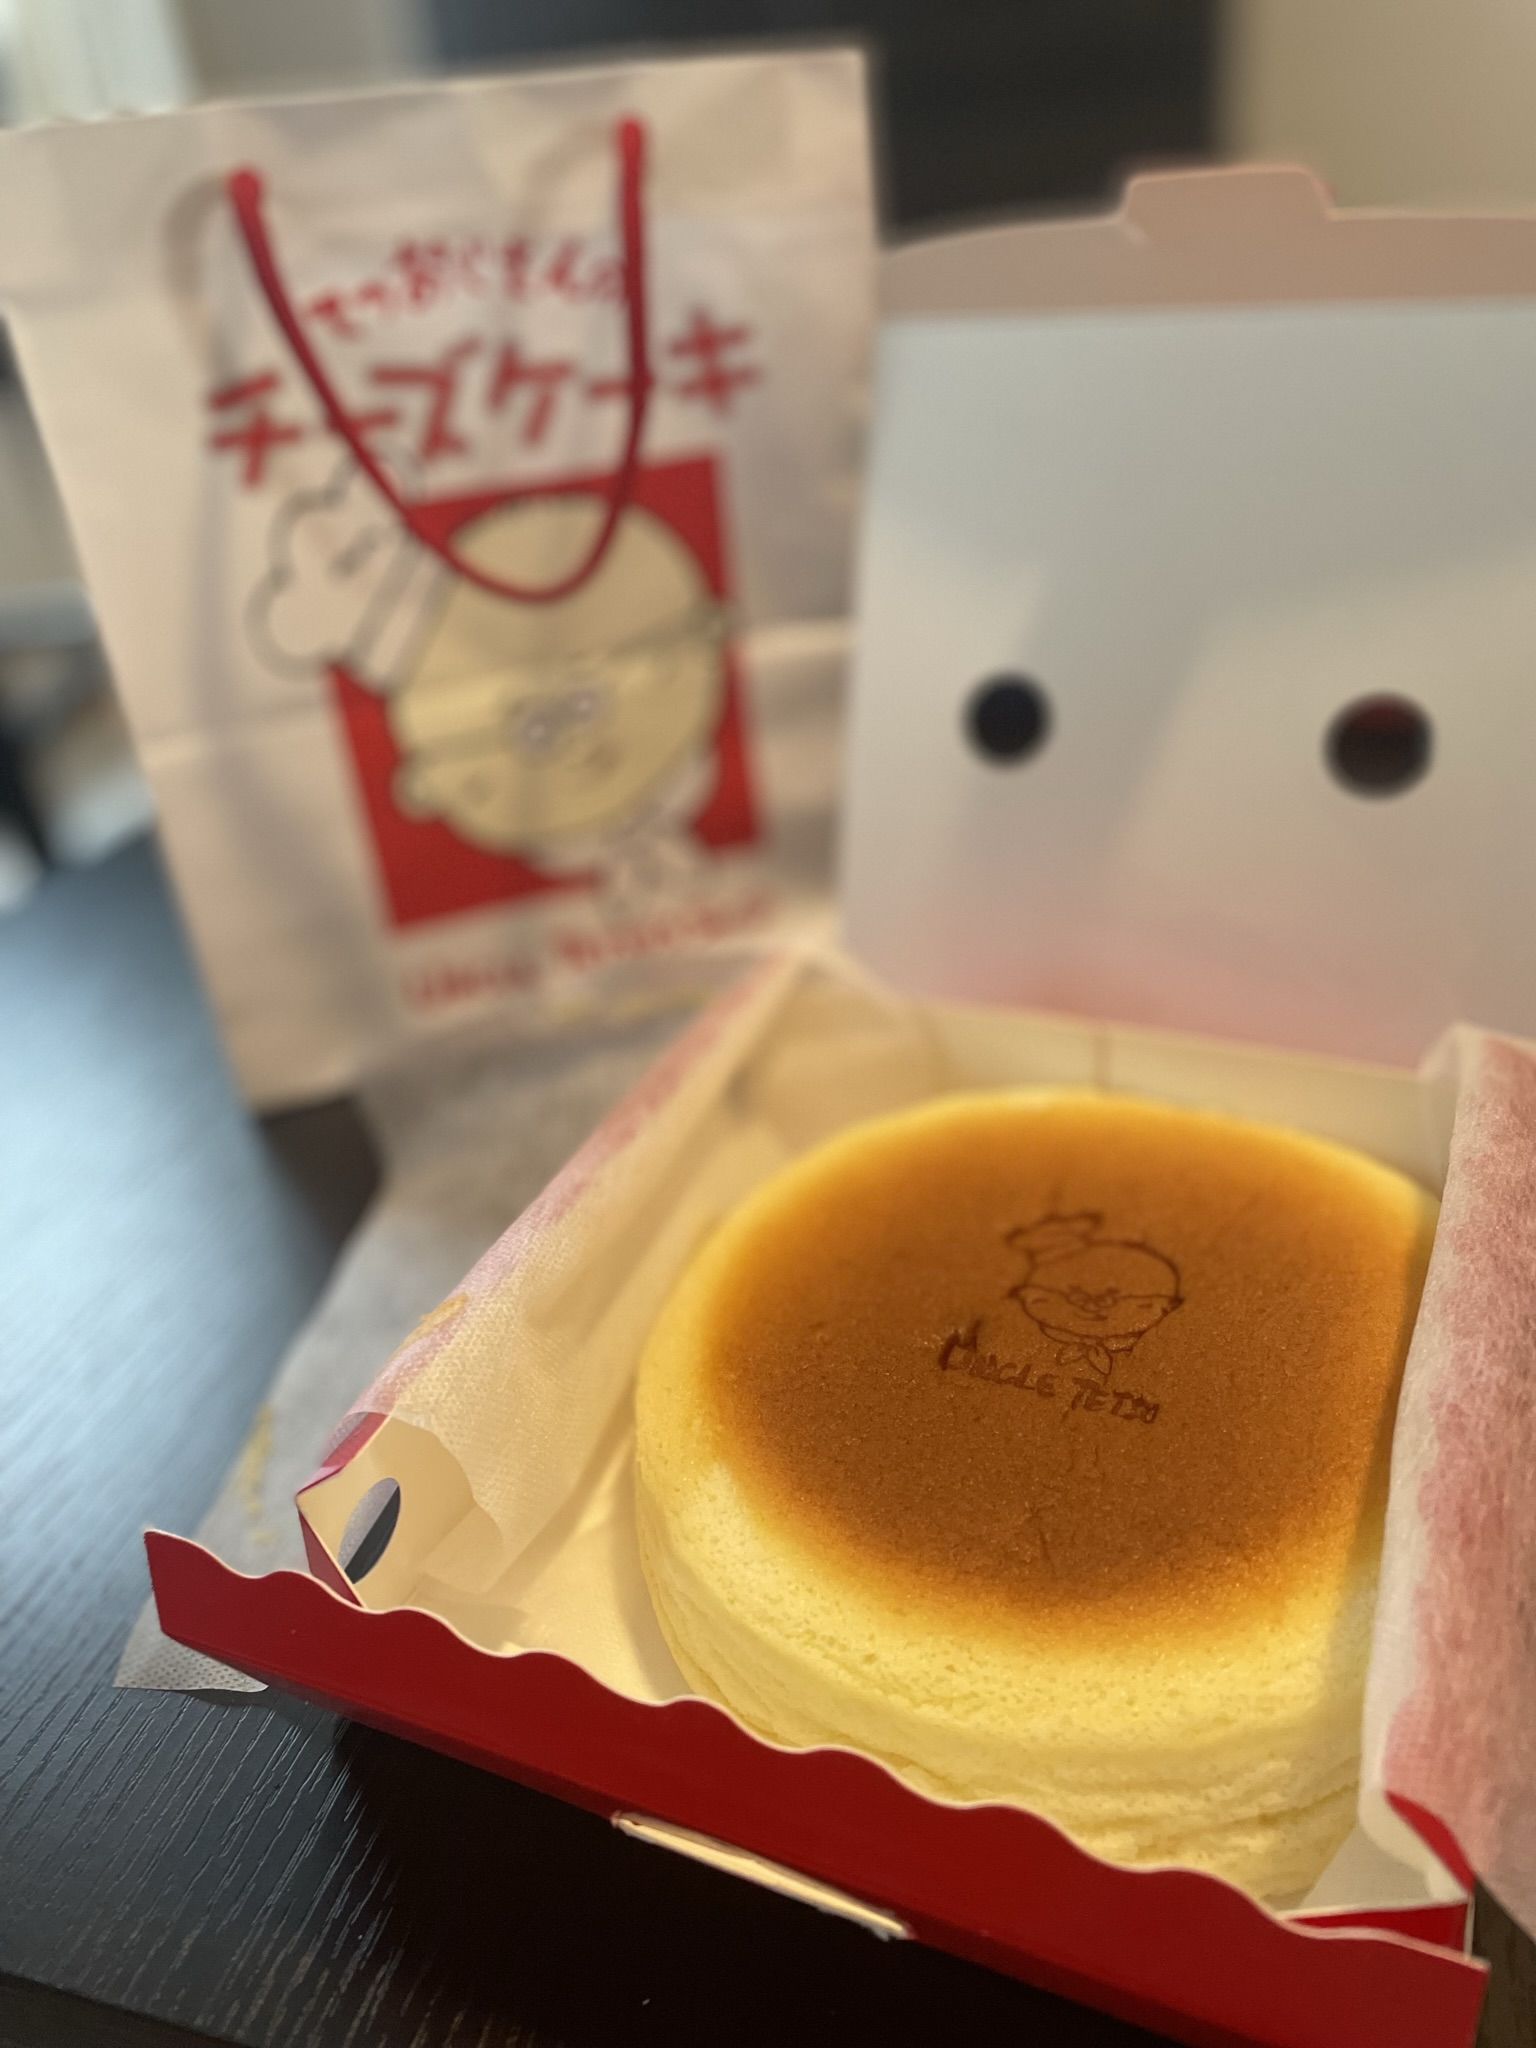
After our breakfast, we continued walking north and passed through Madison Square Park, perused the farmer’s market booths, and then made our way to Times Square. We did some browsing and shopping. We stopped for lunch at Ootoya and shared the beef sukiyaki. This place was quite busy for an early lunch and you won’t be seated unless all members of your party are present. Right next door is Uncle Tetsu’s Cheesecake. We picked one up for later.

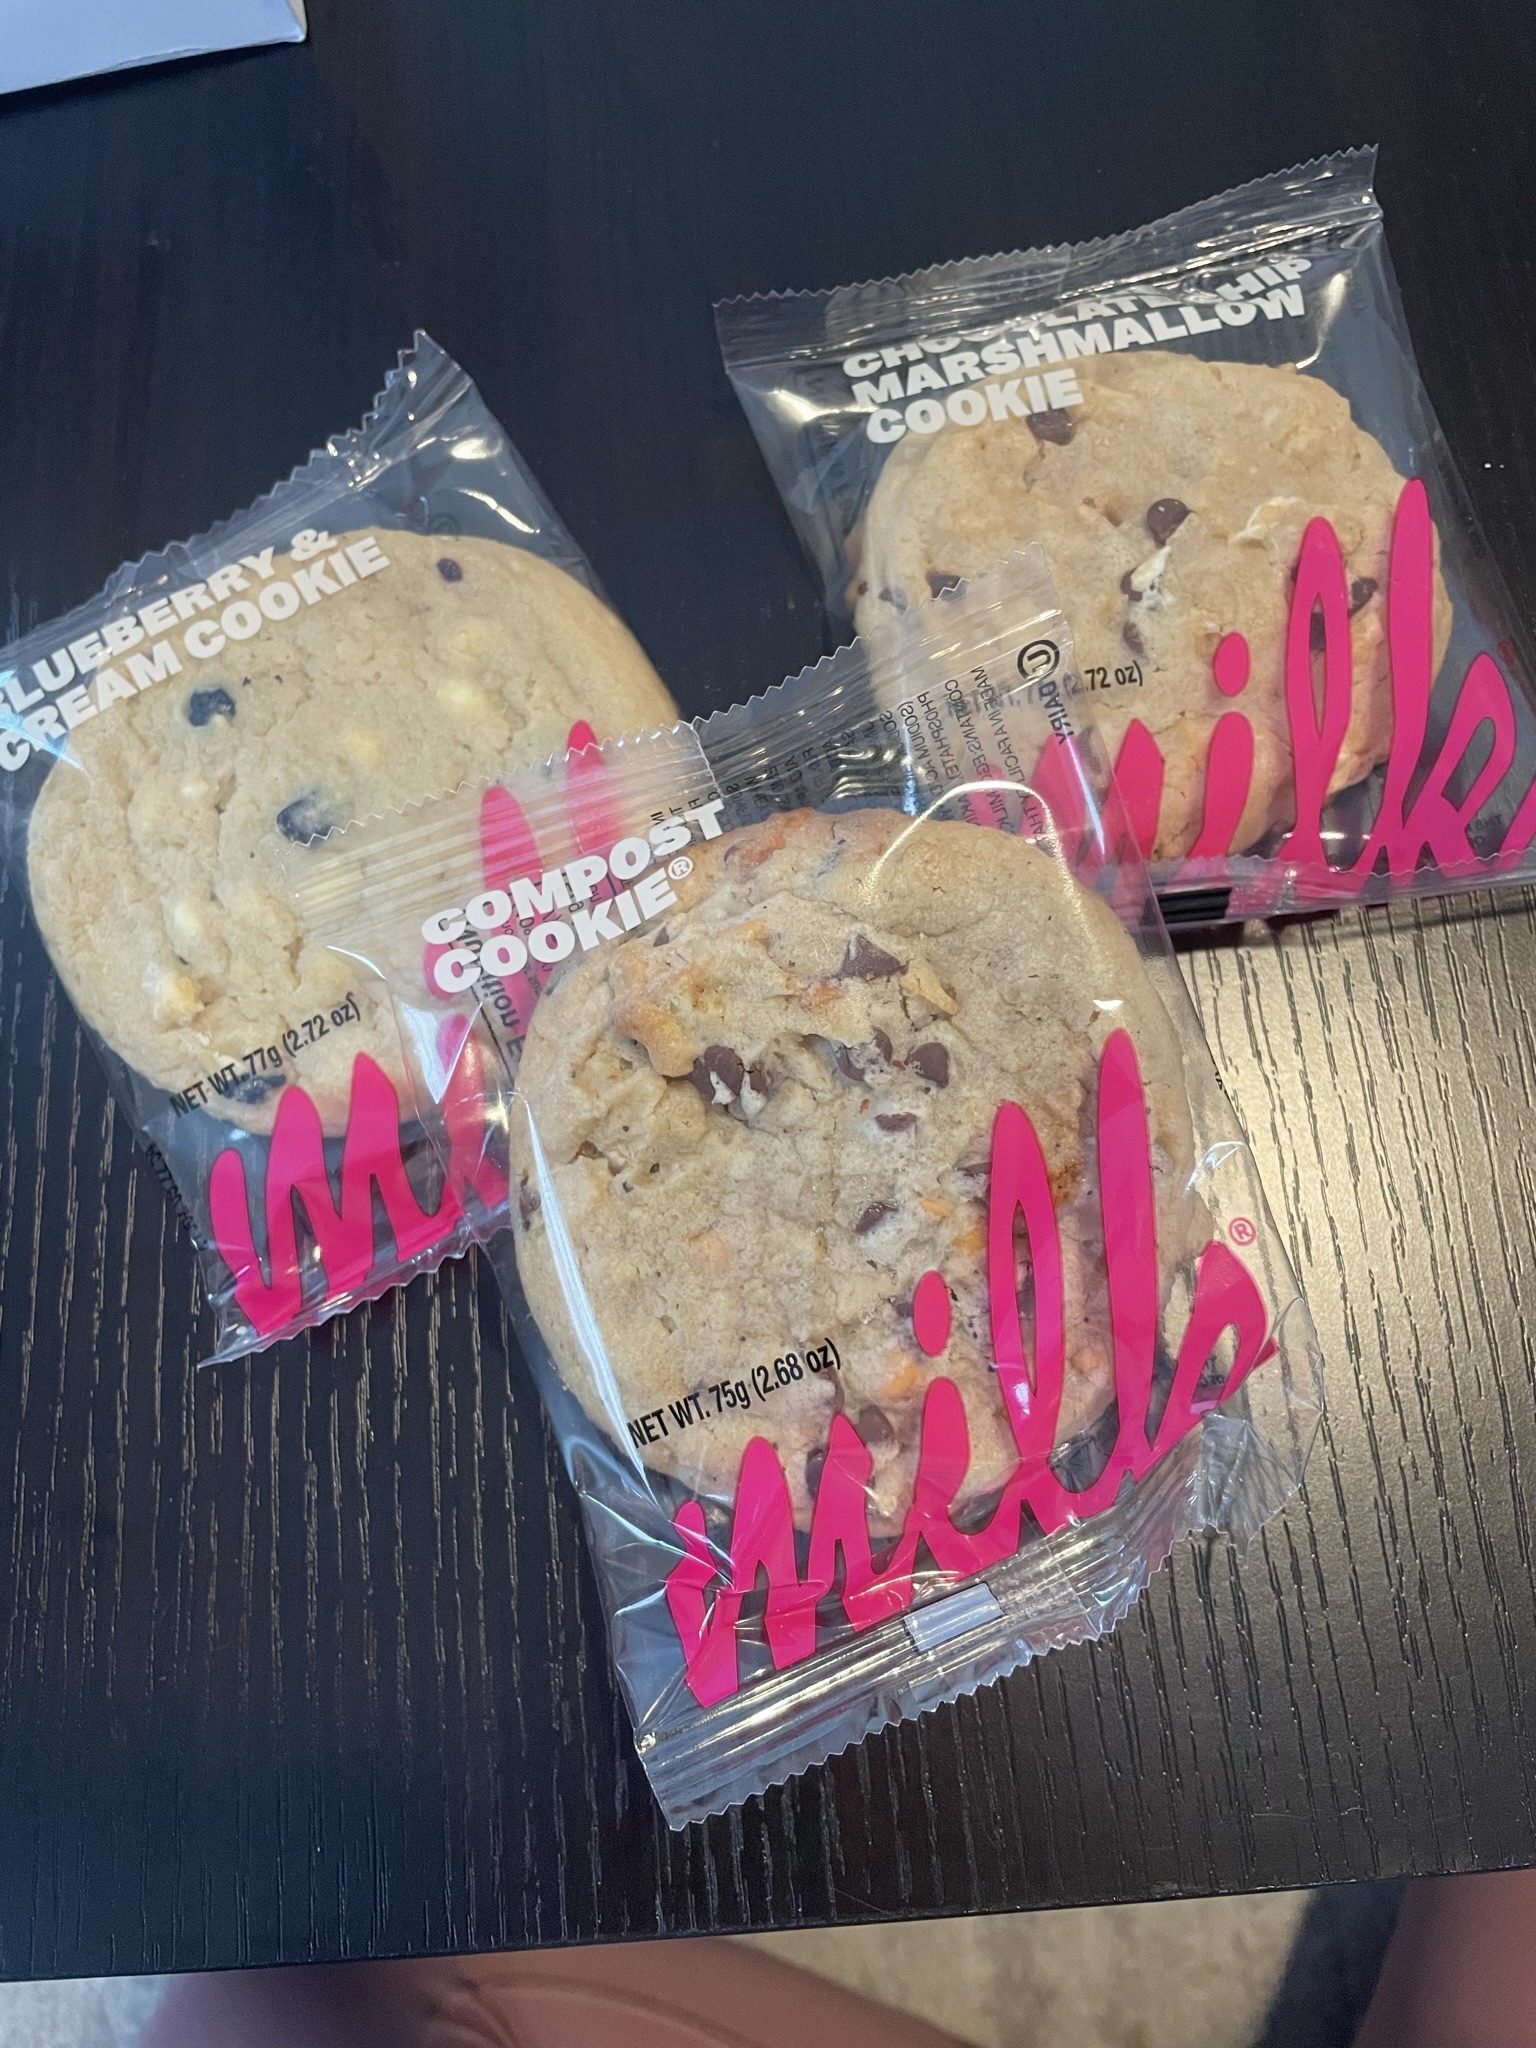
After lunch, we continued walking north and stopped at the Nordstrom flagship store for multiple levels of shopping. We grabbed a gelato at Venchi and ventured into Central Park and explored all the way to the Met. We took a break from walking, sat on the steps, and watched the people walking by. We took the subway home and grabbed some cookies from Milk Bar for a sweet snack.

For dinner, we tried a couple slices from Joe’s Pizza. Joe’s Pizza is cash only and is open until the wee hours of the night.

Day 3:

With most dimsum restaurants not opening until 10-11 AM, we decided to DIY our dimsum experience… Instead of going to one dimsum restaurant, we decided to try a few items from many different restaurants. We planned our spots based on opening hours and location.

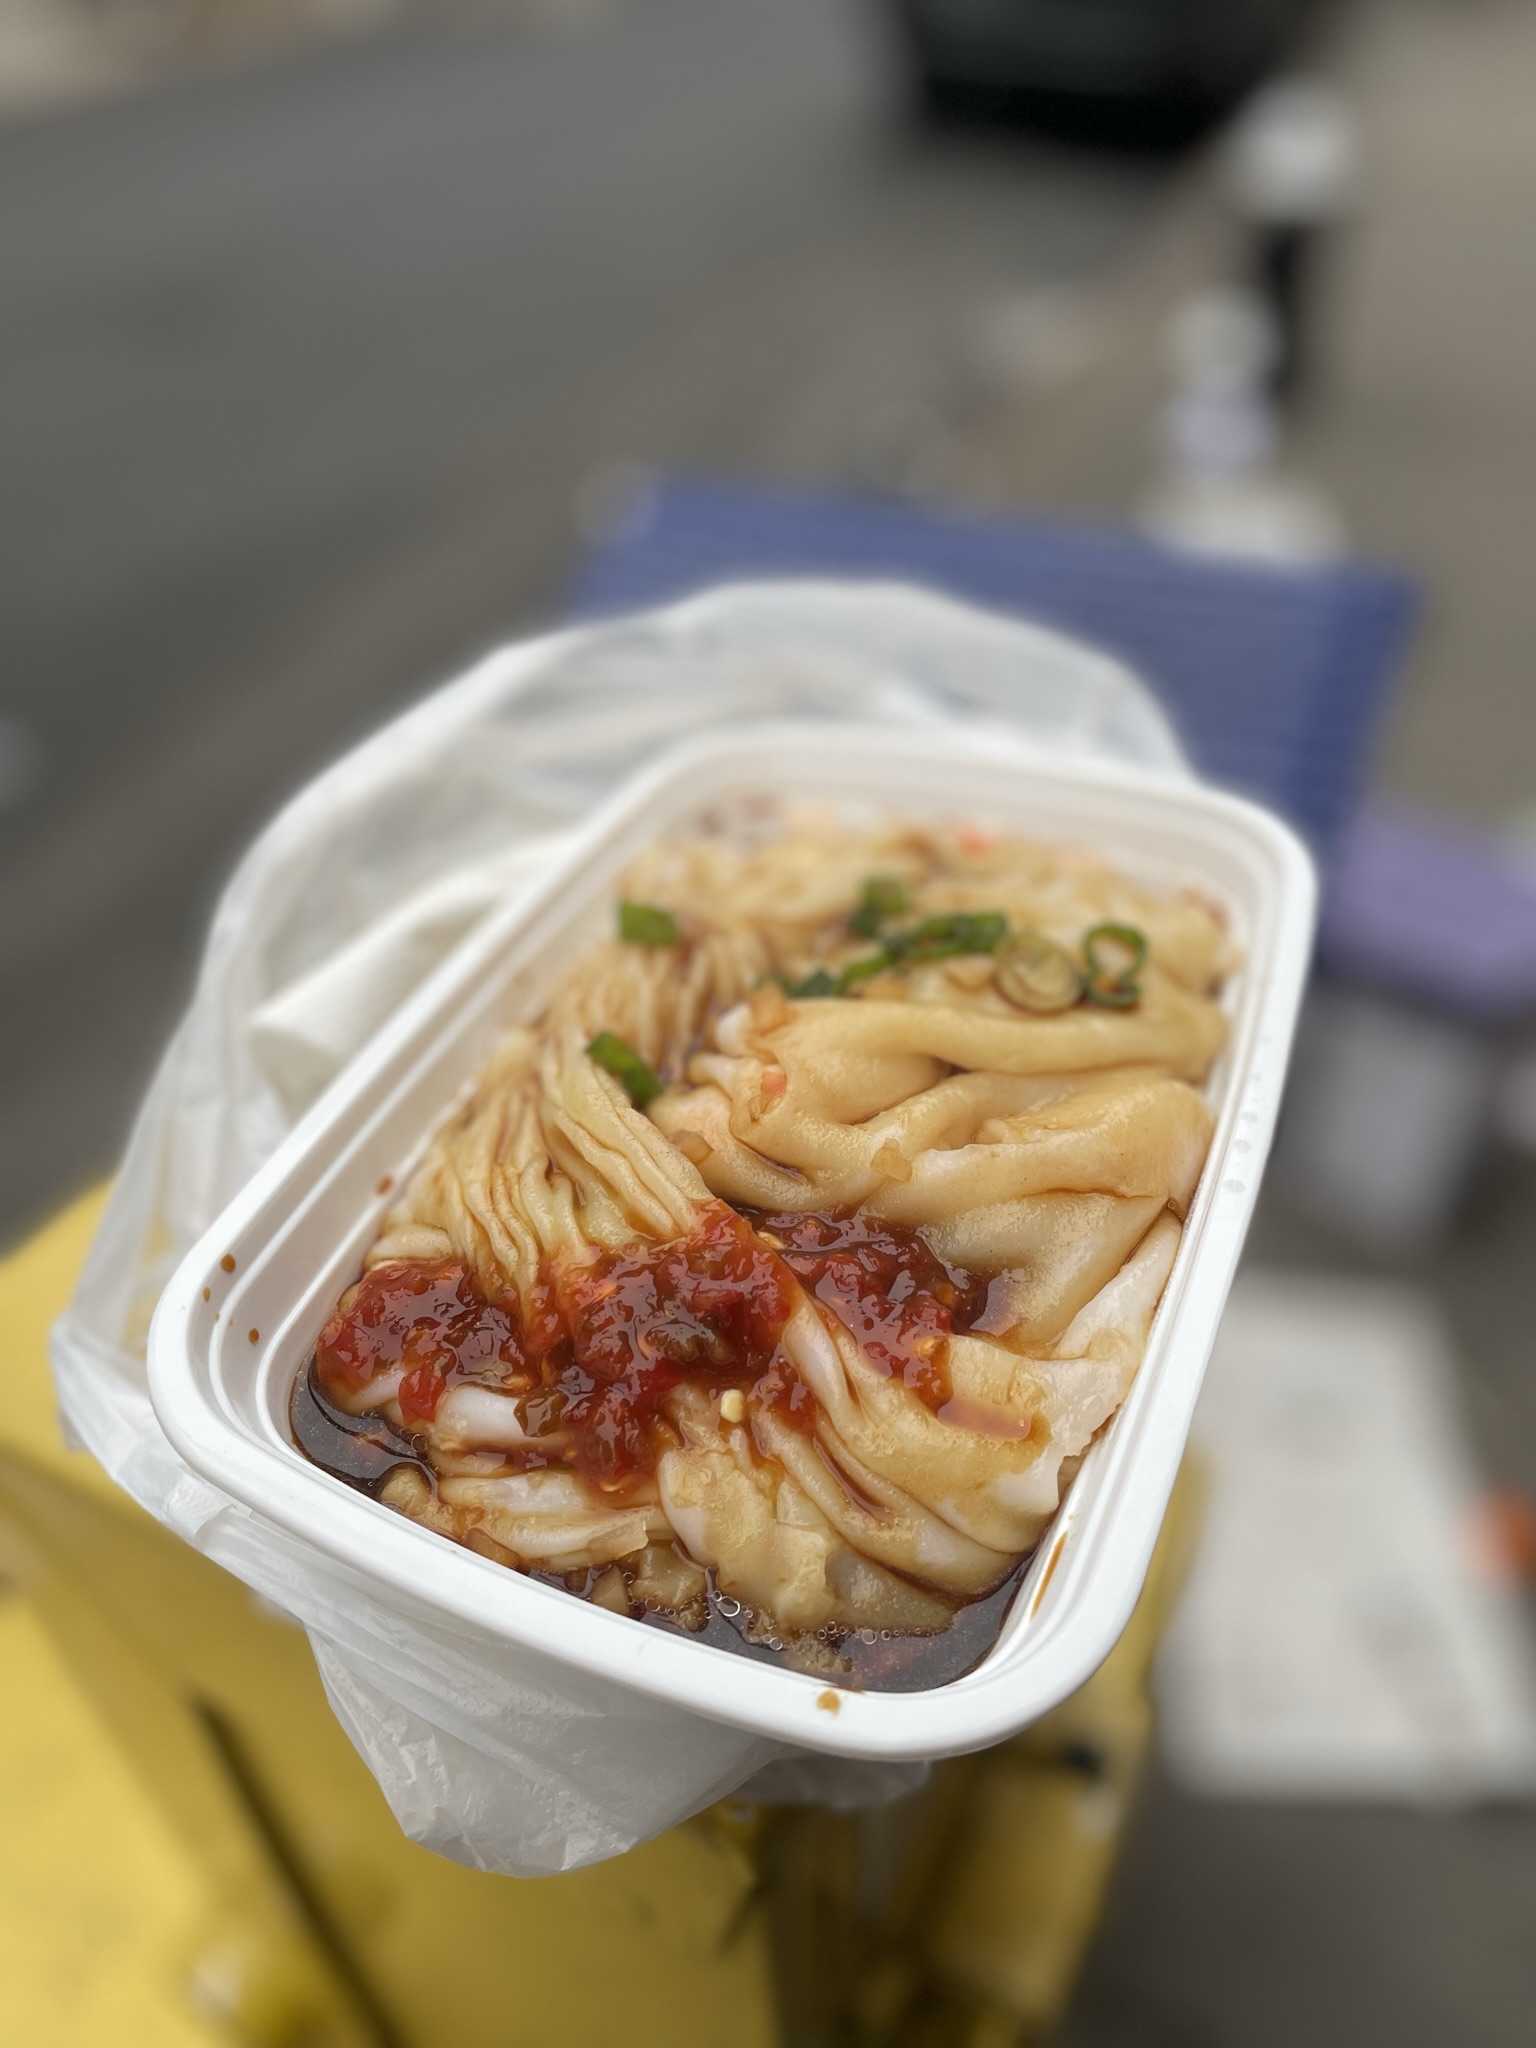
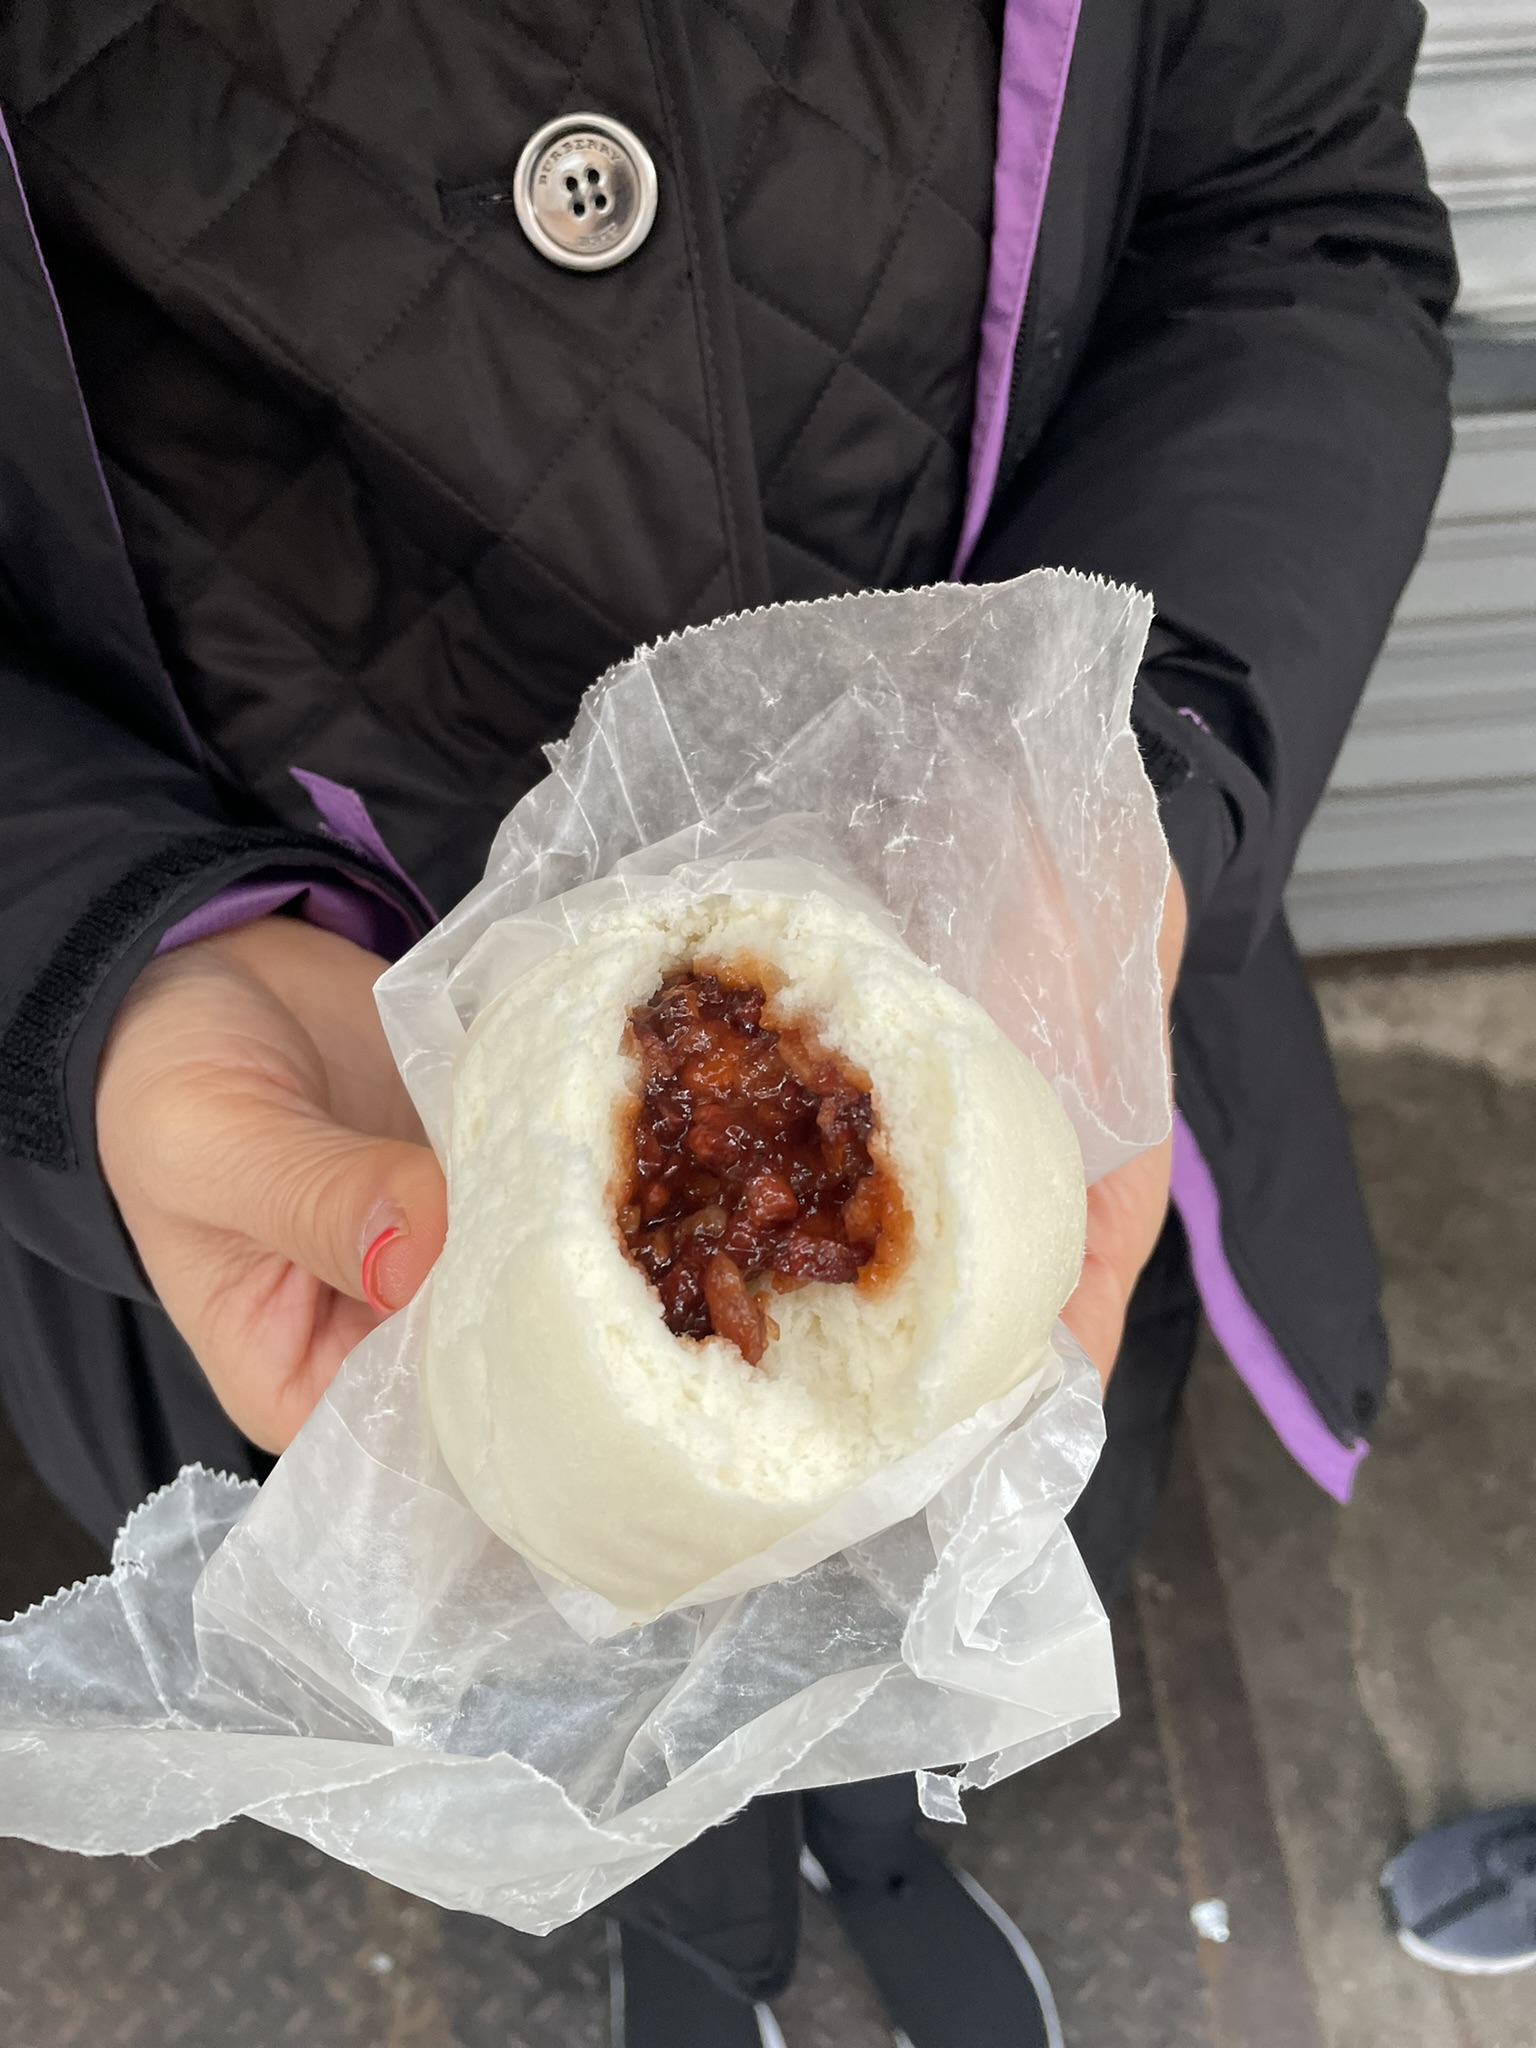
We started at Golden Steamer, opening at 7 AM. Fresh steamed buns are available a la carte and also by in pre-packaged, bulk containers. We tried the BBQ pork bun and salted egg yolk buns. Both were so delicious that we ended up buying pre-packaged boxes of both. We then made our way to the Cheong Fun Cart for some steamed rice rolls. We opted for a container of fresh shrimp and egg with all the fixings and chili paste. These come out so quick and super hot. Next were egg tarts and pineapple buns at Kamboat Bakery. Both pastries just the right amount of sweet and perfect textures. Last, we had the $5 special: roast pork with veggies over rice. Such amazing deal and absolutely worth every penny.

To burn off all the food we had just consumed, we took a stroll across the Brooklyn Bridge from Chinatown to Brooklyn. One-way, the bridge is about a mile long, so it can take about 20-30 minutes to cross. There is a bit of elevation change, so wear some comfy shoes!

When you get to Brooklyn, there are some great spots to stop at, like Main Street Park, Pebble Beach, and the iconic Manhattan Bridge Viewpoint. If you need a little snack or a drink, Time Out Market is full of many options for something to eat or maybe a cocktail or coffee.

After relaxing at the Brooklyn beach, we meandered back to Chinatown to find a refreshing drink since the sun popped out. We grabbed some boba from Tiger Sugar and did some souvenir shopping at the many shops on the way back to the Airbnb.

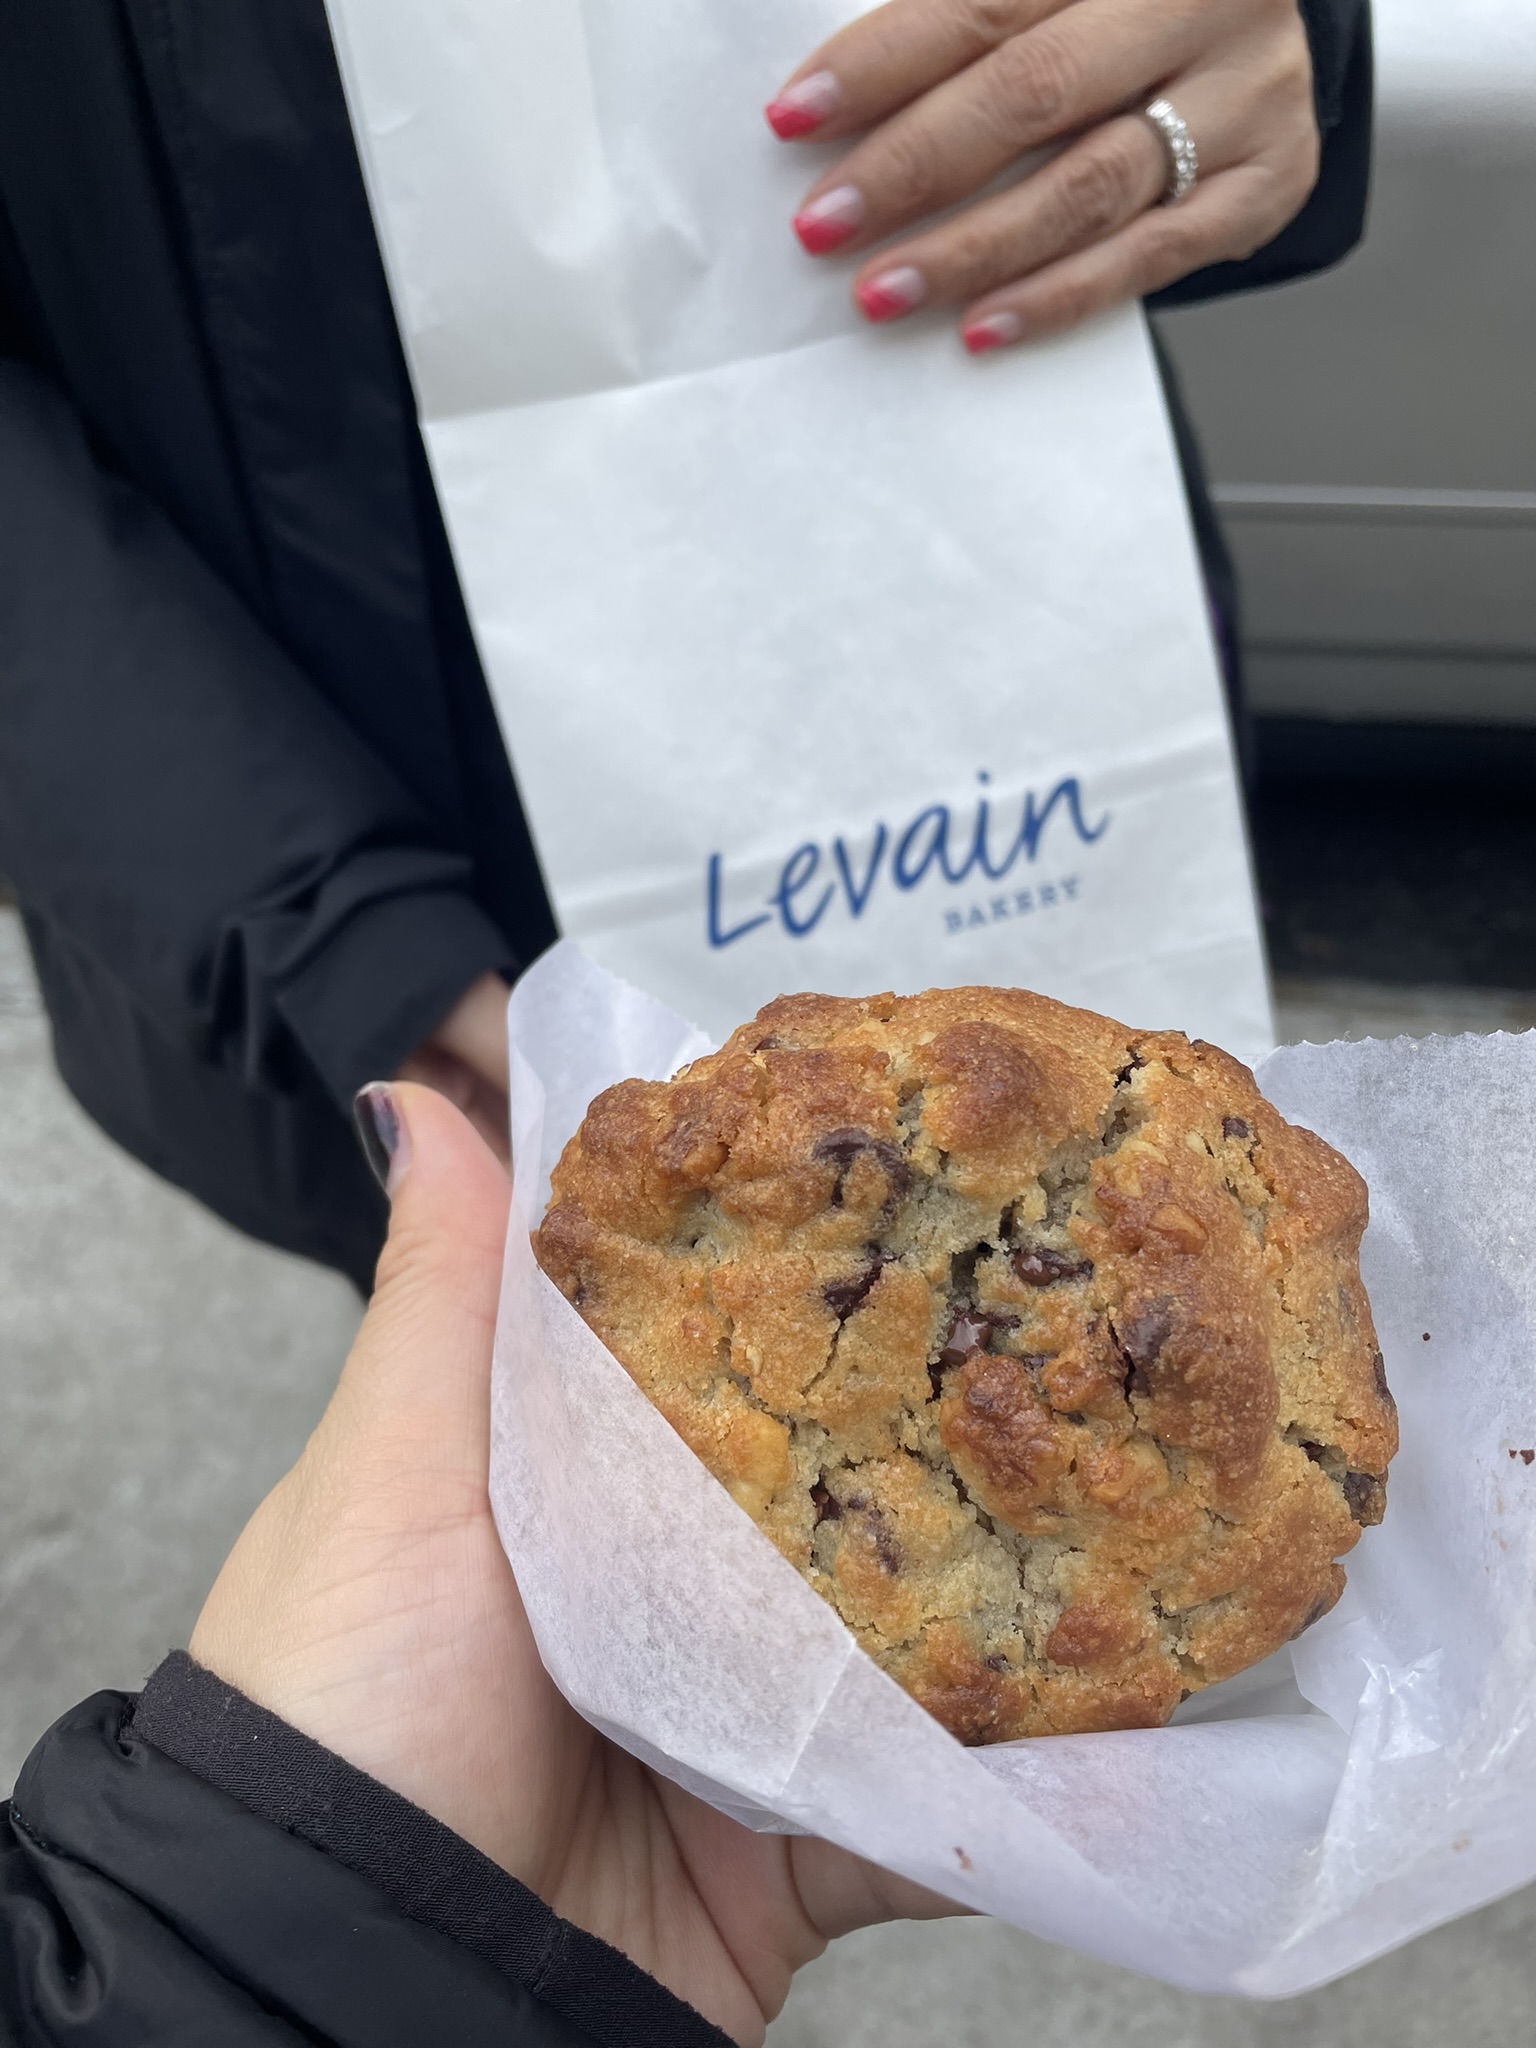
After taking a little break, we decided to do some more shopping and ventured out to the shops on Spring Street. We stood in line and waited to try the famous Levain cookie to fuel the shopping adventure. The night ended with dinner from Mamoun’s. Crazy inexpensive and cash only! Mamoun’s had the best falafel I’ve ever had.

Day 4:

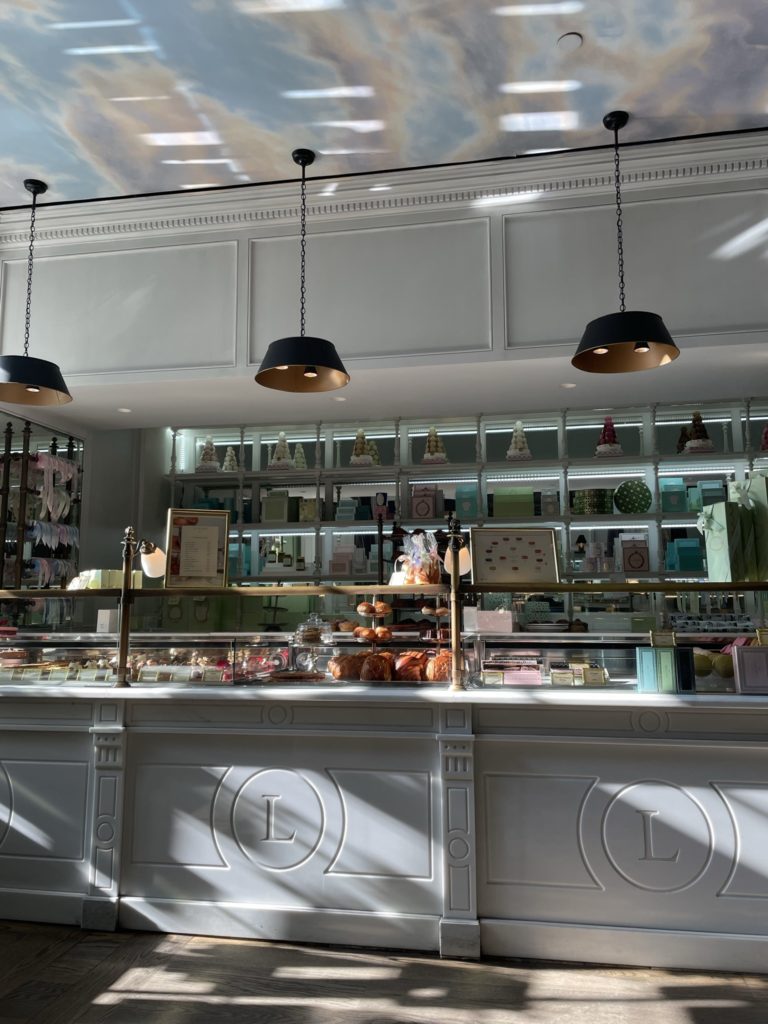
The end of a New York trip had to include some New York icons! We started the morning with coffees and pastries at Laduree in SoHo. We tried the Saint-Honore, rose croissant, and a few macarons. The pastries were so delicious! The croissant had such wonderfully flakey layers and was not too sweet. There was a small area in the front to sit in if just enjoying items from the bakery and there was a larger restaurant space in the back if joining for lunch or dinner.

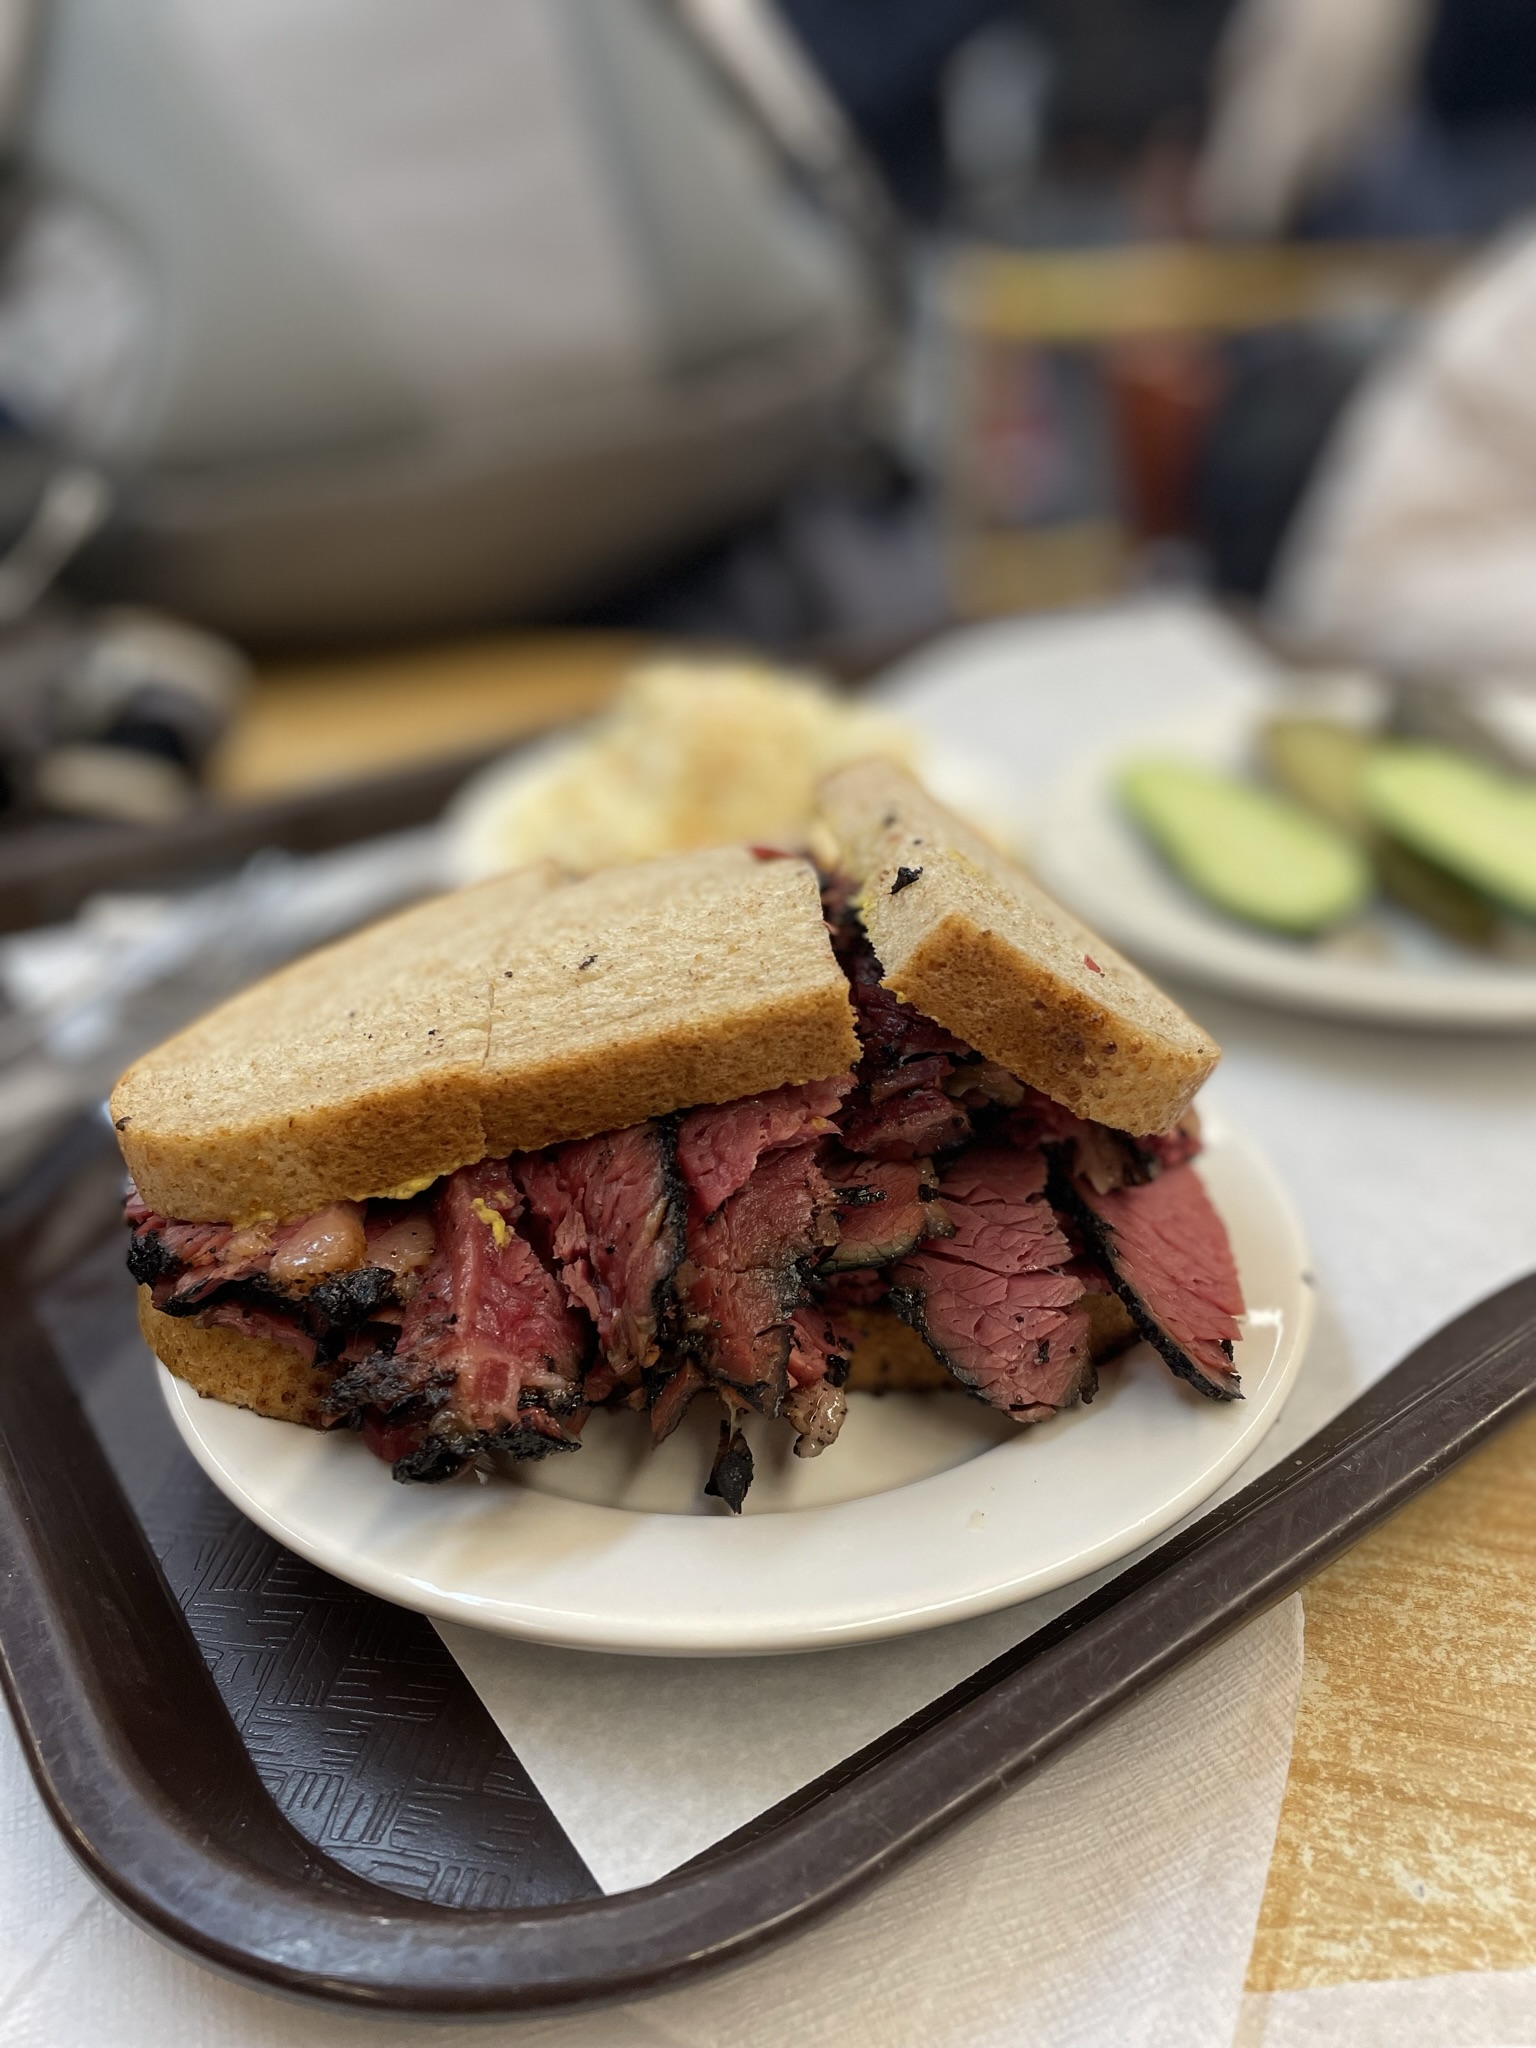
To work off our morning sweets, we walked to Katz’s Delicatessen. At around 11 AM, the line was quite long outside. It did move relatively quickly and we were able to get inside by 11:20. Upon entry, you’re provided receipt tickets that you use for the employees to write down what you’ve ordered at each counter. Remember to retain these tickets on your way out! If you lose a ticket, there is a $50 fine. You can pay with card at the back of the restaurant or pay with cash on your way out.

After our meals, we took the subway and walked to the Port Authority bus terminal and caught a bus back to Newark airport. The buses to the airport are stationed outside the terminal, so you don’t need to go inside. There are people hustling (unaffiliated with the transit companies) at the terminal that will help you find the bus if you need to, but they will ask you for a tip after.

New York was a grand time, but I could absolutely never live there. I will come back to eat more food though. 🙂

Need inspiration for somewhere warmer? Try Big Island, Hawaii Vacation Itinerary (November 2021).

Colder? Try An Extended Weekend in Whistler (February 2022).

Kitchen Sink Cookies

When I find myself with a lot of random candy, chocolates, nuts, or other little sweets, I like to make my “kitchen sink” cookies. It’s perfect for using up random leftover ingredients from different recipes where you don’t have enough to make that specific recipe again. You can really make this recipe your own with any kind of mix-in that your heart desires.

I highly recommend that you make this cookie dough a day in advance of when you actually plan to bake and serve. Aging the cookies allows the flavor to further develop and results in a tastier cookie. If you can’t wait, go ahead and bake them right away! They are still tasty. 🙂

These are also excellent for freezing for later. I like to pre-scoop them into cookie portions and then place the entire sheet tray in the freezer. After a few hours, you can transfer these to a container or bag.

Ingredients

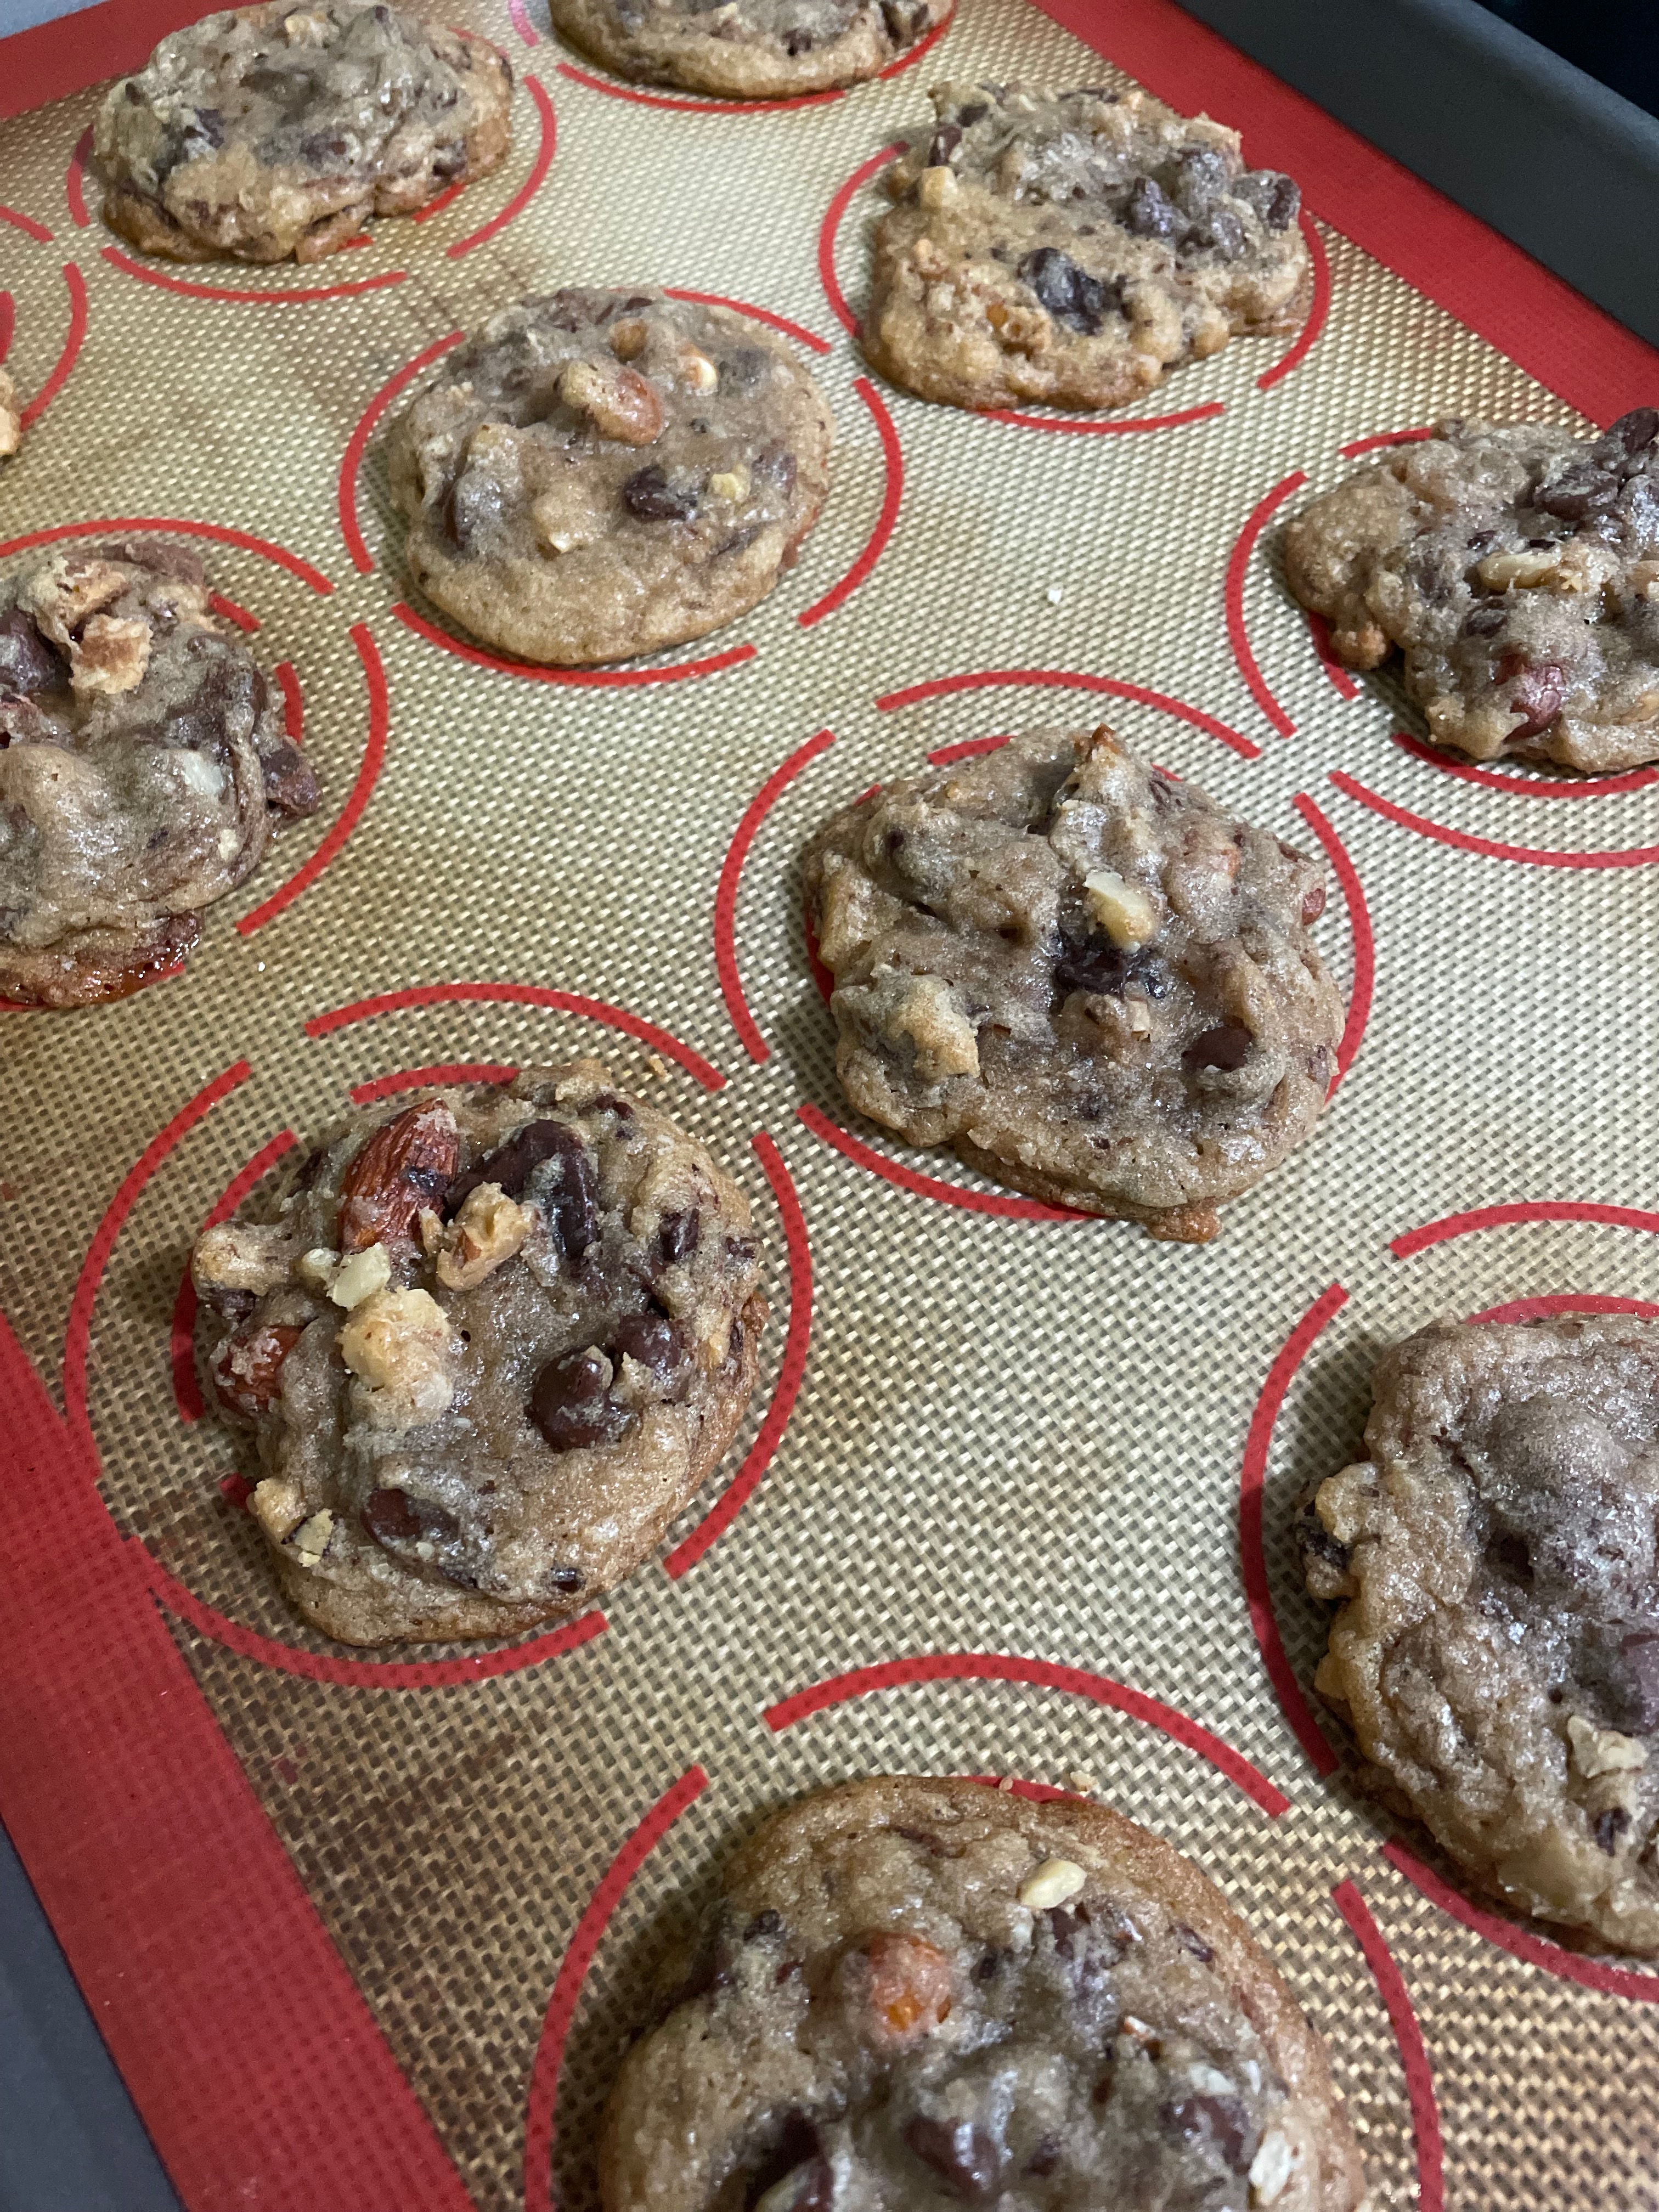
Mix-ins – You can use any assortment of mix-ins as long as you have 4 cups total. While the butter & sugar is creaming, you can chop up your mix-ins and measure out what you have to decide if you need more or less. Chop your mix-ins into smaller chunks, about chocolate chip sized. I’ll generally start with my more “random” ingredients and then fill in what I’m missing with chocolate chips. In this case, I had an assortment of pretzels, almonds, walnuts, candies (kit-kats, butterfingers, snickers, hersheys) which ended up being about 3 cups of mix-ins, so I supplemented that with another 1 cup of semi-sweet chocolate chunks.

Salt – This is more salt than what typical cookie recipes call for. I find that my various mix-ins are pretty sweet, so I like adding more salt for balance.

Kitchen Sink Cookies

Print Recipe
A great use of your leftover baking add-ins when you don't have enough to make something else!
Course Dessert
Keyword cookies
Prep Time 20 minutes
Cook Time 12 minutes
Servings 24 cookies

Ingredients

  • 1 cup butter softened
  • 1 cup brown sugar
  • 1/2 cup white sugar
  • 1 tsp vanilla extract
  • 2 eggs
  • 2 1/2 cups all-purpose flour
  • 2 tsp salt
  • 1 tsp baking soda
  • 4 cups mix-ins

Instructions

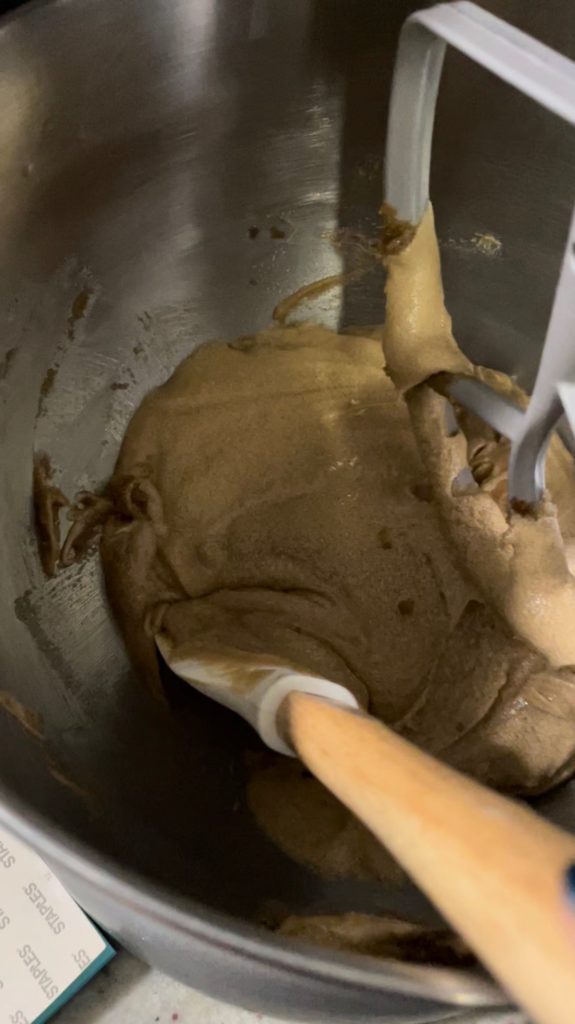
  • Cream together butter, brown sugar and white sugar until creamy and smooth. Periodically stop the mixer to scrape the butter and sugar off of the paddle.
  • While butter and sugar is creaming, chop mix-ins if they are too chunky. You'll want them relatively small (chocolate chip sized).
  • Add eggs to the mixer one at a time and continue mixing.
  • Add vanilla extract and salt and continue mixing.
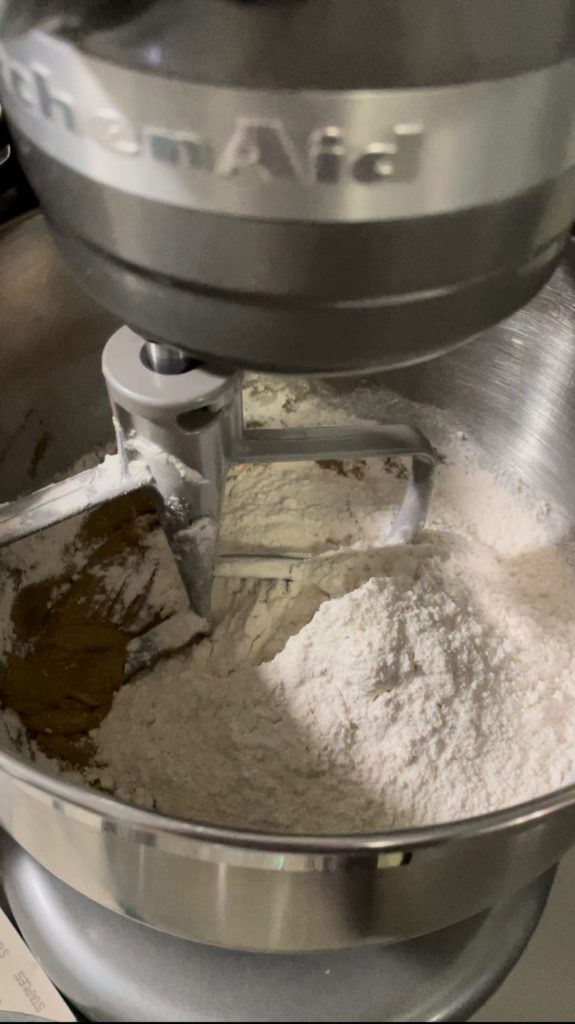
  • In a separate bowl, mix together AP flour and baking soda until just combined. Don't worry if it's a little streaky, you'll continue mixing with the mix-ins.
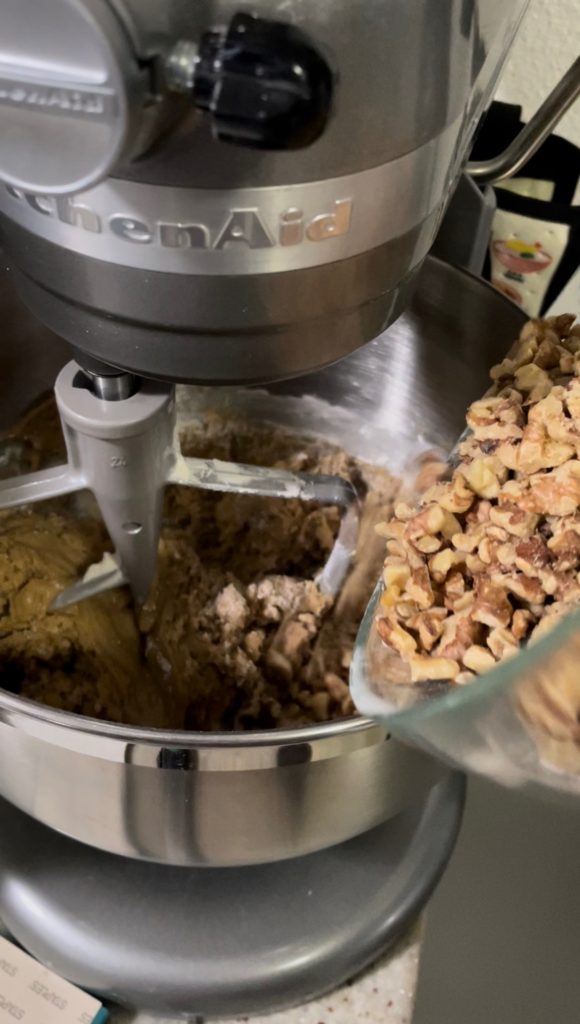
  • Add in the mix-ins and mix just another few seconds until the mix-ins are distributed.
  • Bake at 350F for ~12 minutes. Cookies will look a little puffy but will deflate after removed from the oven. Allow to cool ~10 minutes before enjoying.

Try my Crispy Gooey Chocolate Chip Cookies.

Not cookies? Try Peach Galette.

Sourdough Discard Cinnamon Rolls

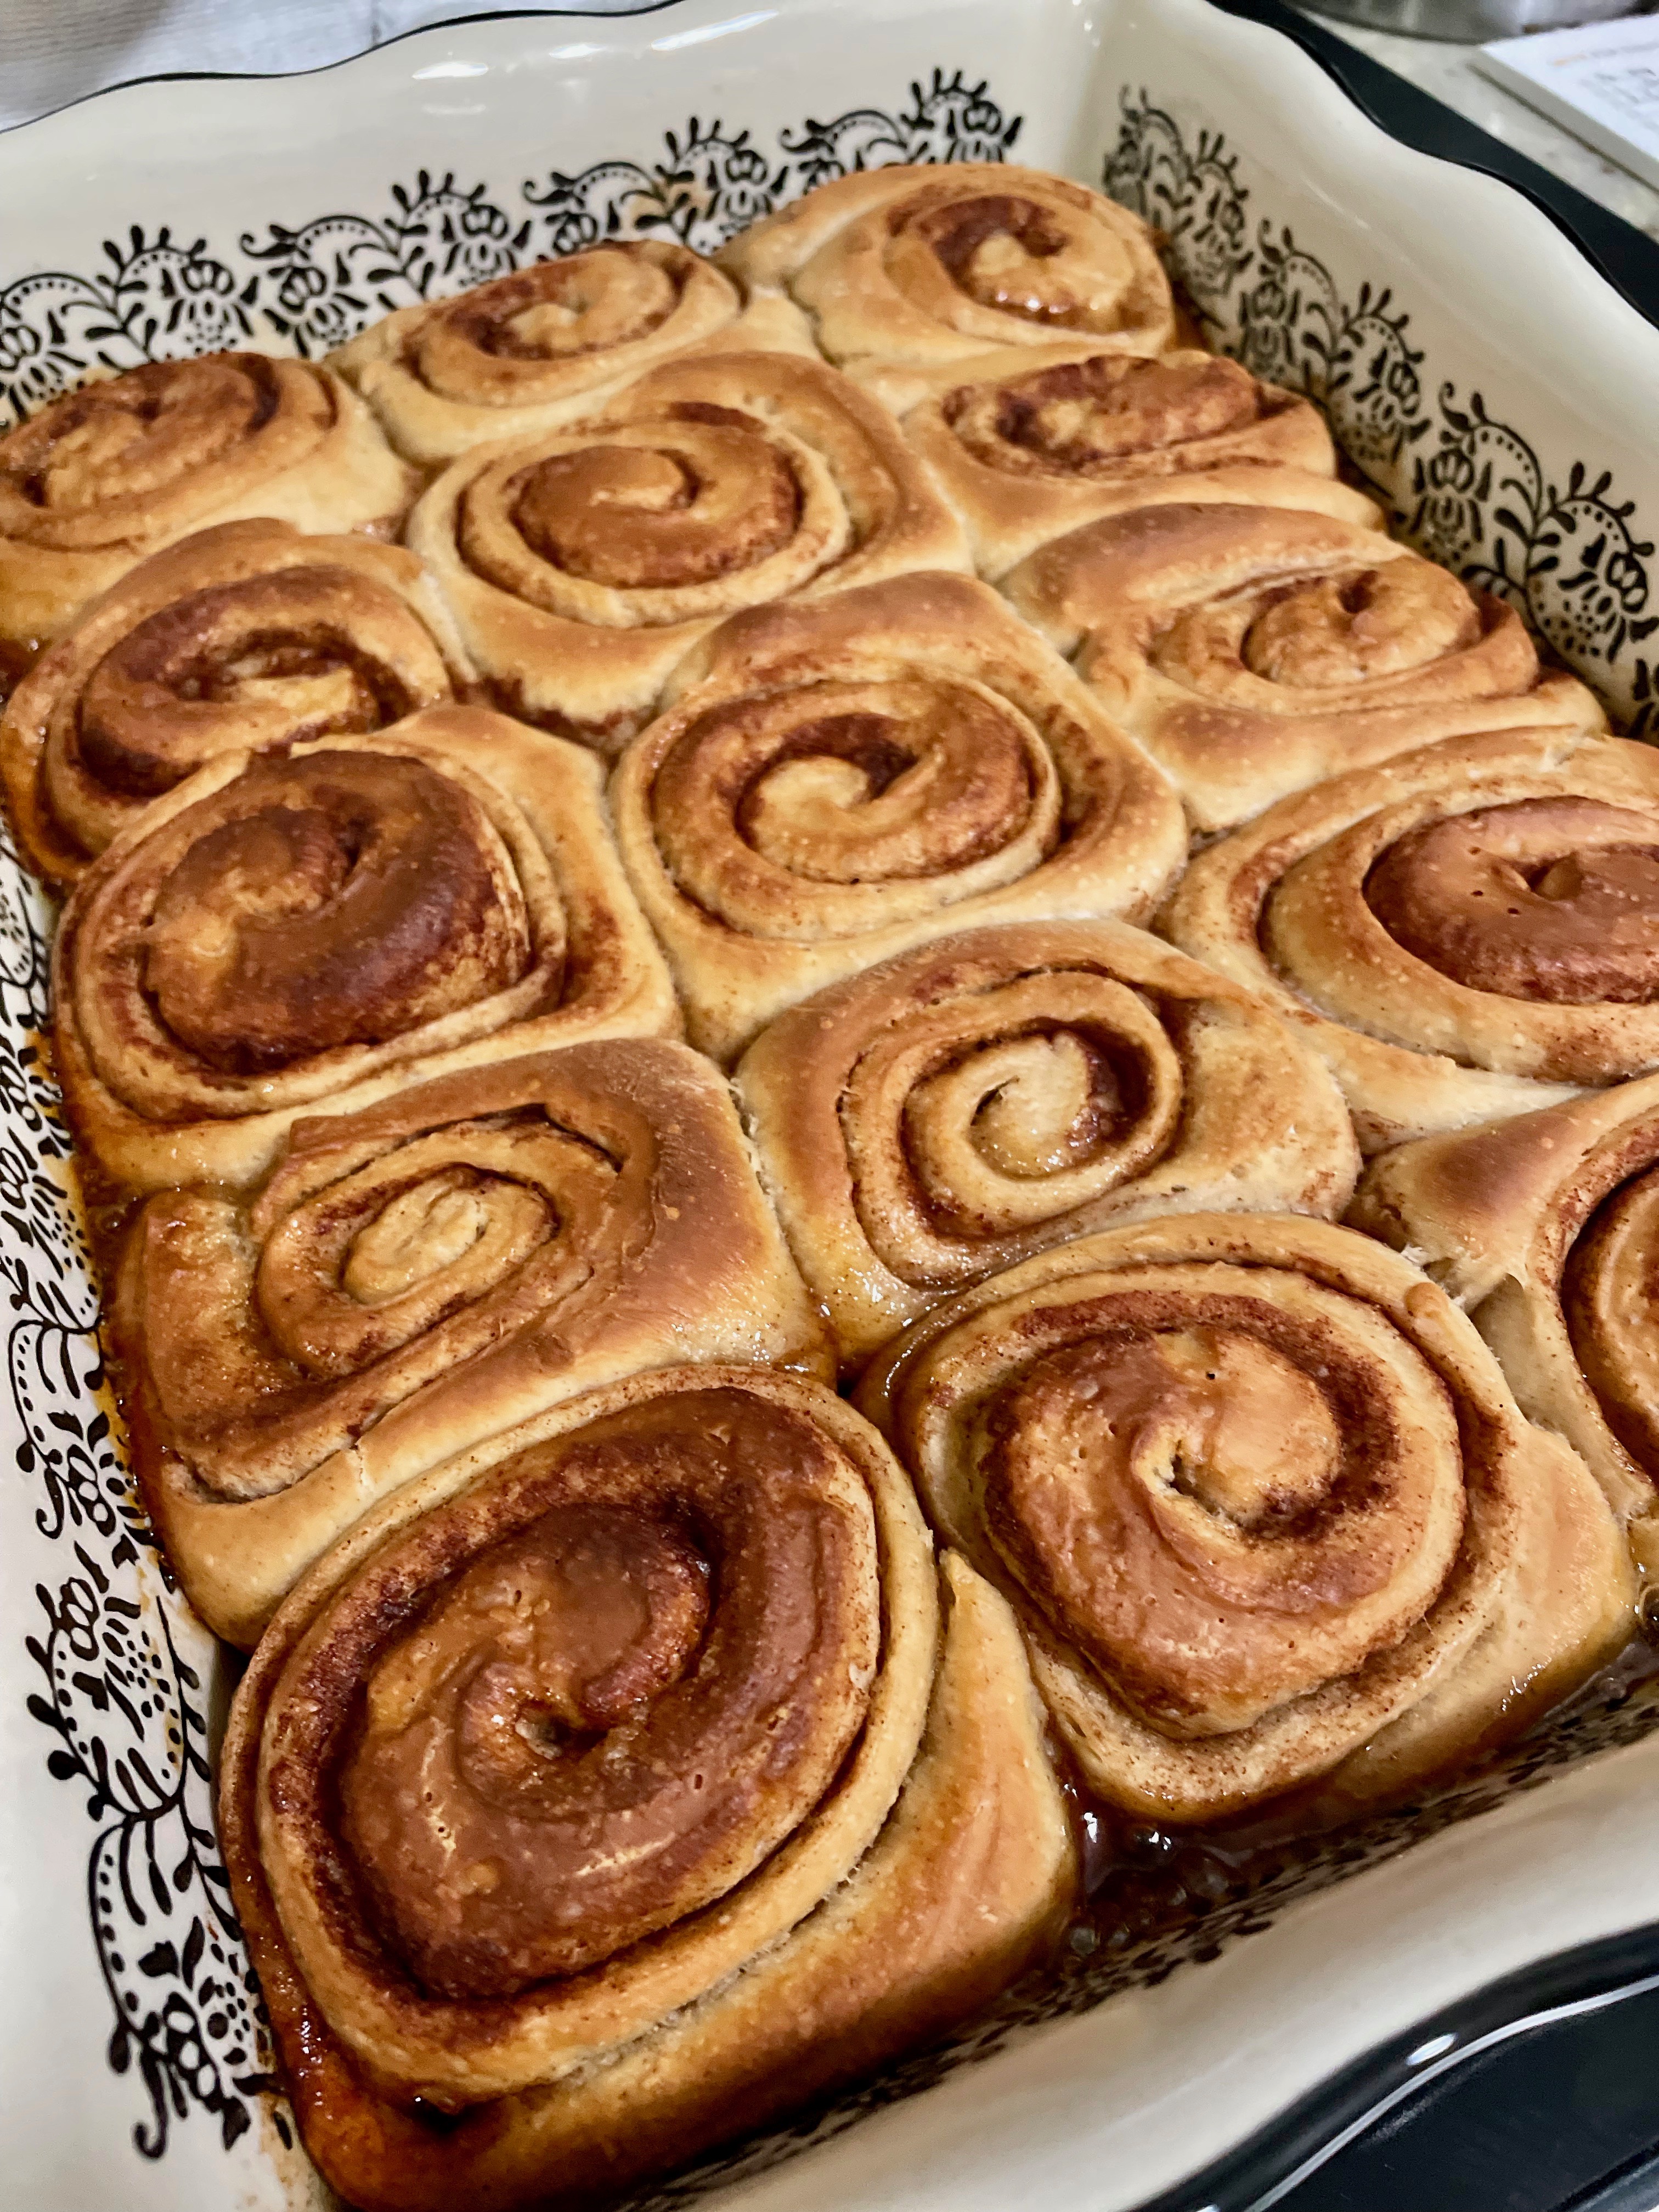
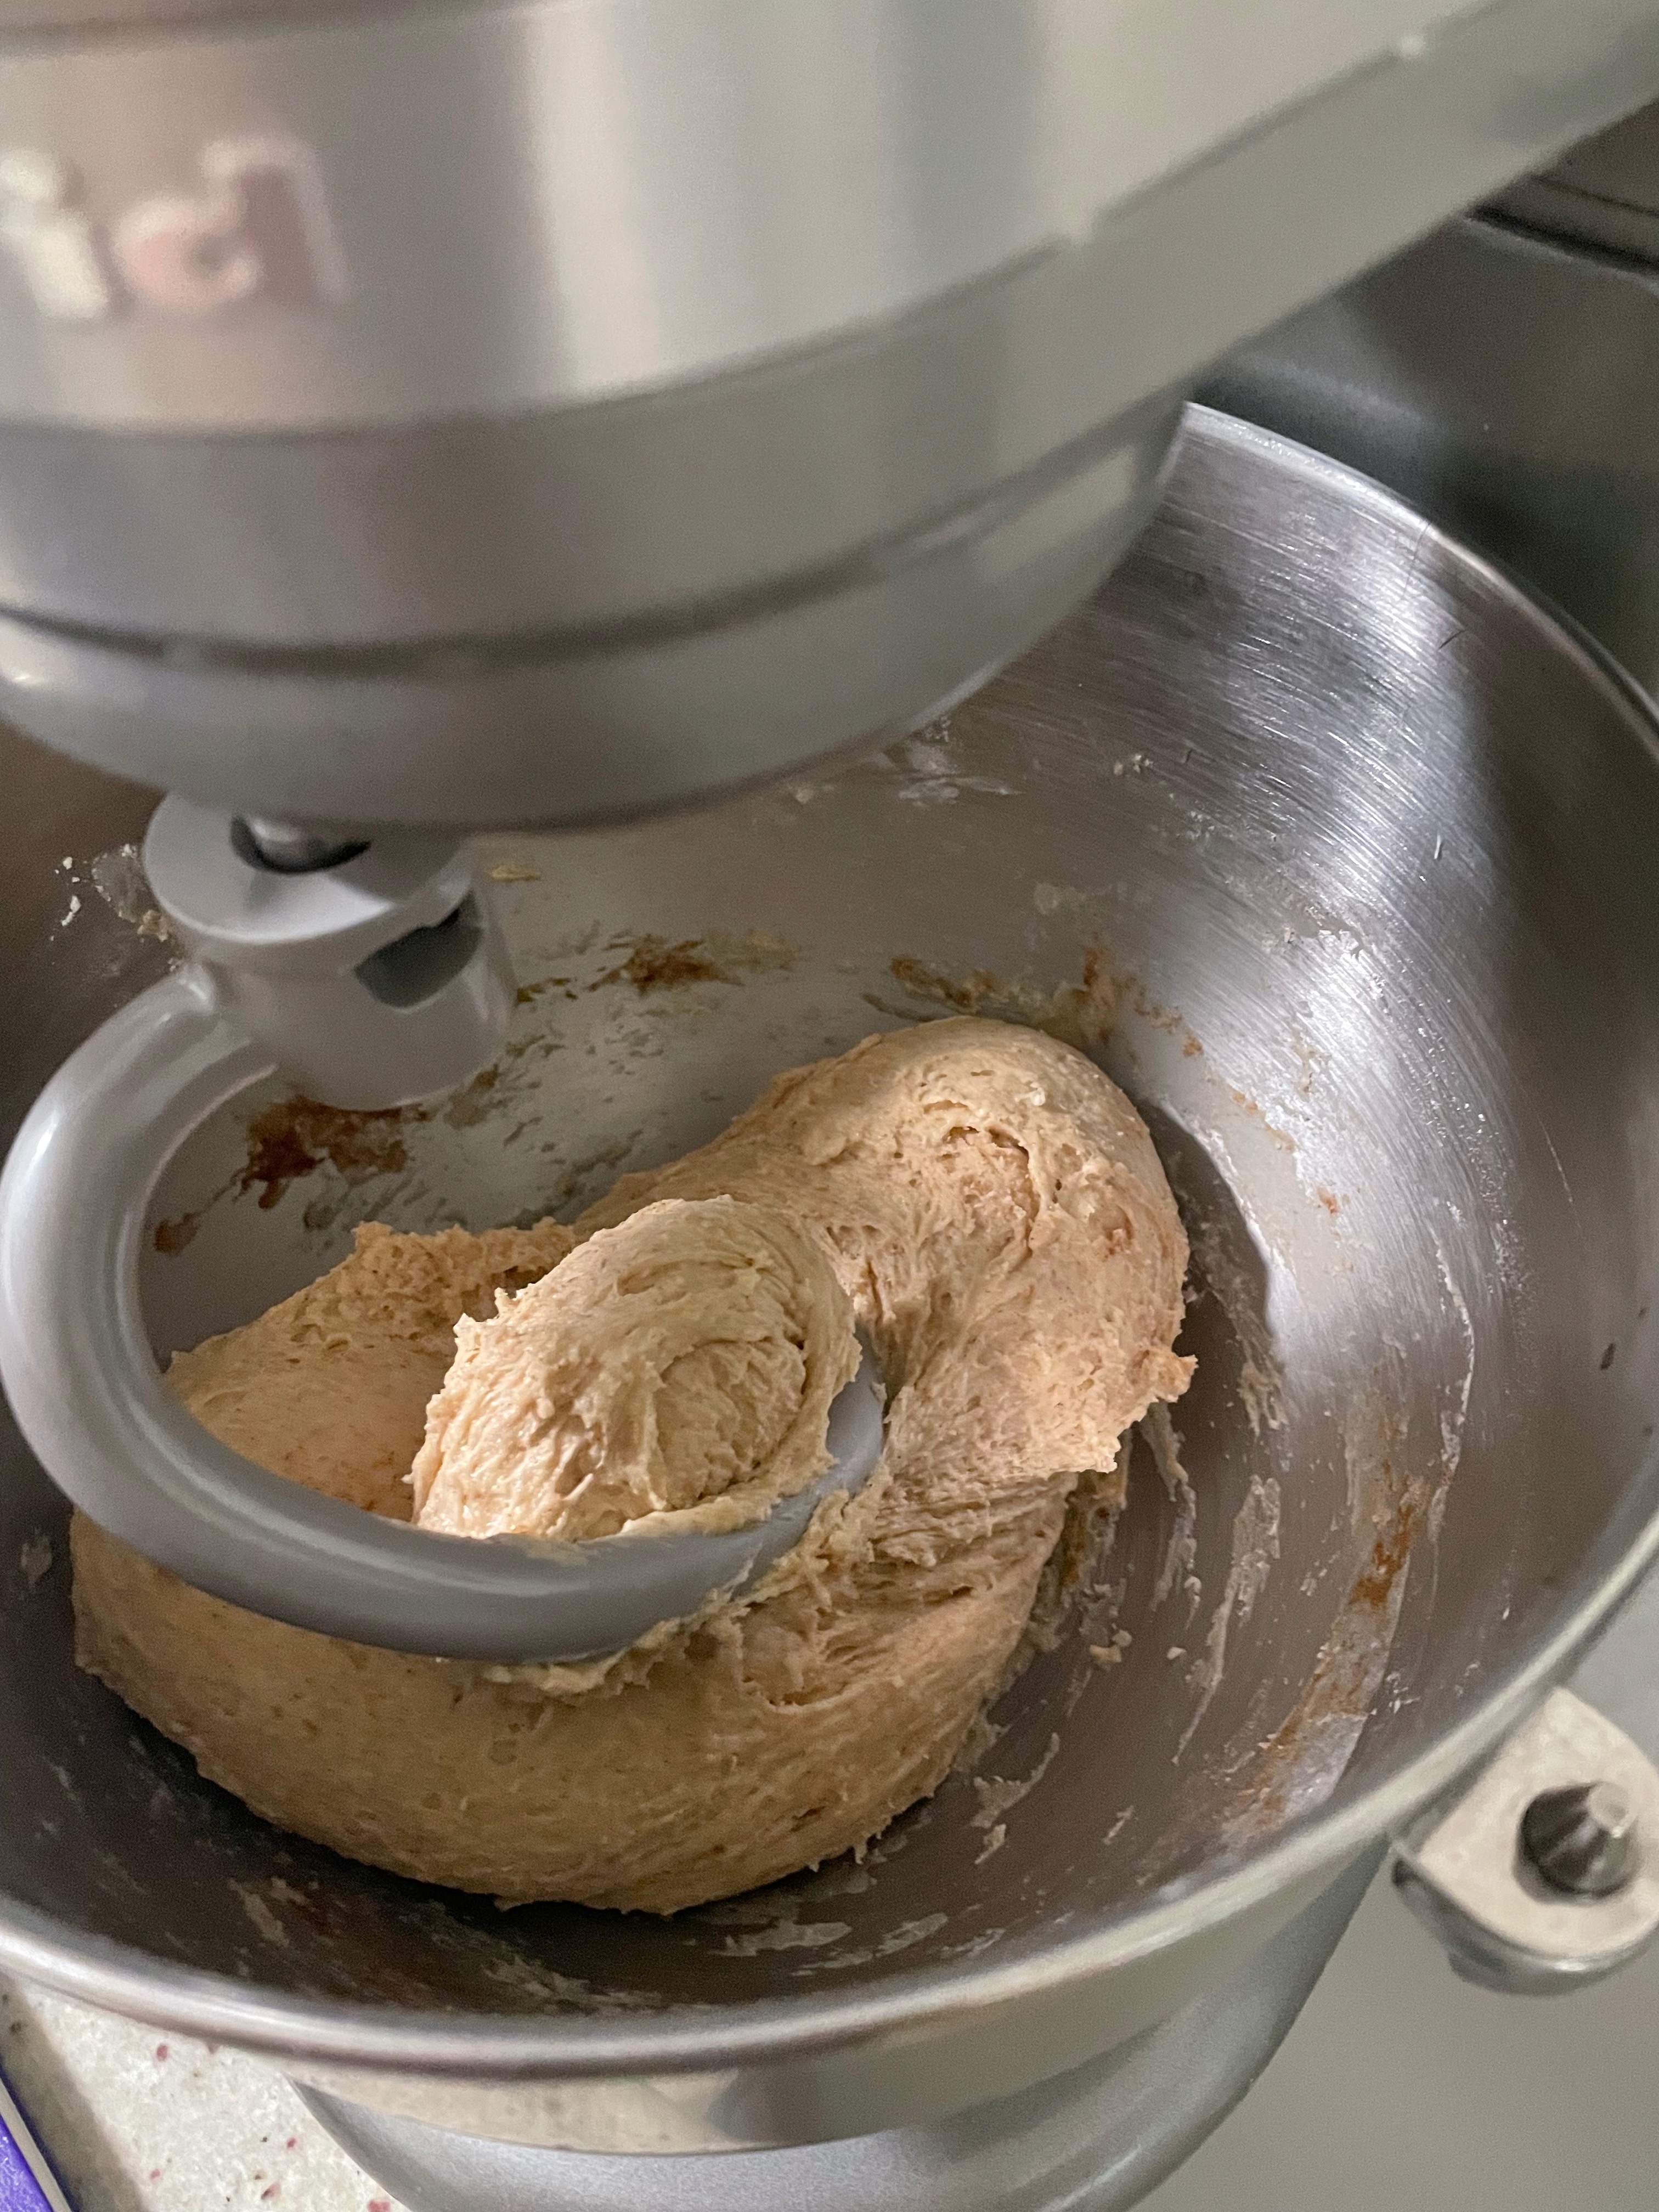
Now that we’re at the tail-end of pandemic, sourdough isn’t quite as “in” anymore, but it certainly is still super tasty! I was lucky to be gifted some sourdough starter from my coworker. My starter traveled to me from Ohio and had been maintained for almost 50 years! As I’ve been experimenting with creating the perfect loaf of sourdough bread, I’ve found myself leftover with a lot of leftover, “inactive” starter. I’ve been experimenting with the discard and it’s perfect for cinnamon rolls!

Ingredients

Sourdough discard – Make sure that you’re using discard that hasn’t been fed yet! The “sourness” of your cinnamon rolls will depend on the last time you fed your starter. If you have been regularly been using your starter, your rolls will not be very sour. If you haven’t been using the starter and it’s been sitting in the refrigerator for a few weeks, your cinnamon rolls will be more sour.

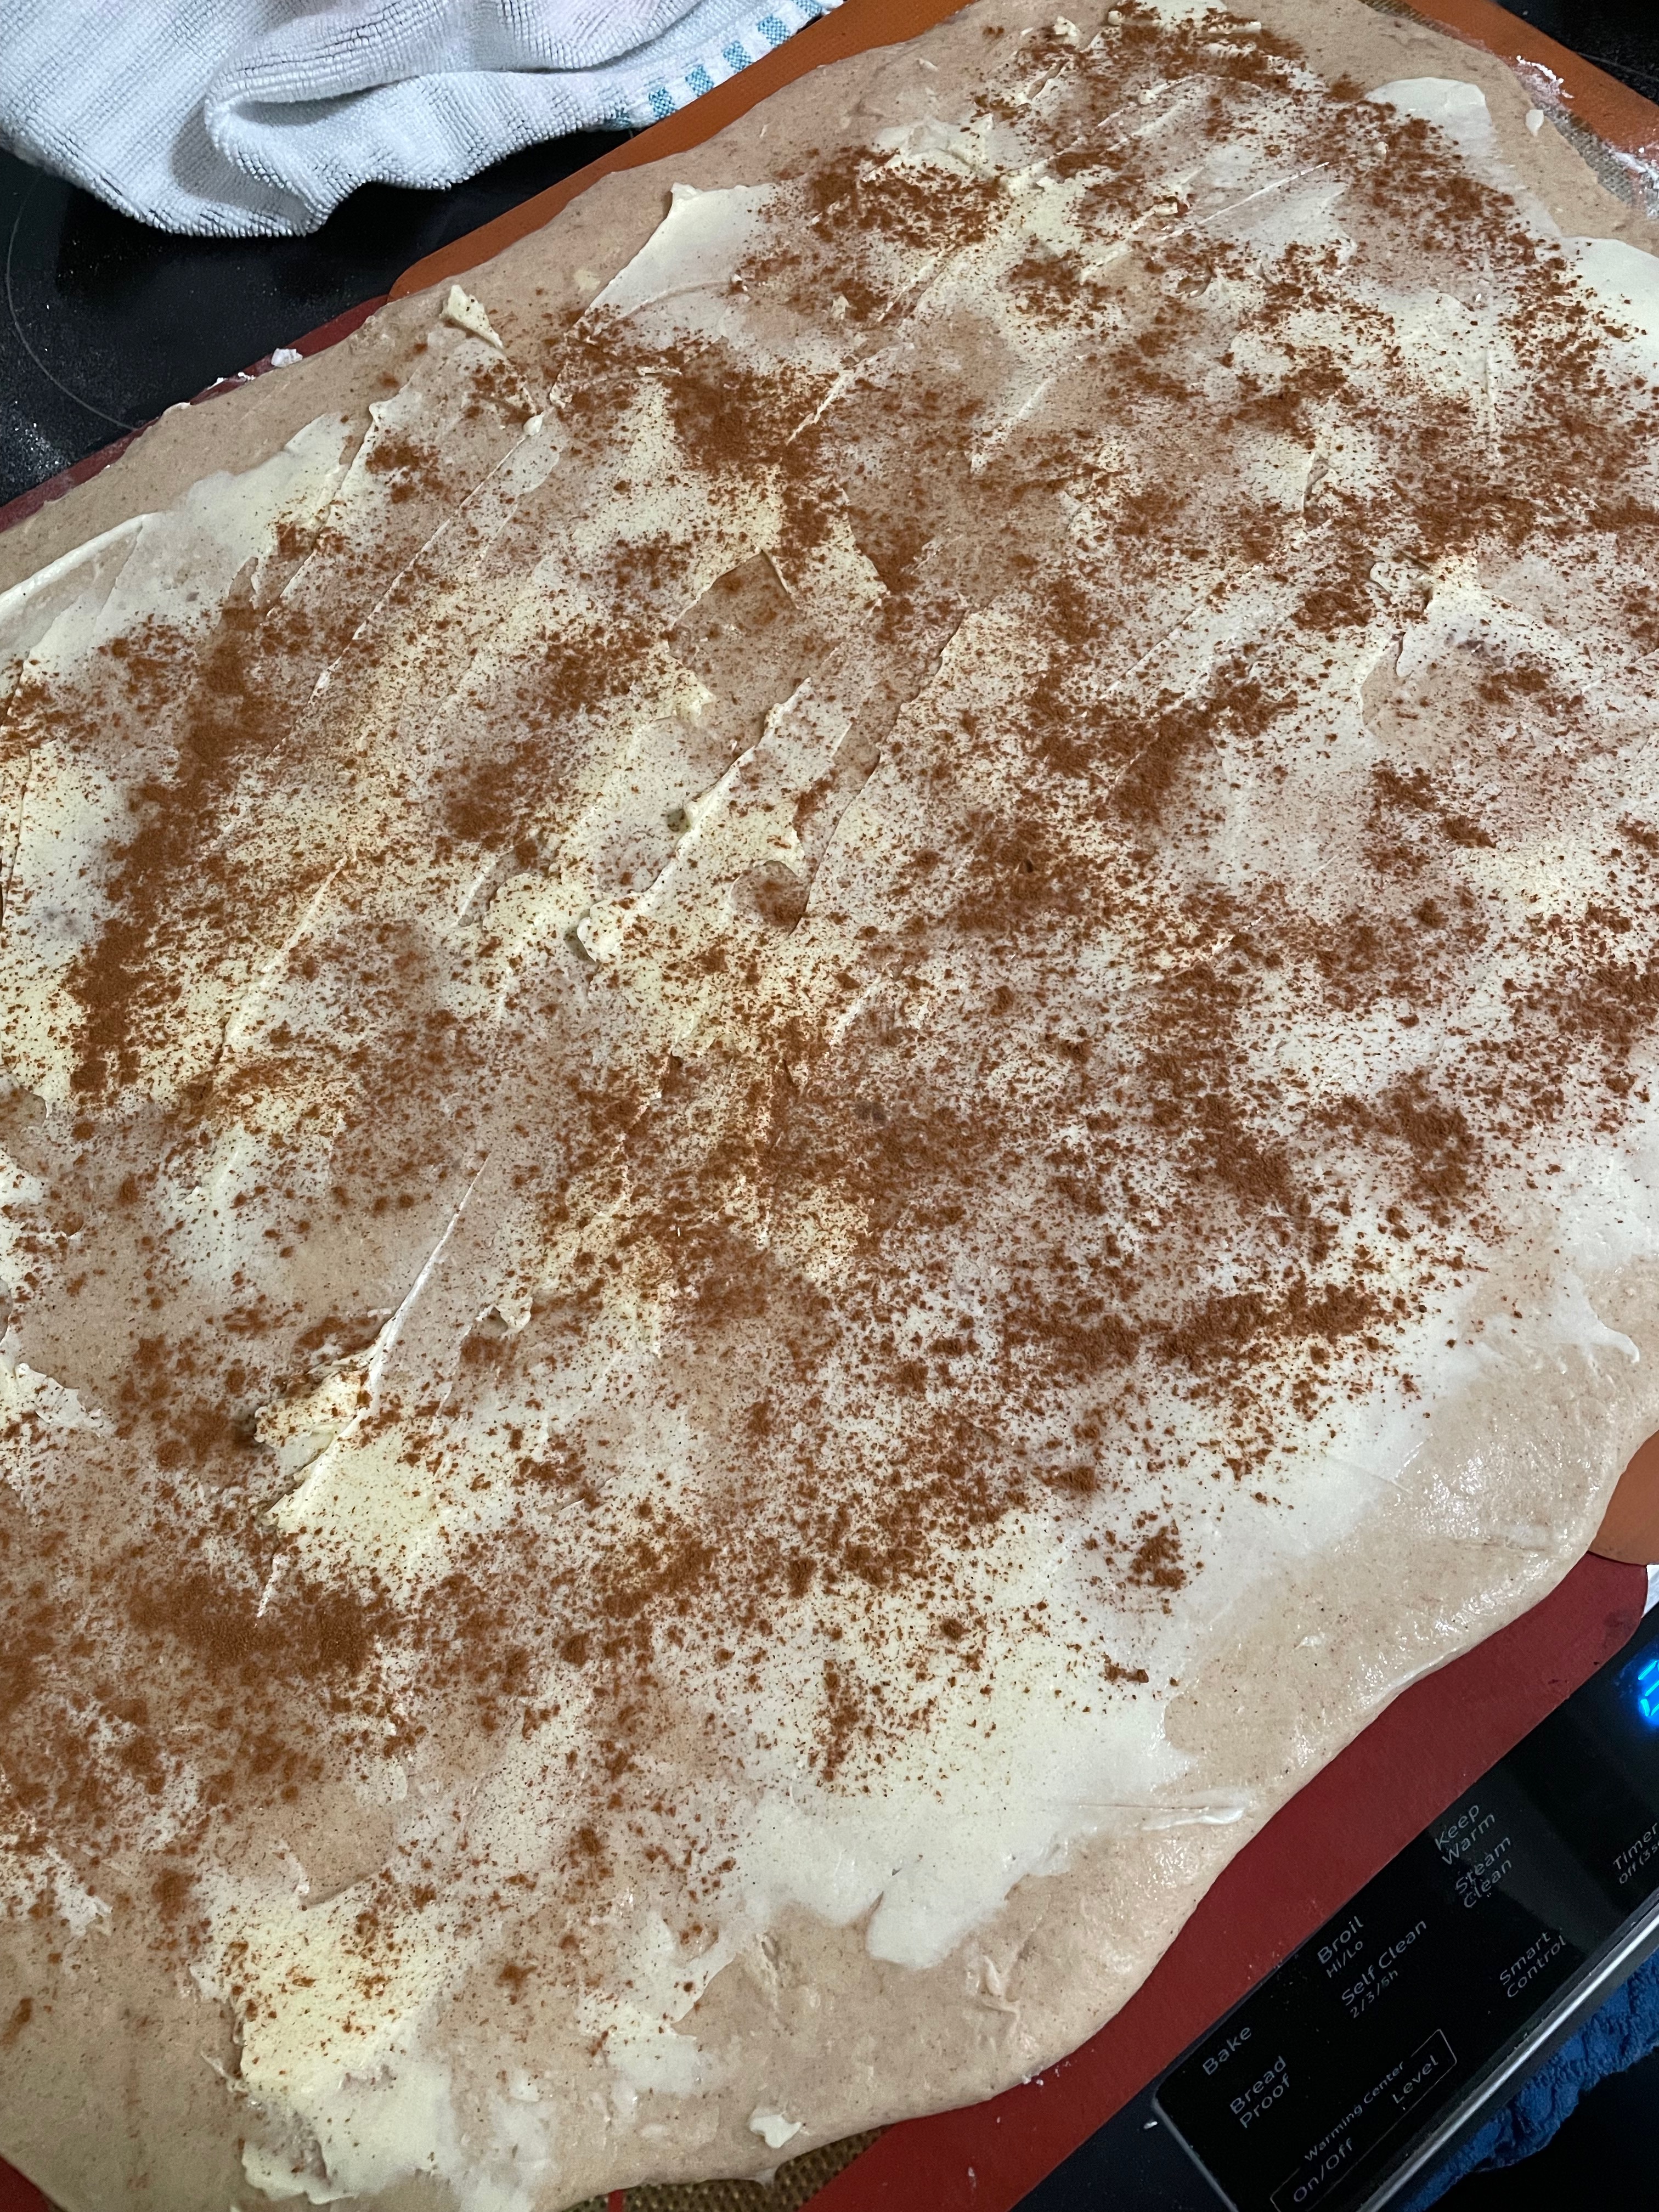
Cinnamon – A lot of cinnamon roll recipes really only have cinnamon in the filling. I think that cinnamon rolls are the best when there is cinnamon in the dough as well.

Icing – I generally tend to skip the icing when it comes to cinnamon rolls and I’d continue with this cinnamon roll recipe! I generally like my desserts to be on the less sweet side so I think these are perfectly sweet.

Sourdough Discard Cinnamon Rolls

Print Recipe
Fluffy, soft cinnamon rolls perfect for sourdough discard
Course Breakfast, Dessert
Keyword breakfast, cinnamon, dessert, rolls
Servings 24 cinnamon rolls

Equipment

  • 1 Stand mixer optional

Ingredients

Dough

  • 1/2 cup milk warmed
  • 1 cup sourdough discard
  • 2.5 tsp yeast
  • 2 eggs
  • 1/2 cup butter softened
  • 1/2 cup sugar
  • 1 tsp salt
  • 1 tbsp cinnamon
  • 4 cups all-purpose flour

Filling

  • 1 cup butter softened, divided
  • 1/2 cup brown sugar divided
  • 2 tbsp cinnamon divided

Instructions

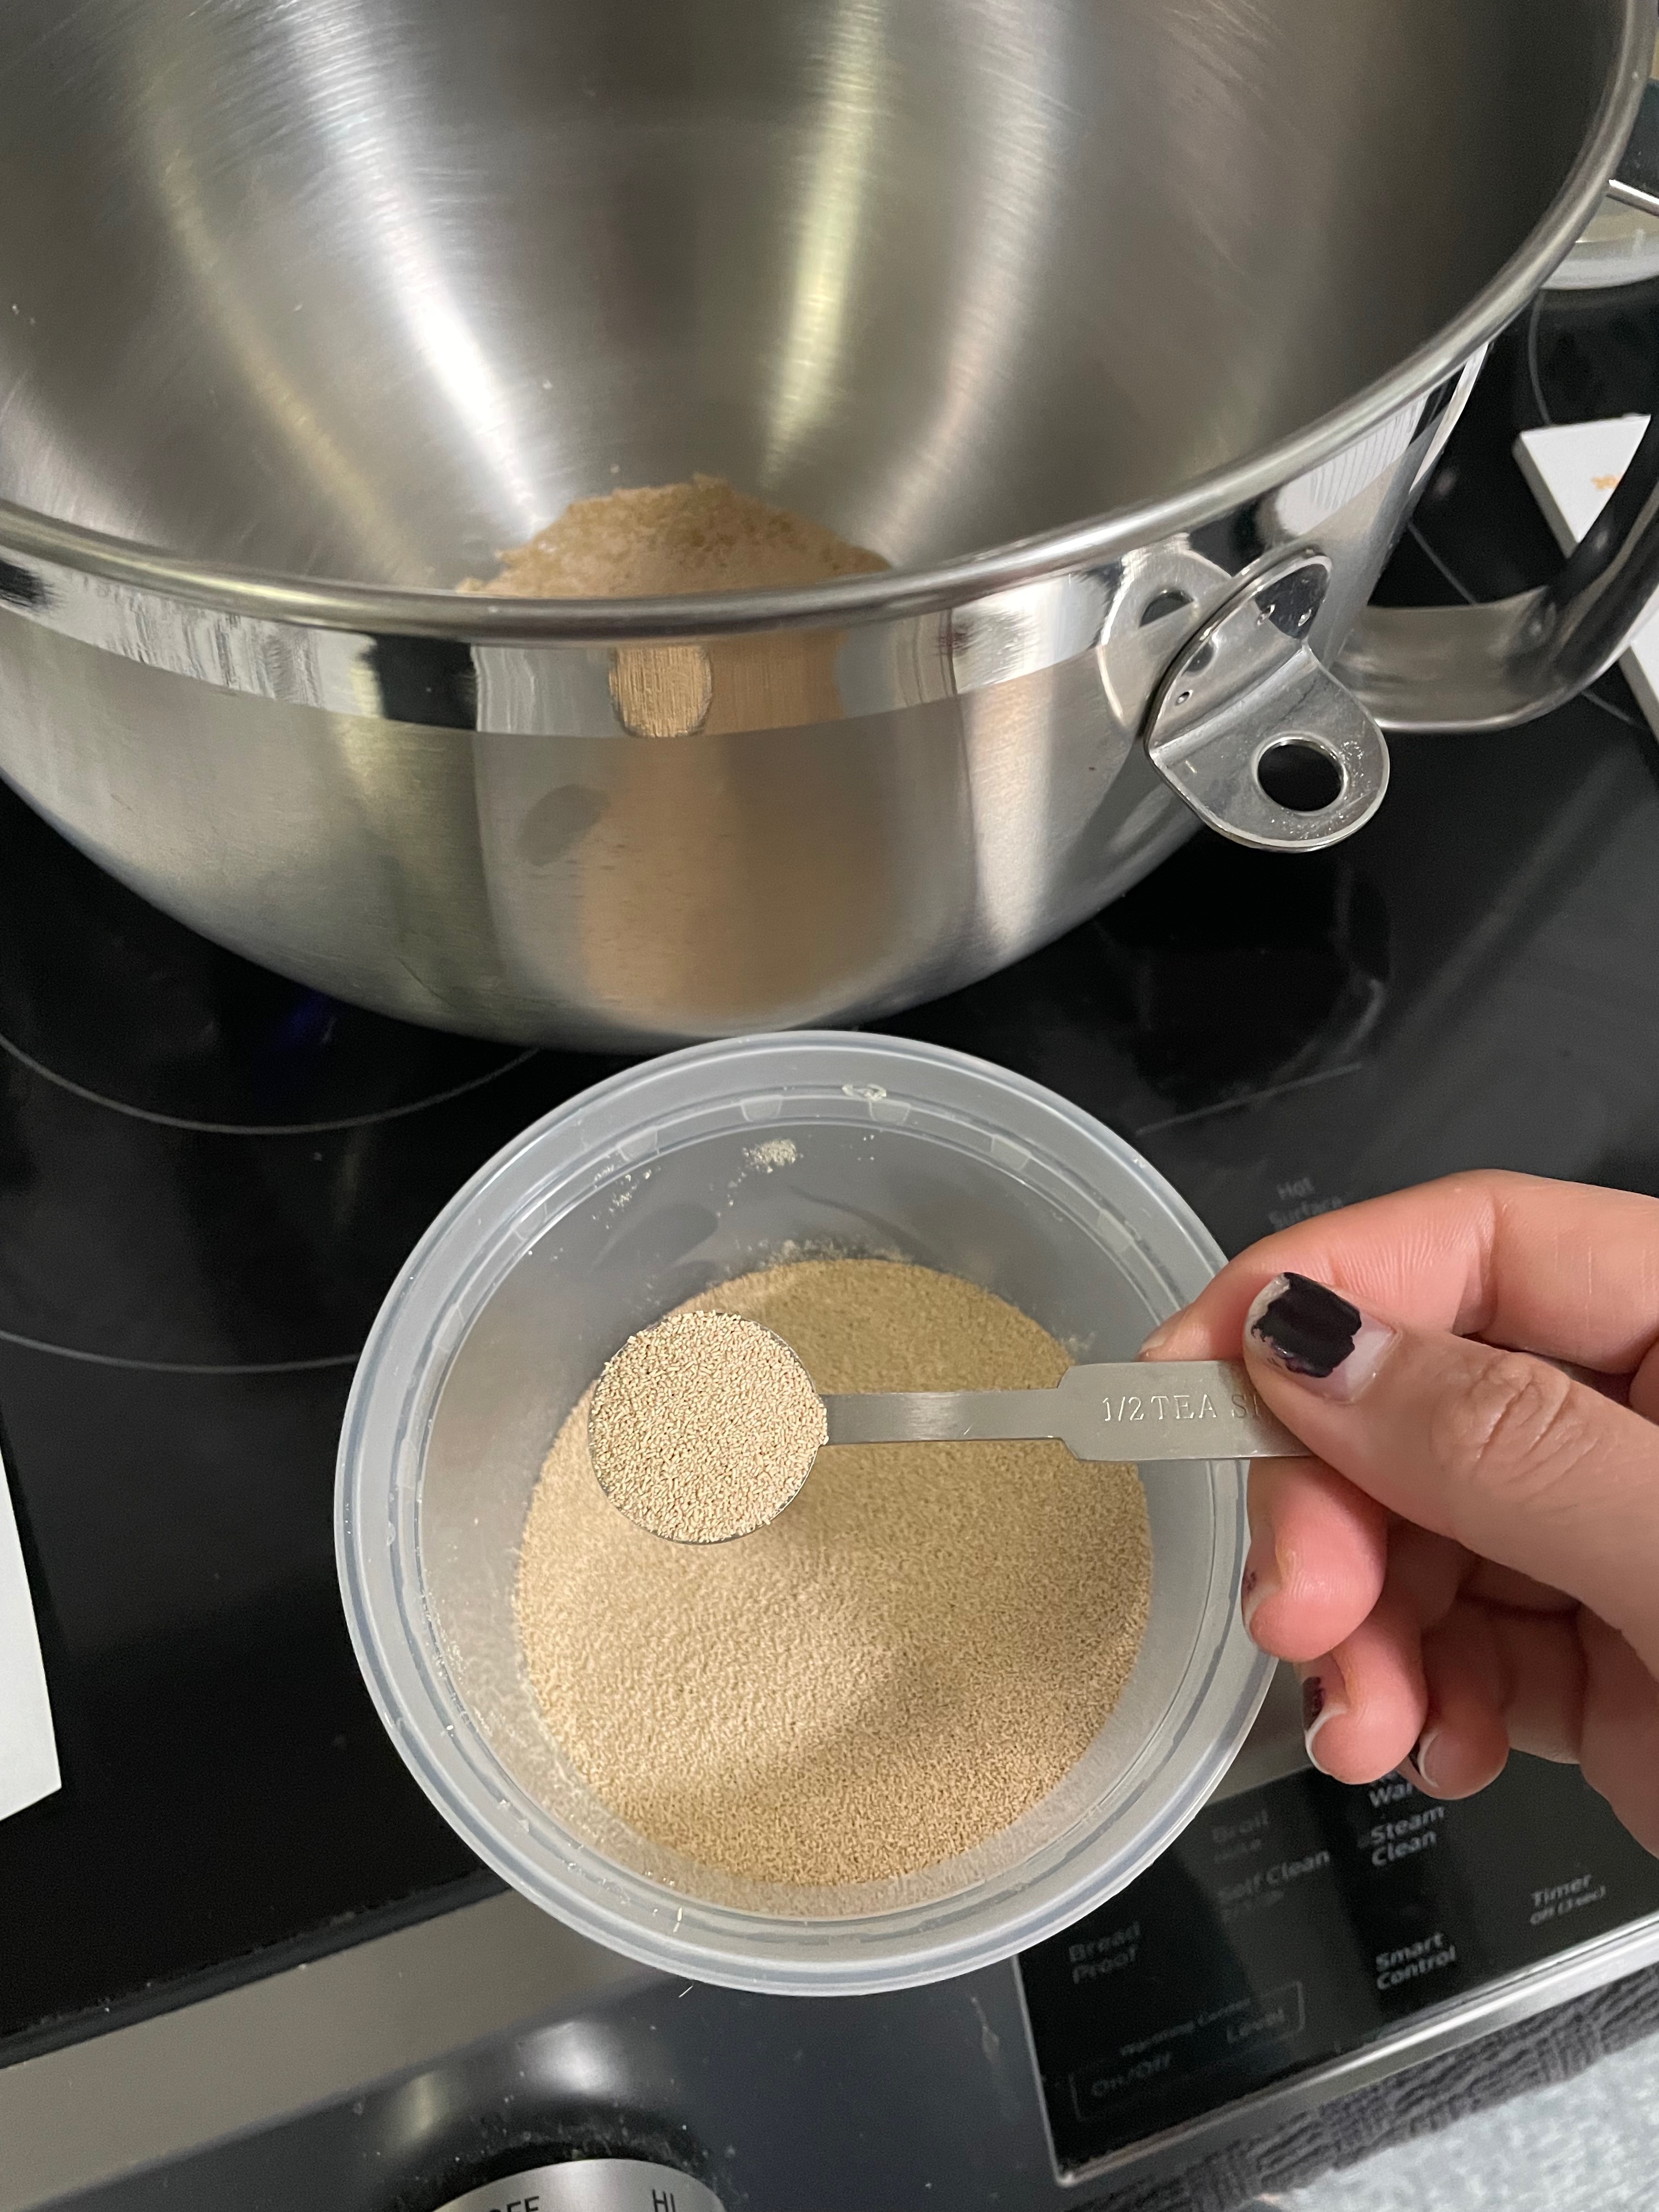
  • Bloom yeast in milk. Stir mixture.
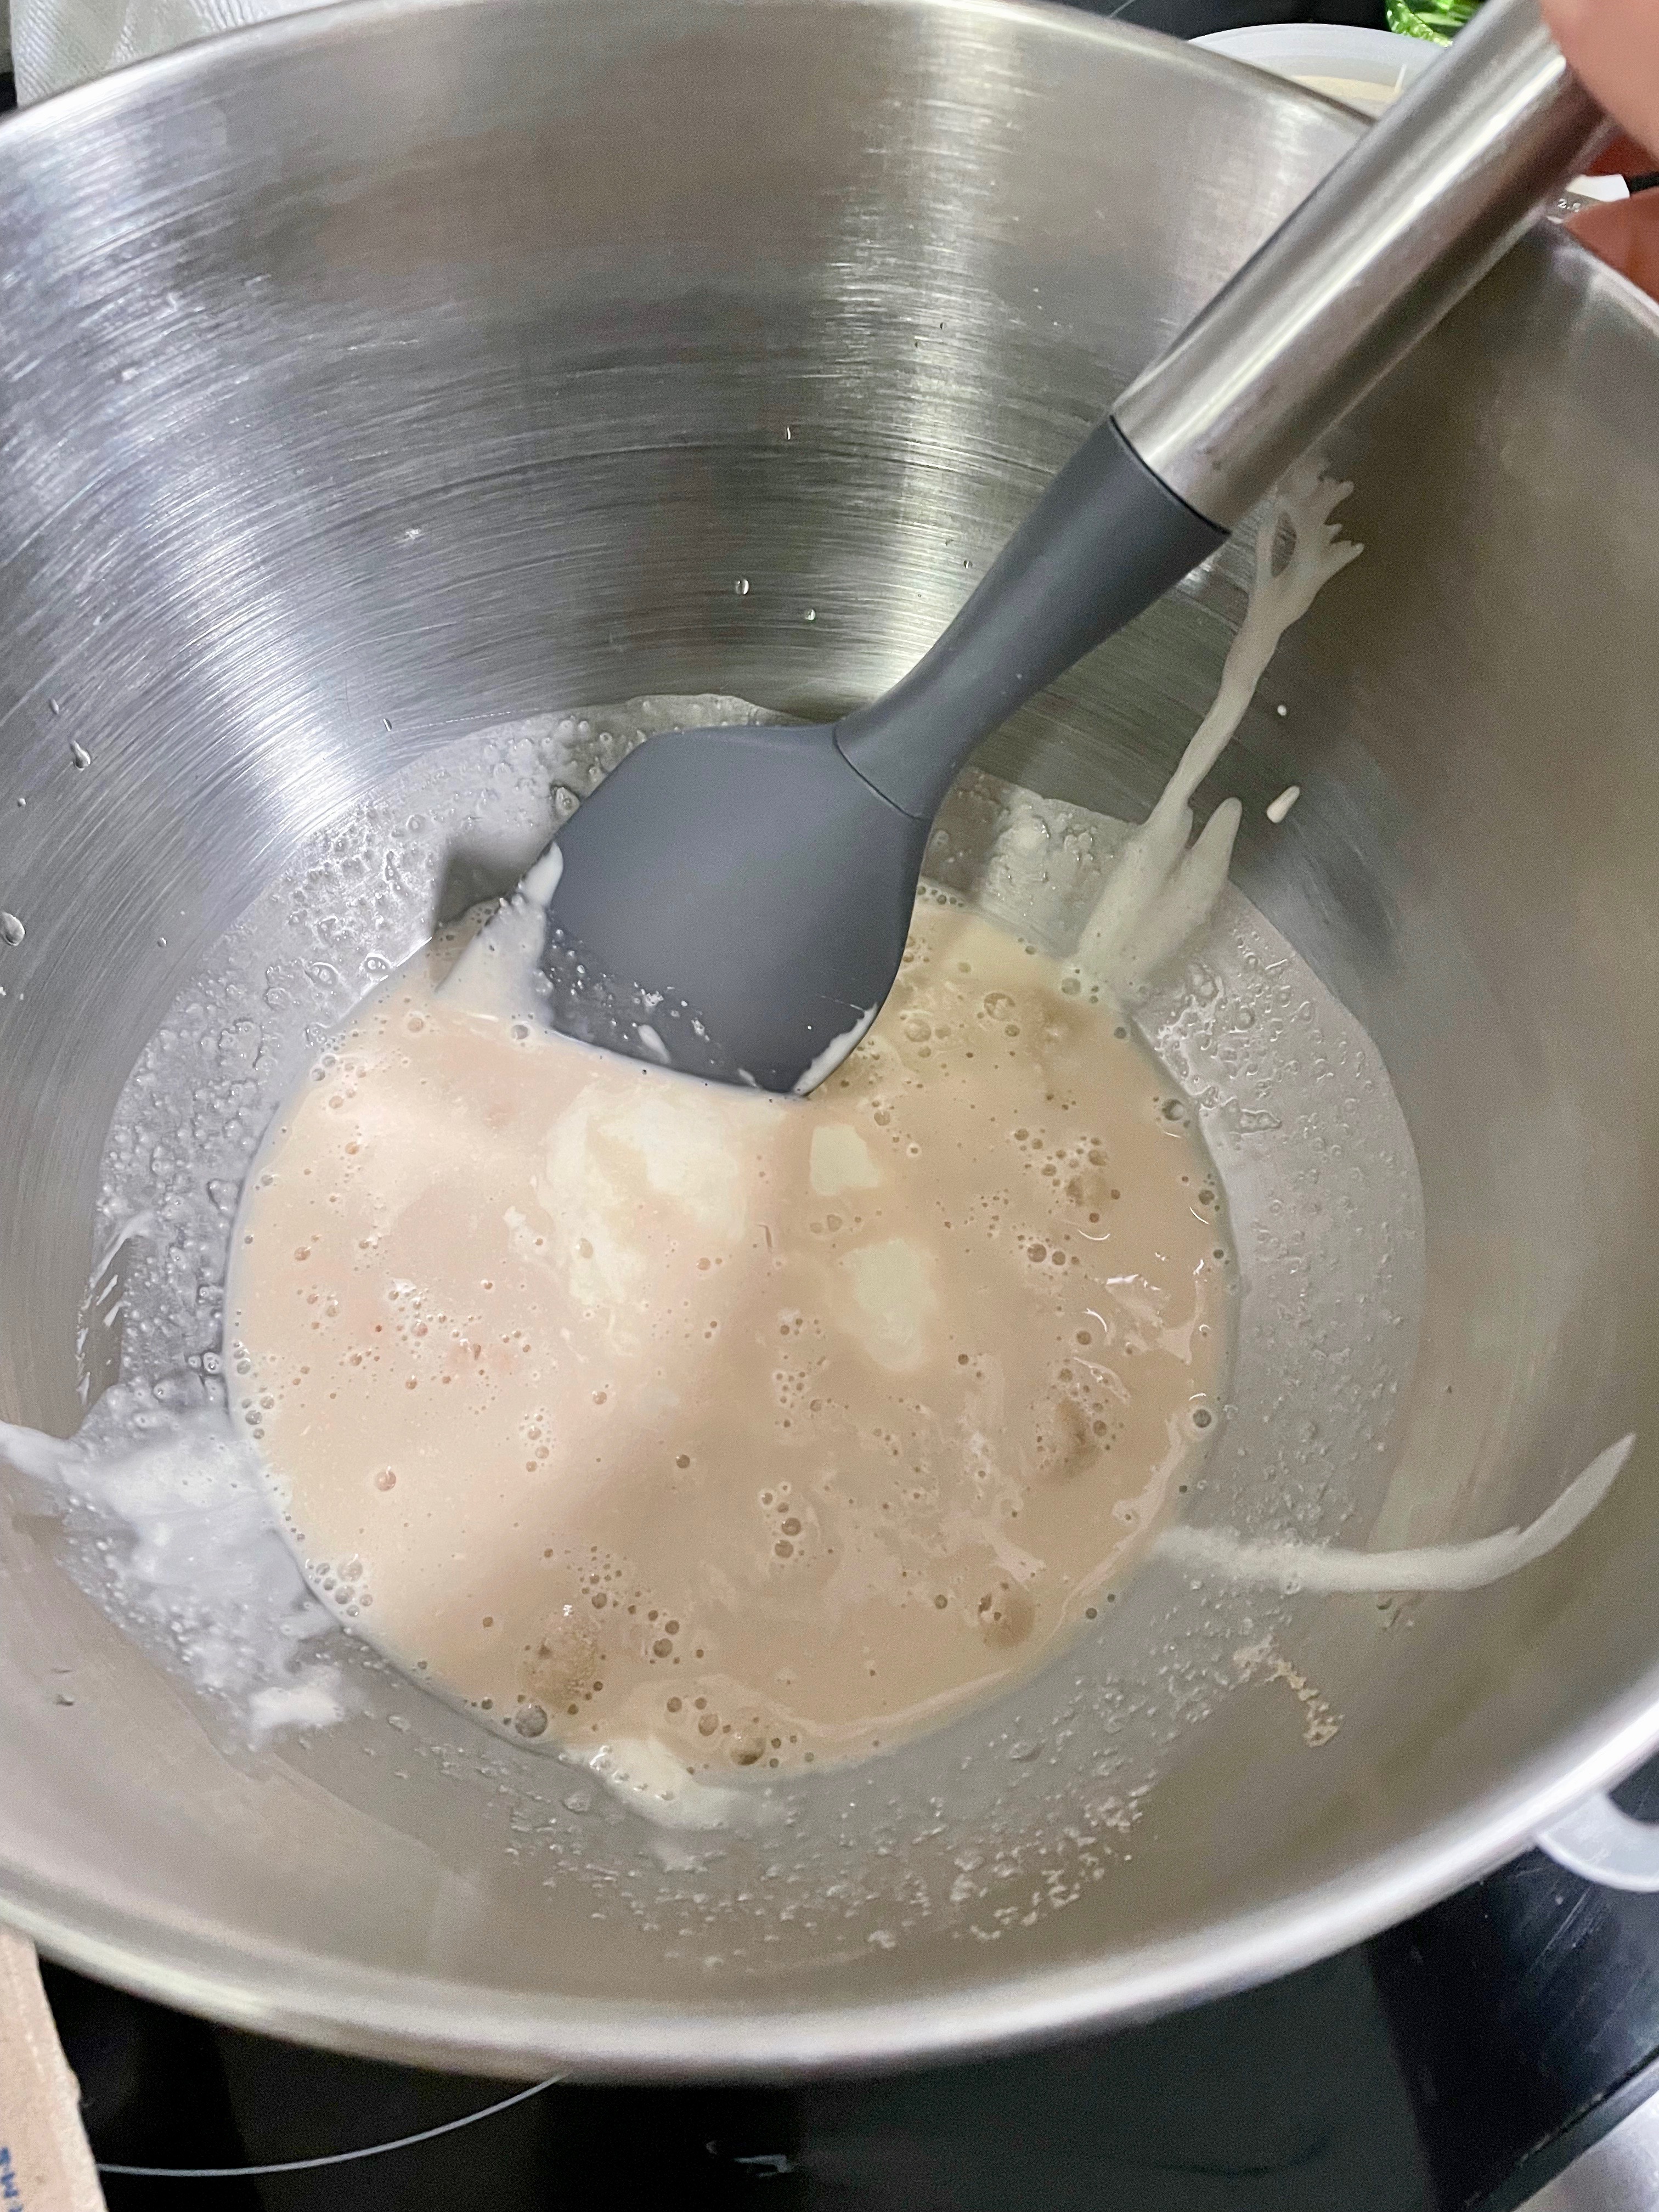
  • When mixture starts to foam, add sourdough starter, eggs, butter, and sugar.
  • Mix until thoroughly combined.
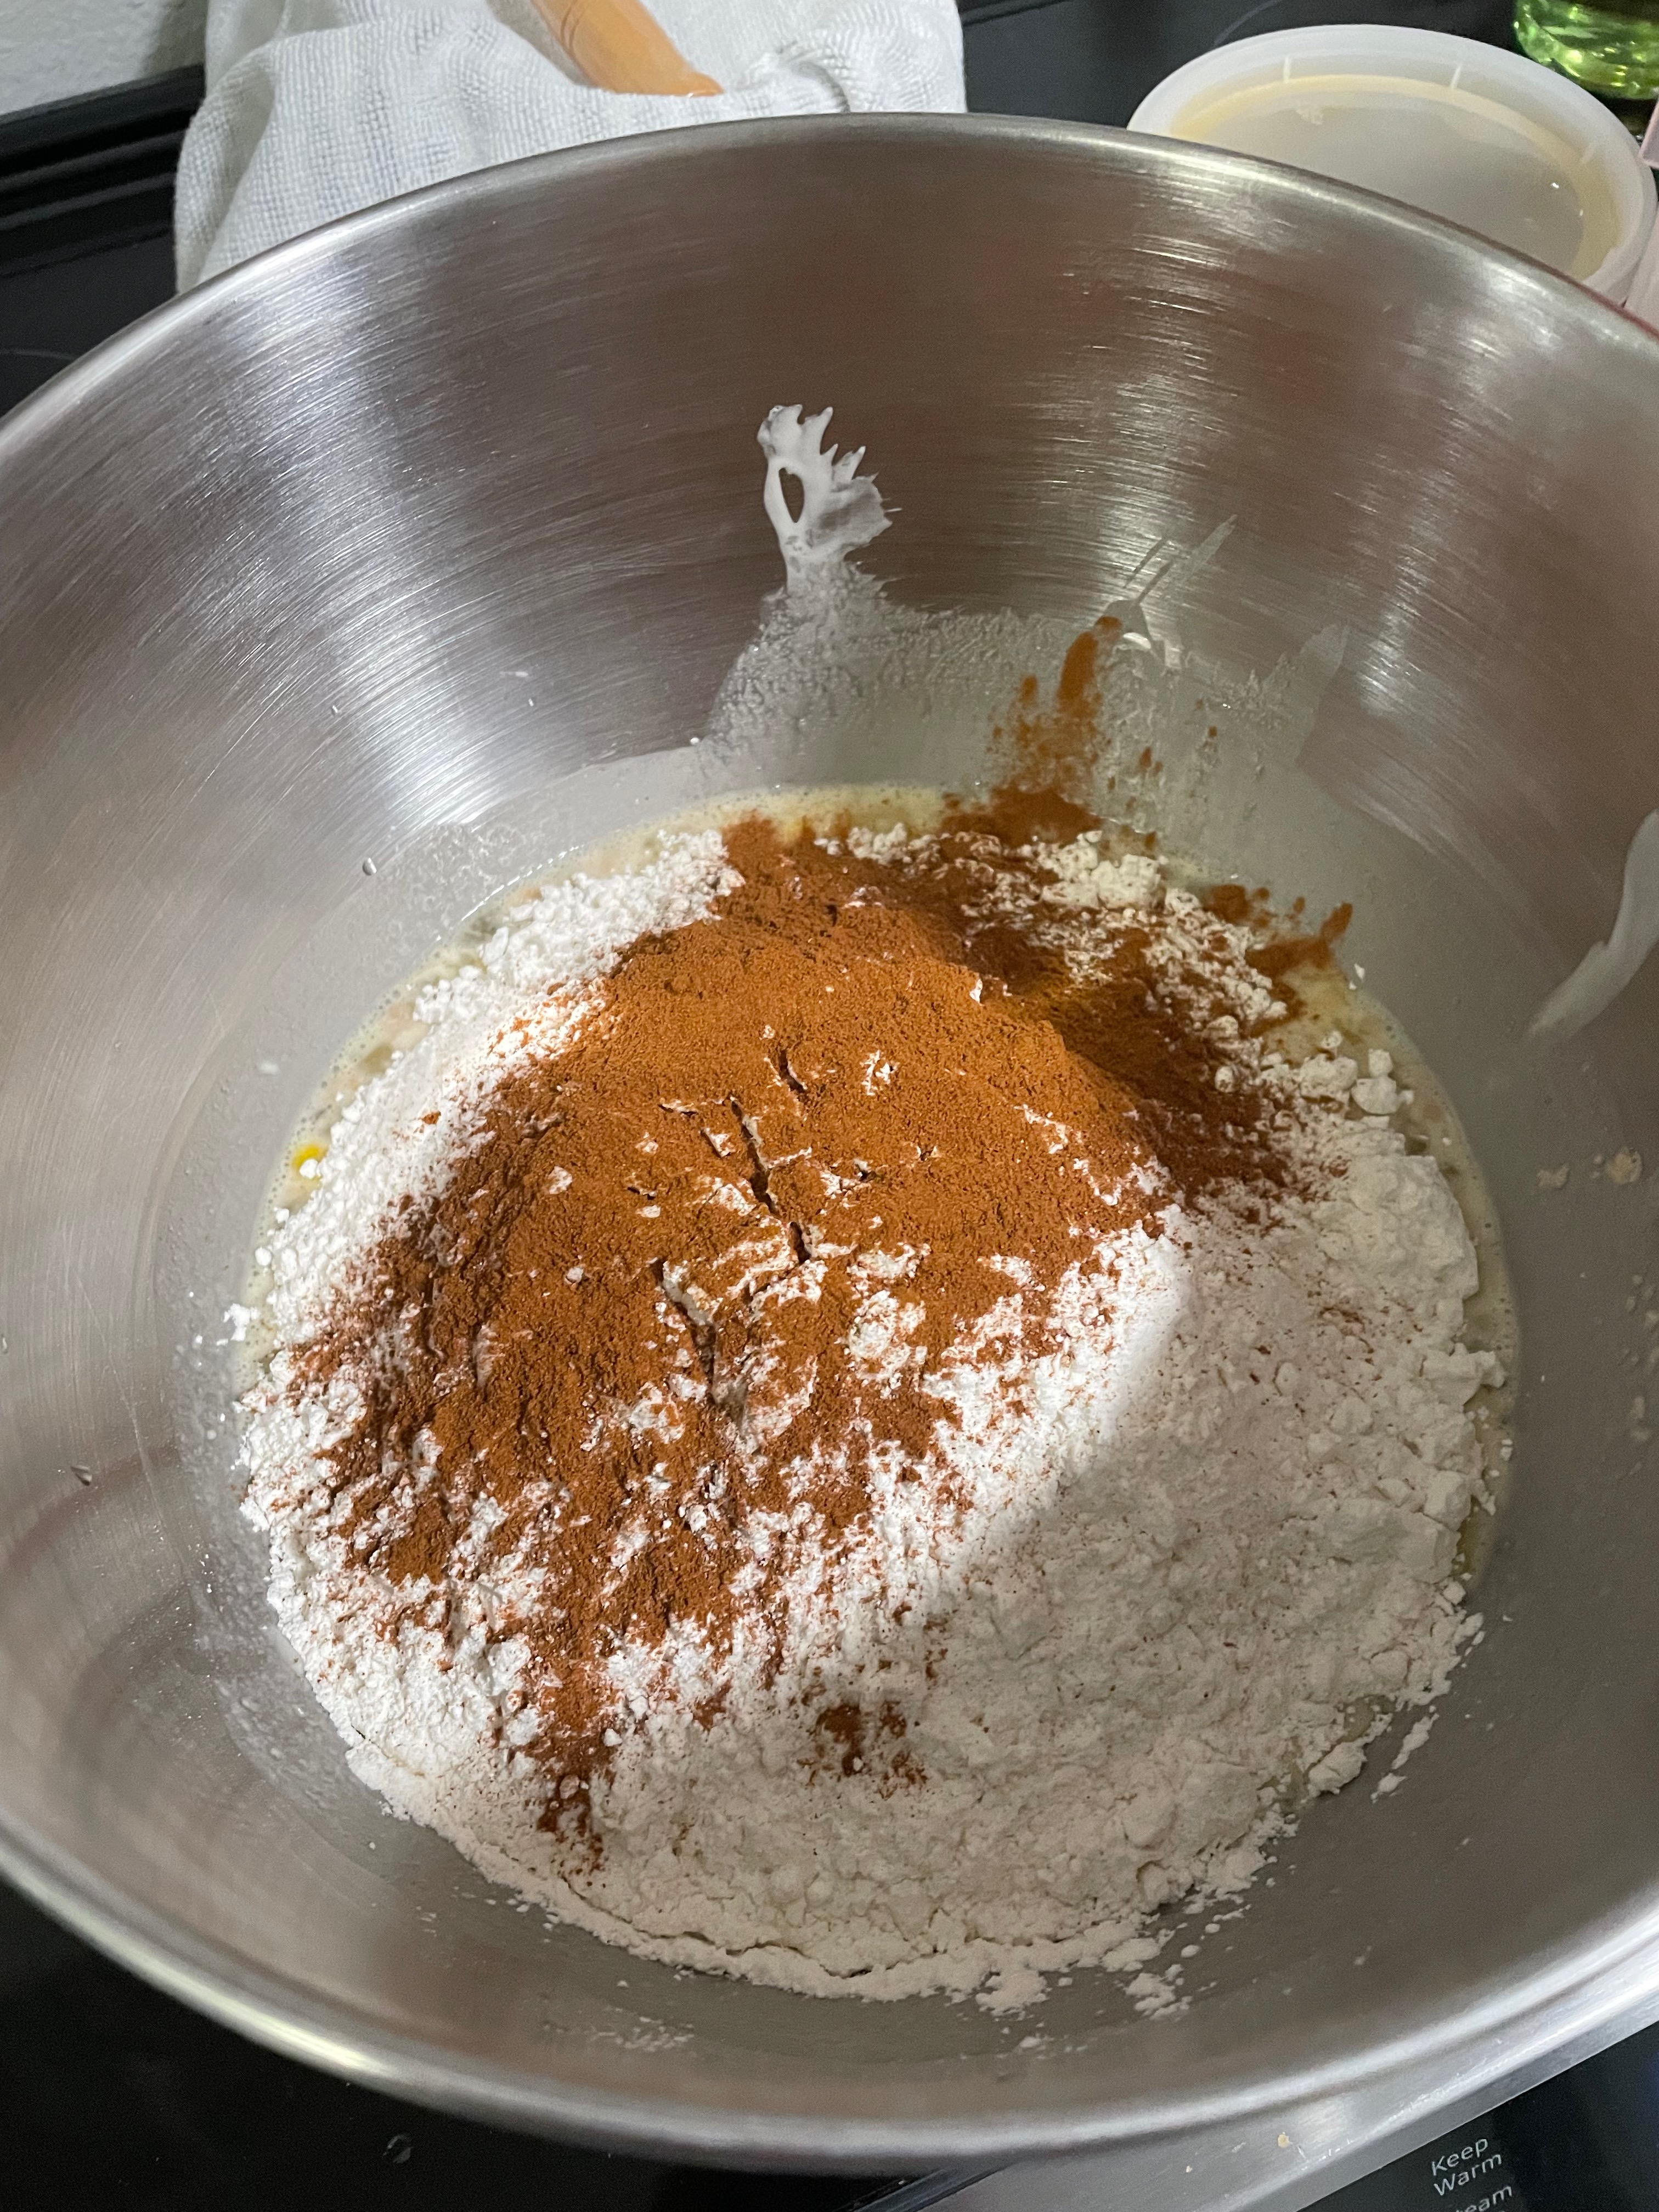
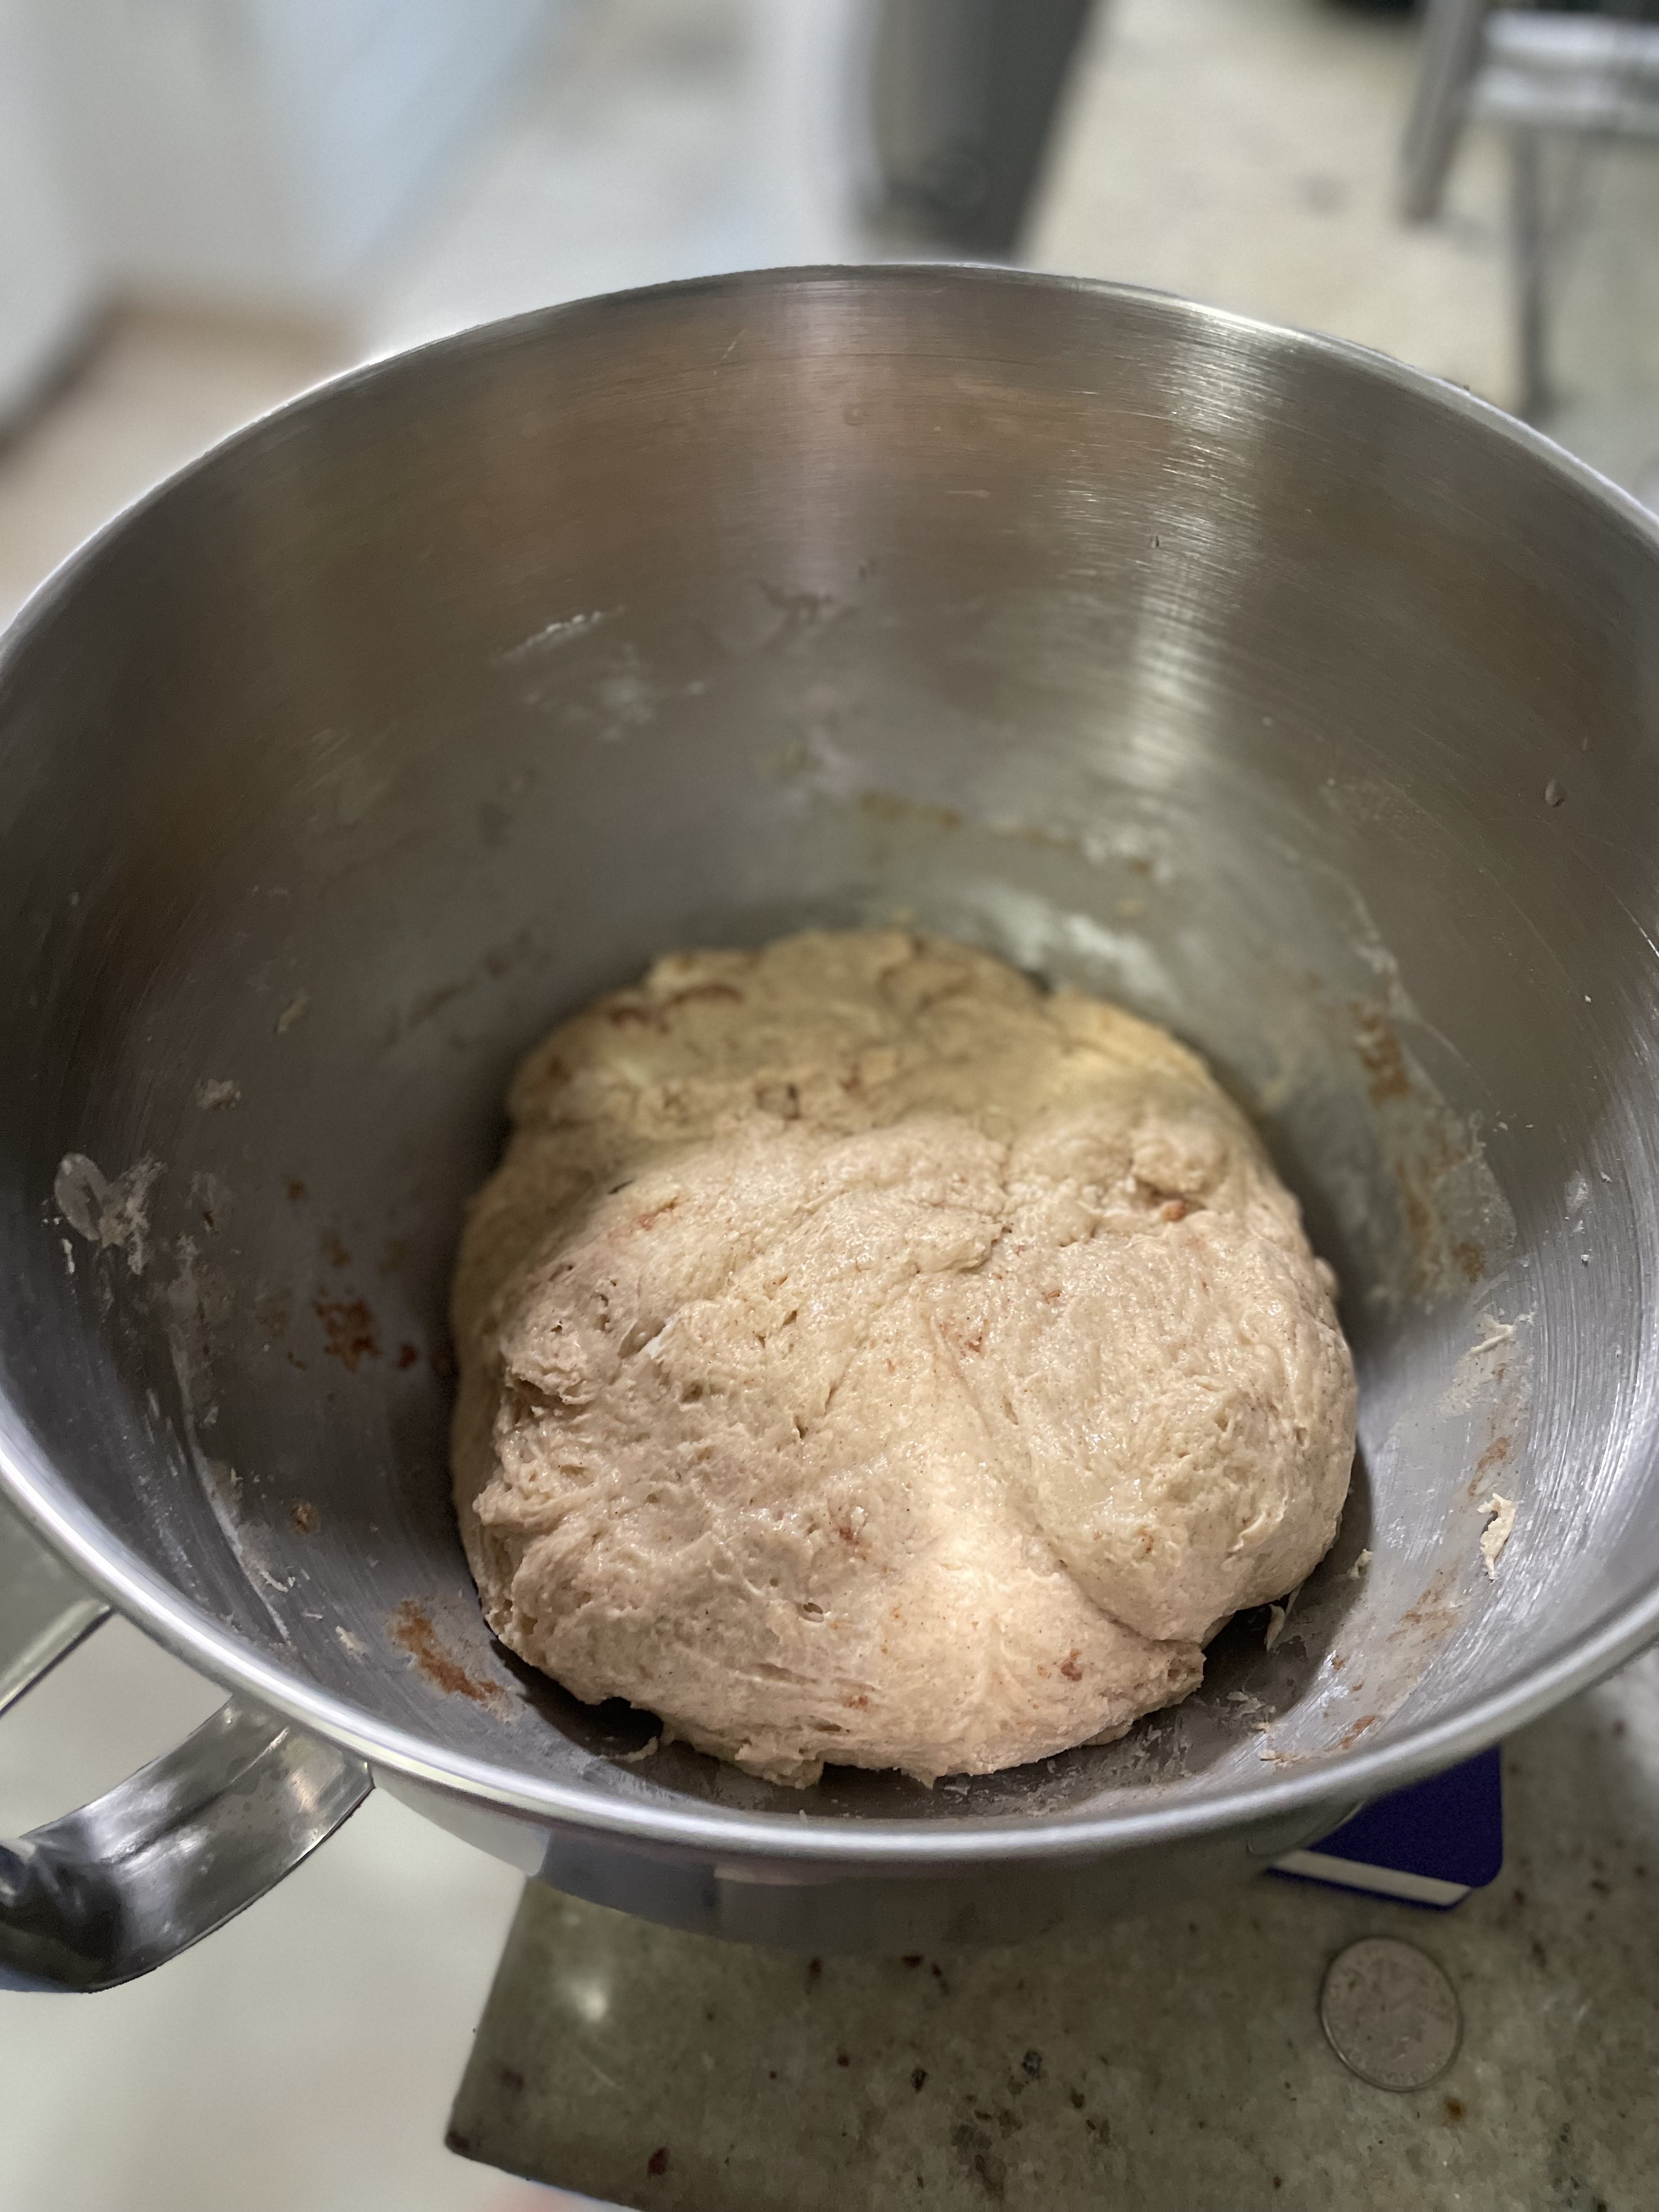
  • Add flour, salt, and cinnamon and mix until just combined.
  • Leave dough to rise in the refrigerator overnight.
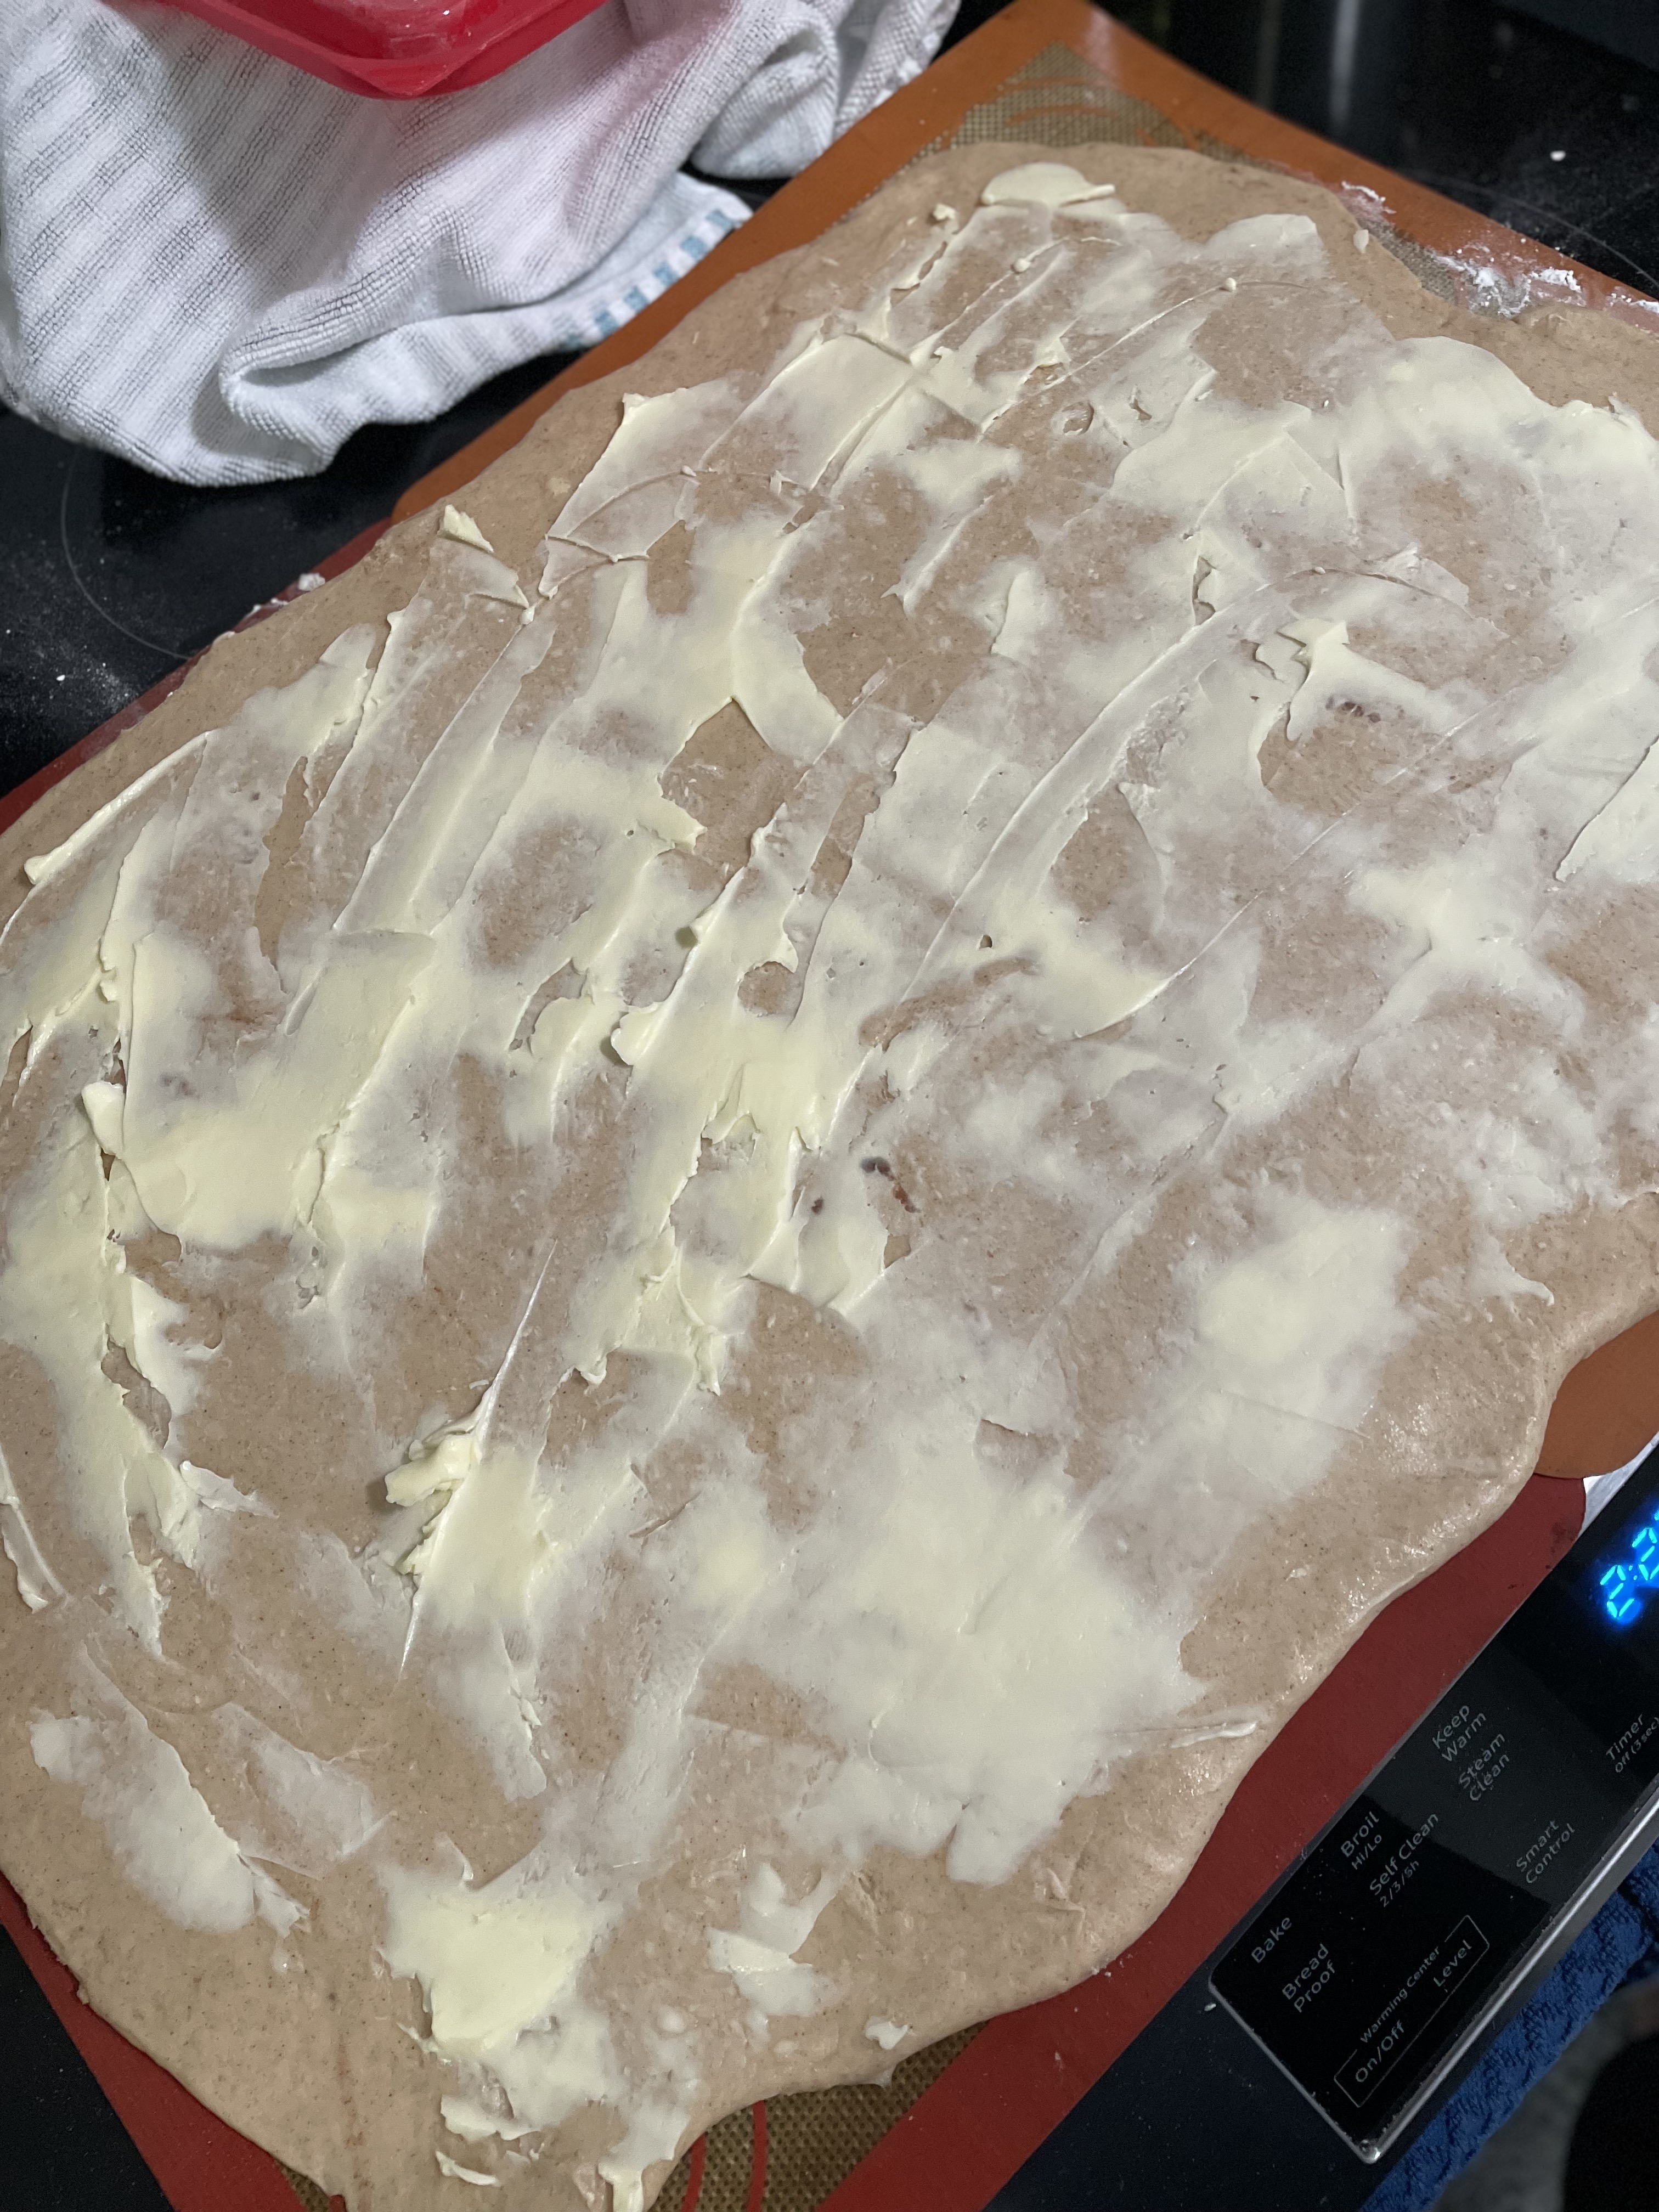
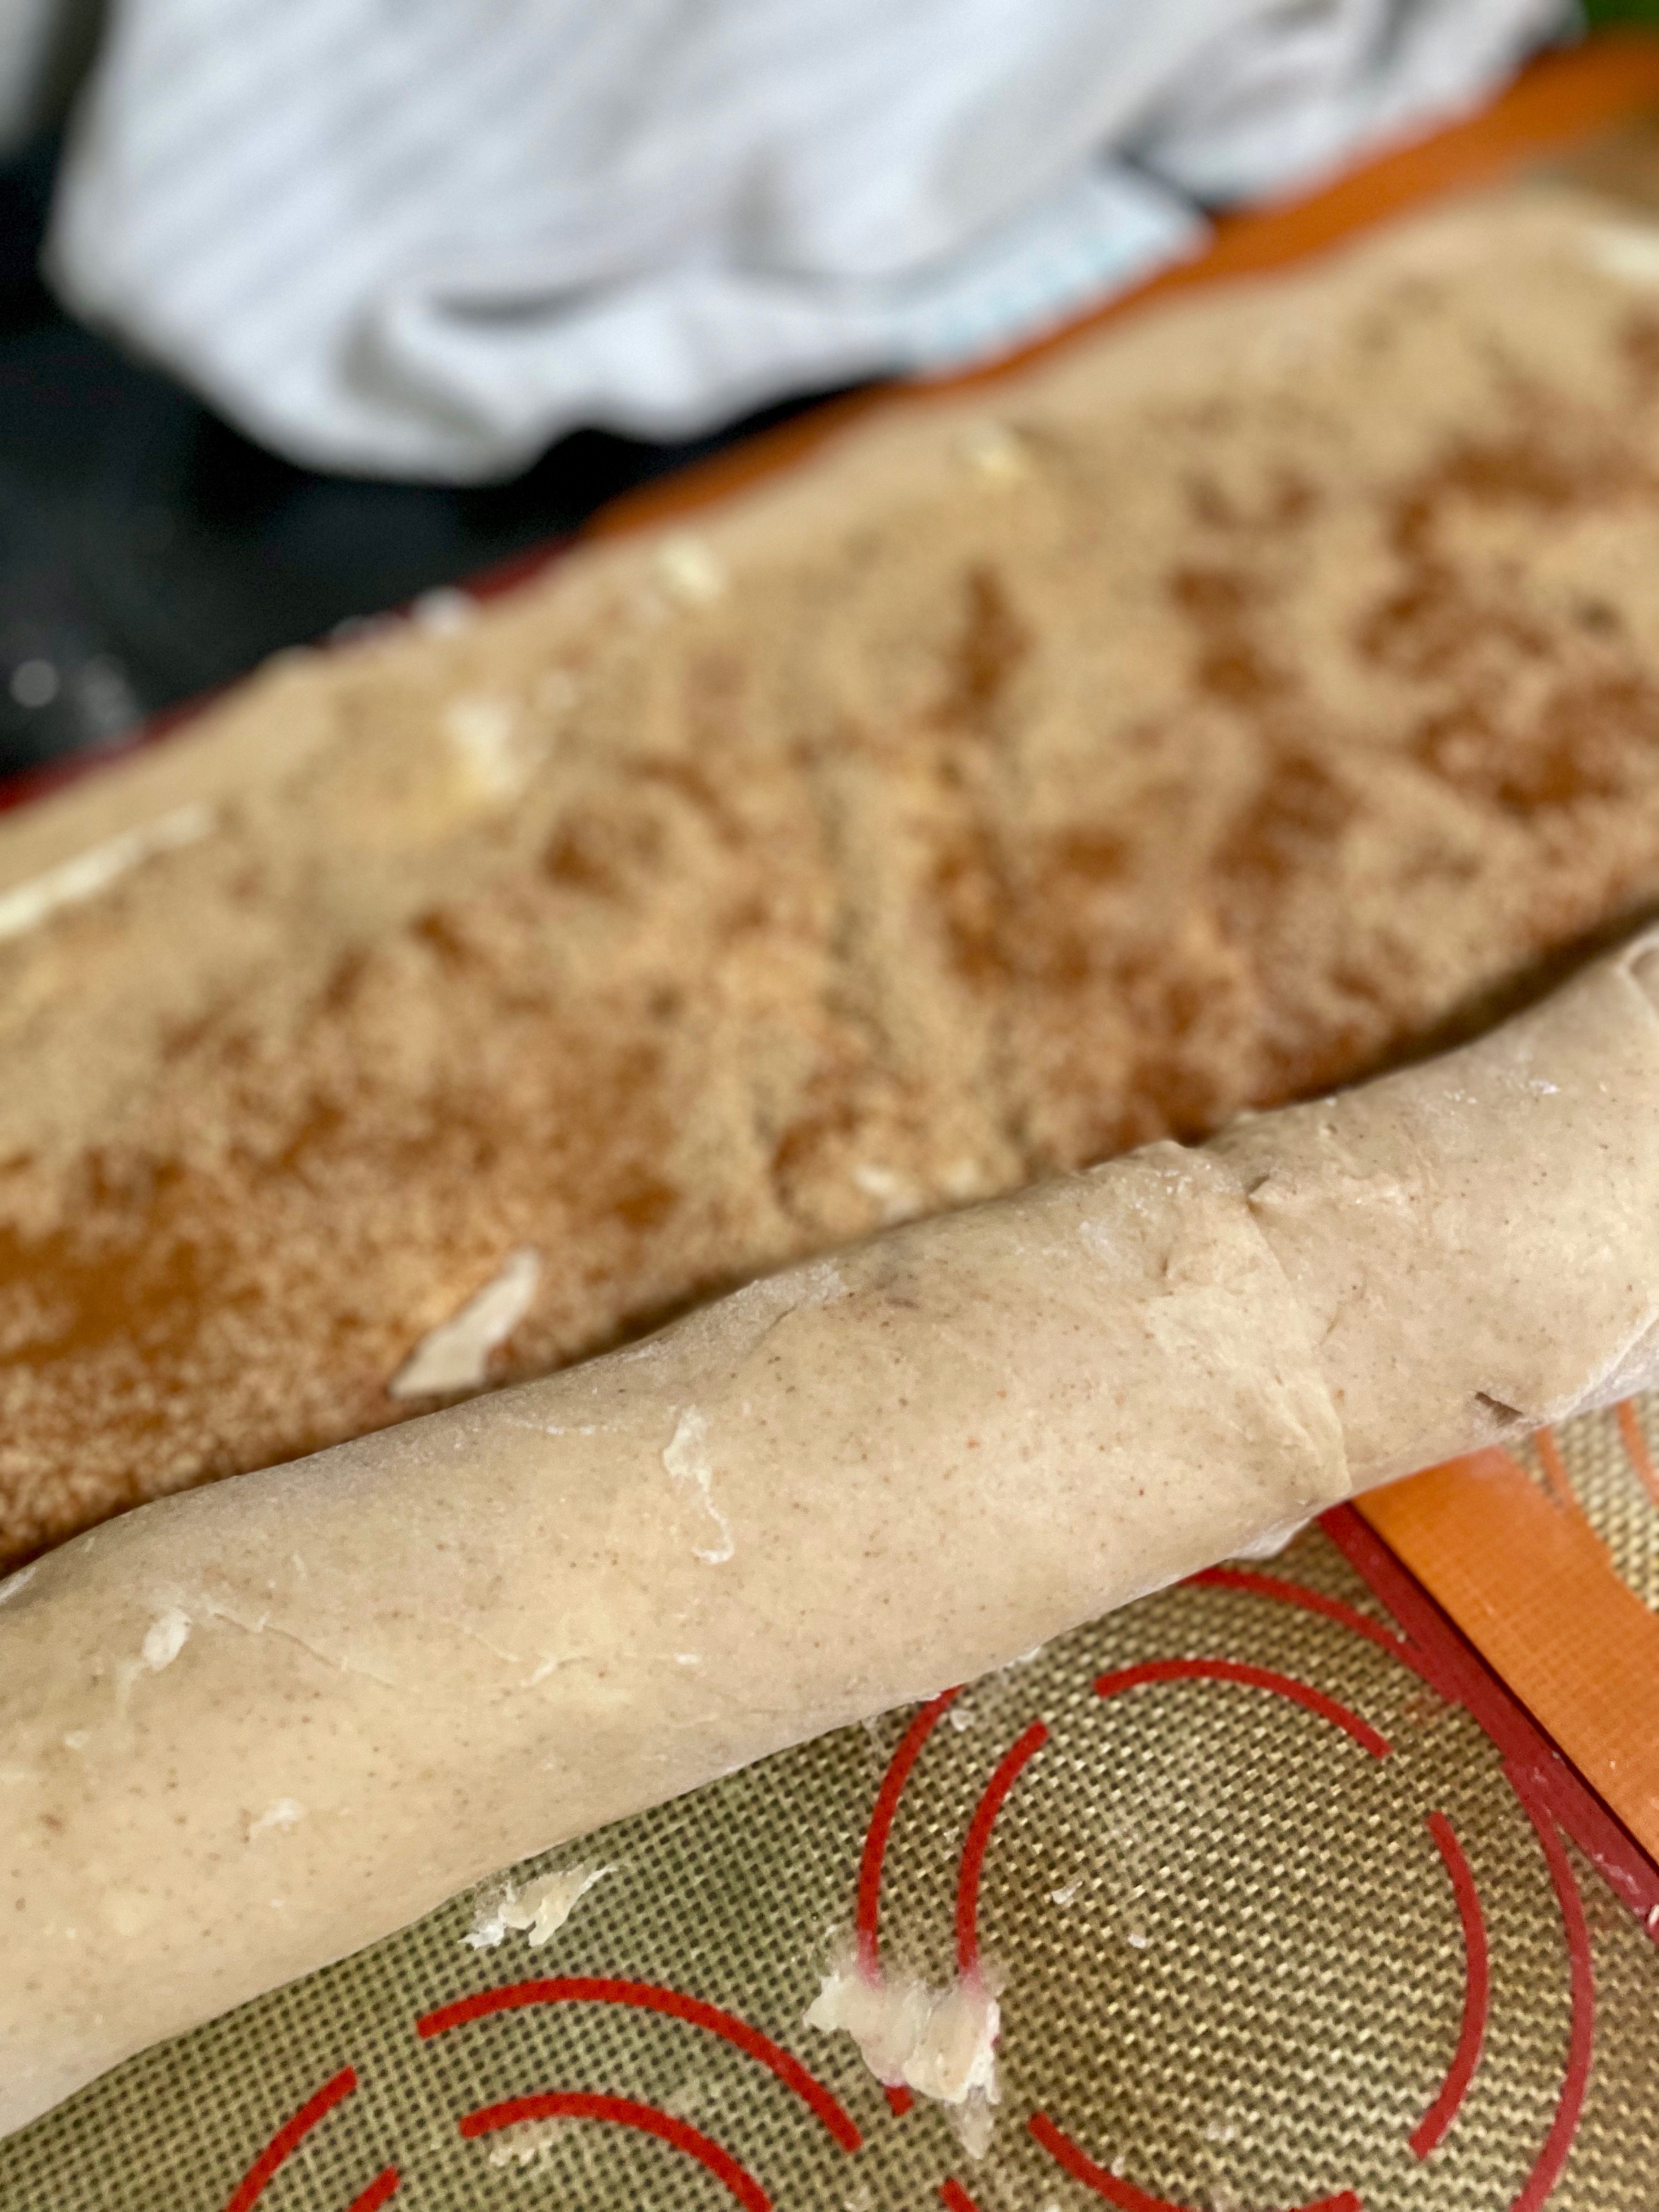
  • The next day, split the dough in half. Roll out to ~9×16" rectangle.
  • Spread half the softened butter evenly onto the dough.
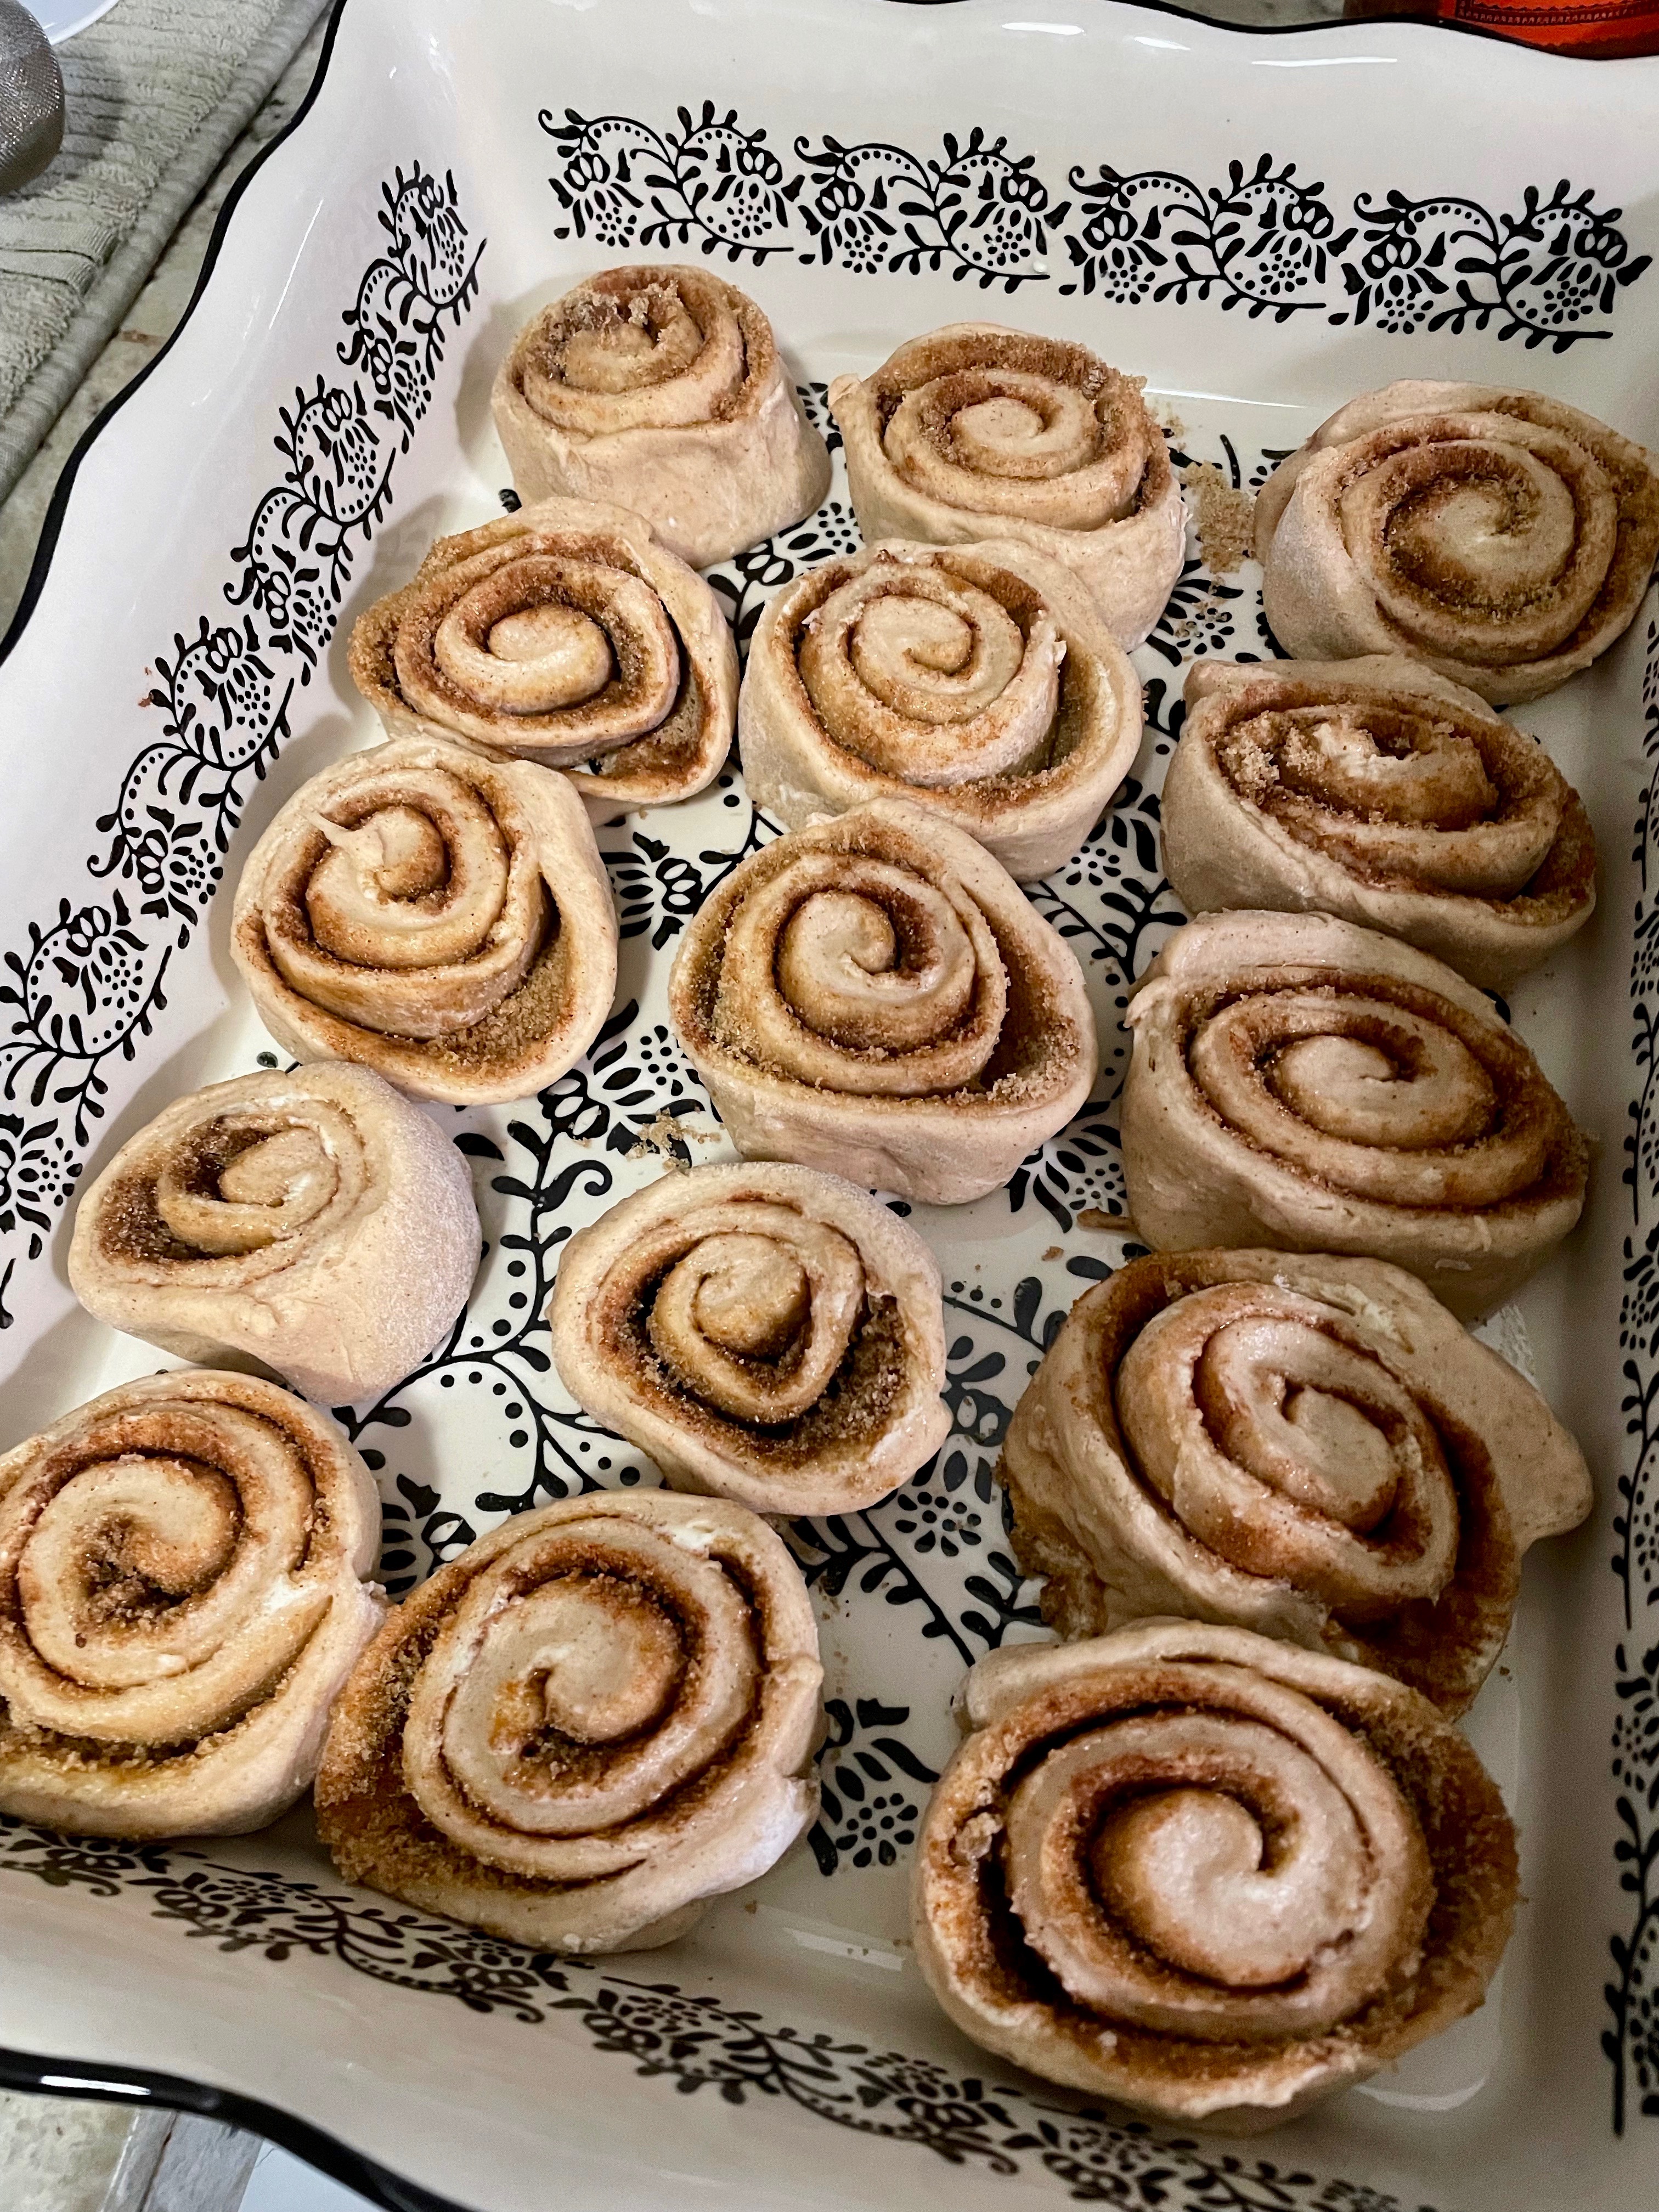
  • Sprinkle half of the brown sugar and half of the cinnamon onto the dough. roll dough into a log and cut into 12 rolls.
  • Repeat dough rolling, butter spreading, sugar/cinnamon spreading with the second half of the dough.
  • Place cinnamon rolls in a 9×16" pan, leaving space between the cinnamon rolls.
  • Leave in the refrigerator to rise again overnight.
  • The next day, remove from the refrigerator ~30 minutes prior to baking for cinnamon rolls to come to room temperature.
  • Bake at 350F for ~20 minutes, when tops are golden brown. Serve warm!

Try some other desserts! Beet Cinnamon Rolls or Peach Galette