My Favorite Focaccia

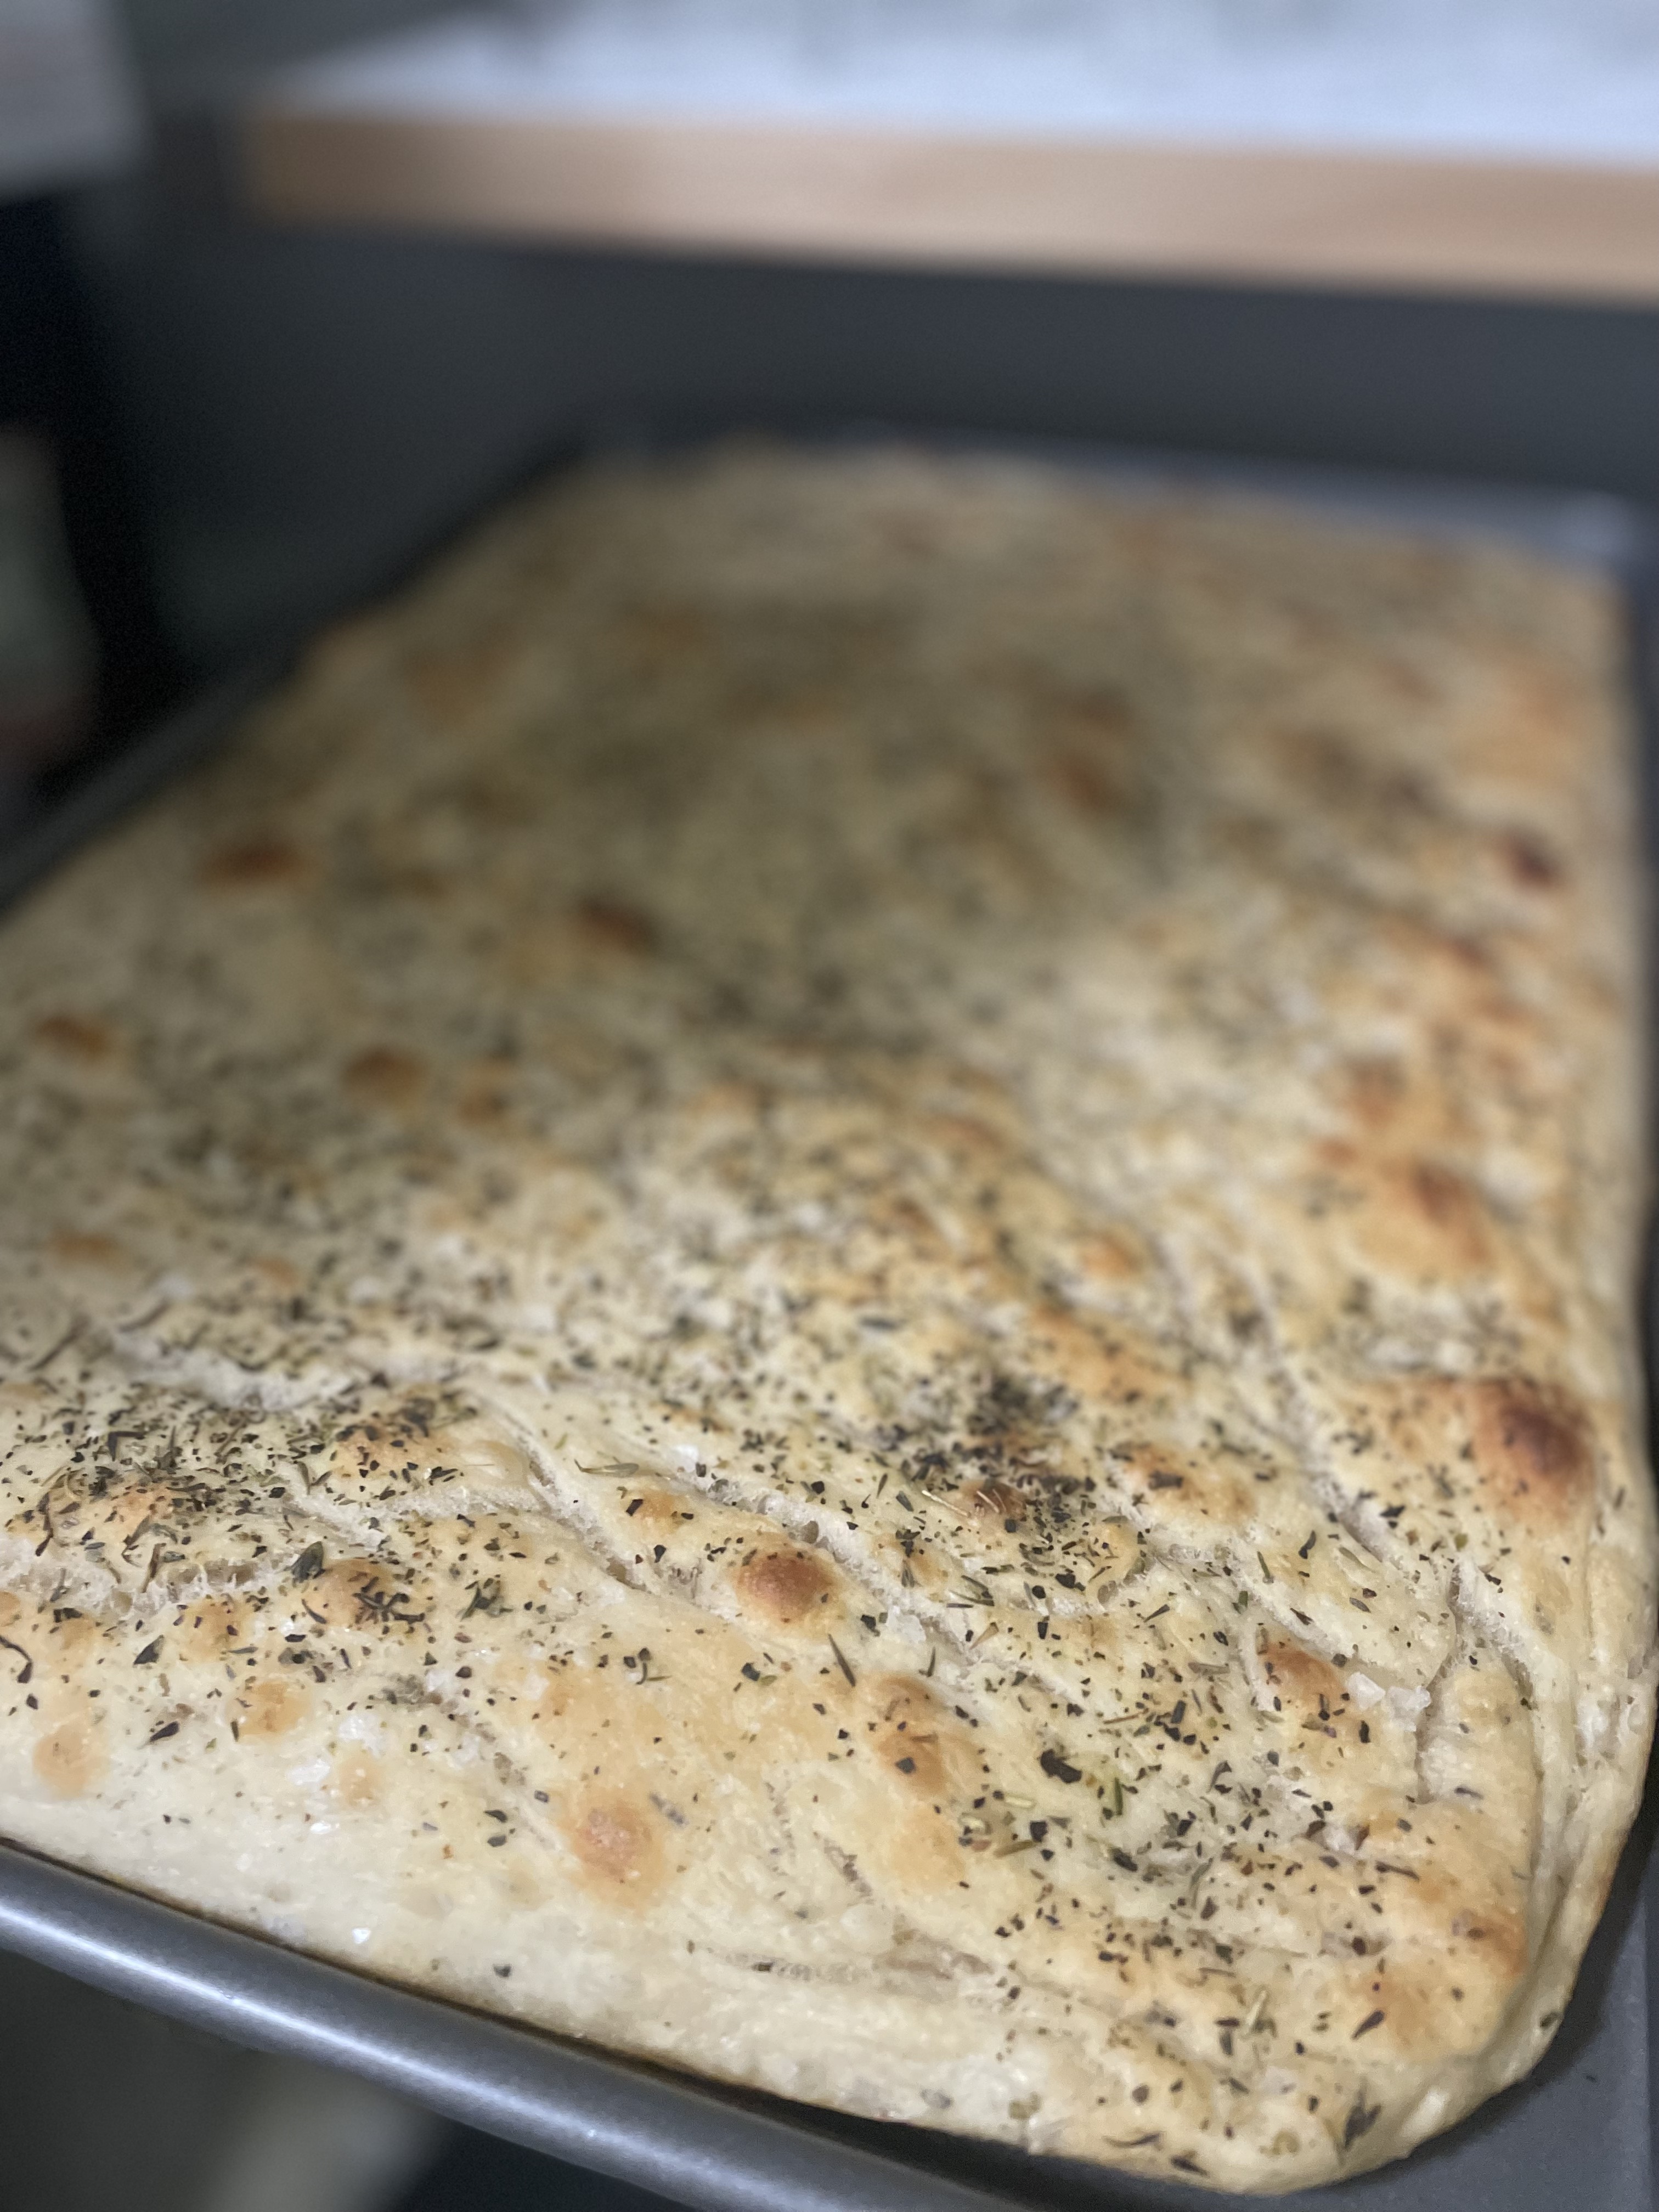
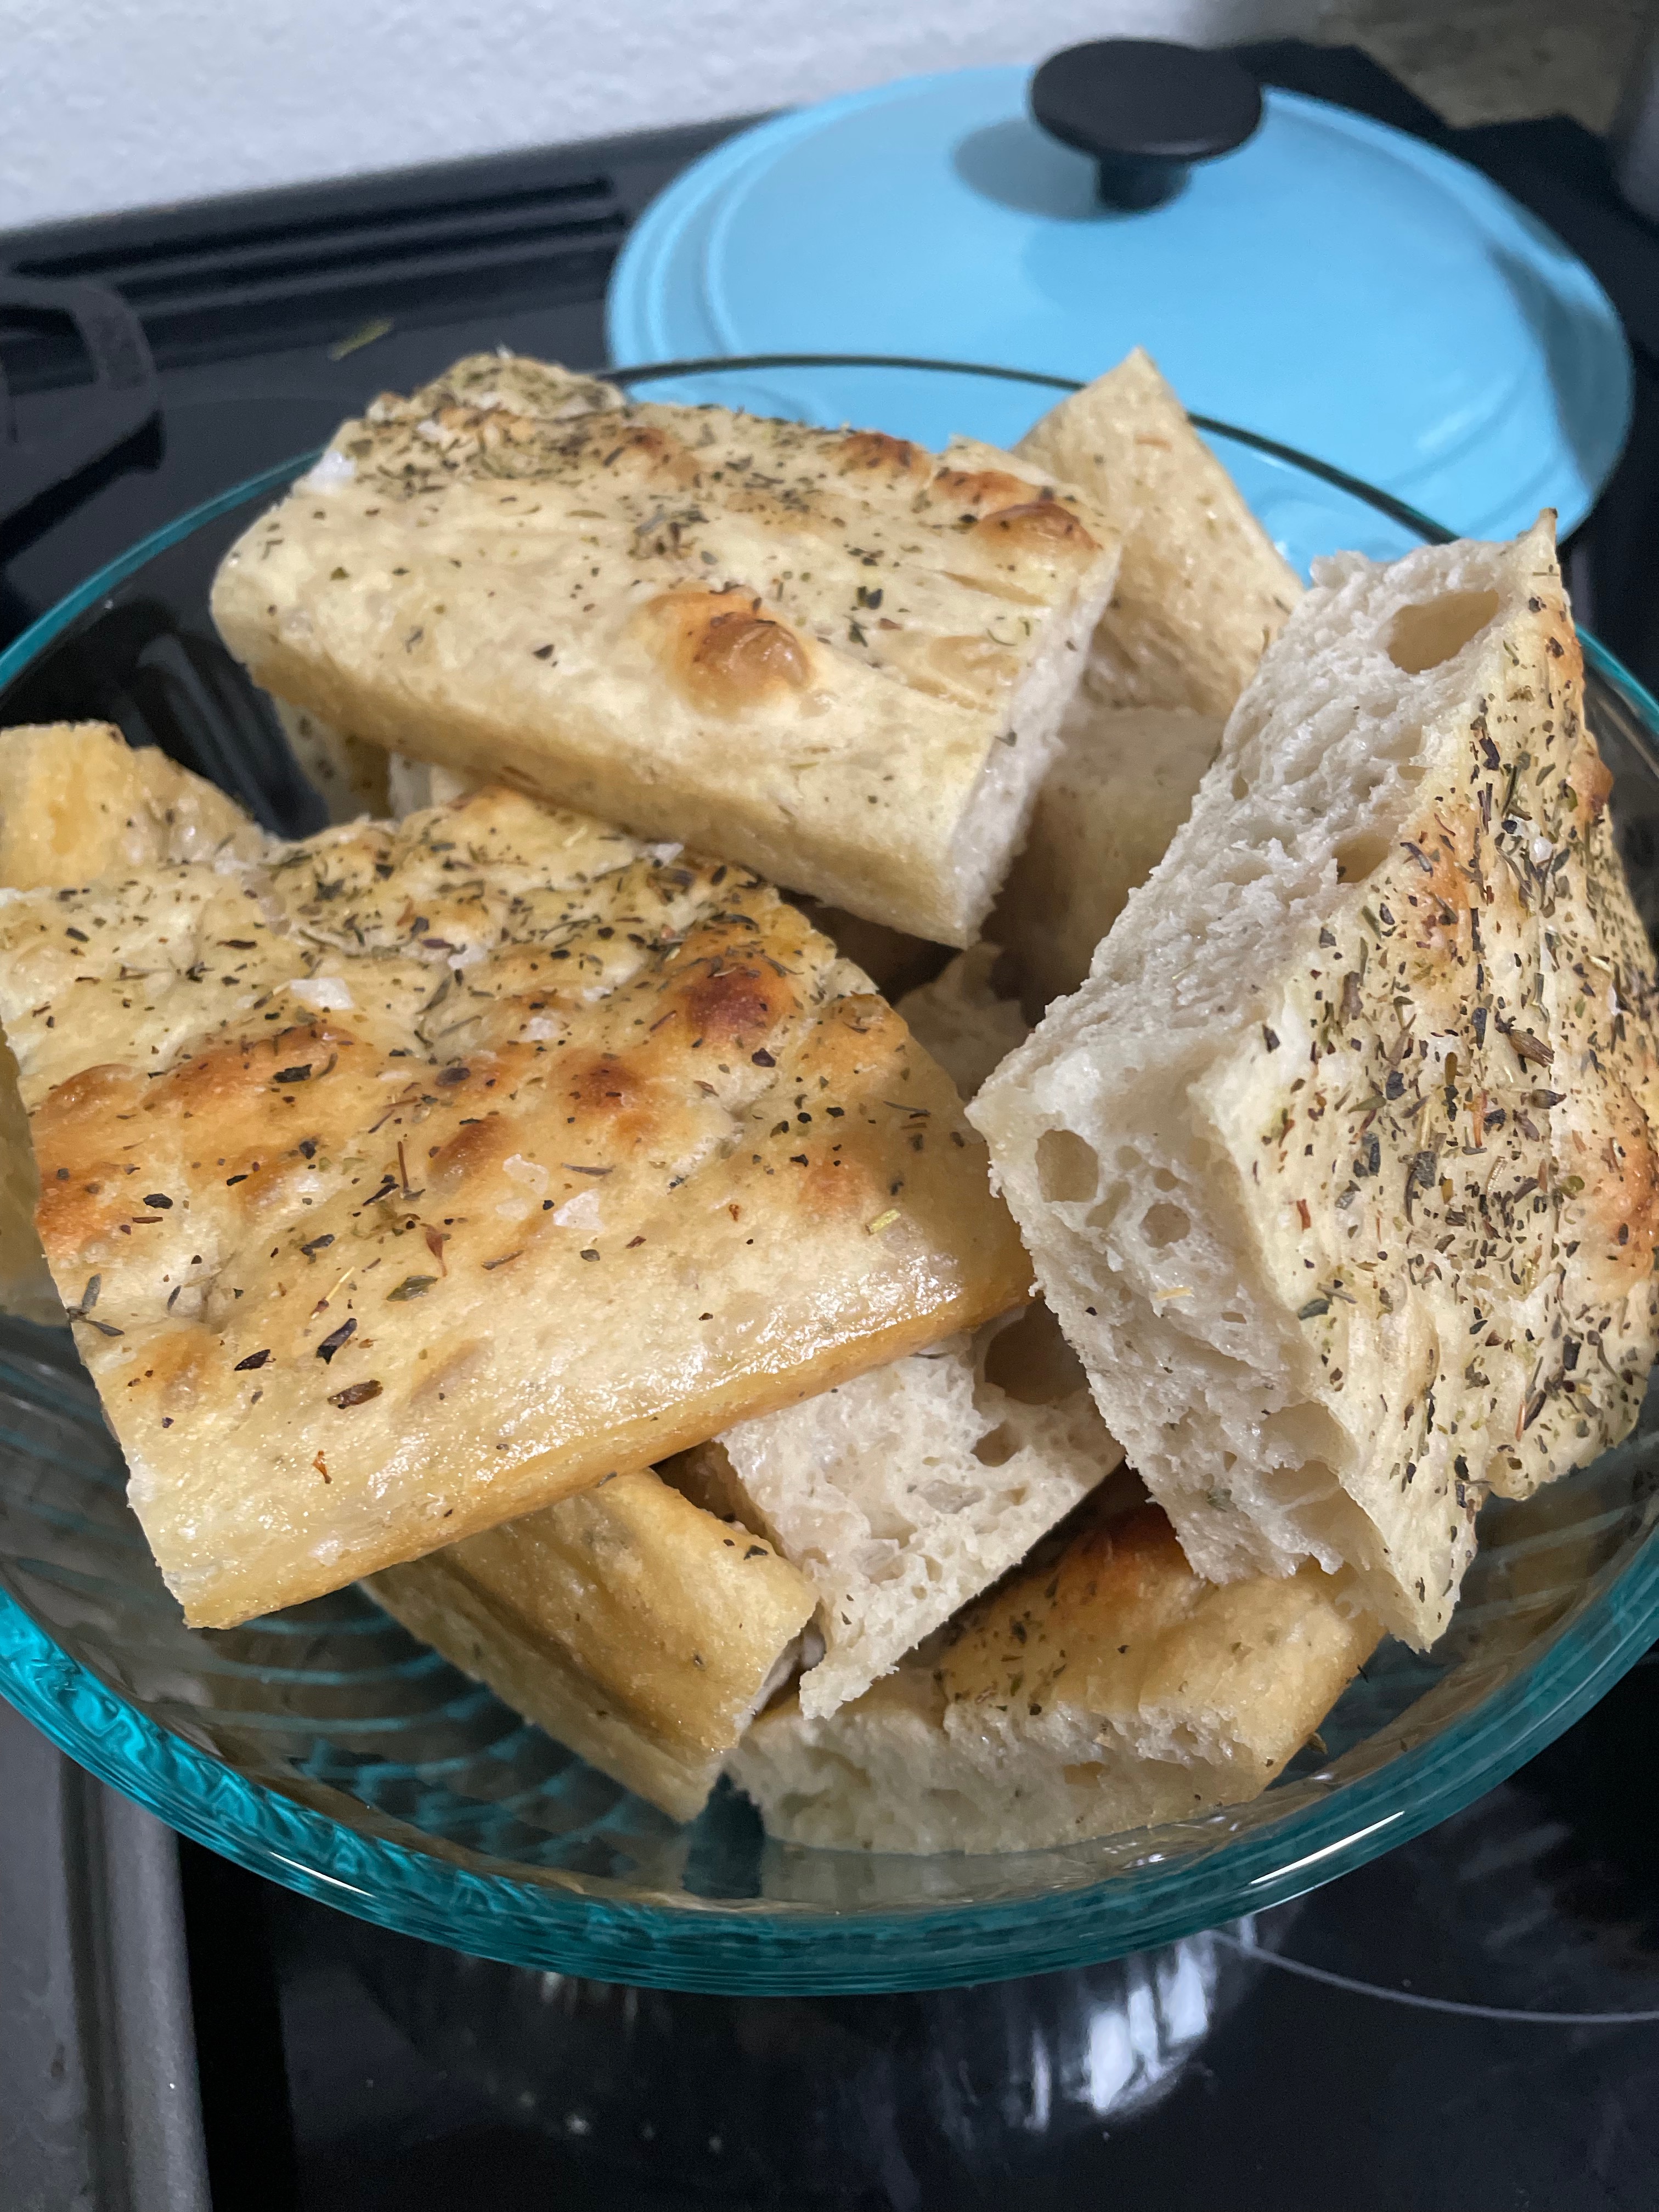
Nothing beats fresh bread! I love to make this focaccia when I have a big group gathering. It’s a perfect make ahead item that’s can be ready when guests arrive to snack on. I like to serve this with some butter and olive oil/balsamic vinegar on the side. It’s one of the easiest breads to make since the ingredients are so simple, you only need a sheet pan, and no kneading is required.

Ingredients

Honey – The sweetener is added to help the yeast get going. You can substitute this with other sweeteners too! I’ve tried this with sugar and agave if you’d like to make it completely vegan. Use the same quantity if substituting other sweeteners.

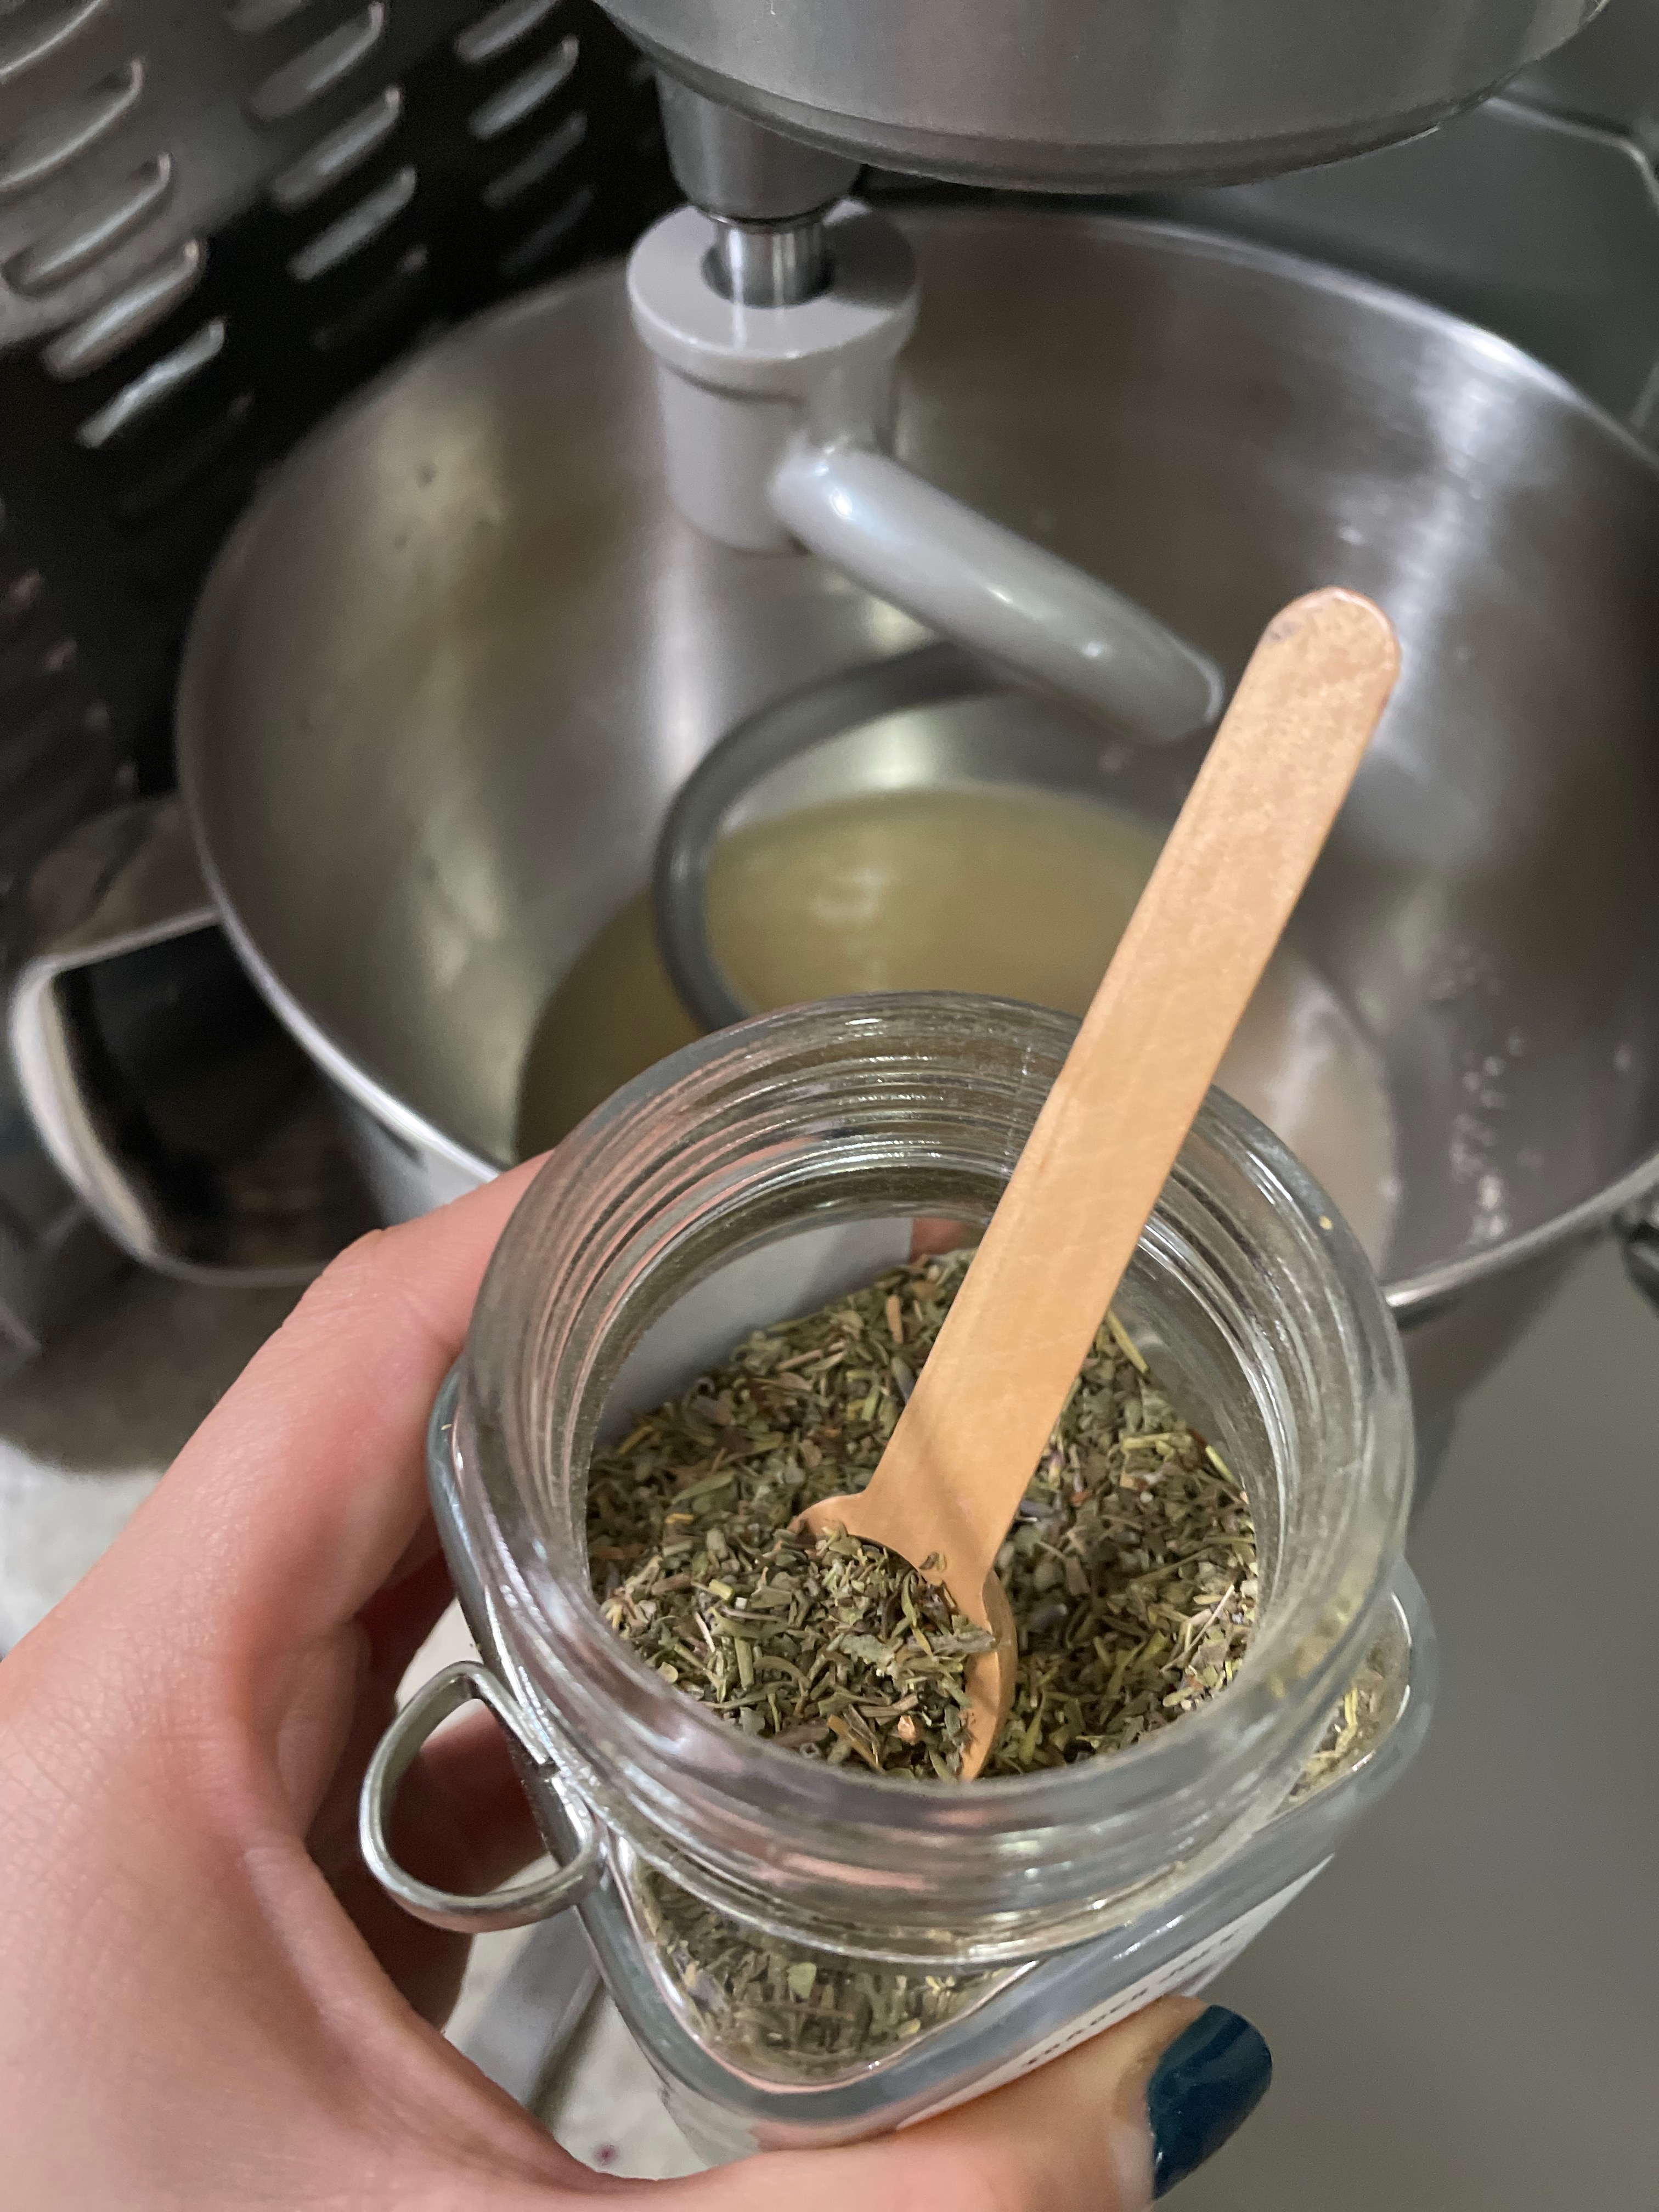
Herbs de provence – Typical herbs de provence blends contain savory, marjoram, rosemary, thyme, and oregano. The one I use from Trader Joe’s also contains lavender. If you don’t like any of the herbs in the blend, you can use any singular herb! A rosemary focaccia or thyme focaccia is also lovely. You could even switch it up and use garlic powder, onion powder, or any other aromatic.

Salt – I like using table salt for in the dough and flaky salt for the top of the focaccia. After the focaccia bakes, I like that you can see the salt on top.

Olive oil – This bread requires quite a bit of olive oil. It really strengthens the flavor of the bread and helps it crisp up in the oven. Don’t skimp on the oil!
My Favorite Focaccia

Print Recipe
Crispy, fluffy, rich focaccia – perfect to bring to any gathering or have as an accompaniment to any meal.
Course Appetizer, Side Dish, Snack
Keyword bread, focaccia
Prep Time 15 minutes
Cook Time 30 minutes
Servings 1 sheet pan full

Equipment

  • Stand mixer optional

Ingredients

  • 2.5 cups warm water
  • 4.5 tsp yeast dry active
  • 2 tsp honey
  • 4 tsp salt
  • 5 cups flour all purpose
  • 2 tsp herbes de provence + extra for topping
  • 1/4 cup olive oil
  • flakey salt for topping

Instructions

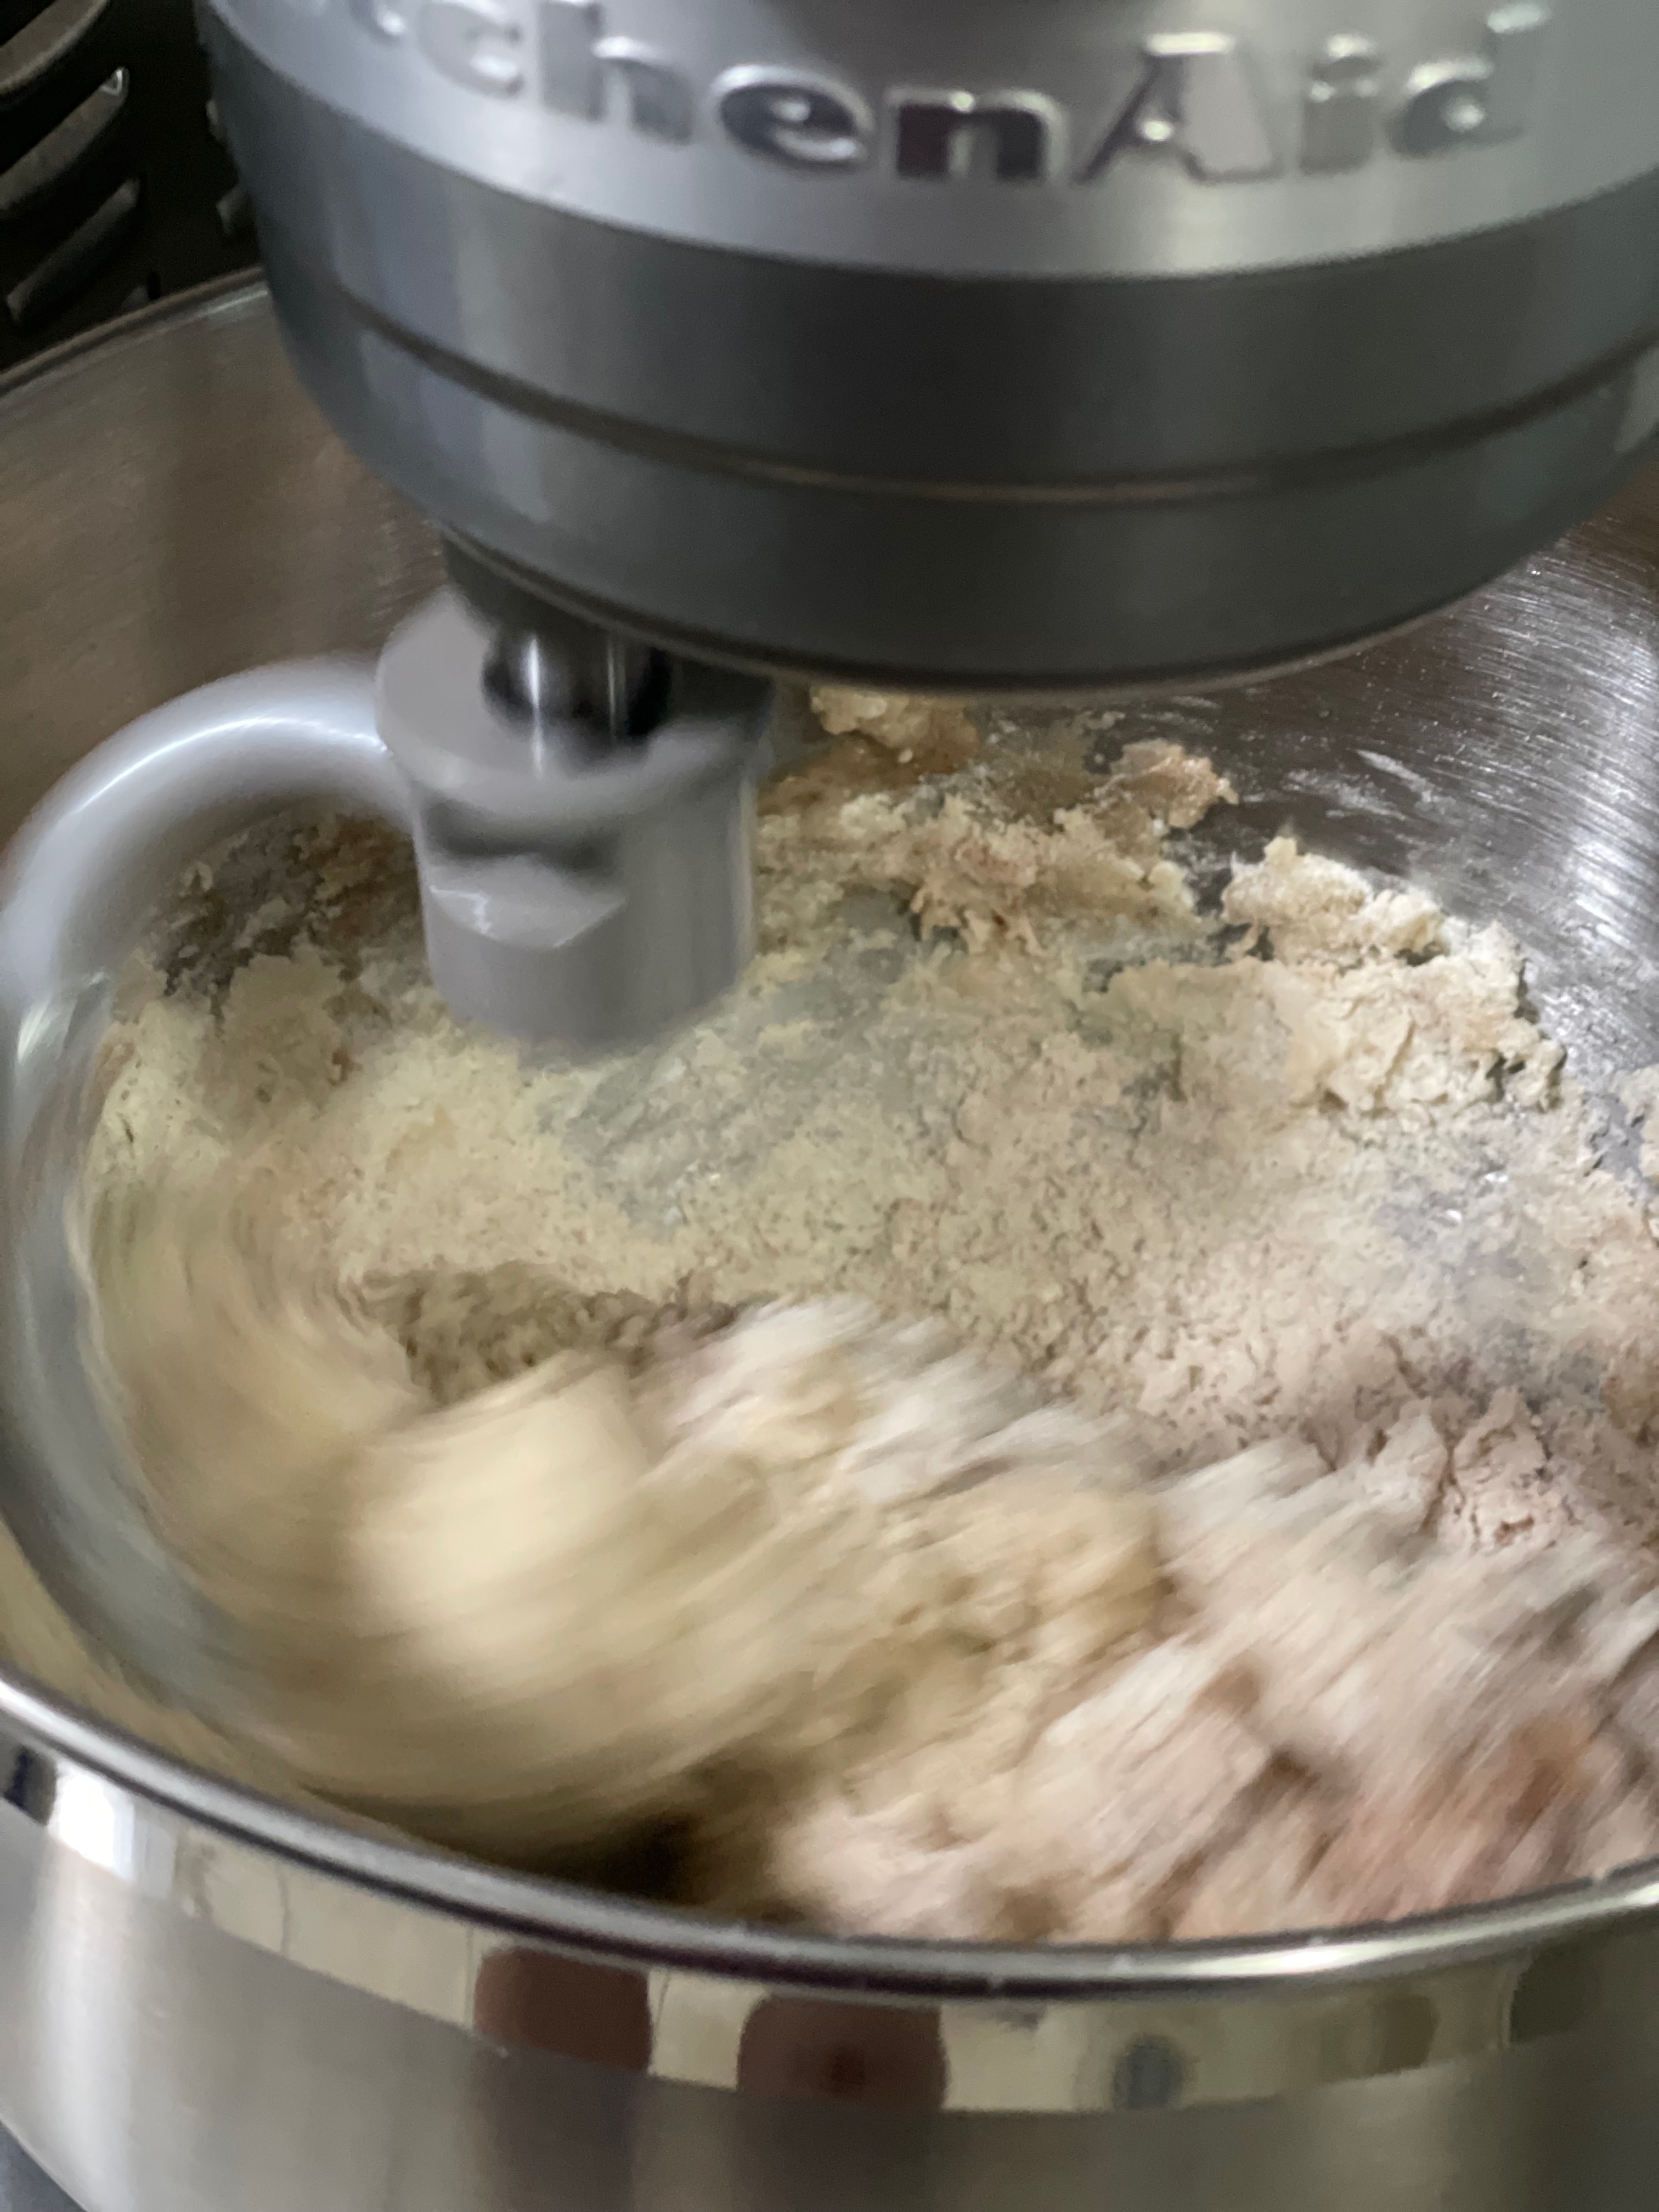
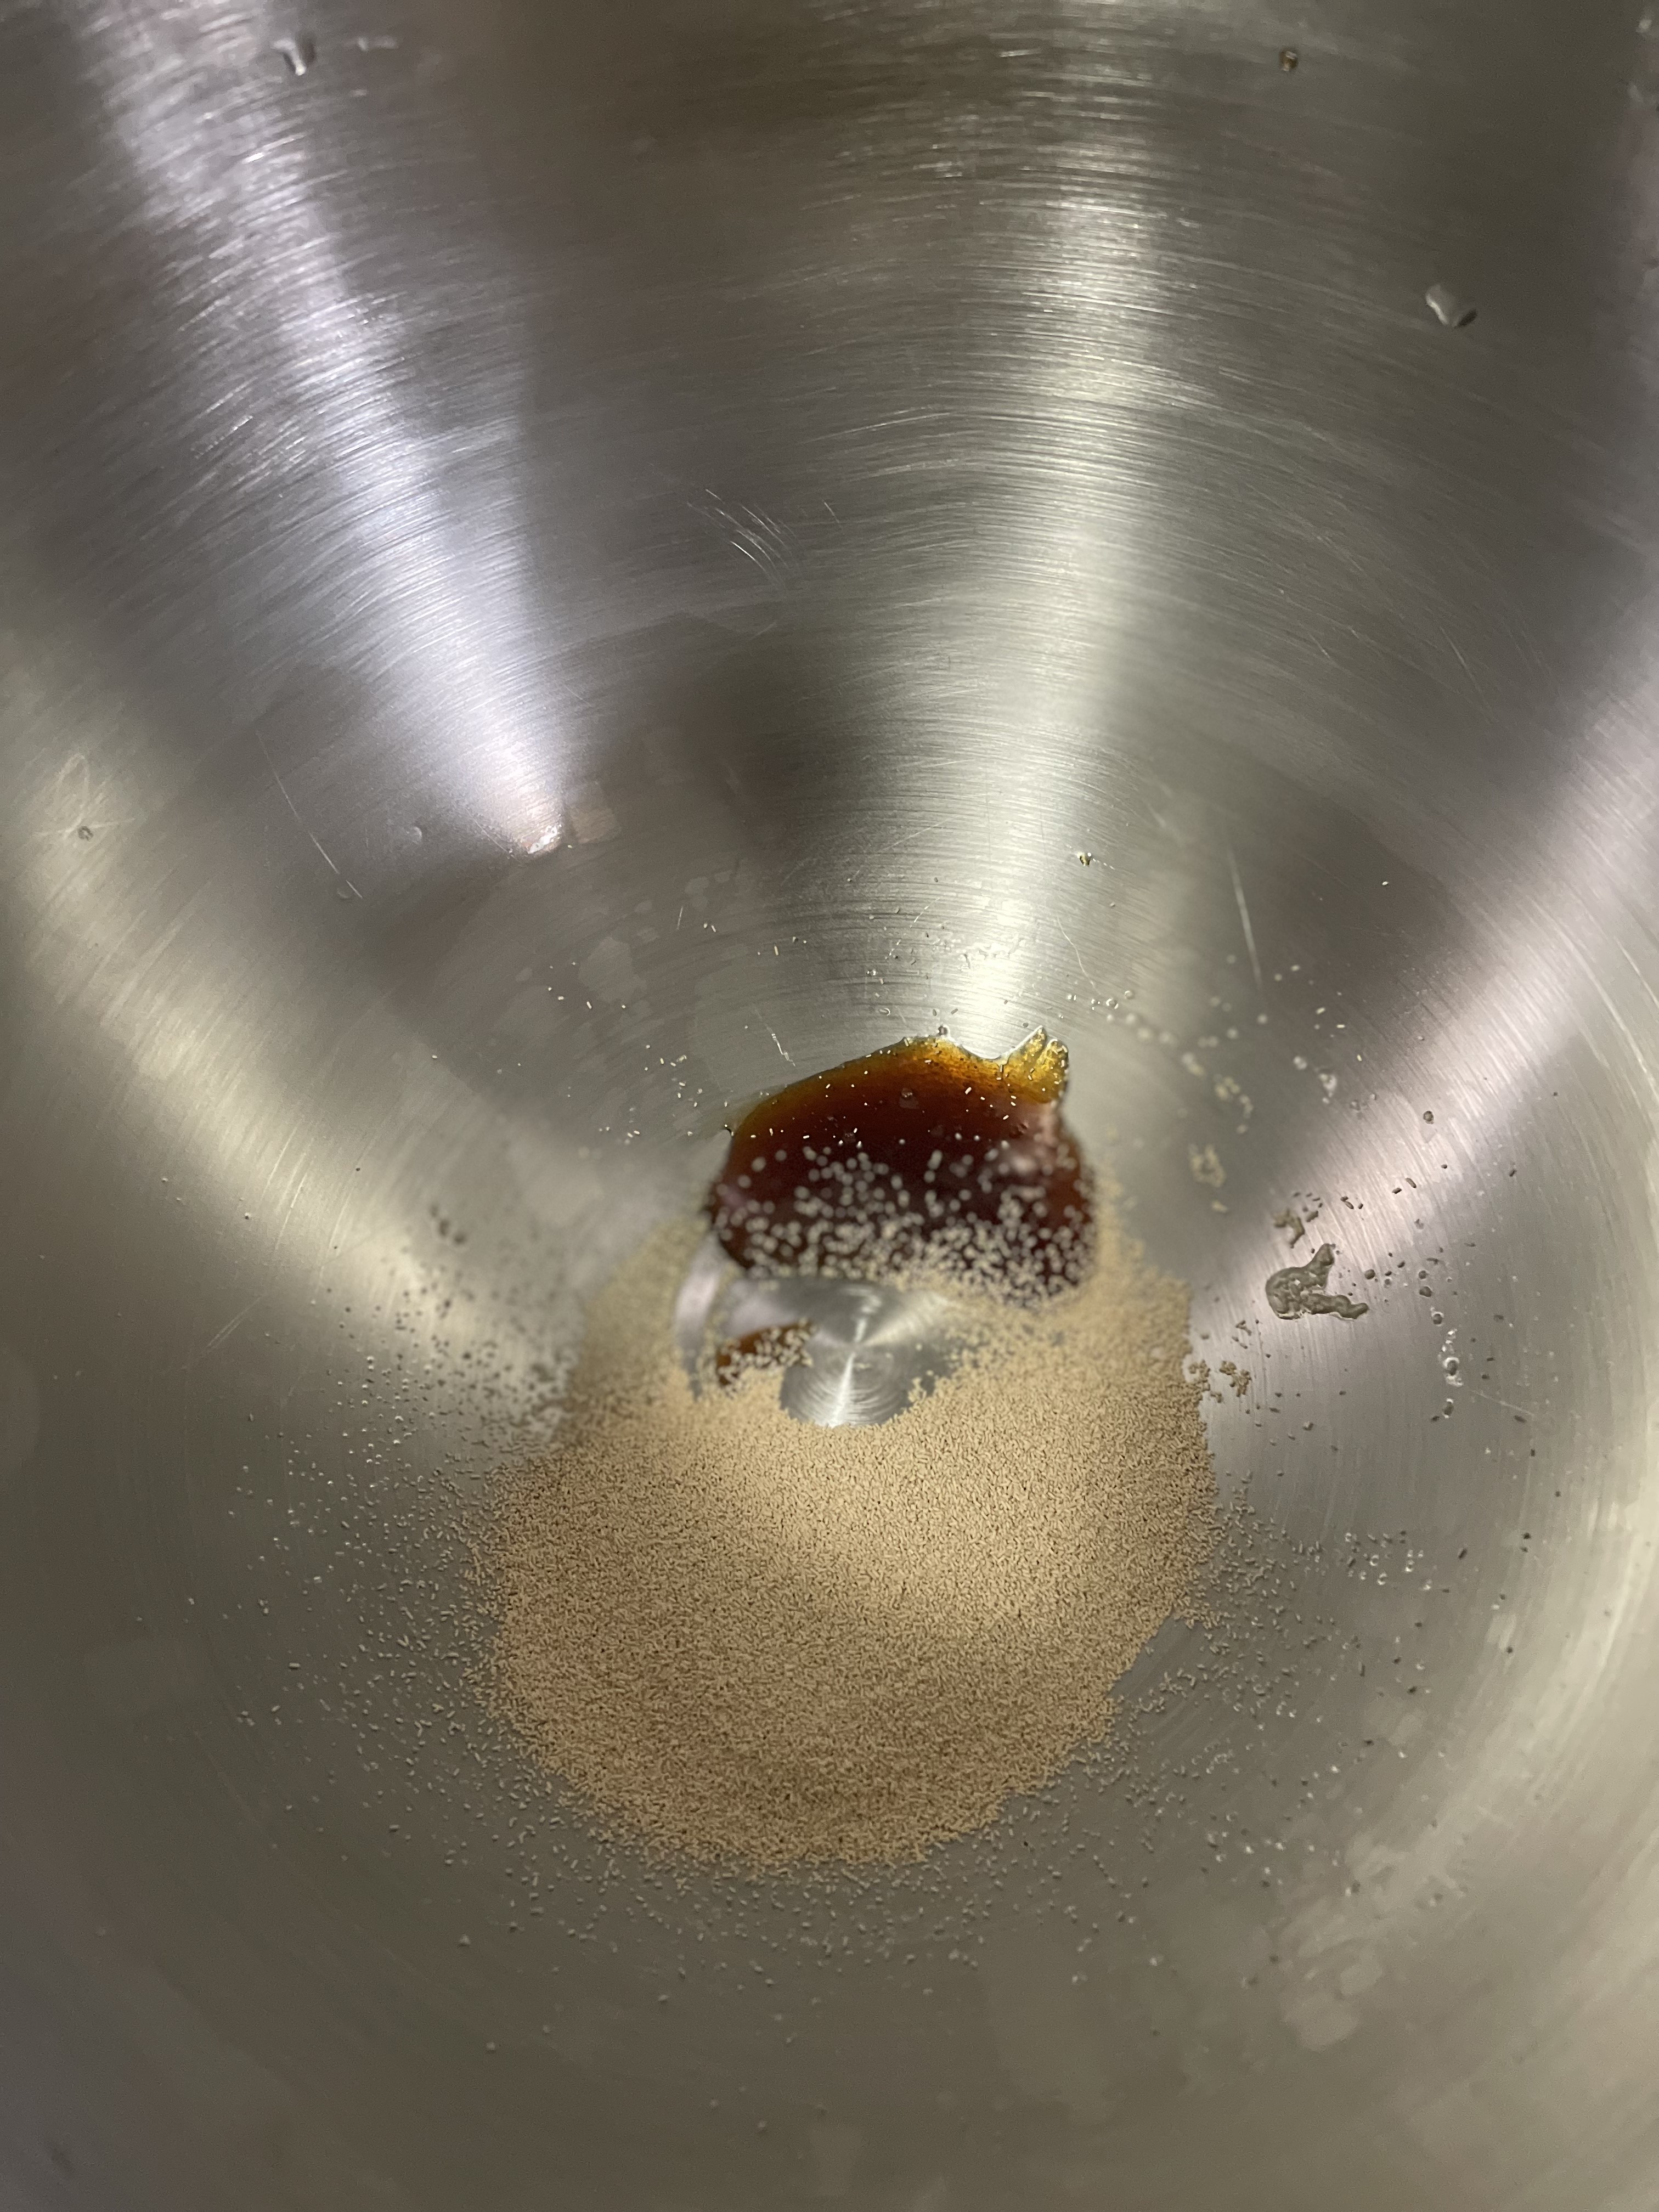
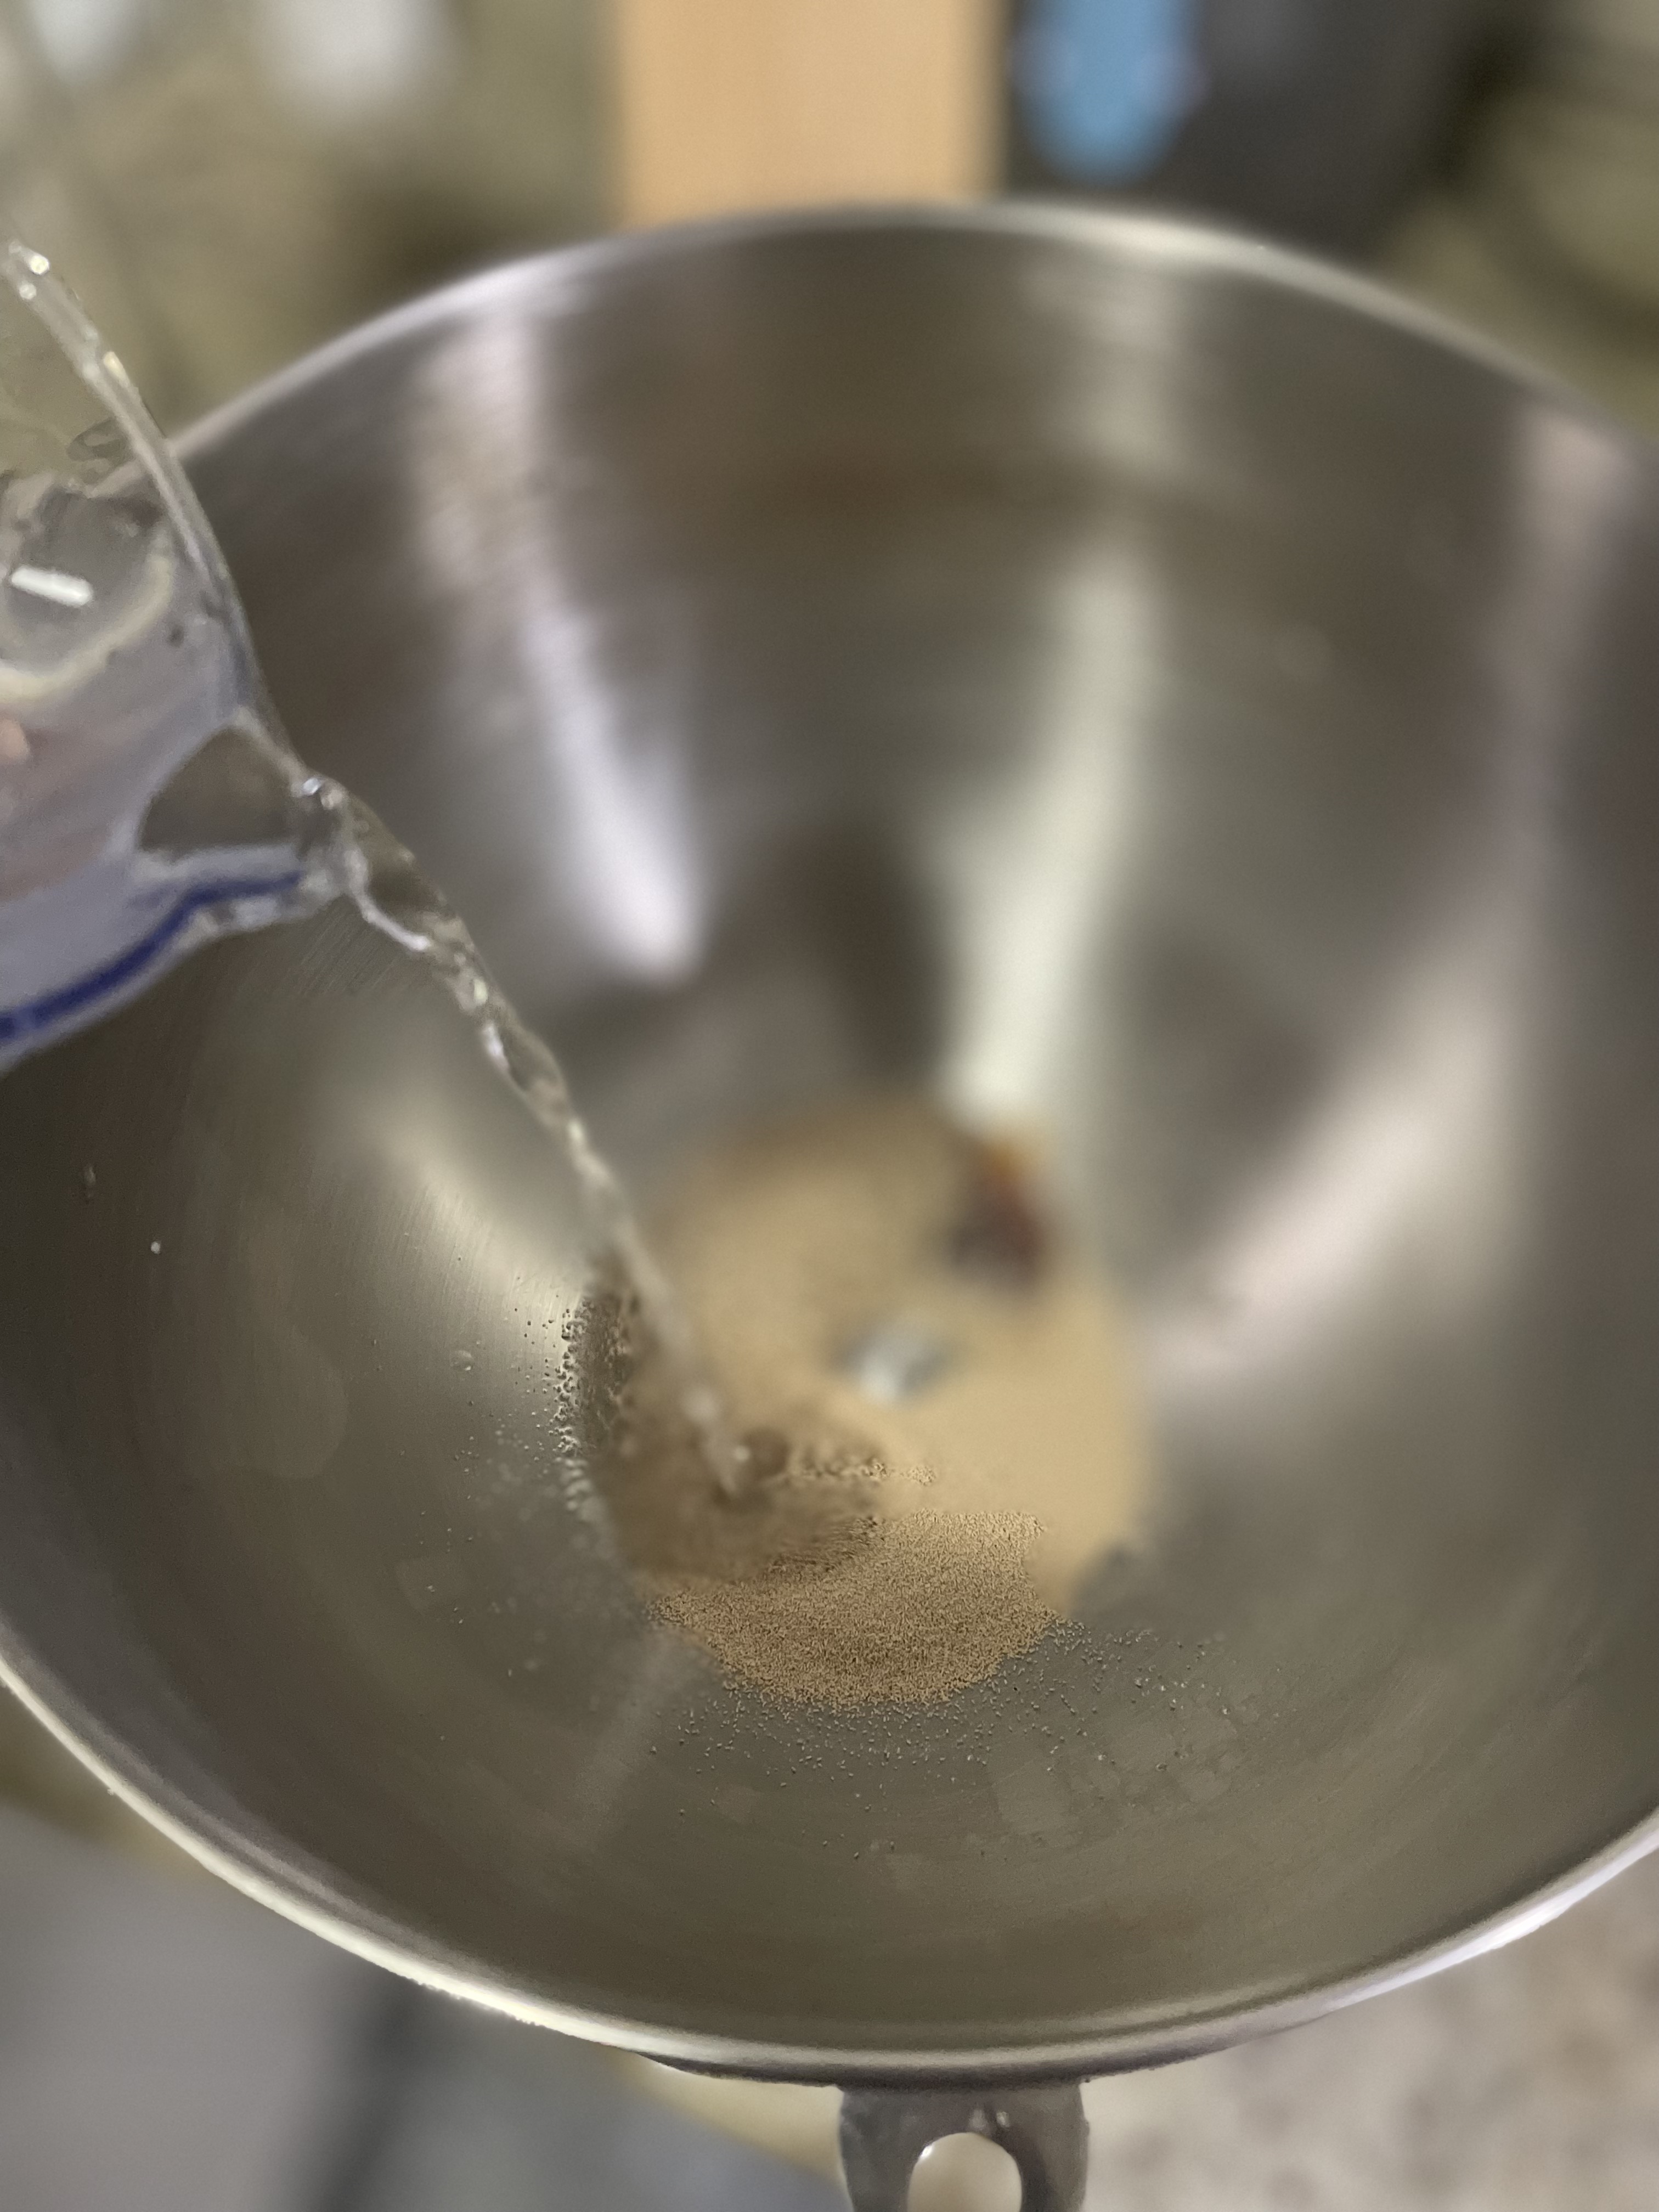
  • Bloom yeast in warm water and honey. Mix together and allow to sit until mixture begins to foam.
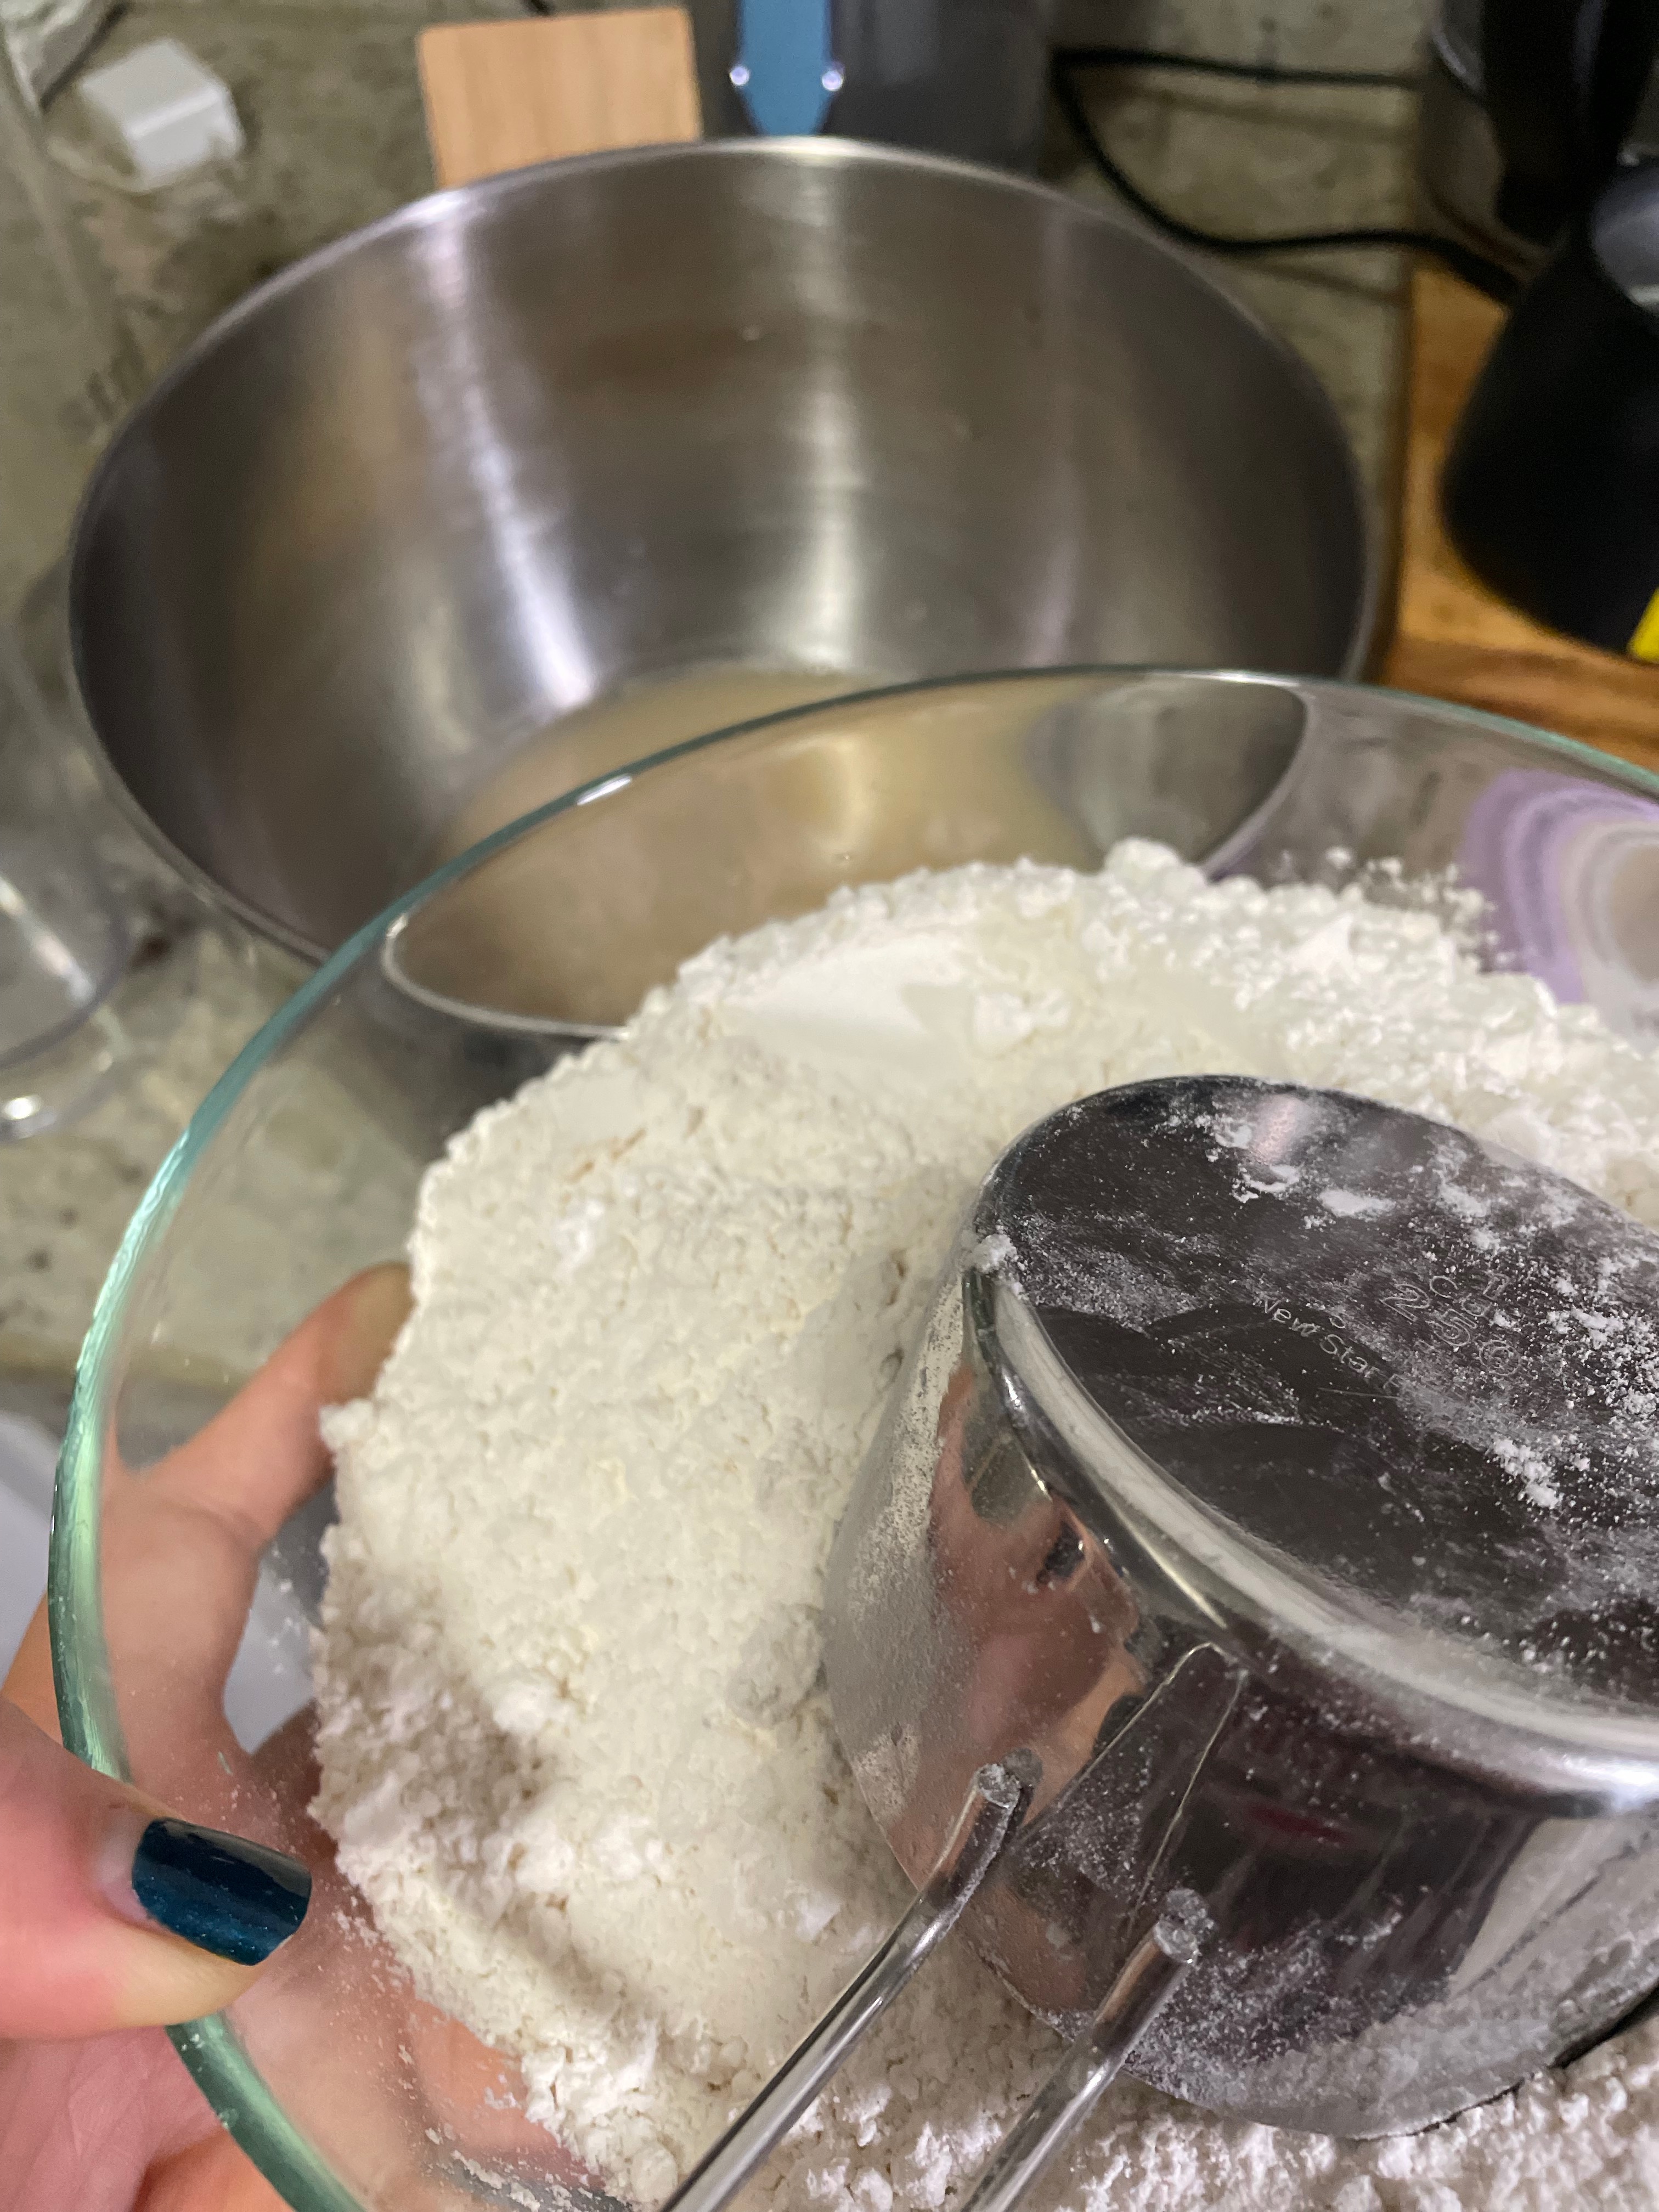
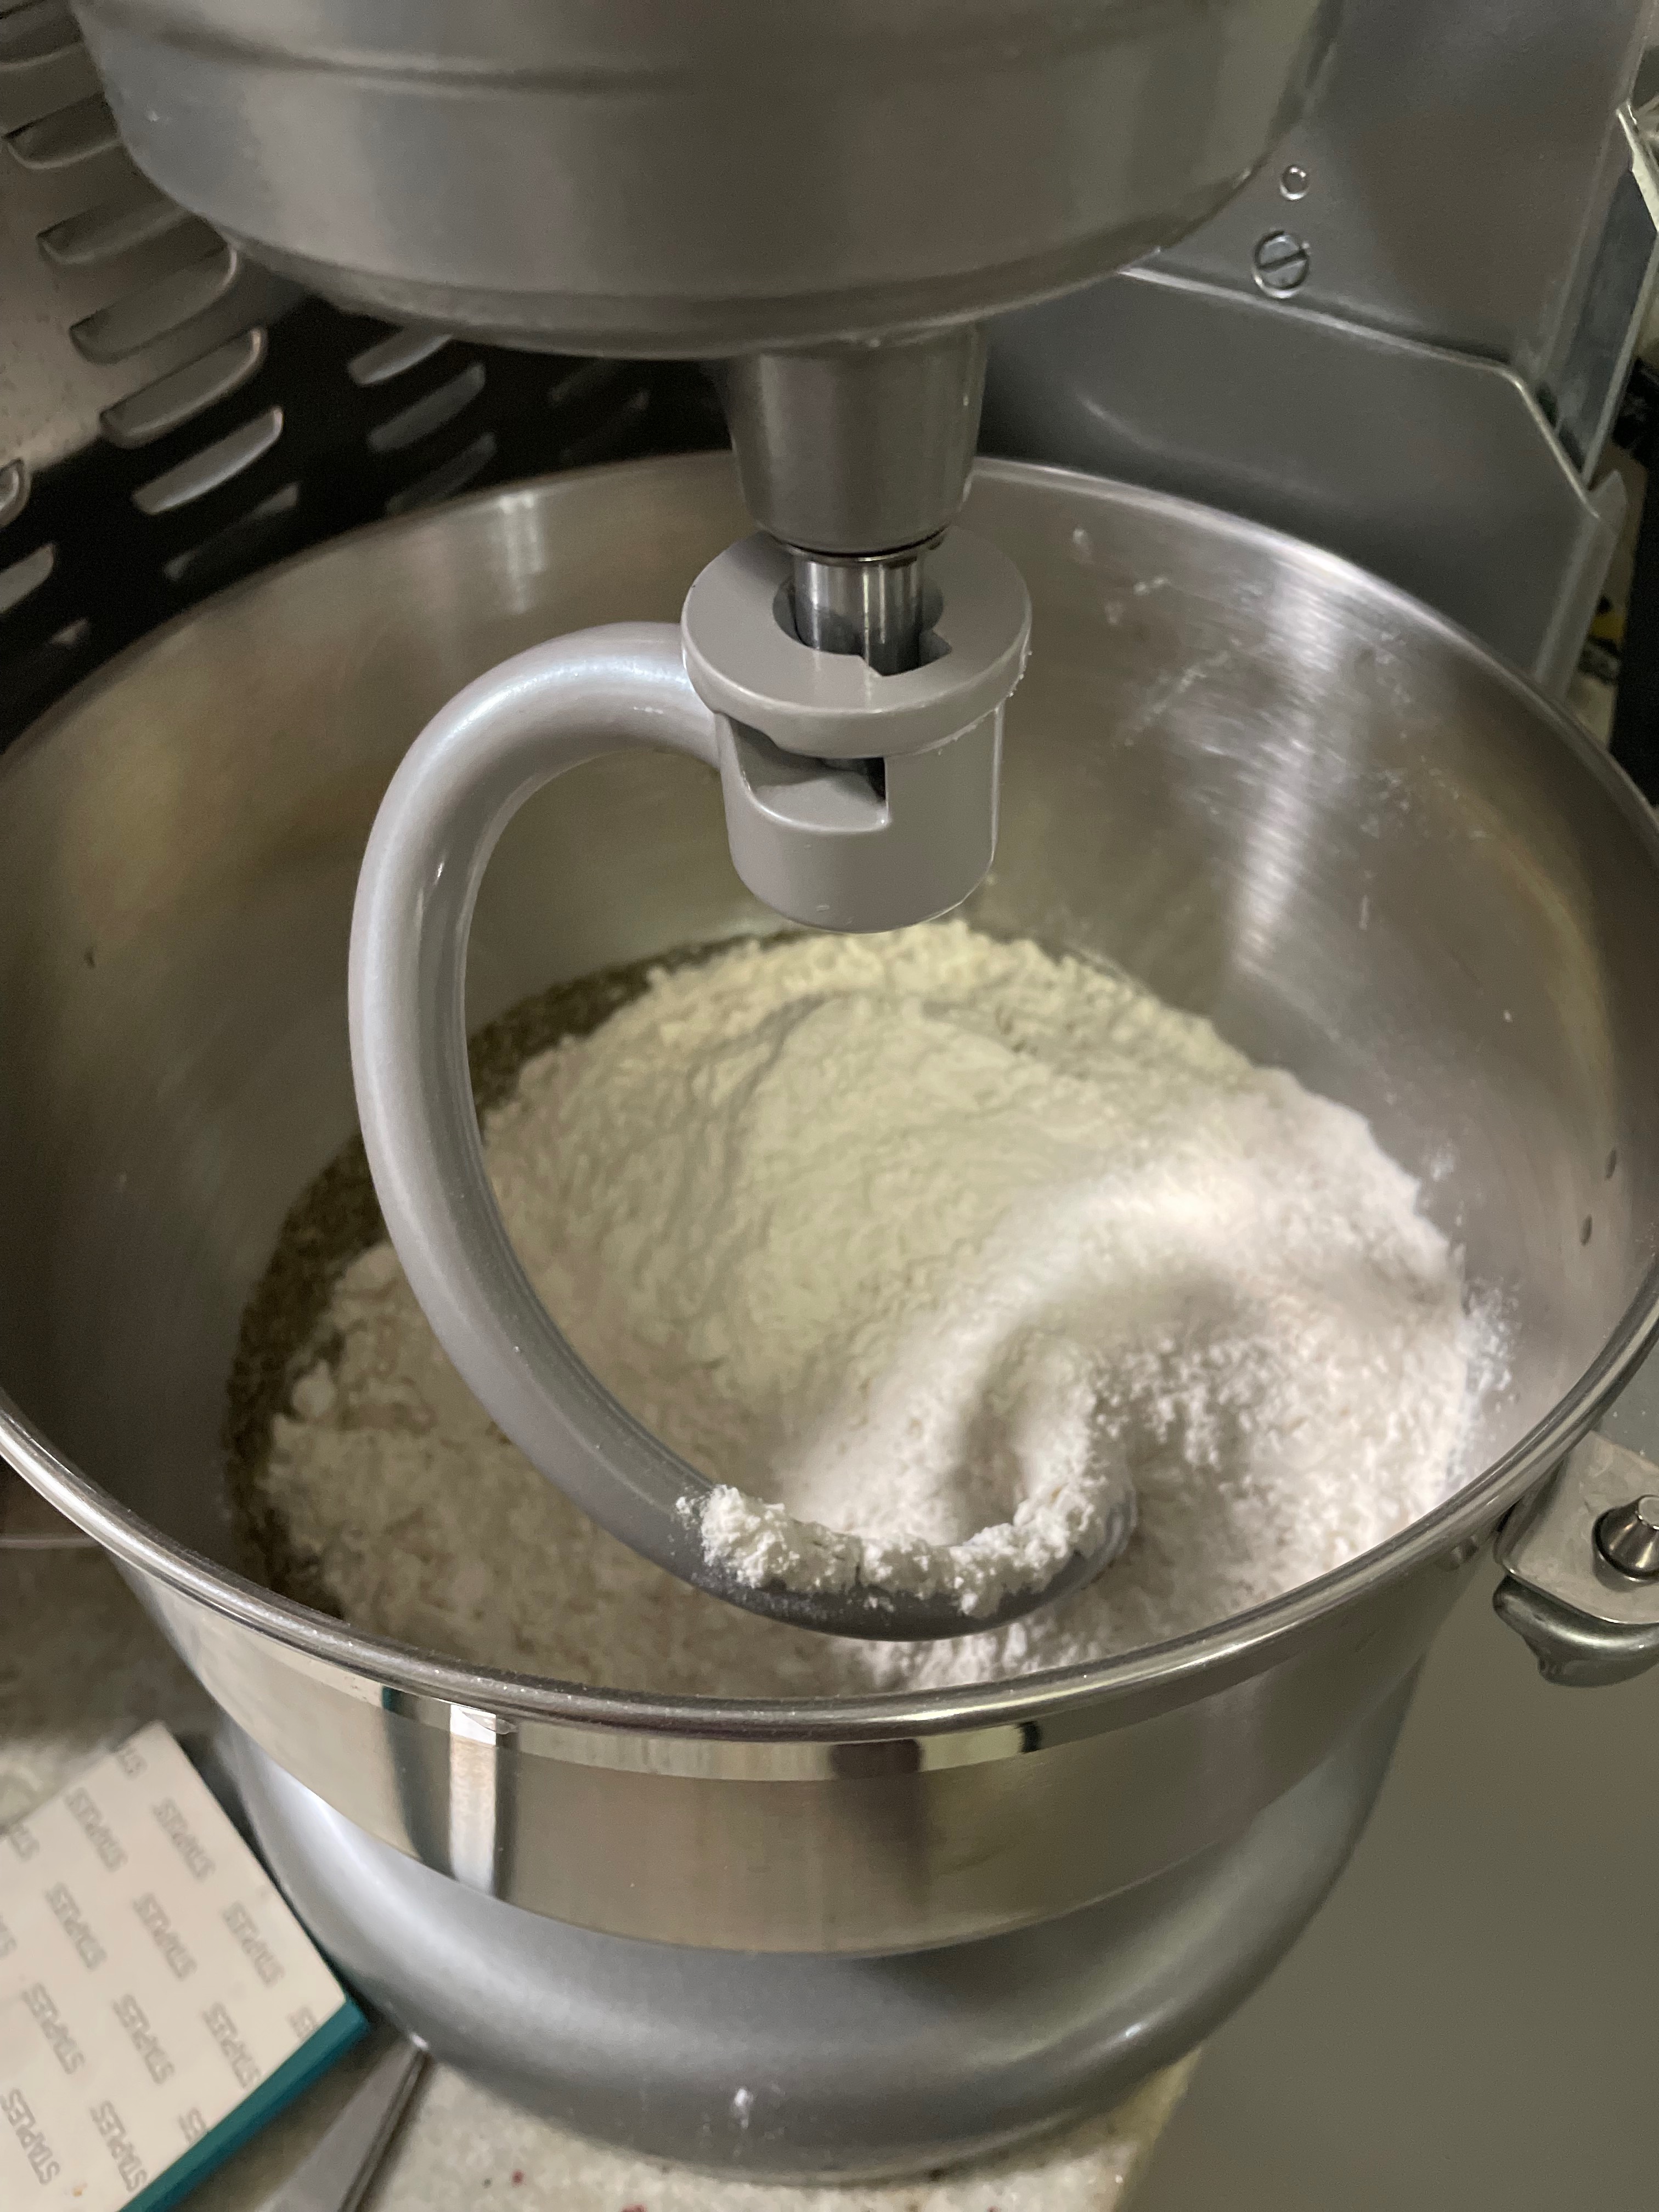
  • Add flour, salt, and herbs de provence. If using a stand mixer, use the hook attachment.
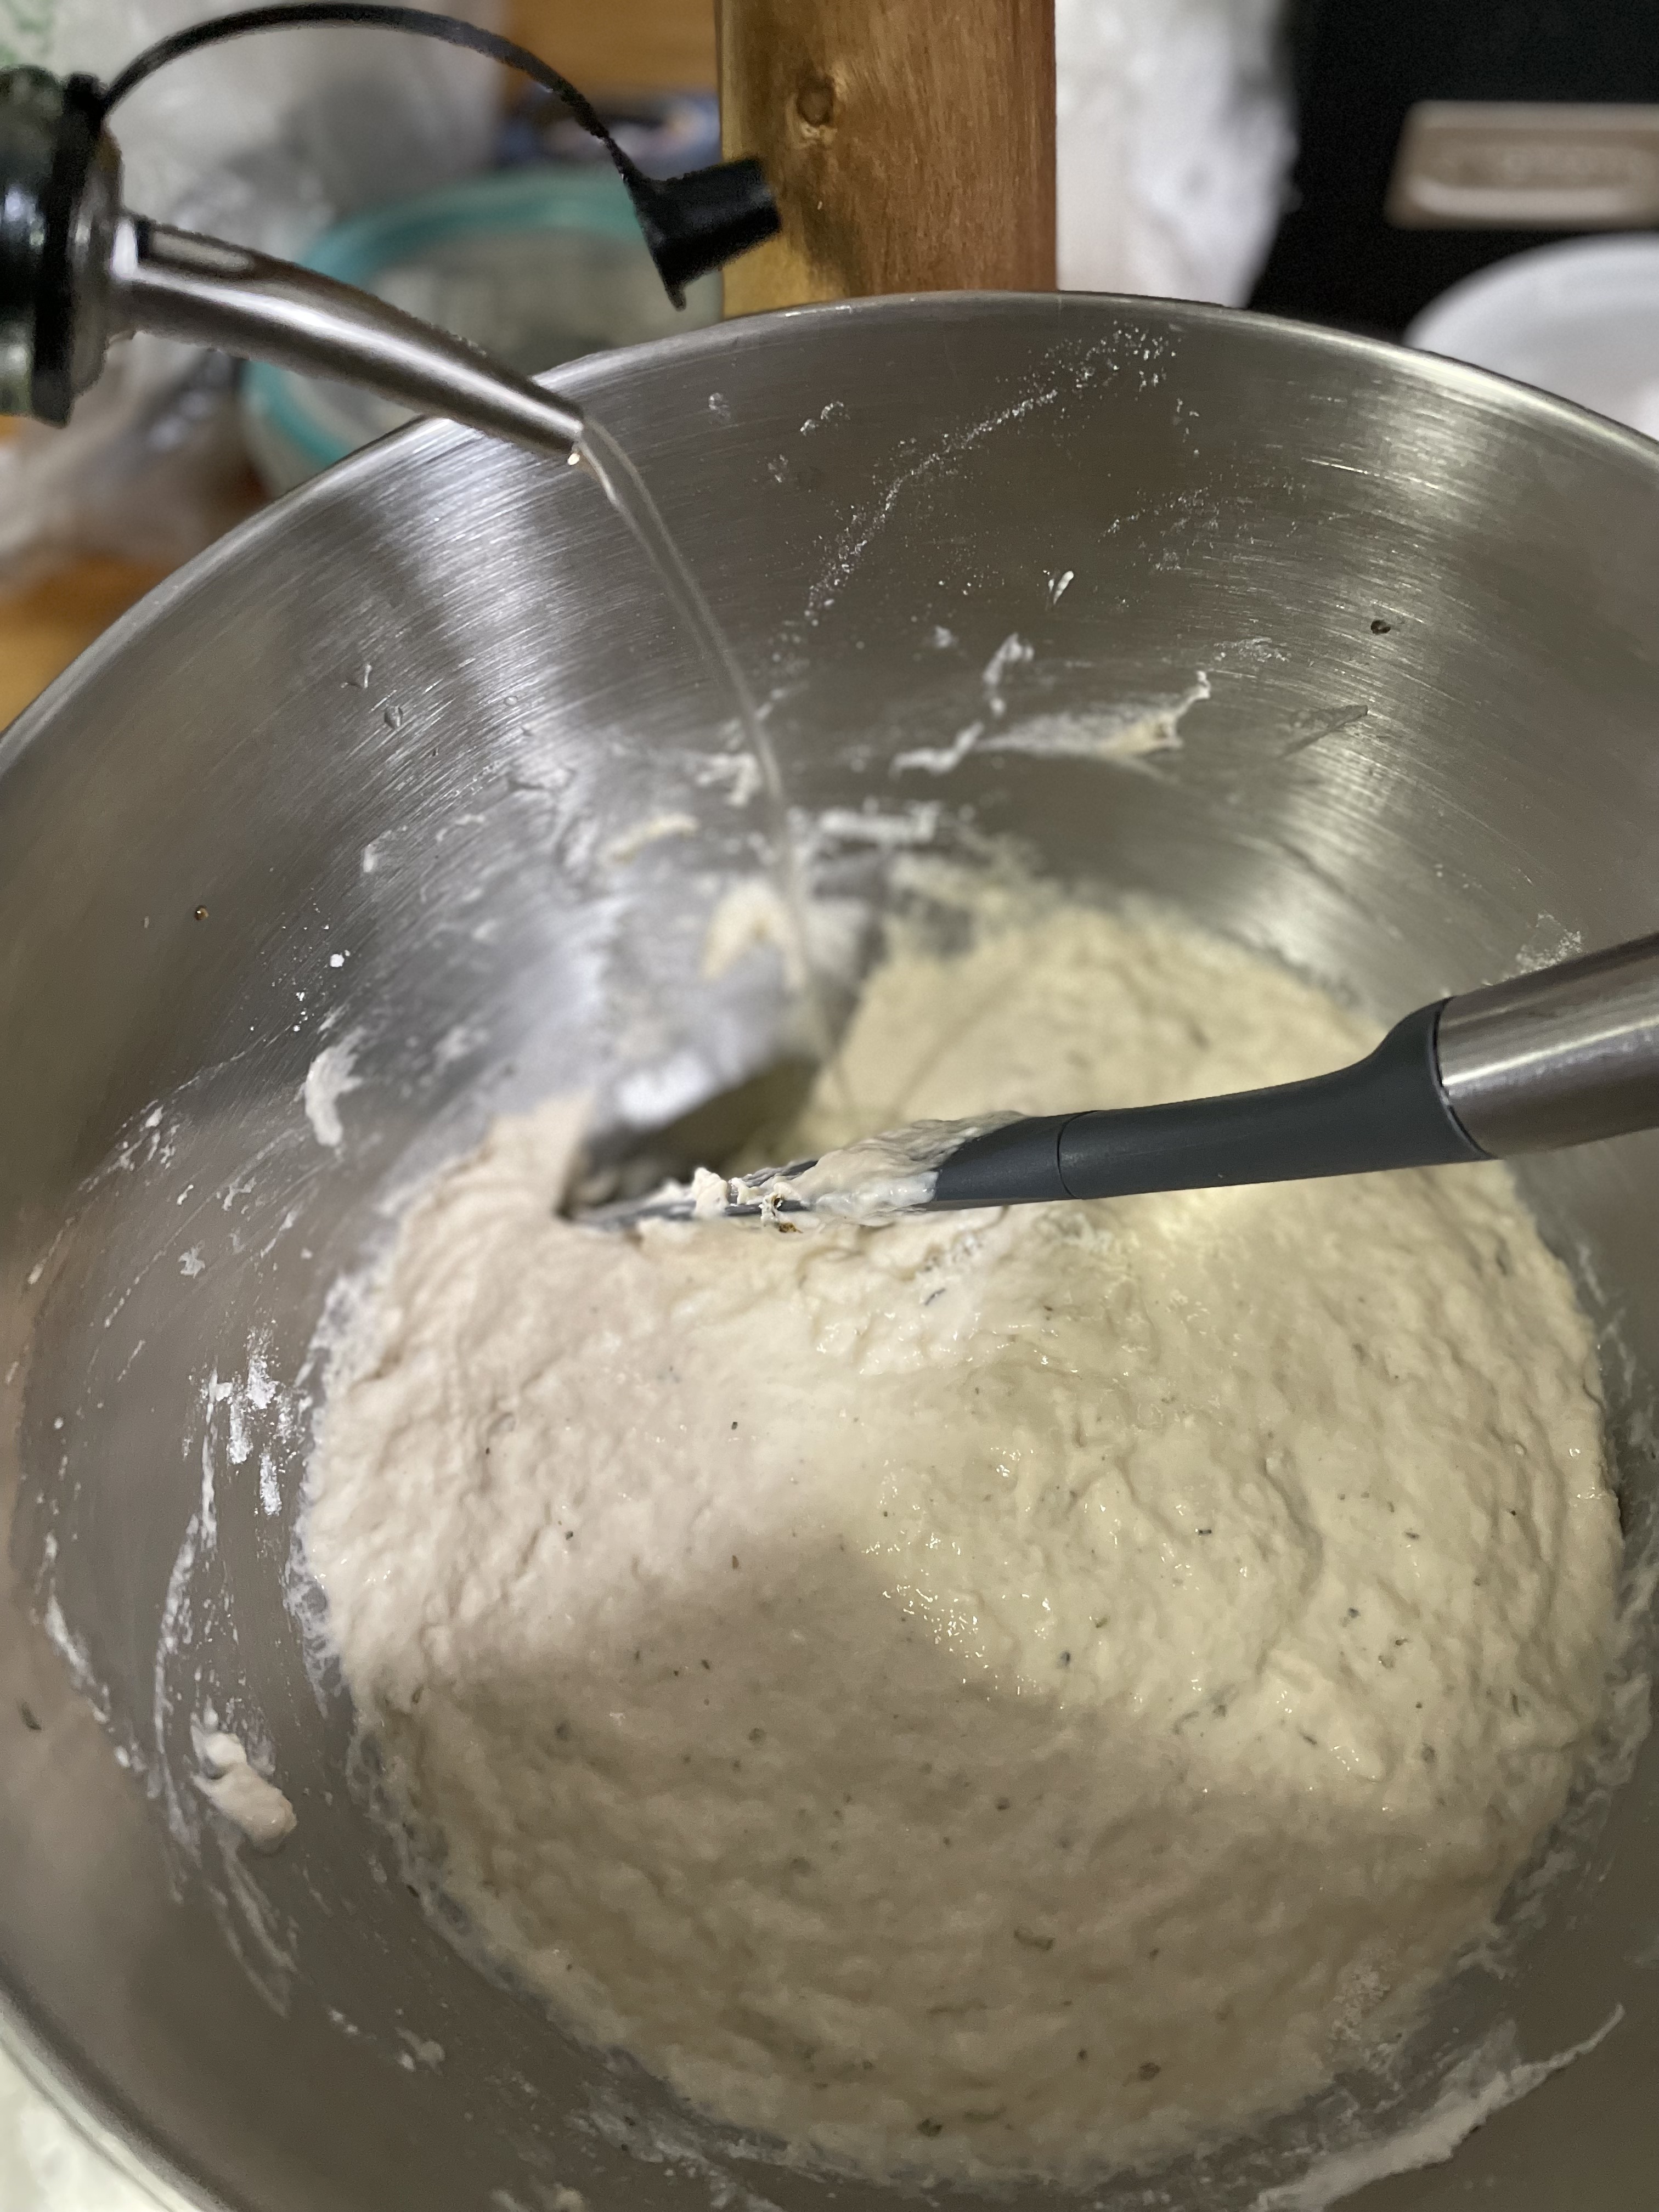
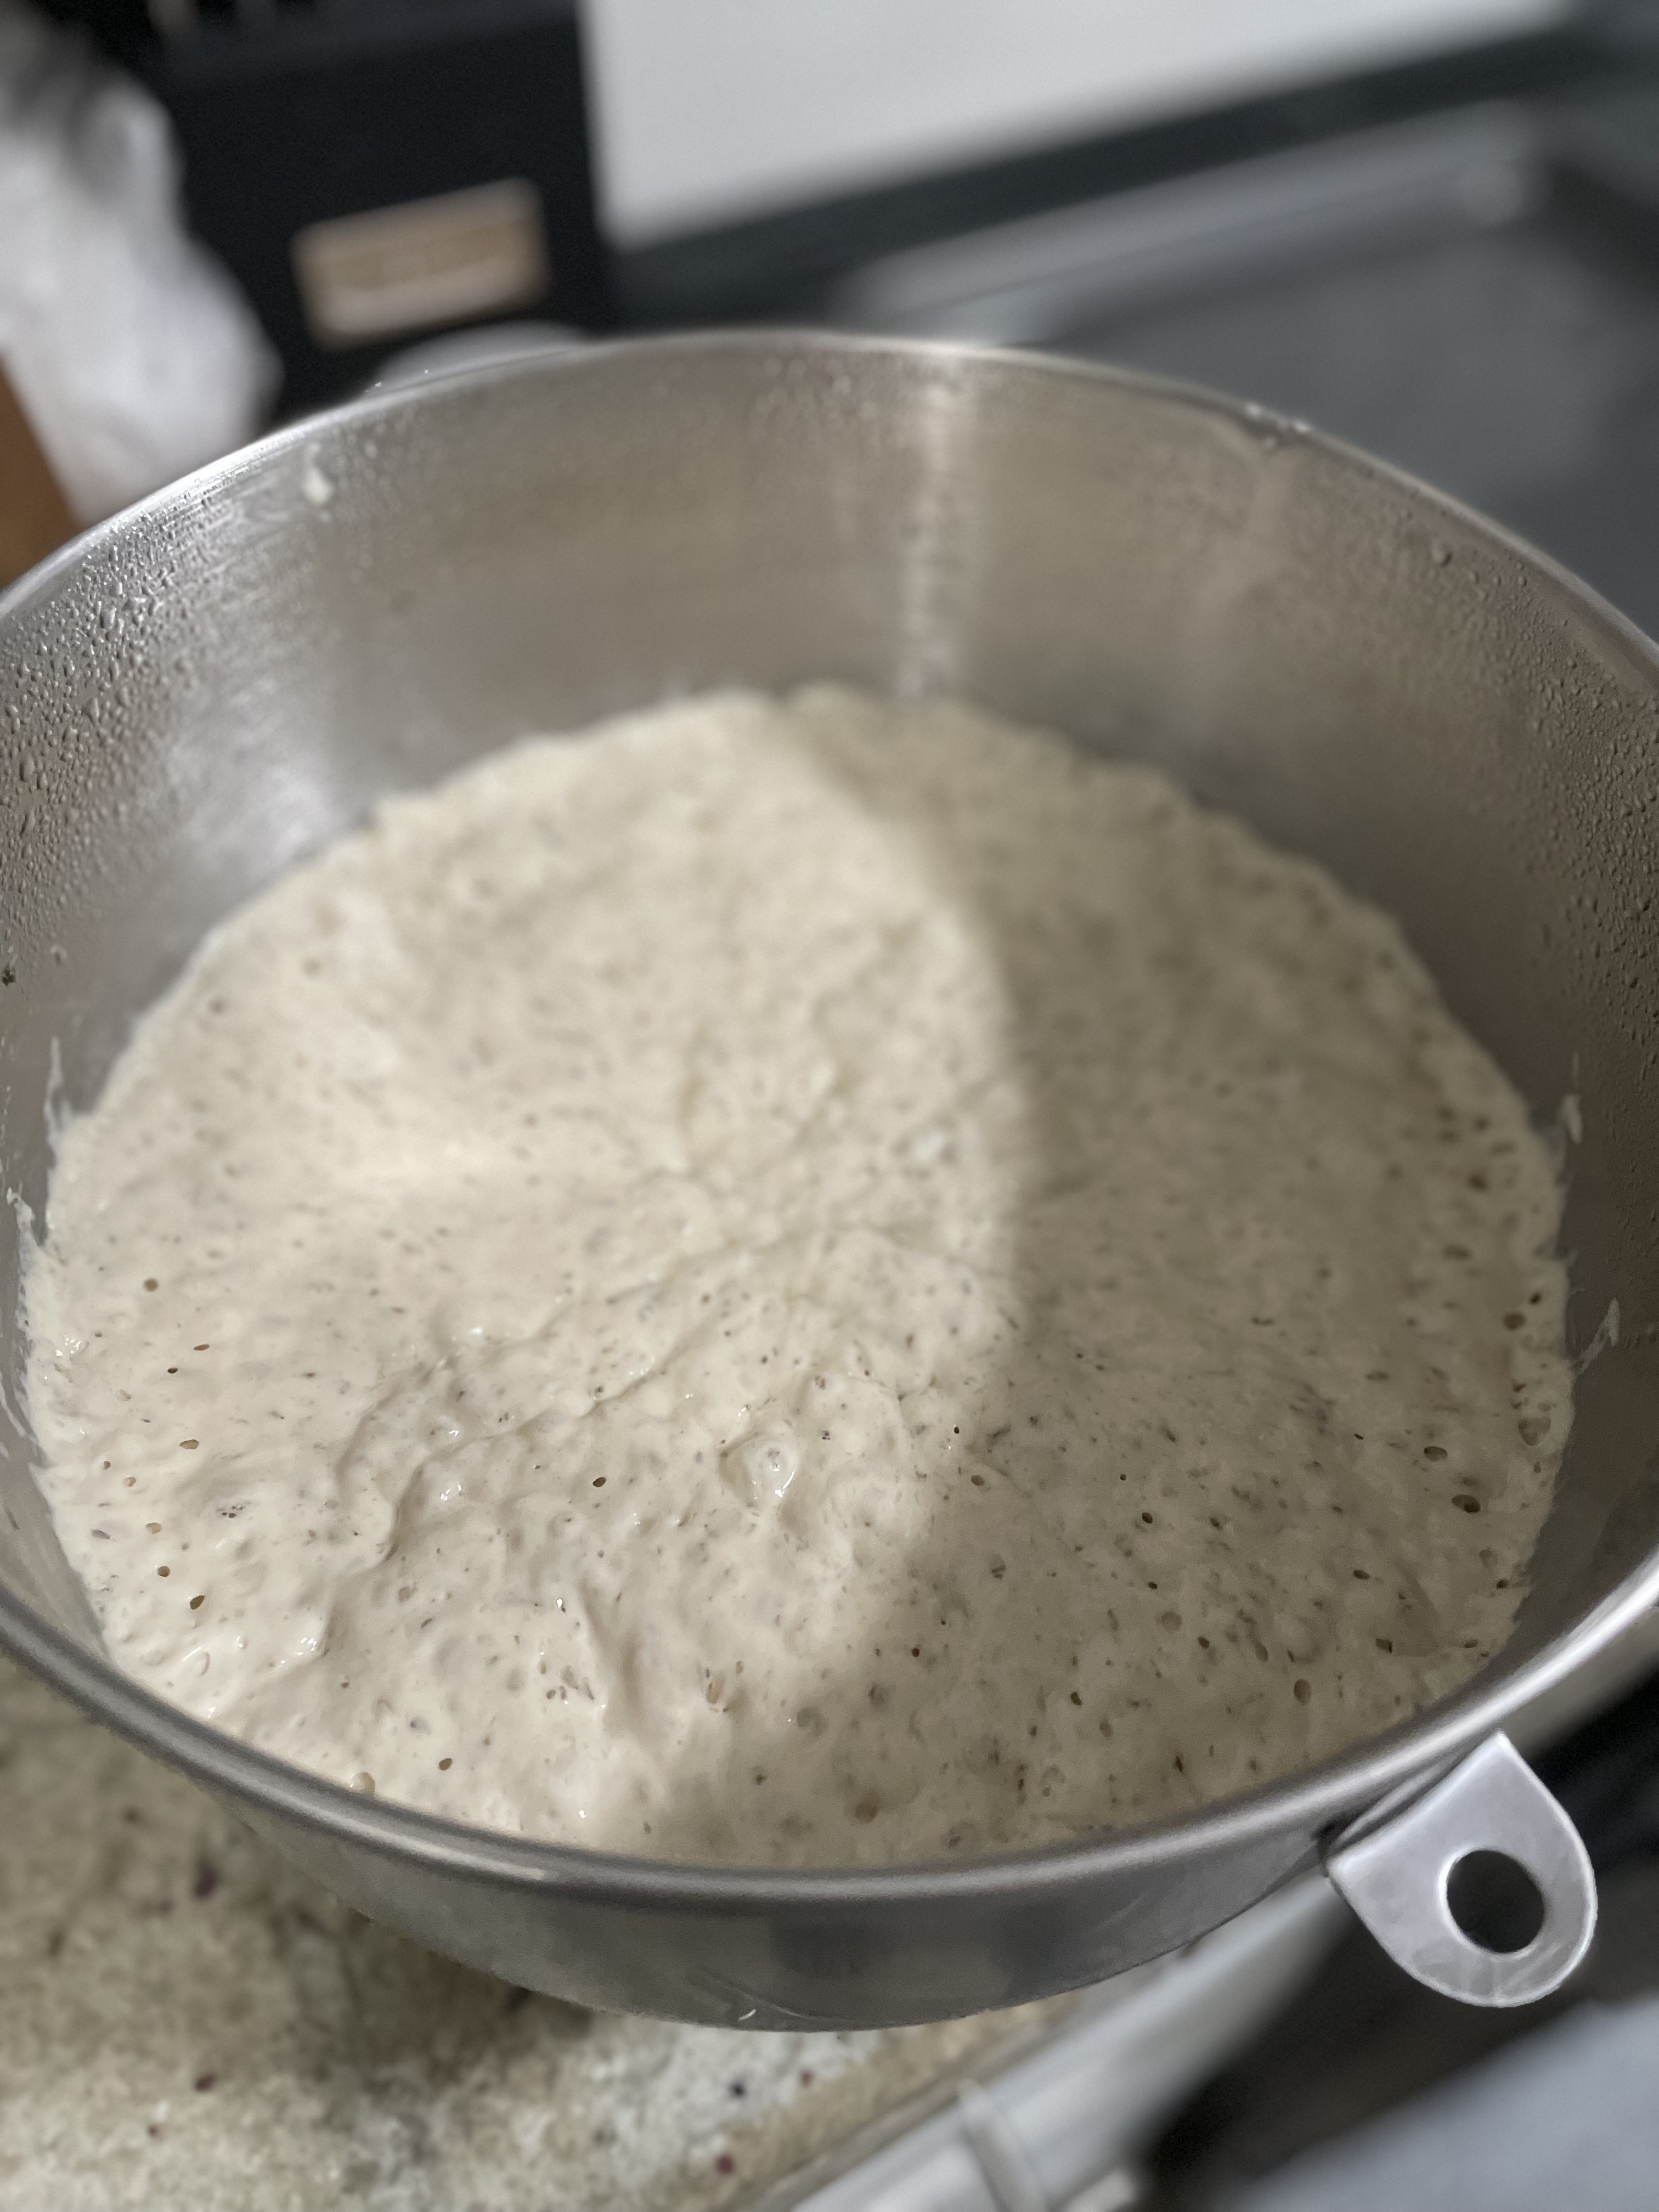
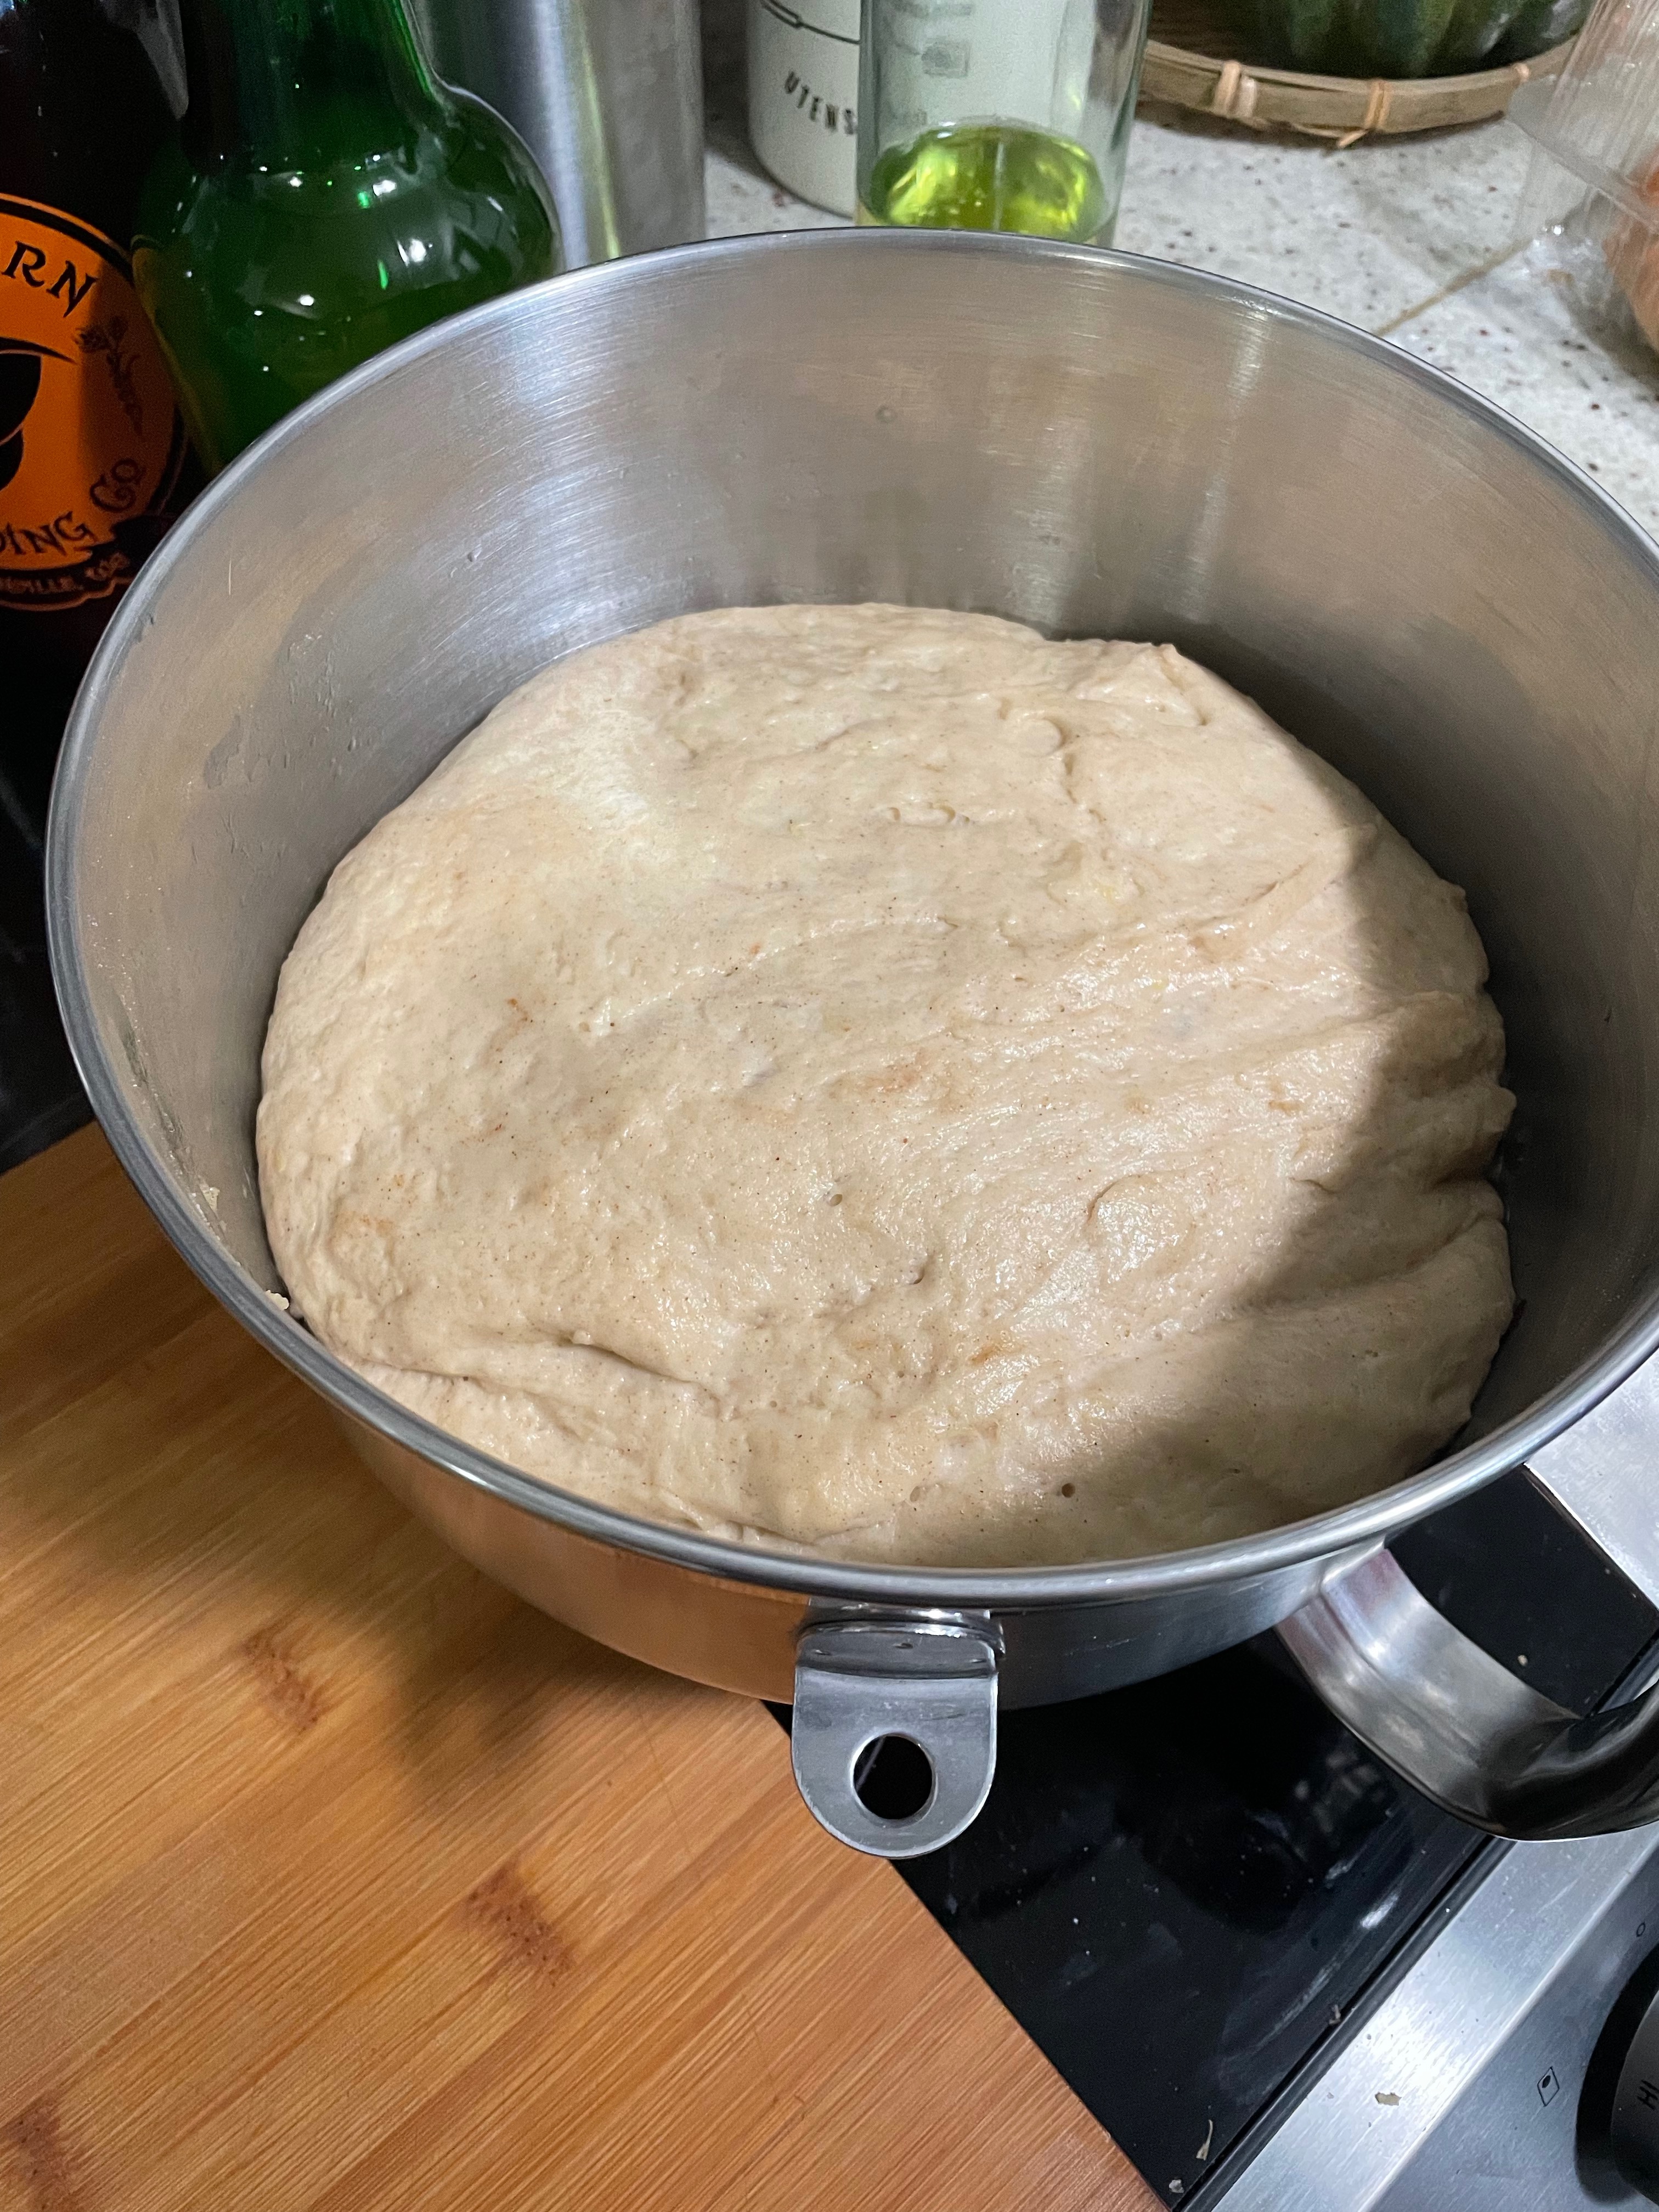
  • Transfer to an oiled bowl, cover, and let rise overnight in the refrigerator, up to 48 hours. OR if you're lazy like me, instead of transferring to another bowl, pour some oil into the mixing bowl, targeting the sides of the bowl, making sure to coat the ball of dough.
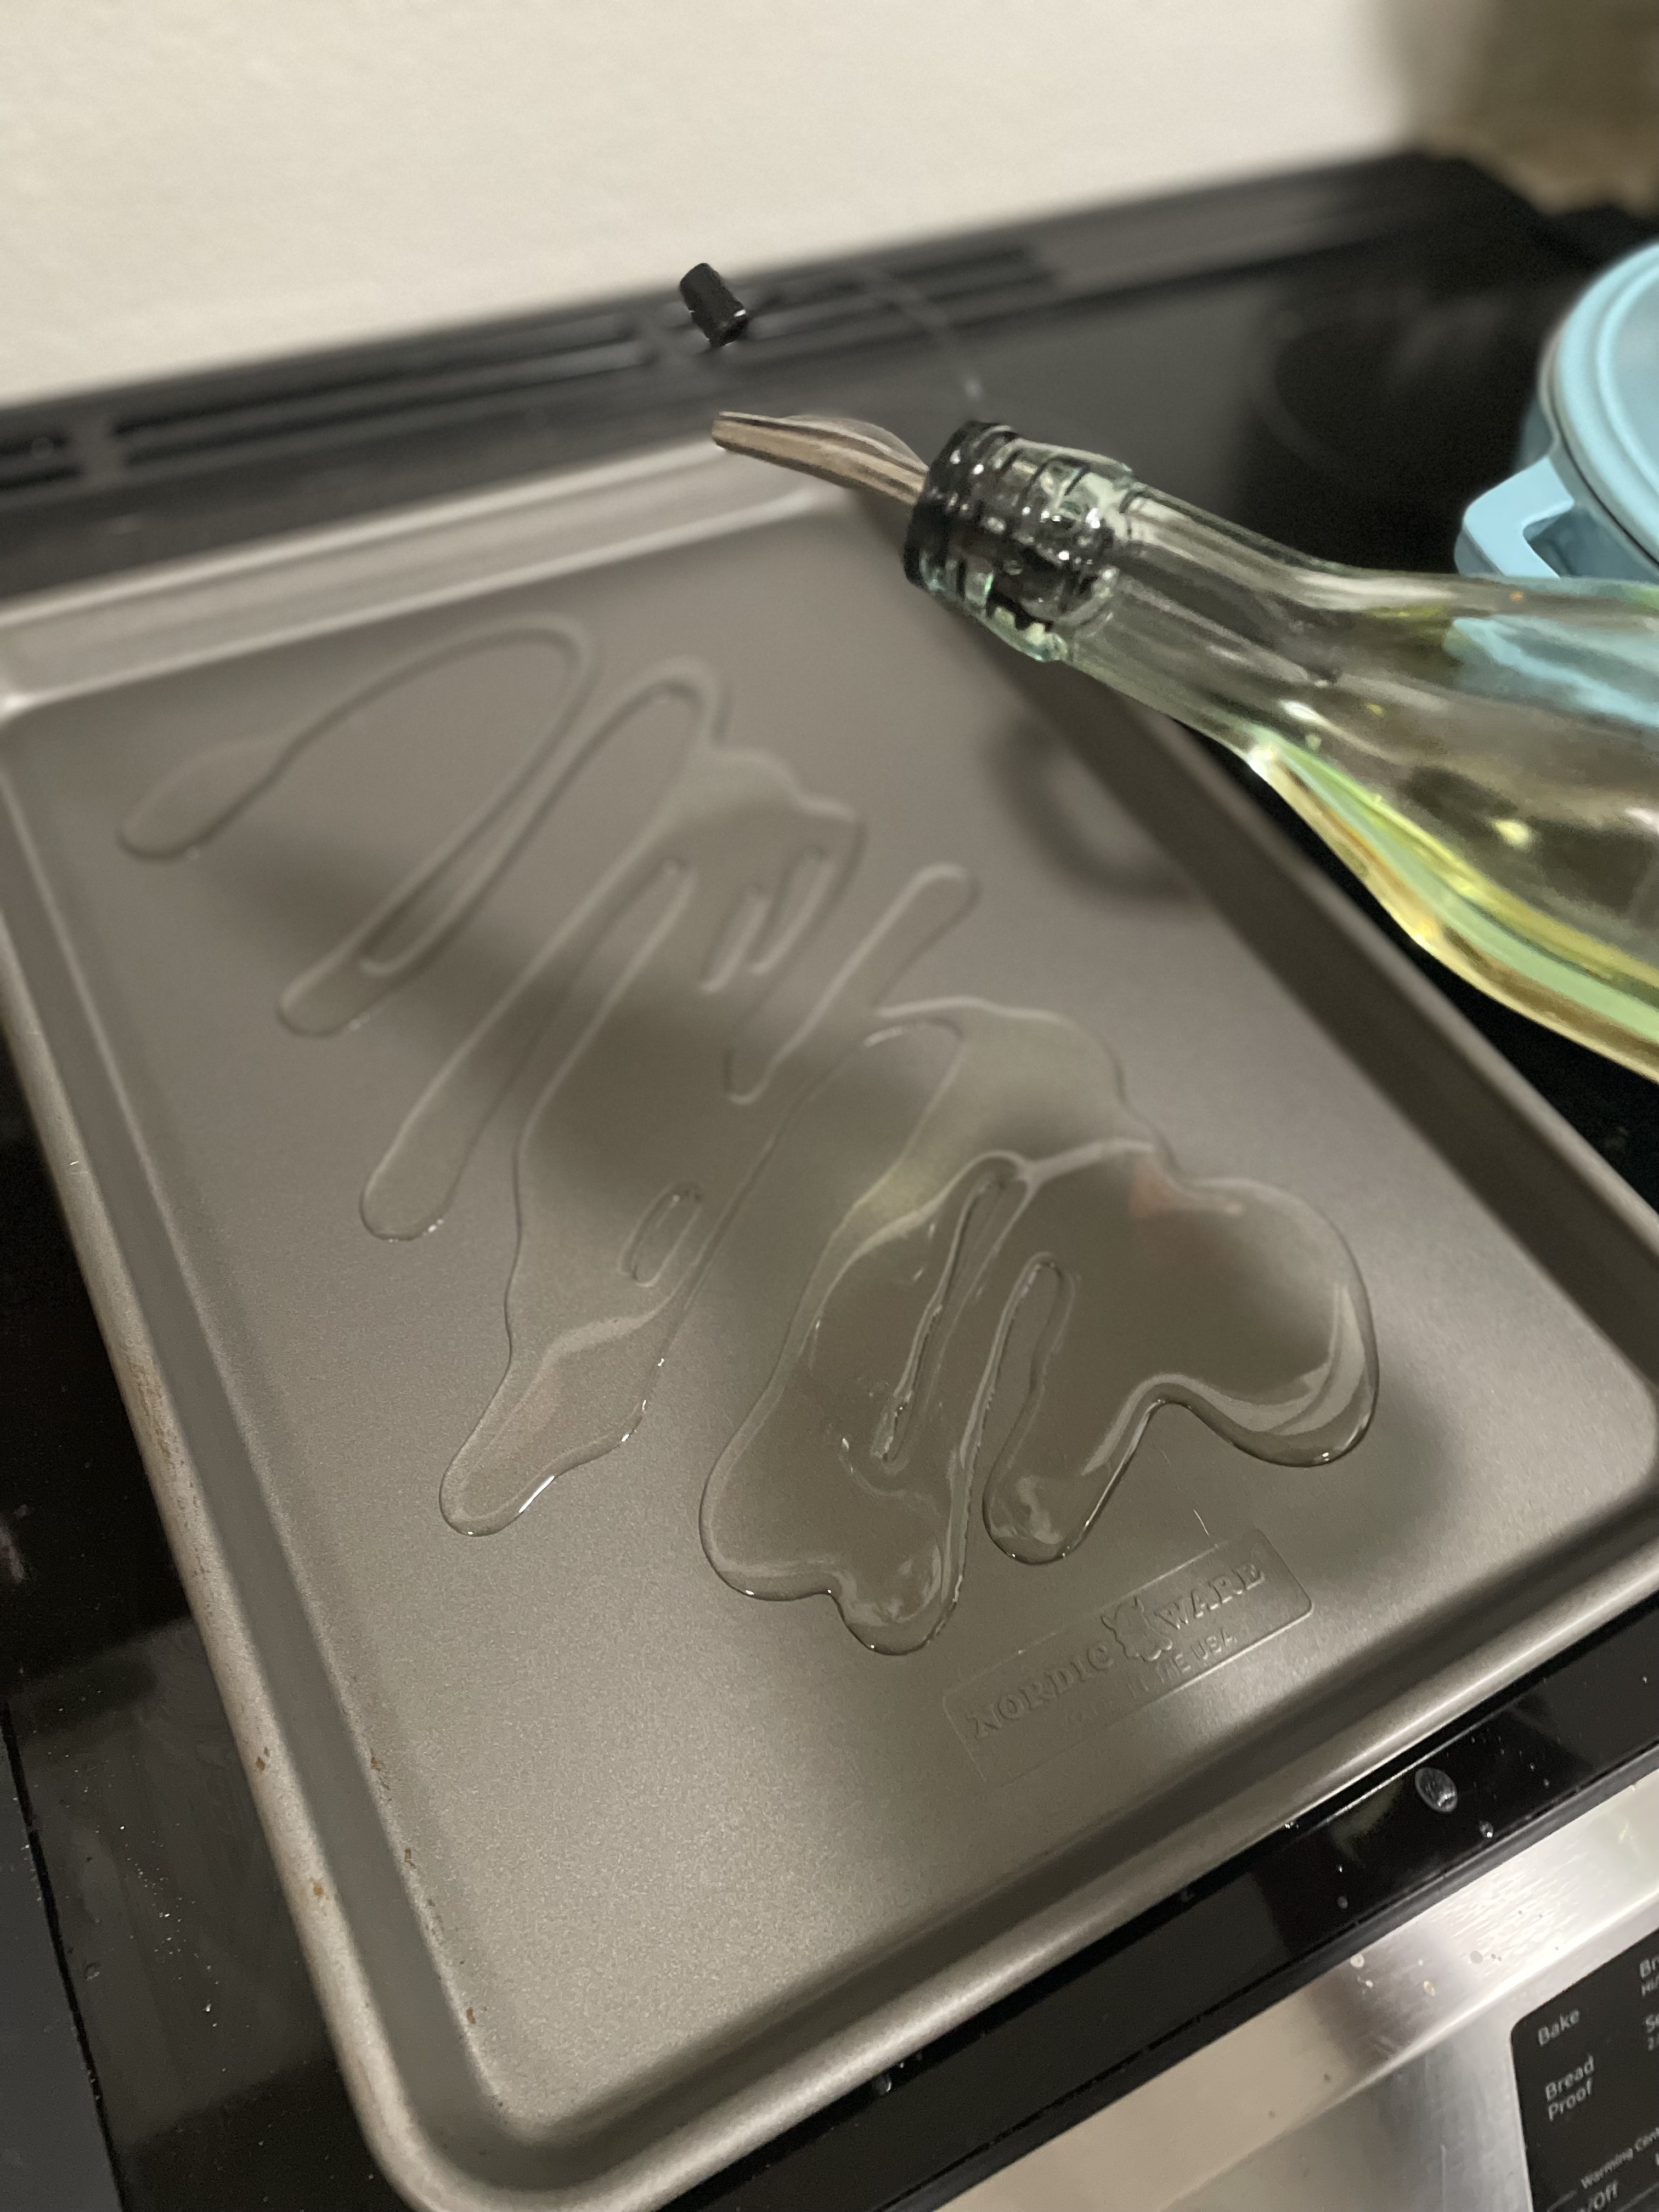
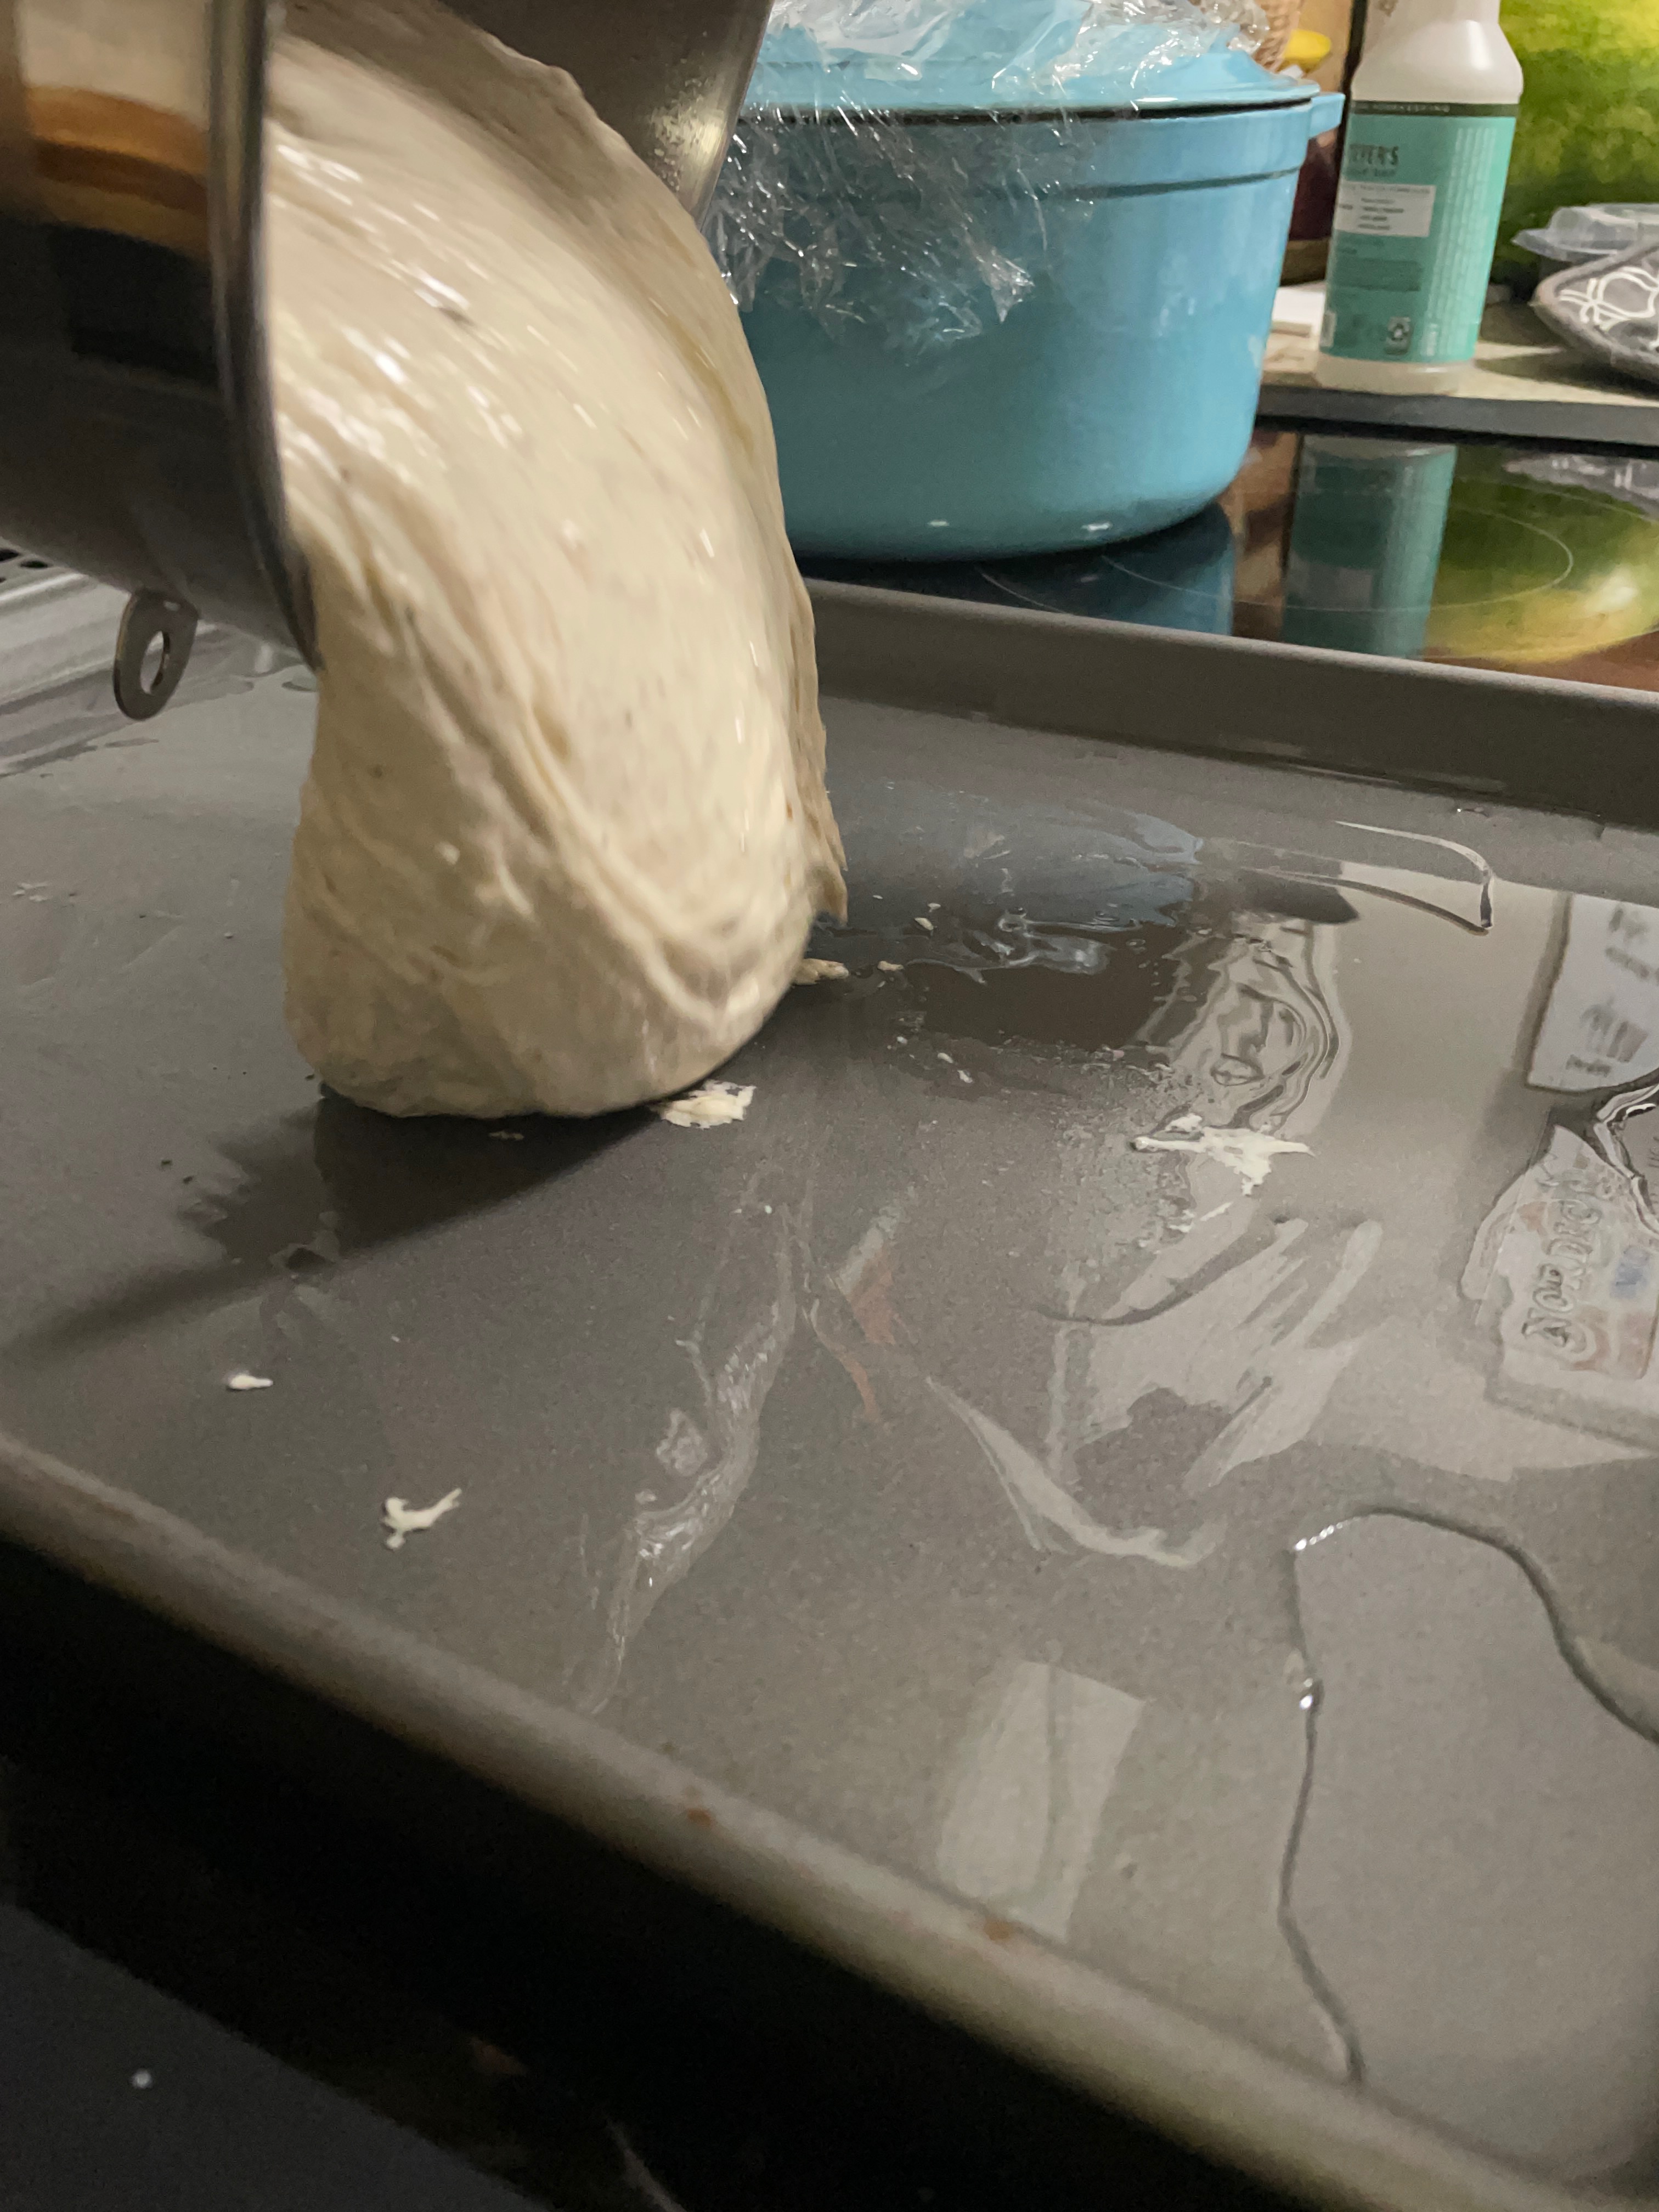
  • When ready to bake, generously coat a sheet pan in olive oil and empty dough onto sheet pan.
  • Let come up to room temperature ~30 minutes.
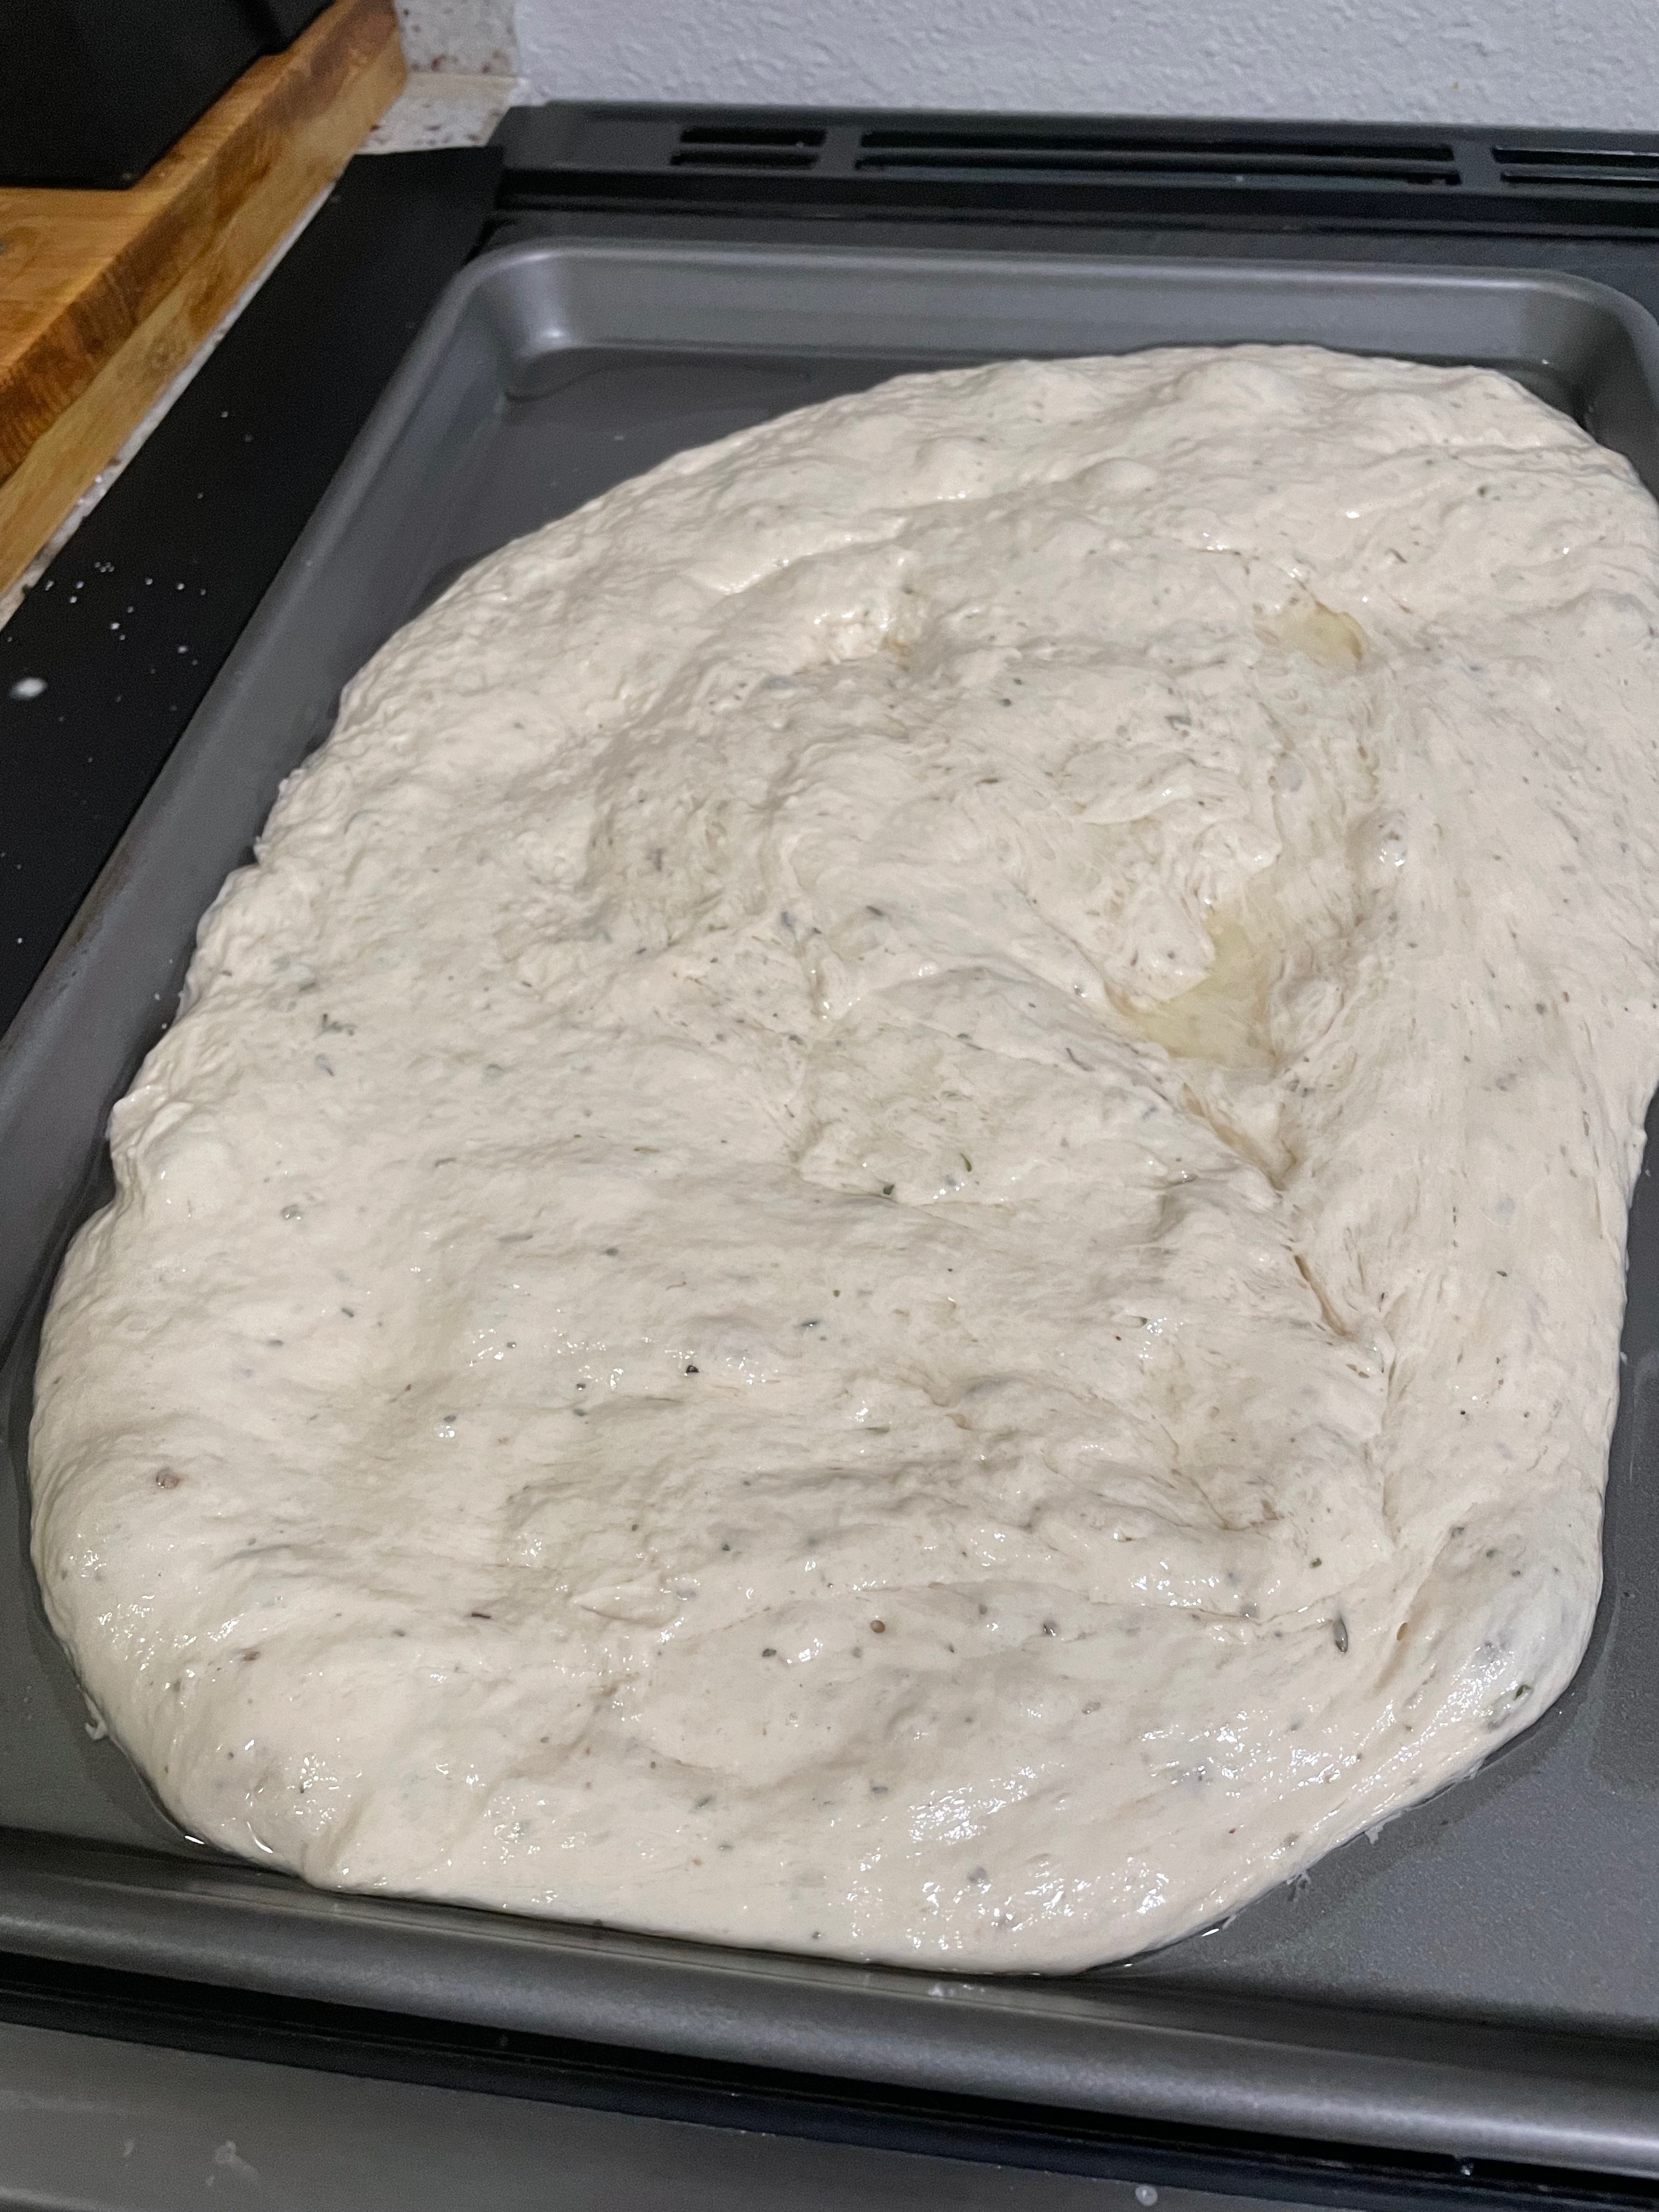
  • Using hands, spread and stretch dough to cover entire sheet pan. Dimple dough with fingers. Drizzle with olive oil and sprinkle with flakey salt and extra herbes de provence.
  • Bake for 20-30 minutes at 450F until crispy and browned.
  • Cut into squares and enjoy alone, with more olive oil & balsamic vinegar or butter!

Looking for something bready but sweet? Try Banana Bread or Pumpkin Pull Apart Bread.

Try this focaccia alongside some Pumpkin Soup.

10-Minute Soy Ginger Noodles

I love noodles. When I’m in a pinch and need a quick dinner, I always reach for these quick, 10-minute soy ginger noodles. If I really don’t have a lot of time, I’ll skip the ginger and it’s just a salty sesame noodle dish. Mix it up and try adding other aromatics like onions, shallots, lemongrass, or even Sichuan peppercorns.

Ingredients

Noodles – You can really use any noodles you like. I like a flat, wheat noodle but you could even use this sauce with a pasta or egg noodle. When cooking my noodles, I generally don’t cook them based on time on the packaging. I usually watch my noodles boil and when they start getting limp over my tongs, I’ll rip off small bits and taste it to make sure my noodles are the perfect texture. I like my noodles to still have a little bite to them. If you like them softer, leave them in longer! You do you.

Sauce – Mix up the sauce! When I have more time I’ll mince some garlic and add it in as well. You could even add some lemongrass, shallot, five spice, or Sichuan peppercorn, to name a few. It’s even delicious with a squirt of Sriracha on top or some chili crisp.

10-Minute Soy Ginger Noodles

Print Recipe
An easy weeknight meal when you need something quick and delicious.
Course Main Course
Keyword noodles, soy sauce
Prep Time 5 minutes
Cook Time 5 minutes

Ingredients

  • 1 tbsp brown sugar
  • 2 tbsp soy sauce
  • 1 tsp rice vinegar
  • 1 tsp grated ginger
  • noodles

Instructions

  • Boil noodles to desired doneness.
  • While noodles are boiling, mix together ingredients for sauce in a large bowl that can also fit your noodles.
  • Put hot noodles directly into the sauce bowl.
  • Mix, add toppings, and enjoy!

Have a little more time? Try Chicken & Cabbage Dumplings or Pumpkin Soup.
Banana Bread

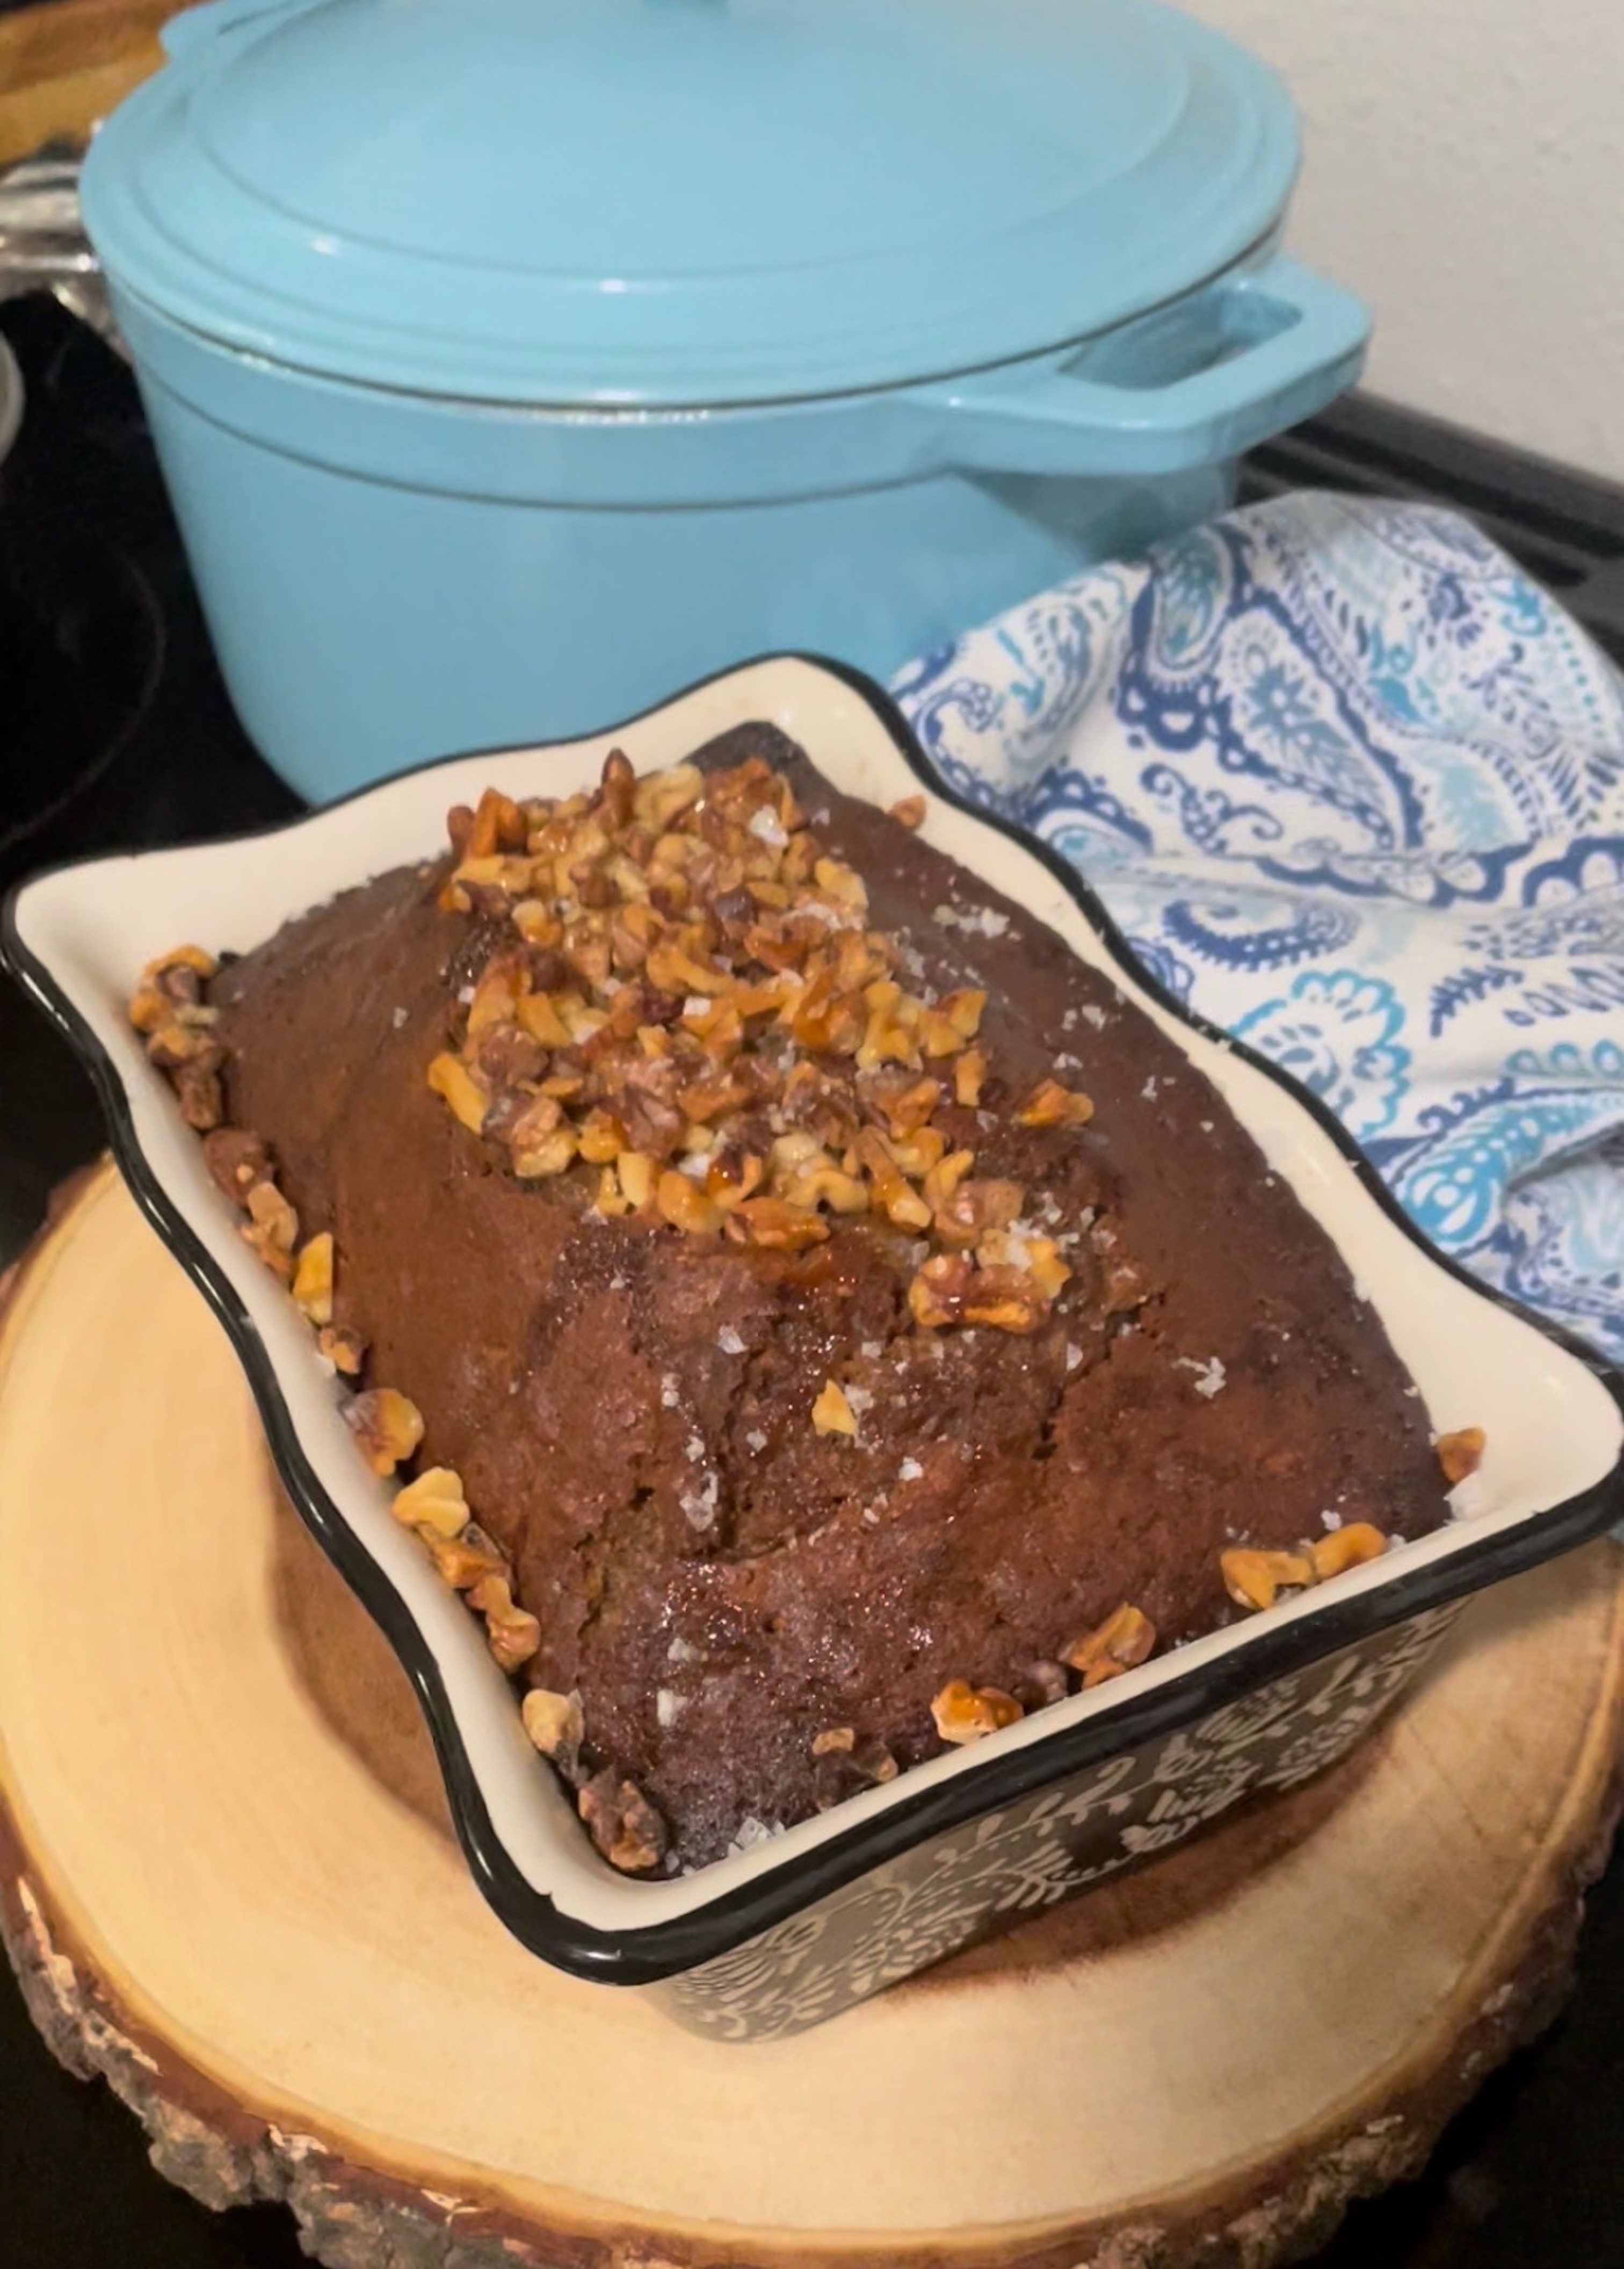
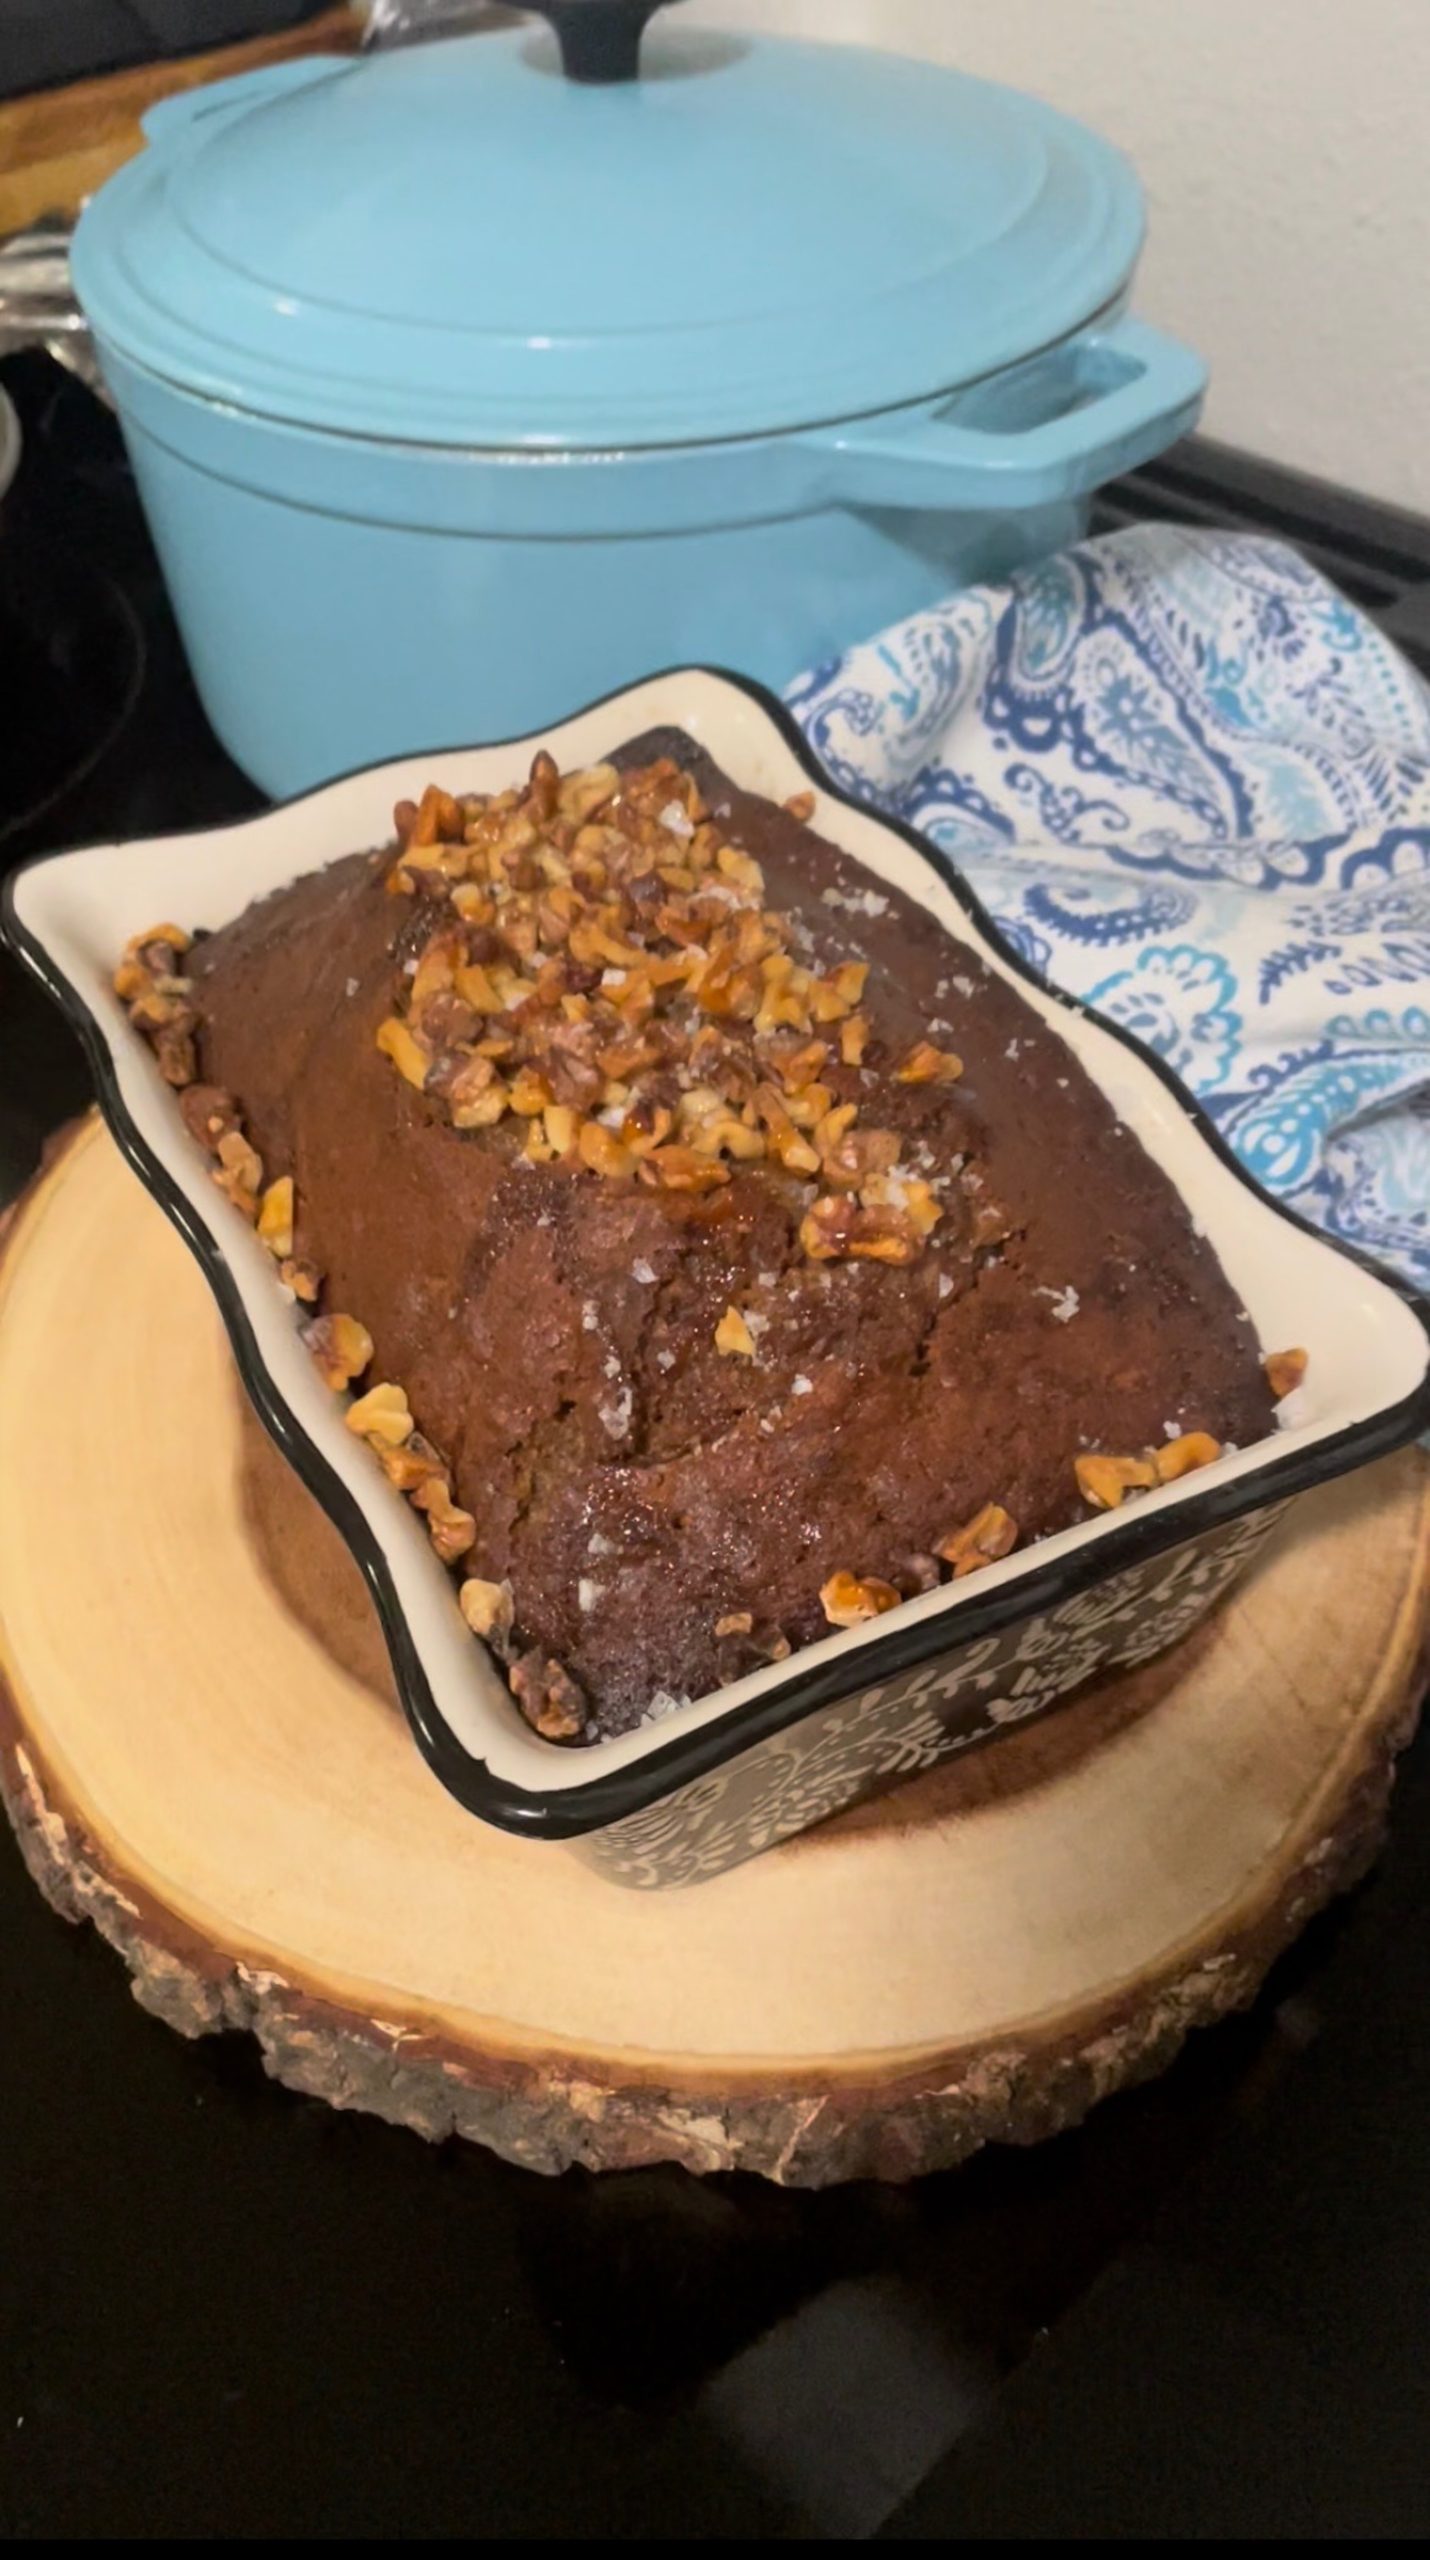
Ripe bananas are easy to come by recently. I usually have some left in the bunch that I wasn’t able to eat fast enough, there’s some leftover that were brought into the office for everyone to eat, or they’re in the “sale” area of the grocery store. Sometimes I even let my bananas go overripe on purpose so I can make some banana bread. This banana bread is just sweet enough and has a crispy exterior. Want it sweeter or more texture? Go wild with those mix-ins! You can really make it your own with chocolate chips, nuts, or dried fruits.

Ingredients

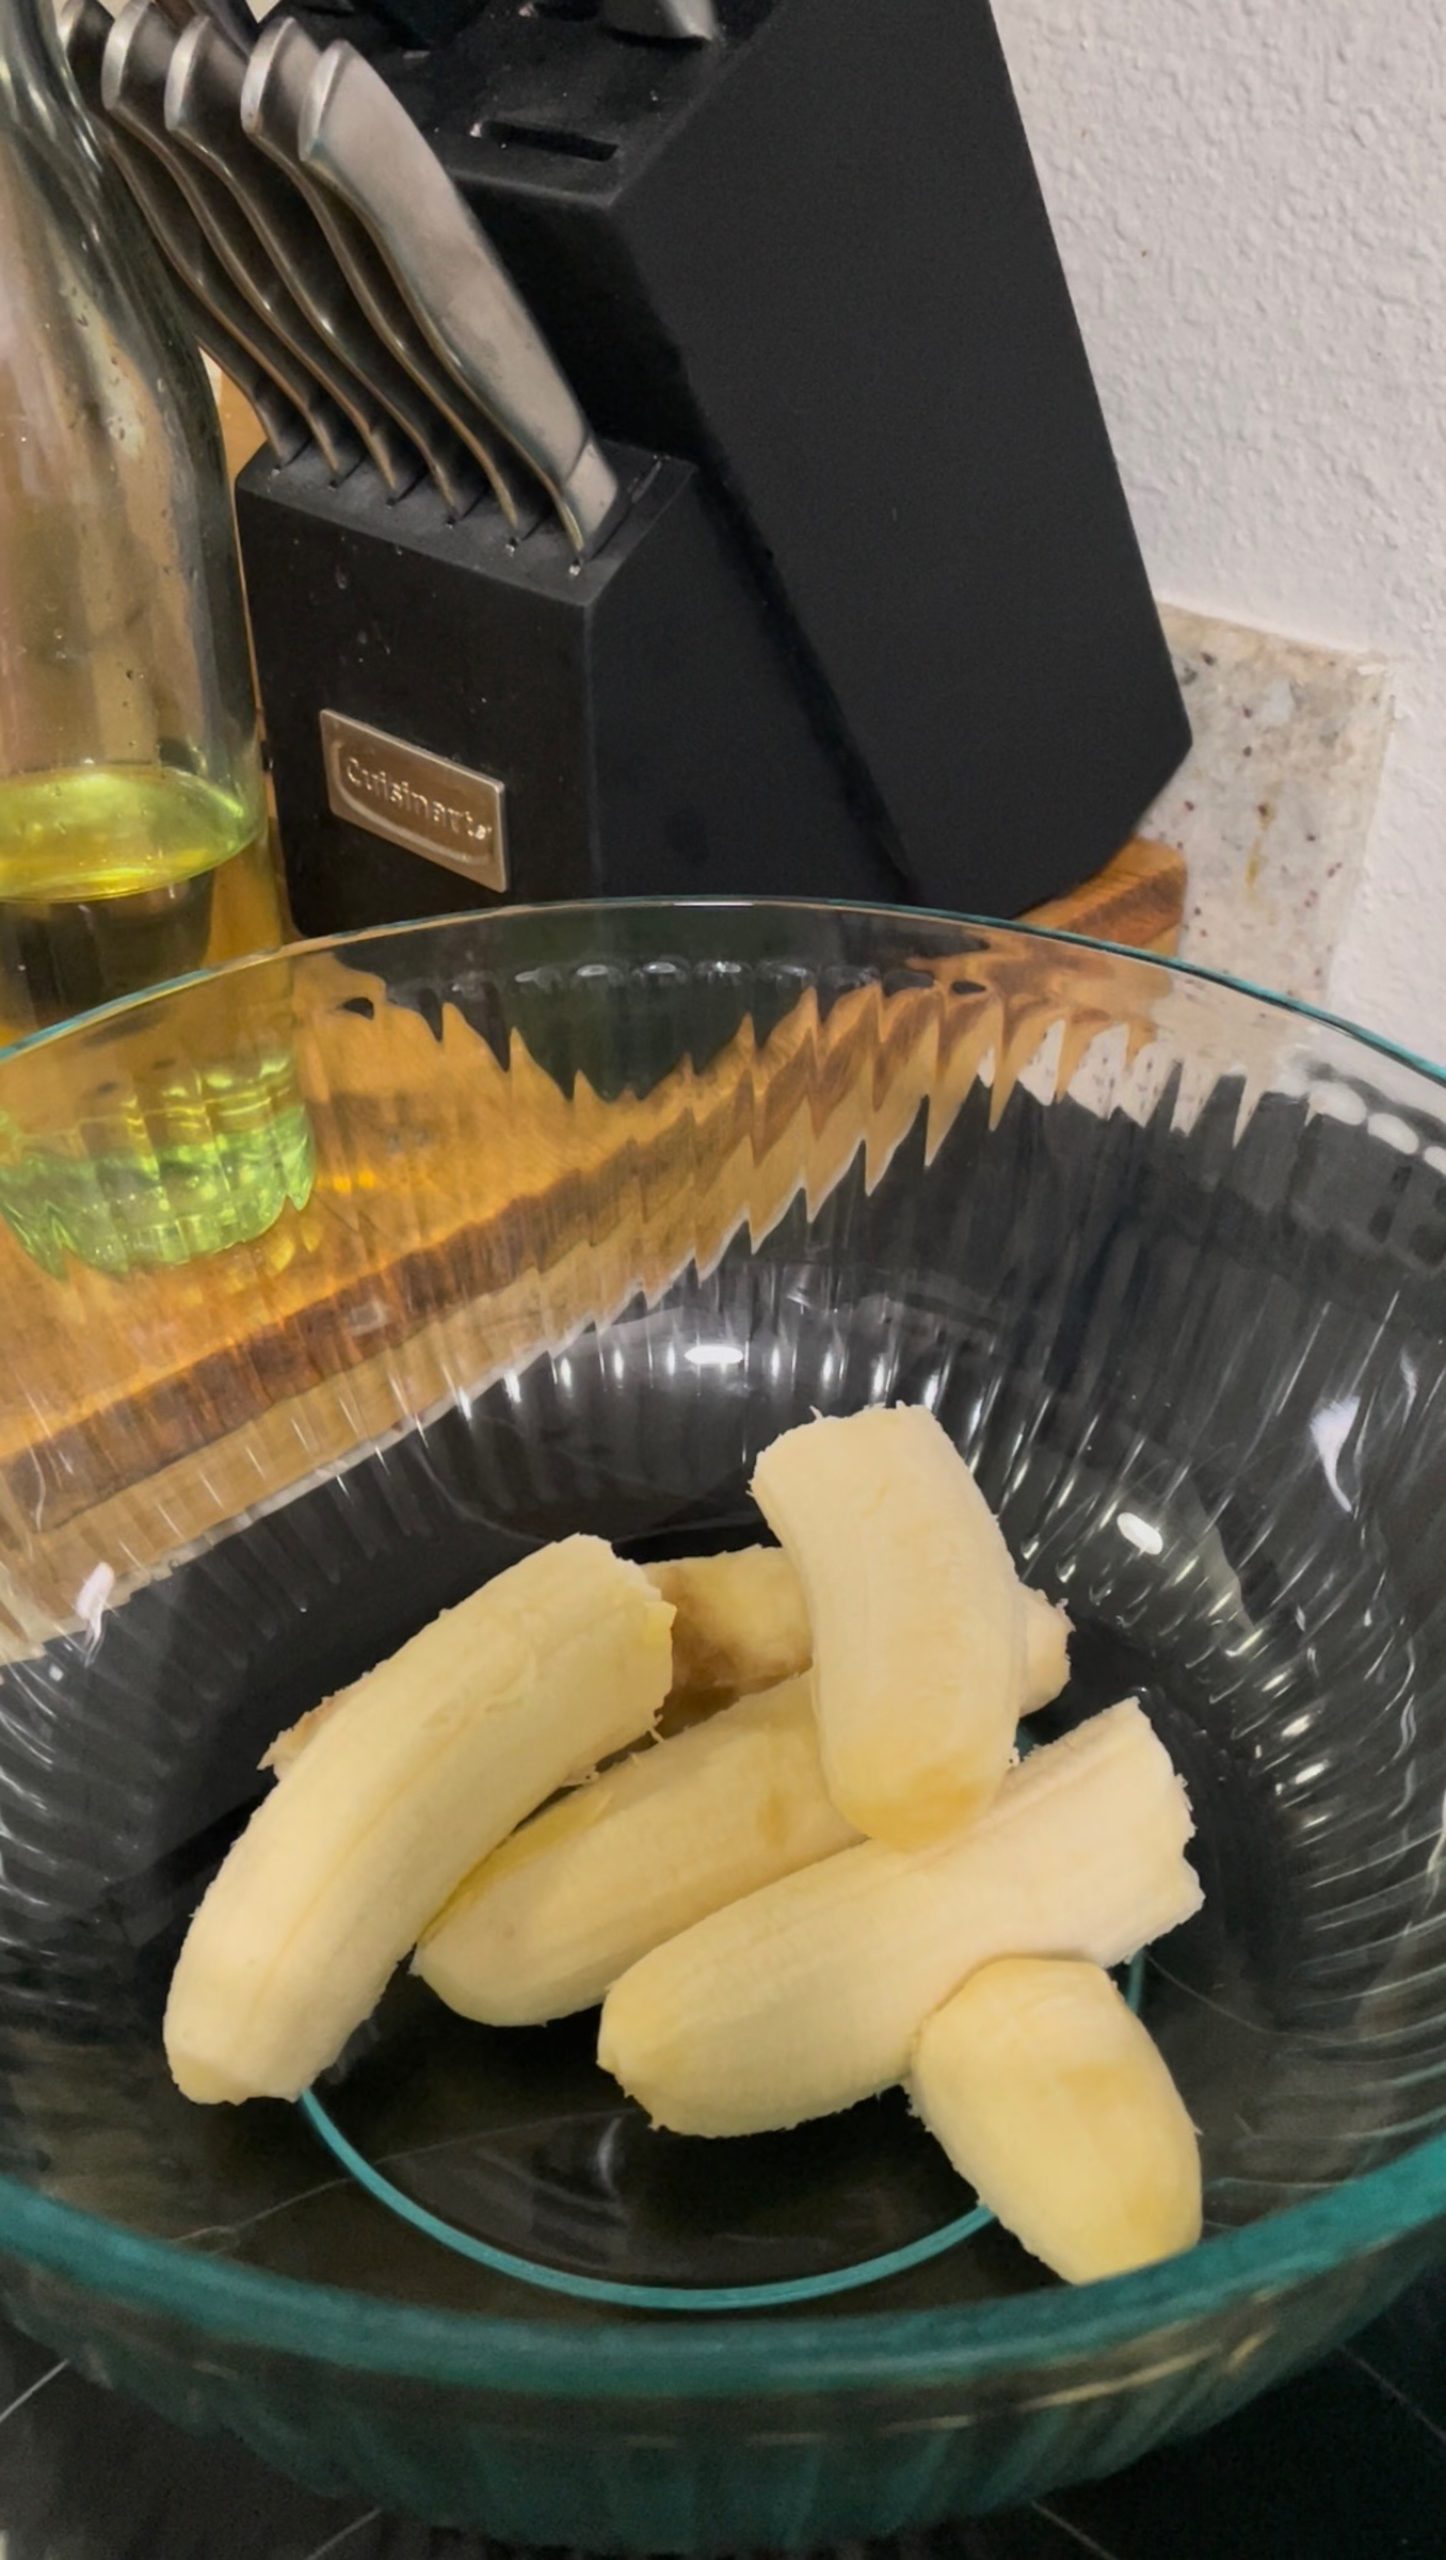
Bananas – The darker your banana, the sweeter this bread will turn out. I like to make this bread when my bananas are getting a little spotted. They’re a little too sweet to my liking to eat alone, but perfect for some banana bread!

Walnuts – Sometimes I put the walnuts inside instead of just on top. Do whatever makes you happy!! Inside, on top, not at all – all good options.

Salt – There is salt inside the bread to help enhance the banana flavor and I like to sprinkle extra salt on top mid-cook. Omit the salt on top if you’d like. When the bread is ready to eat, I love getting a bite of the crispy, salty top and then getting to dive into the sweet fluffy center of a slice.

Banana Bread

Print Recipe
Easy banana bread that's unbelievably moist and a perfect base for any mix ins.
Course Breakfast, Dessert
Keyword banana, bread
Cook Time 1 hour
Servings 1 loaf

Ingredients

  • 1.75 cups flour all purpose
  • 1.5 tsp baking soda
  • 0.75 tsp salt
  • 3 eggs
  • 1 cup white sugar
  • 0.5 cups brown sugar
  • 0.75 cups neutral oil
  • 1 tsp cinnamon
  • 3 ripe bananas ~1 cup
  • 1 cup mix-ins like nuts, chocolate, fruit optional

Instructions

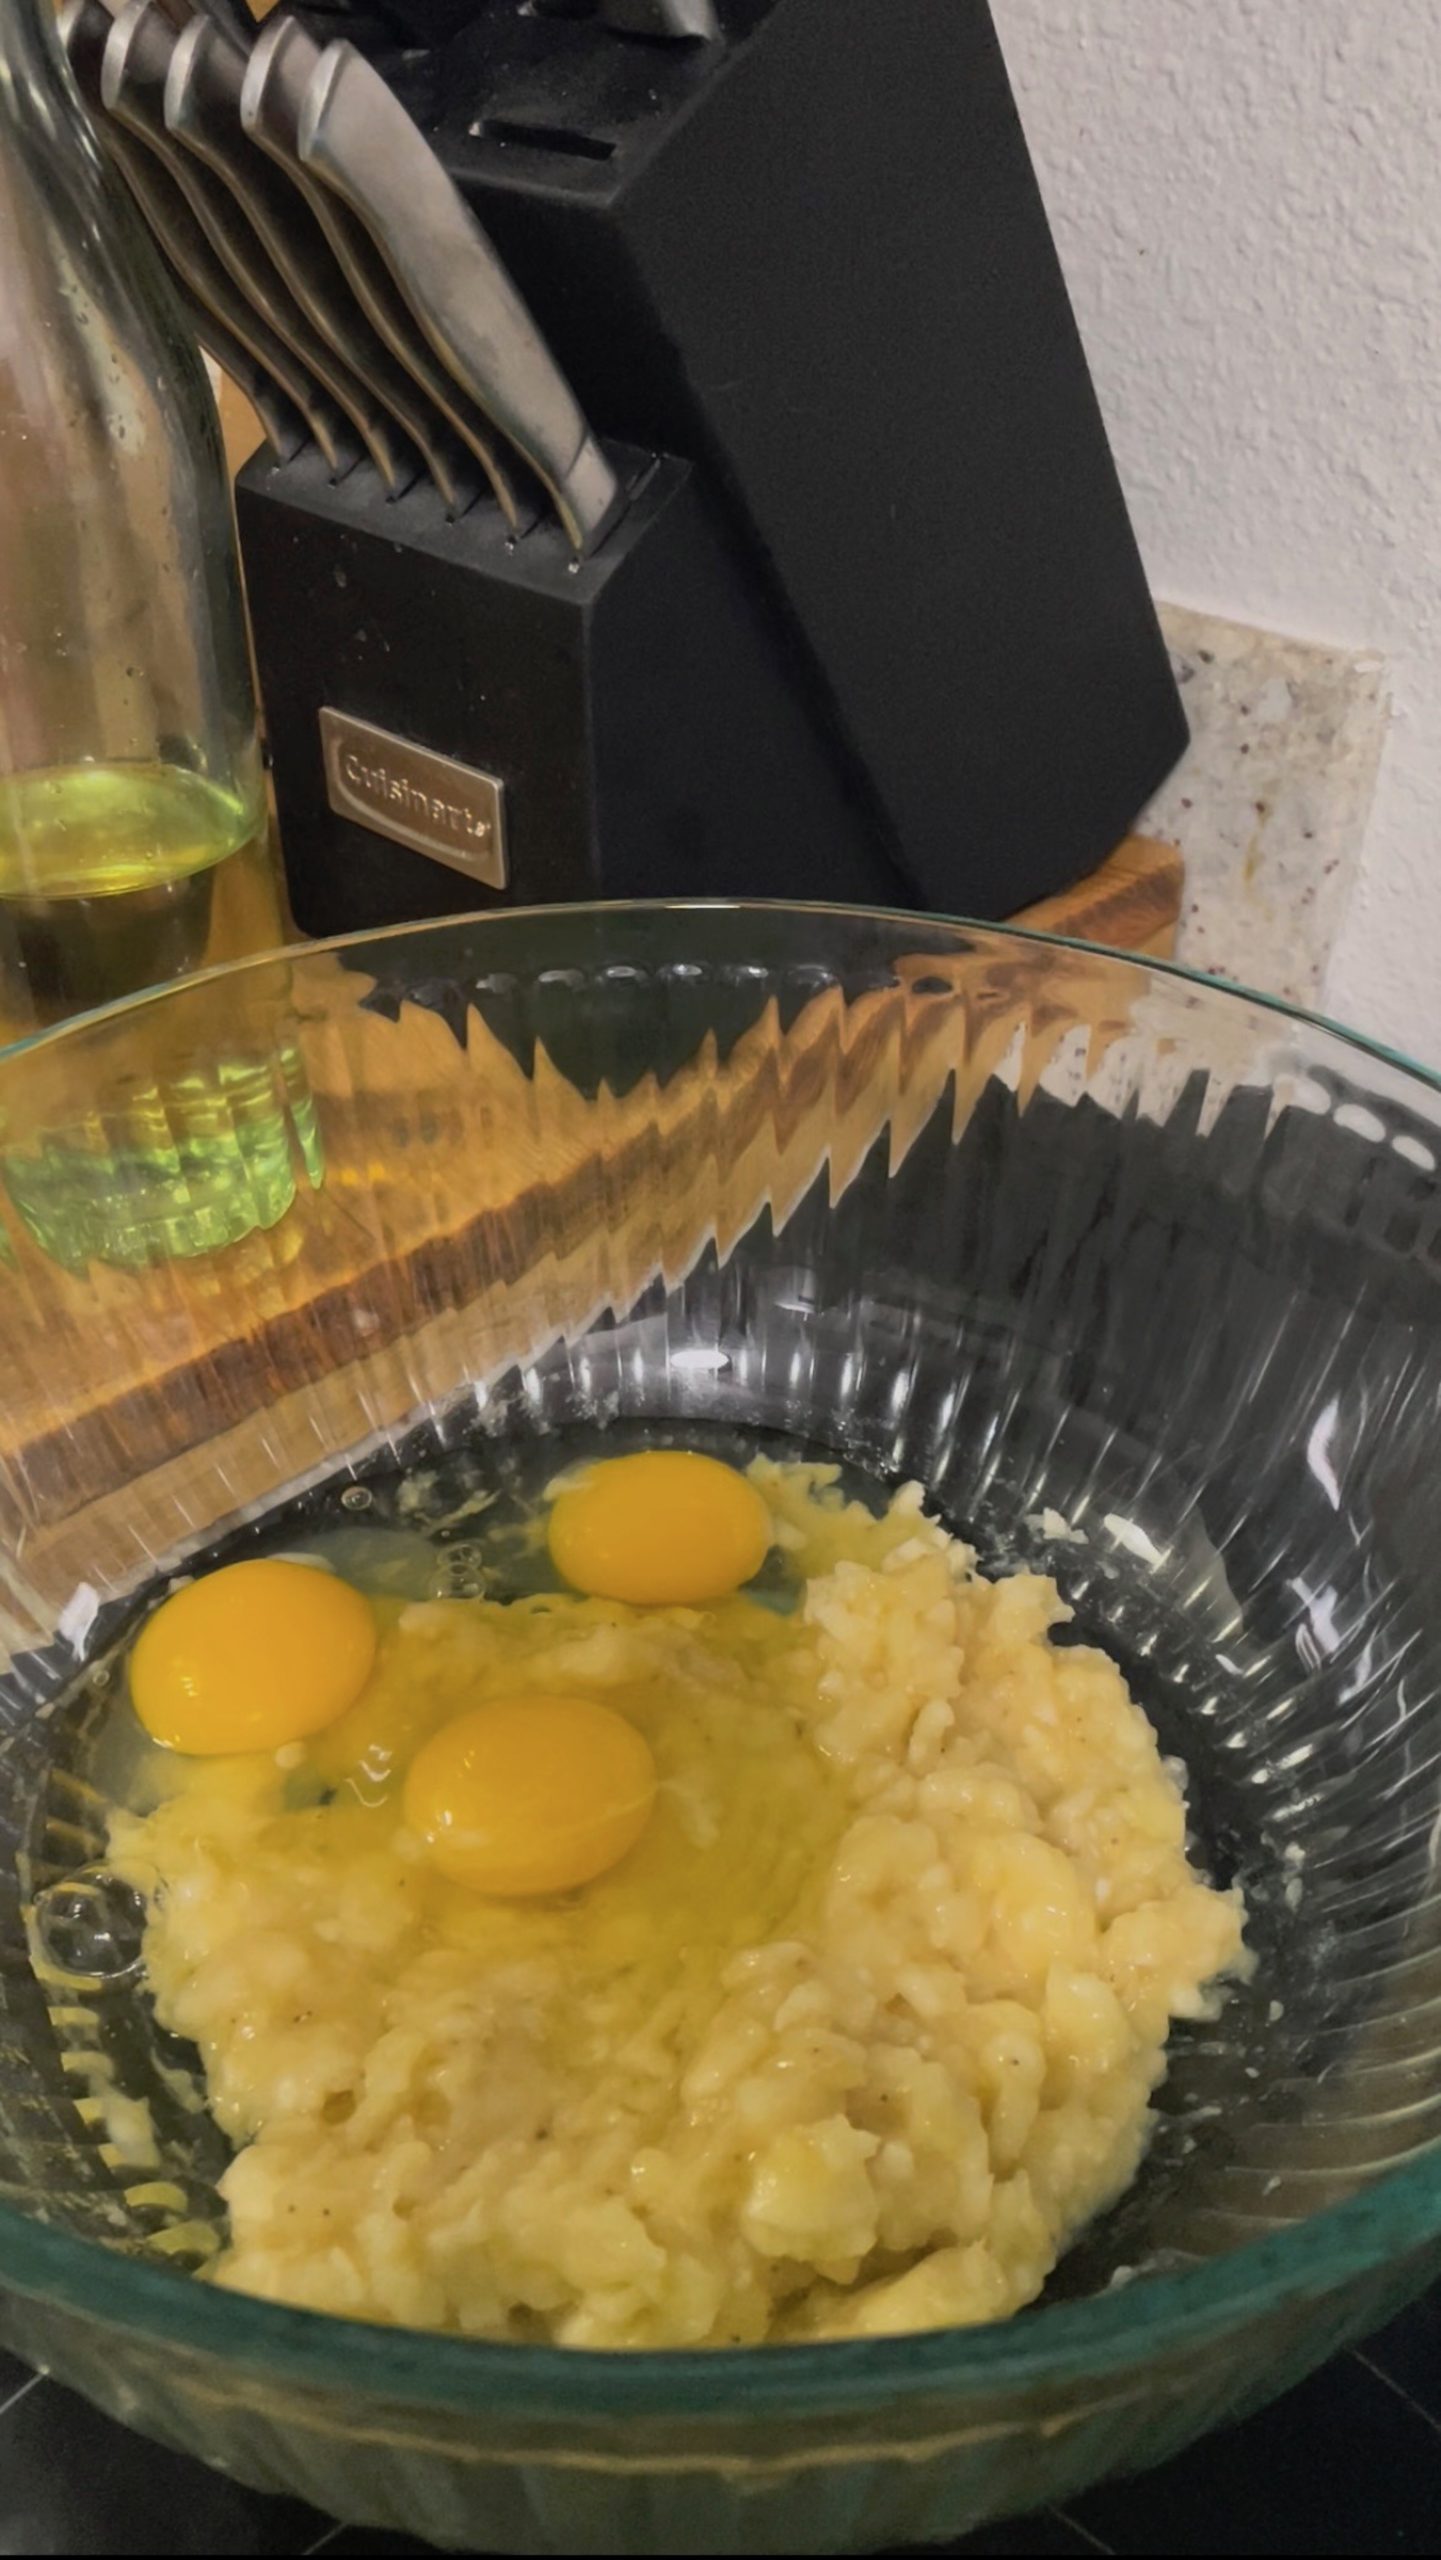
  • Peel and mash your bananas.
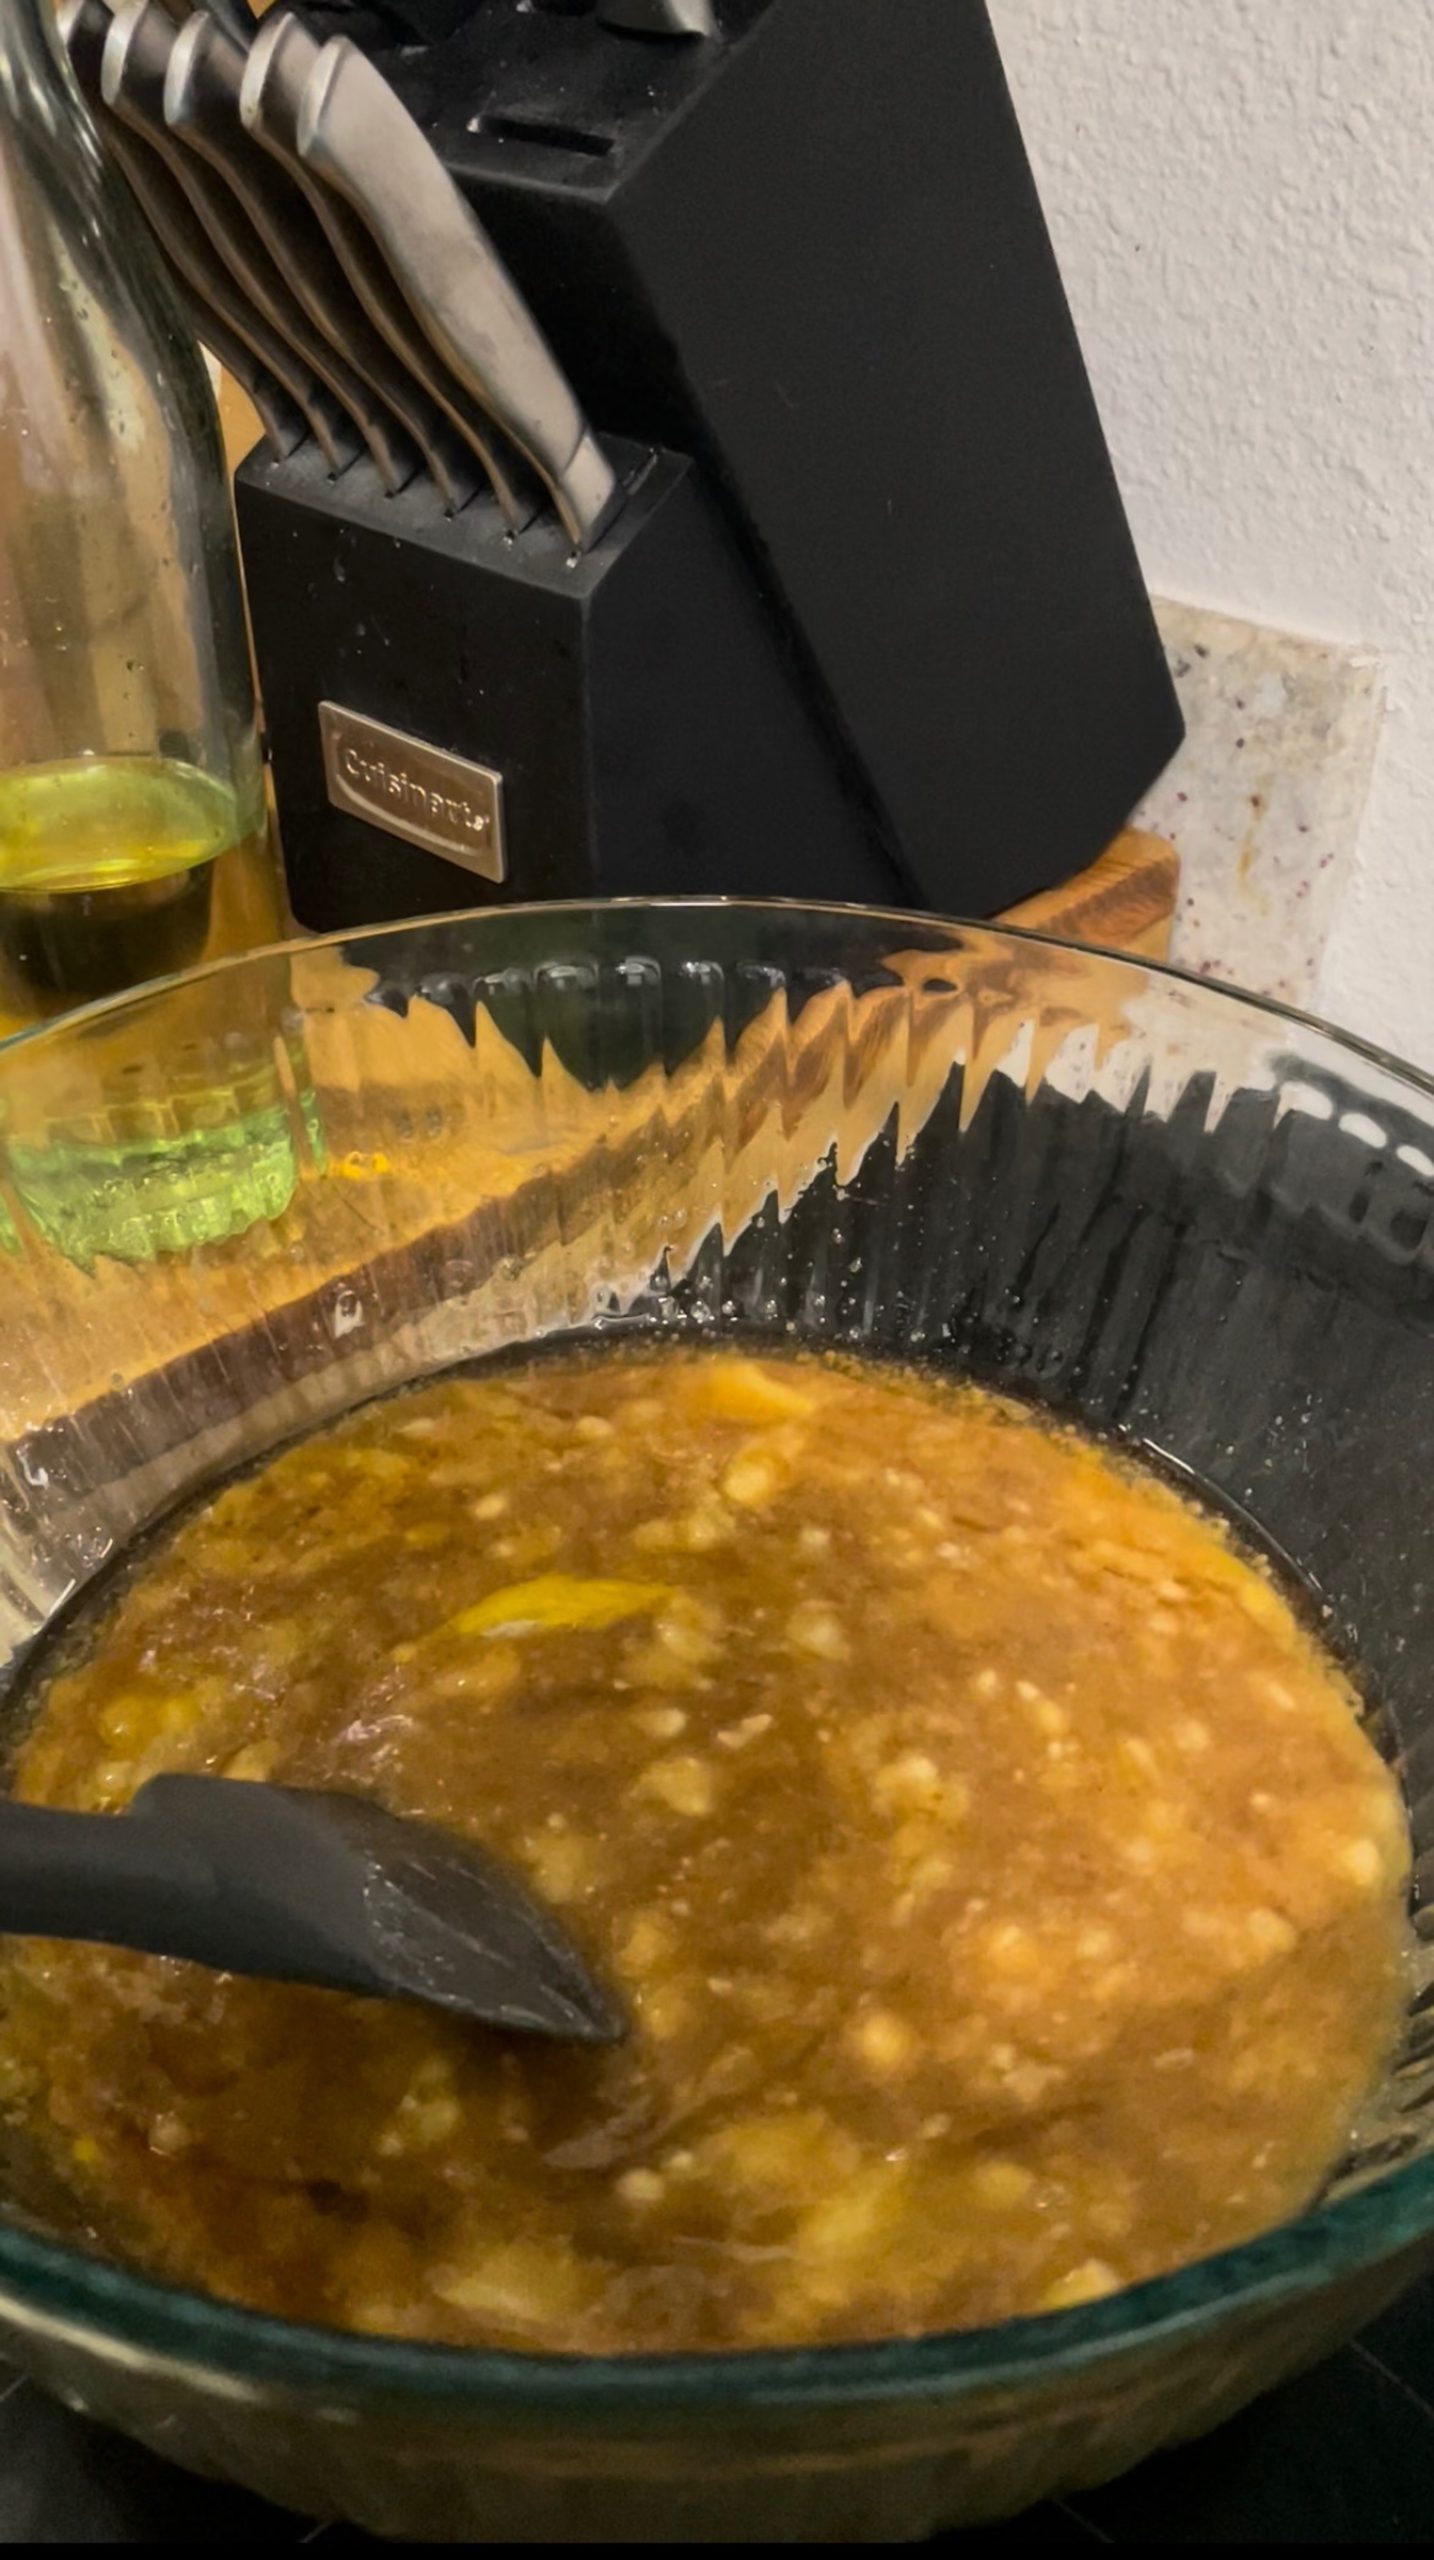
  • Mix eggs, sugars, salt, cinnamon, and oil with the banana mixture to create the "wet" mix.
  • Combine "wet" mix with flour and baking soda. At this time, you can also add any mix-ins (nuts, chocolate, fruit).
  • Mix until just combined. Do not overmix!
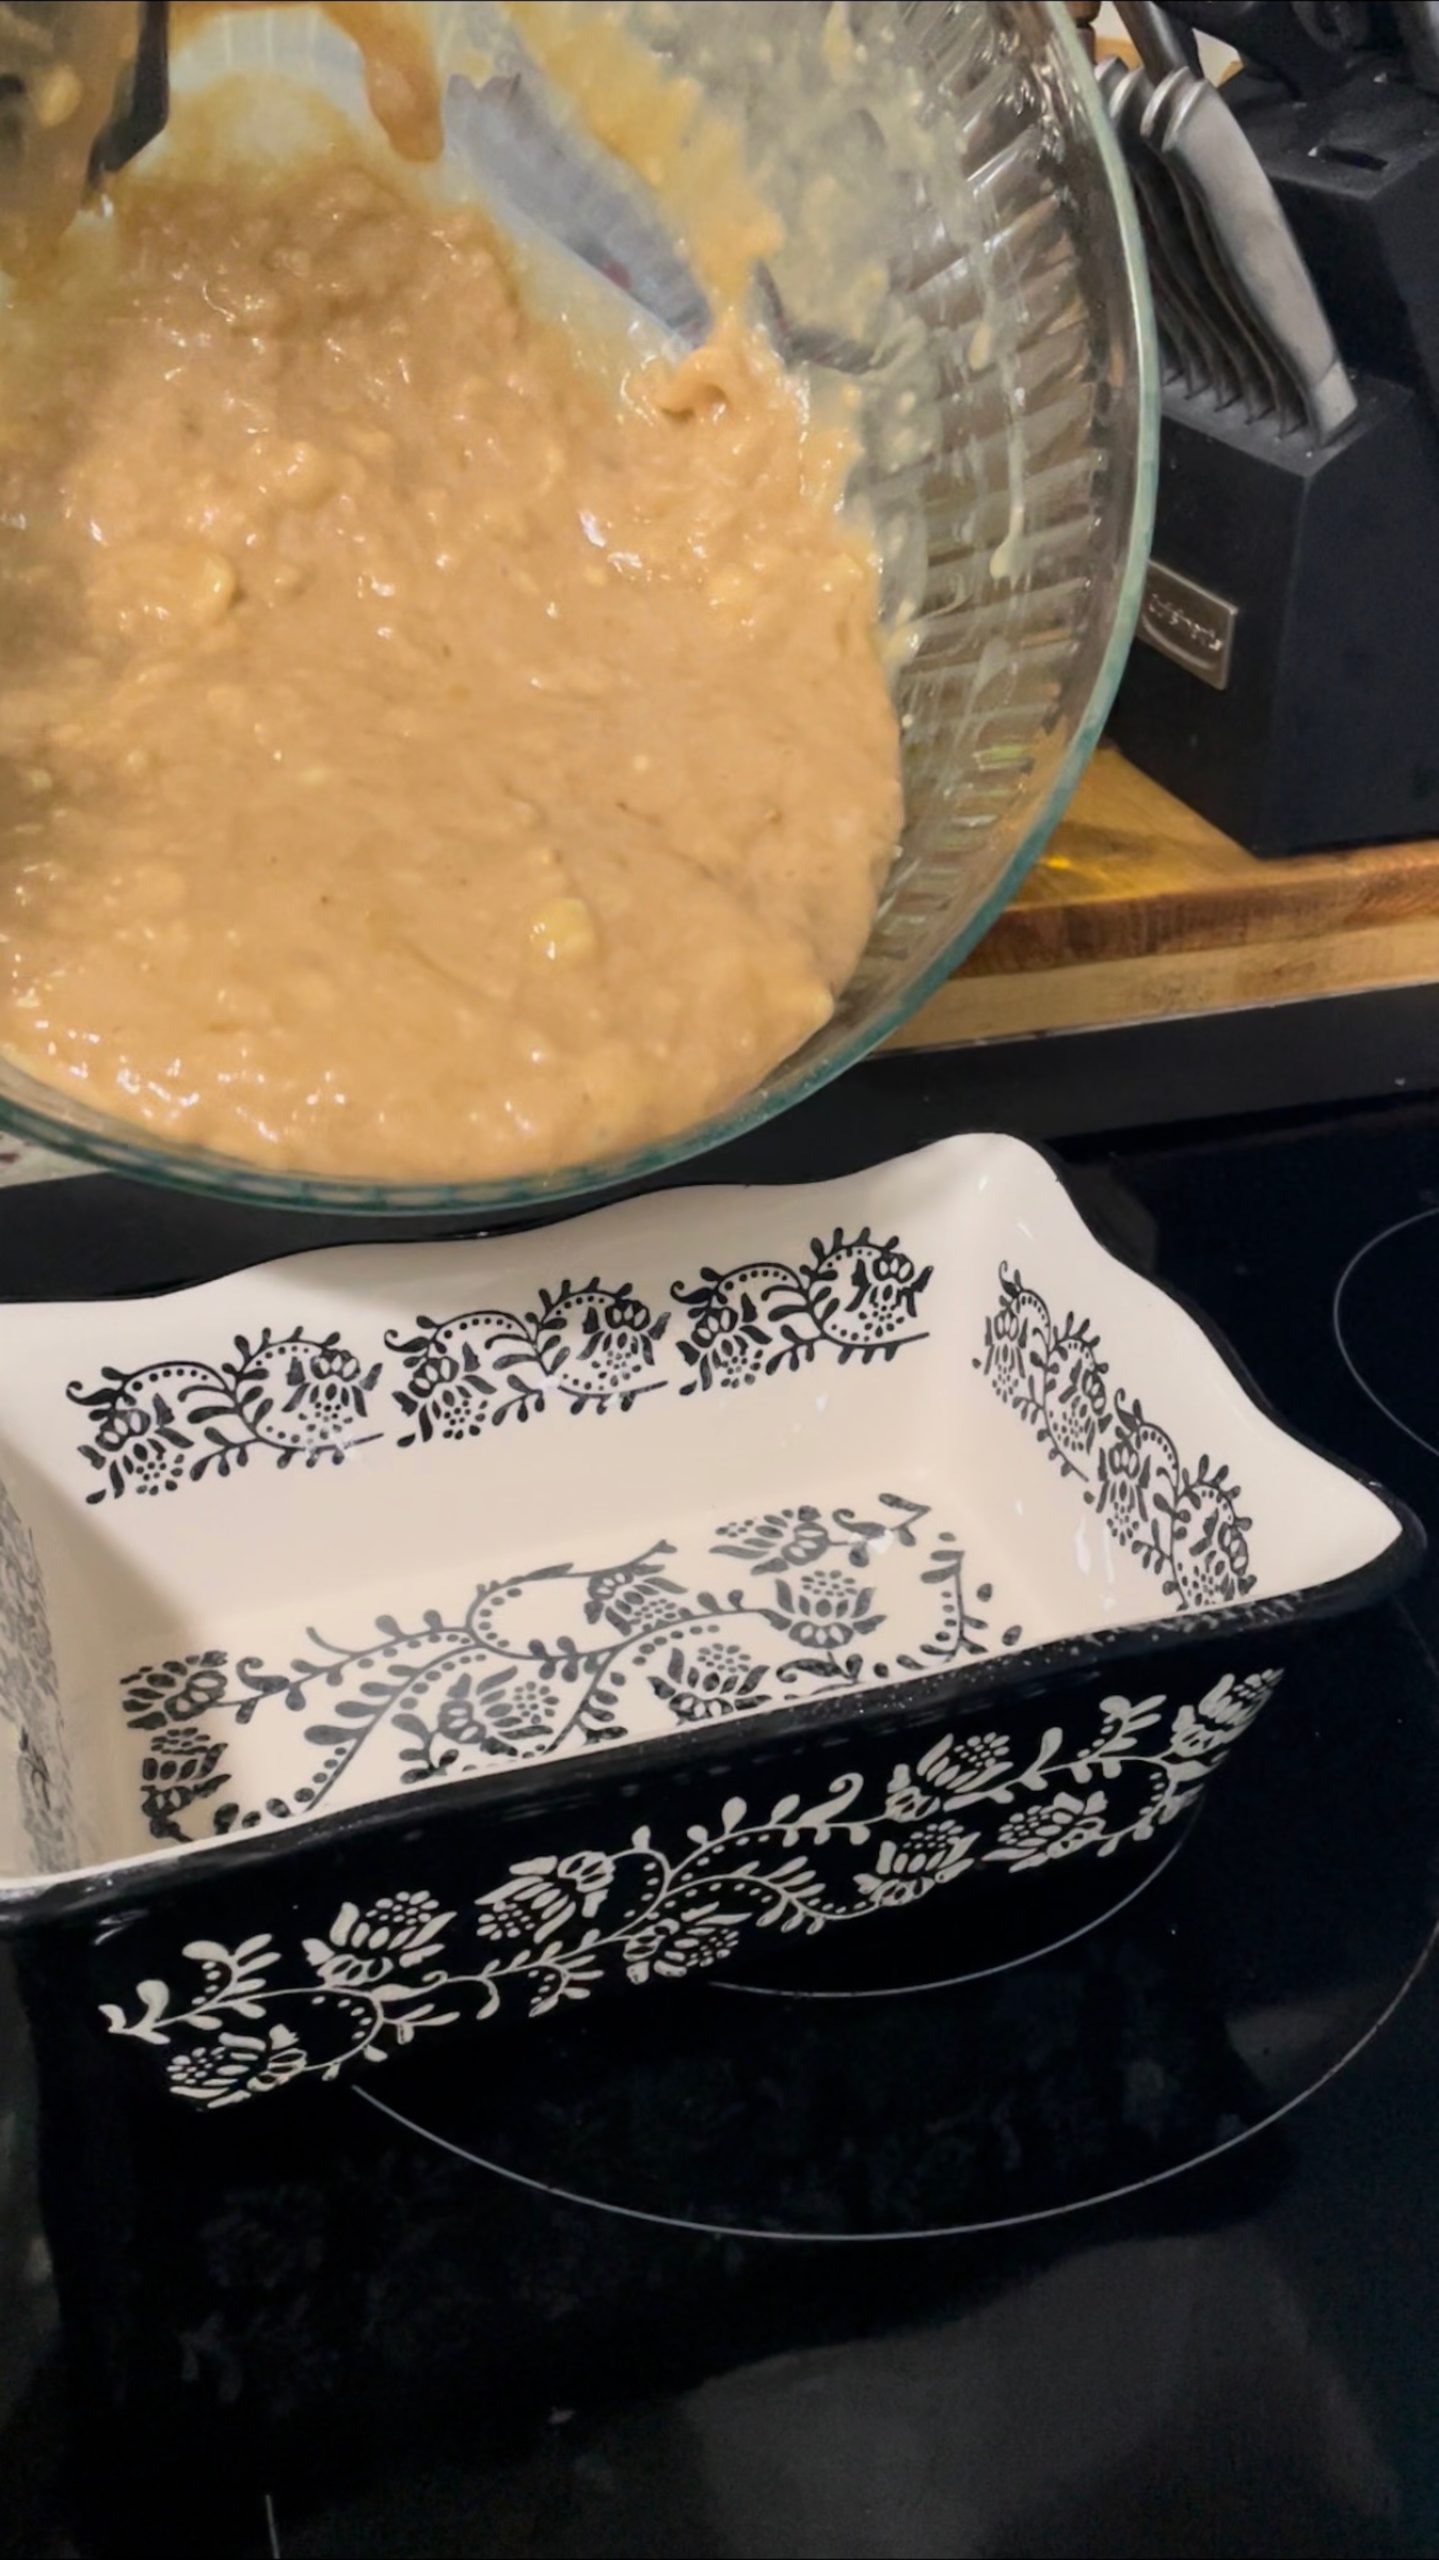
  • Pour into a greased loaf pan and sprinkle any toppings.
  • Bake at 350F for 30 minutes.
  • After 30 mins, tent with foil to prevent top from browning too much and prevent any toppings from burning.
  • Bake at 350F with tent for additional 30-45 minutes.
  • Check bread with toothpick. If nothing sticks to the end, the bread is done!

Try my other desserts like Crispy Gooey Chocolate Chip Cookies or Pumpkin Pull Apart Bread.

Pumpkin Soup

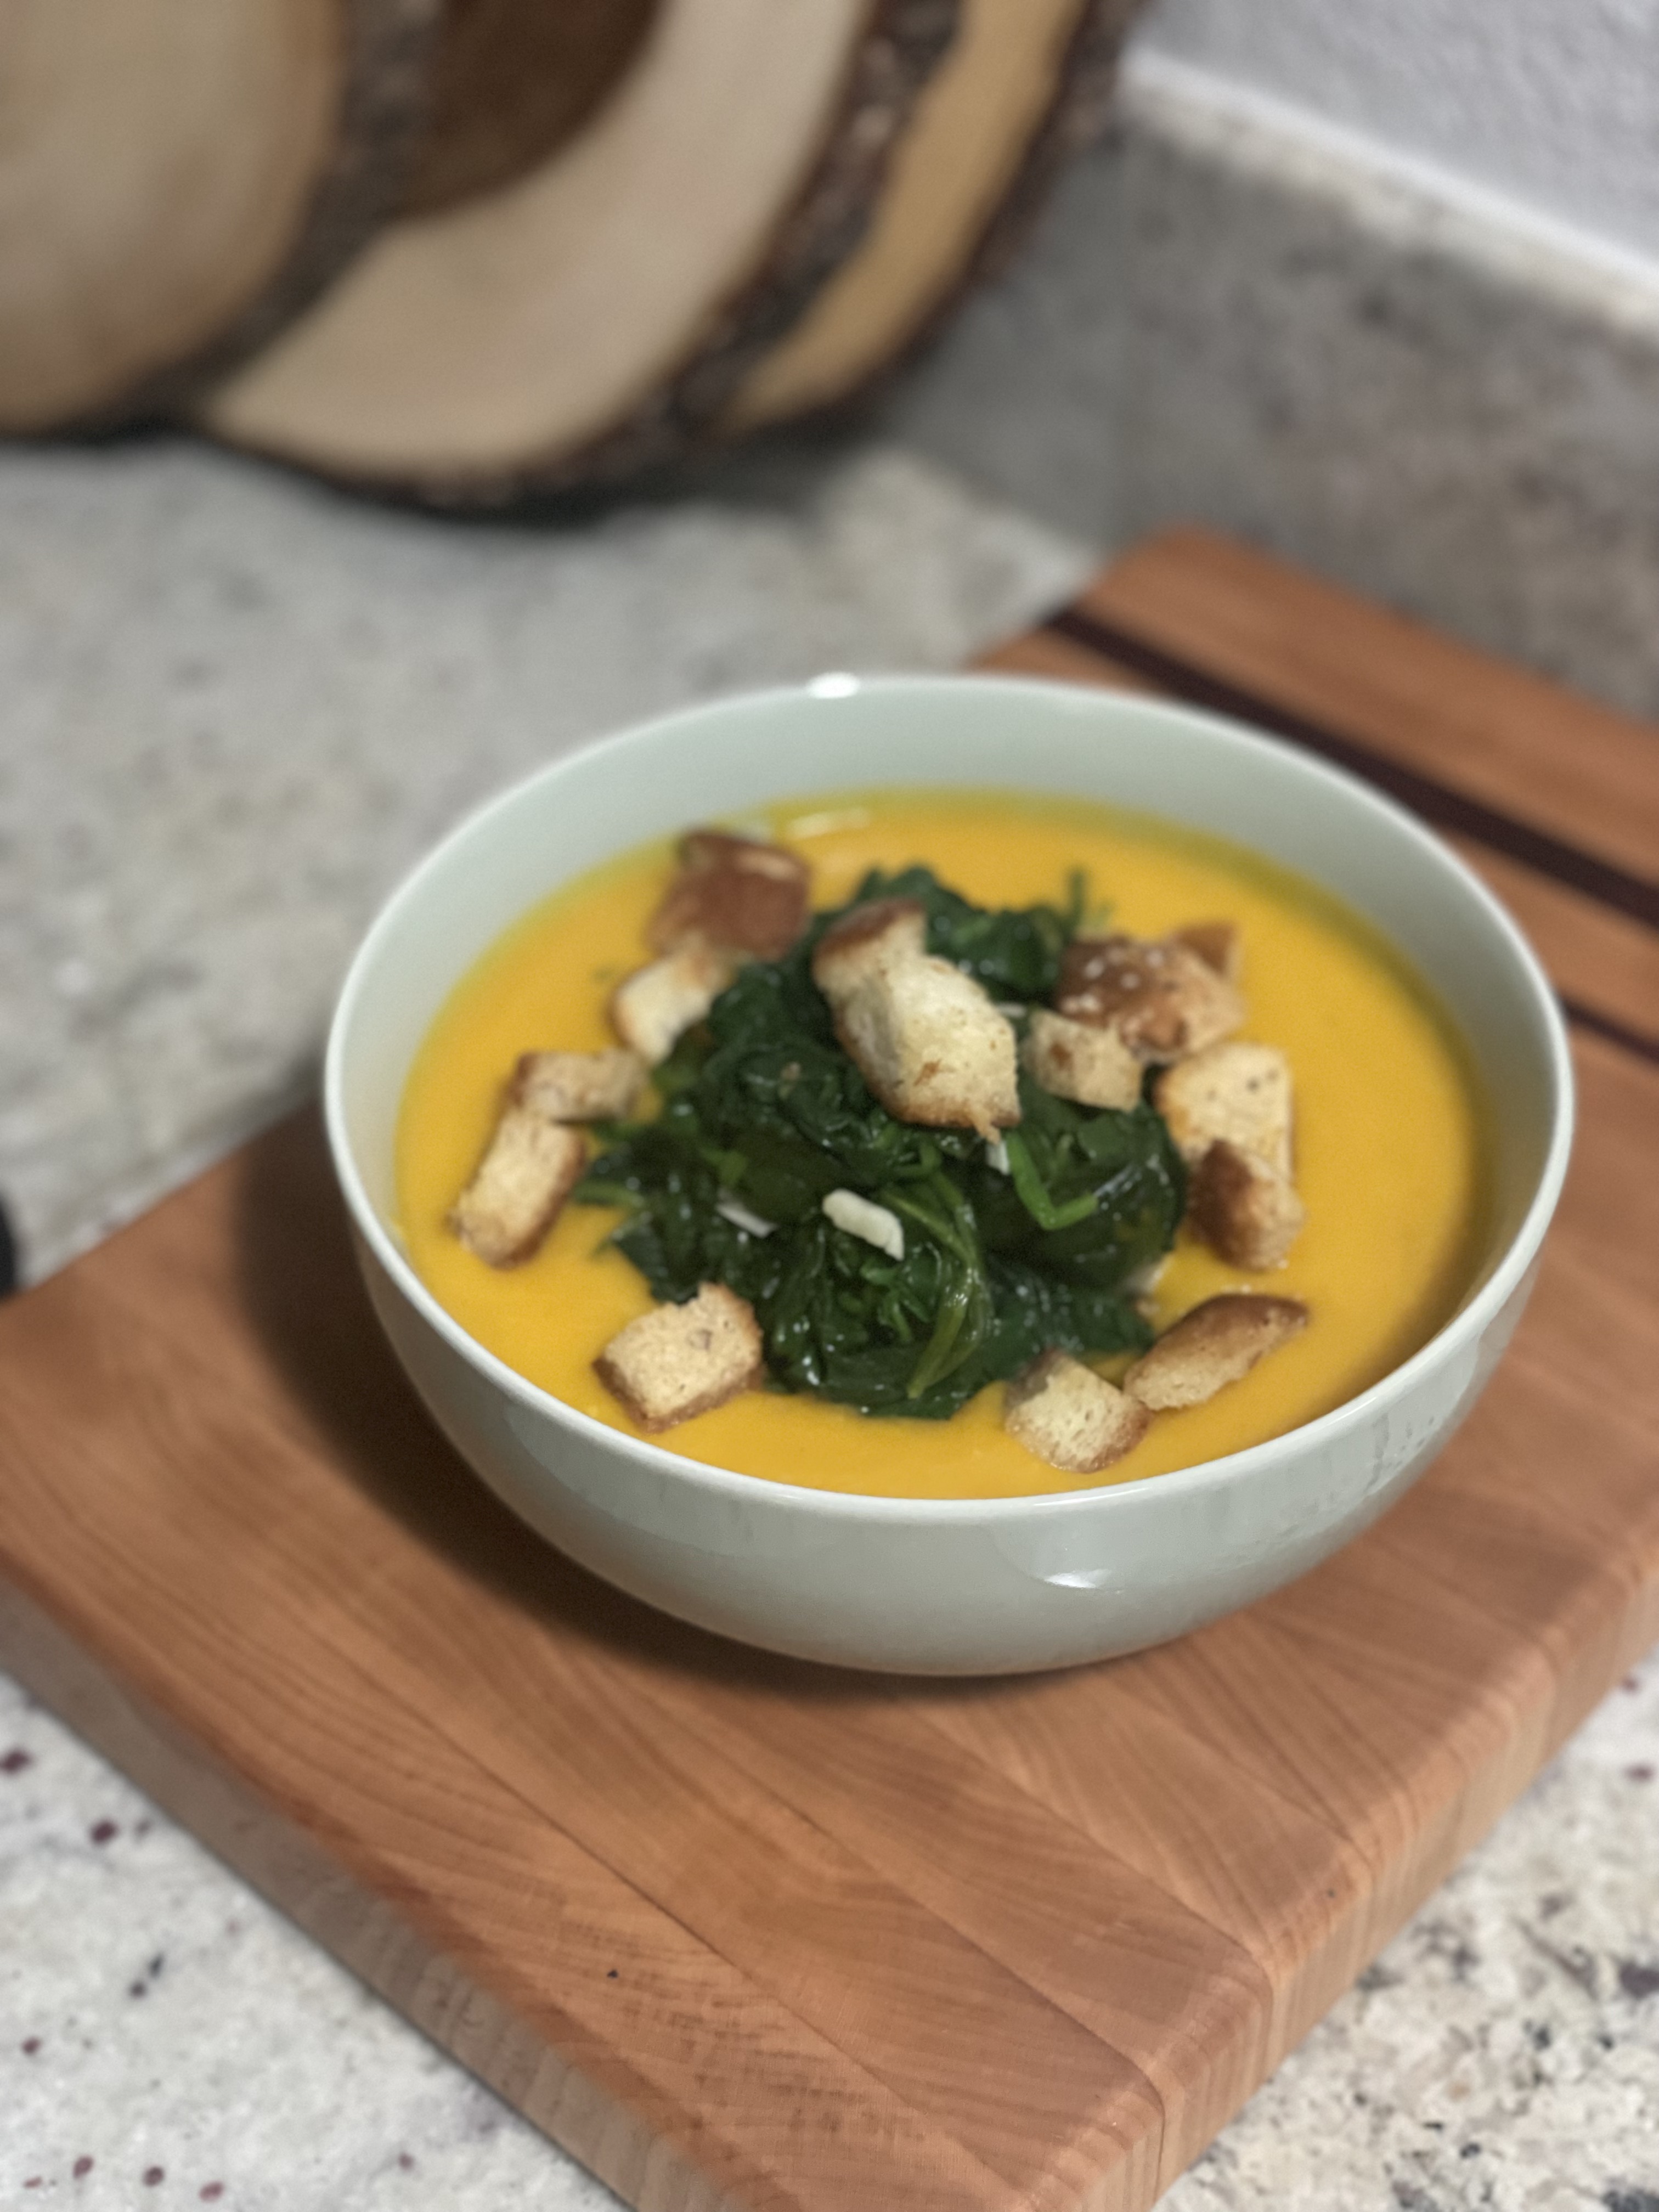
pumpkin thyme soup

A luscious, creamy pumpkin soup that’ll fill you up and keep you warm. True pumpkin flavor (not pumpkin spice) that’s flavored with garlic and thyme and creamy with some soy milk. This pumpkin soup is (accidentally) vegan and you can’t even tell. The pumpkin gives it such a pretty color and it’s an excellent vehicle for all sorts of exciting toppings. The soup is also wonderful to have later in the week and freezes well for an emergency meal when cooking is not an option.

Veggie soups like this pumpkin soup are some of my favorite go to weeknight dinners because they are so low maintenance. All you have to do is grab a bunch of vegetables or aromatics, cook them, add some liquid, blend together, and you have a satisfying, warm dinner!

Ingredients

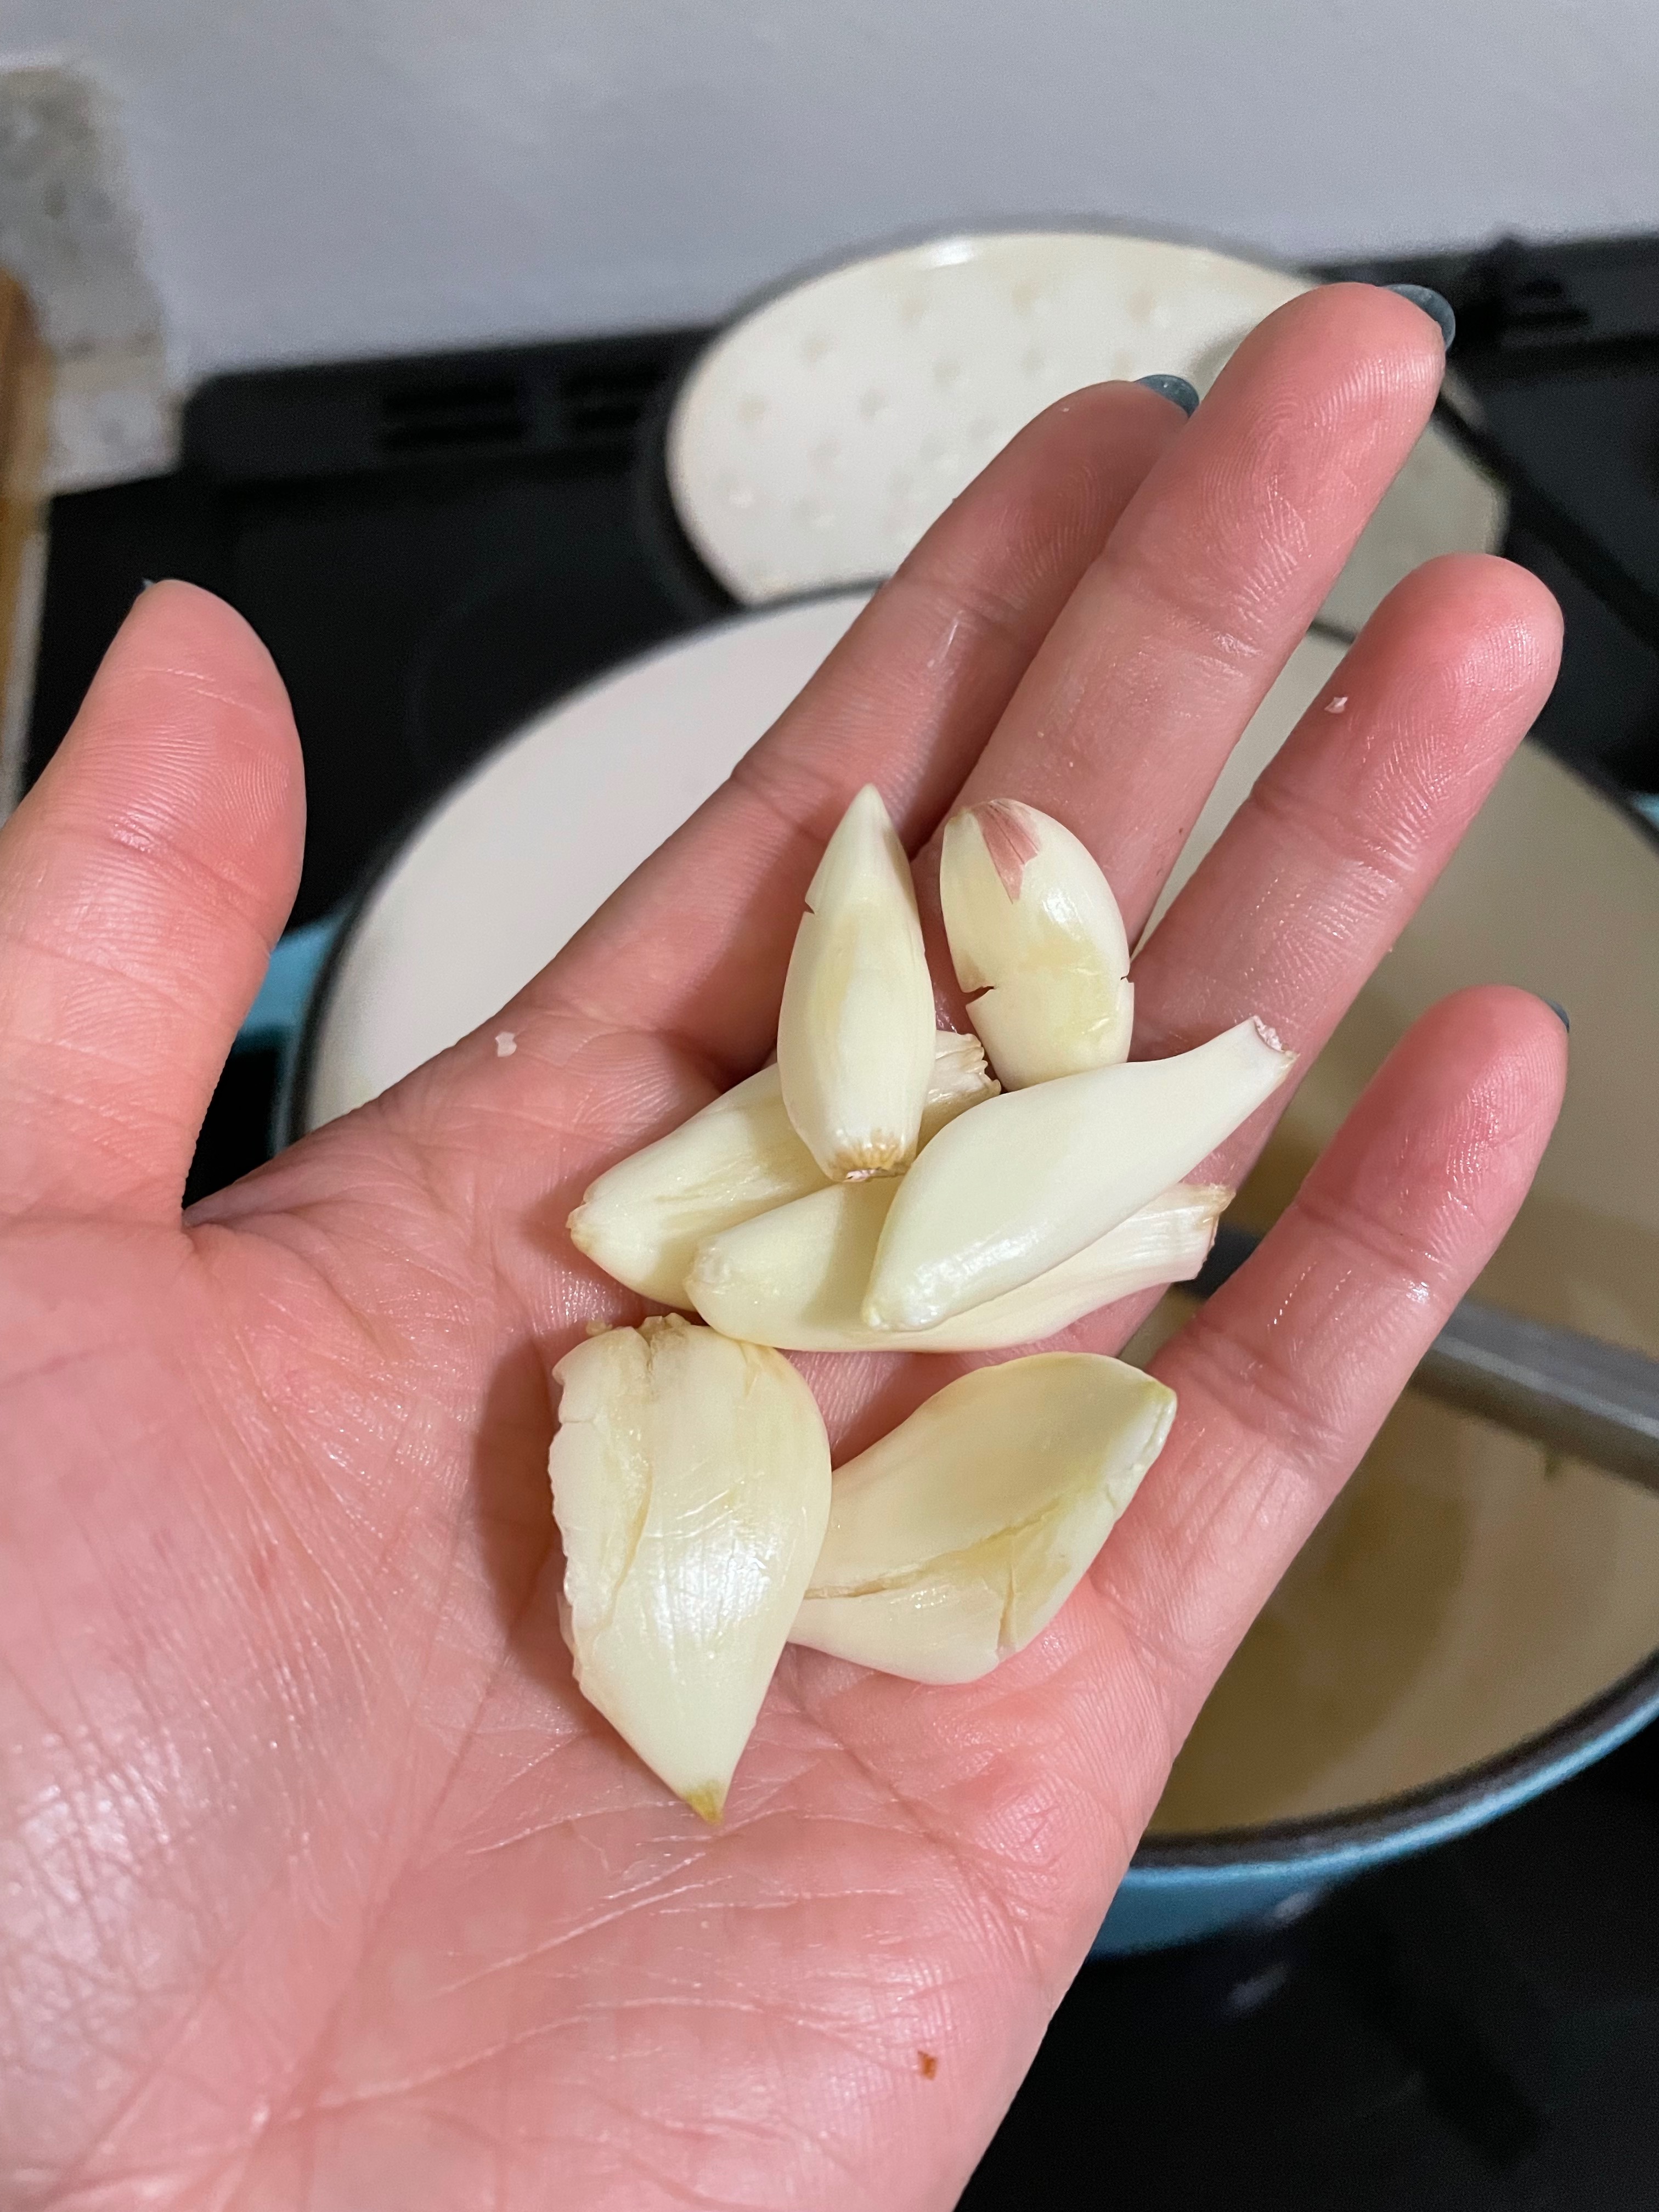
Garlic – I used a lot of garlic here, but you really can’t tell that there’s this much garlic in the soup. As the garlic cooks, it sweetens so it doesn’t have that sharpness to it in the soup. It really brightens the flavor of the pumpkin. Sometimes I do even more than just 7 cloves…
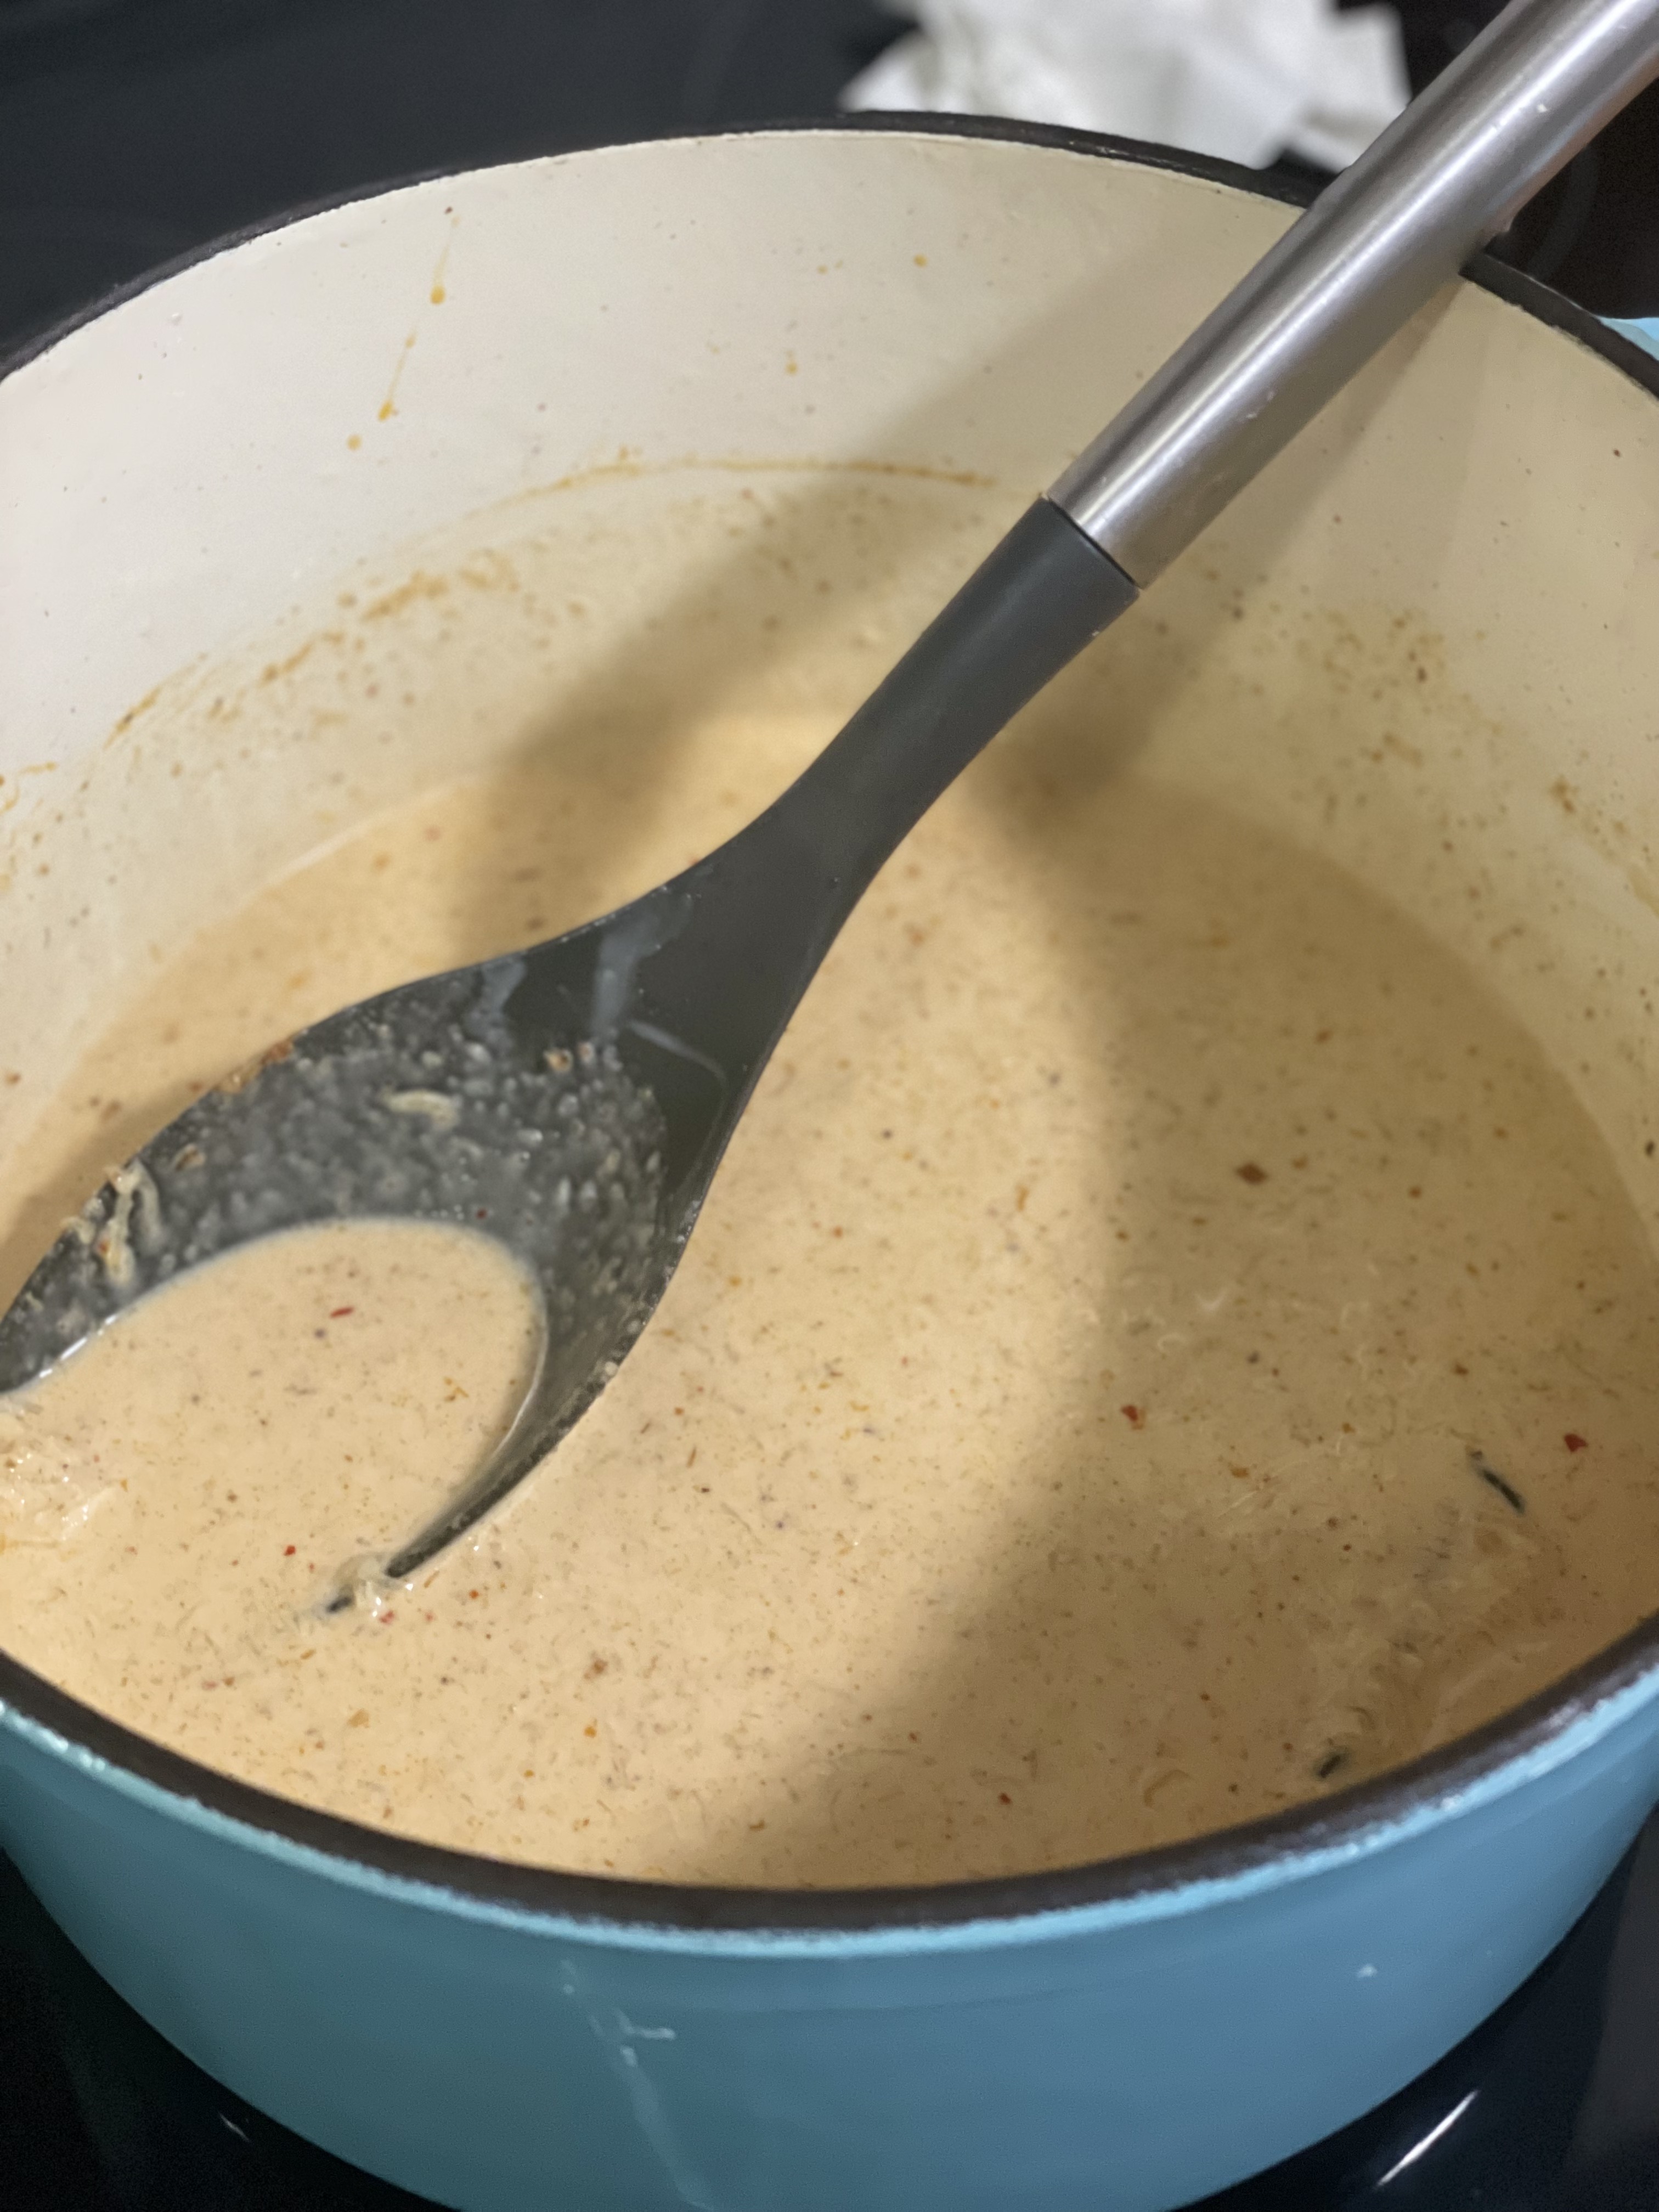
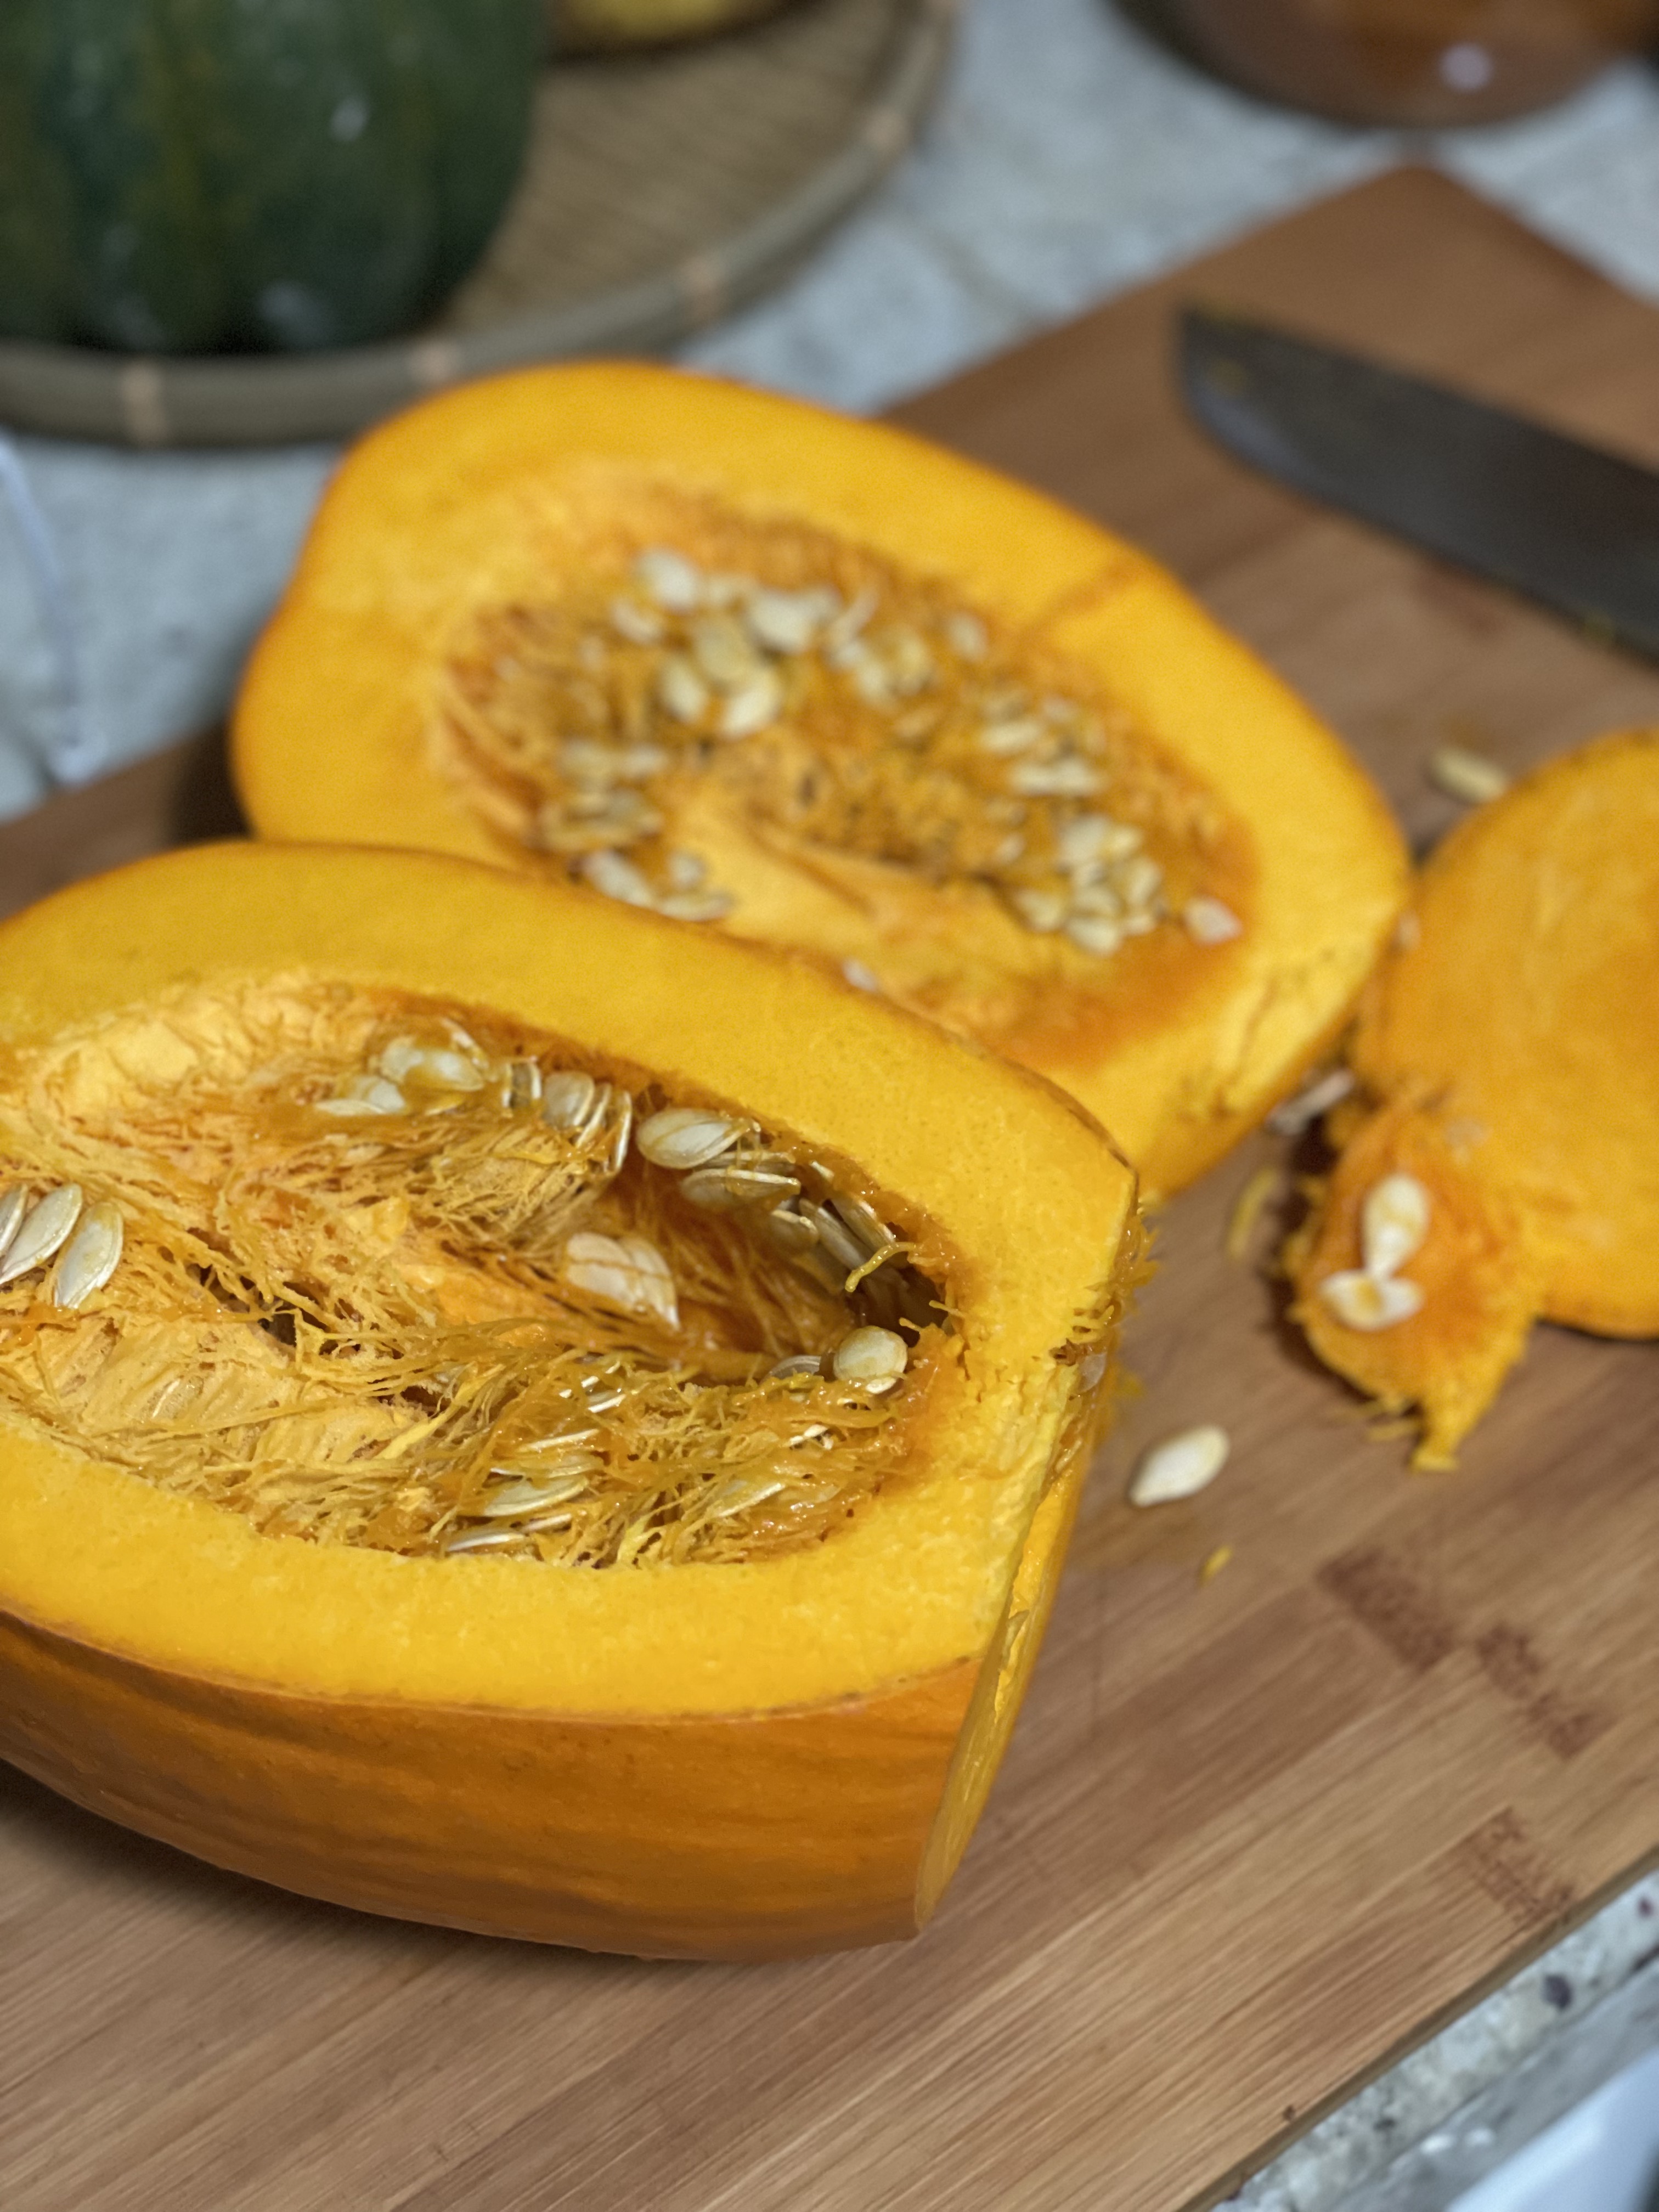
Pumpkin – I highly recommend using fresh pumpkin. Try making my Homemade Pumpkin Puree.

Soy milk – You can use any milk alternative here for a creamy soup or use a stock for a brothy soup. I generally have oat milk or soy milk on hand since my body tends to reject cow milk. Pumpkin puree is generally thick on its own, so the additional liquid of milk or stock helps thin it to more of a desirable consistency.
Thyme – My CSA provides herbs as well as produce! I usually have random herbs hanging upside down from my kitchen cabinets waiting to be sprinkled into a recipe. Here I have some thyme that has been drying in my kitchen for a few months now. You can use fresh thyme or dried thyme you can get at the grocery store too.

Toppings – The soup is delicious on its own, but its more fun with more toppings. I topped mine with some garlic, sautéed spinach and some spicy homemade croutons. Top with whatever you may have on hand to add more dimension and texture. I’d try caramelized onions, crackers, or even toasted nuts. No toppings? No problem. Try it with a slice of toasty bread for dipping.

Method

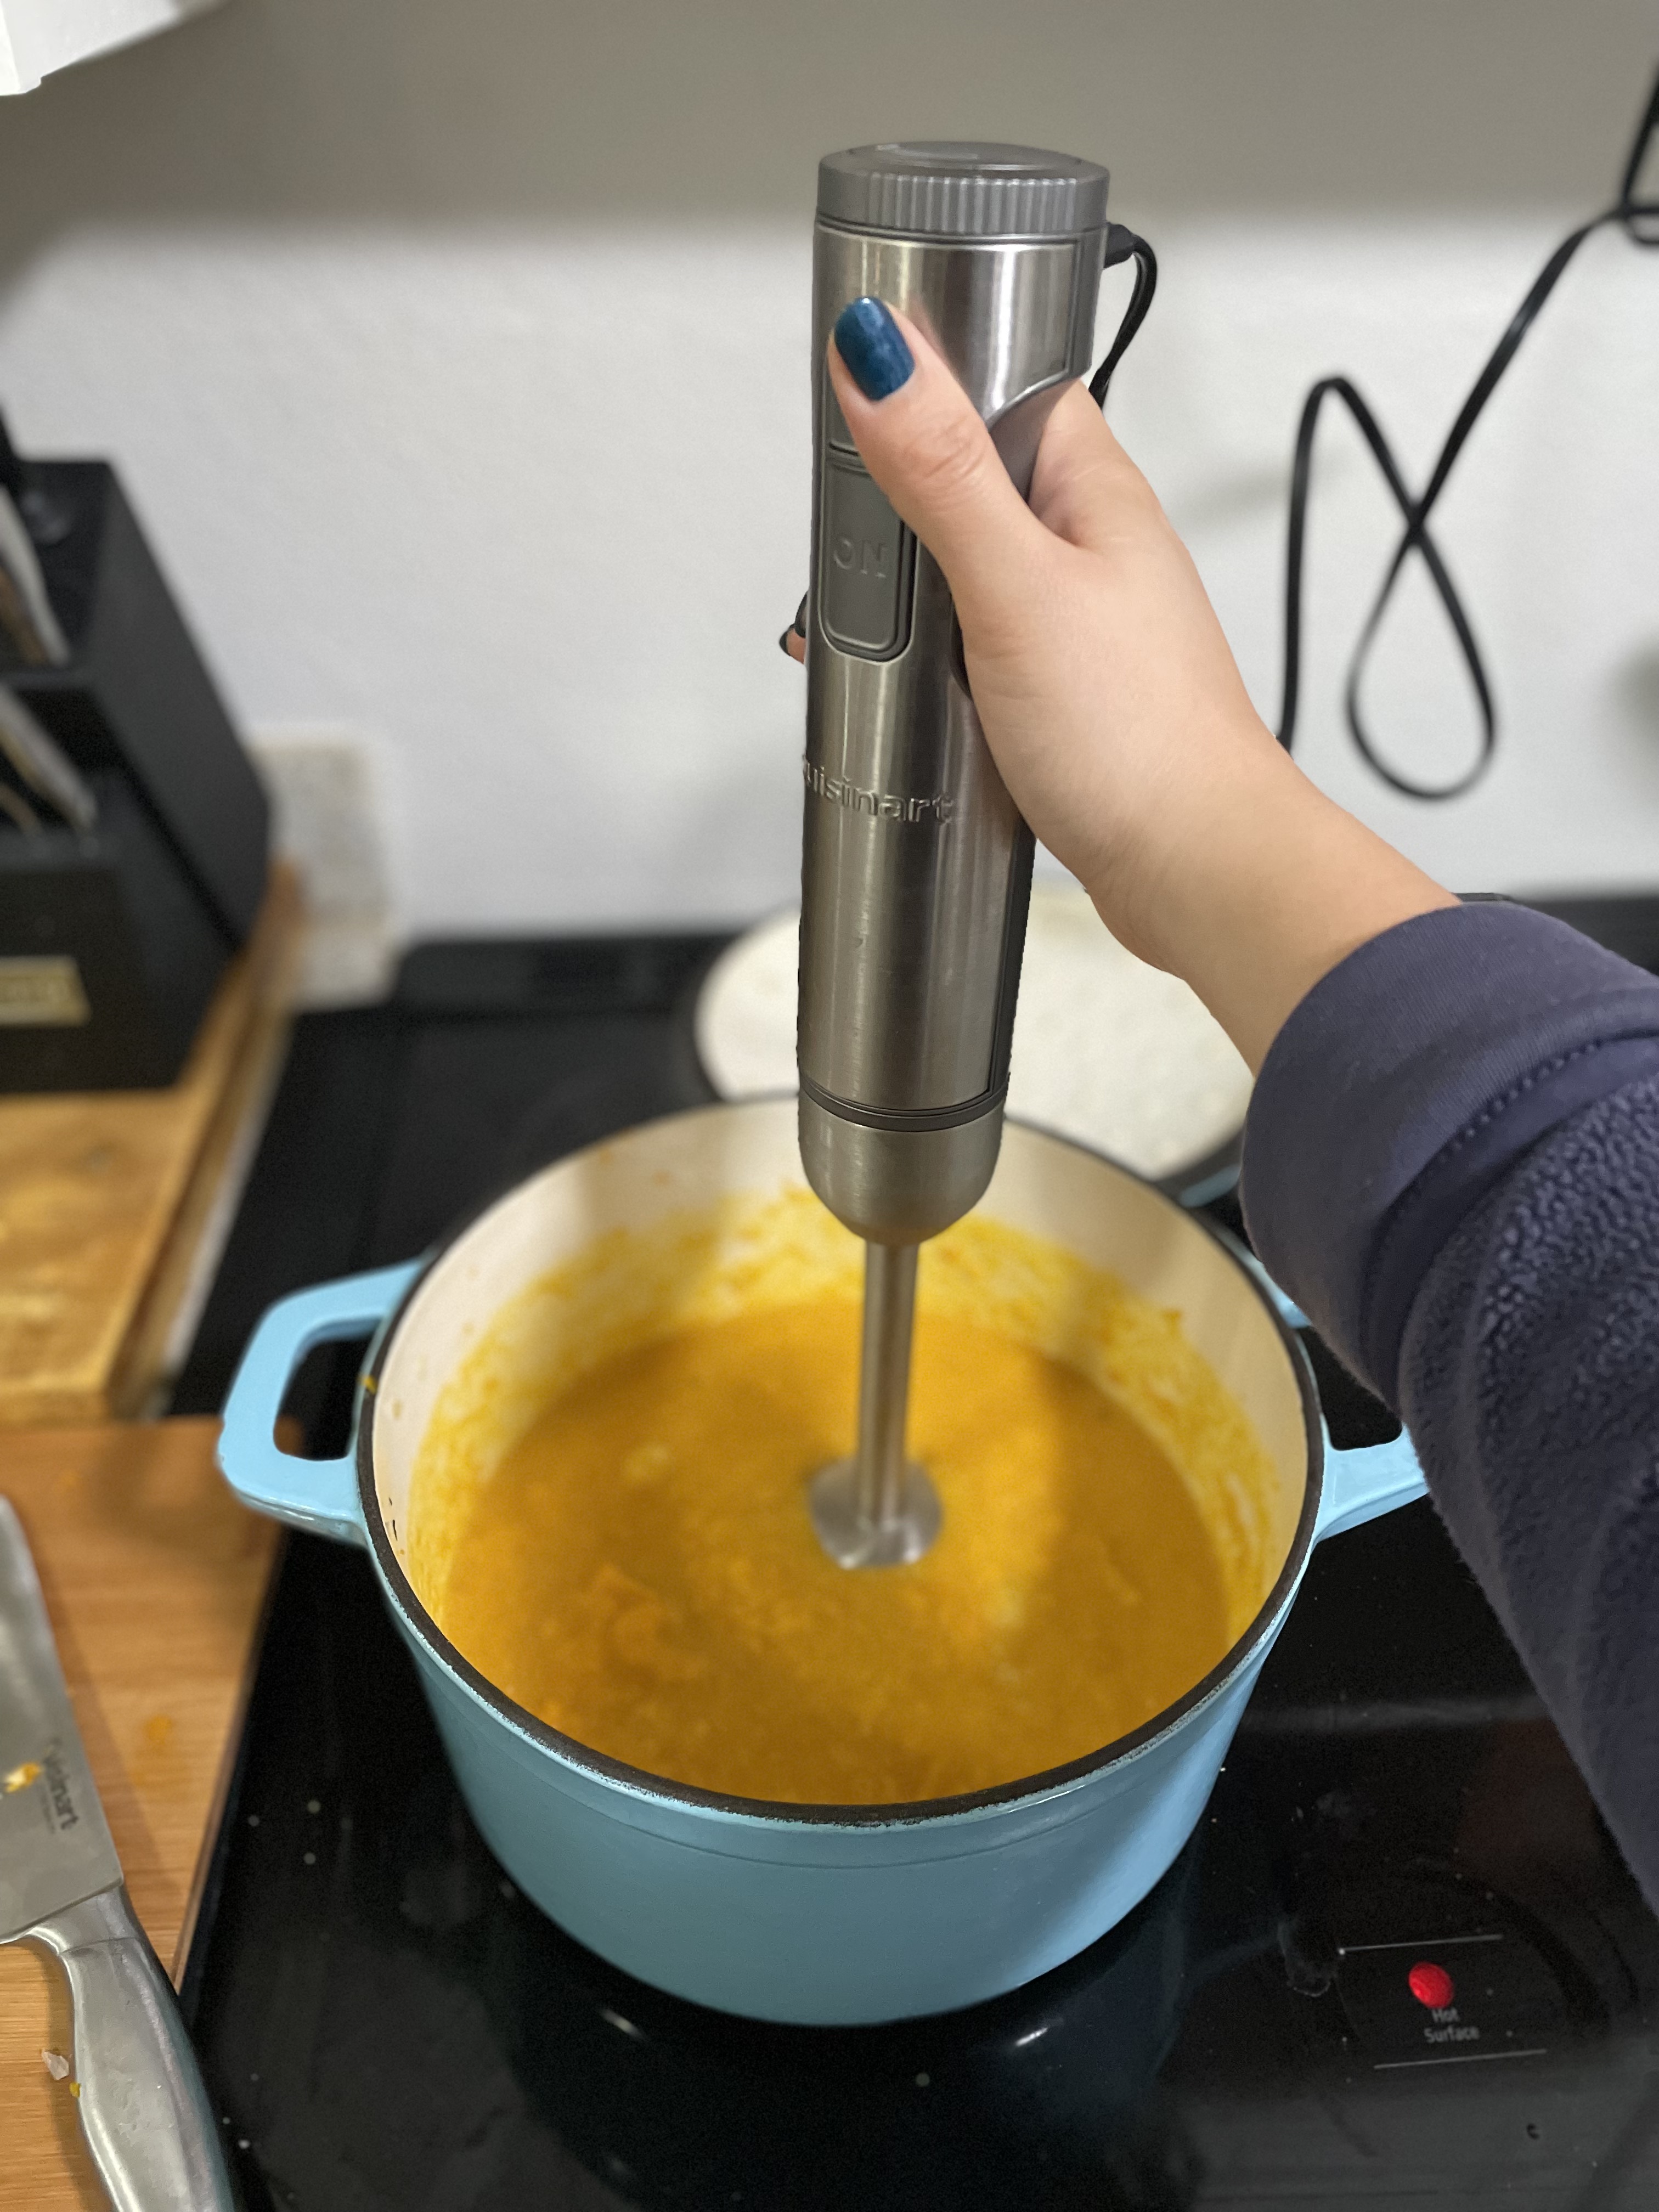
Blender – I used an immersion blender for this soup since I didn’t want to watch a blender/lid combo, but a traditional blender works fine! Blend to your desired consistency using whatever method works best for you.

pumpkin thyme soup

Pumpkin Thyme Soup

Print Recipe
A thick, comforting soup to get you through the rest of winter.
Course Main Course, Soup
Keyword pumpkin, soup, thyme, vegan, vegetarian
Prep Time 30 minutes
Cook Time 30 minutes
Servings 4

Equipment

  • heavy bottom pot
  • blender

Ingredients

  • 7 cloves garlic
  • 4 cups pumpkin puree fresh
  • 2 cups soy milk
  • 1 tsp thyme
  • salt
  • pepper

Instructions

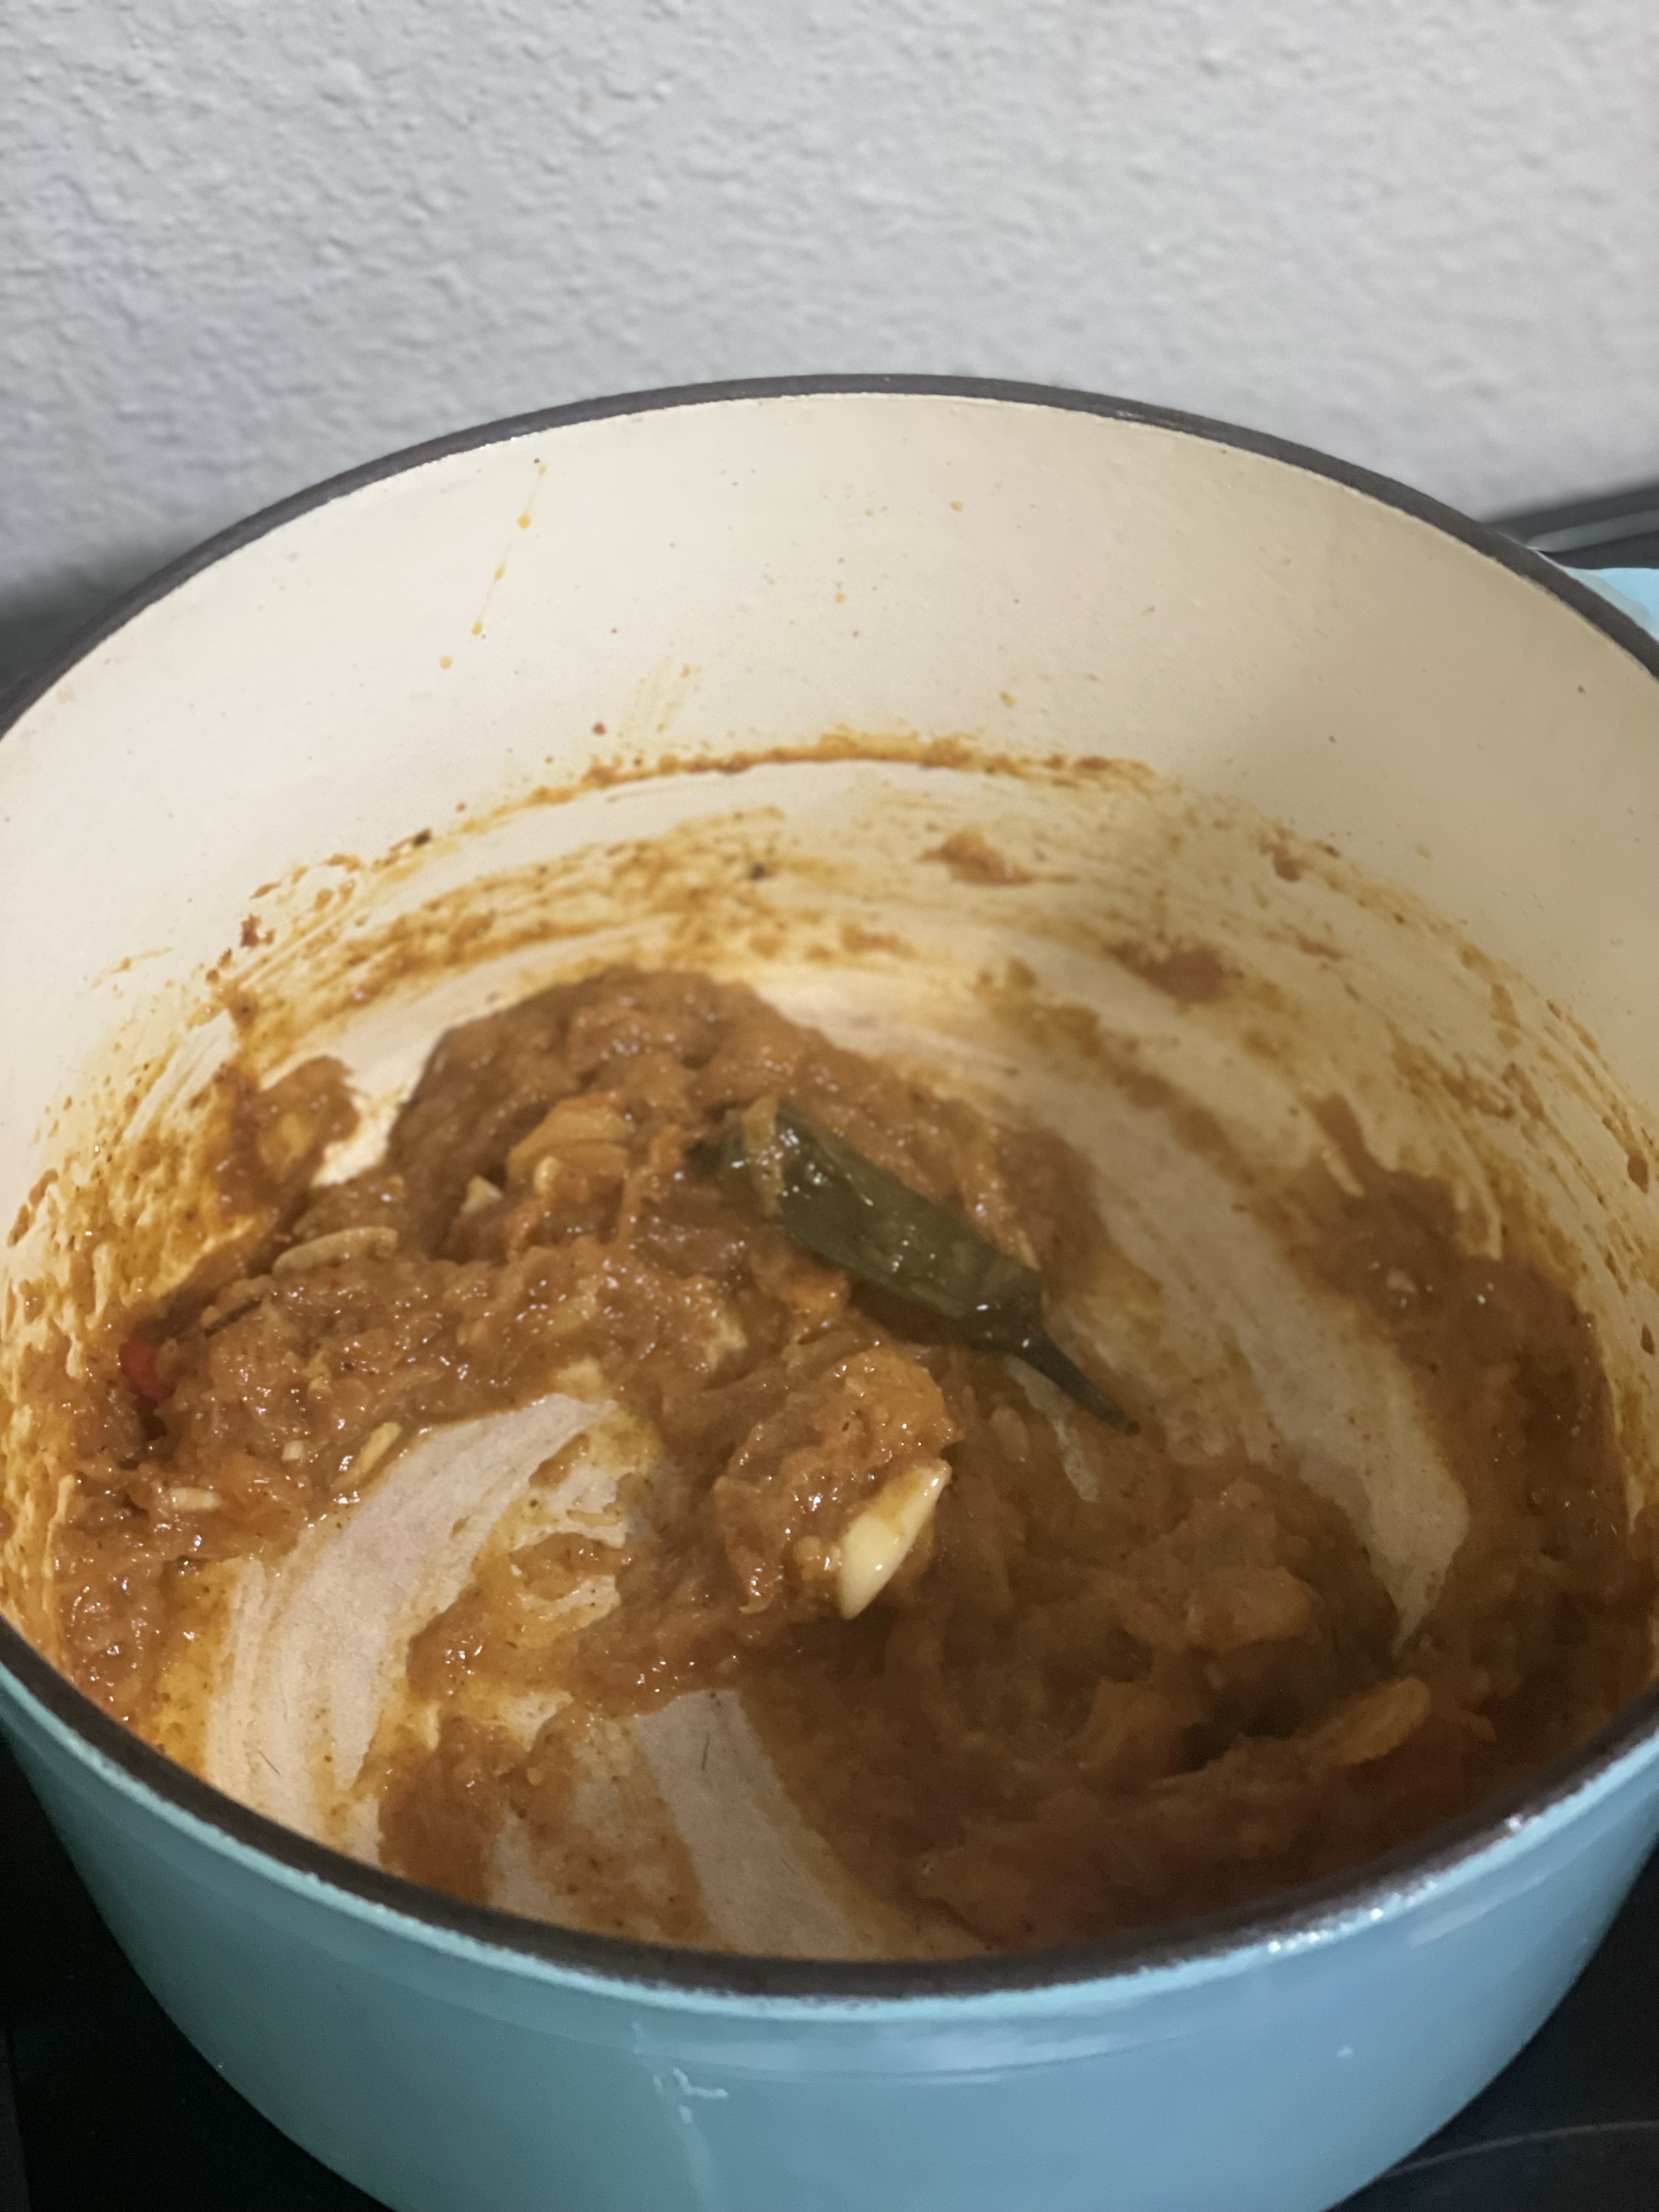
  • In a heavy bottom pot, saute garlic for a few minutes, until lightly browned.
  • Add pumpkin puree and mix with garlic for 1-2 minutes.
  • Add soy milk and mix together with pumpkin and garlic.
  • Allow to simmer ~8 minutes until garlic softens.
  • Blend the pumpkin, soy milk, garlic mixture together until creamy and texture evens.
  • Add 1 tsp of thyme.
  • Season with salt & pepper to taste.
  • Serve immediately with any toppings you'd like! I had mine with sautéed garlic spinach and homemade spicy rosemary croutons.

Interested in other pumpkin recipes?

Try Pumpkin Pull Apart Bread or Pumpkin Panang Curry with Spinach and Paneer.

Homemade Pumpkin Puree

pumpkin puree

I love eating pumpkin flavored things – all the things from Trader Joe’s, cookies, bread, spiced lattes, and more. My CSA had plenty of pumpkins to give out so I had to be creative with what I could do with a pumpkin: enter pumpkin puree.

I have two methods for making puree, pick either depending on what you’re intending to use the puree for.

Instant Pot/Pressure Pot Method

This is the best method if you’re in a pinch. You can have pumpkin puree ready in less than 20 minutes if you need to make a quick weeknight soup. You can also use this method for a flour based baked good.

In a flour based baked good, you usually don’t really taste much of the pumpkin. The spices typically overwhelm the pumpkin flavor. The sugar content of the baked good also makes up for not roasting the pumpkin. If you’re making something dairy/custard (cheesecake, pie) based where the pumpkin shines through more, I would recommend roasting for these kinds of items (see below).

Method:

  • Cut the top of your pumpkin.
  • If your pumpkin can fit in the instant pot/pressure pot, you can keep it whole. If it’s too big, you can split it in half like I did.
  • Scoop all the seeds out of the pumpkin.
  • Add 1 cup to water to the instant pot and put the steaming attachment inside.
  • Put your pumpkin on the steam attachment, put on the lid, and pressure cook for 15 minutes.
  • After cook time ends, you can let the pressure naturally release or open the pressure vent. Do whichever works with your schedule!
  • Carefully remove the pumpkin from the pot and scoop out the flesh.
  • Puree to desired texture!

Roasting Method

Use this method if you have the time to spare and you really want the pumpkin flavor to shine through. Super yummy if you’re making anything savory to highlight the pumpkin flavor or if you want the puree to be sweeter and develop more flavor.

Method:

  • Cut the top of your pumpkin and cut in half. It doesn’t matter which way you cut it in half, as long as you can get the seeds out.
  • Scoop all the seeds out of the pumpkin.
  • Place the pumpkin halves on a baking sheet cut side up.
  • Baking at 400F for ~60 minutes until pumpkin has lightly browned and is soft throughout.
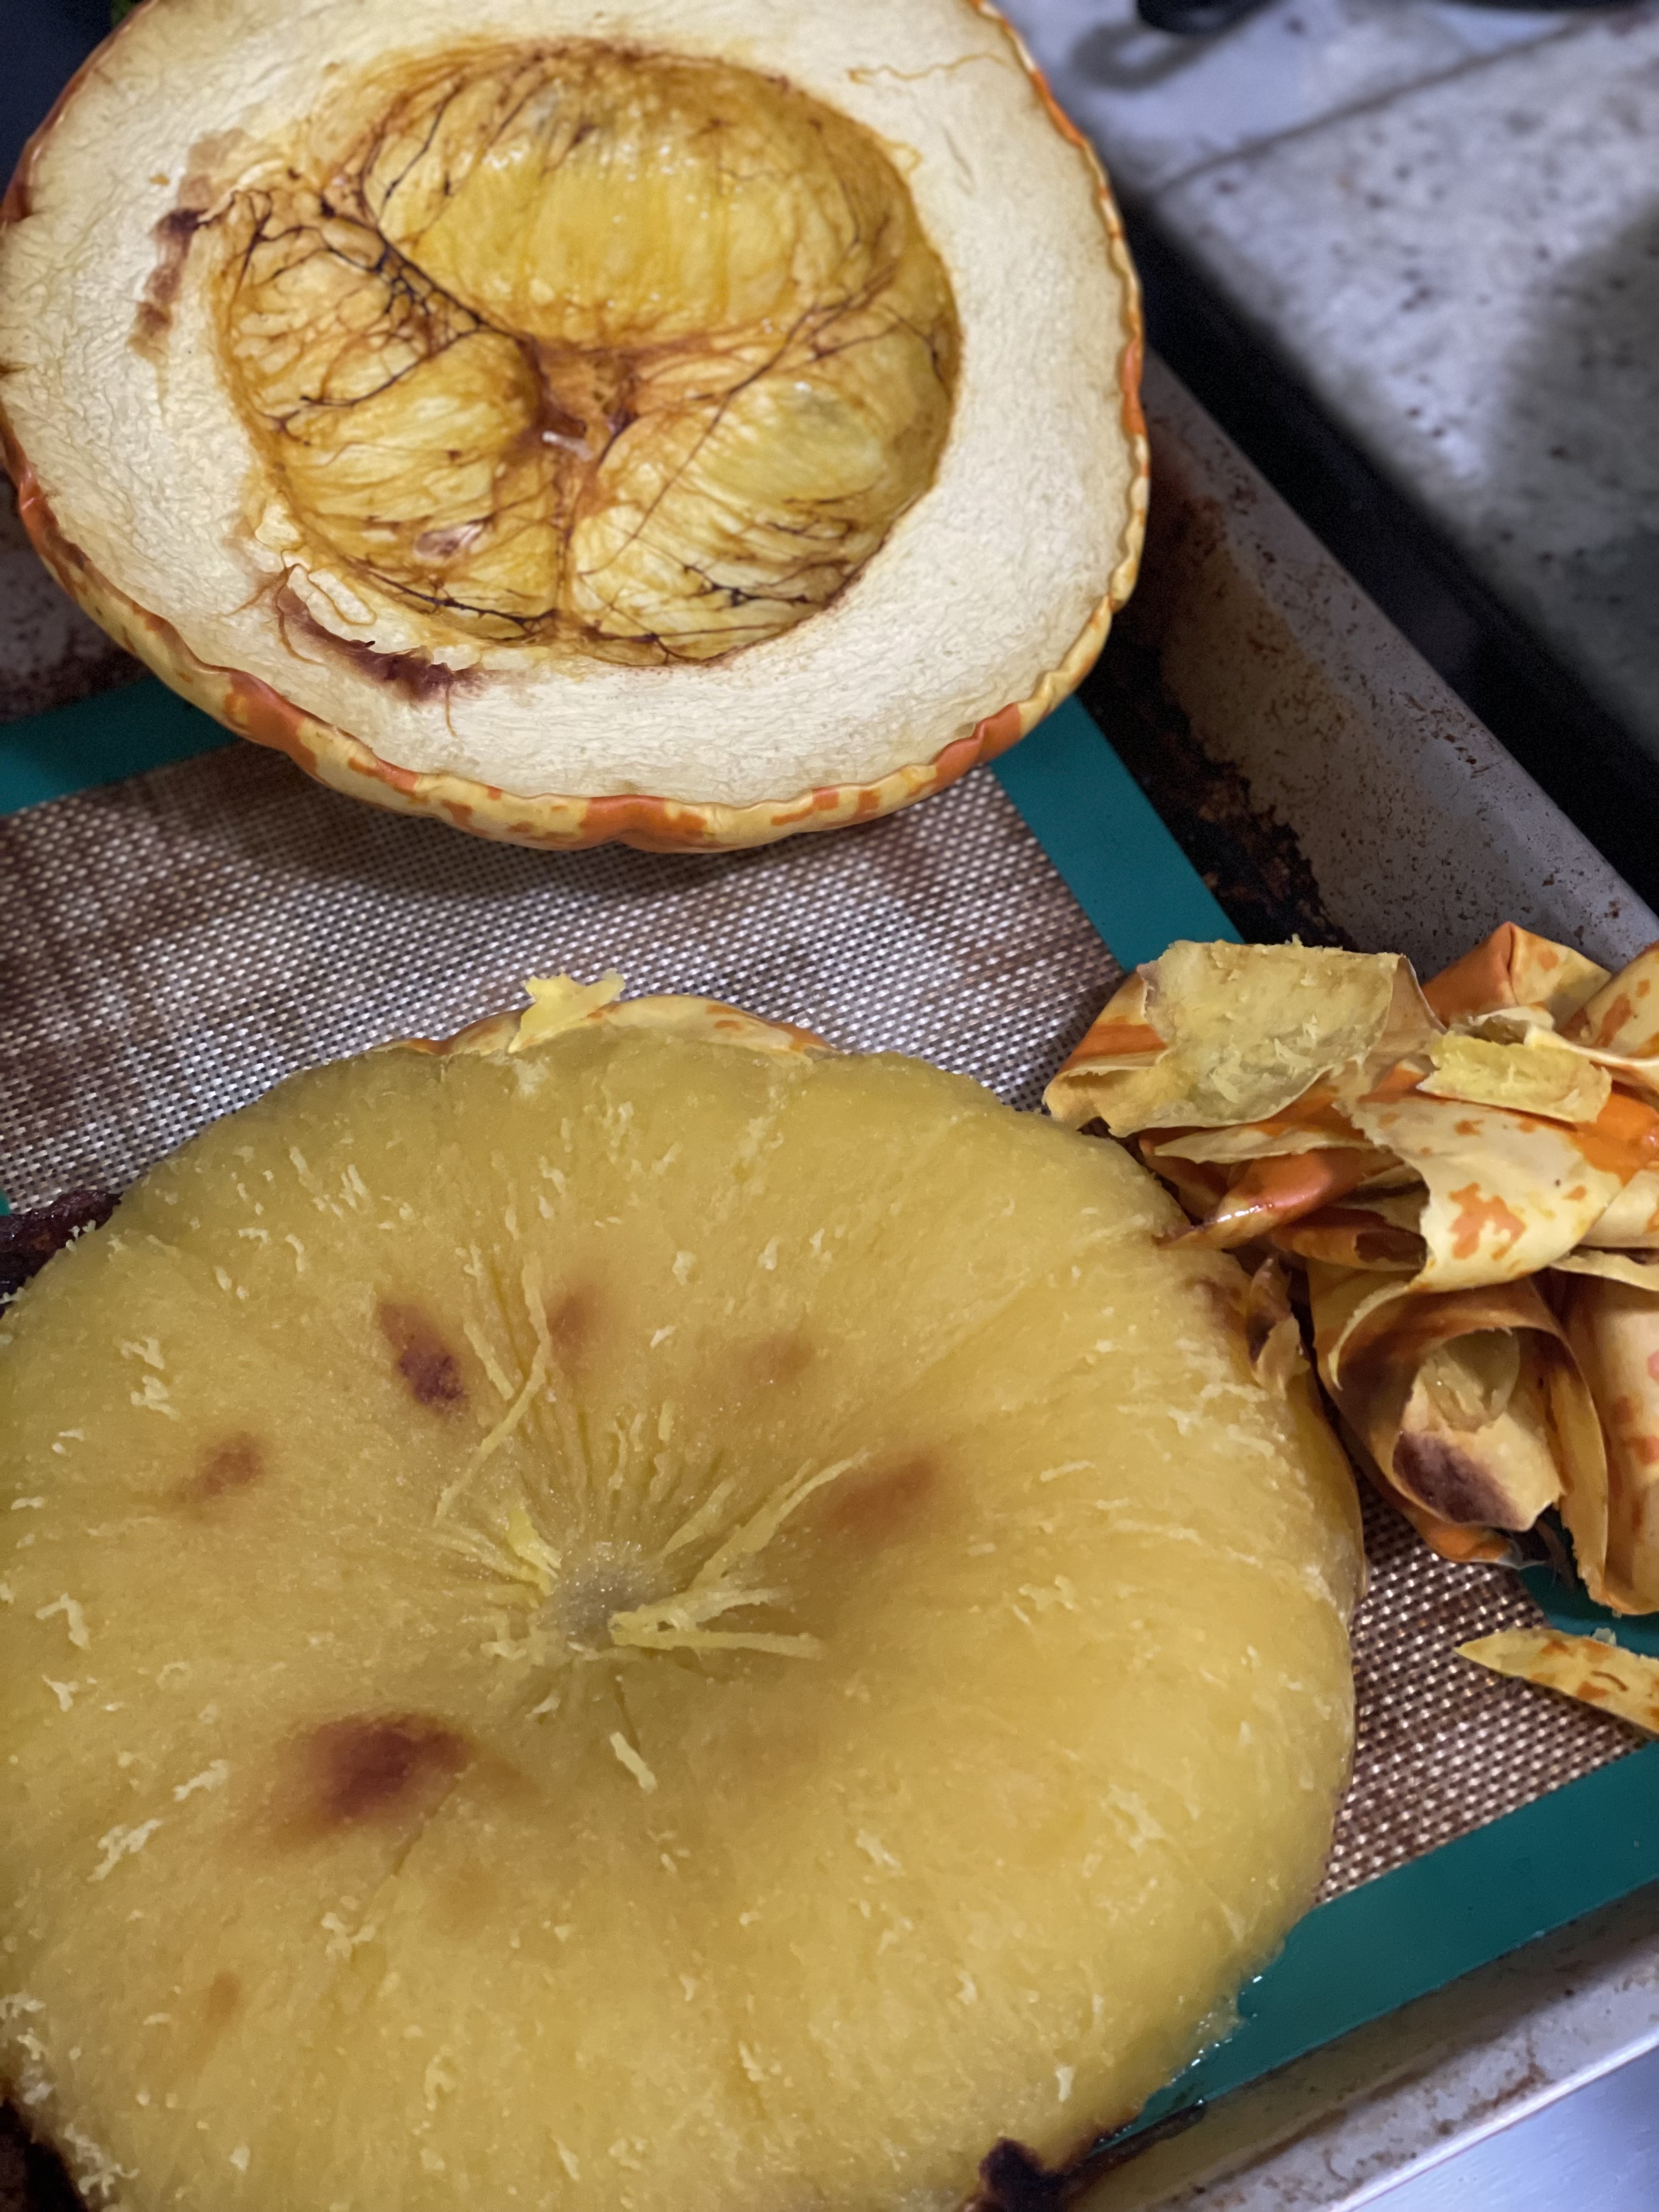
  • Once cooled to handle, you can either peel away the skin on the pumpkin or scoop the flesh out.
  • Puree to desired texture!

Have your pumpkin puree ready to go?

Try my Pumpkin Pull Apart Bread or Pumpkin Panang Curry with Spinach and Paneer.

Pumpkin Pull Apart Bread

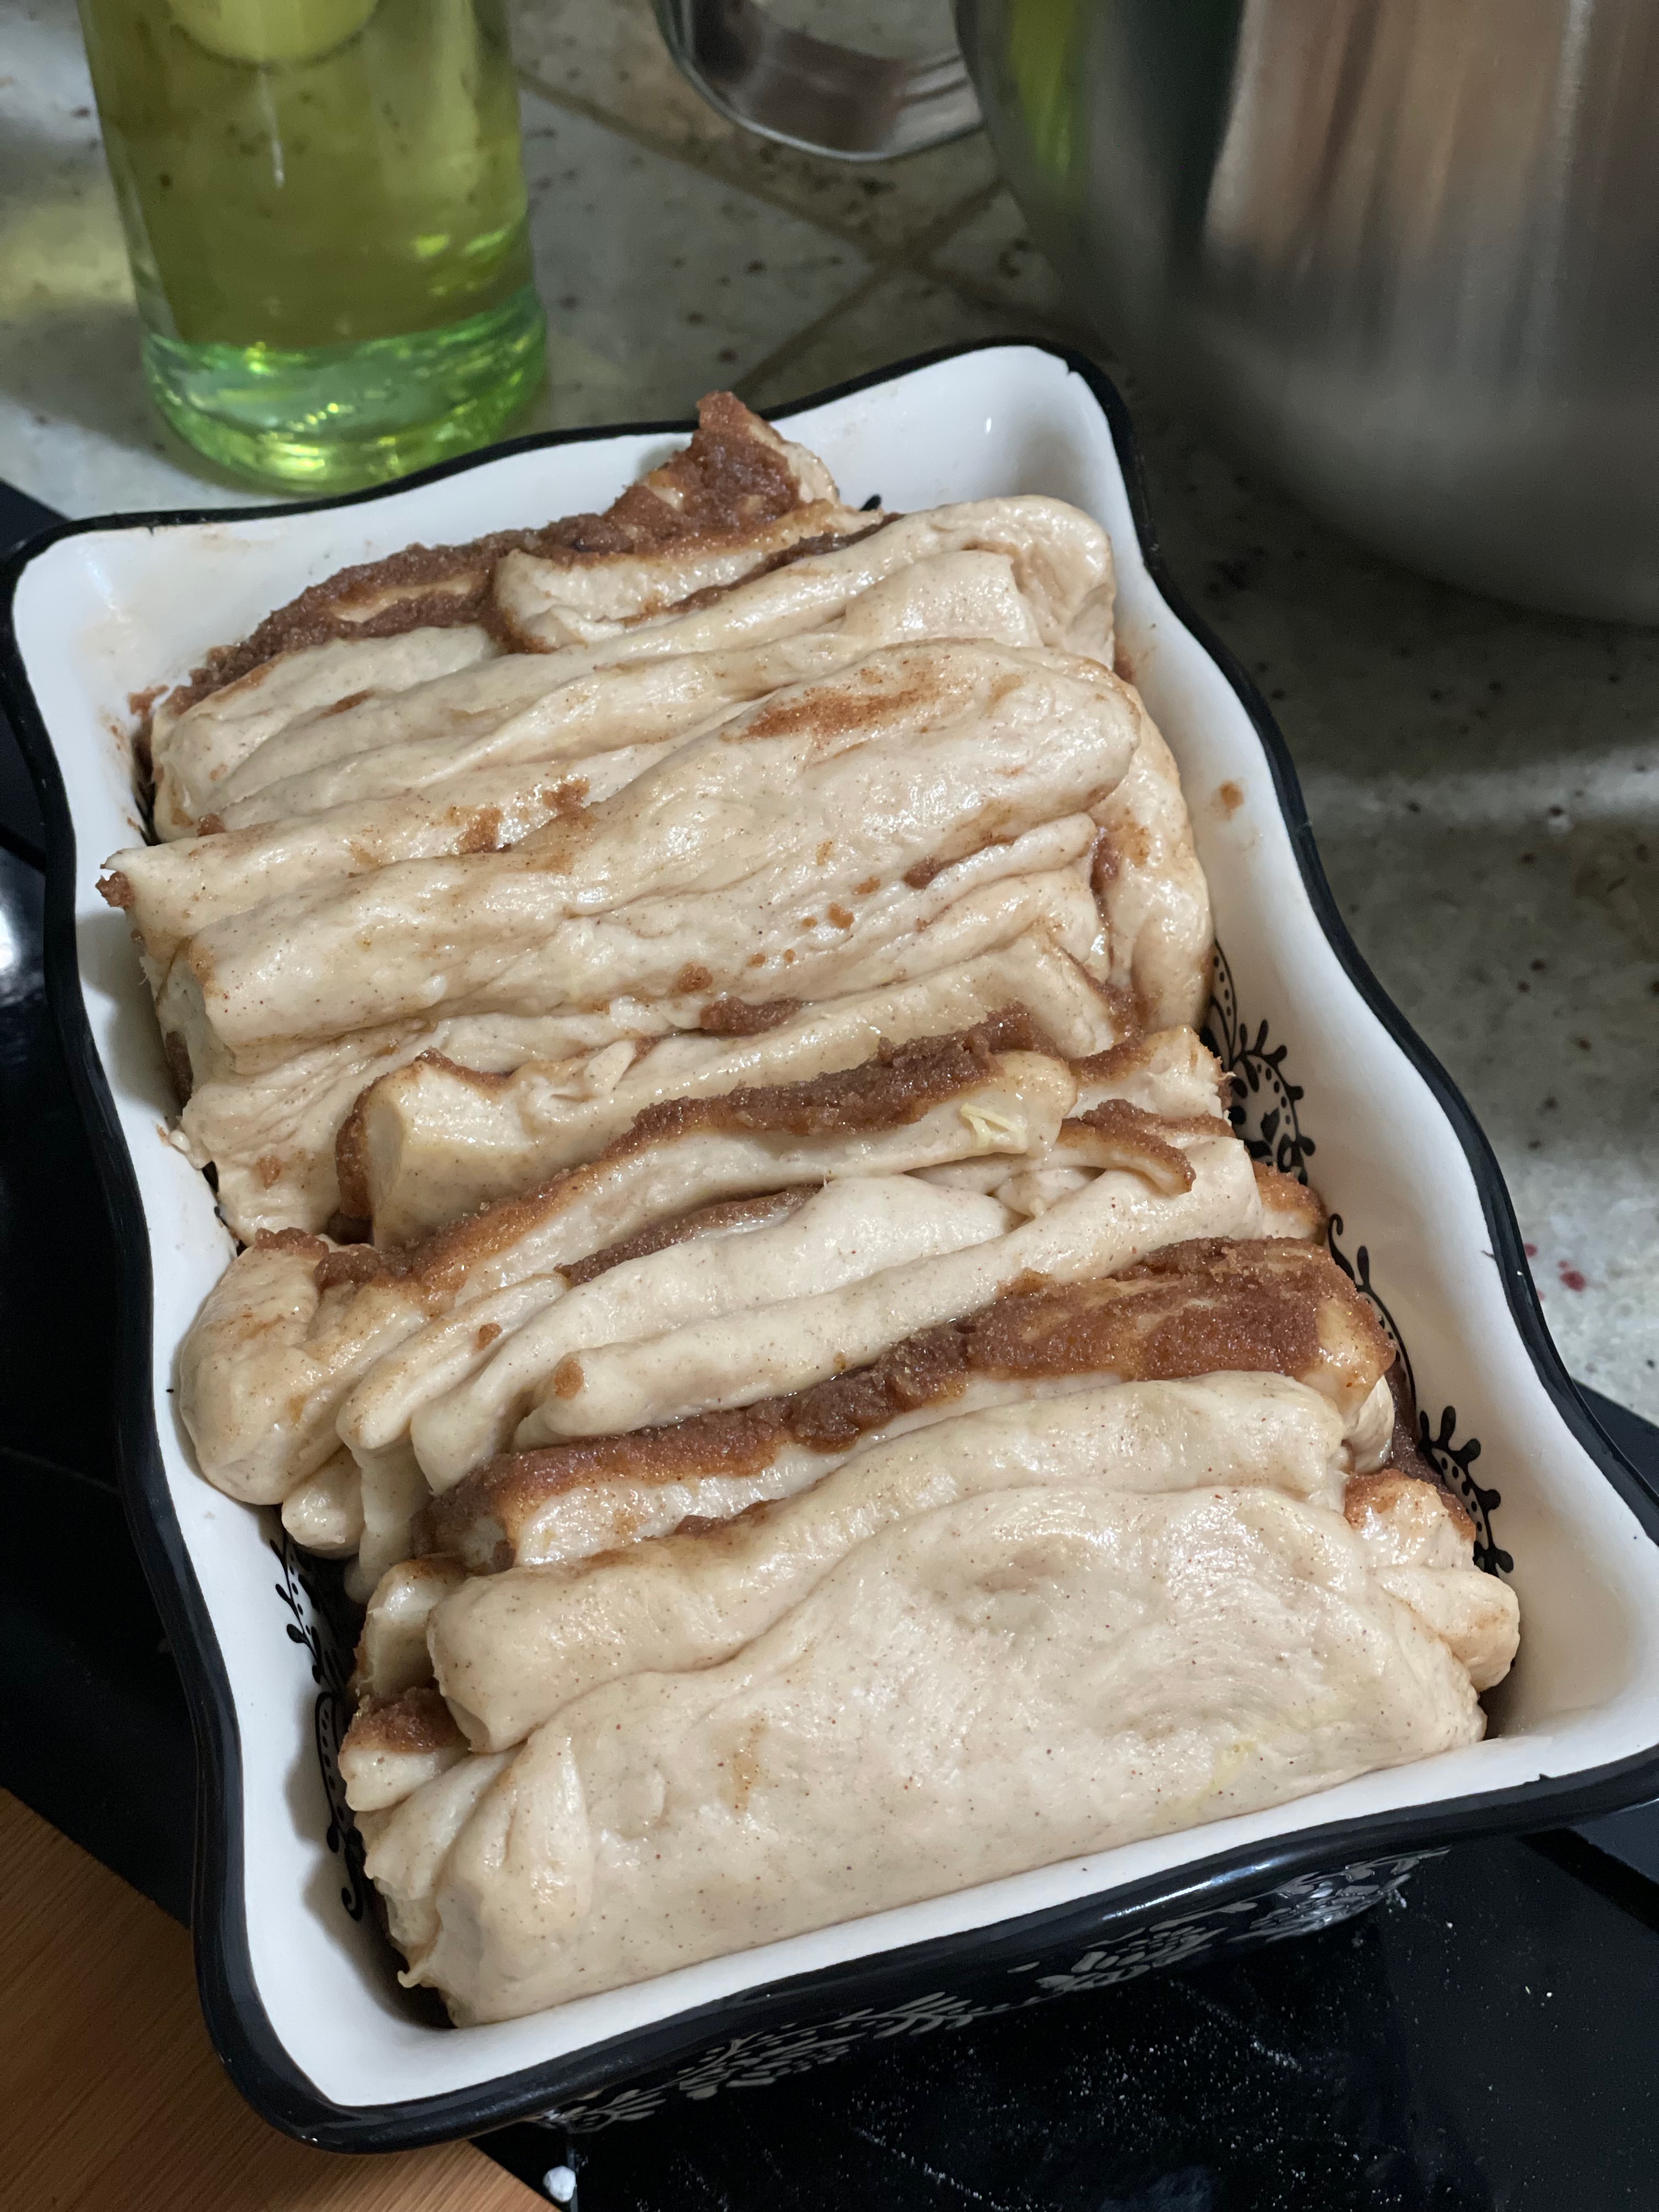
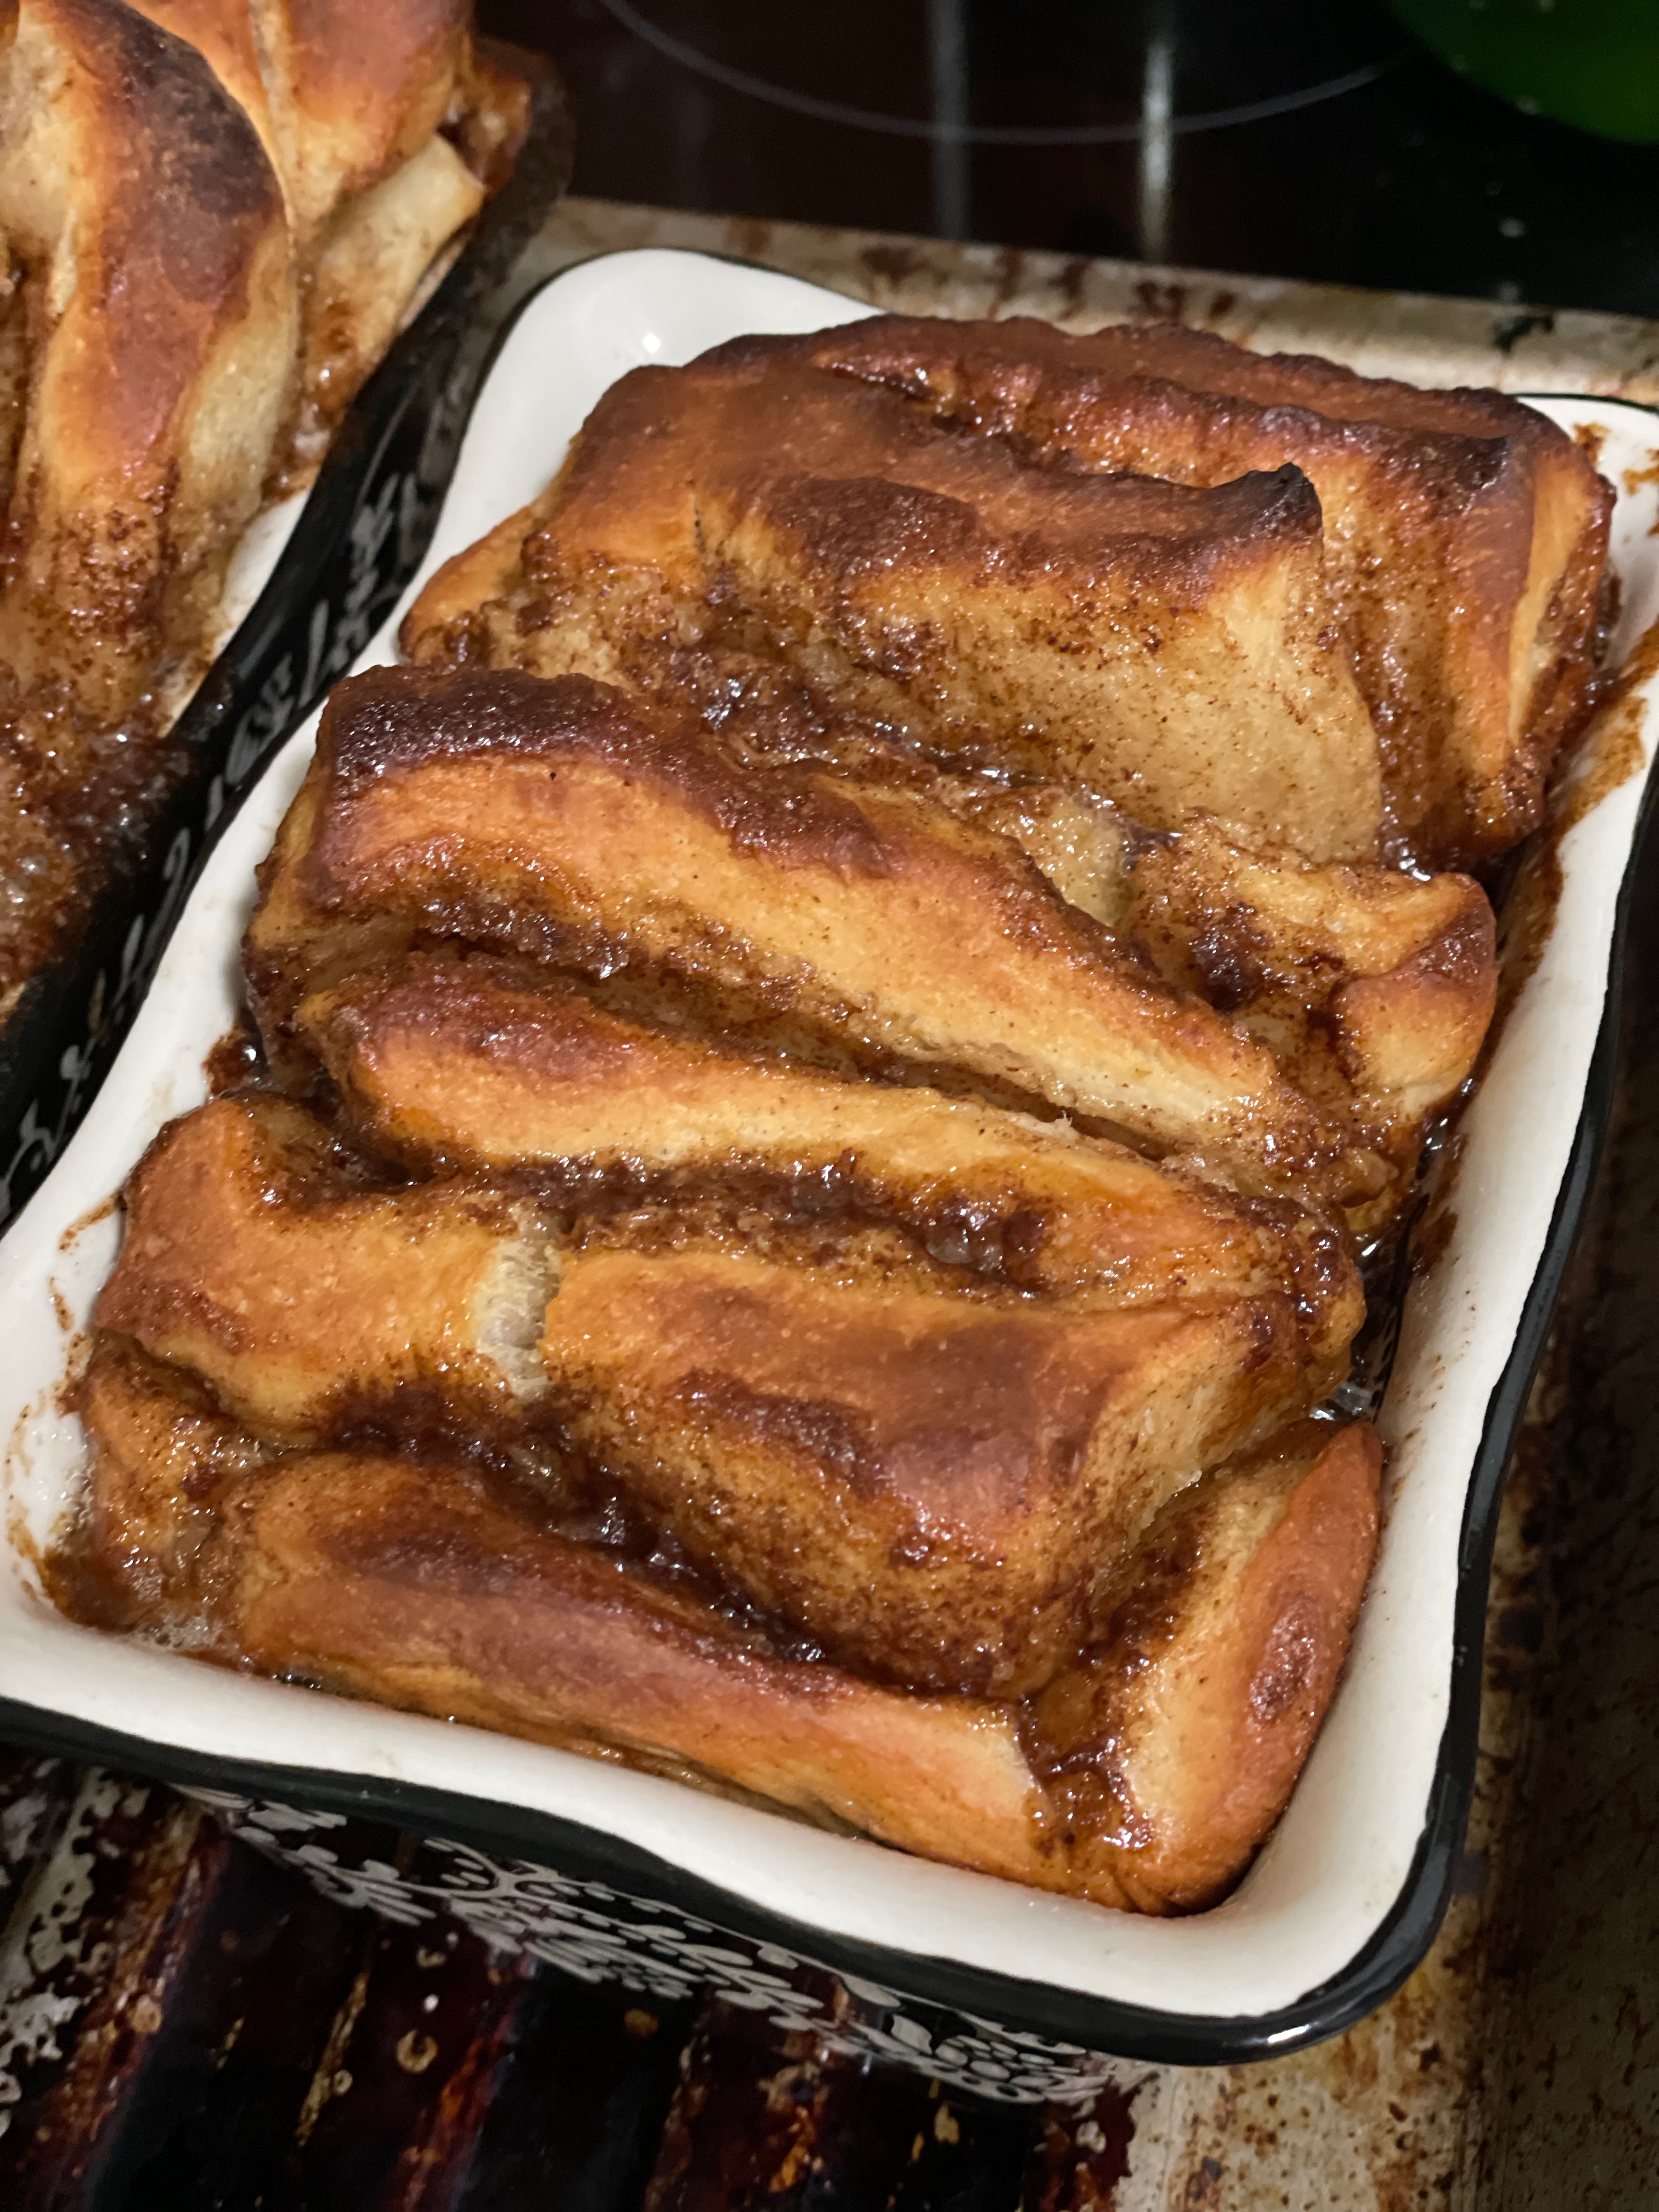
pumpkin pull apart bread

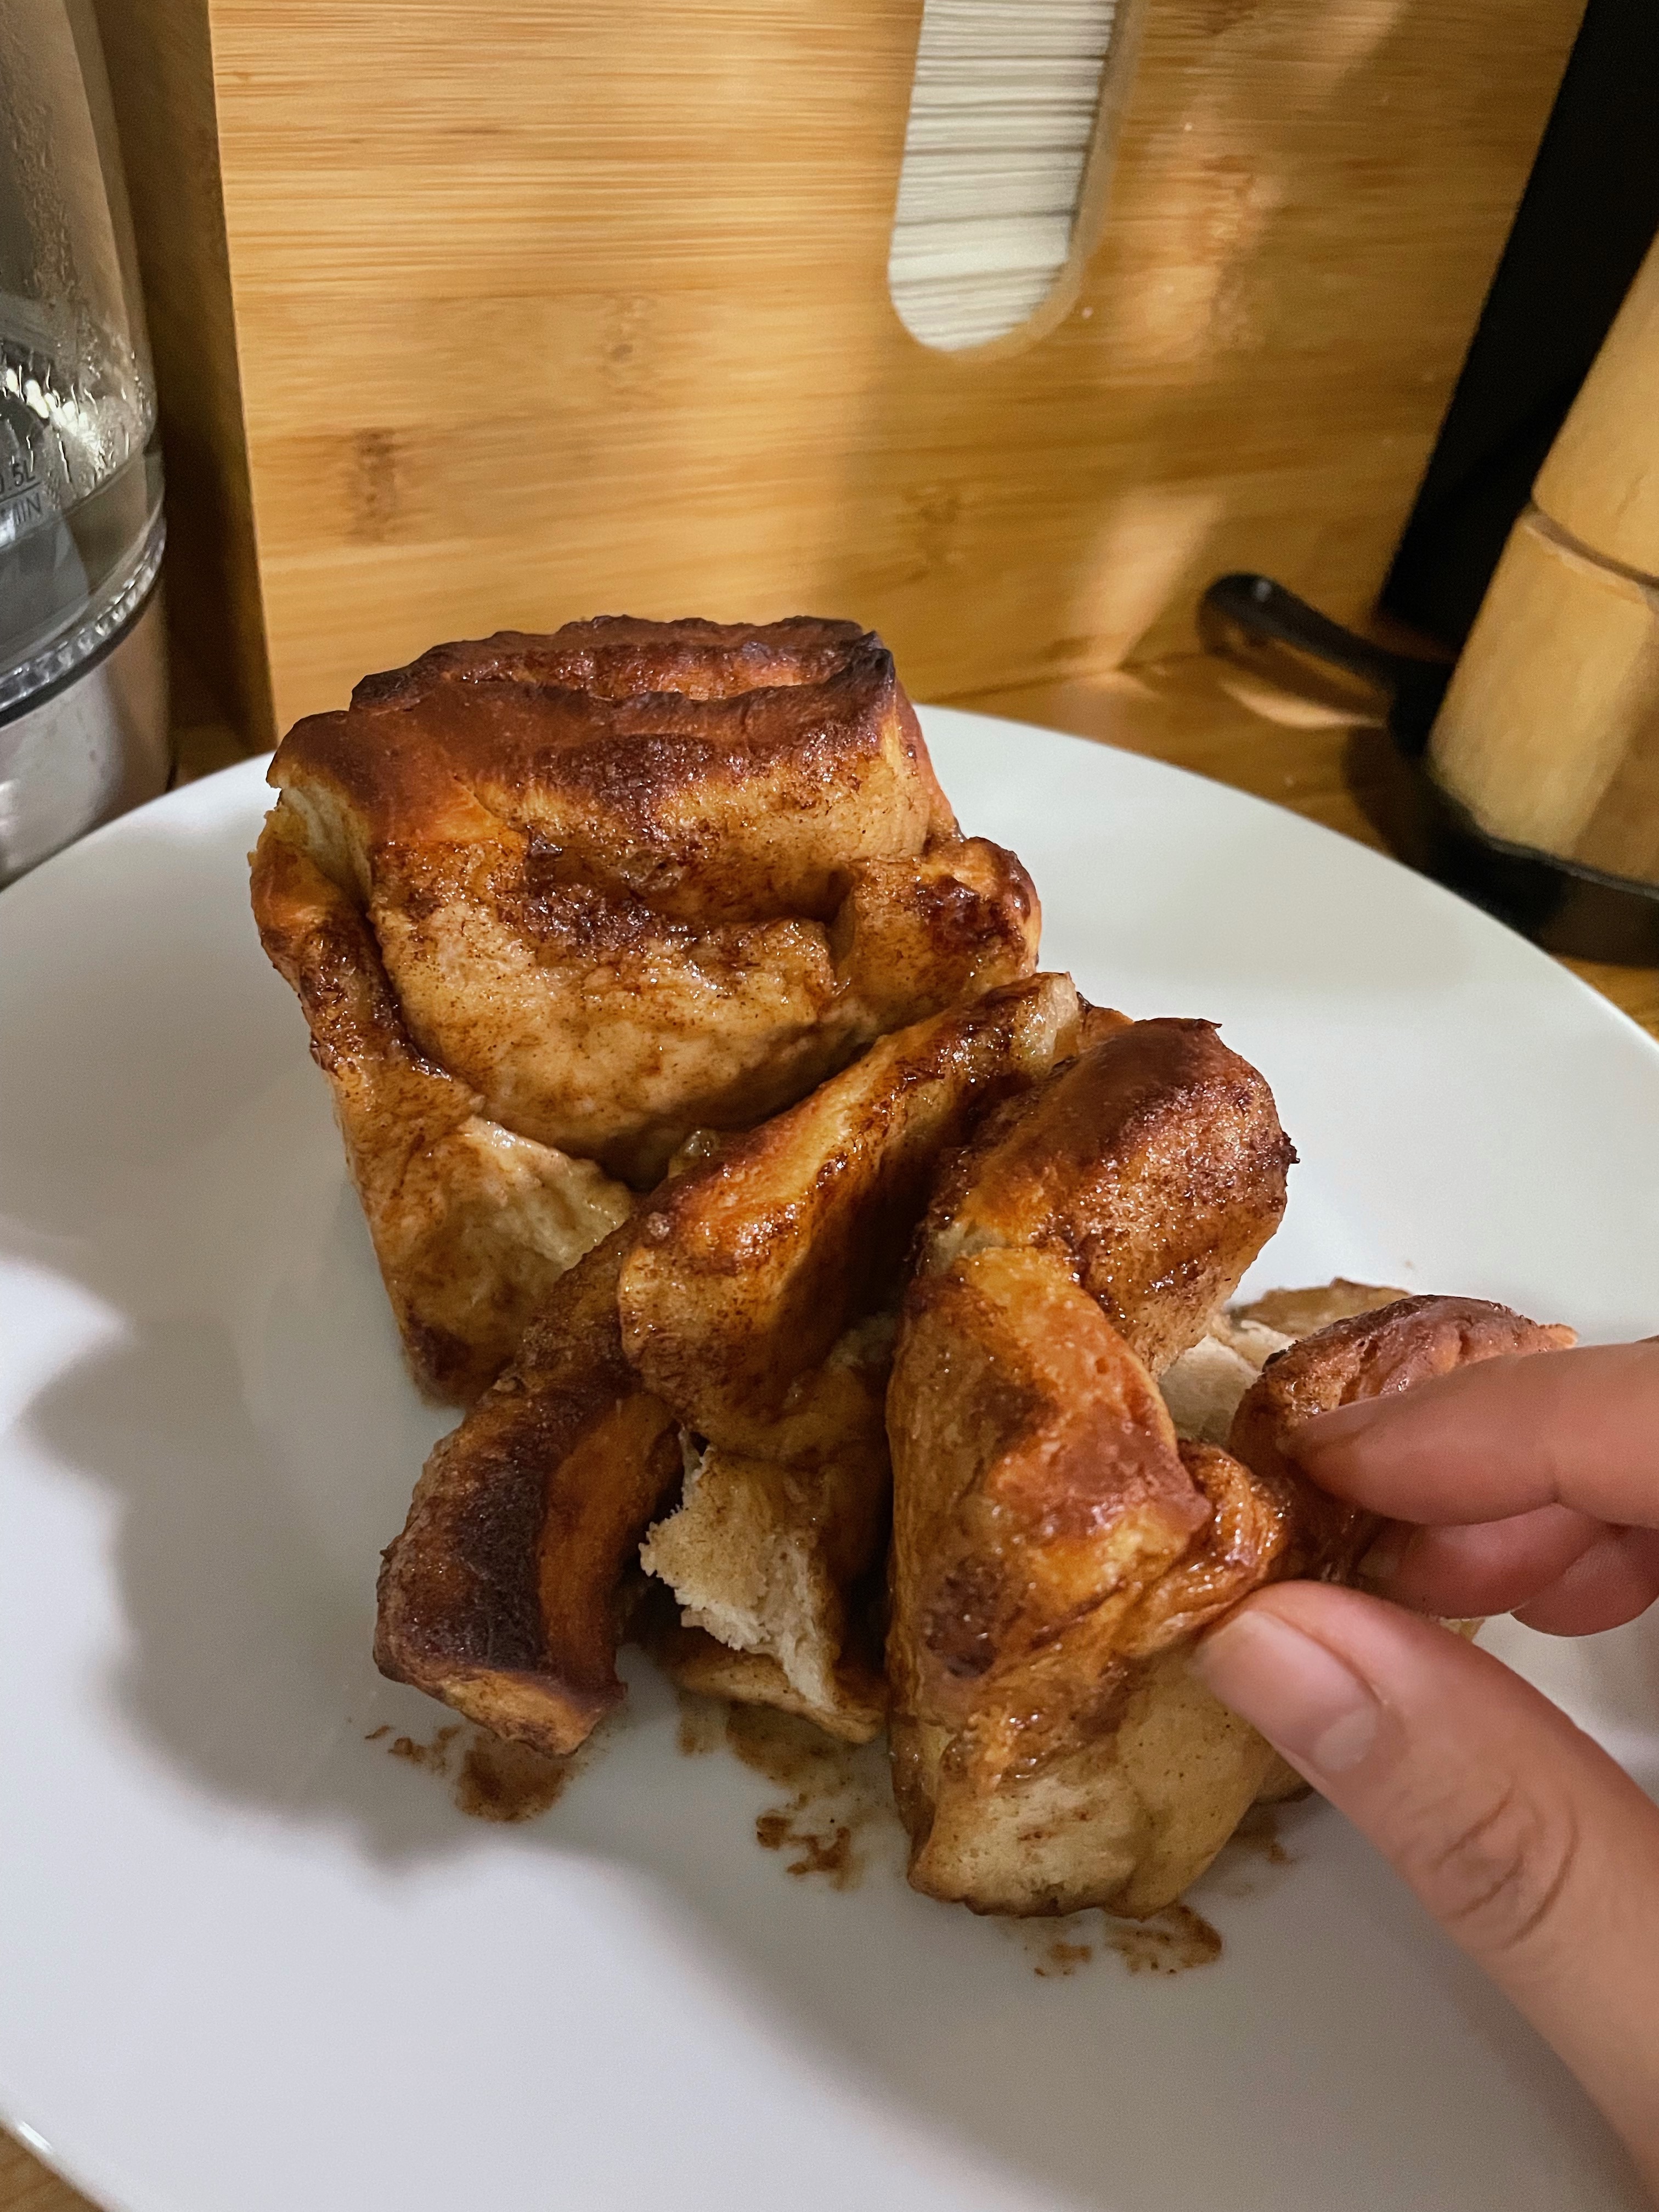
I think most people associate pumpkin with pumpkin spice, not necessarily pumpkin itself. This pumpkin pull-apart bread has the essence of real pumpkin with a hint of cinnamon. None of that pumpkin spice blend. This bread is super moist, but not too sweet. I like having it for breakfast with a cup of hot tea or for as a treat to reward myself for working out. Great for freezing for later too.

I like a recipe where you can make two loaves at once so that you can have one for yourself and another to gift to a friend!

Ingredients

Pumpkin – I used fresh pumpkin puree for this bread, but you can most definitely use canned.

Buttermilk – The buttermilk adds an extra richness and moistness to the bread, but you can also swap it with any milk alternative.

Spices – I only use cinnamon in this, but you can emphasize the pumpkin in this by using pumpkin pie spice instead.

Butter –  If you don’t have time to let your butter soften, a good trick is to fill a glass with hot water, dump out the water, and then invert it over your sticks of butter. The steam and heat from the warmed glass will gently soften the butter without melting it.

Method

pumpkin pull apart bread

Pumpkin Cinnamon Pull Apart Bread

Print Recipe
Cinnamon in the filling and the dough, buttermilk for extra moisture, and some pumpkin puree for extra flavor.
Course Breakfast, Dessert
Keyword bread, cinnamon, dessert, pumpkin
Prep Time 3 hours
Cook Time 20 minutes
Servings 2 loaves

Equipment

  • Stand mixer optional
  • loaf pans

Ingredients

Dough

  • 4.5 tsp yeast dry active
  • 1/4 cup warm water
  • 1 tsp honey
  • 1 cup buttermilk
  • 1 cup pumpkin puree
  • 1 egg
  • 1/2 cup sugar
  • 1/4 cup vegetable oil
  • 1 tsp salt
  • 1 tbsp cinnamon
  • 6 cups flour all purpose

Filling

  • 6 tbsp butter softened
  • 1 tbsp cinnamon
  • 3/4 cup brown sugar

Instructions

  • Bloom yeast in warm water and honey. Mix all together and allow to sit until mixture is foamy.
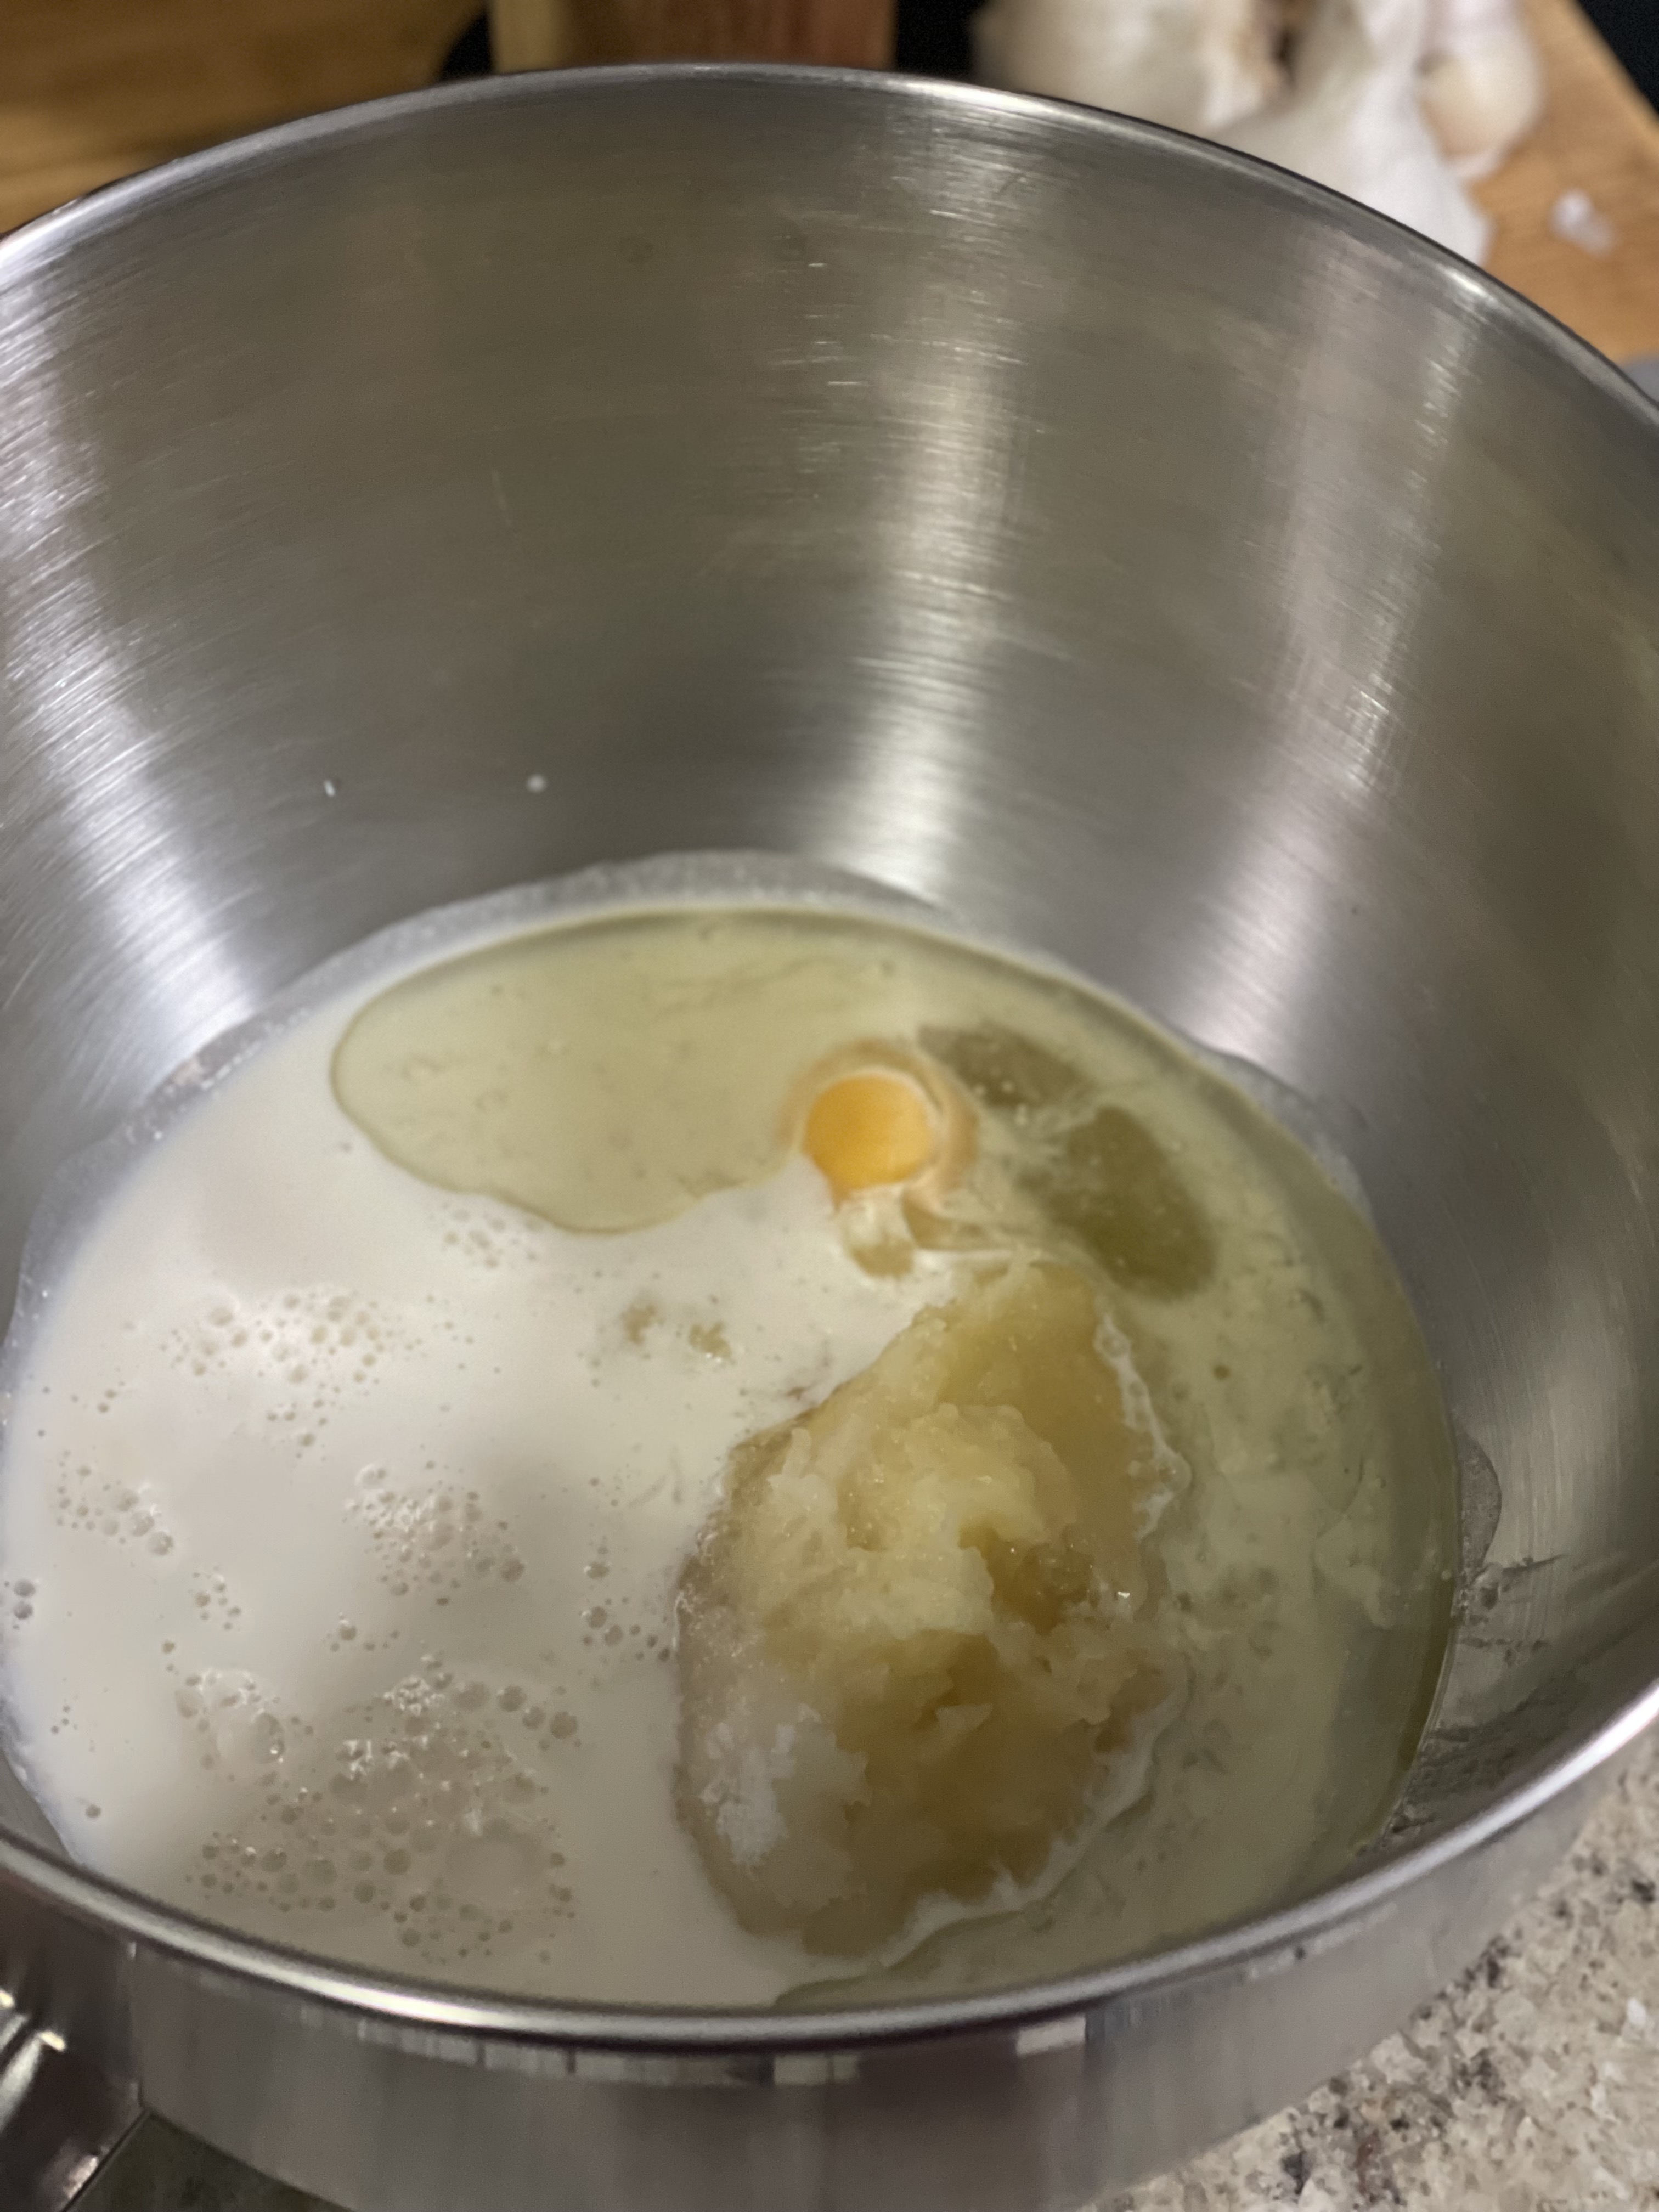
  • Mix yeast mixture with remaining "wet" ingredients: pumpkin puree, buttermilk, egg, sugar, oil, and cinnamon.
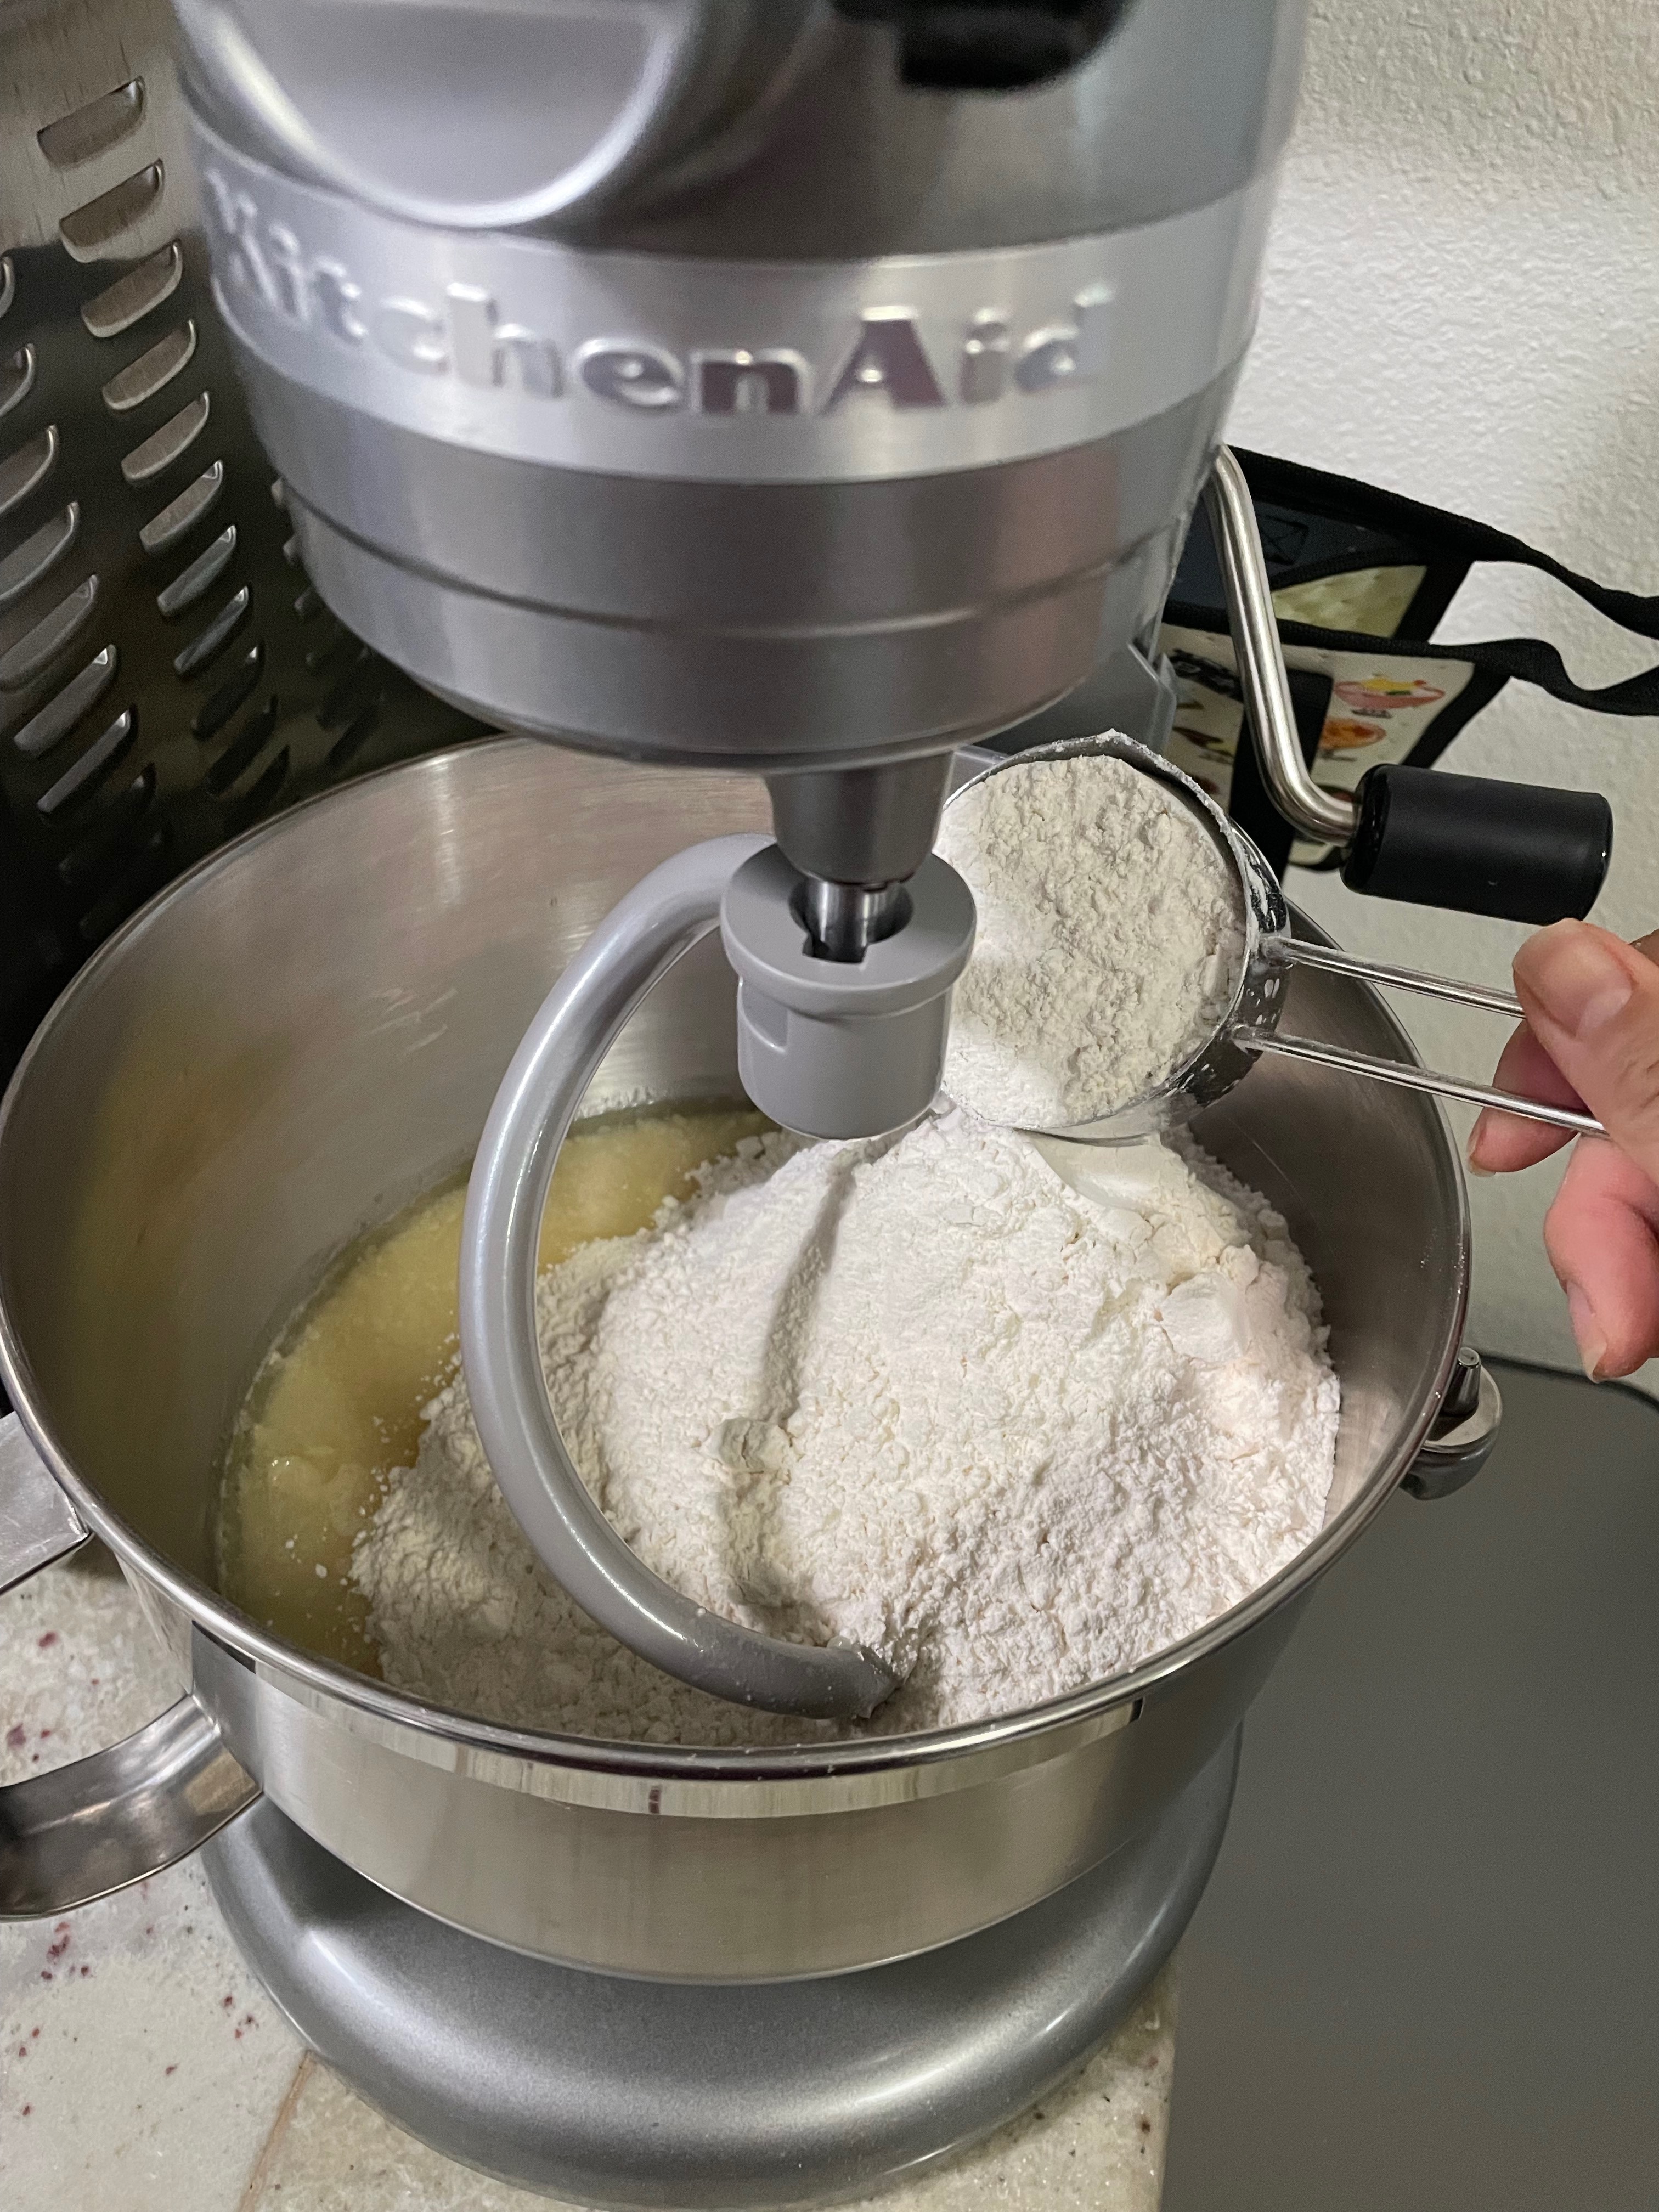
  • When wet mixture is fully combined, add flour and salt, and mix using the hook attachment until combined.
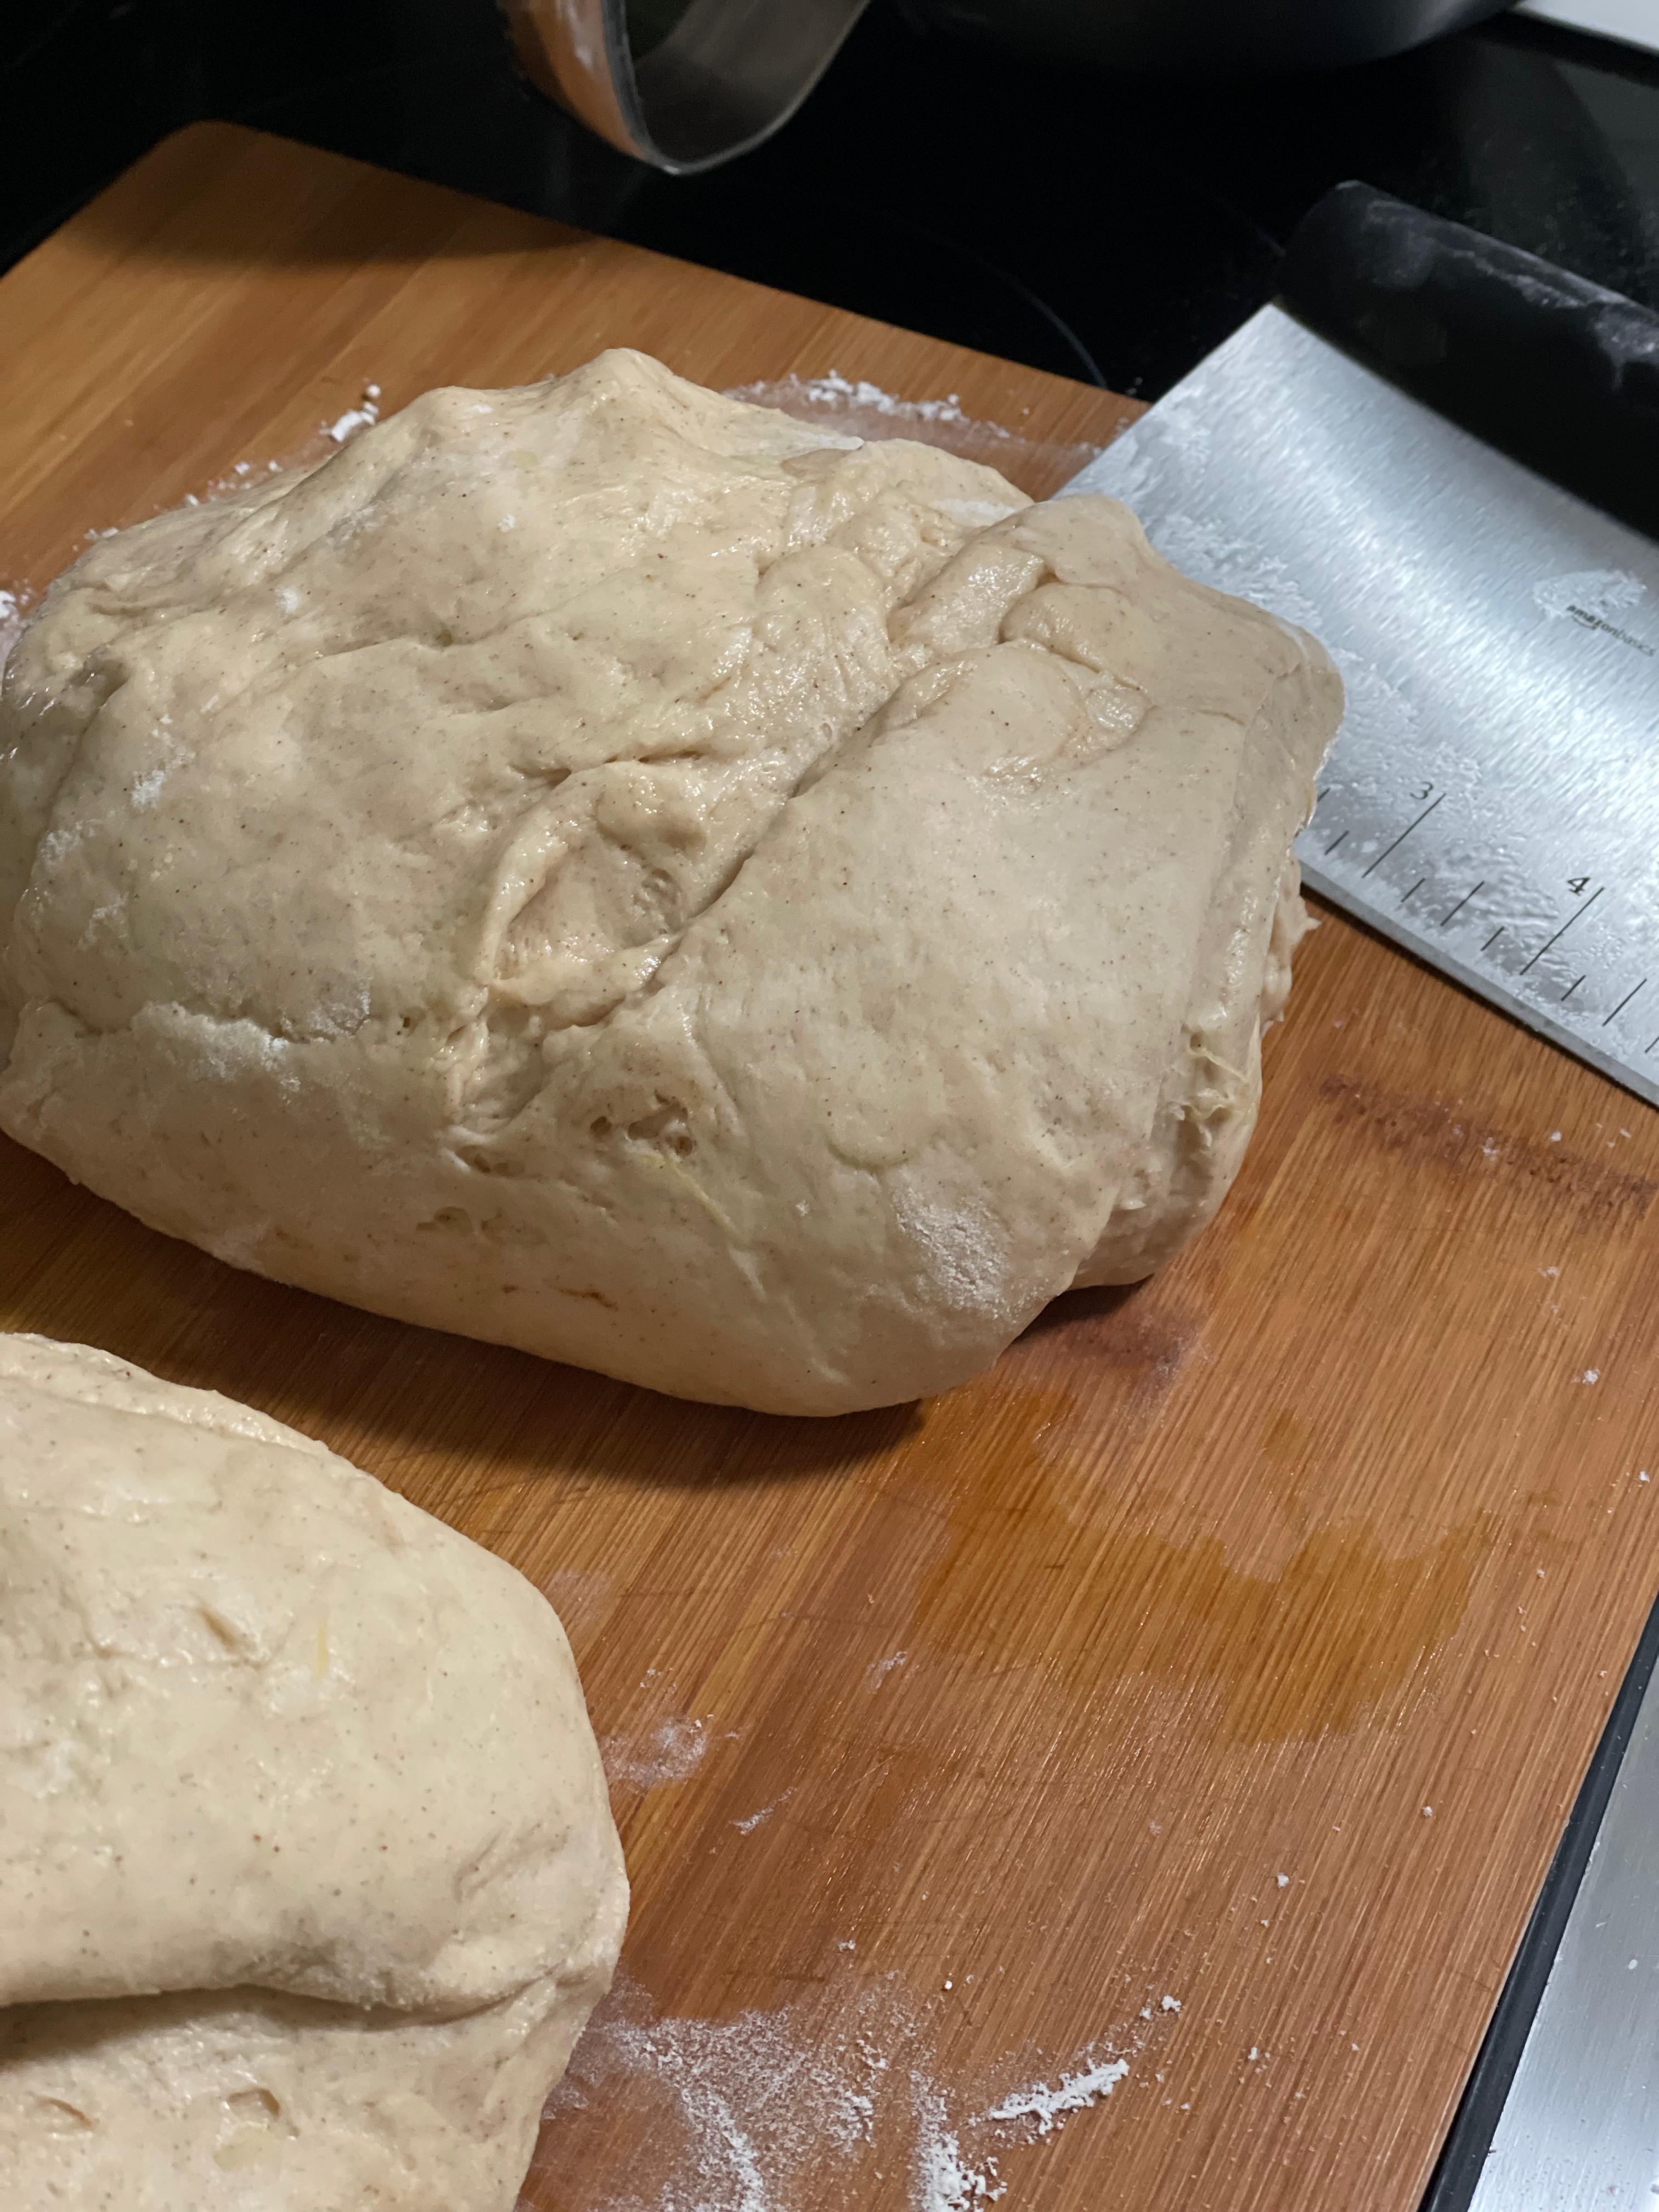
  • Coat dough/bowl in neutral oil and leave to rise until doubled, about 2 hours.
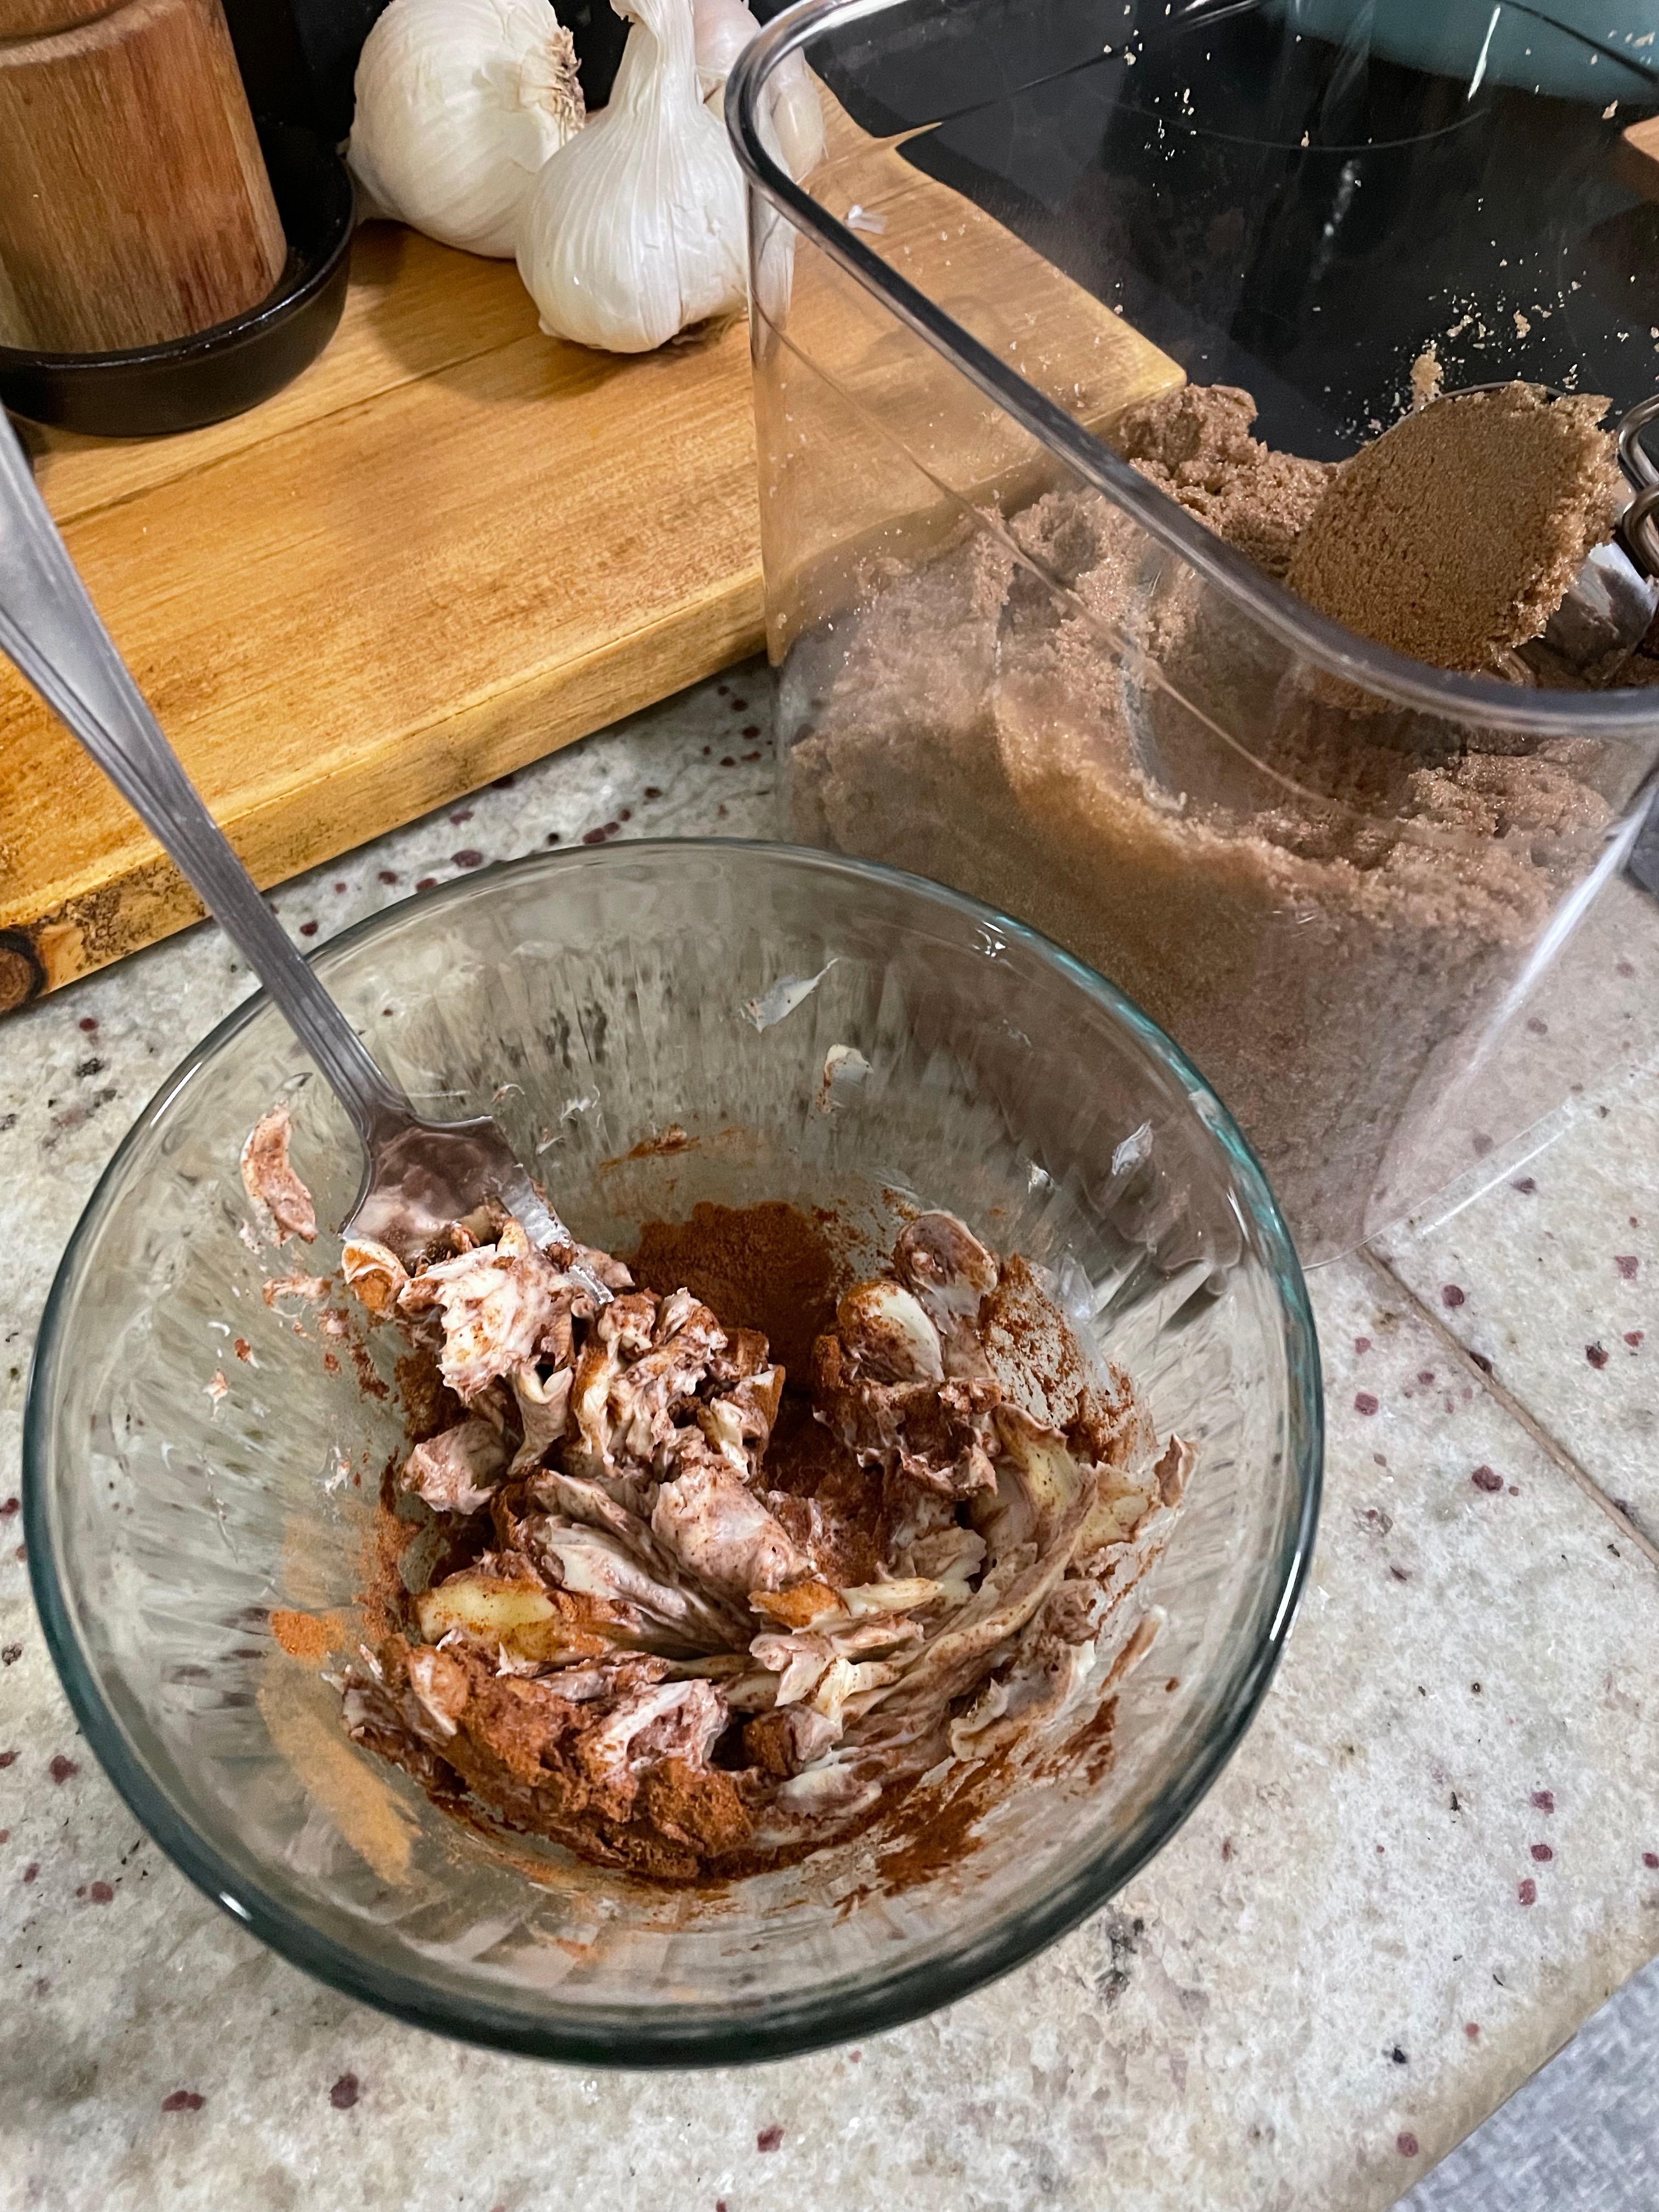
  • To make filling, mix softened butter, cinnamon, and brown sugar until combined. Set aside.
  • After dough has doubled, split in half and roll out into an approximate 12" x 18" rectangle.
  • Spread half of the filling mixture evenly onto the rectangle.
  • Cut the rectangle into 3" x 3" squares. You should have 24 squares.
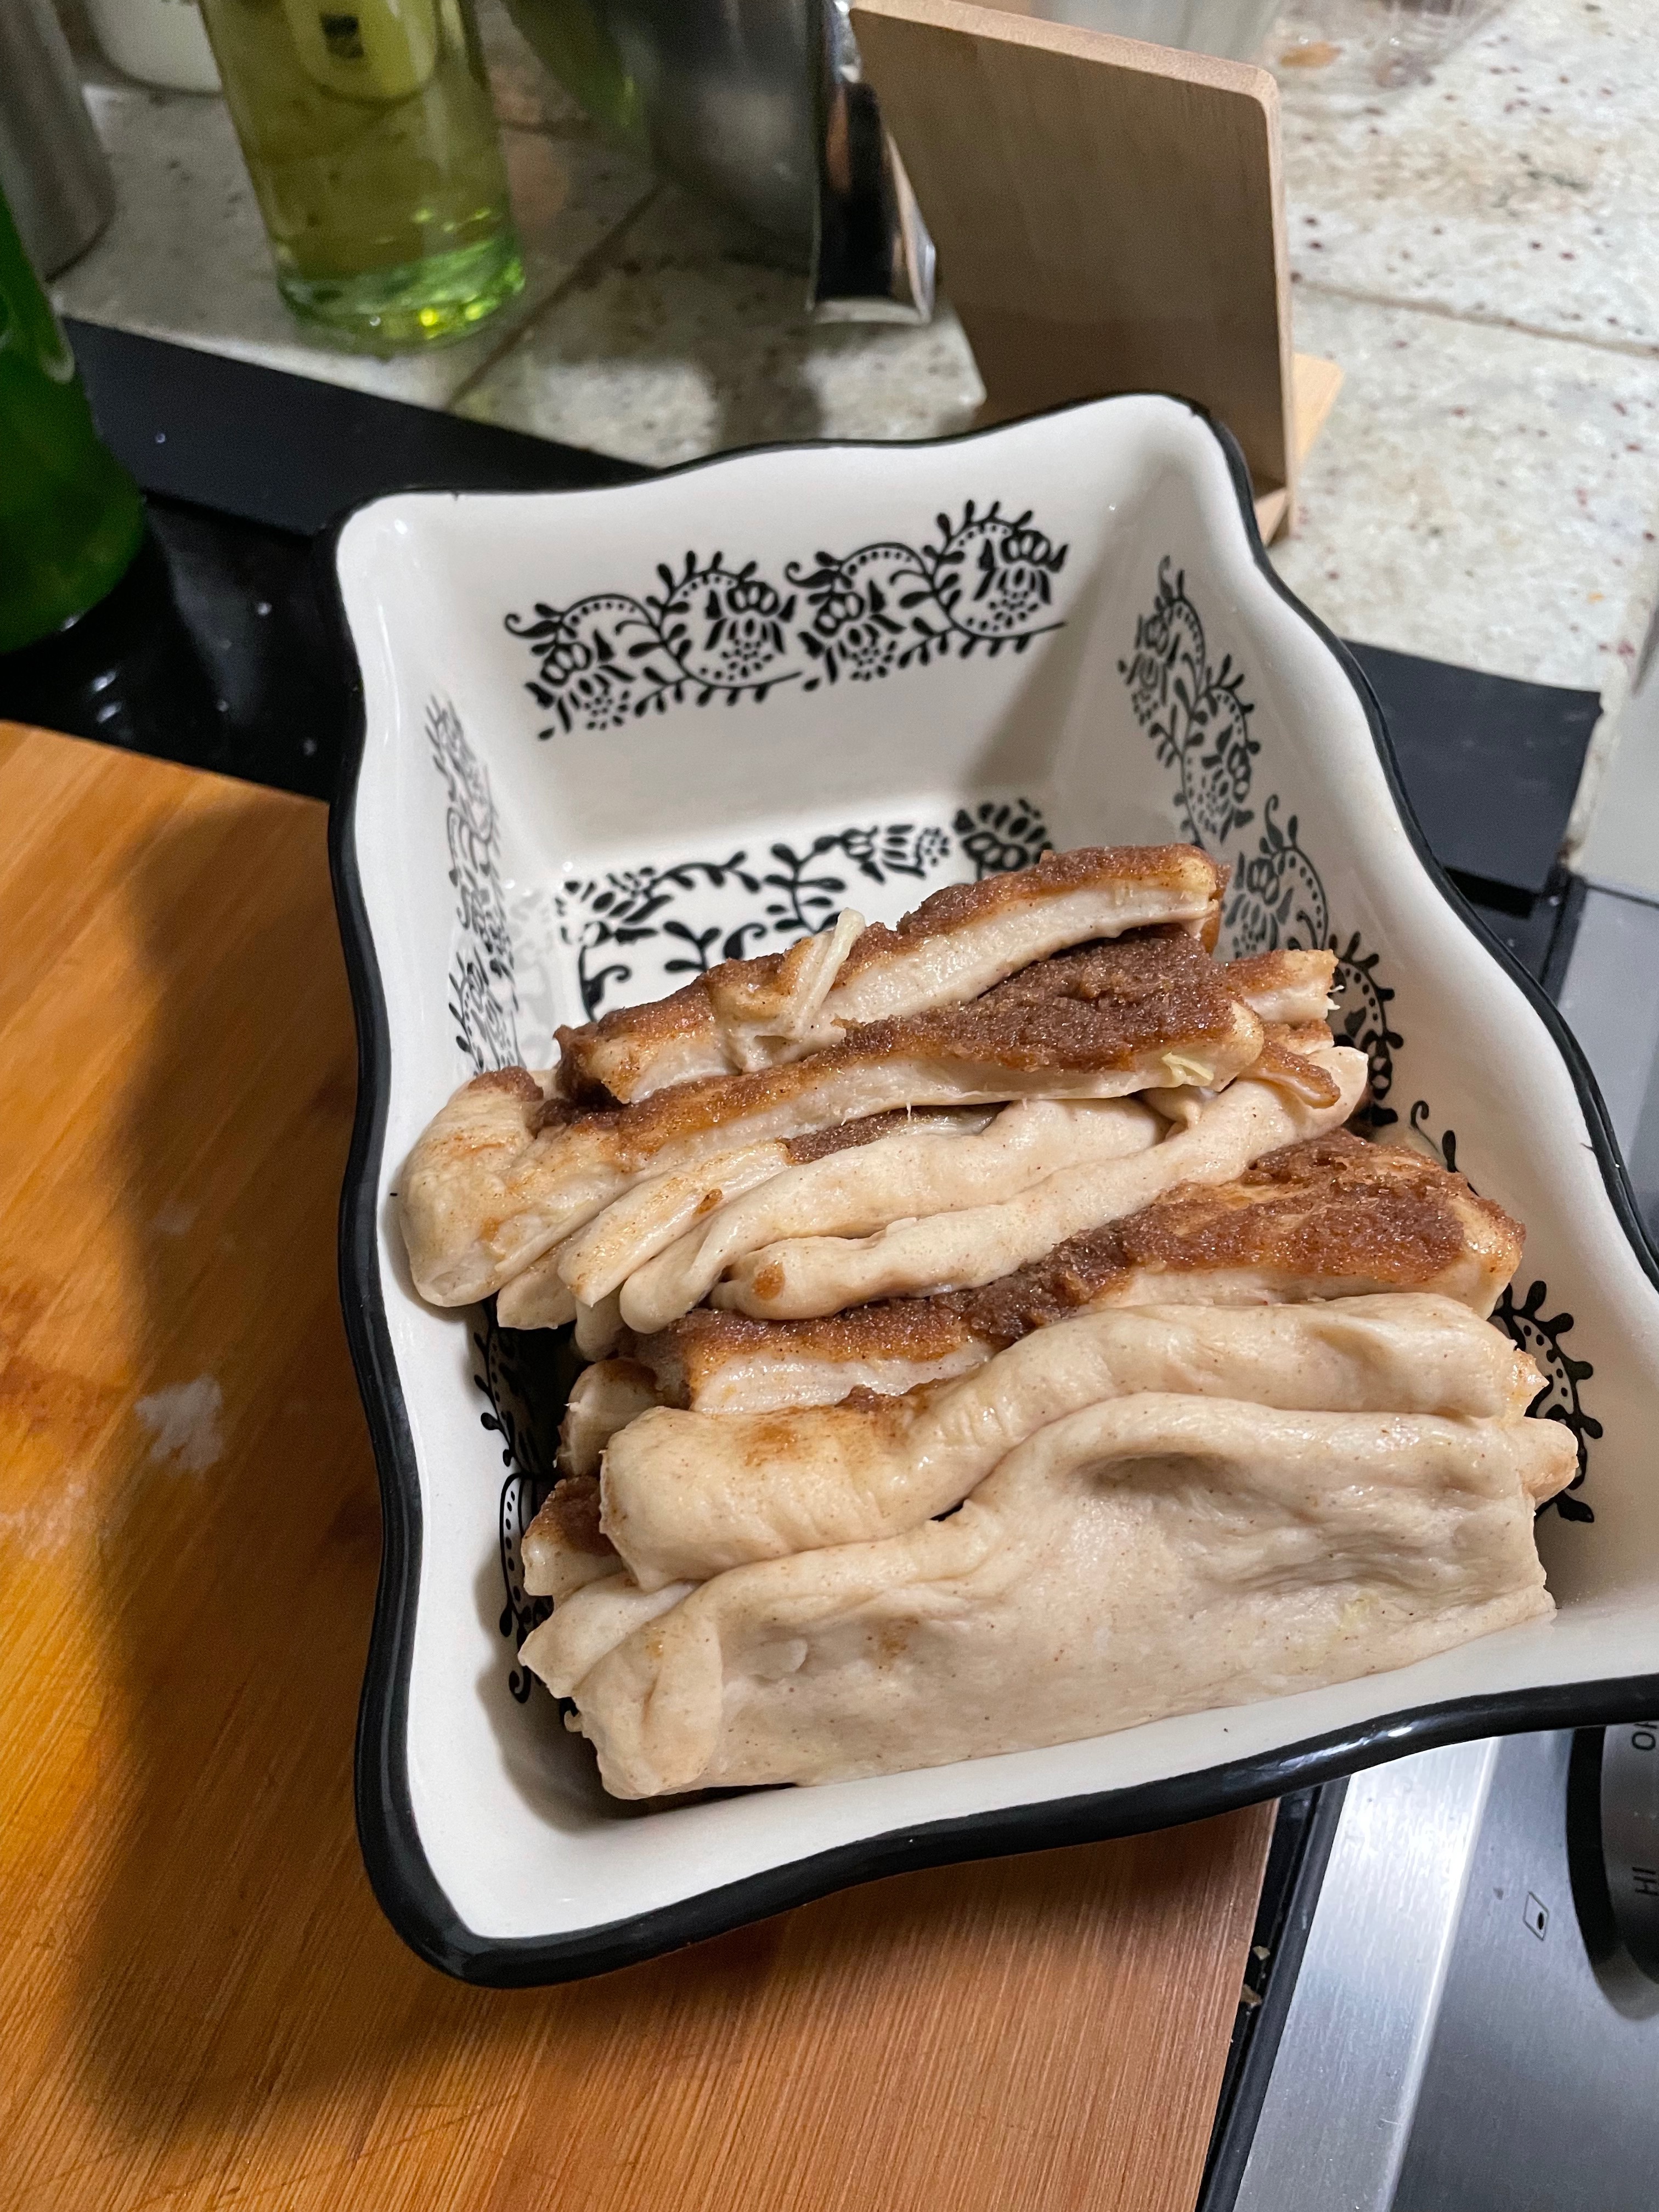
  • Stack squares in loaf pan.
  • Repeat with with second half of dough.
  • Let rise additional 30 minutes.
  • Bake for 15-20 minutes at 400F until lightly browned and fluffy.

Want to try some other desserts? Check out Beet Cinnamon Rolls or Crispy Gooey Chocolate Chip Cookies.

Have extra pumpkin? Try Pumpkin Panang Curry with Spinach and Paneer.

Pumpkin Panang Curry with Spinach and Paneer

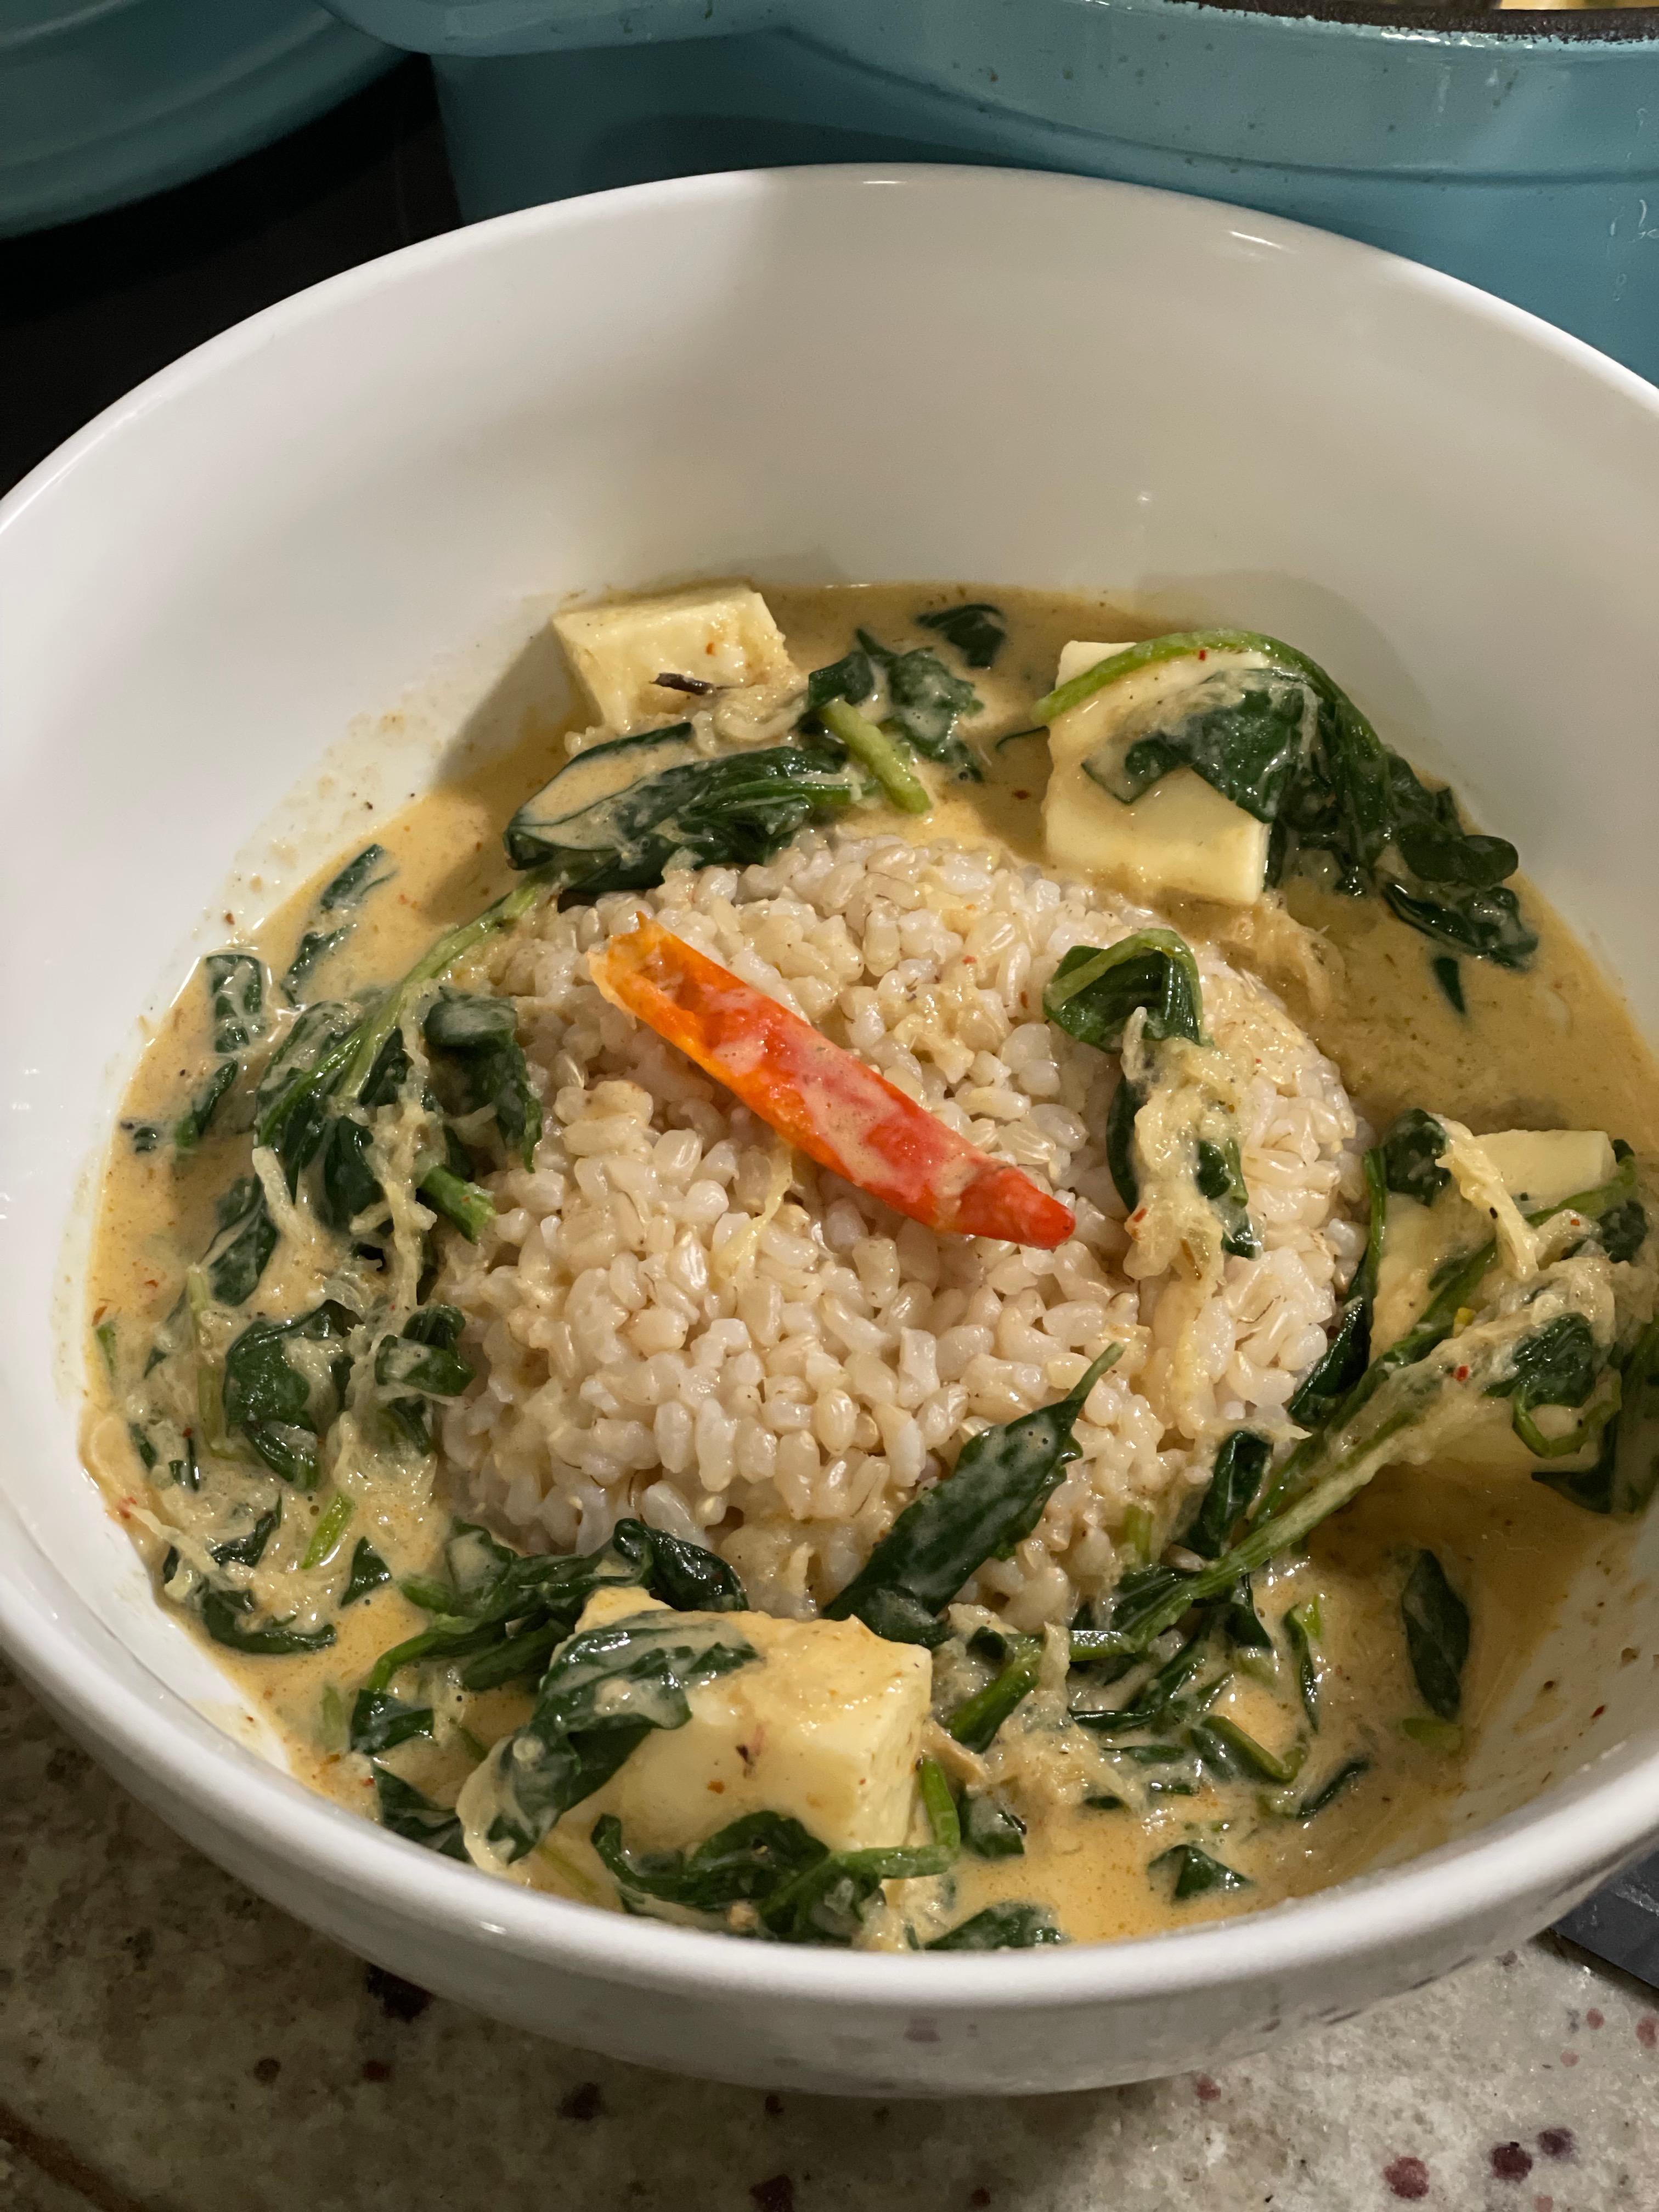
panang curry

Curries are one of my favorite dishes to make when you need something warm and filling, especially panang curry. They are easy to riff on and combinations are really endless of types of curry, veg, and proteins you can use. You can make curries as sweet, spicy, or salty as you like. They can also be served in a multitude of ways: rice, noodles, bread, even on its own!

Ingredients

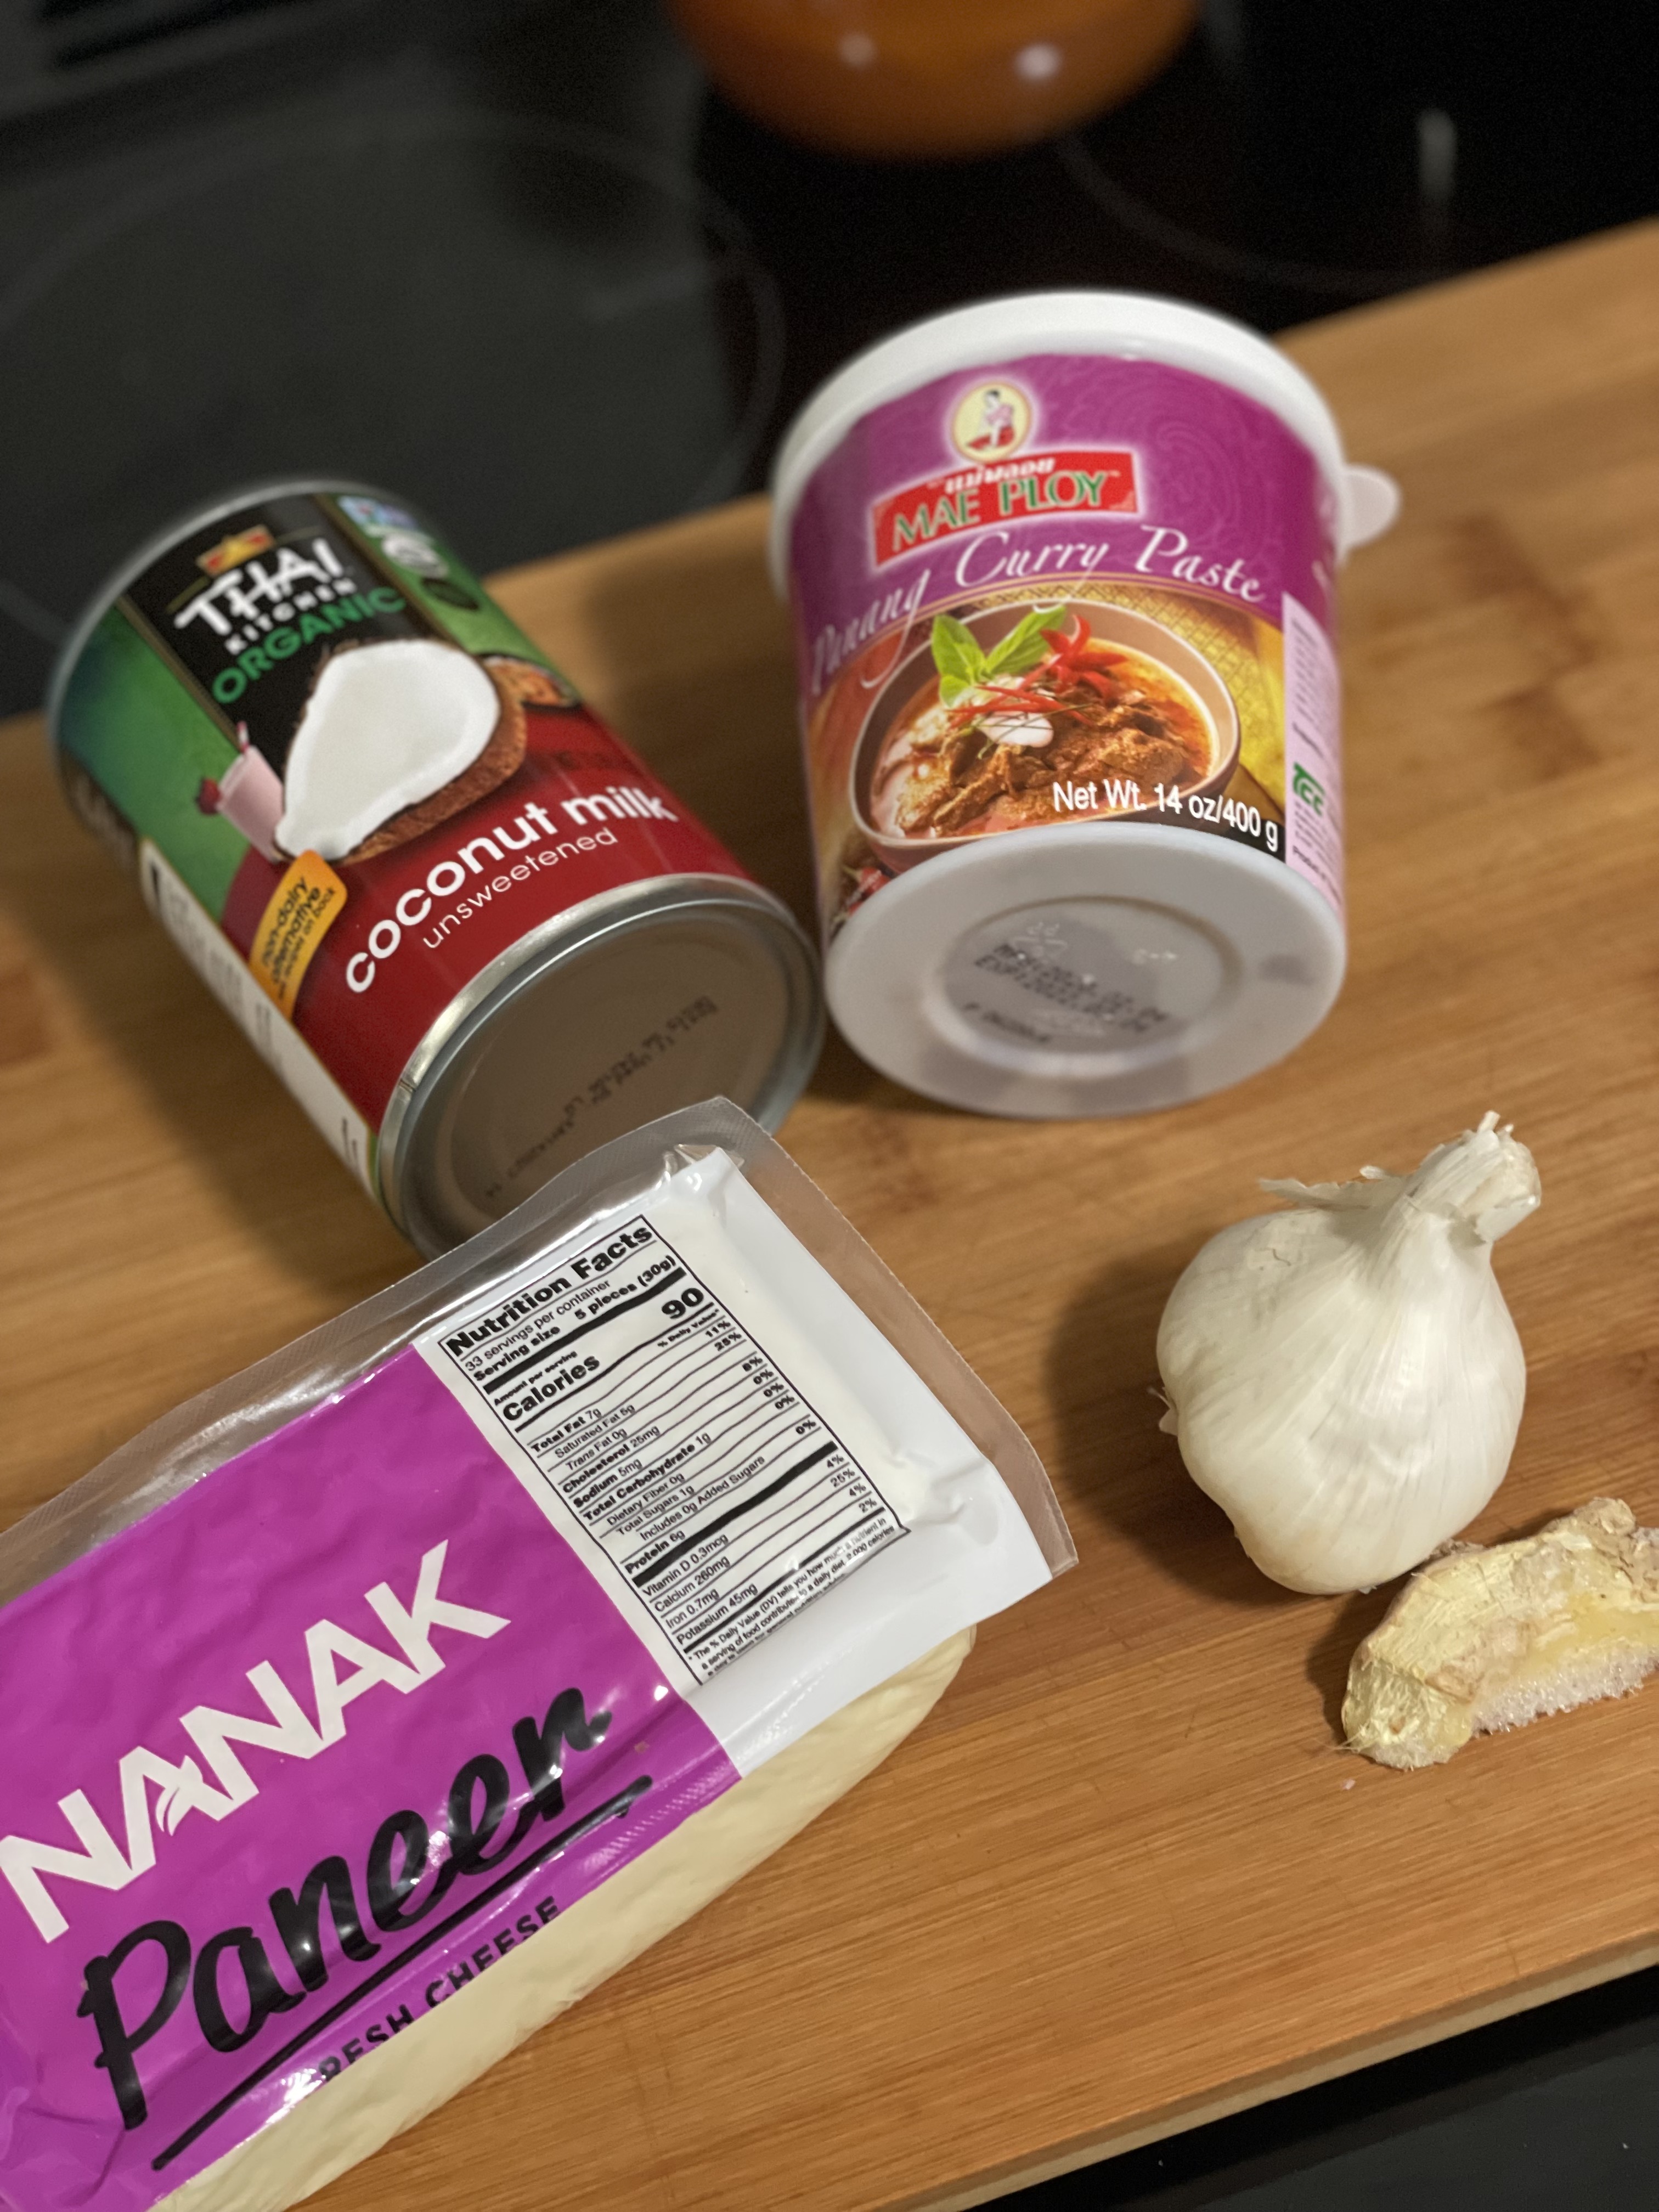
Curry paste – Regardless of the curry paste I use, I always like to start with my own base of chilis, garlic, and ginger. I think it adds a lot more flavor to the curry overall and I like mine extra spicy. Omit the extra chilis if it’s too spicy for you. I recommend the Mae Ploy brand for panang curry paste.

Protein – I like experimenting with different variations of protein, so choose whatever you like best. I do suggest if you use other proteins (tofu, chicken, beef, pork, seafood) that you cook them through first, and then add to your curry towards the end, like the paneer. 

Veg – Sauteed/wilted spinach is one of my favorite cooked vegetables and it’s also so easy. Pumpkin is also widely available due to the season. Use any vegetables that you may find in season like kale, peppers, onions, kabocha squash, or bokchoy, to name a few.

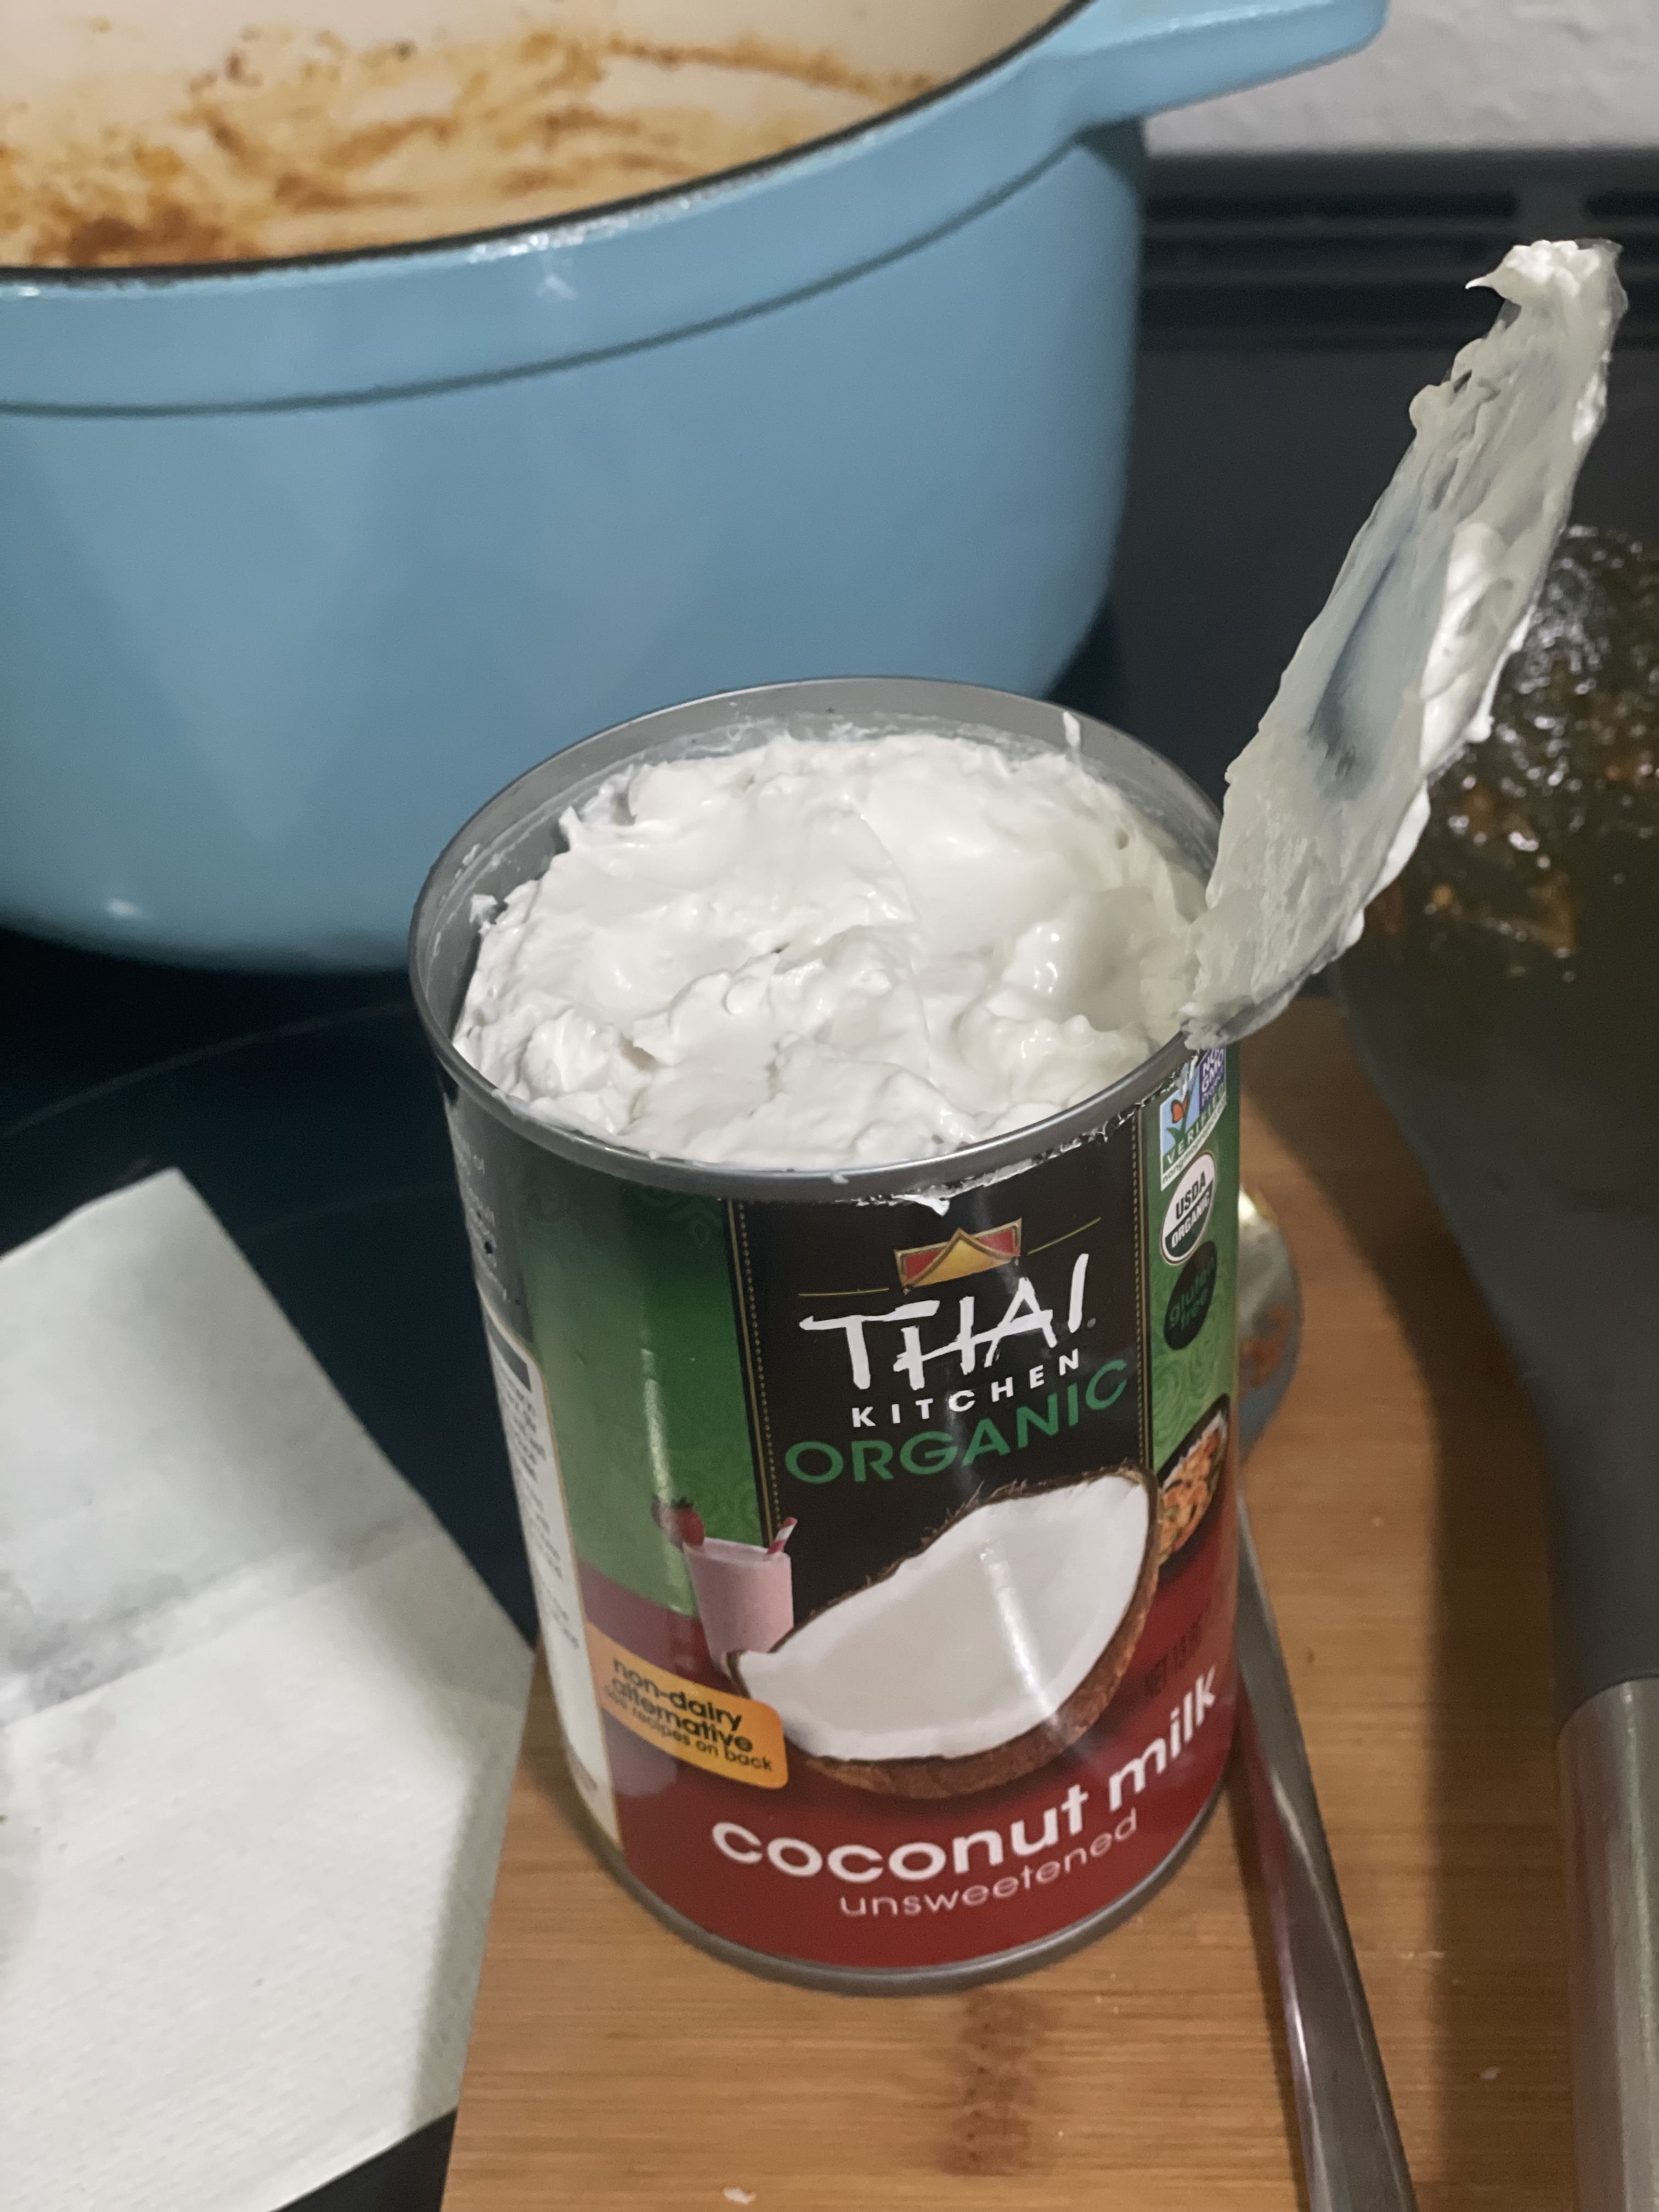
Coconut milk – Buy the canned coconut milk, not the one you see in in the cardboard or plastic containers you might see near the cow milk. When you open it, you may see that the coconut cream has separated from the milk. Don’t worry. Just mix it all together and you have your fatty coconut milk!

Side – Rice is the classic side to a curry but try it with a noodle! The curry makes for a luxurious sauce and it’s also not bad to dip a crusty piece of bread into.

Method

panang curry

Pumpkin Panang Curry with Spinach and Paneer

Print Recipe
A spicy, warm curry perfect for fall & winter. Service over rice, noodles, or with a bread for sipping.
Course Main Course
Keyword curry, paneer, spinach
Prep Time 10 minutes
Cook Time 20 minutes
Servings 4

Ingredients

  • 2 tbsp olive oil
  • 2 Thai chilis optional
  • 2 cloves minced garlic
  • 1 tbsp minced ginger
  • 1 tbsp panang curry paste
  • 1 cup pumpkin pureed
  • 1 can coconut milk
  • 16 oz spinach fresh or frozen
  • 8 oz paneer
  • 1 tsp fish sauce

Instructions

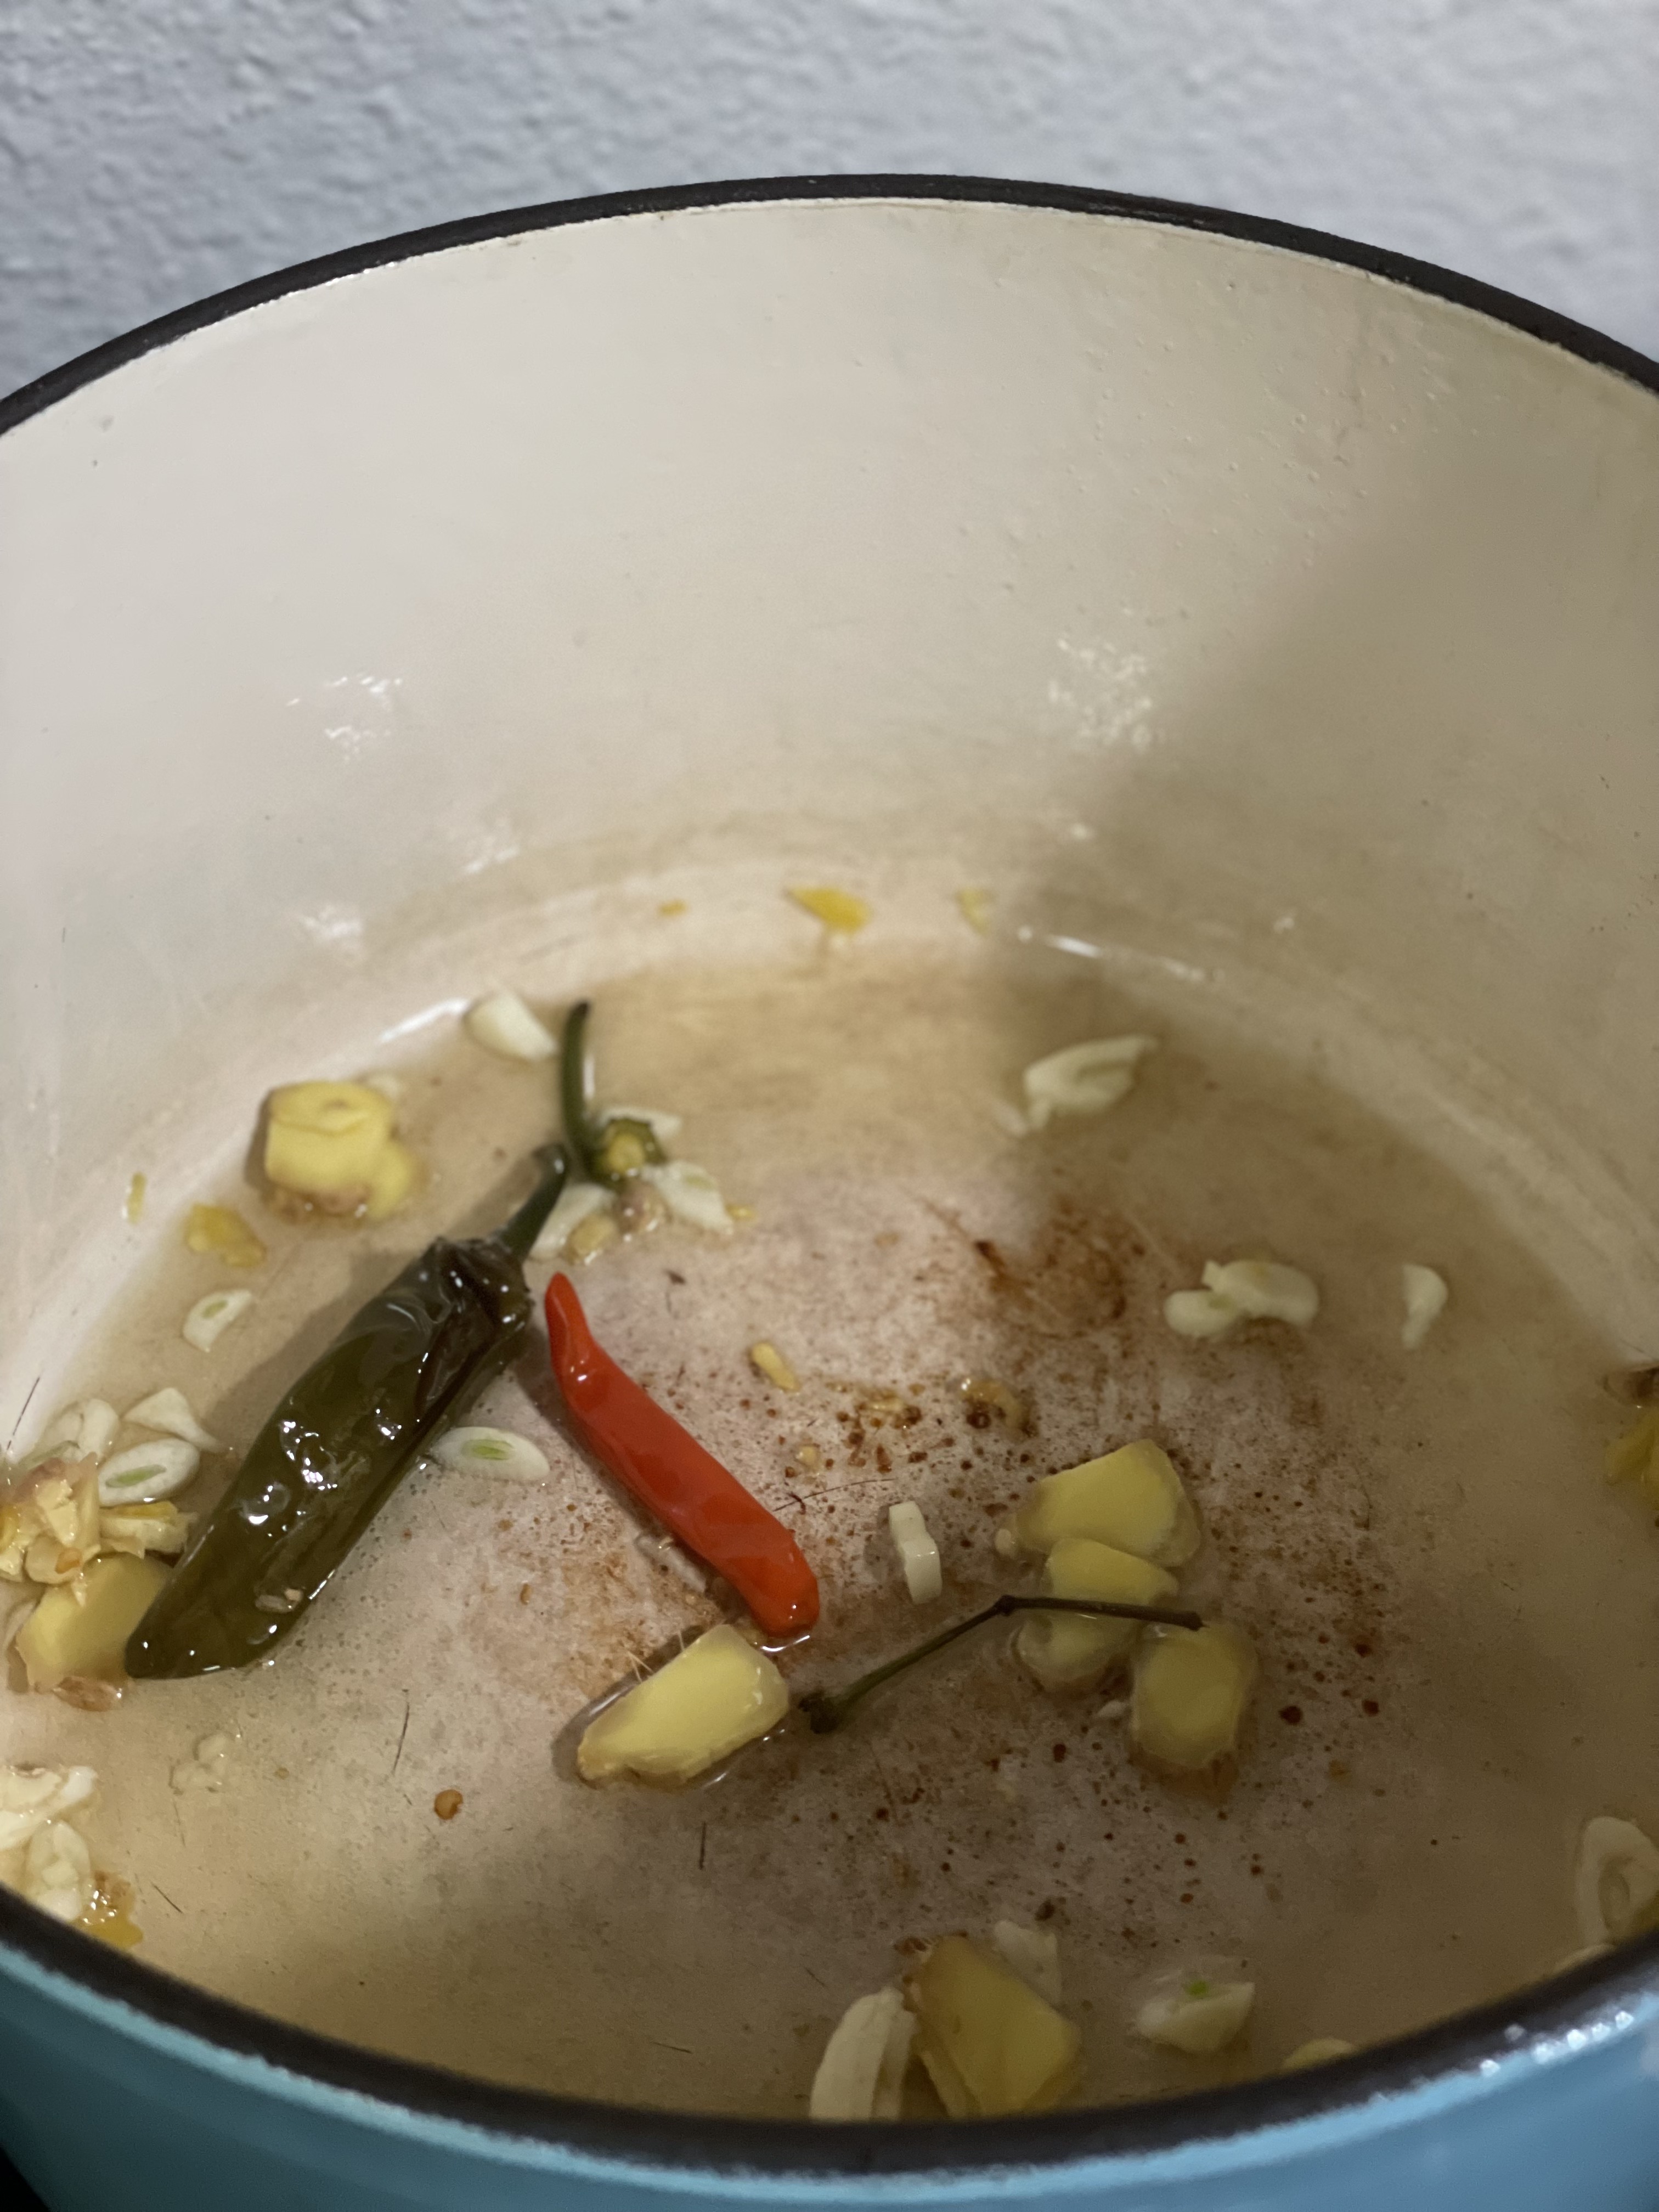
  • Sauté chilis, ginger, and garlic in olive oil on medium heat.
  • After it all starts getting fragrant, add in curry paste and mix.
  • While spices are sautéing, cut paneer in desired shape. I like cubes.
  • Add pumpkin and mix into curry paste.
  • Once curry-pumpkin paste has slightly darkened in color, add in coconut milk. Turn heat to medium-low.
  • If coconut milk has separated, mix spices with coconut until re-combined. Make sure to scrape the can!
  • Add 1 tbsp fish sauce and mix.
  • When curry starts simmering, add spinach and paneer.
  • Mix and continue cooking until spinach has wilted and paneer is warmed through.
  • Enjoy over rice, with noodles, or with some bread for dipping!

Try out a dessert for after like Beet Cinnamon Rolls or Crispy Gooey Chocolate Chip Cookies.

Maybe an appetizer? Chicken & Cabbage Dumplings.

Crispy Gooey Chocolate Chip Cookies

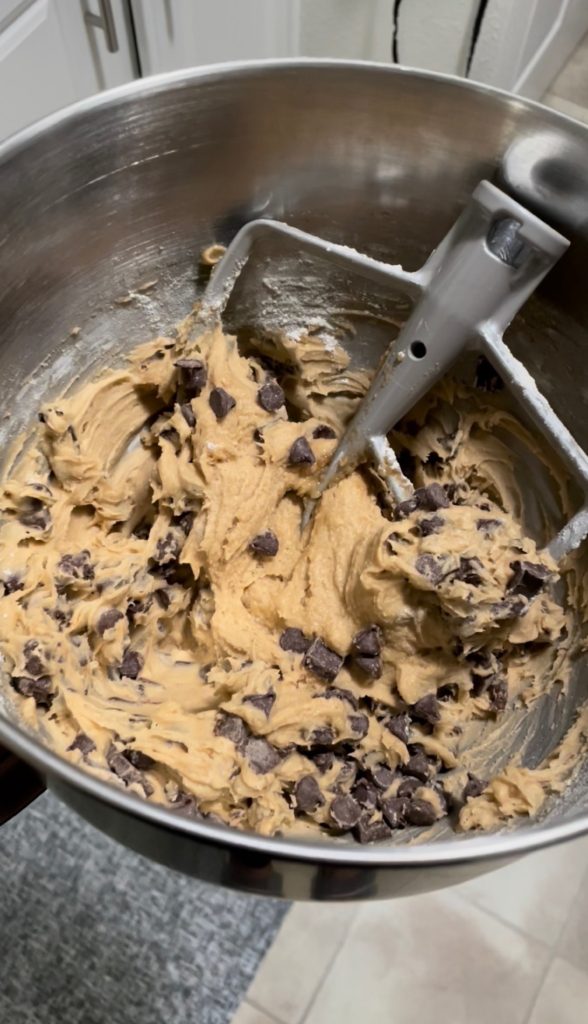
chocolate chip cookies

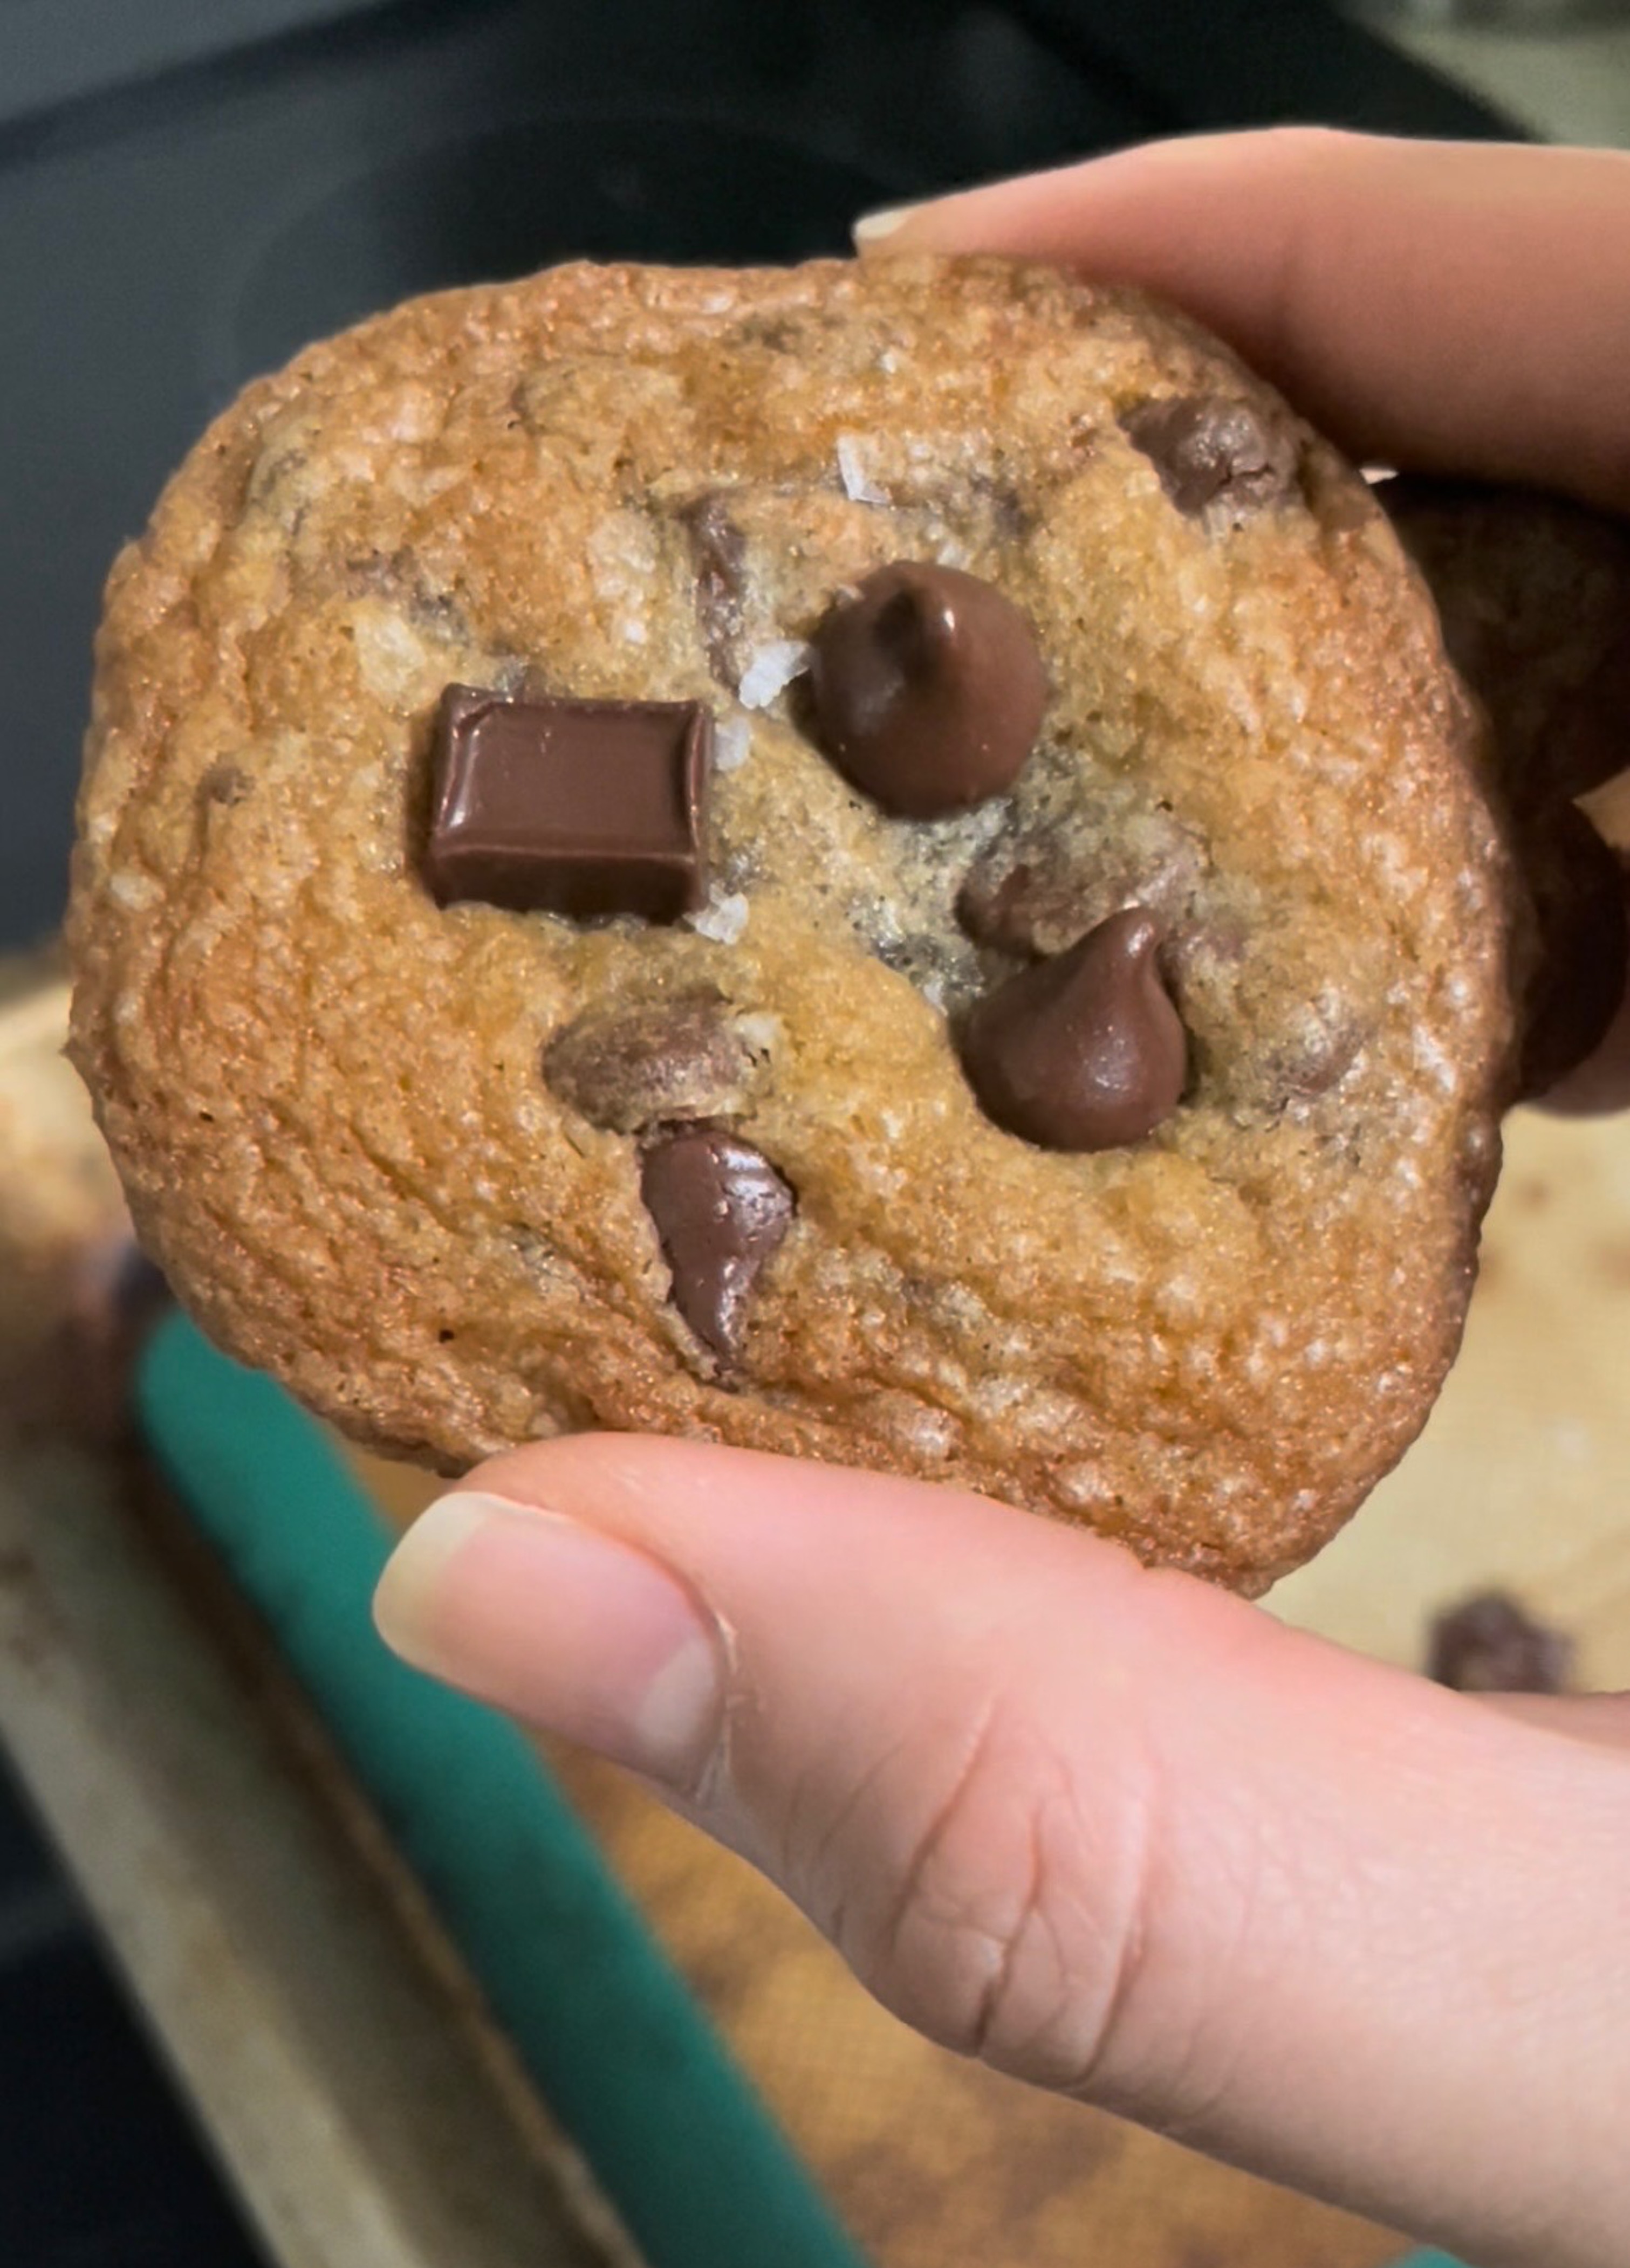
If you like crispy, gooey chocolate chip cookies with plenty of chocolate, these cookies are perfect for you. They’re quick to make and are balanced with a little extra salt. This is my go-to chocolate chip cookie recipe when I need to make a large quantity for a crowd.

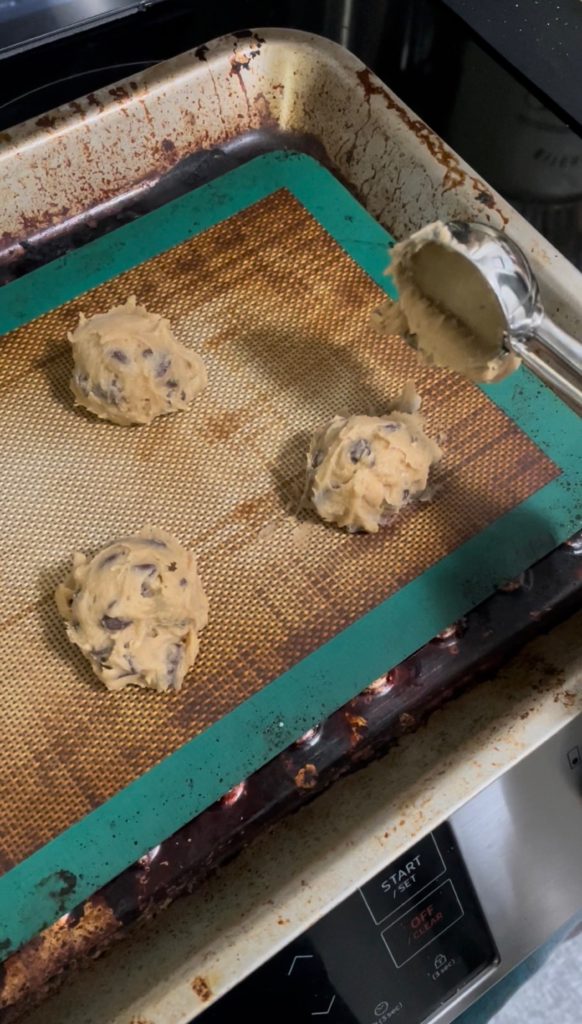
This is also a great recipe to make extra dough for freezing later (add 2-3 mins cooking time for frozen dough). Frozen cookie dough hits different when you get a craving out of nowhere. You can save this dough for later by pre-scooping cookie balls onto a baking sheet and putting this in the freezer. You can also put the cookie dough into a container and freeze the entire thing (I do this because lazy). If you choose the container method you just have to remember to thaw the dough a bit before you can scoop.

Try these cookies with a glass of milk (classic) or just eat them alone!

Materials:

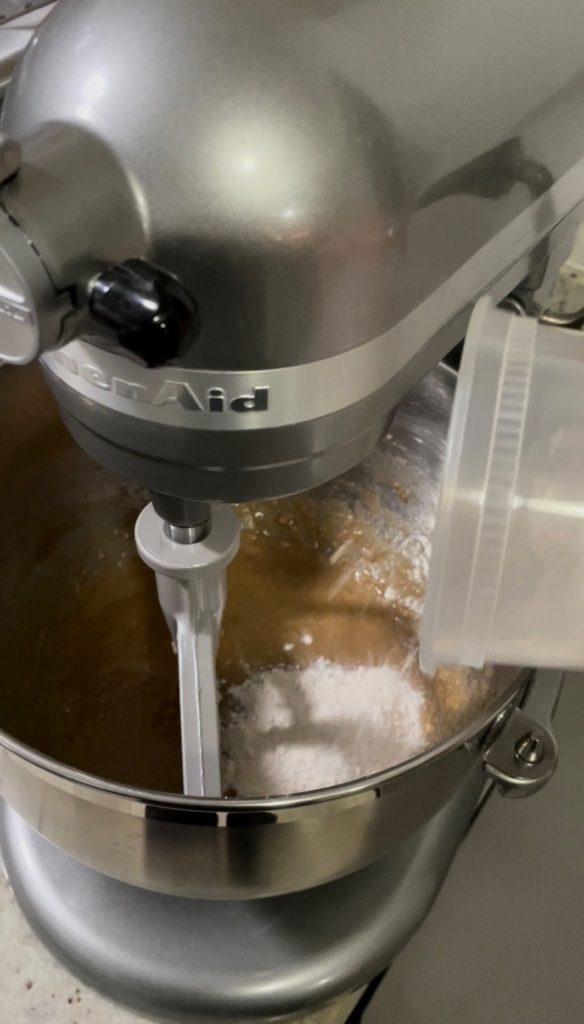
I used a stand mixer when making these cookies, but they can most definitely be made by hand with just a bowl and spatula. If using a stand mixer, don’t forget to SCRAPE SCRAPE SCRAPE the paddle to ensure everything is evenly mixed.

Ingredients:

Butter – make sure you use softened butter! The use of softened butter instead of melted butter makes sure that the cookies don’t spread too much and crisp up. I always have butter on hand in the freezer so I can take it out in the morning, leave it on the counter, and I’ll have perfectly softened butter for cookies in the evening. If you don’t have time to let your butter soften, a good trick is to fill a glass with hot water, dump out the water, and then invert it over your sticks of butter. The steam and heat from the warmed glass will gently soften the butter without melting it.

Sugar – classic white and brown sugar. You can use light brown or dark brown sugar, but they will yield different textures. Dark brown sugar will give a darker, crisper cookie.

Vanilla – use the whole tablespoon. Haters will say it’s too much, but I think it makes a difference.

Salt – yes, put salt inside and on top! The flakey salt on top adds more texture and helps to further balance the sweetness.

Chocolate – I’ve used semi-sweet and dark chocolate to make these before and either work fine. Choose what you like! I like to use a mix of semi-sweet chocolate chunks and chip for everyday baking. They look cute mixed and give different textures too. I also like to top my cookies at the end of baking with some extra chocolate so they get cute.

Flour – make sure to scoop and level! If you have too much flour you’ll end up with an extra doughy cookie.

chocolate chip cookies

Crispy Gooey Chocolate Chip Cookies

Print Recipe
My favorite cookie recipe! A sprinkle of salt at the end makes them extra tasty.
Course Dessert
Cuisine American
Keyword chocolate chip, cookies, dessert
Prep Time 20 minutes
Cook Time 10 minutes
Servings 24 cookies

Ingredients

  • 1.5 sticks butter softened
  • 3/4 cup brown sugar
  • 1/2 cup white sugar
  • 1 tsp salt
  • 1 tbsp vanilla
  • 2 eggs
  • 1 3/4 cup all purpose flour
  • 1/2 tsp baking soda
  • 1 cup chocolate chips + extra for topping
  • flakey salt

Instructions

  • Beat softened butter, brown sugar, white sugar, 1 tsp of salt, and vanilla until light and fluffy. Make sure to scrape the paddle every few minutes if using a stand mixer.
  • Add 2 eggs and mix until well combined.
  • Mix together AP flour and baking soda, ensuring there are no lumps.
  • Add in AP flour/baking soda mix and mix until barely combined. You will keep mixing this when you add the chocolate chips.
  • Mix in the chocolate chips and stop when no flour streaks remain and chocolate chips are fully dispersed.
  • Chill dough in the fridge while the oven preheats to 375.
  • Scoop cookies in 2 tbsp scoops, leaving about 2 inches between each cookie.
  • Bake for 8-10 minutes until edges are browned and crispy and centers are still soft.
  • Top with additional chocolate chips and flakey salt after removing from the oven.
  • Let cookies cool for 5 more minutes.
  • Then enjoy!!

Check out some of my other recipes too!

More labor intensive – Beet Cinnamon Rolls

Maybe something savory? – Chicken & Cabbage Dumplings

Chicken & Cabbage Dumplings

makes ~100 dumplings

I love a good dump. I think most people would agree. There are many schools of thought when it comes to dumpling preparation: steamed, pan-fried, deep-friend, or boiled. Personally, I love a boiled dumpling. I think the dumpling skins have the best texture this way and everything is extra moist, but I don’t judge. It’s what’s on the inside that matters most. These dumplings have a satisfying filling and are great no matter the preparation.

Make sure to enjoy your dumps with a good dipping sauce. Try mine or go with some basics like soy sauce or Maggi sauce, sriracha or chili crisp, and red or rice vinegar.

These chicken and cabbage dumplings are juicy, flavorful, and fun to make if you’re having guests over. Host a dumpling party and put everyone to work! Assembly line your dumpling skins, filling, and cooking to maximize output. If you have extra dumplings from the production day, line them in a single layer so they don’t stick together and throw them in the freezer for a rainy day! If you’re folding alone, make sure you have a good set-up with everything you need set up around you. I caught up on the most recent season of Master Chef when folding mine.

Materials

Nothing special required here to fold dumplings! Just your hands!

Ingredients

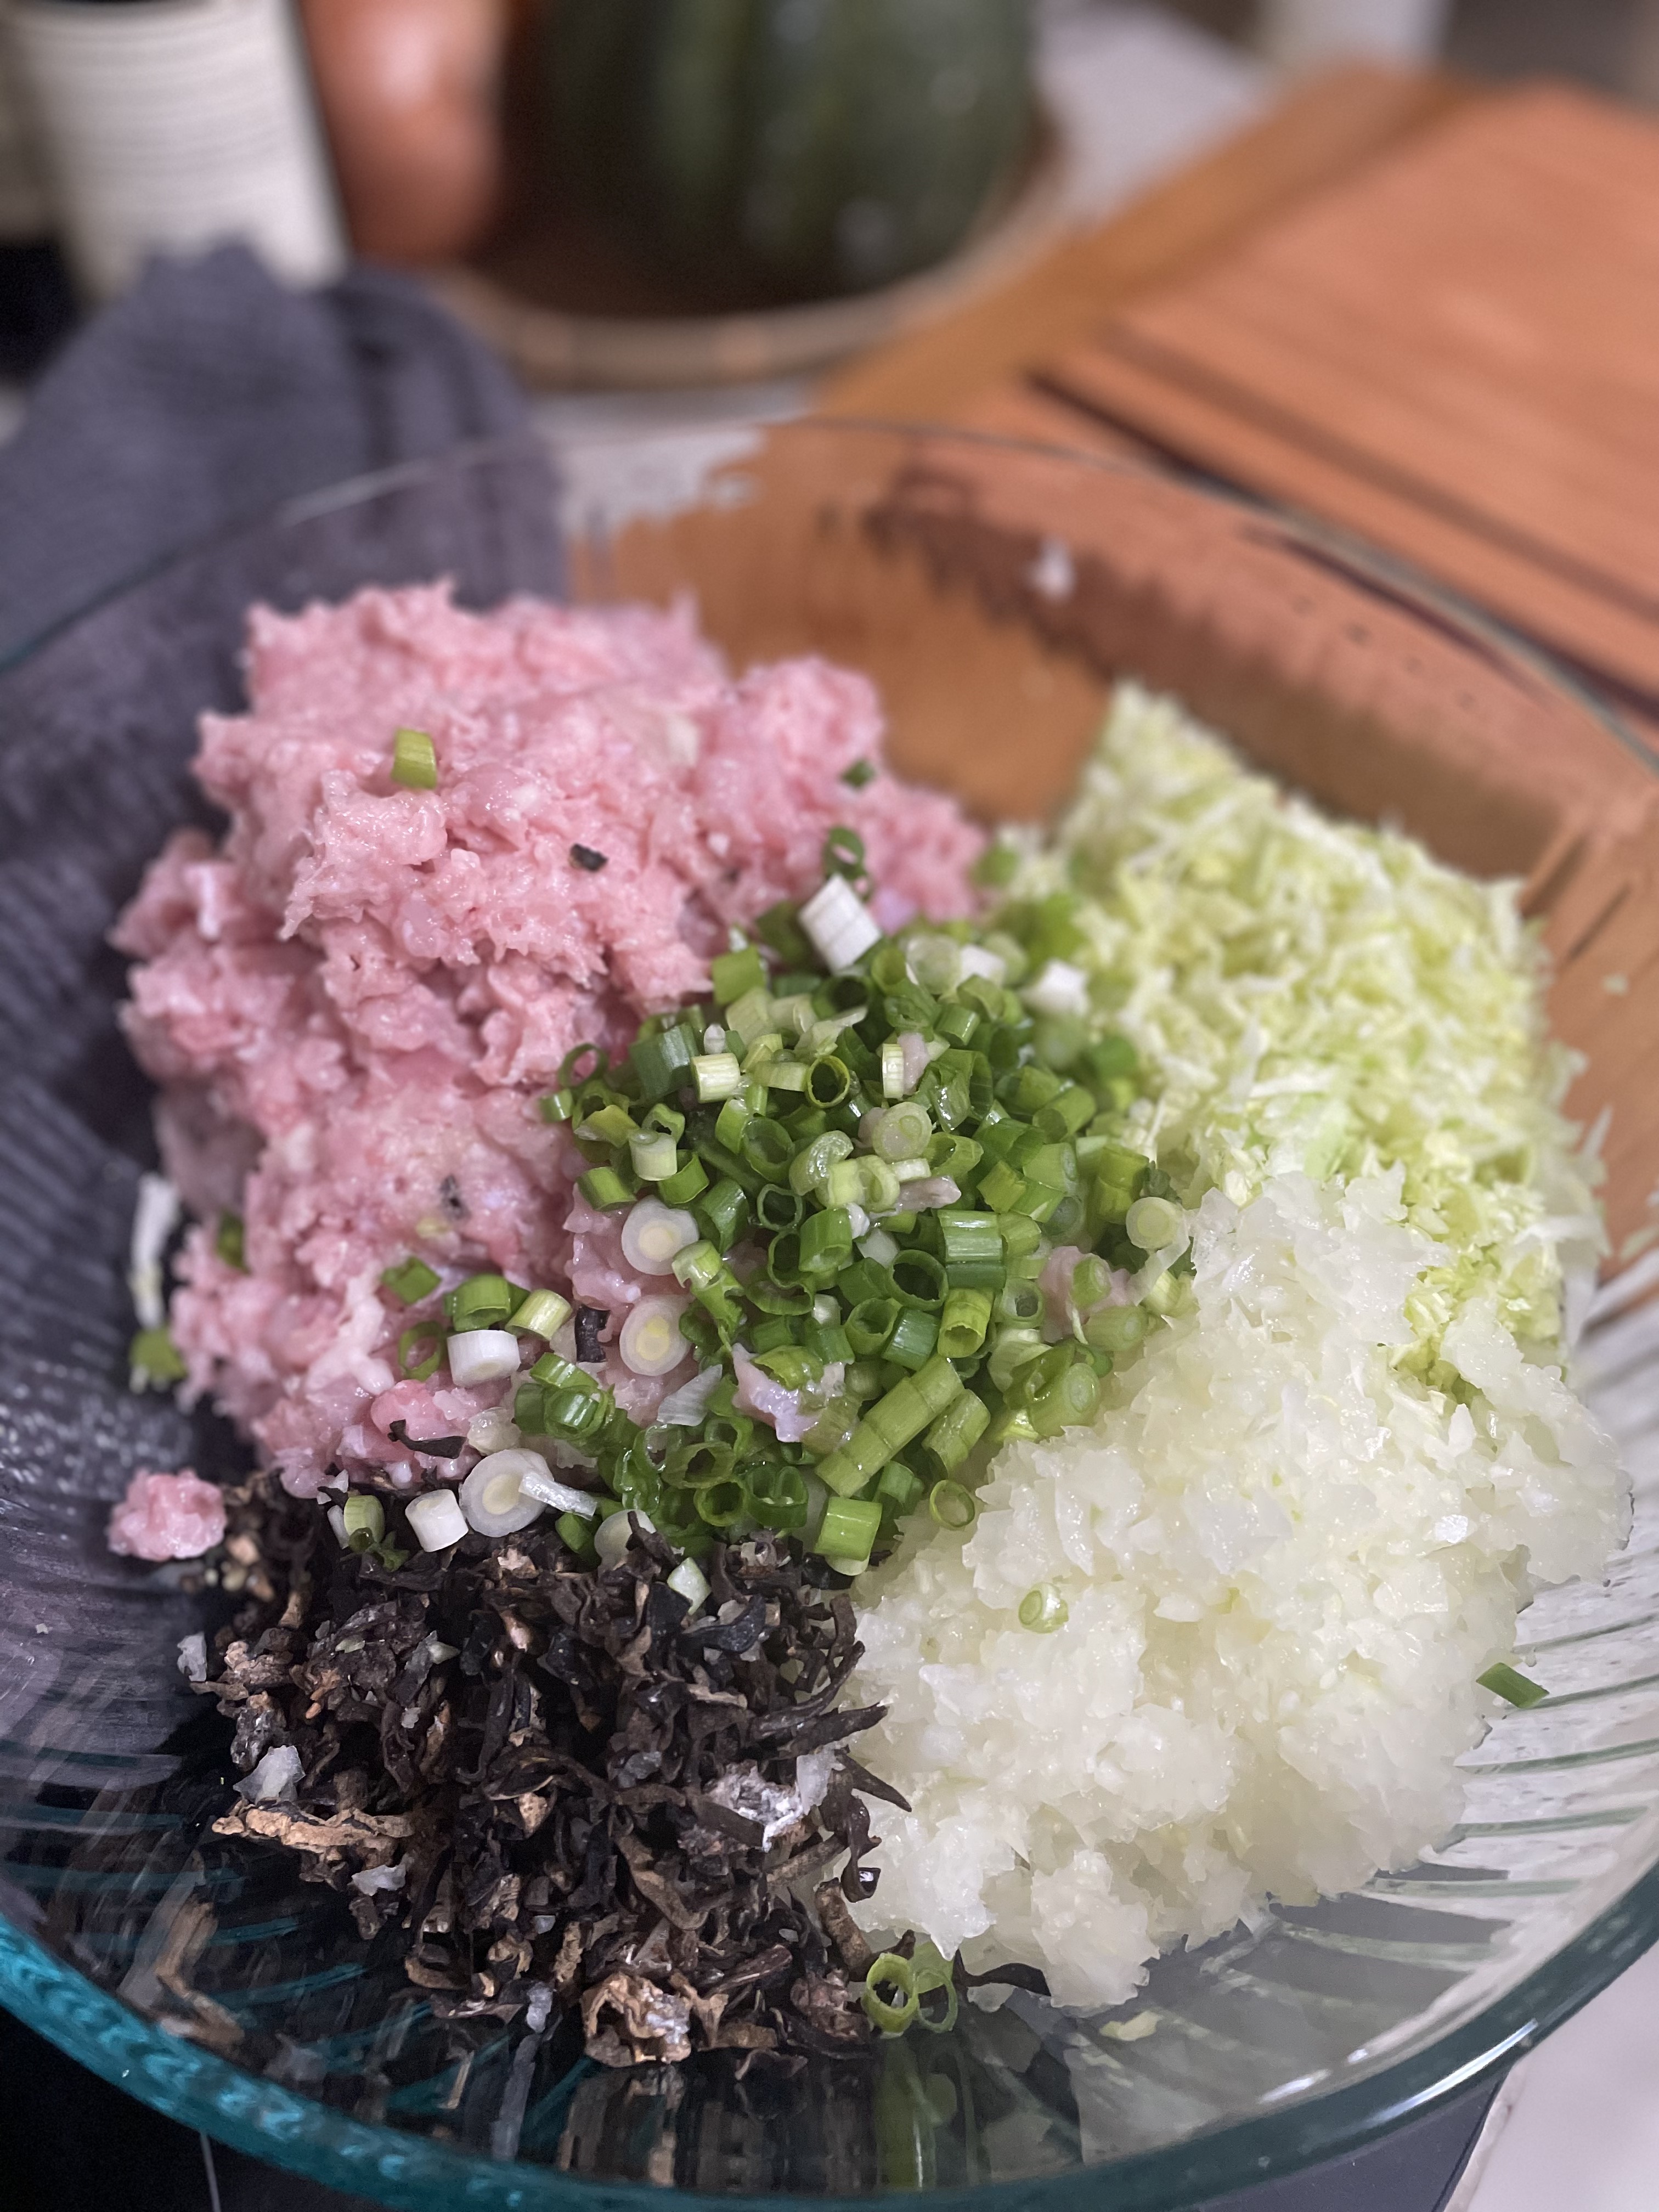
Filling – feel free to mix it up! Any great filling just needs to include a protein (like chicken, pork, tofu), an aromatic (like onions, garlic, chives), and a binder (eggs, flax, chia). I like buying chicken thighs and then grinding it myself in my food processor so I have more control over what pieces of chicken is making its way into my grind. I try to add lots of shredded vegetables (like carrots, cabbage, bokchoy, spinach, kale) to increase my vegetable intake too.

Dumpling wrappers – Dumpling skins can be purchased at any grocery store or can be made by hand. Check out my recipe for dumpling wrappers for the full experience.

Chicken and Cabbage Dumplings

Print Recipe
The most juicy and flavorful dumpling to suit any palate.
Course Appetizer, Main Course
Keyword cabbage, chicken, dumplings
Prep Time 2 hours
Cook Time 15 minutes
Servings 100 dumplings

Ingredients

  • 100 dumpling wrappers
  • 2 lbs chicken ground
  • 2 cups cabbage shredded
  • 1 sweet onion
  • 1 bunch green onions
  • 3/4 cup woodear mushrooms dried
  • 2 eggs
  • 3 tbsp sesame oil
  • 3 tbsp soy sauce
  • 1 tbsp black pepper
  • 3 tbsp sugar
  • 1 tbsp fish sauce

Instructions

  • Finely chop sweet onion and green onions.
  • Chop dried woodear mushrooms into small pieces if not already cut. 
  • Add all ingredients together and mix until just combined. Do not overmix. 
  • Add about 2 tbsp of filling in the center of each dumpling wrapper.
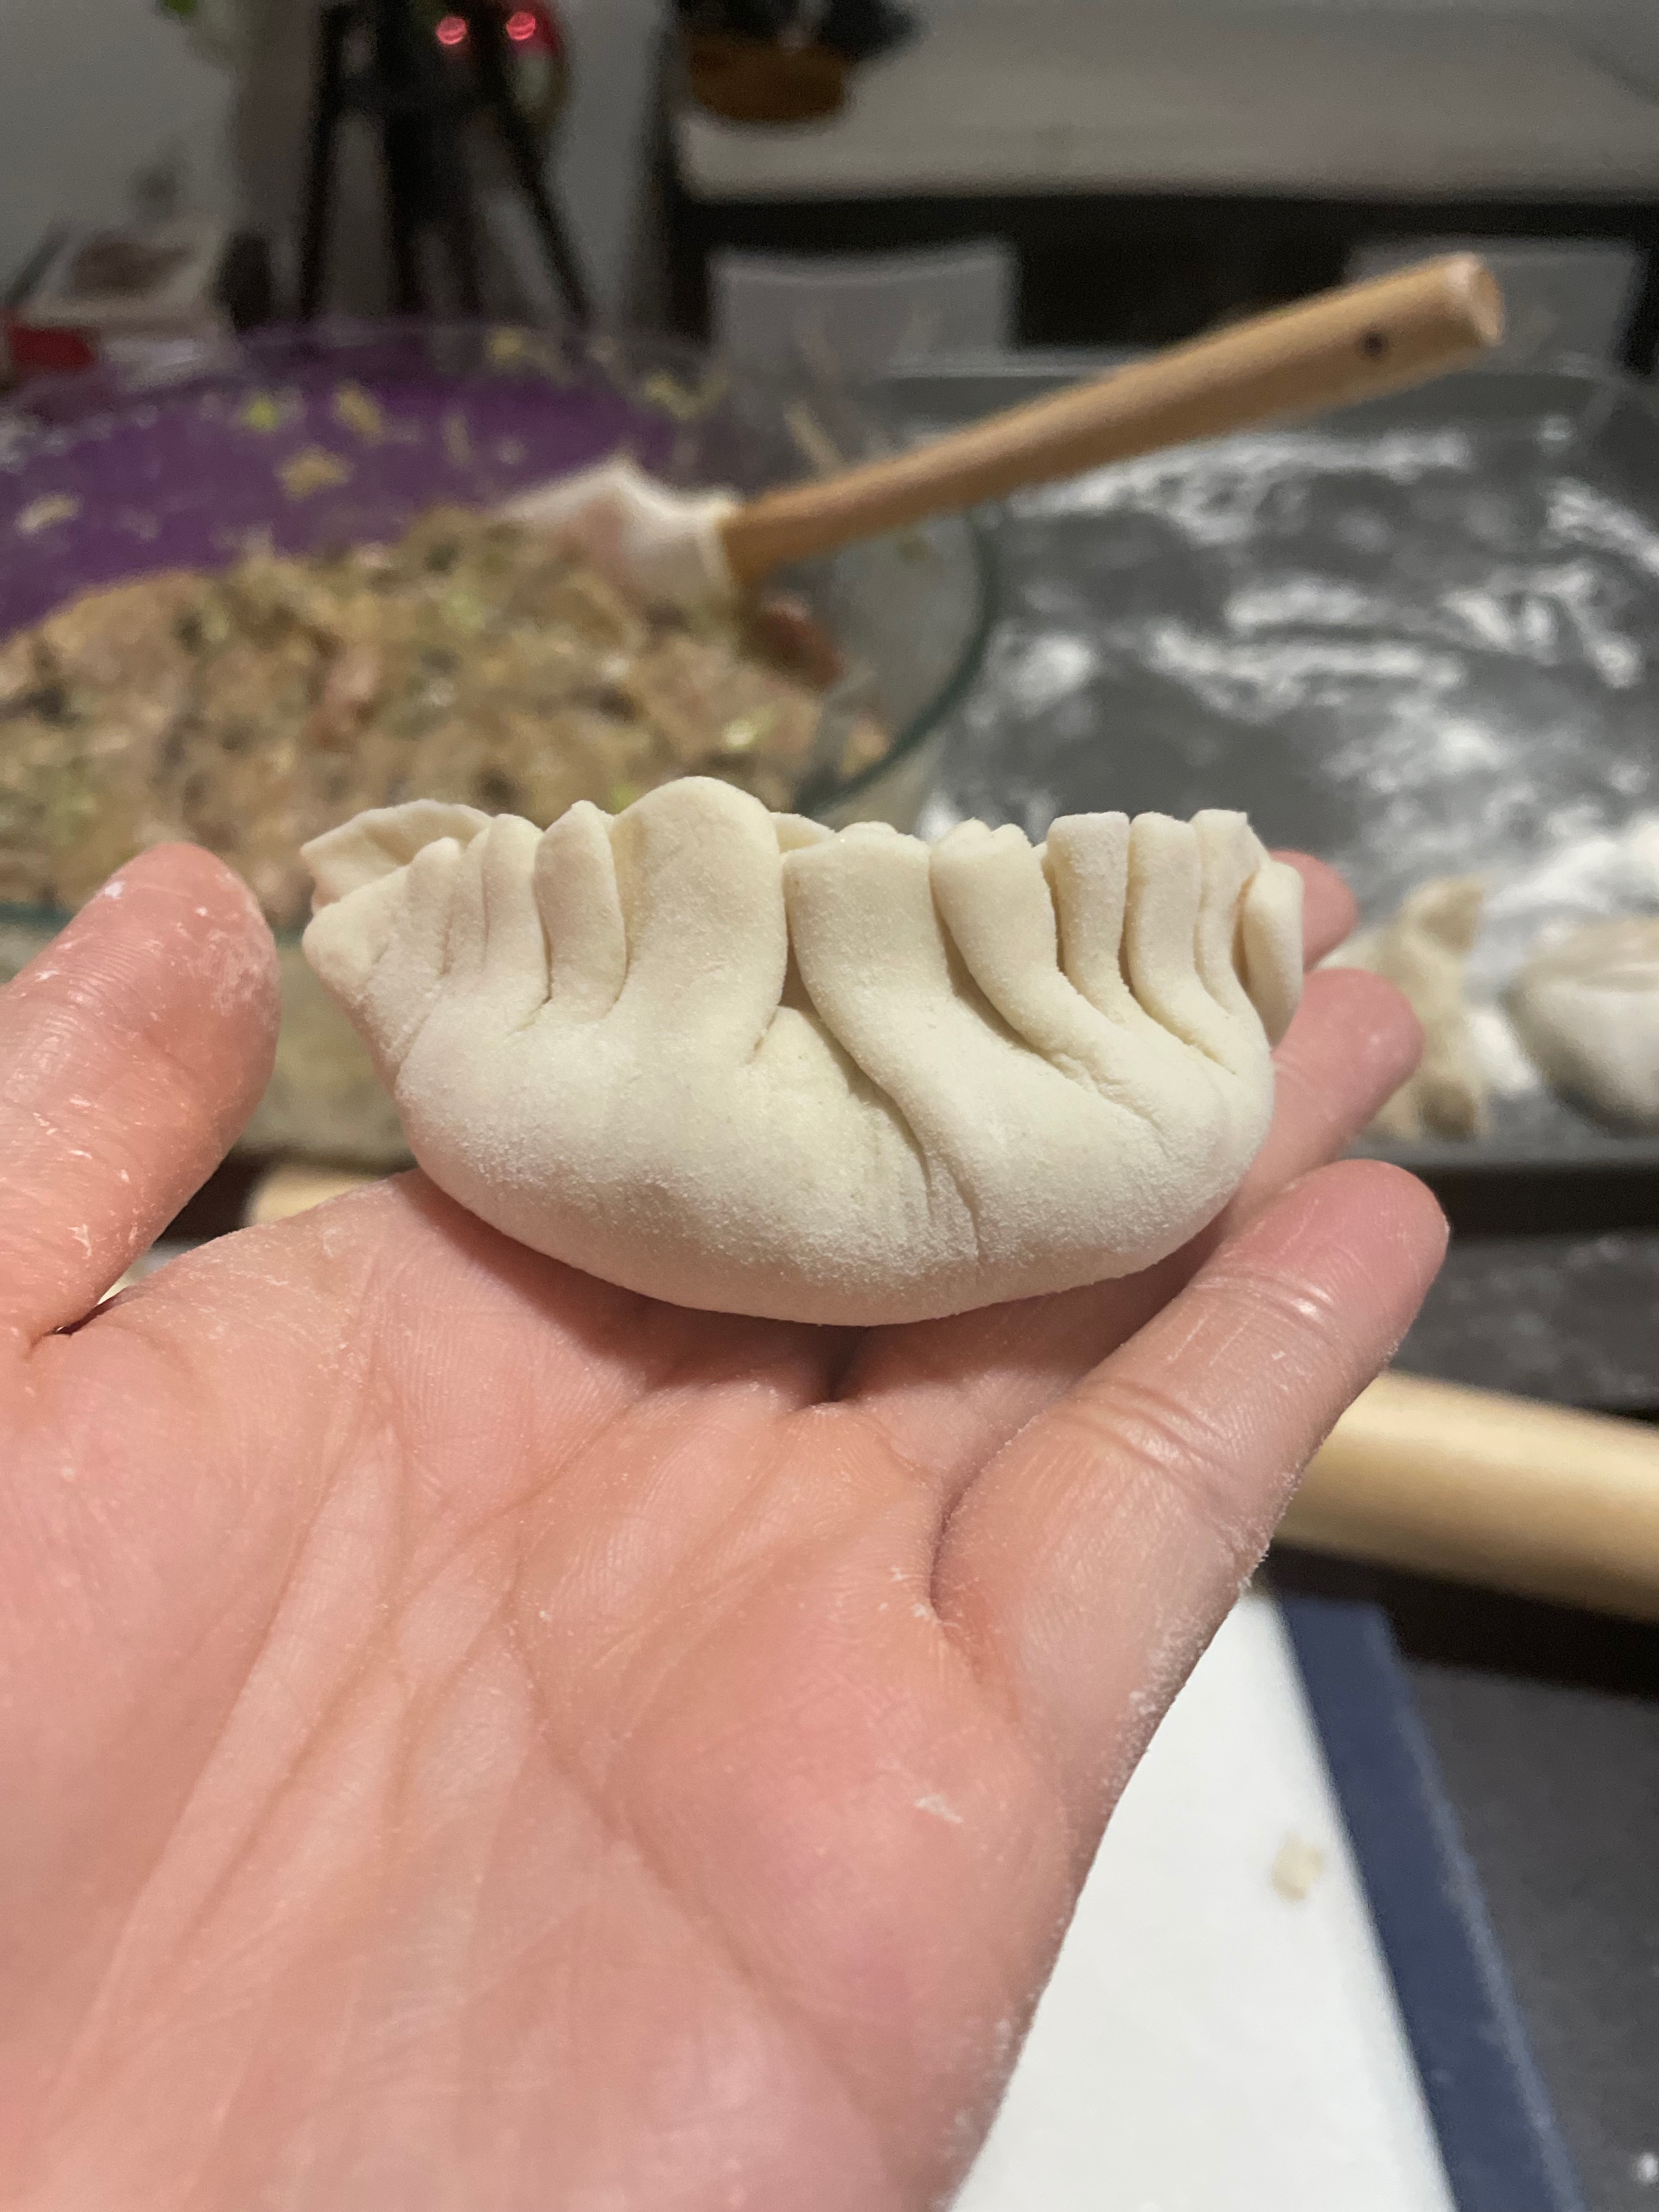
  • Fold and pleat dumpling shut making sure to squeeze all of the air out from the filling area. If there is still air inside the dumpling, it may explode during cooking.
  • Cook your dumplings your preferred method. If boiling, fresh dumplings only take about 7 minutes and frozen take about 15 minutes.

Homemade Dumpling Wrappers & Dumpling Folding Guidance

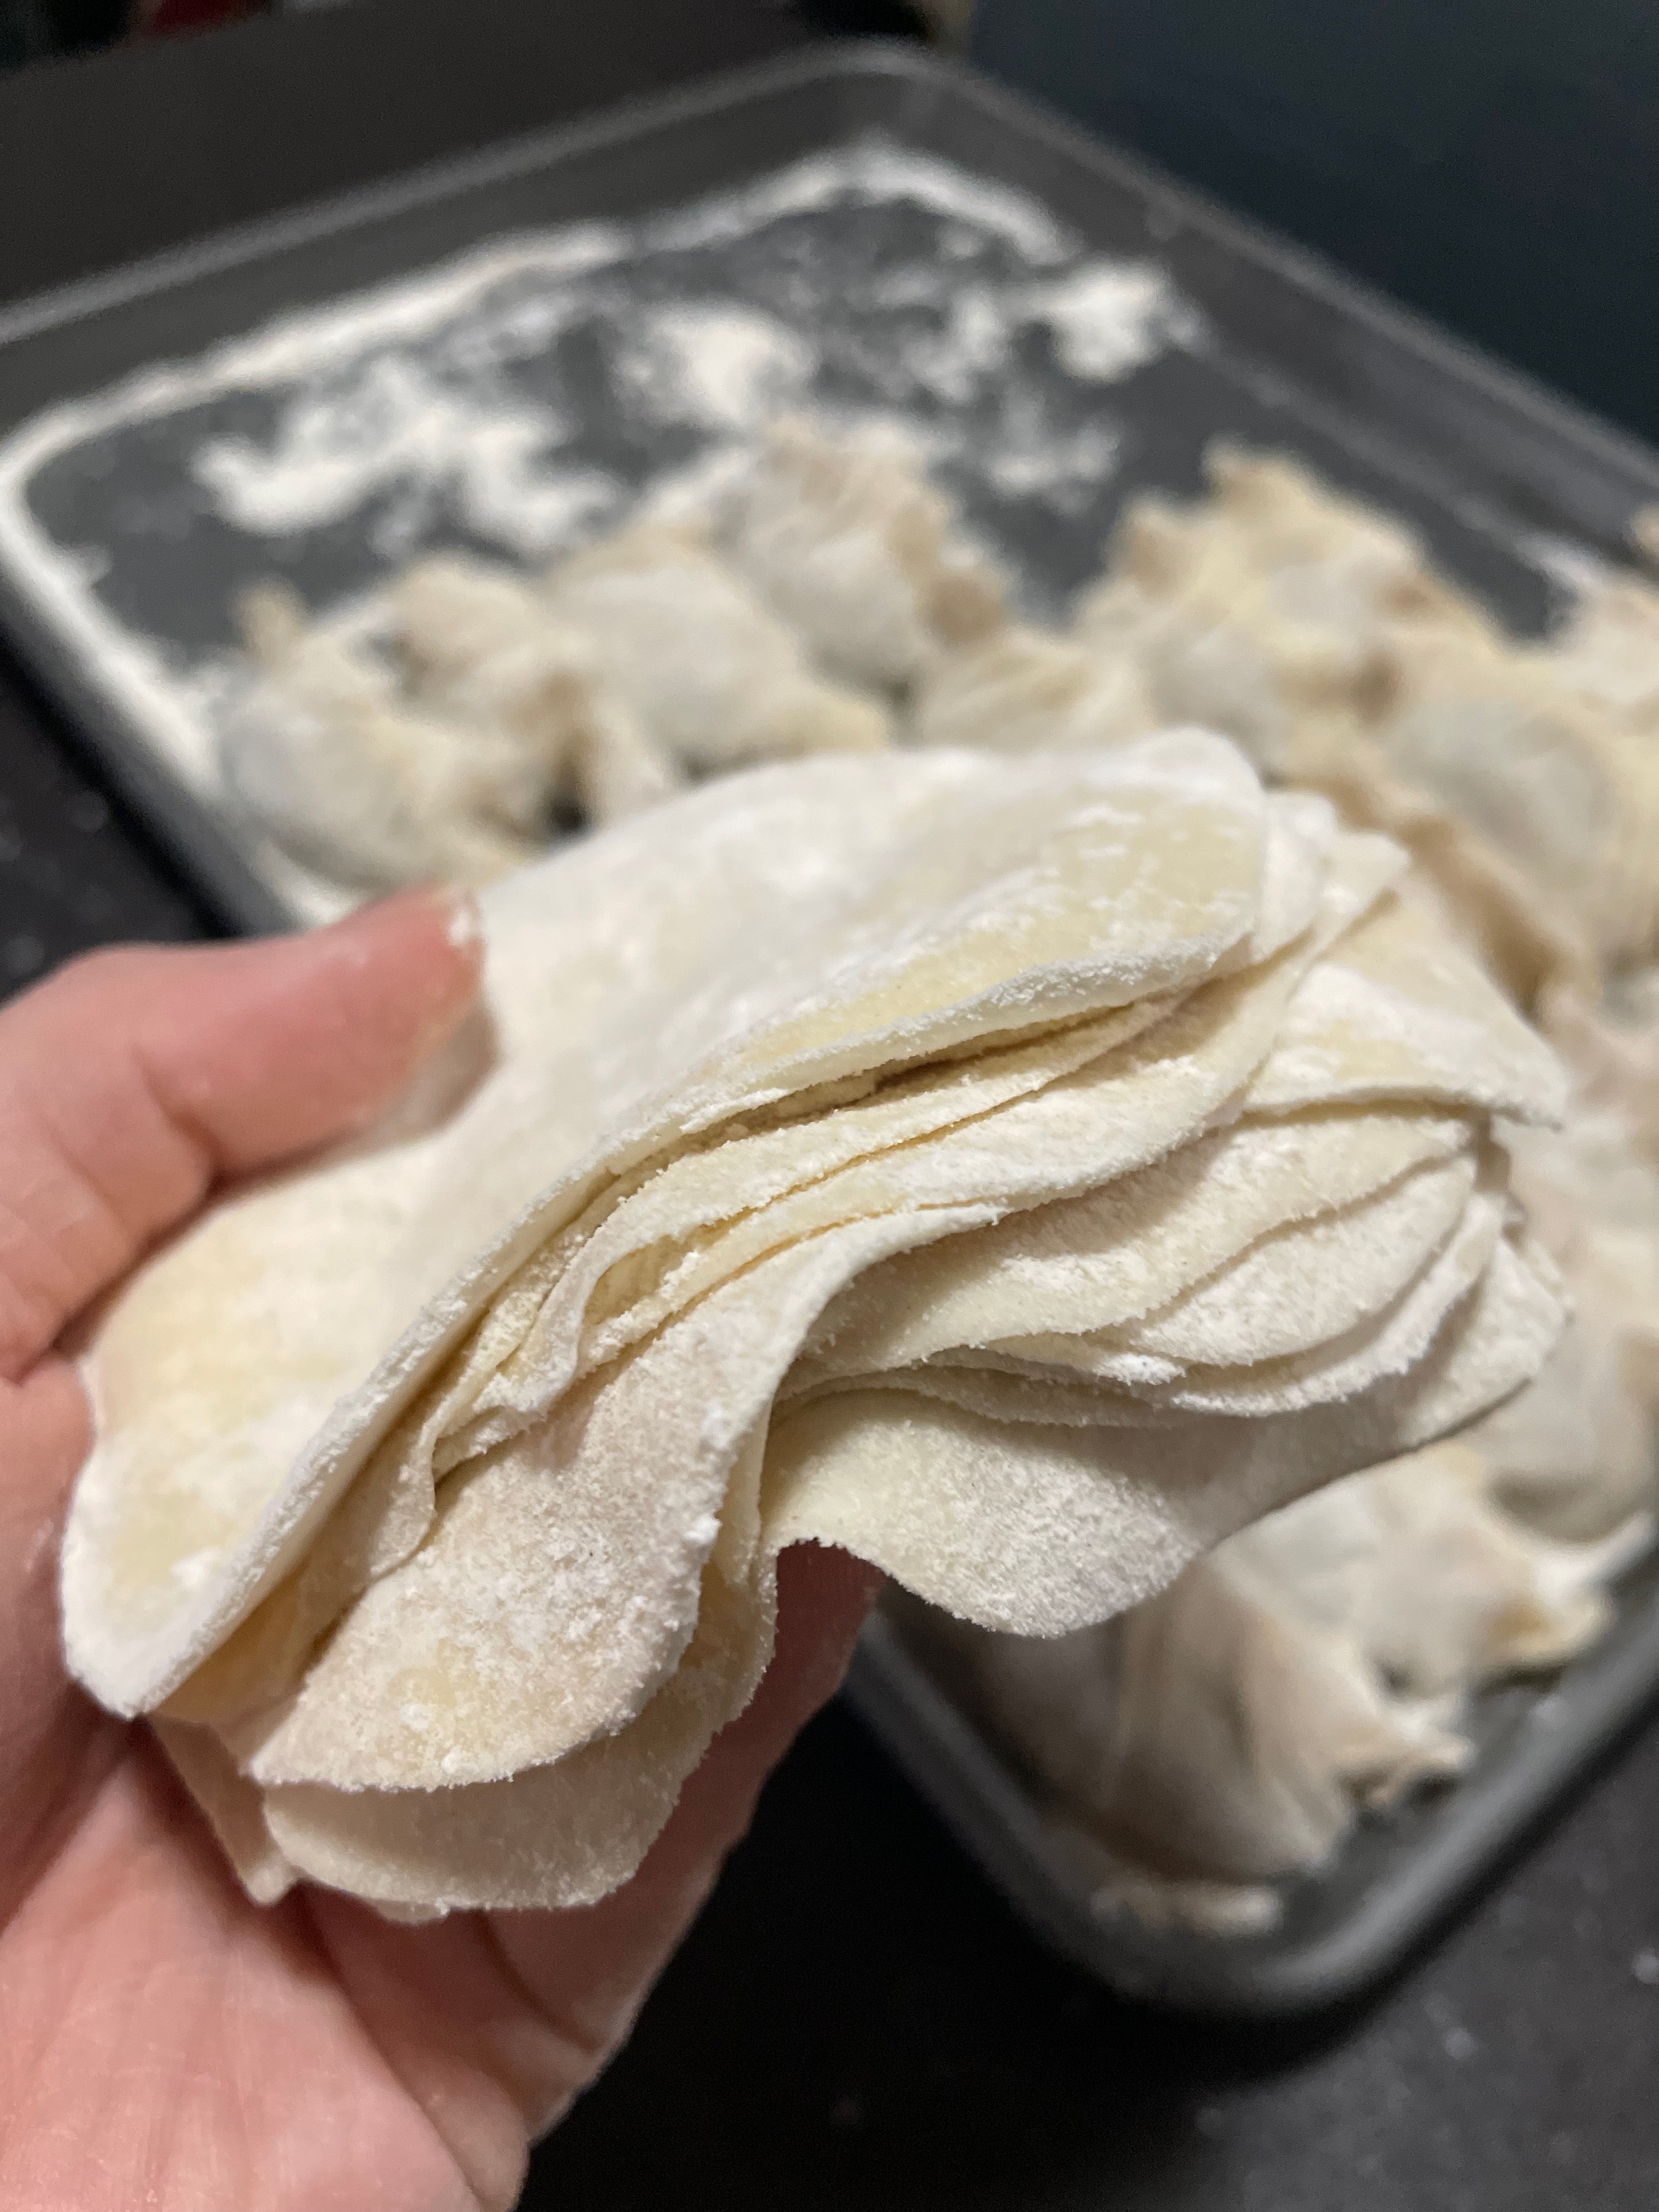
Hot take: I think homemade dumpling wrappers taste better than the store bought ones. There’s more of a bite or QQ texture to them that the store bought ones just don’t have. If I have the time (and people to help), I’d much rather make my own. Consider the trade-offs: less expensive, more texture/taste, but much more time-consuming. It is an easy enough activity to do while catching up on some shows, podcasts, or audiobooks!

Dumpling Folding Guidance

  • Try to roll your wrappers thinner on the edges than in the center.
  • In the center of the dumpling wrapper, place 1-2 tbsp of filling, leaving an even sized gap on all sides of the filling. 
  • When in doubt, use less filling than more filling.
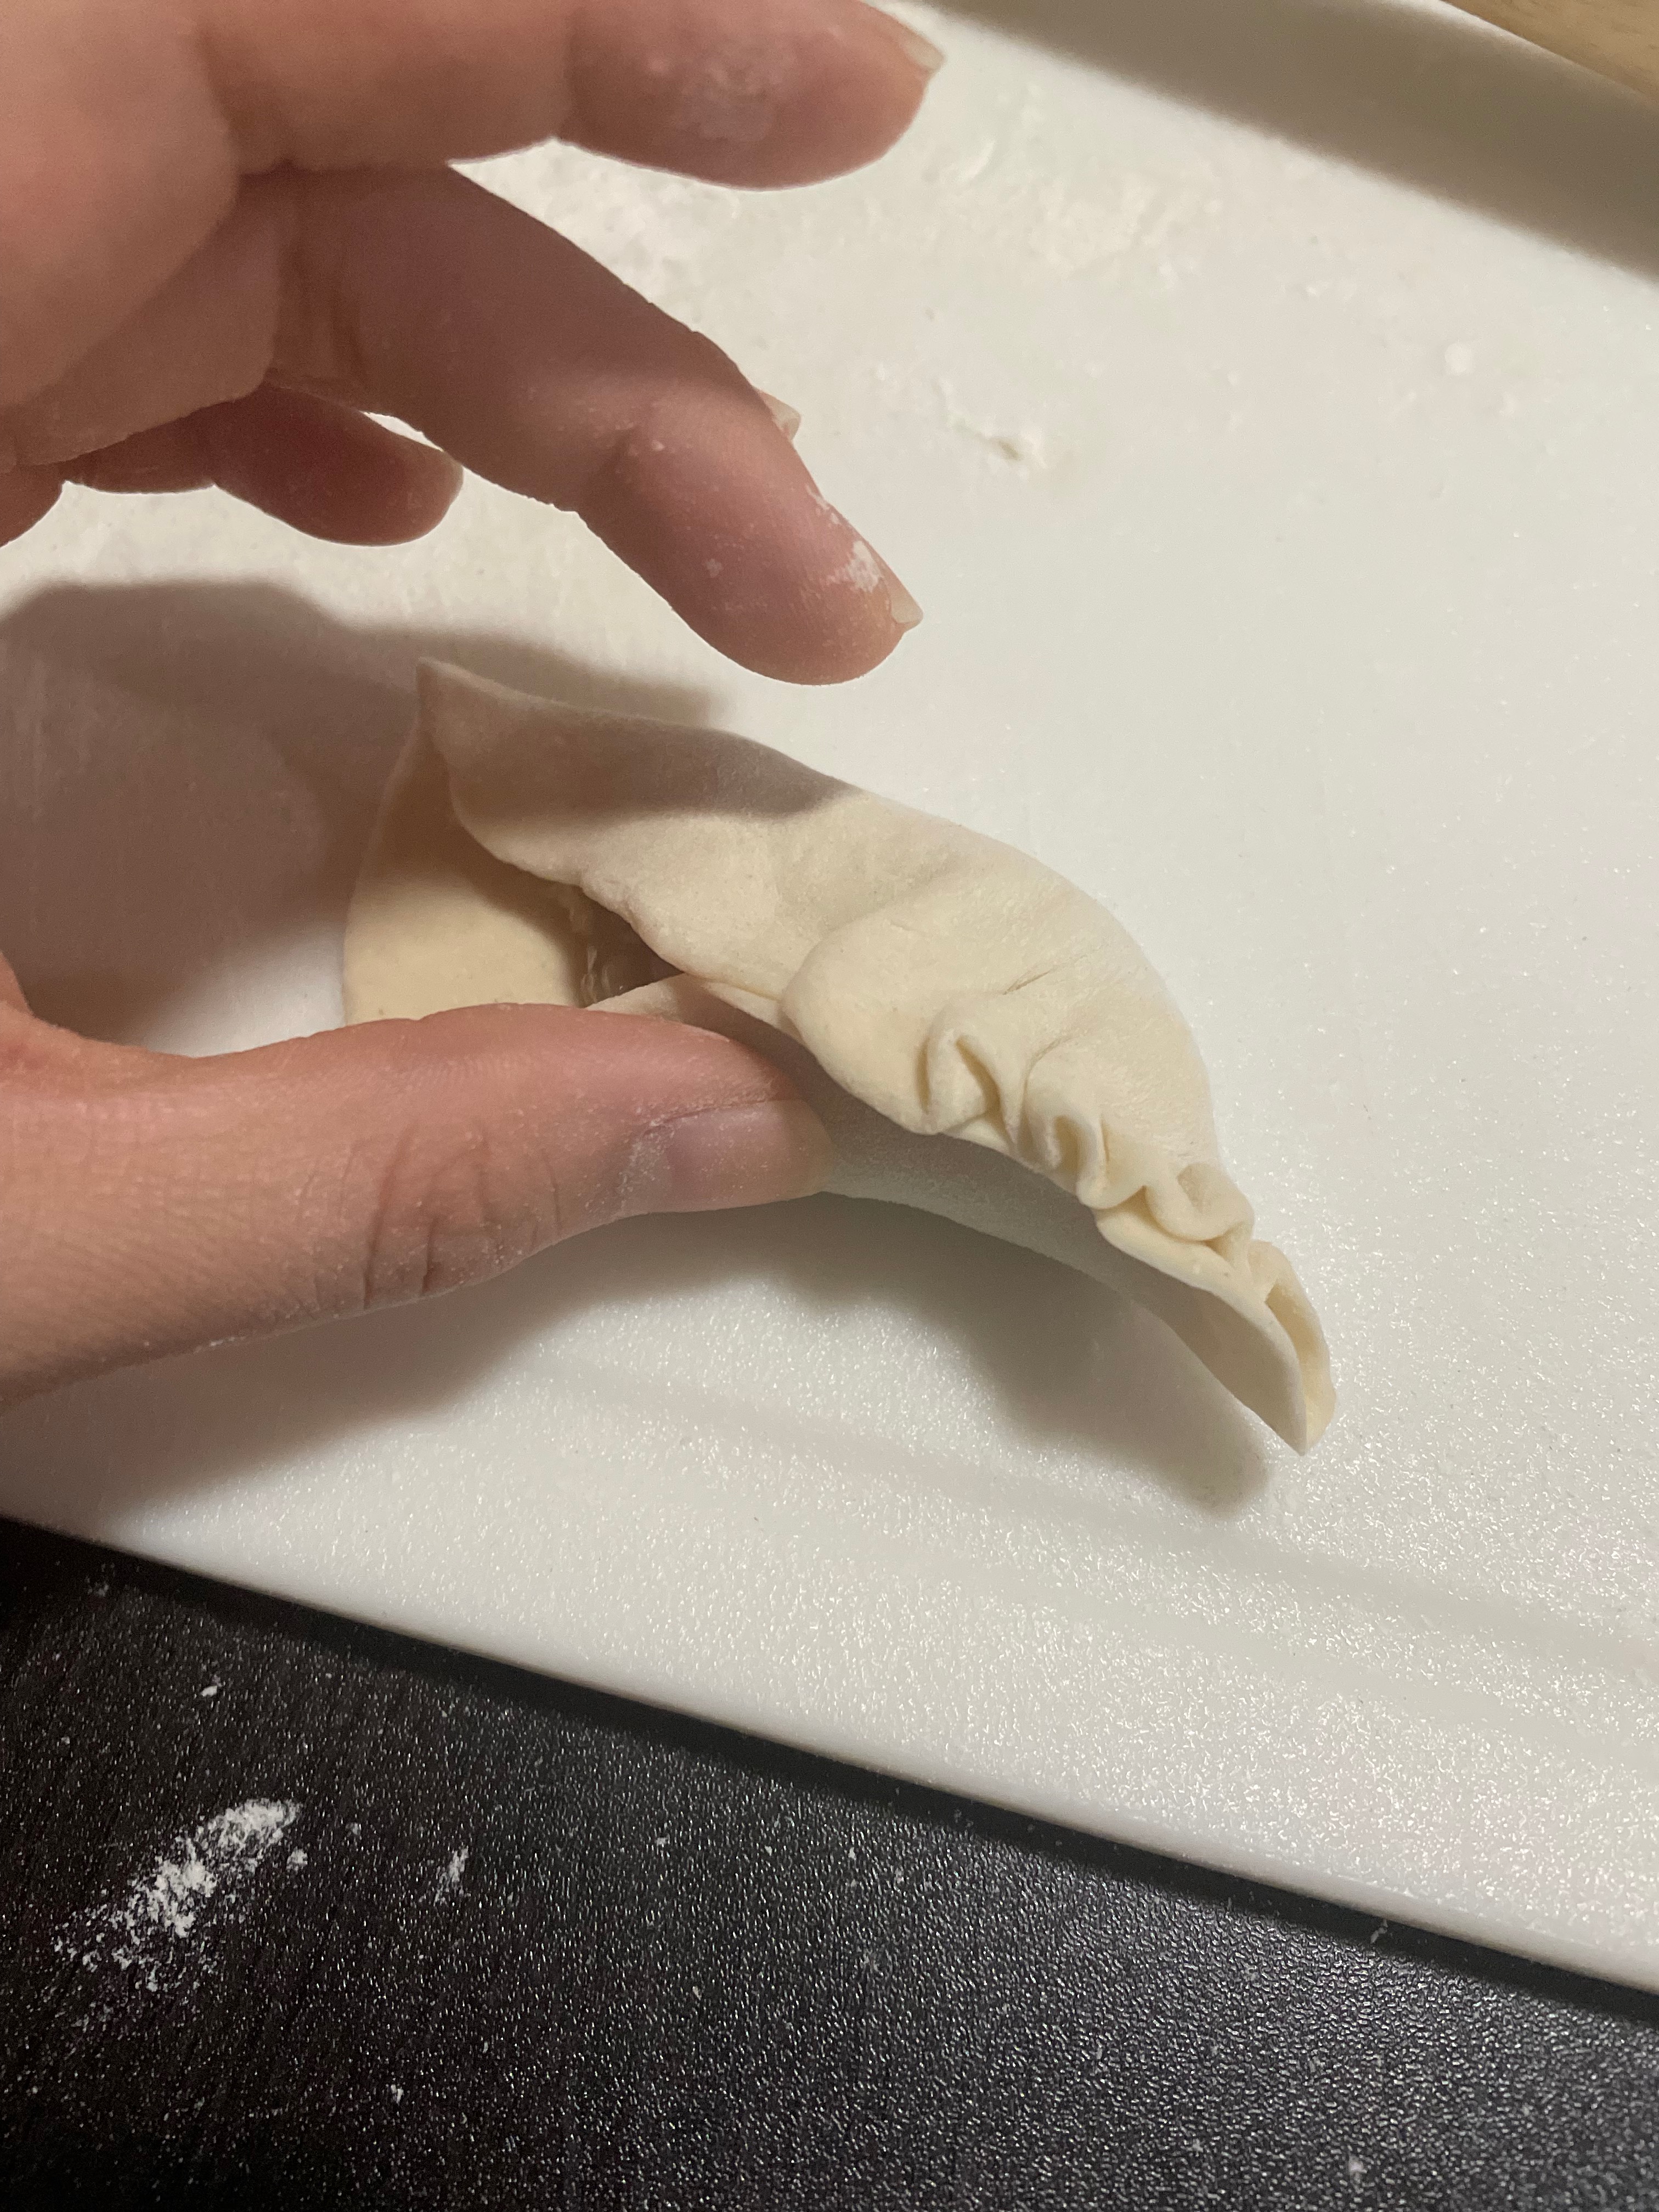
  • Pull opposite sides towards each other and press down to create a half moon sealed at the top of the dumpling where the two sides were pressed together.
  • The pleats are really just for looks, so if it’s not working, just squish the two sides of the wrapper together.
  • Pleat your dumpling, one side at a time, towards the center-pressed area. Ensure as you are pleasting all of the air is pushed out. If not, your dumpling may explode during cooking.
  • Press hard to seal! If the wrapper is too dry, use water or egg to seal it shut.
  • Dust your folded dumpling in flour to prevent sticking.

Dumpling Wrappers/Dumpling Skins

Print Recipe
Homemade dumpling wrappers have a chewier texture than ones you get at the grocery store. Minimal ingredients required to really up the quality of your dumplings!
Cuisine Asian
Keyword dumpling, dumplings, wrappers
Servings 100 wrappers

Equipment

  • Stand mixer optional

Ingredients

  • 2 1/3 cups flour all purpose
  • 3/4 cup water warm + 3 tbsp extra
  • 1 tsp salt

Instructions

  • Slowly stream in ¾ c of water into AP flour and continuously mix. The dough will get shaggy. You can do this by hand or with a dough hook in a stand mixer.
  • Continue mixing until the dough forms a ball. Add additional water as necessary. You may need to knead the dough with your hands if all the water and flour is not all combining.
  • Once combined, allow to rest at least 20 minutes.
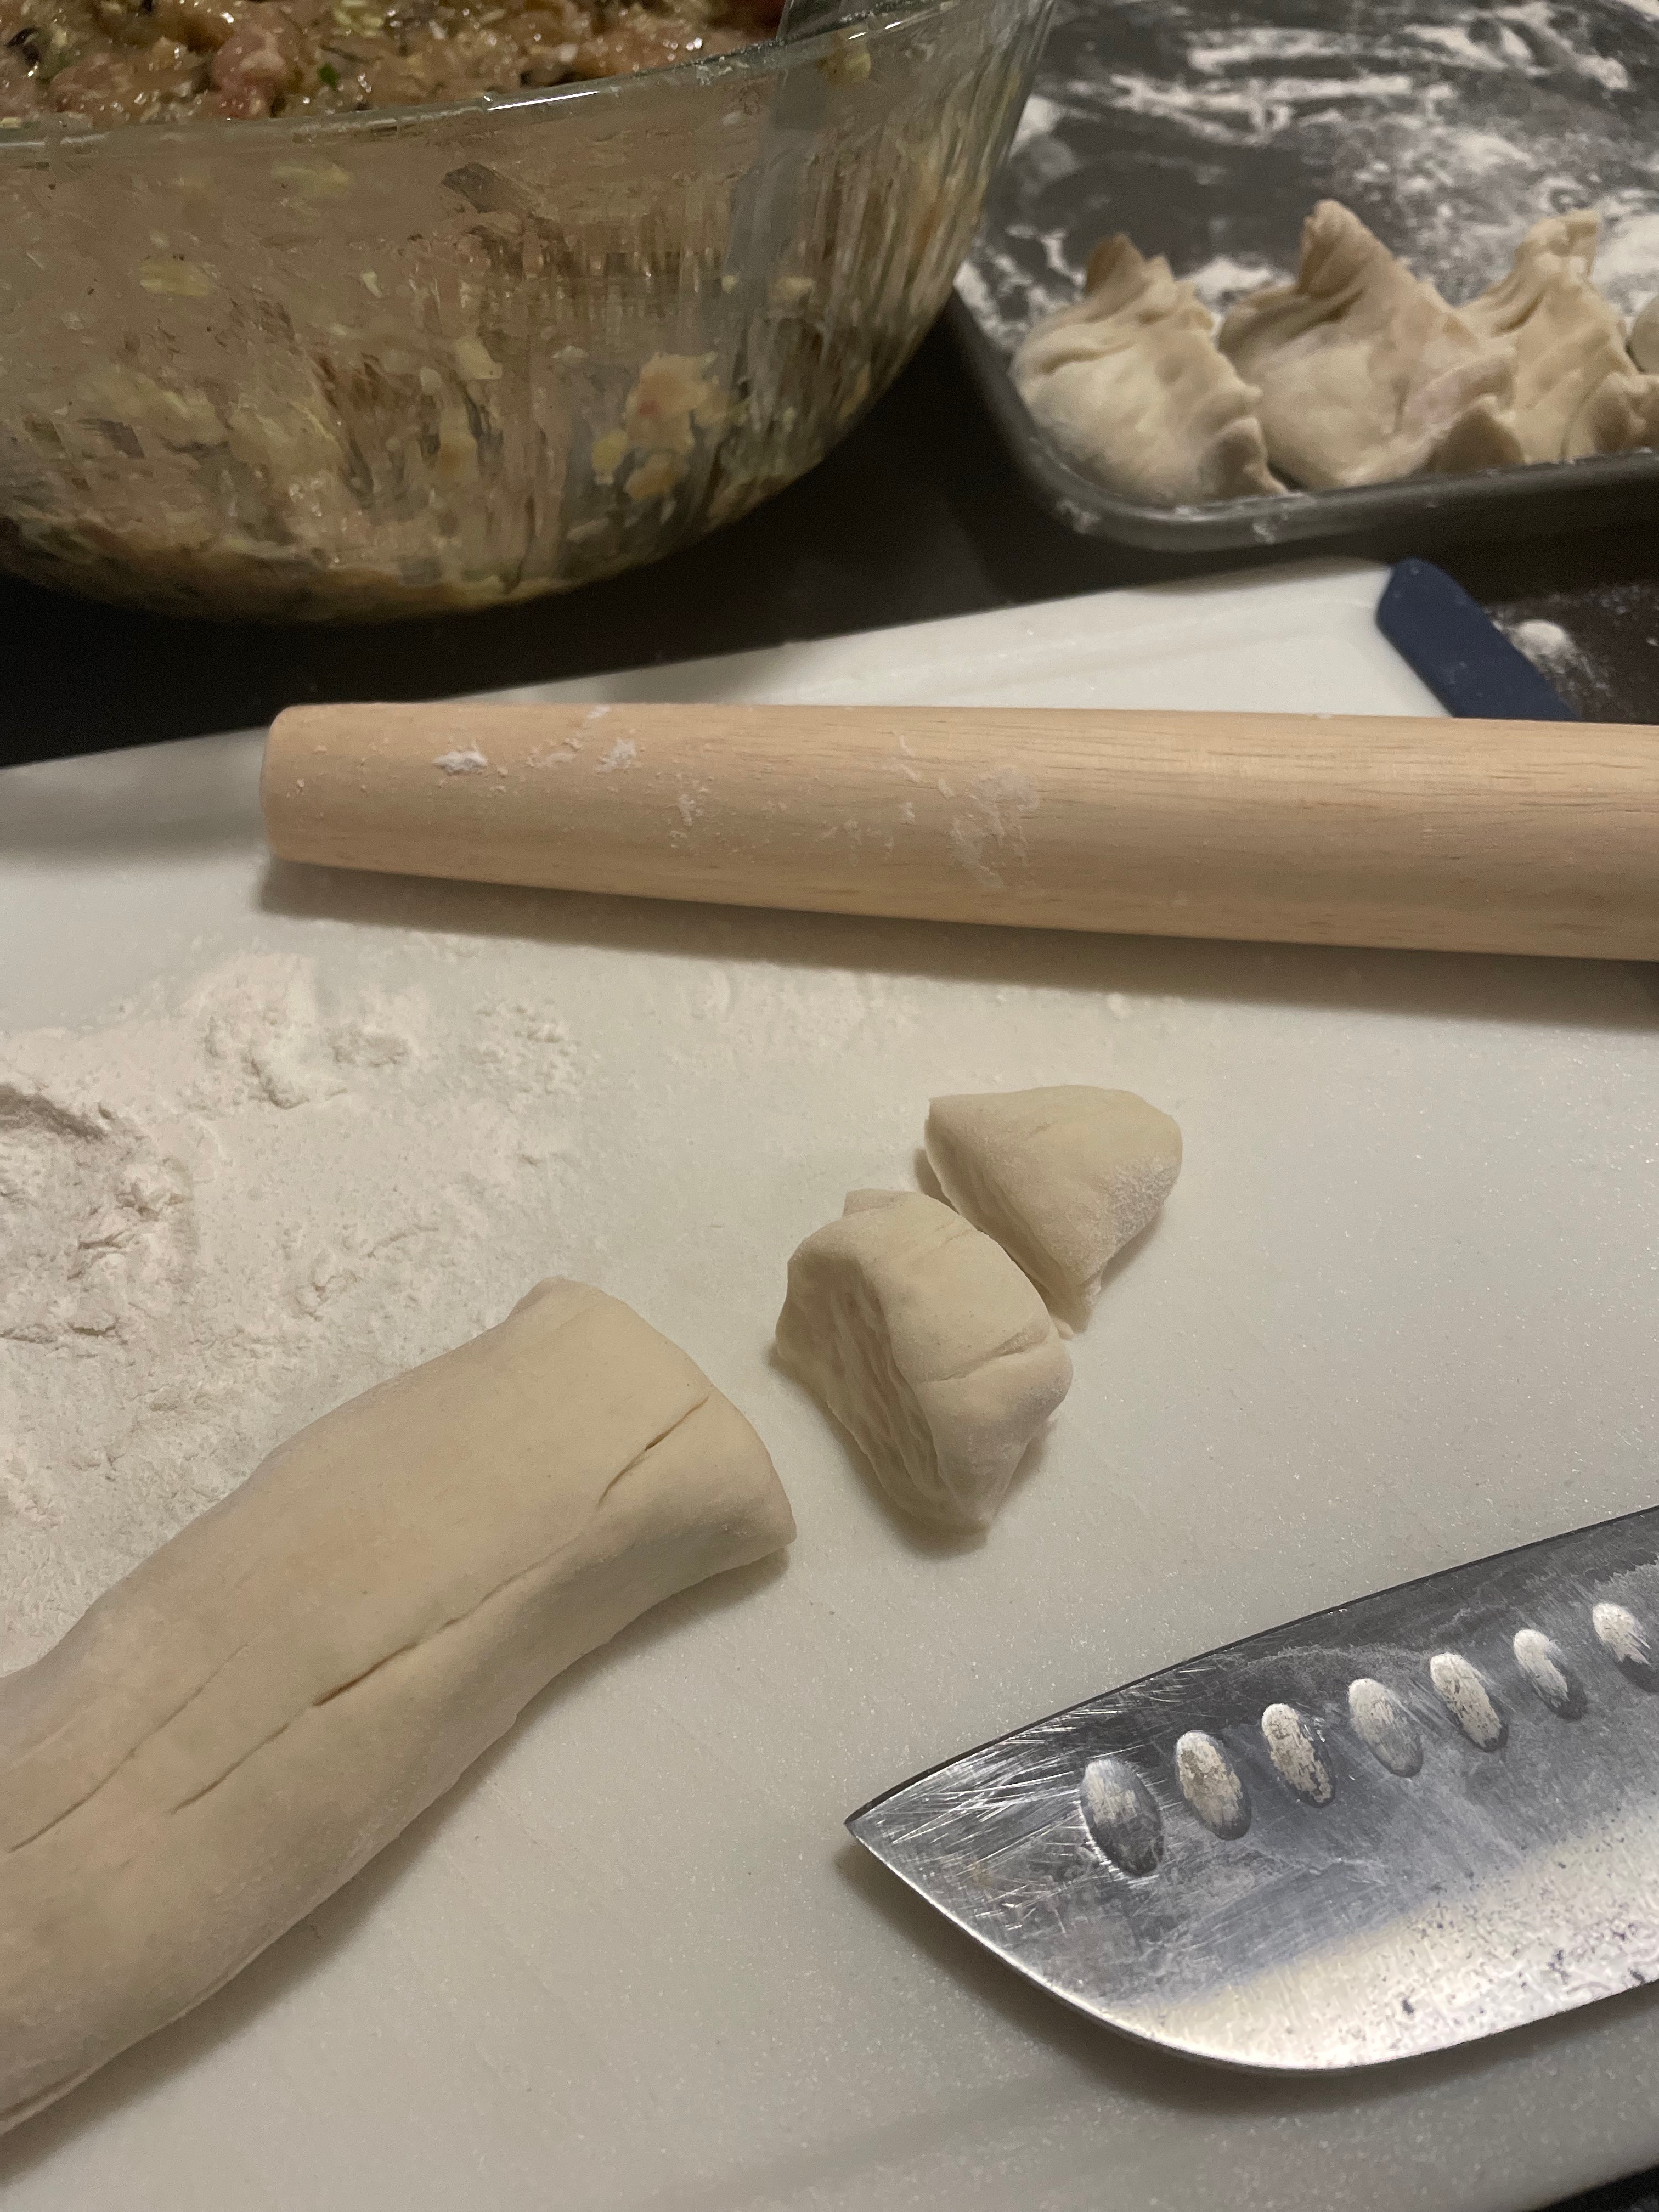
  • Grab a chunk of dough and roll into a thumb-thickness log.
  • Cut the log into sections about the size of a quarter, maintaining the thumb-sized thickness.
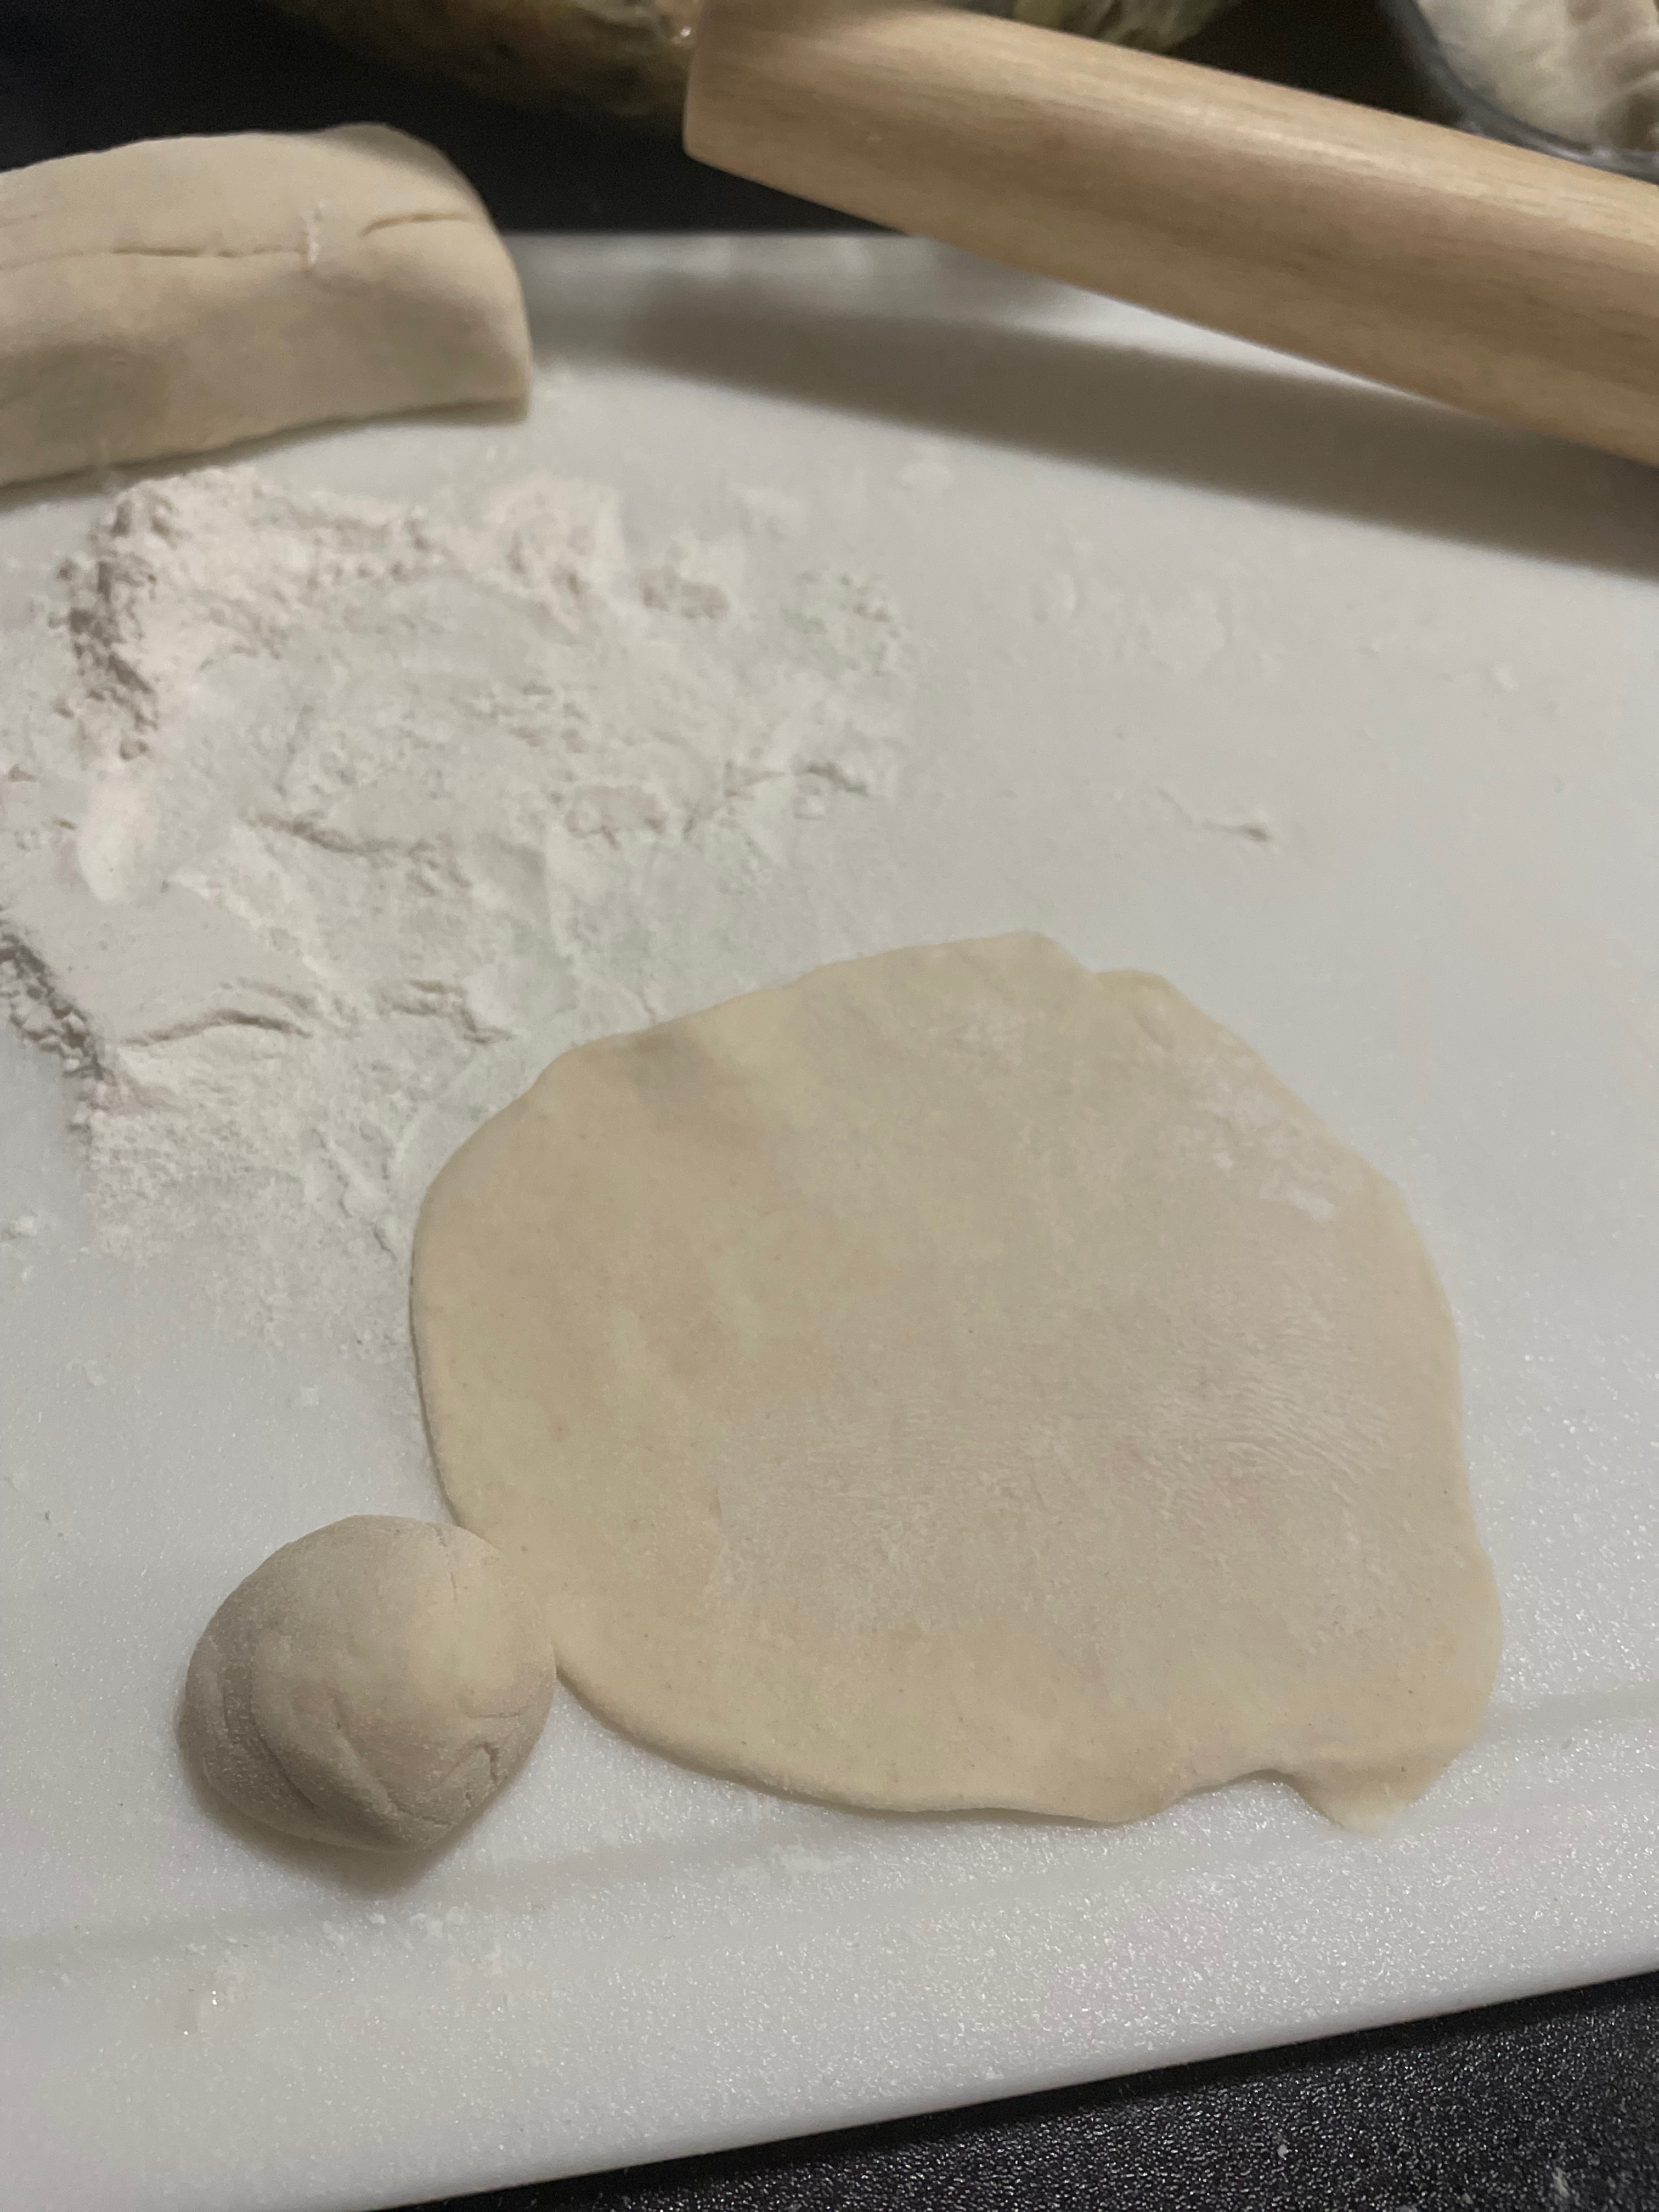
  • Roll each mini-section into a ball.
  • Flatten the ball, and roll into a flat wrapper, getting it as thin as possible. Try to get the edges of the wrapper thinner than the center.
  • Roll out all the dough into wrappers.
  • Leftover wrappers can be floured on each side, stacked, and then frozen.

Try making my Chicken & Cabbage Dumplings and have them with my My Signature Dumpling Dipping Sauce.