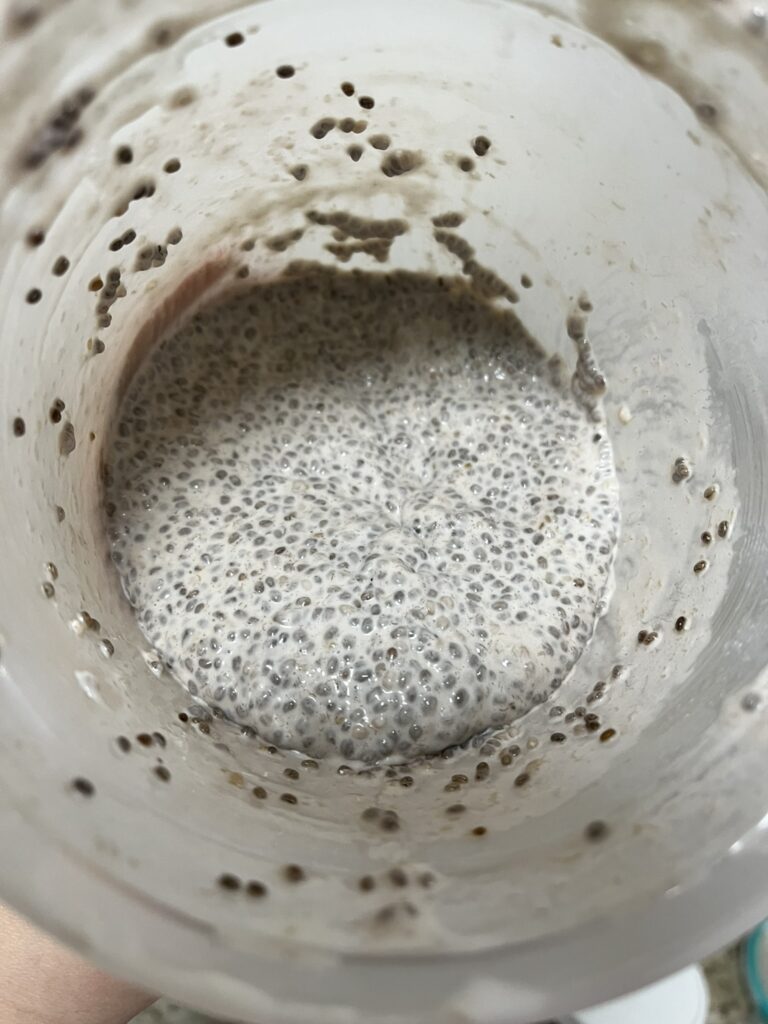
Coconut Banana Chia Pudding

Everyone’s a little lazy in the morning right? It can be a lot of work to get a whole meal going early in the morning before the day starts. Everyone raves about some overnight oats, but I just can’t do it. I’ve tried to like them, but I can’t. I’ve even heard them being referred to as “prison food”. Like overnight oats, this is a super low effort breakfast, snack, or dessert, but somehow more palatable. Coconut banana chia pudding is lightly coconut-y and banana-y and naturally sweet from the blended in bananas.

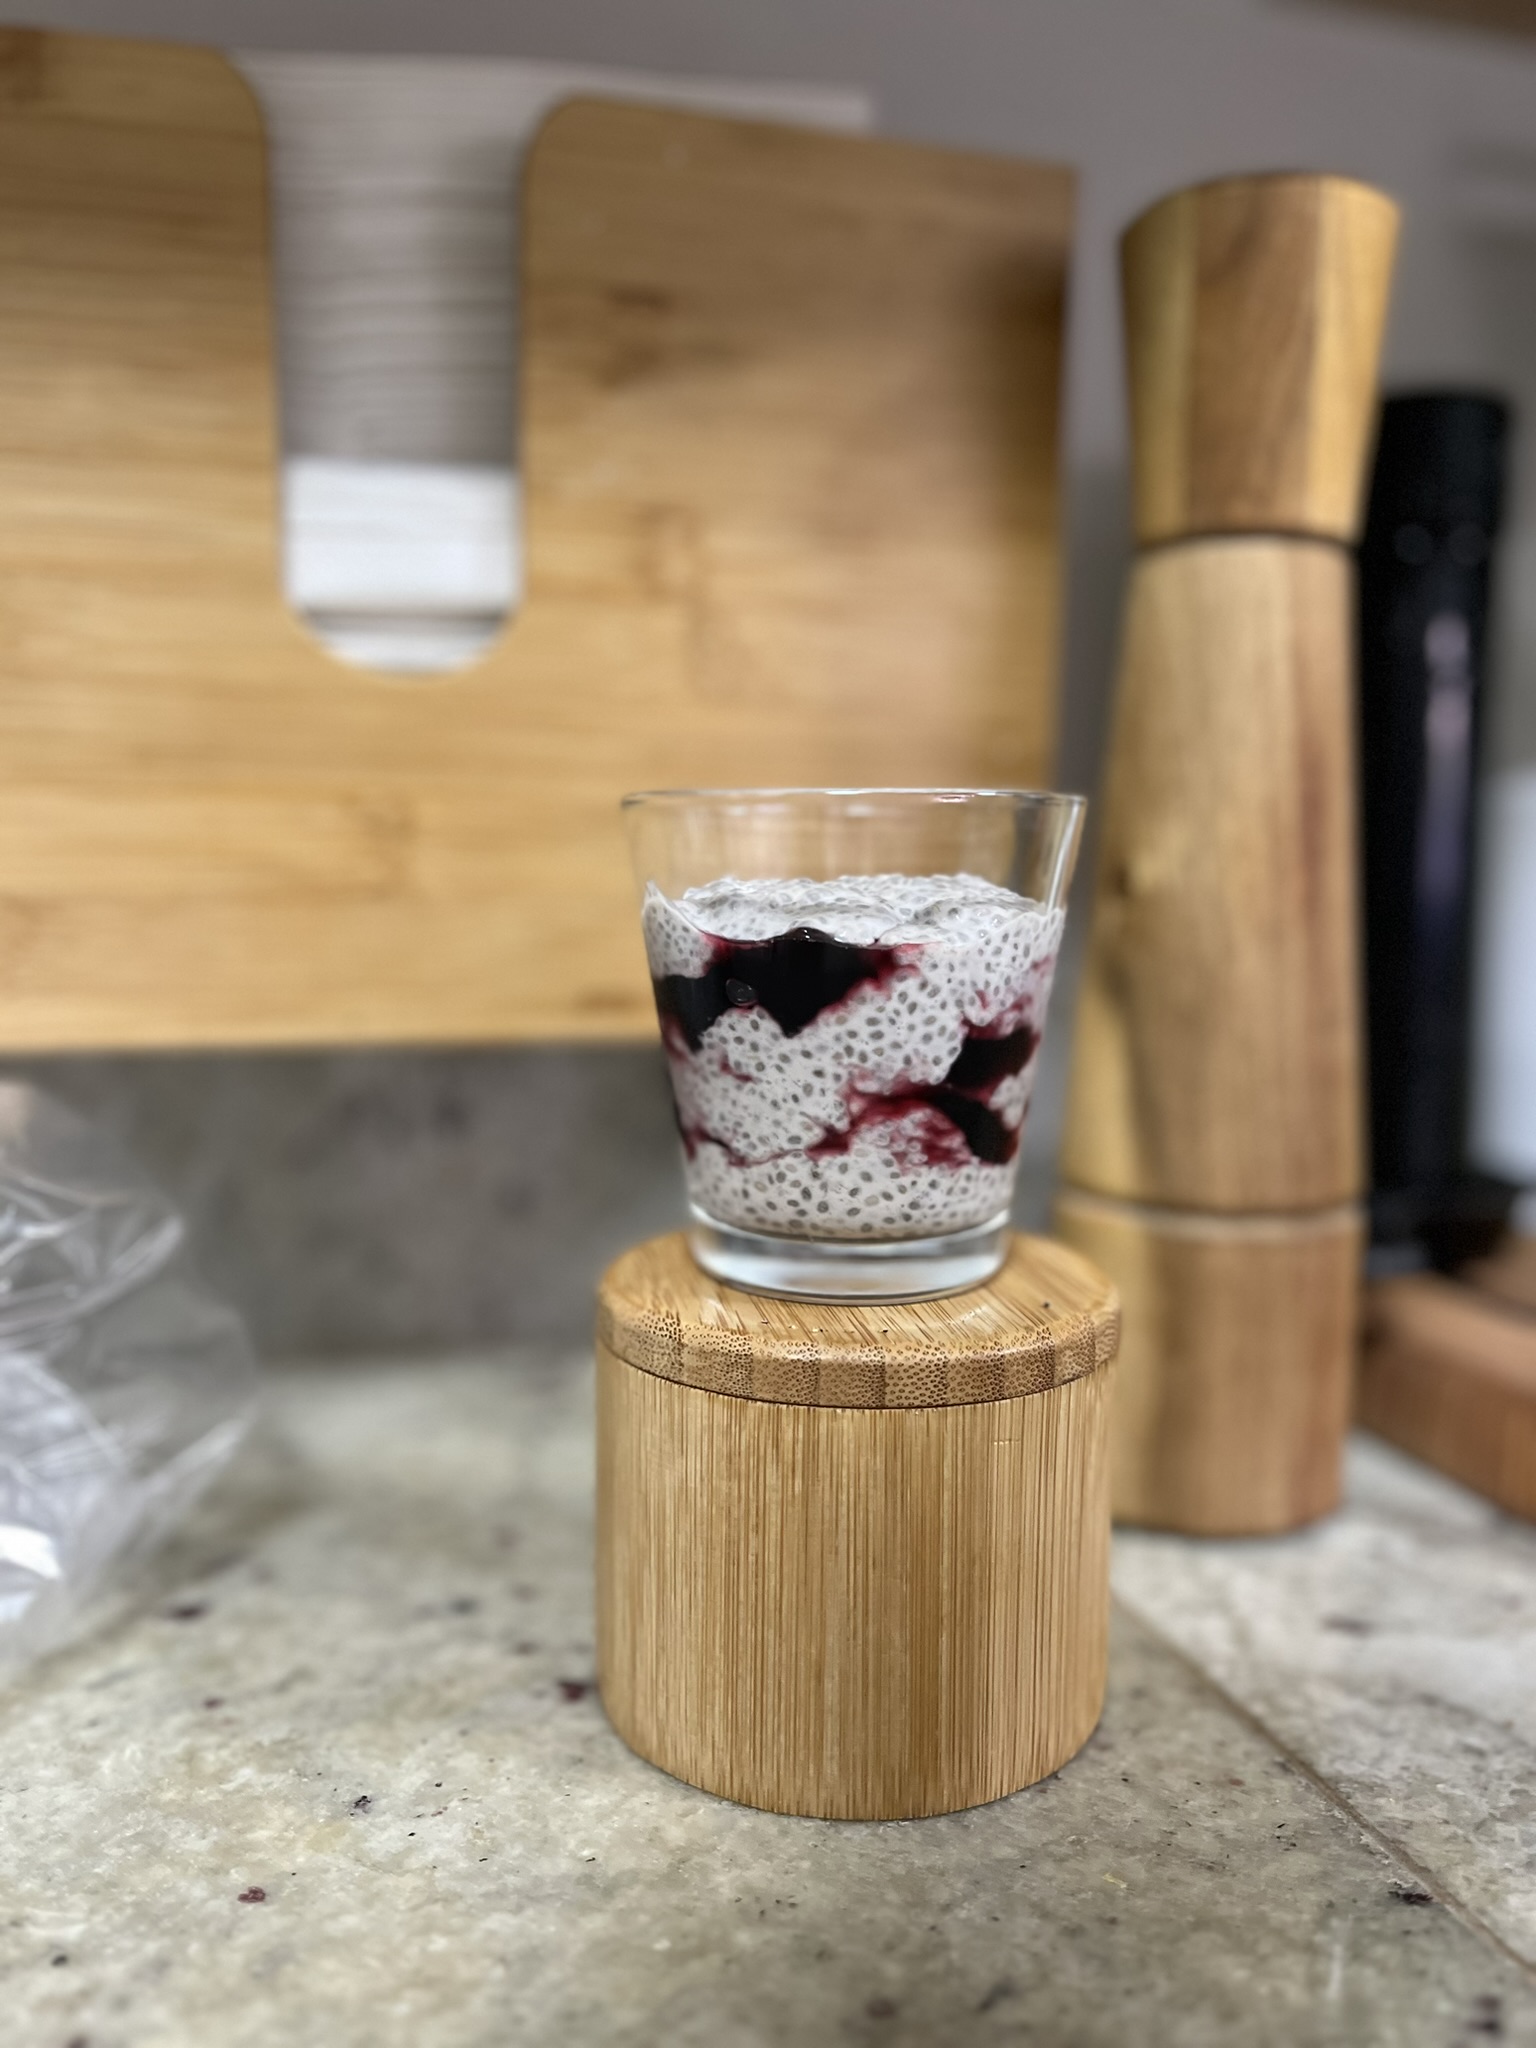
You can even pair this coconut banana chia pudding with some overnight oats (if you actually like that stuff) or use it on a topping for an acai bowl! I like having this chia pudding layered with some fresh fruit or fruit preserves and/or topped with some granola and hemp seeds.

Ingredients

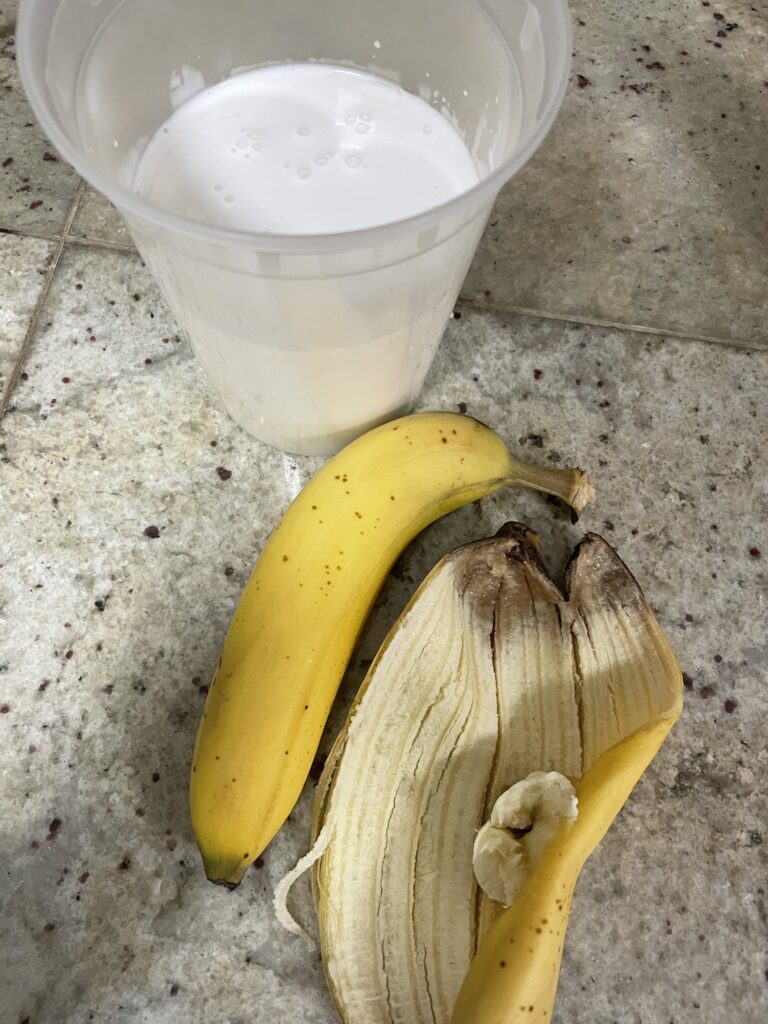
Coconut cream – You’ll want to use one of the high fat coconut creams. This definitely gives more flavor (fat = flavor!). Don’t use coconut water.

Bananas – Use a banana to a stage of ripeness to your preference. The banana is really where our sweetness is coming from, so I wouldn’t recommend using green bananas. If you like a sweeter chia pudding, use a banana that’s starting to spot, but I wouldn’t recommend a completely black/overripened banana, as that may cause your chia pudding to ferment.
Coconut Banana Chia Pudding

Print Recipe
Overnight chia pudding that's great for breakfast or a fiber-full dessert
Course Breakfast, Dessert, Snack
Keyword banana, chia, coconut, pudding

Equipment

  • blender or immersion blender

Ingredients

  • 1 can coconut cream around 16 ounces
  • 2 bananas ripe or extra ripe
  • 1/2 cup chia seeds
  • salt

Instructions

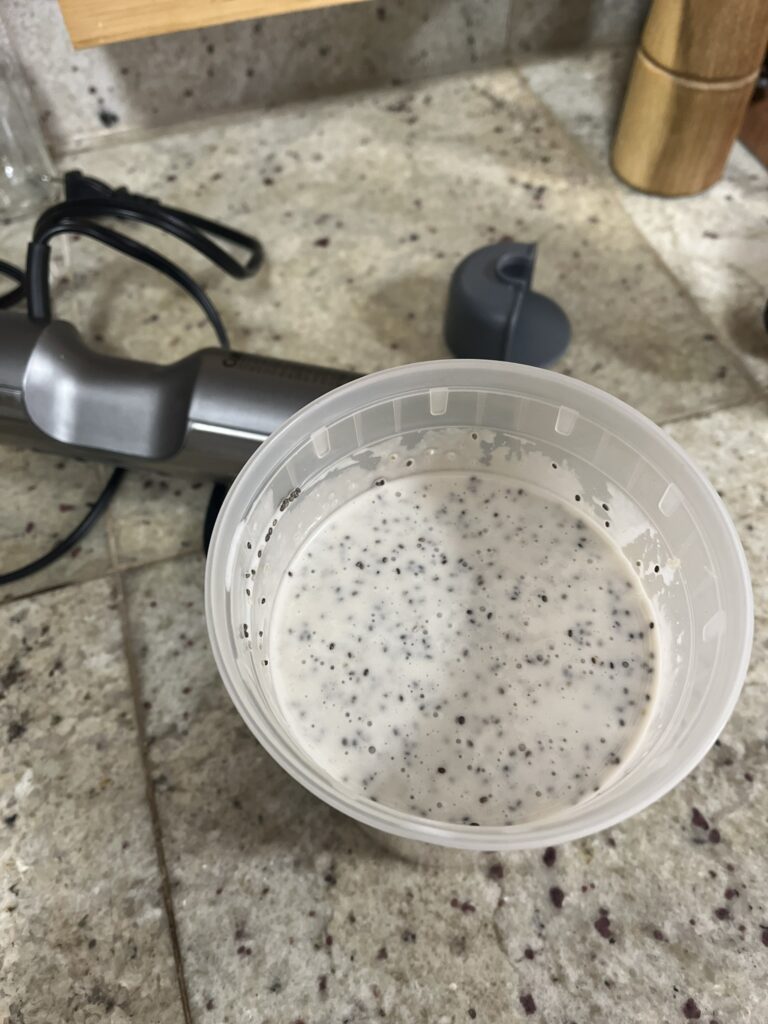
  • Blend together coconut cream, bananas, and a pinch of salt until smooth.
  • Add chia seeds to the coconut banana mixture and stir well, ensuring that there are no clumps of chia seeds. Clumps will prevent chia seeds from absorbing the liquid and plumping up.
  • Leave in the refrigerator overnight.
  • Enjoy the next morning on top of some yogurt, in some overnight oats, with some granola, top it with fruit, or have it on its own!

Have it for breakfast alongside some Mushroom, Spinach, & Cheddar Frittata or if you want more banana, try Banana Bread.
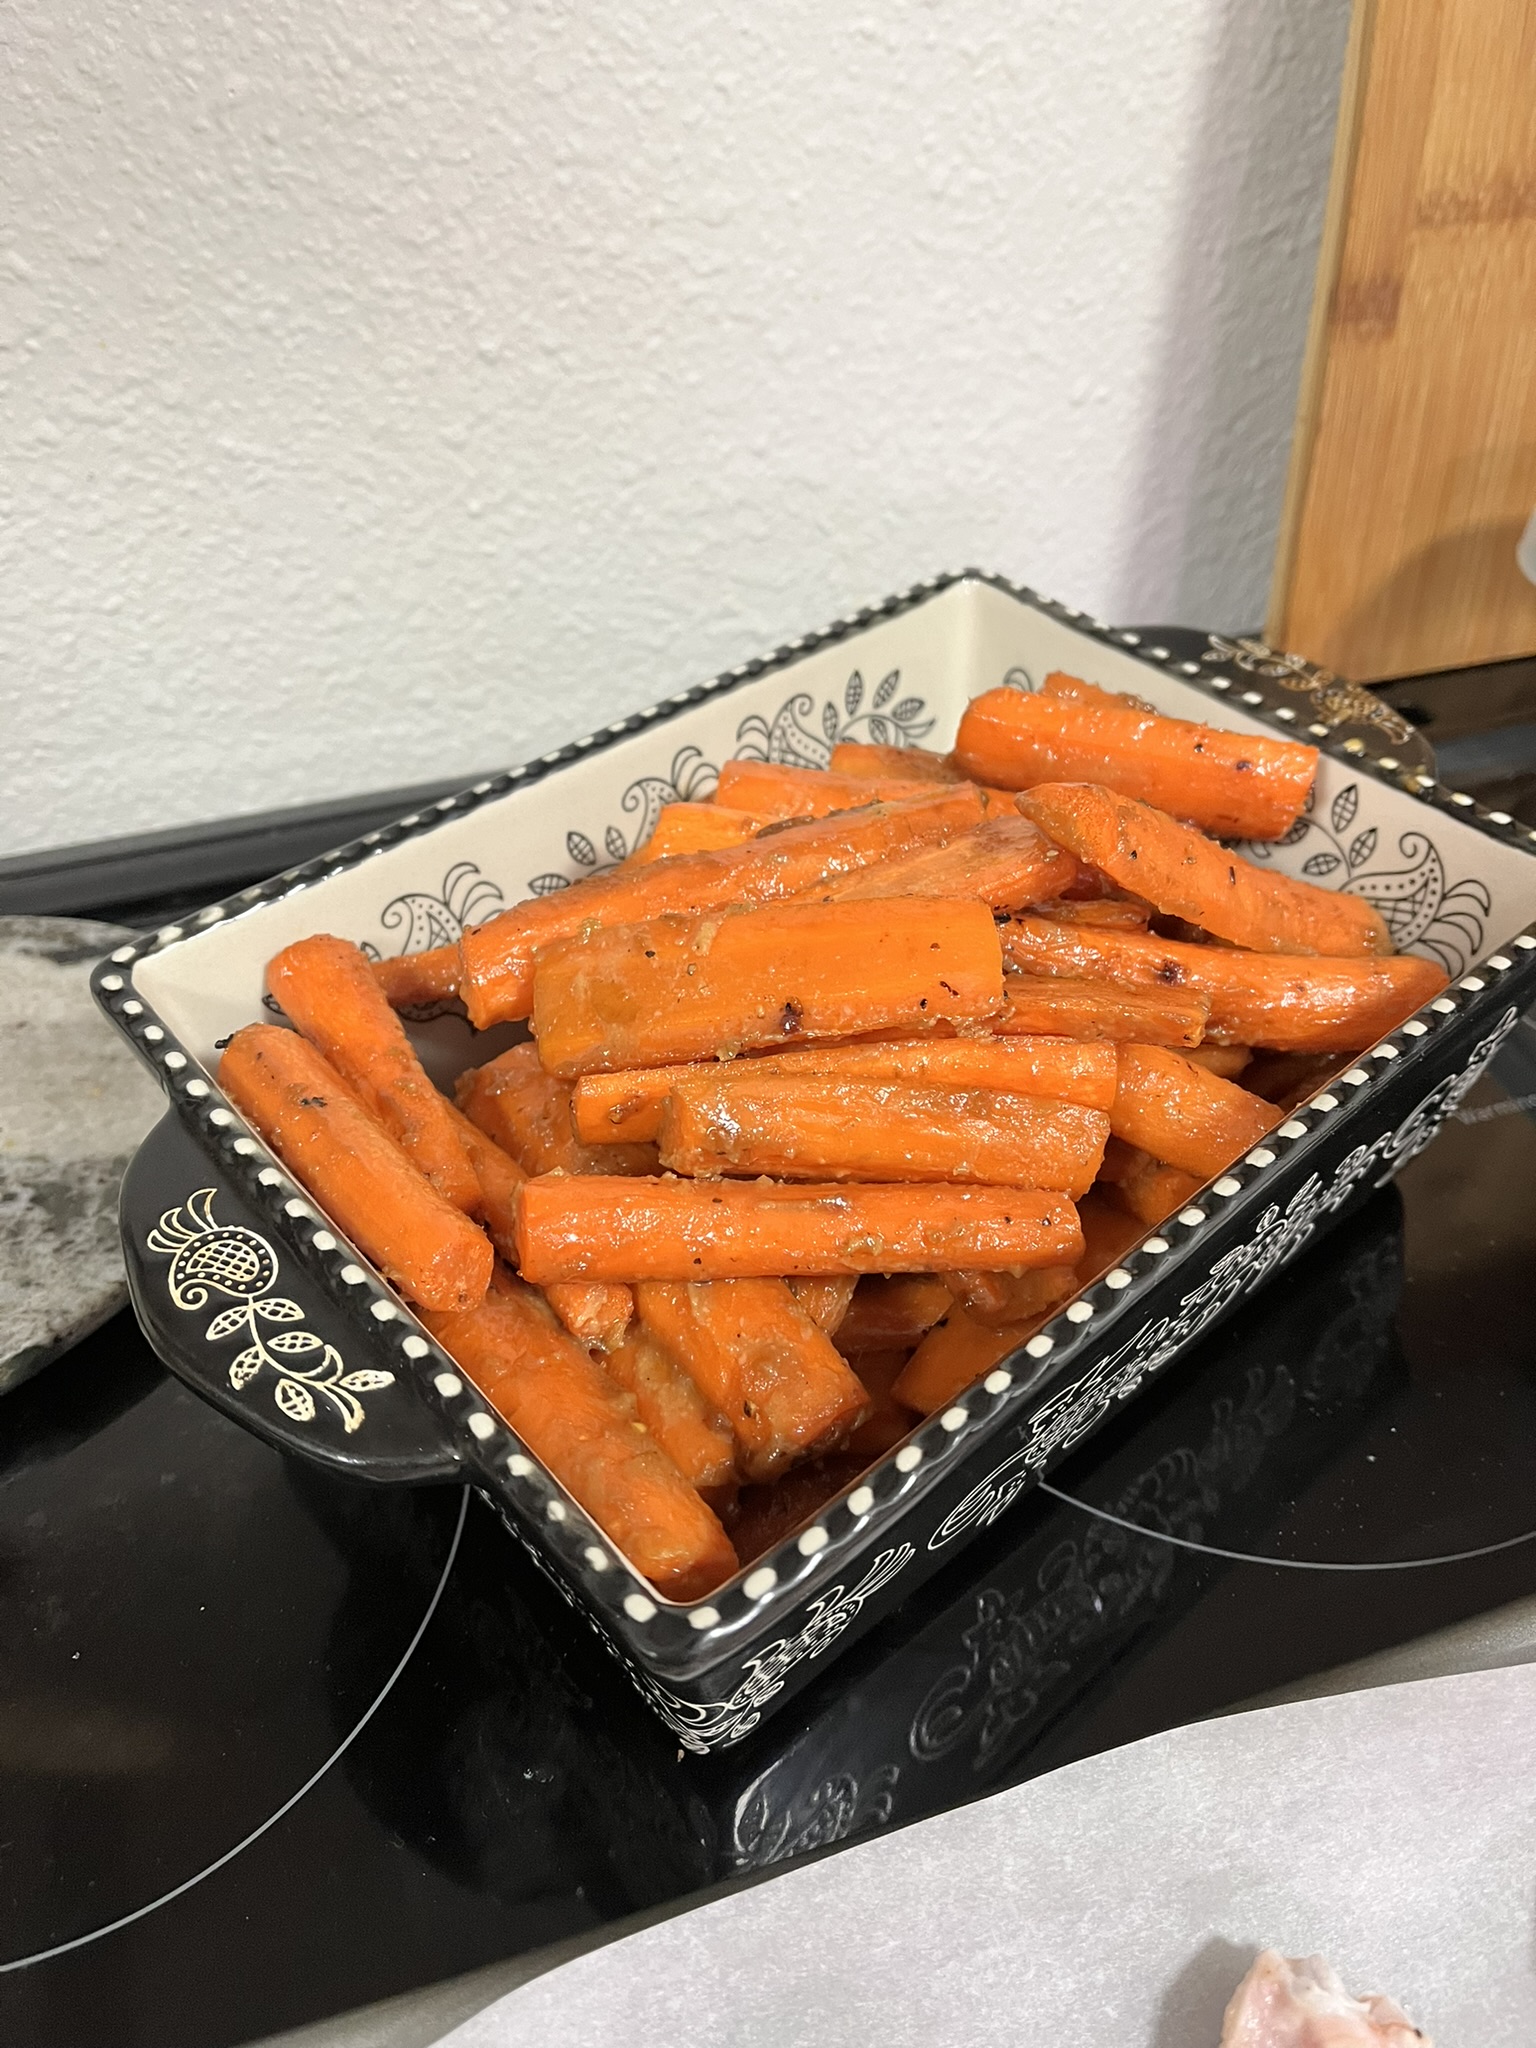
Maple Miso Glazed Carrots

One vegetable that I love to have on hand is carrots. It’s a great vegetable that can be served raw or cooked. They’re great for snacking, thinly sliced in a salad or tossed in noodles, roasted in the oven (enter maple miso glazed carrots), put into soups… the possibilities are endless! It also keeps well for extended periods of time.

Whenever I buy a big bag of carrots, I extend their shelf life by peeling them all and then cutting them into smaller pieces that can fit into a container. I then fill the containers with water so that the carrots are all covered. I change out the water everyday. This makes my carrots last weeks, if not an entire month!

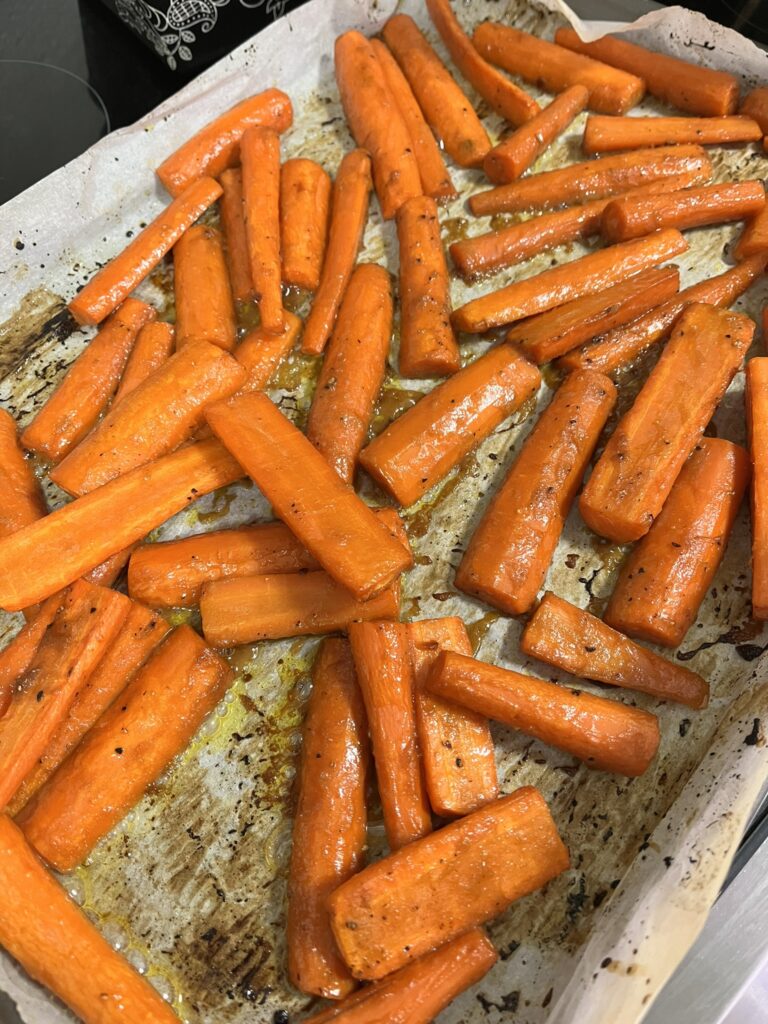
If I decide to cook my carrots, one of my favorite methods is roasting in the oven. Oven roasting brings out extra sweetness of the carrots. I love to glaze with some maple and miso for some extra sweet and savory flavor.

Maple Miso Glazed Carrots

Print Recipe
Oven roasted sweet & savory carrots that are perfect as any side dish
Course Side Dish
Keyword carrots, maple, miso, roasted

Ingredients

  • 4 pounds carrots
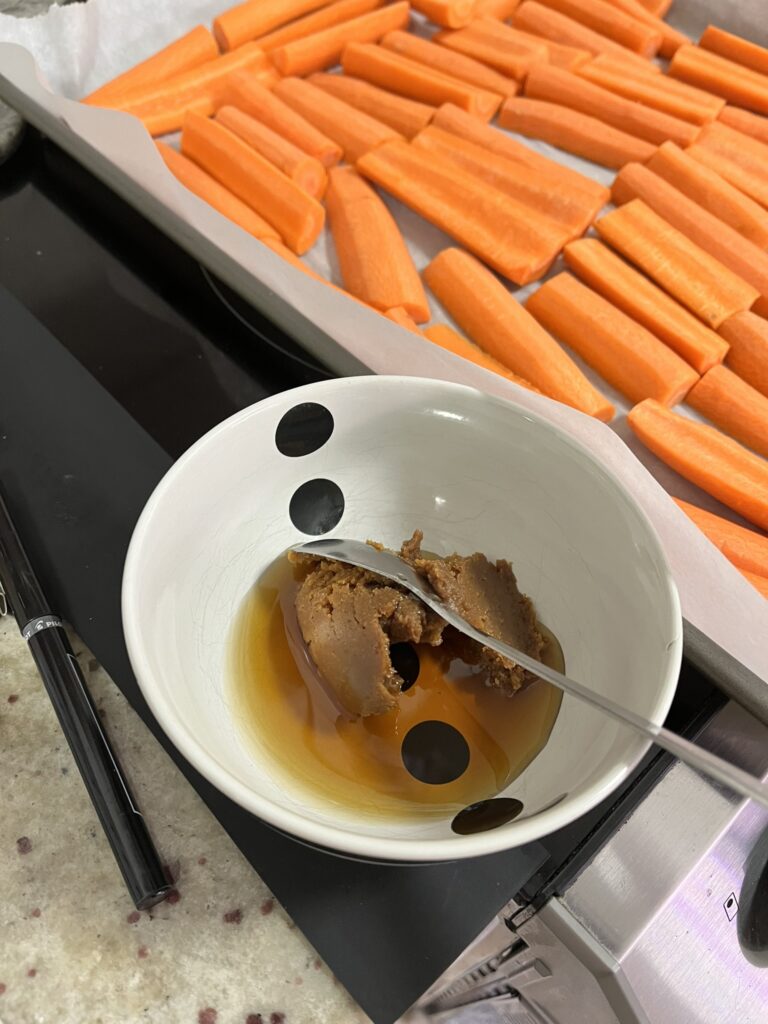
  • 2 tbsp miso paste
  • 2 tbsp maple syrup
  • salt
  • pepper
  • olive oil

Instructions

  • Preheat oven to 400F
  • Peel and cut carrots into long sticks, all about the same thickness.
  • Toss carrots in olive oil, salt and pepper.
  • Par bake for 20 minutes.
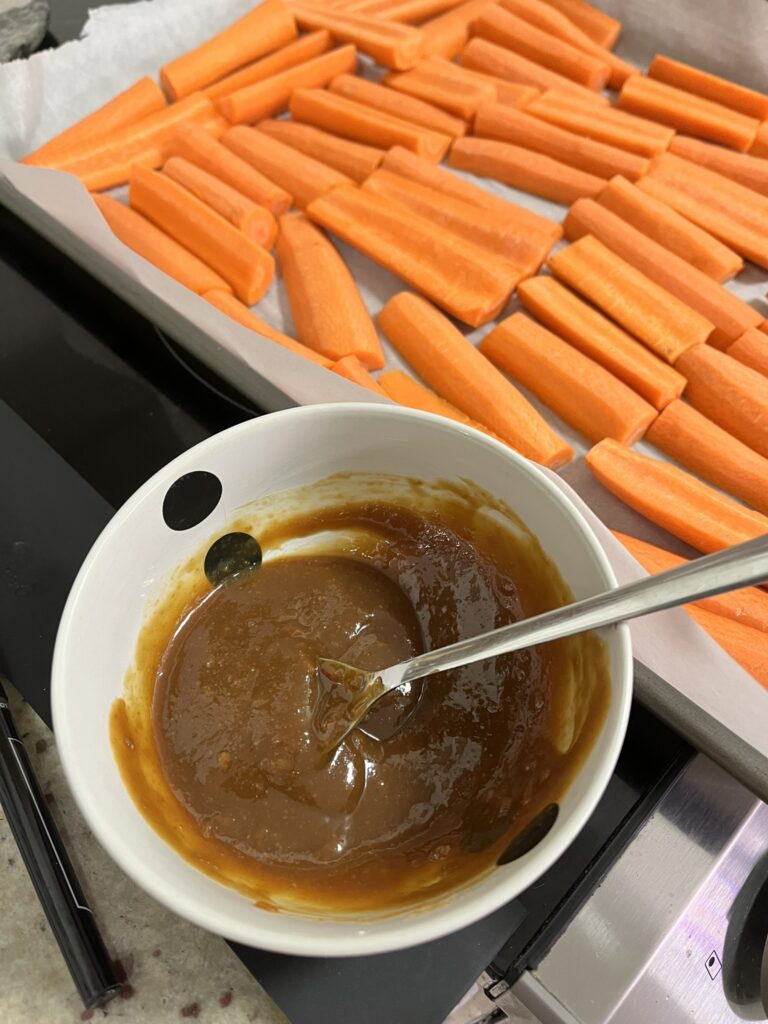
  • While carrots are initially baking, mix together miso and maple.
  • Once carrots have completed initial bake, remove from oven and toss with miso maple mixture.
  • Return to oven for additional 20 minutes.
  • Remove and serve!

Need more sides? Try Creamy Mashed Potatoes or Honey Balsamic Roasted Brussels Sprouts

Lemongrass Ginger Mushrooms

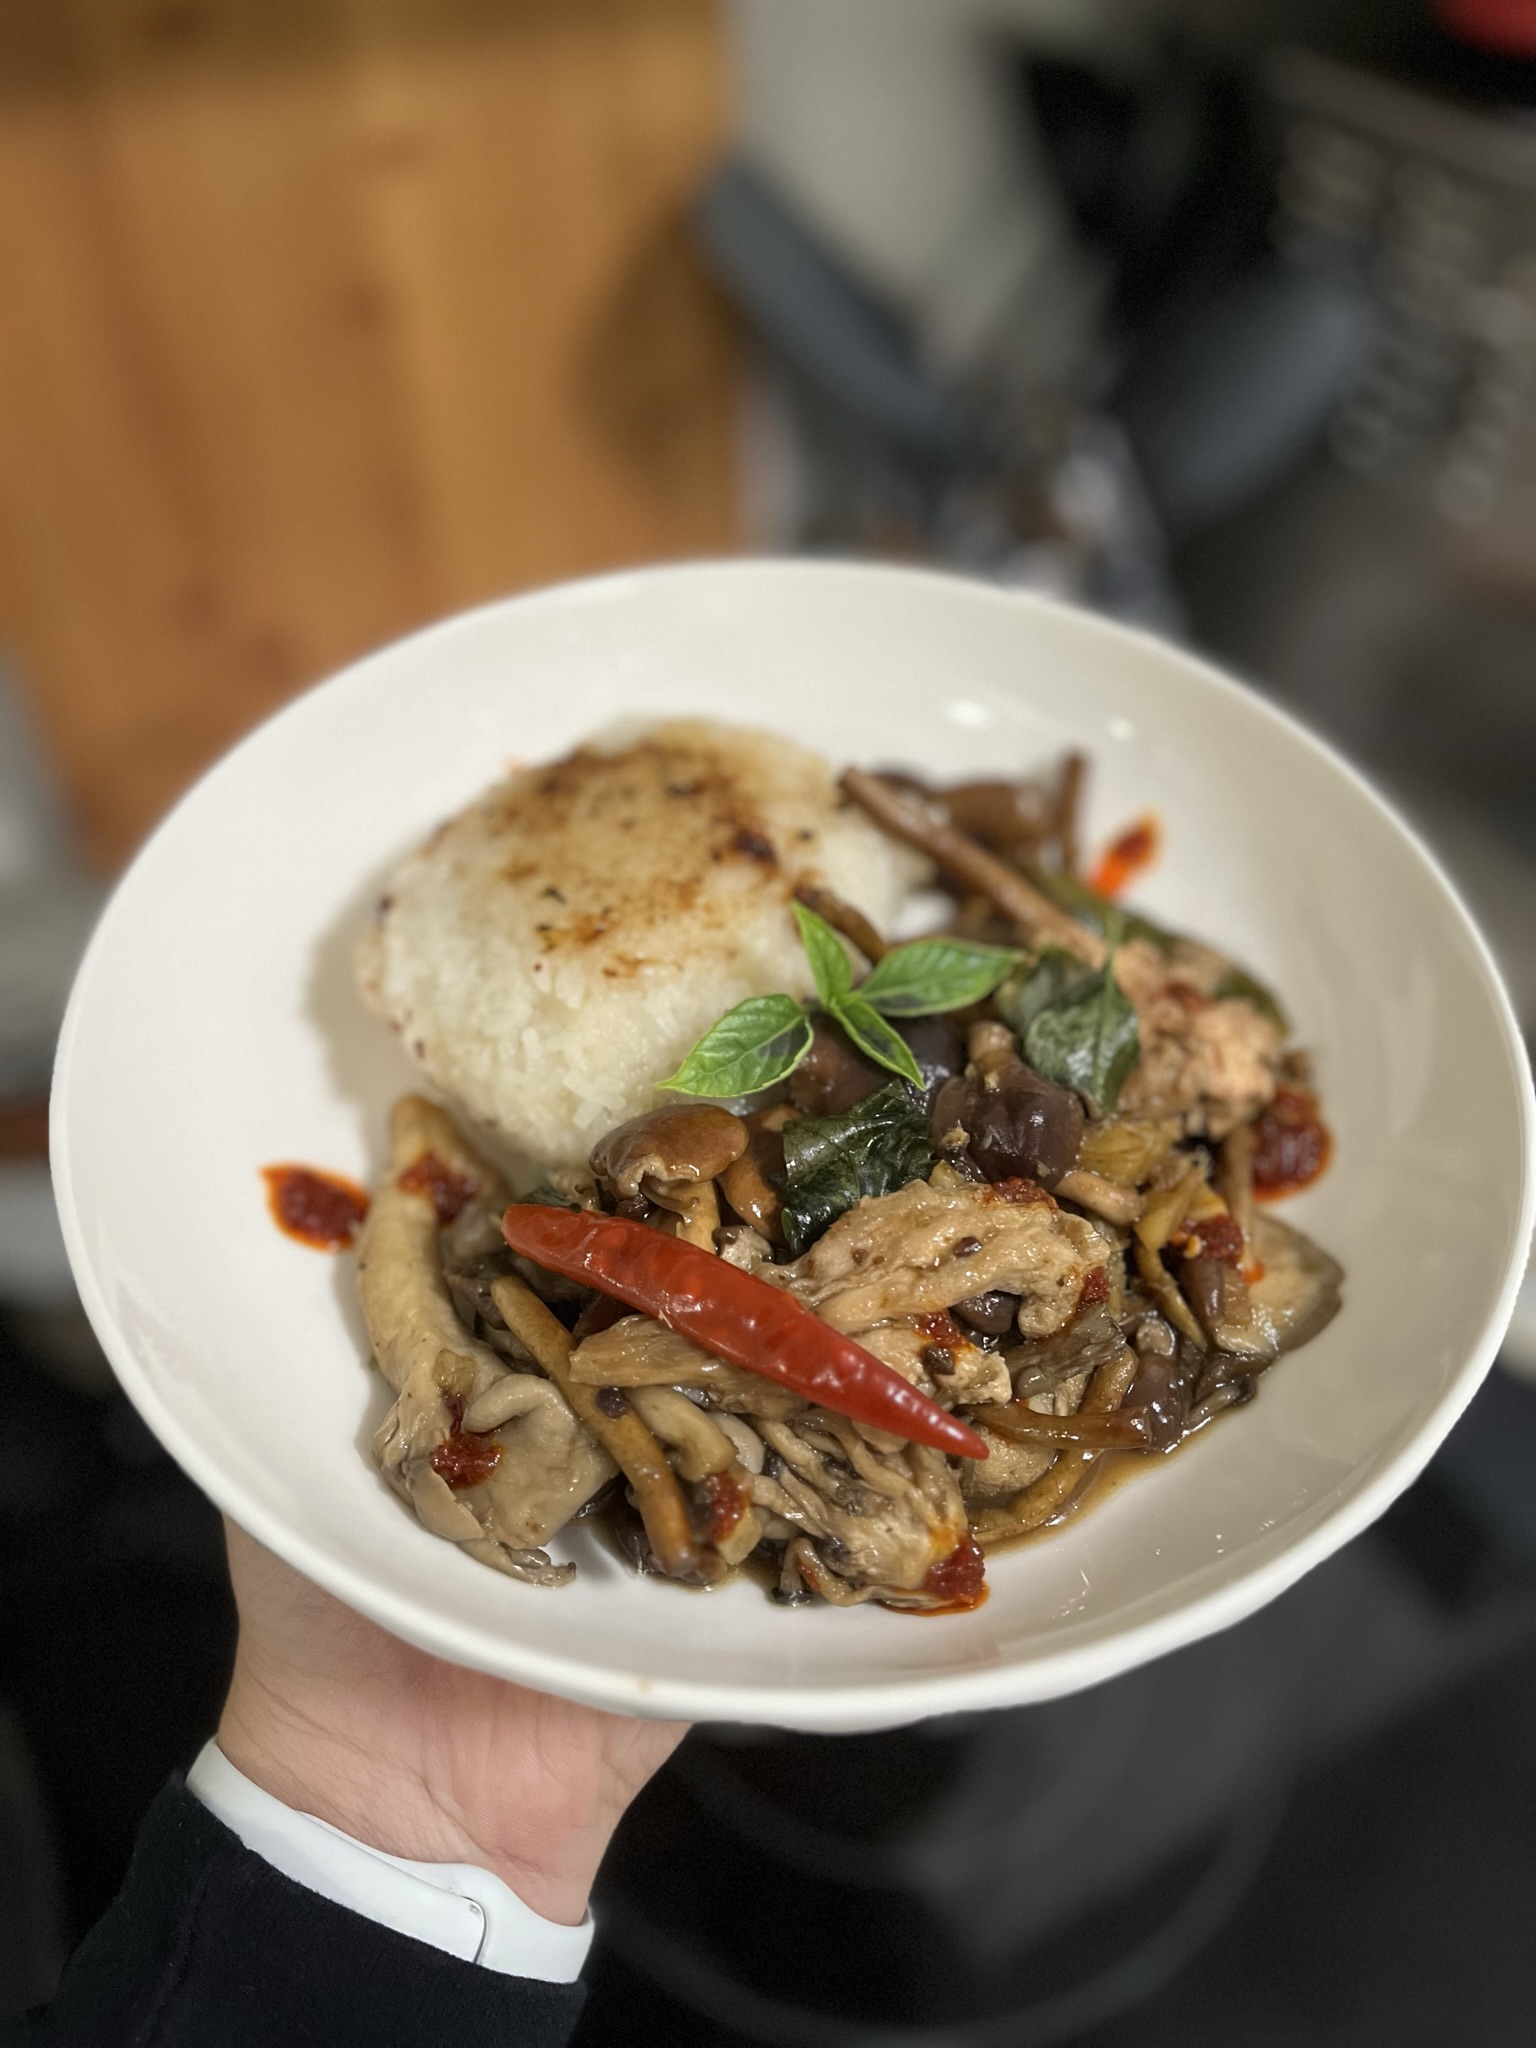
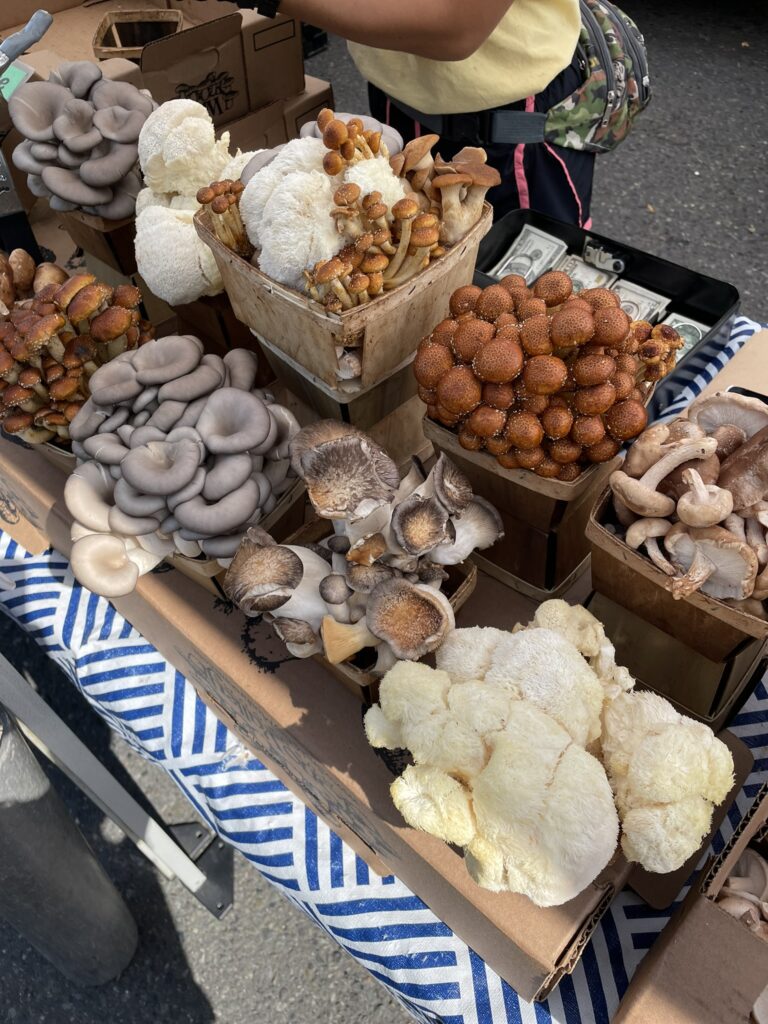
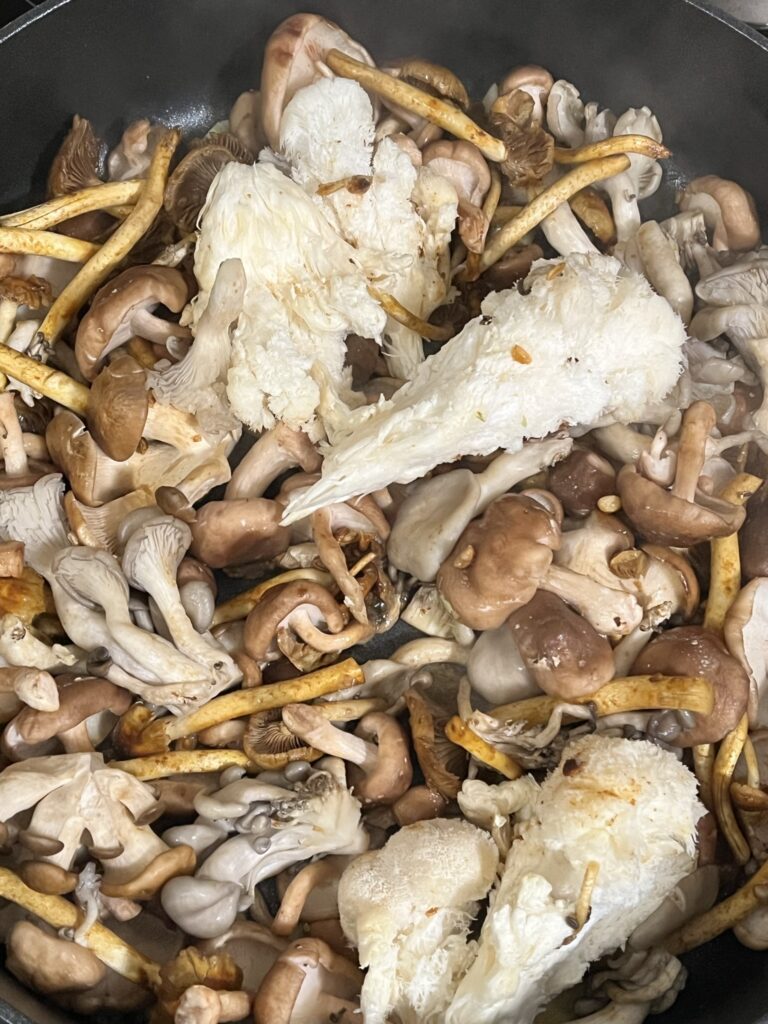
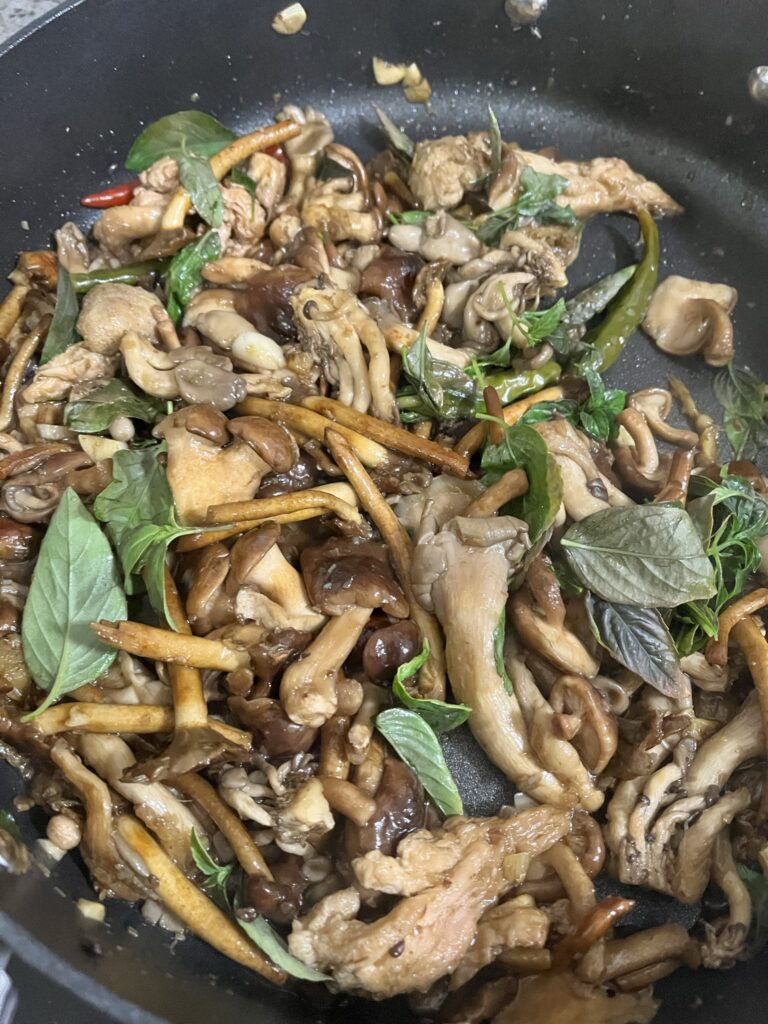
Every time I go to a farmer’s market, I’m on the lookout for the mushrooms. There are so many new mushroom farms that have emerged that sell amazing varieties of mushrooms that I’ve never seen before in the grocery stores. They’re so beautiful and are always so hearty and satisfying after they’ve been cooked. I’ve been able to try new mushroom varieties like lion’s mane, queen oyster, cinnamon caps, blue oysters, lobster mushrooms, and more! A quick stir fry for these mushrooms in some lemongrass and ginger bring out their natural nutty flavor and keep them tender and textural.

Ingredients

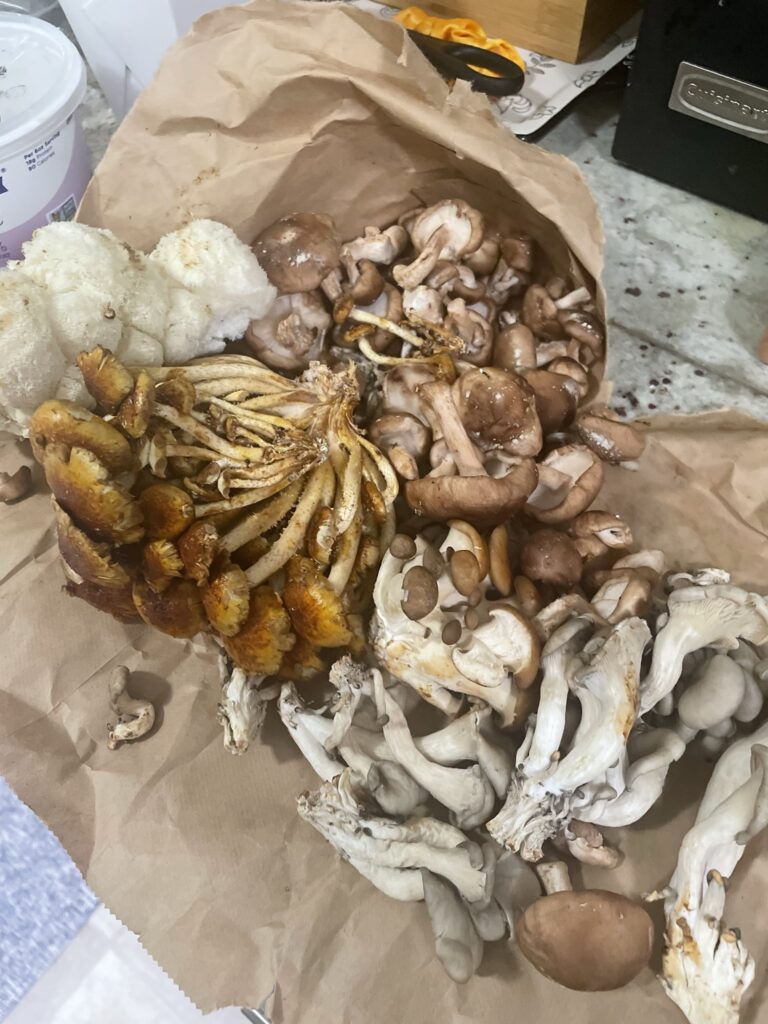
Mushrooms – Use any variety you like! My mix ended up coming with lion’s mane, cinnamon caps, shiitake, and queen oysters.

Fish sauce – To make this completely vegan, use a vegan fish sauce or substitute with soy sauce.

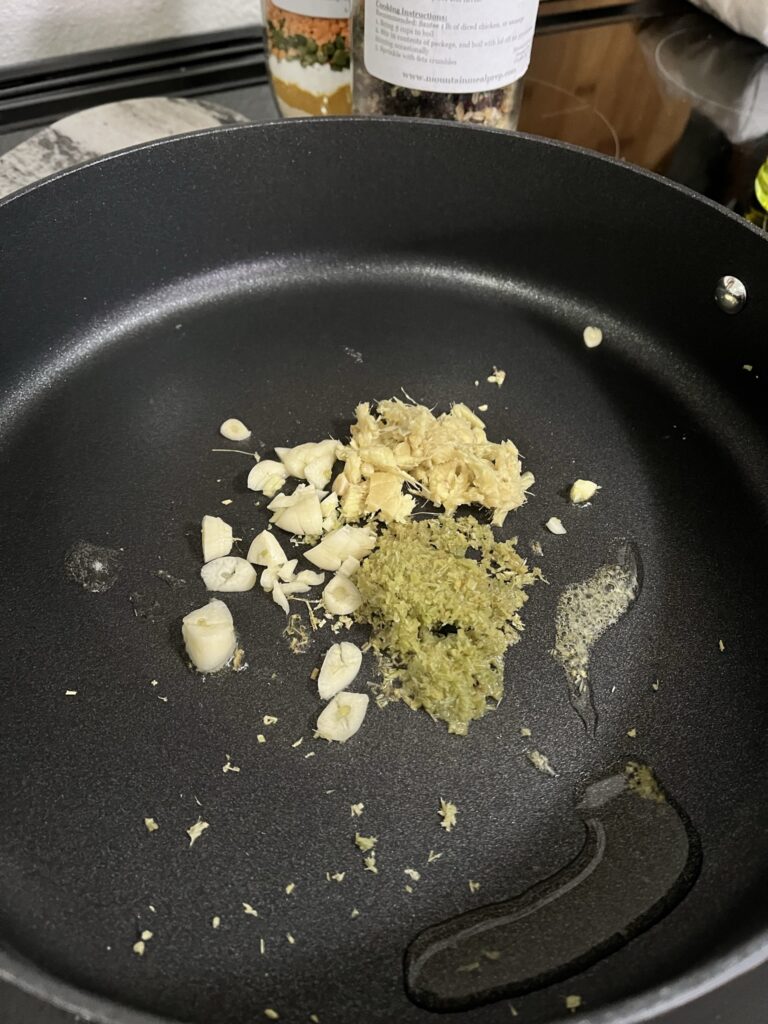
Lemongrass – Mincing lemongrass by hand is an absolute pain, so use pre-minced if you can find it at your grocery store or pulverize it in a food processor. If you can’t, you can use whole lemongrass, but you’ll likely need to use 3-4 finger sizes worth of stalks that are very bruised to get the same flavor out of them

Lemongrass & Ginger Mushrooms

Print Recipe

Ingredients

  • 1 quart mushrooms
  • 1 tbsp garlic sliced
  • 1 tbsp ginger minced
  • 1 tbsp lemongrass minced
  • 1/4 cup fish sauce
  • 1 tbsp brown sugar
  • 4 Thai bird eye chilis
  • 1/2 cup fresh Thai basil

Instructions

  • In a splash of oil, sauté garlic, ginger and lemongrass until fragrant on medium high heat.
  • Add mushrooms and allow to cook undisturbed for at least 5 minutes.
  • Stir mushrooms and then add fish sauce, brown sugar, and Thai chilis.
  • Sauté for an additional 5-10 minutes until mushrooms have softened and are covered in sauce.
  • Turn off heat, allow to cool for a few minutes and then toss in fresh basil.
  • Service with rice and some chili oil!

Steamed Kailan (Chinese Broccoli)

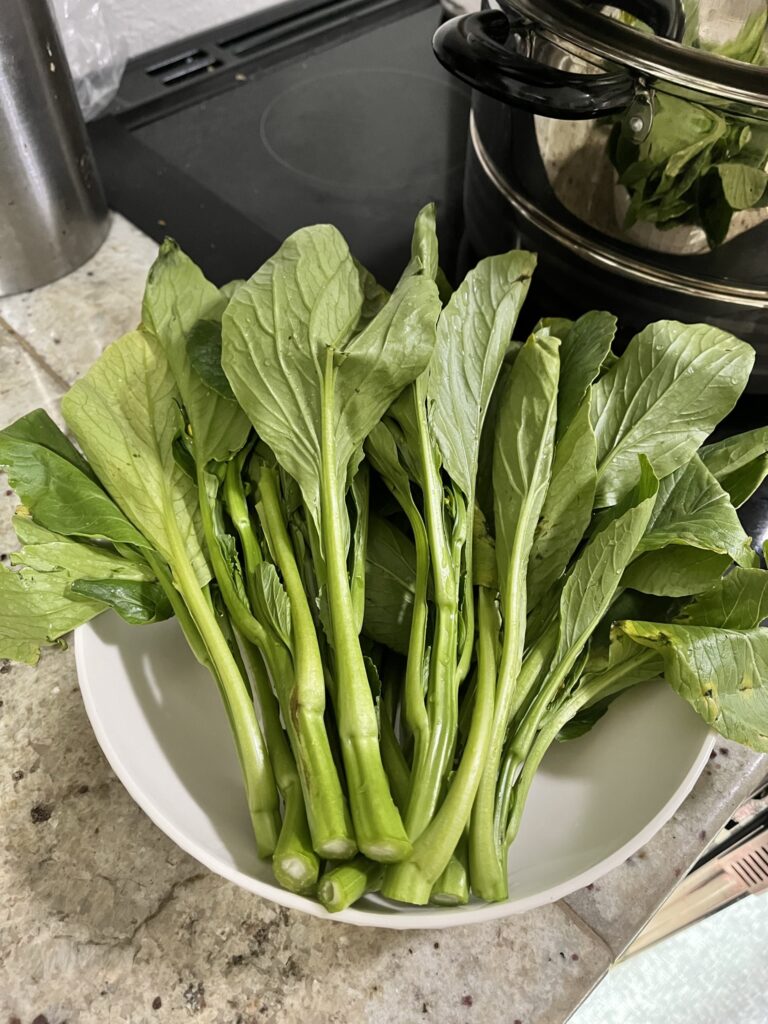
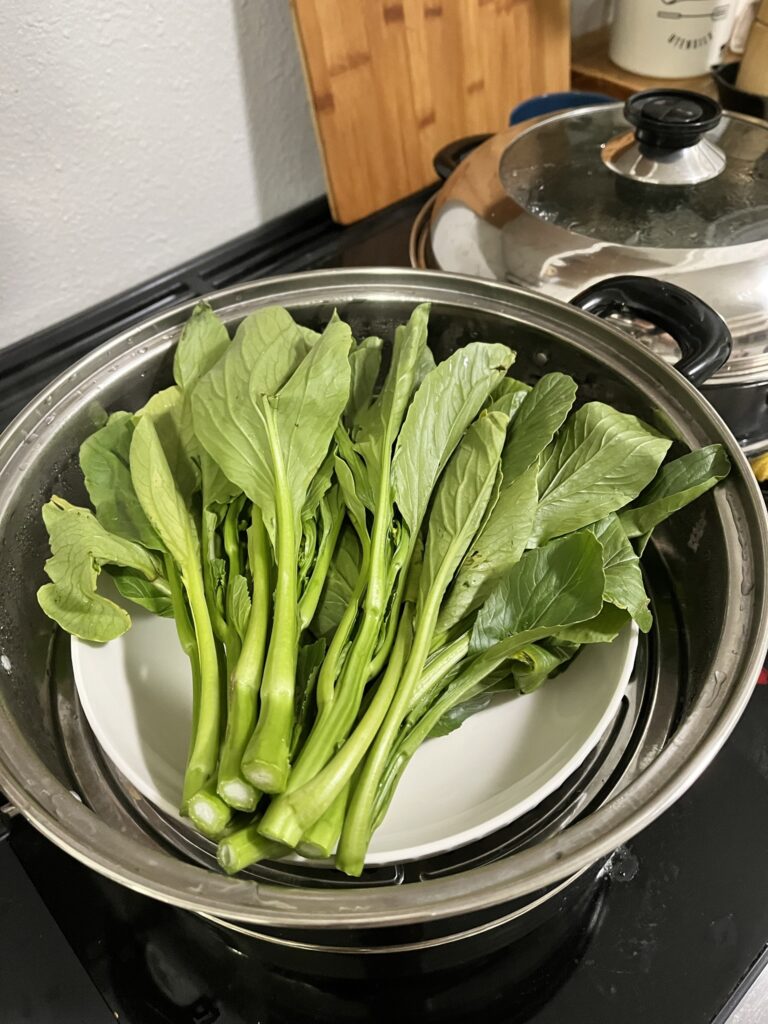
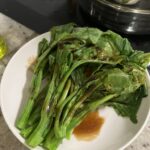
I miss the days of dimsum where the push carts would come out and you could see the hot steamer baskets coming around with yummy treats. In the past year, I’ve only been to one dimsum restaurant with carts in Vancouver, B.C., but nothing in the Seattle area. My dimsum must haves include the classics like siu mai, har gow, and of course a vegetable, the steamed kailan (Chinese broccoli). Outside of dimsum, kailan is one of my favorite vegetables to eat as a side.

This summer was the first time I had seen kailan at a farmer’s market, so I had to get some. I would think kailan is not as popular of a vegetable for the general public, so the local farmers might not opt to grow it. Kailan is usually served in its full stalk typically with plain oyster sauce drizzled over the top of it, but sometimes it’s a little too thick or a little too salty, so I like to make my own sauce, sans oyster sauce! This sauce can also be made vegan for our plant-based friends.

Ingredients

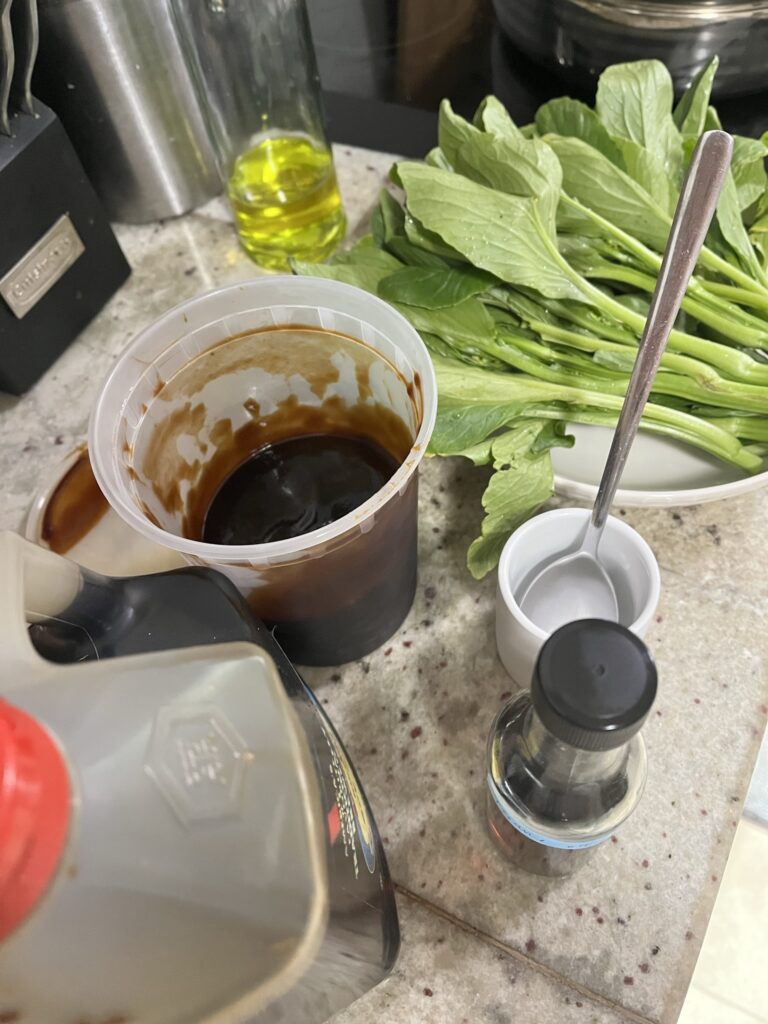
Hoisin sauce – Use a vegan hoisin sauce to make this vegetarian recipe entirely vegan!

Sesame oil – This is toasted sesame oil! The dark, fragrant oil not the light version used for cooking.

Steamed Kailan

Print Recipe
A dimsum classic to make at home.
Course Side Dish
Keyword chinese broccoli, dimsum, kailan, vegan, vegetarian

Equipment

  • 1 steamer

Ingredients

  • 1 lb kailan
  • 1 tbsp soy sauce
  • 1 tbsp hoisin sauce
  • 1 tbsp toasted sesame oil

Instructions

  • Clean and cut any tough ends off kailan.
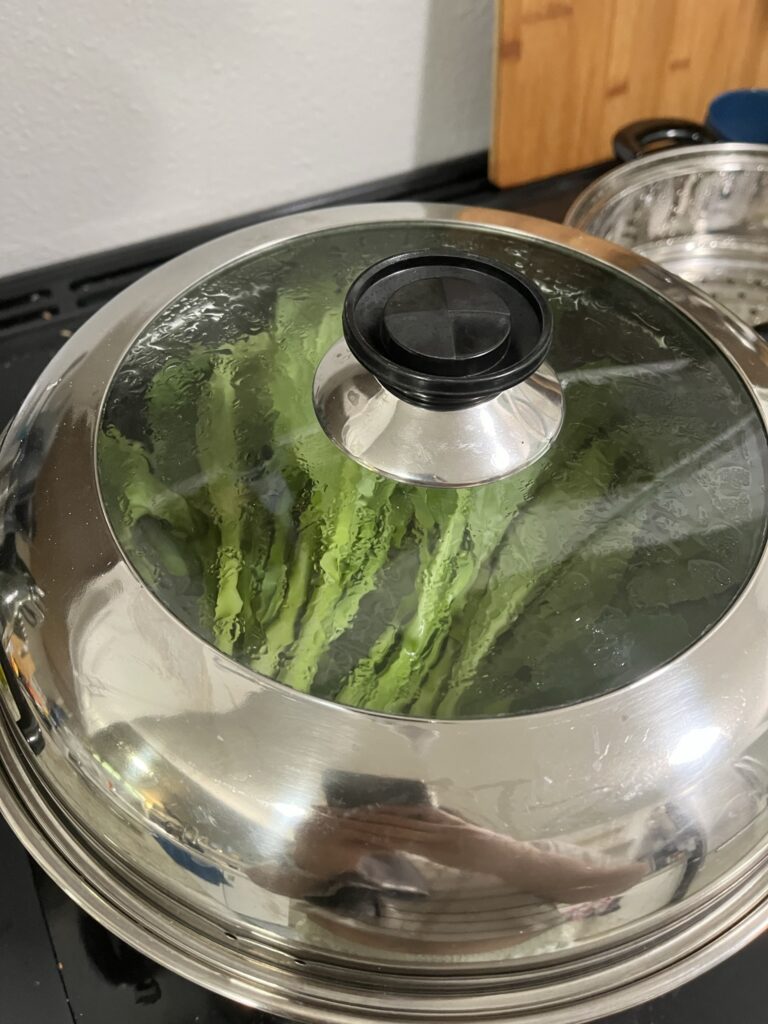
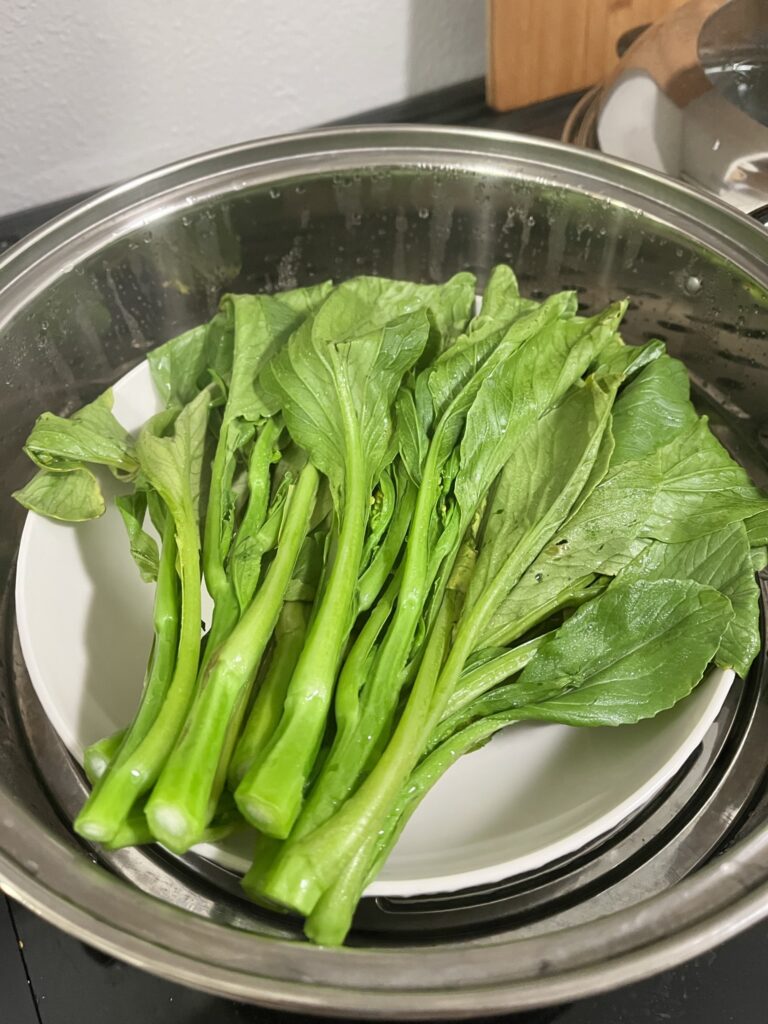
  • Steam kailan 15-20 minutes depending on thickness of the stalk until tender. You could also microwave them for 4-5 minutes.
  • Mix together soy sauce, hoisin sauce, and sesame oil.
  • After kailan is removed from the steamer, drizzle sauce over top and toss to mix.

Have some with Shrimp & Snap Pea Stir Fry and some 10-Minute Soy Ginger Noodles.

Sourdough

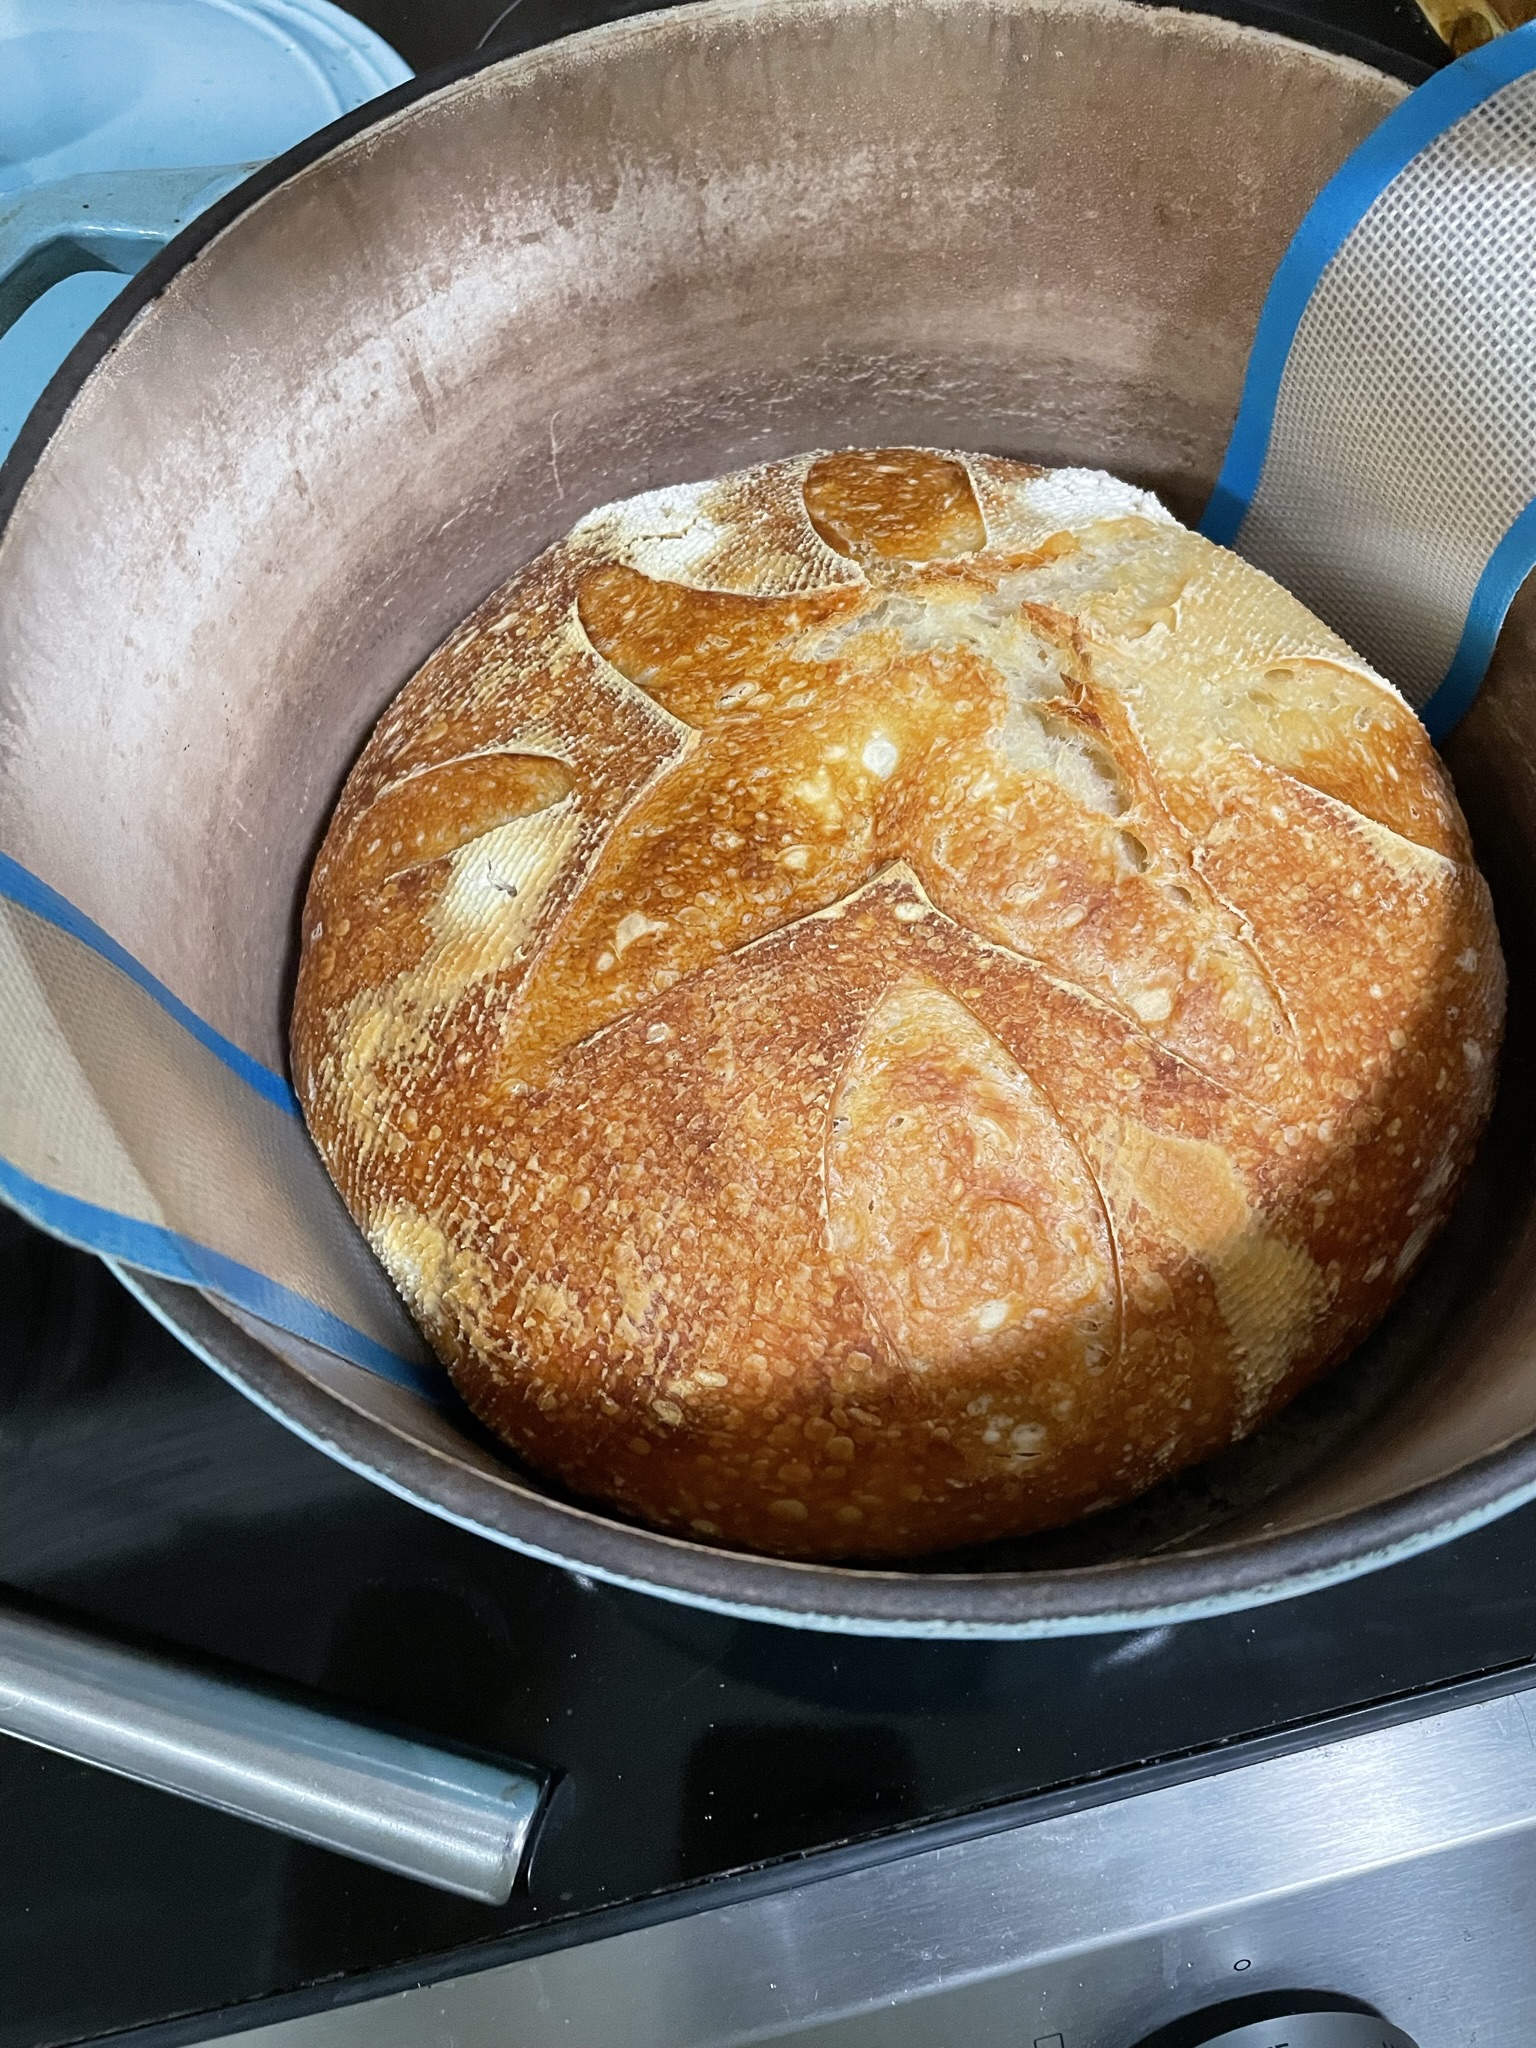
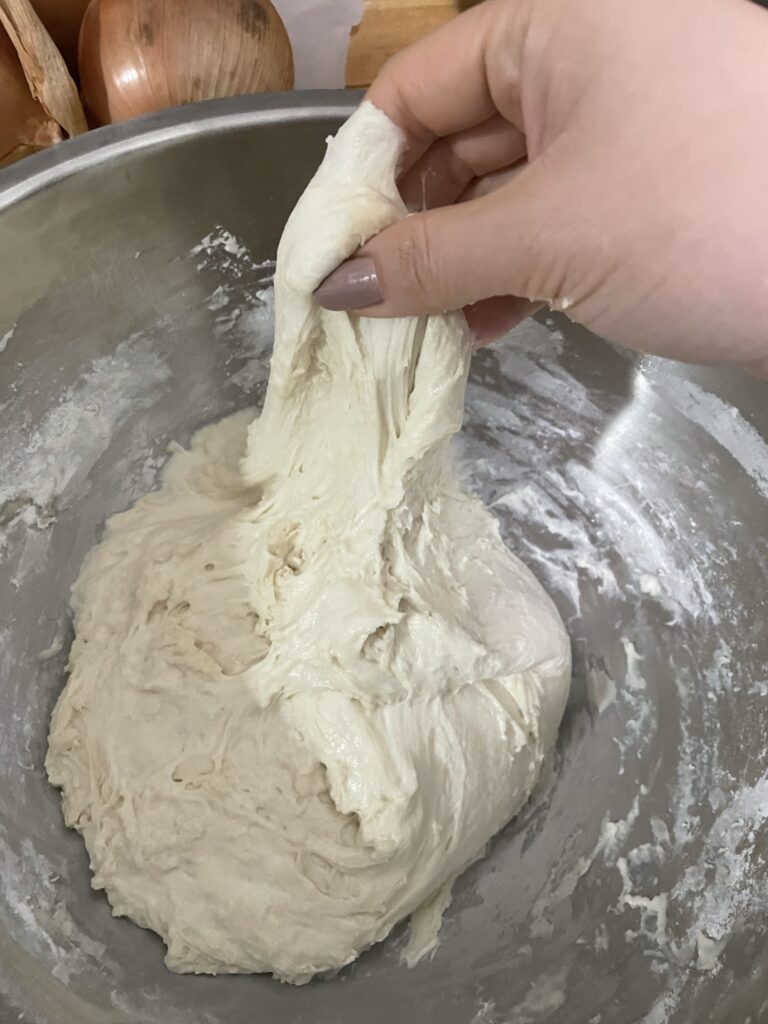
Temperatures have dropped so I am much more willing to turn on my oven to blasting 400F+ temps. My sourdough starter has been revived from the depth of my freezer where it has been hibernating in the summer. When it gets cold, I bake sourdough (almost) every day. The oven just helps warm up the kitchen! With holiday parties coming, I find a loaf of sourdough with (don’t you dare think butter board) some flavored olive oil, a balsamic glaze, aioli and maybe a little pate is perfect to bring with a bottle of wine. I’ll share my sourdough feeding schedule, daily prep, and baking that has resulted in some fluffy loaves with a crispy crunchy crust that’s so yummy to snack on.

Ingredients:

All-purpose flour – This is a purposely very simple bread recipe that uses AP flour. If you are going to use a different type of flour, I would NOT recommend this recipe as the feeding schedule may differ and steps might be rearranged (such as autolyzing). Basically, only use this method if you are making loaves with AP flour. 🙂

Schedule:

Once I’ve started on my sourdough schedule, I end up consolidating all the steps into one day so that I can continuously have fresh starter and be able to bake a loaf of sourdough each day.

Day 1

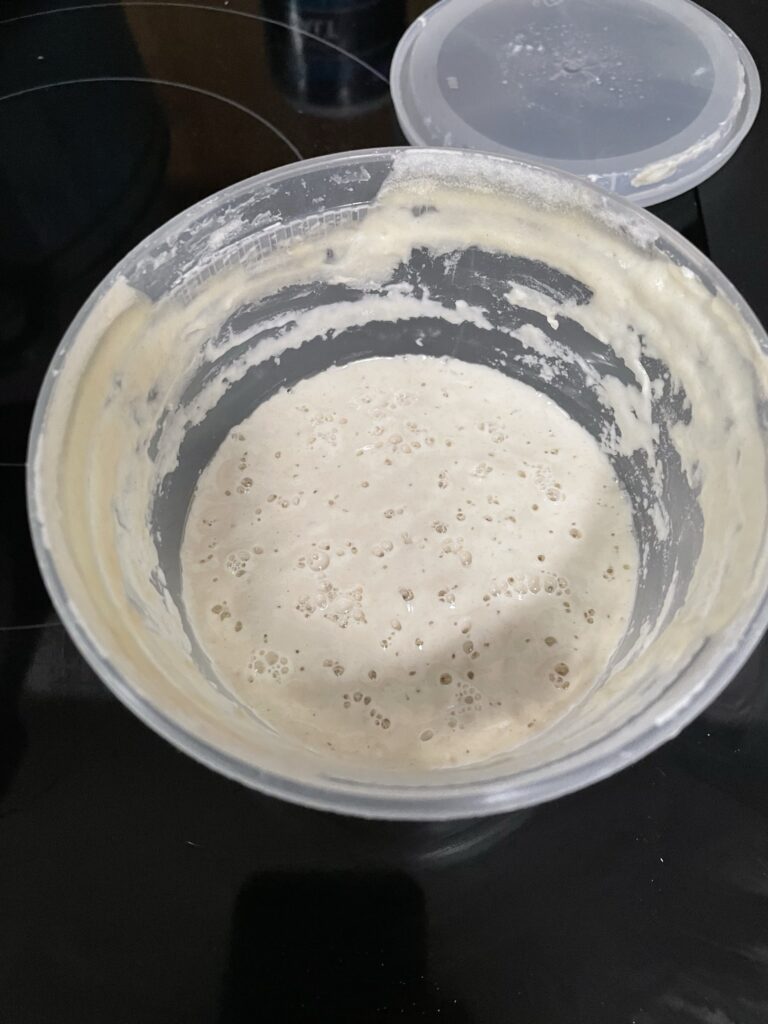
Evening before, 7-9 PM: feed sourdough start with 35 g bread flour & 35 g room temp water

Day 2

Next morning, 6-9 AM: make dough, recipe below, allow to rest at room temp in the same mixing bowl throughout the day

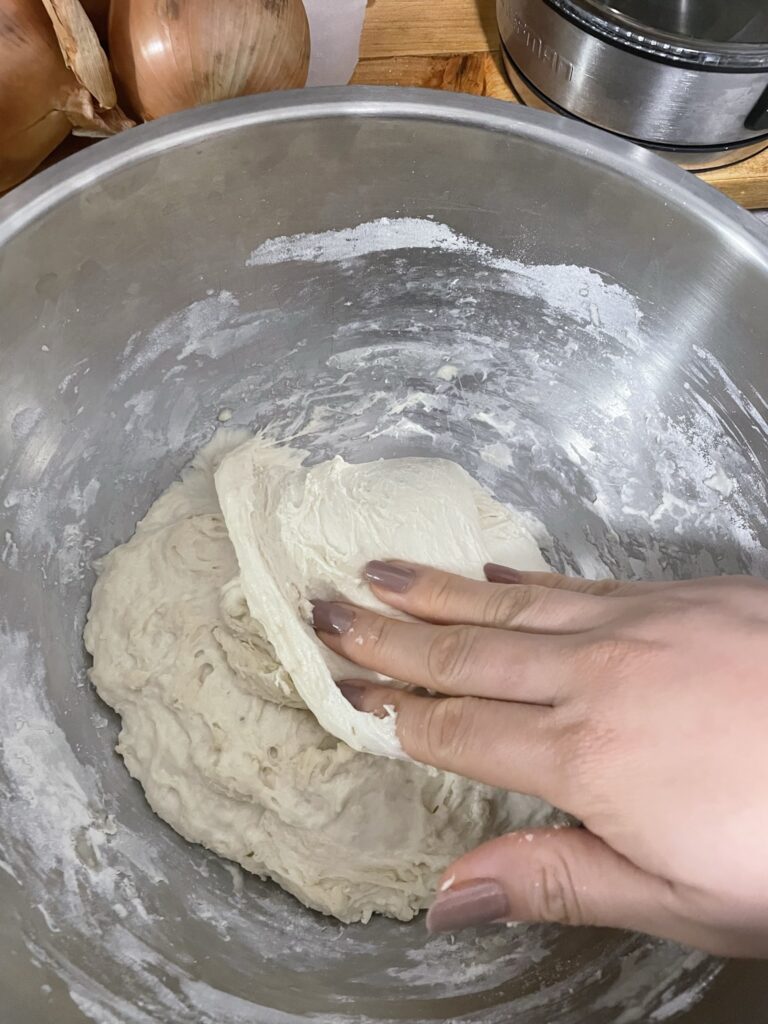
Throughout the day: give the dough a couple folds here and there when you have chance, no big deal if you can’t

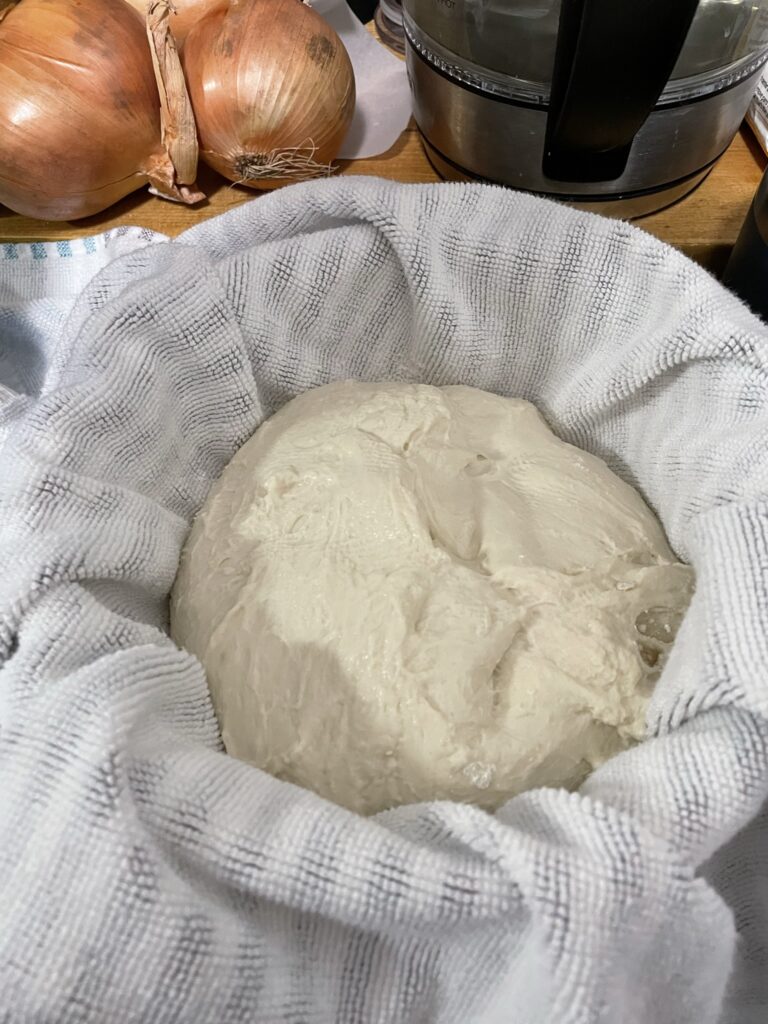
Evening, 7-9 PM: move dough into banneton or towel lined bowl & leave in refrigerator

Day 3

Next day, one hour before baking: Remove from refrigerator and allow to come back to room temp

Bake!

Sourdough

Print Recipe
An easy, passive sourdough recipe that only requires all-purpose flour, salt, water, and starter.
Keyword bread, sourdough

Equipment

  • 1 dutch oven

Ingredients

  • 330 grams water
  • 70 grams sourdough starter bubbly
  • 12 grams salt
  • 500 grams all-purpose flour

Instructions

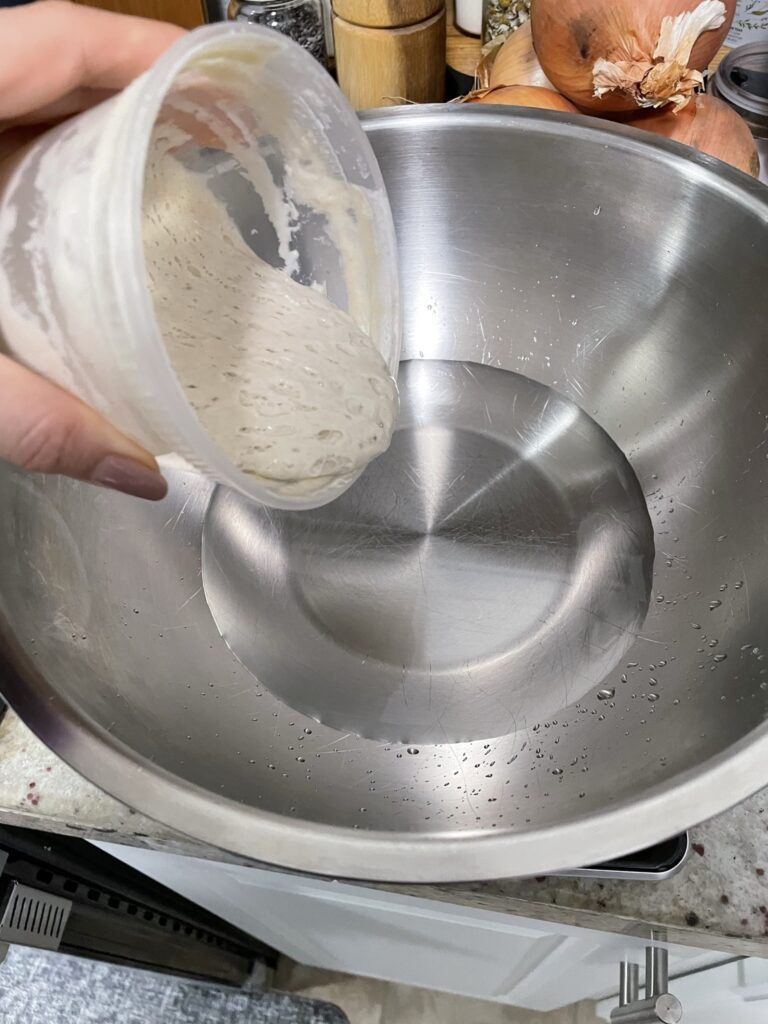
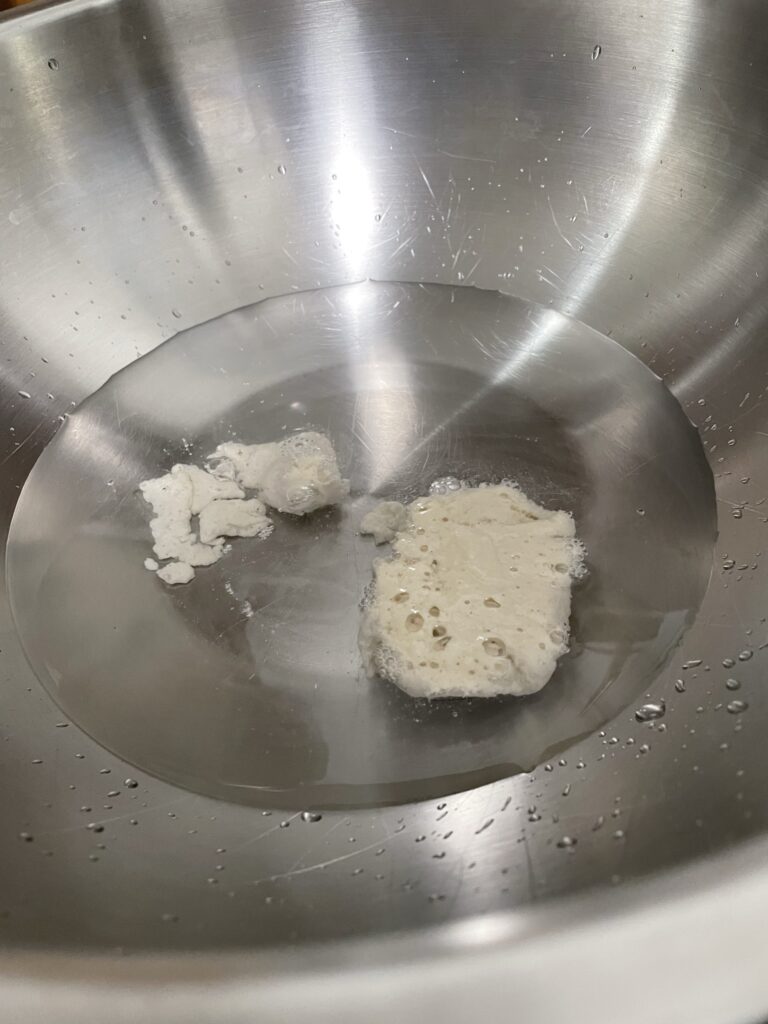
  • In a bowl, mix together water and sourdough starter. Starter should be floating in the water, indicating it is the most active and will give you the most lift for your bread.
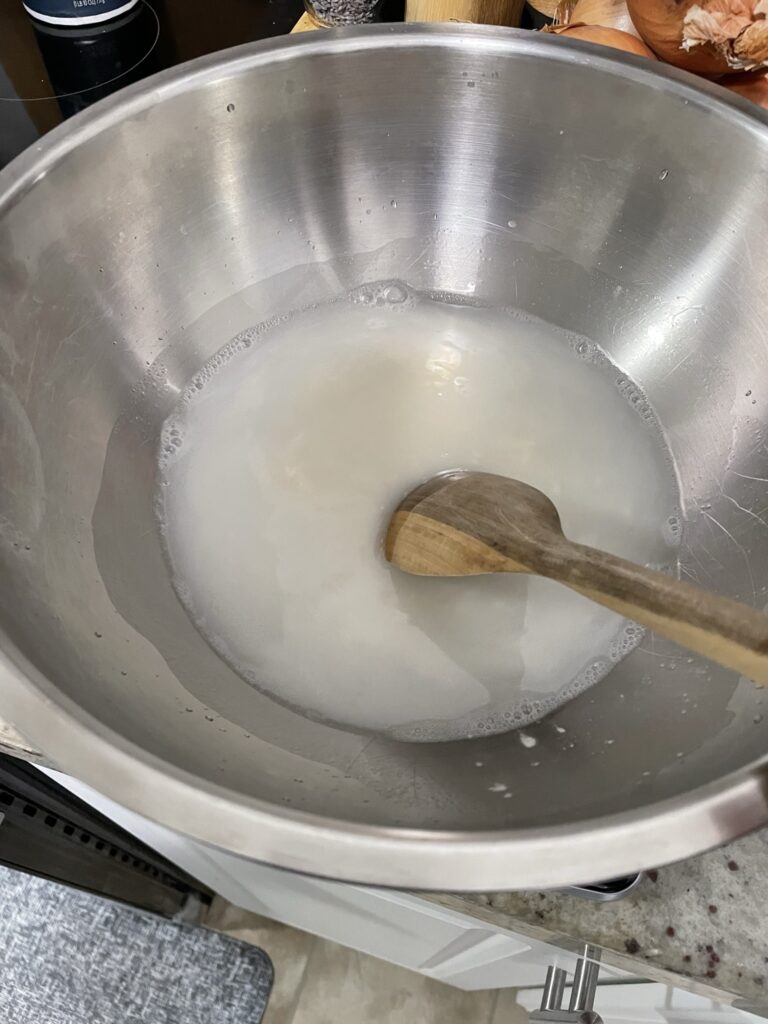
  • After mixed, add salt and mix again.
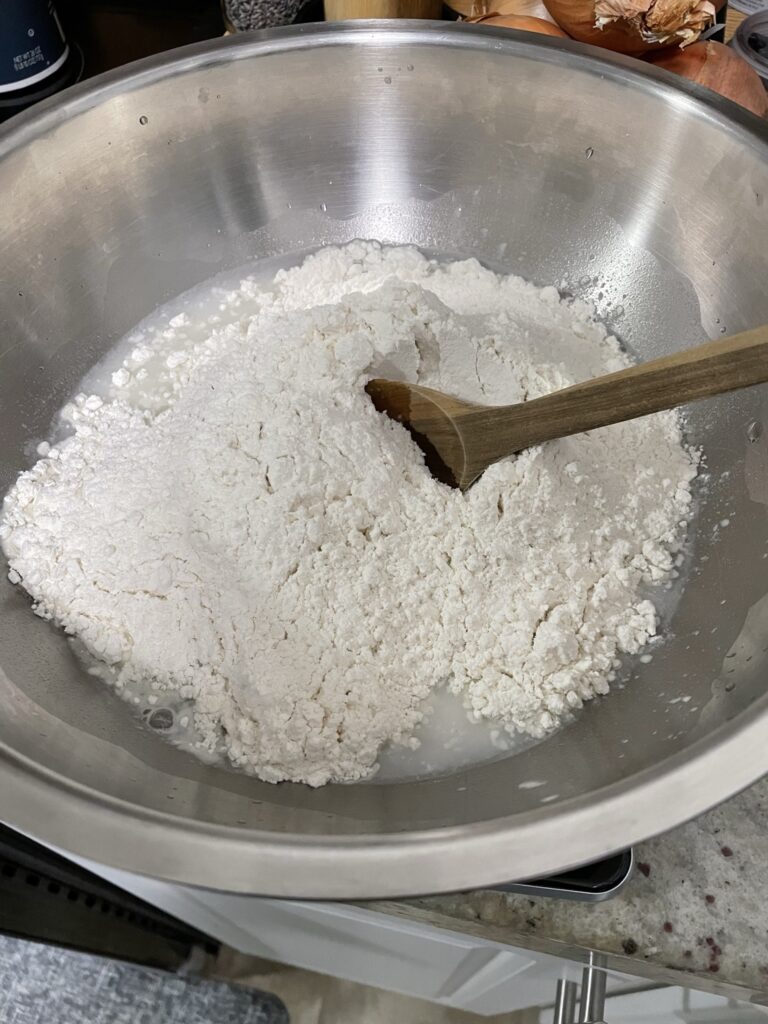
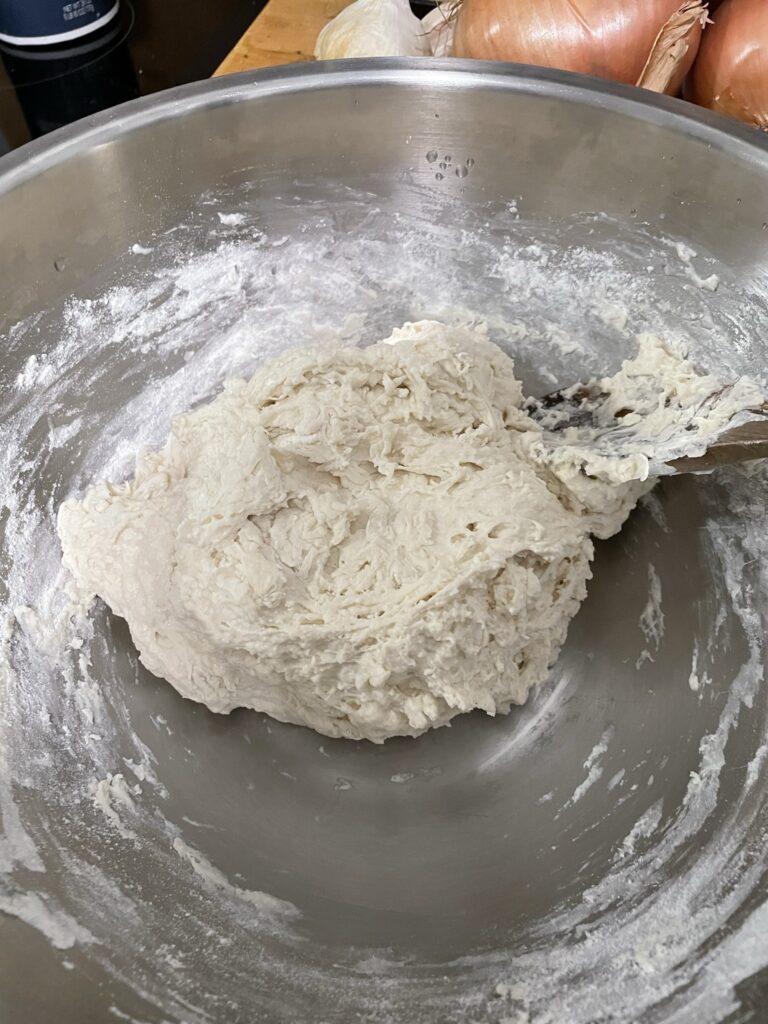
  • Add flour and mix until combined.
  • Cover with a dish towel and give it a few folds throughout the day if possible.
  • Transfer to banneton or towel-lined bowl.
  • When ready to bake, transfer to a parchment lined dutch oven.
  • Preheat oven to 425F. When ready, put loaf in dutch oven with lid on for 20 minutes. After 20 minutes, remove lid and bake for an additional 40 minutes, until golden brown on the top.
  • Allow to rest for at least 10 minutes before cutting into the loaf.

Leftover sourdough? Use it in Bread Pudding or Cheesy Egg Strata.

Honey Soy Vegetable Stir Fry

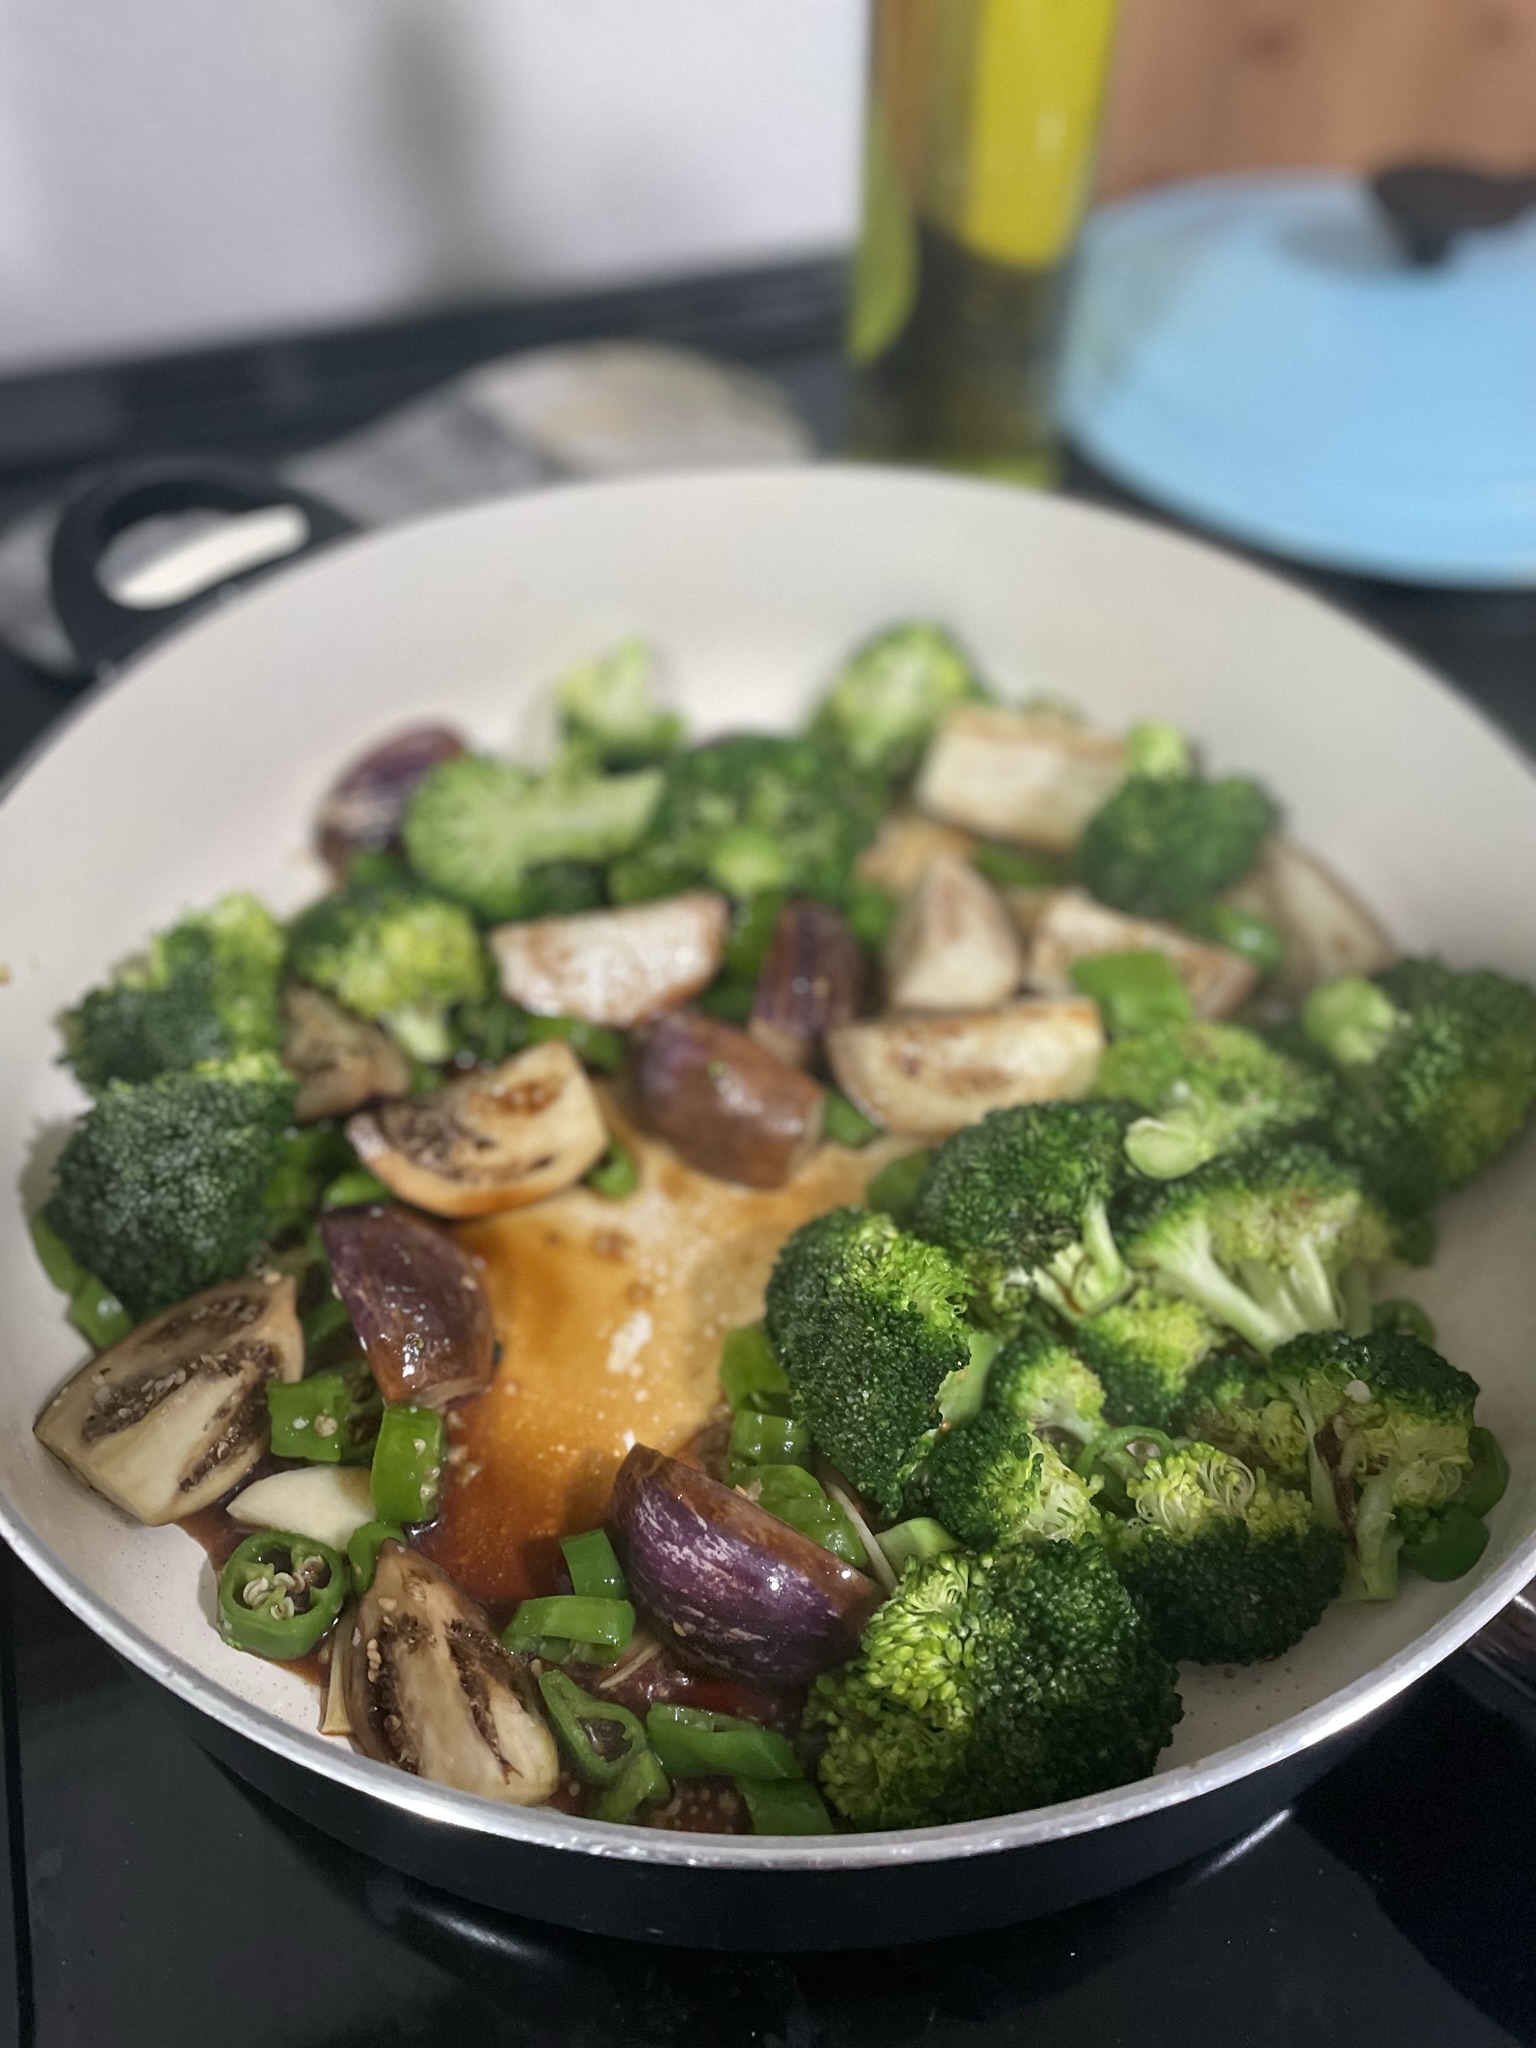
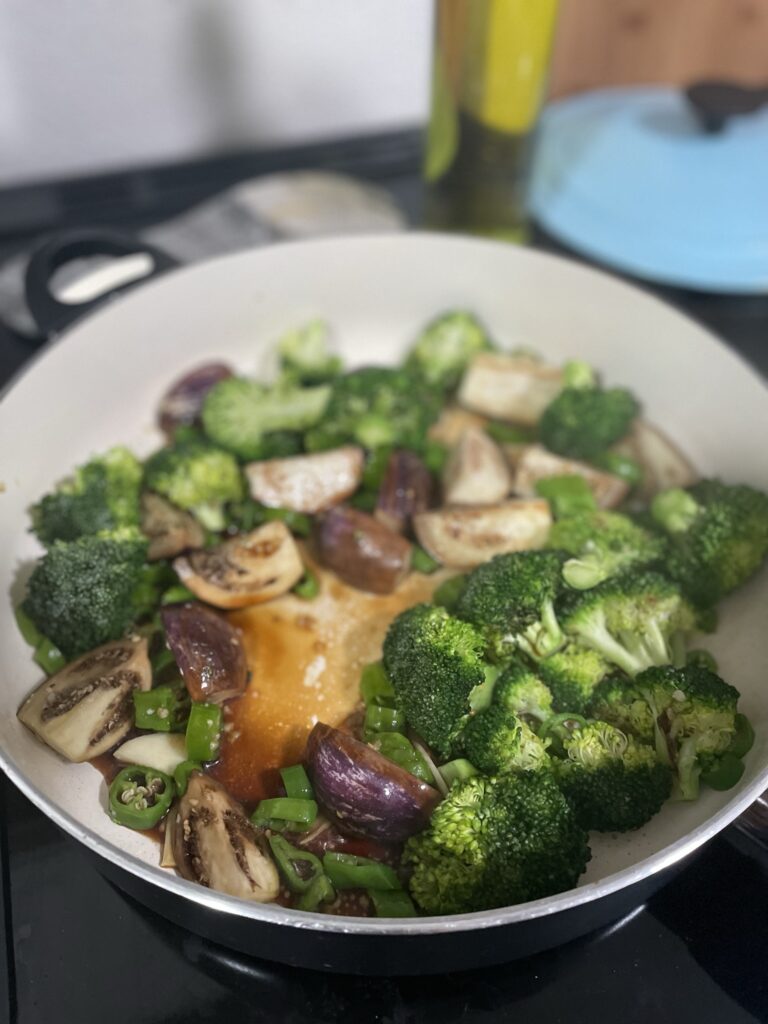
In order to prepare for all of the unhealthy eating next week, I needed to cleanse with a healthy, fibrous vegetable stir fry before it turns into exclusively protein, carbs, sugar, and wine. The greens of summer are slowly disappearing, so I’m taking advantage of the fresh vegetables before it gets too cold. The base of this recipe really is just the sauce that is used at the end to coat the vegetables and give them some extra flavor, so the vegetables can easily be swapped with your personal favorites.

Ingredients

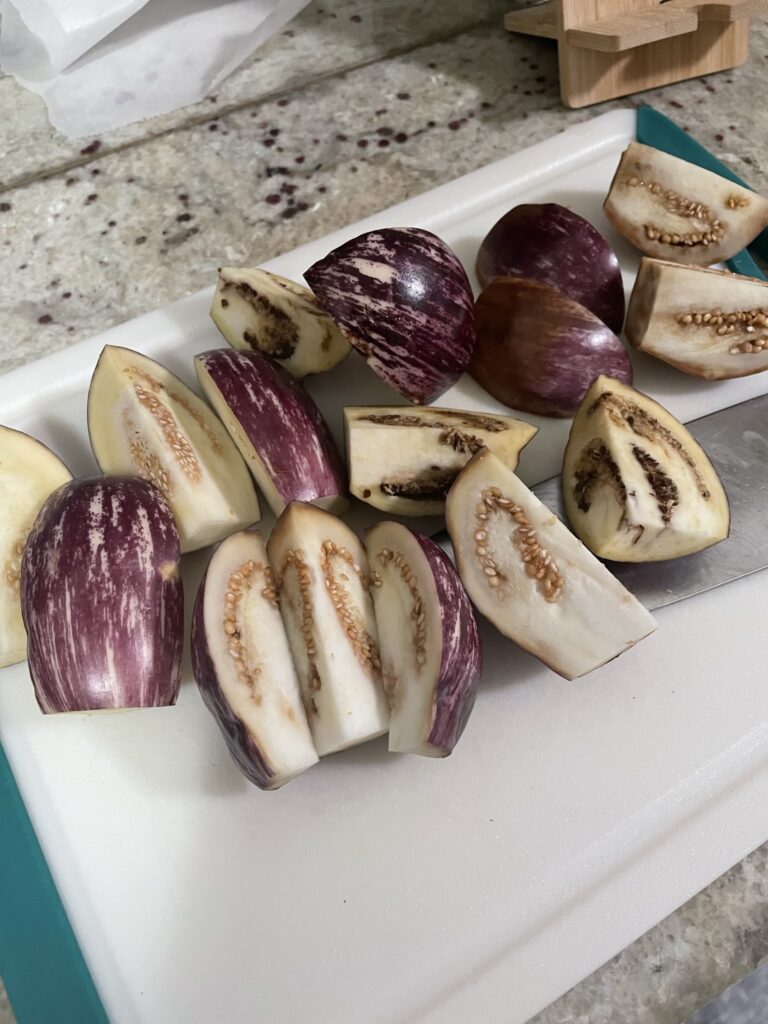
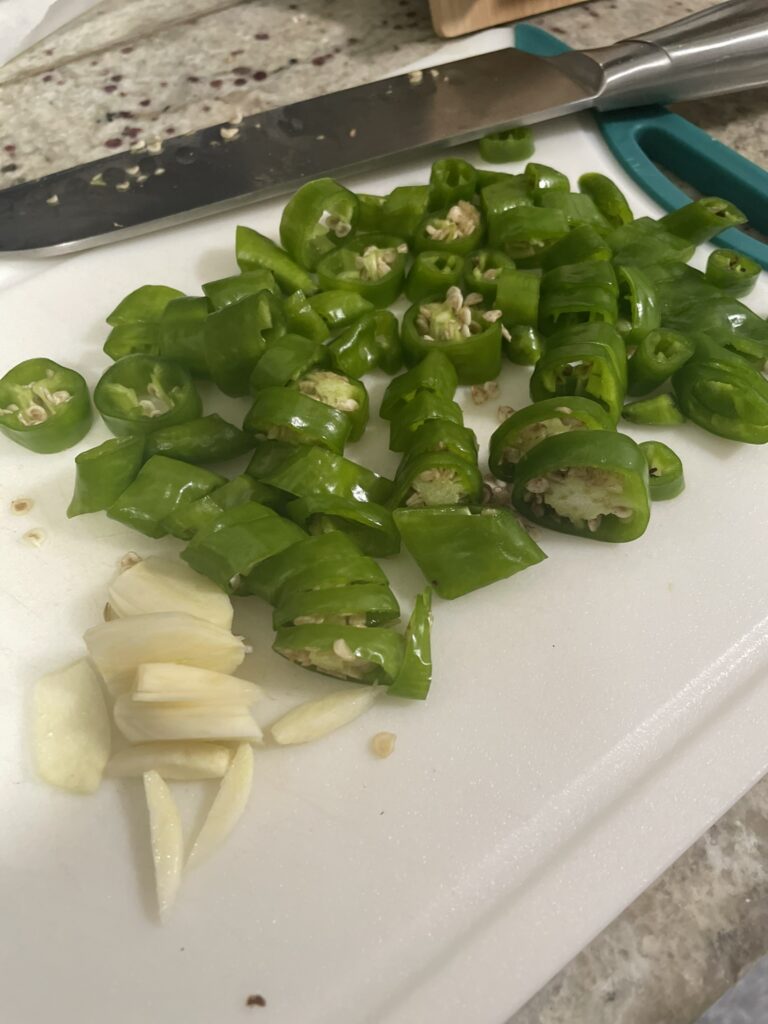
Vegetables – I used a mix of broccoli, eggplant, and peppers. Feel free to use whatever you like! Only use broccoli if you only like broccoli, or add different vegetables like celery, onions, bokchoy, or cabbage.

Sauce – Half, double, or triple the sauce quantity if you’re extra saucy or if you’re just making a smaller quantity of vegetables.

Honey Soy Vegetable Stir Fry

Print Recipe
A quick stir-fry to throw on a bed of rice.
Course Side Dish
Keyword honey, soy sauce, stir fry, vegetable

Equipment

  • 1 large pan

Ingredients

  • 1 clove garlic sliced
  • 3 pounds assorted vegetables cut in approximately the same size
  • 1/2 cup soy sauce
  • 2 tbsp honey
  • 1 tsp corn starch
  • 1 tsp sesame oil

Instructions

  • Wash and clean your vegetables, ensuring they are cut all to about the same size.
  • Heat up a large pan with a splash of oil on high.
  • When oil is shimmering, add vegetables to the pan. Do not move for 1 minute to sear.
  • After 1 minute, add sliced garlic and stir. Turn stove down to medium.
  • Allow vegetables to continue cooking for 5 more minutes. While cooking, mix together soy sauce, honey, and cornstarch.
  • Add the sauce and stir. Allow to keep cooking until sauce has just simmered and thickened.
  • Remove from heat and enjoy!

Try another Shrimp & Snap Pea Stir Fry!

Balance the healthy vegetables with a healthy vegetable dessert like Zucchini Bread.

Black Bean Burgers

So here’s my beef (hehe) with most black bean burgers:

Flavor – Bean burgers that are sold at most restaurants and grocery stores can be over-seasoned. The seasonings typically used (paprika, chipotle chili pepper, cumin, etc) usually overwhelms the rest of the burger. It really distracts from the creaminess of the beans and the rest of the burger toppings.
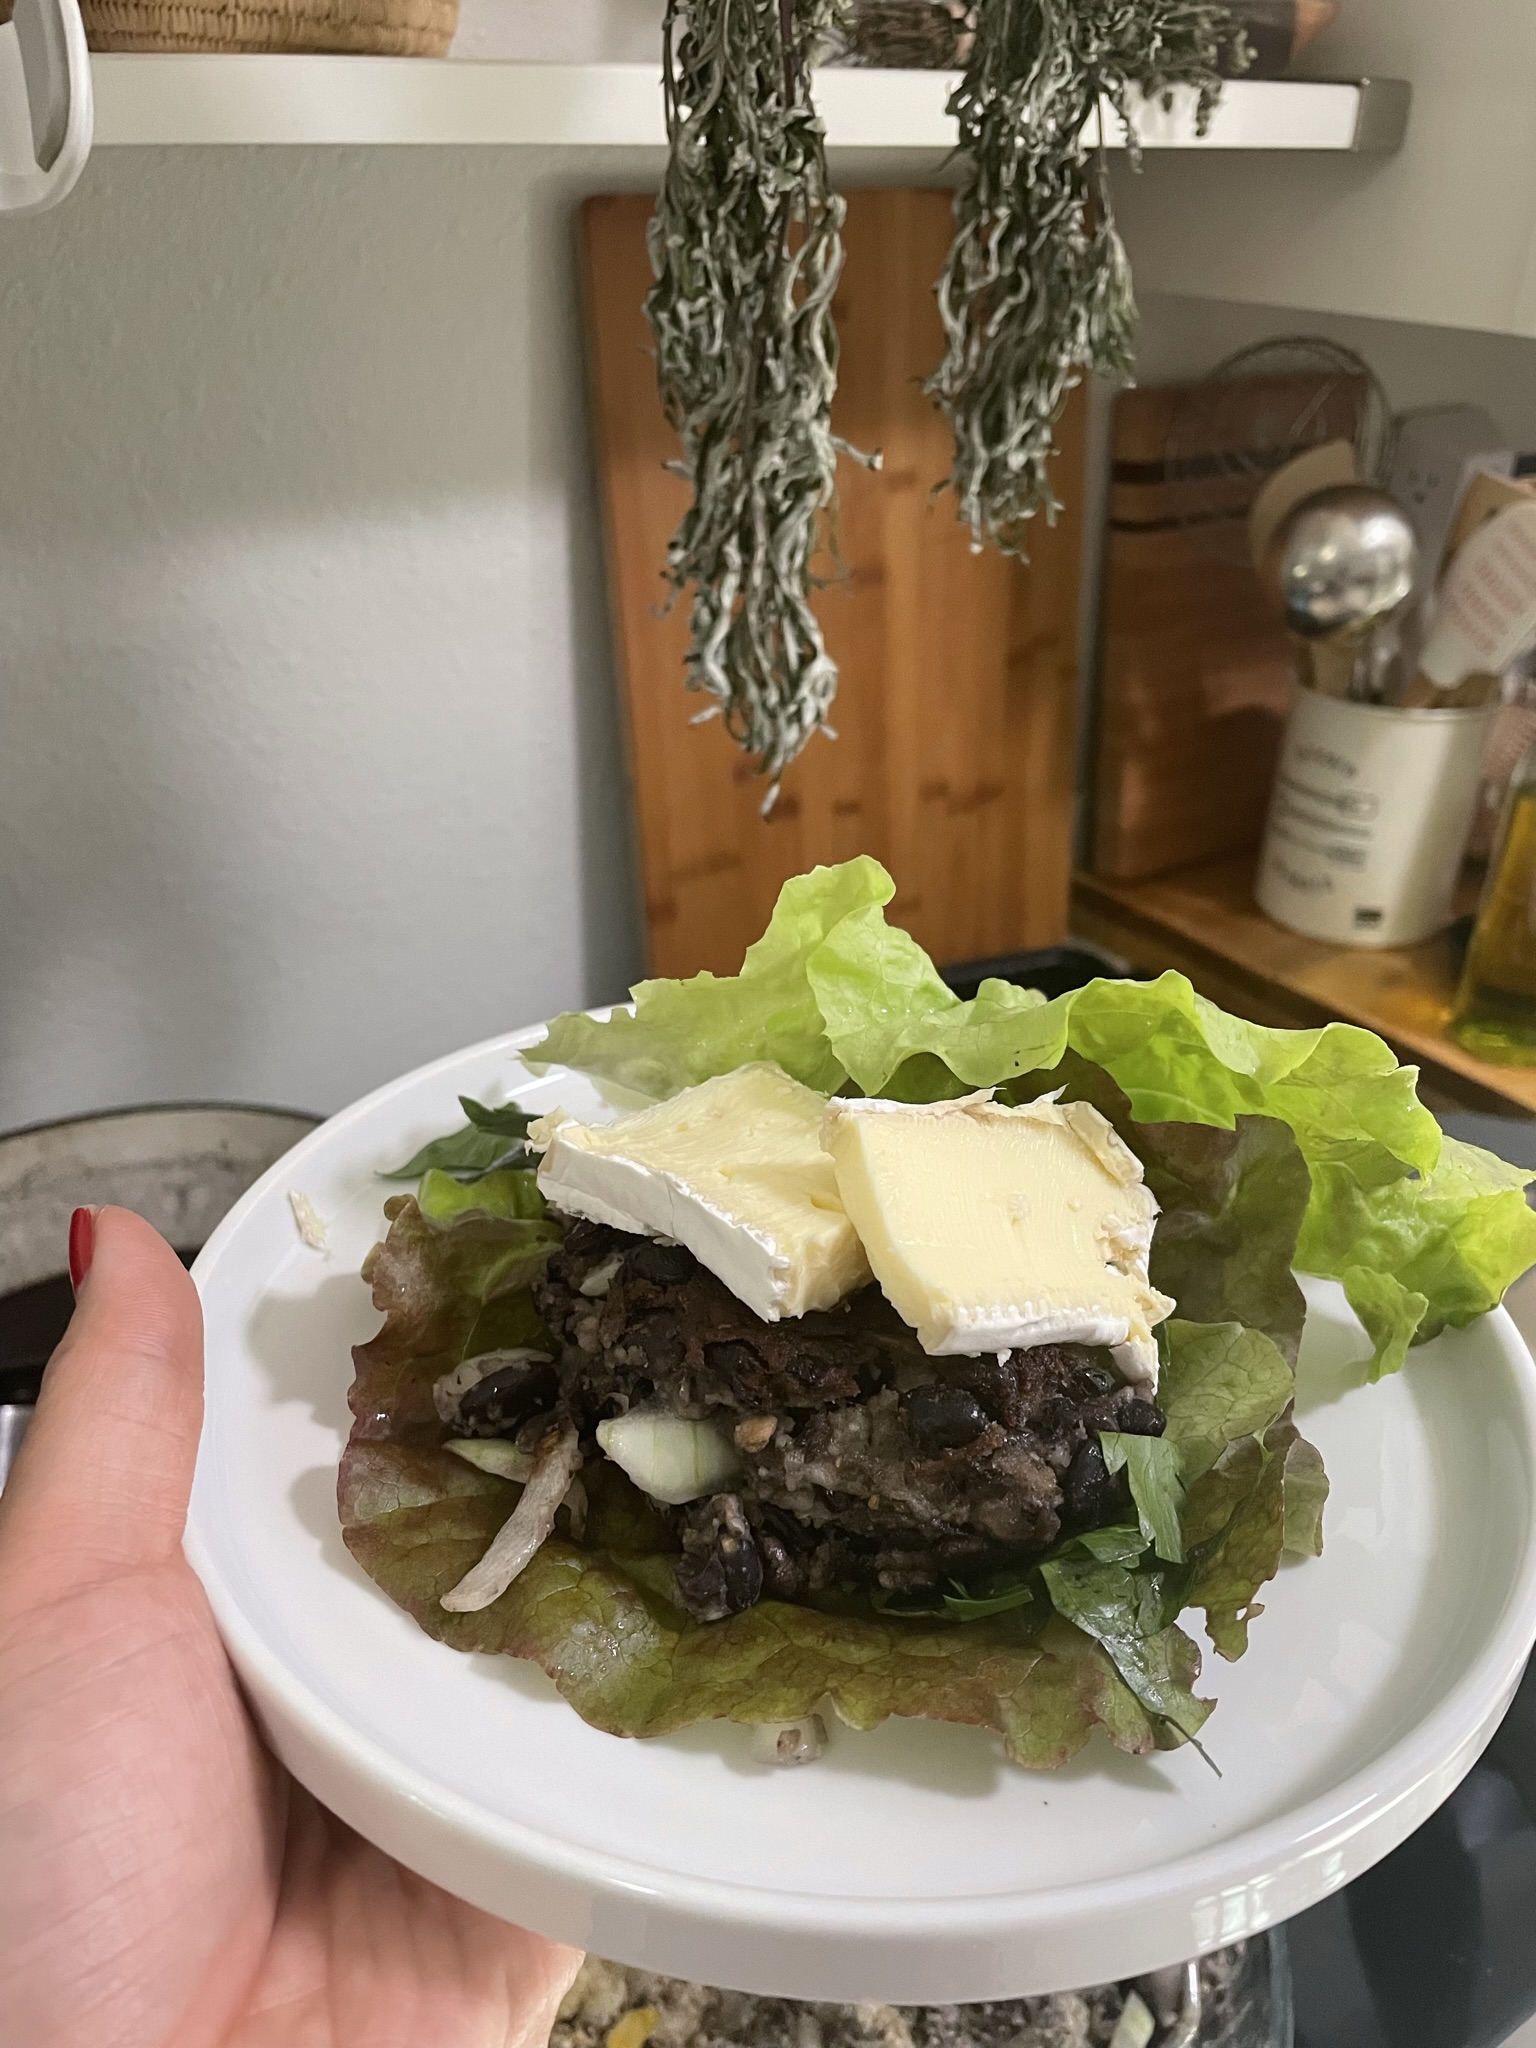
Texture – Some bean burgers I have are just straight mush. The beans have been pulverized into paste and then layered in between two soft buns, causing the entire burger to just turn into straight mush. This bean burger keeps textures interesting with every bite. The burger is flavorful on it’s own, but it isn’t distracting or overpowering if you’re trying some new burger topping combinations. I had mine with some brie, celery leaves, horseradish, and crunchy lettuce.

This recipe is great for meal prepping or creating a large quantity of burgers to freeze and save for a future time. I like to make this recipe to have burgers for dinner, and then keep the rest for another time. I will pre-shape my burgers and then put them in the freezer for another meal.

Ingredients

Beans – I used a mix of multiple kinds of beans. Black beans are the most commonly used, but feel free to mix it up with different types of beans.

Seasonings – I like to keep it simple with the seasonings, but if you like different flavors, go for it!

Eggs – Want to make this recipe vegan? Substitute the eggs with flax eggs (1 tbsp flax + 3 tbsp water)

Black Bean Burgers

Print Recipe
Finally – a black bean burger that isn't overwhelmed with seasonings or only has one texture.
Course Main Course
Keyword beans, black bean, burger, vegan, vegetarian
Servings 12 burgers

Equipment

  • 1 food processor optional

Ingredients

  • 6 cups beans cooked
  • 1 onion diced
  • 1 tbsp salt
  • 1 tbsp pepper
  • 1 tsp thyme
  • 1 tsp rosemary
  • 1 tsp sage
  • 1 cup breadcrumbs
  • 2 eggs

Instructions

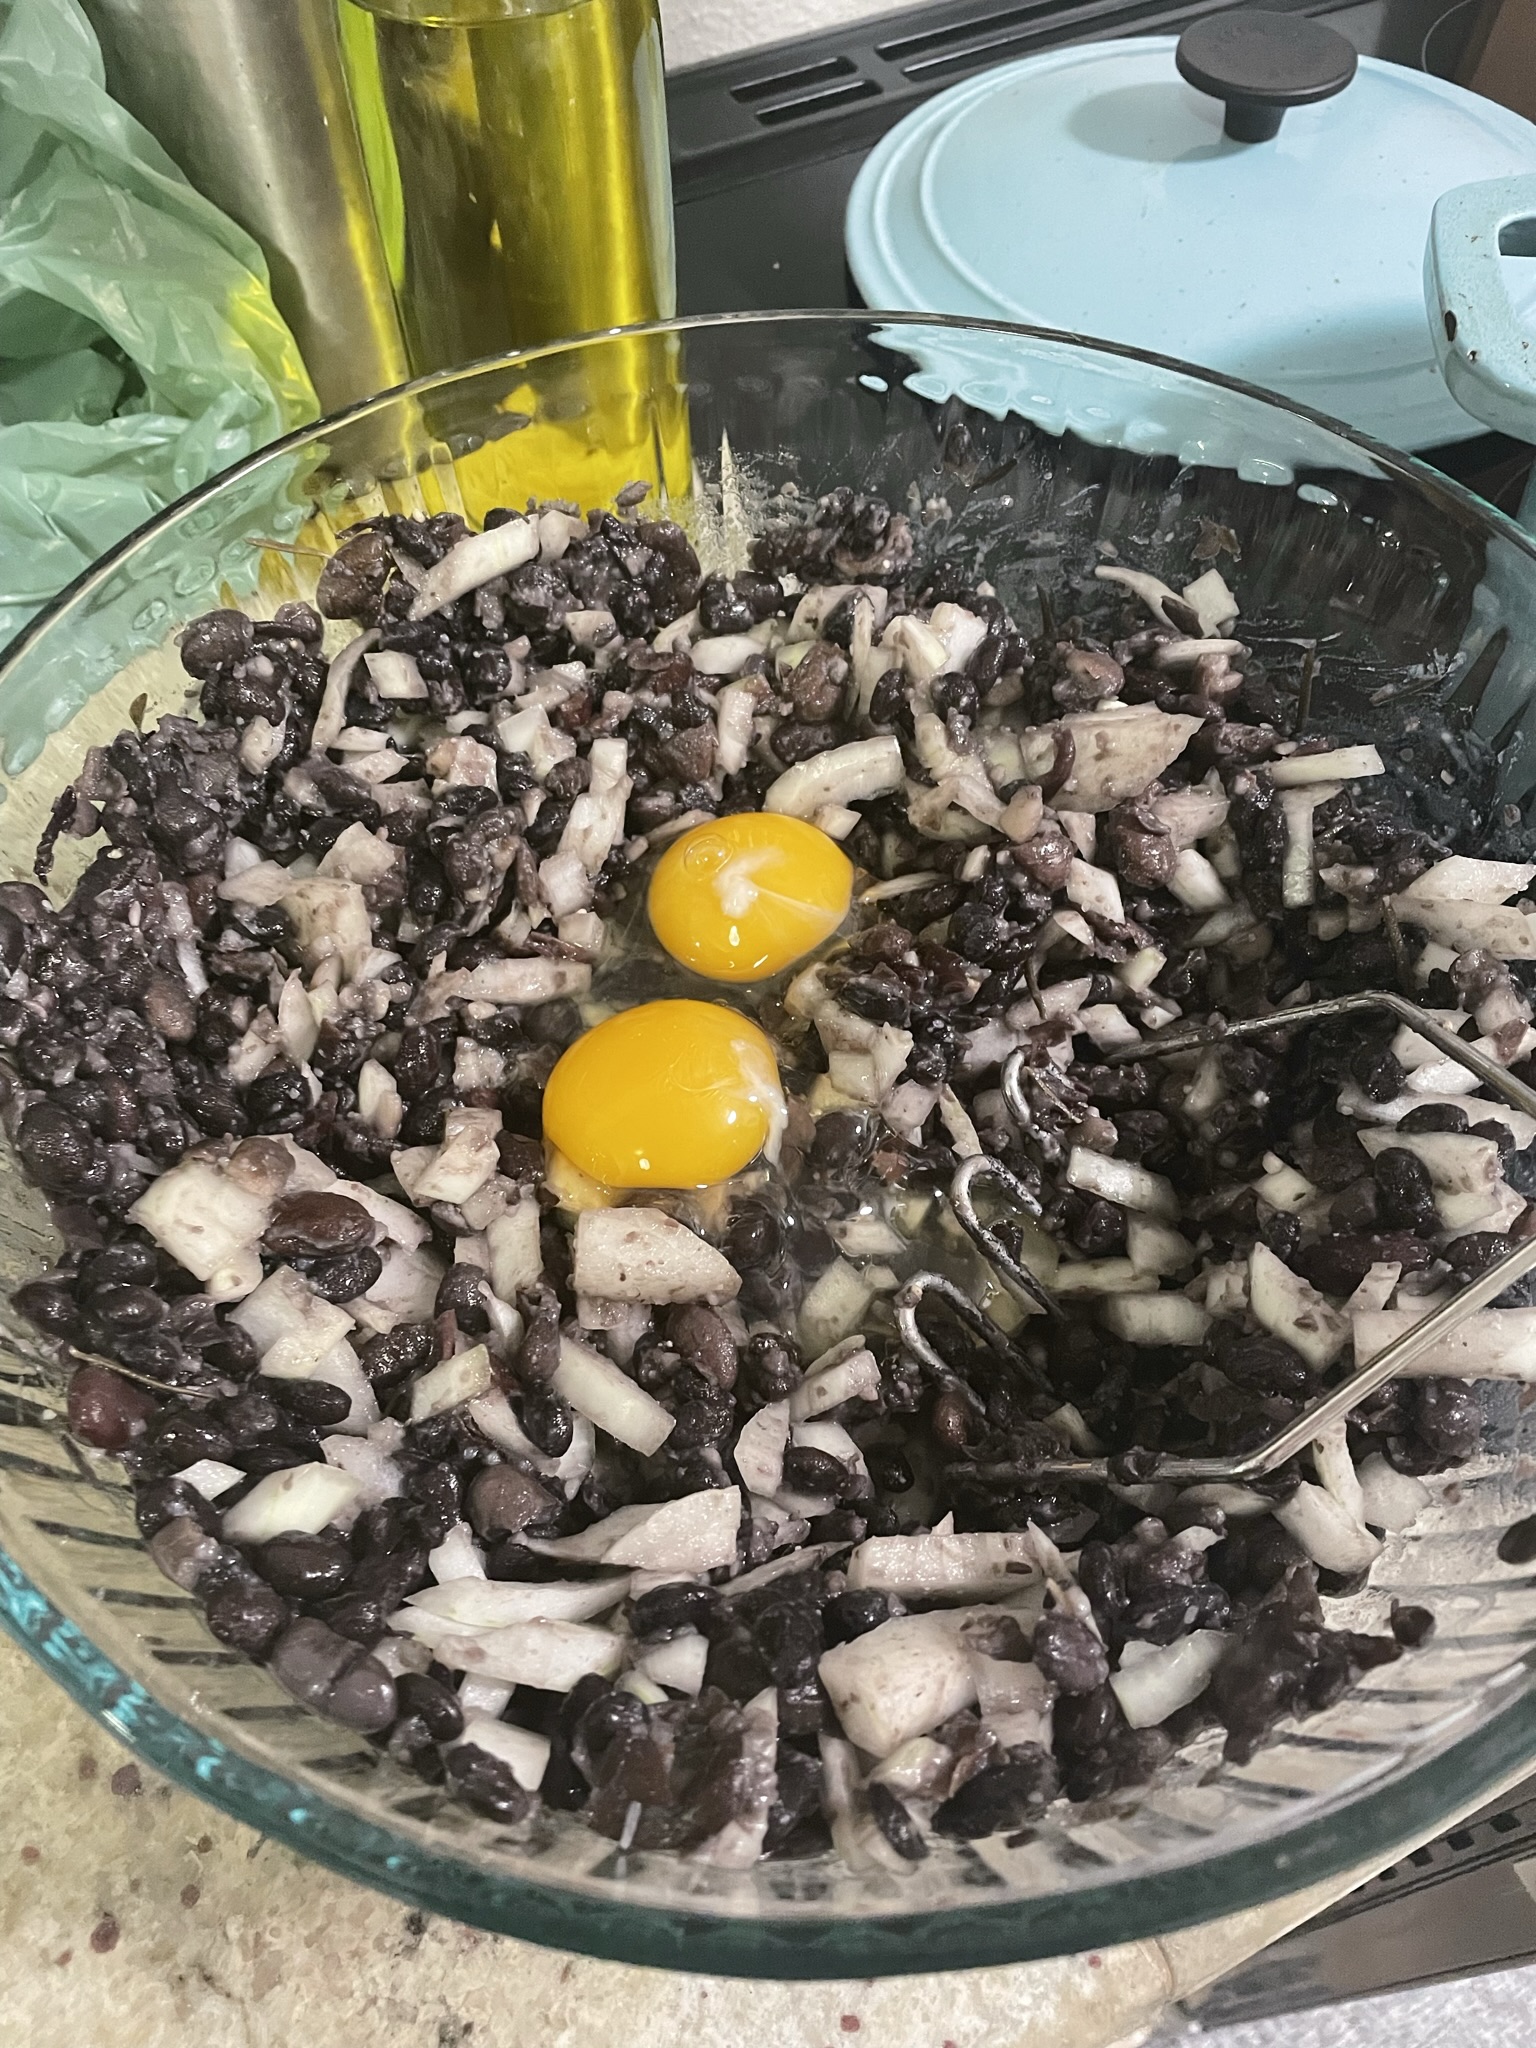
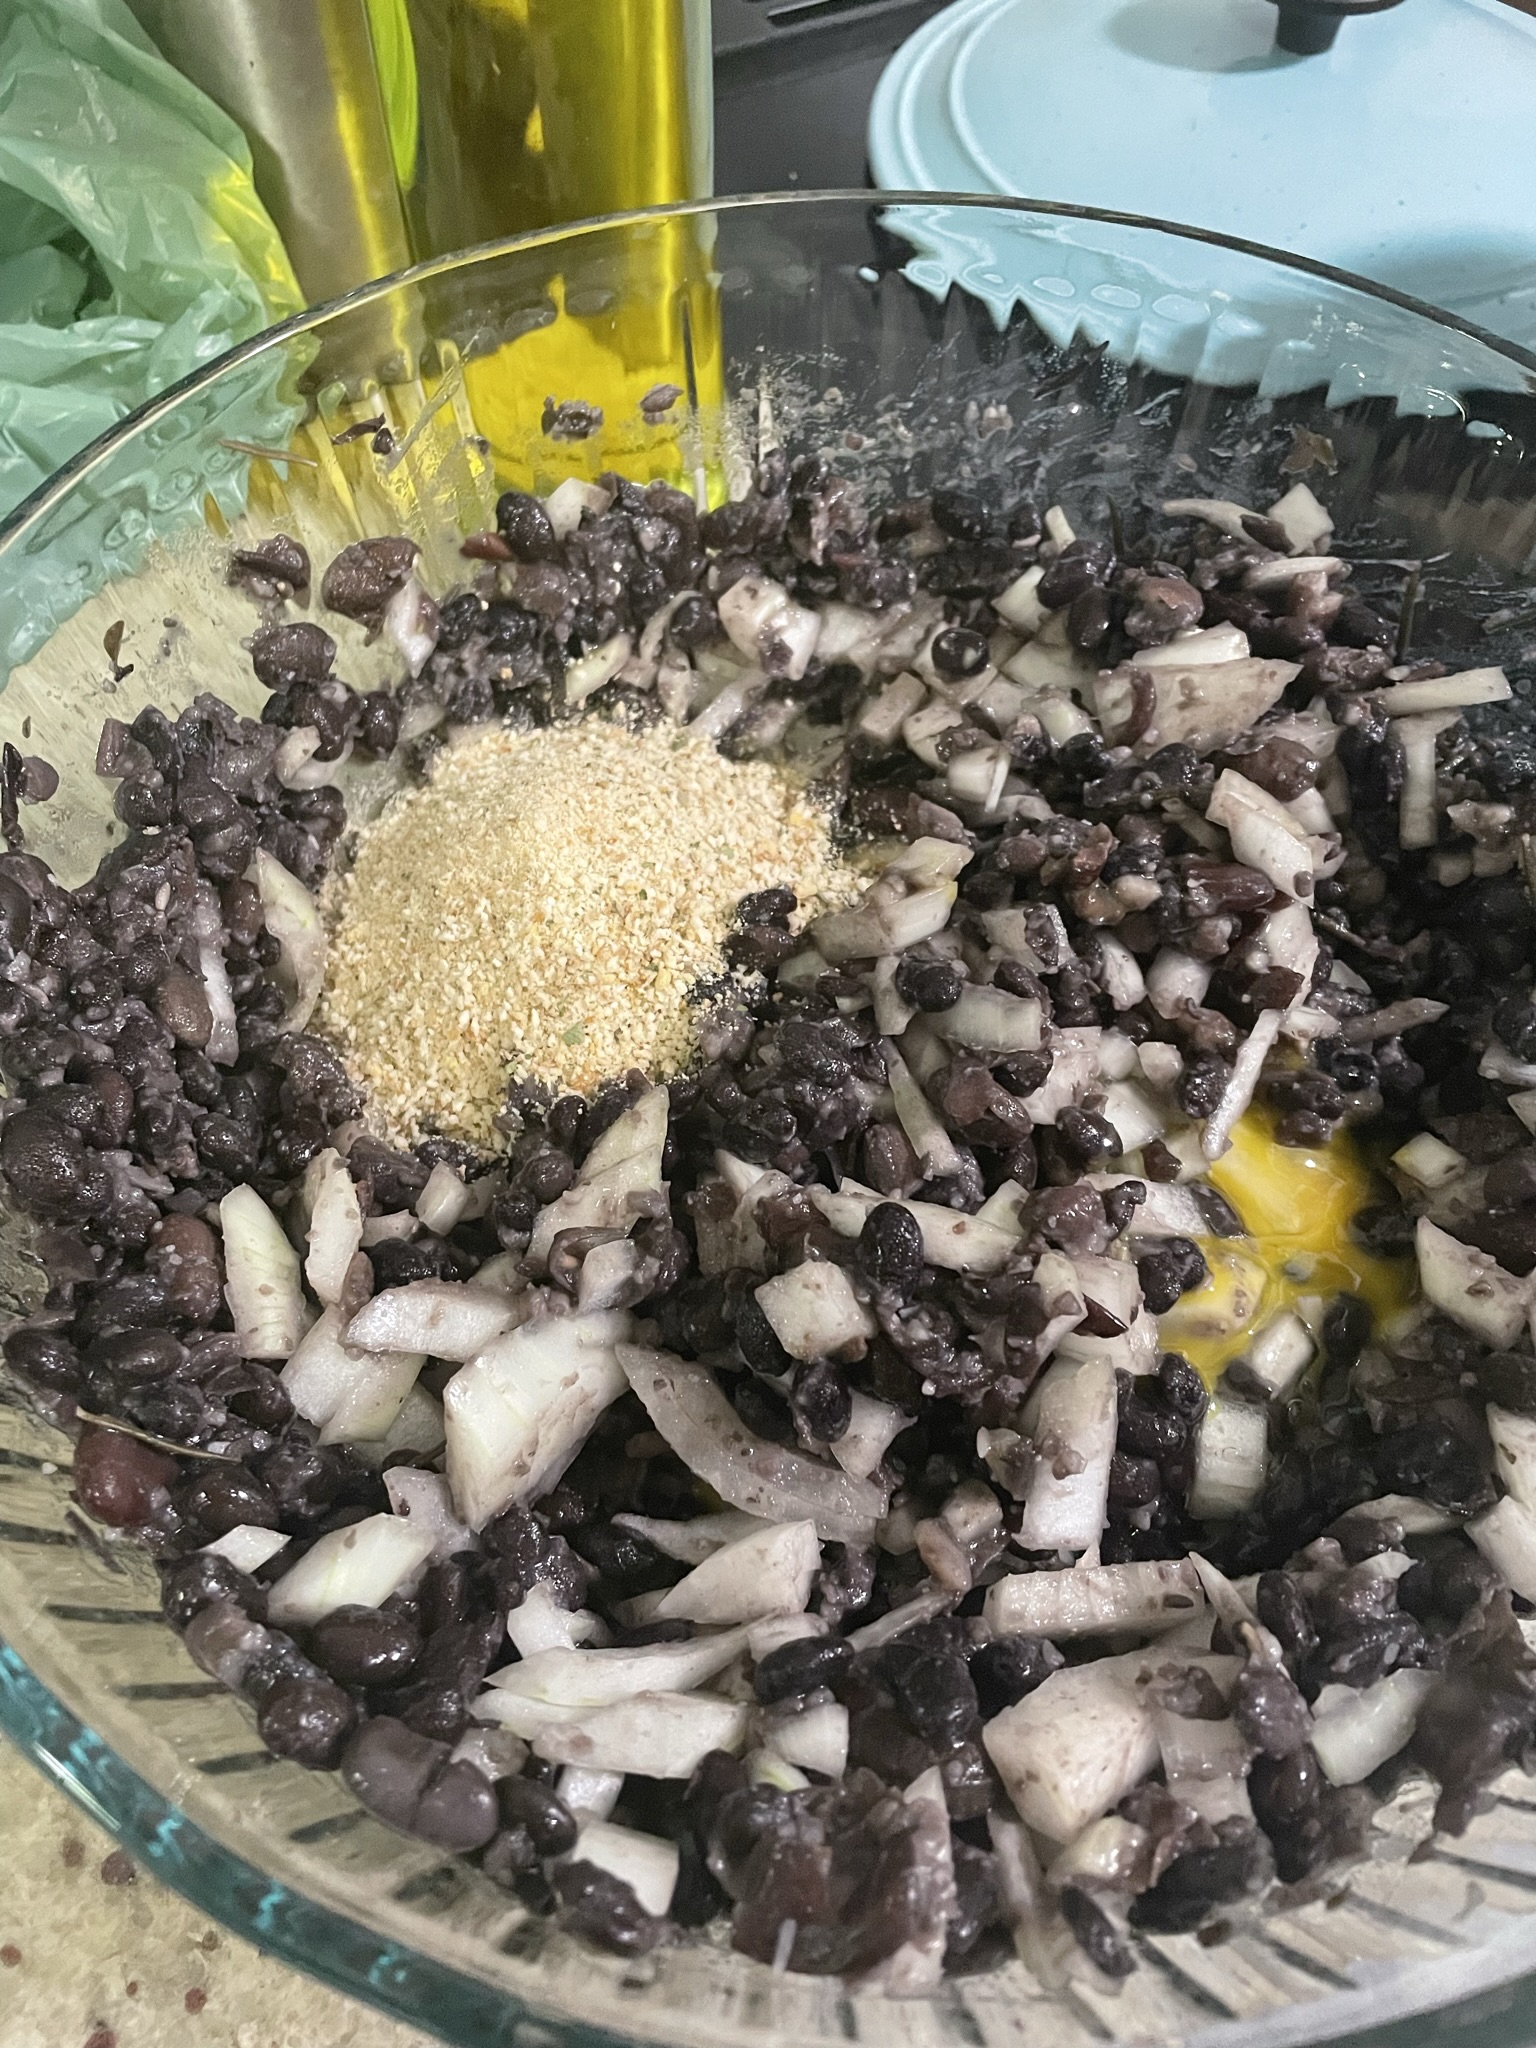
  • By hand or in a food processor, mash half of the beans to form a thick paste. It does not need to be completely creamy. If you like a burger more textured, leave the paste thicker! If you like the burger more creamy, mash until smooth.
  • Dice the onion. Dice in larger pieces for more texture or smaller pieces if you want the onion to "dissolve" more into the burger.
  • Mix the mashed beans with the whole beans and add seasonings (salt, thyme, rosemary, sage), eggs, and bread crumbs.
  • Using a 1/2 cup measure, shape portions of mixture into burgers. If you are making to freeze, shape and then freeze in a single layer. When burgers are frozen, transfer to a bag or container.
  • Cook on each side on medium-high heat for 5 minutes. Serve on your favorite bun with your favorite toppings!

Have some Honey Balsamic Roasted Brussels Sprouts on the side and maybe some summer-y Peach Galette for dessert.

Mapo (ish) Tofu

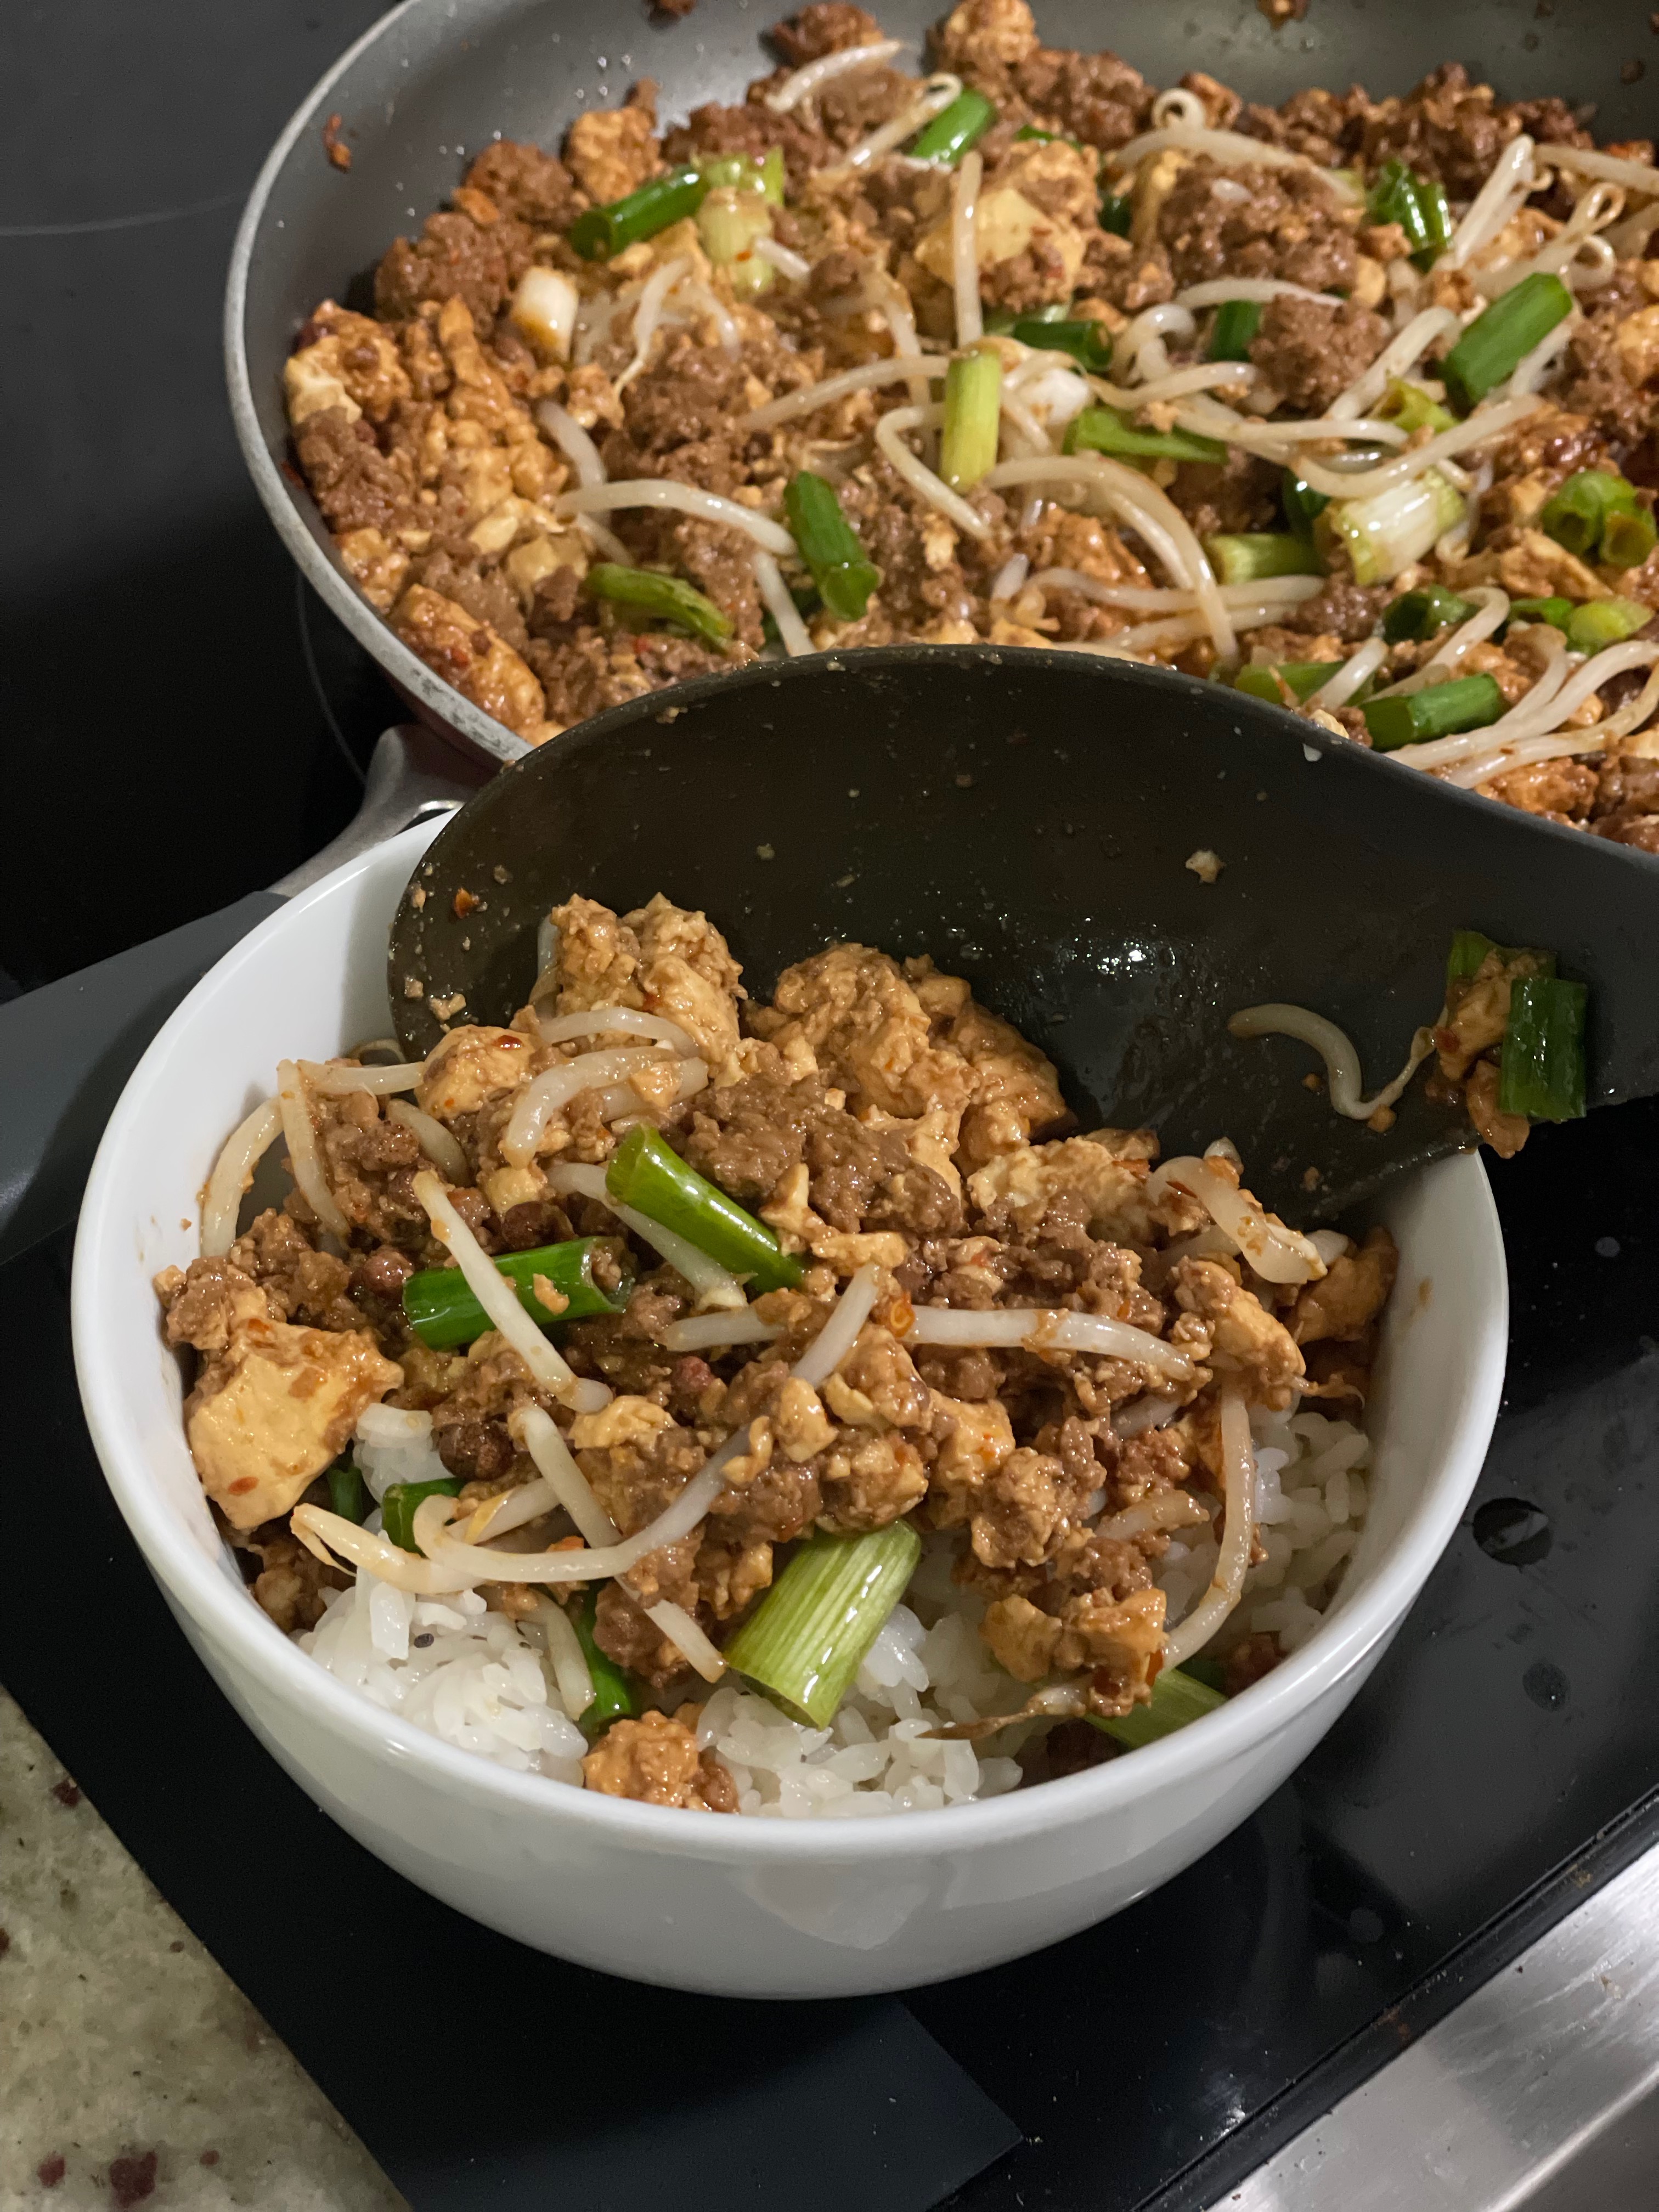
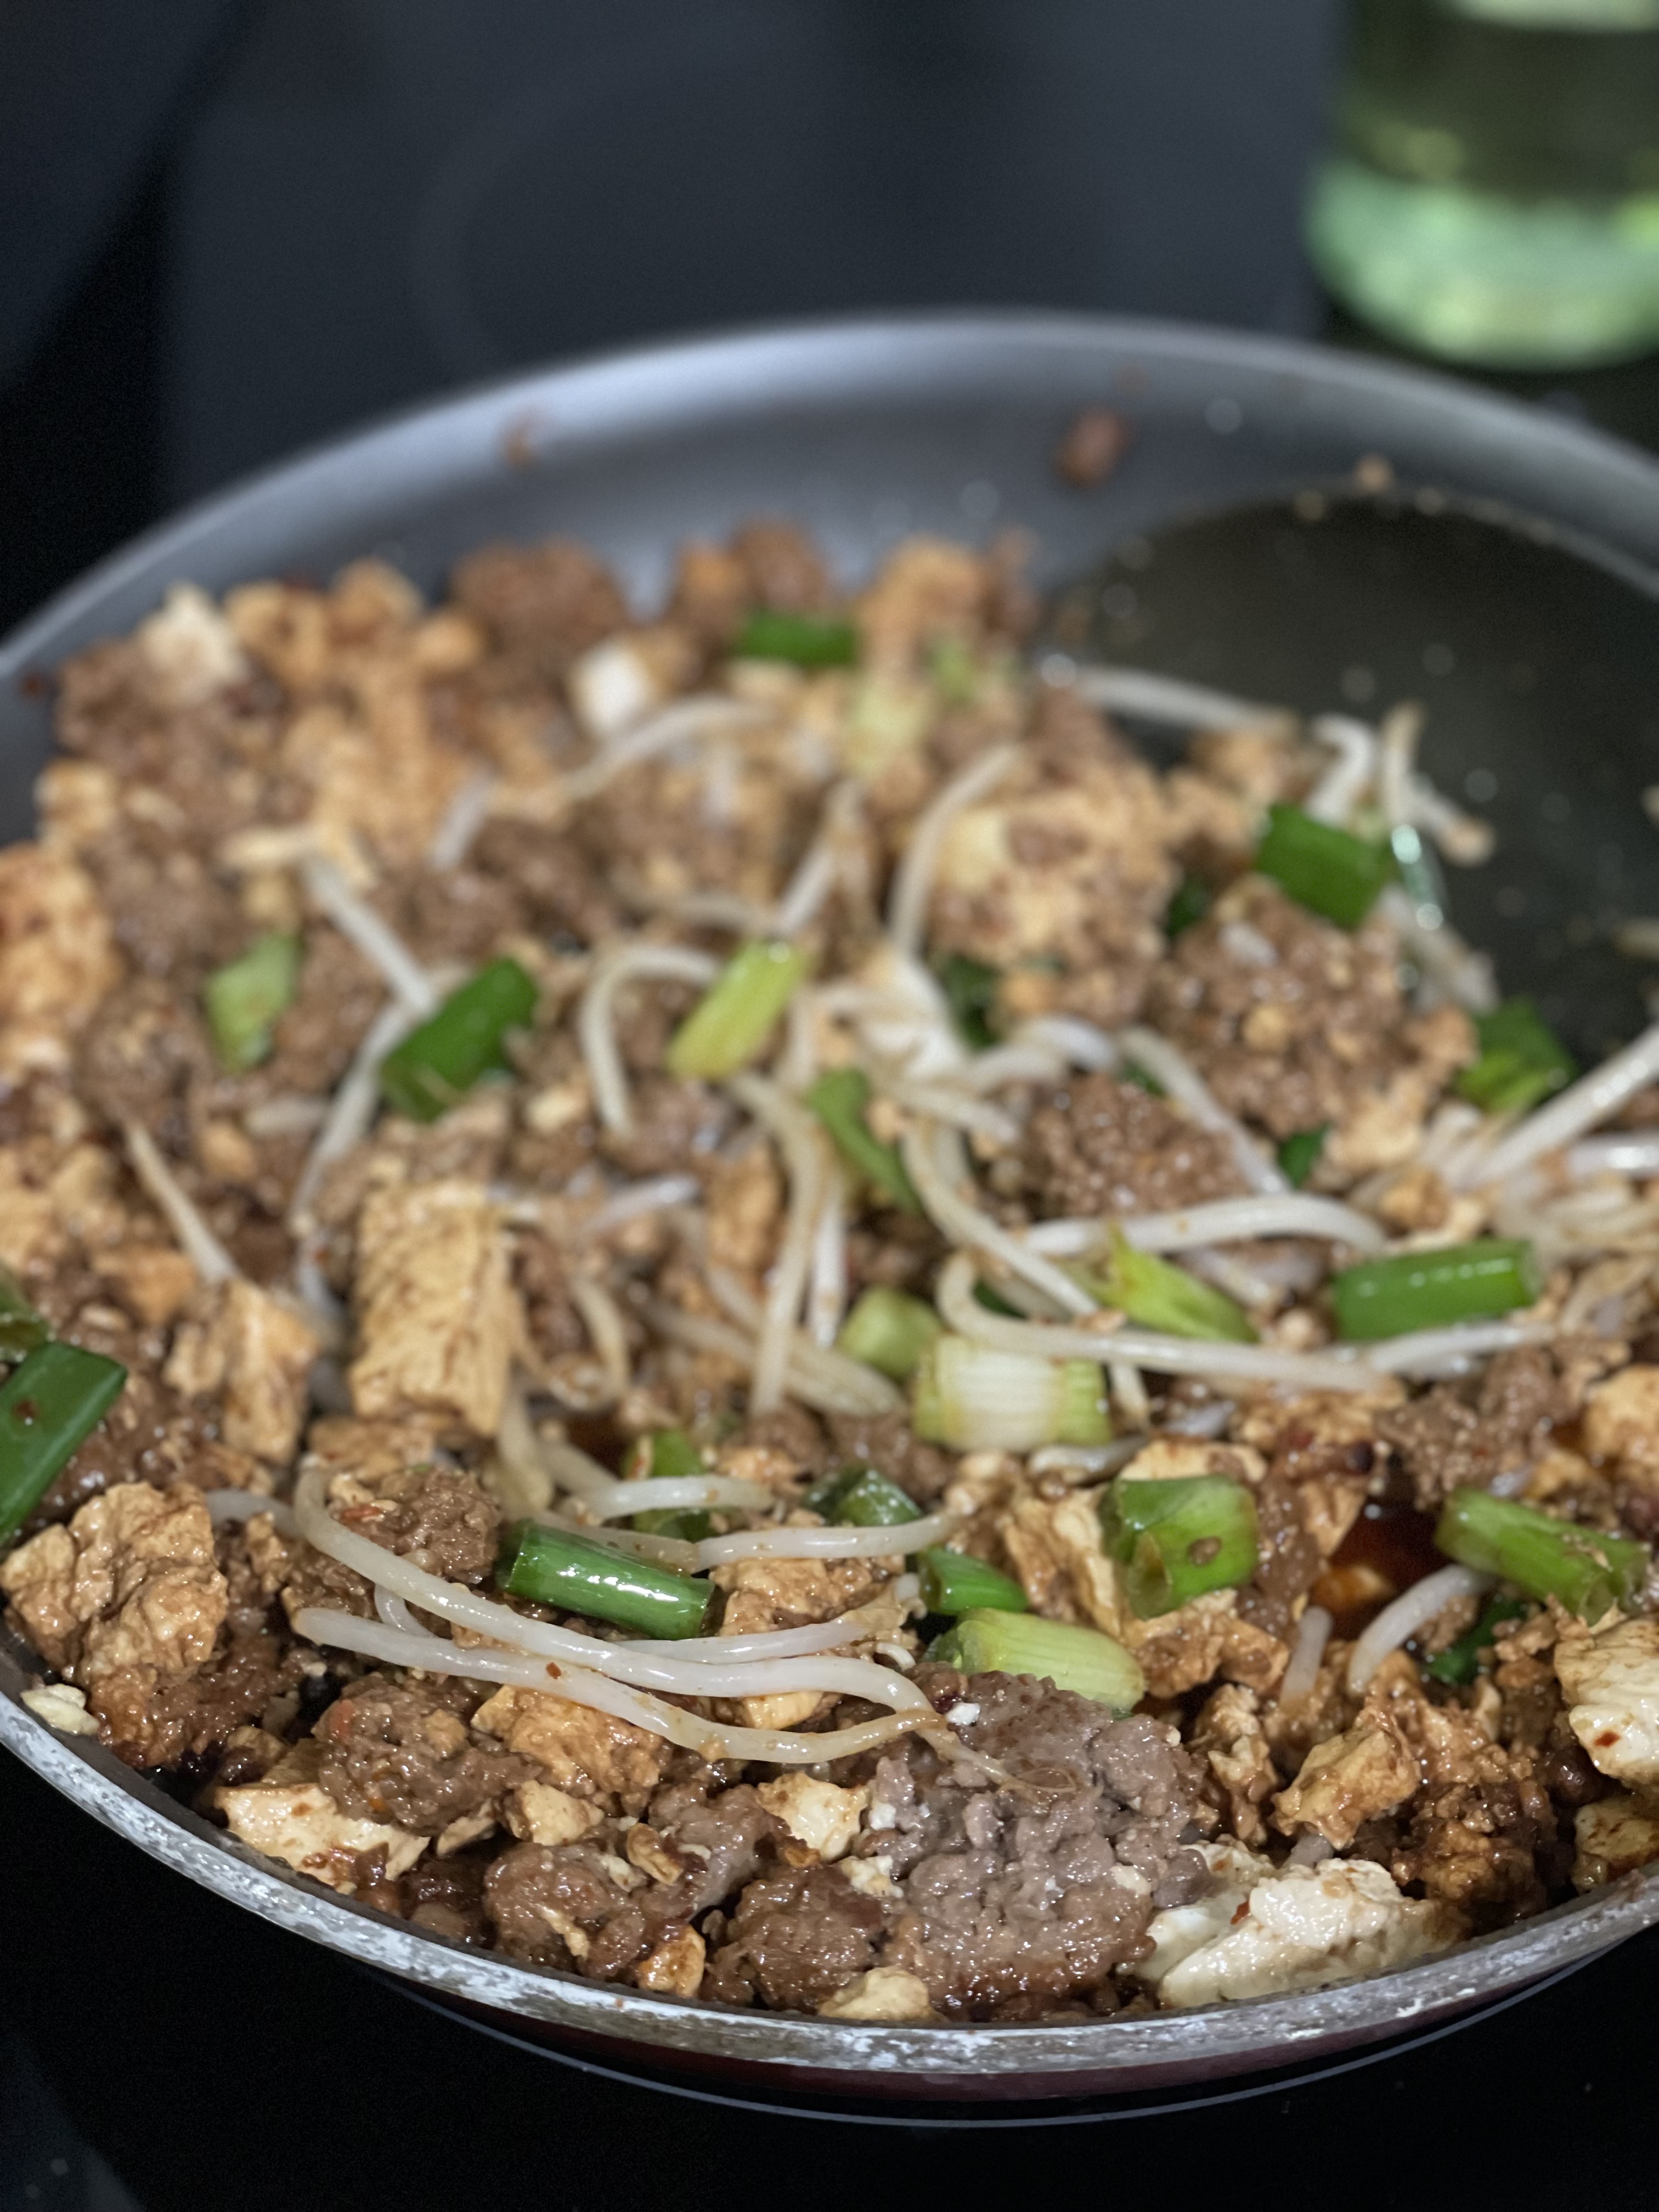
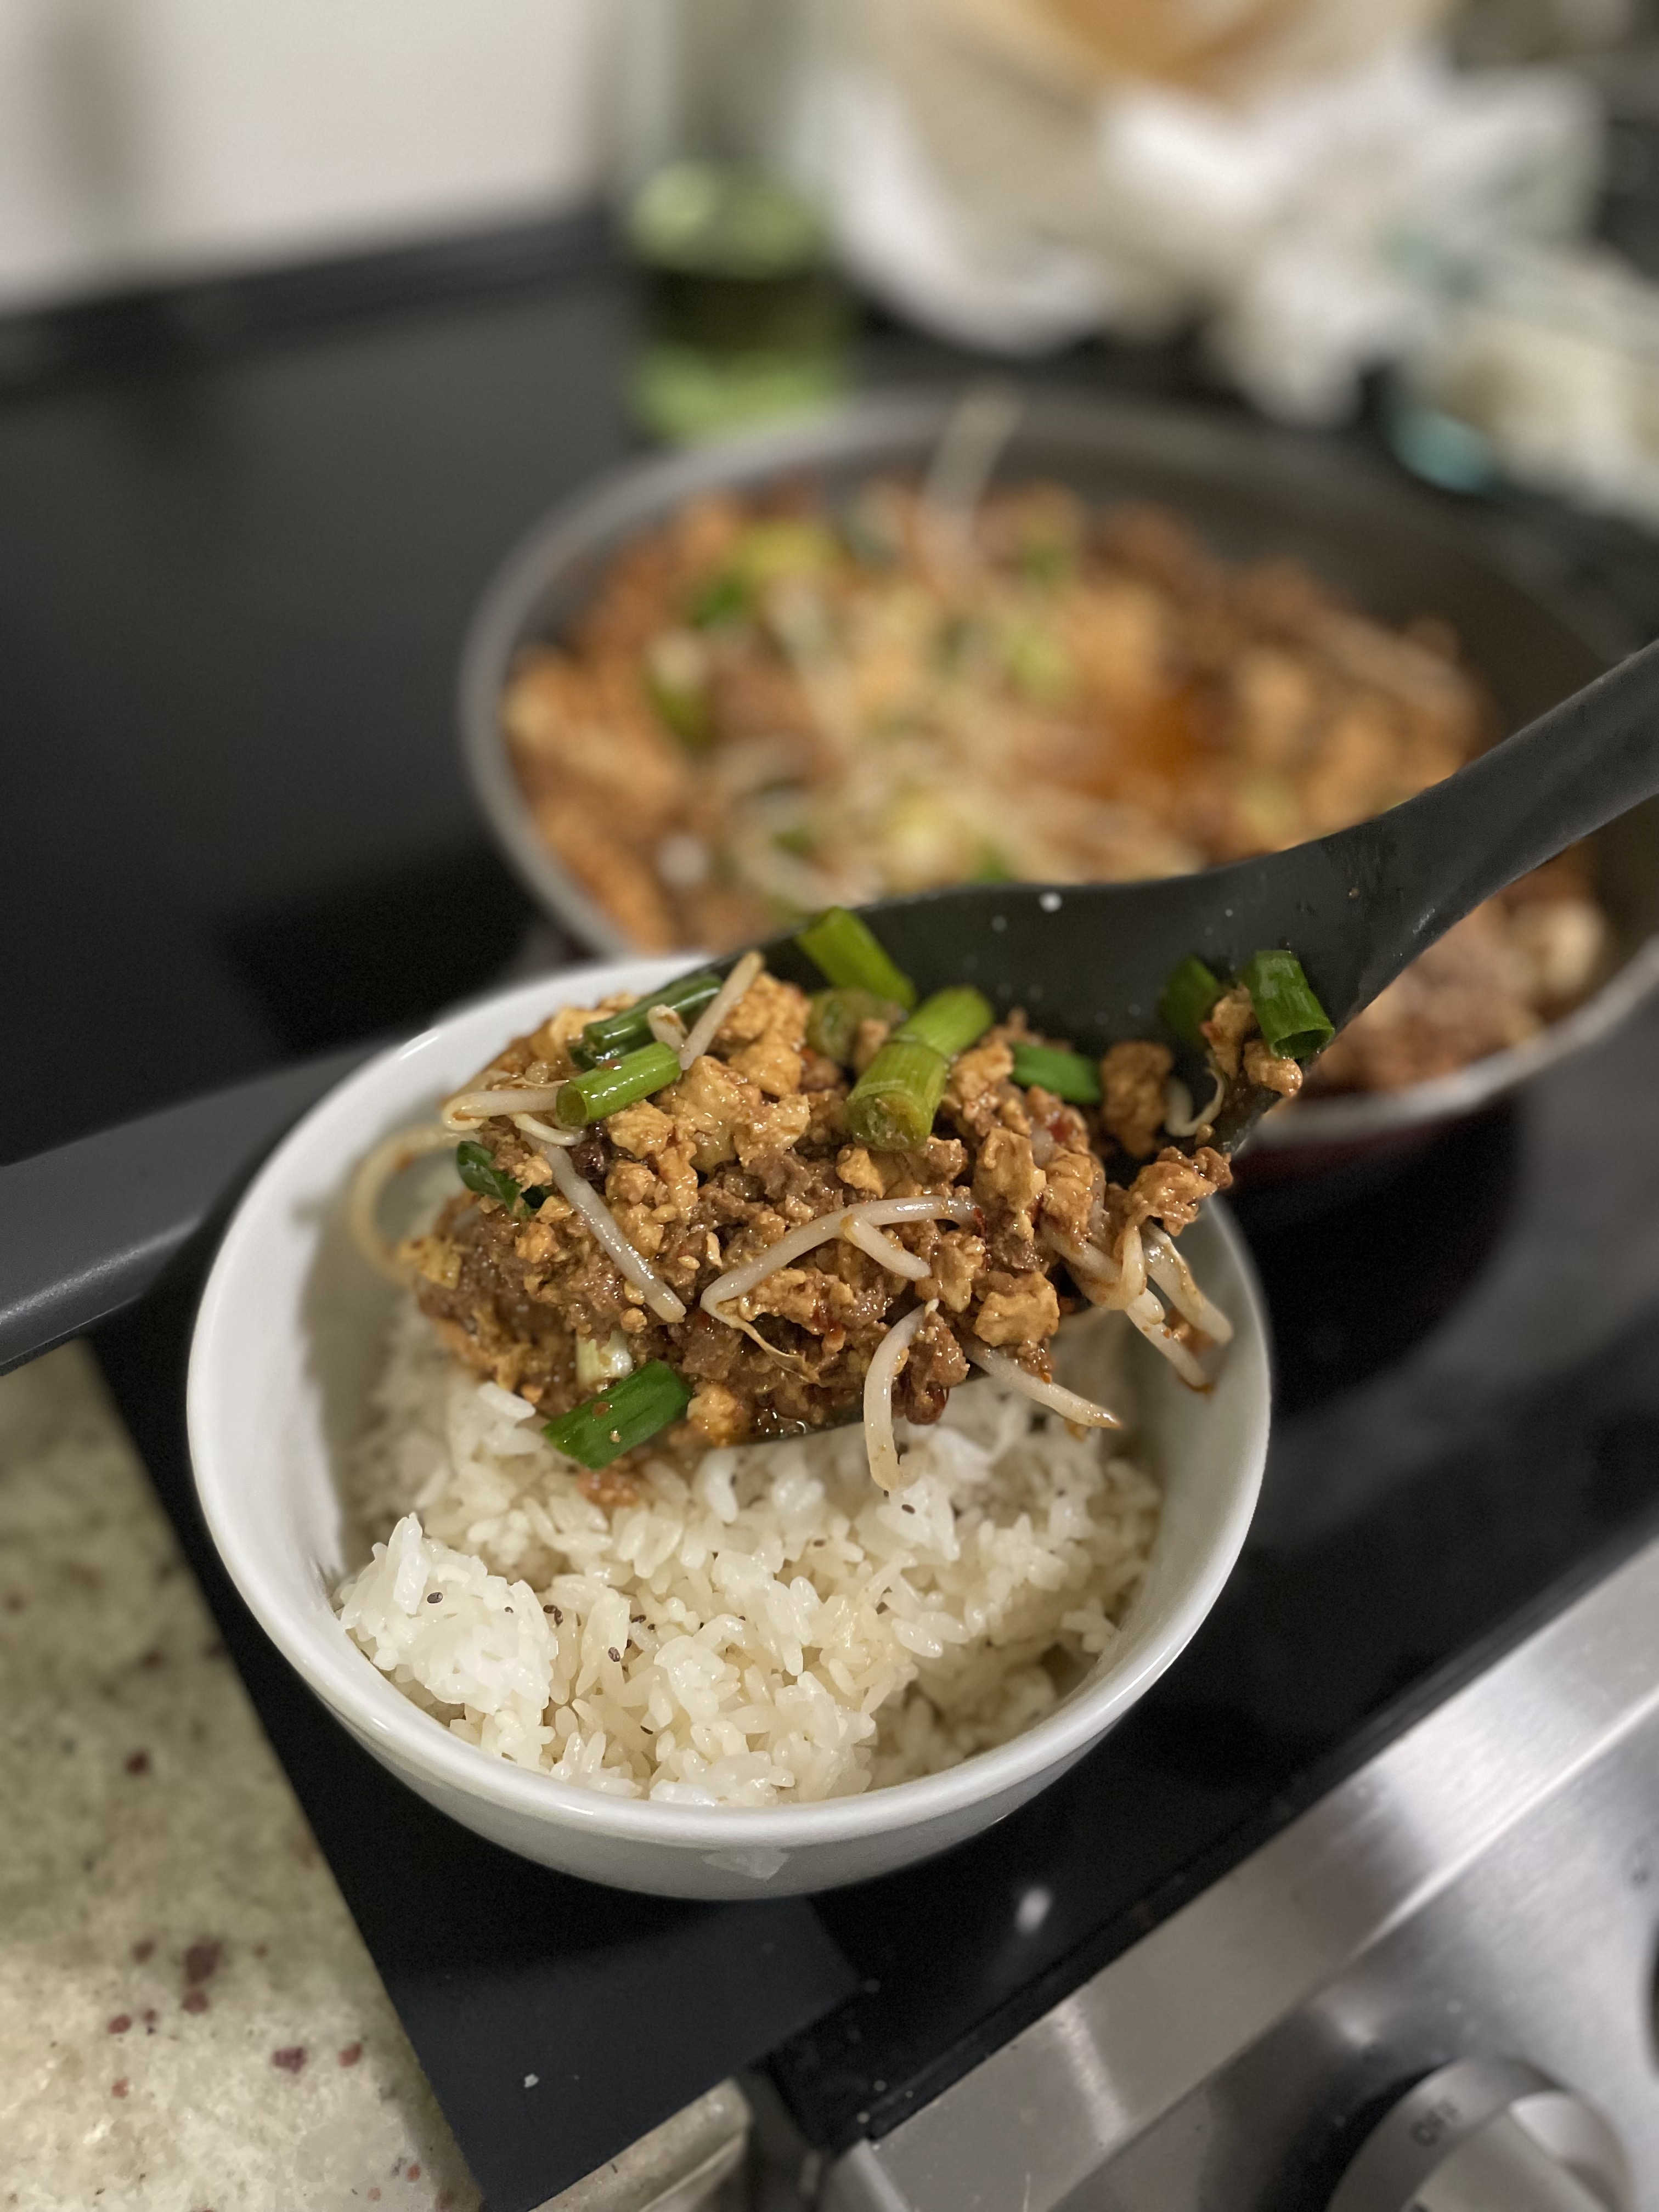
Mapo tofu is distinctly known for its mouth numbing quality courtesy of the Sichuan peppercorns. This quick dinner requires minimal prep work, so it is perfect for a weeknight dinner. Along with the Sichuan peppercorns, mapo tofu traditionally contains a ground meat (typically pork), tofu, and spicy bean paste. Try it over rice with a veggie on the side.

Disclaimer: this recipe is “Mapo-ish”. It doesn’t contain all the traditional ingredients but still has all the essence and kick of what you’d find at an authentic Chinese restaurant.

Ingredients

Soybean paste/chili flakes – Traditionally, Mapo tofu calls for the use of spicy bean paste. Spicy bean paste just isn’t something that I typically have around the house. Spicy bean paste is a mix of fermented beans and chili; I substitute with similar ingredients. If you don’t have fermented soybean paste, you can even use miso paste.

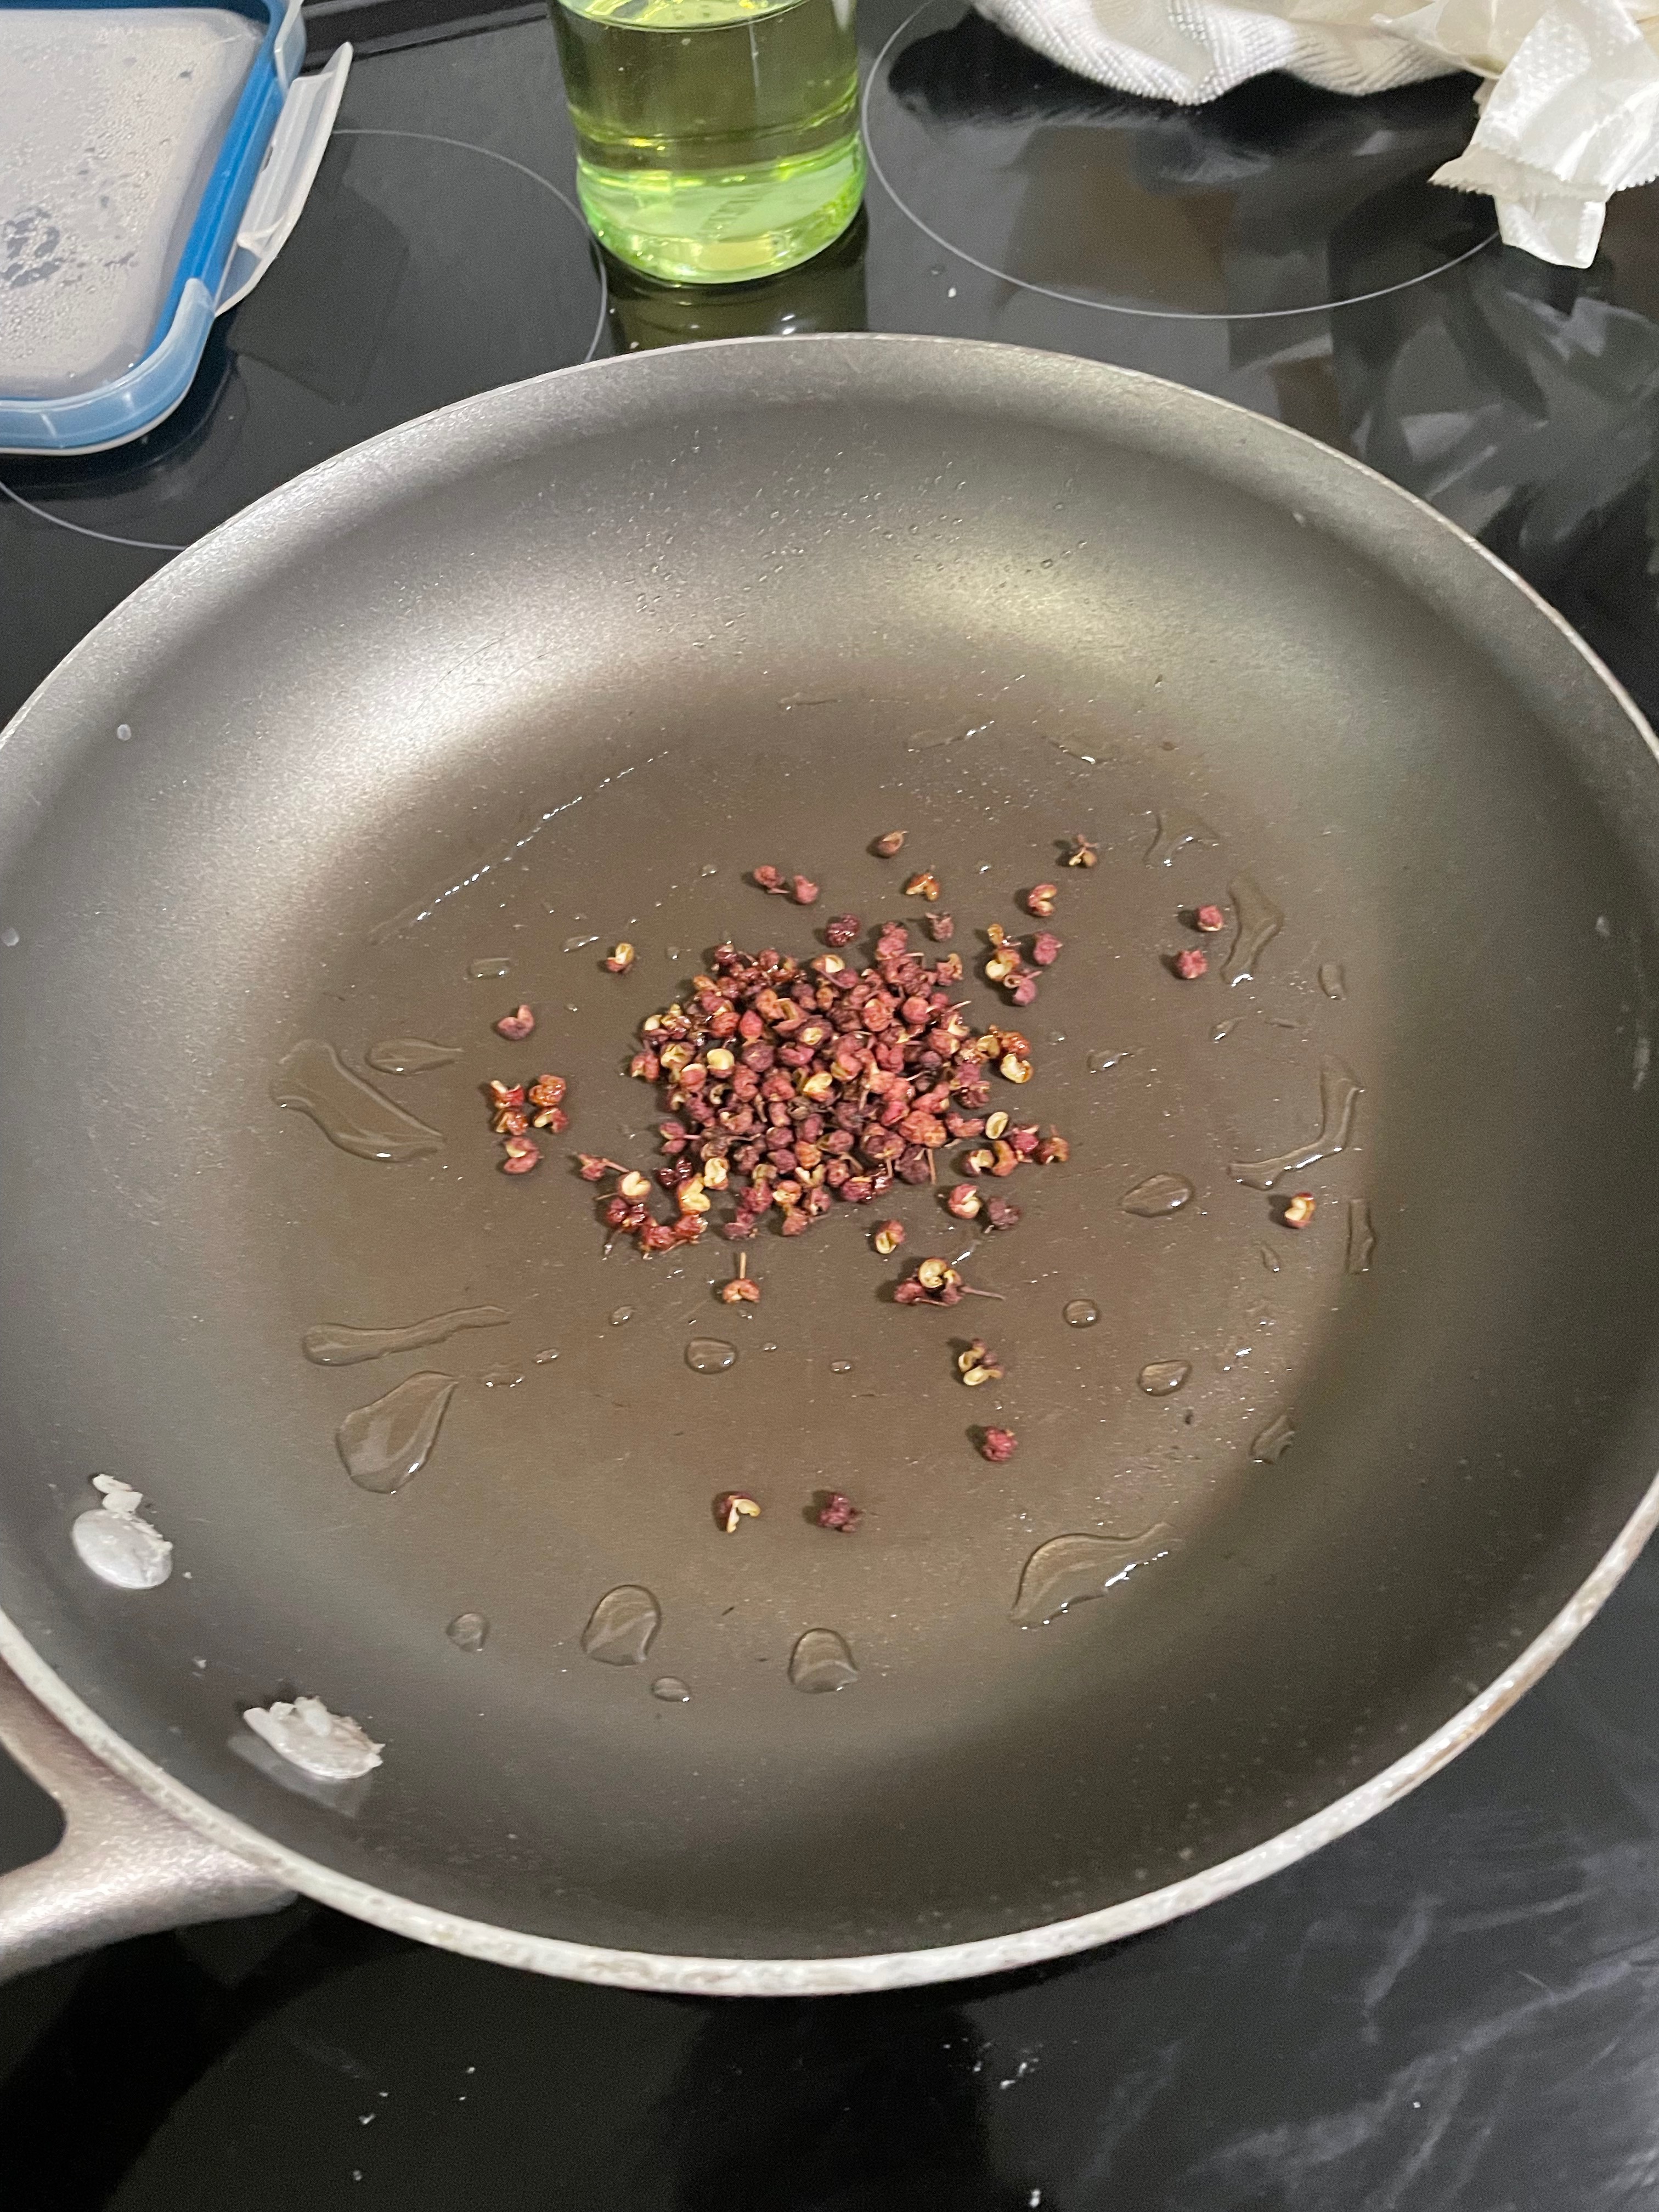
Sichuan peppercorns – This cannot be substituted! This is what gives Mapo tofu the “ma” in its name. “Ma” is the mouth-numbing spiciness.

Ground meat – I made mine with Impossible meat, and my guests didn’t even realize that the meal was plant-based. If a plant-based option is not handy, the recipe can be substituted with ground pork, turkey, chicken, beef, mushrooms… the world is your oyster!

Vegetable – Feel free to make the recipe your own and add in any other vegetables that might add some flair. I mixed in some bean sprouts at the end for a little extra crunch. Some other vegetables that would do well in the dish would be cabbage, onions, or a wilted leafy green. If not a mix-in, try something on the side. I’d recommended some garlicky steamed bok choy or Chinese broccoli, or even a light sesame, soy cucumber salad to help refresh you if it starts getting a little too spicy.

Mapo(ish) Tofu

Print Recipe
This mouth-numbingly spicy dish can be made plant-based! Try it with rice.
Servings 4

Ingredients

  • 1 tsp Sichuan peppercorns
  • 1 tbsp soybean paste
  • 1 tsp chili flakes
  • 1 tsp dark soy sauce
  • 1/2 lb ground meat
  • 1 block tofu
  • 1 bunch scallions garnish
  • 2 tbsp sesame oil
  • olive oil

Instructions

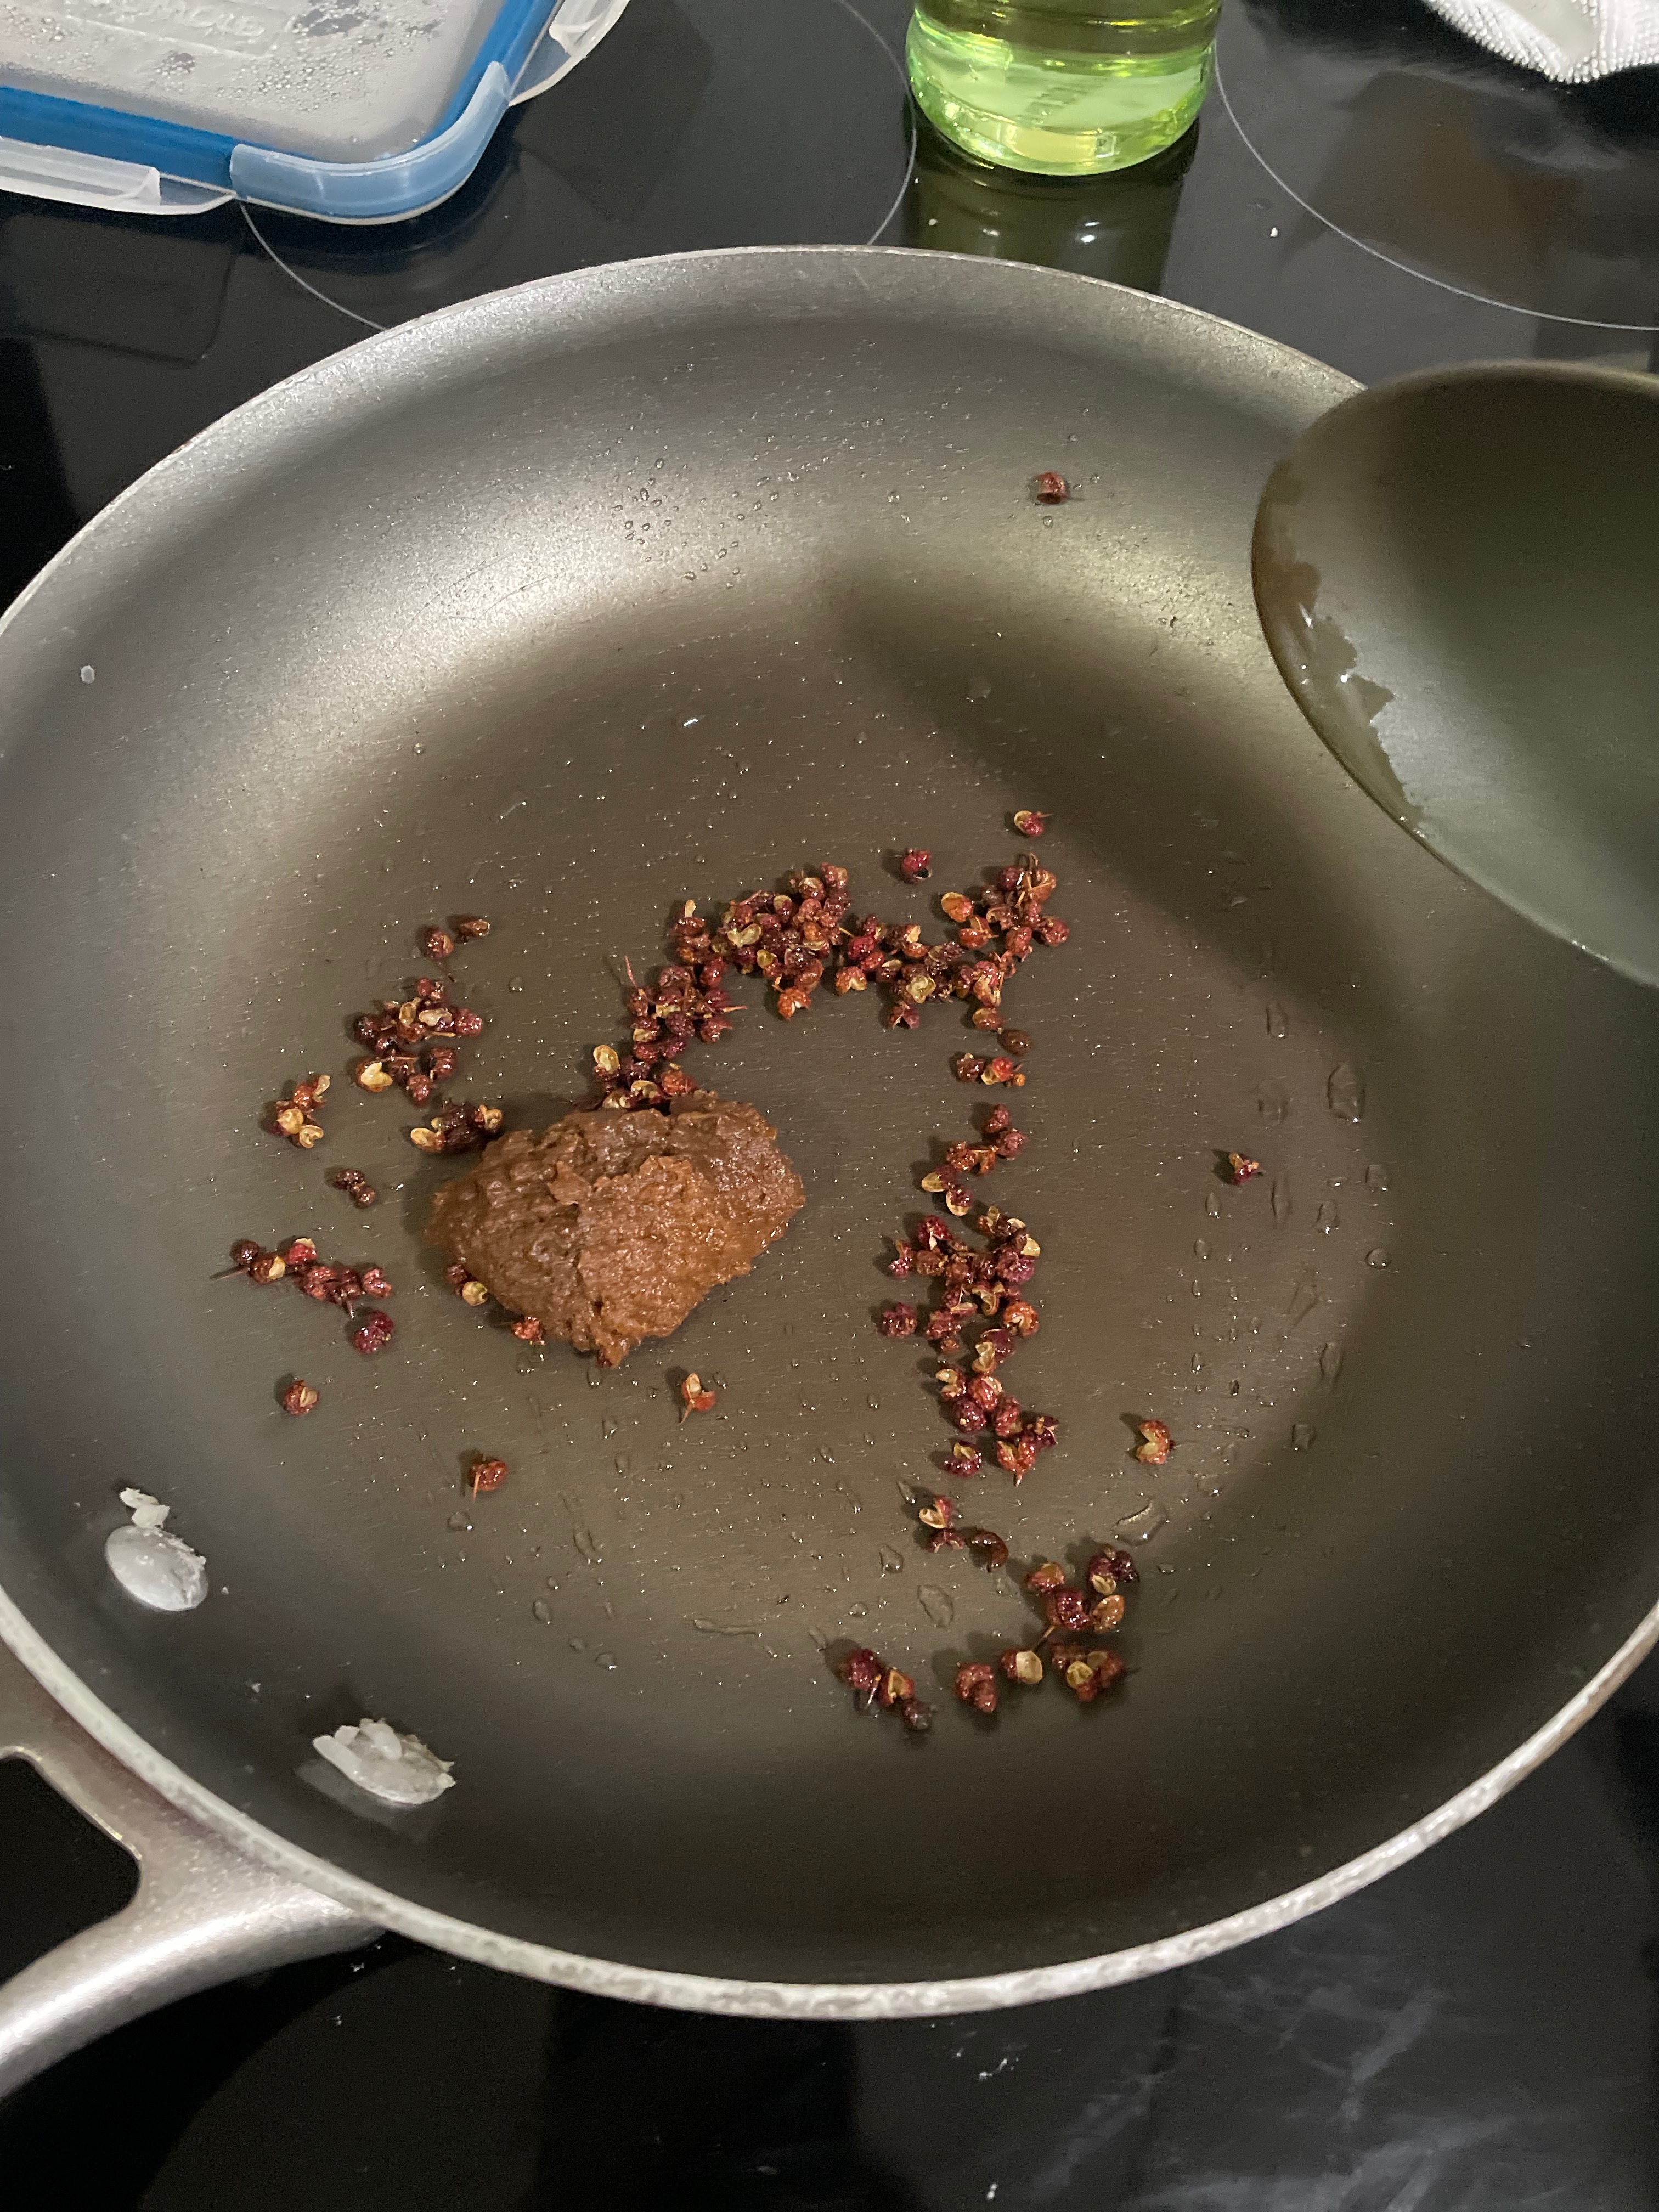
  • In a pan, heat up ~1 tsp of olive oil on medium heat.
  • When oil is hot, add Sichuan peppercorns and fry until fragrant.
  • Add soybean paste and briefly fry.
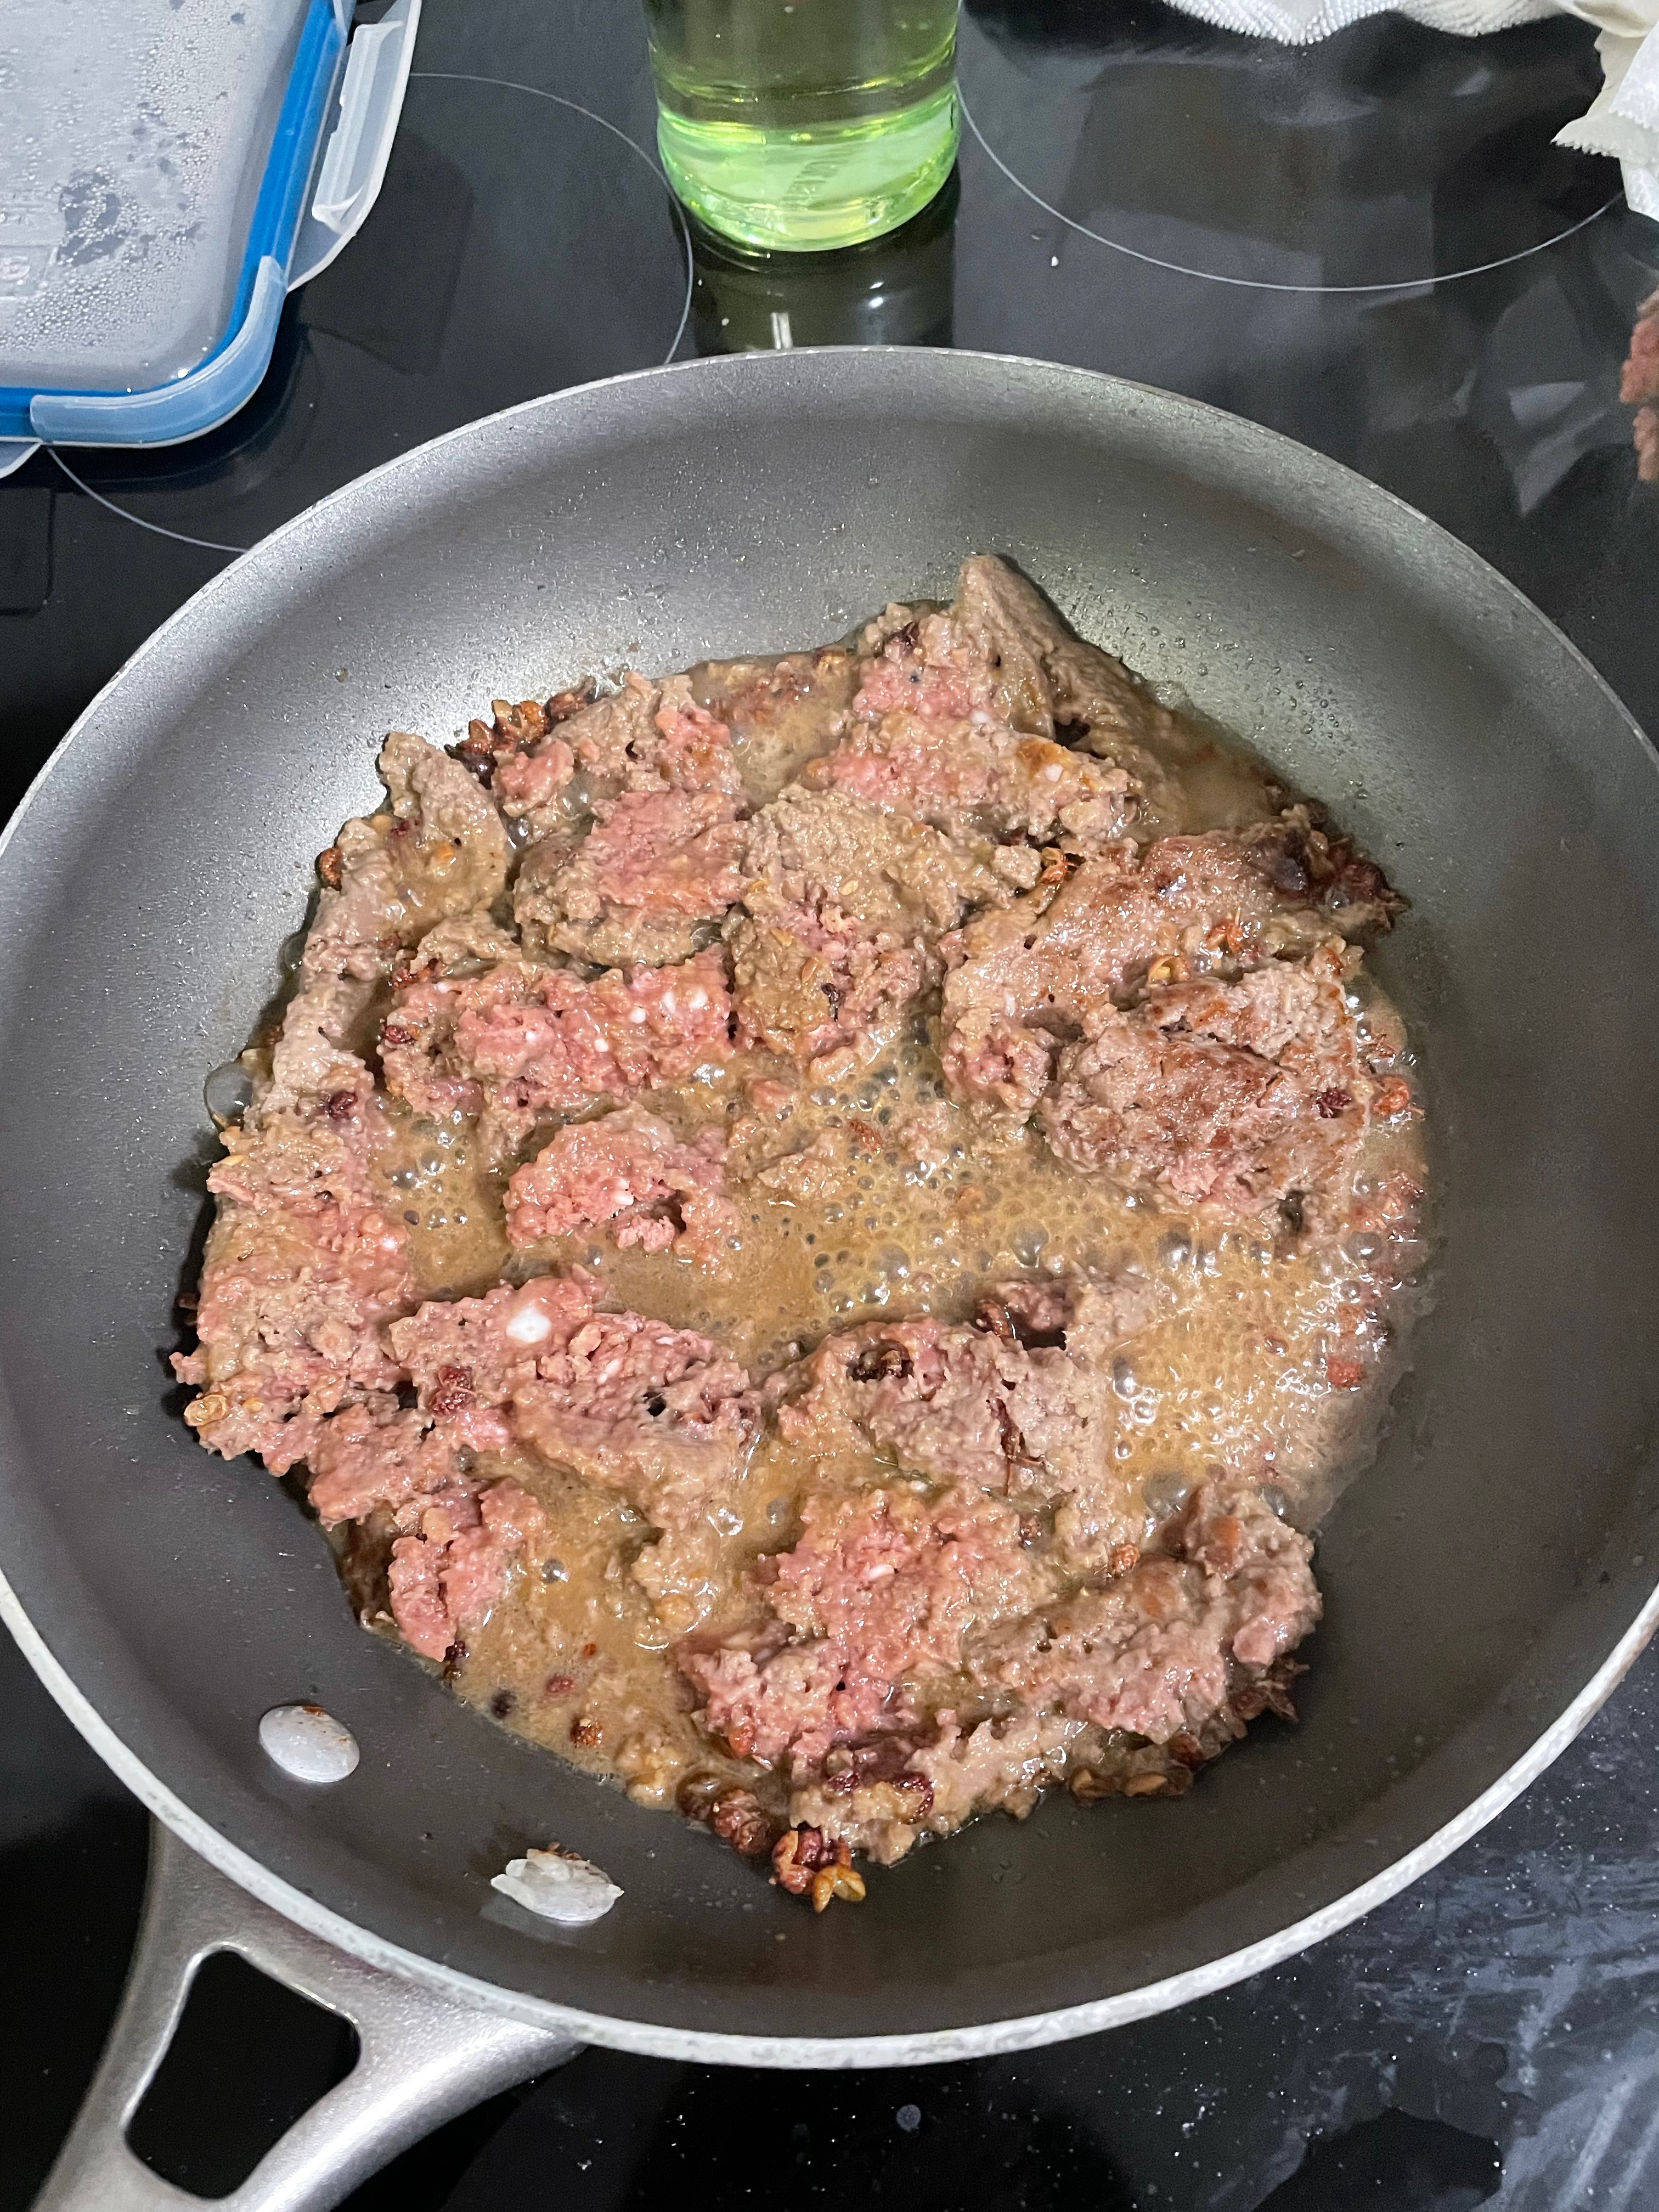
  • Add ground meat and stir.
  • When meat is 50% cooked, add in 1 cup of water, ensuring that the soybean paste dissolves.
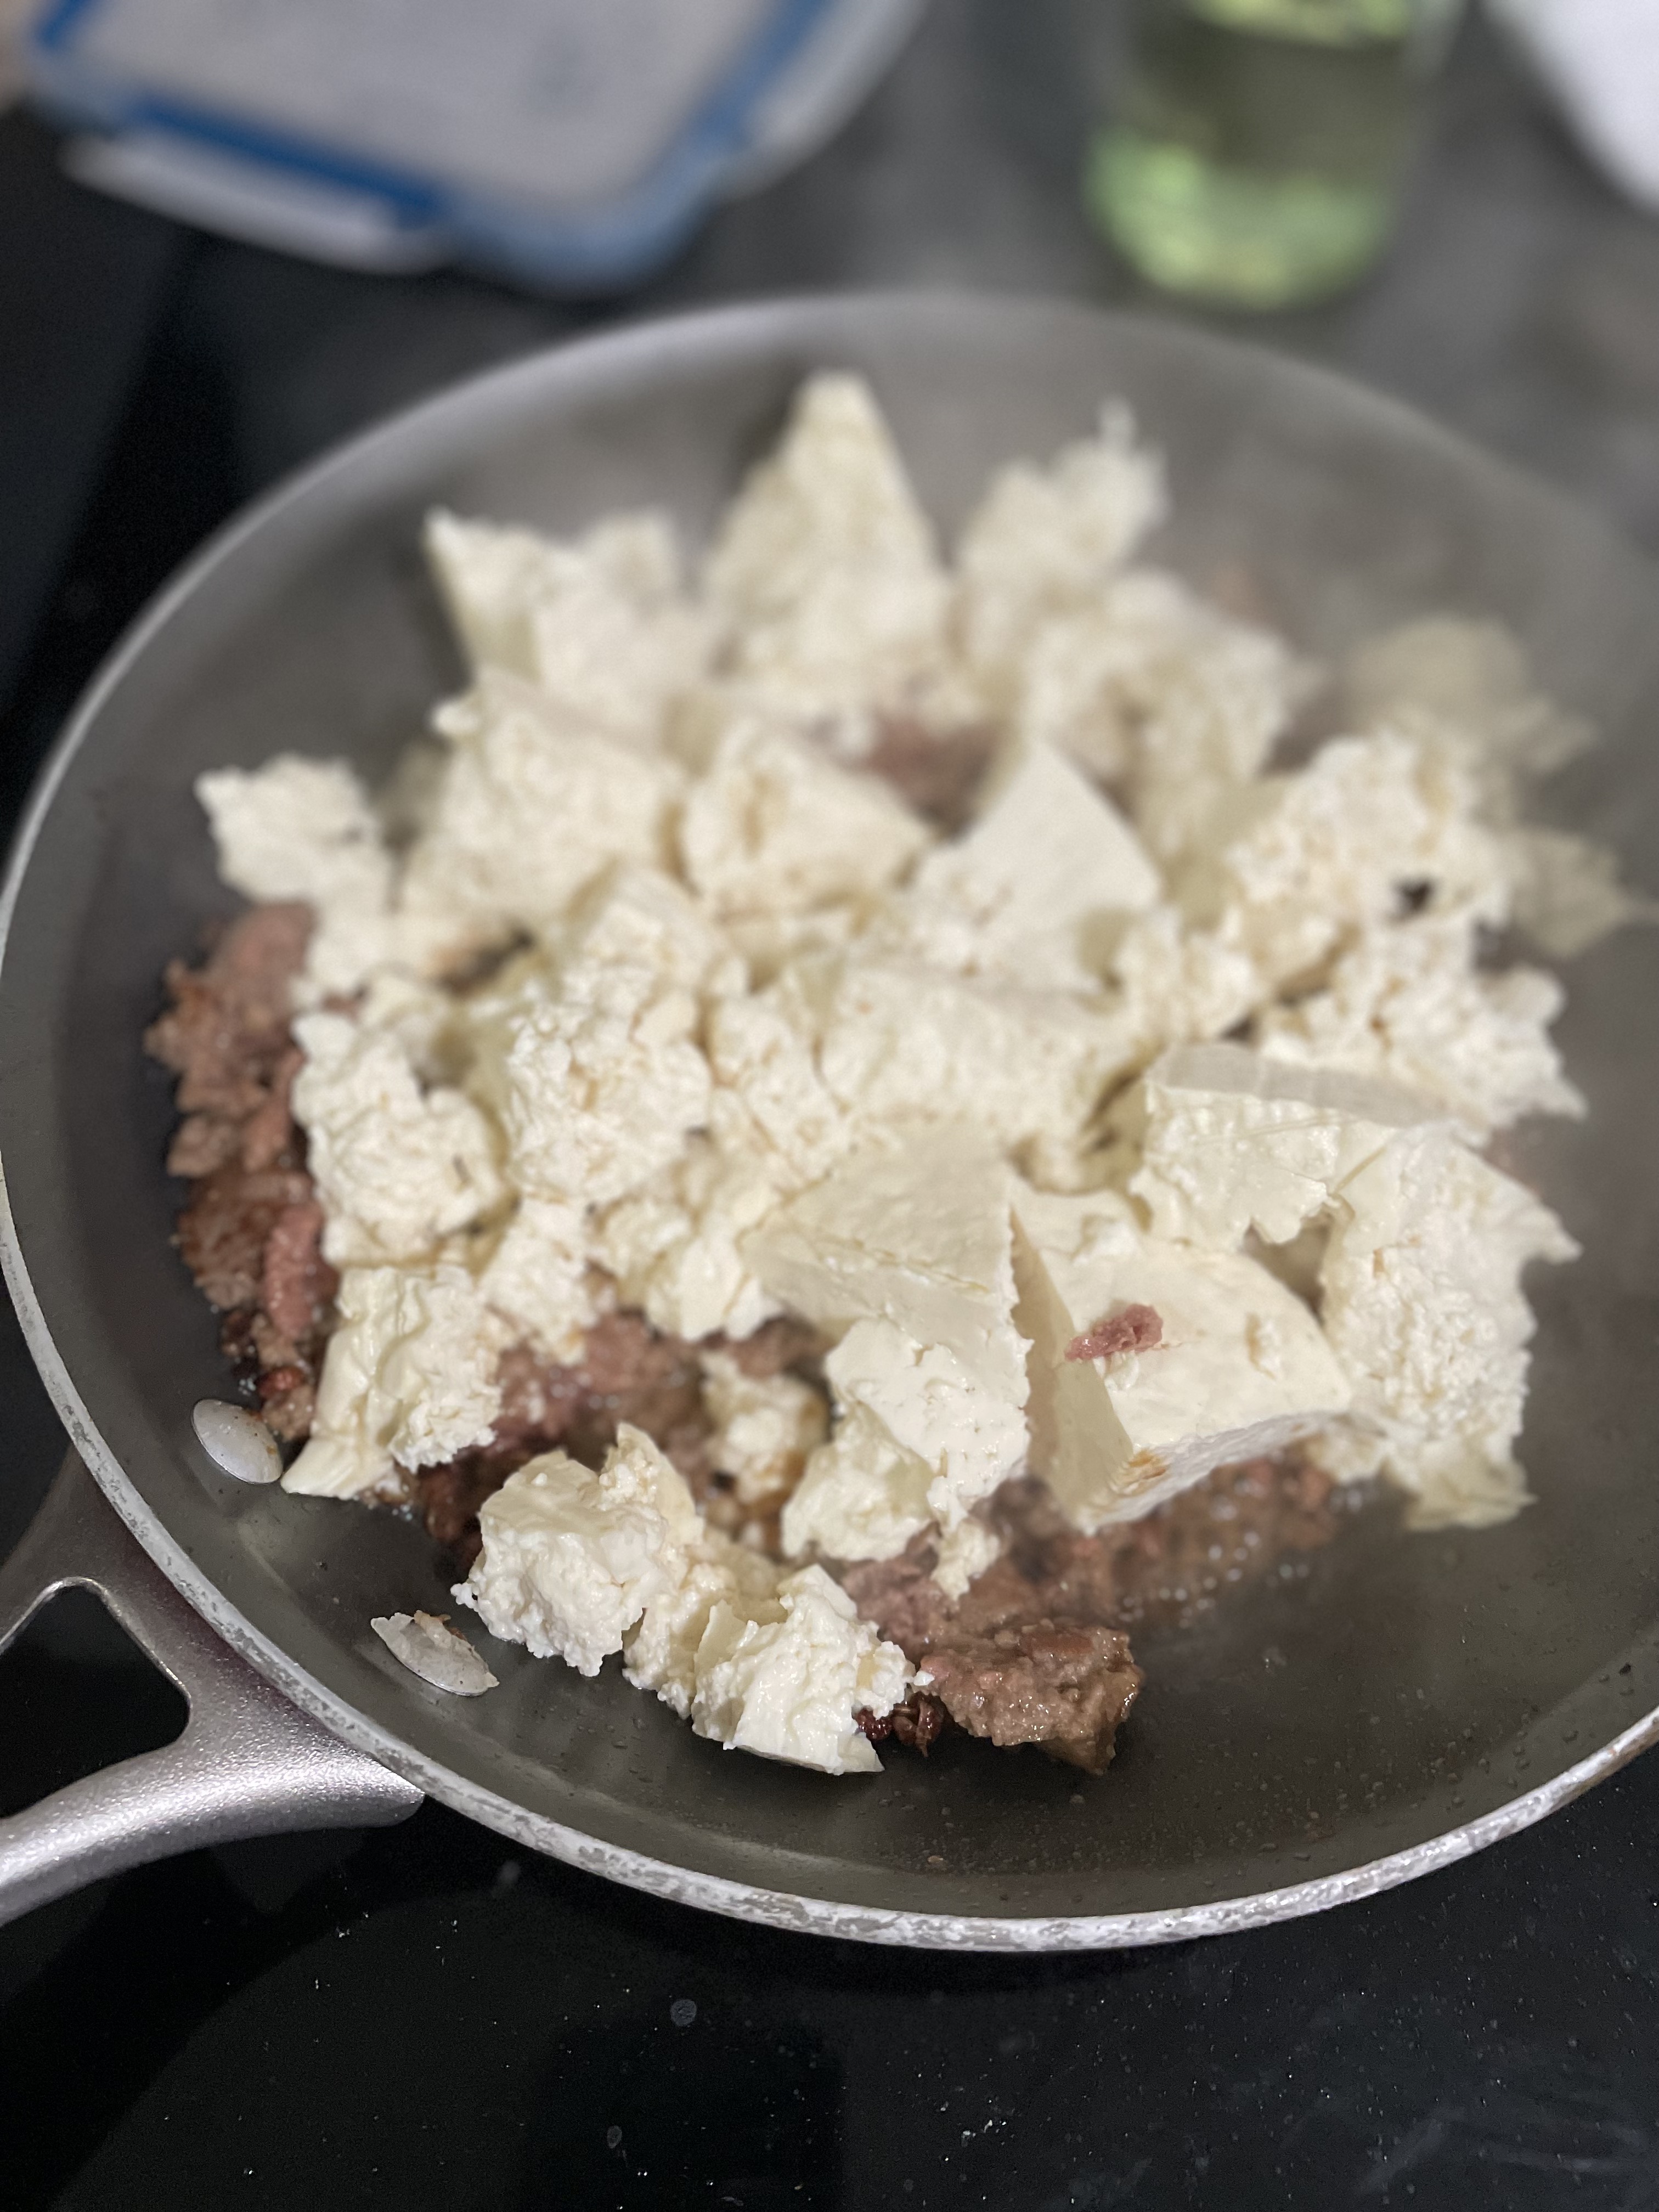
  • Using your hands, break up the tofu into bite sized chunks. Add tofu and chili flakes to the pan.
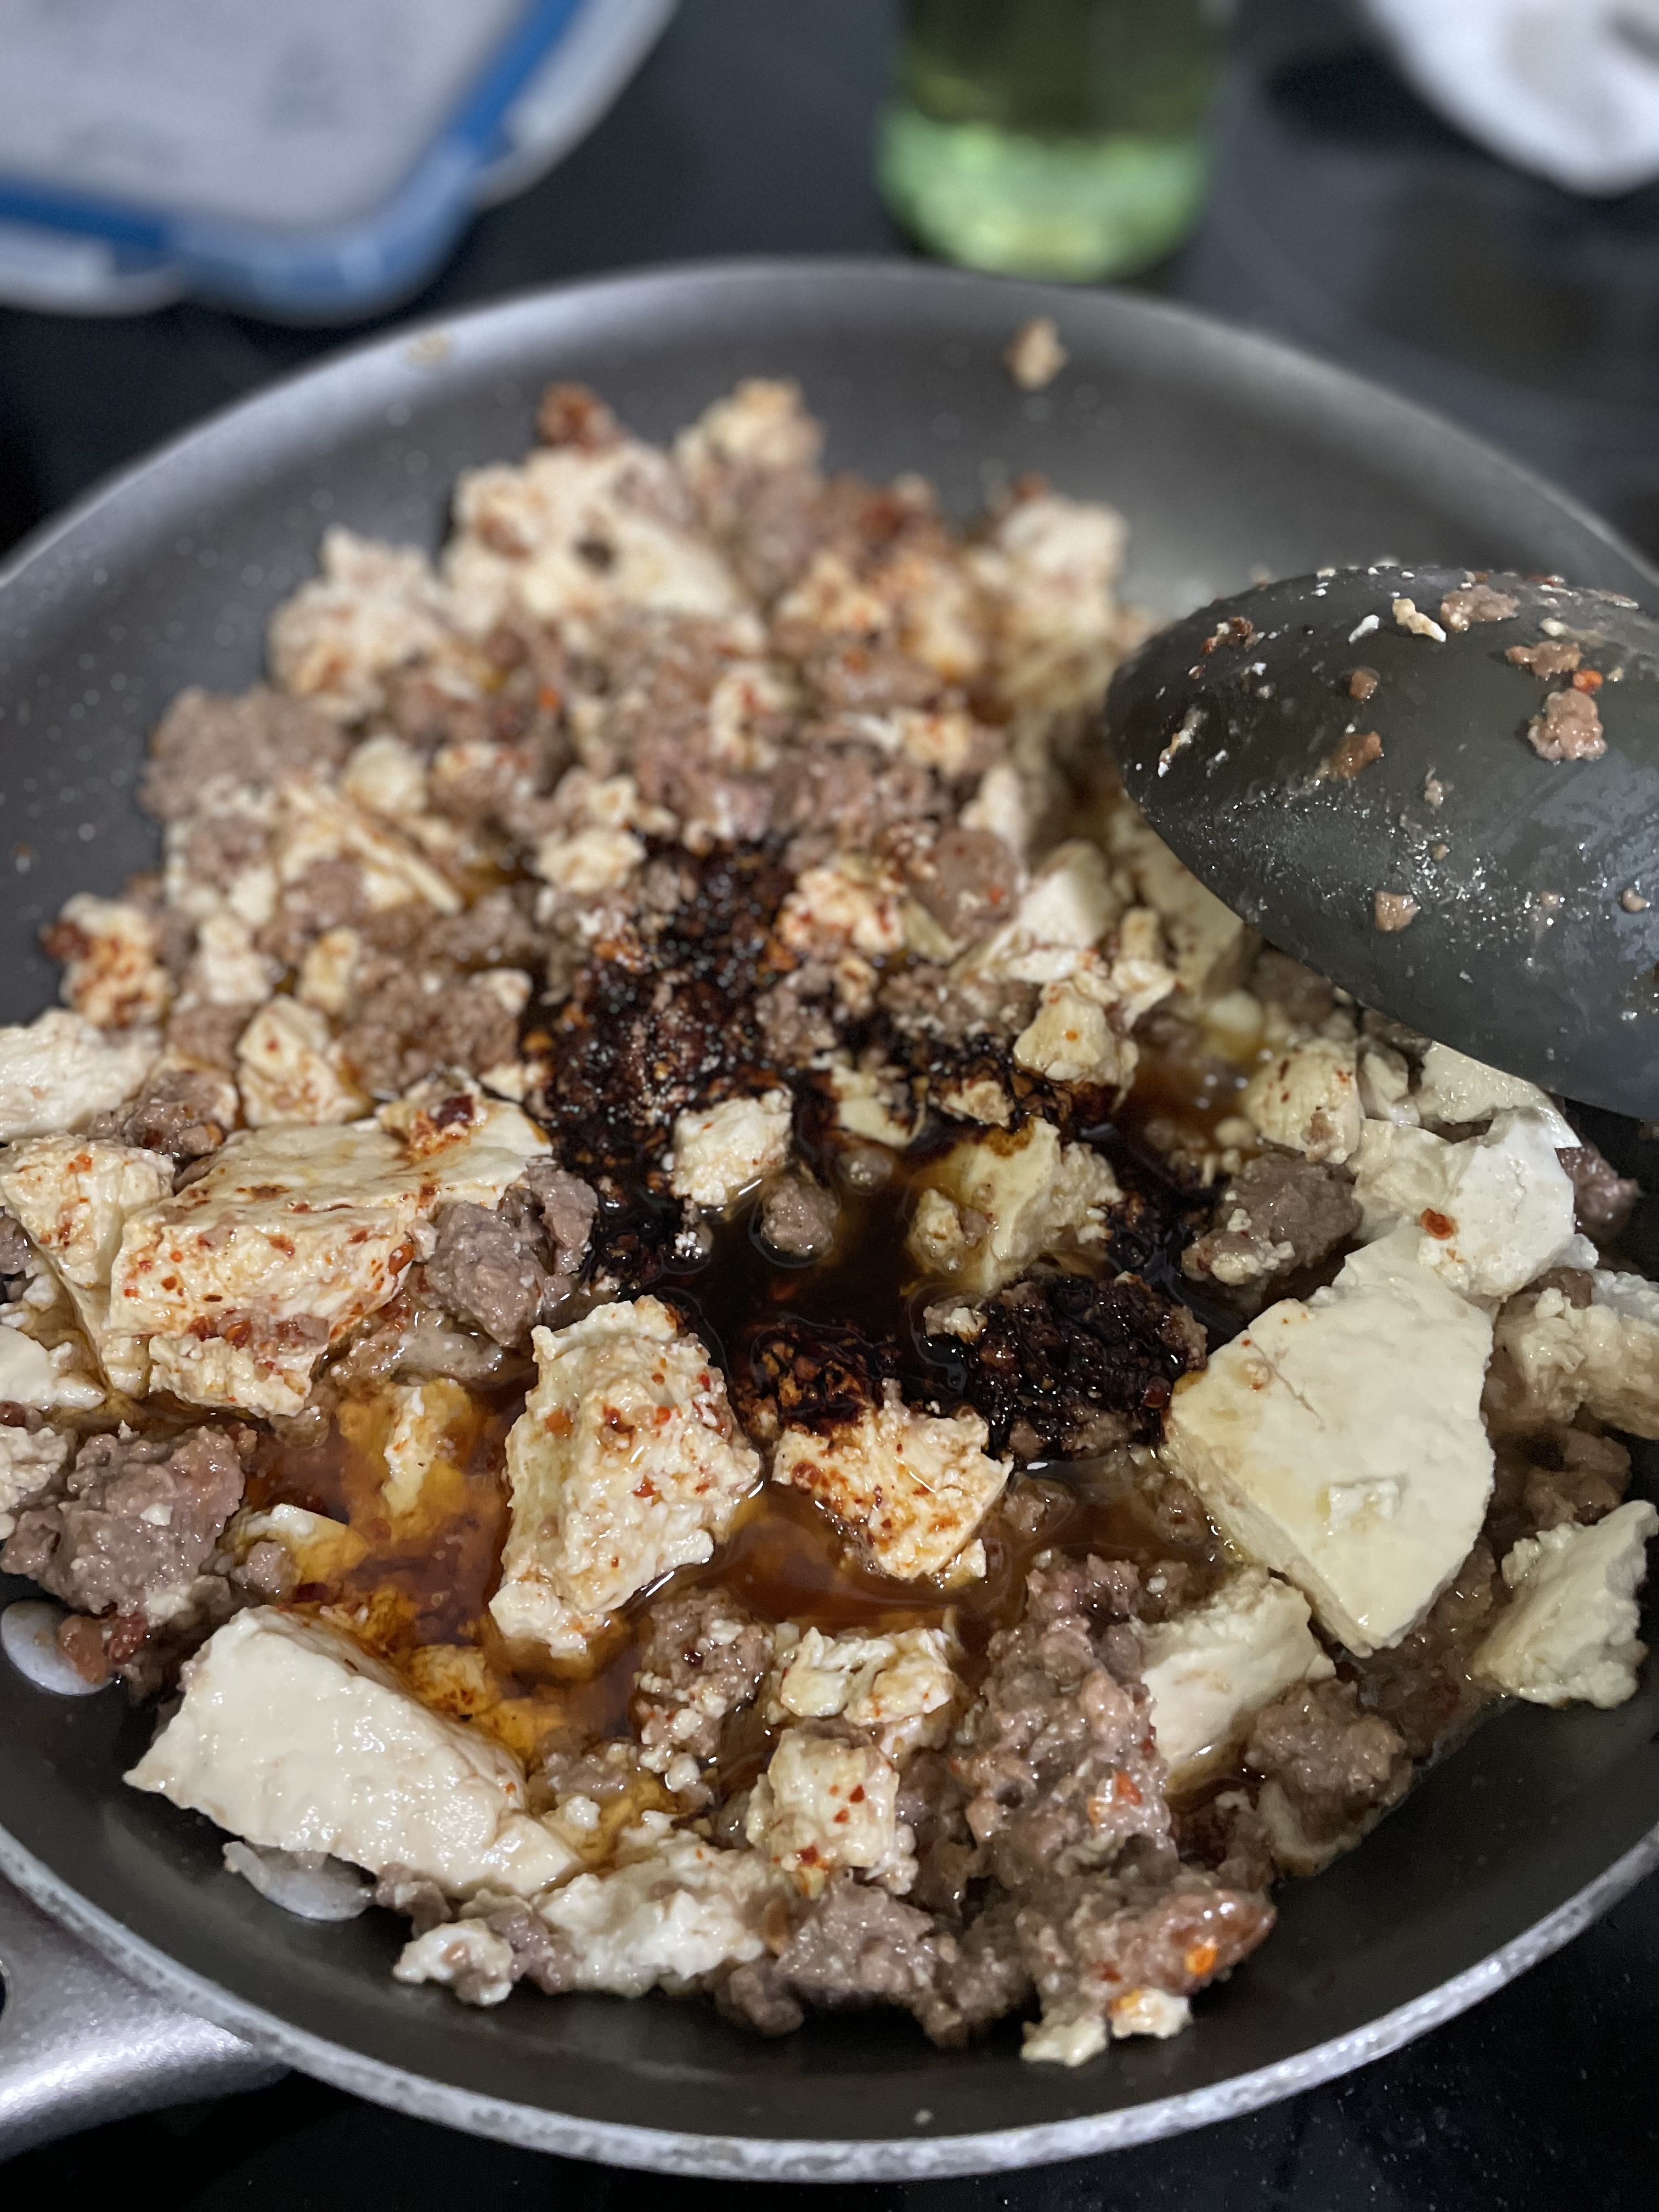
  • Add dark soy sauce and gently stir together.
  • When all of the tofu has been coated in the sauce, add in sesame oil and sprinkle scallions on top.

Try an appetizer of Chicken & Cabbage Dumplings.

Need a dessert? Have some Banana Bread or Peach Galette.

Pumpkin Soup

pumpkin thyme soup

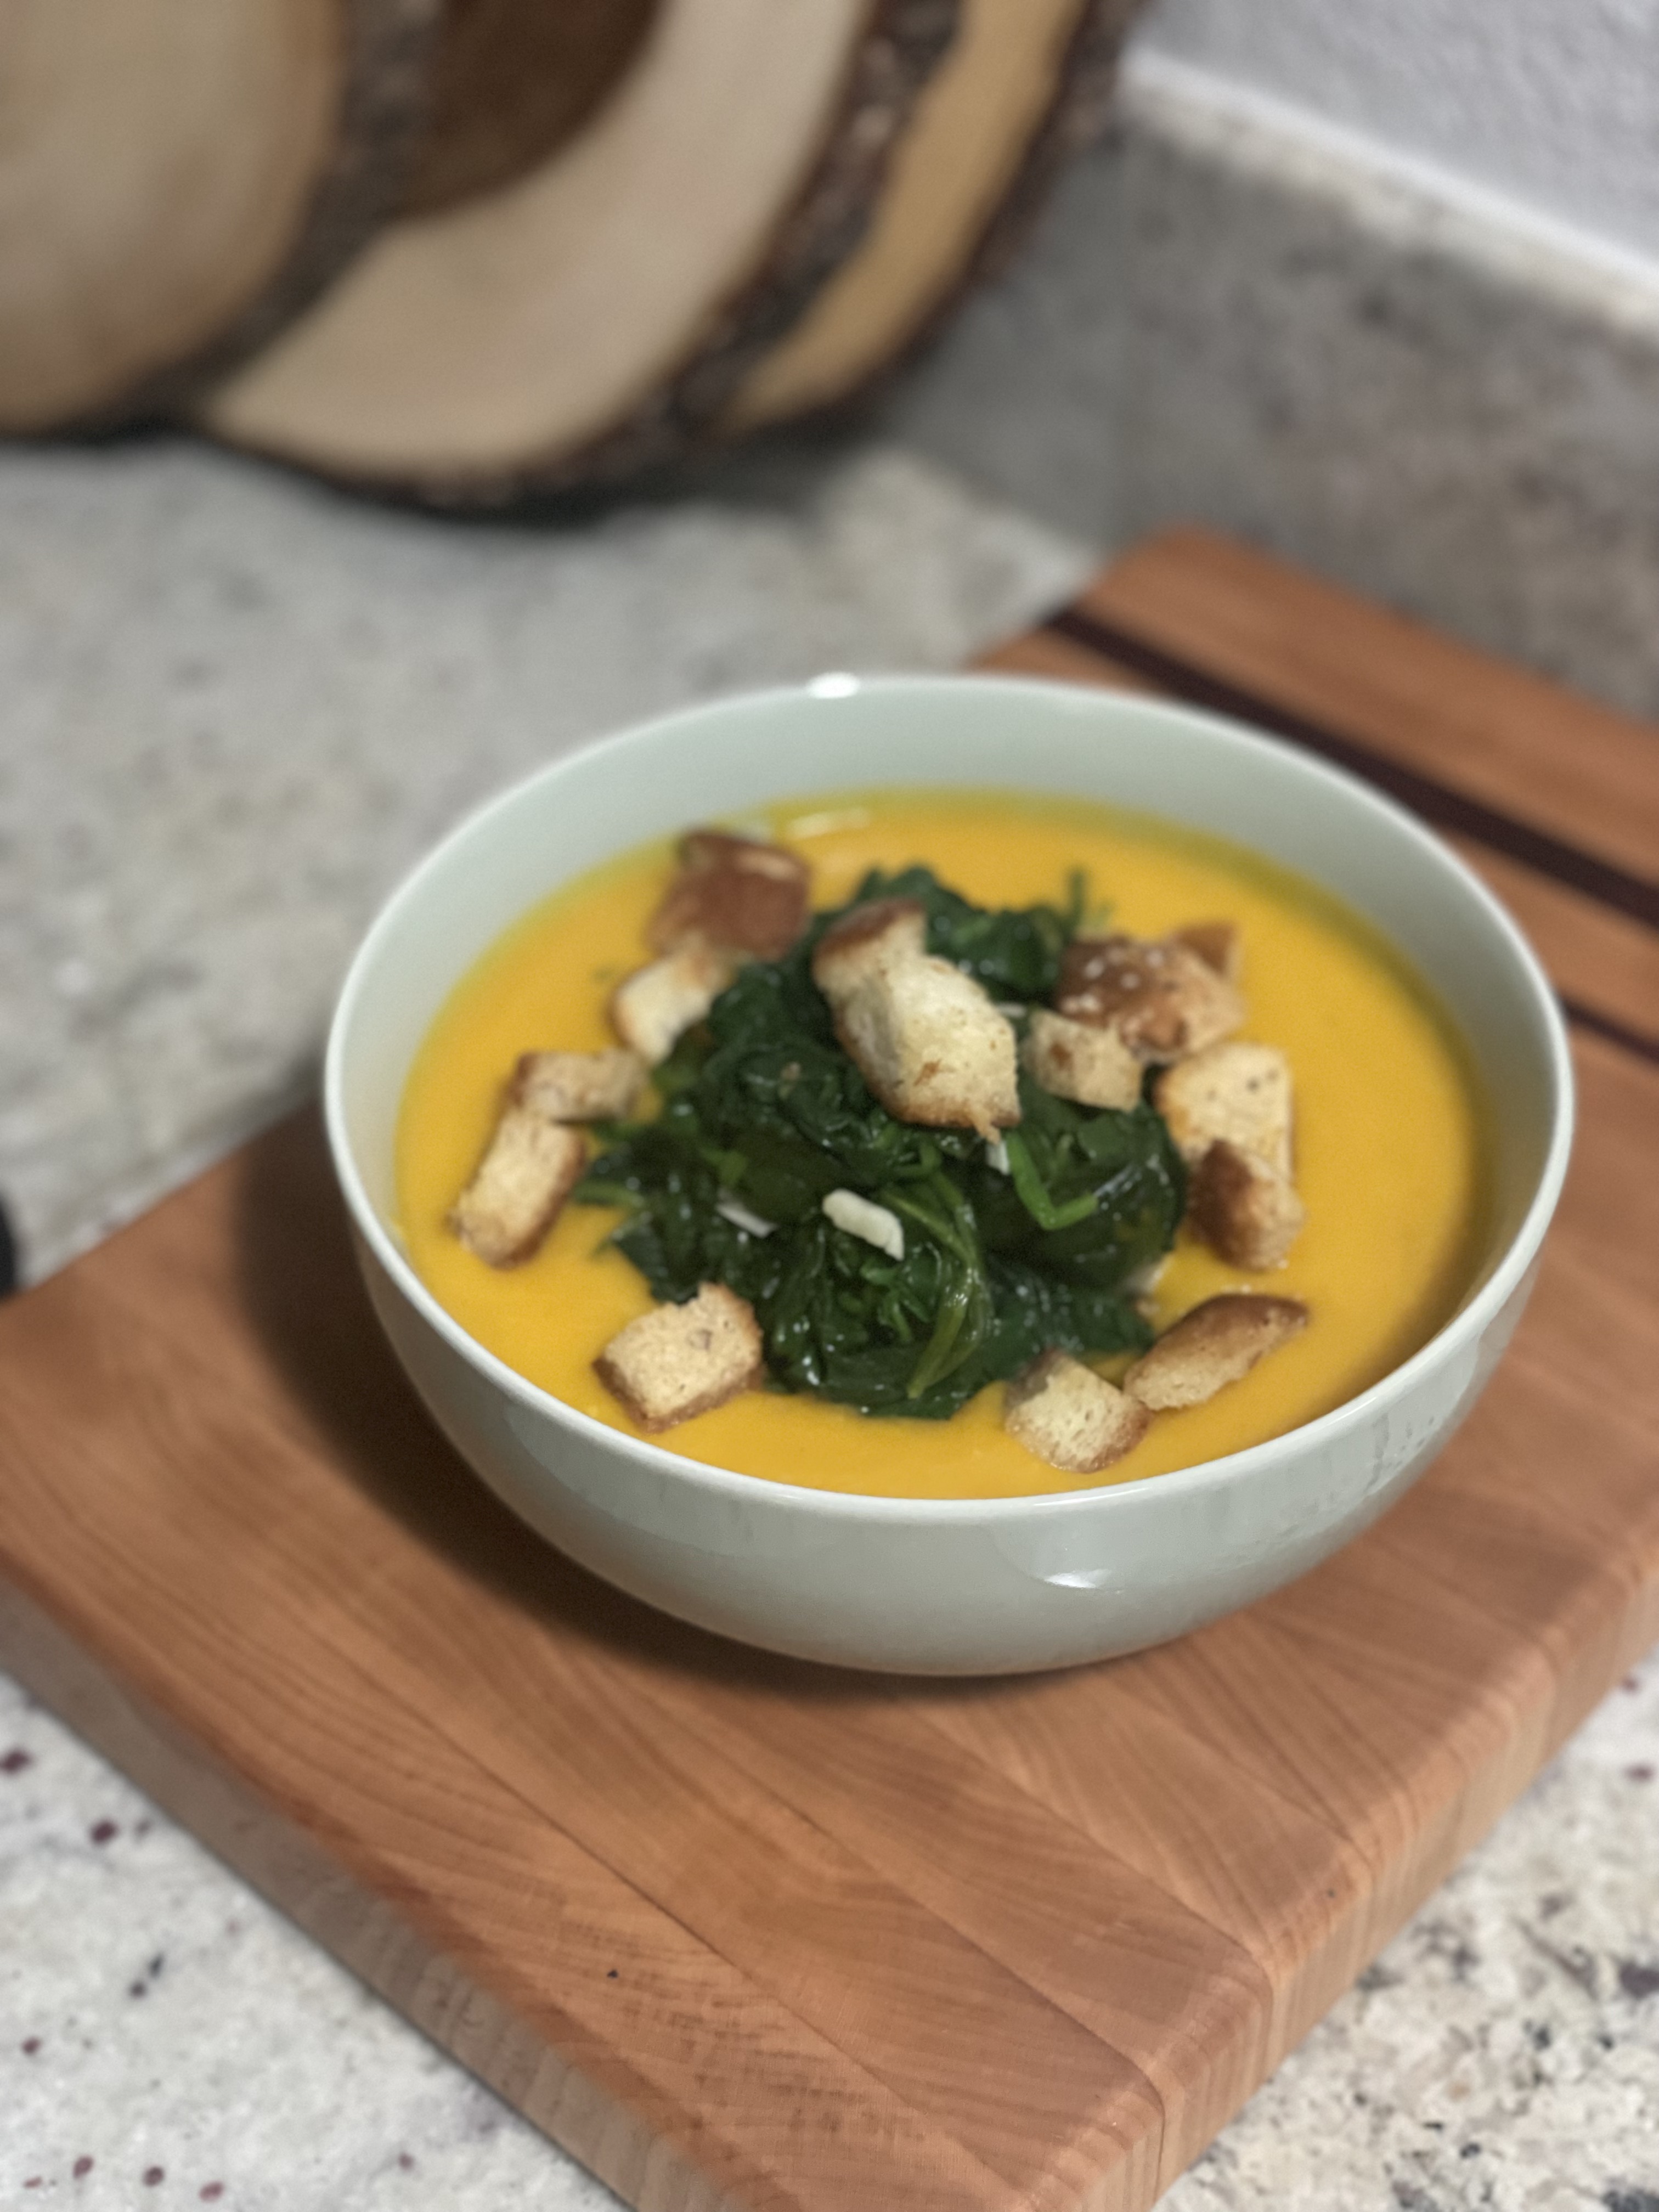
A luscious, creamy pumpkin soup that’ll fill you up and keep you warm. True pumpkin flavor (not pumpkin spice) that’s flavored with garlic and thyme and creamy with some soy milk. This pumpkin soup is (accidentally) vegan and you can’t even tell. The pumpkin gives it such a pretty color and it’s an excellent vehicle for all sorts of exciting toppings. The soup is also wonderful to have later in the week and freezes well for an emergency meal when cooking is not an option.

Veggie soups like this pumpkin soup are some of my favorite go to weeknight dinners because they are so low maintenance. All you have to do is grab a bunch of vegetables or aromatics, cook them, add some liquid, blend together, and you have a satisfying, warm dinner!

Ingredients

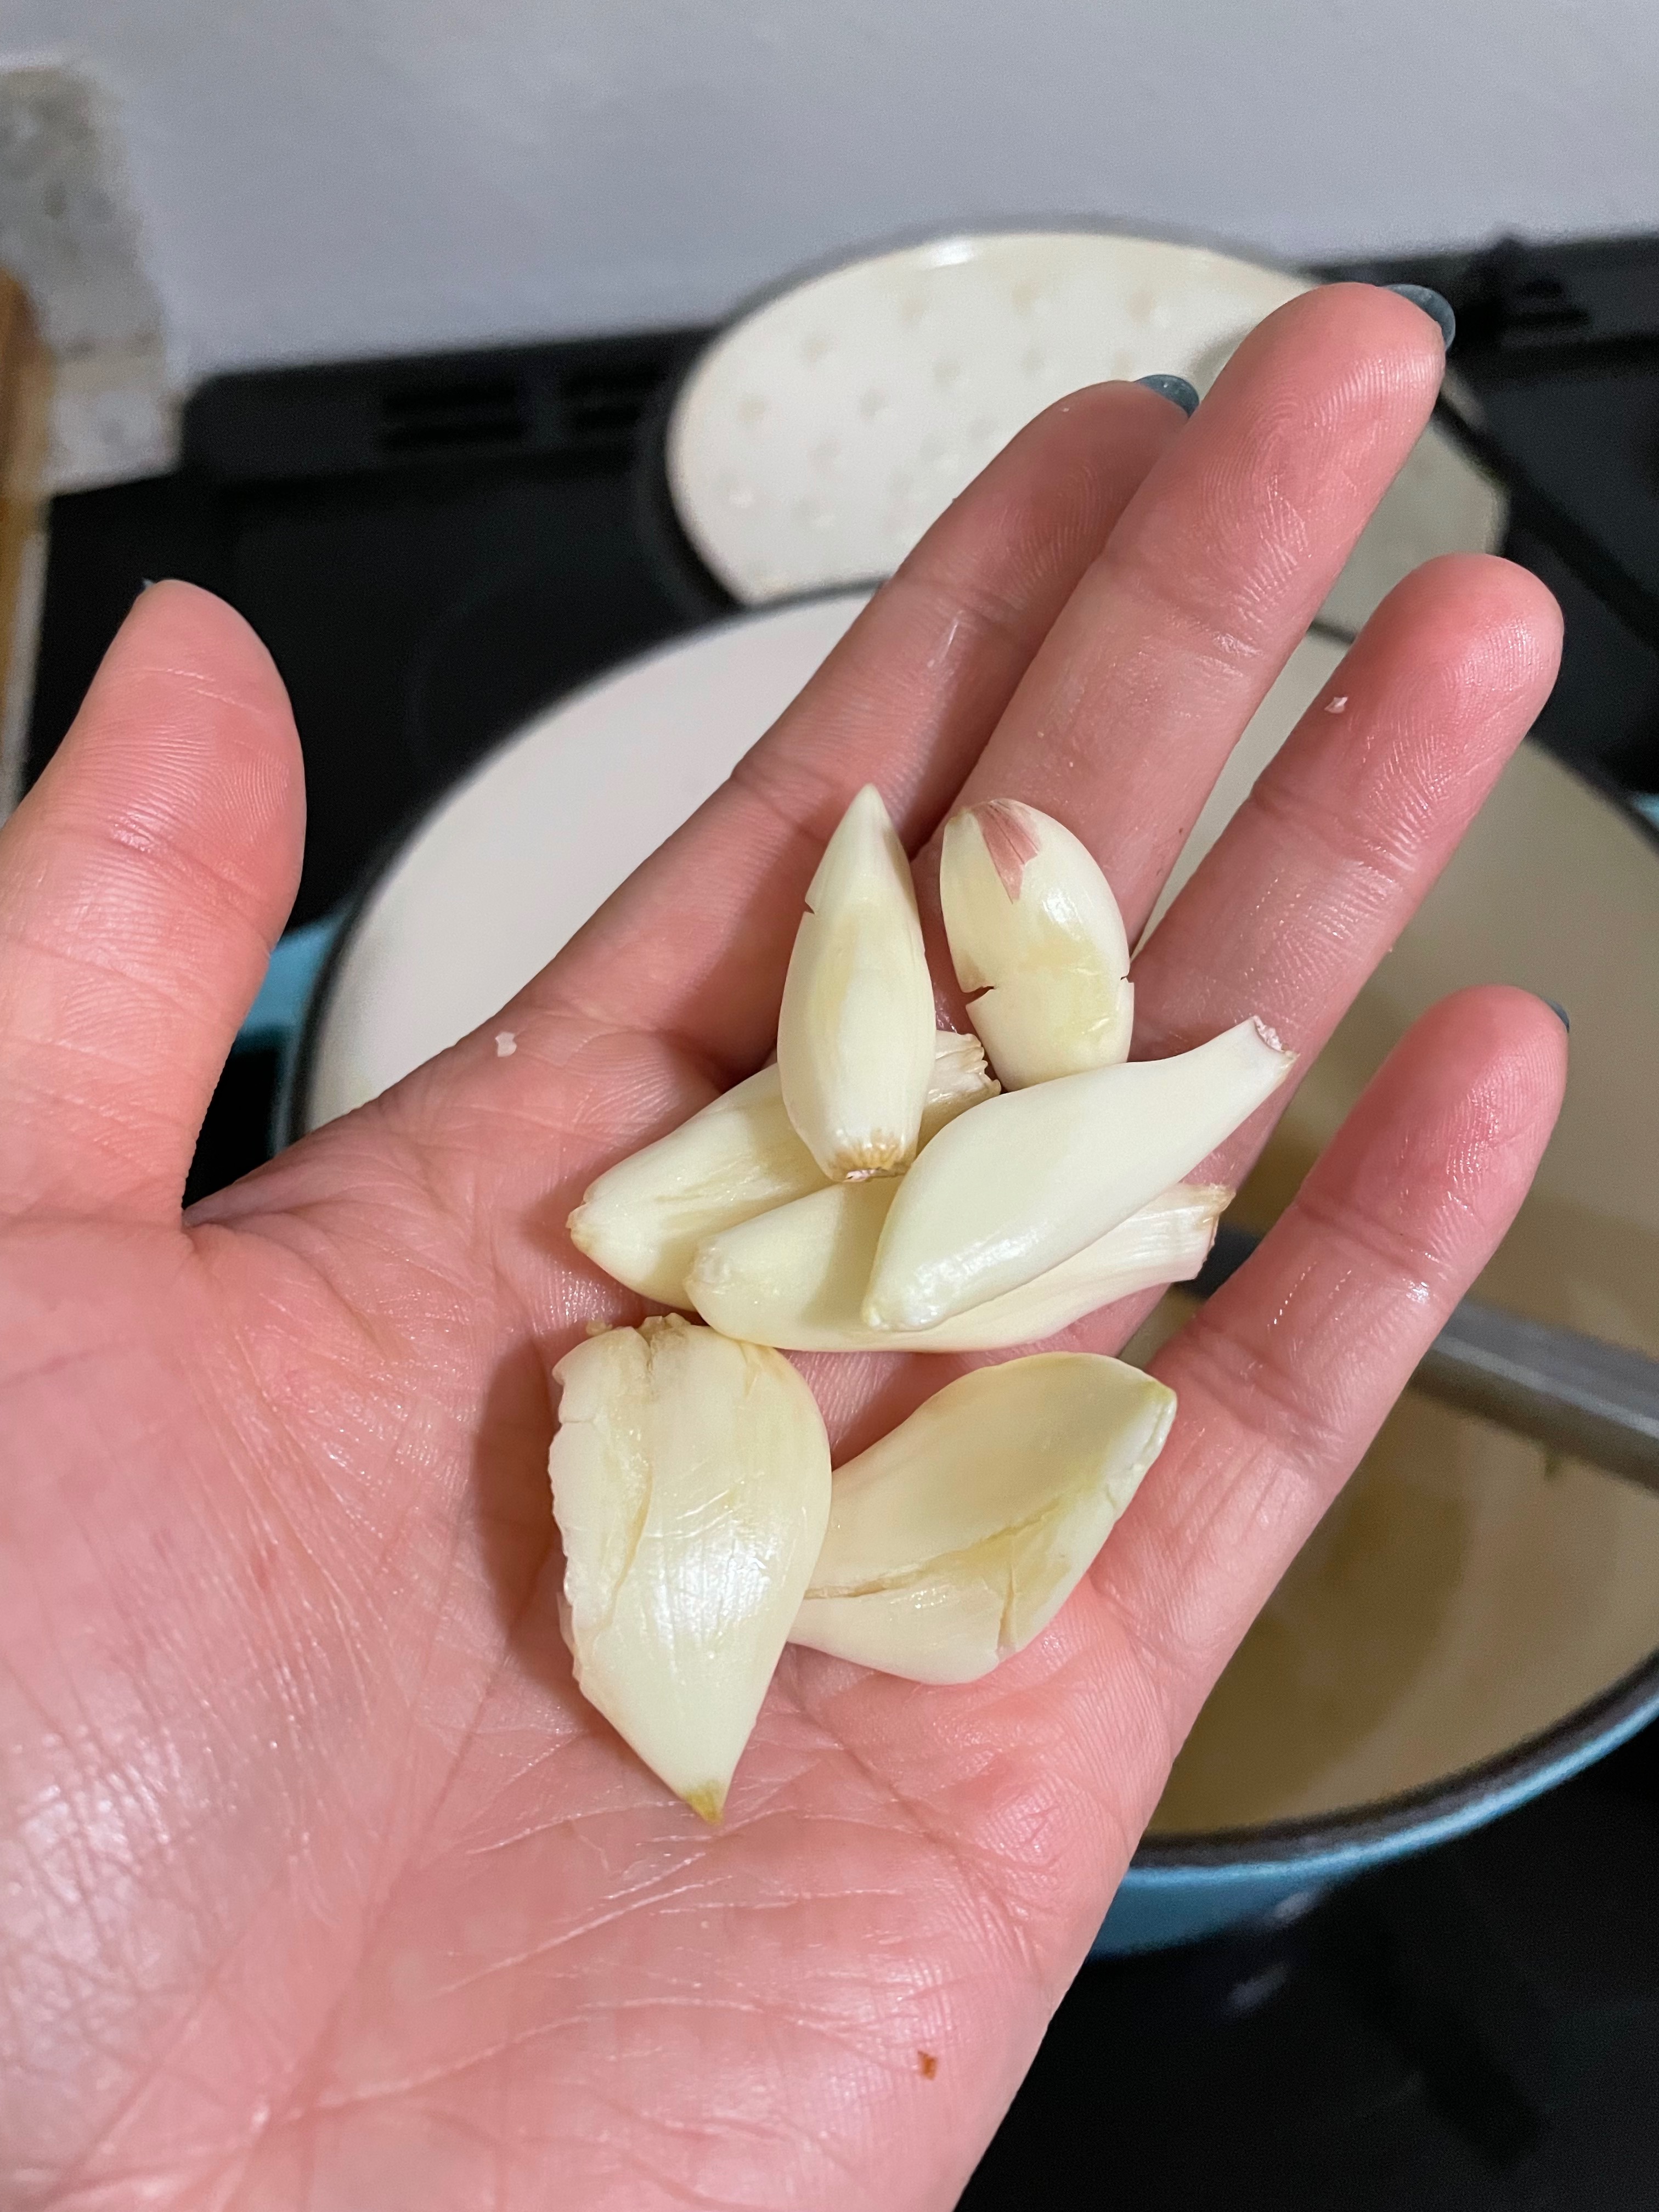
Garlic – I used a lot of garlic here, but you really can’t tell that there’s this much garlic in the soup. As the garlic cooks, it sweetens so it doesn’t have that sharpness to it in the soup. It really brightens the flavor of the pumpkin. Sometimes I do even more than just 7 cloves…

Pumpkin – I highly recommend using fresh pumpkin. Try making my Homemade Pumpkin Puree.

Soy milk – You can use any milk alternative here for a creamy soup or use a stock for a brothy soup. I generally have oat milk or soy milk on hand since my body tends to reject cow milk. Pumpkin puree is generally thick on its own, so the additional liquid of milk or stock helps thin it to more of a desirable consistency.

Thyme – My CSA provides herbs as well as produce! I usually have random herbs hanging upside down from my kitchen cabinets waiting to be sprinkled into a recipe. Here I have some thyme that has been drying in my kitchen for a few months now. You can use fresh thyme or dried thyme you can get at the grocery store too.

Toppings – The soup is delicious on its own, but its more fun with more toppings. I topped mine with some garlic, sautéed spinach and some spicy homemade croutons. Top with whatever you may have on hand to add more dimension and texture. I’d try caramelized onions, crackers, or even toasted nuts. No toppings? No problem. Try it with a slice of toasty bread for dipping.

Method

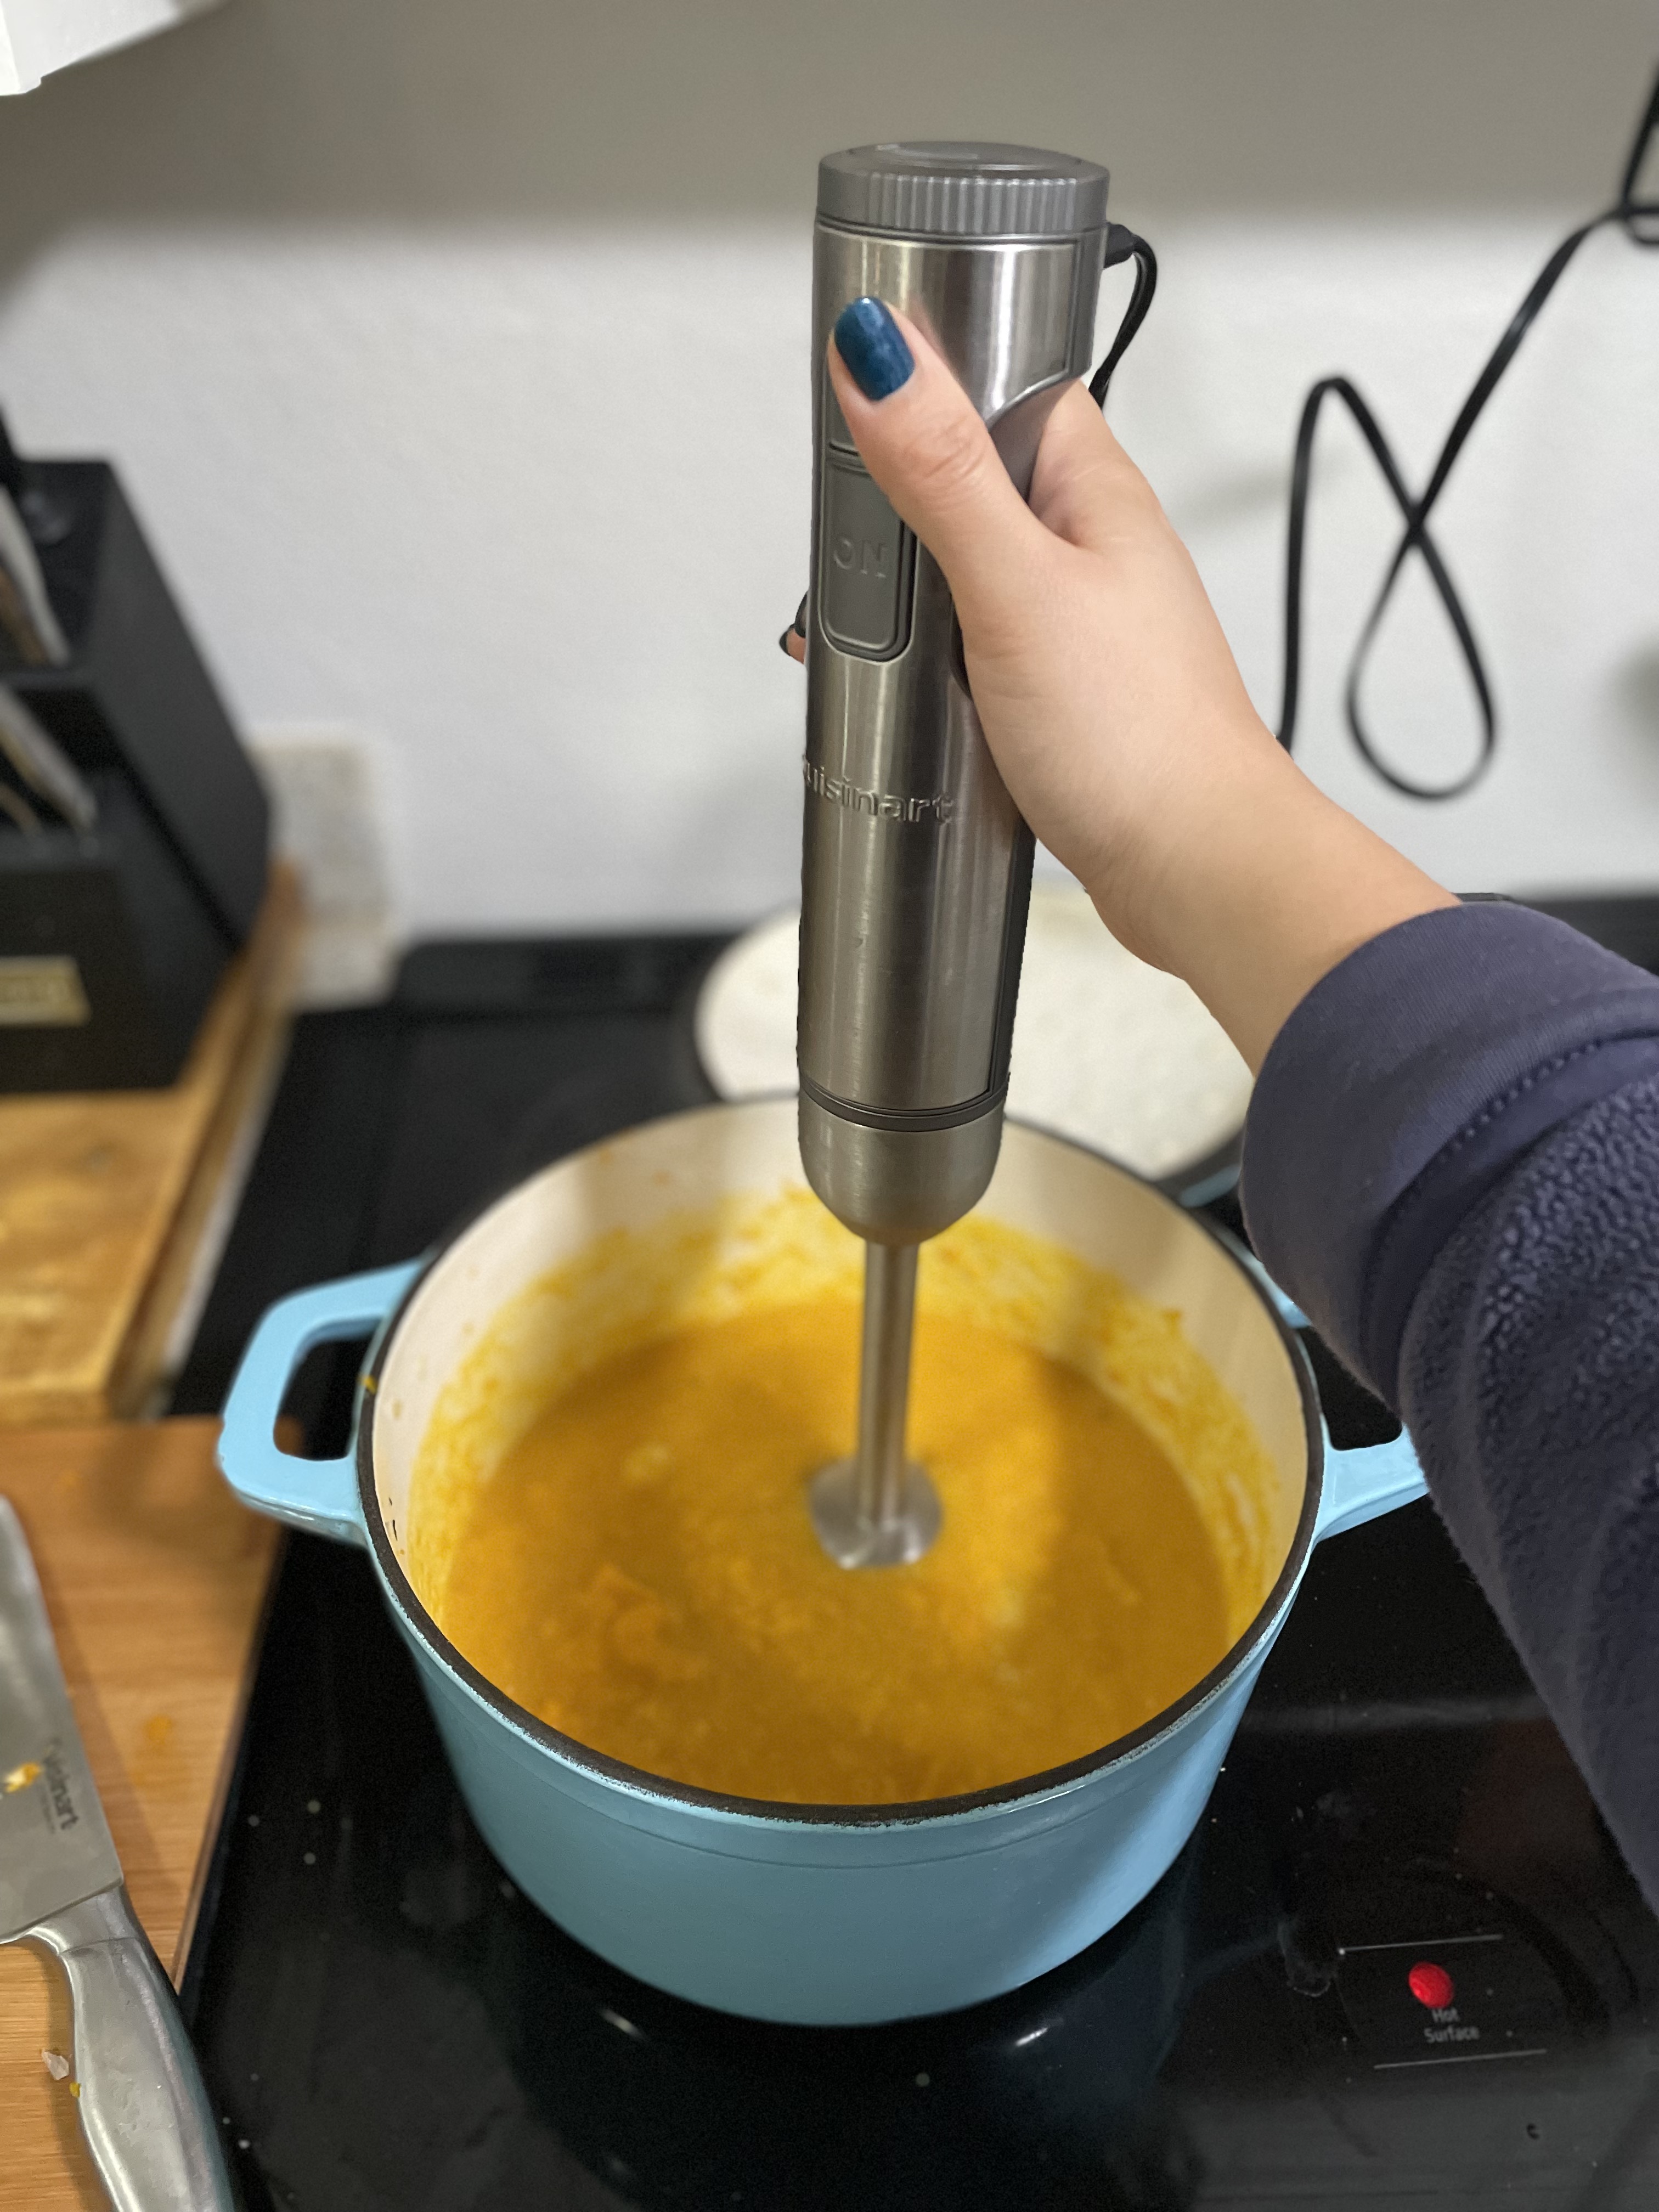
Blender – I used an immersion blender for this soup since I didn’t want to watch a blender/lid combo, but a traditional blender works fine! Blend to your desired consistency using whatever method works best for you.

pumpkin thyme soup

Pumpkin Thyme Soup

Print Recipe
A thick, comforting soup to get you through the rest of winter.
Course Main Course, Soup
Keyword pumpkin, soup, thyme, vegan, vegetarian
Prep Time 30 minutes
Cook Time 30 minutes
Servings 4

Equipment

  • heavy bottom pot
  • blender

Ingredients

  • 7 cloves garlic
  • 4 cups pumpkin puree fresh
  • 2 cups soy milk
  • 1 tsp thyme
  • salt
  • pepper

Instructions

  • In a heavy bottom pot, saute garlic for a few minutes, until lightly browned.
  • Add pumpkin puree and mix with garlic for 1-2 minutes.
  • Add soy milk and mix together with pumpkin and garlic.
  • Allow to simmer ~8 minutes until garlic softens.
  • Blend the pumpkin, soy milk, garlic mixture together until creamy and texture evens.
  • Add 1 tsp of thyme.
  • Season with salt & pepper to taste.
  • Serve immediately with any toppings you'd like! I had mine with sautéed garlic spinach and homemade spicy rosemary croutons.

Interested in other pumpkin recipes?

Try Pumpkin Pull Apart Bread or Pumpkin Panang Curry with Spinach and Paneer.