Pizza Dough

Deep-dish or thin-crust; I don’t judge a pizza. I love making pizzas at home since you can customize them however you want and use toppings that they might not have even at the fancy, artisan pizza restaurant. This is a super simple pizza dough recipe that requires very few ingredients and very little hands-on time. If you don’t want to mix the dough by hand, you can use a stand mixer to make it even easier.

This pizza dough can be stretched out to make pizzas, breadsticks, and even garlic knots. Try some of my favorite pizza topping combinations:

  • Pesto, goat cheese, broccoli
  • Red sauce, spicy sausage, mushrooms, shredded mozzarella
  • Olive oil, fresh mozzarella, prosciutto, arugula, balsamic glaze

Ingredients

Flour – I’ve always used all-purpose flour for this pizza dough recipe for it to be as easy as possible. If you want to use whole-wheat flour, I wouldn’t substitute more than 1/4 of the total amount of flour for whole-wheat. Whole-wheat flour can cause the dough to be come really dry.

Yeast – I use active dry yeast. You can use instant yeast too and you don’t have to wait for the mix to bloom.

Salt – You need to add salt to the dough or else it’ll taste like dirt. Feel free to add any other spices or herbs at this point too like oregano, rosemary, garlic, onion powder, or even herbs de Provence.

Sweetener – Some sweetener helps give the yeast something to eat so that the dough can rise. Depending on what I have on hand, I’ll switch between honey, agave, or white sugar.
Pizza Dough

Print Recipe
An easy pizza dough that can be used for pizzas (of course) or even breadsticks and garlic knots.
Makes 2 large 12" pizzas or 4 9"x11" pizzas.
Course Main Course
Keyword pizza, pizza dough, yeast
Prep Time 1 day

Equipment

  • 1 Stand mixer optional

Ingredients

  • 800 grams all-purpose flour
  • 500 grams lukewarm water
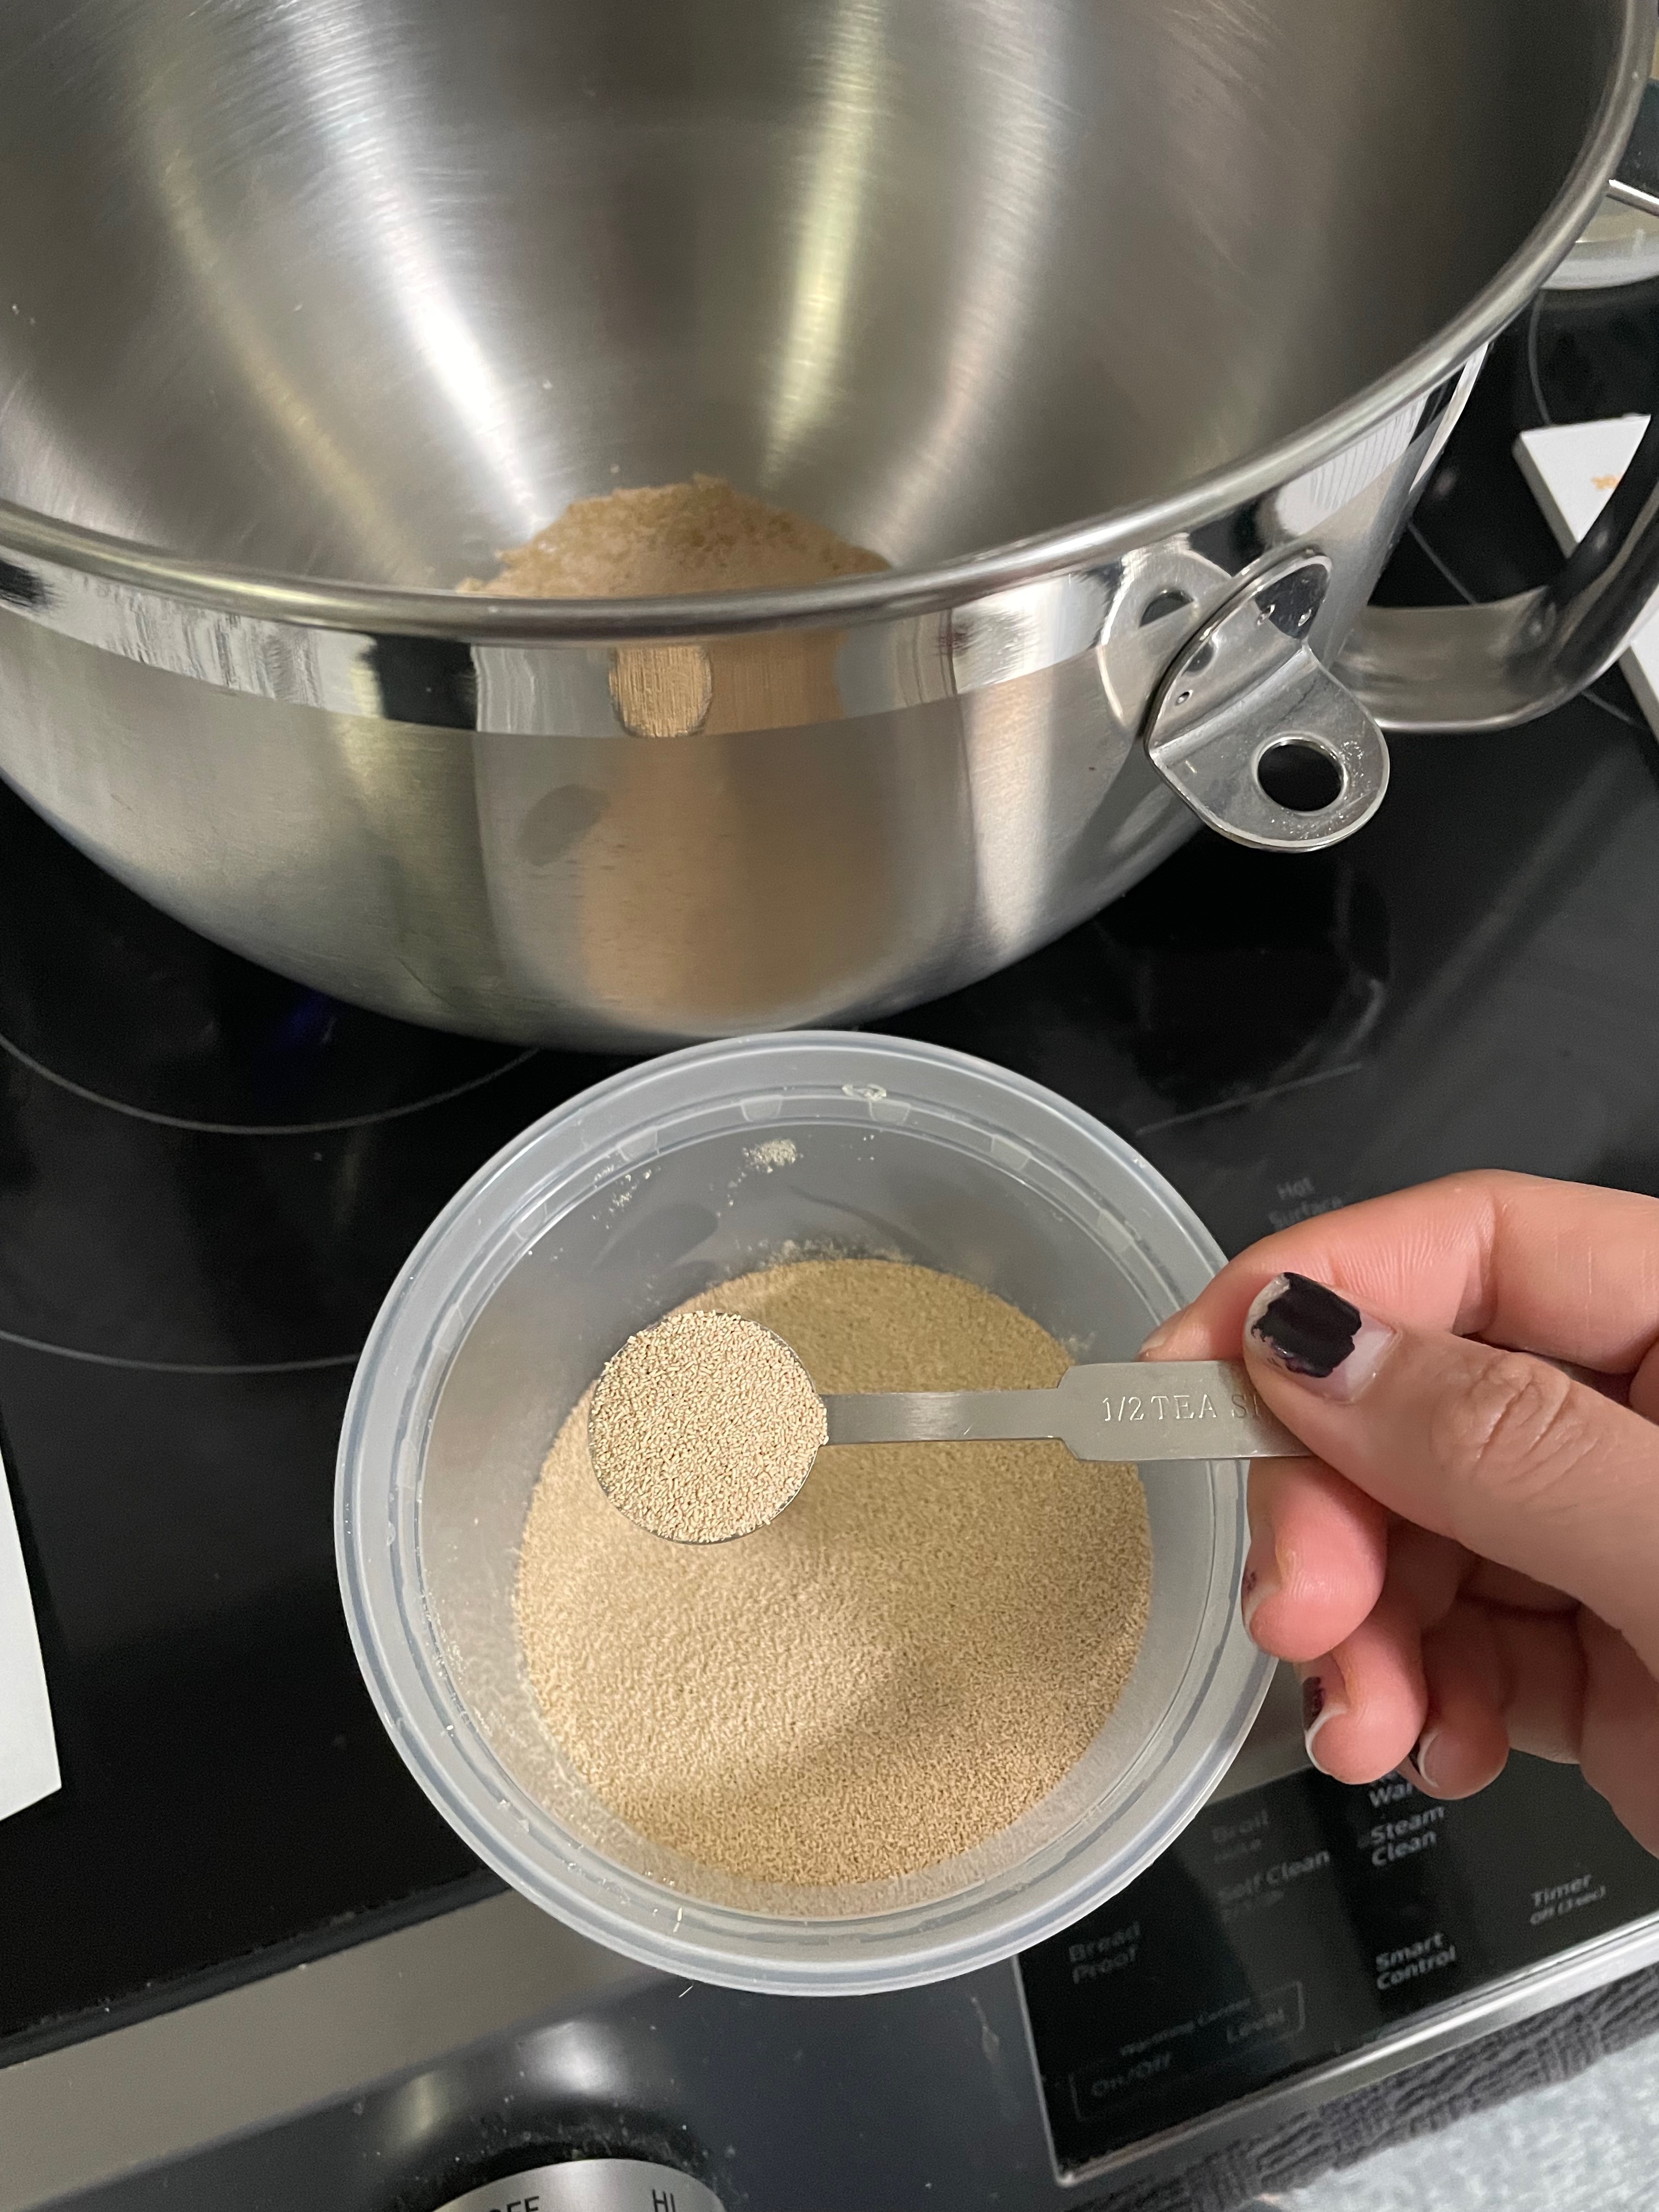
  • 4 grams yeast
  • 16 grams salt
  • 8 grams sweetener
  • 12 mL olive oil a generous drizzle

Instructions

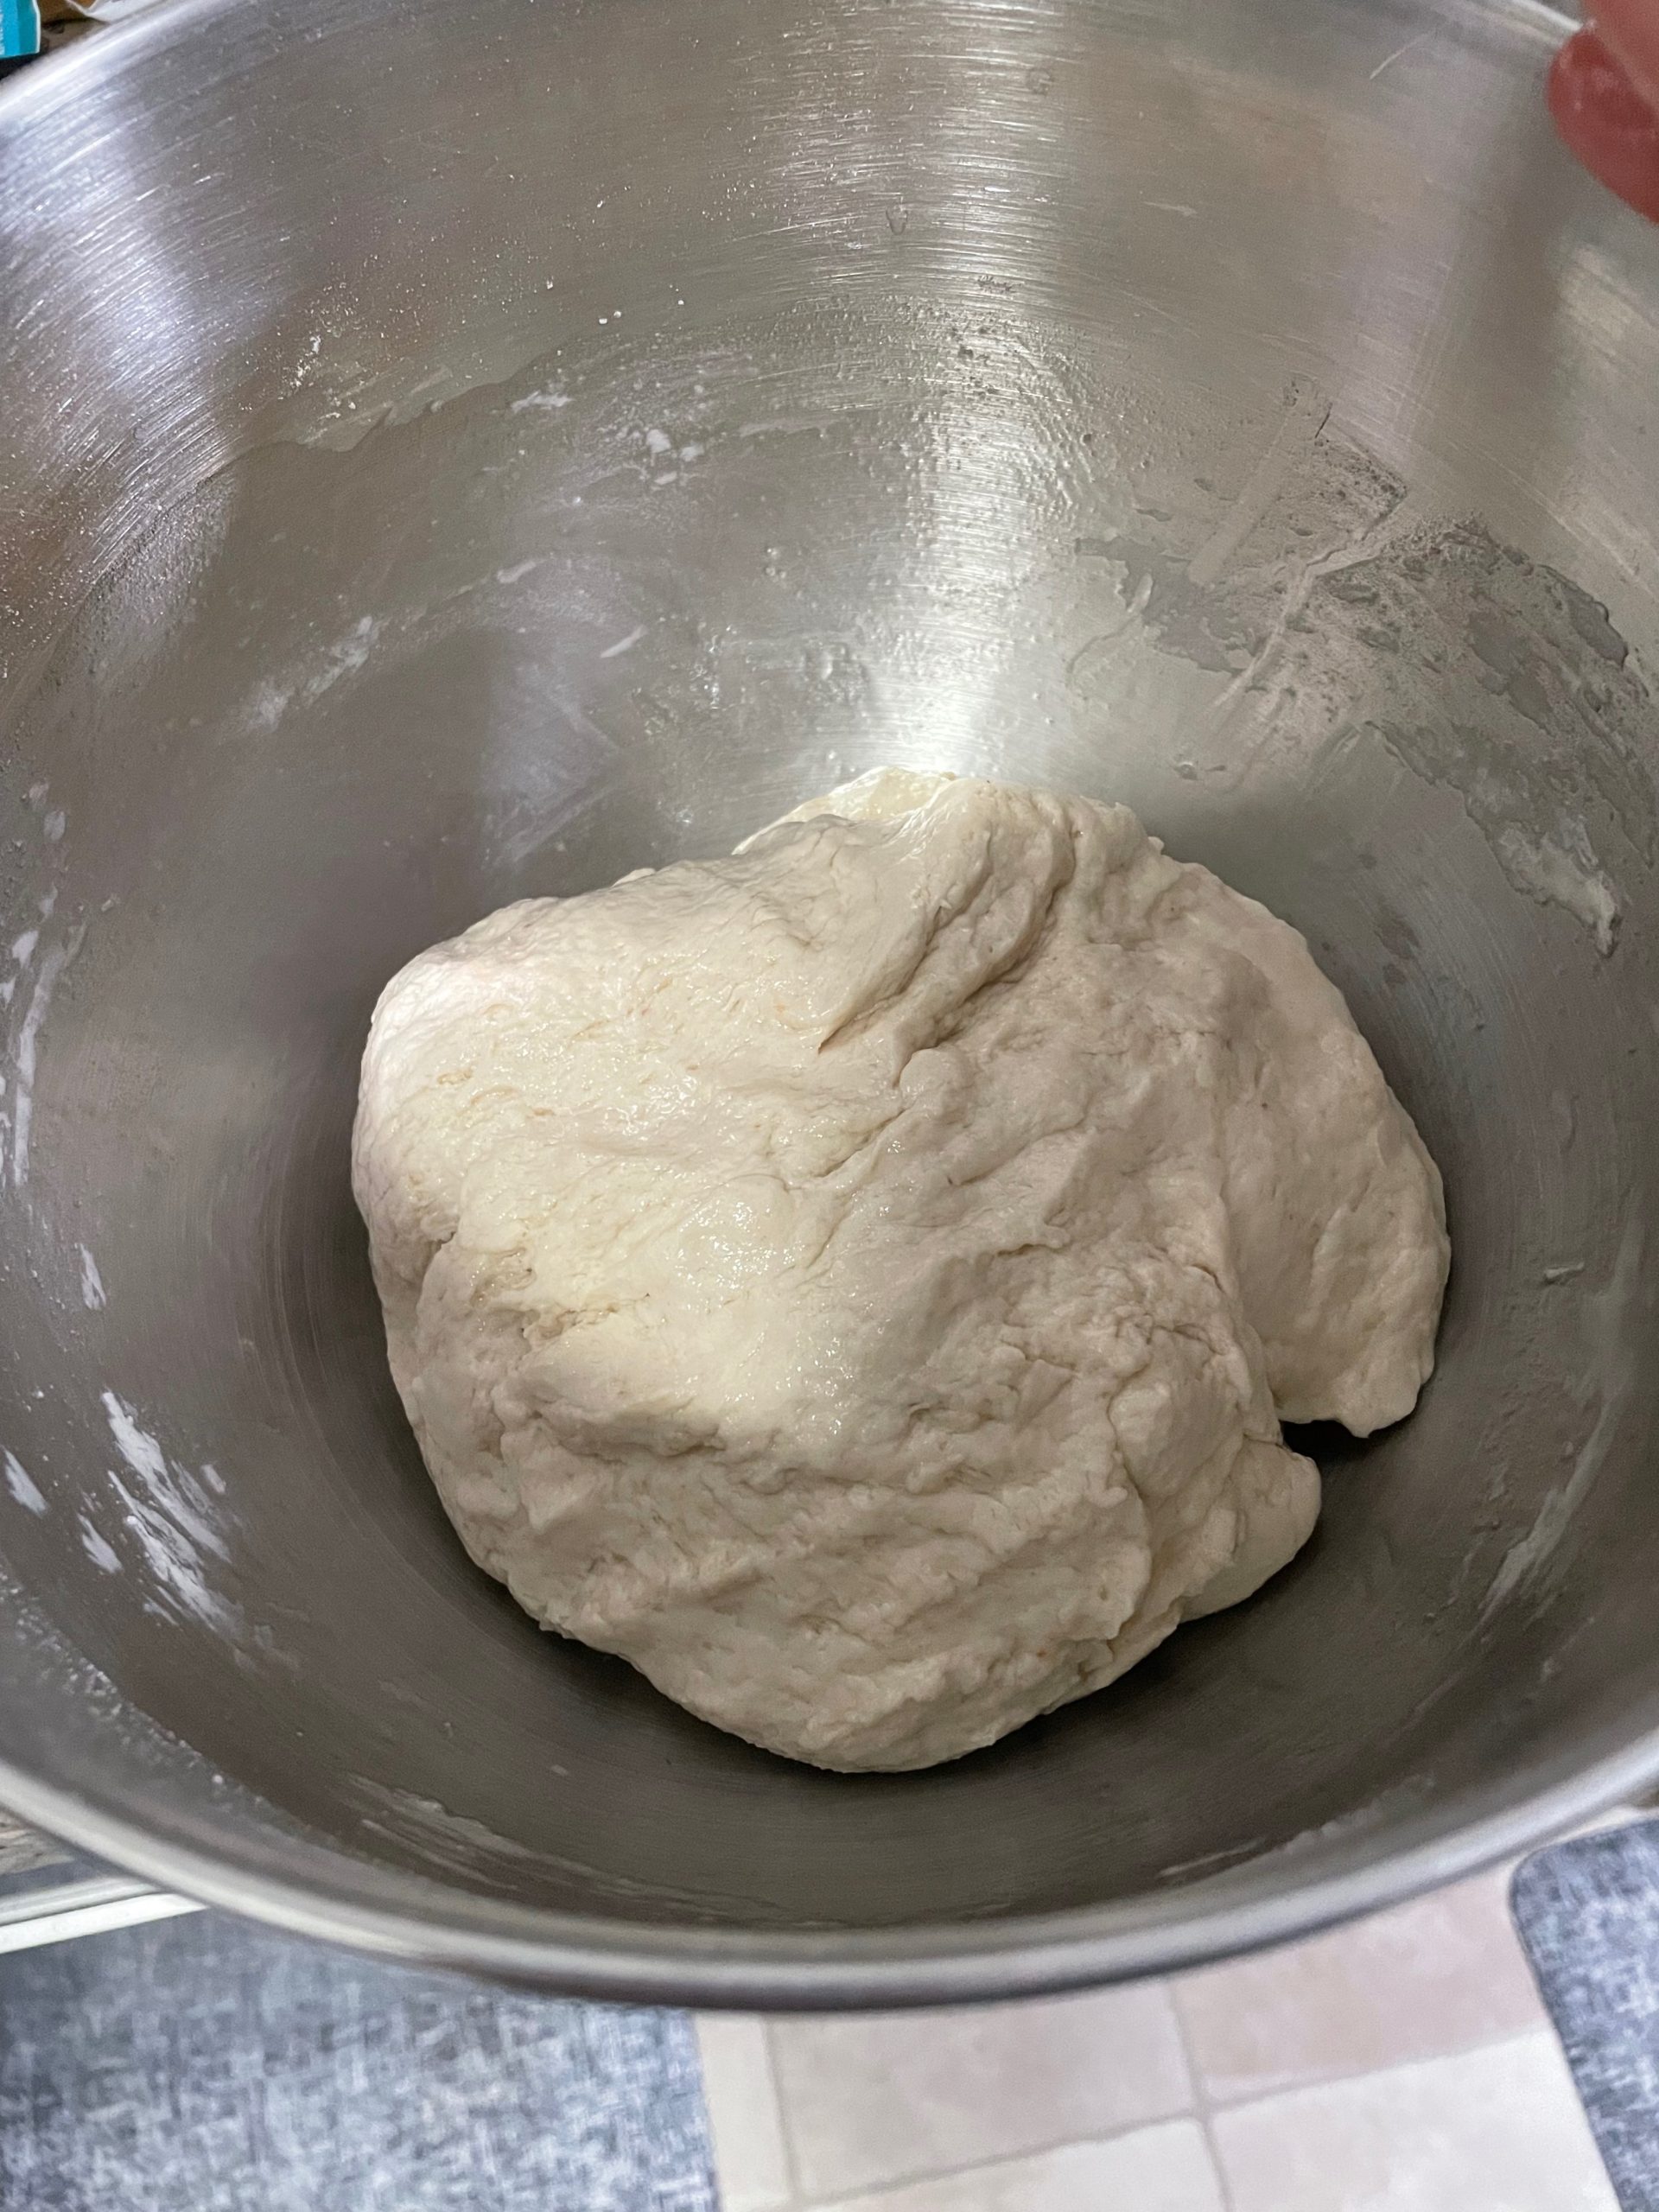
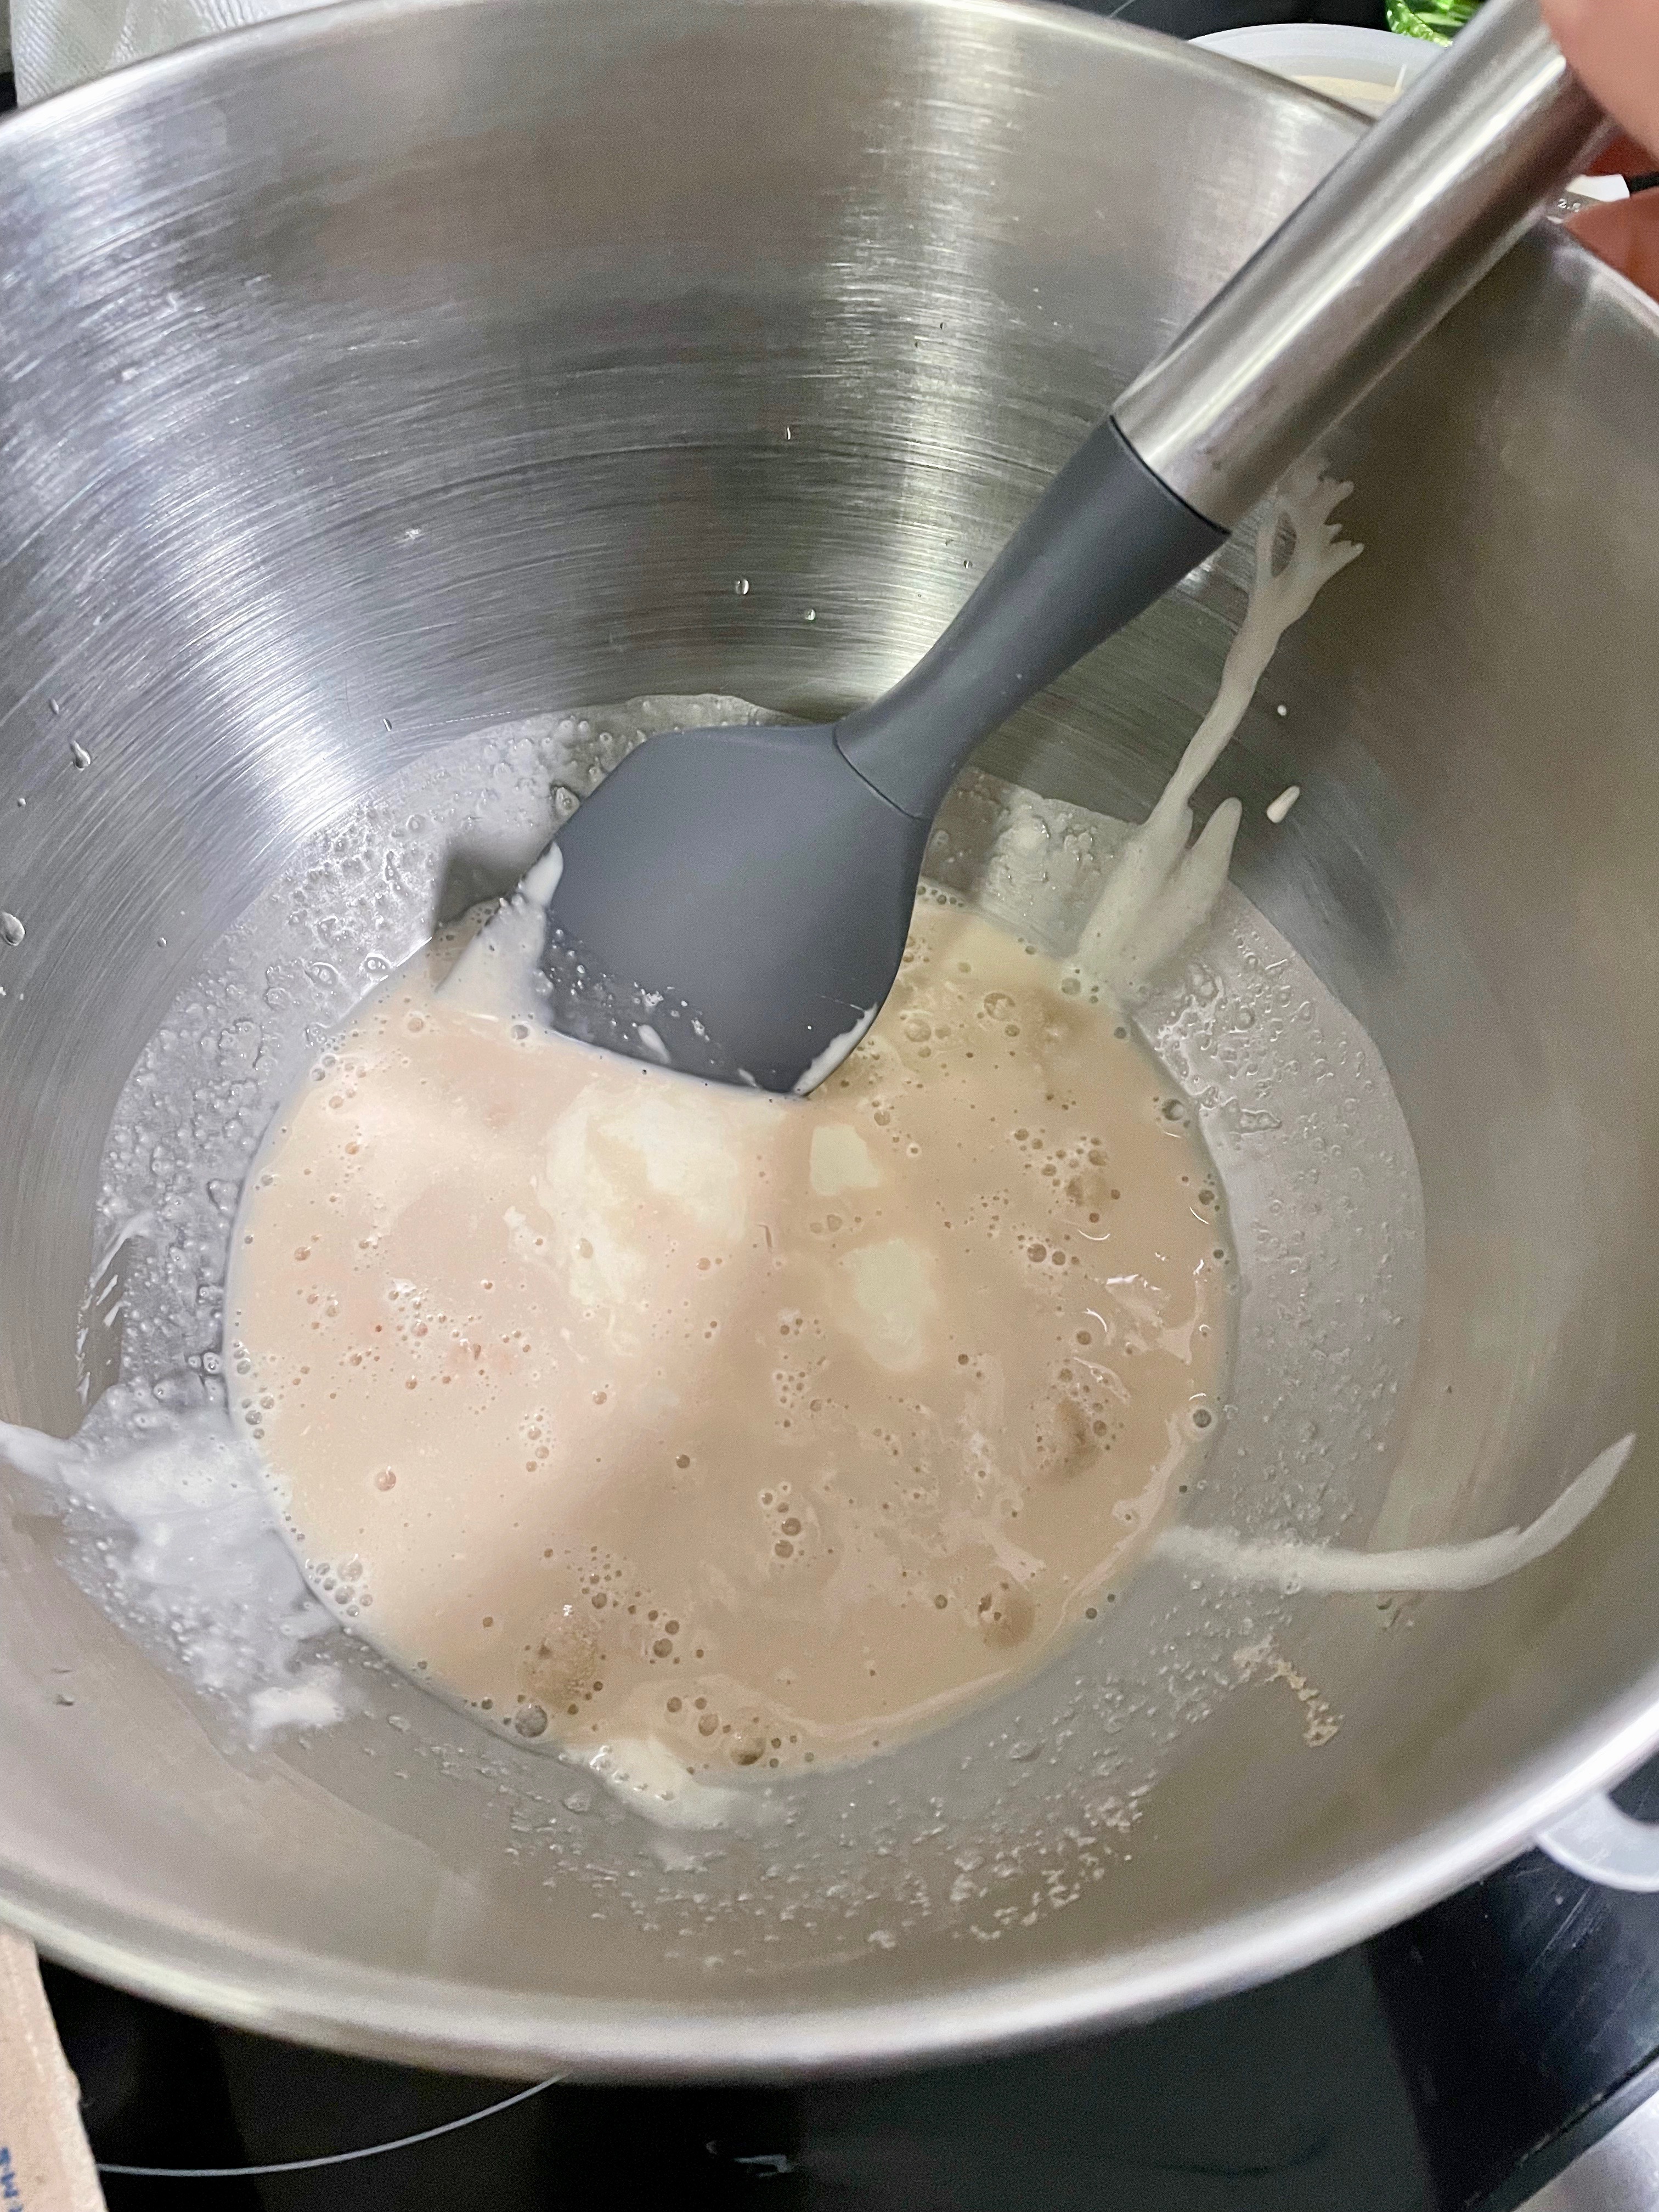
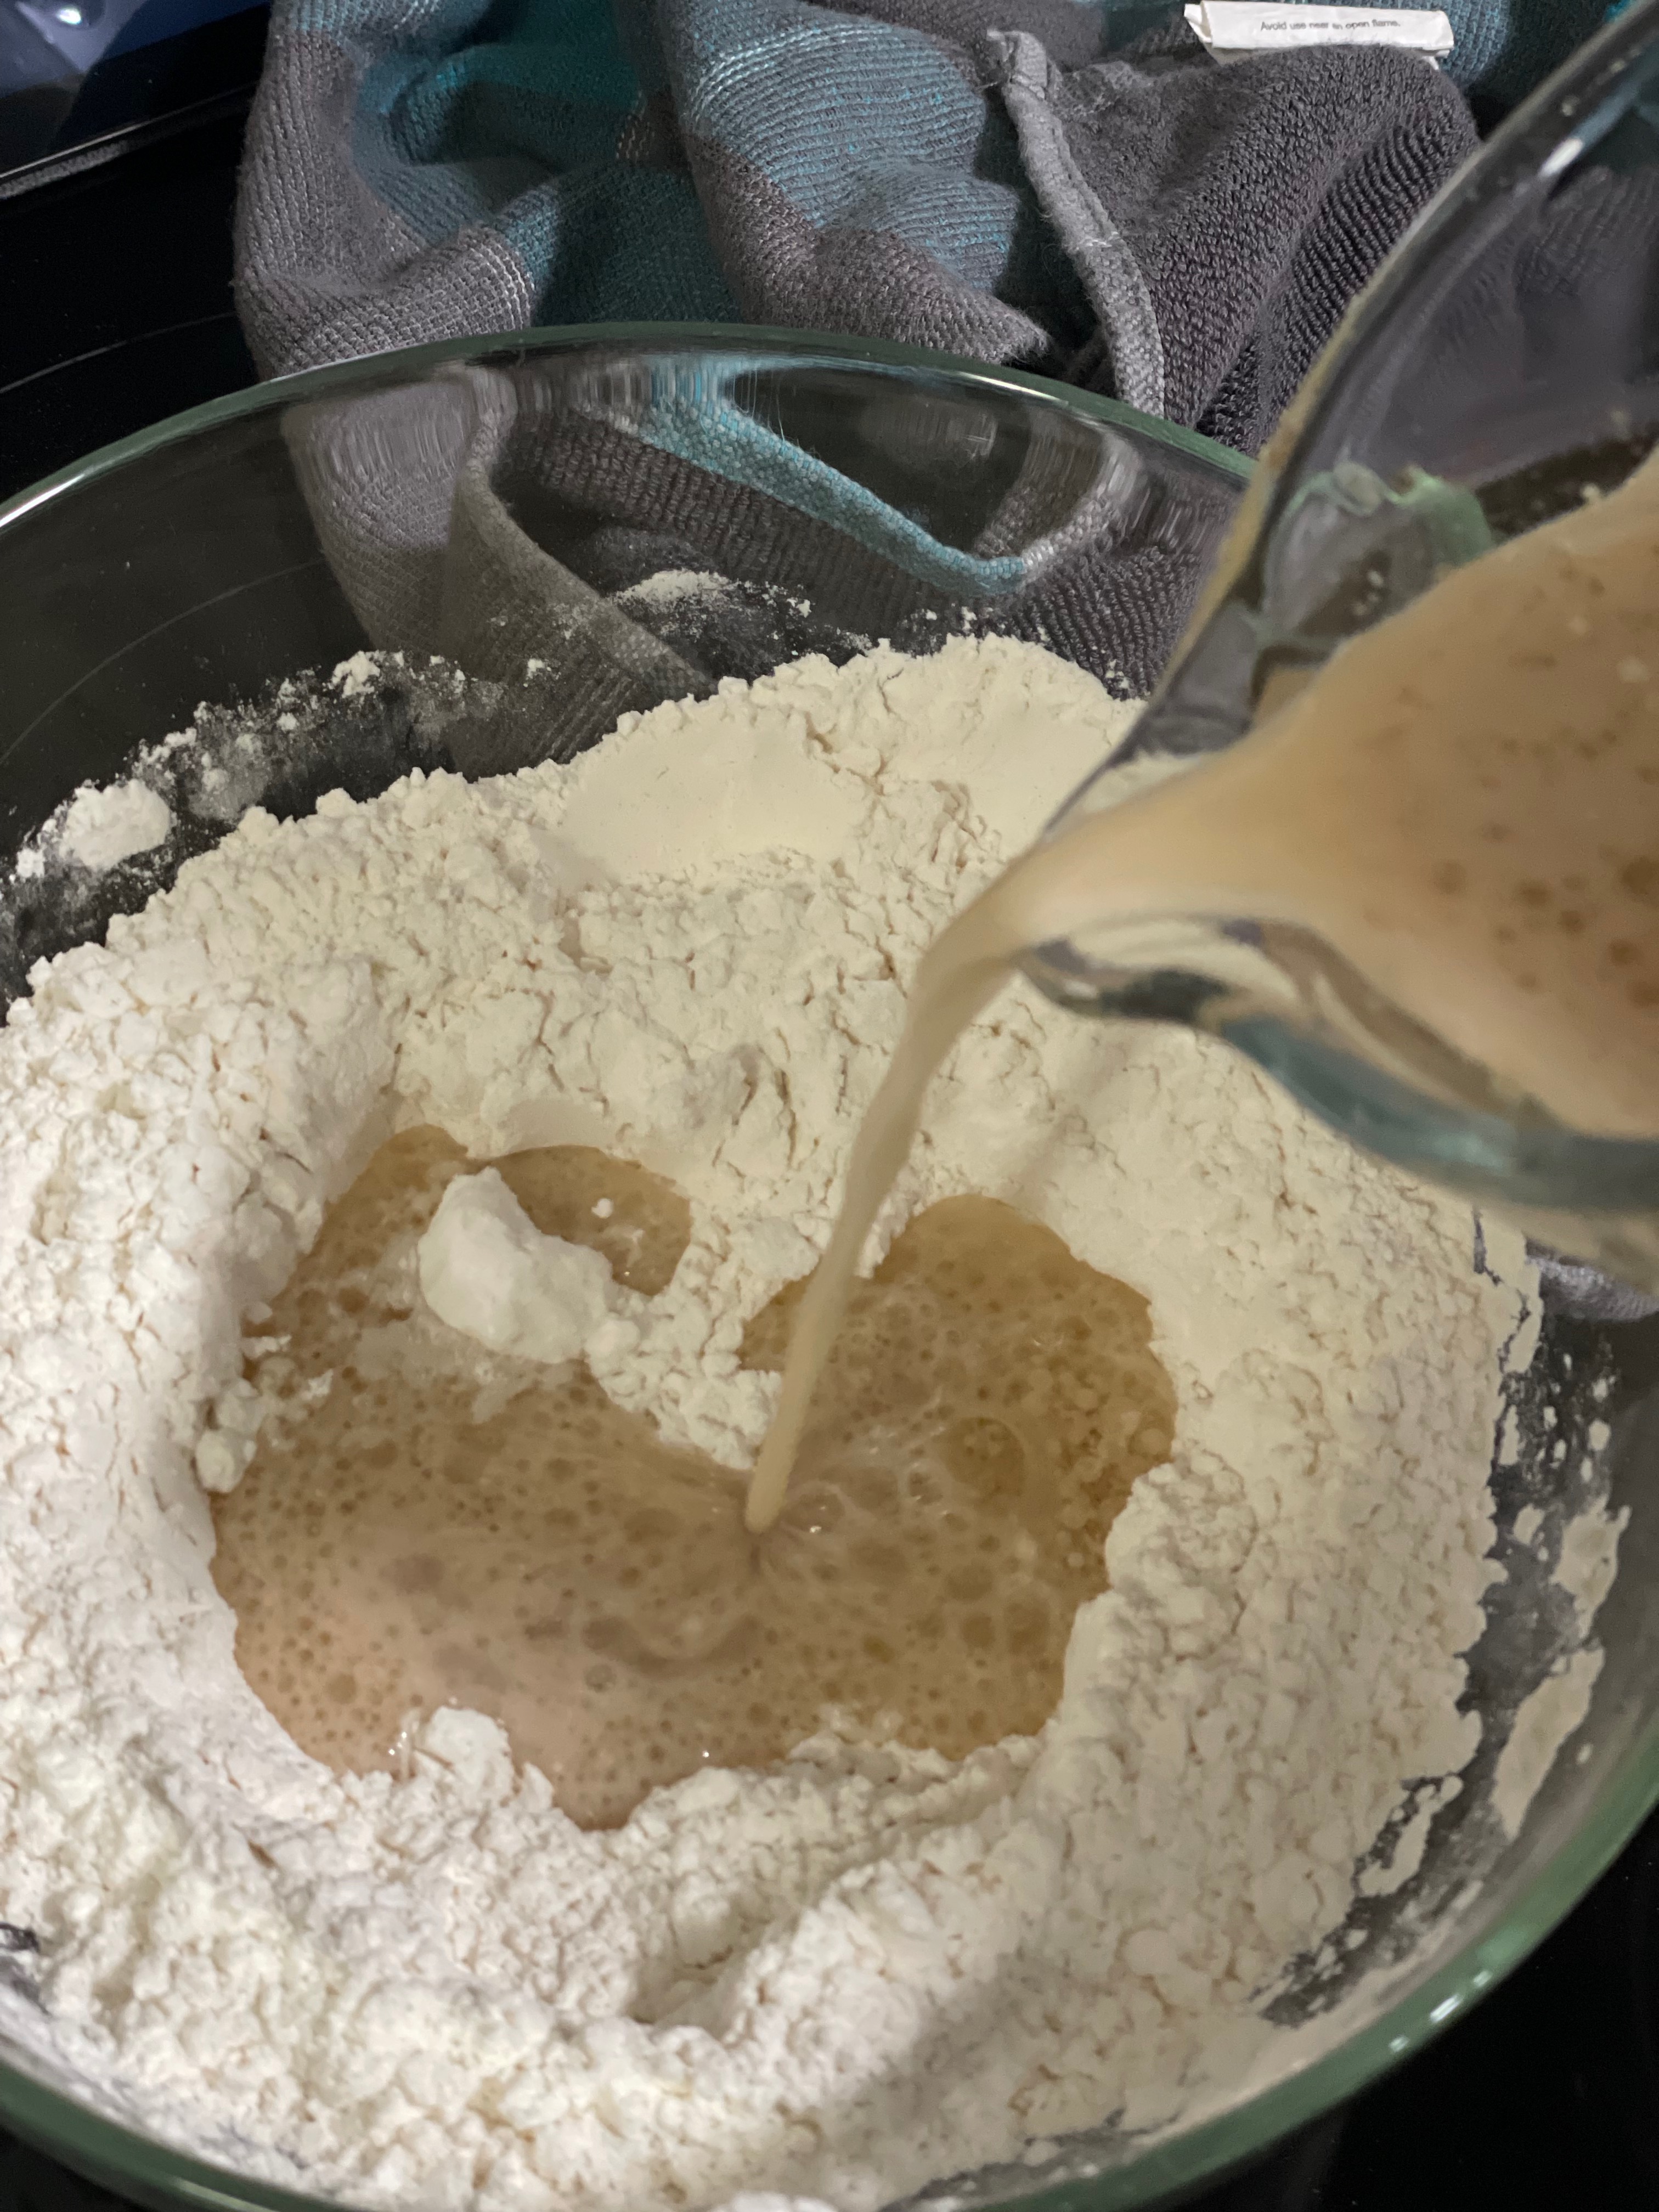
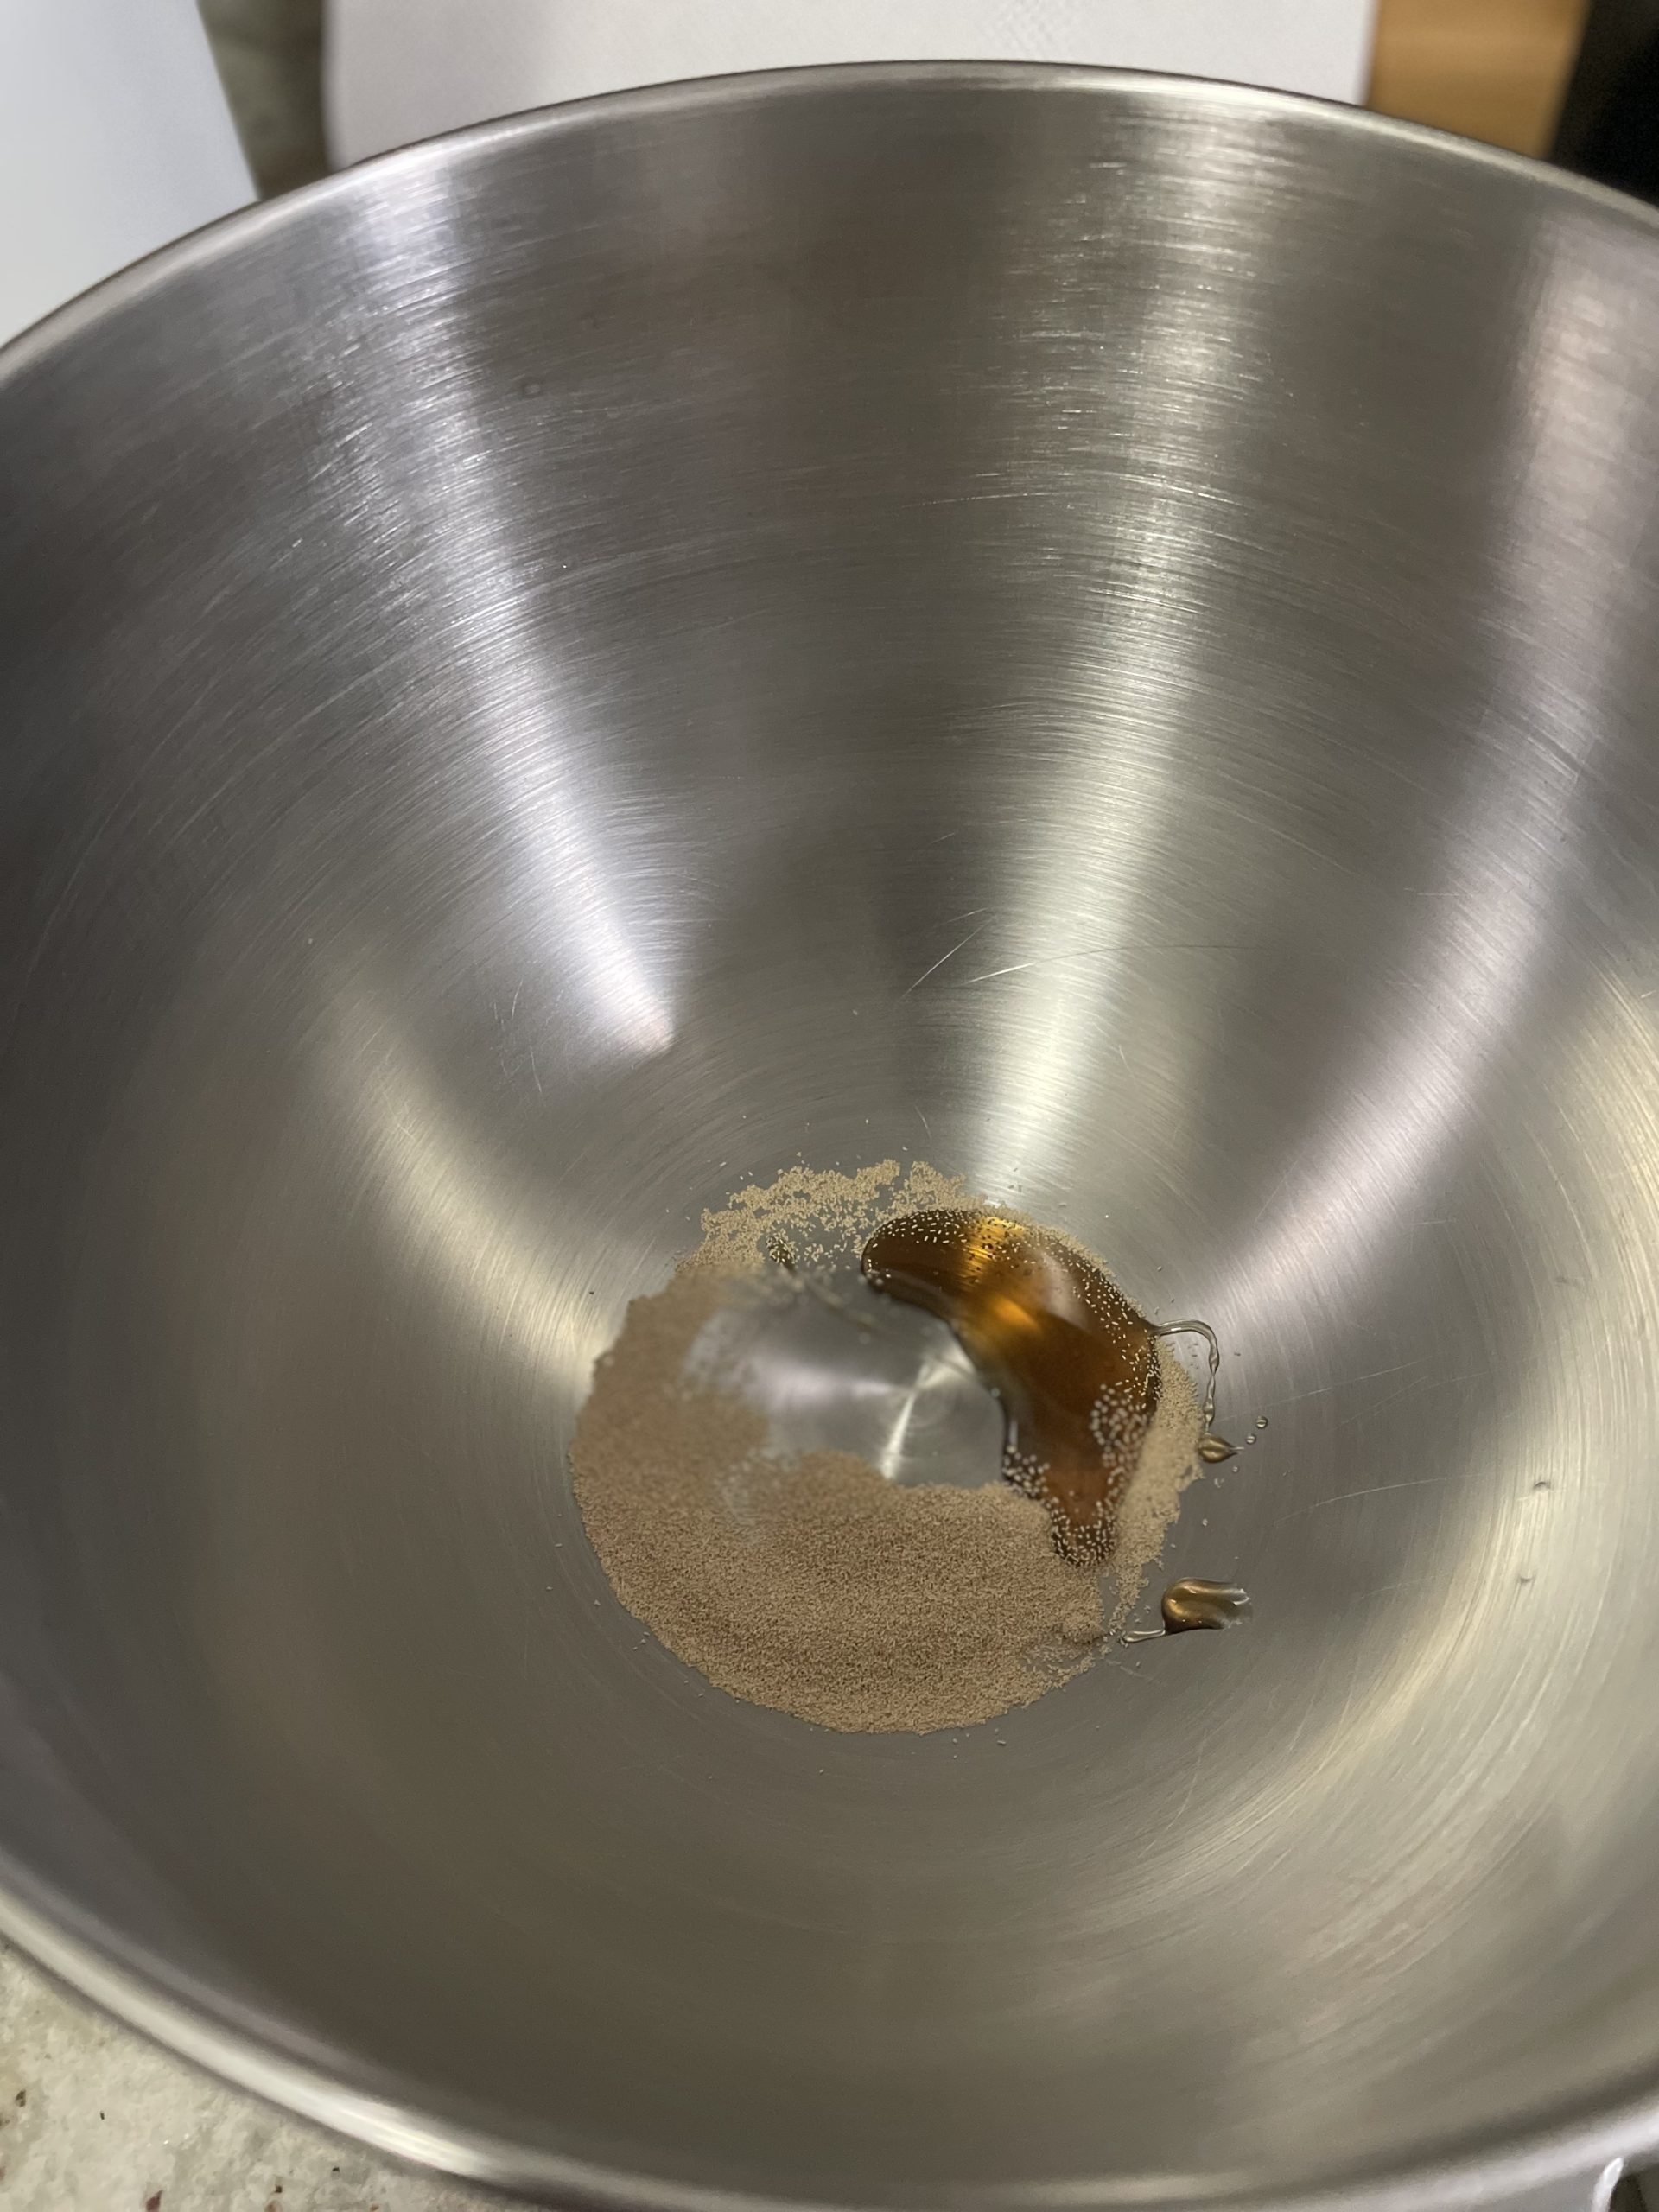
  • Mix together warm water, yeast, and sweetener. Set aside for a moment for the yeast to bloom. Yeast will get cloudy and foamy. If using instant yeast, you do not need to wait for the mixture to bloom.
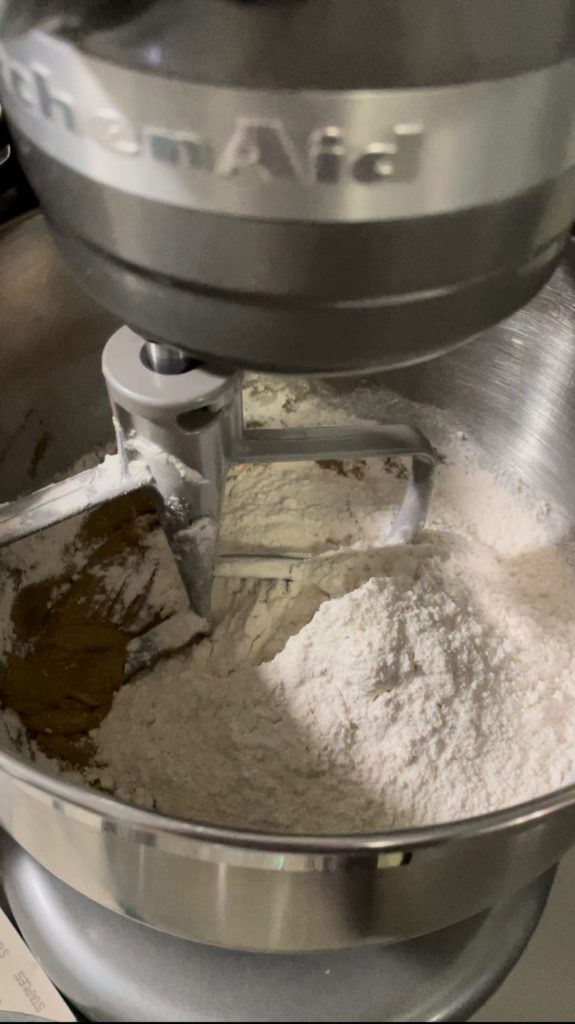
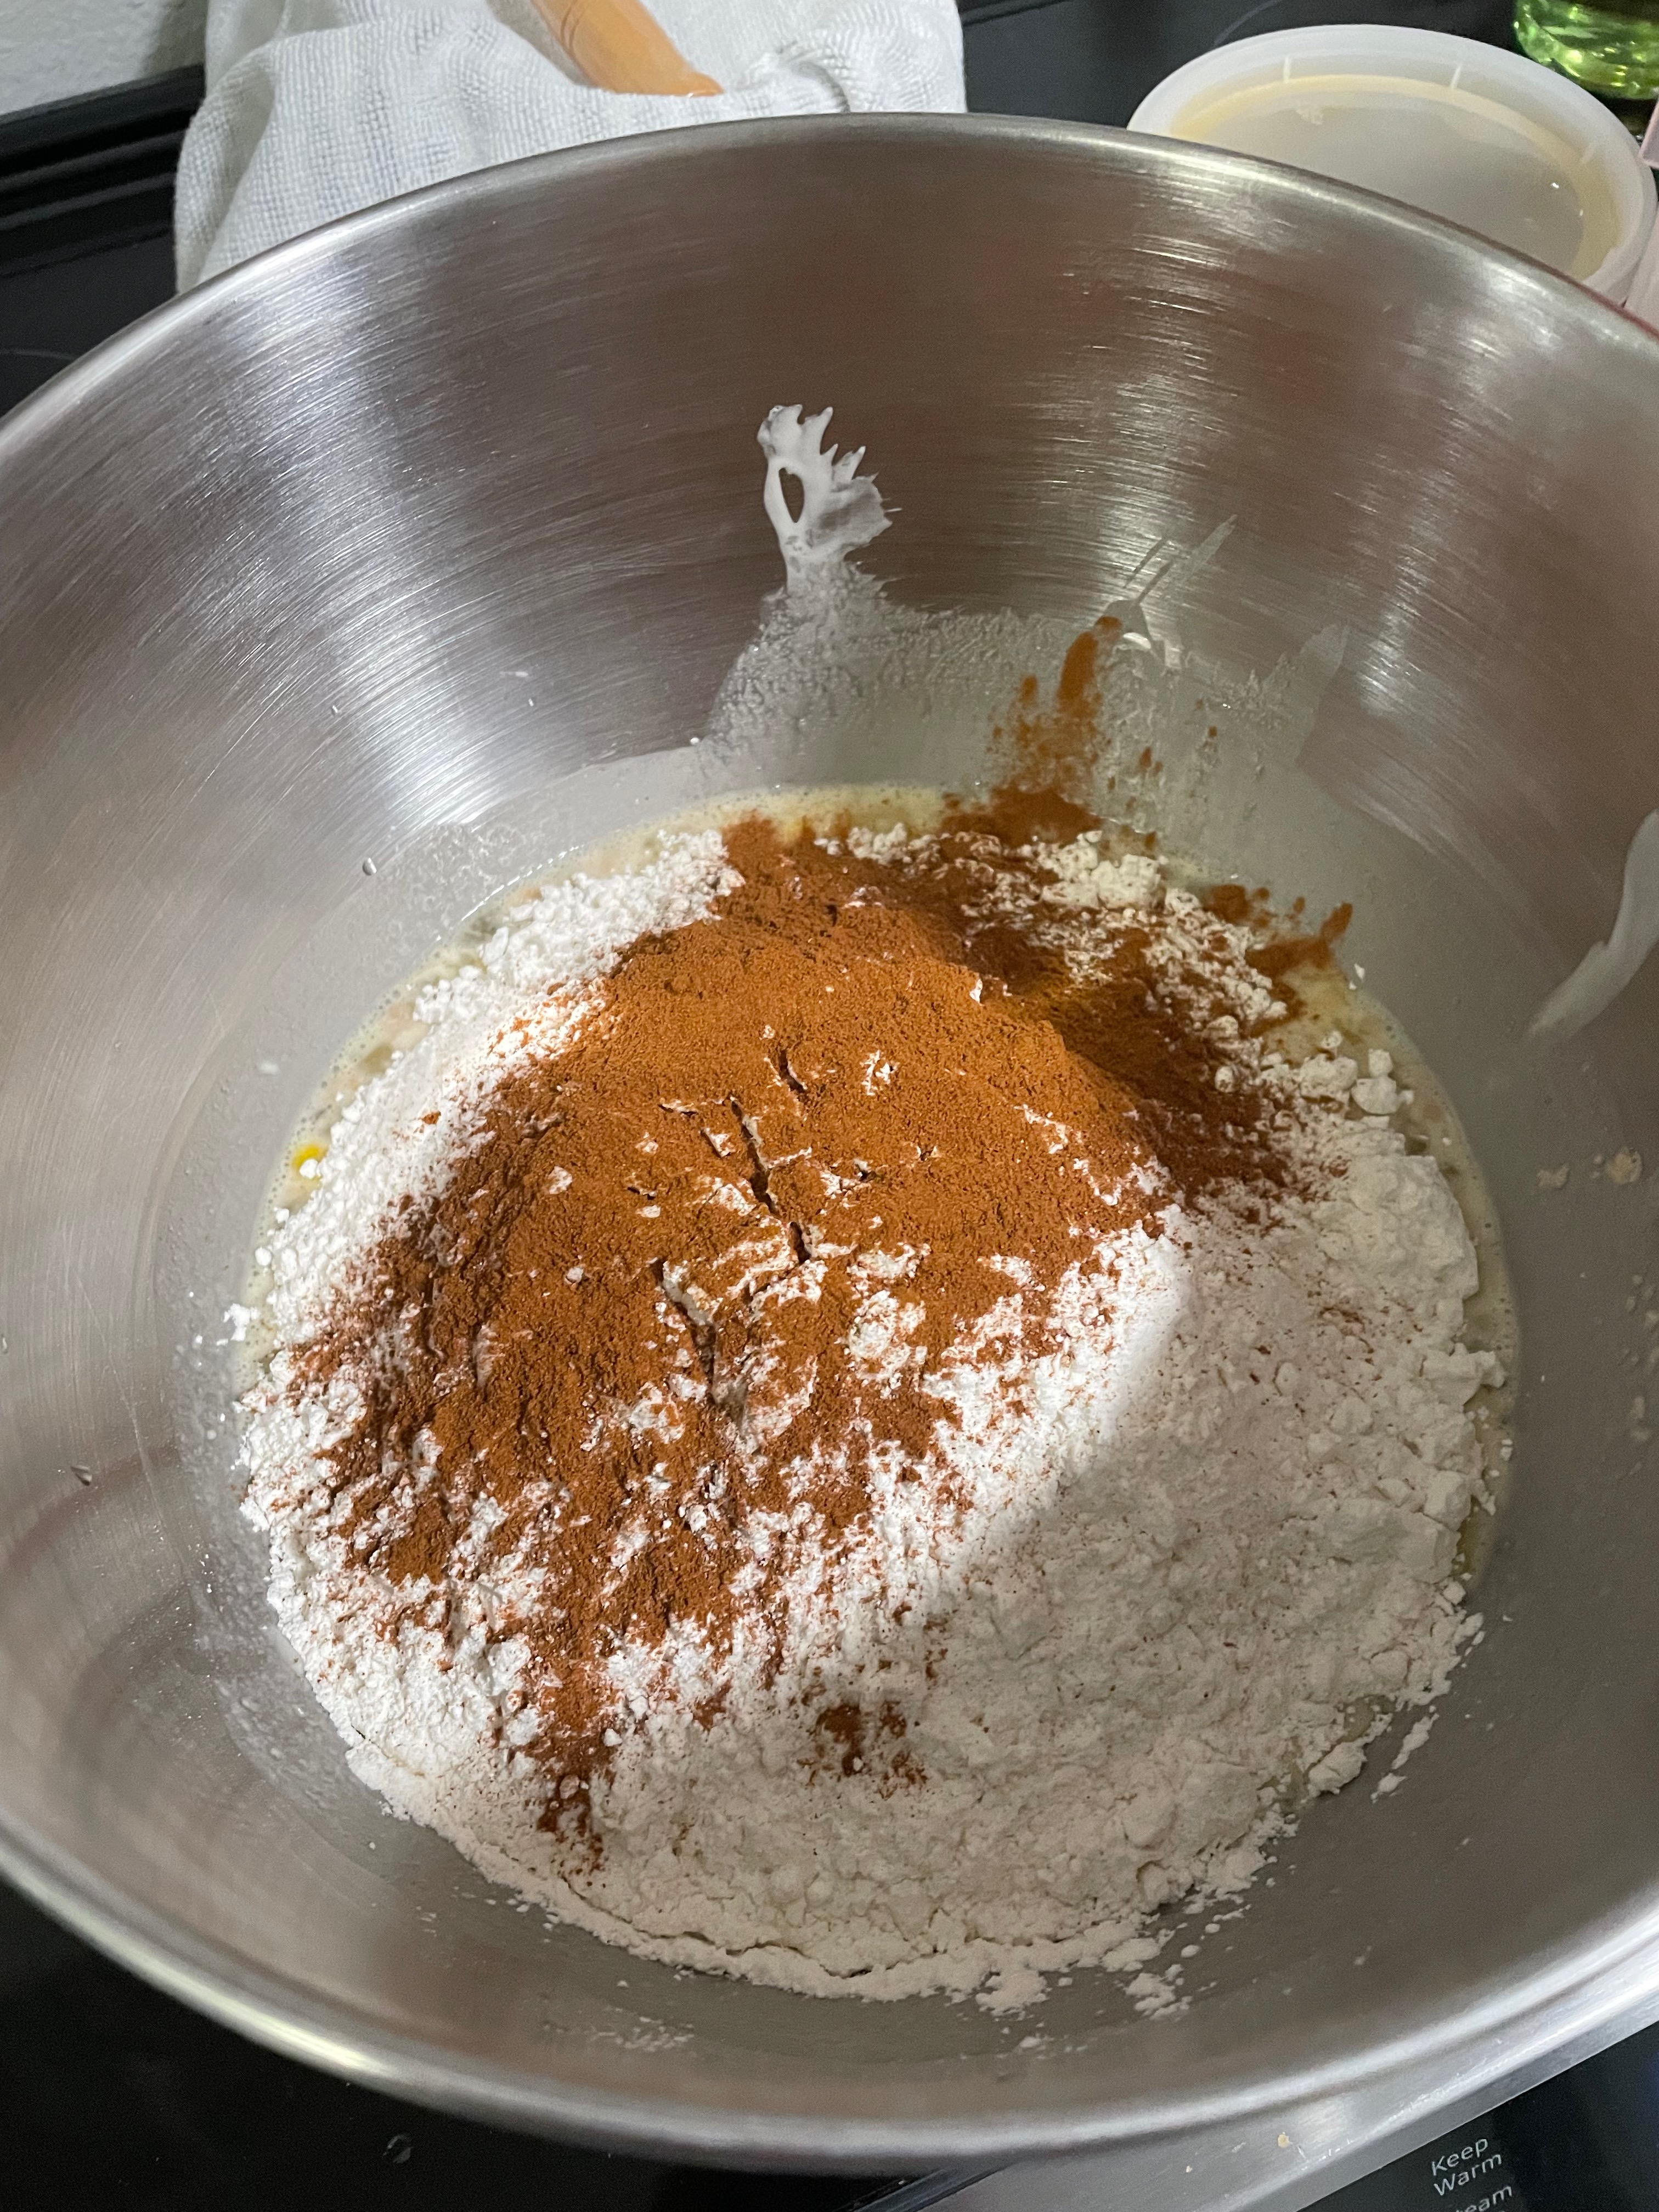
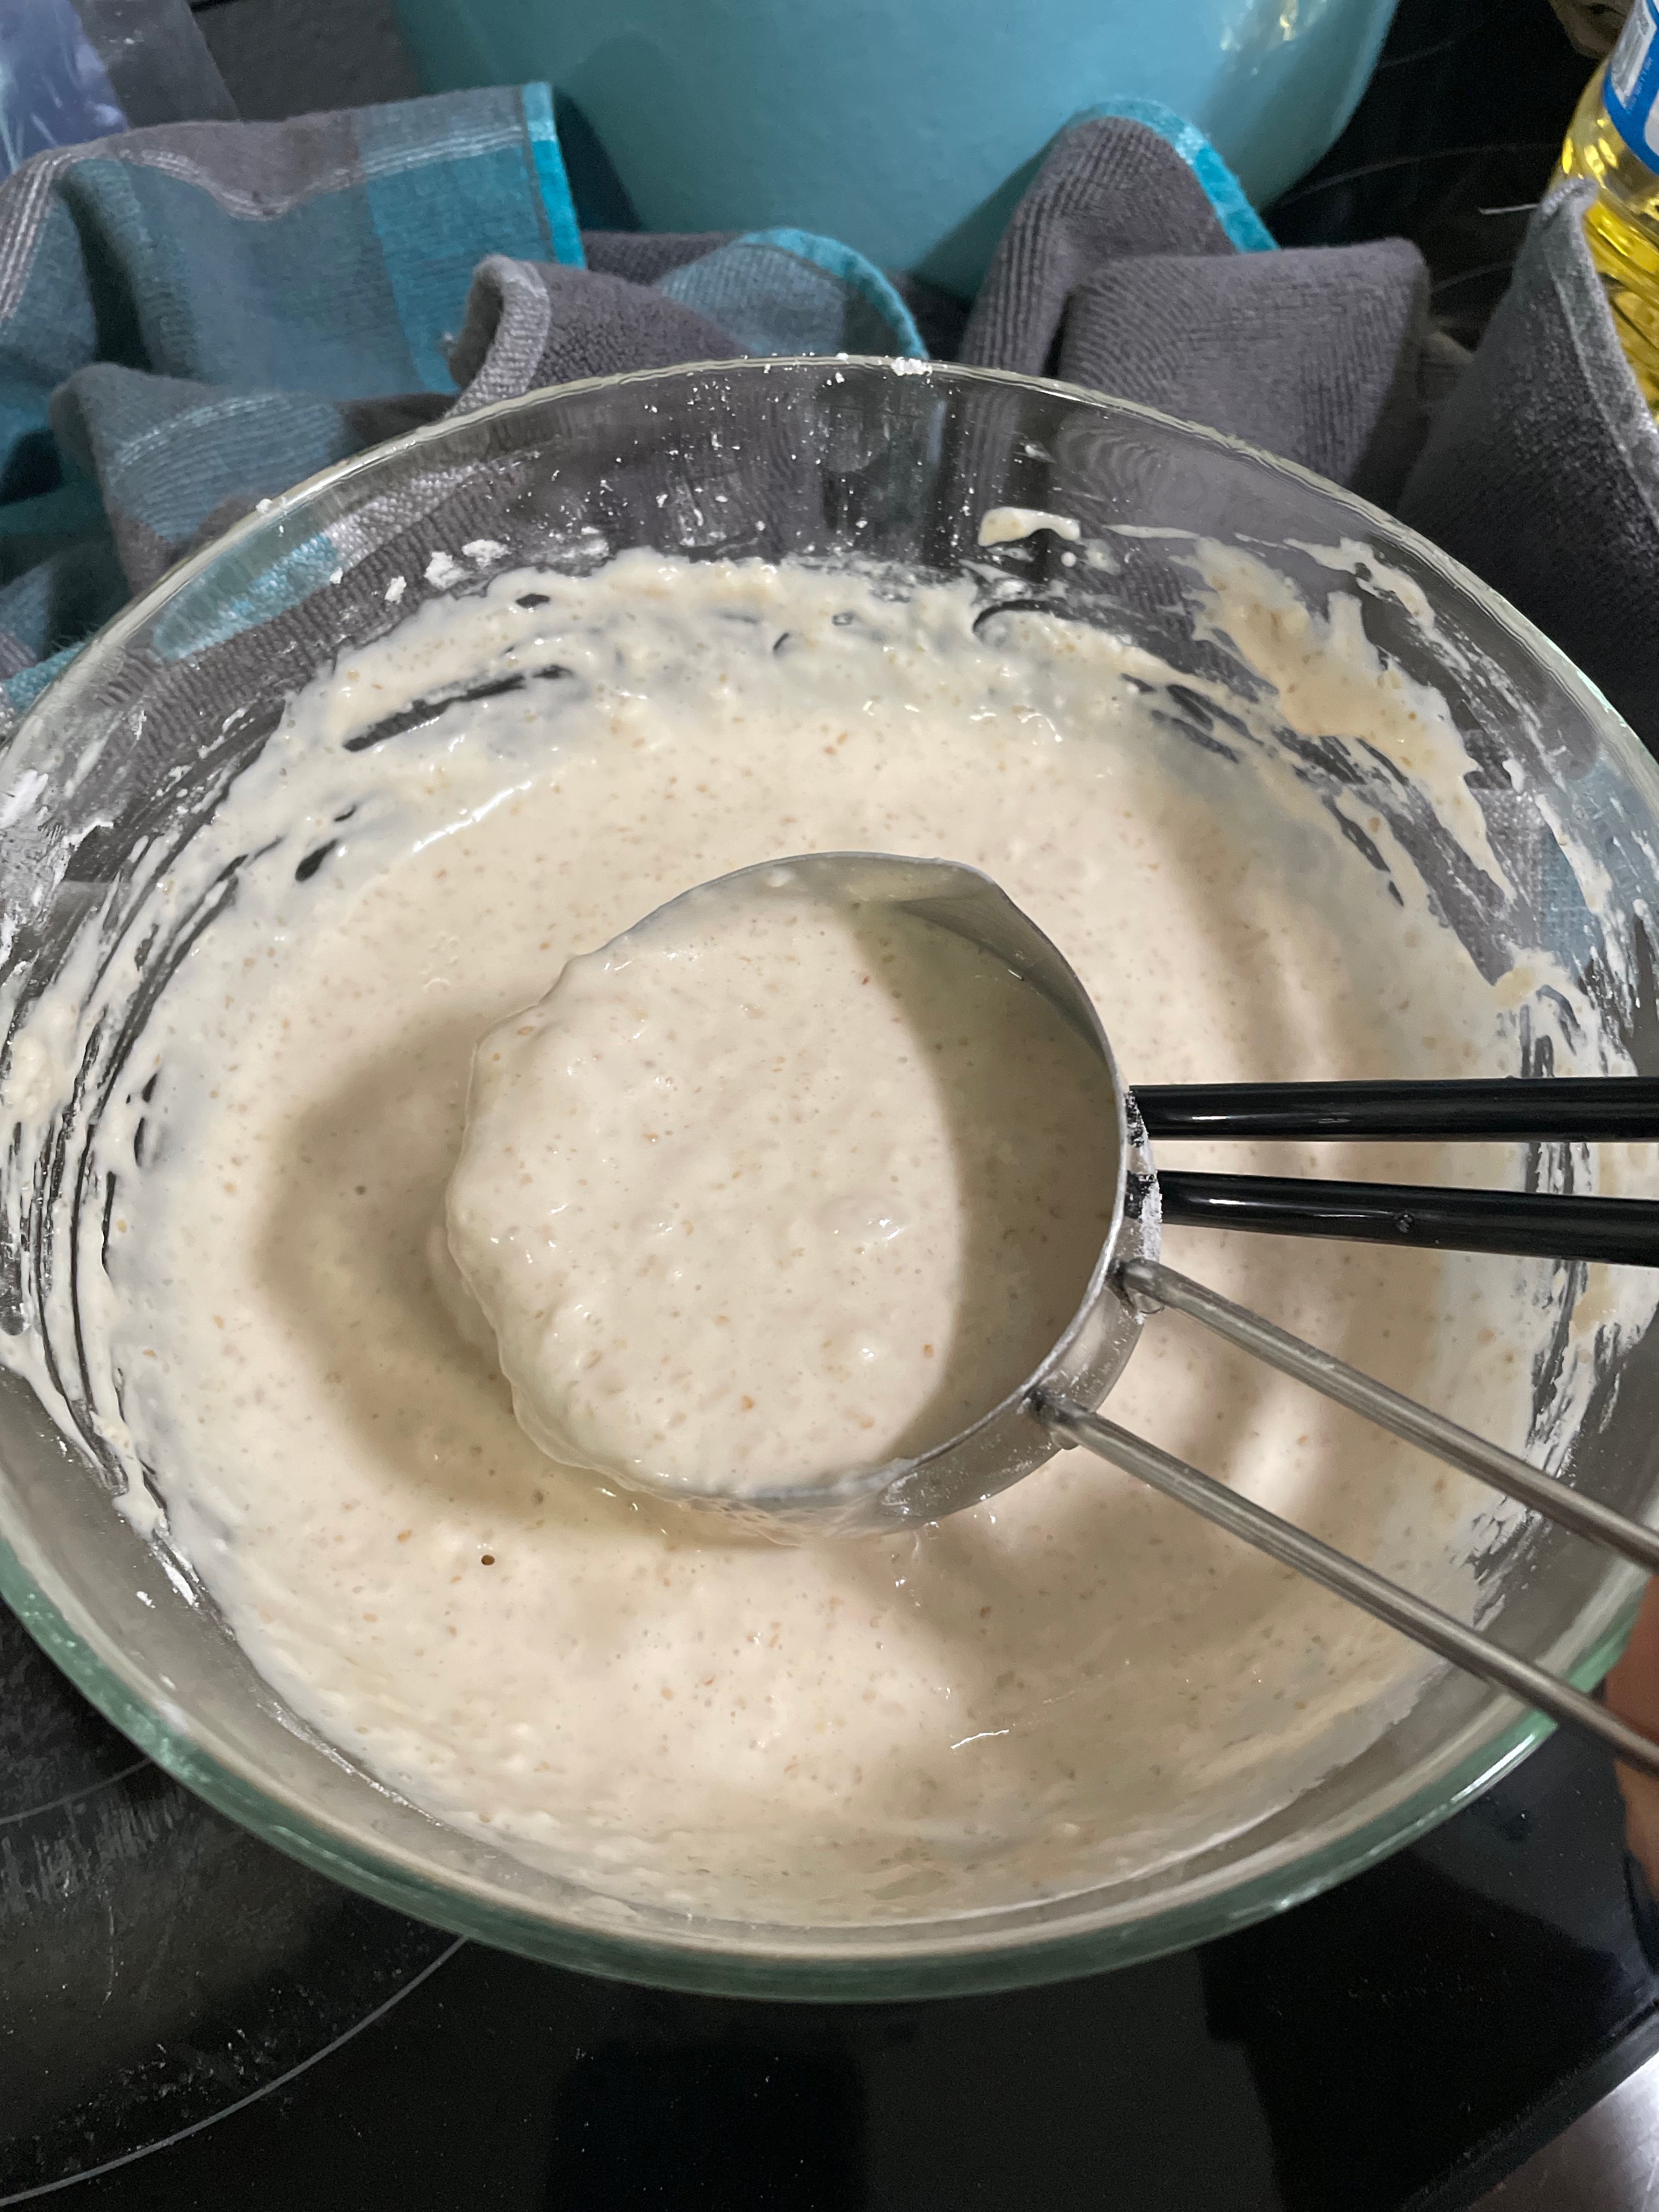
  • Add flour and salt. Mix by hand or use a stand mixer with the dough hook attachment.
  • Once the mix has come together, add a generous drizzle of oil while the mixer is running.
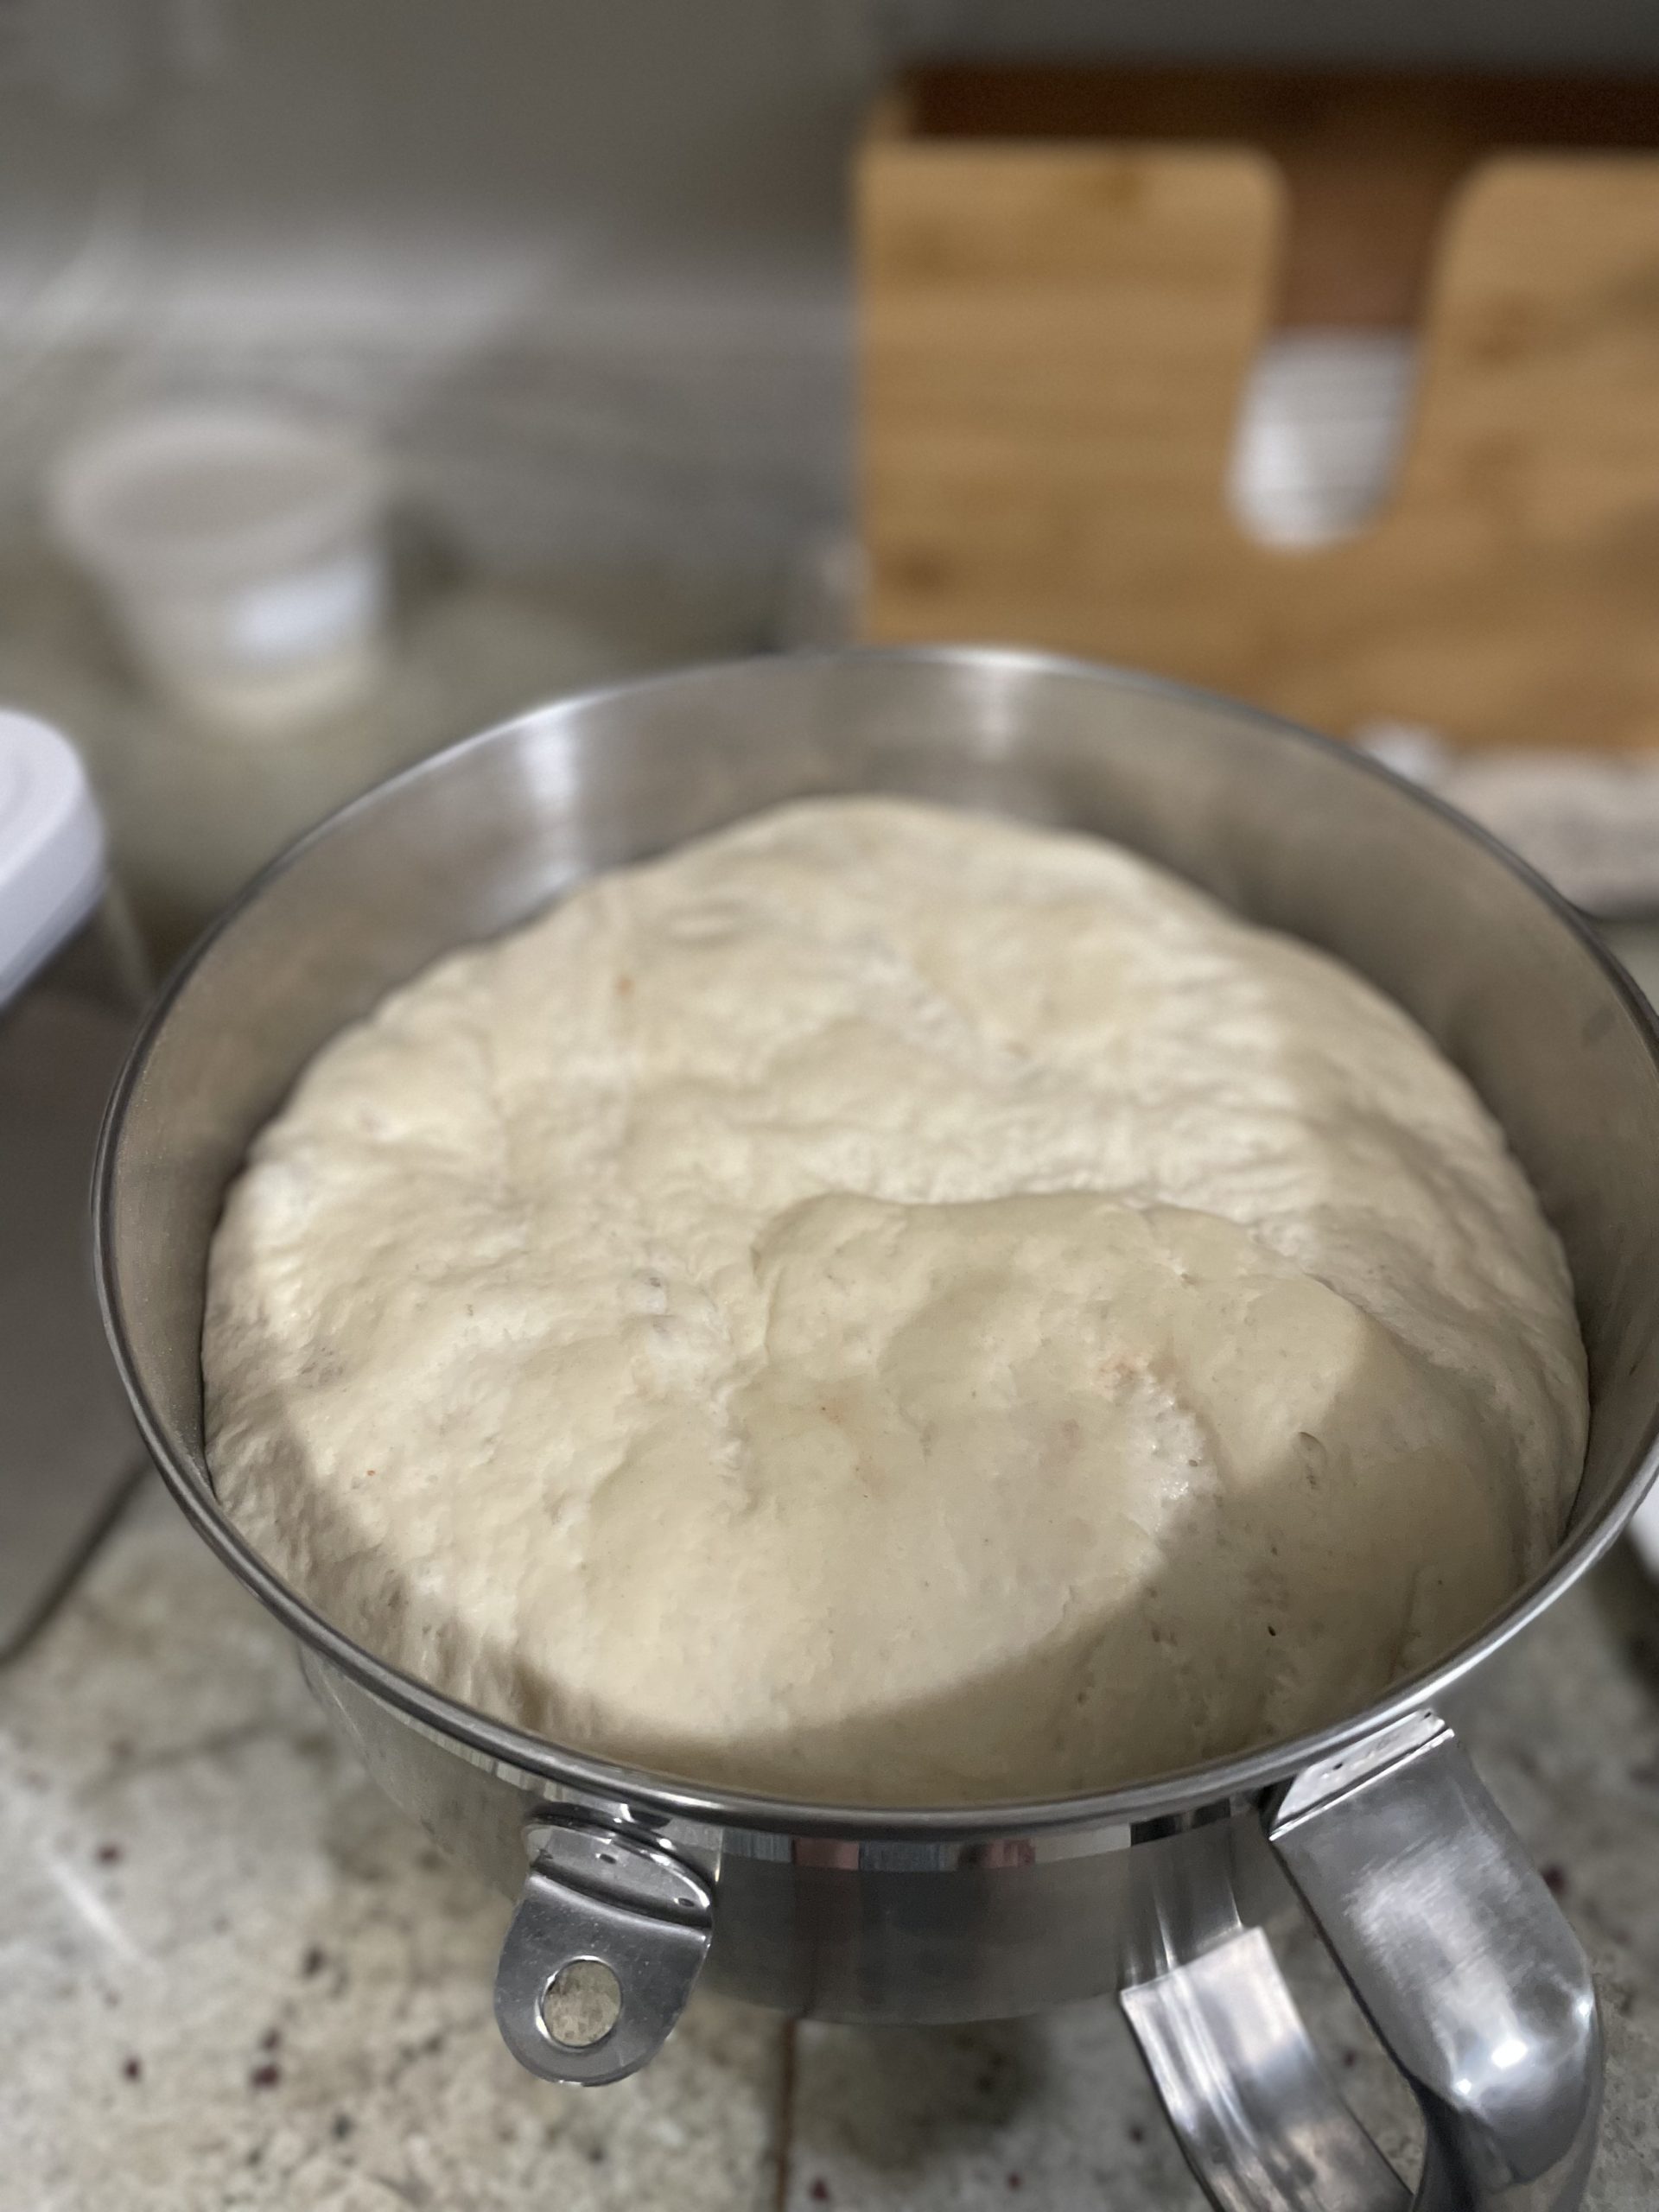
  • Once combined into one ball around he dough hook or dough comes together and is smooth, remove the bowl from the mixer.
  • Cover and let proof in the refrigerator 24 hours.
  • After 24 hours, separate into 2 or 4 balls, depending on size pizza you are planning on making.
  • Stretch dough and add toppings! Freeze any extra dough you have left.
  • Bake your pizza on a pizza pan or on a sheet of parchment in the oven at 450F for ~10-15 minutes until bottom is set and cheese is gooey.

Oven’s on so might as well make a side like Honey Balsamic Roasted Brussels sprouts.

Sweet pie? Try a topless one. Peach Galette.

Chicken & Napa Cabbage Soup

There have been glimpses of sunshine this week in the PNW and I cannot wait for summer. When it’s rainy, cold, or I’m feeling a little sick, I love to have soup. Chicken noodle soup is the soup that most people reach for when they’re feeling sick, but this chicken soup has much more comforting flavors for me. This soup is warm and satisfying with really simple ingredients. The chicken bouillon shortcut gives you a flavorful soup in a short amount of time, so you can whip this together in under 30 minutes for a weeknight meal.

Ingredients

Chicken – I like using chicken thighs since they stay relatively moist even if you end up cooking this soup longer than you intend to. I’ve also used tofu at a complete replacement for chicken or done even half chicken and half tofu. If you choose a different protein, you may need to pick a cut that will give a more “shreddy” texture like pork butt/shoulder or chuck roast. Other protein options will require longer cooking time to reach peak tenderness.

Chicken bouillon – I like using “Better than Bouillon” since I can get it in a massive jar at Costco, but feel free to use any other bouillon you like. You can also use chicken stock instead of water and bouillon. If you’ve substituted the protein, feel free to use a different bouillon flavor too!

Napa cabbage – I like the thick, crunchiness of a leaf of Napa vs other cabbages. This could be substituted with other crunchy veggies like bok choy, Brussel sprouts, or other cabbages.

Chicken & Napa Cabbage Soup

Print Recipe
Warm & satisfying soup, ready in under 30 minutes.
Course Soup
Keyword cabbage, chicken, soup
Servings 4

Ingredients

  • 2 chicken thighs
  • 5 cups water
  • 1 tsp chicken bouillon
  • 4 cups shredded Napa cabbage
  • 3 cups spinach
  • 2 tsp salt
  • 2 tbsp sesame oil

Instructions

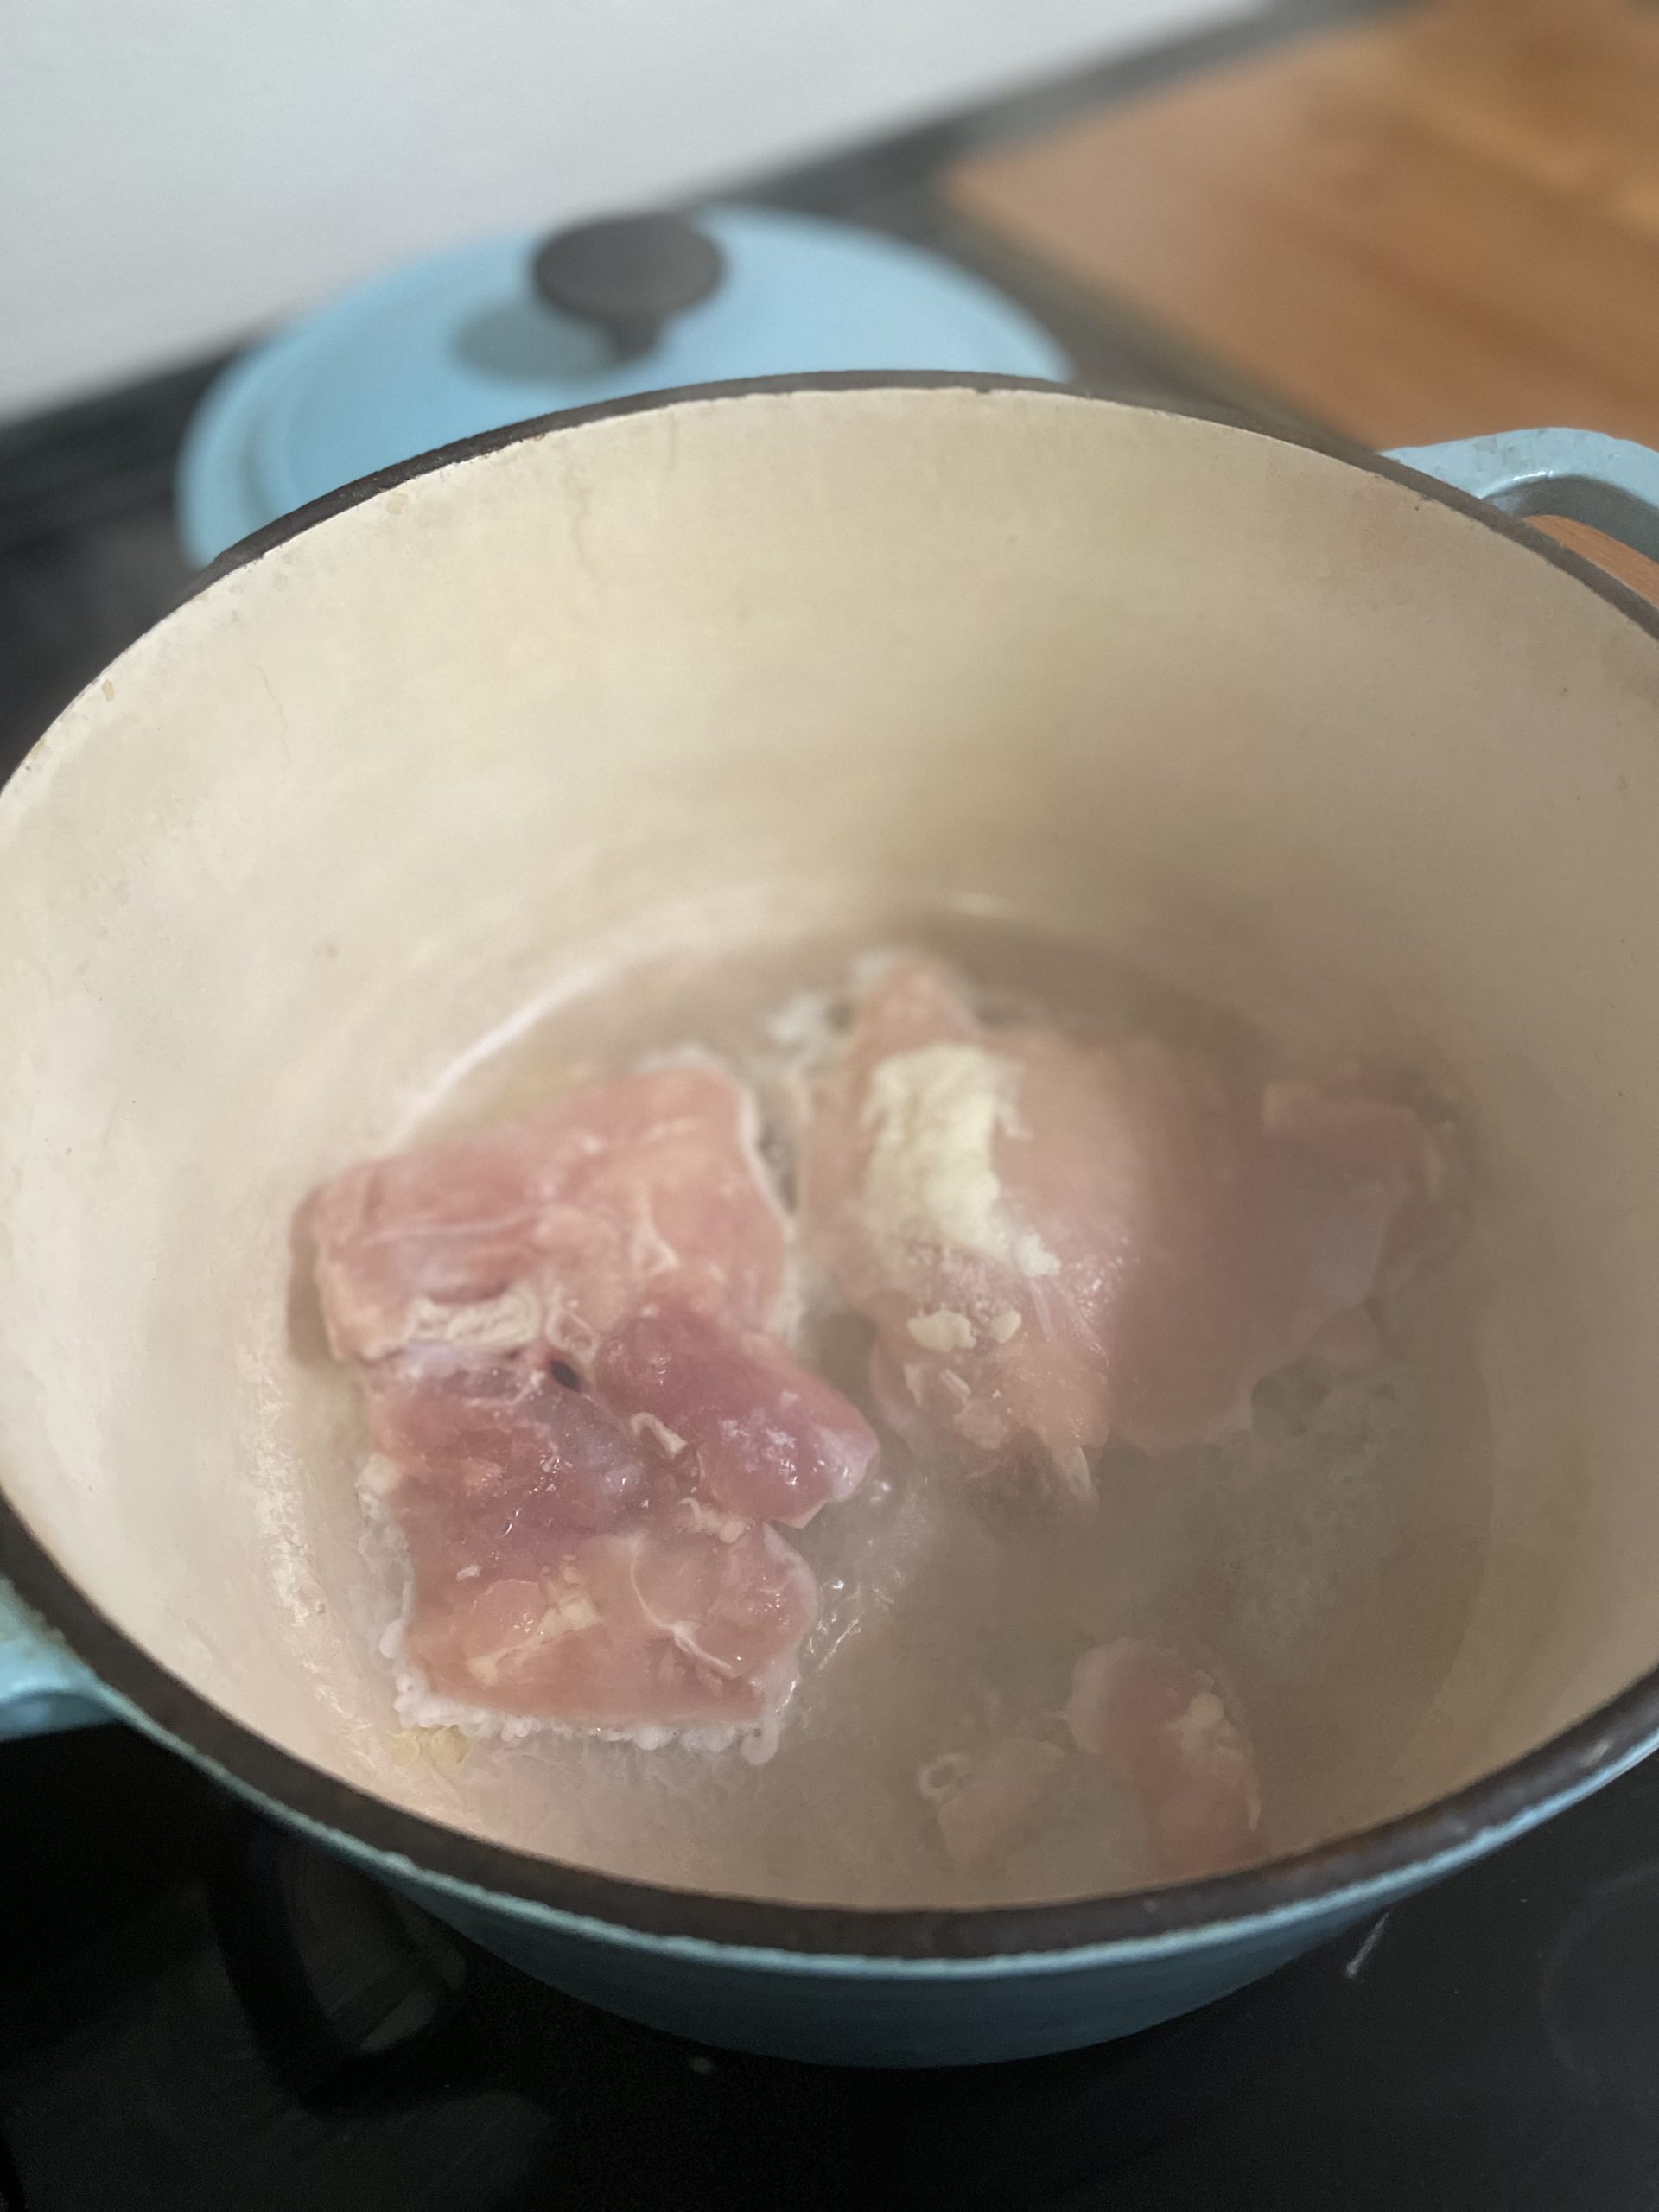
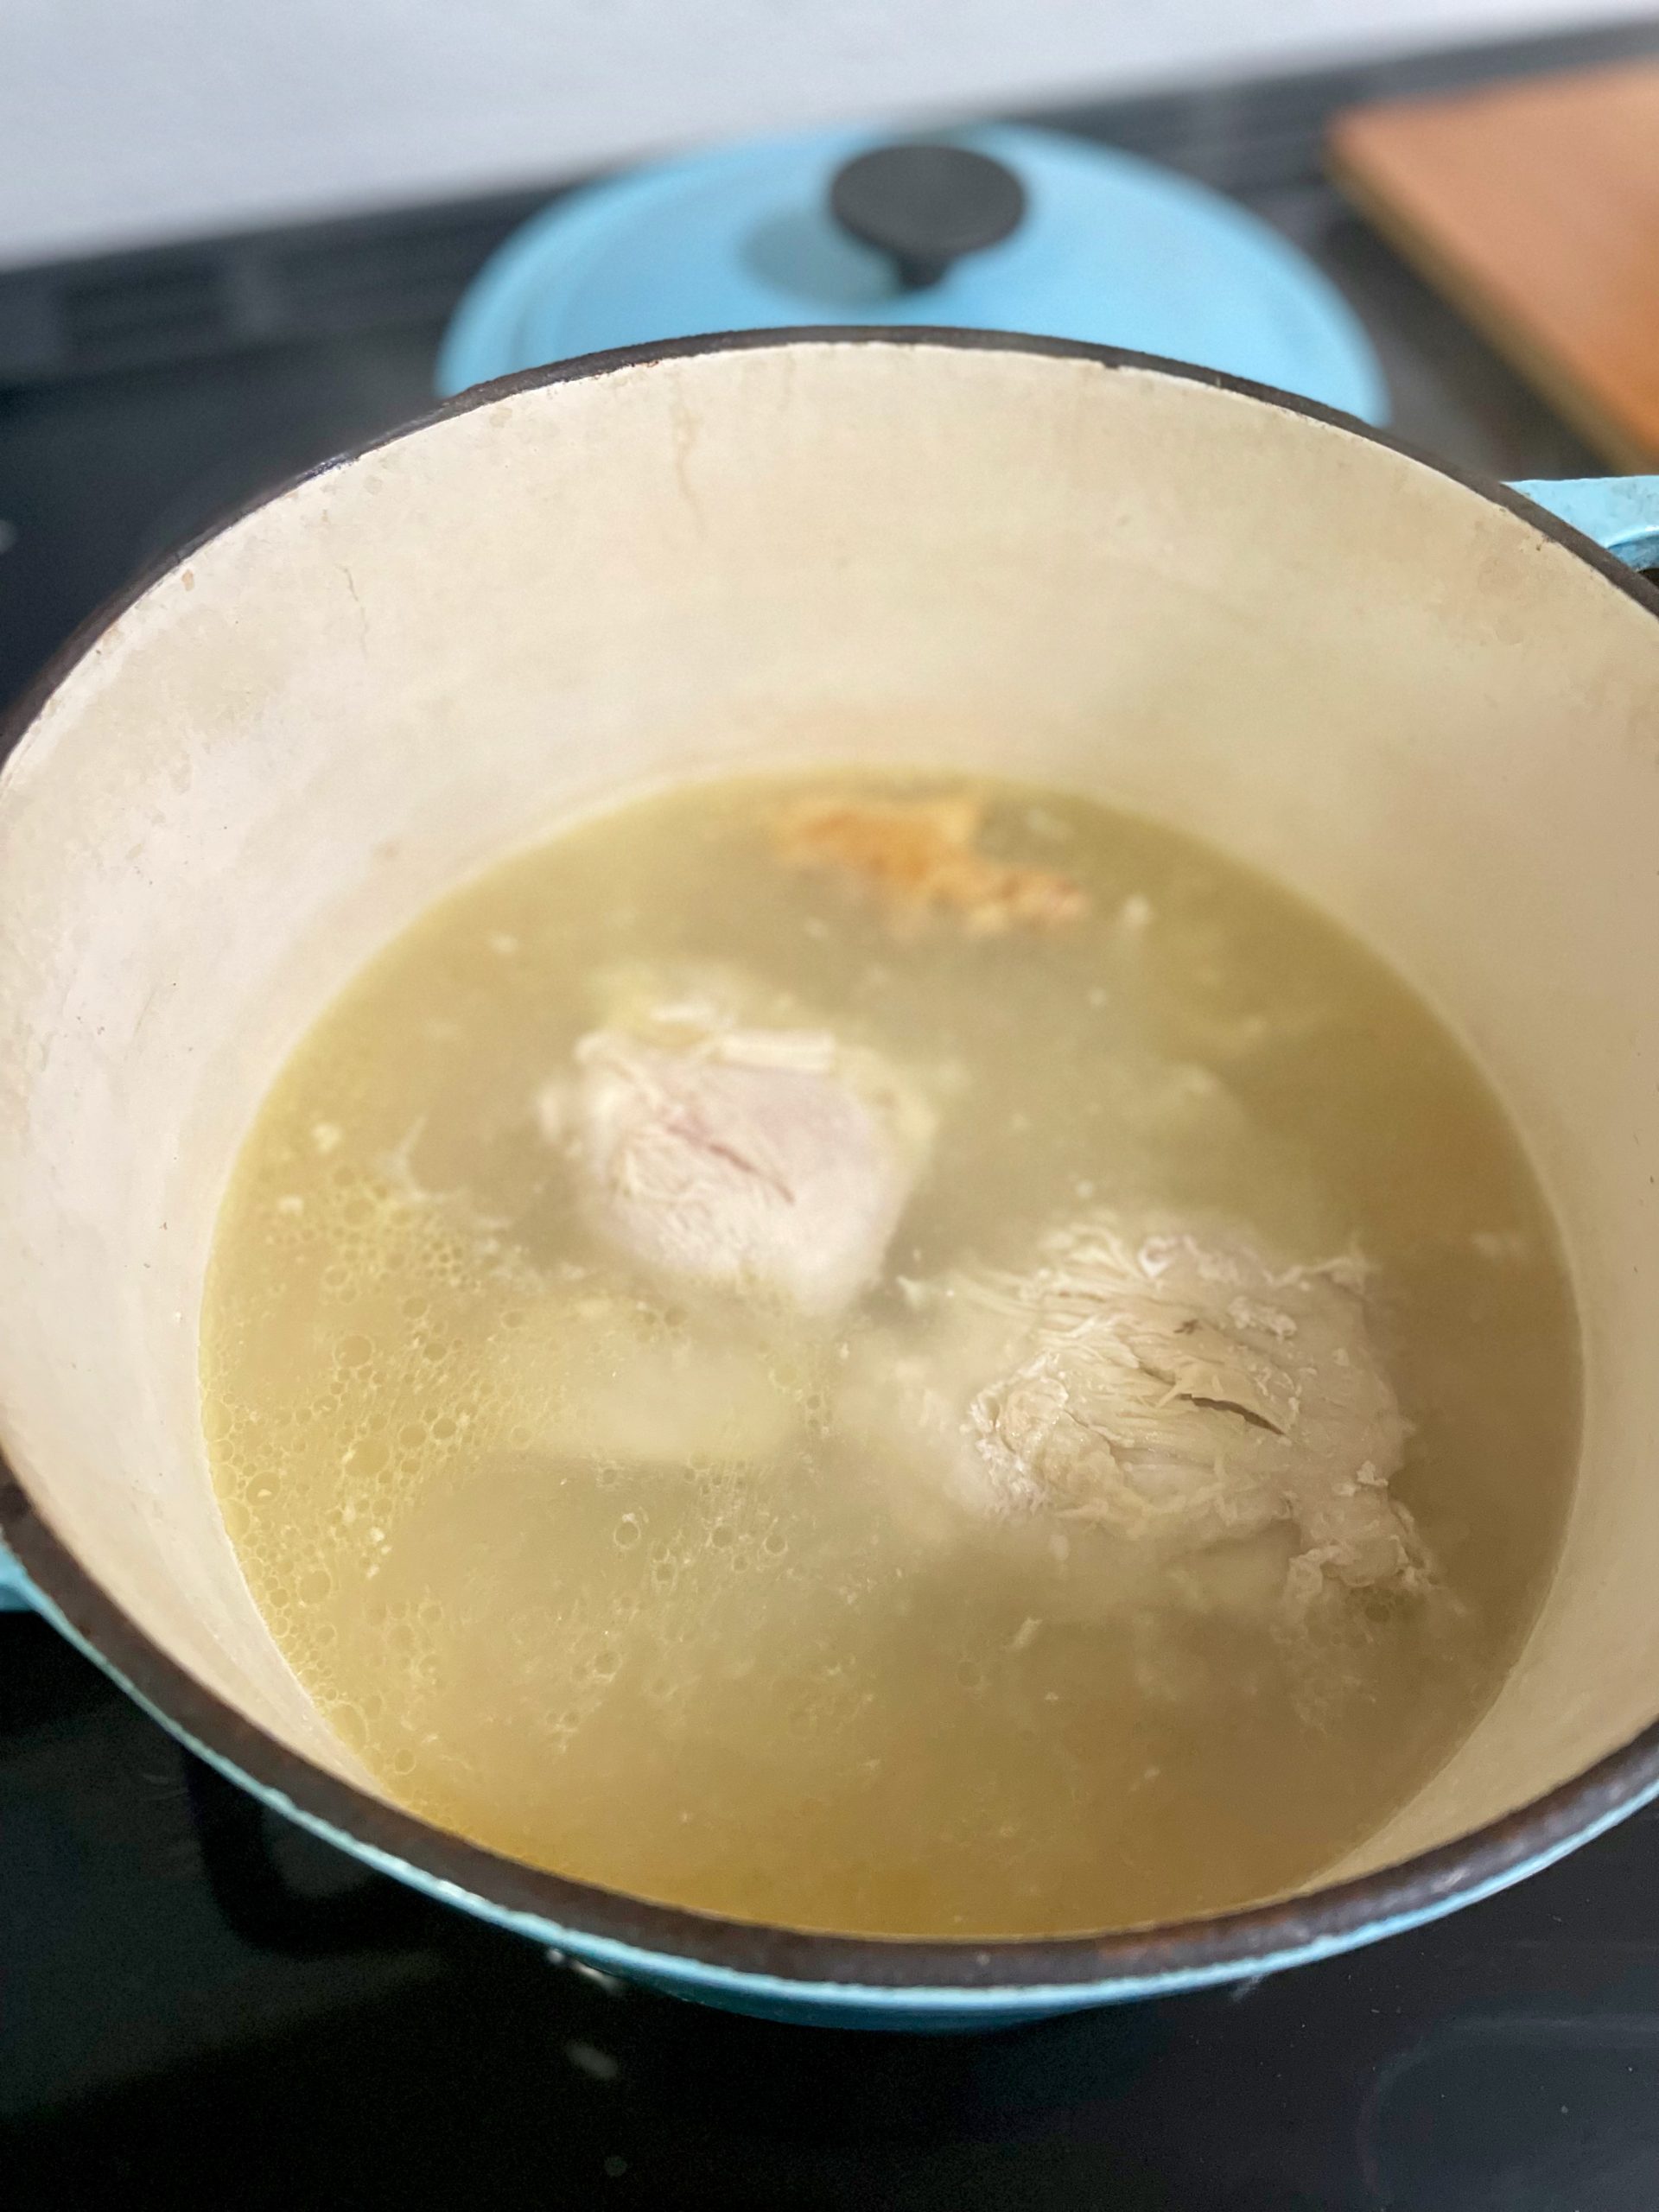
  • In a heavy pot, cook chicken until cooked on the exterior. This prevents the soup broth from getting cloudy. Don't worry if the chicken is not fully cooked in the center!
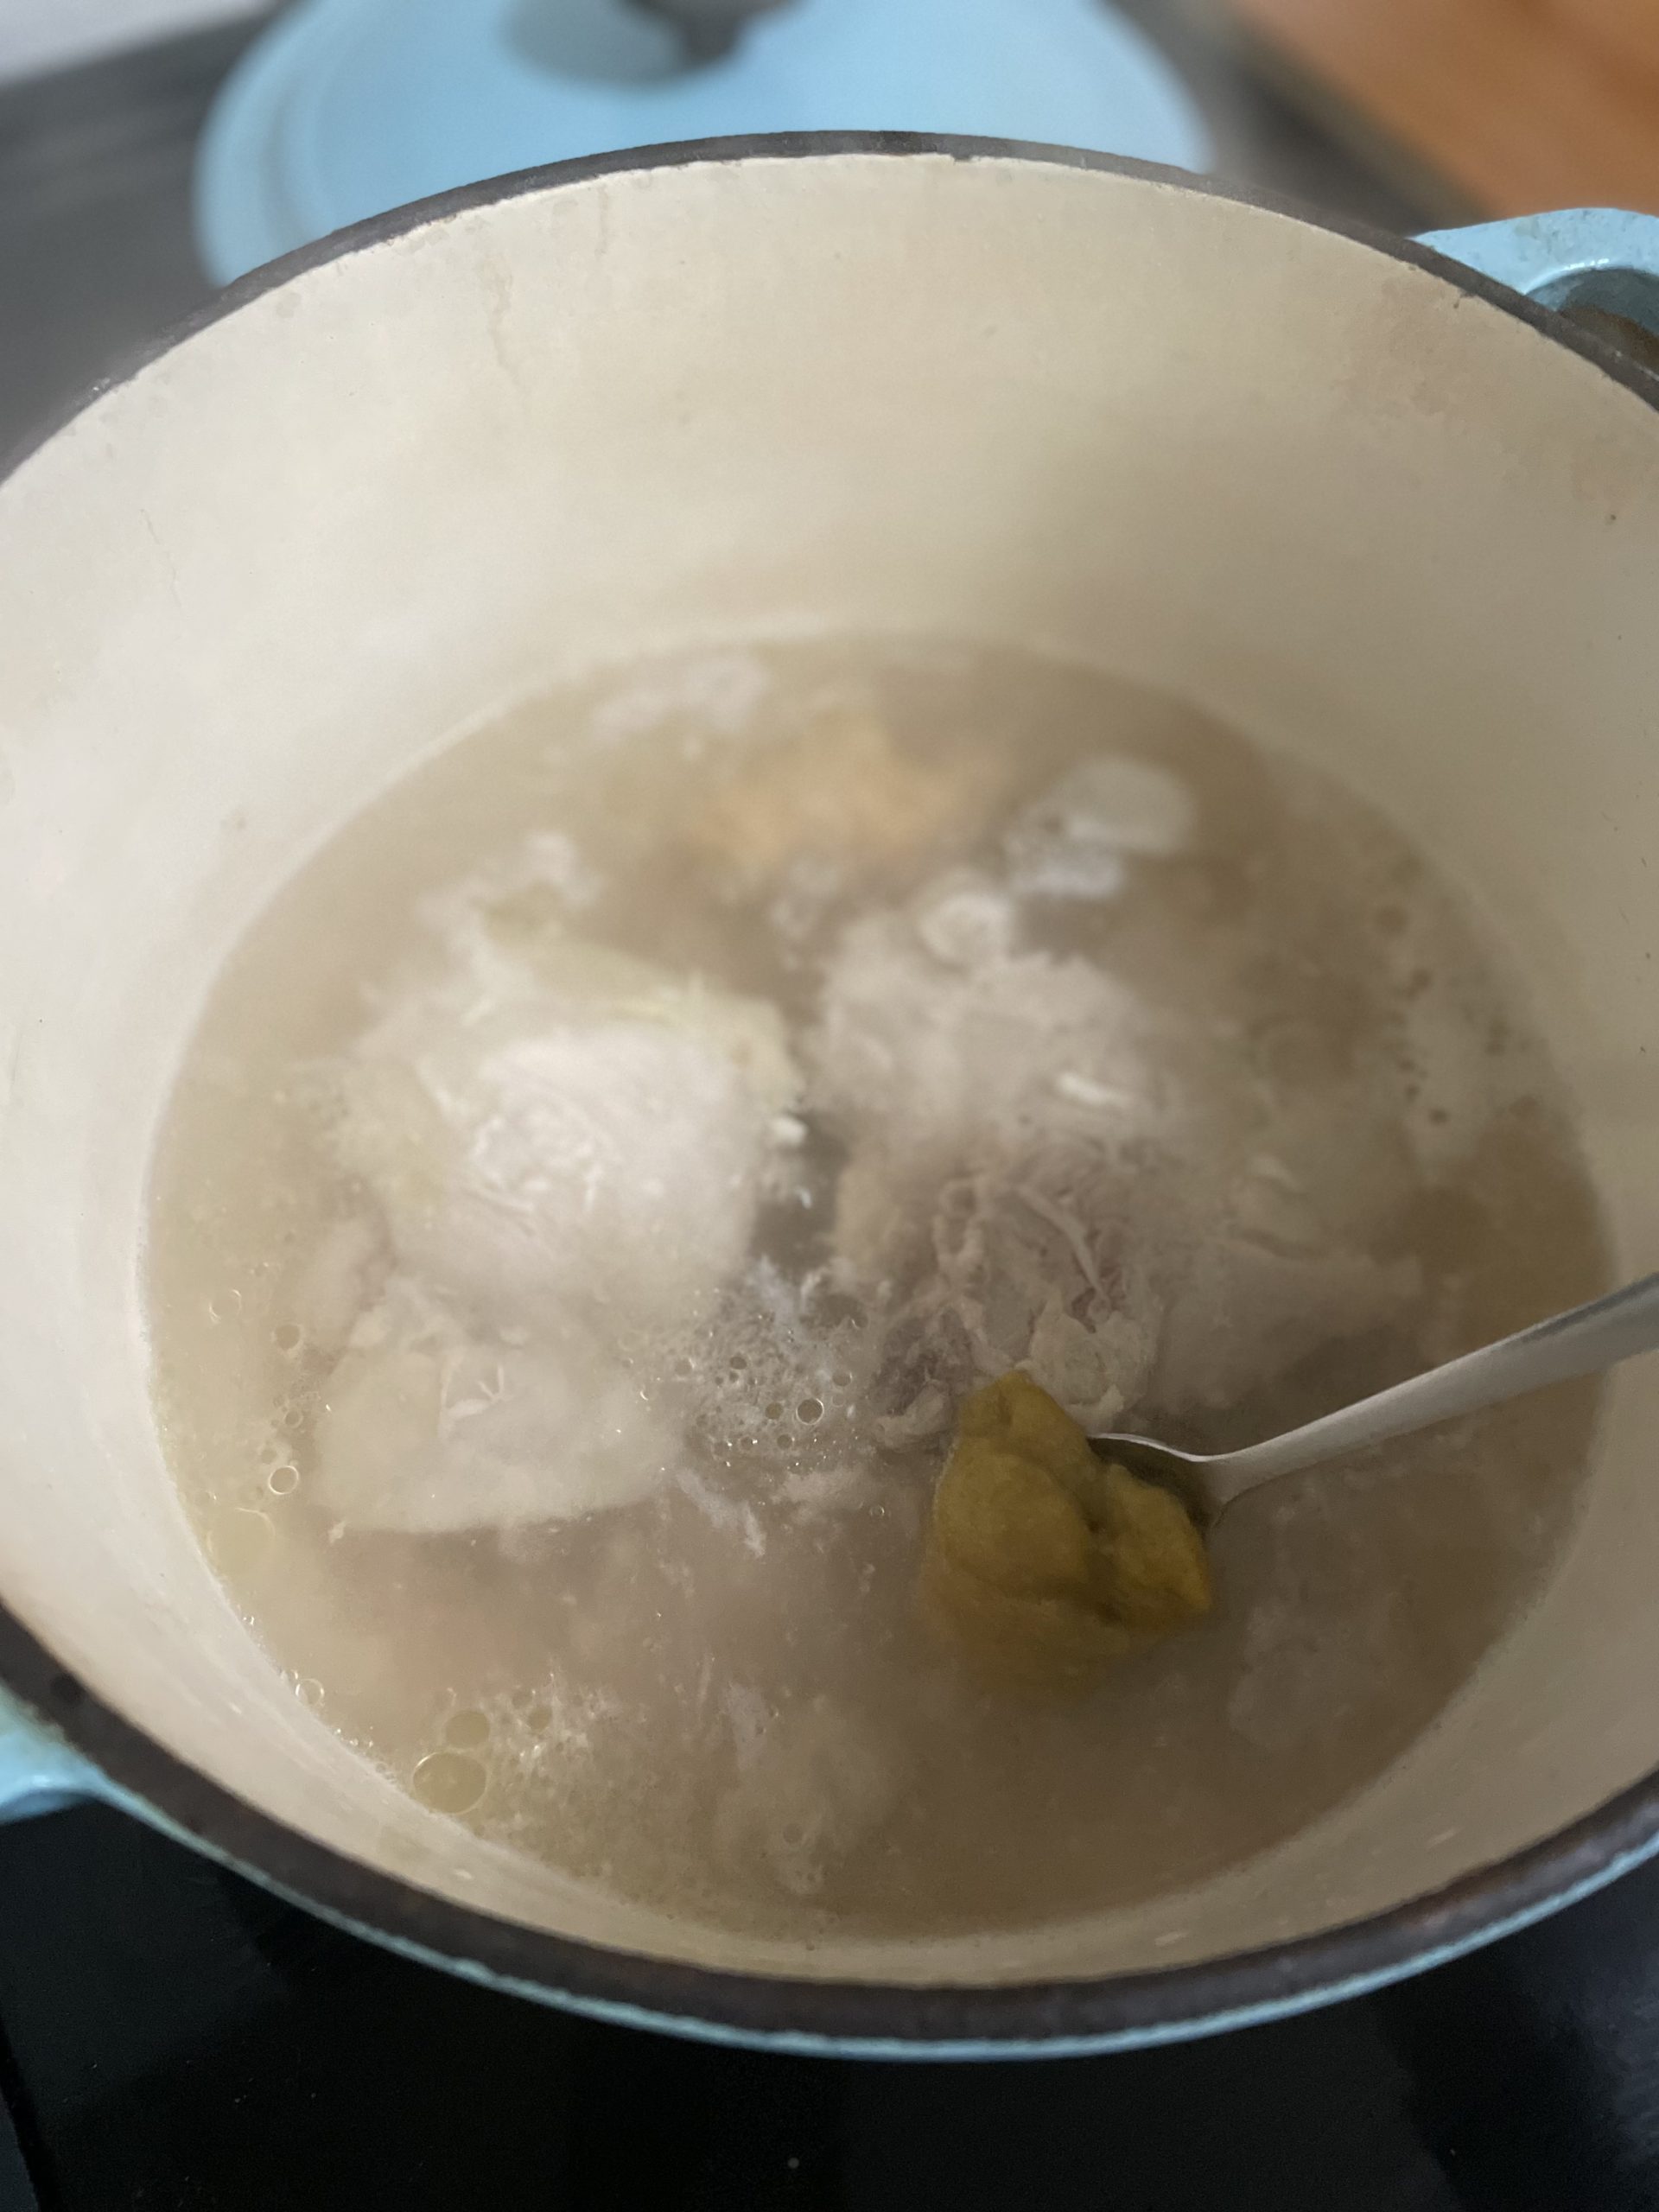
  • Add water and bouillon.
  • Cover pot and bring to a boil. Allow to boil for 5 minutes.
  • While the pot is boiling, you can shred your cabbage.
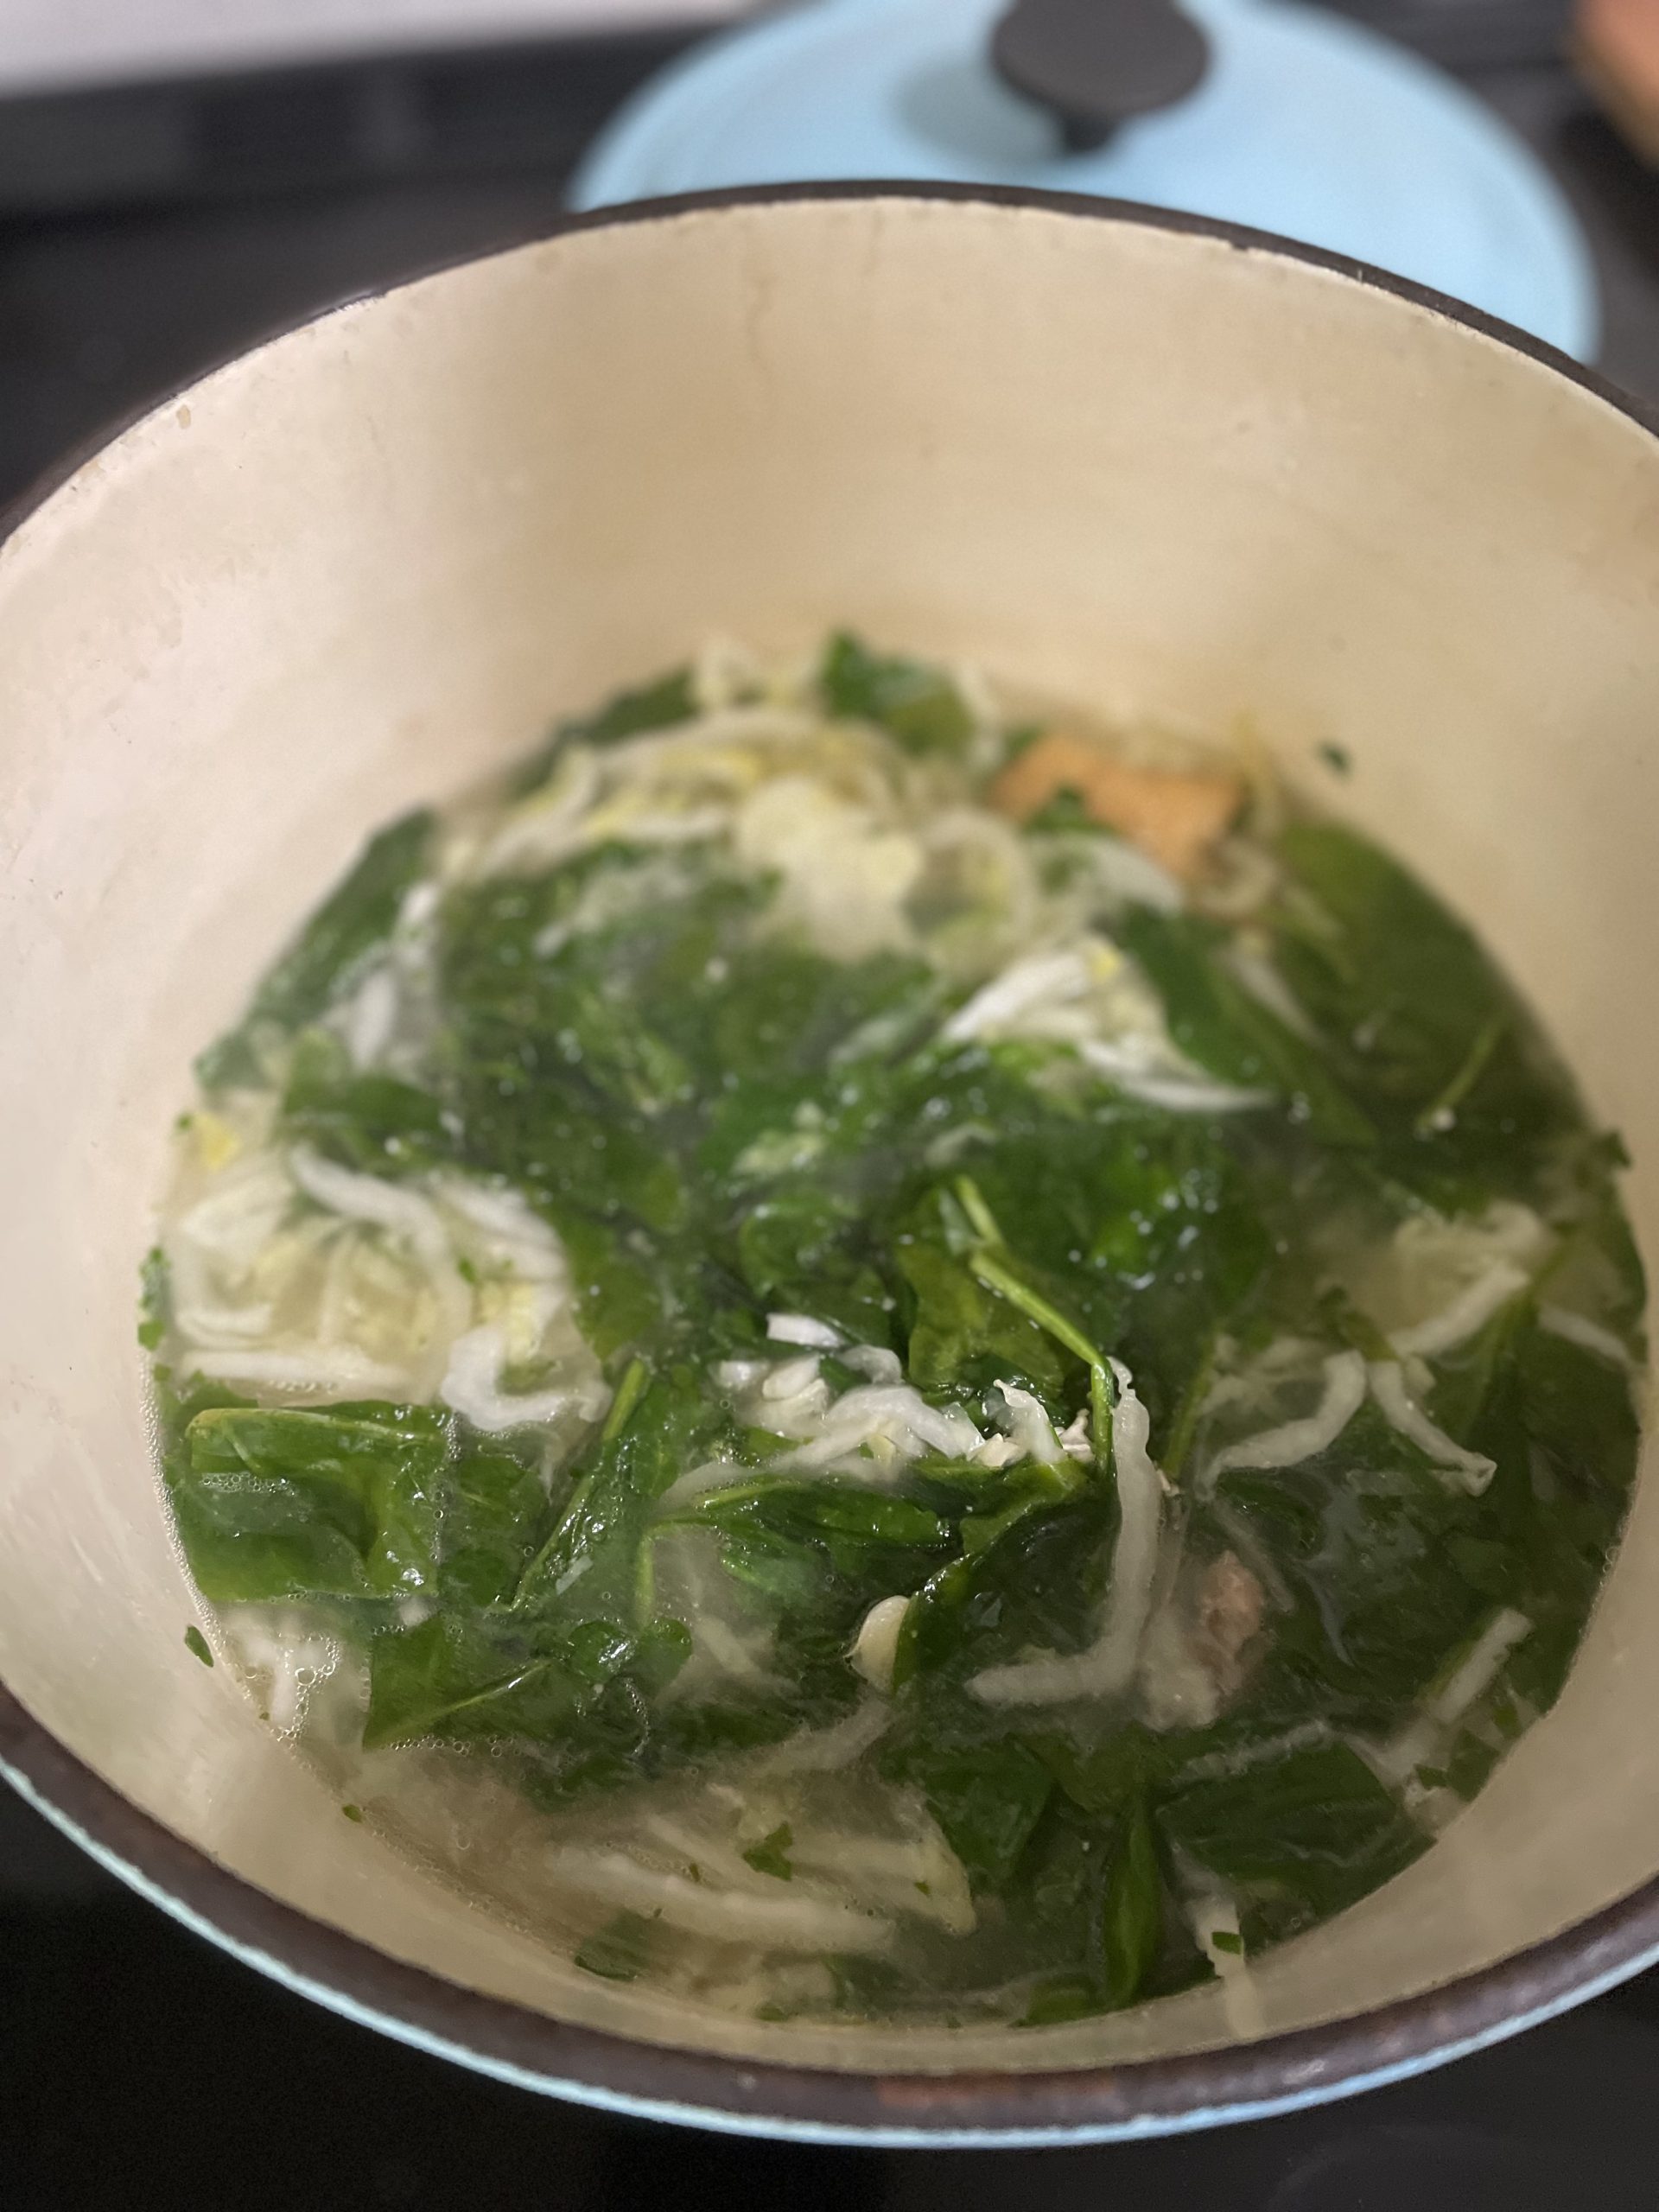
  • After 5 minutes, remove the chicken from the water. Turn heat to low and add Napa cabbage and spinach. Give a quick stir.
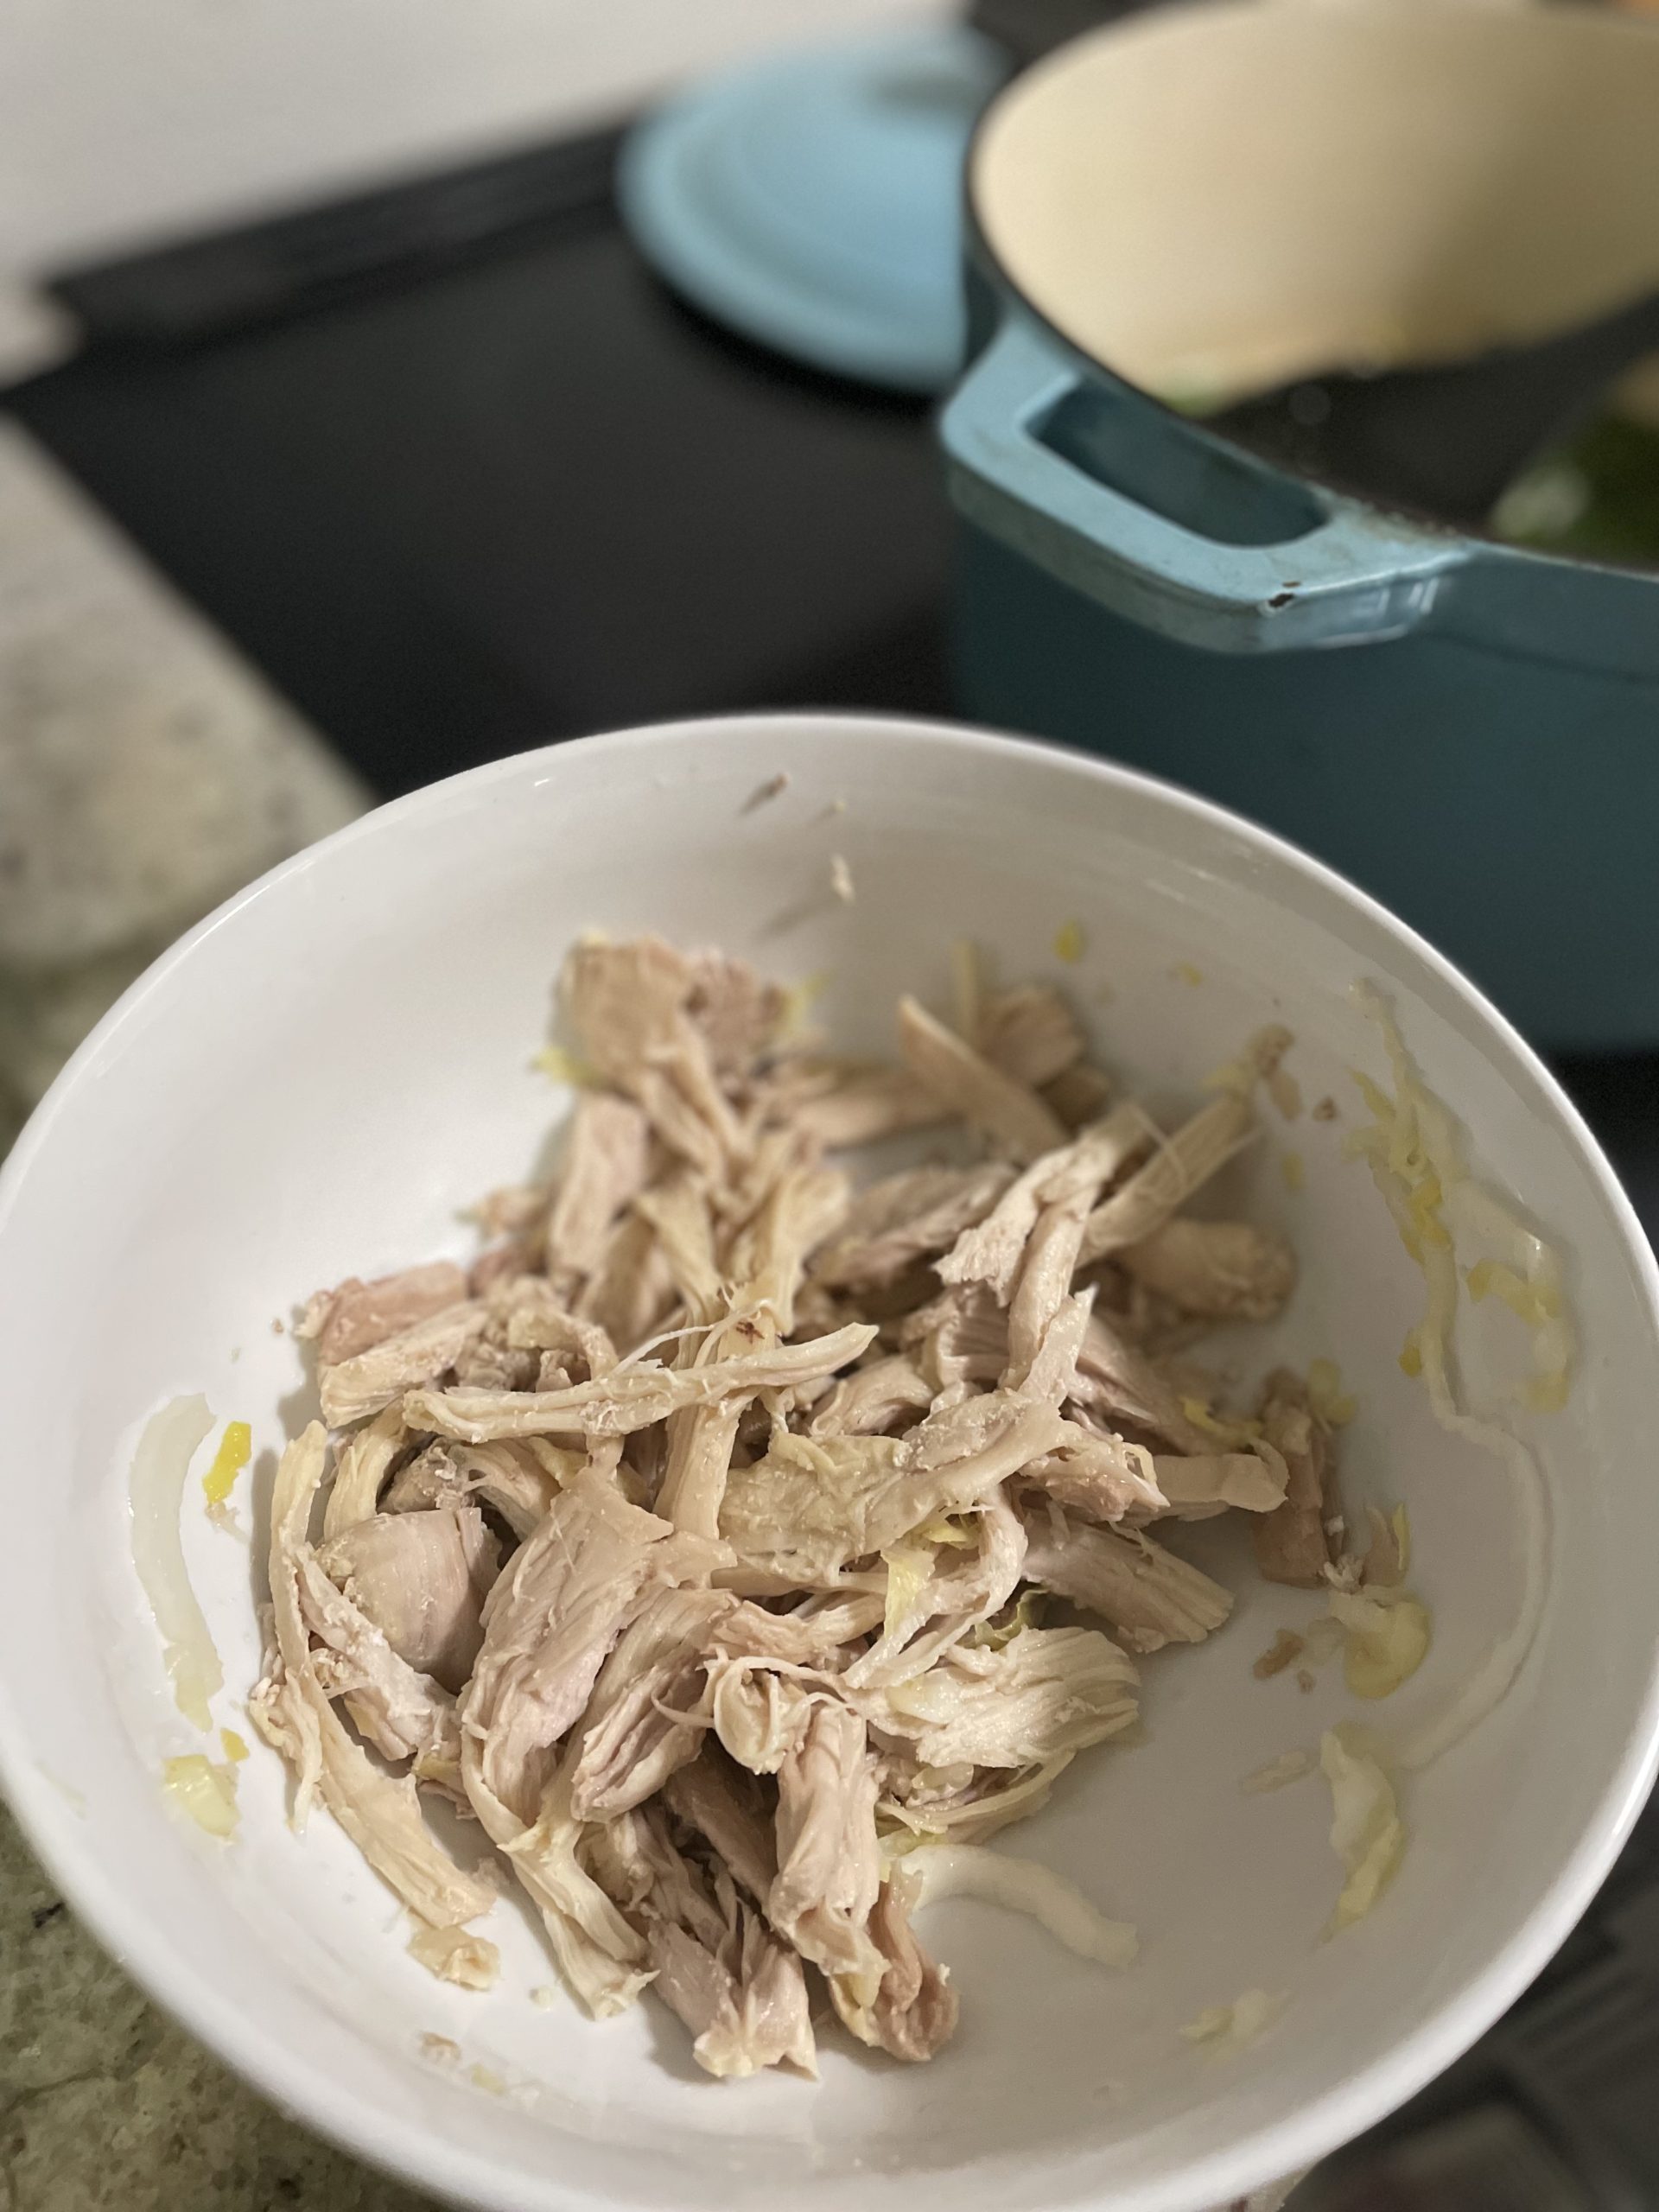
  • Shred chicken and return to pot.
  • Taste the broth and add salt, approximately 2 tsps. If you don't need that much, don't add that much! If you need more, add more!
  • Finish with sesame oil and serve.

You could even add some Chicken & Cabbage Dumplings to the soup too.

Have a dessert like Crispy Gooey Chocolate Chip Cookies or Kitchen Sink Cookies

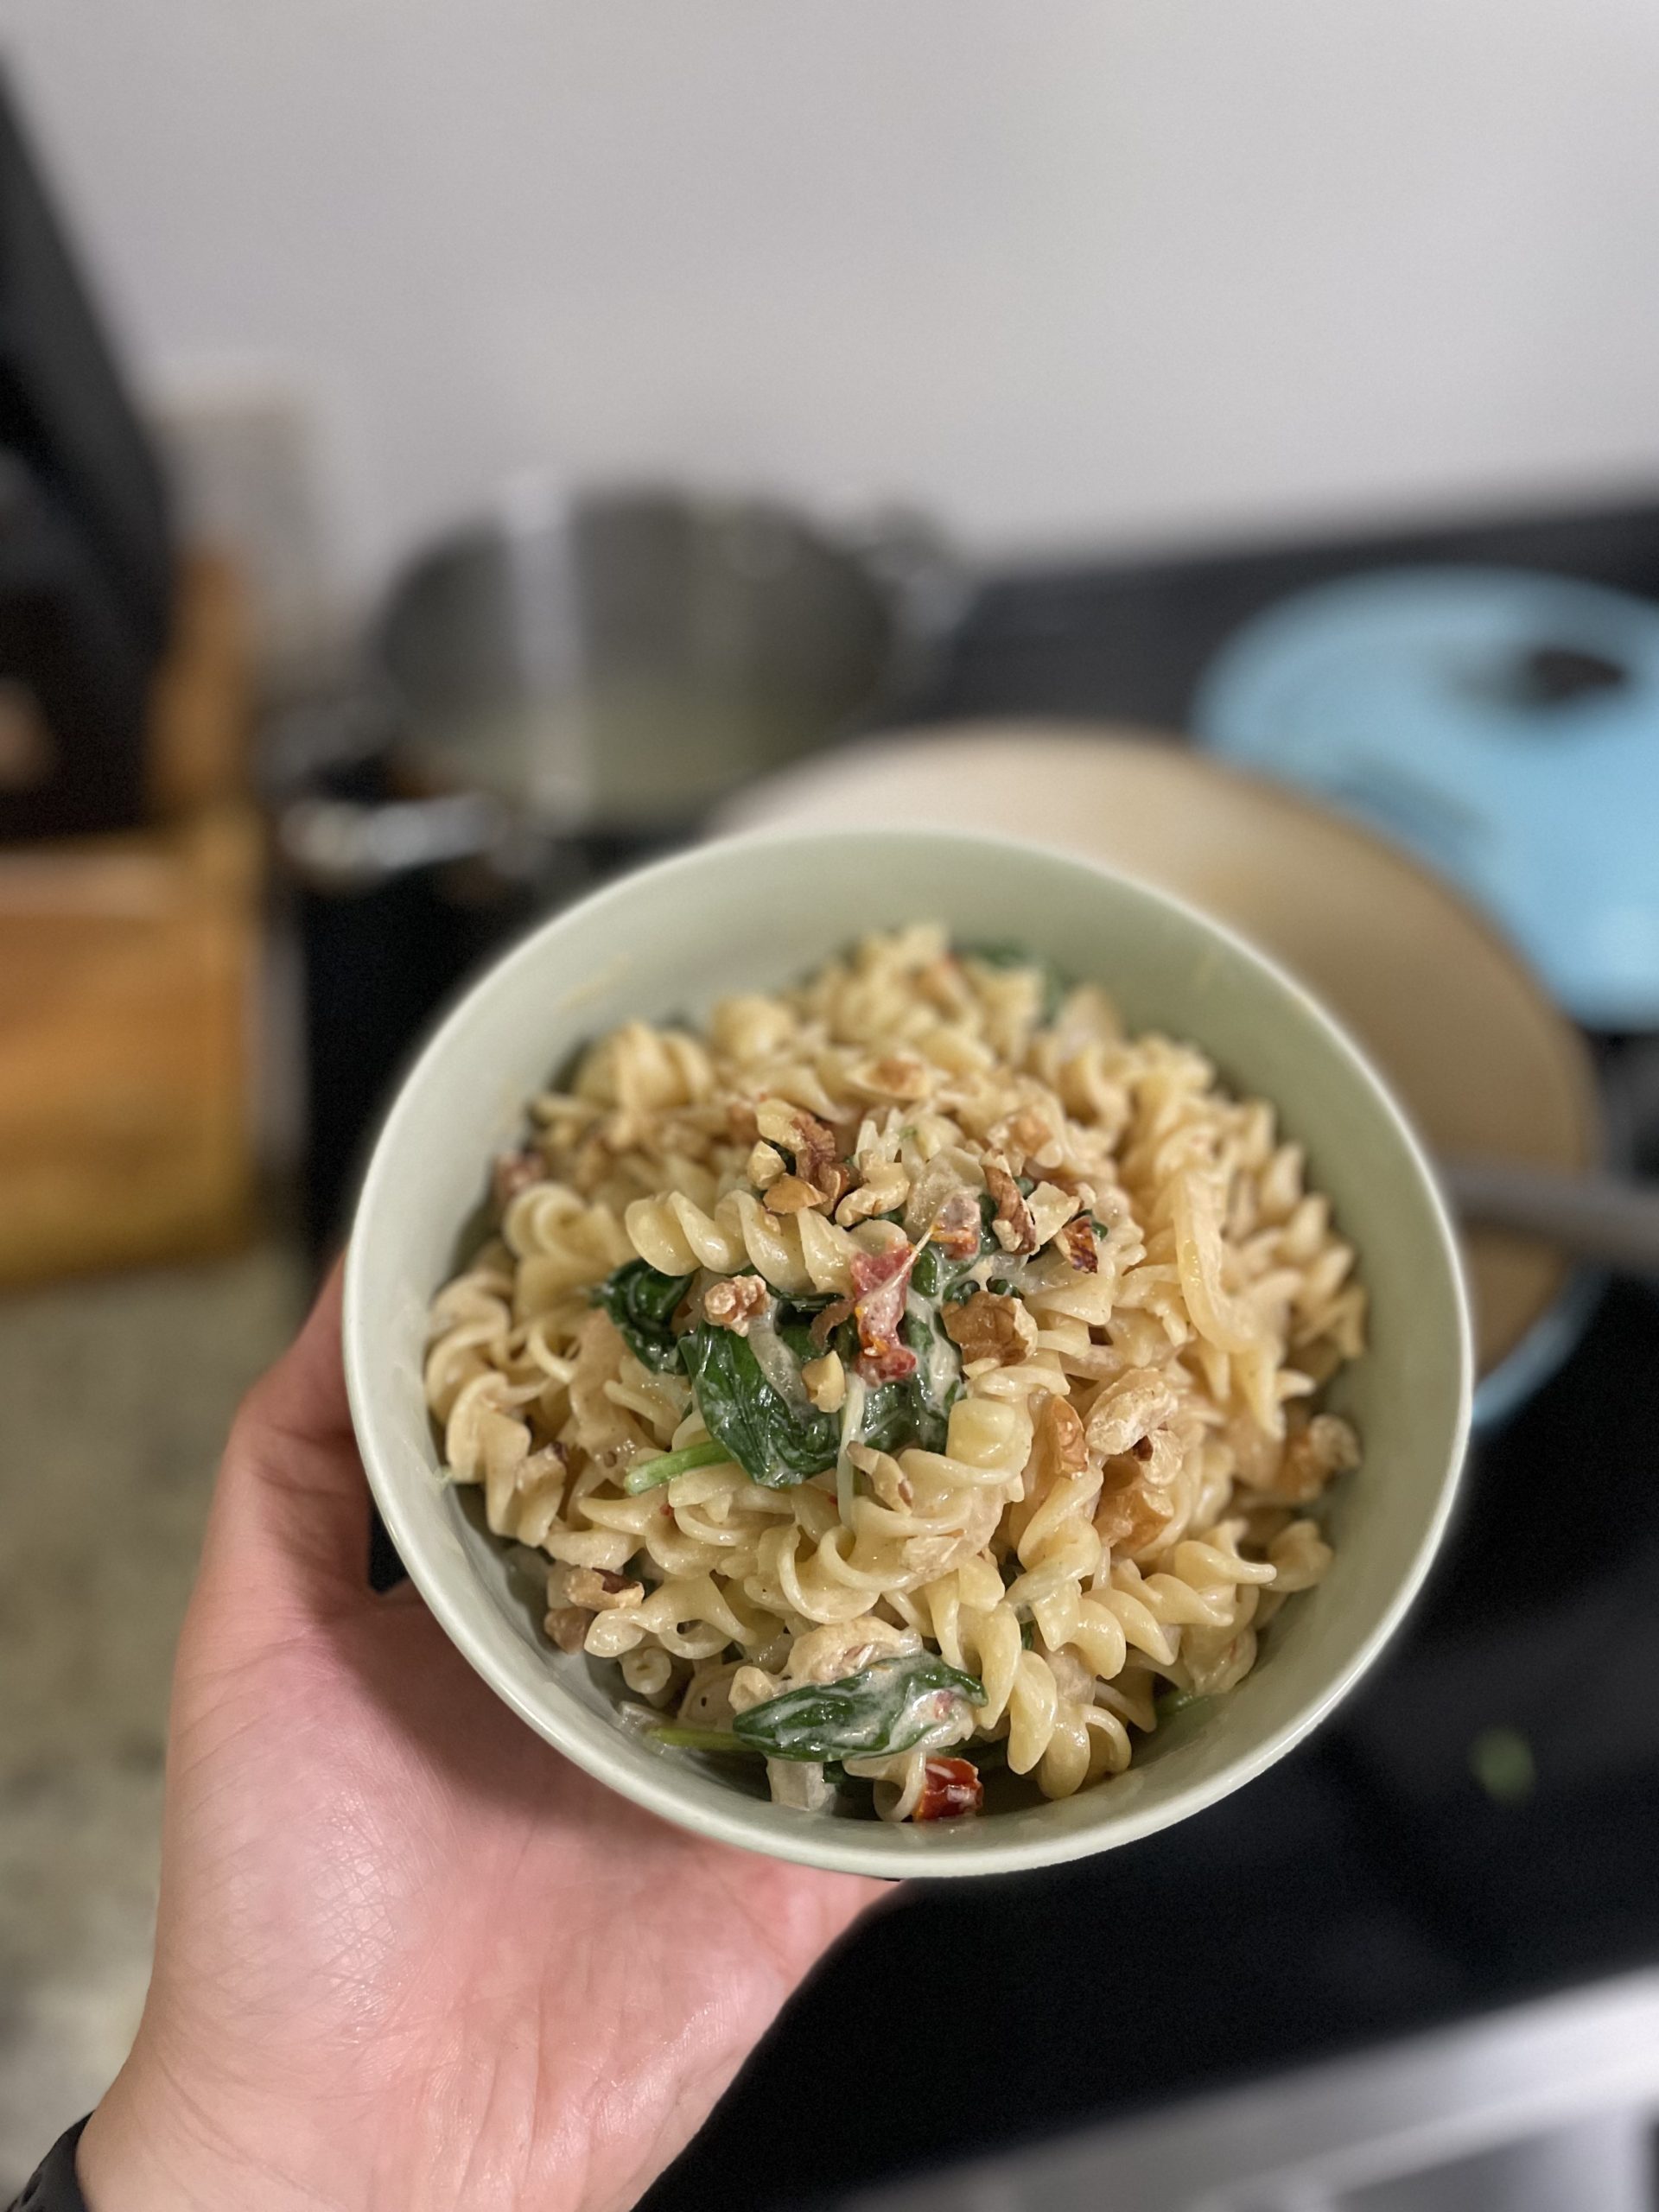
Sun-dried Tomato and Goat Cheese Pasta

When I want a creamy pasta dinner in a pinch, I turn to goat cheese for a quick, tangy sauce that comes together quickly. Perfect for a weeknight dinner, this pasta comes together in about 30 minutes and will satiate any carb cravings. Make it your own by adding different herbs, spice it with some pepper flakes, or top it with breadcrumbs or walnuts for an added crunch.

Ingredients

Pasta – Use any noodle type you like! I opted for more of a fusilli shape since its able to hold more sauce in it. This is also really great with a spaghetti, penne, or bucatini.

Goat cheese – I know goat cheese isn’t for everyone, so this can definitely be substituted for cream cheese or marscapone. You’ll want a thicker, creamy cheese to help develop a thick, luscious sauce.

Sun-dried Tomato Goat Cheese Pasta

Print Recipe
A sauce-y pasta dinner perfect for a weeknight meal.
Course Main Course
Keyword goat cheese, pasta

Ingredients

  • 1 tbsp olive oil
  • 1 sweet onion thinly sliced
  • 1/4 cup sun-dried tomatoes chopped
  • 1/2 cup white wine
  • 1 cup milk
  • 2 cups spinach
  • 5 ounces goat cheese
  • 16 ounces pasta
  • 1/4 cup parmesan optional

Instructions

  • Cook pasta according to packaging instructions.
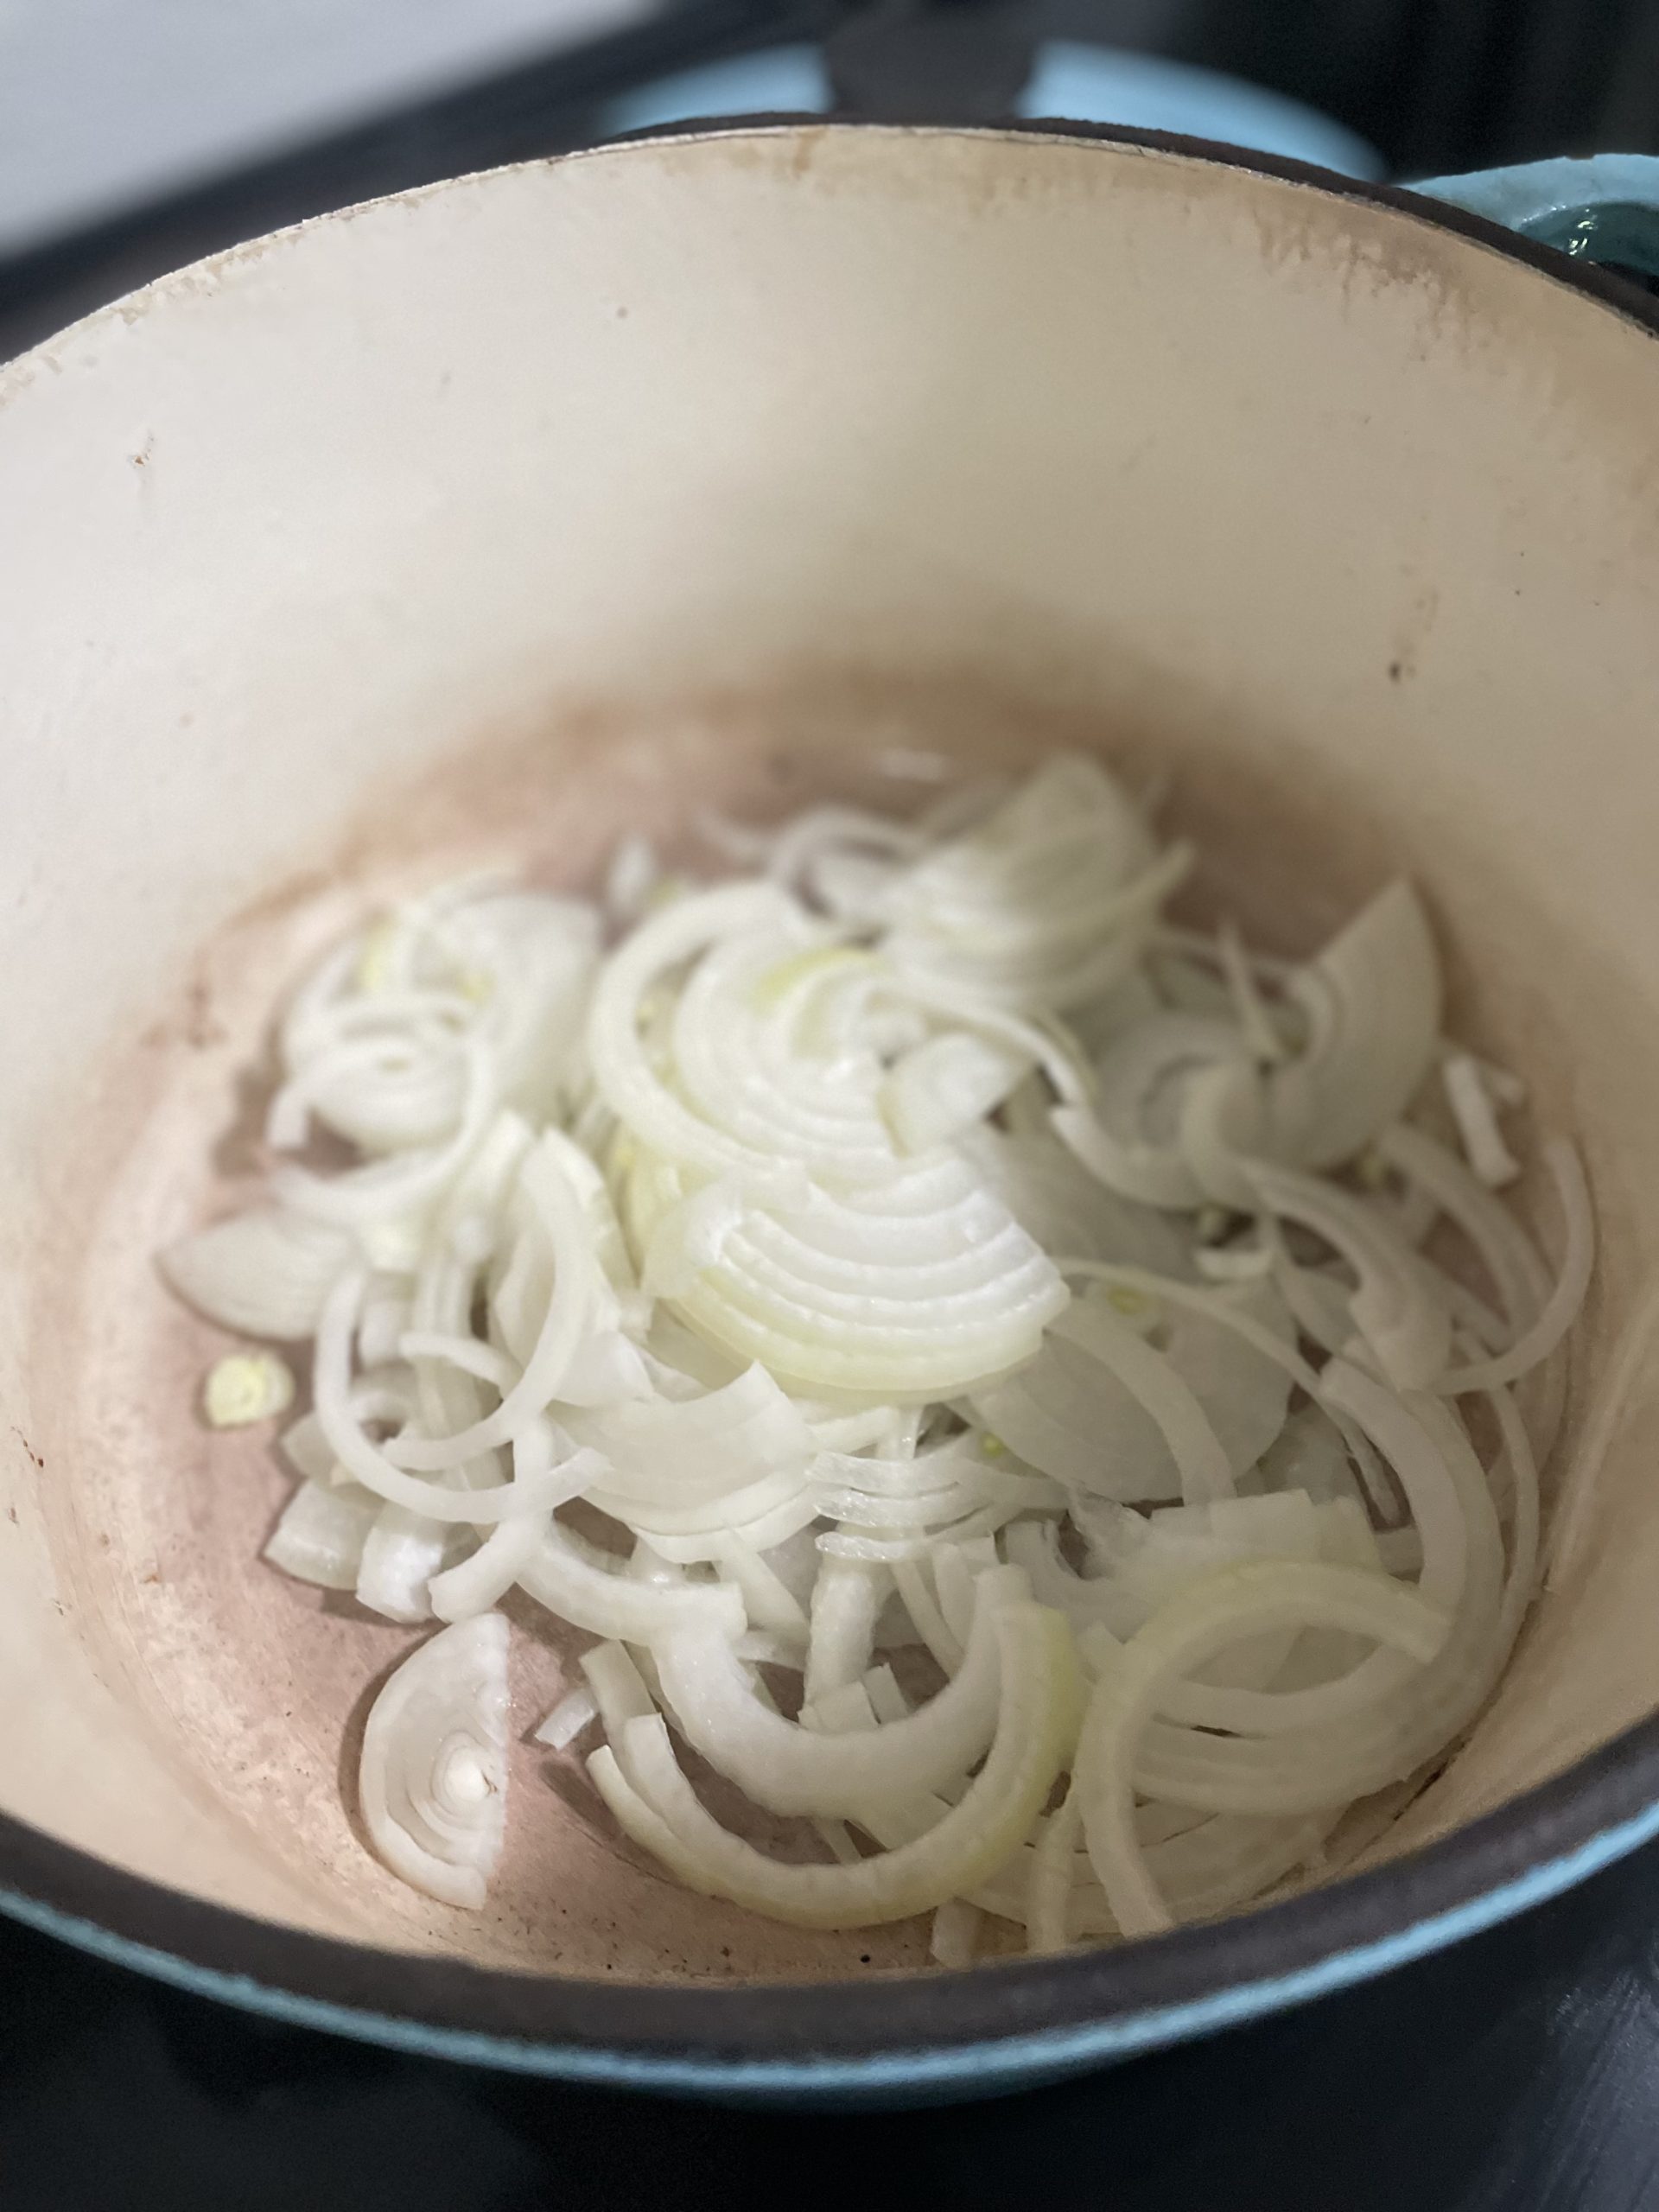
  • While water is boiling and pasta is cooking, sauté onions in a heavy bottom skillet with olive oil, salt, and pepper on medium heat.
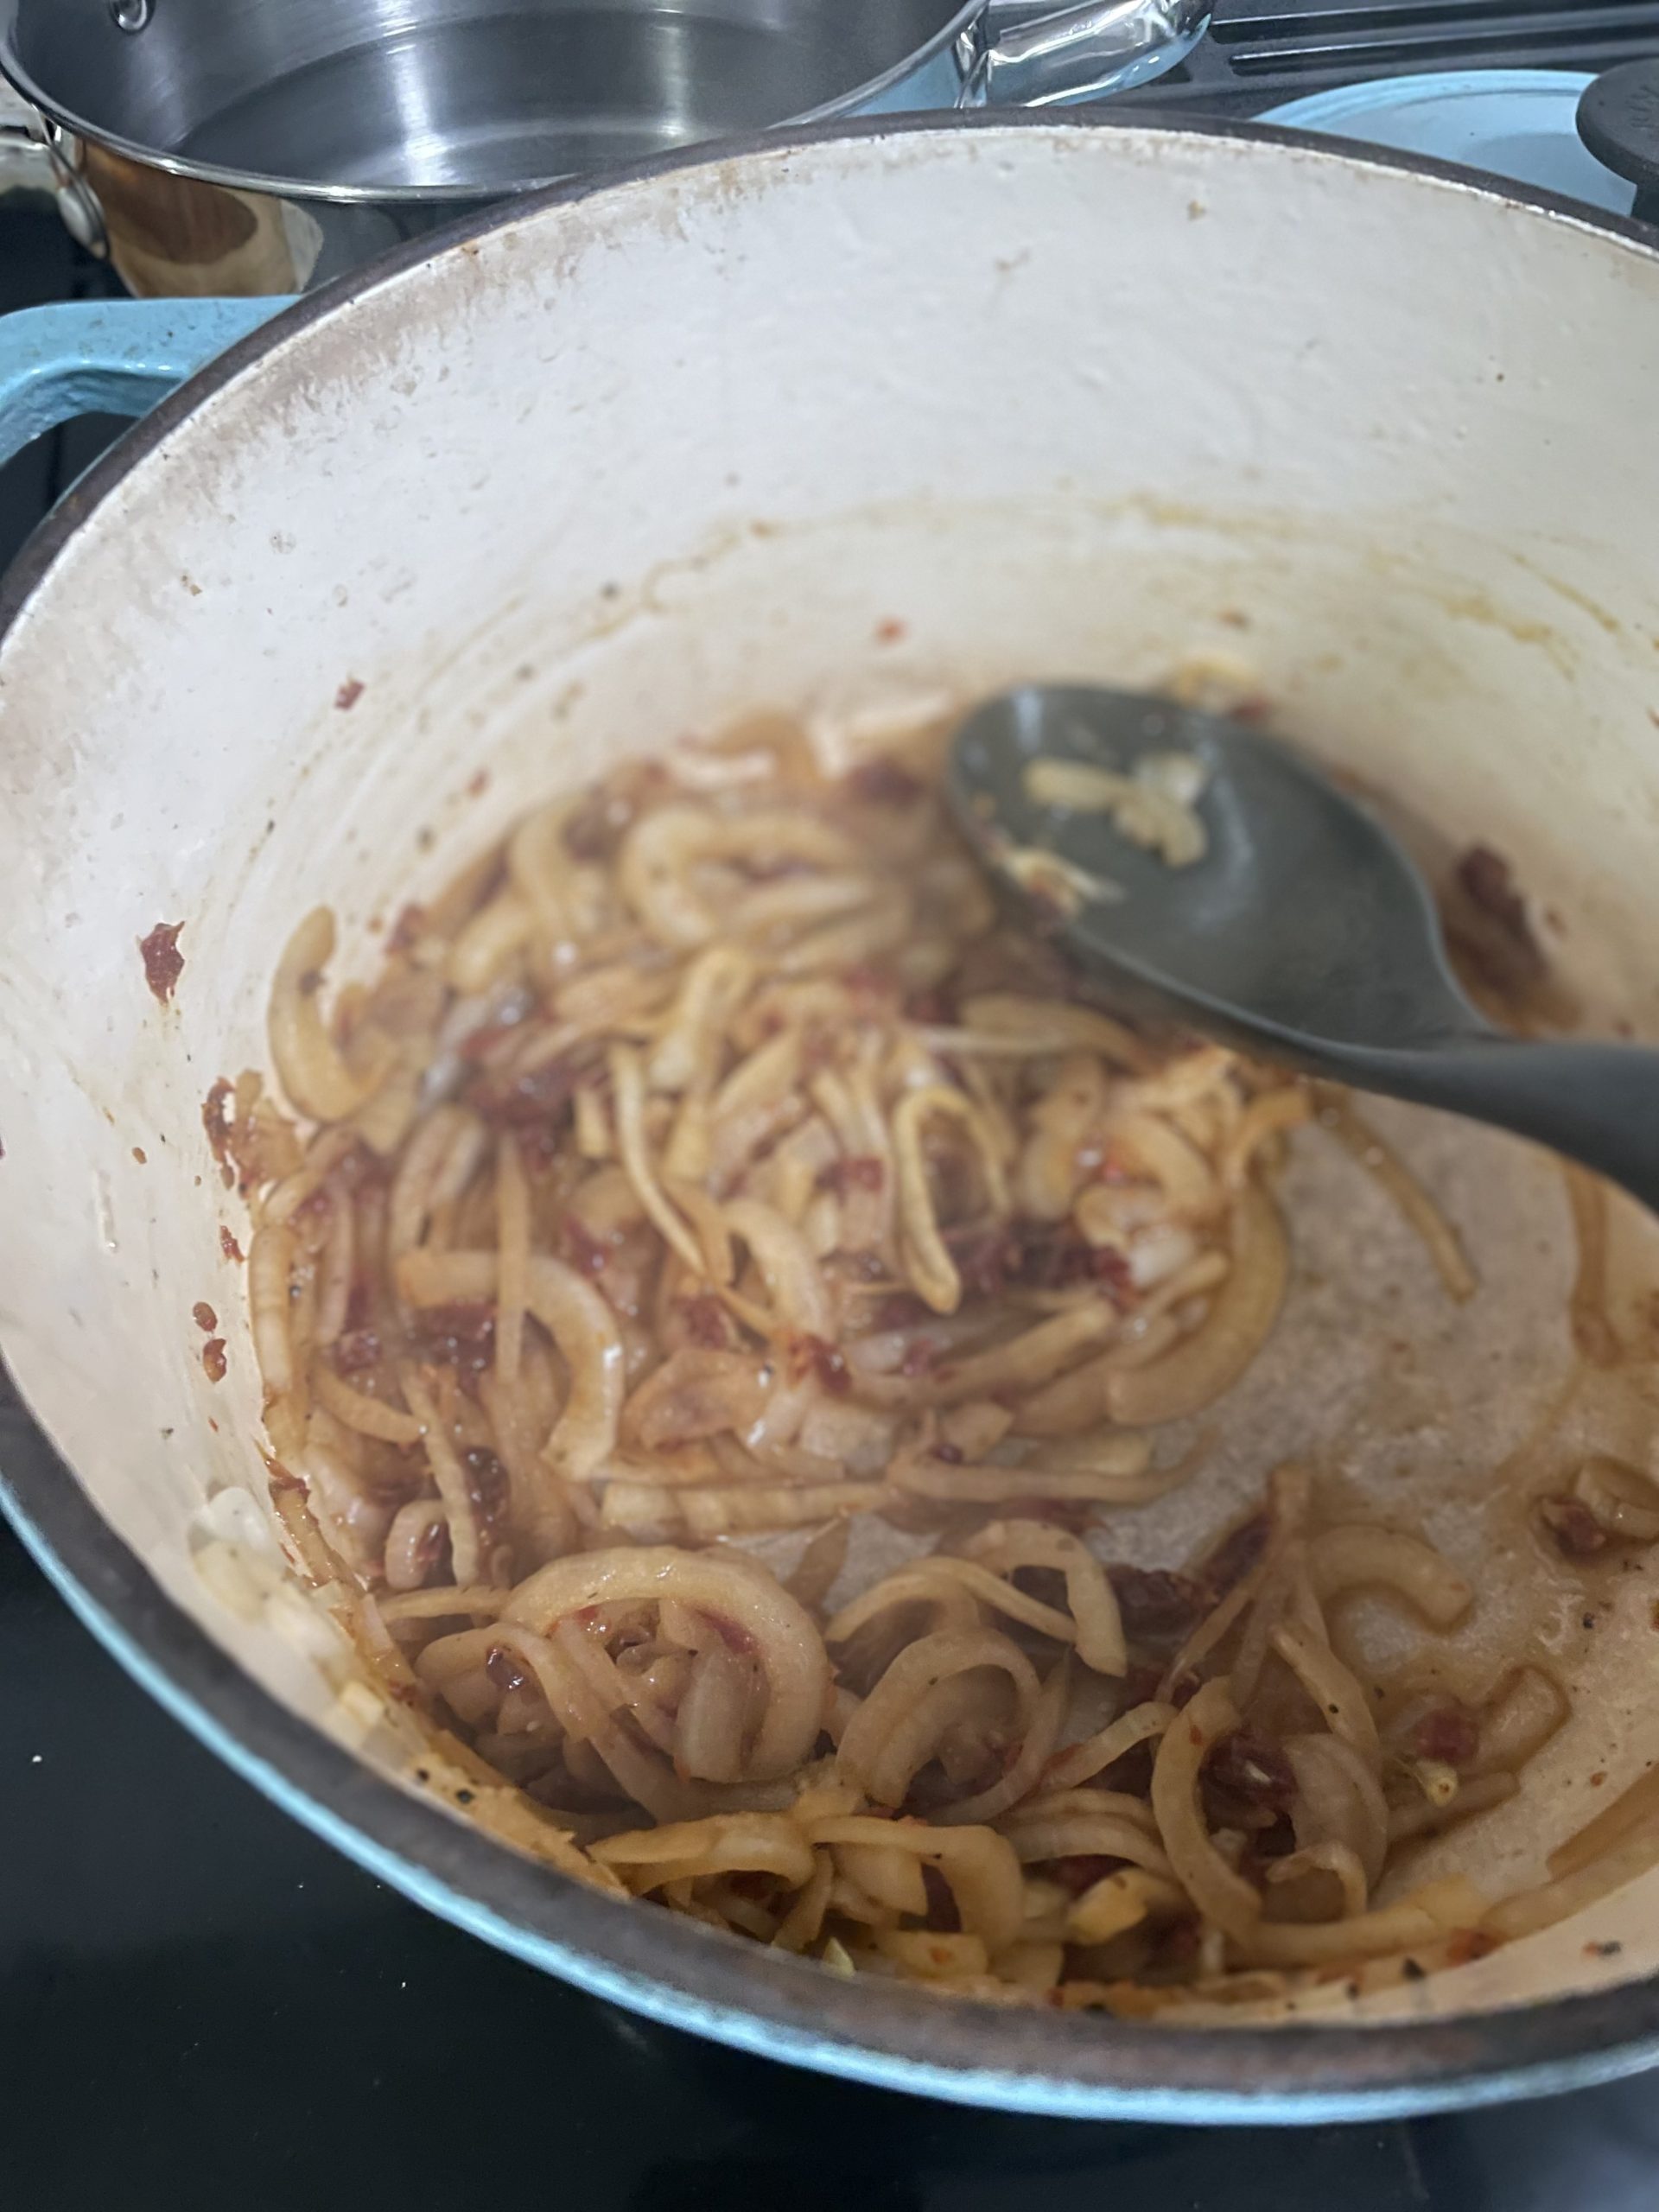
  • When onions are starting to brown, add sun-dried tomatoes and continue to cook until onions are caramelized.
  • Turn heat down to medium-low and add in the white wine. Scrape any bits off the bottom of the pot.
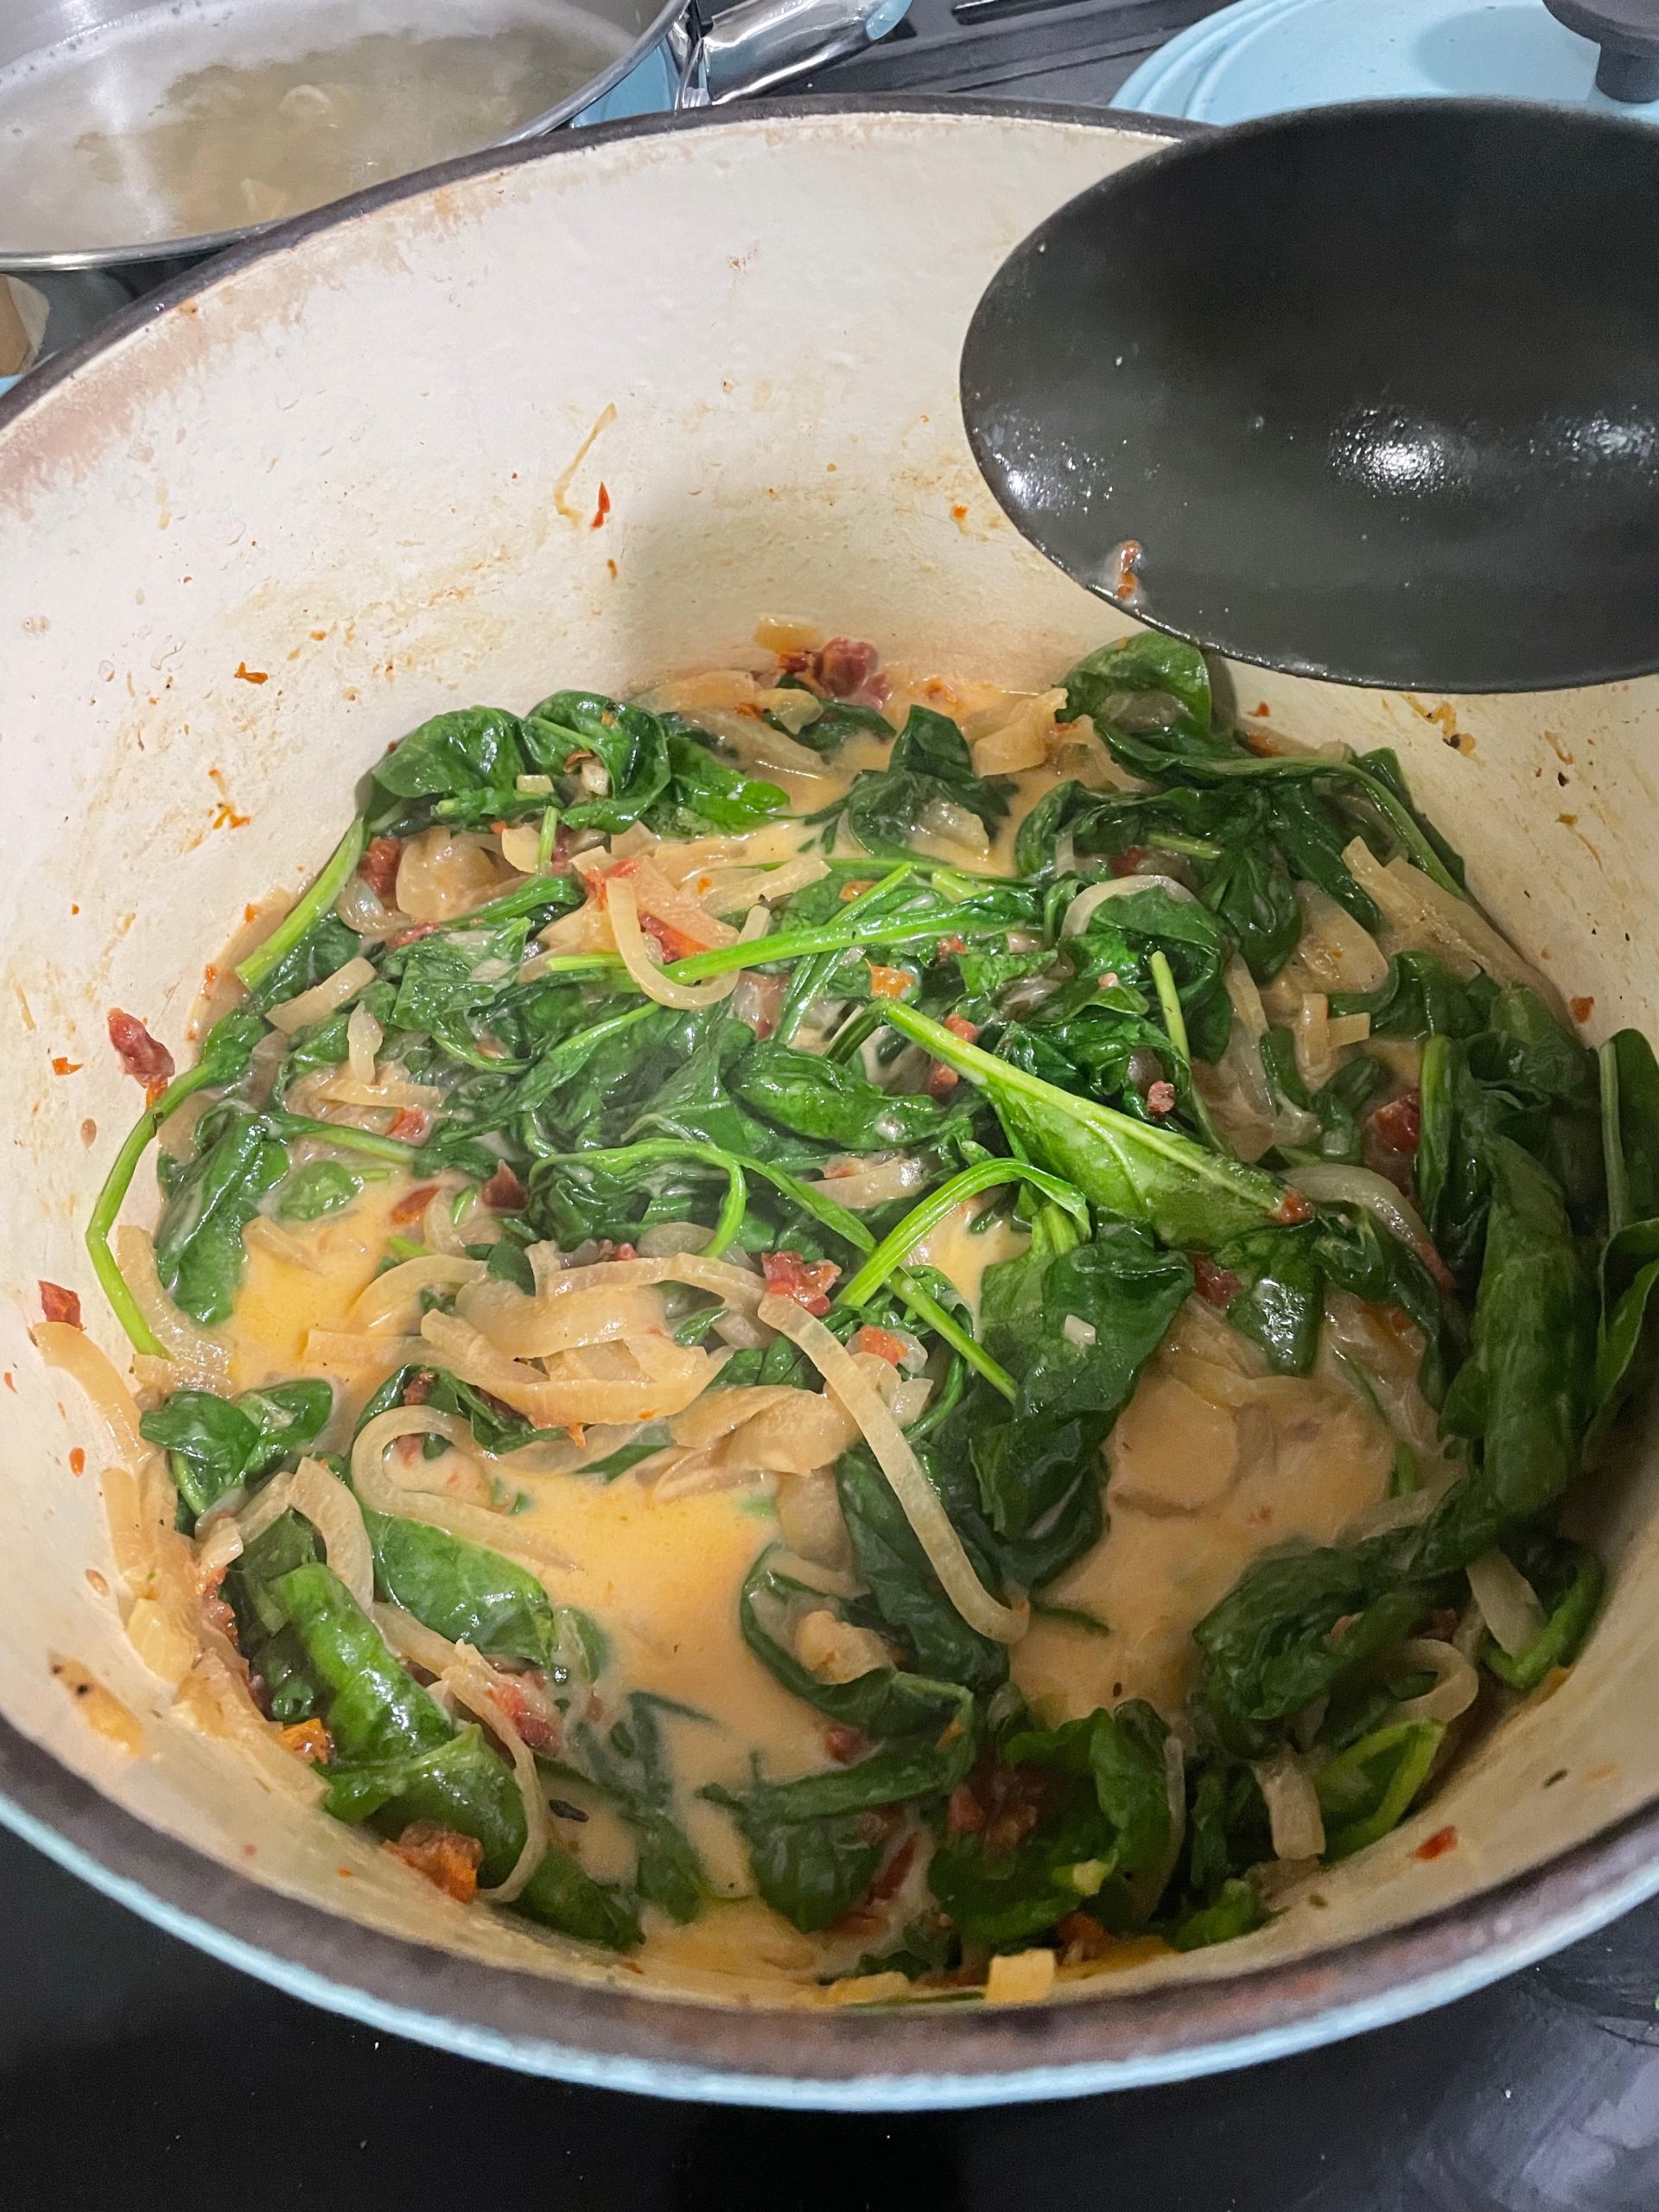
  • Add milk, goat cheese, and spinach and mix to combine. Ensure that all of the goat cheese has been thoroughly mixed into the sauce.
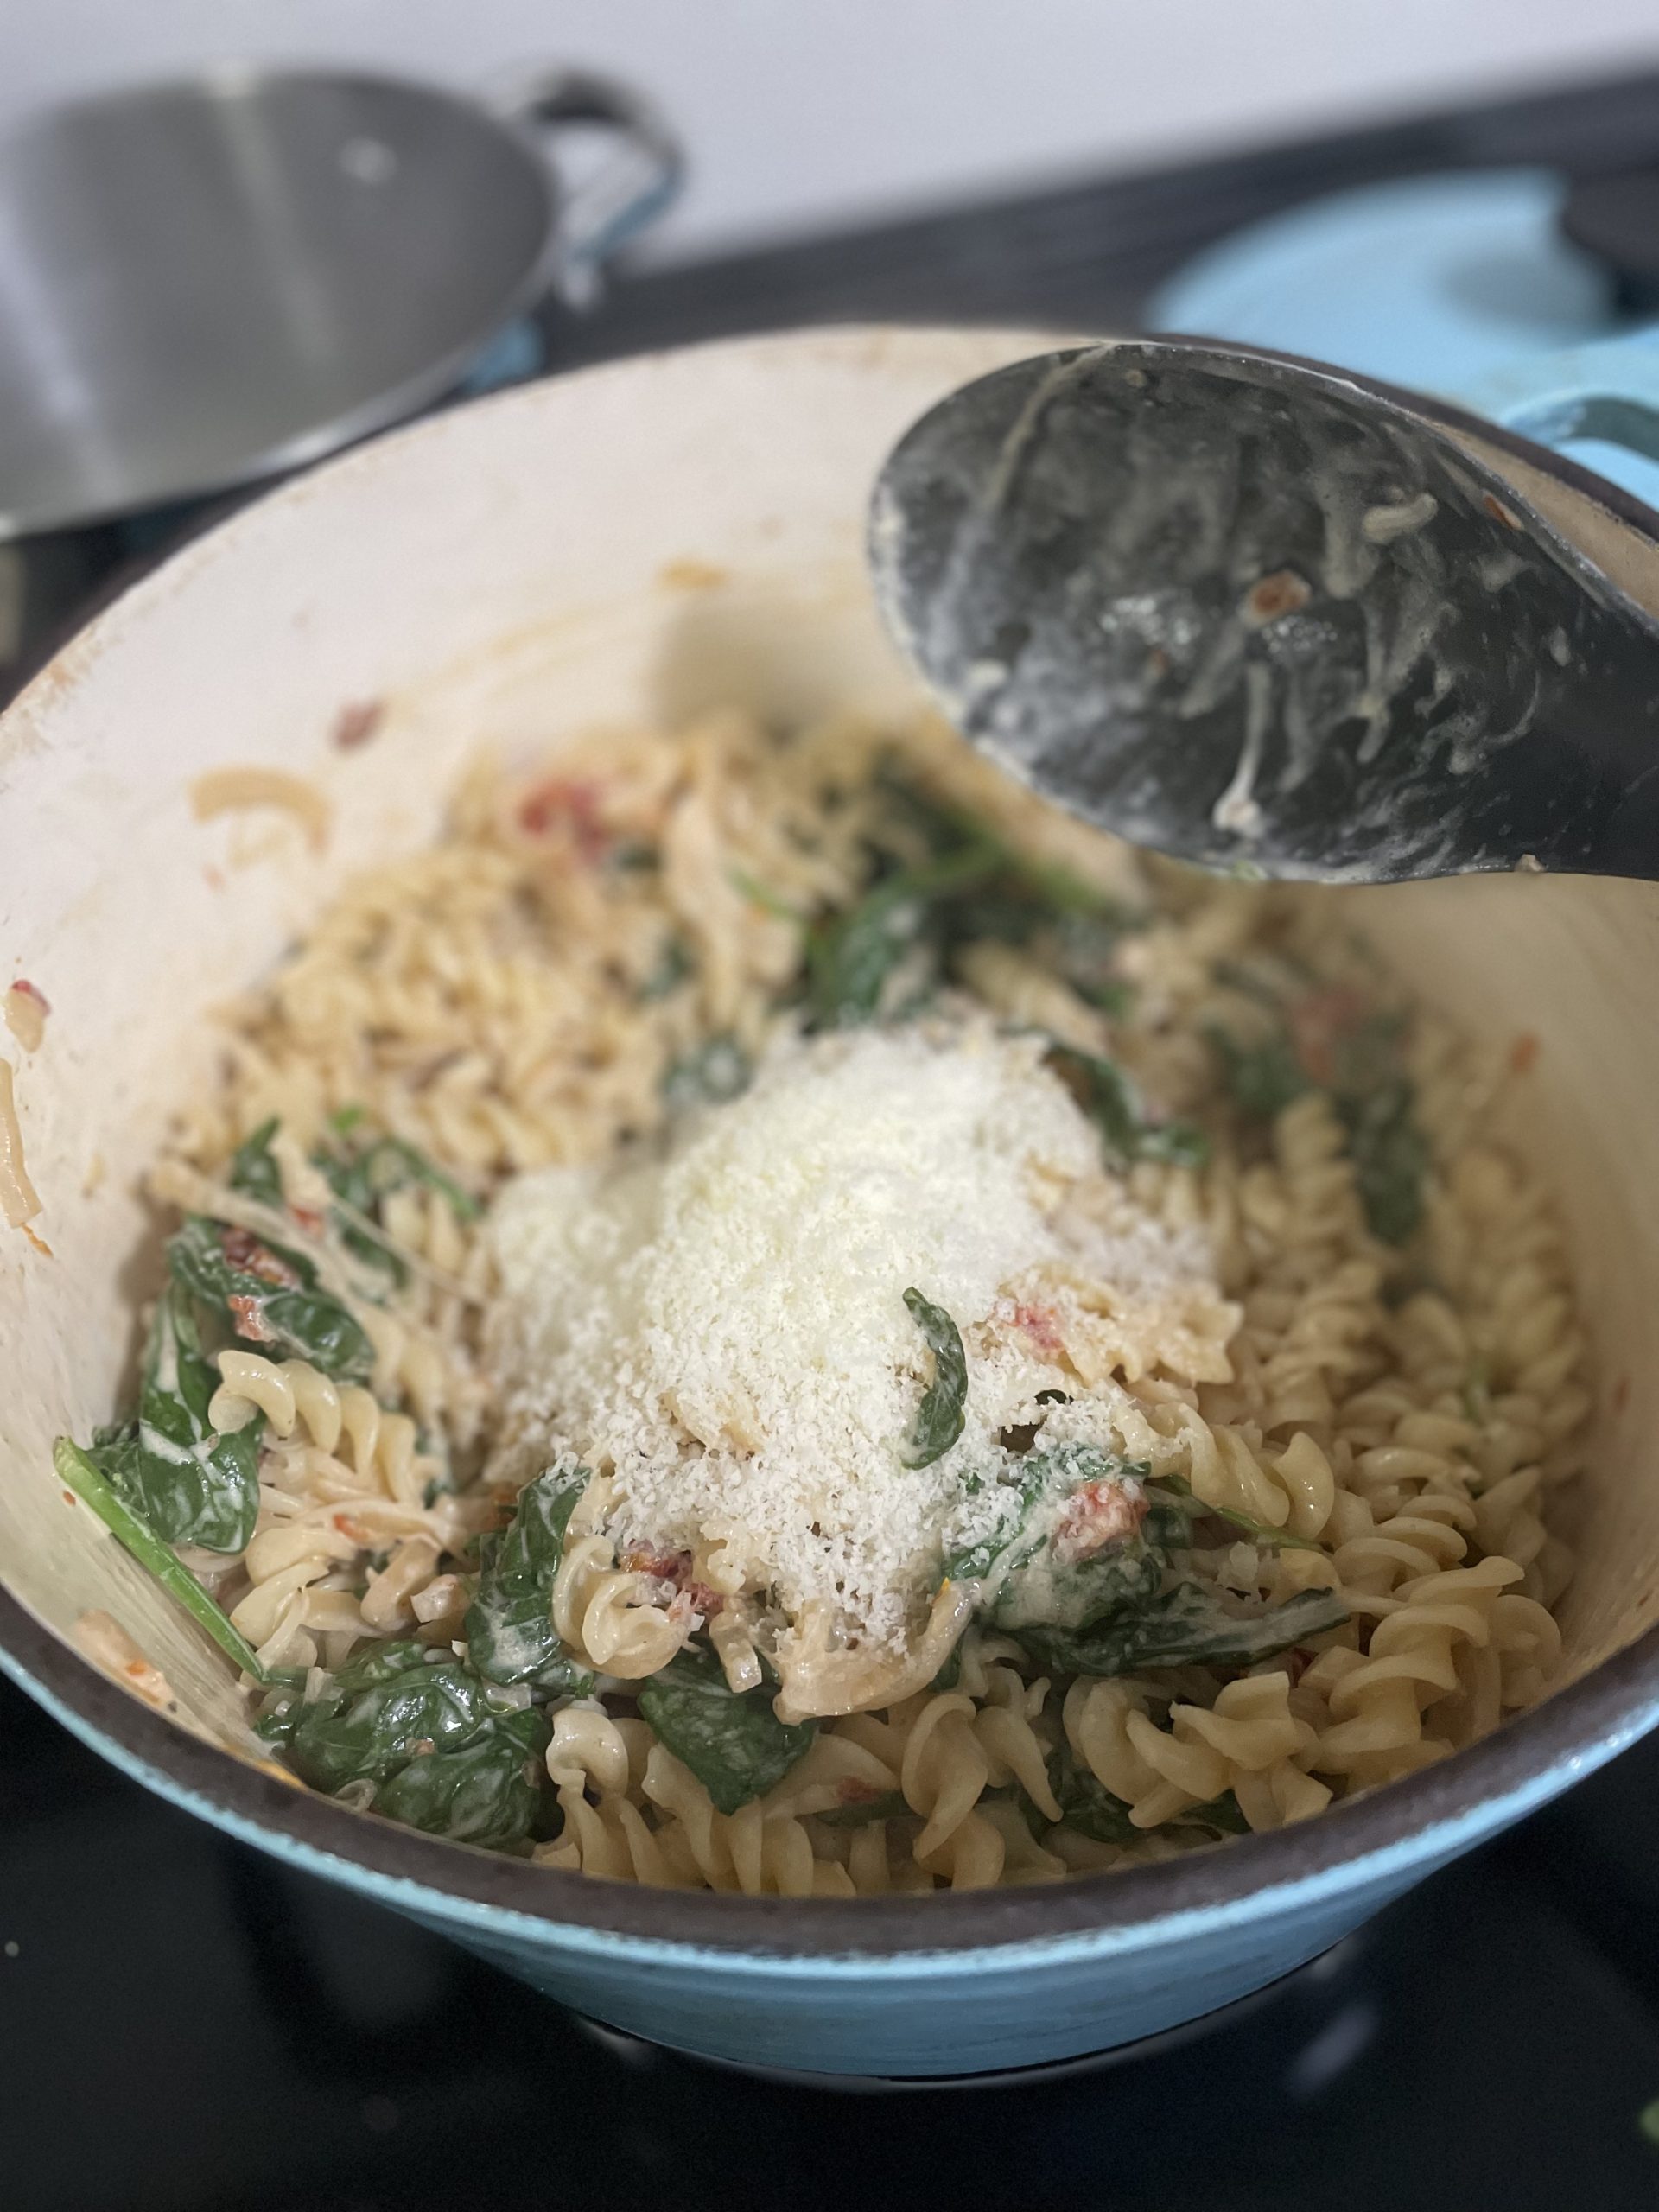
  • When sauce elements are combined, add in the cooked pasta and stir gently. If sauce needs loosening up, add some pasta water.
  • (optional) Stir in parmesan.
  • Taste pasta for seasonings and add extra salt and pepper as needed.
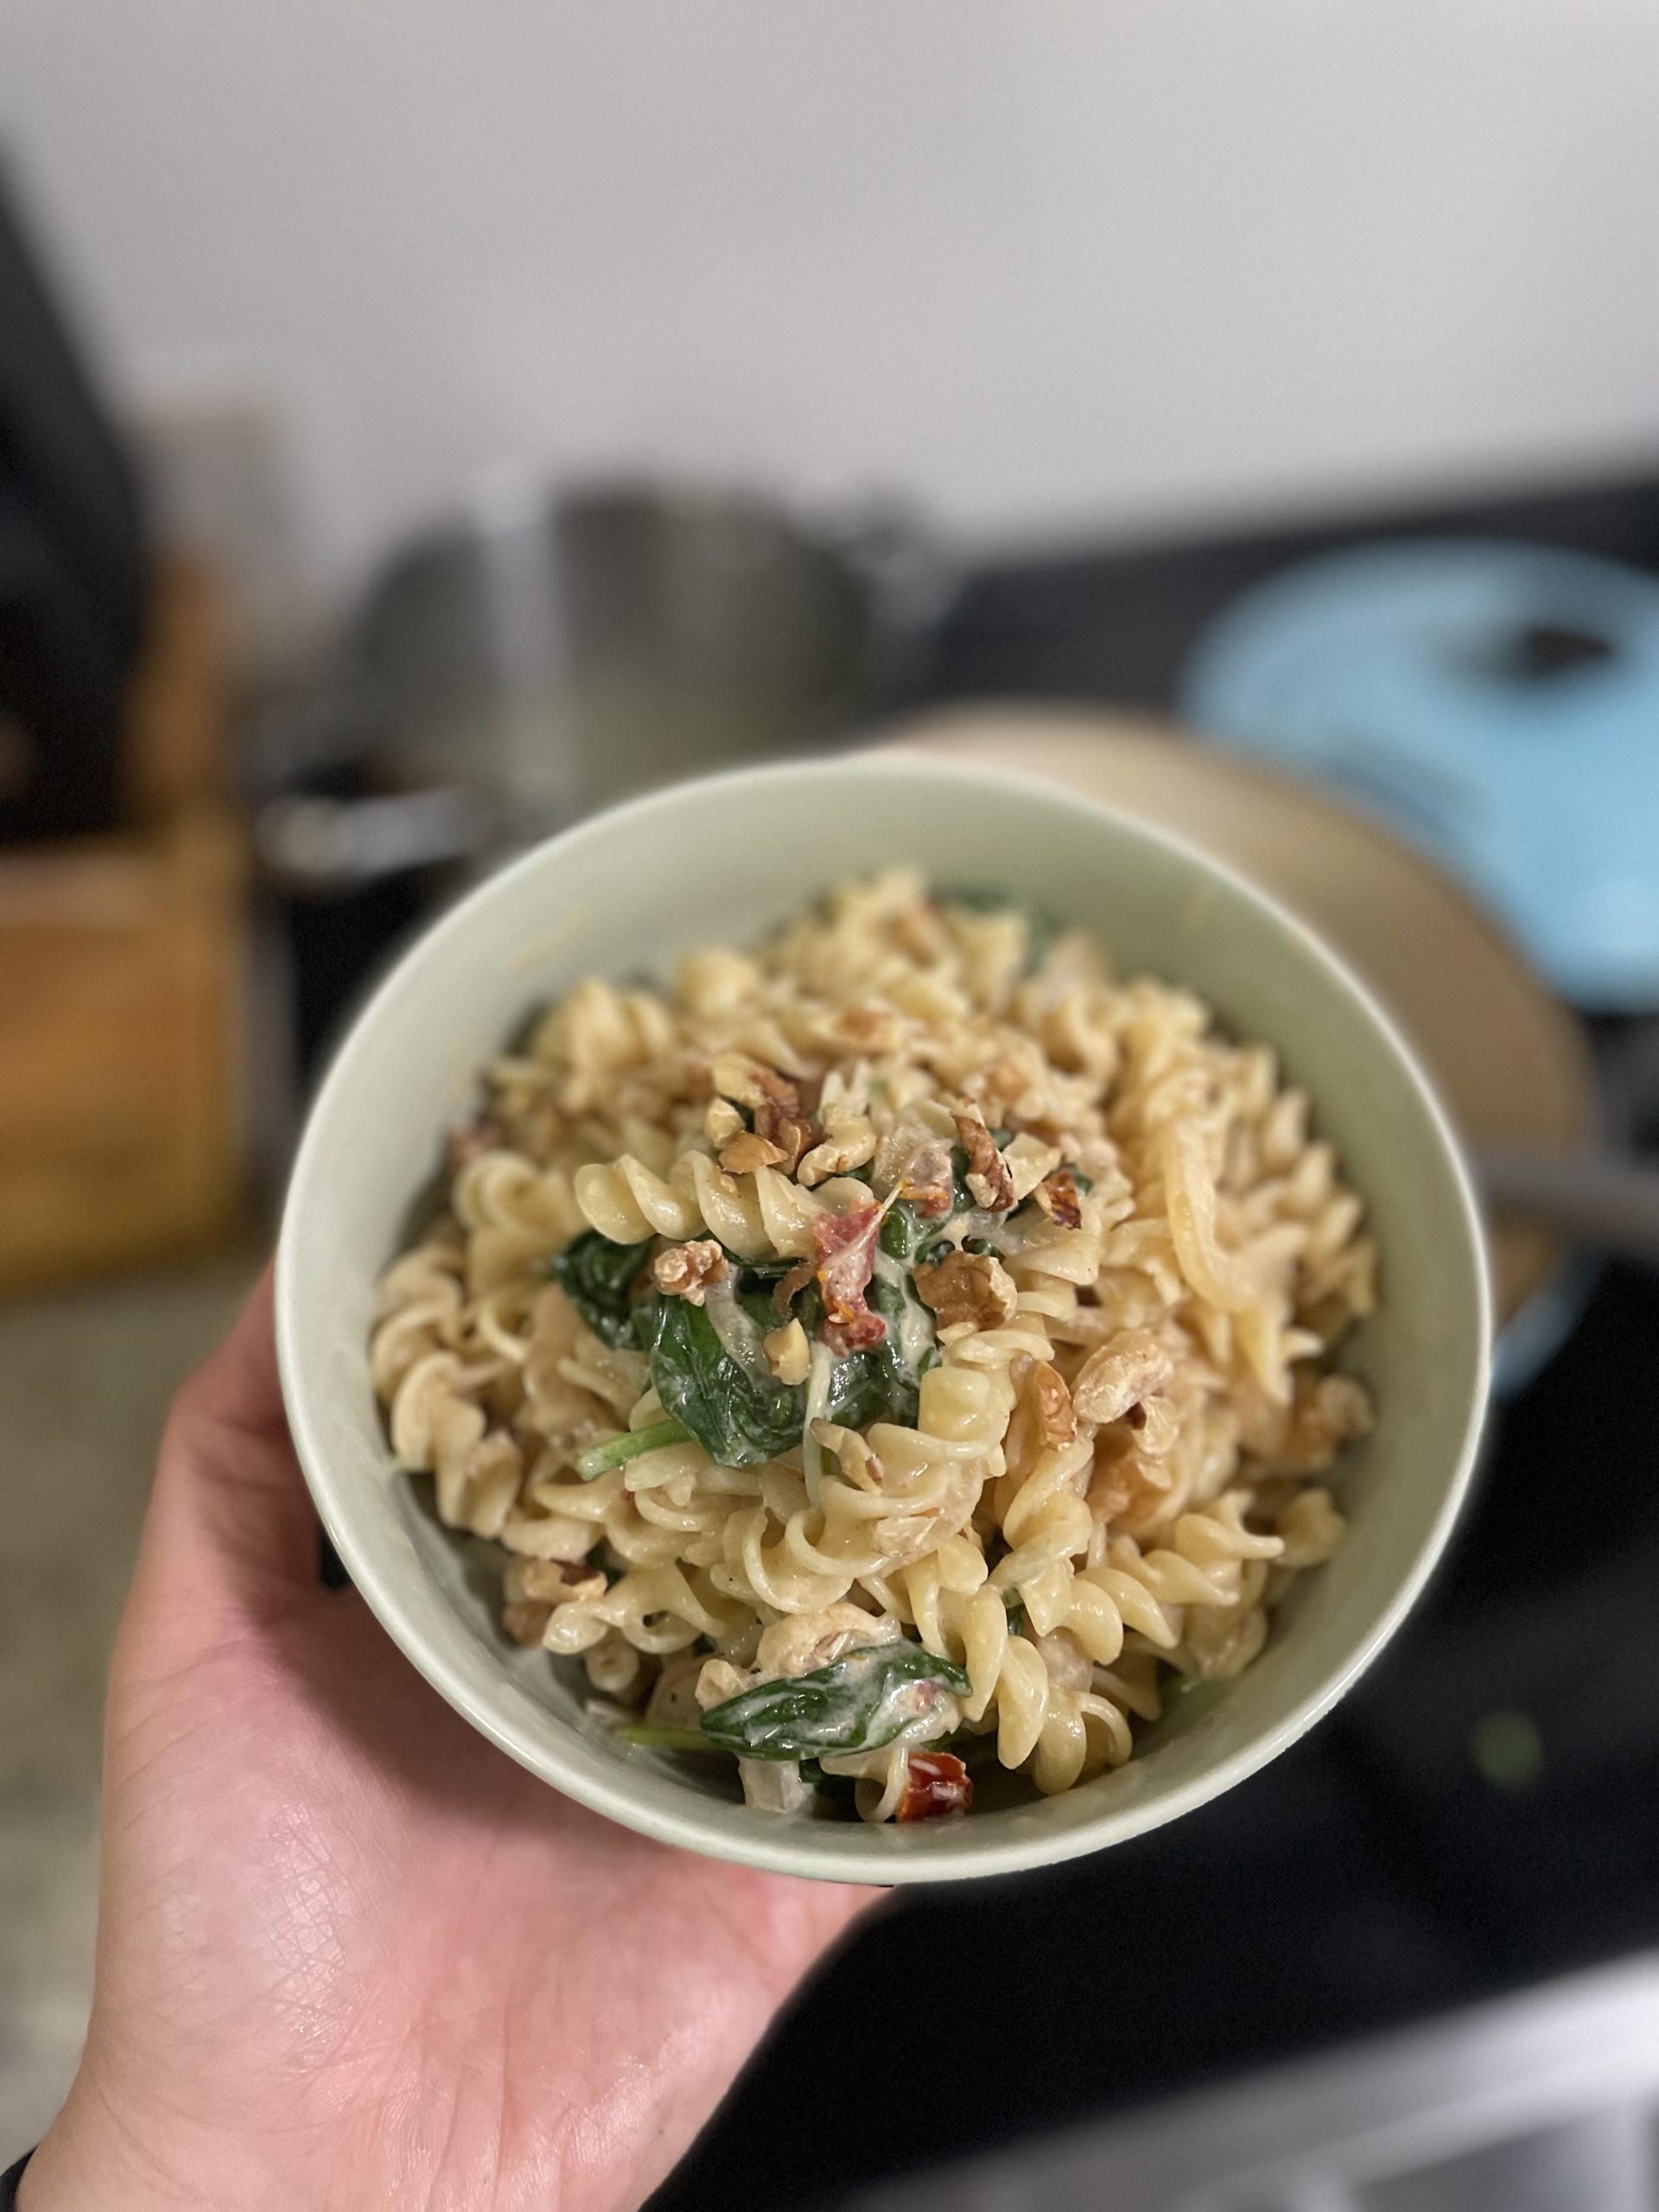
  • Serve pasta and add any other toppings like toasted walnuts, breadcrumbs, or red pepper flakes.

Try something else for dinner like Mapo (ish) Tofu or Honey Balsamic Roasted Brussels Sprouts.

Want dessert? Sourdough Discard Cinnamon Rolls or Kitchen Sink Cookies.

Kitchen Sink Cookies

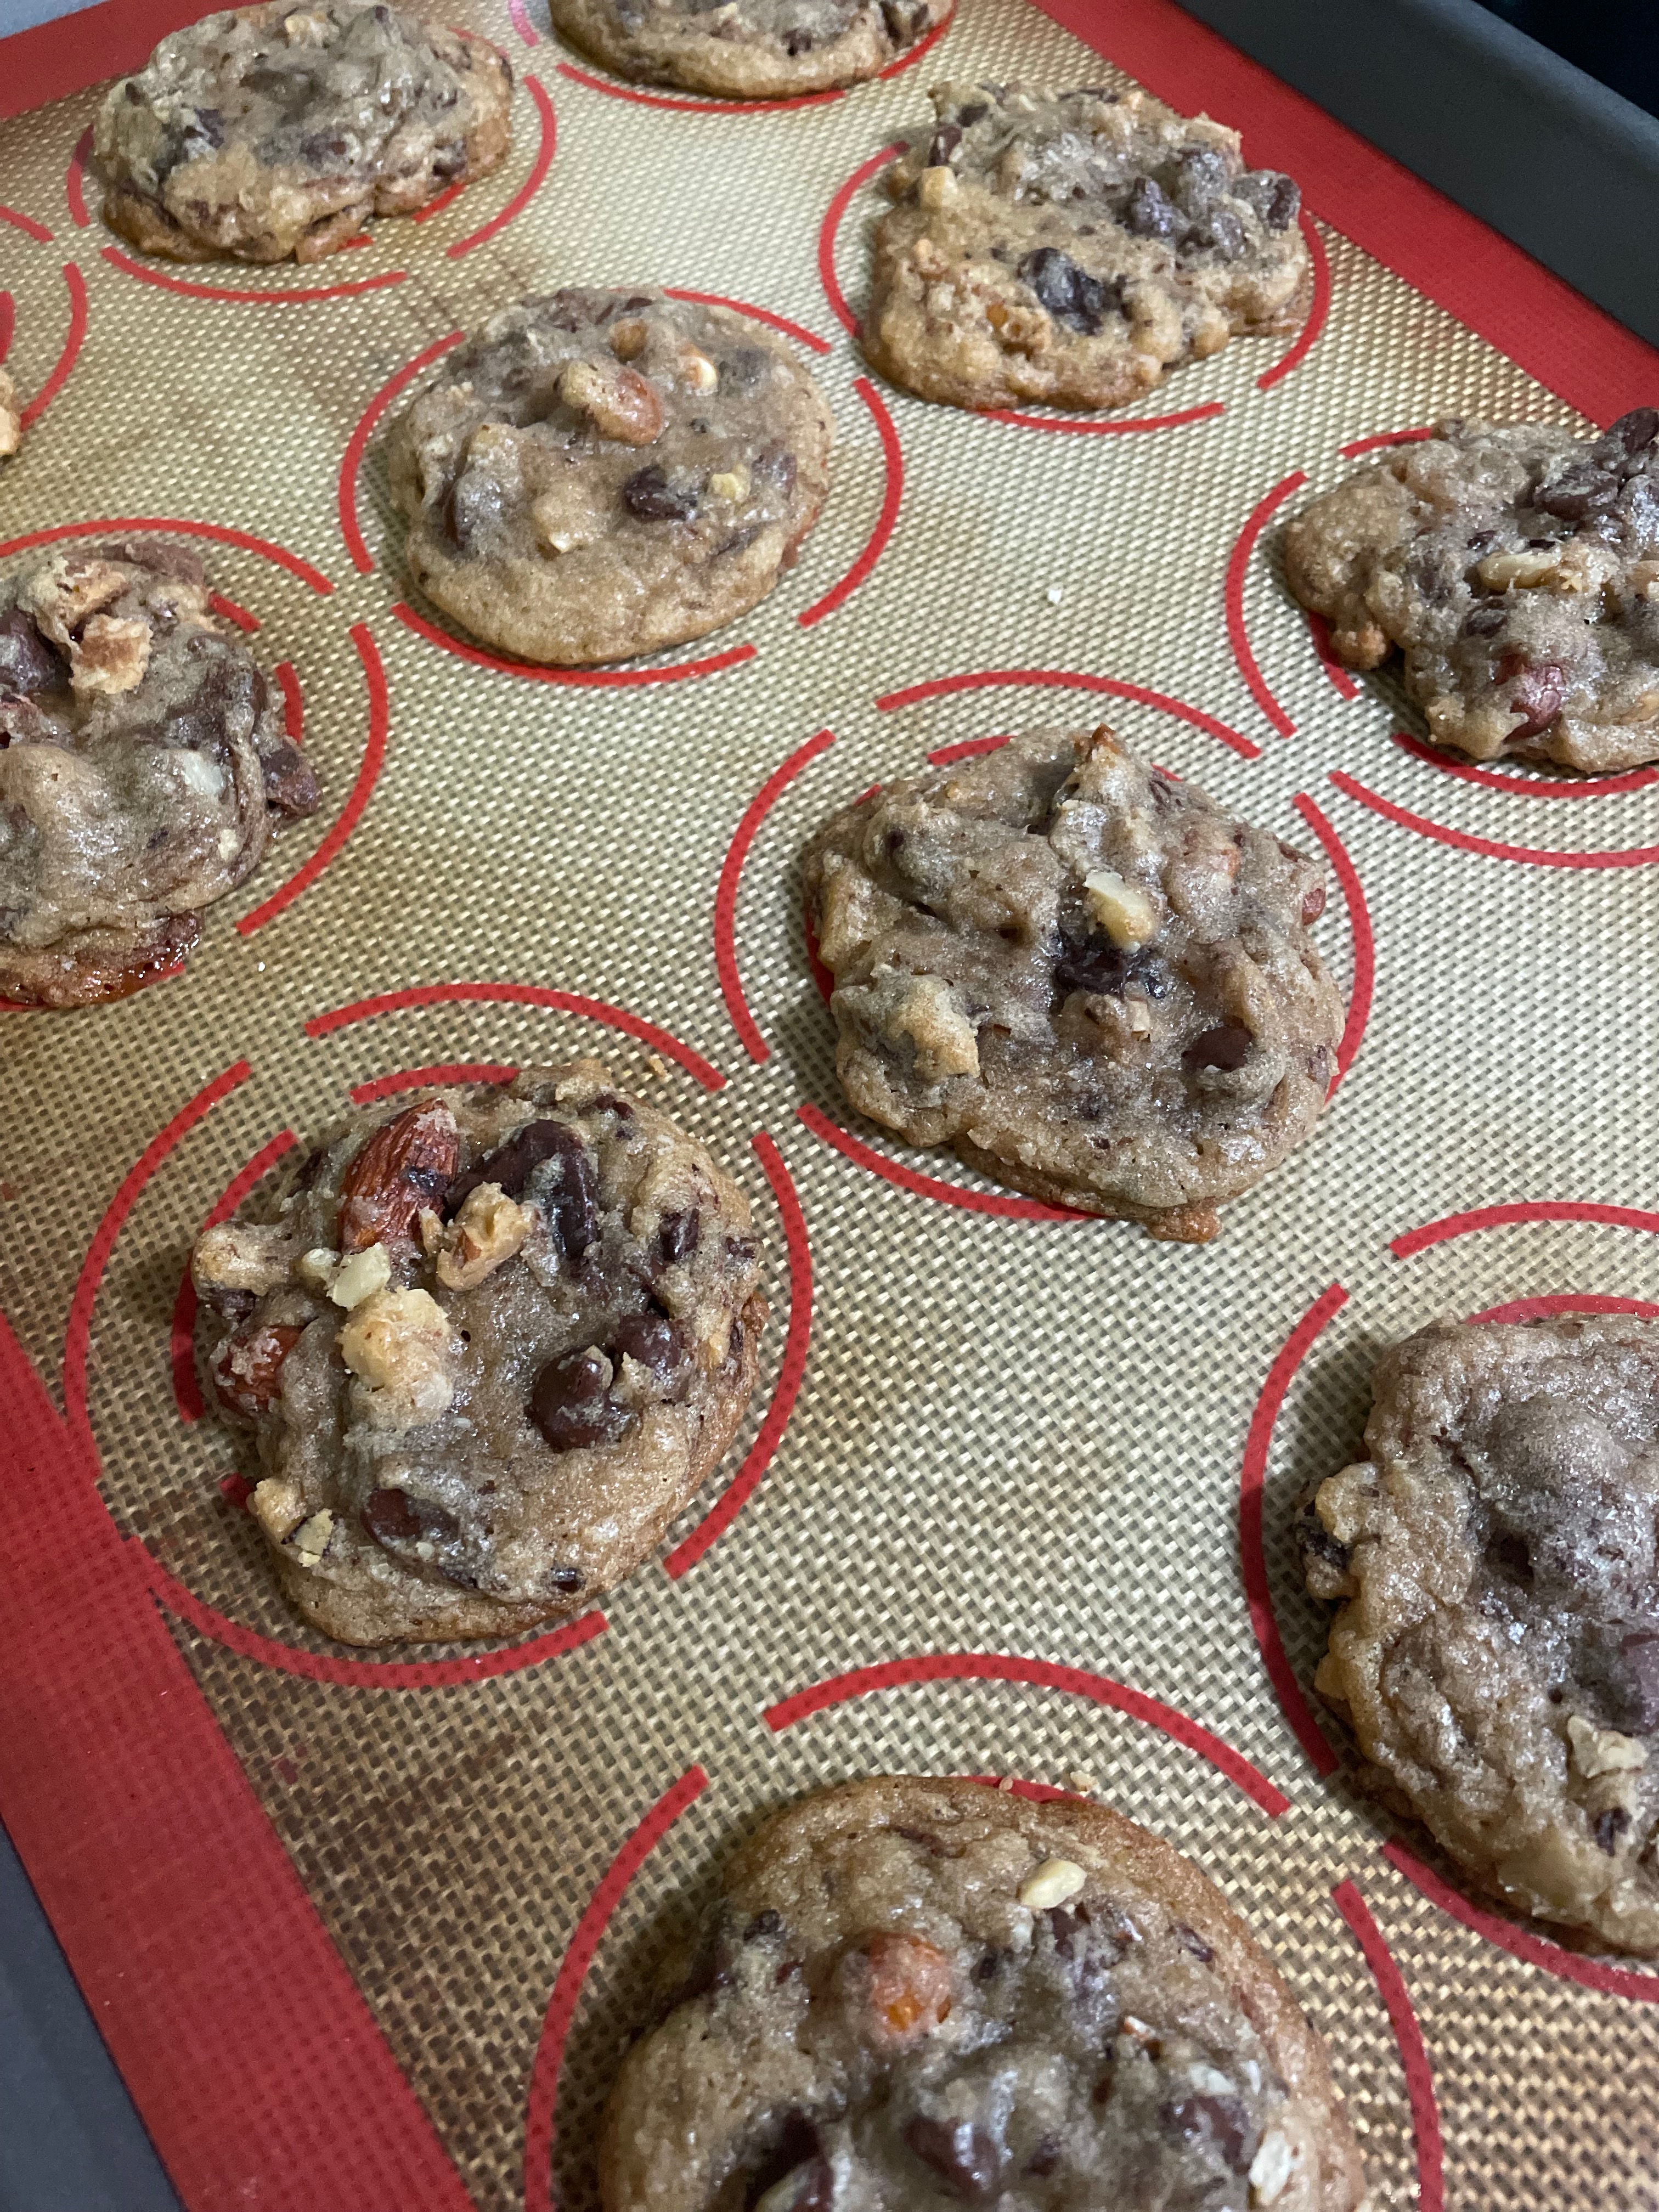
When I find myself with a lot of random candy, chocolates, nuts, or other little sweets, I like to make my “kitchen sink” cookies. It’s perfect for using up random leftover ingredients from different recipes where you don’t have enough to make that specific recipe again. You can really make this recipe your own with any kind of mix-in that your heart desires.

I highly recommend that you make this cookie dough a day in advance of when you actually plan to bake and serve. Aging the cookies allows the flavor to further develop and results in a tastier cookie. If you can’t wait, go ahead and bake them right away! They are still tasty. 🙂

These are also excellent for freezing for later. I like to pre-scoop them into cookie portions and then place the entire sheet tray in the freezer. After a few hours, you can transfer these to a container or bag.

Ingredients

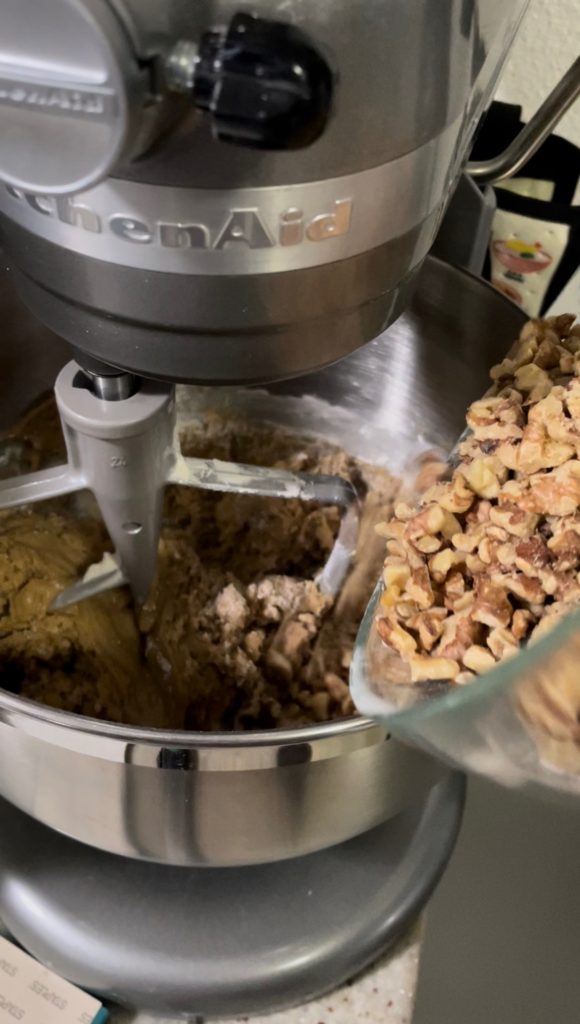
Mix-ins – You can use any assortment of mix-ins as long as you have 4 cups total. While the butter & sugar is creaming, you can chop up your mix-ins and measure out what you have to decide if you need more or less. Chop your mix-ins into smaller chunks, about chocolate chip sized. I’ll generally start with my more “random” ingredients and then fill in what I’m missing with chocolate chips. In this case, I had an assortment of pretzels, almonds, walnuts, candies (kit-kats, butterfingers, snickers, hersheys) which ended up being about 3 cups of mix-ins, so I supplemented that with another 1 cup of semi-sweet chocolate chunks.

Salt – This is more salt than what typical cookie recipes call for. I find that my various mix-ins are pretty sweet, so I like adding more salt for balance.

Kitchen Sink Cookies

Print Recipe
A great use of your leftover baking add-ins when you don't have enough to make something else!
Course Dessert
Keyword cookies
Prep Time 20 minutes
Cook Time 12 minutes
Servings 24 cookies

Ingredients

  • 1 cup butter softened
  • 1 cup brown sugar
  • 1/2 cup white sugar
  • 1 tsp vanilla extract
  • 2 eggs
  • 2 1/2 cups all-purpose flour
  • 2 tsp salt
  • 1 tsp baking soda
  • 4 cups mix-ins

Instructions

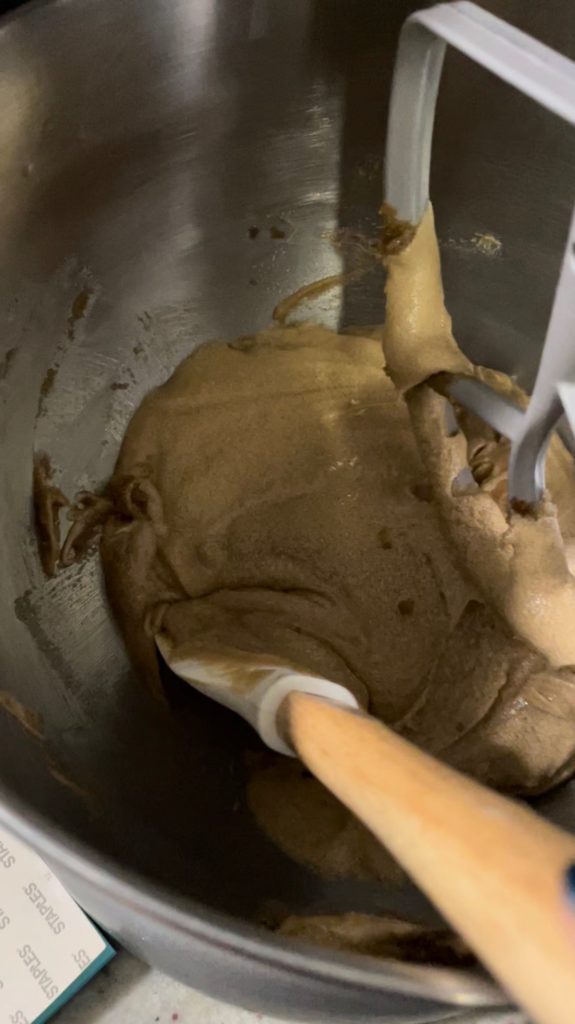
  • Cream together butter, brown sugar and white sugar until creamy and smooth. Periodically stop the mixer to scrape the butter and sugar off of the paddle.
  • While butter and sugar is creaming, chop mix-ins if they are too chunky. You'll want them relatively small (chocolate chip sized).
  • Add eggs to the mixer one at a time and continue mixing.
  • Add vanilla extract and salt and continue mixing.
  • In a separate bowl, mix together AP flour and baking soda until just combined. Don't worry if it's a little streaky, you'll continue mixing with the mix-ins.
  • Add in the mix-ins and mix just another few seconds until the mix-ins are distributed.
  • Bake at 350F for ~12 minutes. Cookies will look a little puffy but will deflate after removed from the oven. Allow to cool ~10 minutes before enjoying.

Try my Crispy Gooey Chocolate Chip Cookies.

Not cookies? Try Peach Galette.
Sourdough Discard Cinnamon Rolls

Now that we’re at the tail-end of pandemic, sourdough isn’t quite as “in” anymore, but it certainly is still super tasty! I was lucky to be gifted some sourdough starter from my coworker. My starter traveled to me from Ohio and had been maintained for almost 50 years! As I’ve been experimenting with creating the perfect loaf of sourdough bread, I’ve found myself leftover with a lot of leftover, “inactive” starter. I’ve been experimenting with the discard and it’s perfect for cinnamon rolls!

Ingredients

Sourdough discard – Make sure that you’re using discard that hasn’t been fed yet! The “sourness” of your cinnamon rolls will depend on the last time you fed your starter. If you have been regularly been using your starter, your rolls will not be very sour. If you haven’t been using the starter and it’s been sitting in the refrigerator for a few weeks, your cinnamon rolls will be more sour.

Cinnamon – A lot of cinnamon roll recipes really only have cinnamon in the filling. I think that cinnamon rolls are the best when there is cinnamon in the dough as well.

Icing – I generally tend to skip the icing when it comes to cinnamon rolls and I’d continue with this cinnamon roll recipe! I generally like my desserts to be on the less sweet side so I think these are perfectly sweet.

Sourdough Discard Cinnamon Rolls

Print Recipe
Fluffy, soft cinnamon rolls perfect for sourdough discard
Course Breakfast, Dessert
Keyword breakfast, cinnamon, dessert, rolls
Servings 24 cinnamon rolls

Equipment

  • 1 Stand mixer optional

Ingredients

Dough

  • 1/2 cup milk warmed
  • 1 cup sourdough discard
  • 2.5 tsp yeast
  • 2 eggs
  • 1/2 cup butter softened
  • 1/2 cup sugar
  • 1 tsp salt
  • 1 tbsp cinnamon
  • 4 cups all-purpose flour

Filling

  • 1 cup butter softened, divided
  • 1/2 cup brown sugar divided
  • 2 tbsp cinnamon divided

Instructions

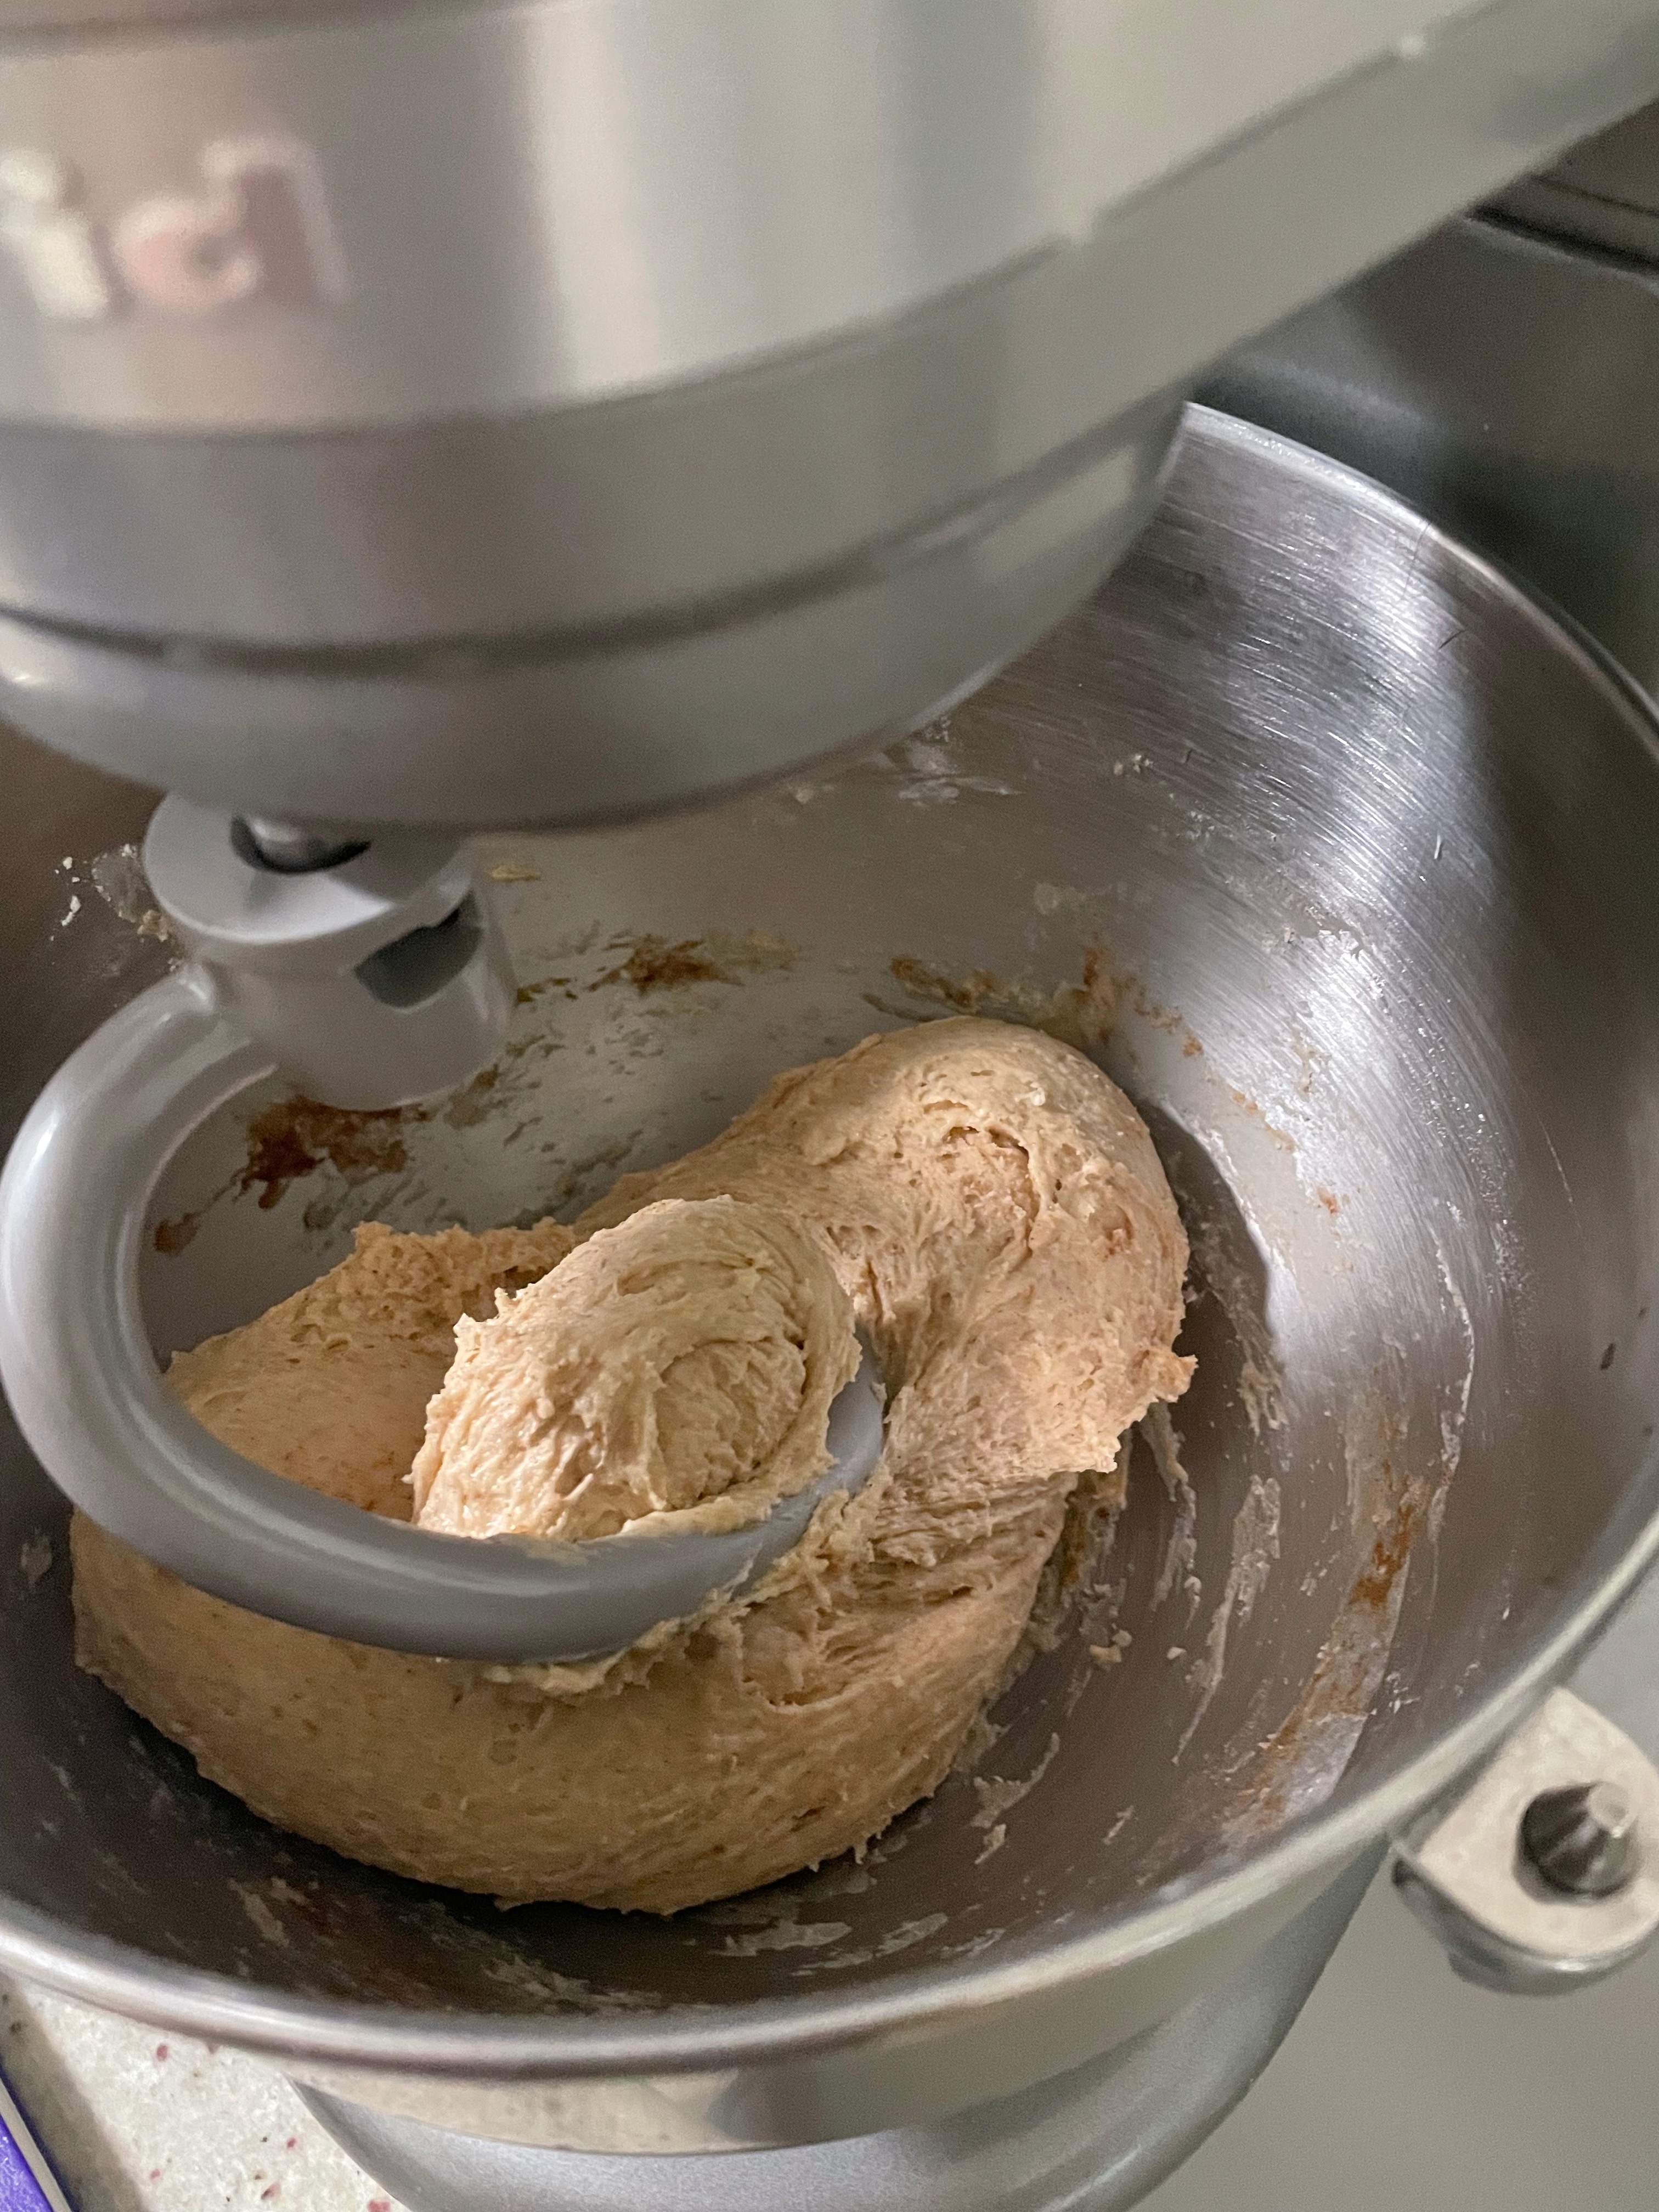
  • Bloom yeast in milk. Stir mixture.
  • When mixture starts to foam, add sourdough starter, eggs, butter, and sugar.
  • Mix until thoroughly combined.
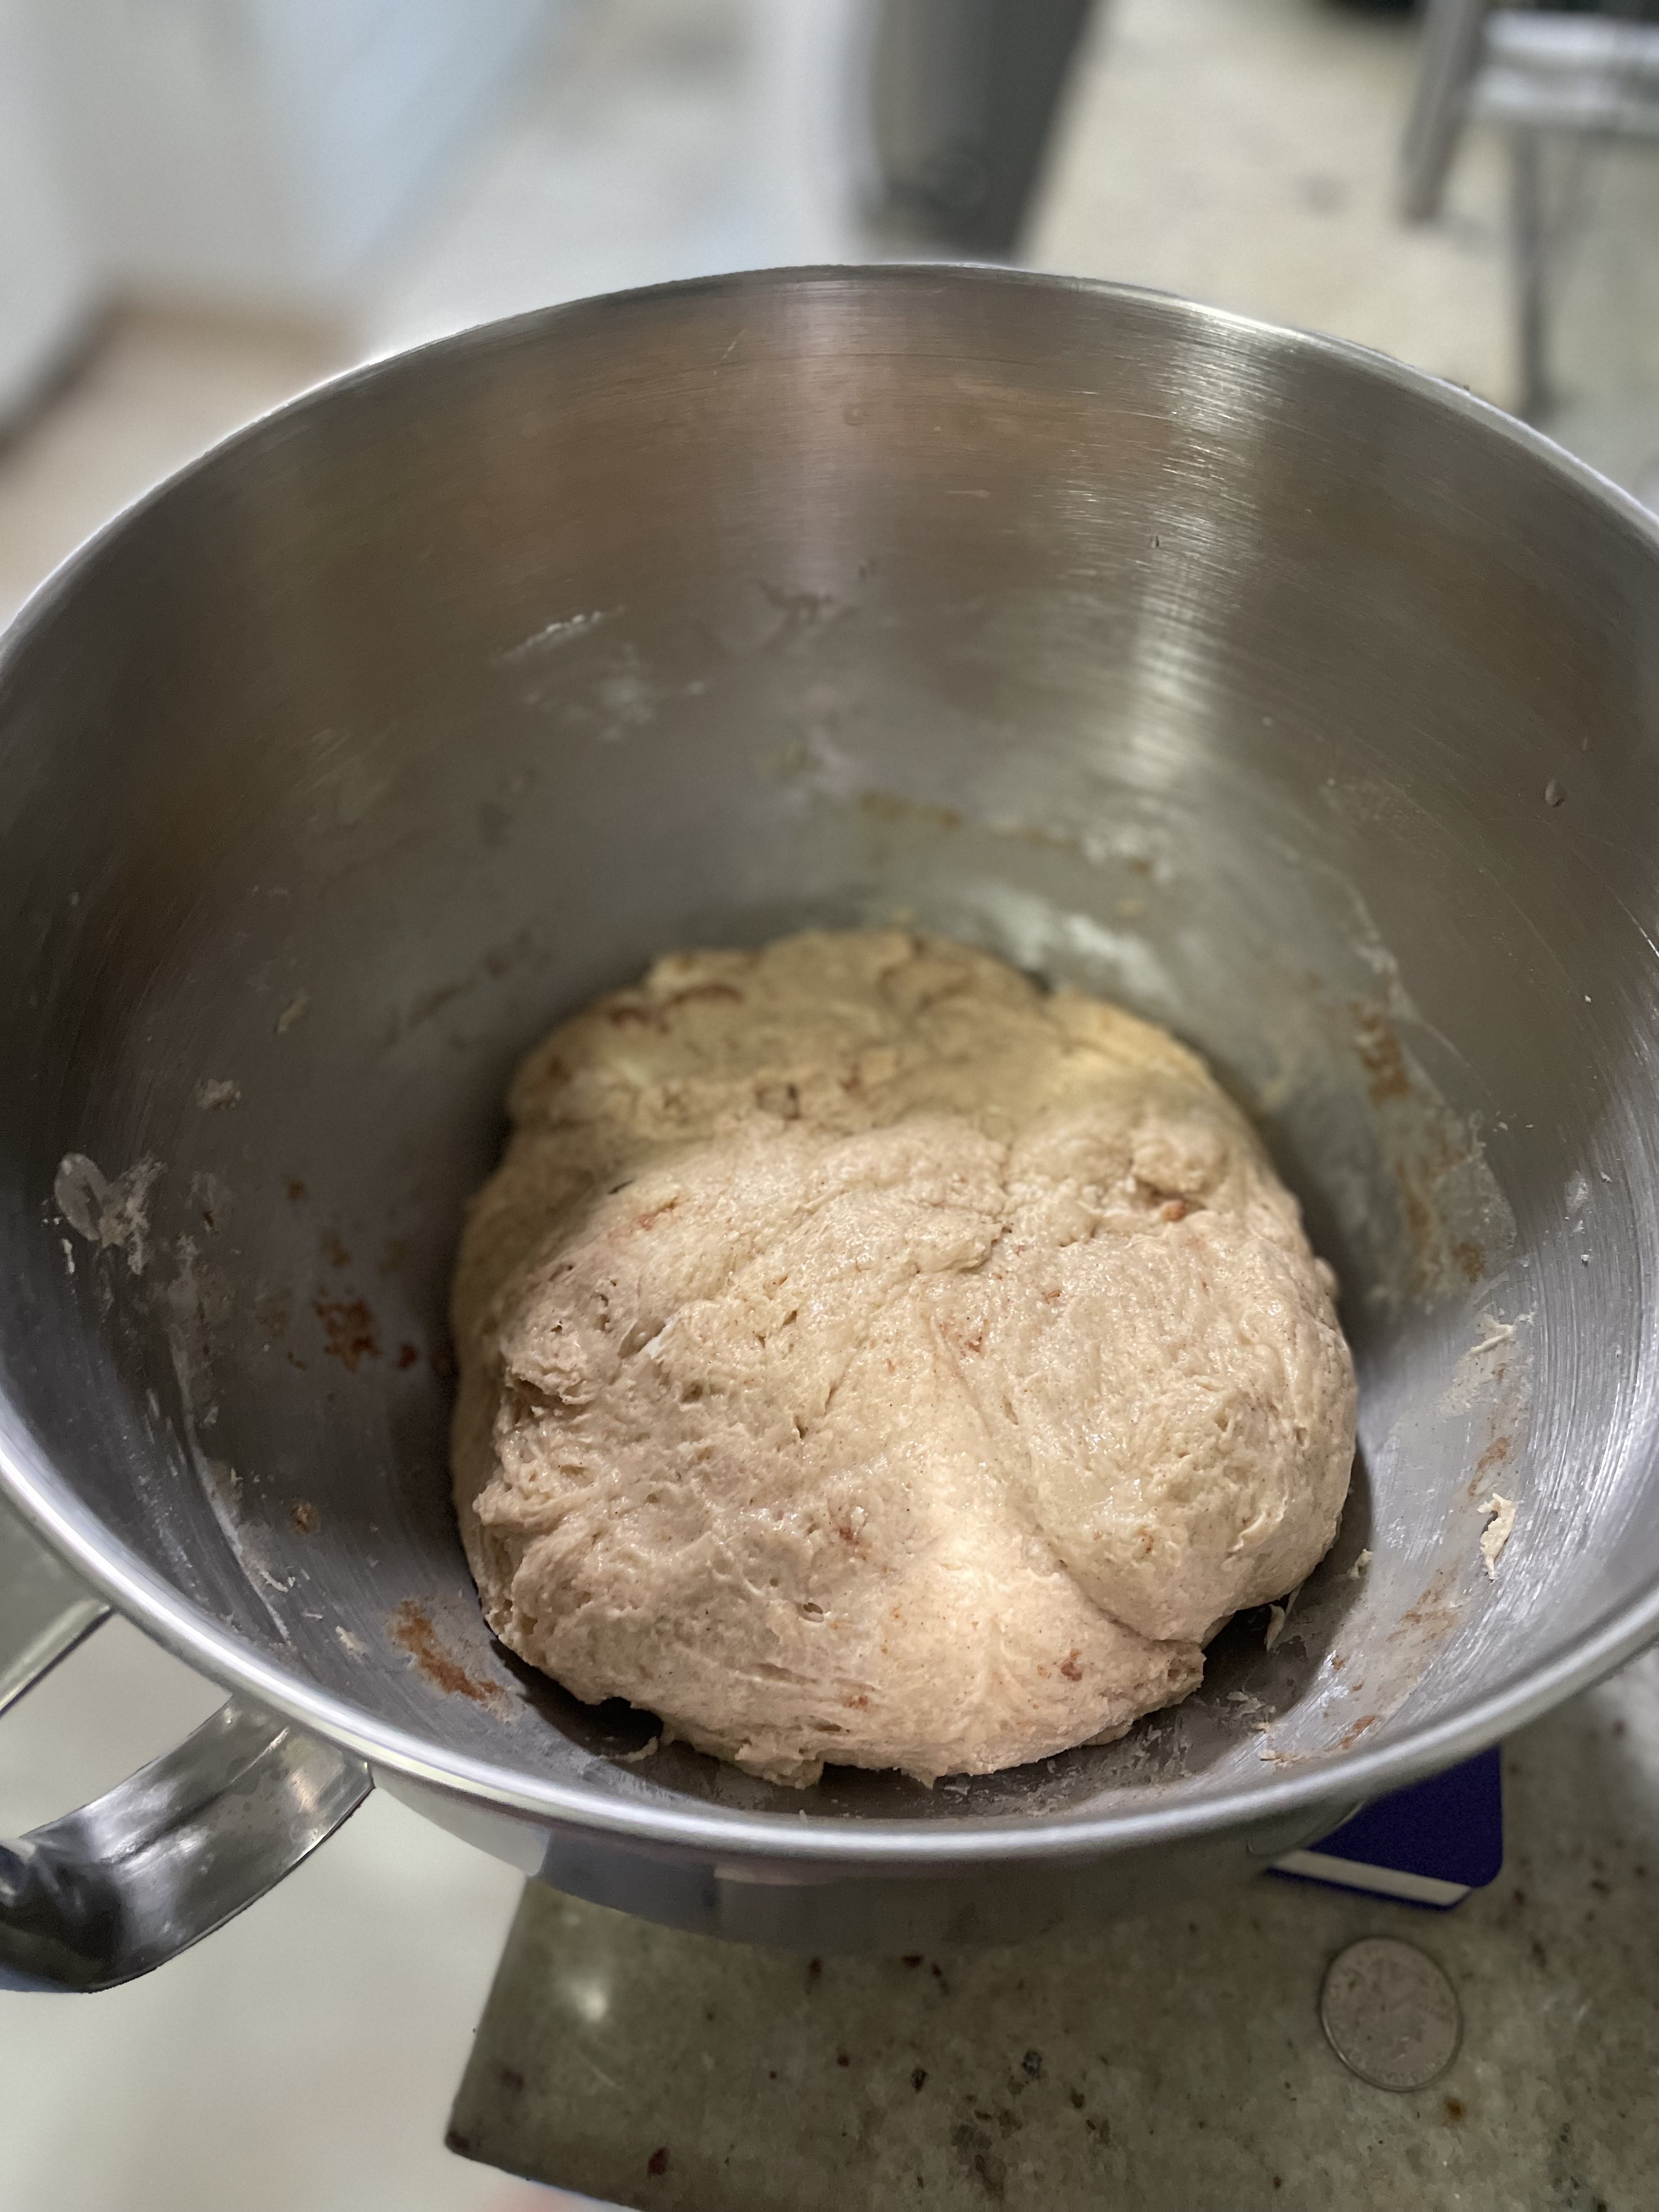
  • Add flour, salt, and cinnamon and mix until just combined.
  • Leave dough to rise in the refrigerator overnight.
  • The next day, split the dough in half. Roll out to ~9×16" rectangle.
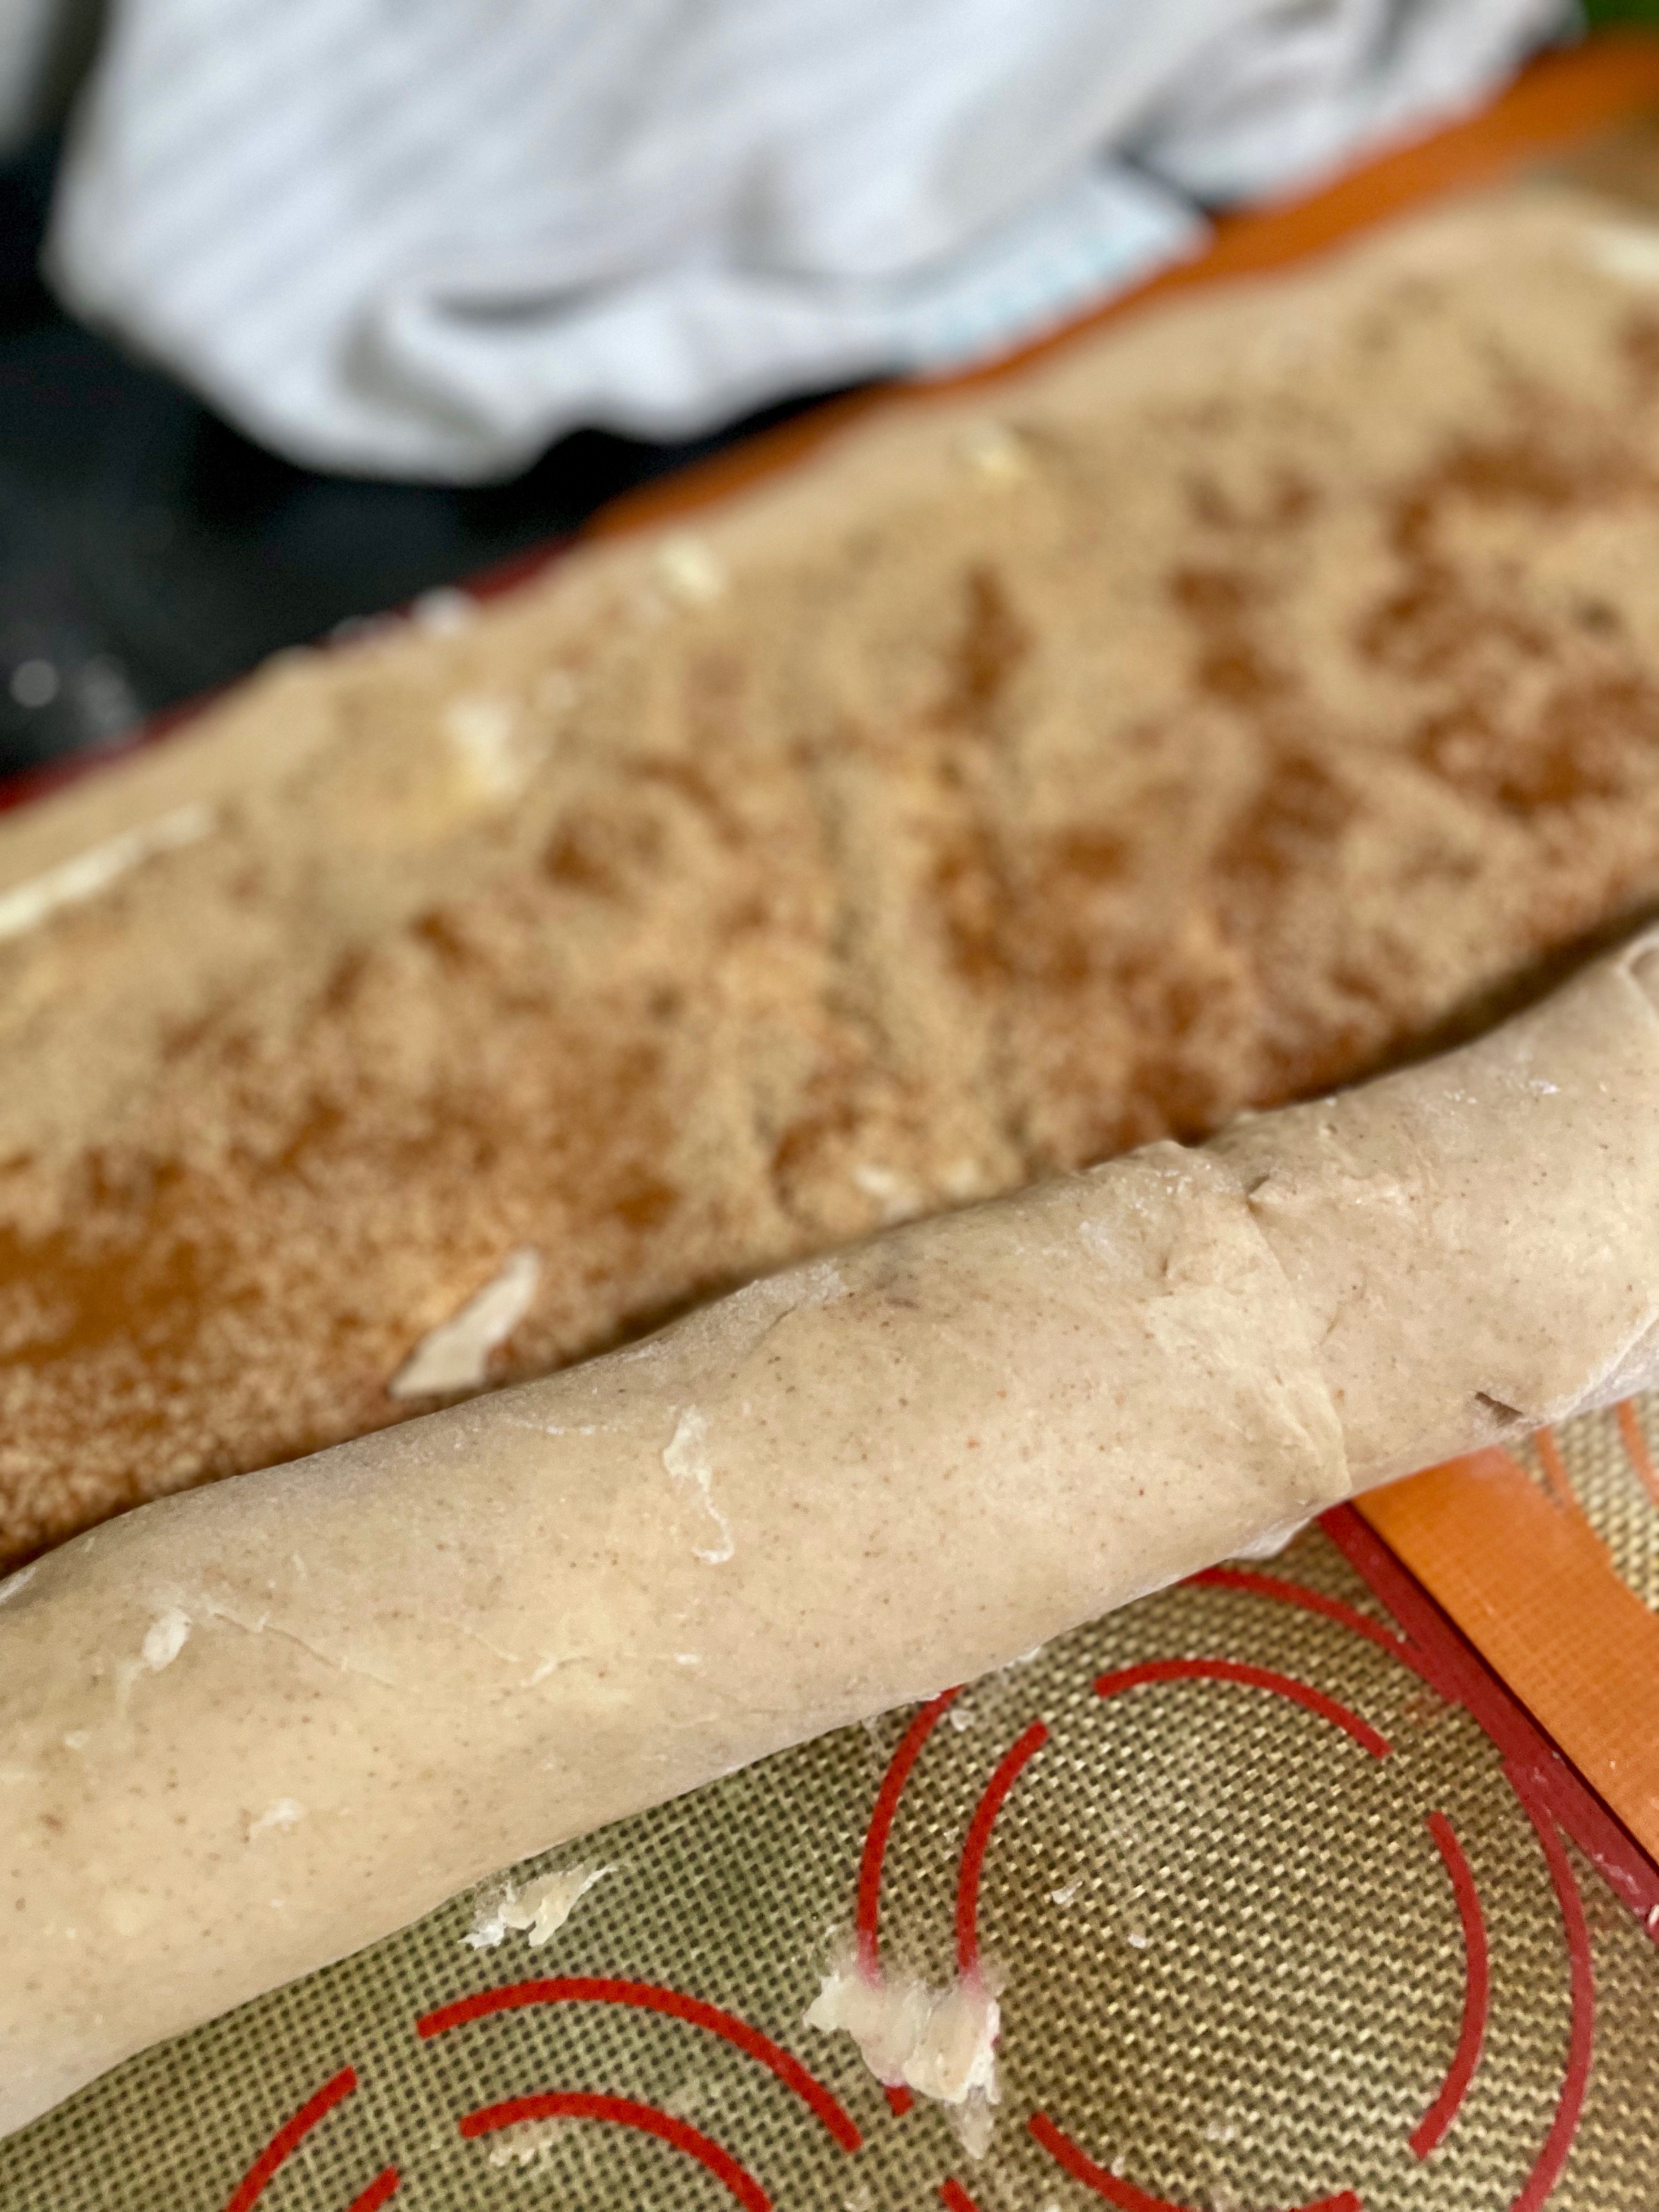
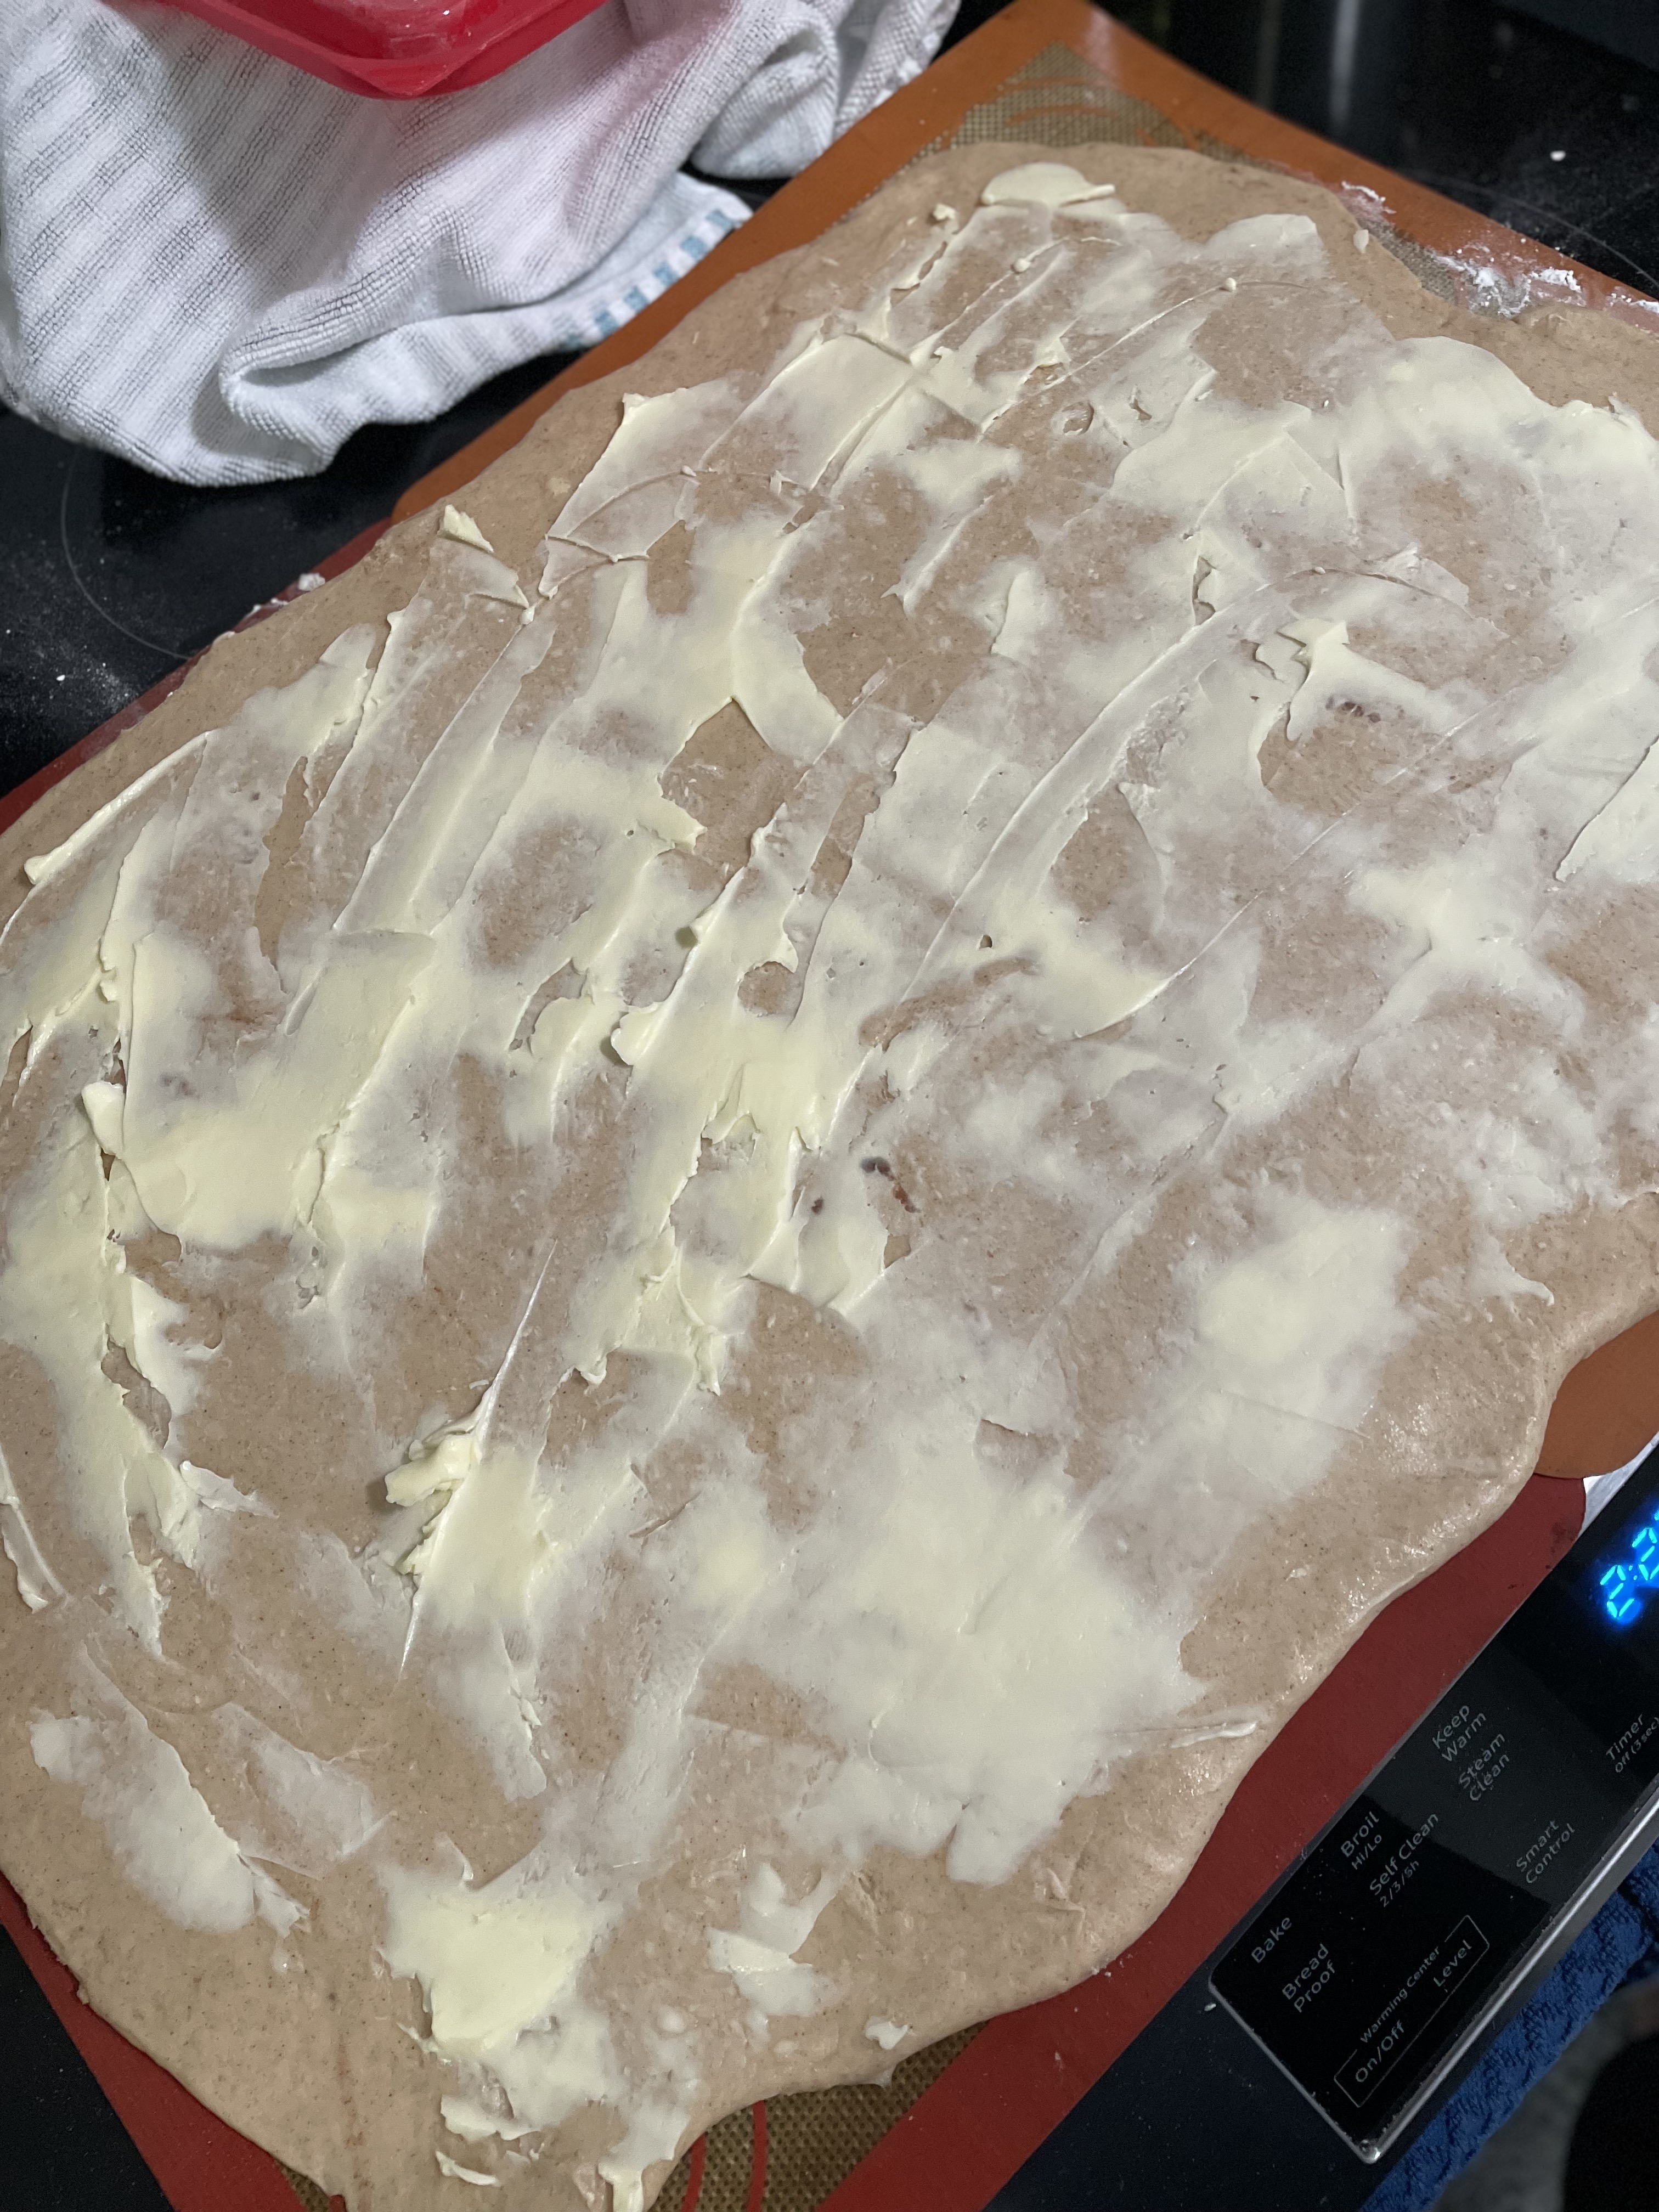
  • Spread half the softened butter evenly onto the dough.
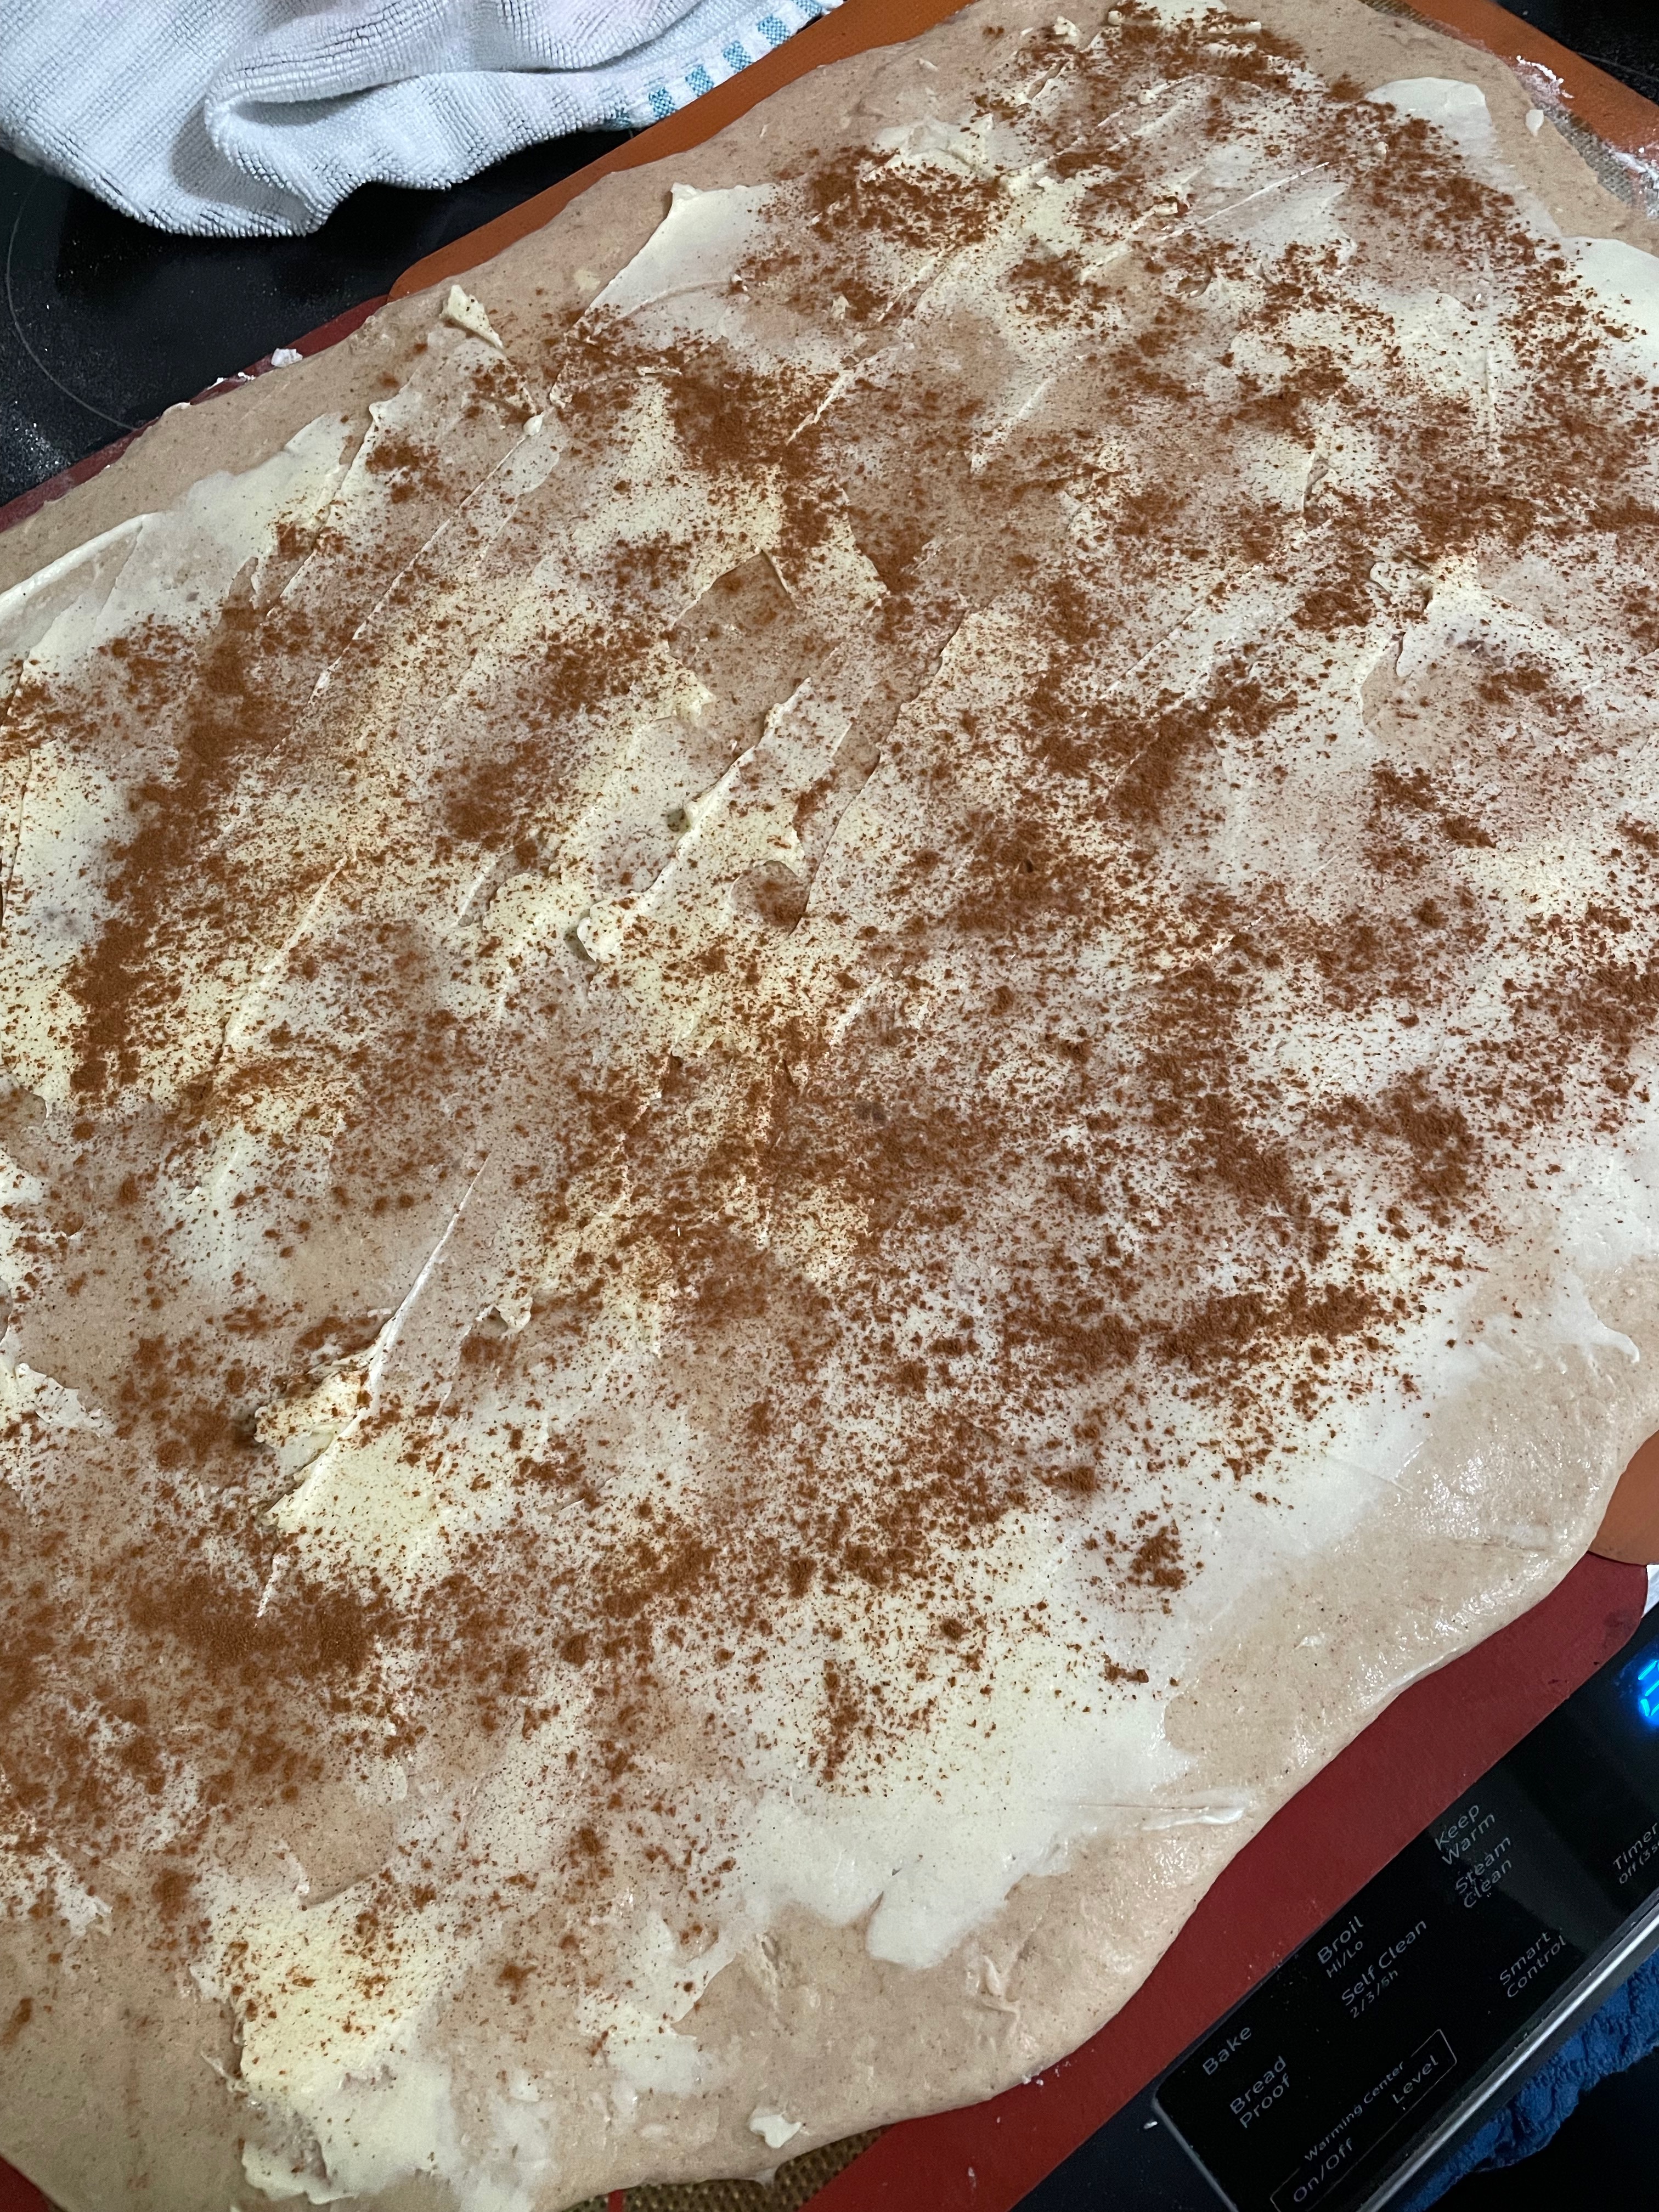
  • Sprinkle half of the brown sugar and half of the cinnamon onto the dough. roll dough into a log and cut into 12 rolls.
  • Repeat dough rolling, butter spreading, sugar/cinnamon spreading with the second half of the dough.
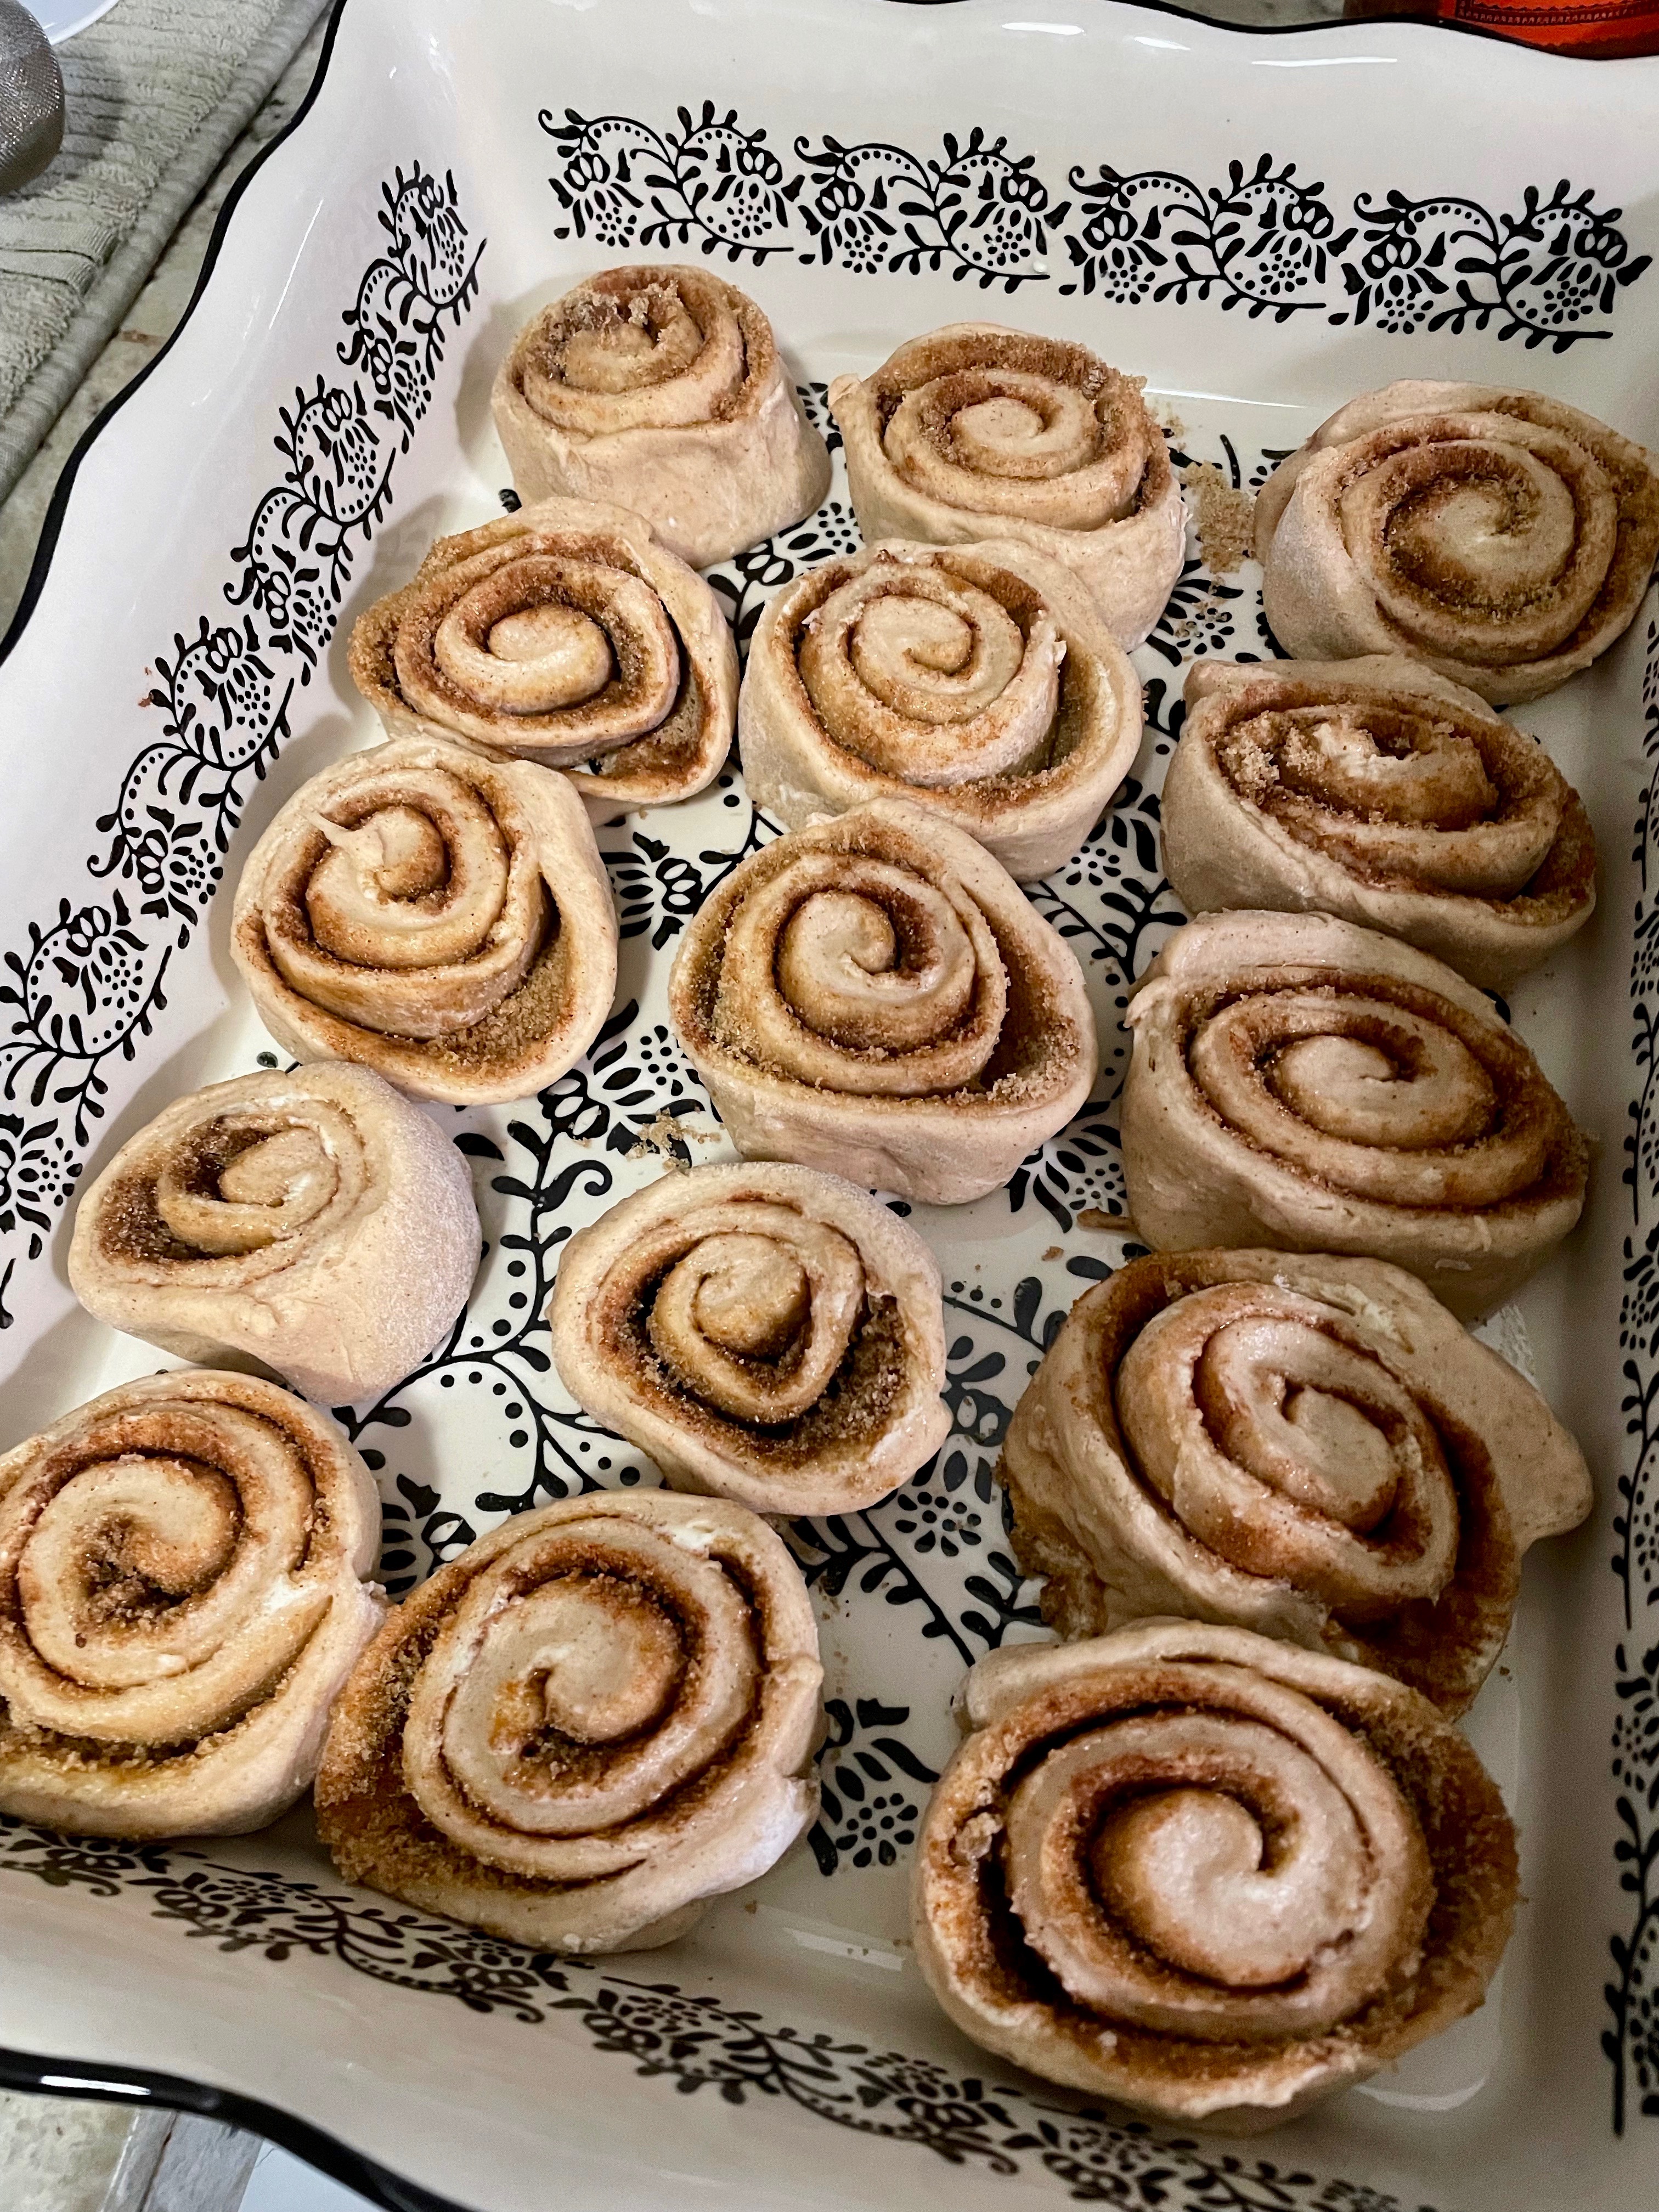
  • Place cinnamon rolls in a 9×16" pan, leaving space between the cinnamon rolls.
  • Leave in the refrigerator to rise again overnight.
  • The next day, remove from the refrigerator ~30 minutes prior to baking for cinnamon rolls to come to room temperature.
  • Bake at 350F for ~20 minutes, when tops are golden brown. Serve warm!

Try some other desserts! Beet Cinnamon Rolls or Peach Galette

Mapo (ish) Tofu

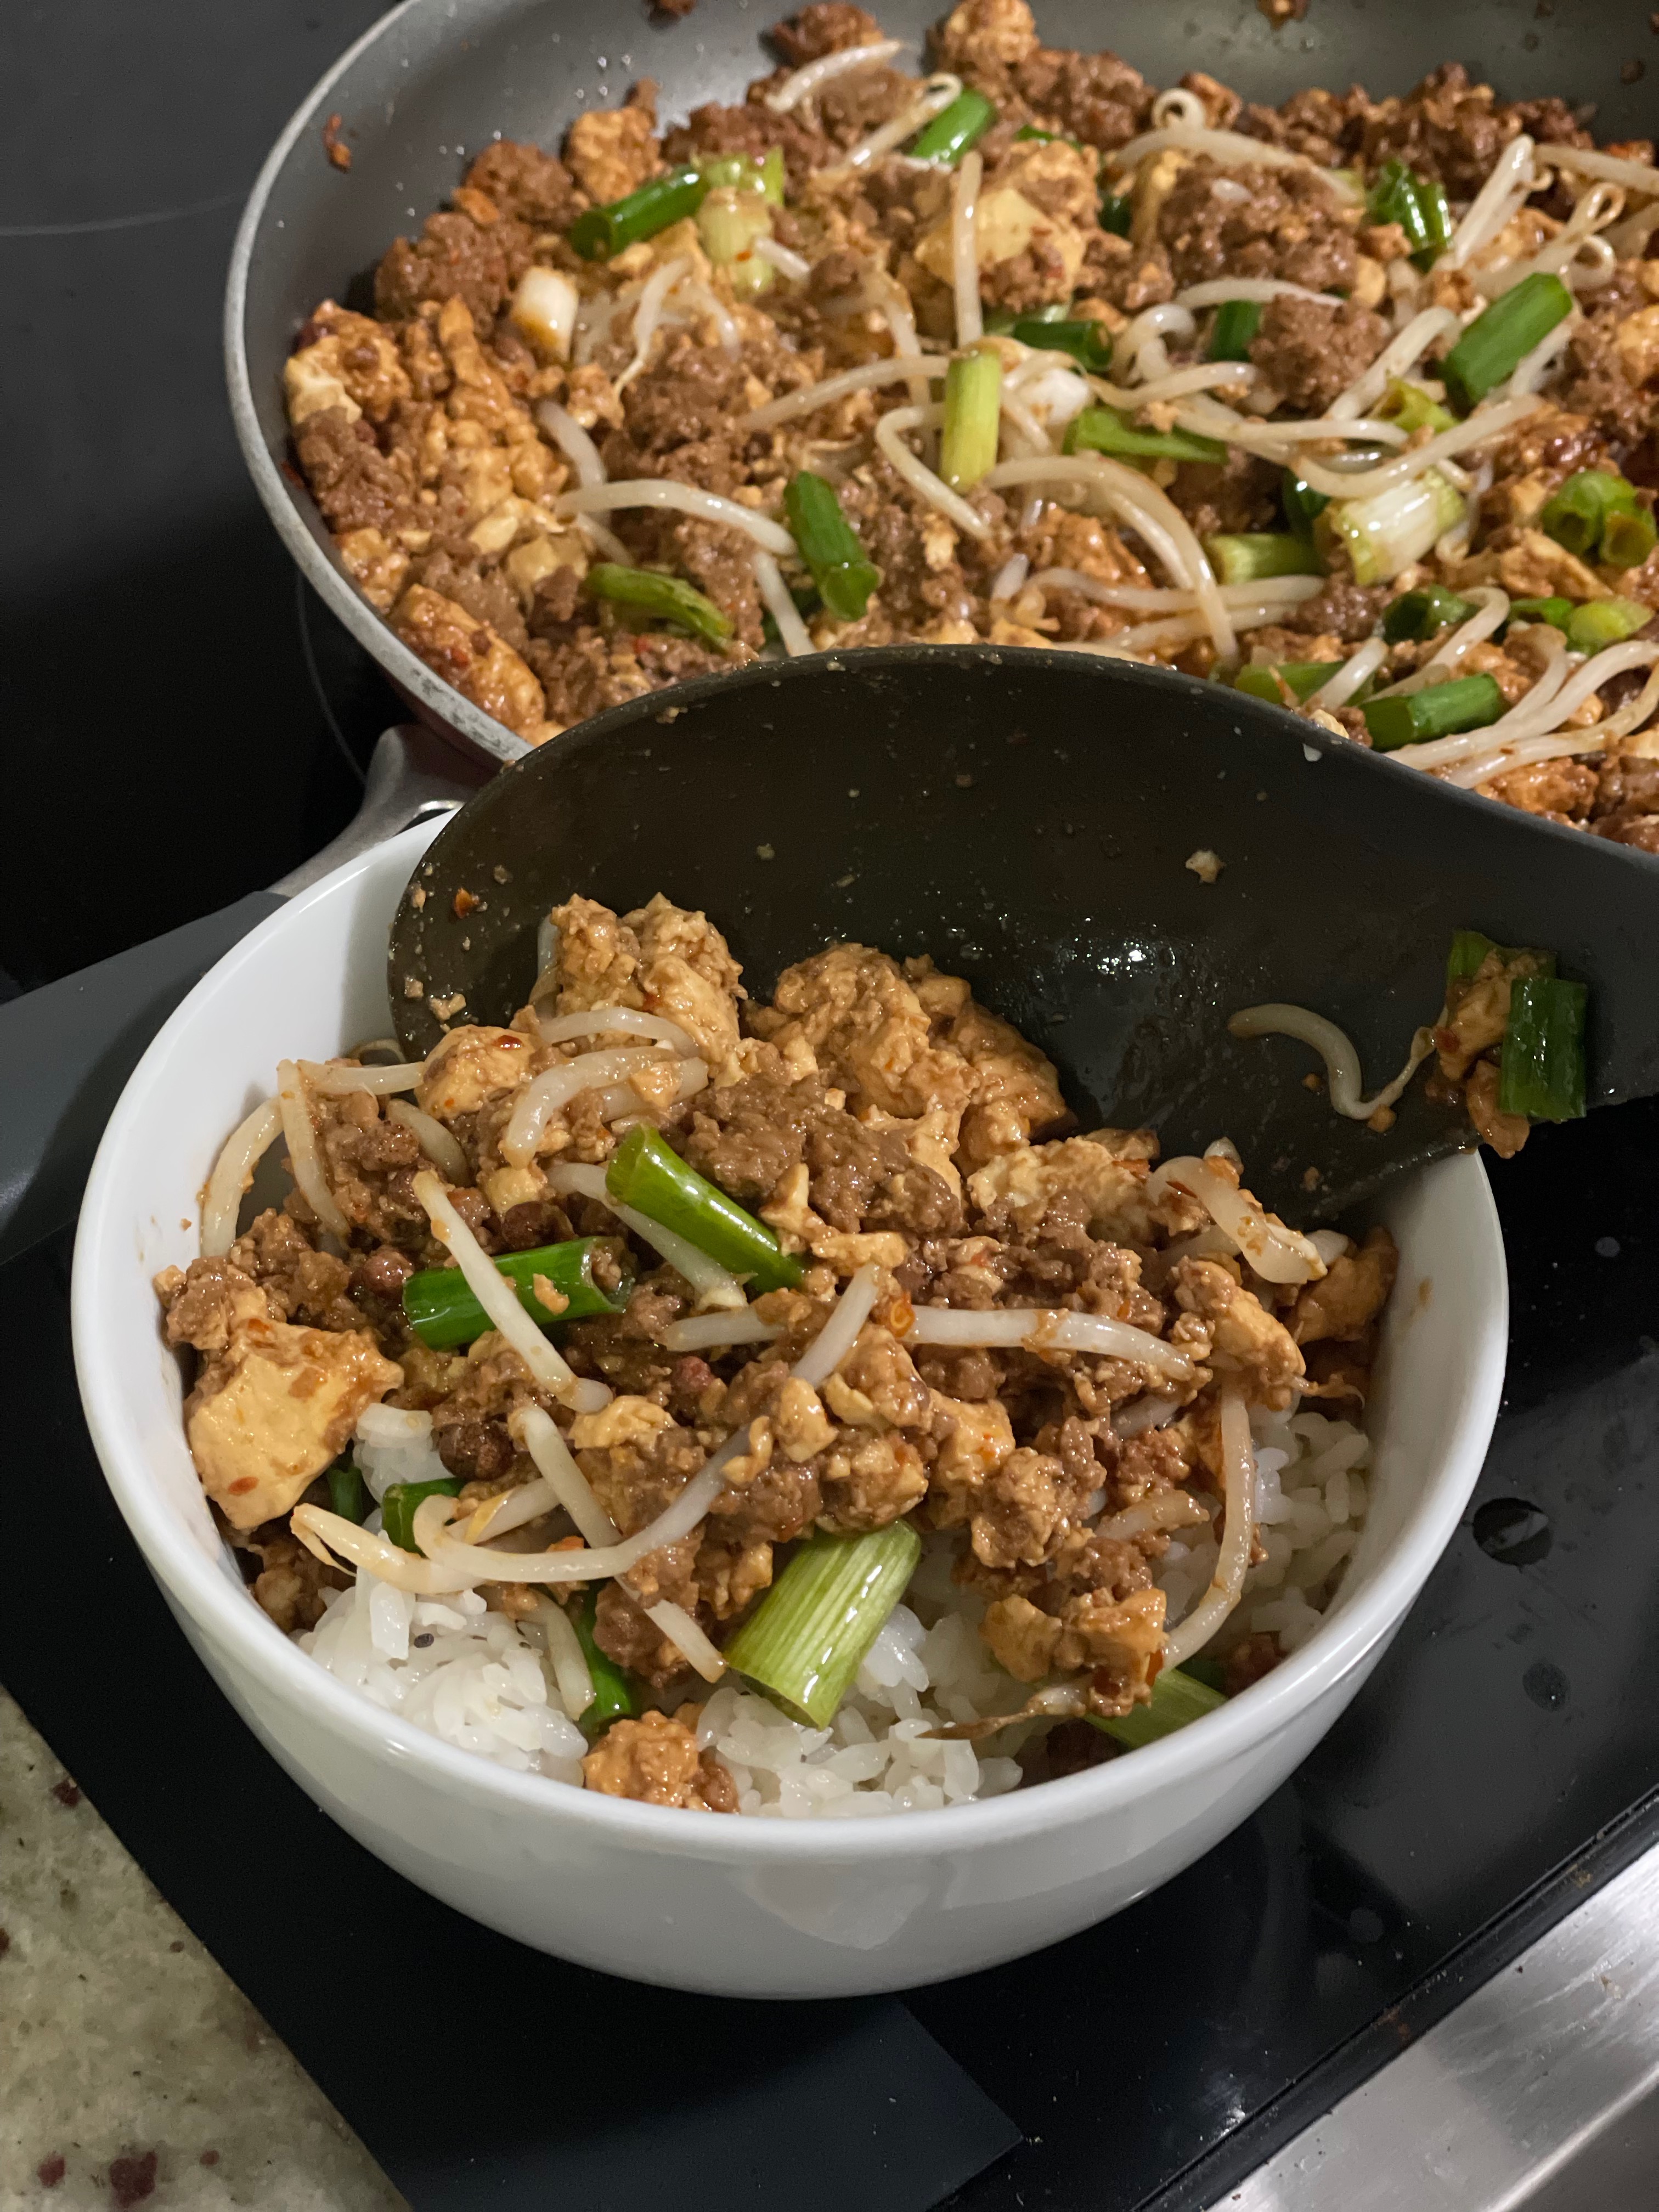
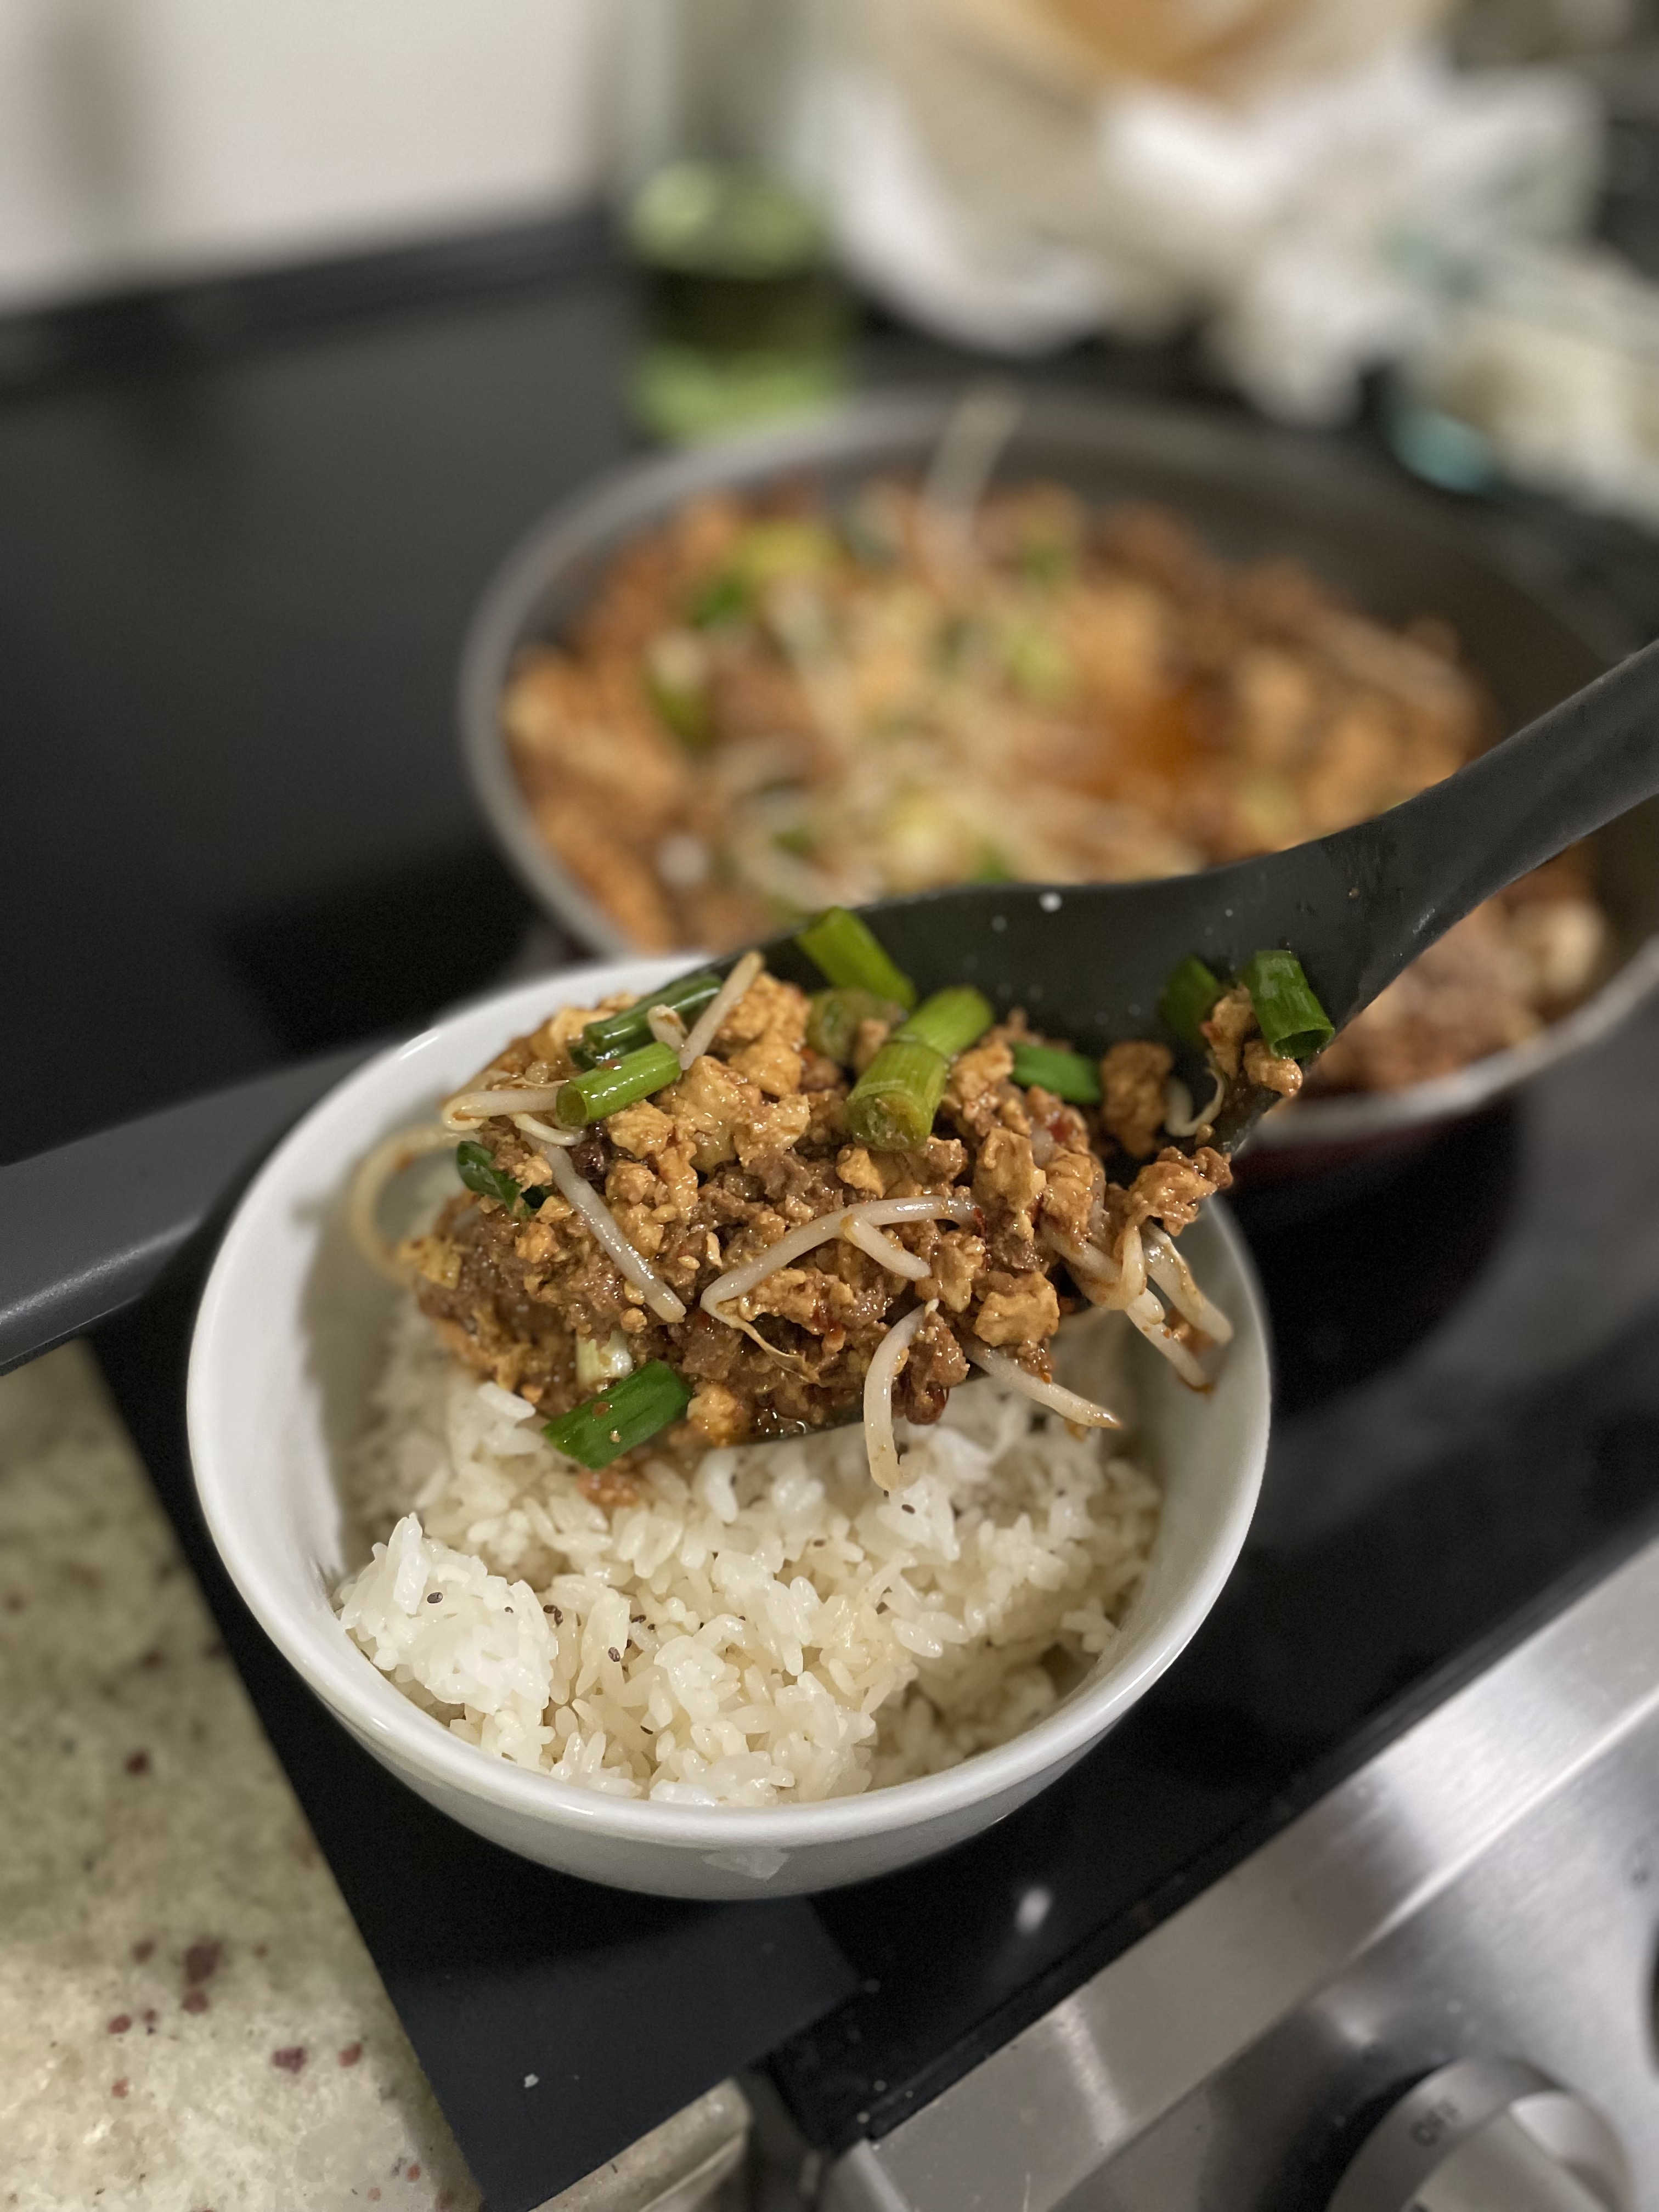
Mapo tofu is distinctly known for its mouth numbing quality courtesy of the Sichuan peppercorns. This quick dinner requires minimal prep work, so it is perfect for a weeknight dinner. Along with the Sichuan peppercorns, mapo tofu traditionally contains a ground meat (typically pork), tofu, and spicy bean paste. Try it over rice with a veggie on the side.

Disclaimer: this recipe is “Mapo-ish”. It doesn’t contain all the traditional ingredients but still has all the essence and kick of what you’d find at an authentic Chinese restaurant.

Ingredients

Soybean paste/chili flakes – Traditionally, Mapo tofu calls for the use of spicy bean paste. Spicy bean paste just isn’t something that I typically have around the house. Spicy bean paste is a mix of fermented beans and chili; I substitute with similar ingredients. If you don’t have fermented soybean paste, you can even use miso paste.

Sichuan peppercorns – This cannot be substituted! This is what gives Mapo tofu the “ma” in its name. “Ma” is the mouth-numbing spiciness.

Ground meat – I made mine with Impossible meat, and my guests didn’t even realize that the meal was plant-based. If a plant-based option is not handy, the recipe can be substituted with ground pork, turkey, chicken, beef, mushrooms… the world is your oyster!

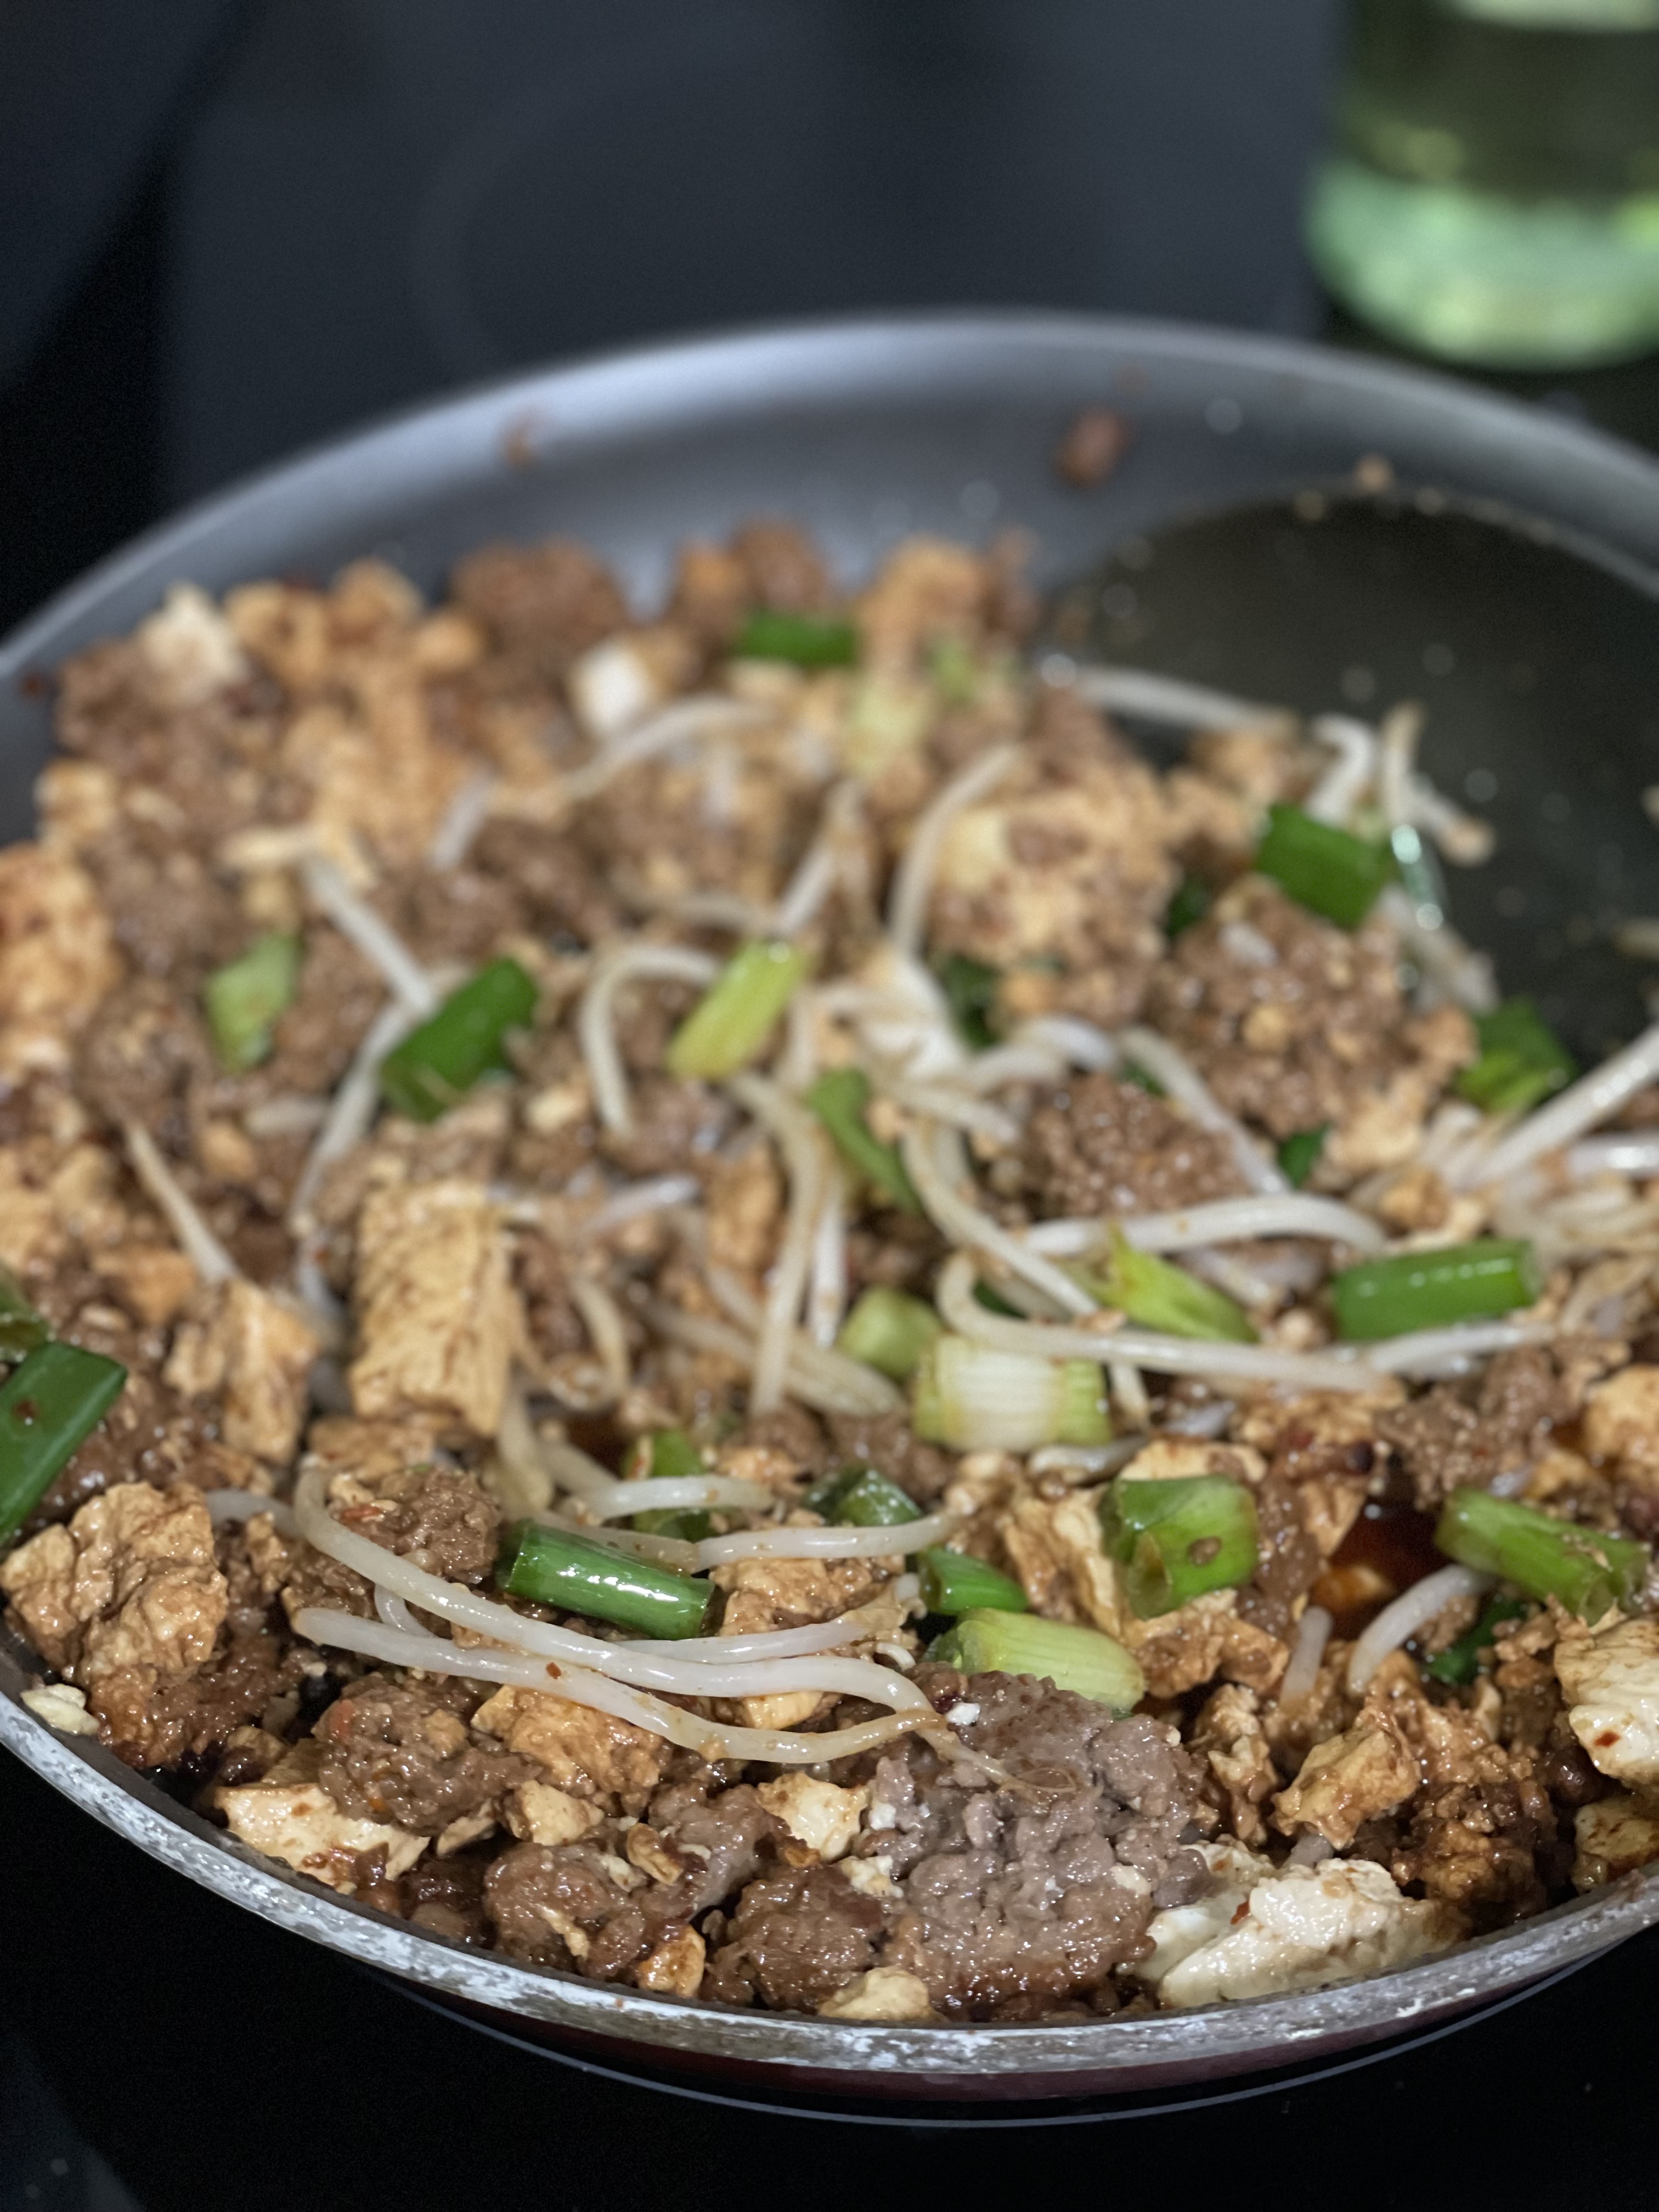
Vegetable – Feel free to make the recipe your own and add in any other vegetables that might add some flair. I mixed in some bean sprouts at the end for a little extra crunch. Some other vegetables that would do well in the dish would be cabbage, onions, or a wilted leafy green. If not a mix-in, try something on the side. I’d recommended some garlicky steamed bok choy or Chinese broccoli, or even a light sesame, soy cucumber salad to help refresh you if it starts getting a little too spicy.

Mapo(ish) Tofu

Print Recipe
This mouth-numbingly spicy dish can be made plant-based! Try it with rice.
Servings 4

Ingredients

  • 1 tsp Sichuan peppercorns
  • 1 tbsp soybean paste
  • 1 tsp chili flakes
  • 1 tsp dark soy sauce
  • 1/2 lb ground meat
  • 1 block tofu
  • 1 bunch scallions garnish
  • 2 tbsp sesame oil
  • olive oil

Instructions

  • In a pan, heat up ~1 tsp of olive oil on medium heat.
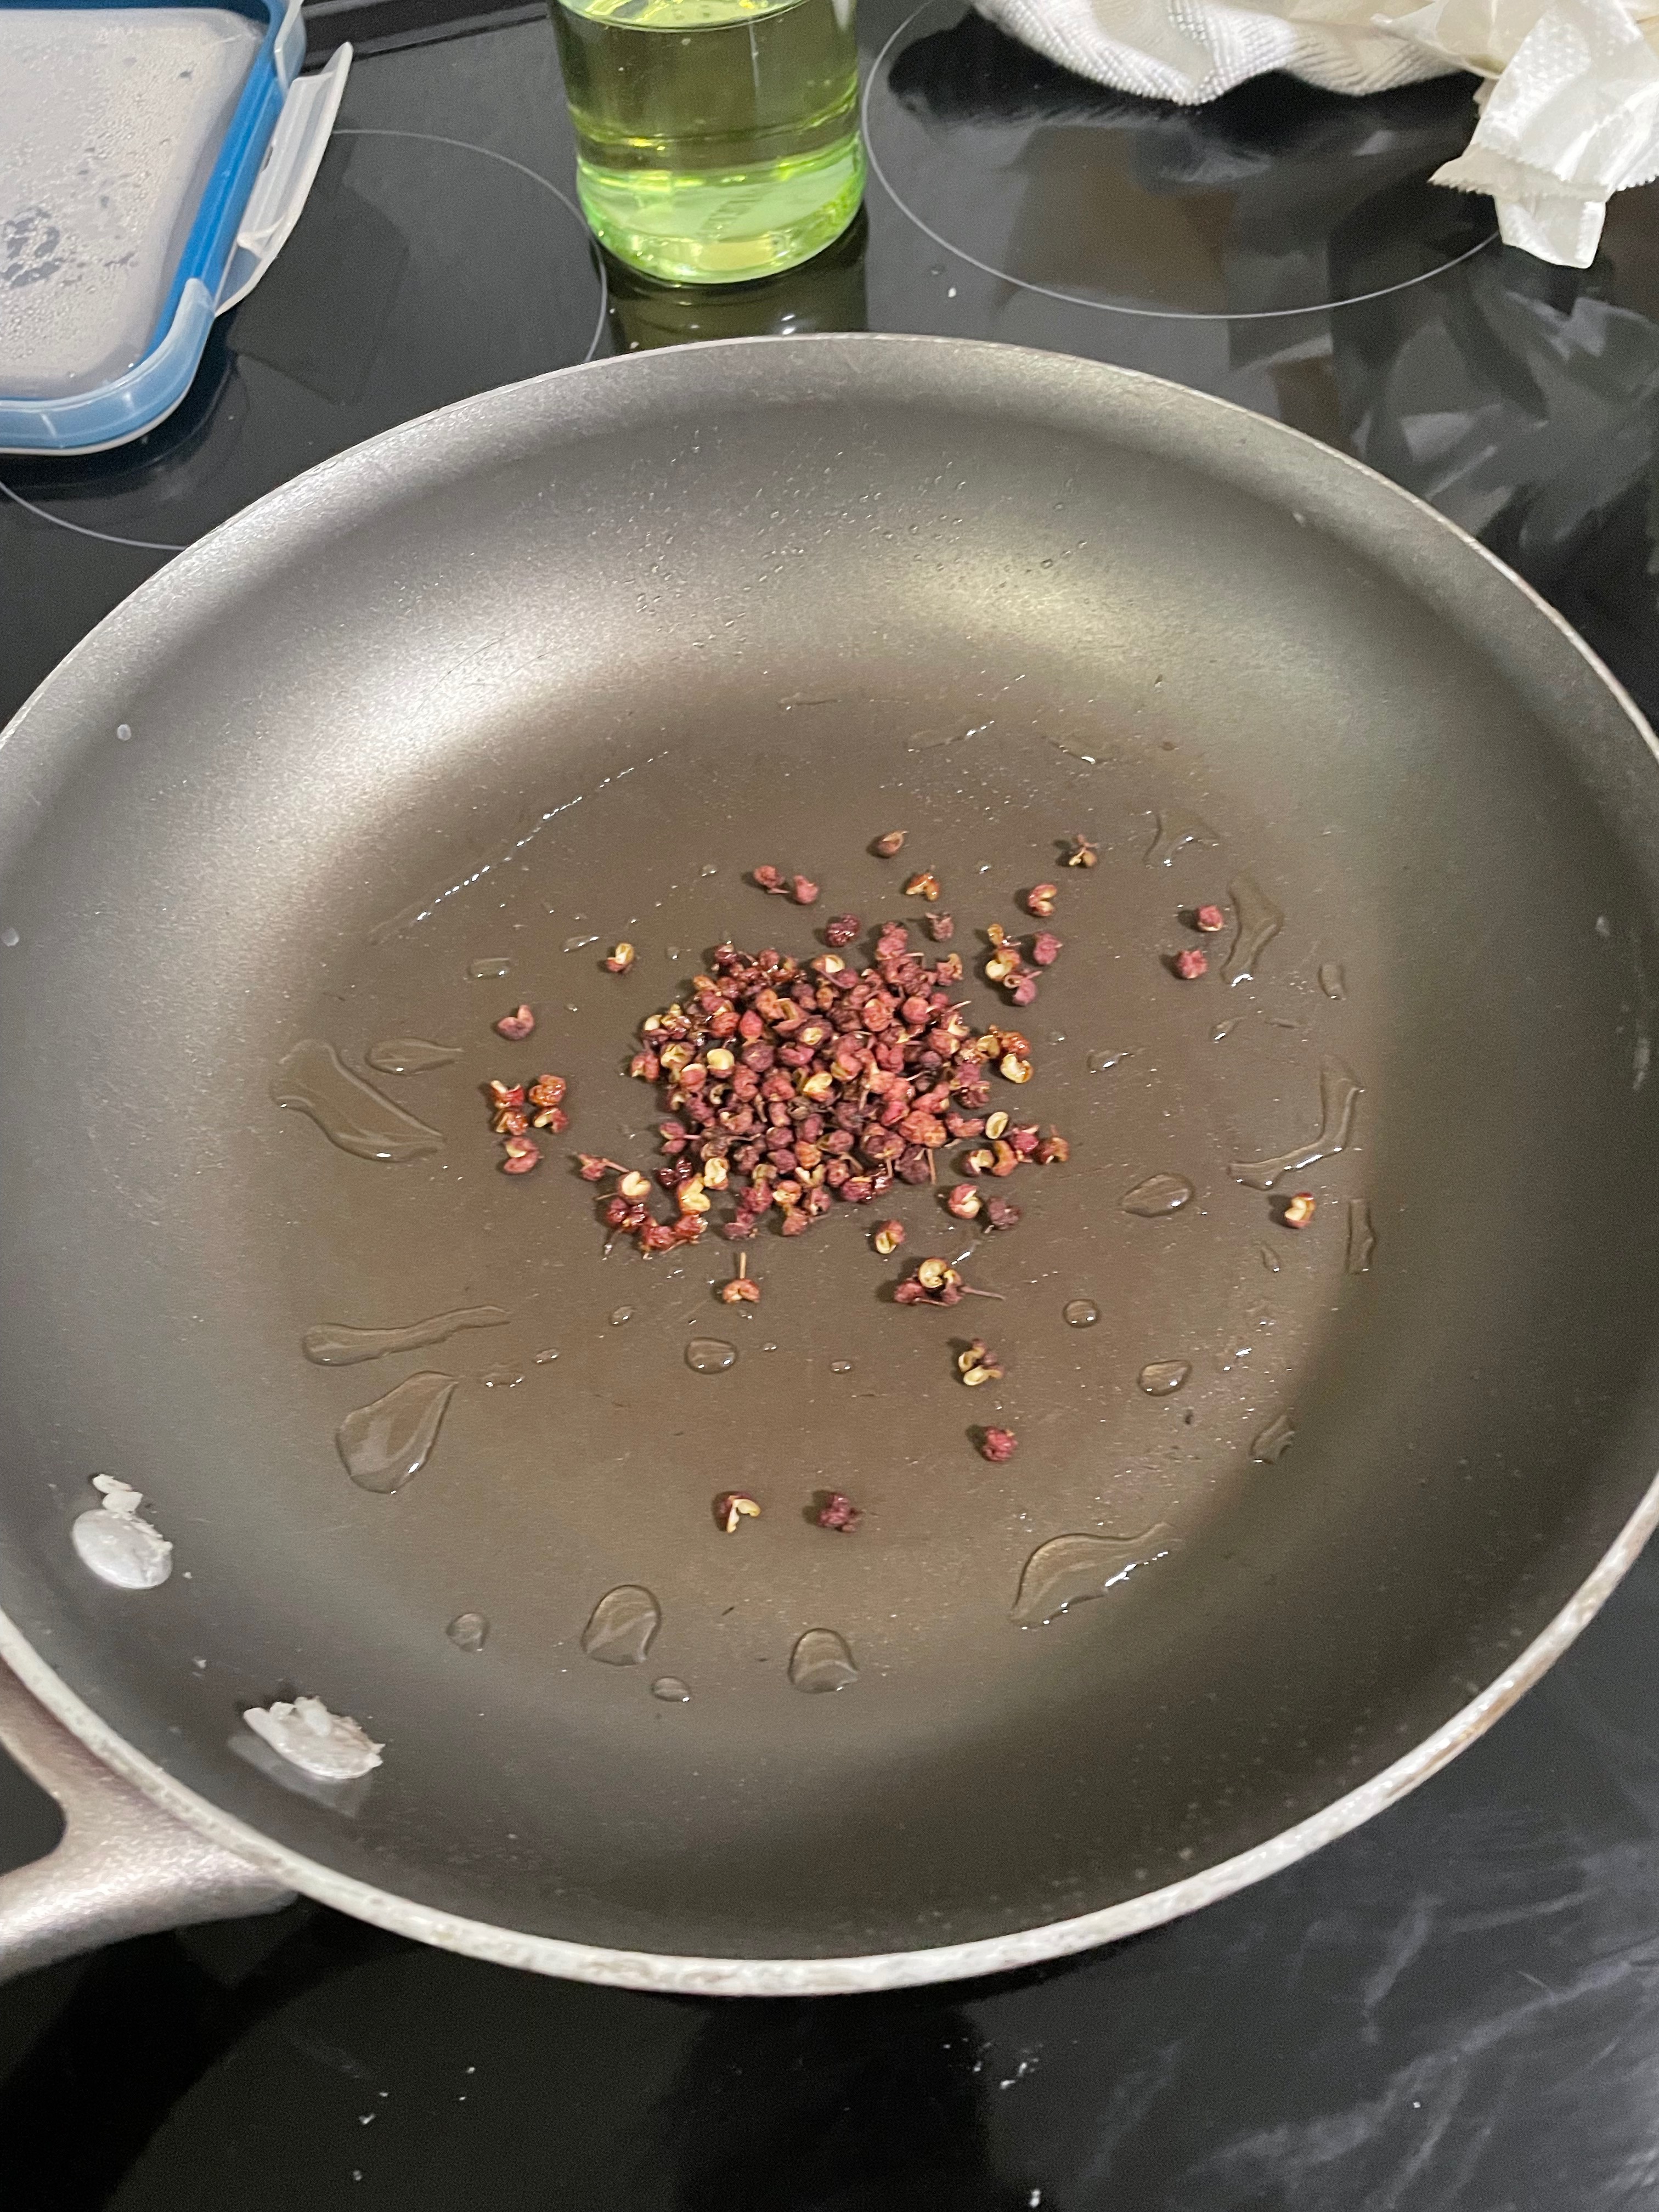
  • When oil is hot, add Sichuan peppercorns and fry until fragrant.
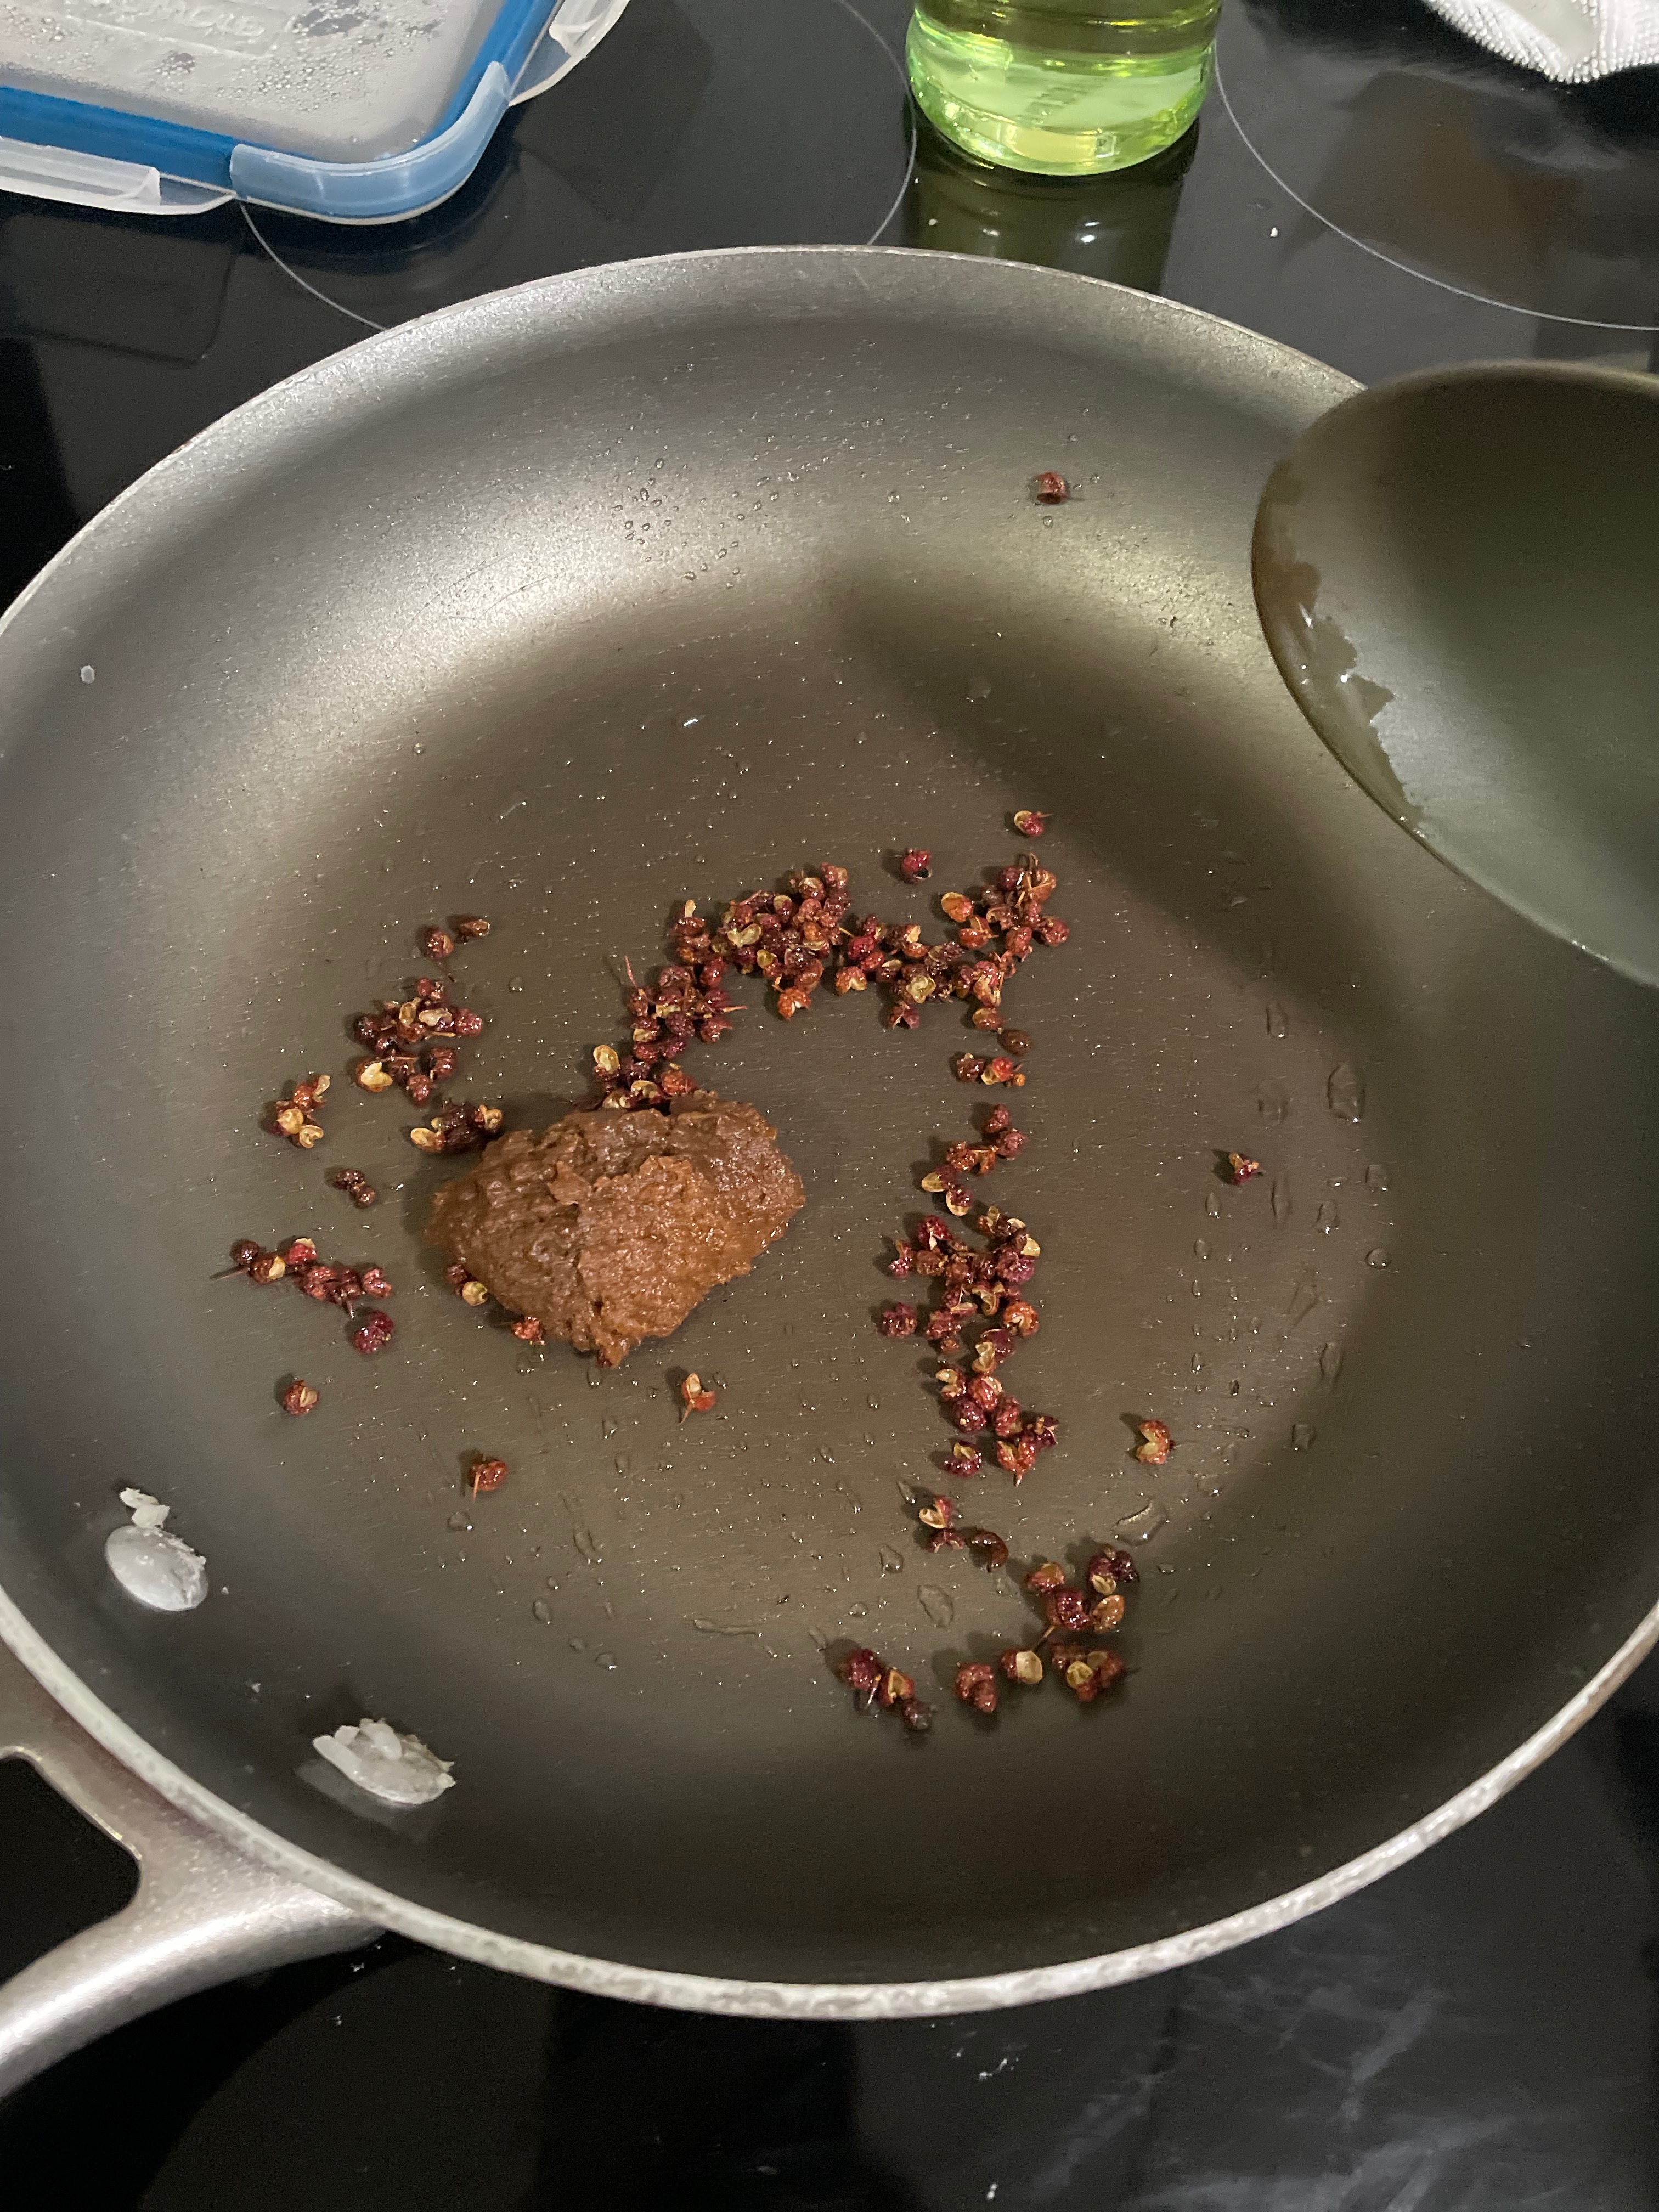
  • Add soybean paste and briefly fry.
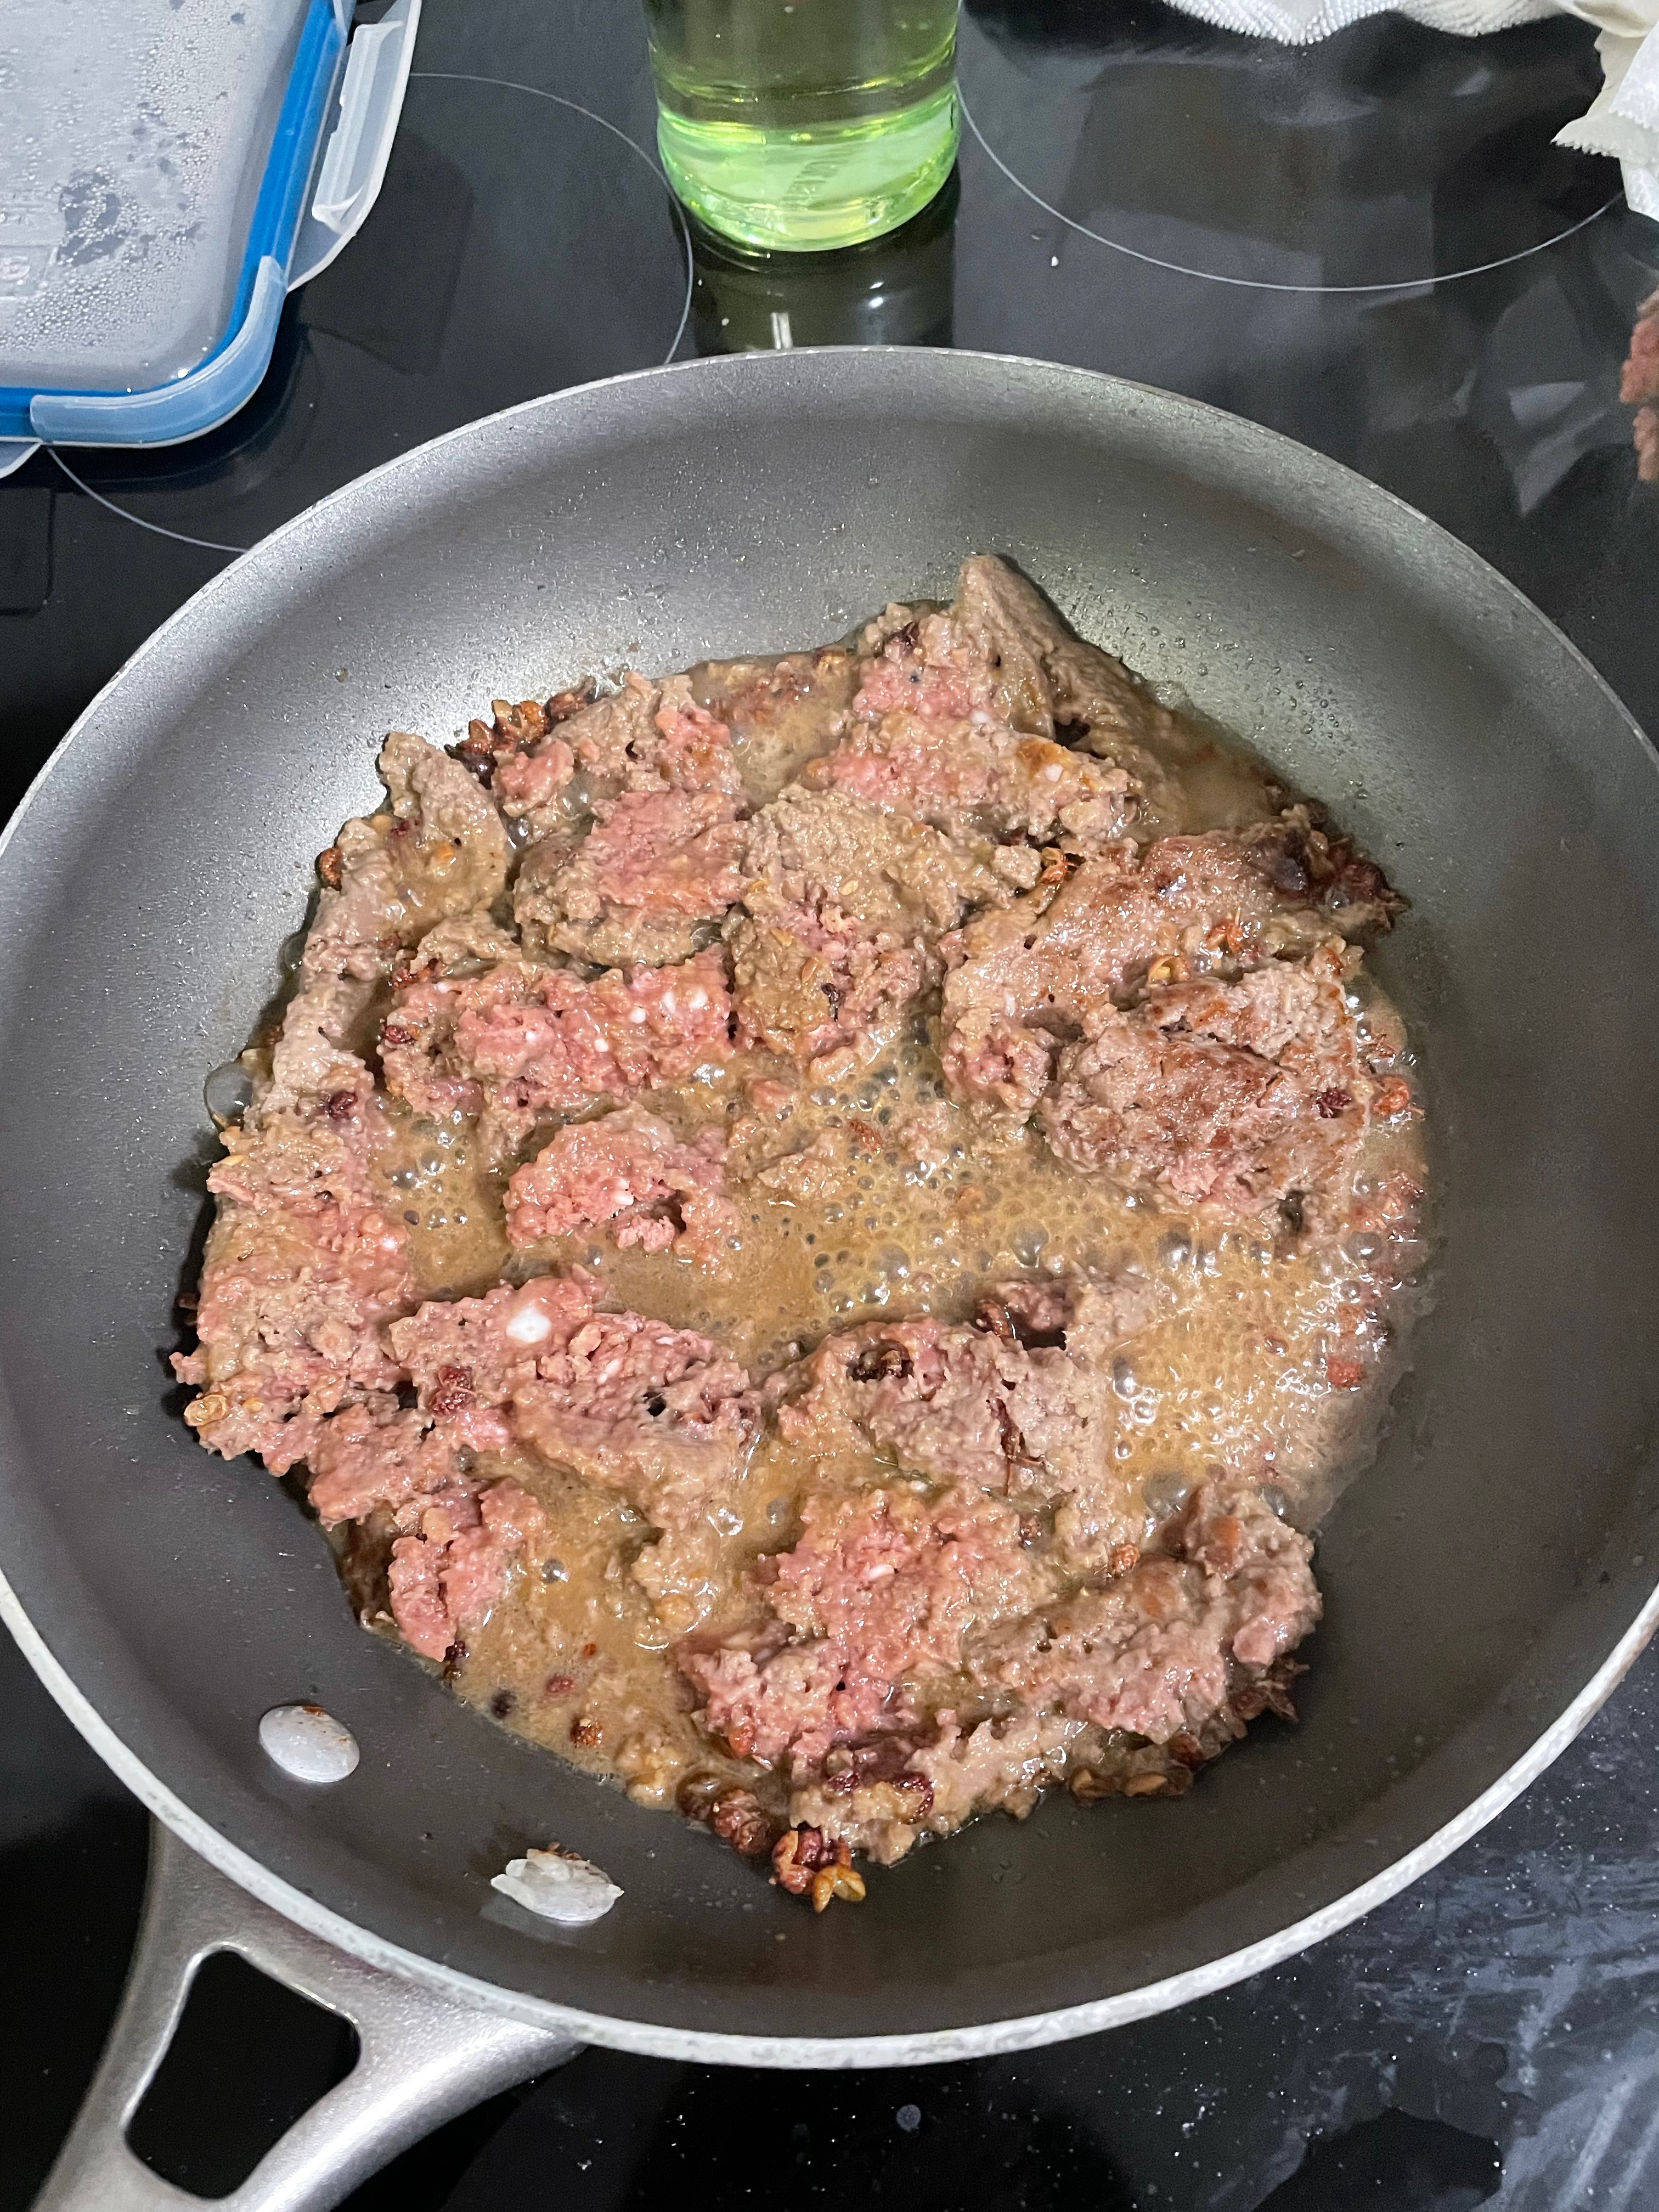
  • Add ground meat and stir.
  • When meat is 50% cooked, add in 1 cup of water, ensuring that the soybean paste dissolves.
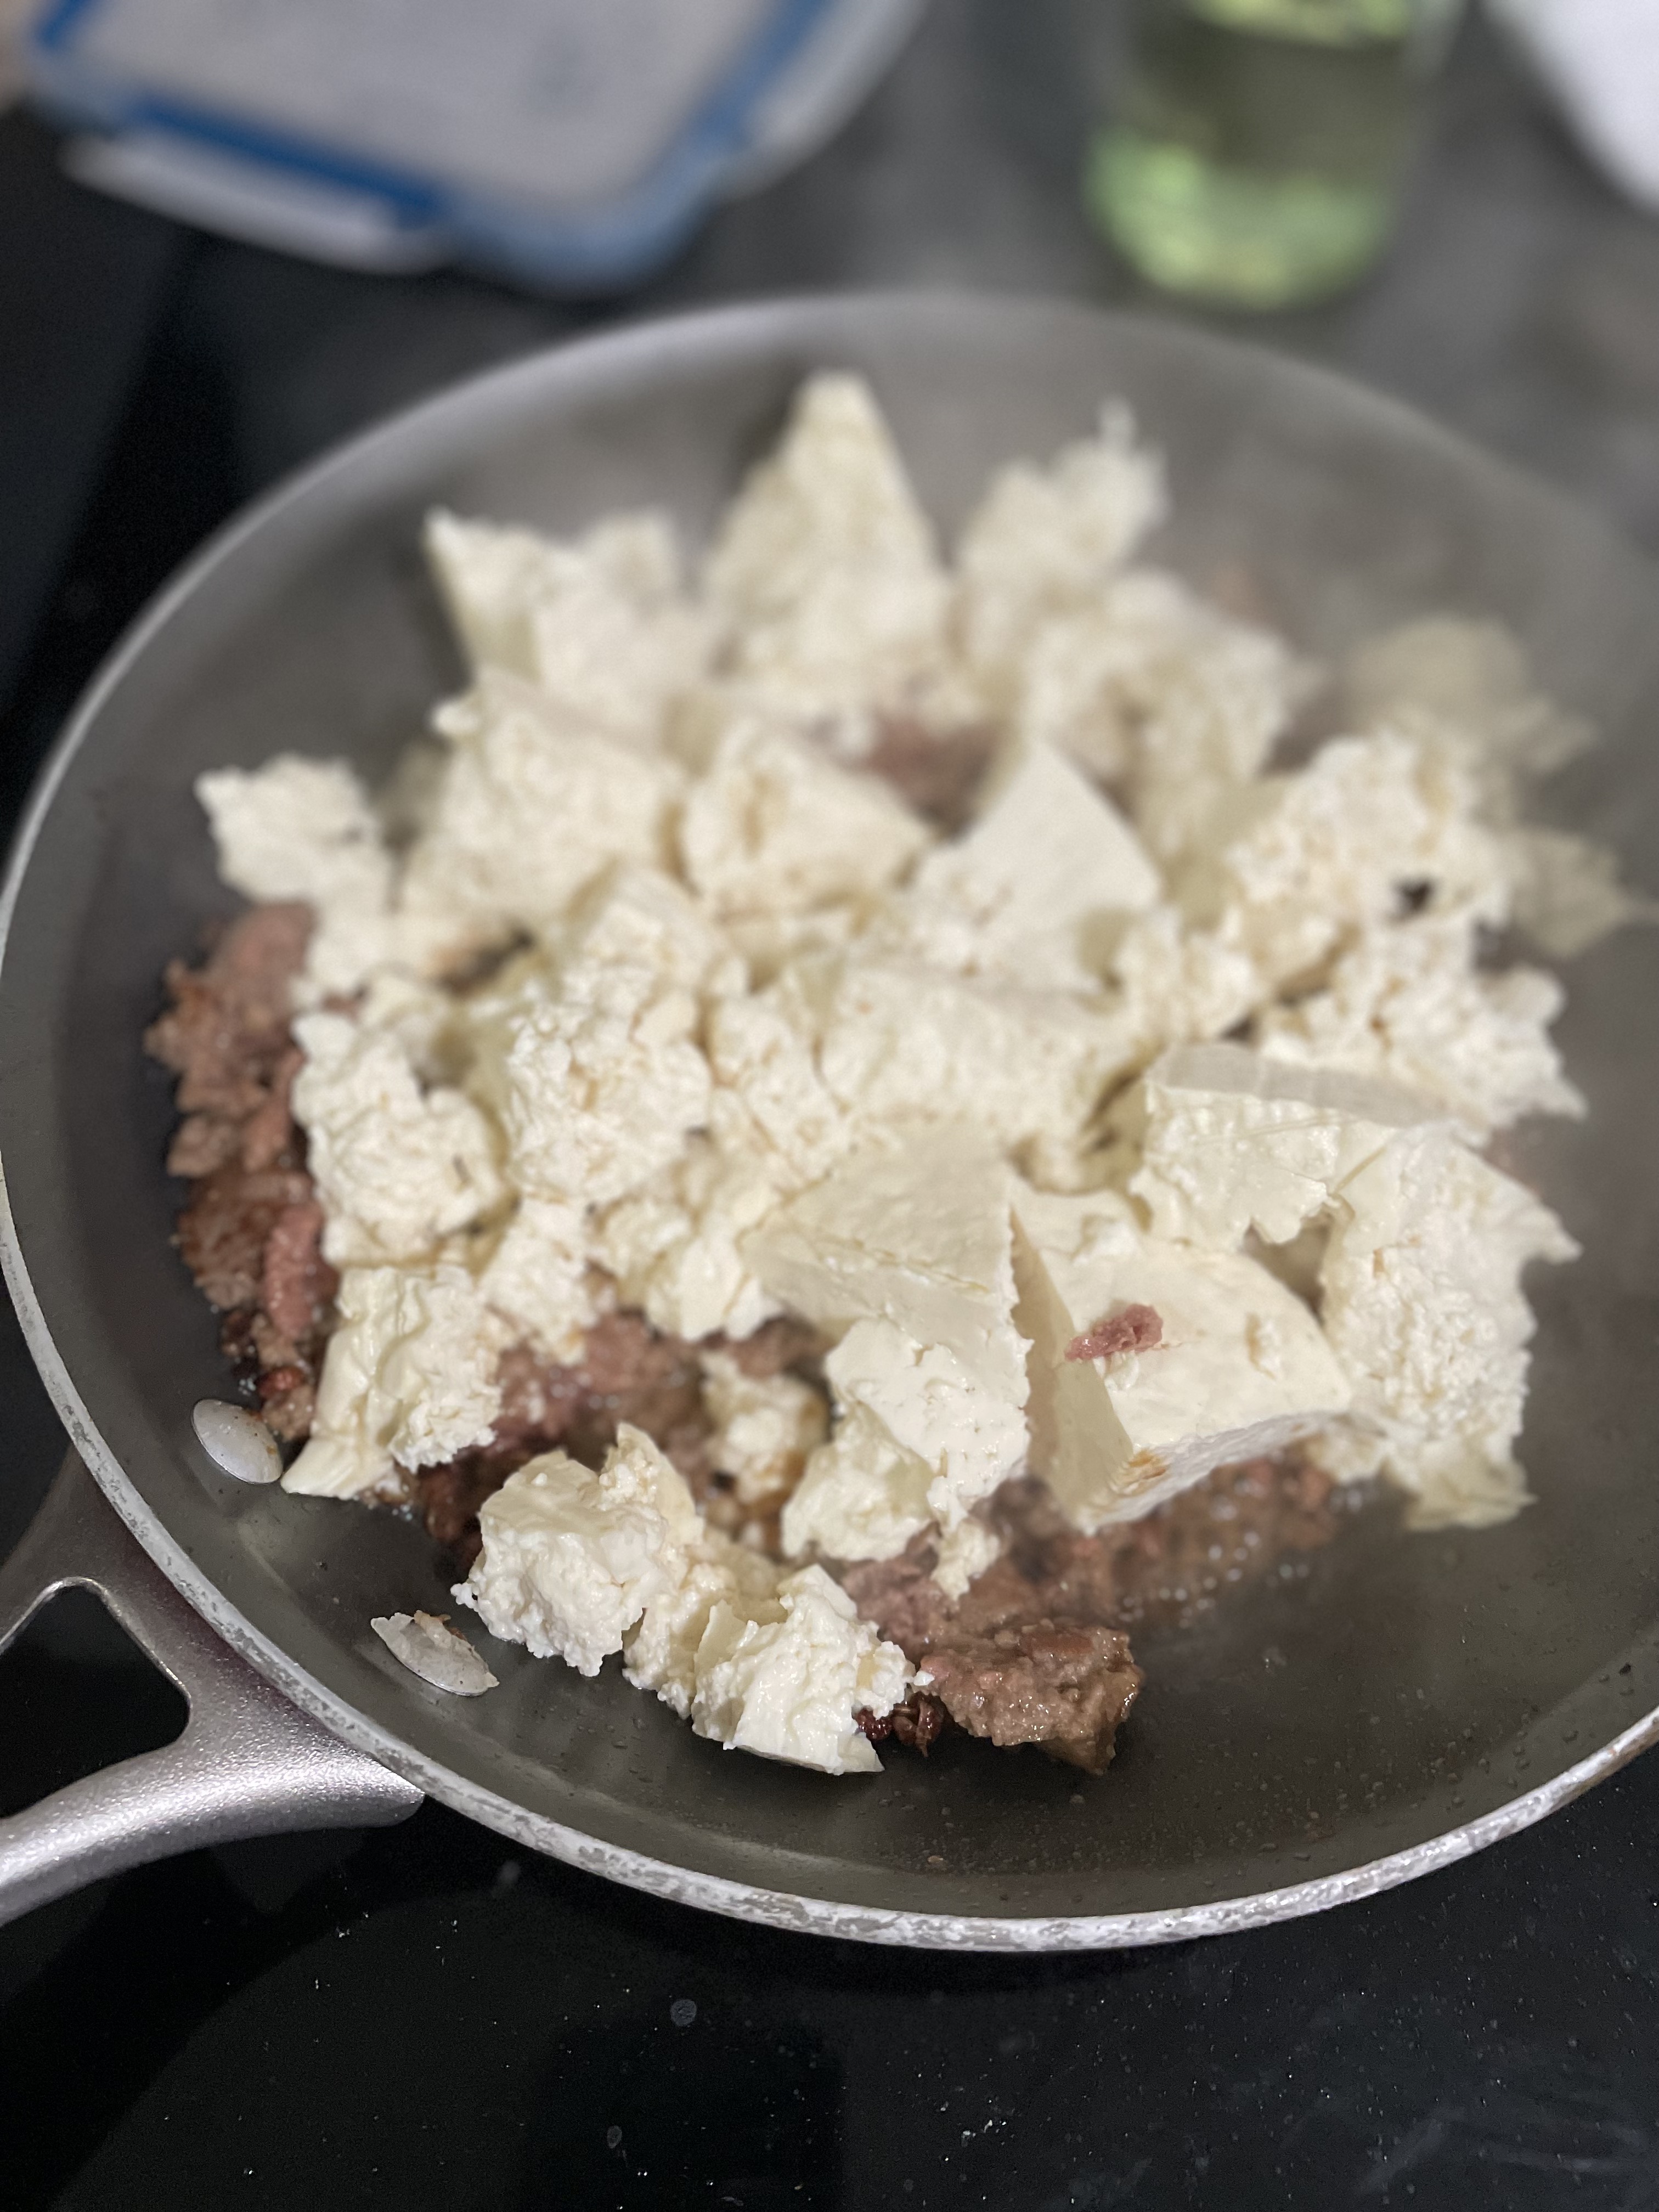
  • Using your hands, break up the tofu into bite sized chunks. Add tofu and chili flakes to the pan.
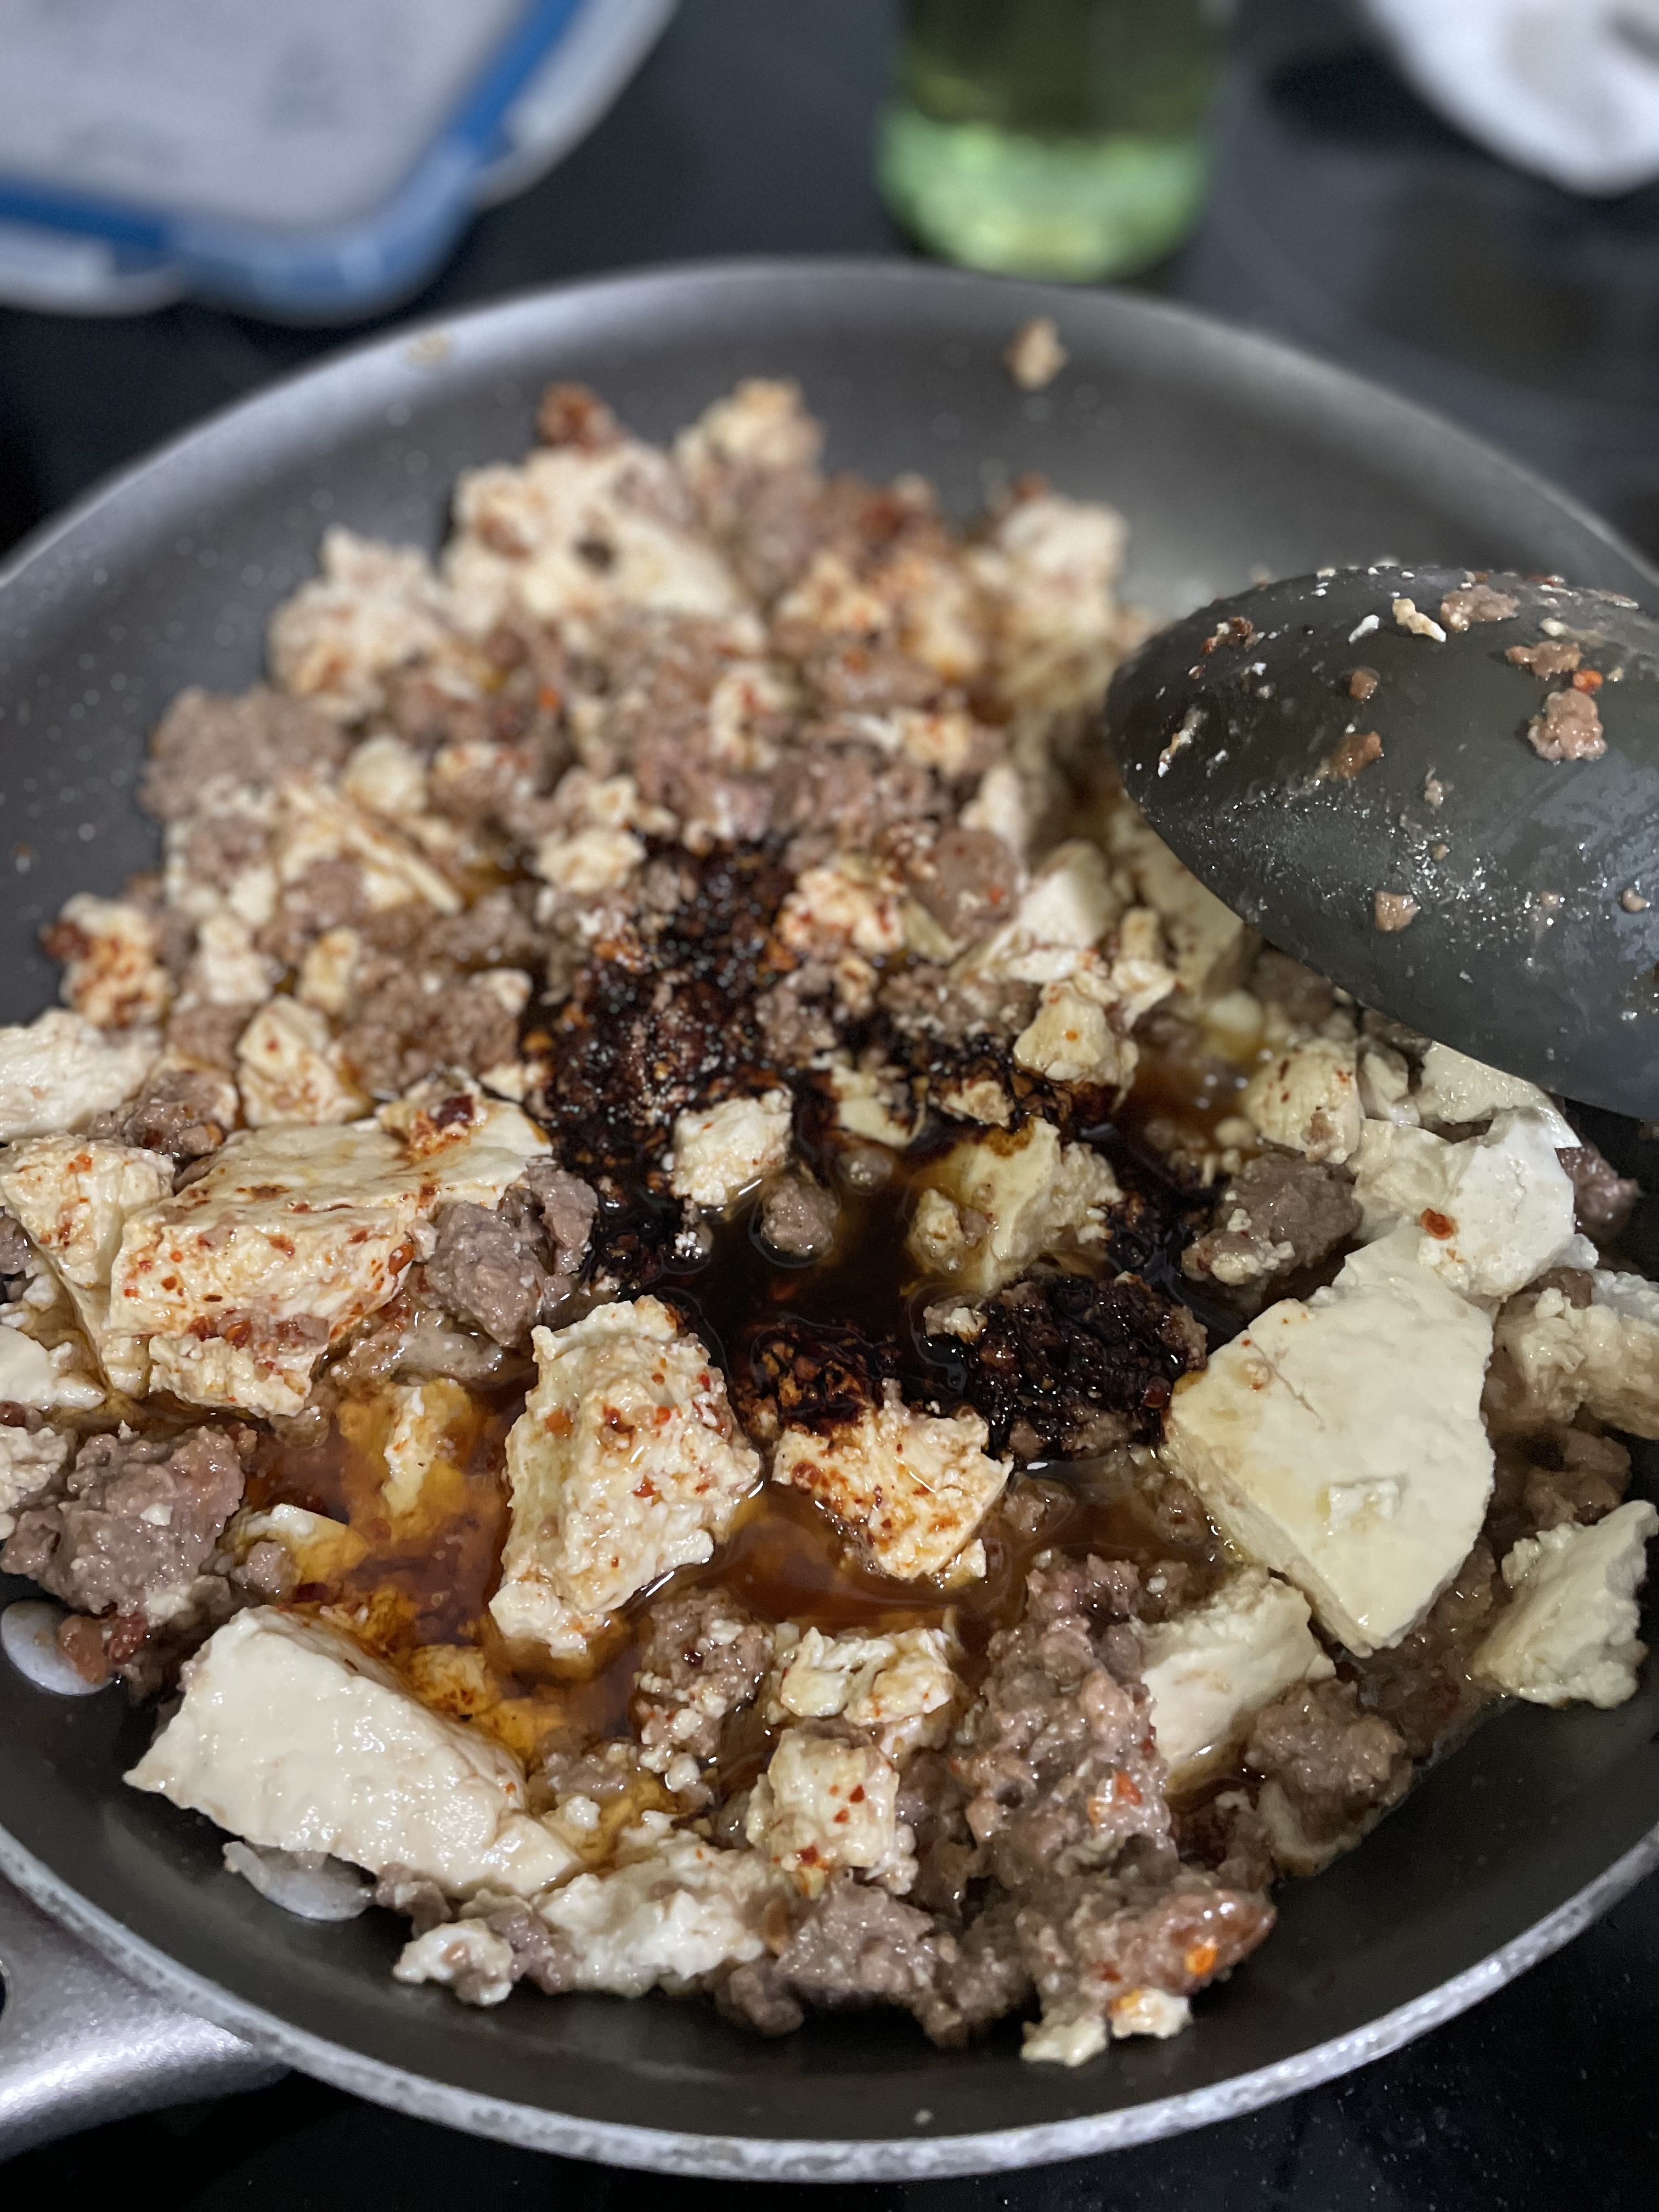
  • Add dark soy sauce and gently stir together.
  • When all of the tofu has been coated in the sauce, add in sesame oil and sprinkle scallions on top.

Try an appetizer of Chicken & Cabbage Dumplings.

Need a dessert? Have some Banana Bread or Peach Galette.
Peach Galette

Galette? Isn’t that just a topless pie? Whatever you want to call it, it’s a delicious, low-maintenance dessert that requires minimal prep work. Galettes are more rustic than your traditional peach pie. Don’t worry too much about how it looks, it’s all about how it tastes.

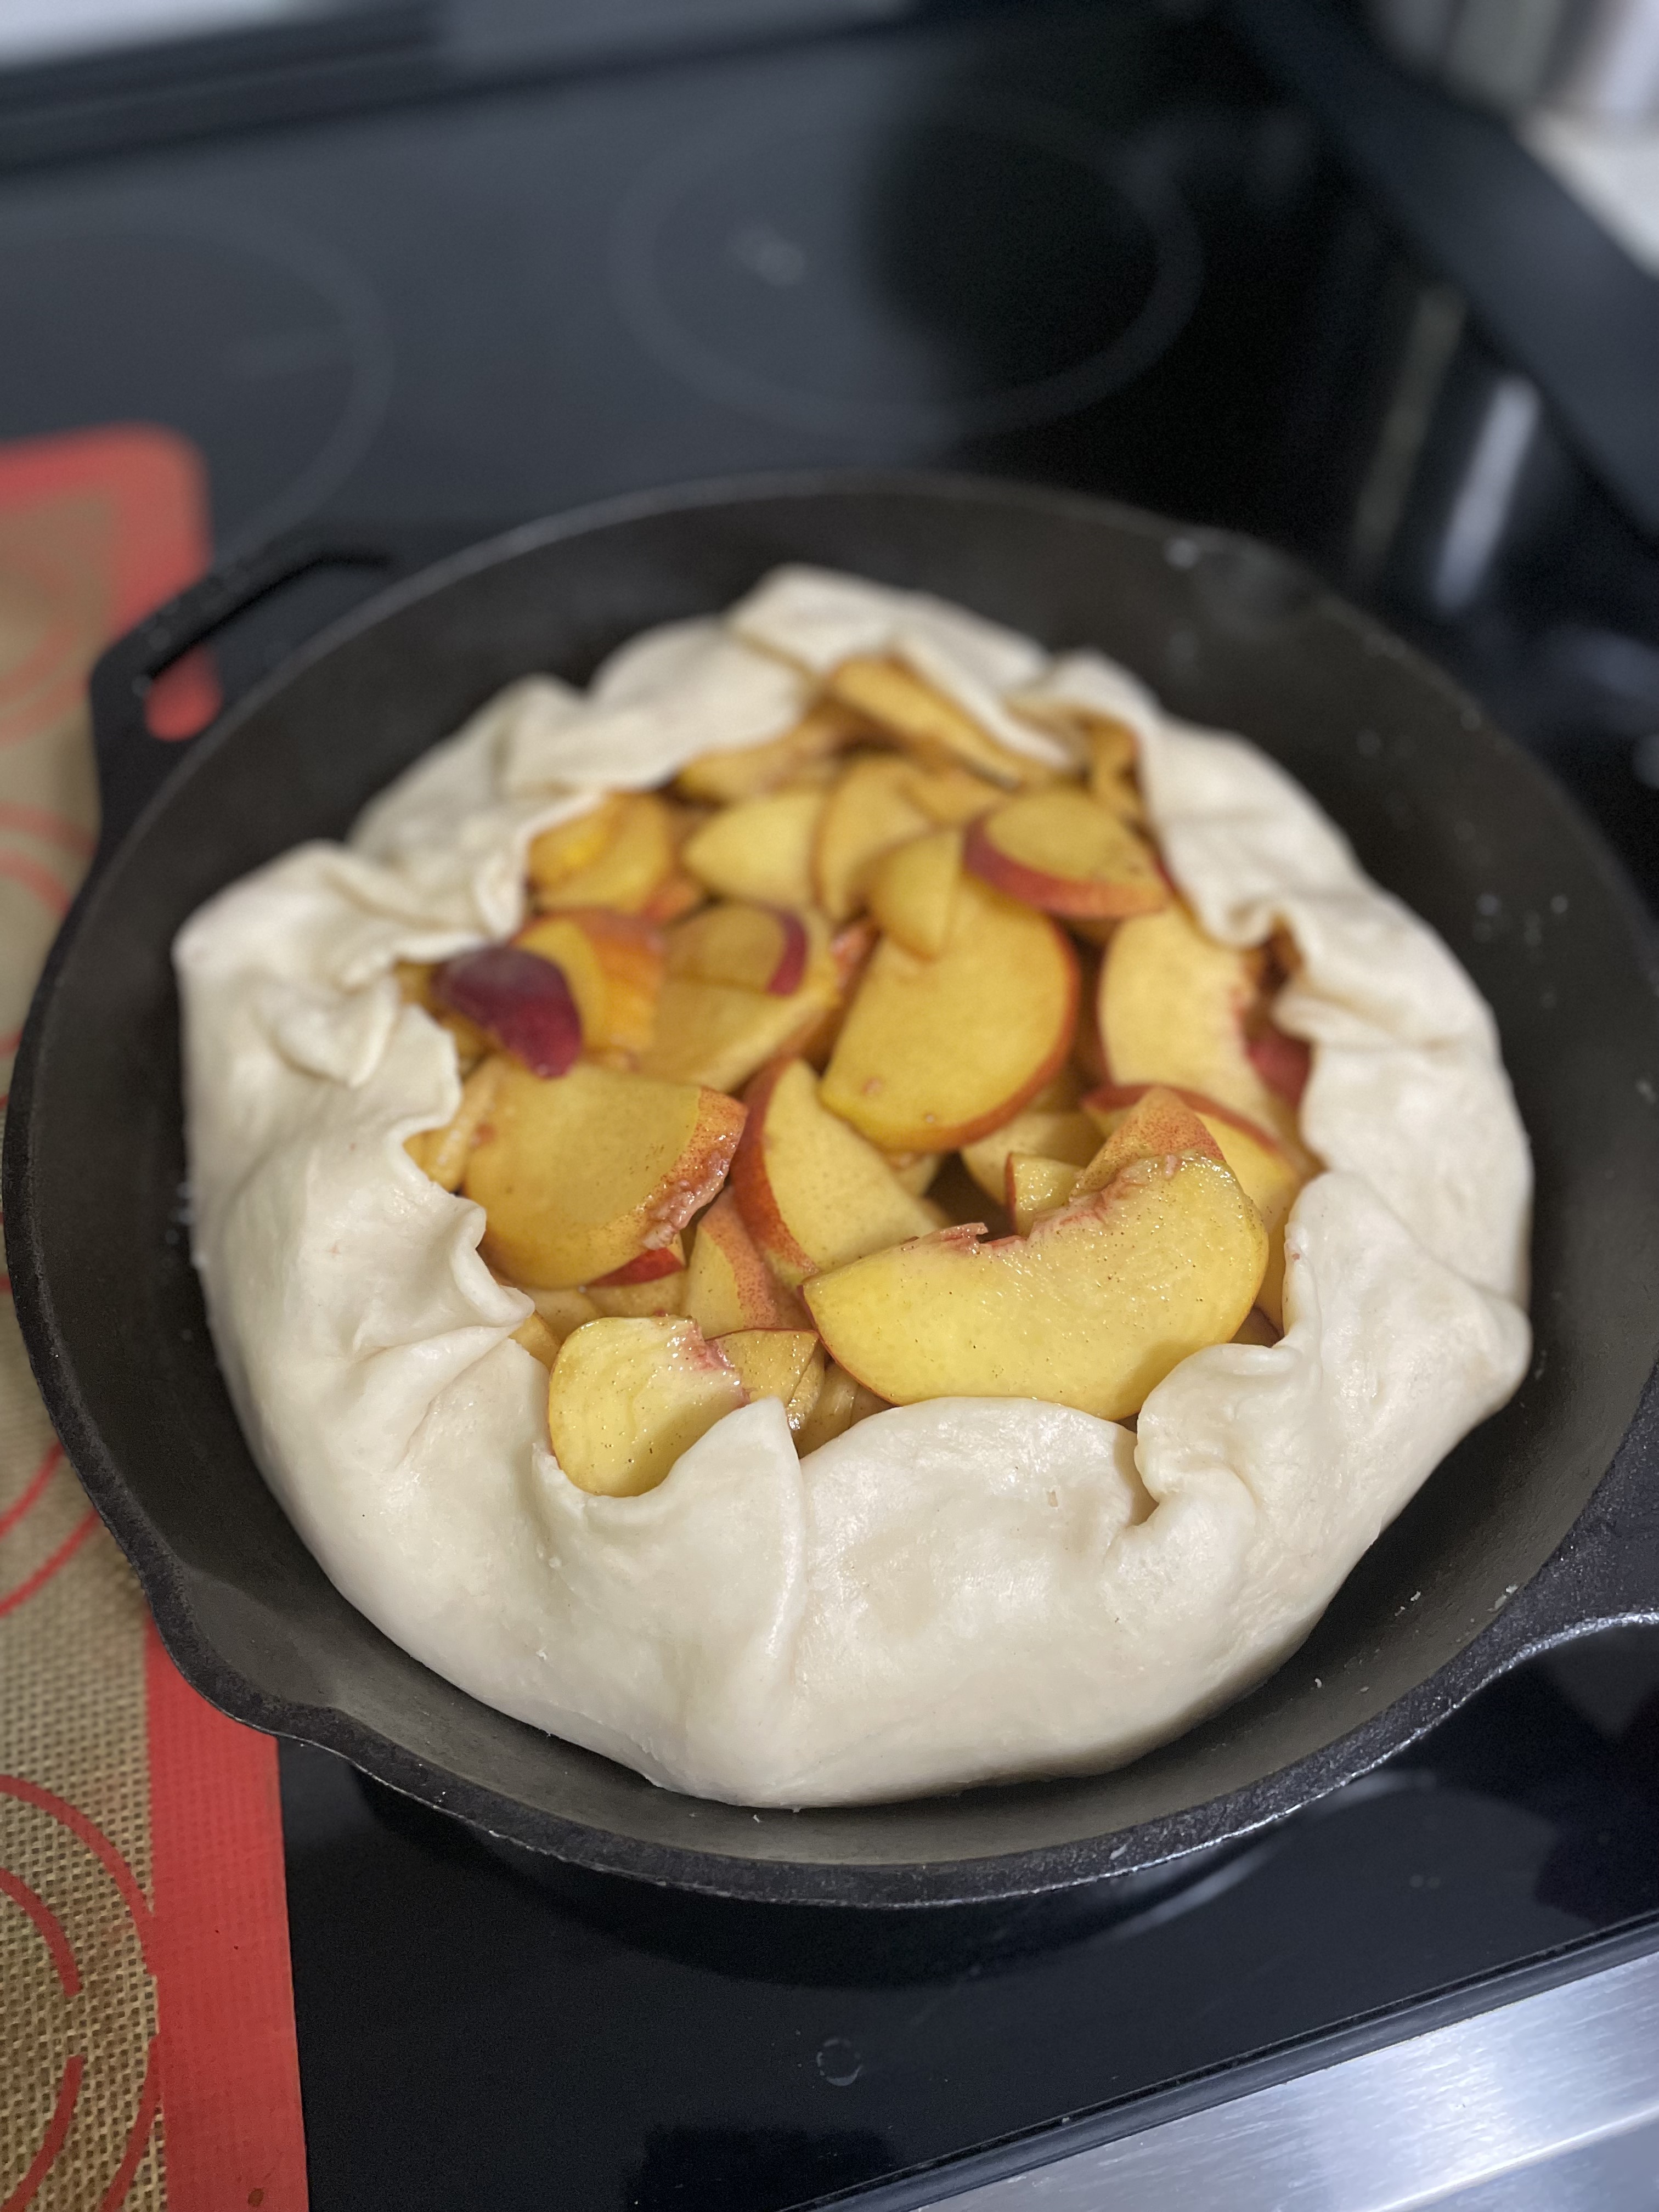
I typically see galettes made in a sheet pan, but I like to make mine in my cast iron skillet. It helps keep the galette together but also help facilitate extra crisping on the underside of the pastry. You can definitely still make this on a sheet pan or in a pie pan, but you may need additional cook time for browning.

Ingredients

Peach filing – If you don’t like peaches, feel free to substitute with any other fruit of your choice. I also like this recipe with apples or berries. You can use frozen fruit too, but make sure the fruit is entirely defrosted and drained, otherwise your filling will be very watery.

Cornstarch – When the fruit starts to cook, it’ll release a lot of juice. The cornstarch will thicken the juice. The galette will hold together better when you slice too!

Cinnamon – Don’t like cinnamon? Don’t use it!

Pie dough – This is my preferred pie dough since you can make it in a food processor. Each time I make this dough, I make a few batches and put them in the freezer, so I can have some crusts ready to go when I want to bake! Make sure to wrap well.

Peach Galette

Print Recipe
My favorite topless pie! Easy to make with a crispy crust and fruity filling.
Course Dessert
Keyword galette, peach, pie

Ingredients

Peach Filling

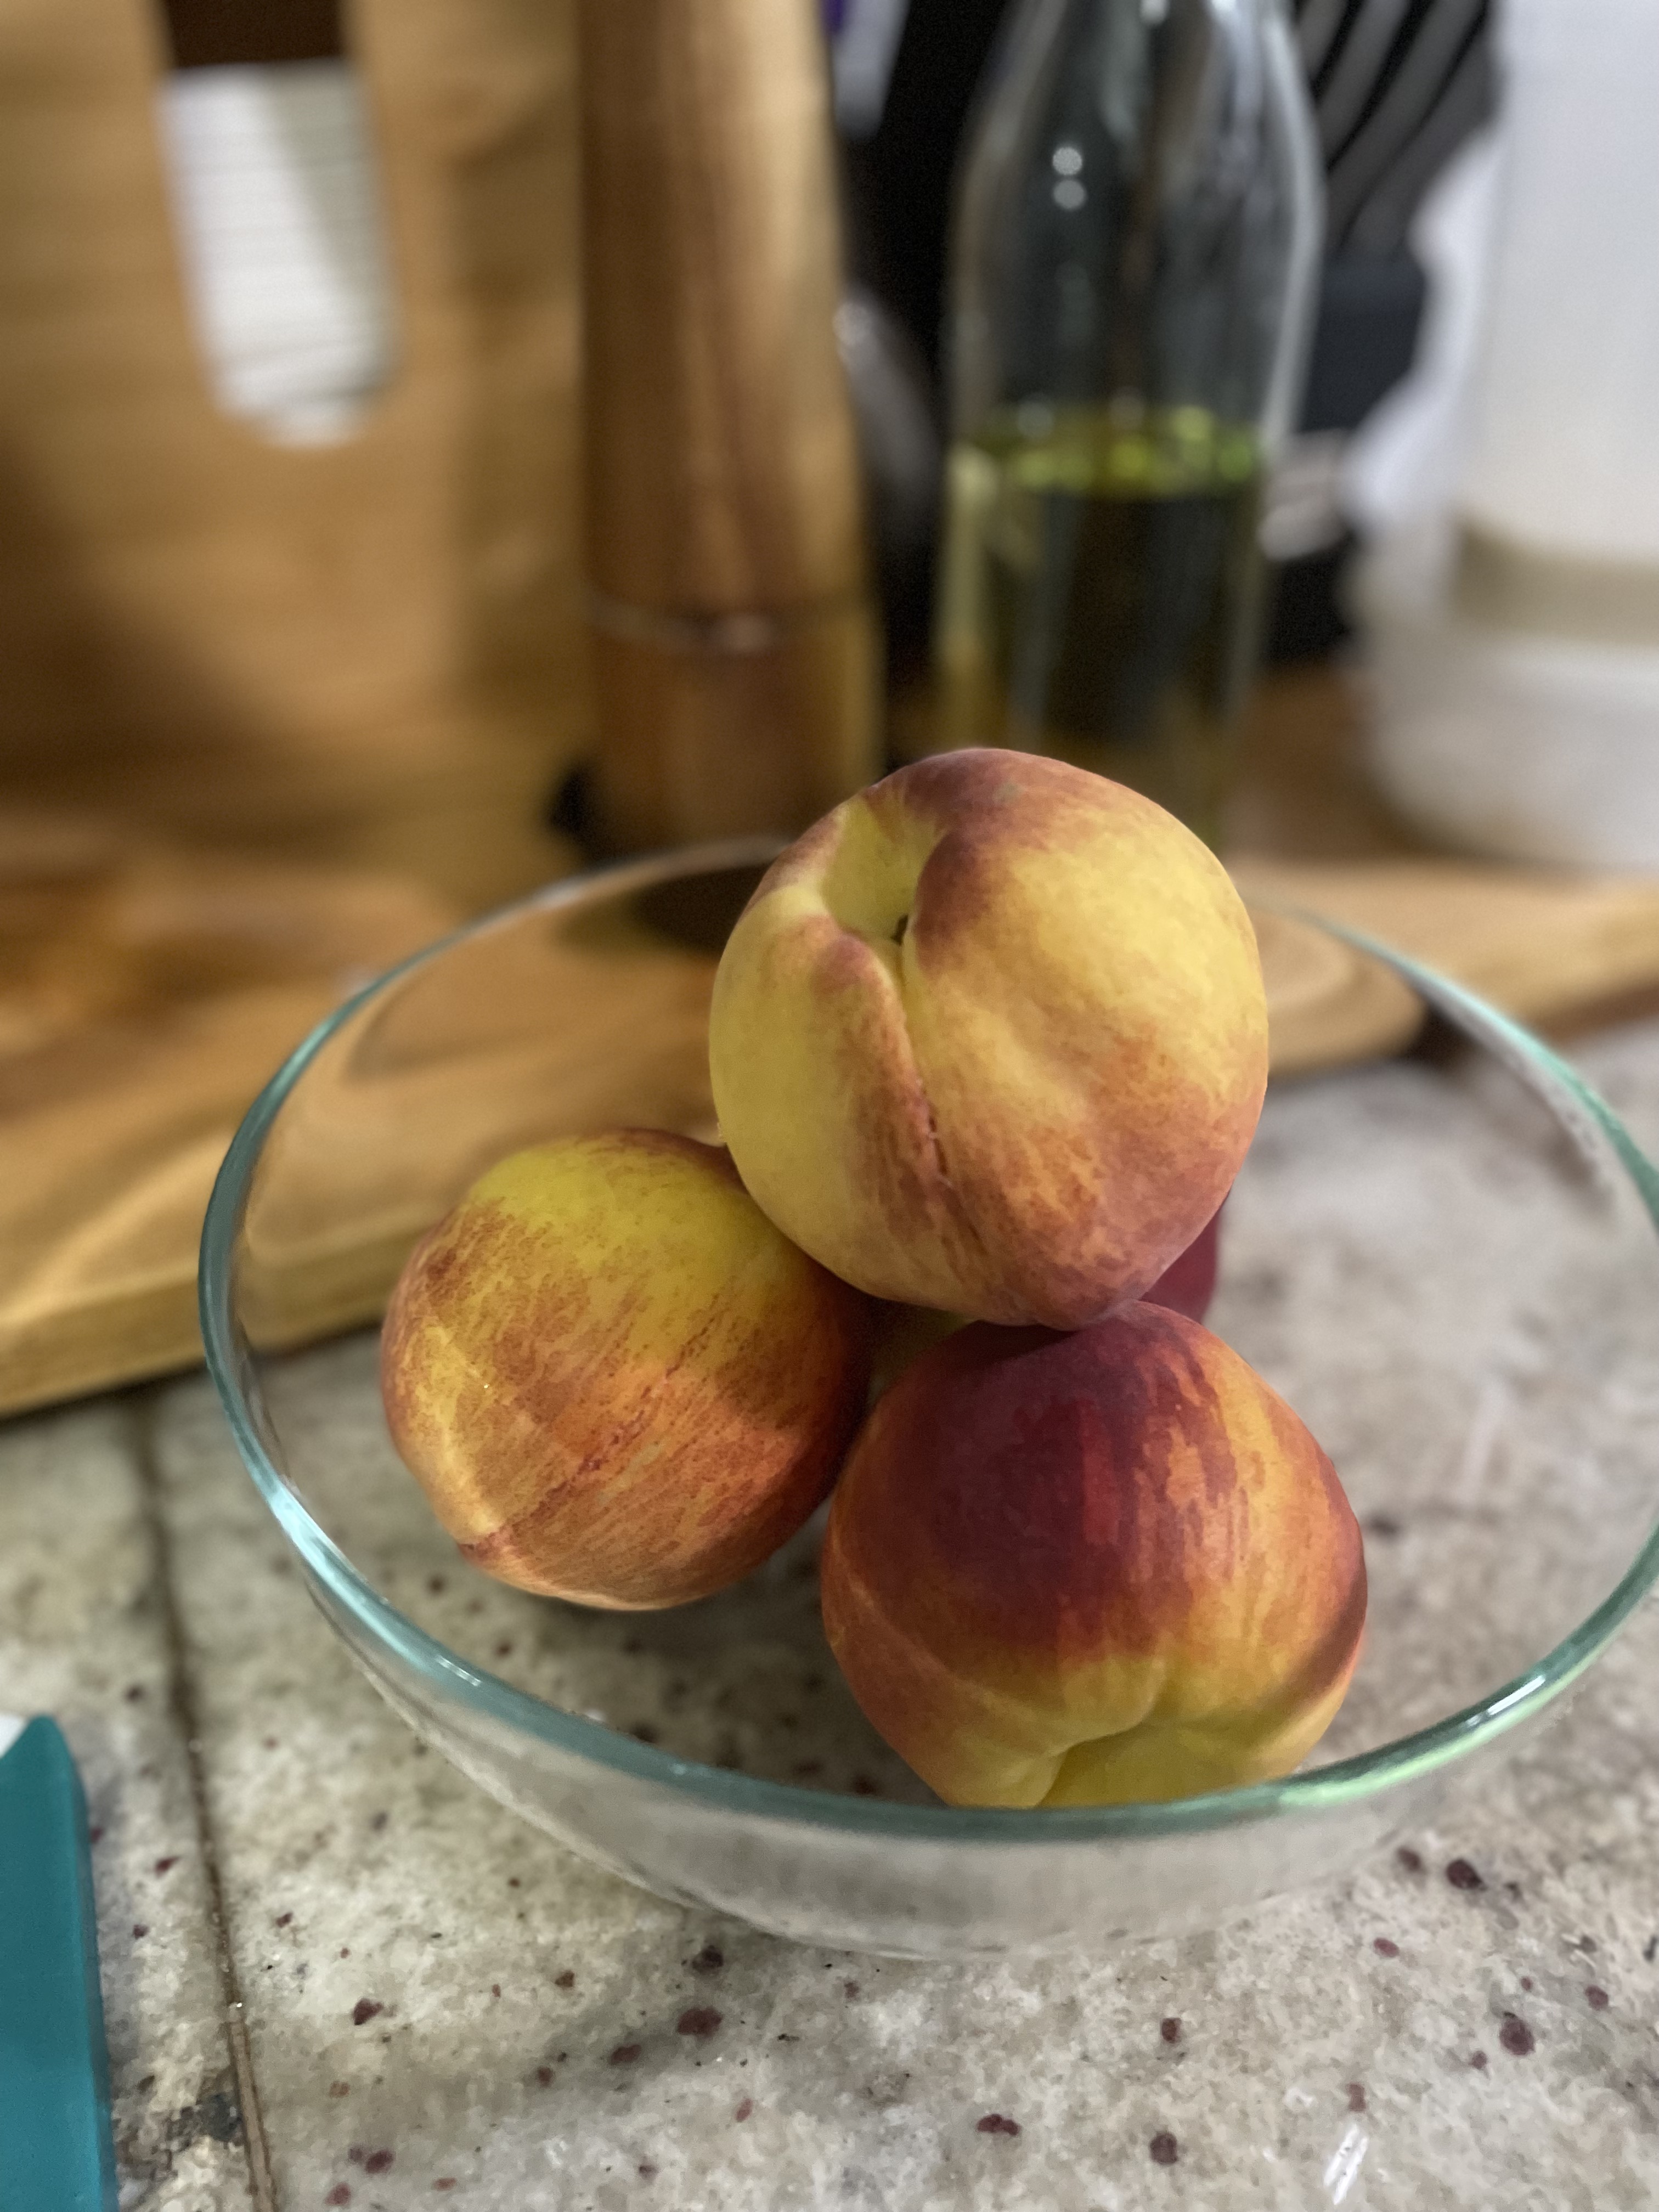
  • 4 peaches about 3 cups
  • 1/4 cup brown sugar
  • 1 tsp vanilla
  • 1/4 tsp salt
  • 1/2 tsp cinnamon
  • 1 tbsp cornstarch
  • 1 tsp apple cider vinegar

Crust

  • 1 1/4 cup flour
  • 1/2 tsp salt
  • 1 stick cold butter
  • 3 tbsp cold water
  • 1 egg for egg wash
  • turbinado sugar/demerara sugar for sprinkling

Glaze (optional)

  • 1 tbsp jelly or jam
  • 1 tbsp hot water

Instructions

Crust

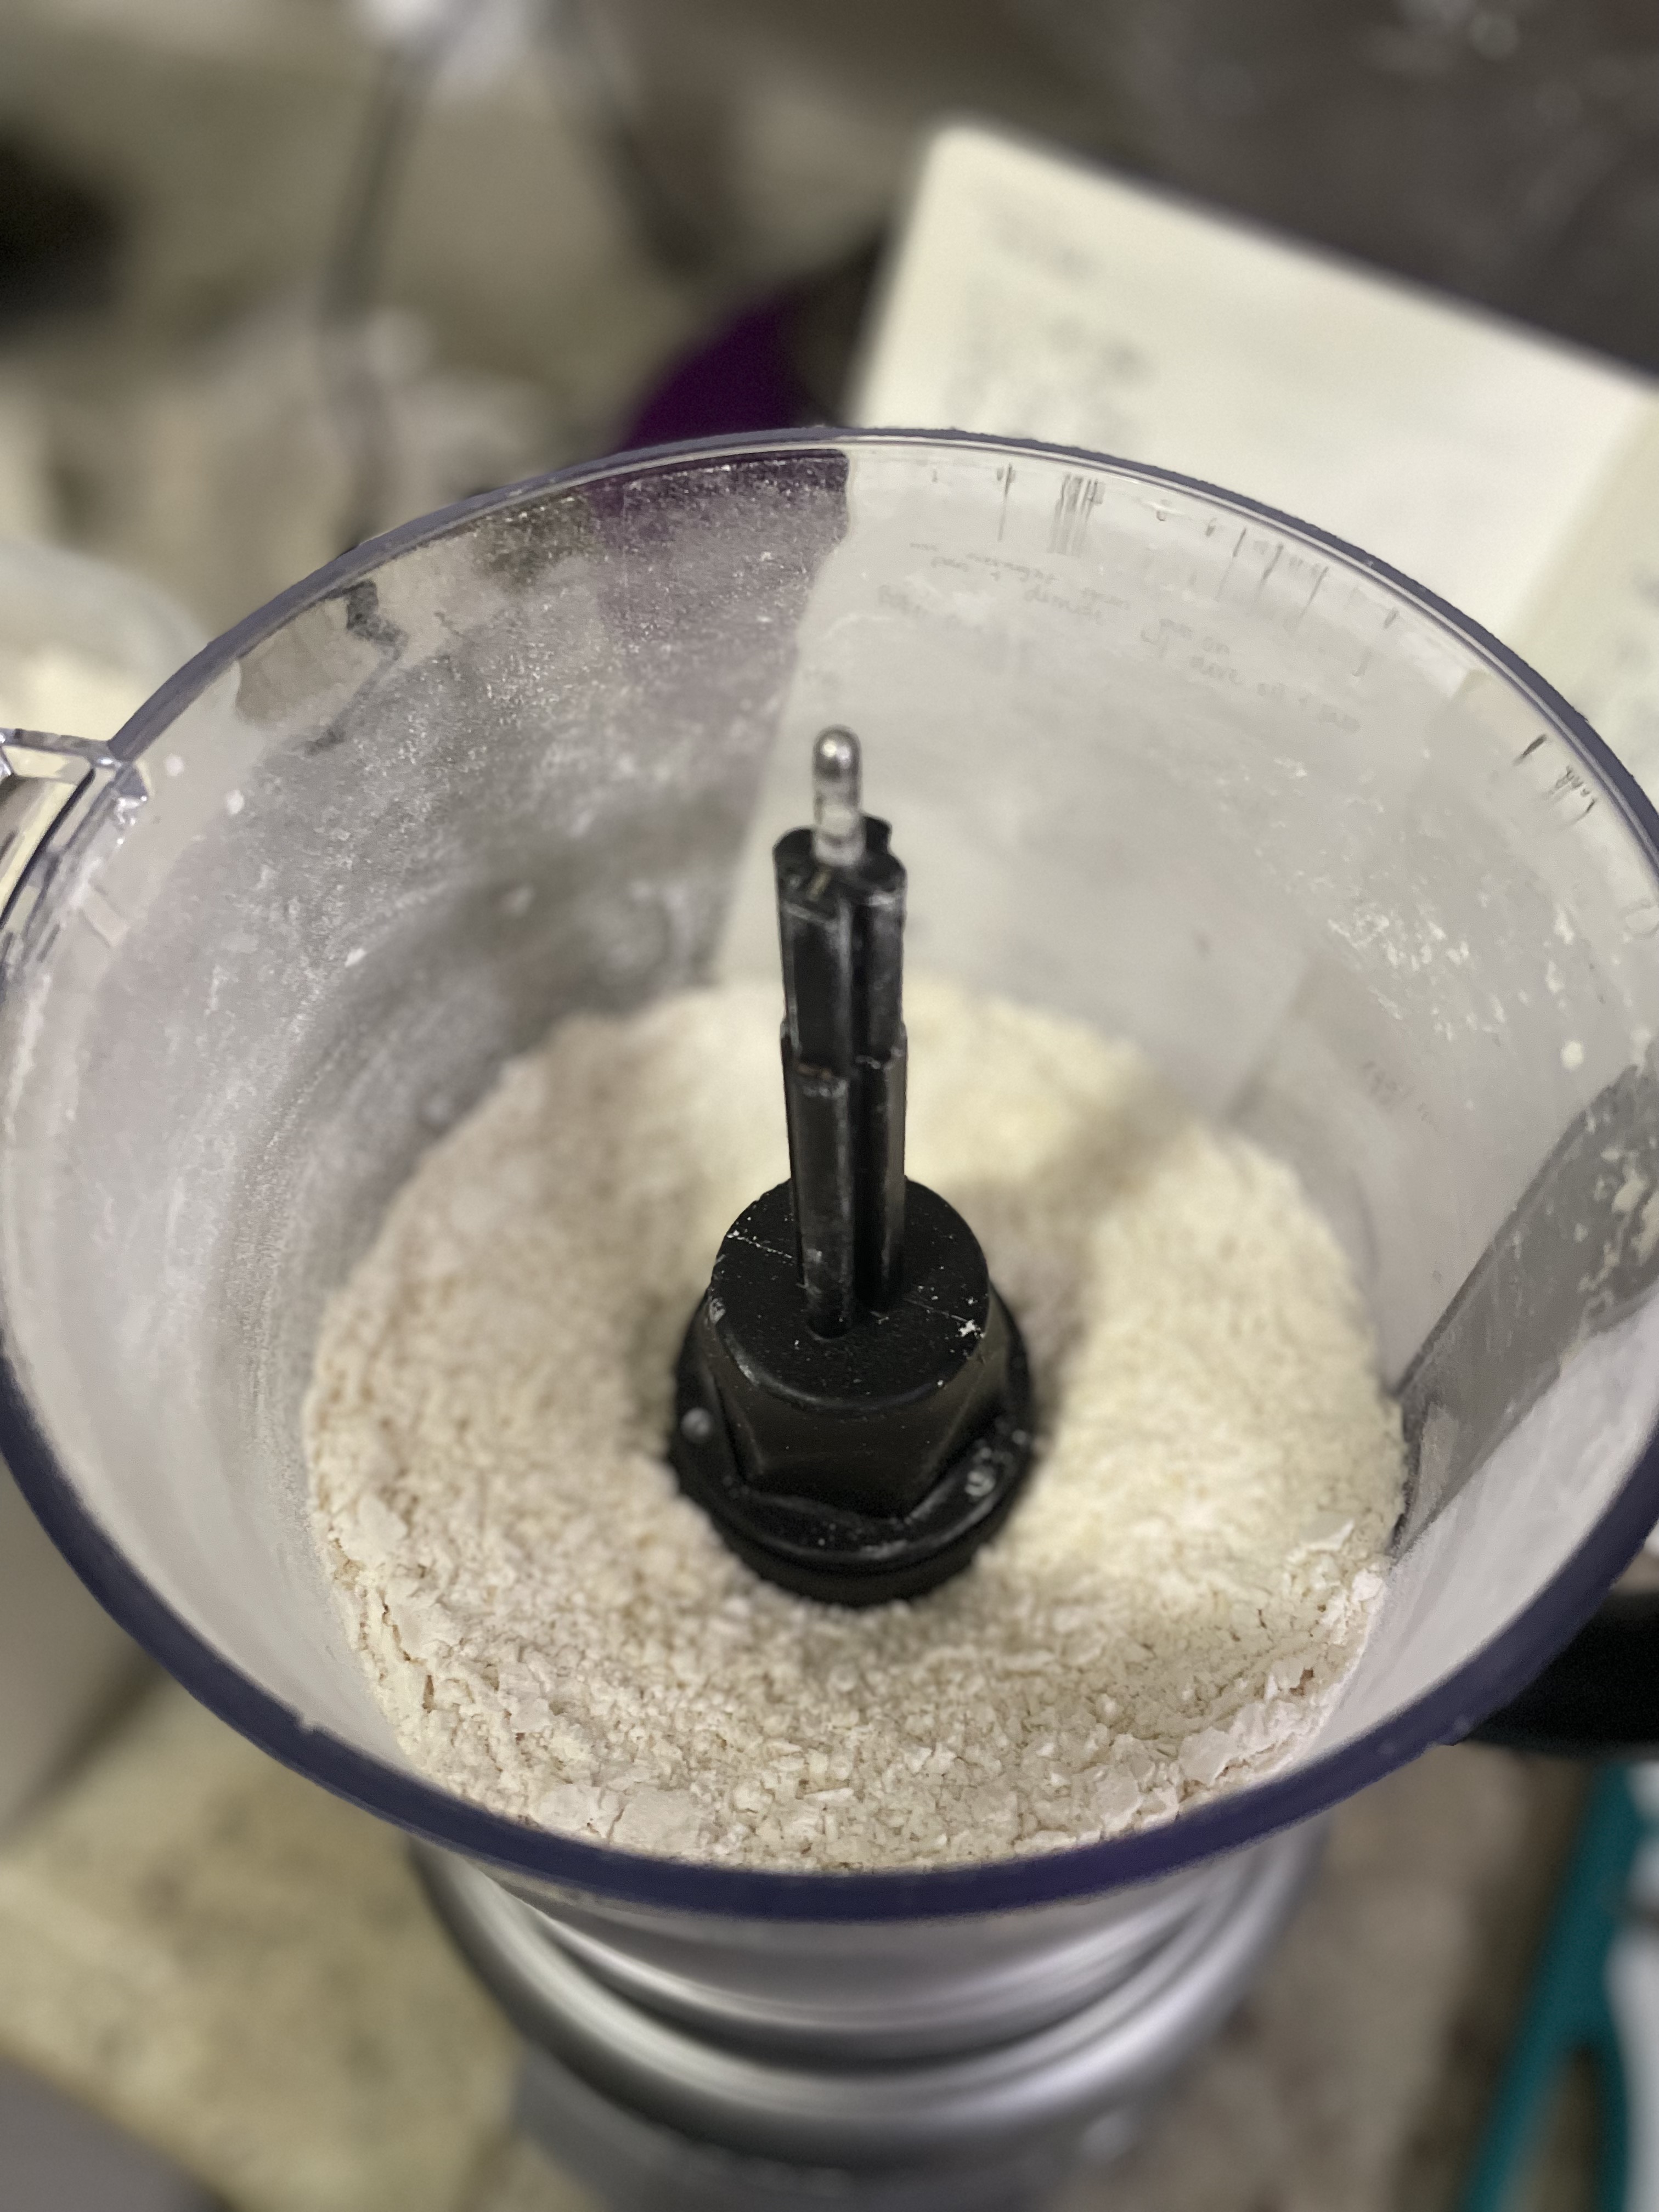
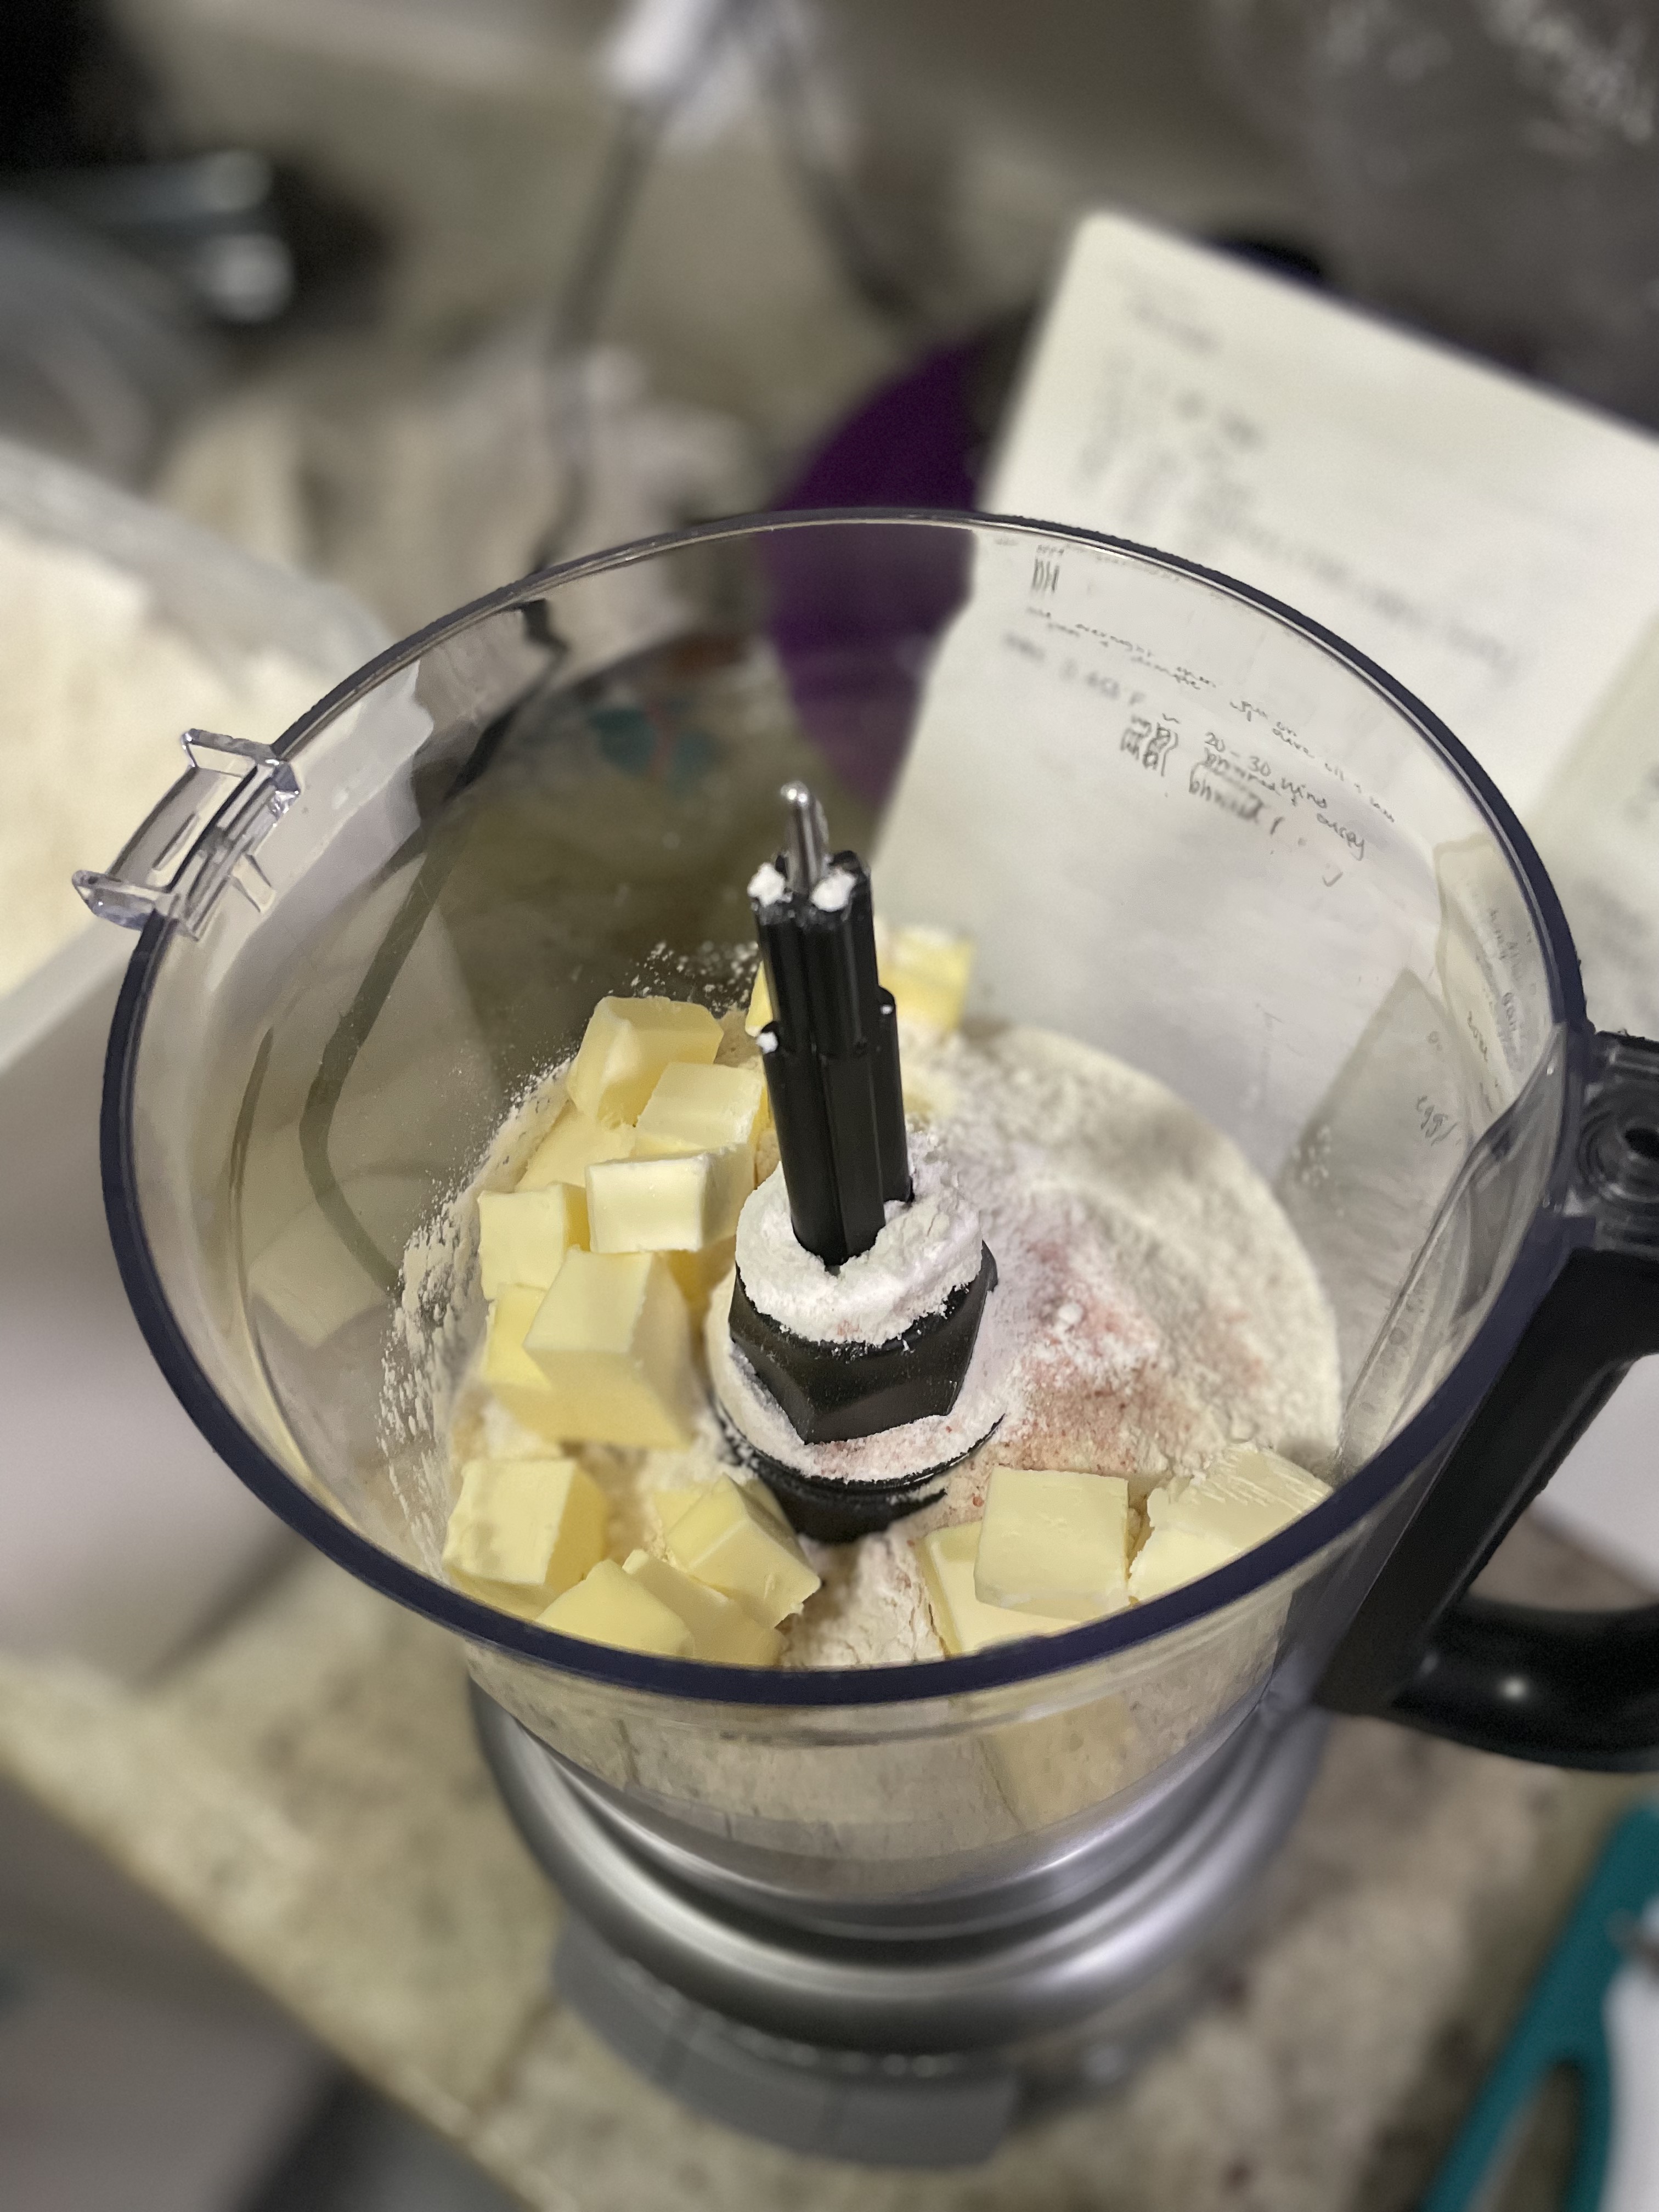
  • Make the pie crust first. In a food processor, add flour, salt, and cubed butter.
  • Pulse ~20 seconds until mixture is mealy.
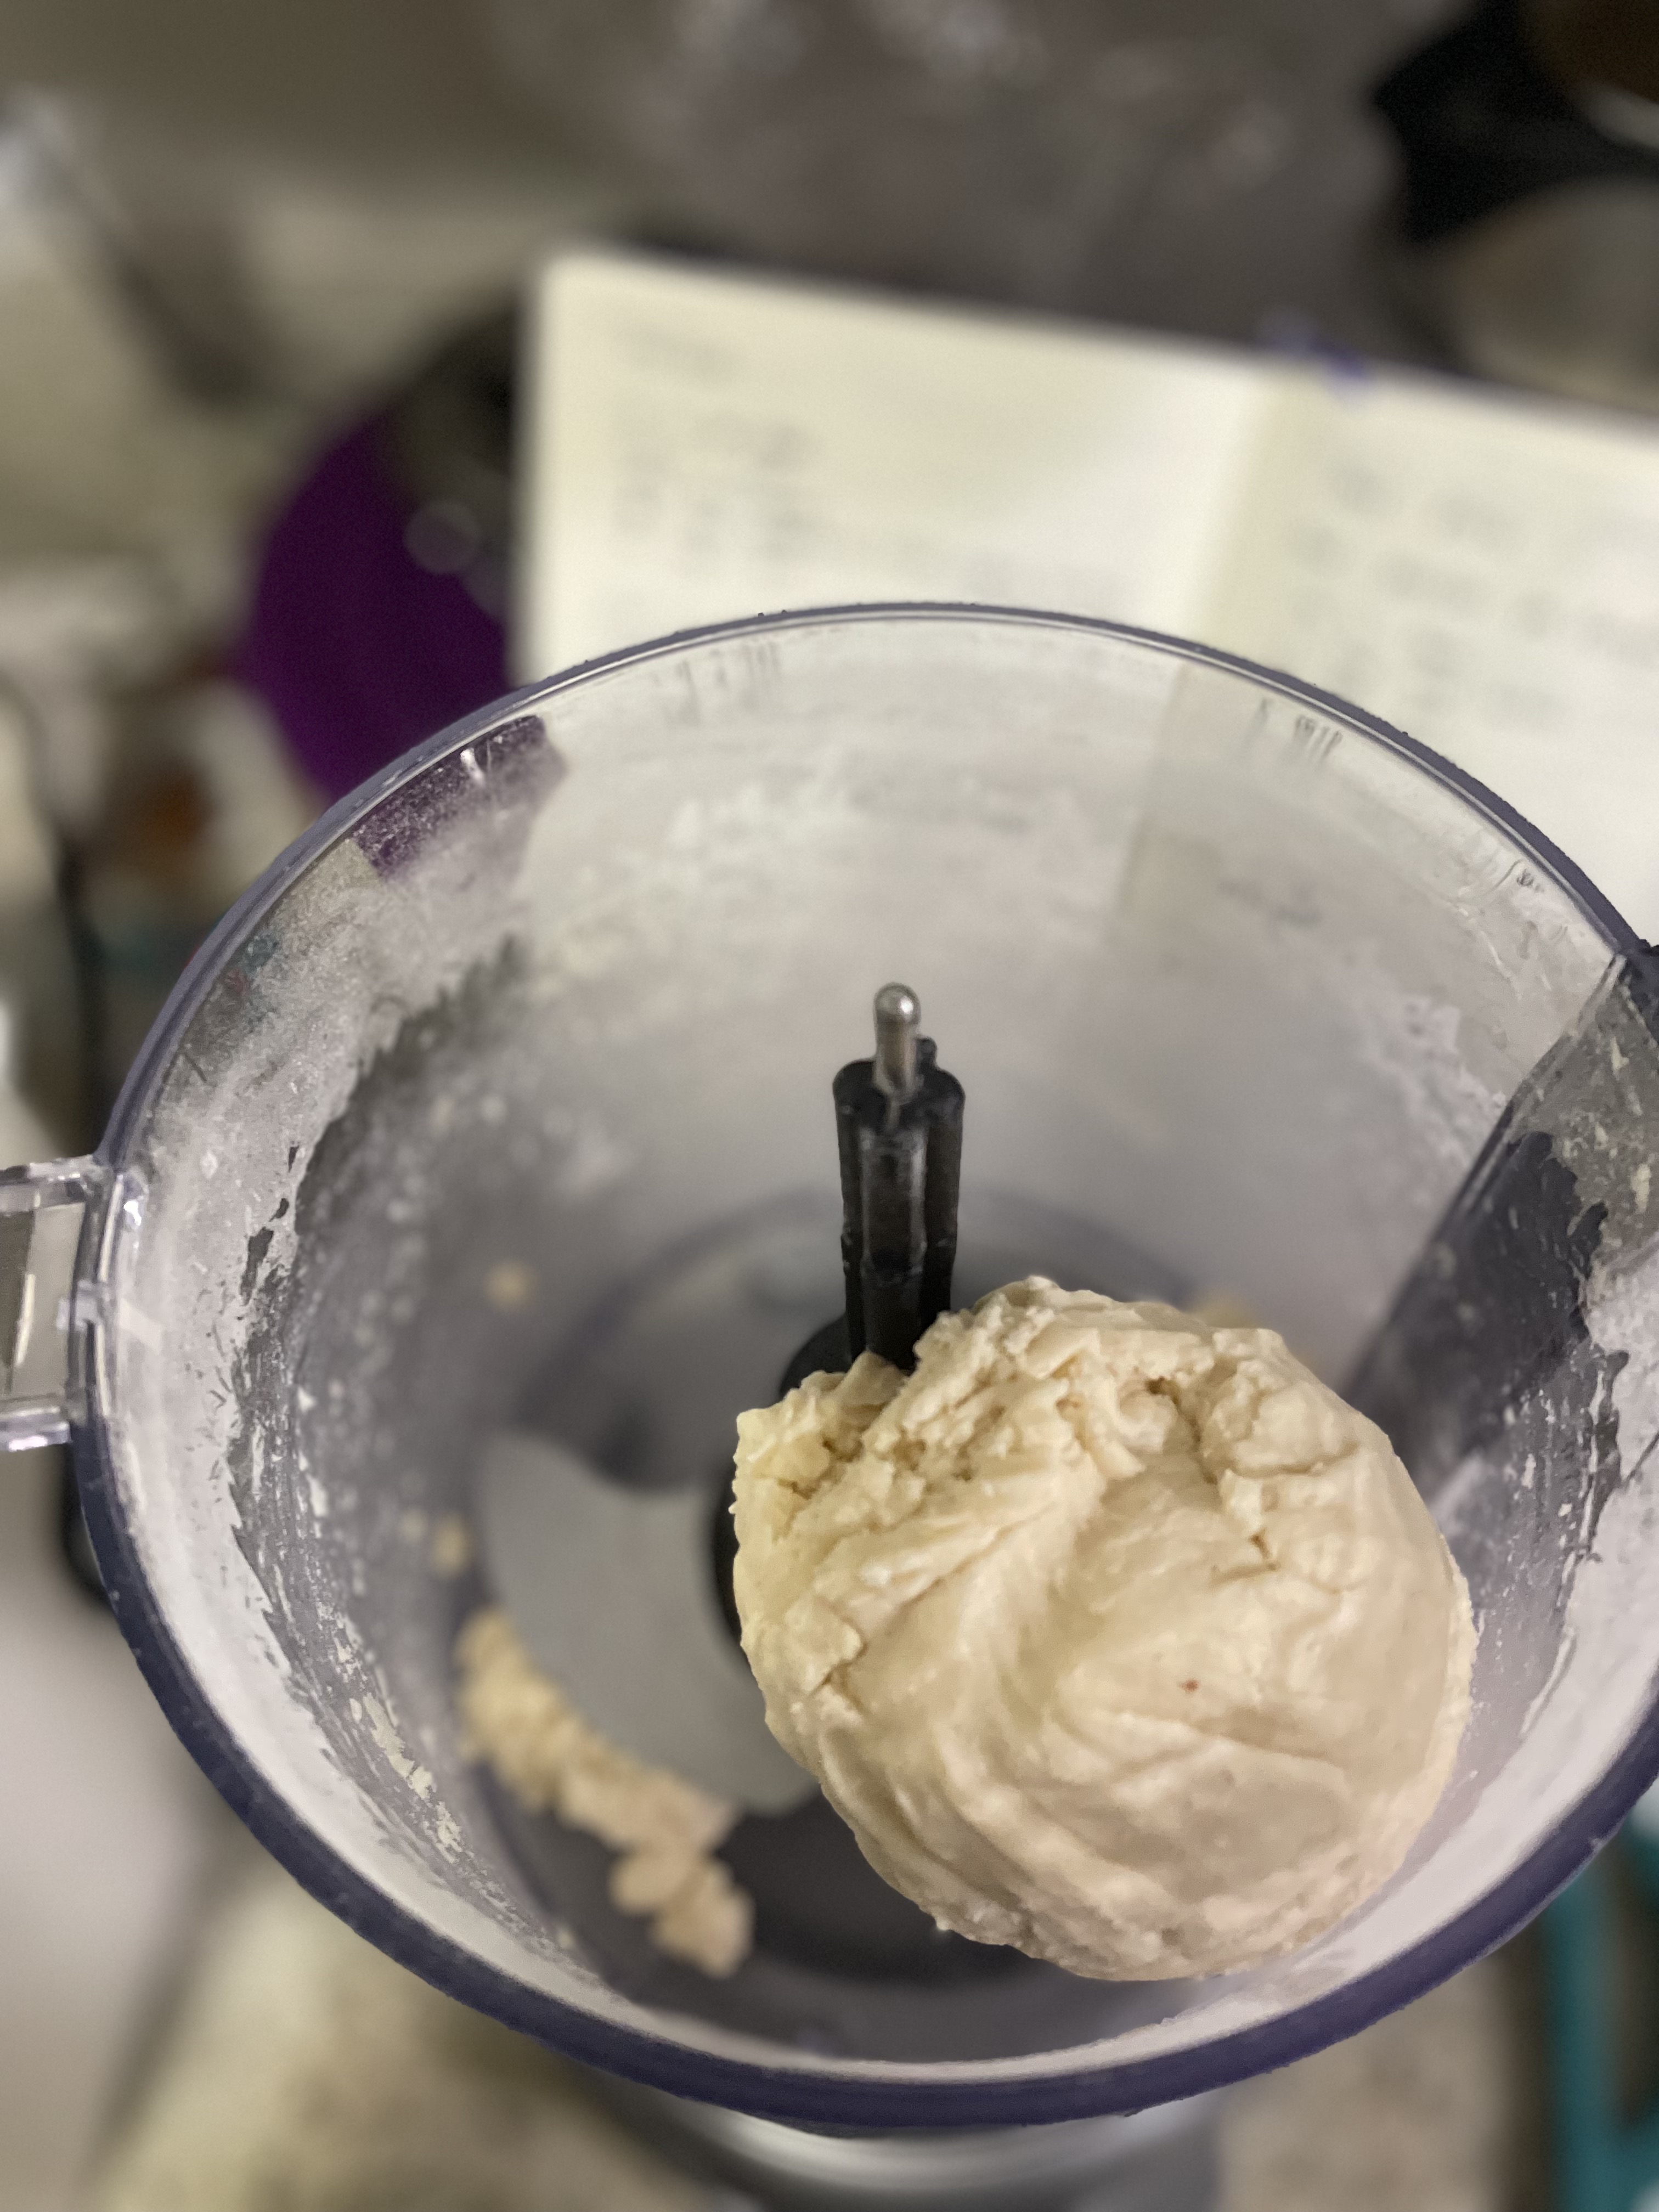
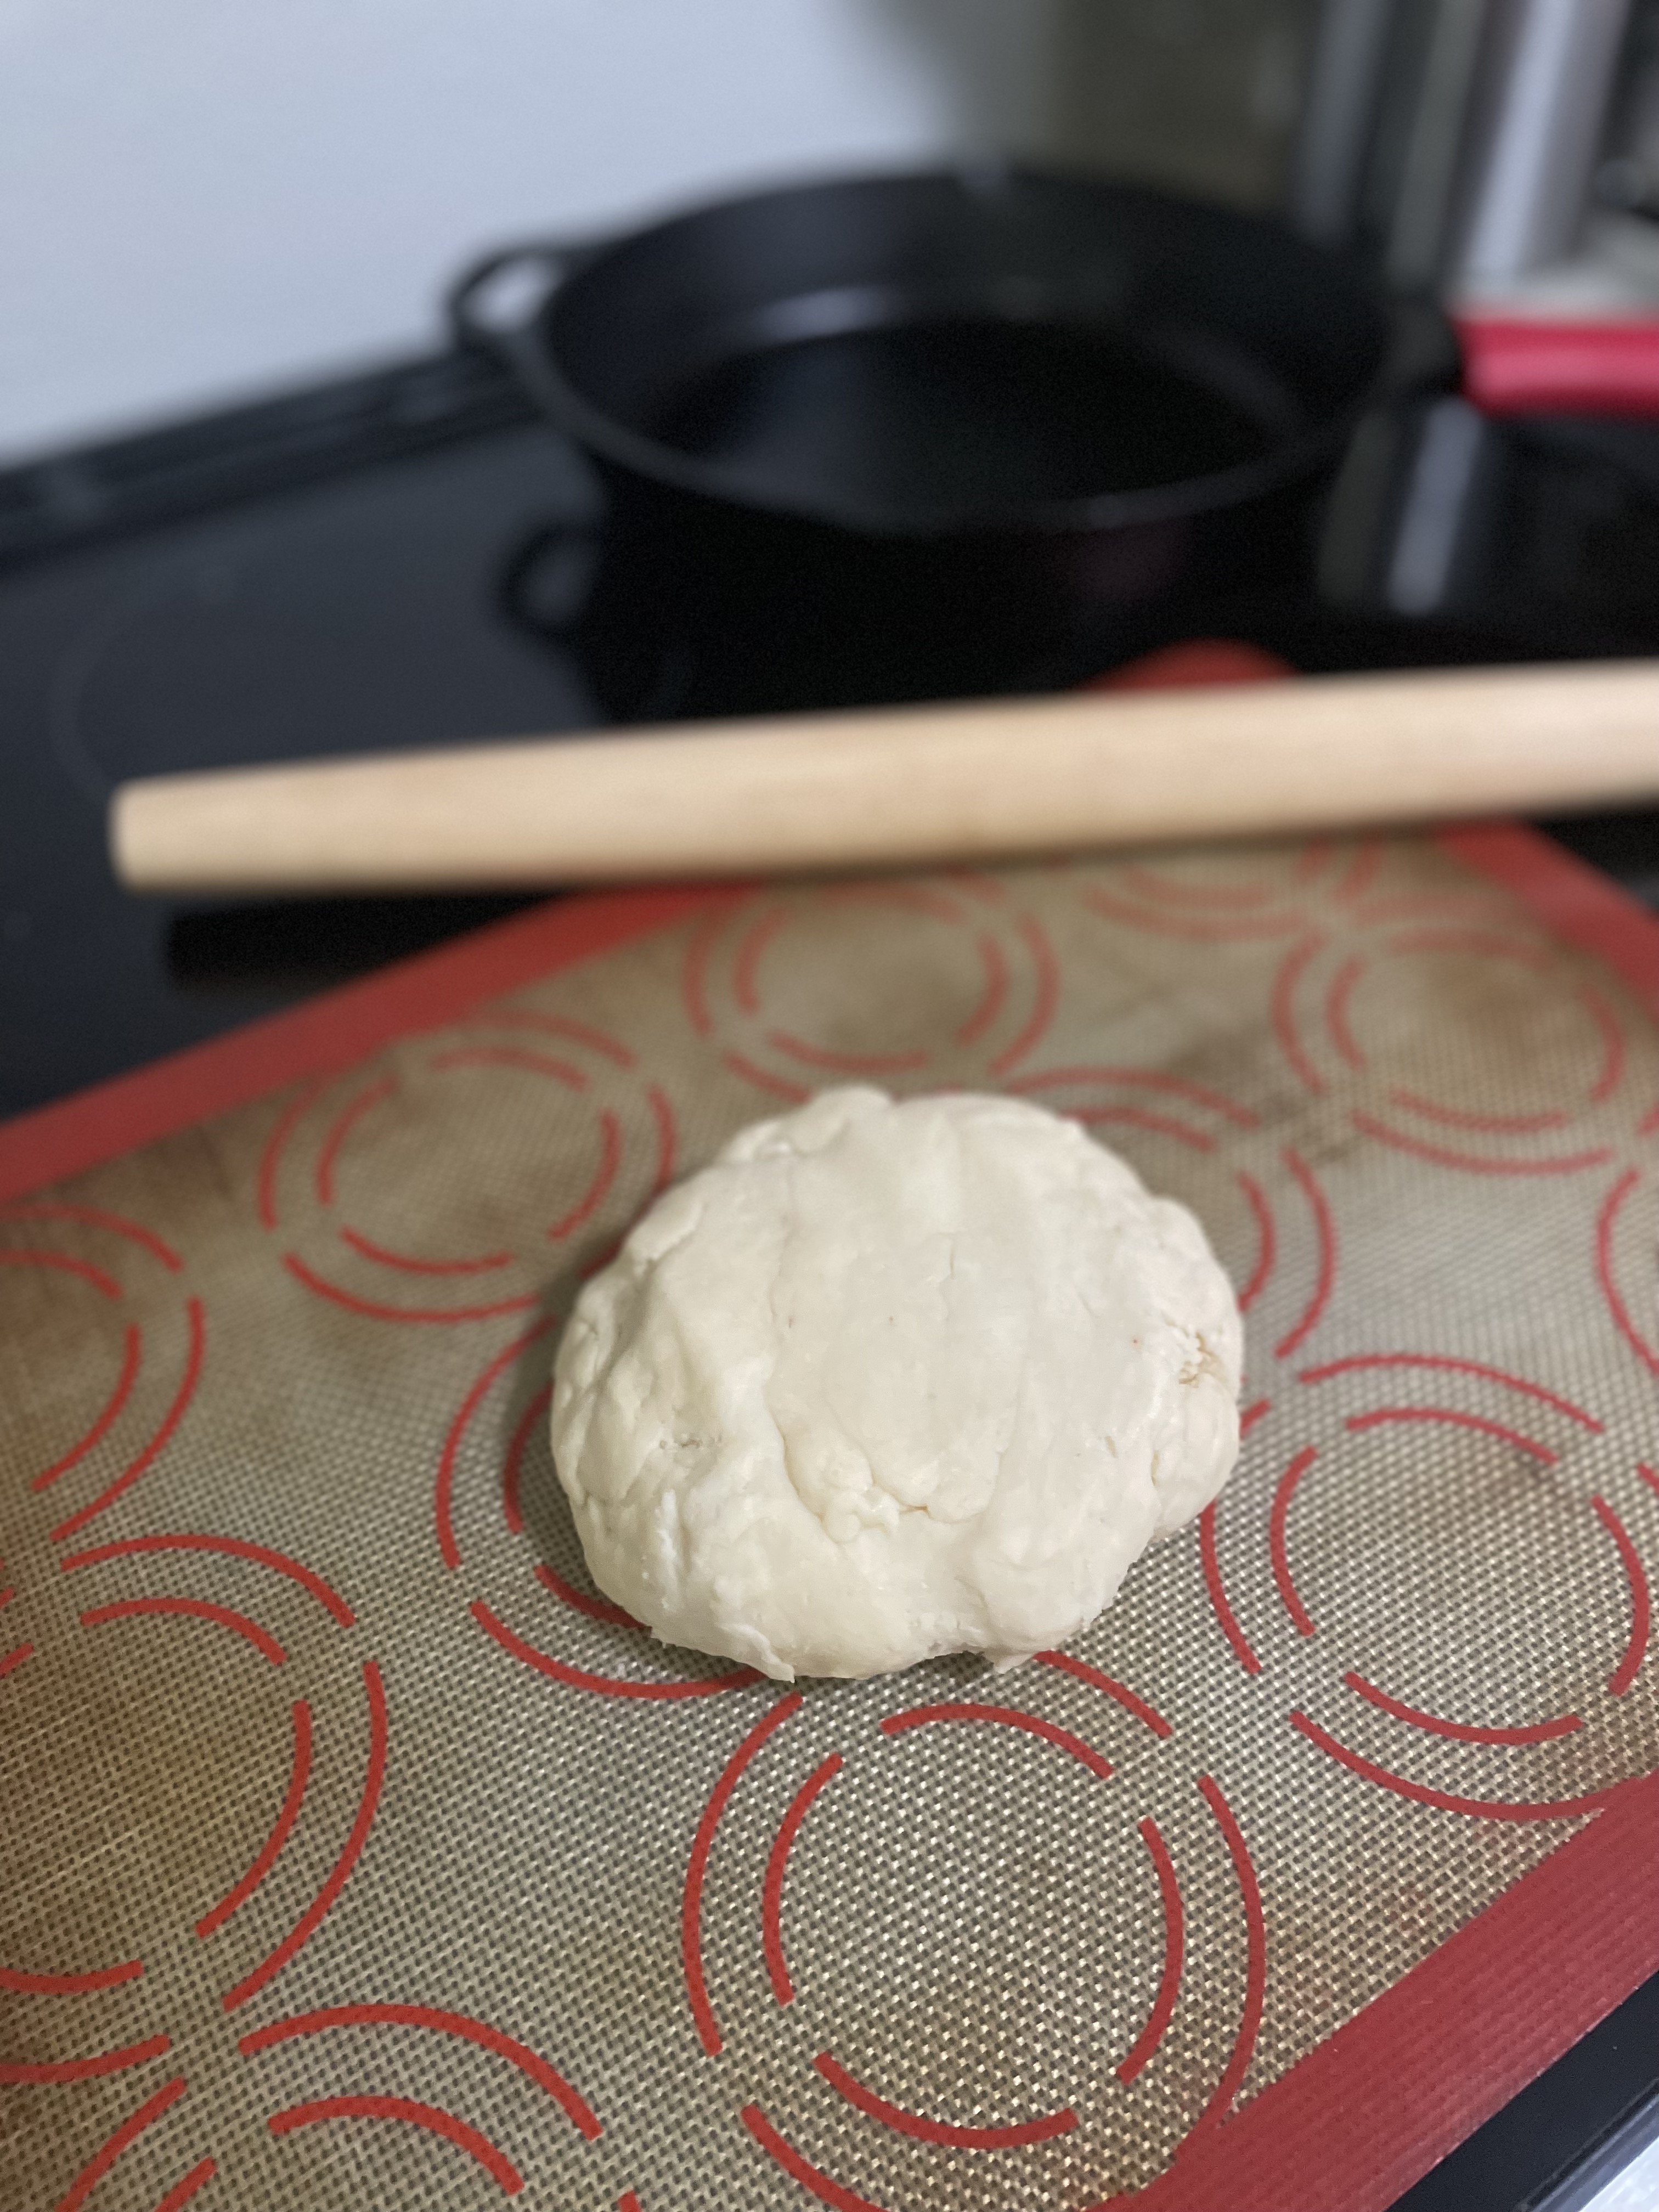
  • Add water and continue blending until dough comes together in a chunk. Refrigerate dough while you mix the filling.

Filling

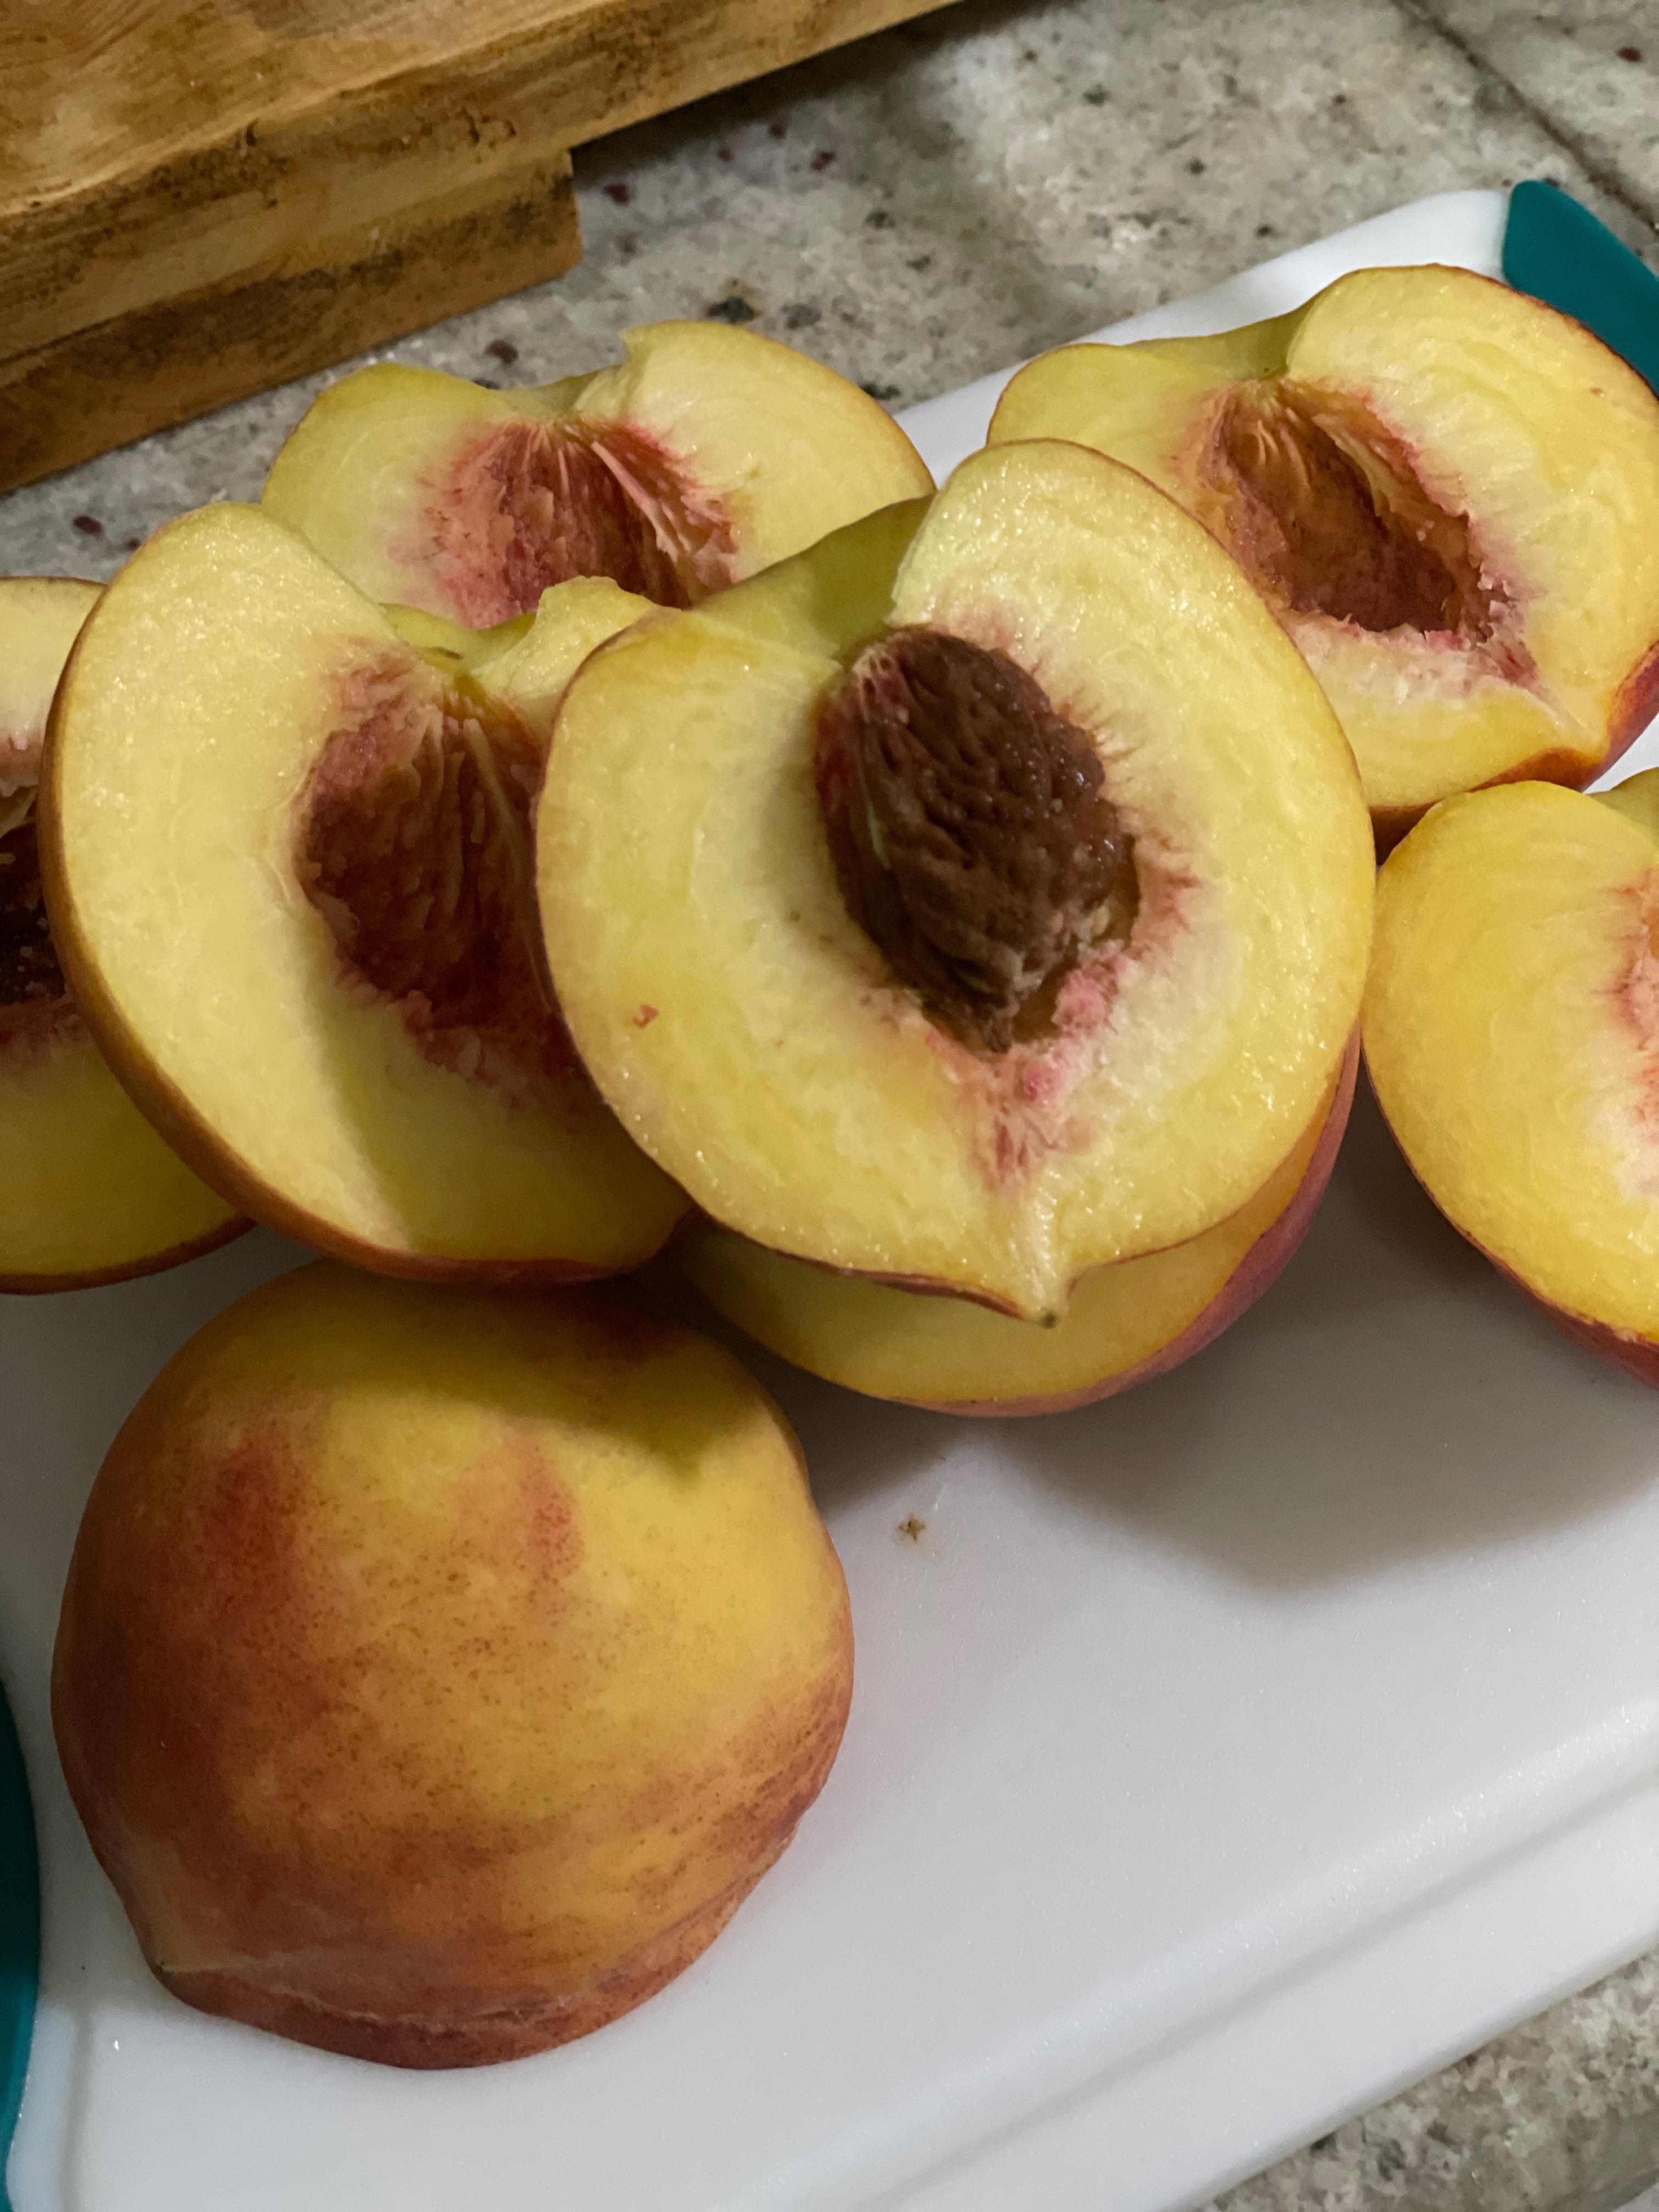
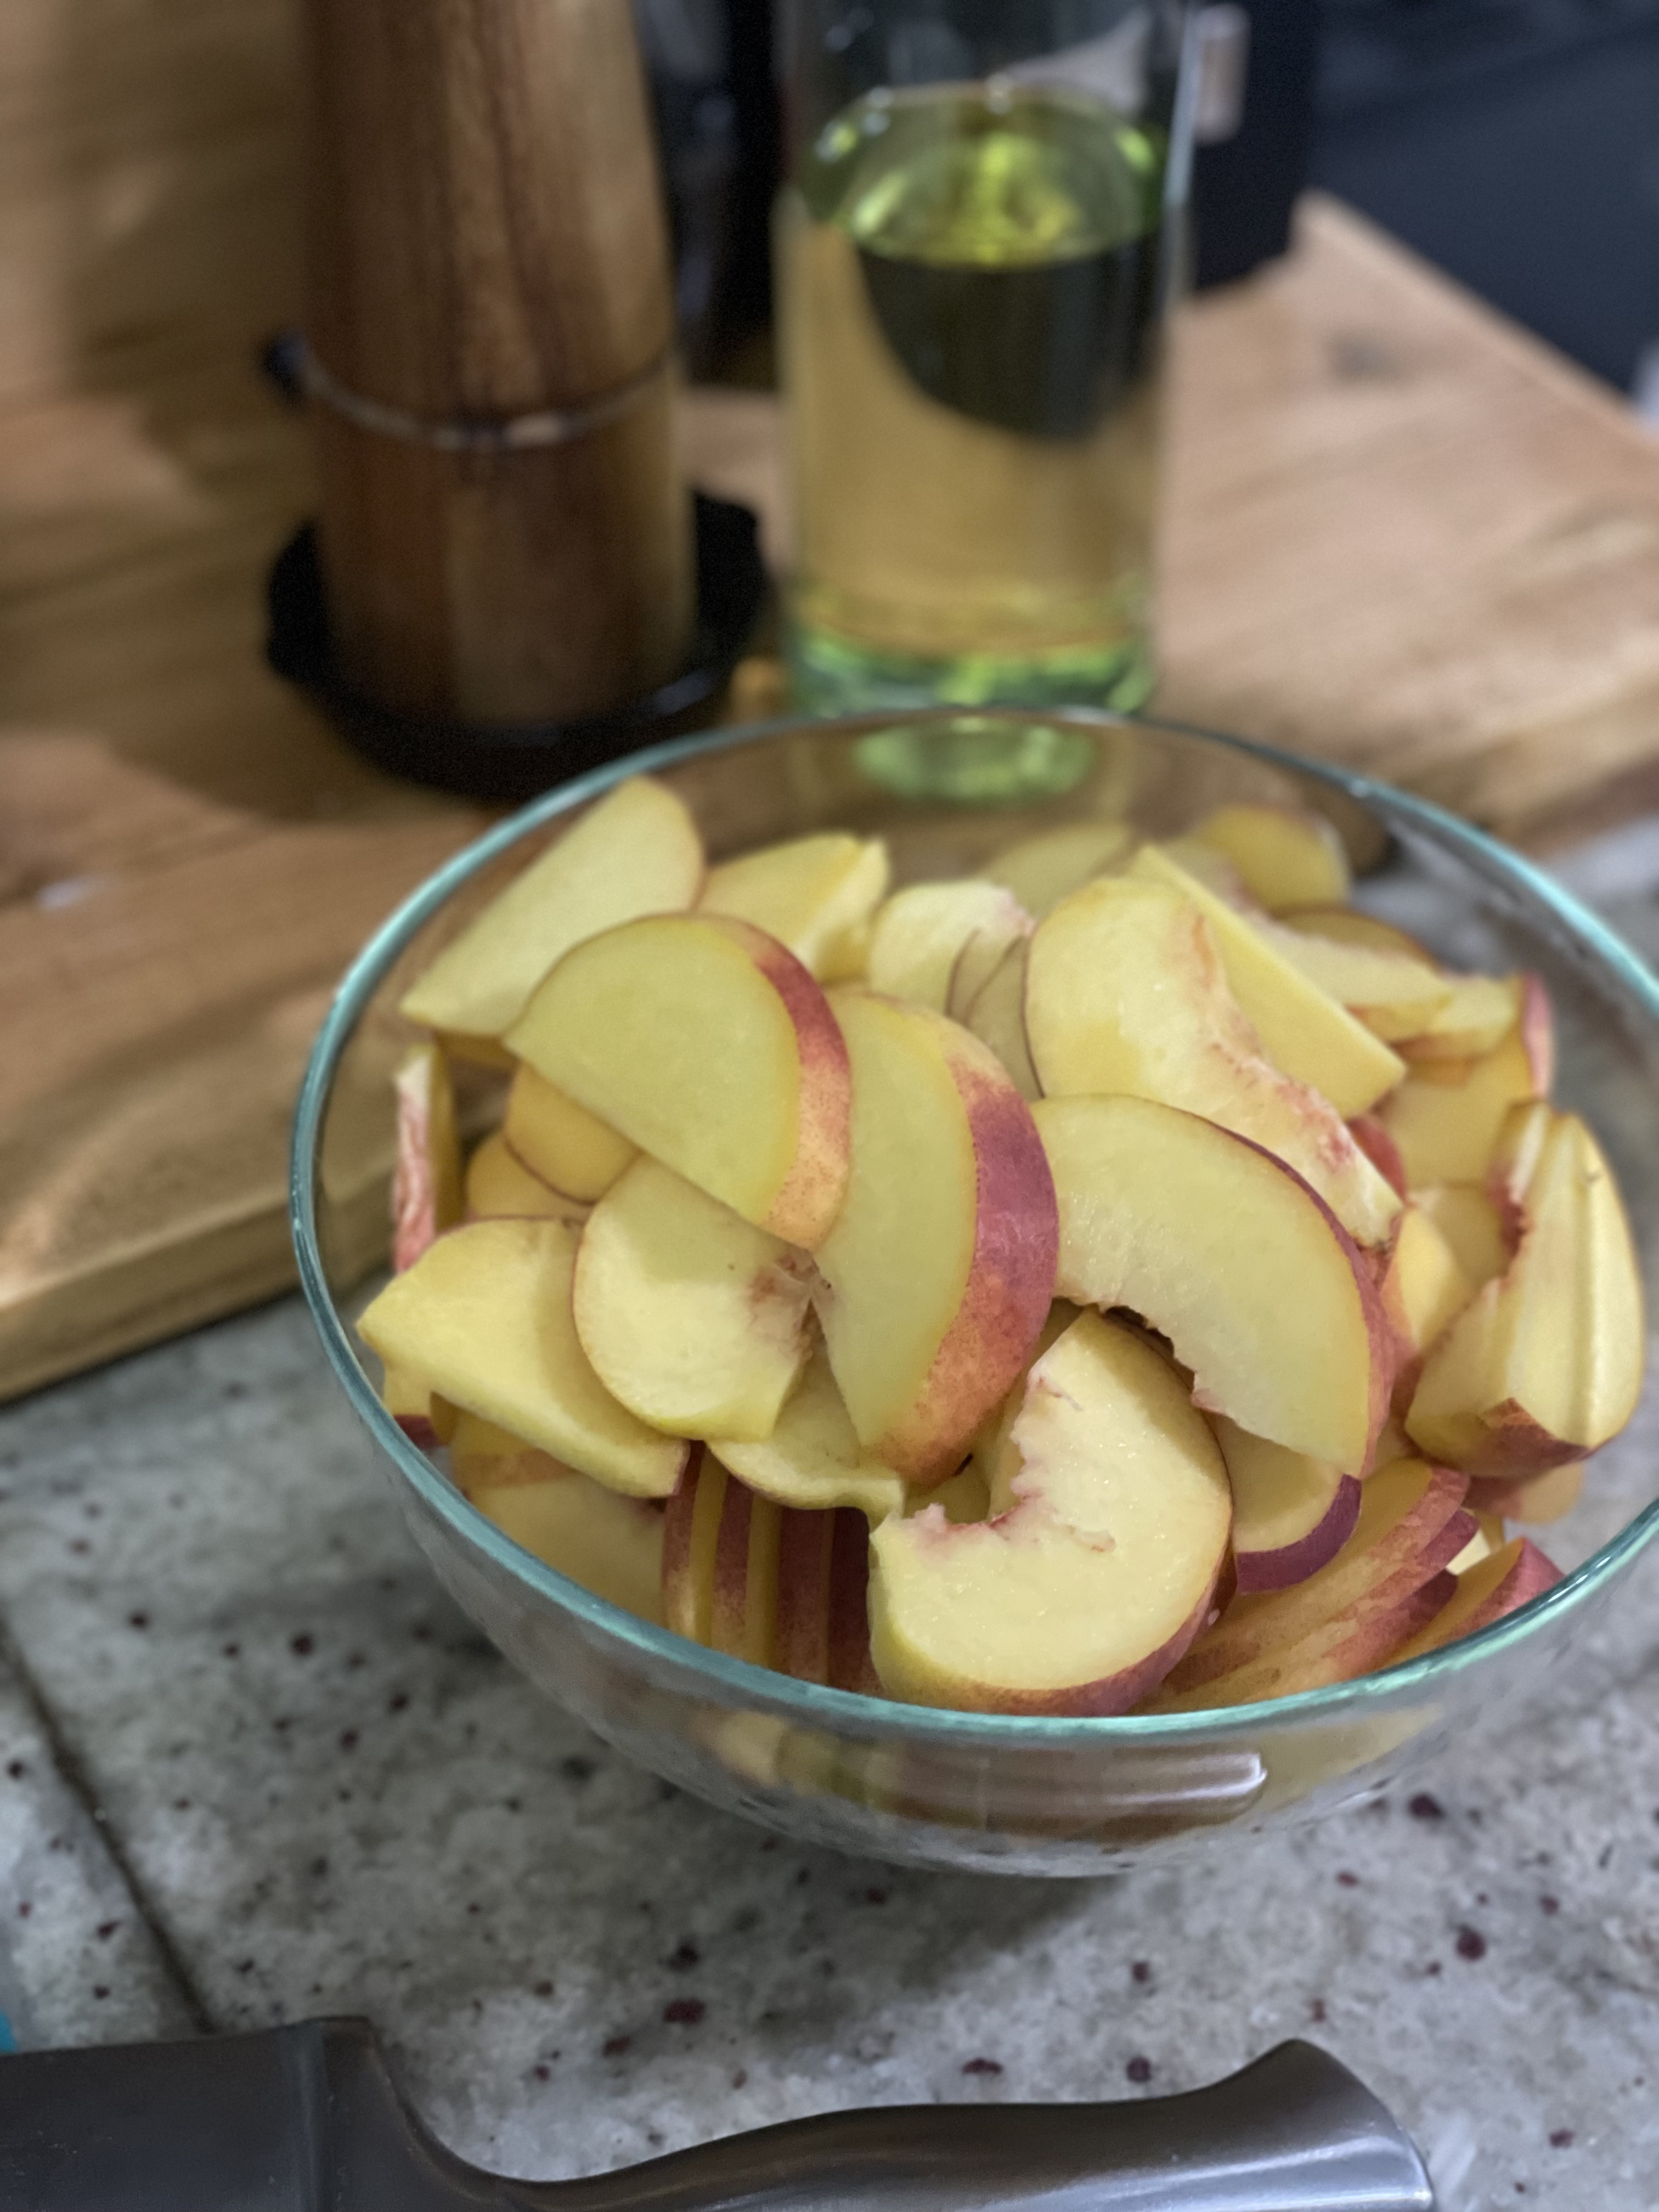
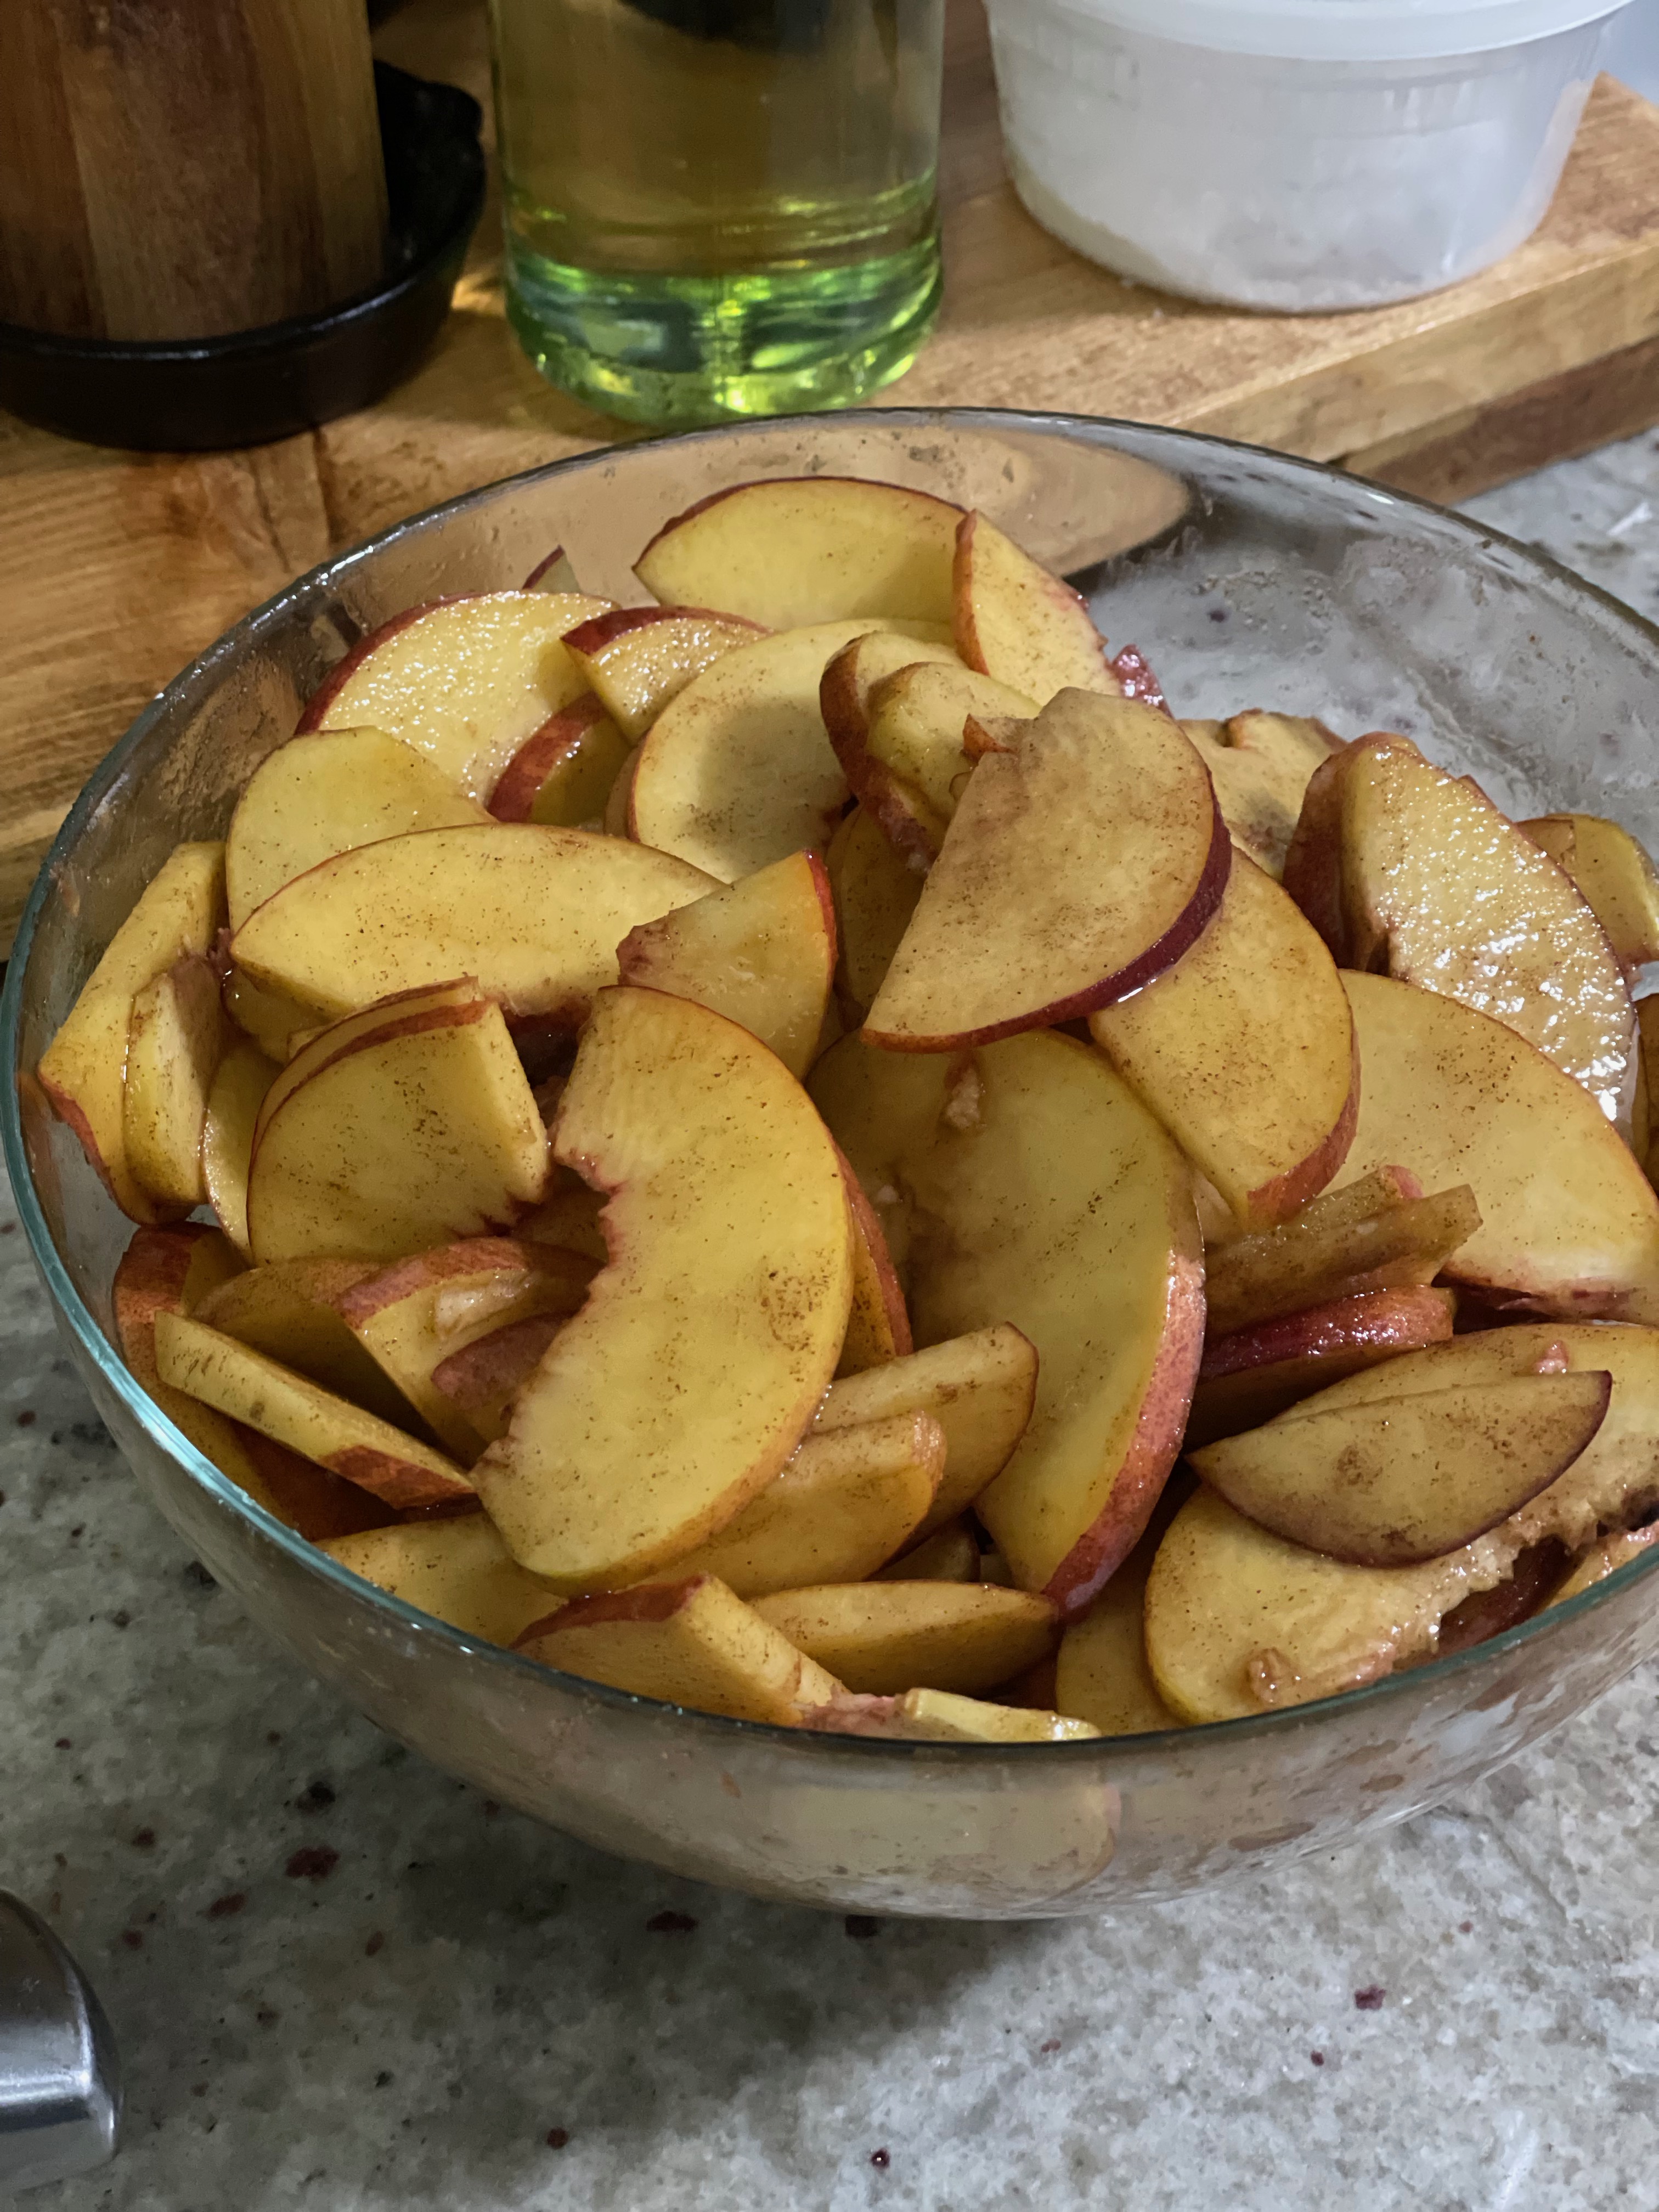
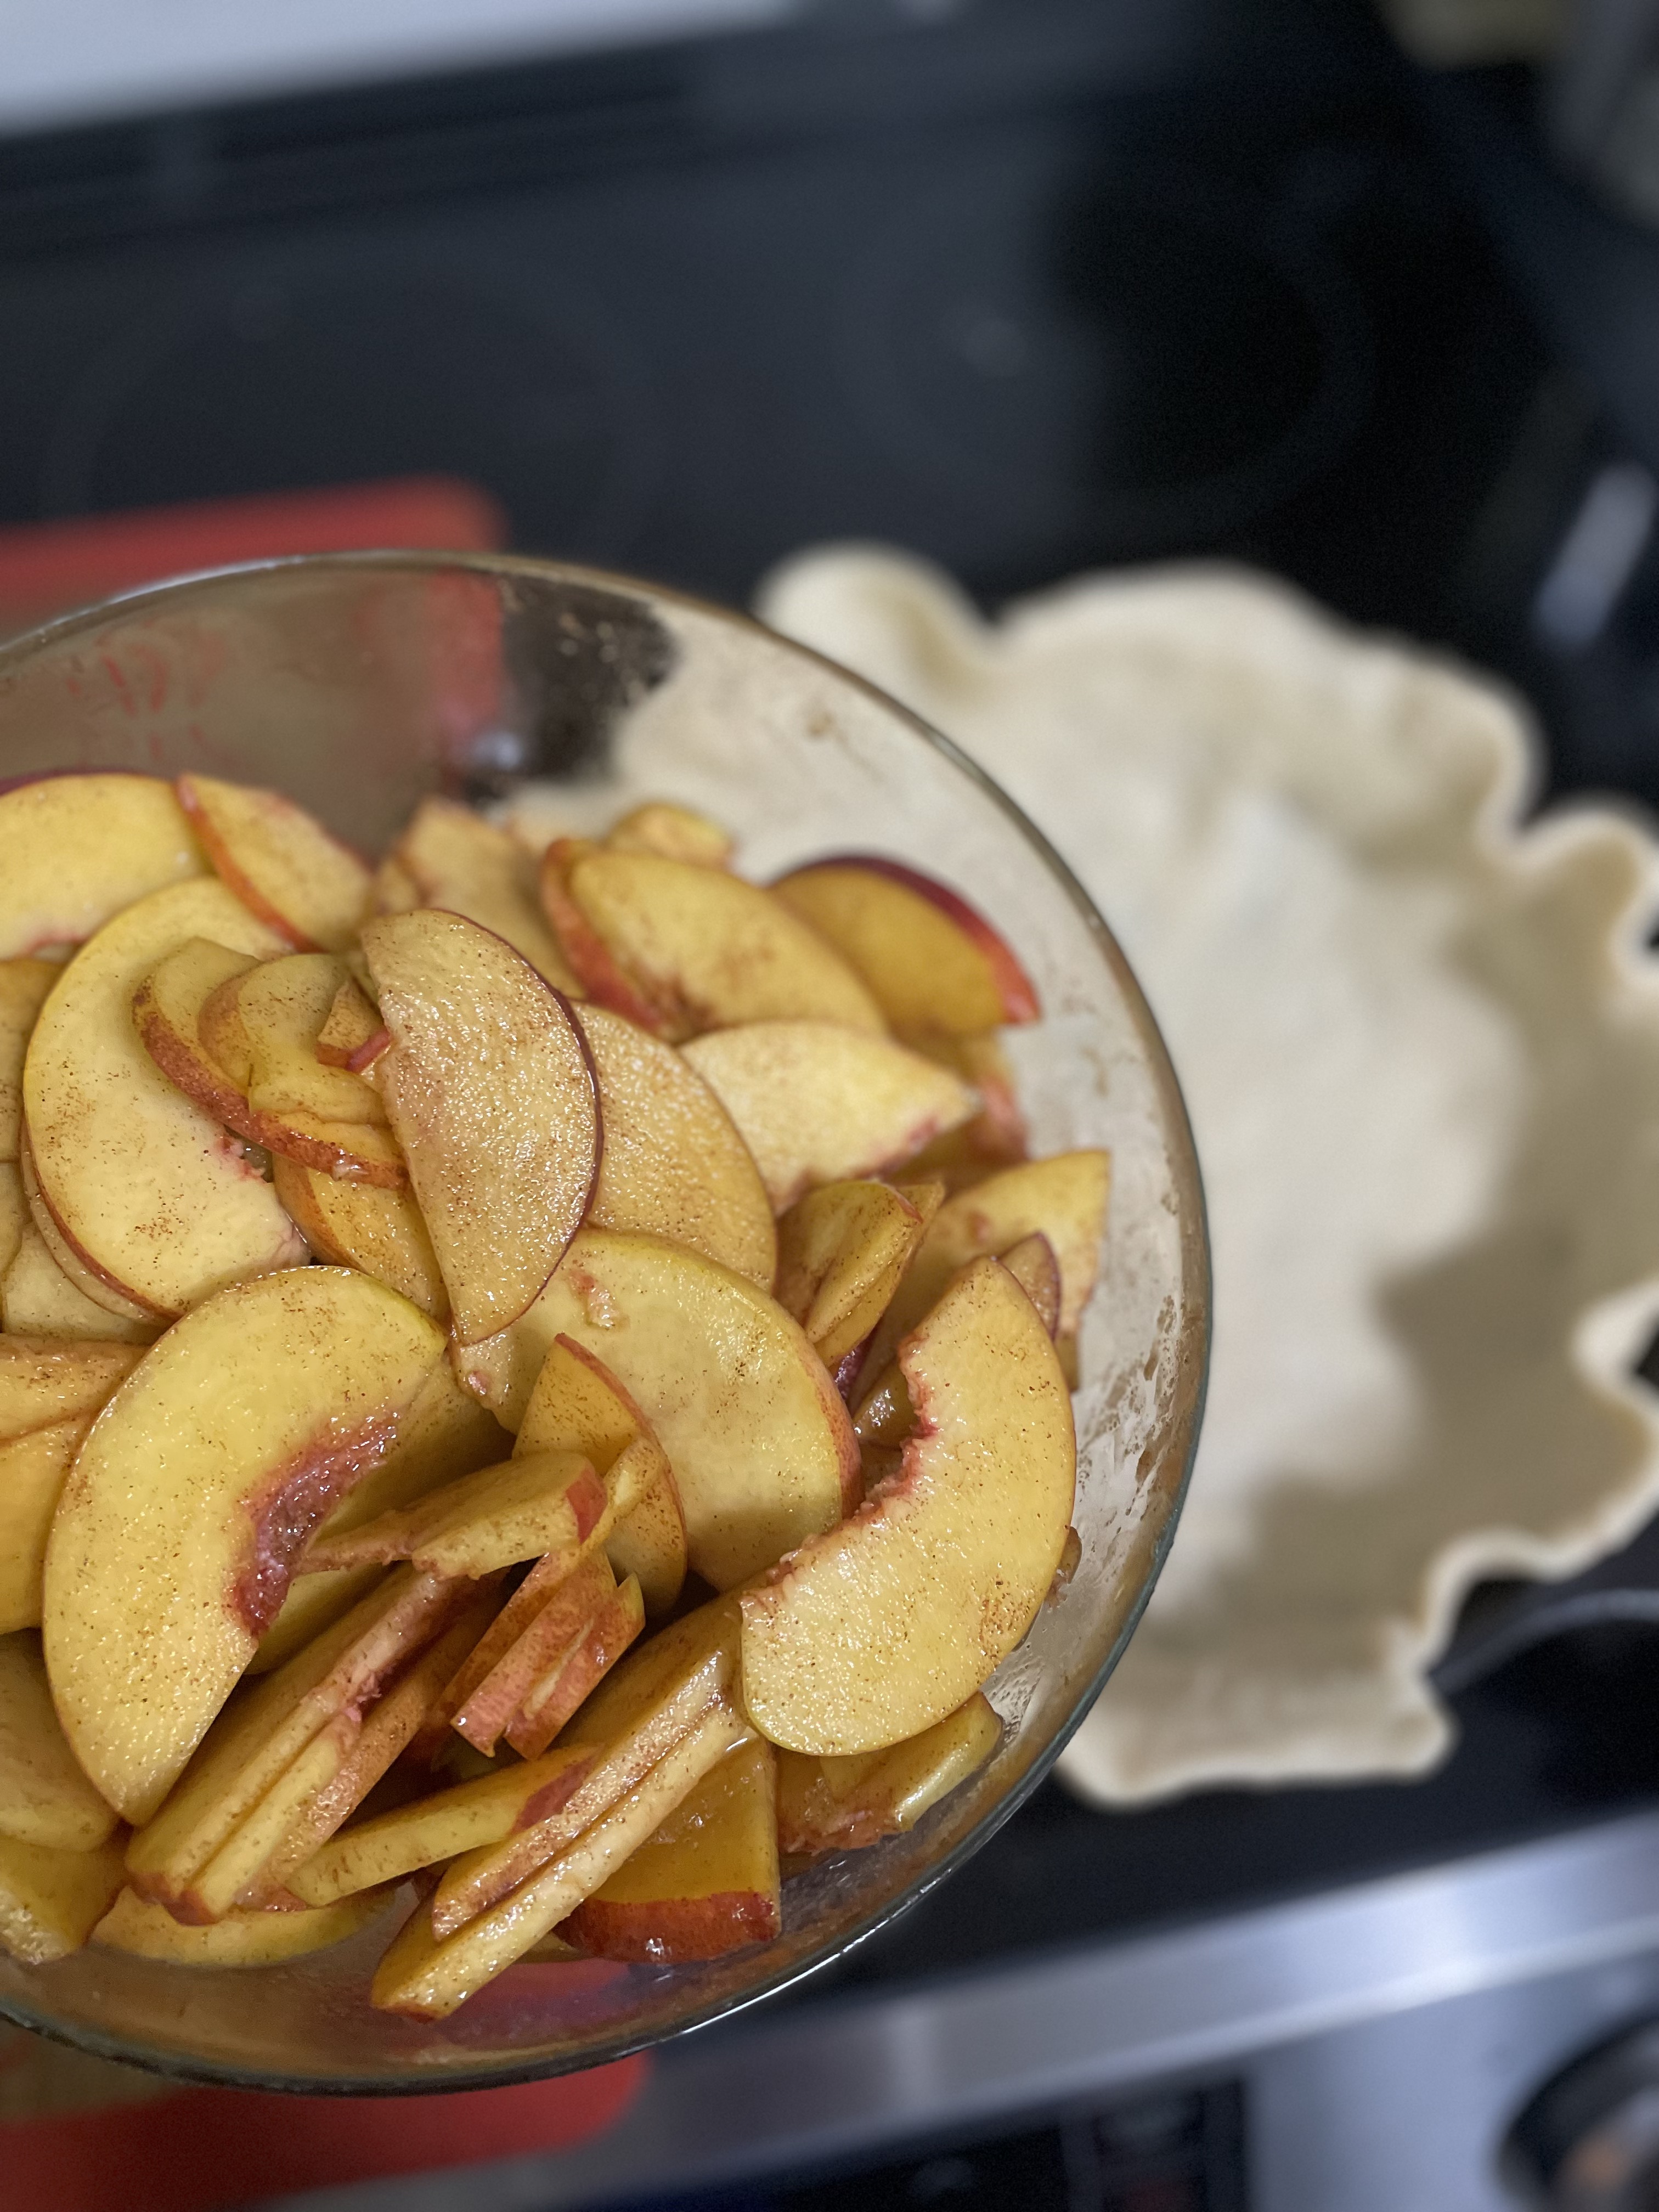
  • Wash and slice your peaches. Mix with salt, cinnamon, brown sugar, cornstarch, vanilla, and apple cider vinegar. Set aside.

Assembly

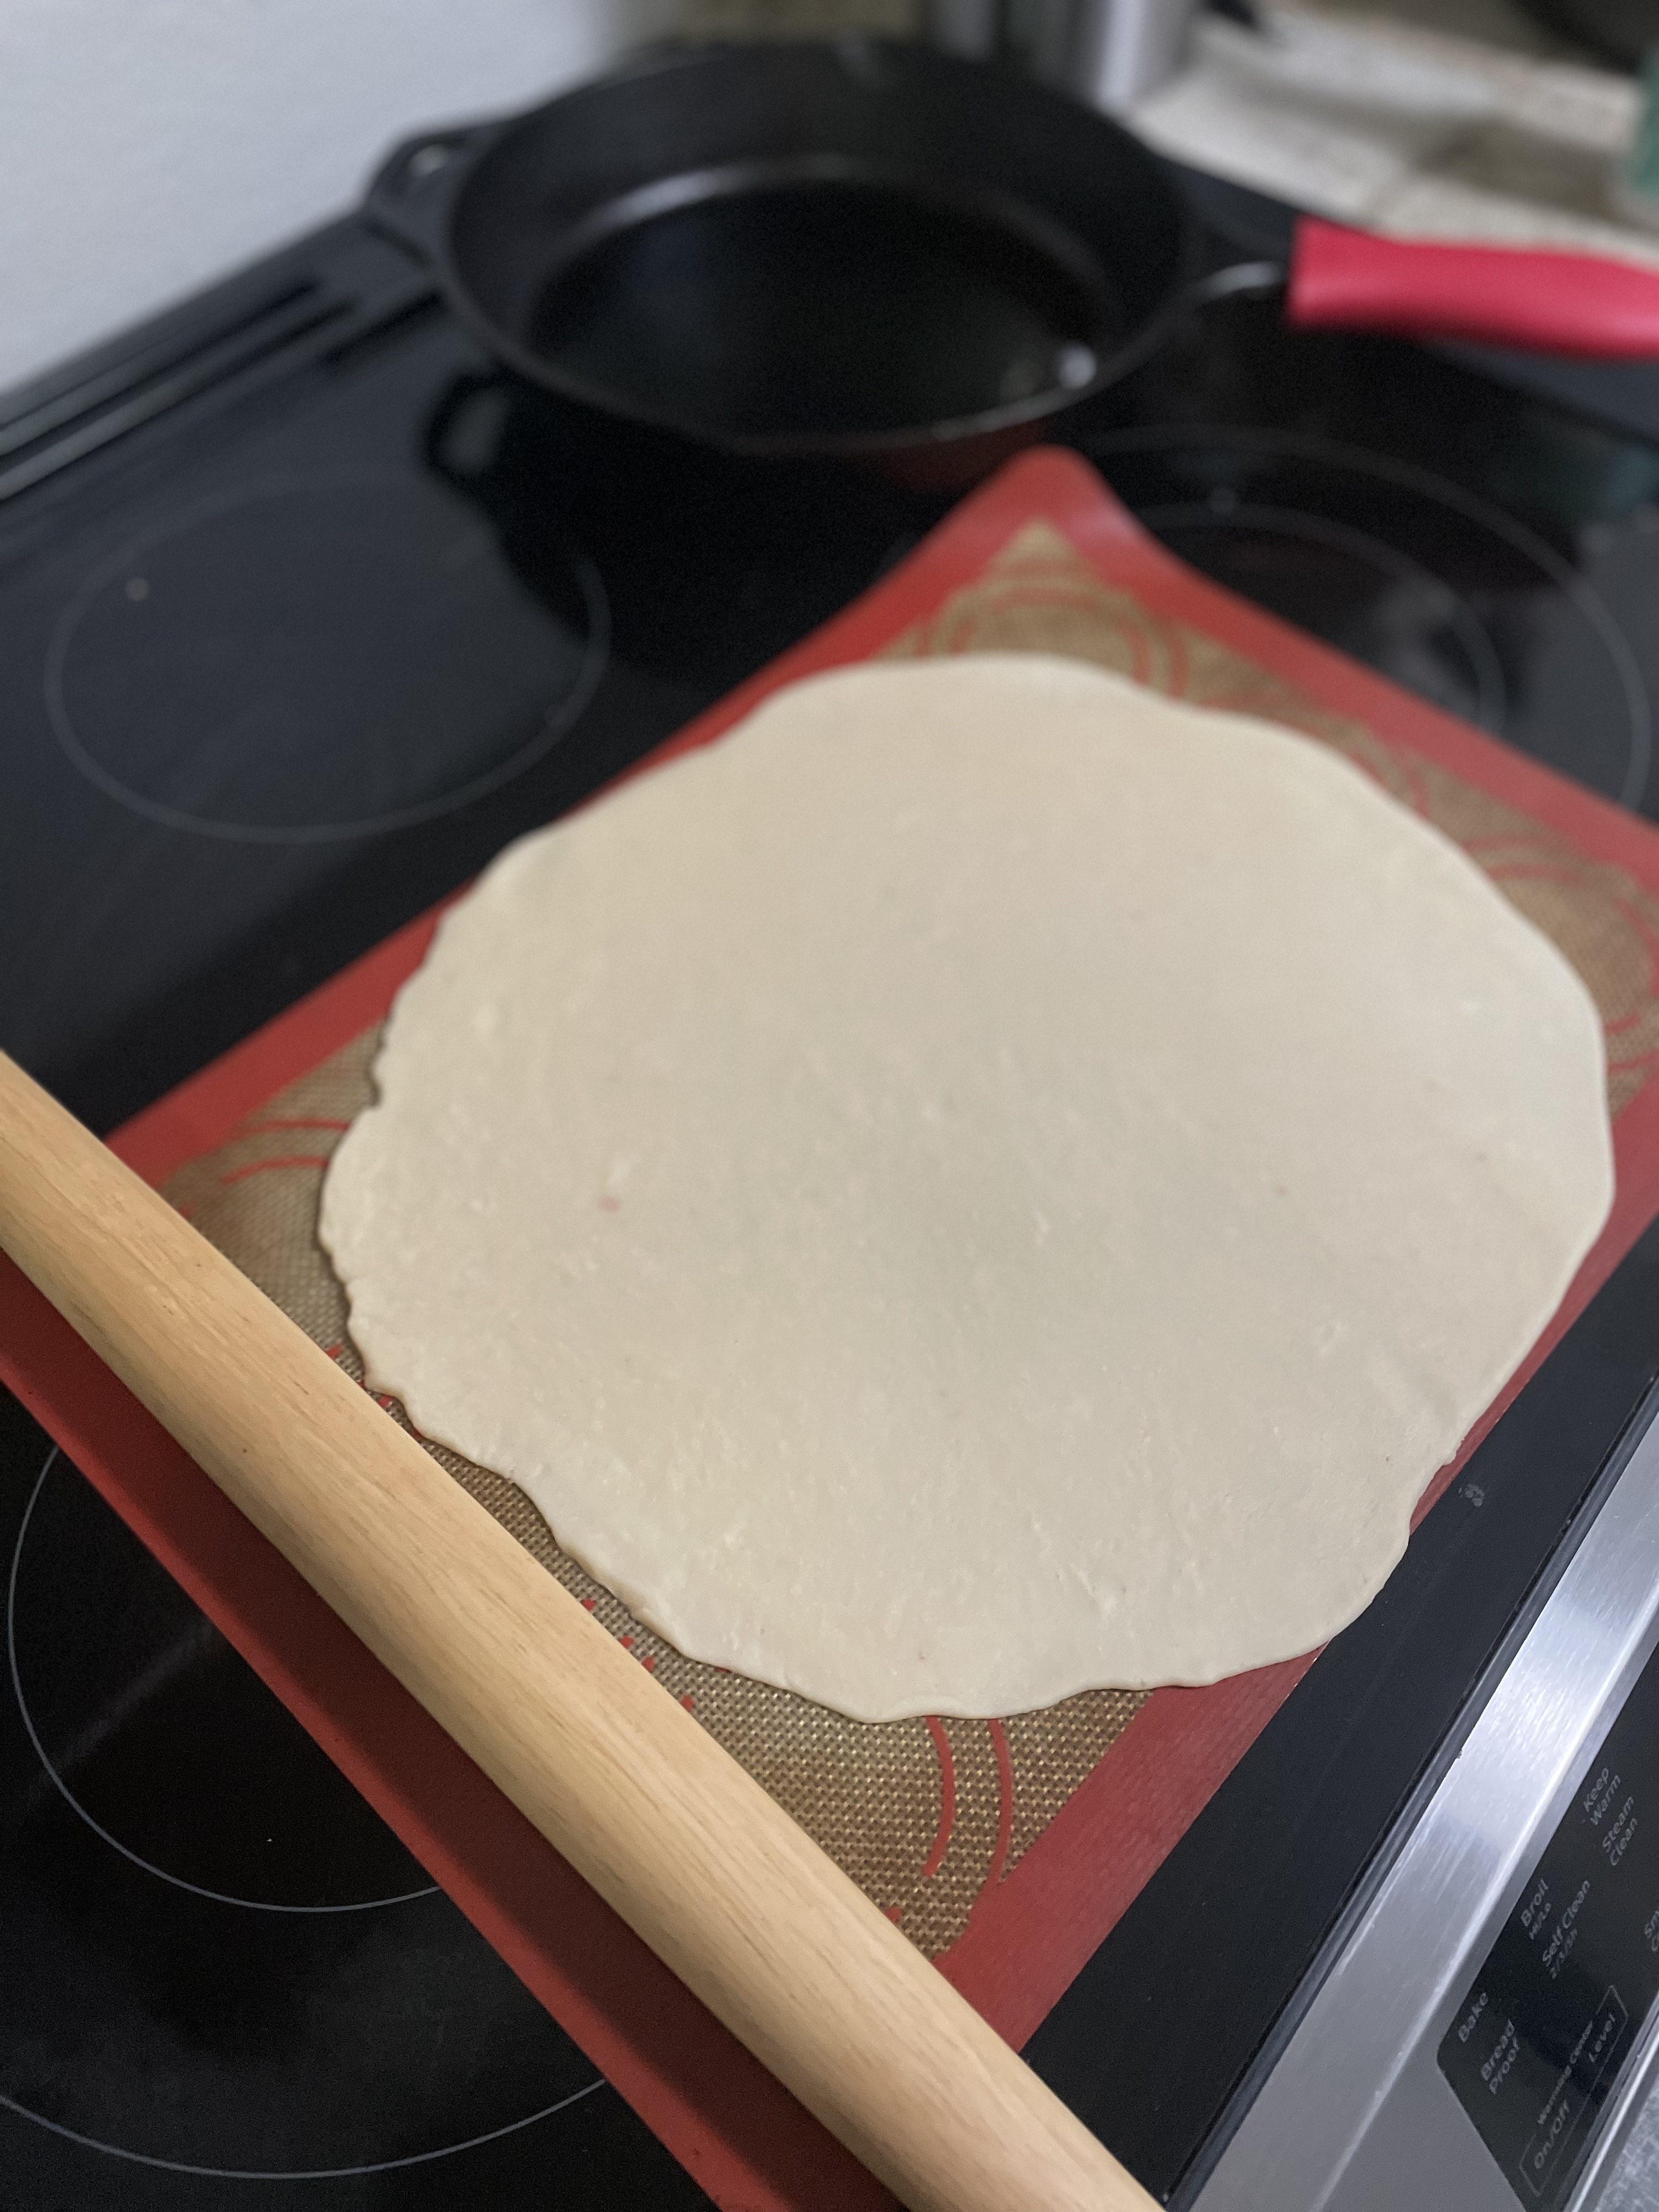
  • Take pie crust out of the freezer and roll out thinly to about 12" in diameter. This does not have to be perfect.
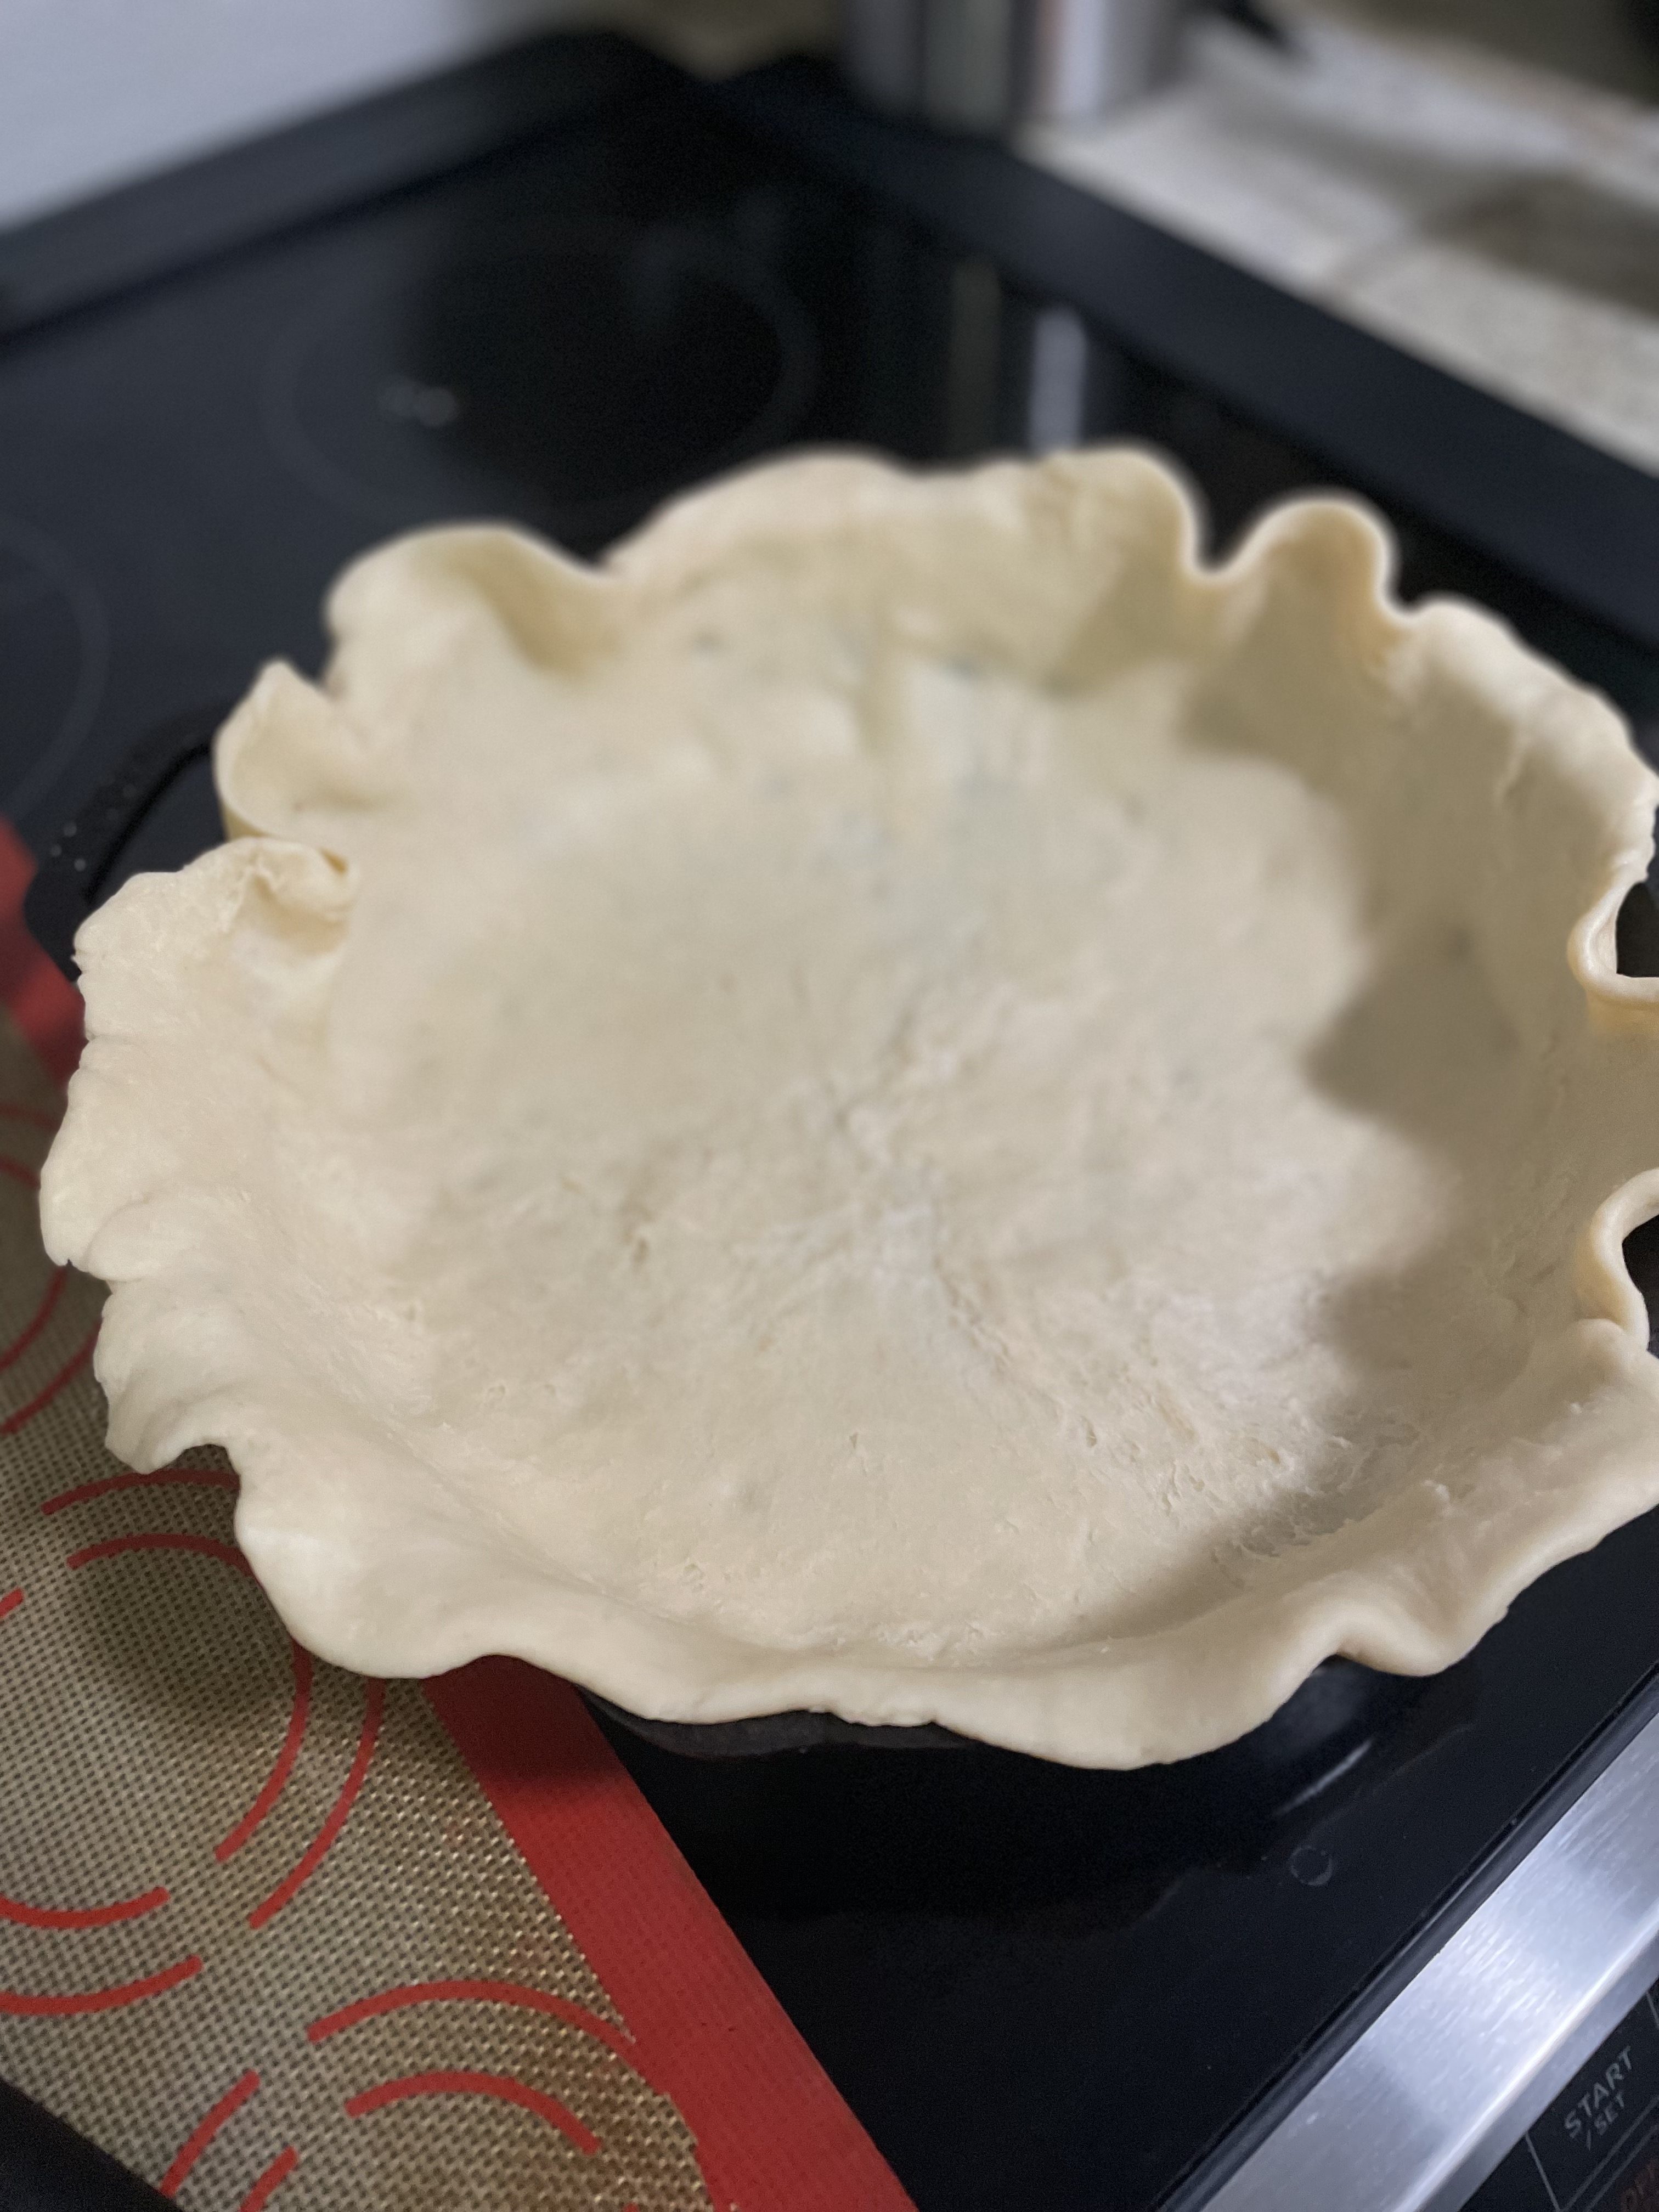
  • Transfer to your baking vessel such as a cast iron, pie pan, or sheet pan.
  • Pour peach filling into the center of the crust and fold the edges of the crust over the peach filling.
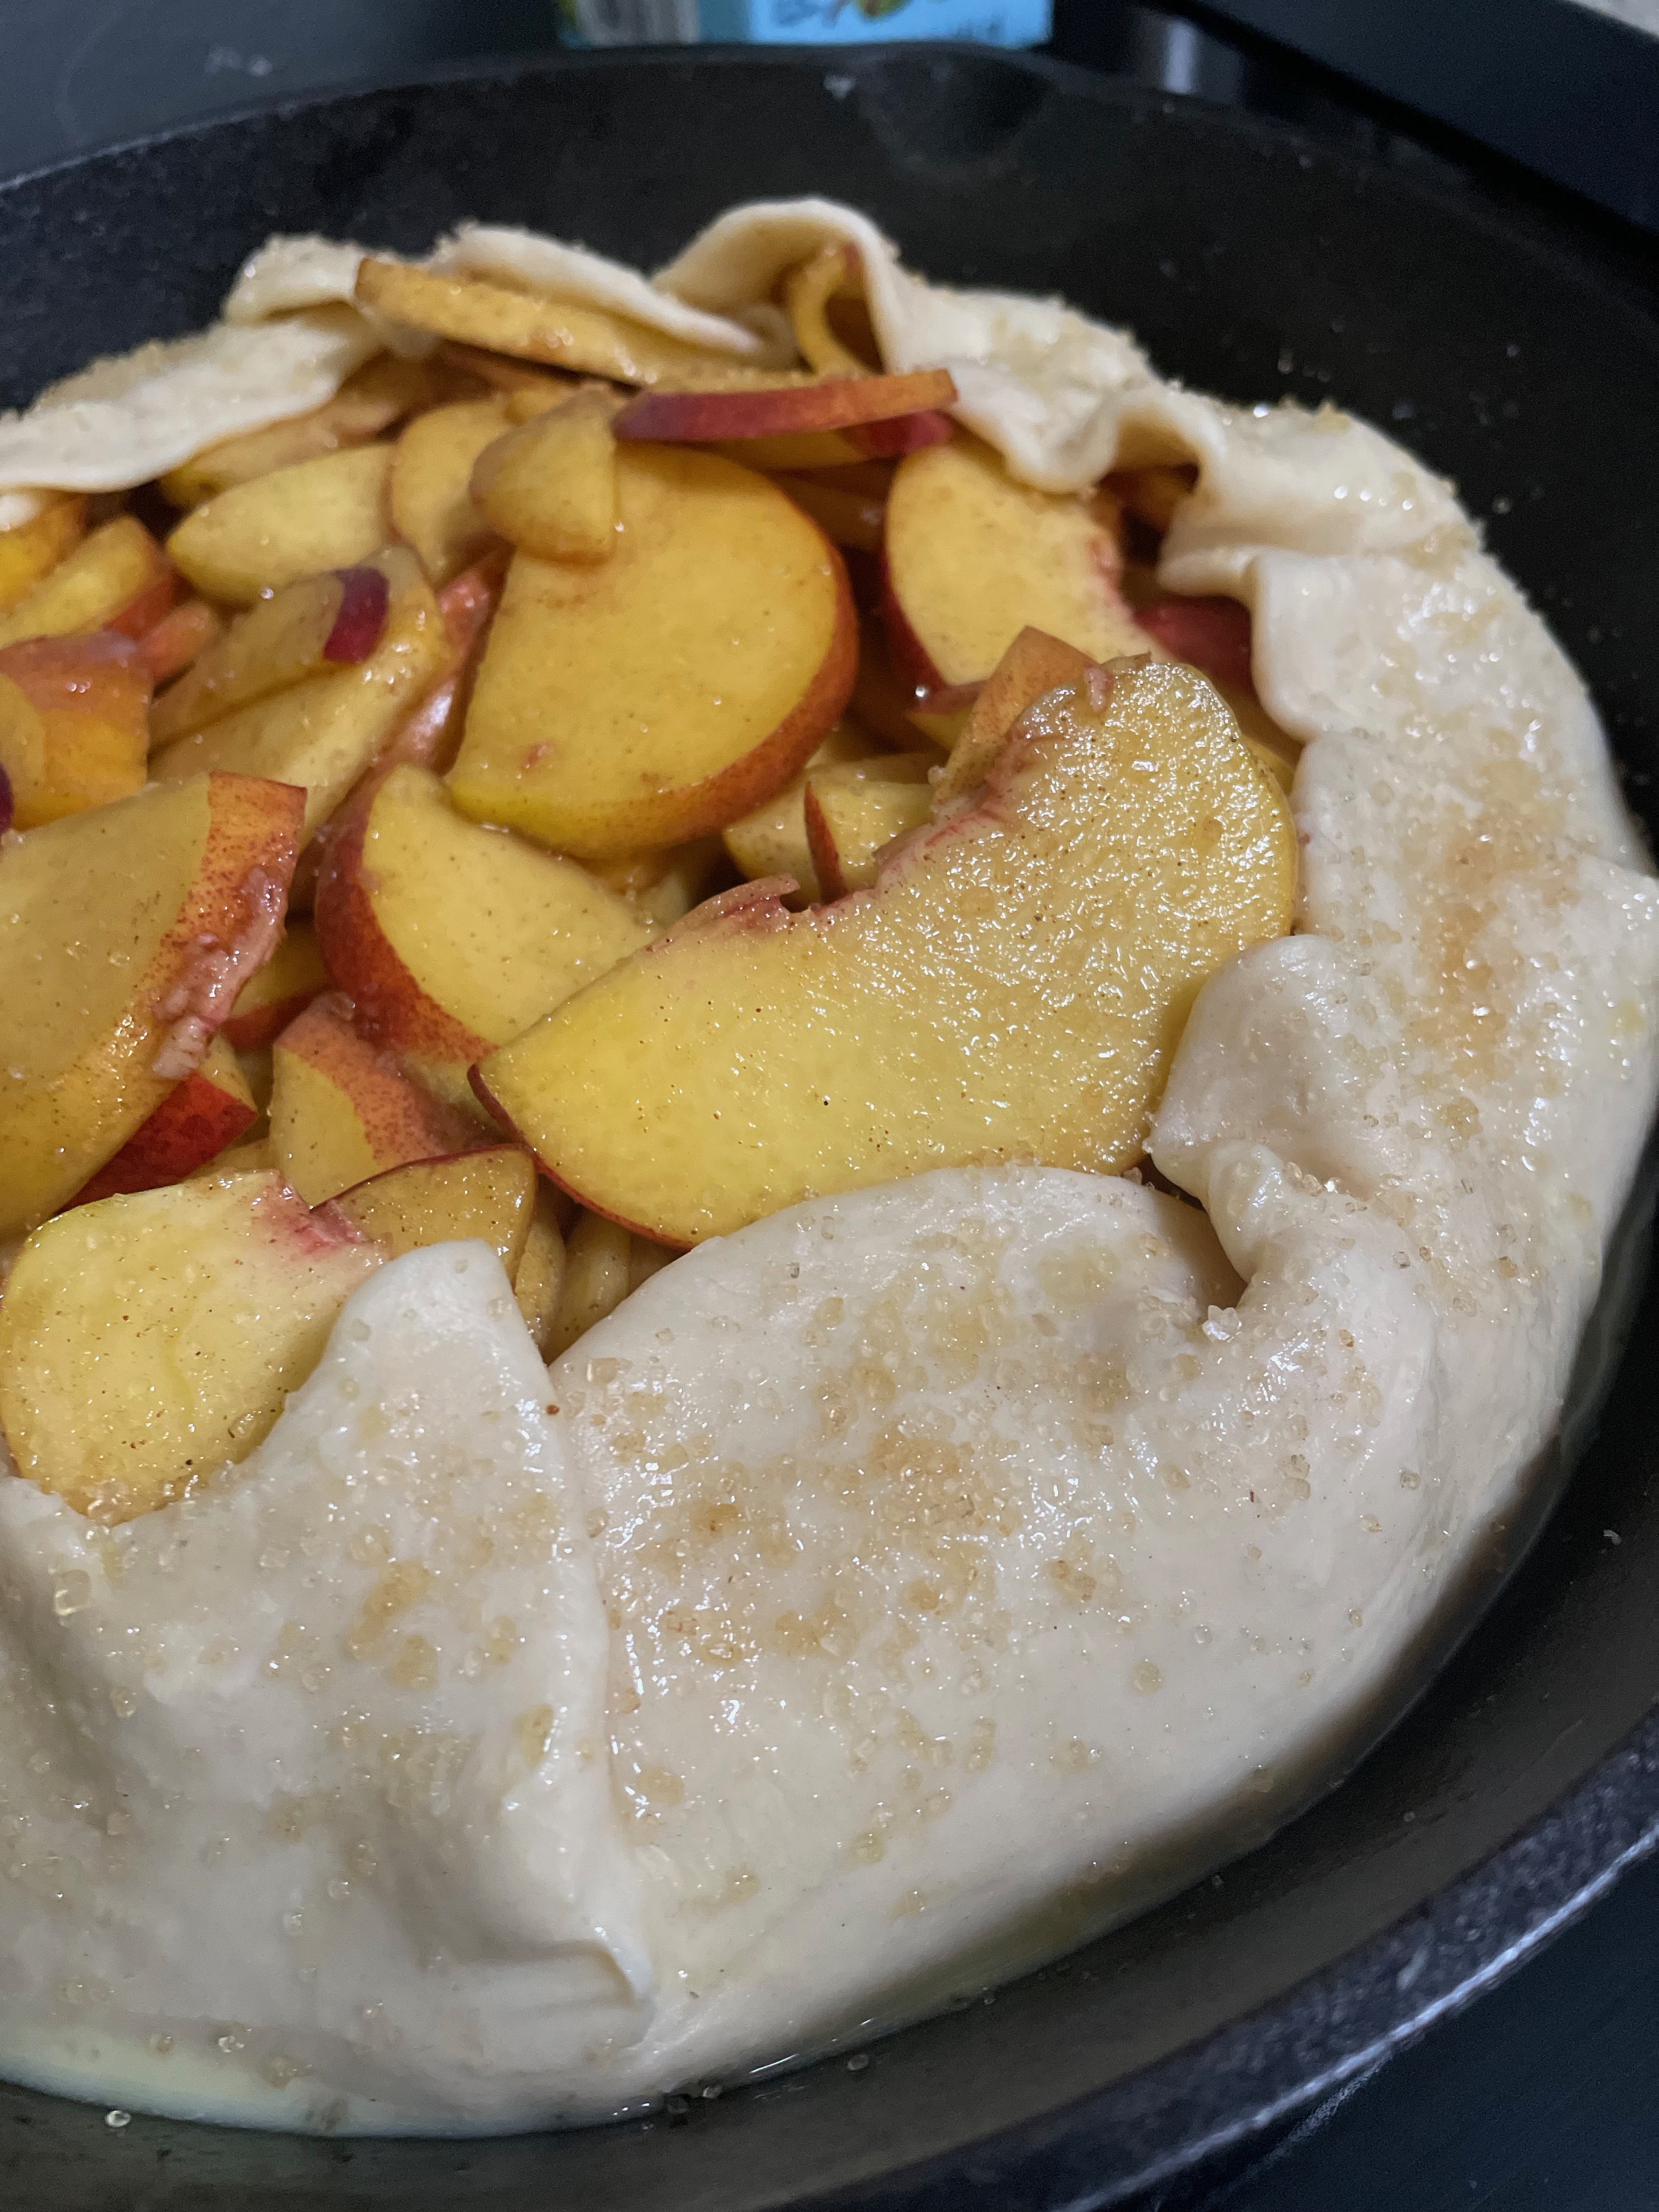
  • Brush edges of crust with egg wash and sprinkle with turbinado or demerara sugar to help with browning and give an extra crunch.
  • Bake at 400F for 40 minutes until golden brown and filling is bubbly.
  • After baking is complete, make a glaze by combing any jelly or jam or choice with hot water.
  • Brush over the filling to give the fruit a nice shine! Enjoy!

Looking for desserts? Try Crispy Gooey Chocolate Chip Cookies or Pumpkin Pull Apart Bread.

Rosemary Parmesan Roasted Acorn Squash

Daylight savings is next week, so that means spring is coming! Summer vegetables are coming so I had to savor the last of the squashes. Acorn squash is one of my favorites. It’s naturally sweet and has a great texture for roasting or soups.

Ingredients

Acorn squash – You can eat the skin of the acorn squash, but you don’t have to. I like to leave mine on as an option if anyone wants to try it, but they are more than welcome to eat around it. Leaving the skin on also makes it easier when chopping it up. You can also try this recipe with other squashes like butternut, delicate, or even kabocha.

Parmesan/rosemary – Feel free to switch up the toppings! I even like a goat cheese and thyme or honey and basil. If you’re a purist, leave out the toppings and stick with the salt and pepper.

Rosemary Parmesan Roasted Acorn Squash

Print Recipe
This simple, easy recipe gives ultimate squash flavor. A perfect fall/winter side. Get the last of your winter squashes in before the summer vegetable season!
Course Side Dish
Keyword acorn squash, vegetarian

Ingredients

  • 1 acorn squash
  • 2 tbsp olive oil
  • 1 tsp salt
  • 1 tsp pepper
  • parmesan
  • rosemary

Instructions

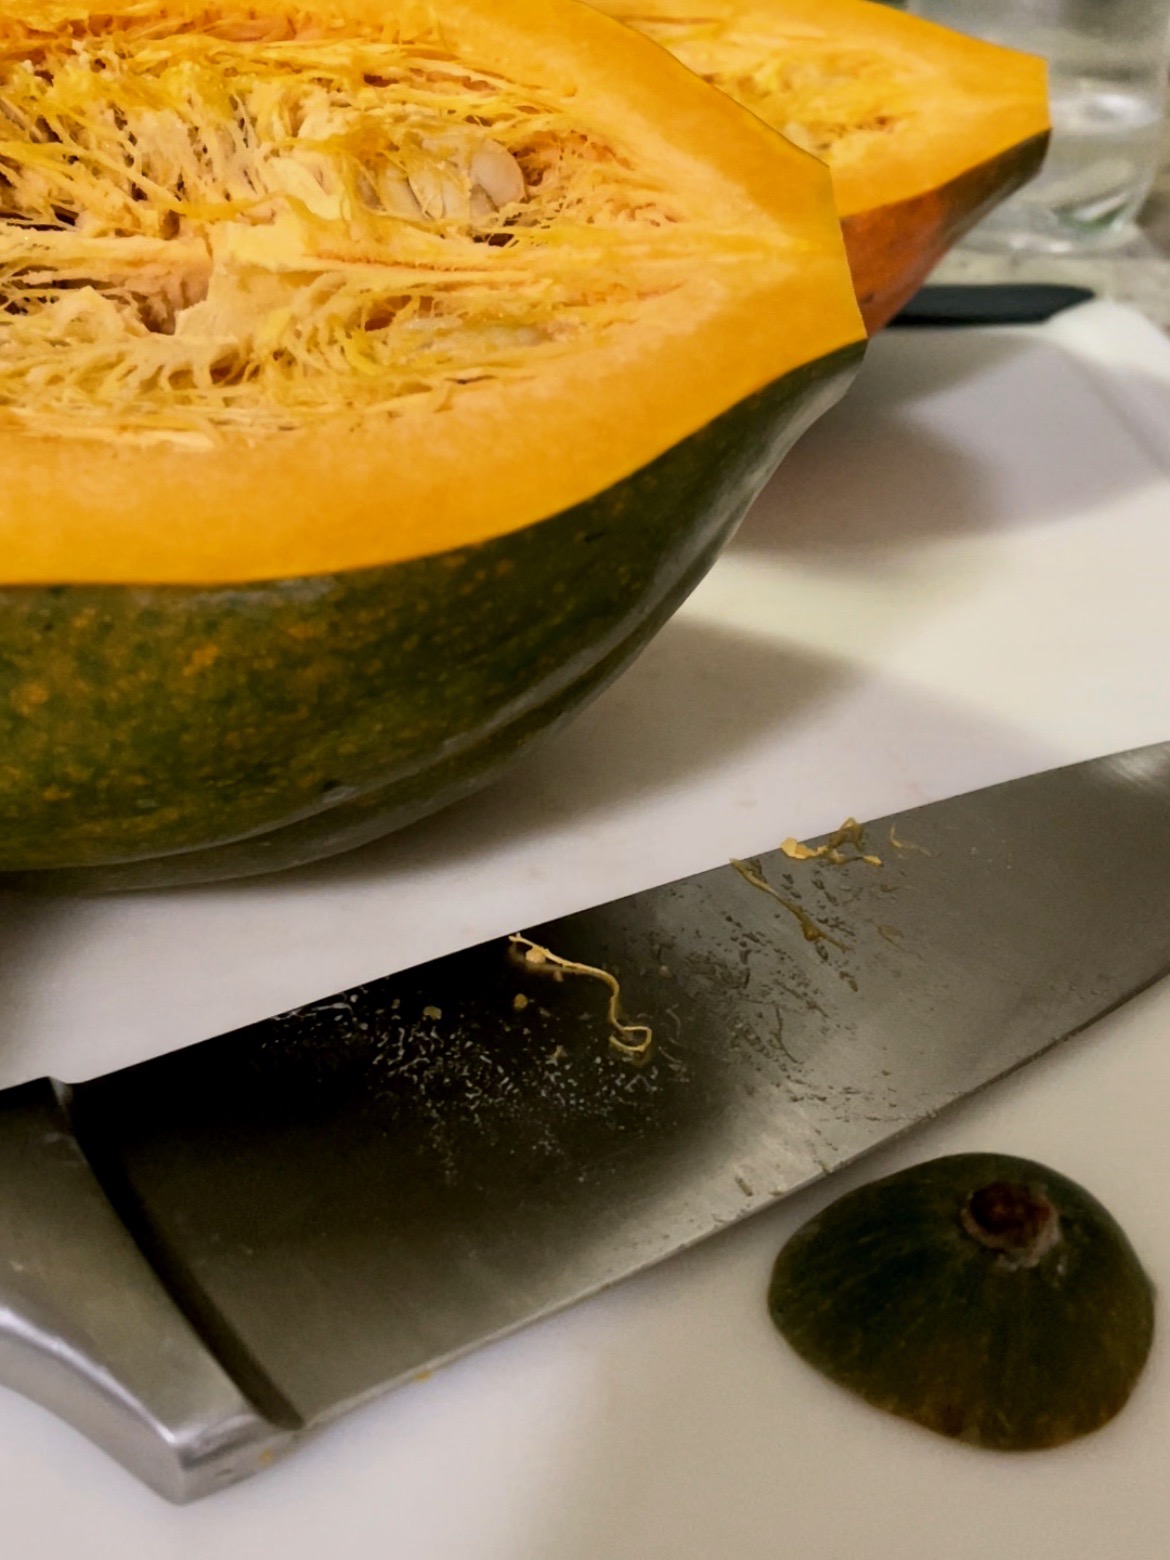
  • Cut your acorn squash in half and scoop out the seeds.
  • Cut off the top and bottom of the squash.
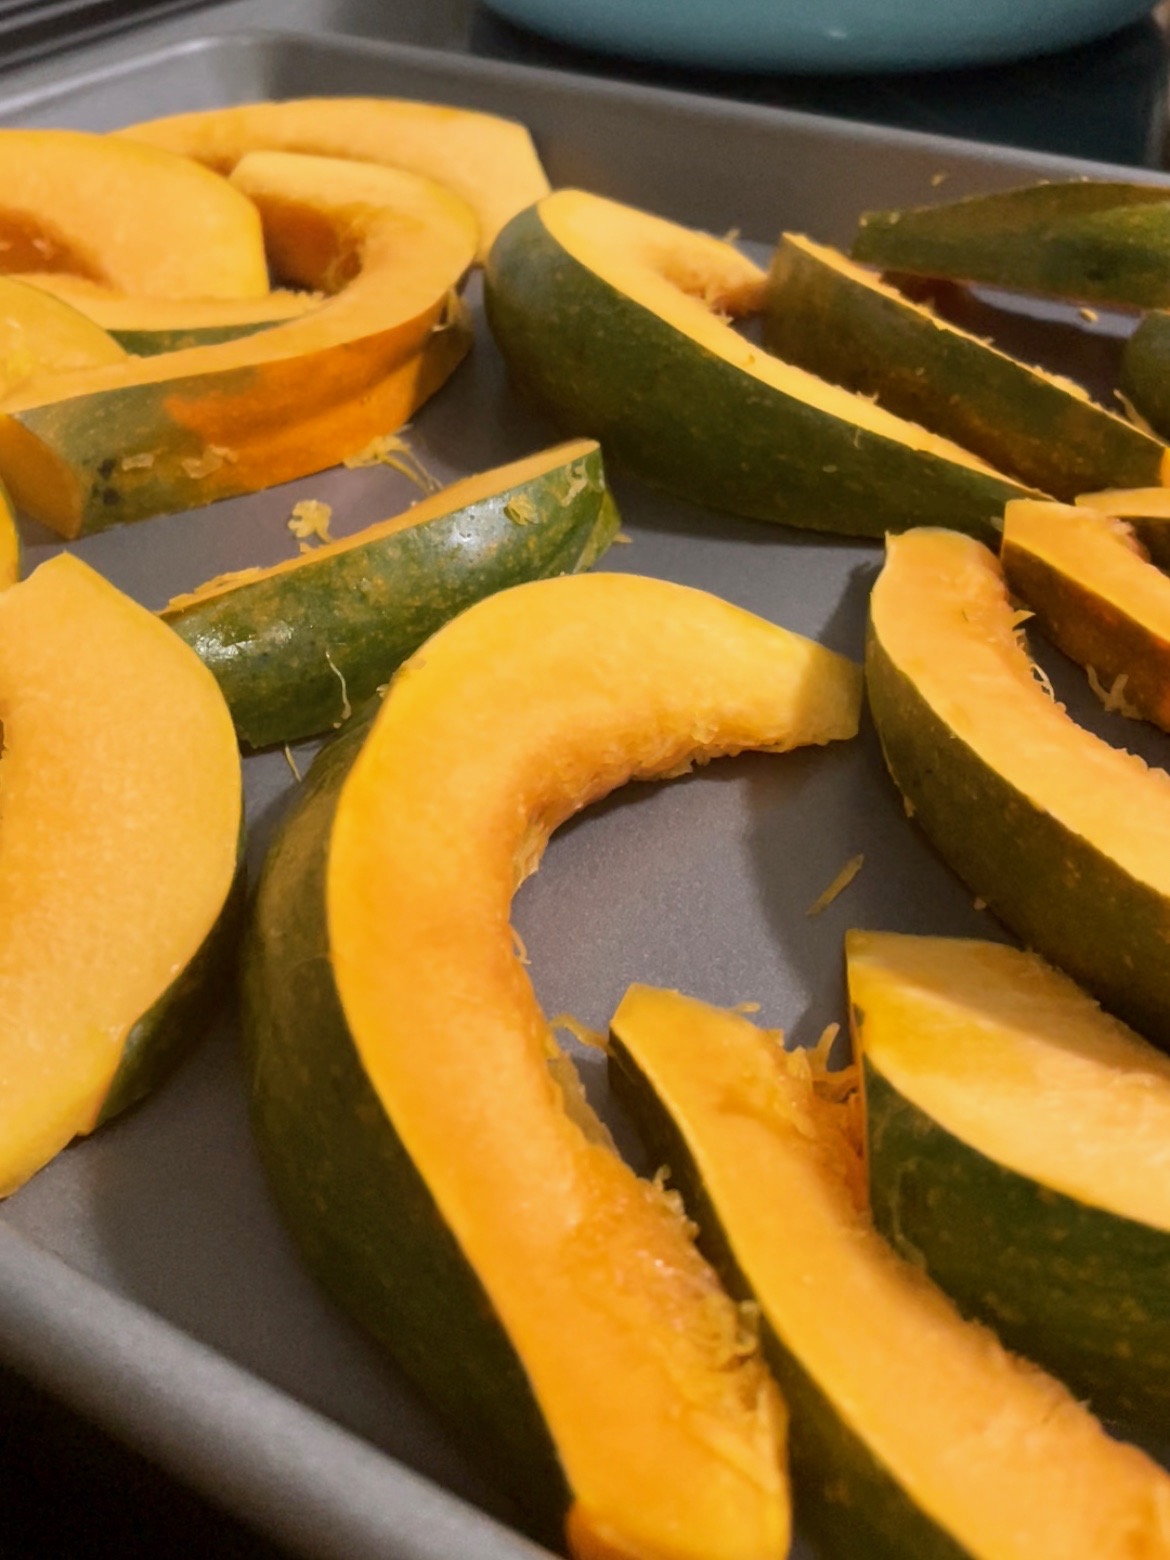
  • Cut the acorn squash into spears, approximately 1-2" thick.
  • Lay cut acorn squash on a sheet tray.
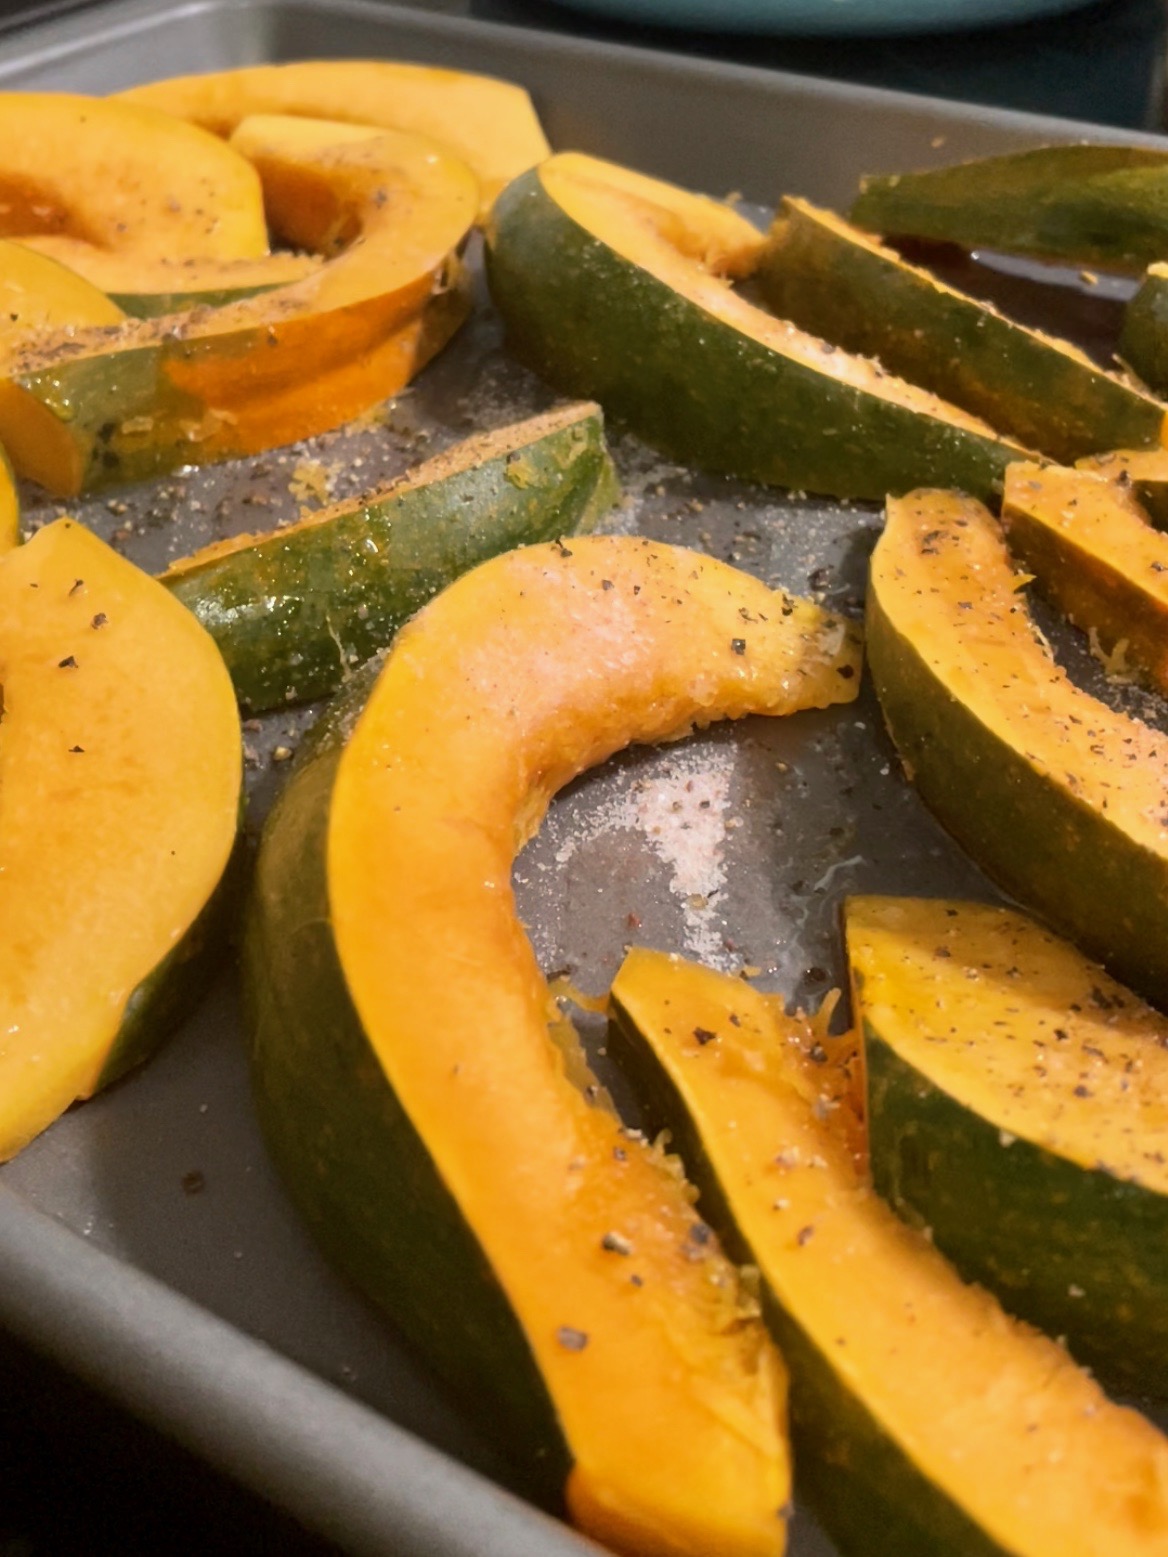
  • Drizzle with olive oil, 1 tsp of salt, and 1 tsp of pepper. Add more to taste.
  • Mix acorn squash so all the slices are evenly covered in oil, salt, and pepper. Lay acorn squash flat on the baking sheet.
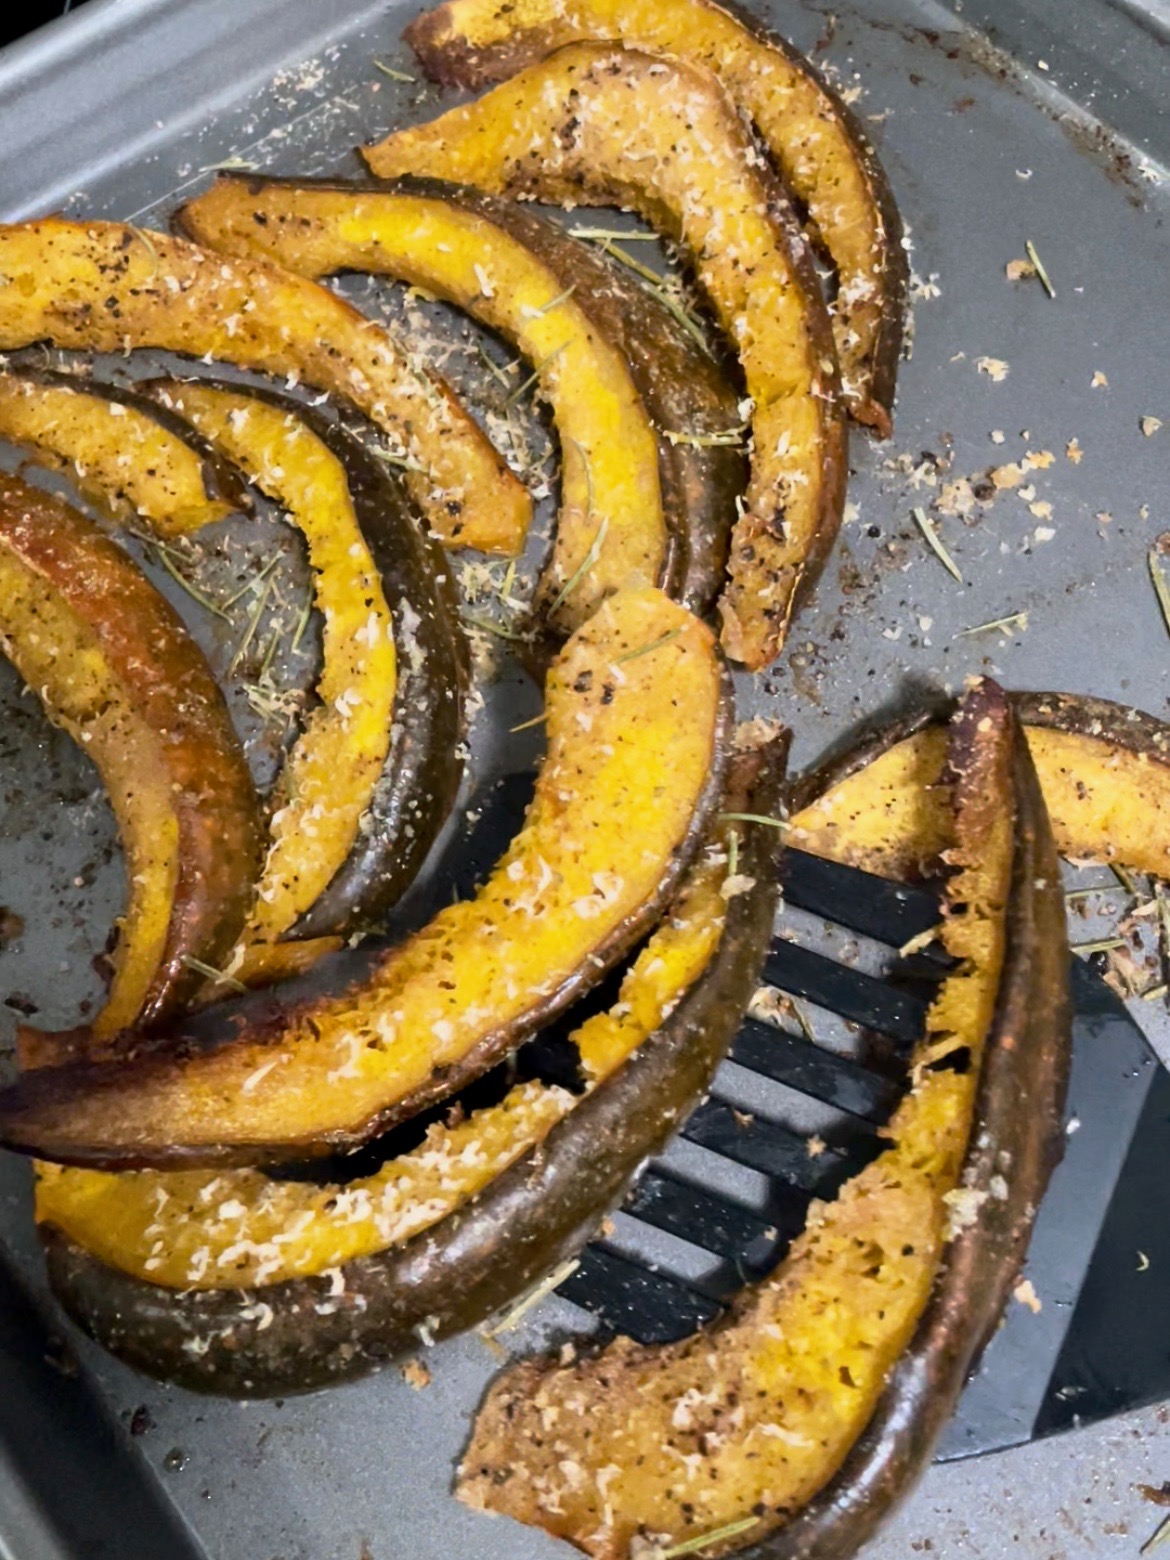
  • Bake in the oven at 350F for 30 minutes.
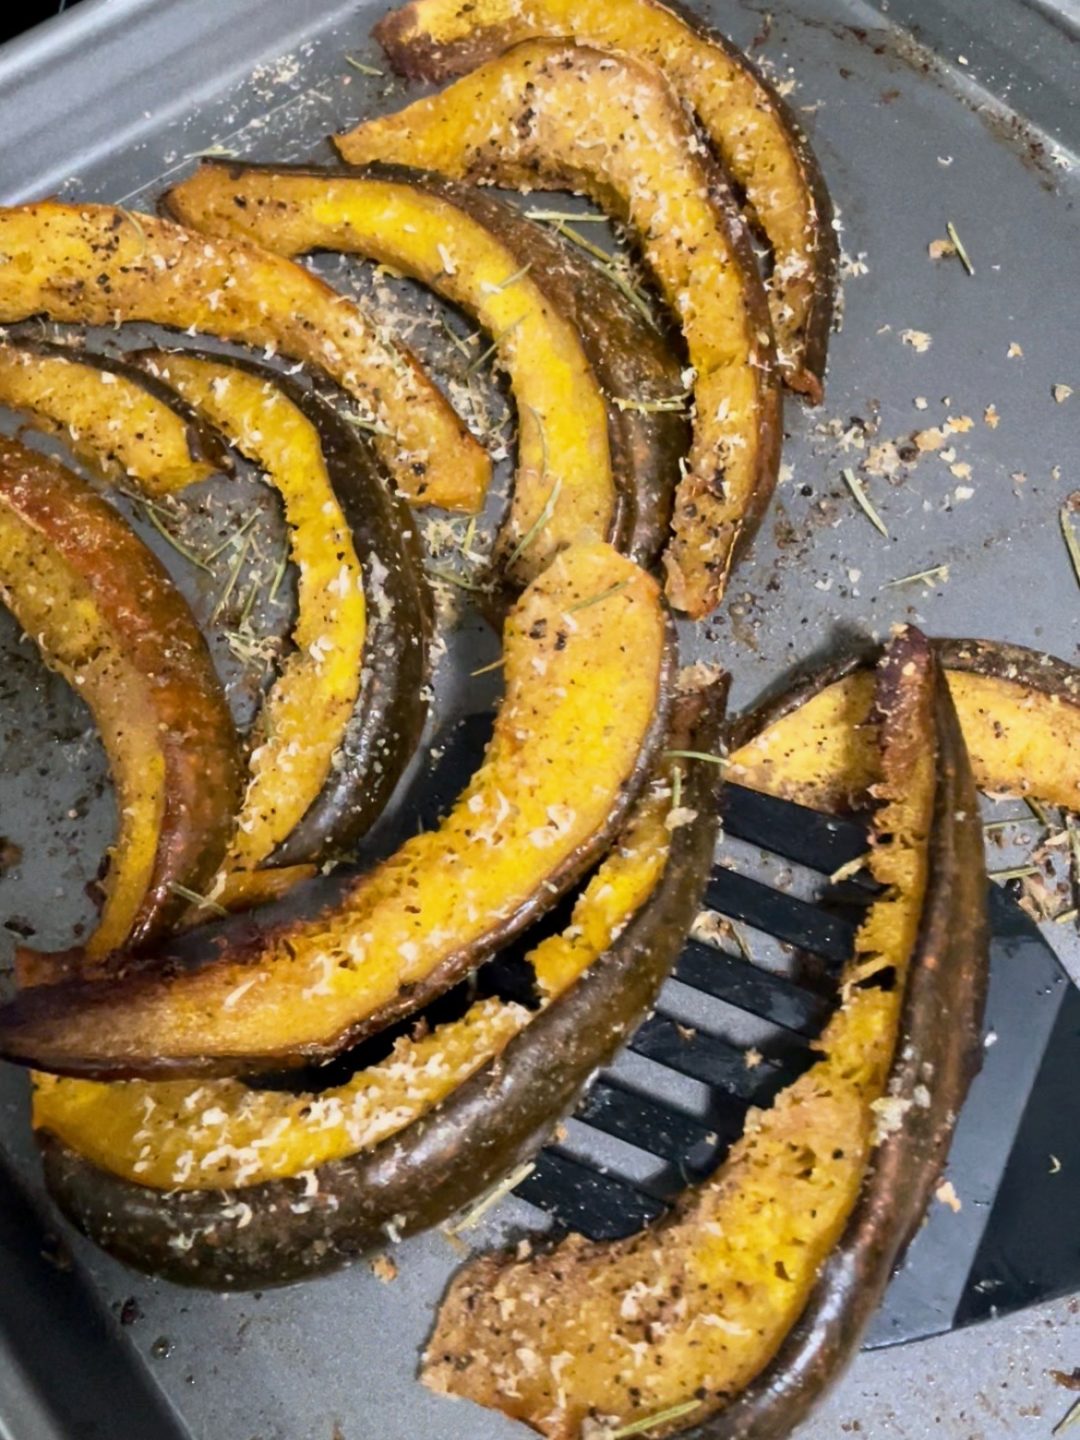
  • Remove from the oven and sprinkle with parmesan and rosemary. If you're switching up the toppings, add them, and then serve!

Grab a dessert by making Crispy Gooey Chocolate Chip Cookies or Pumpkin Pull Apart Bread.

Looking for a another side dish? Try Honey Balsamic Roasted Brussels Sprouts.

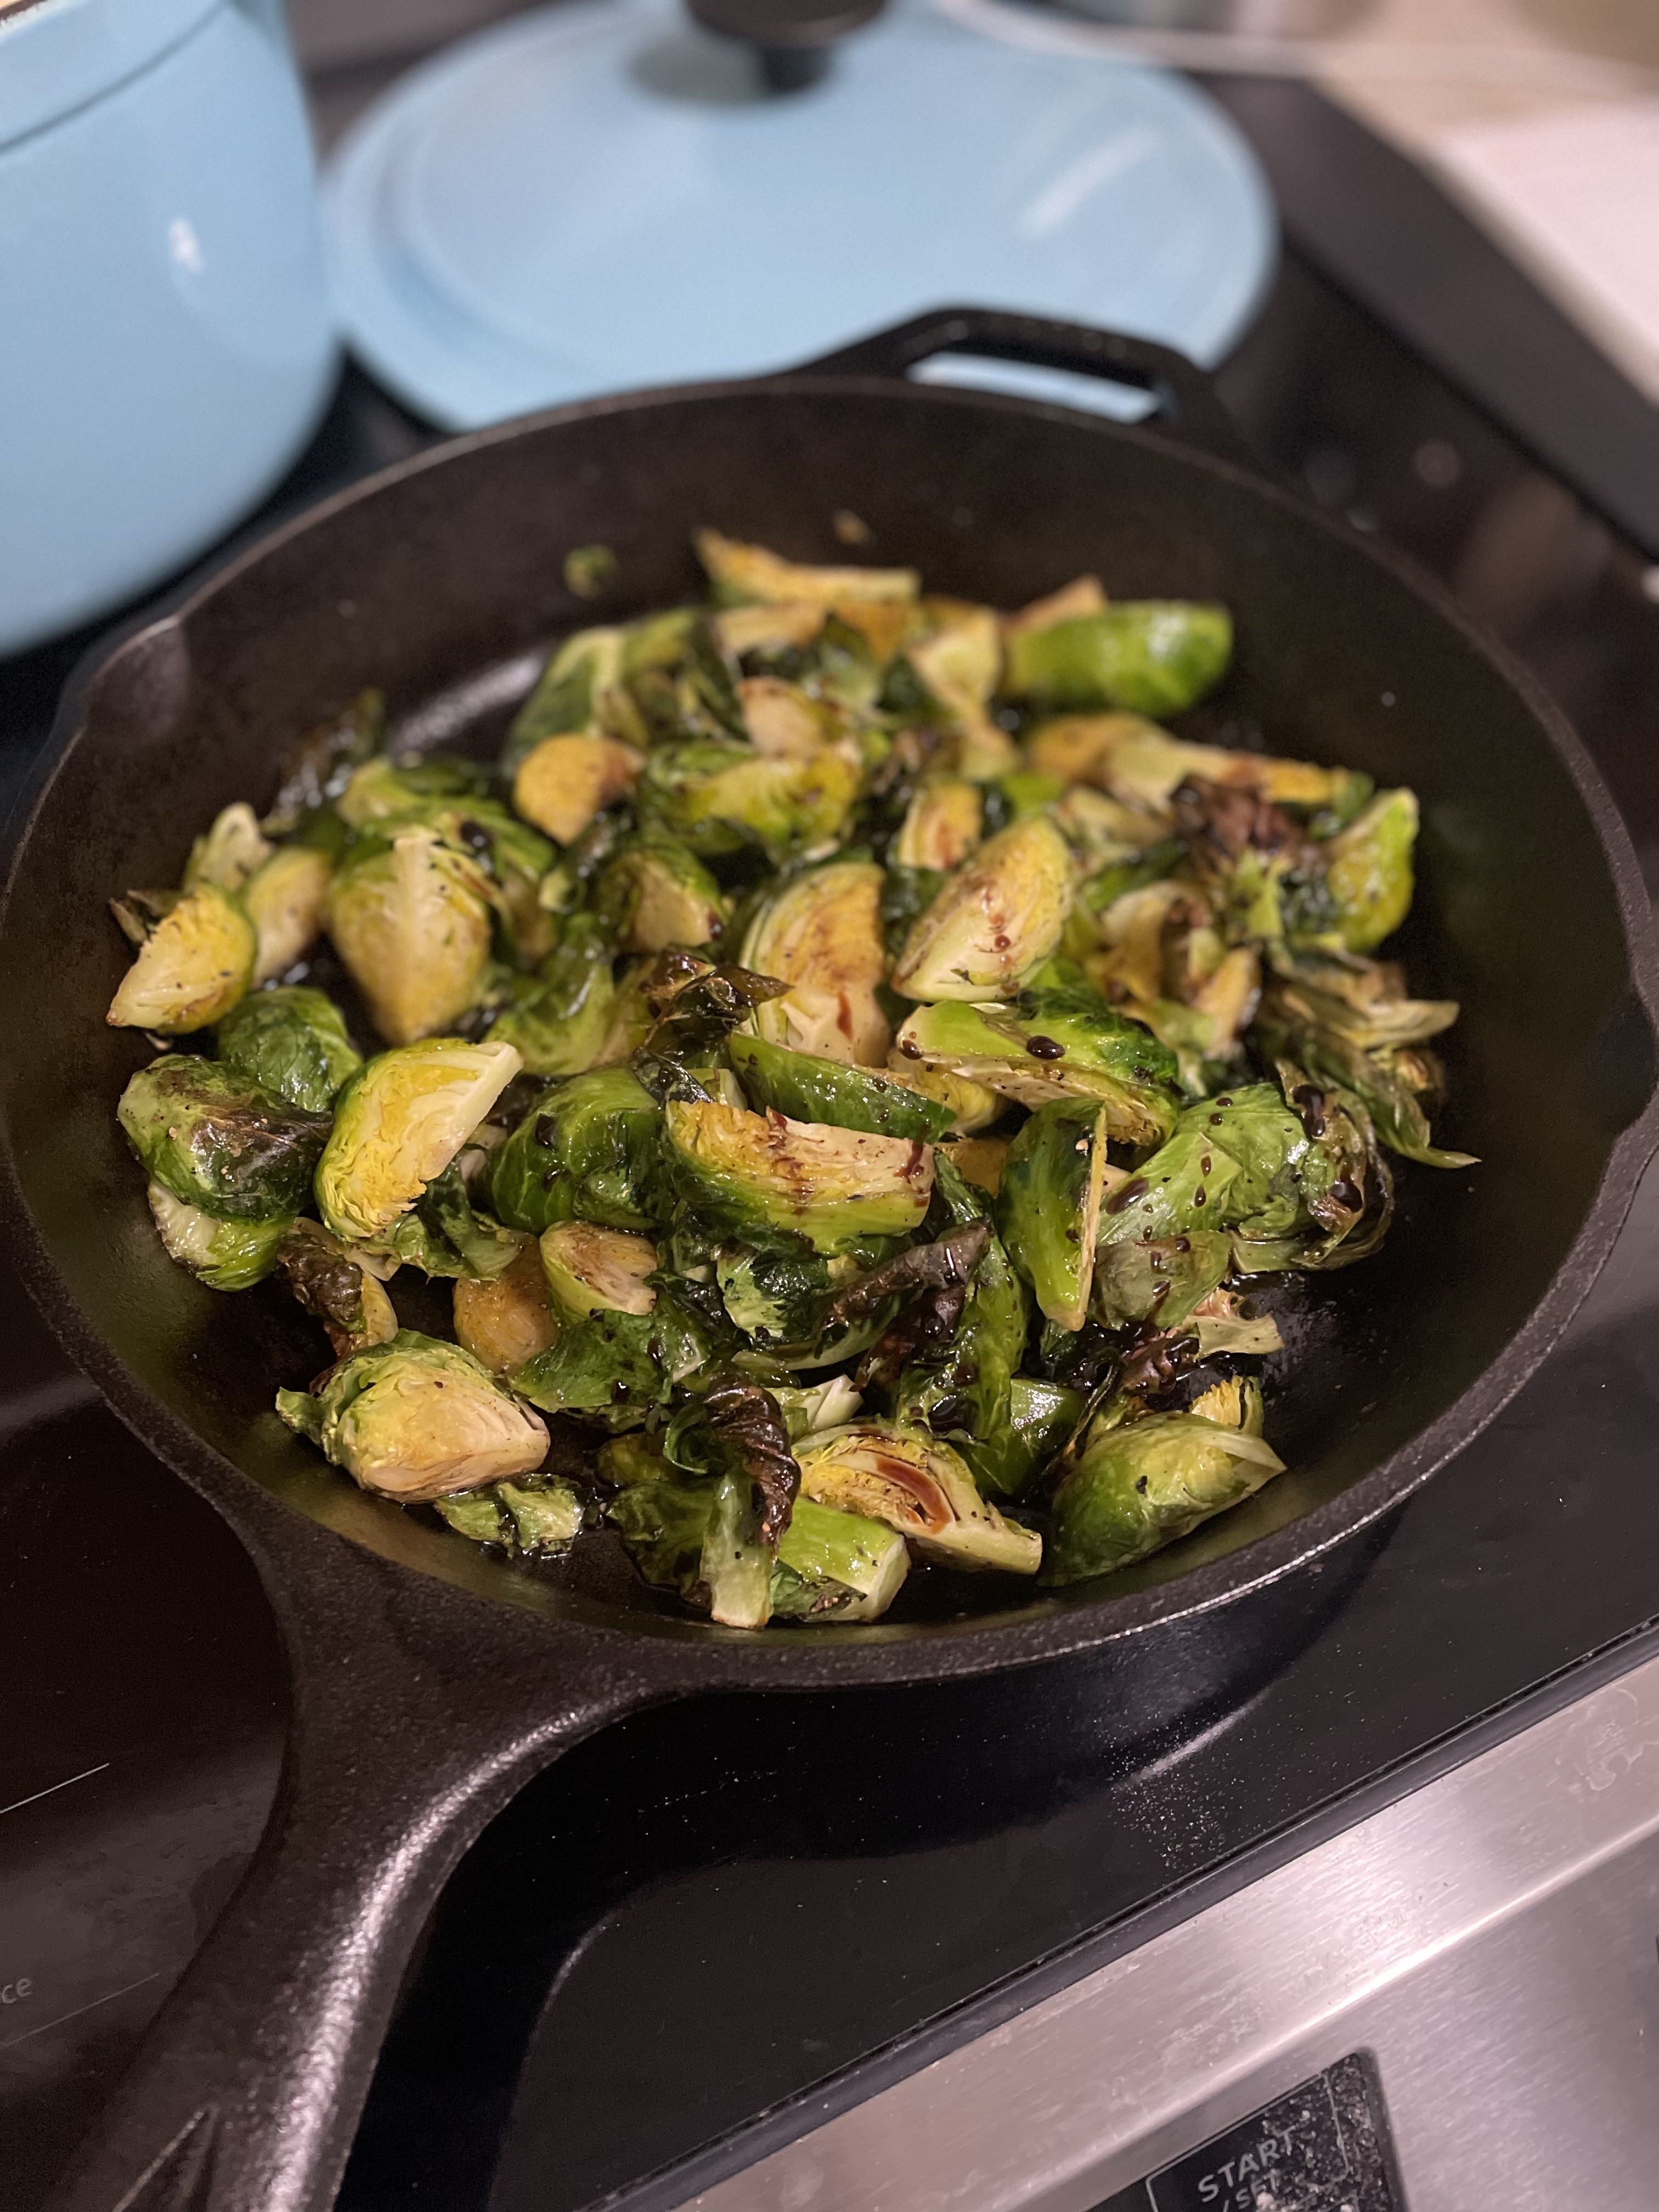
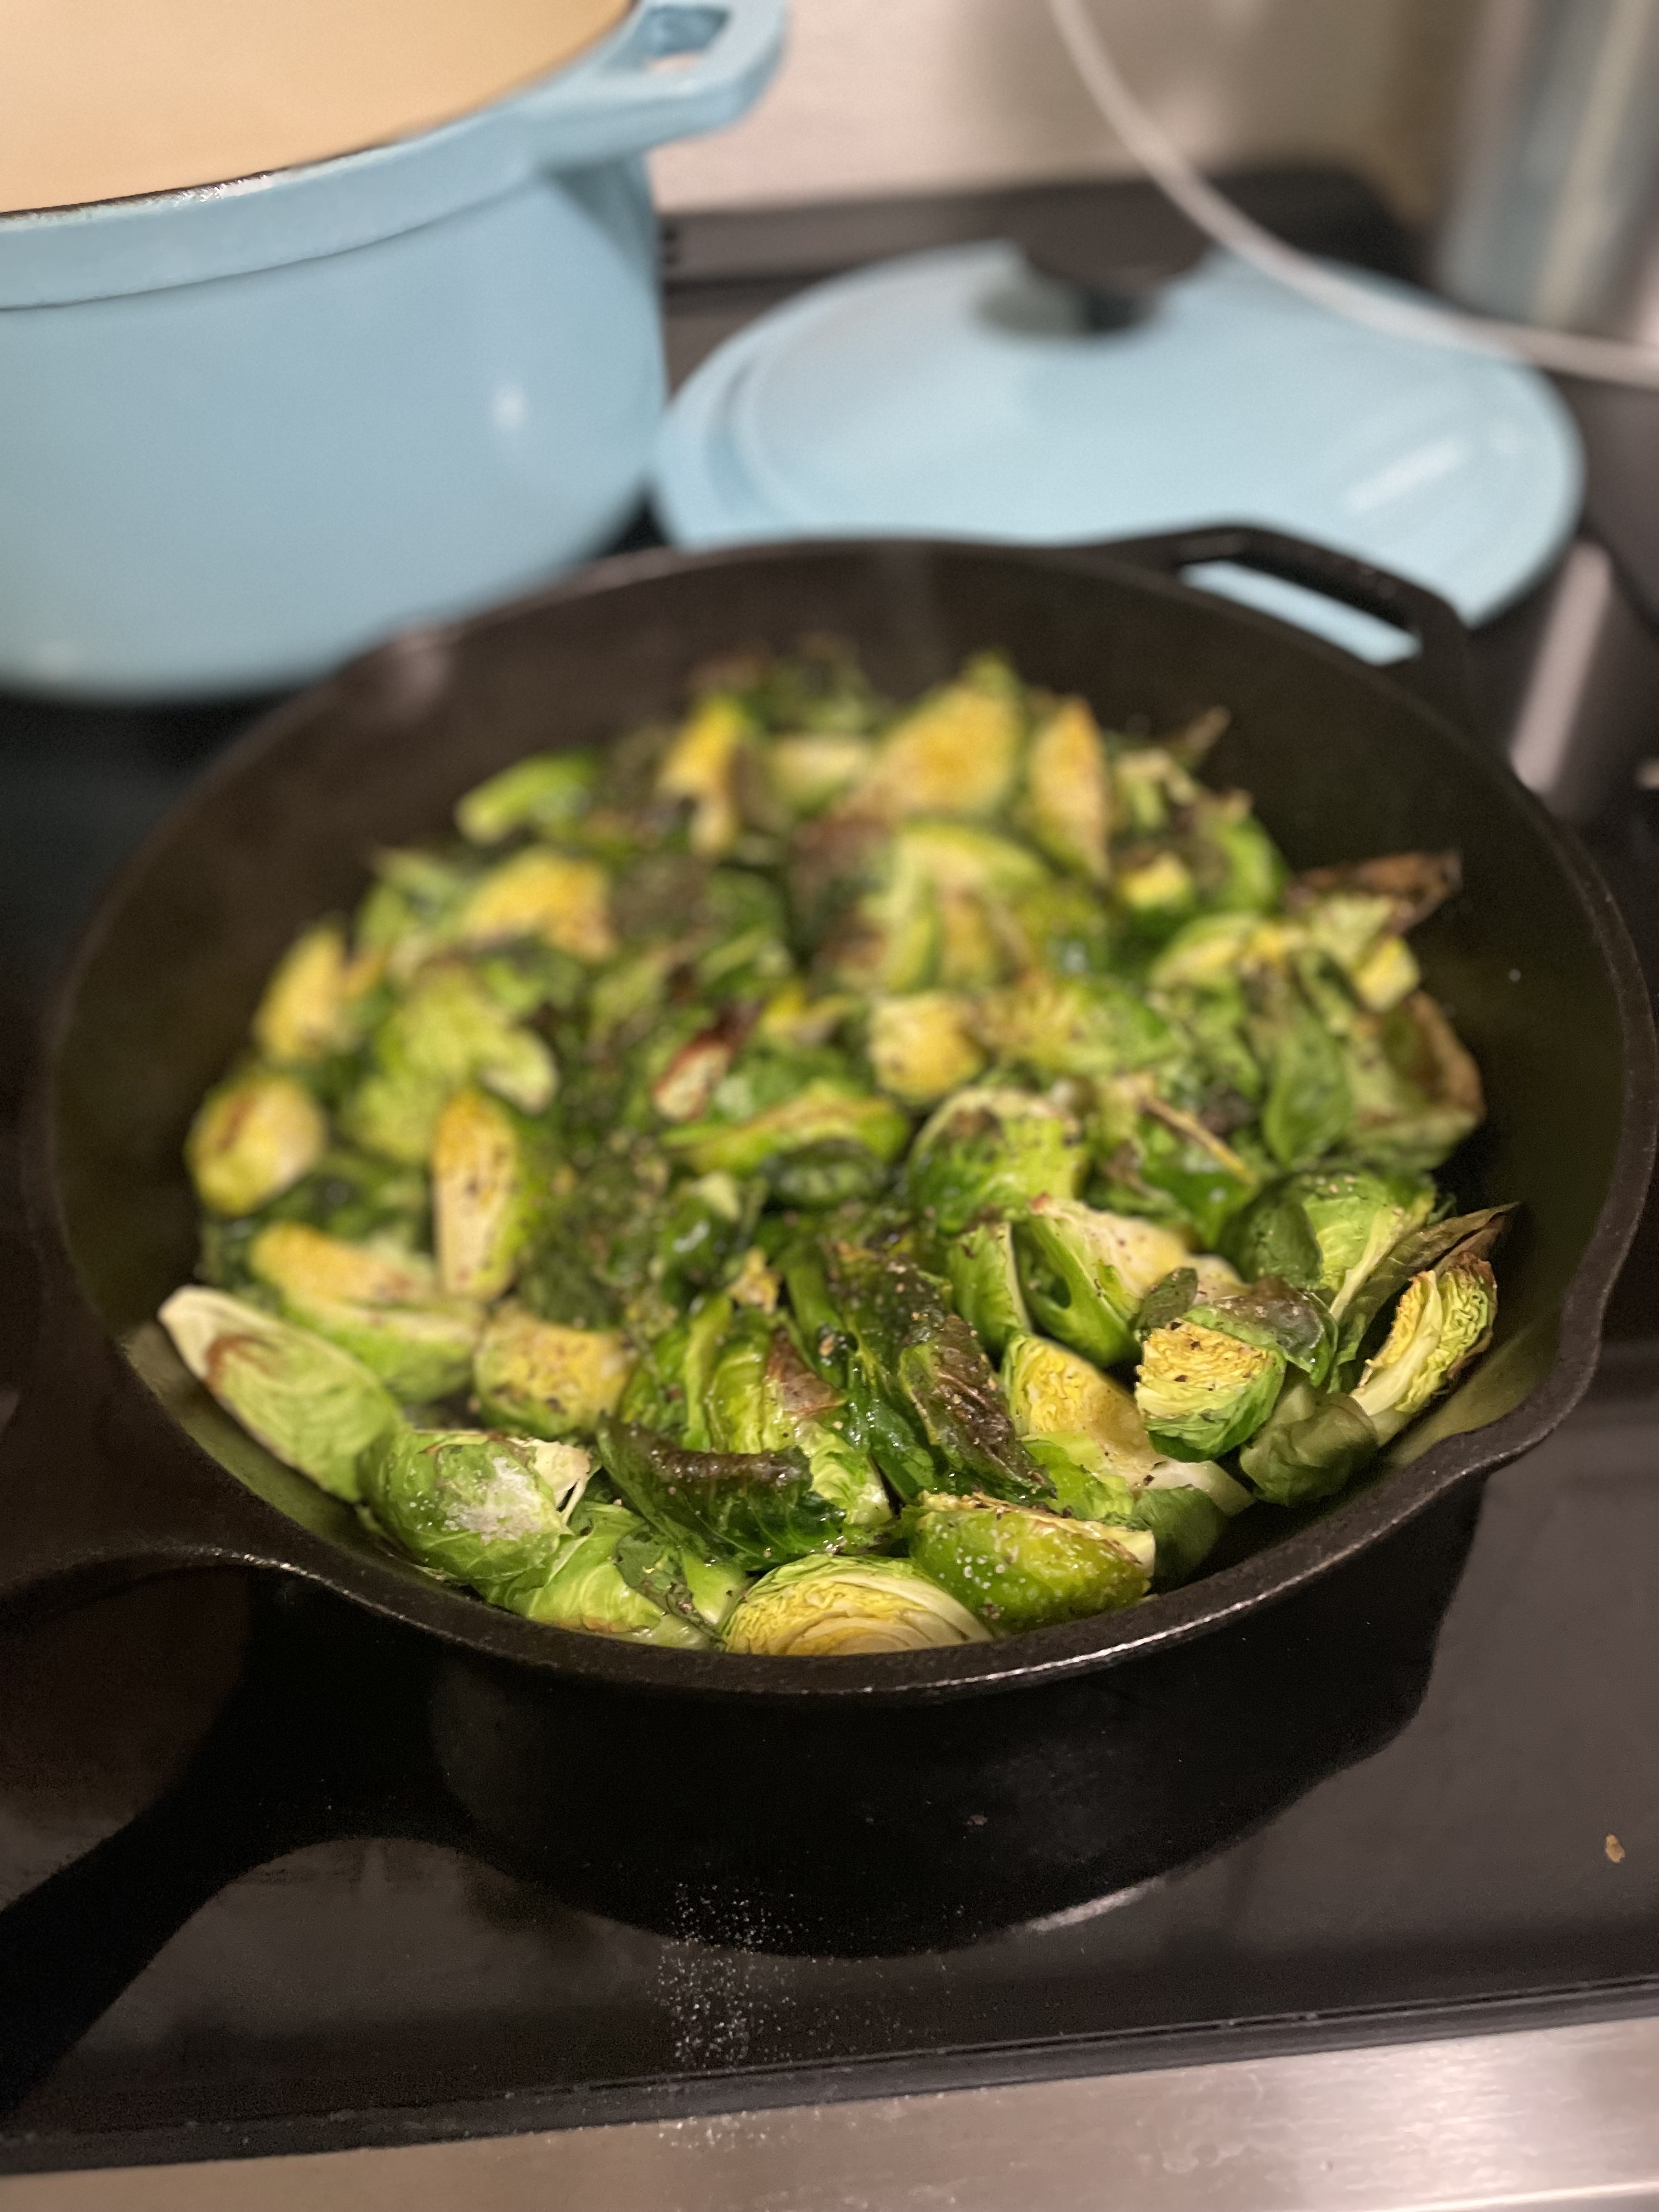
Honey Balsamic Roasted Brussels Sprouts

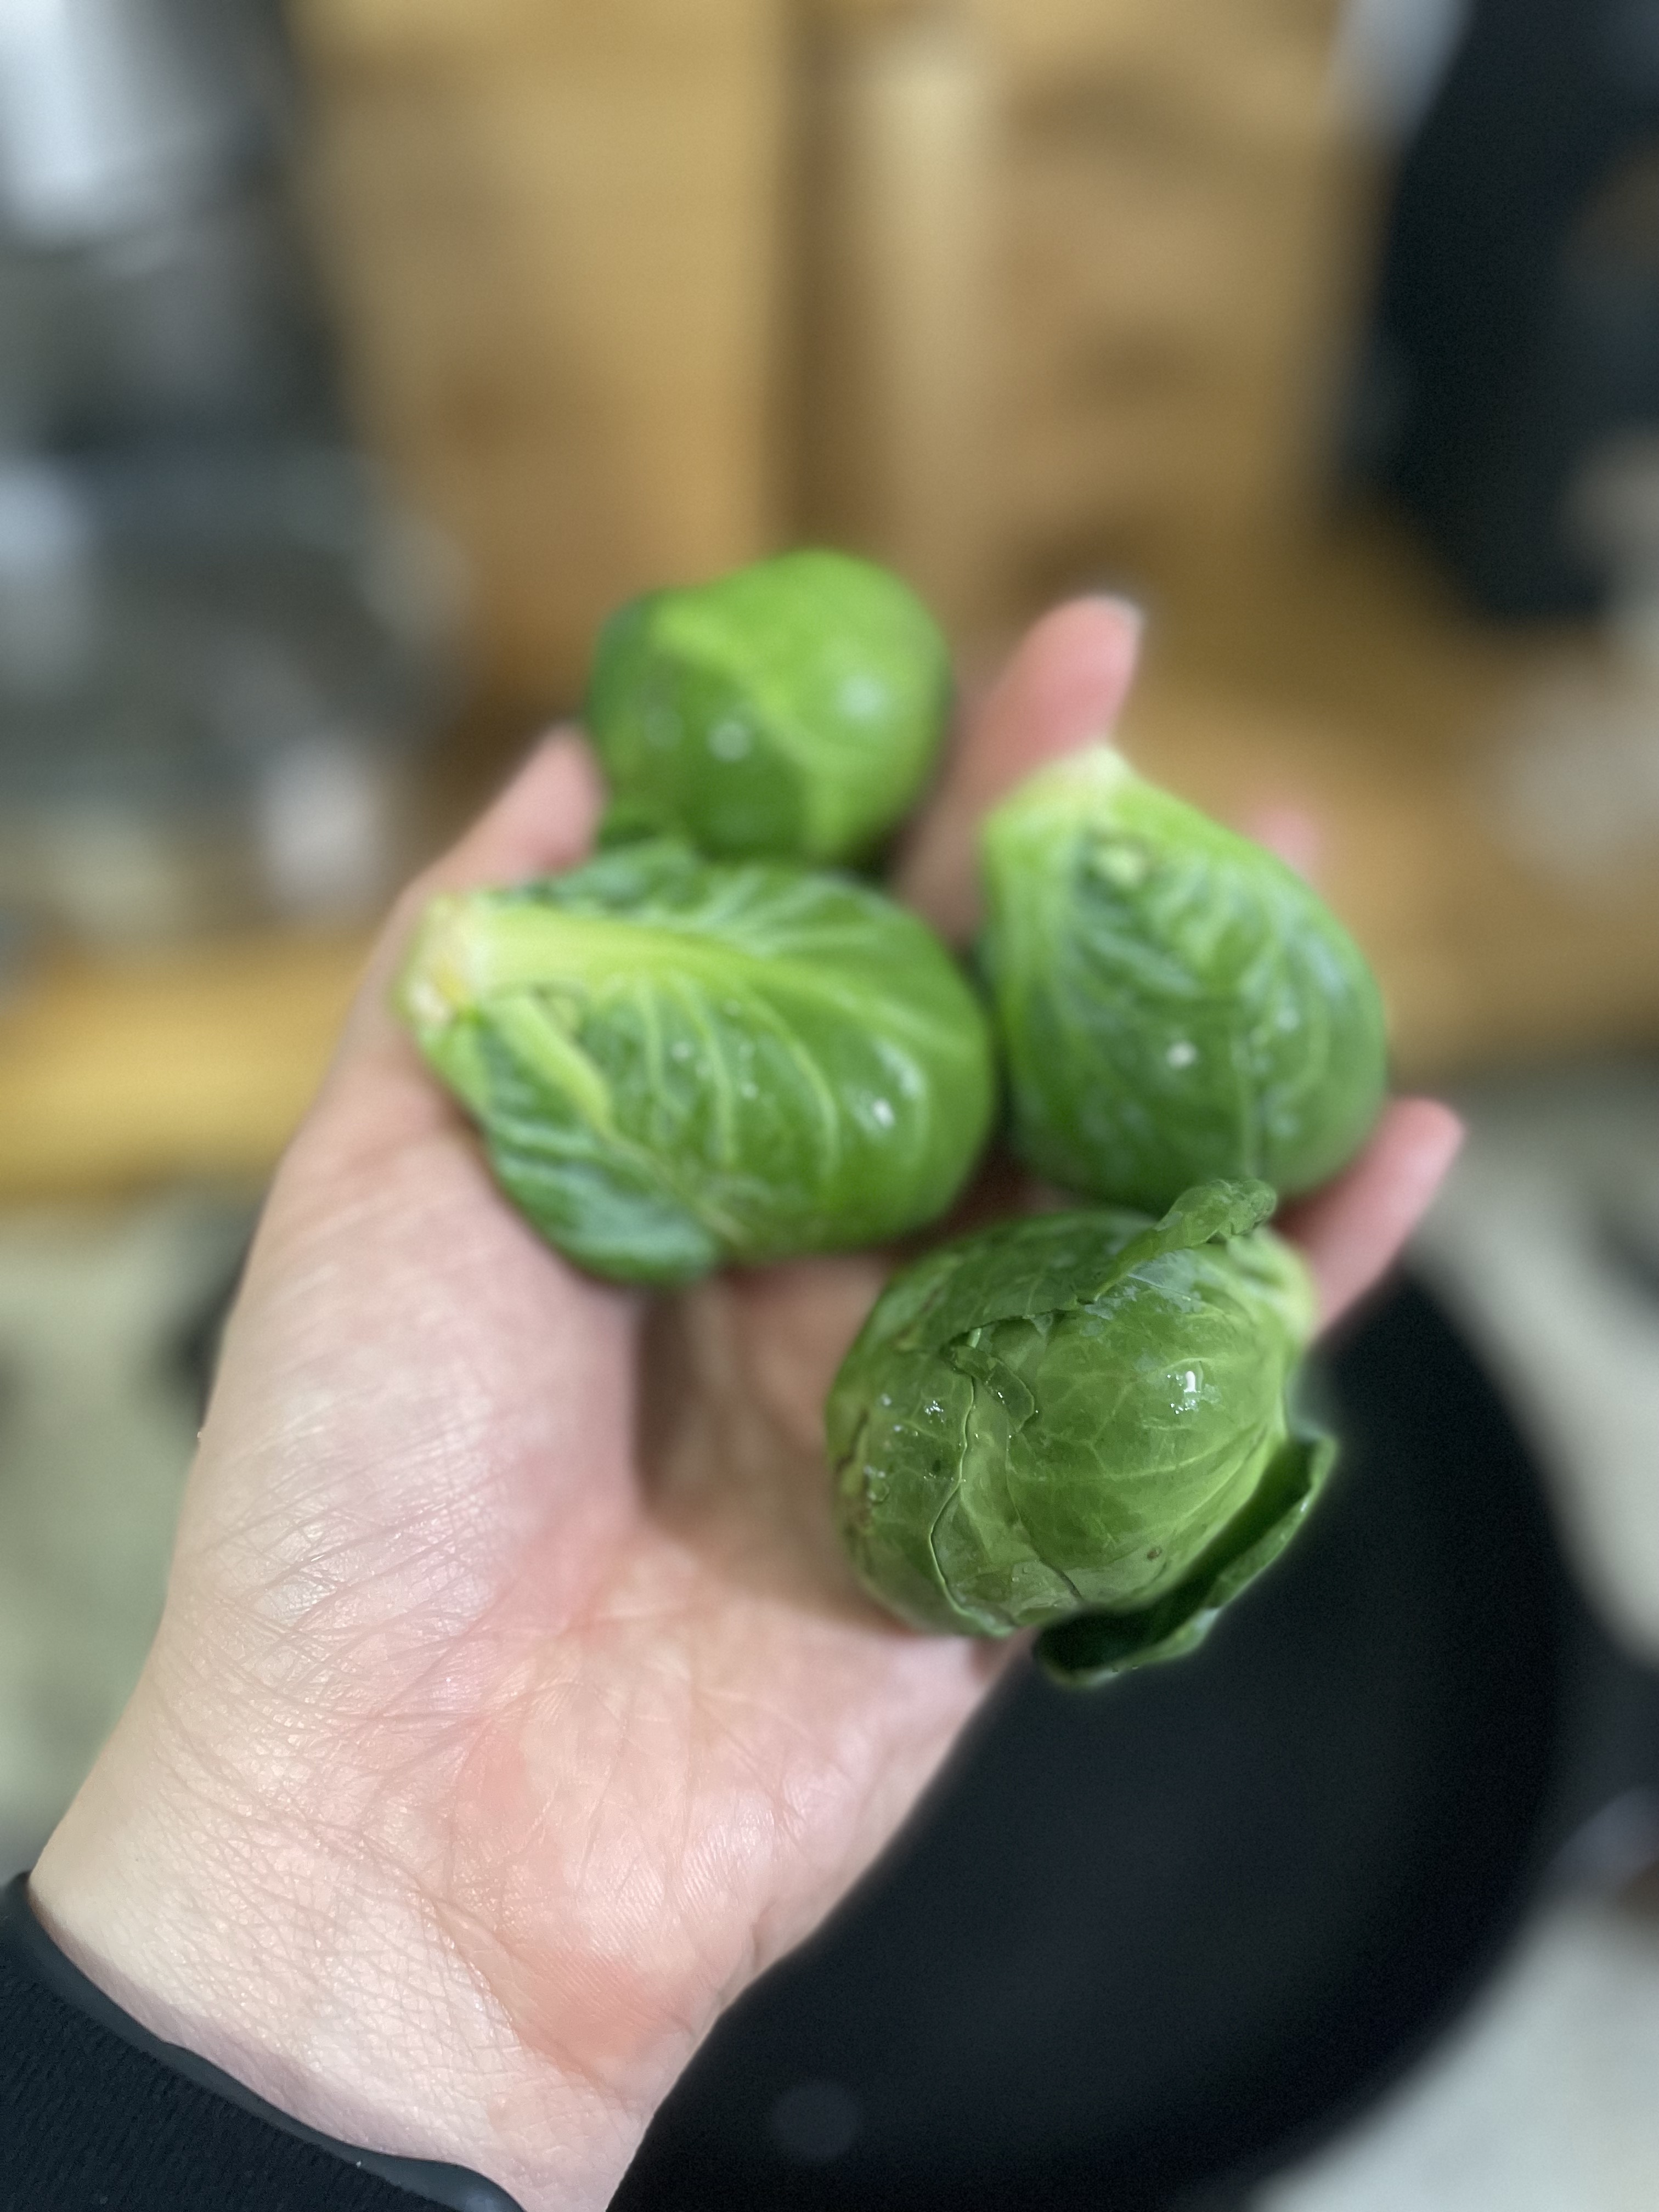
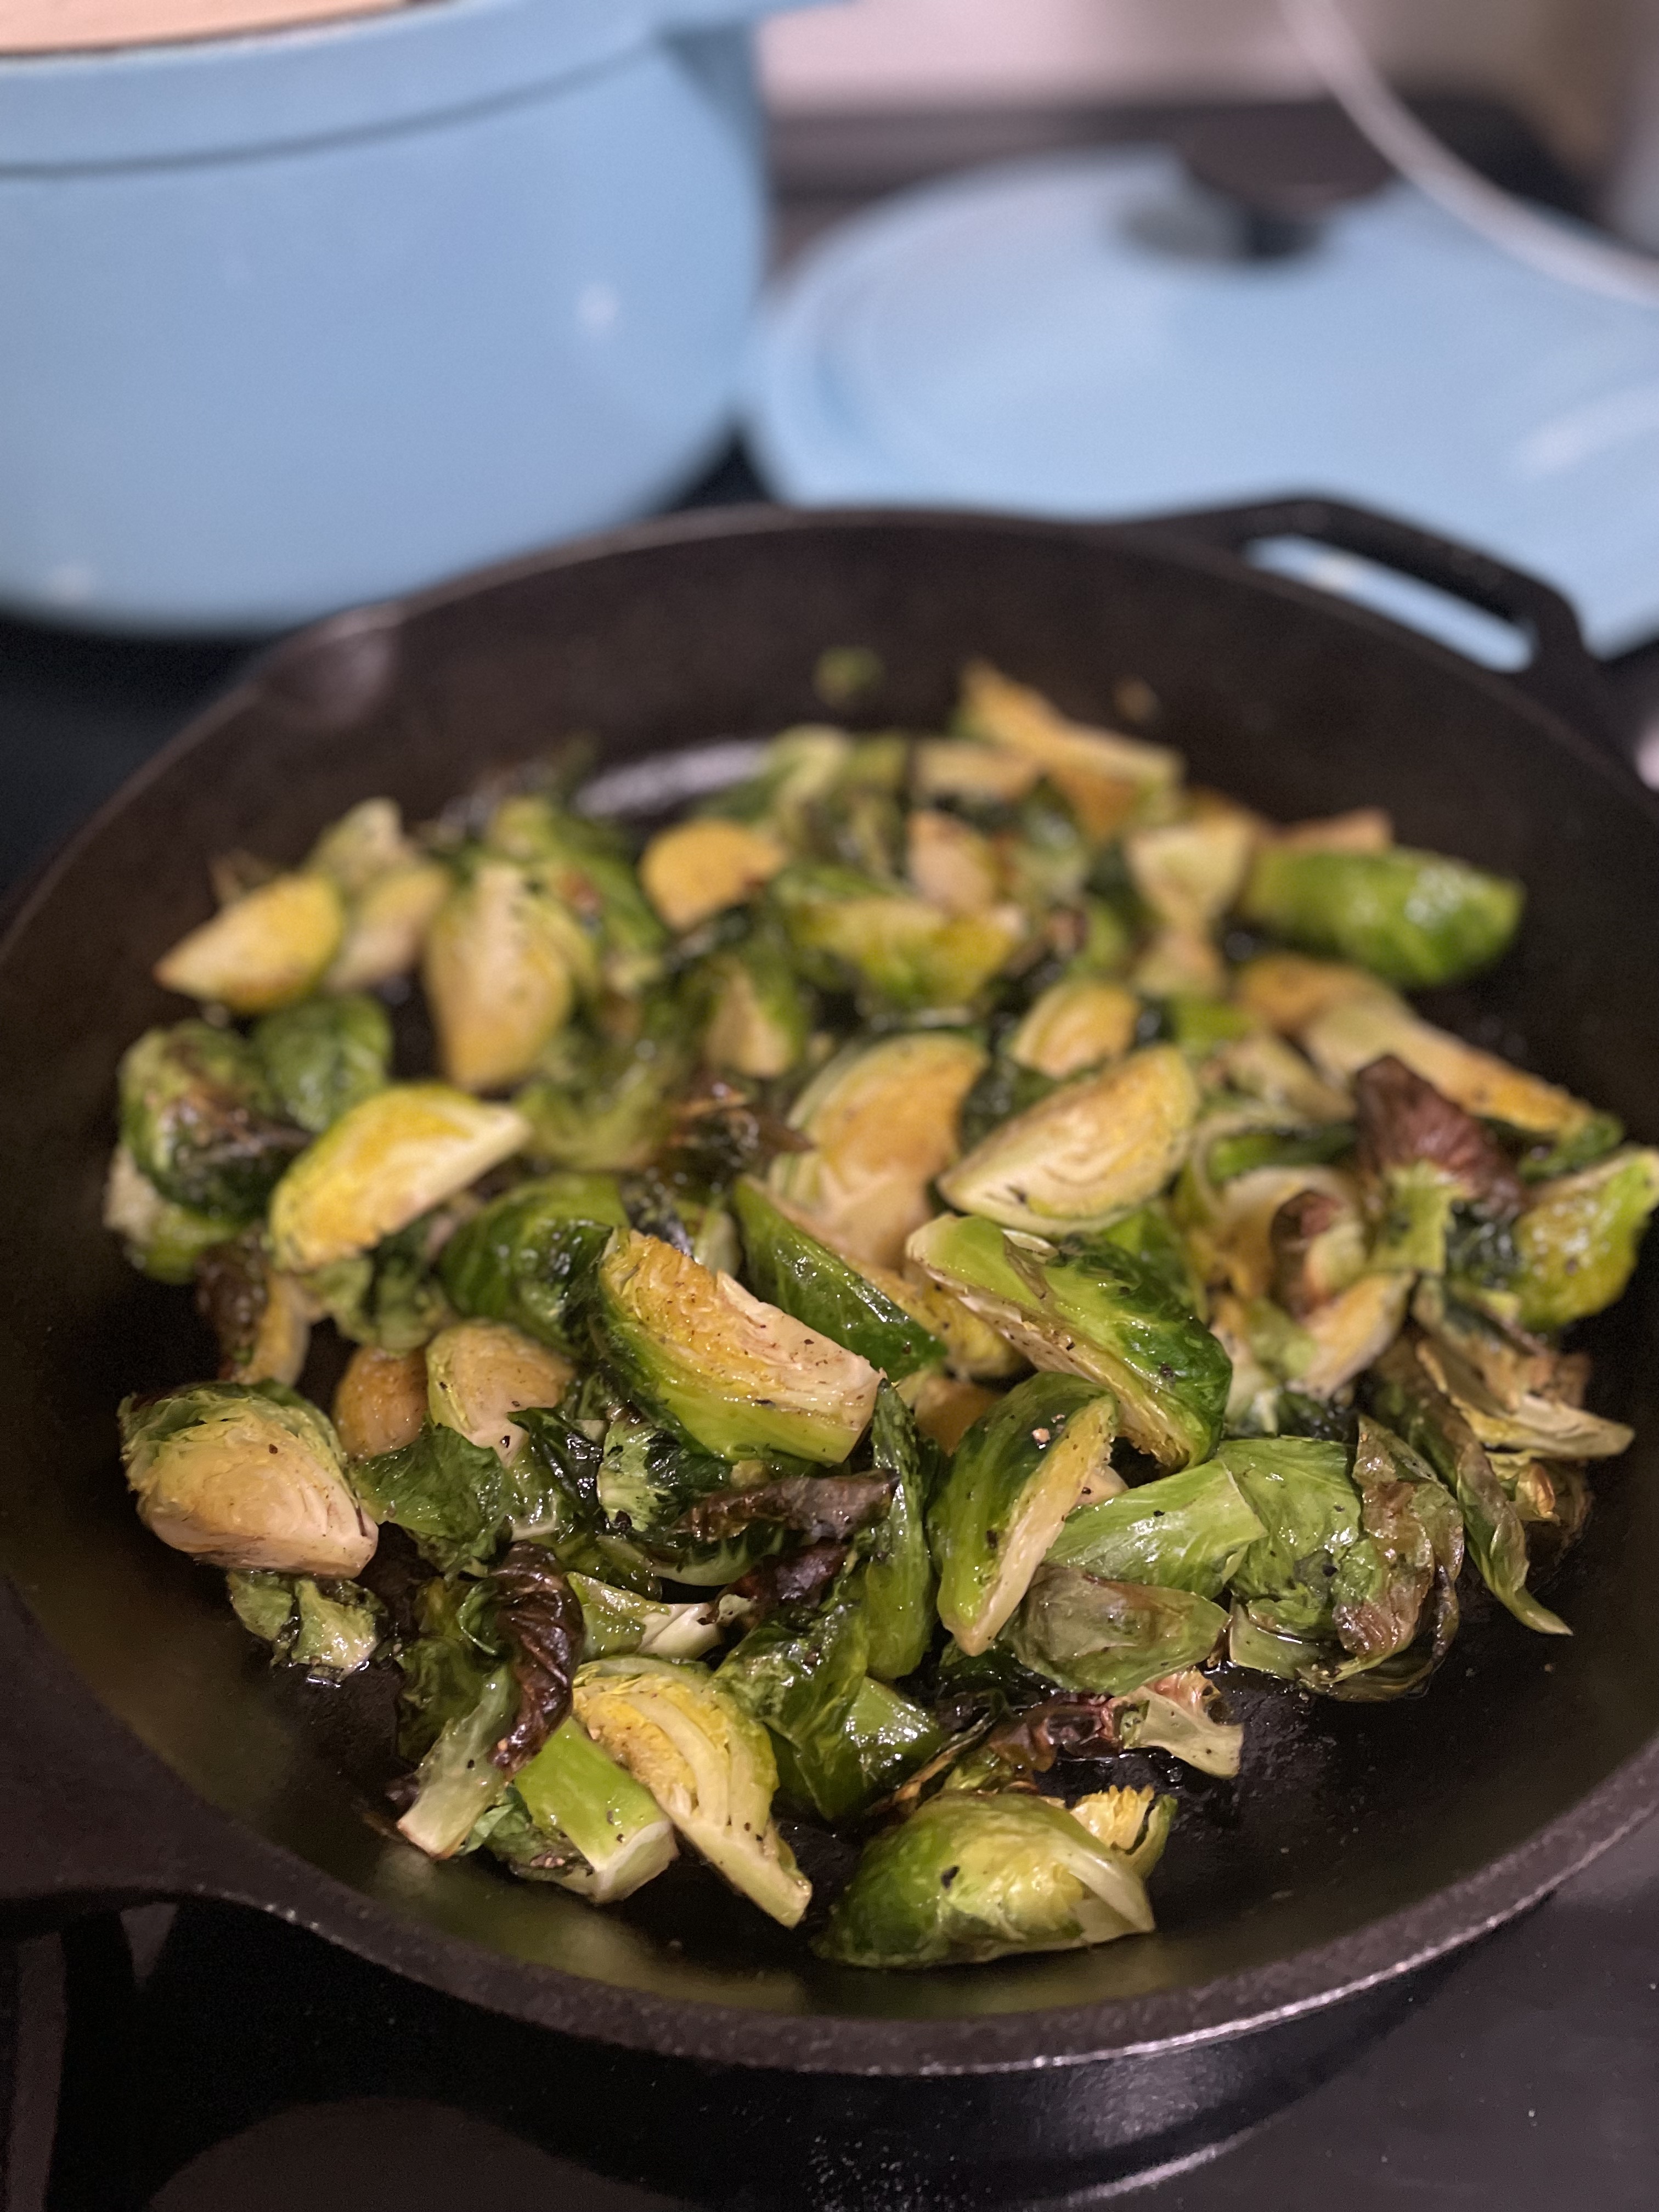
Is it “brussel sprouts” or “brussels sprouts”? If you say it fast enough, they both sound the same. Regardless how you spell it, these cute mini cabbages are so tasty if prepared correctly. Don’t make the mistake of boiling them. Roast them instead! You’ll get a variety of textures from tender to crispy crunchy so you’ll just want to keep eating them.

Ingredients

Honey – The honey adds just enough sweetness to balance the slight bitterness from the sprouts. It also helps with caramelization at the end to leave you with the most flavorful bite. You could substitute this with agave as well or leave it out all together.

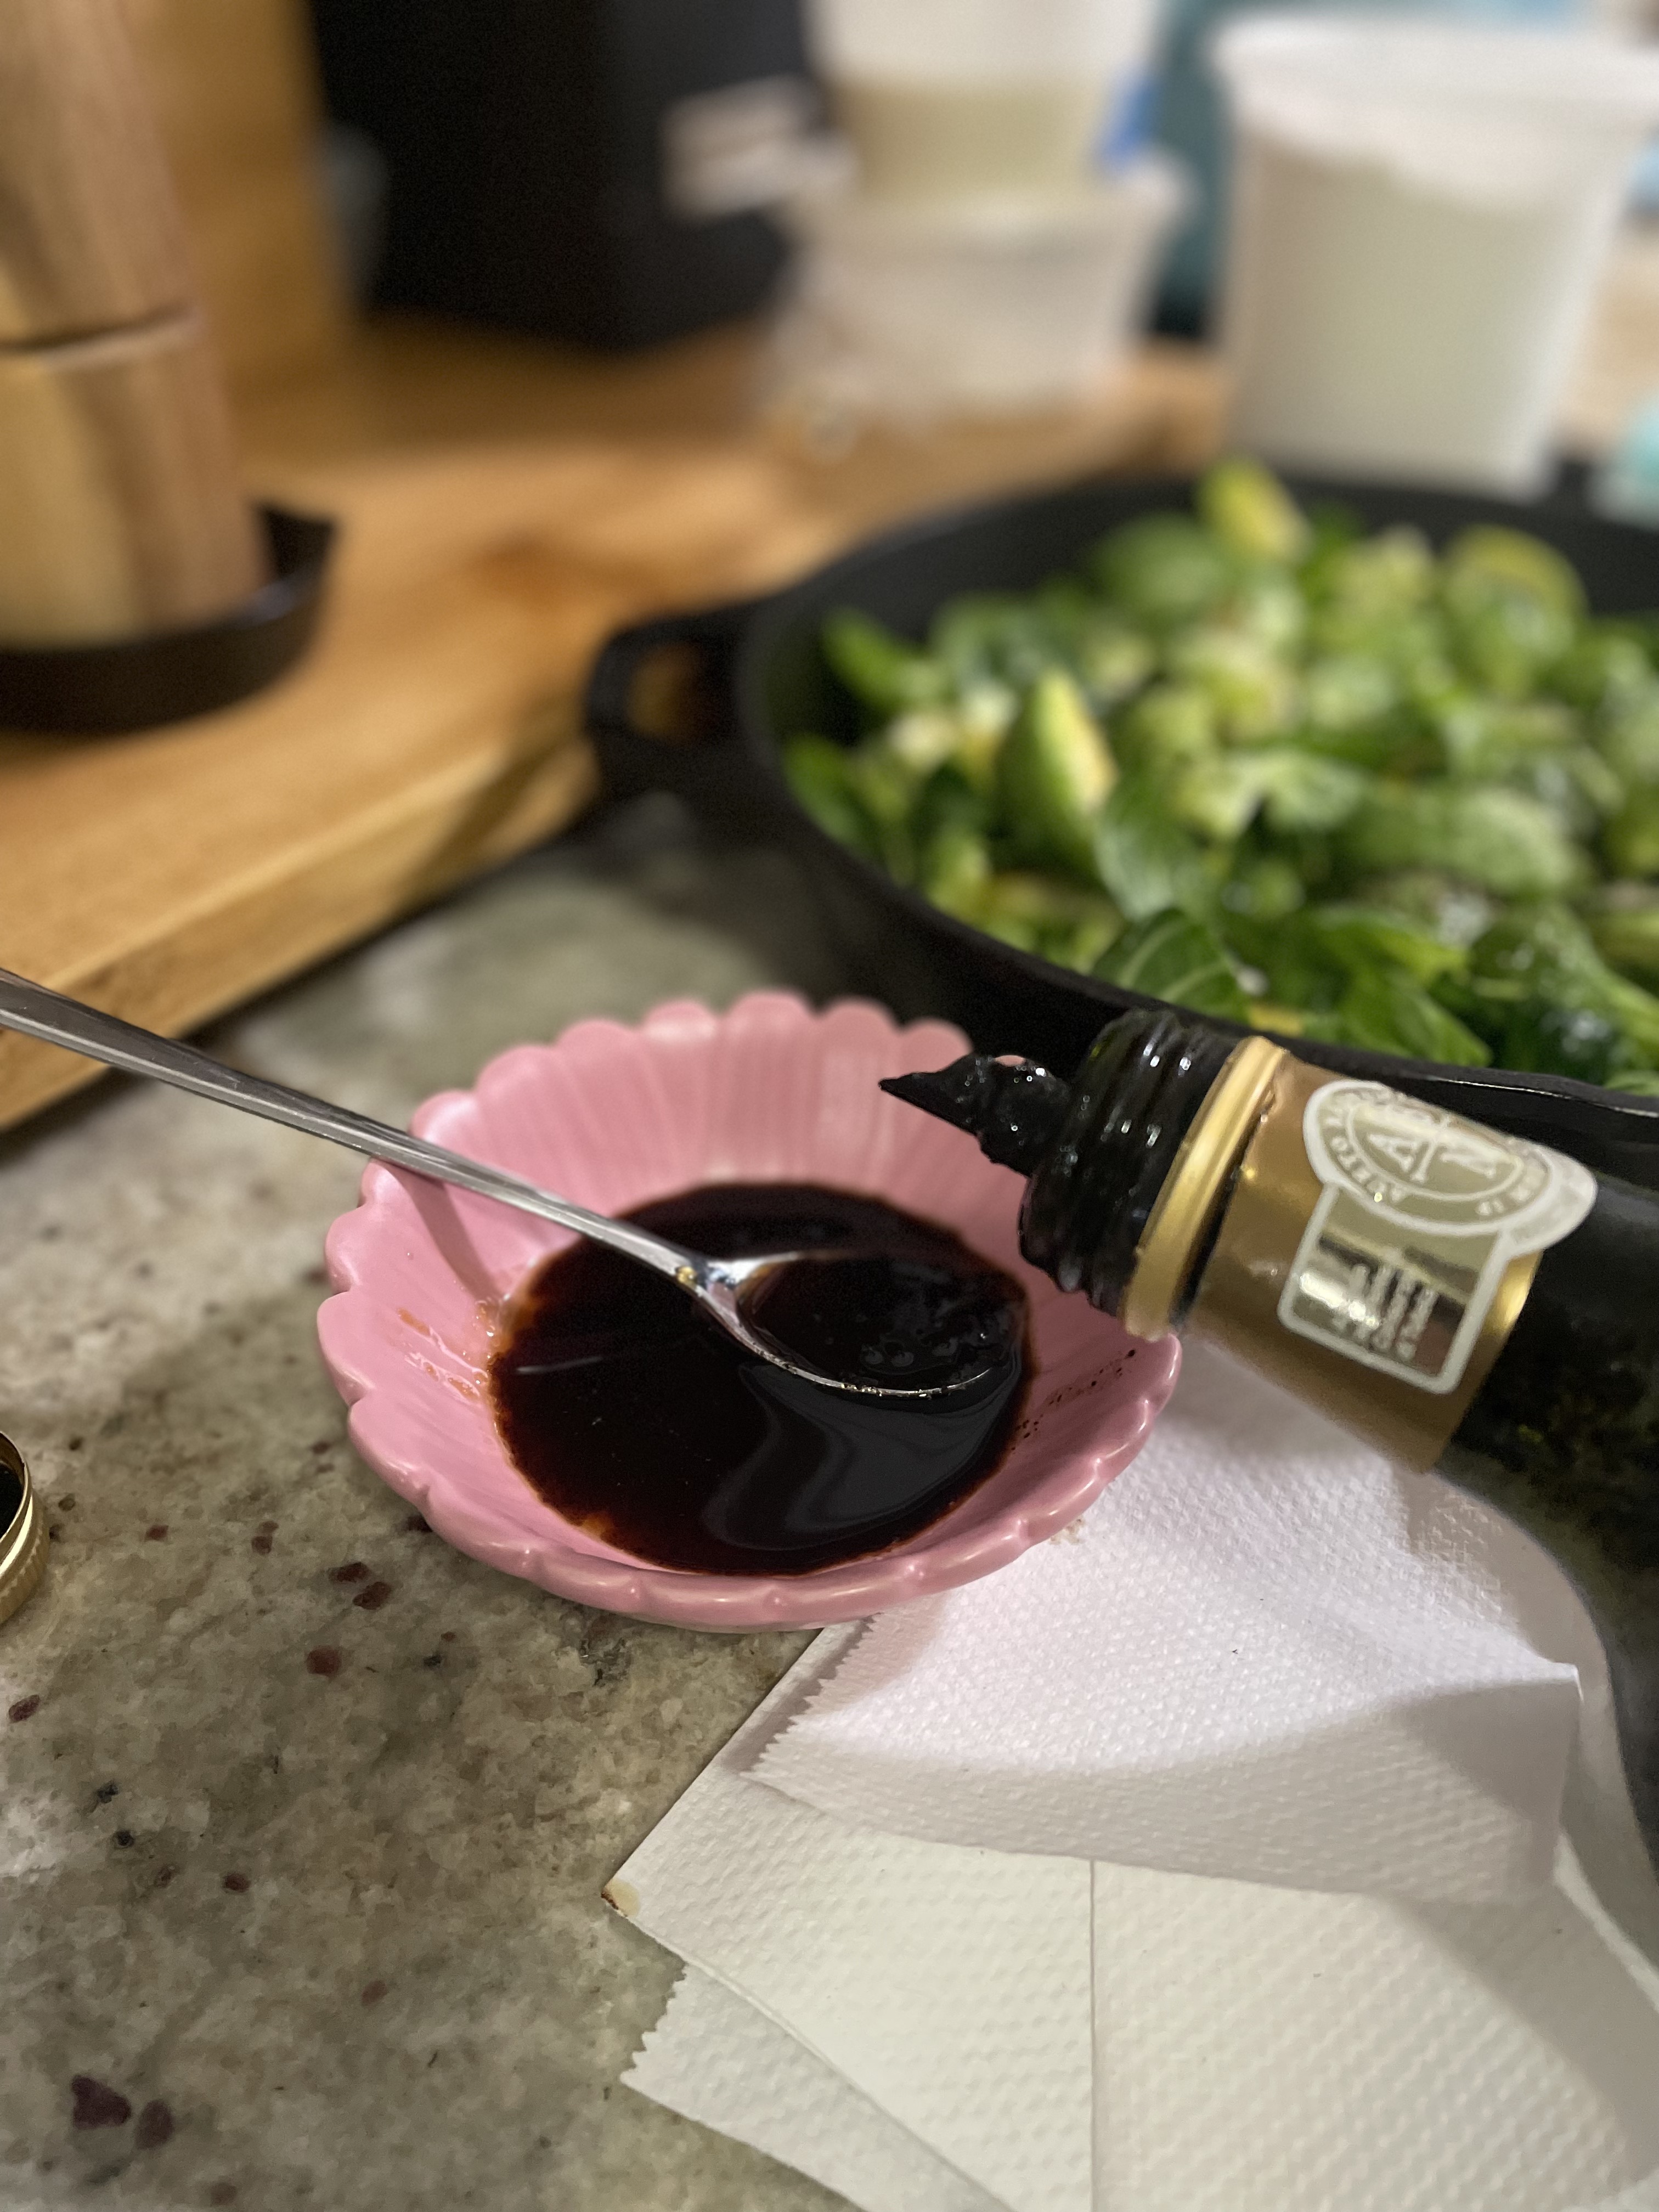
Balsamic vinegar – Now that you have the crunchy, tender, bitter, sweet, and salty together, the balsamic vinegar provides a little brightness and acid. You can also substitute with any other vinegar you prefer.

Honey Balsamic Roasted Brussels Sprouts

Print Recipe
The perfect tender and crispy Brussels sprouts that are ready in a pinch.
Course Side Dish
Keyword brussels sprouts, vegetarian

Equipment

  • 1 cast iron skillet

Ingredients

  • 1/2 lb brussels sprouts
  • 1 tbsp honey
  • 1 tbsp balsamic vinegar
  • 1 tsp salt
  • 1 tsp pepper
  • 2 tbsp olive oil

Instructions

  • Preheat oven to 375F.
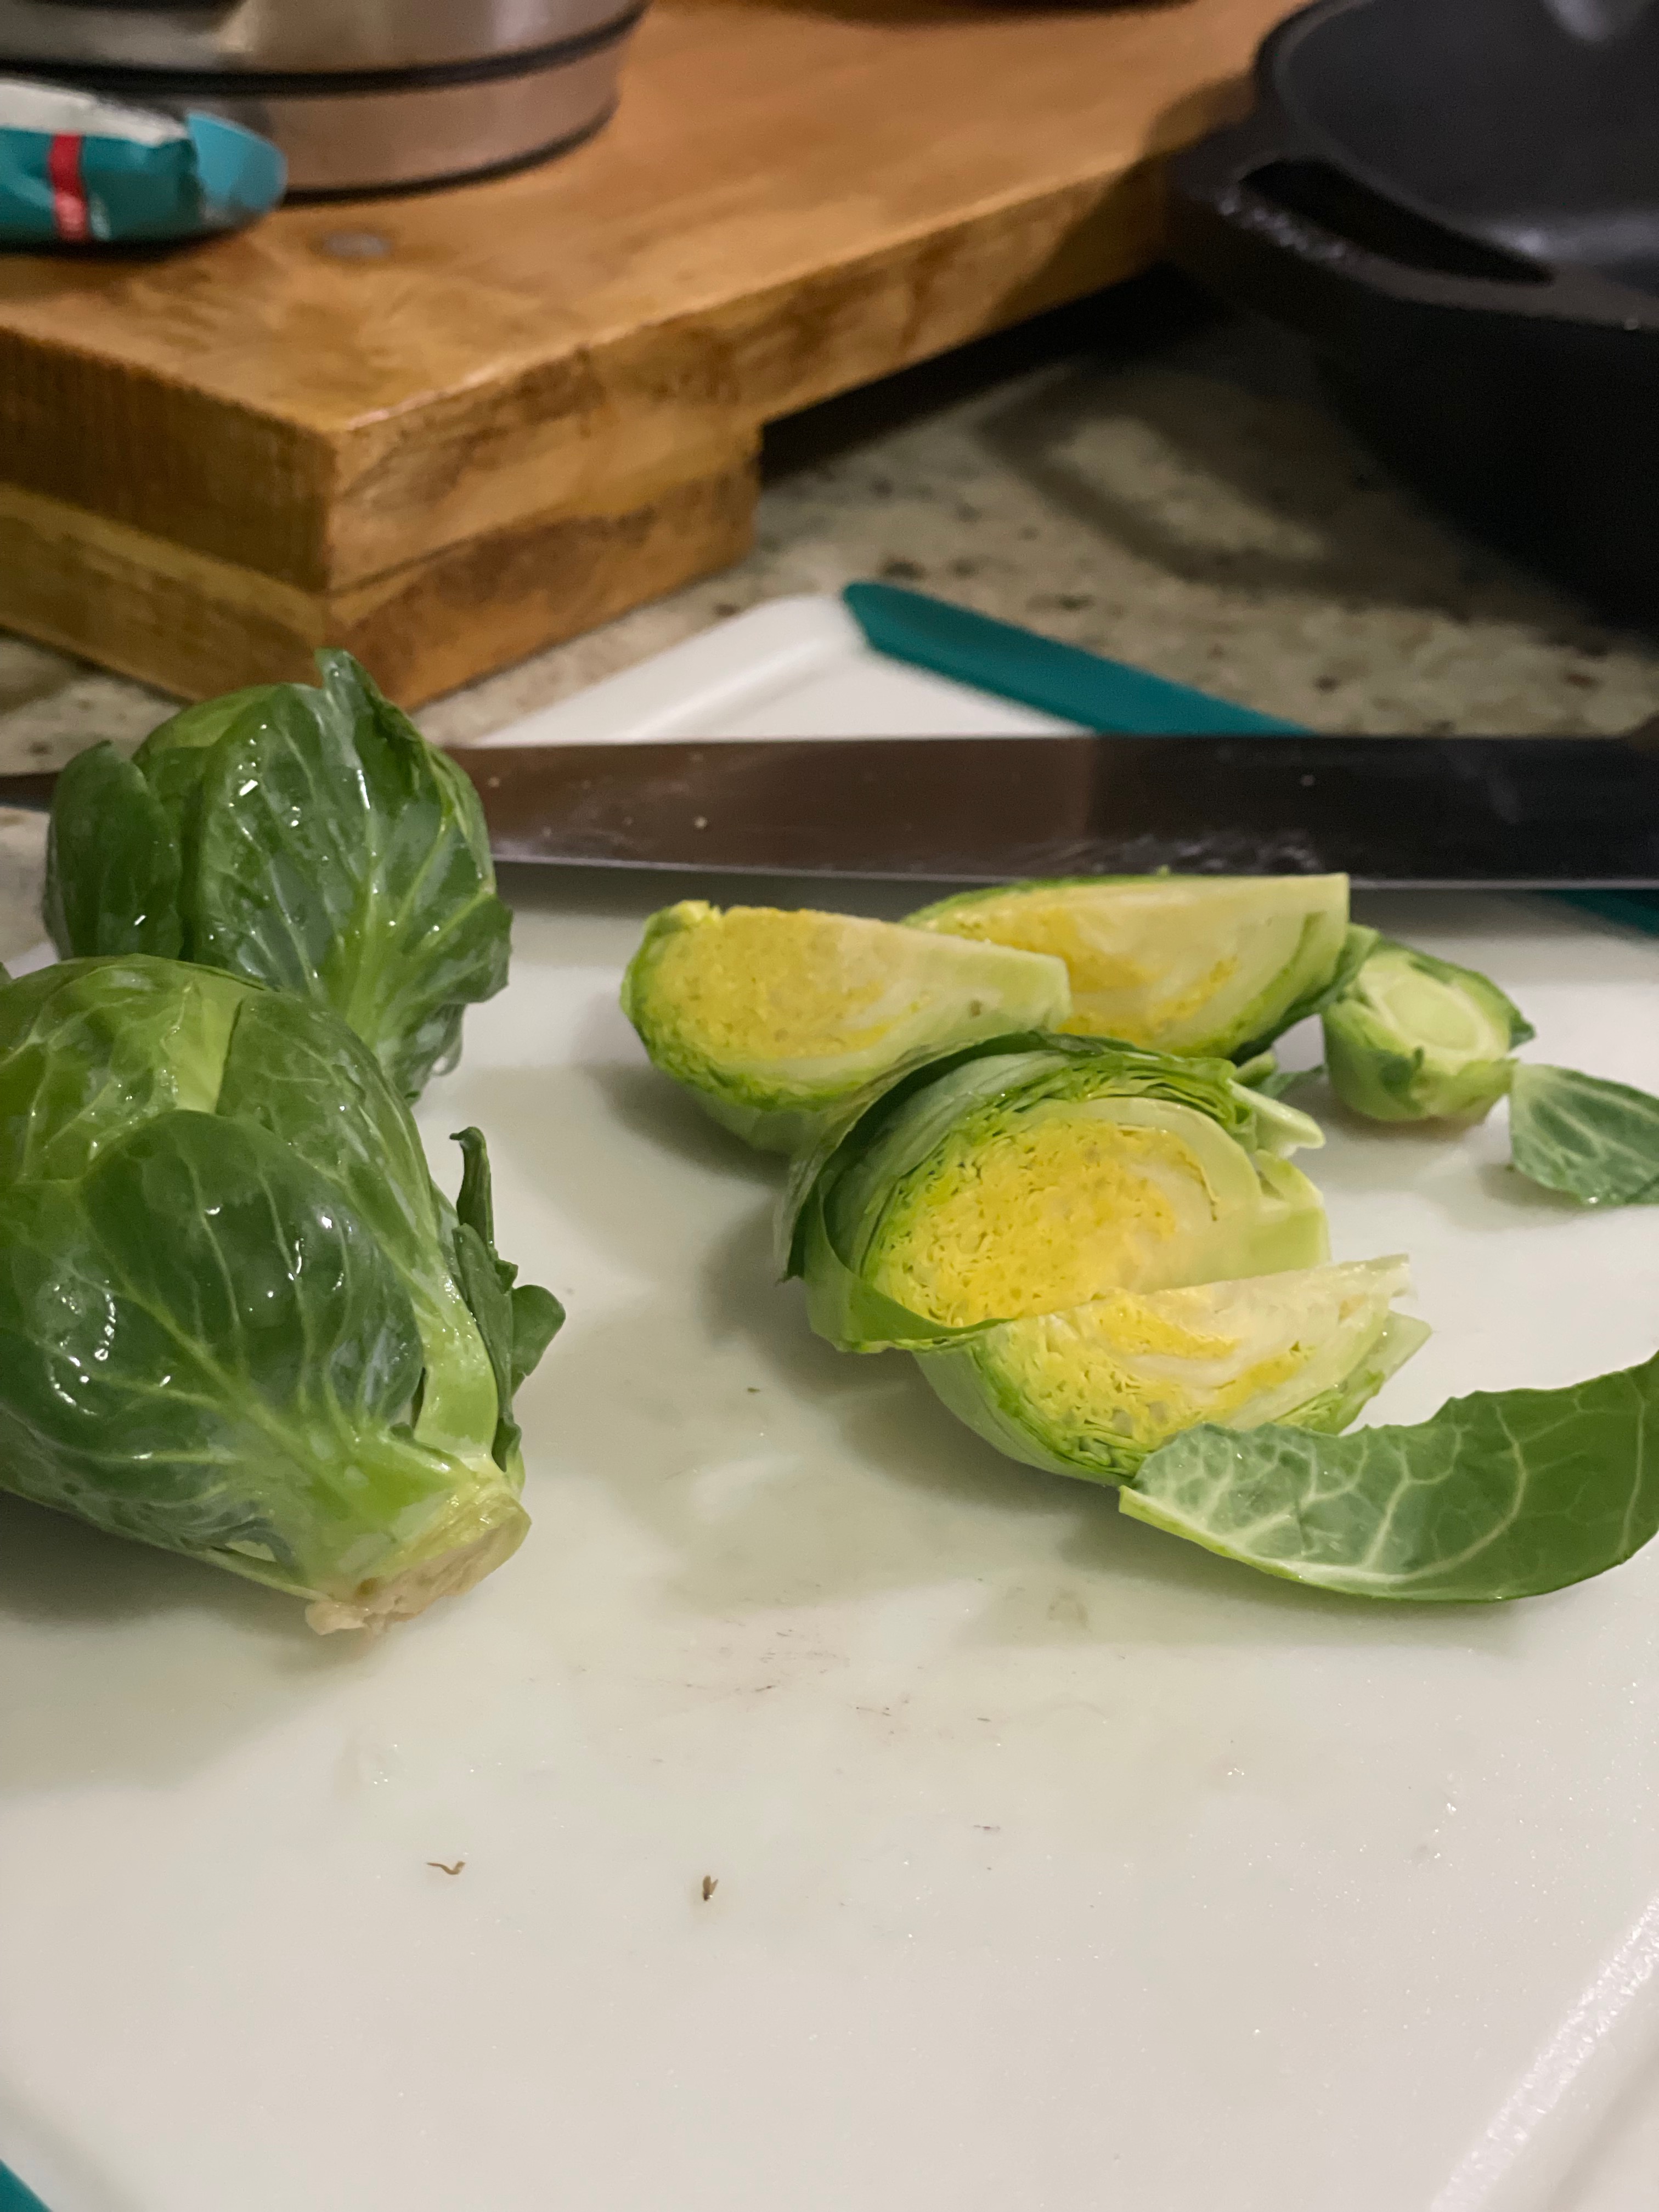
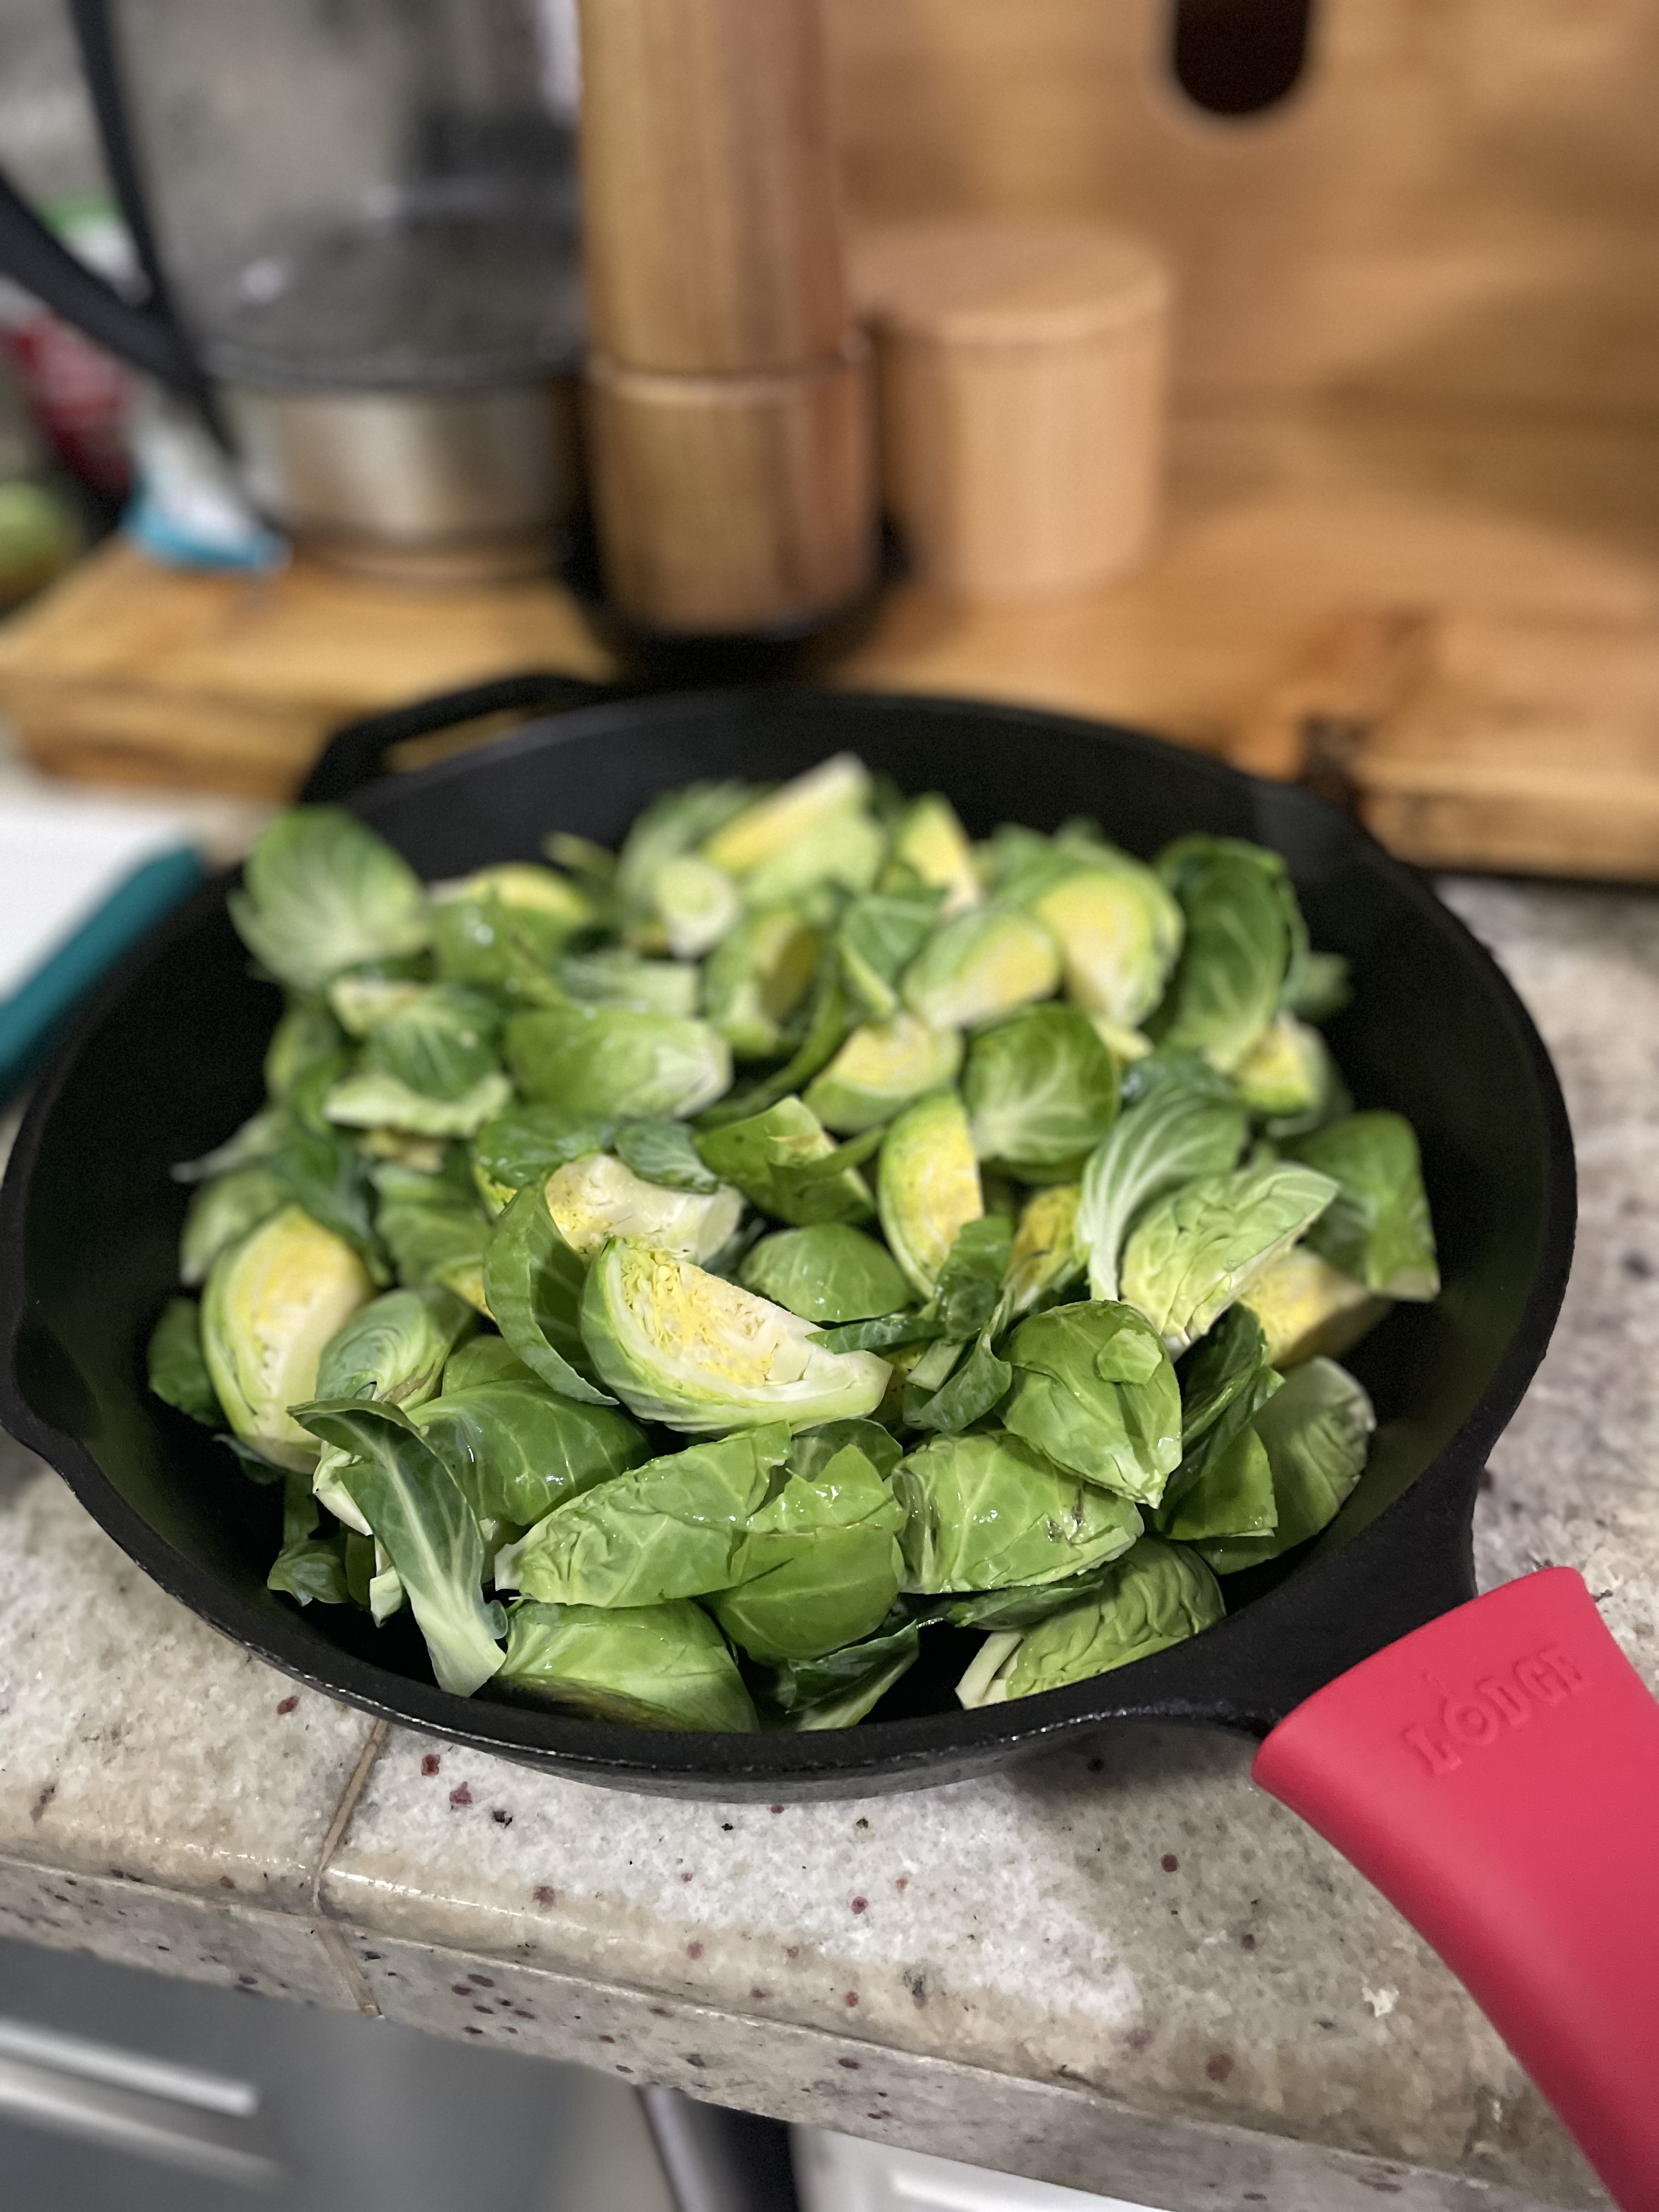
  • Rinse brussel sprouts, trim the dry end, and quarter. If you have smaller sprouts, you can just cut them in half. Put brussels directly in the skillet.
  • Add olive oil, salt and pepper to skillet. Mix sprouts so they are all coated in oil and seasonings.
  • Put skillet on top rack of oven and allow brussels to cook for 15 minutes.
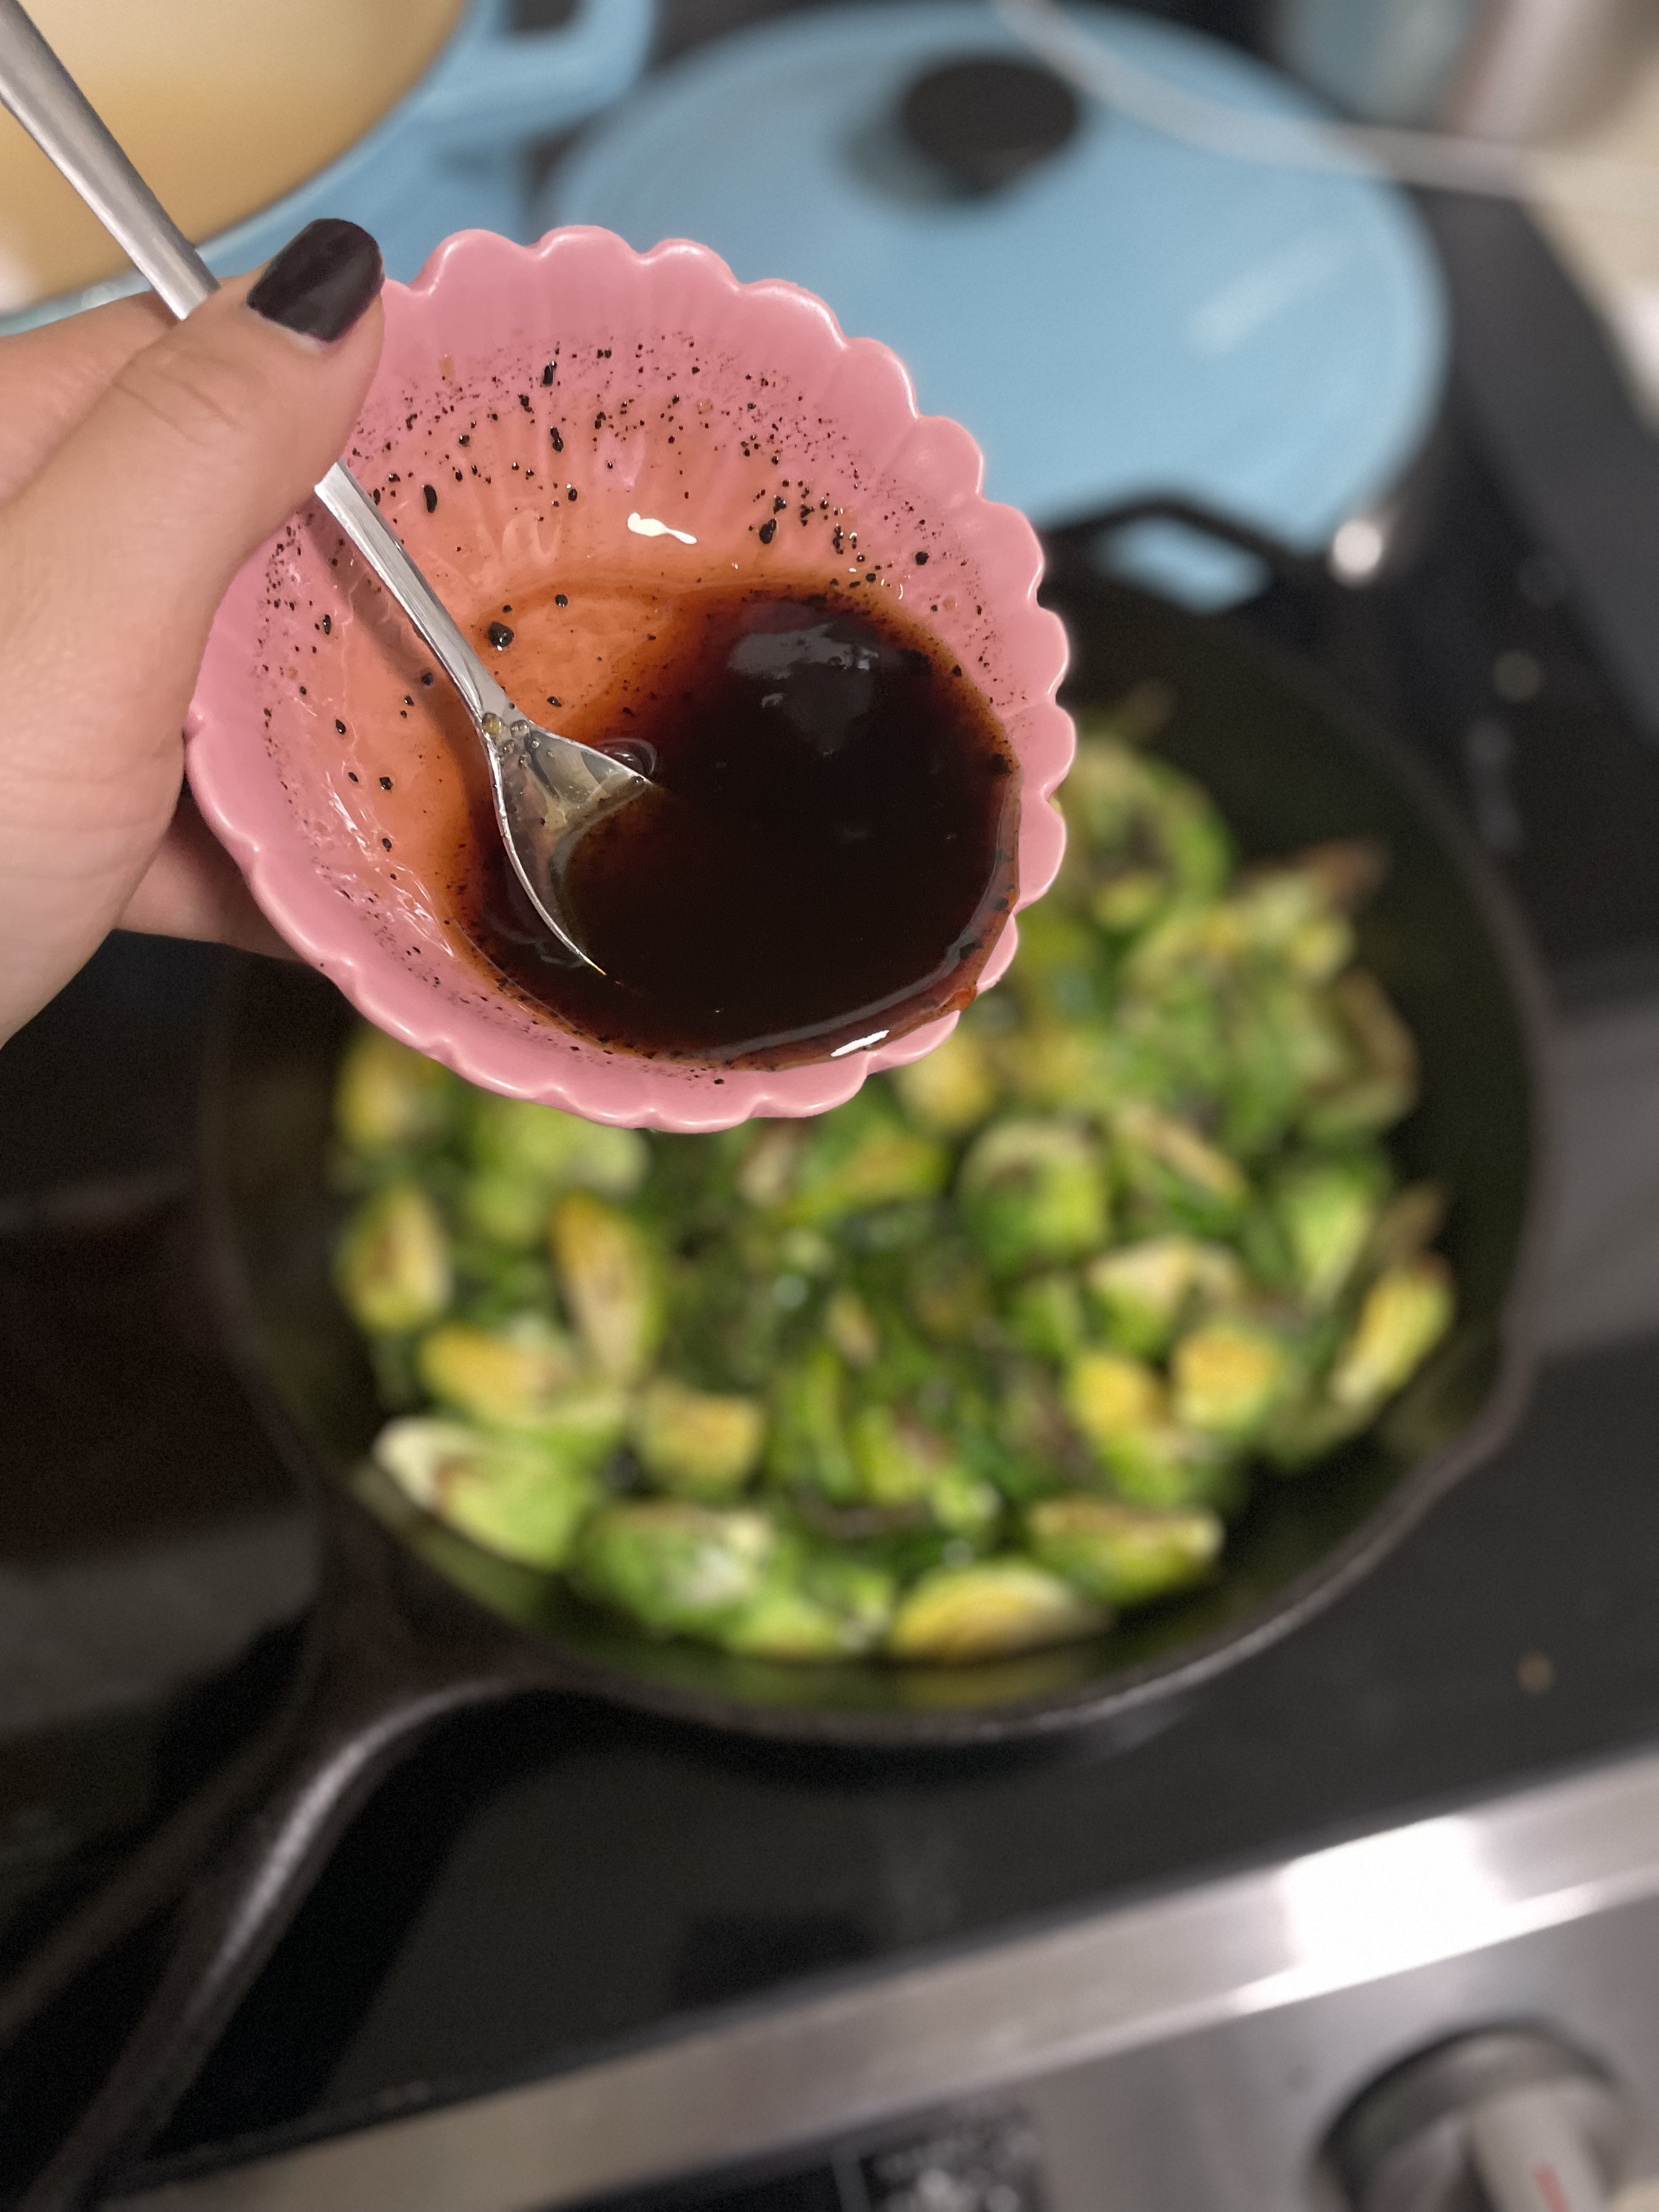
  • While they are in the oven, mix together the honey and balsamic vinegar.
  • After 15 minutes, drizzle Brussels sprouts with honey balsamic mixture. Gently stir.
  • Return skillet to oven for another 5 minutes.
  • Remove from oven and enjoy!

Have these with some 10-Minute Soy Ginger Noodles or use them as a topping for Pumpkin Soup.

The oven’s going to be on so might as well make some Crispy Gooey Chocolate Chip Cookies or Banana Bread!

Light, Crispy, Fluffy Waffles

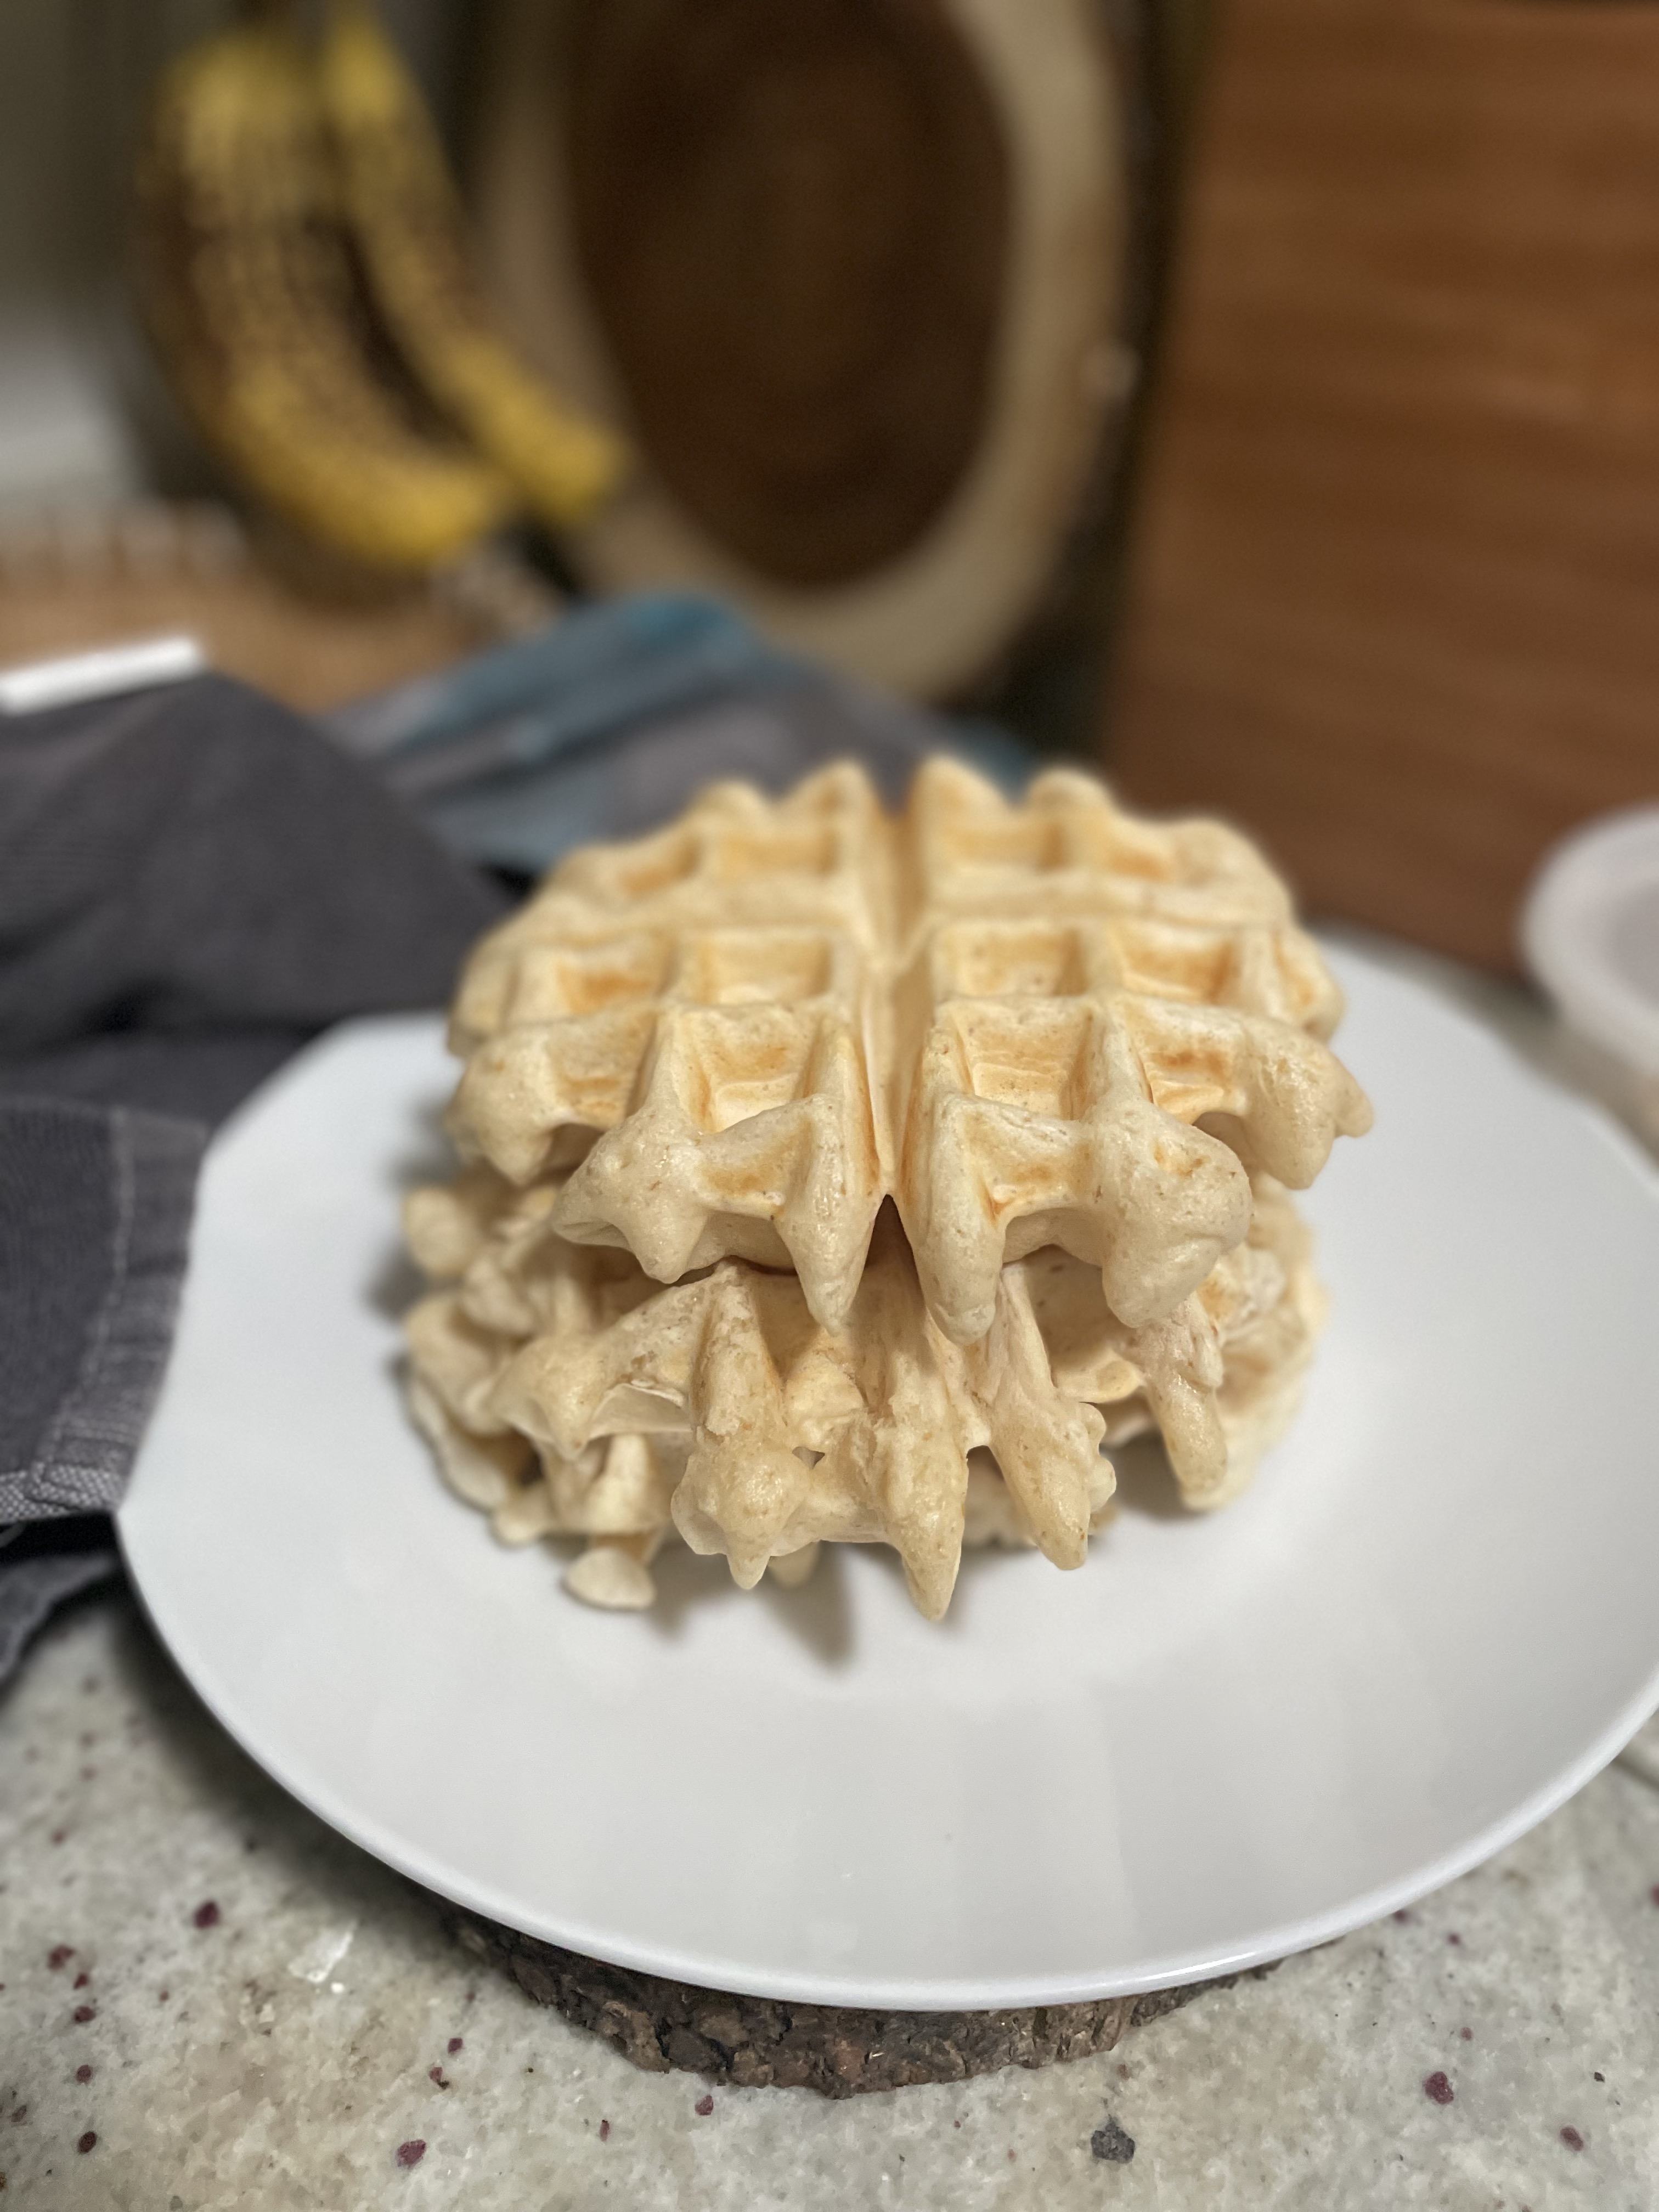
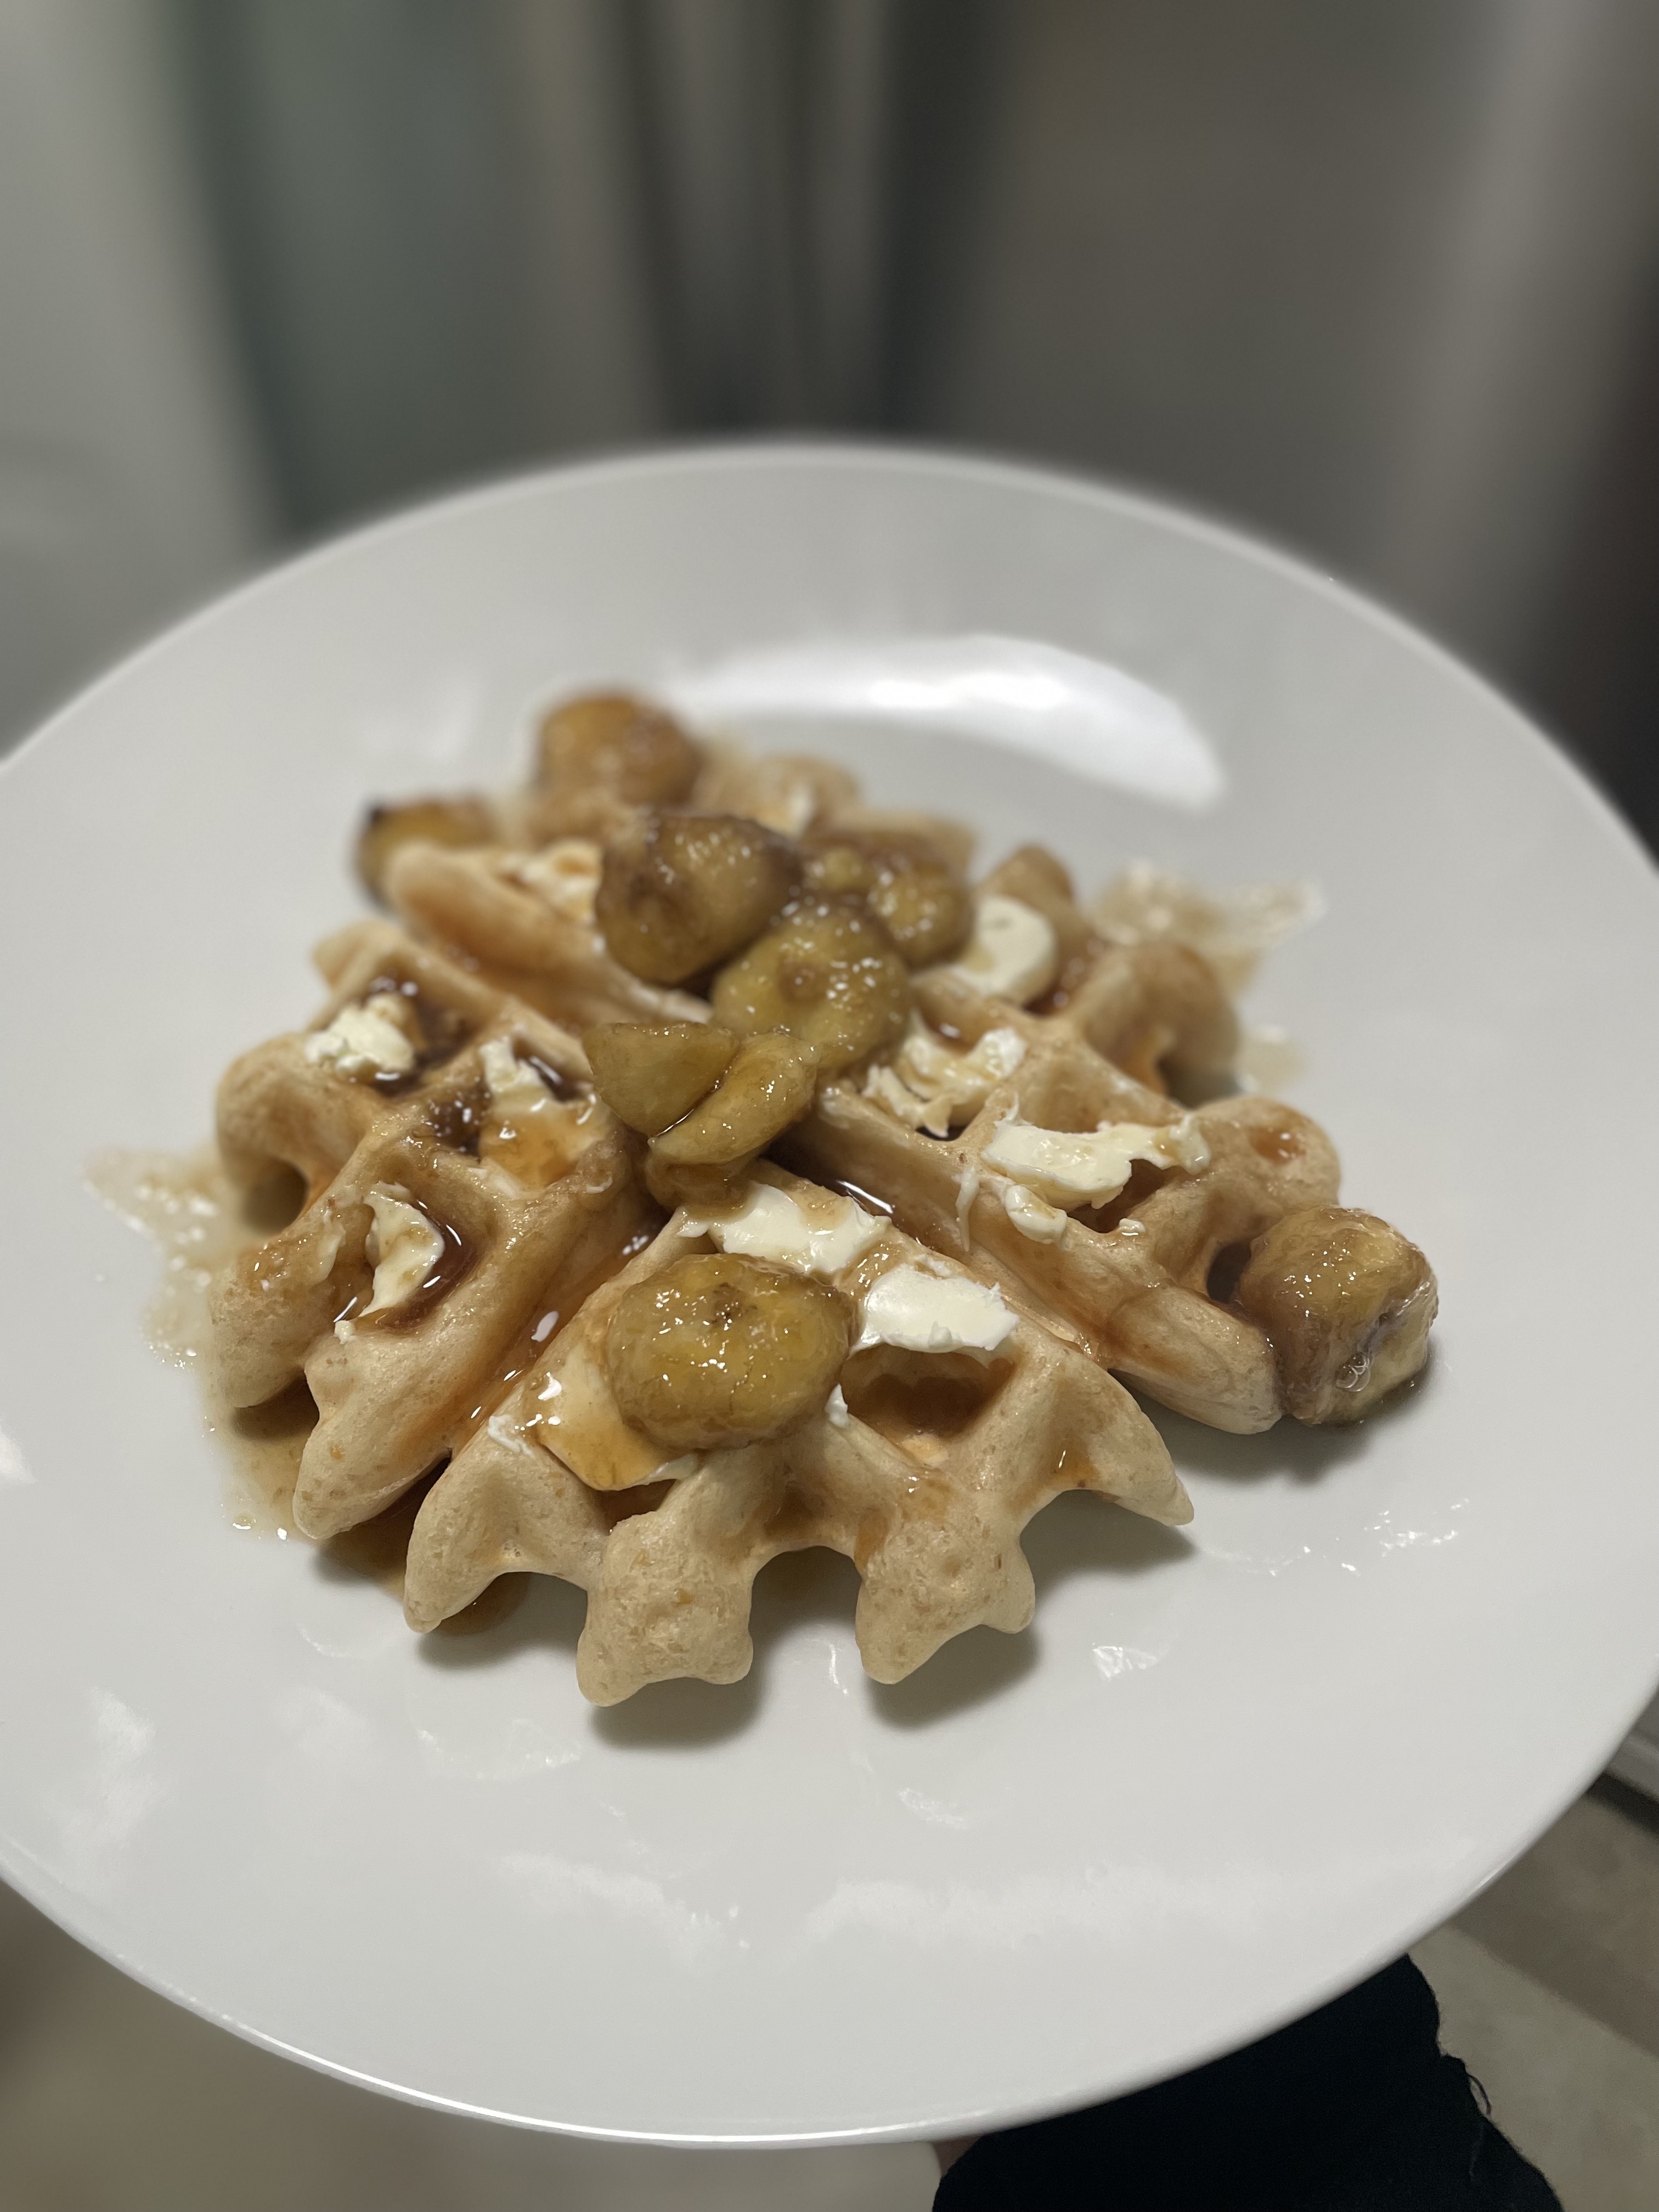
Waffles > pancakes, right? When there’s a weekend morning where there isn’t too much going on, I like to make waffles so it feels more like a special occasion. These waffles happen to be vegan and you can’t even tell. They’re exactly how I like them: light, crispy, and fluffy. Serve with a side of eggs and bacon and top them with whipped cream, berries, and powdered sugar. Most recently I topped mine with a bananas foster-esque syrup of rum, banana, and brown sugar. Make extra waffles and you can even freeze them! Throw them in the toaster for a quick breakfast.

banana foster-esque

Ingredients

Cornstarch – The combination of AP flour and cornstarch leads to a light, crispy waffle. If you don’t have cornstarch, you can use all AP flour. Your waffle just won’t be as crispy if you used cornstarch.

Maple syrup – I like waffles that already have a maple-y flavor to them. With the aroma of maple in the batter, I usually don’t even need maple syrup on top.

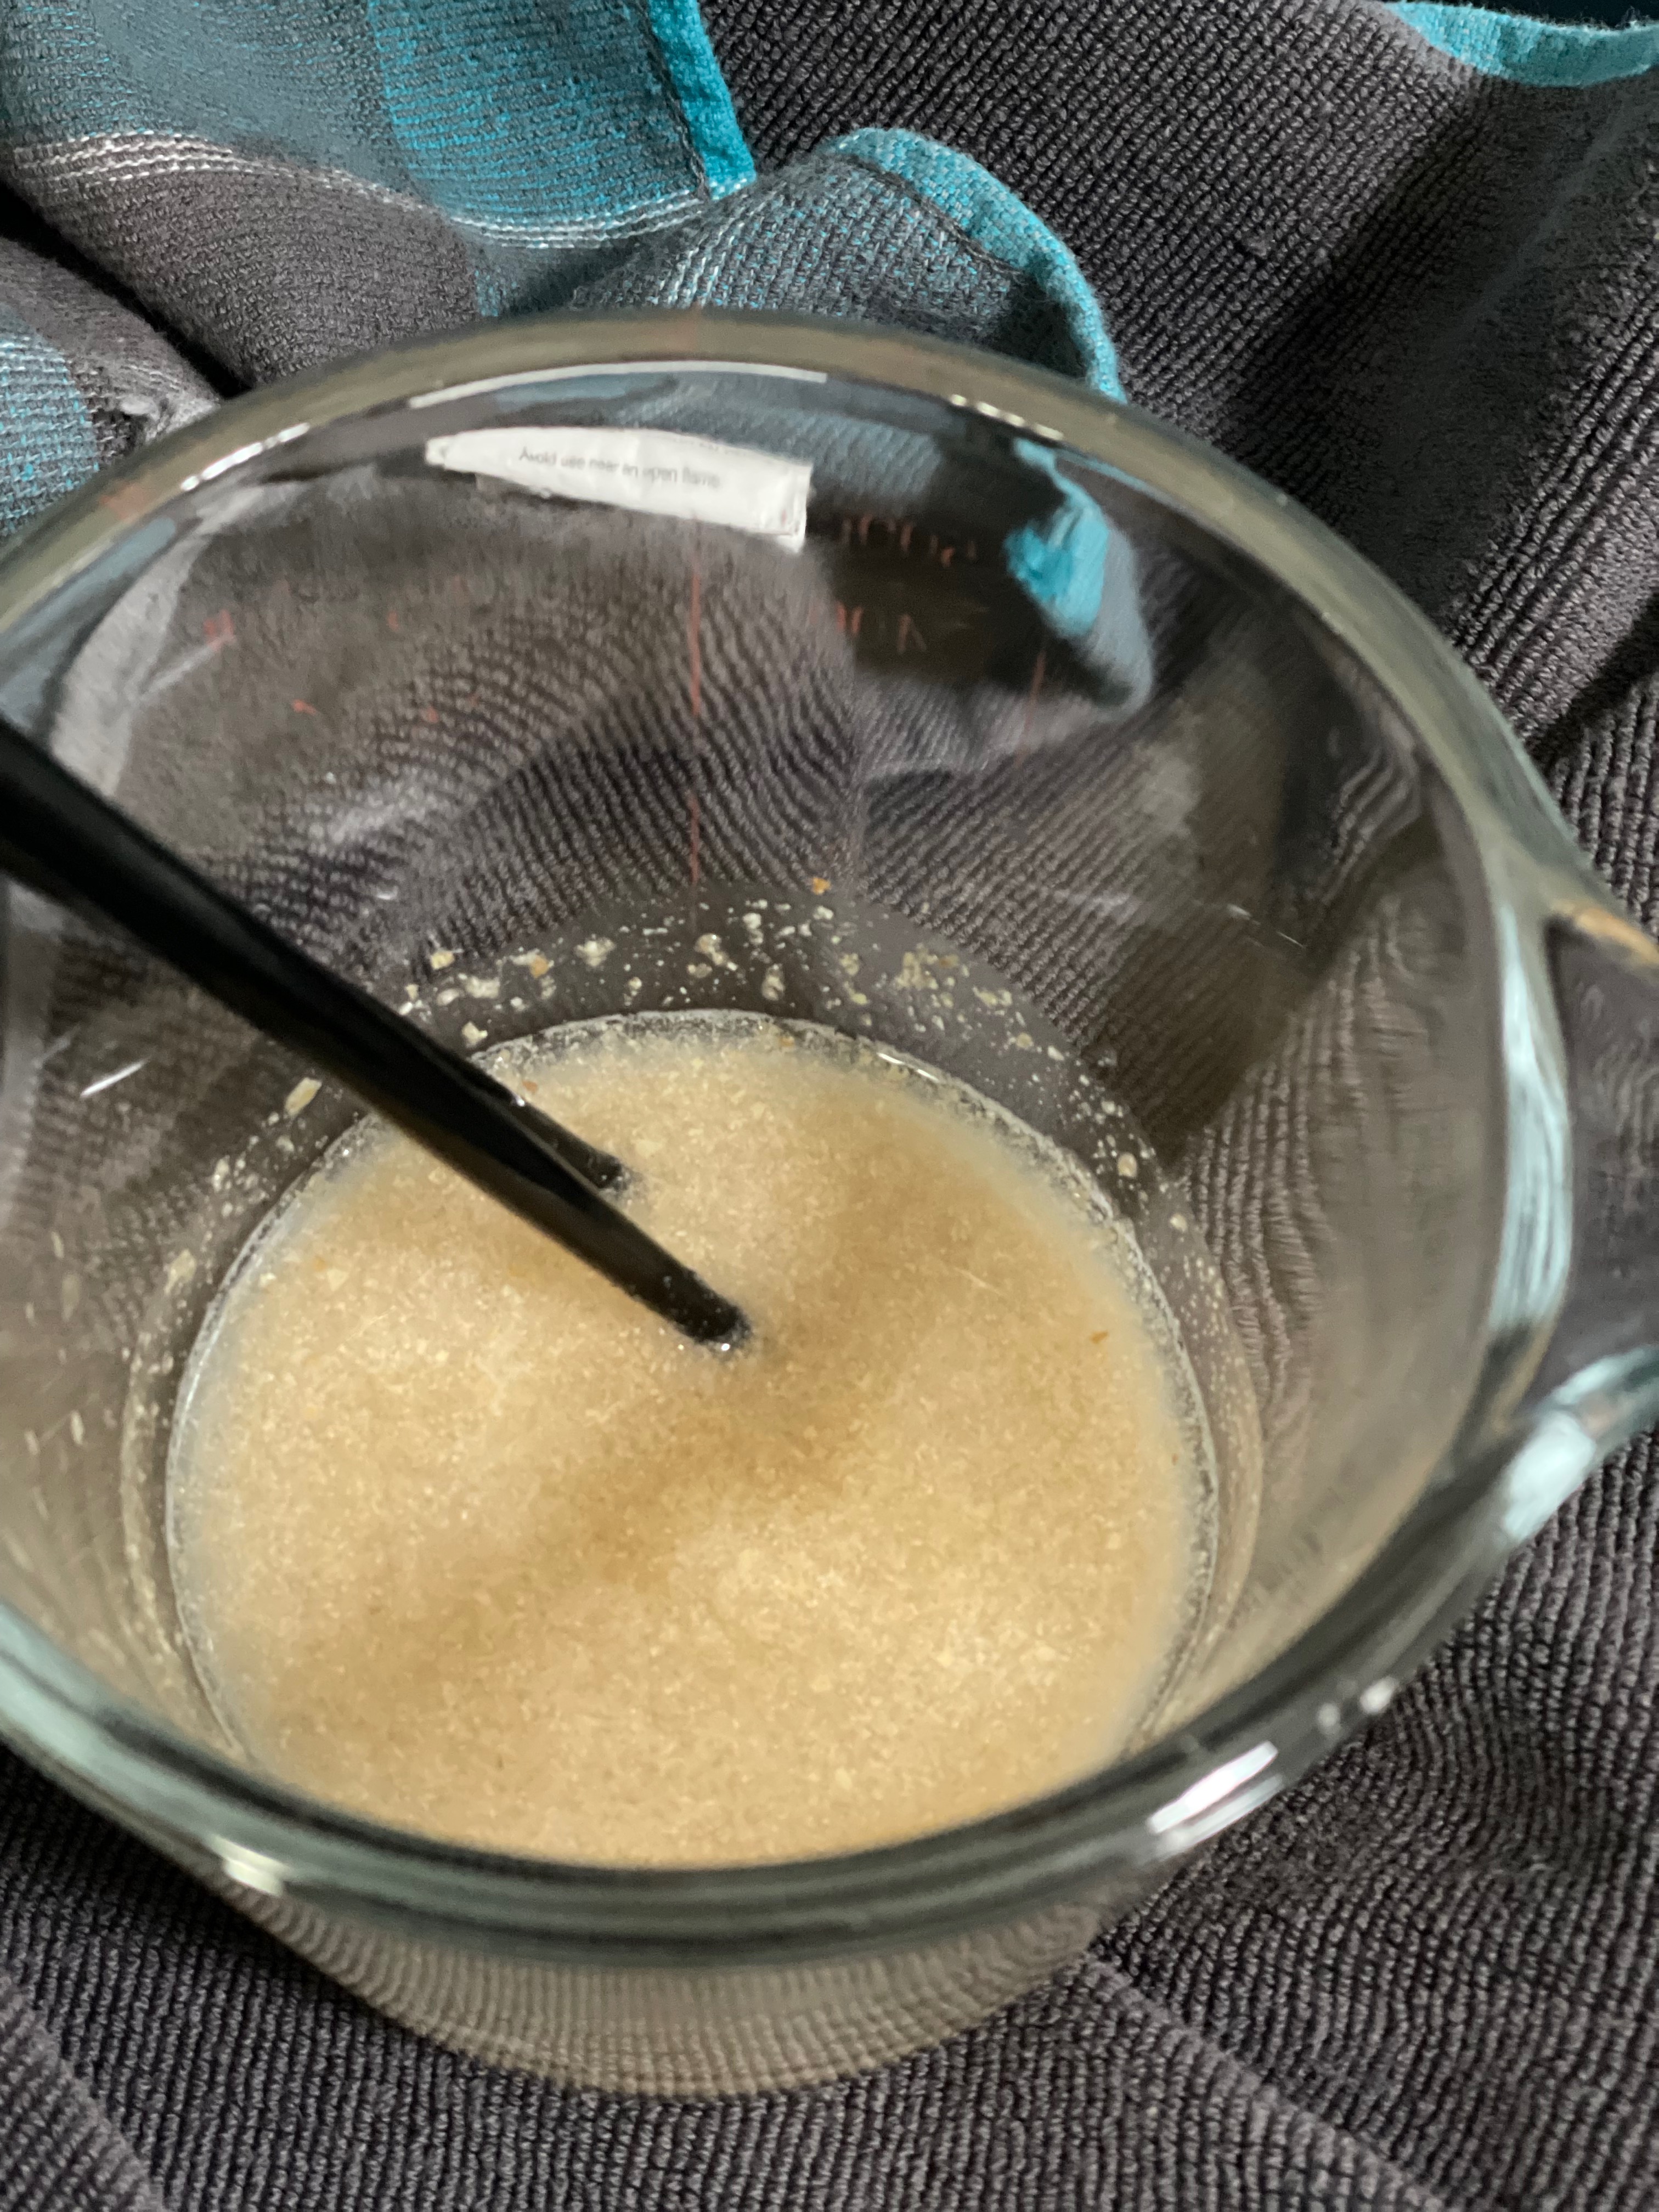
Flax eggs – This was a happy accident on a day I wanted waffles but didn’t have any eggs left. Flax eggs are much healthier than the usual chicken eggs and you really can’t tell the difference in this recipe. It helps bind all of the ingredients together without making the batter taste “eggy”.

Soy milk – Another happy accident. I needed to add some moisture to my waffles and didn’t have any other milks available. Feel free to substitute with cow milk, macadamia nut, cashew, almond, etc. Use what you have!

Vegetable oil – Since these waffles don’t have any butter or other rich, fat content in them, the vegetable oil provides an extra richness and moisture to the waffle and helps them crisp up.

Light, Fluffy, Crispy Waffles

Print Recipe
These waffles are everything I want when I think of a waffle: light and crispy. They also happen to be vegan friendly!
Course Breakfast, Dessert
Keyword vegan, vegetarian, waffle
Servings 4 waffles

Equipment

  • waffle maker

Ingredients

  • 1 cup all purpose flour
  • 1/2 cup cornstarch
  • 2 tsp baking powder
  • 1/2 tsp salt
  • 1 tbsp sugar
  • 3/4 cups soy milk
  • 5 tbsp vegetable oil
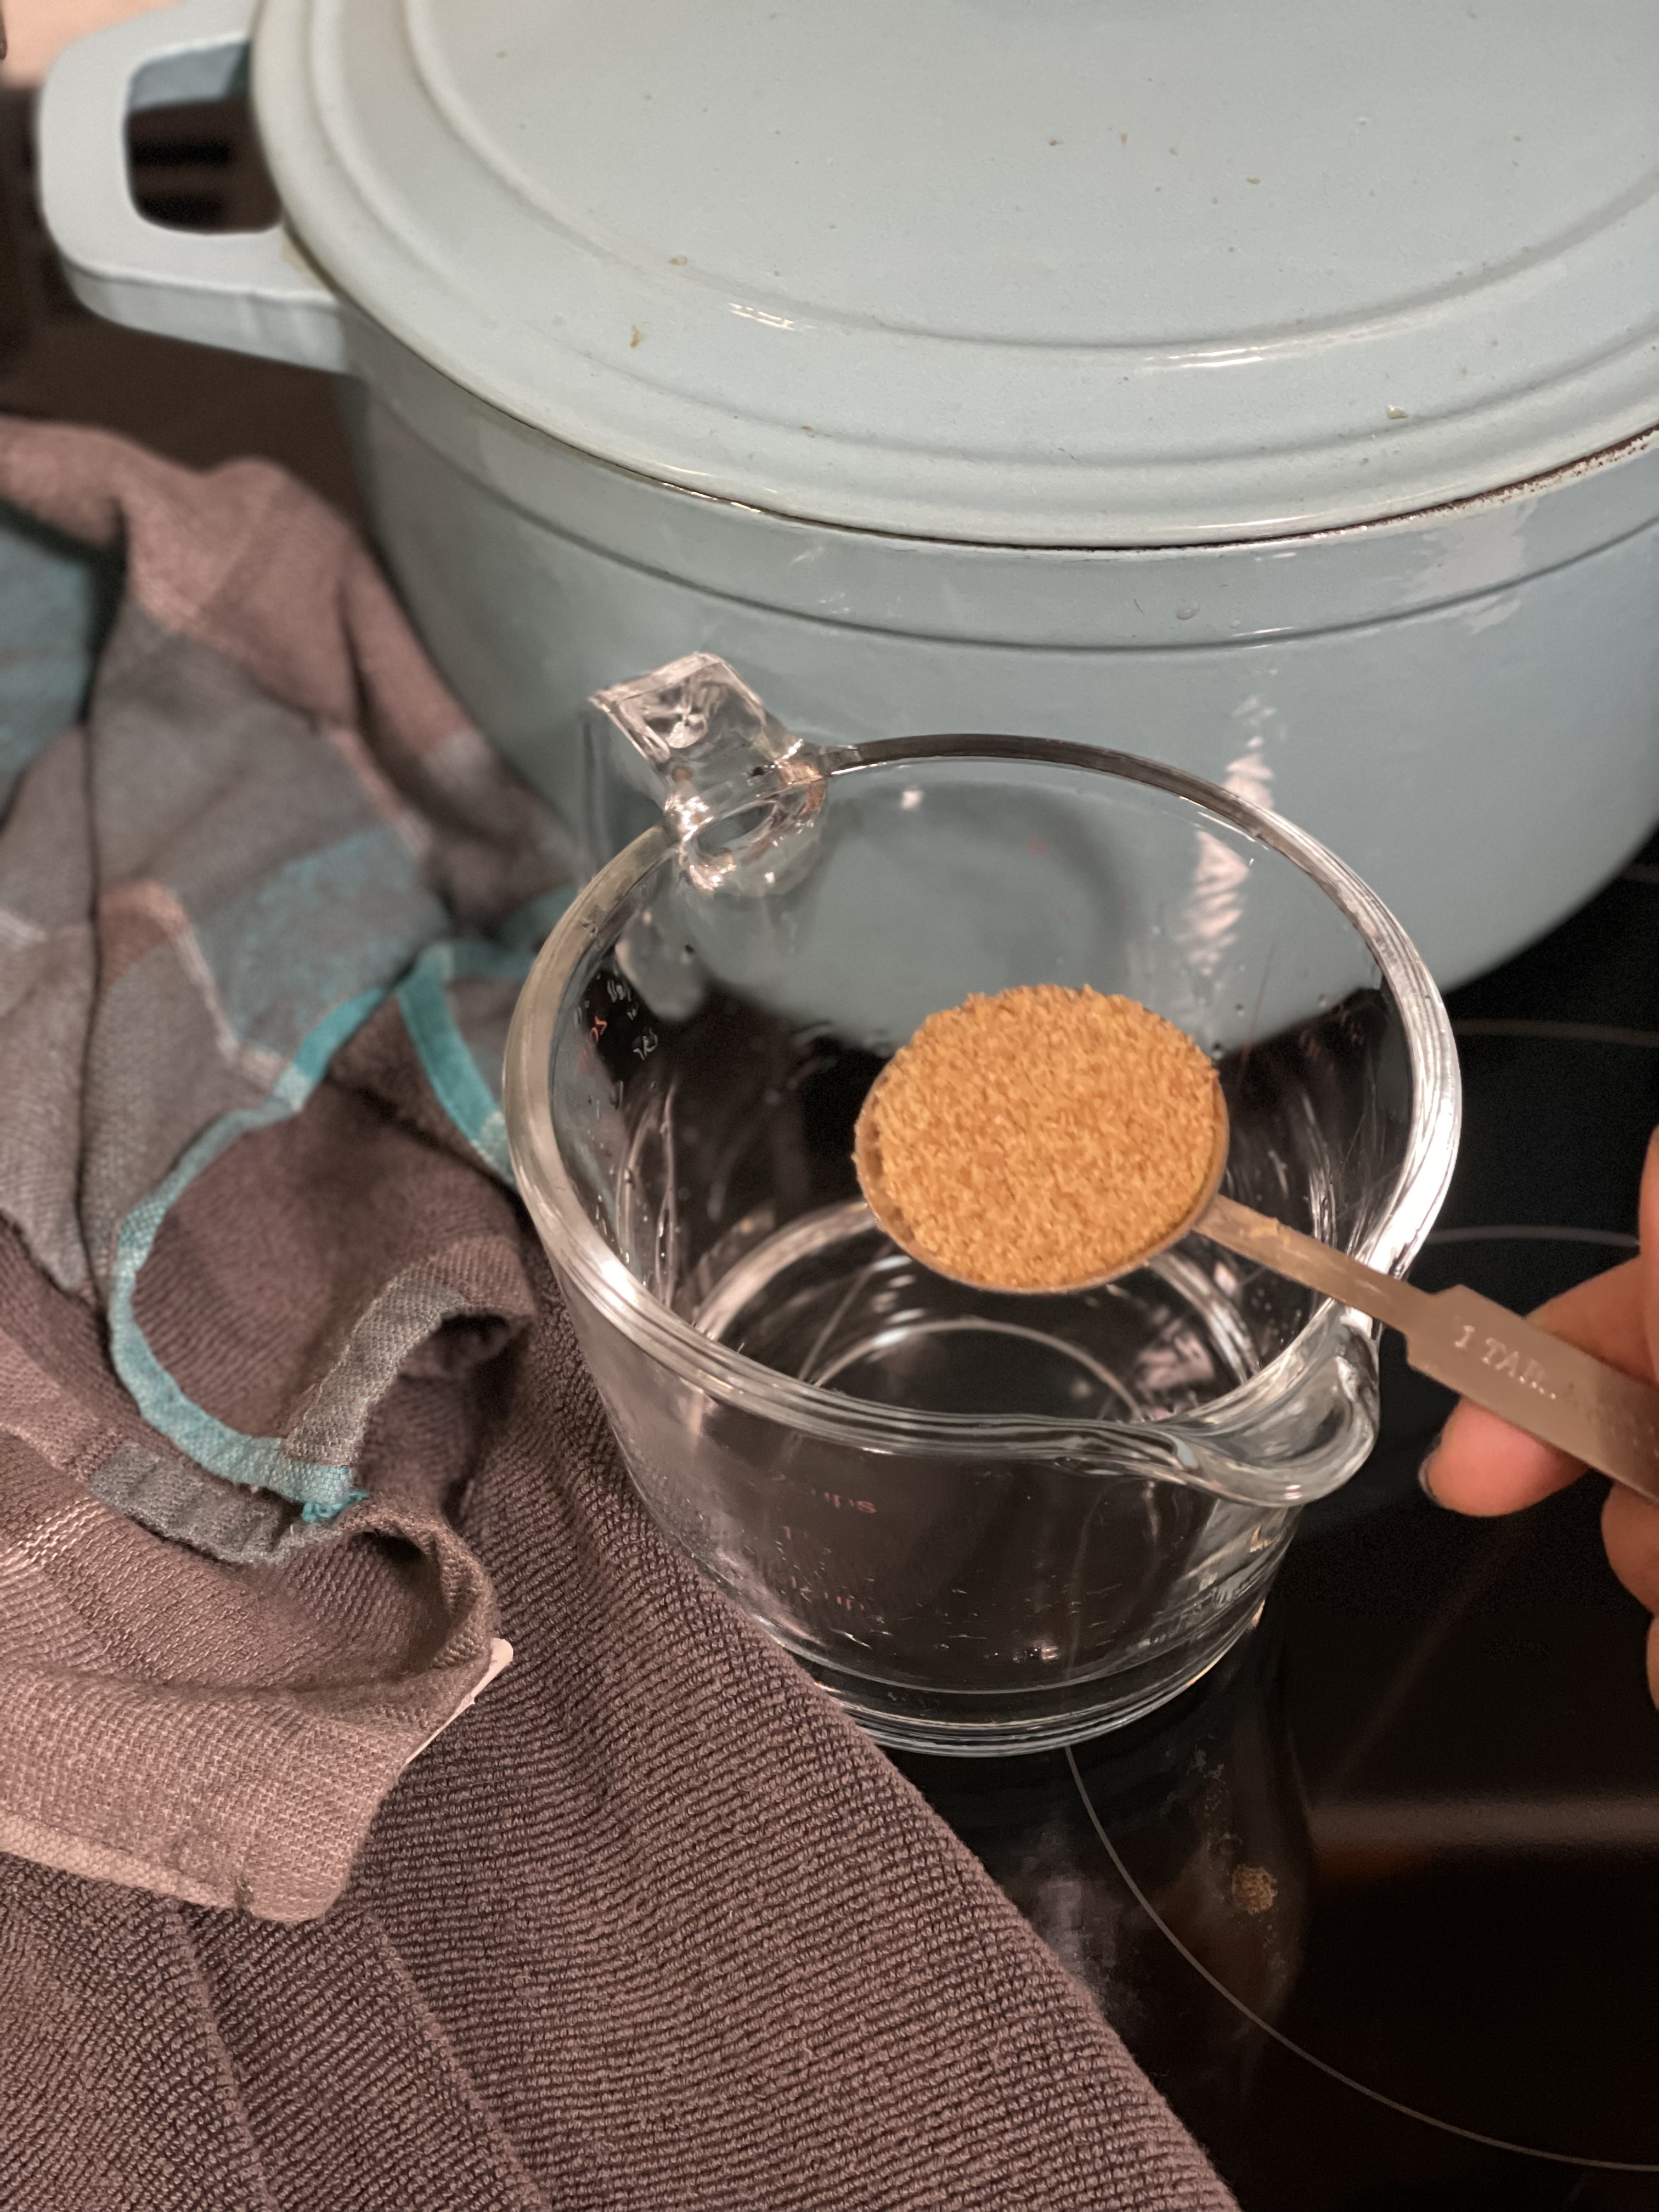
  • 2 flax eggs 2 tbsp flax seeds + 6 tbsp water
  • 2 tbsp maple syrup
  • 1 tsp vanilla

Instructions

  • Prepare flax egg. Mix together flax seeds and water. Leave aside to thicken.
  • Mix together dry ingredients of AP flour, cornstarch, baking powder, and salt. Set aside.
  • Mix together wet ingredients of sugar, soy milk, vegetable oil, flax eggs, maple syrup and vanilla.
  • Add dry ingredients to wet ingredients and mix until just combined. Do not overmix!
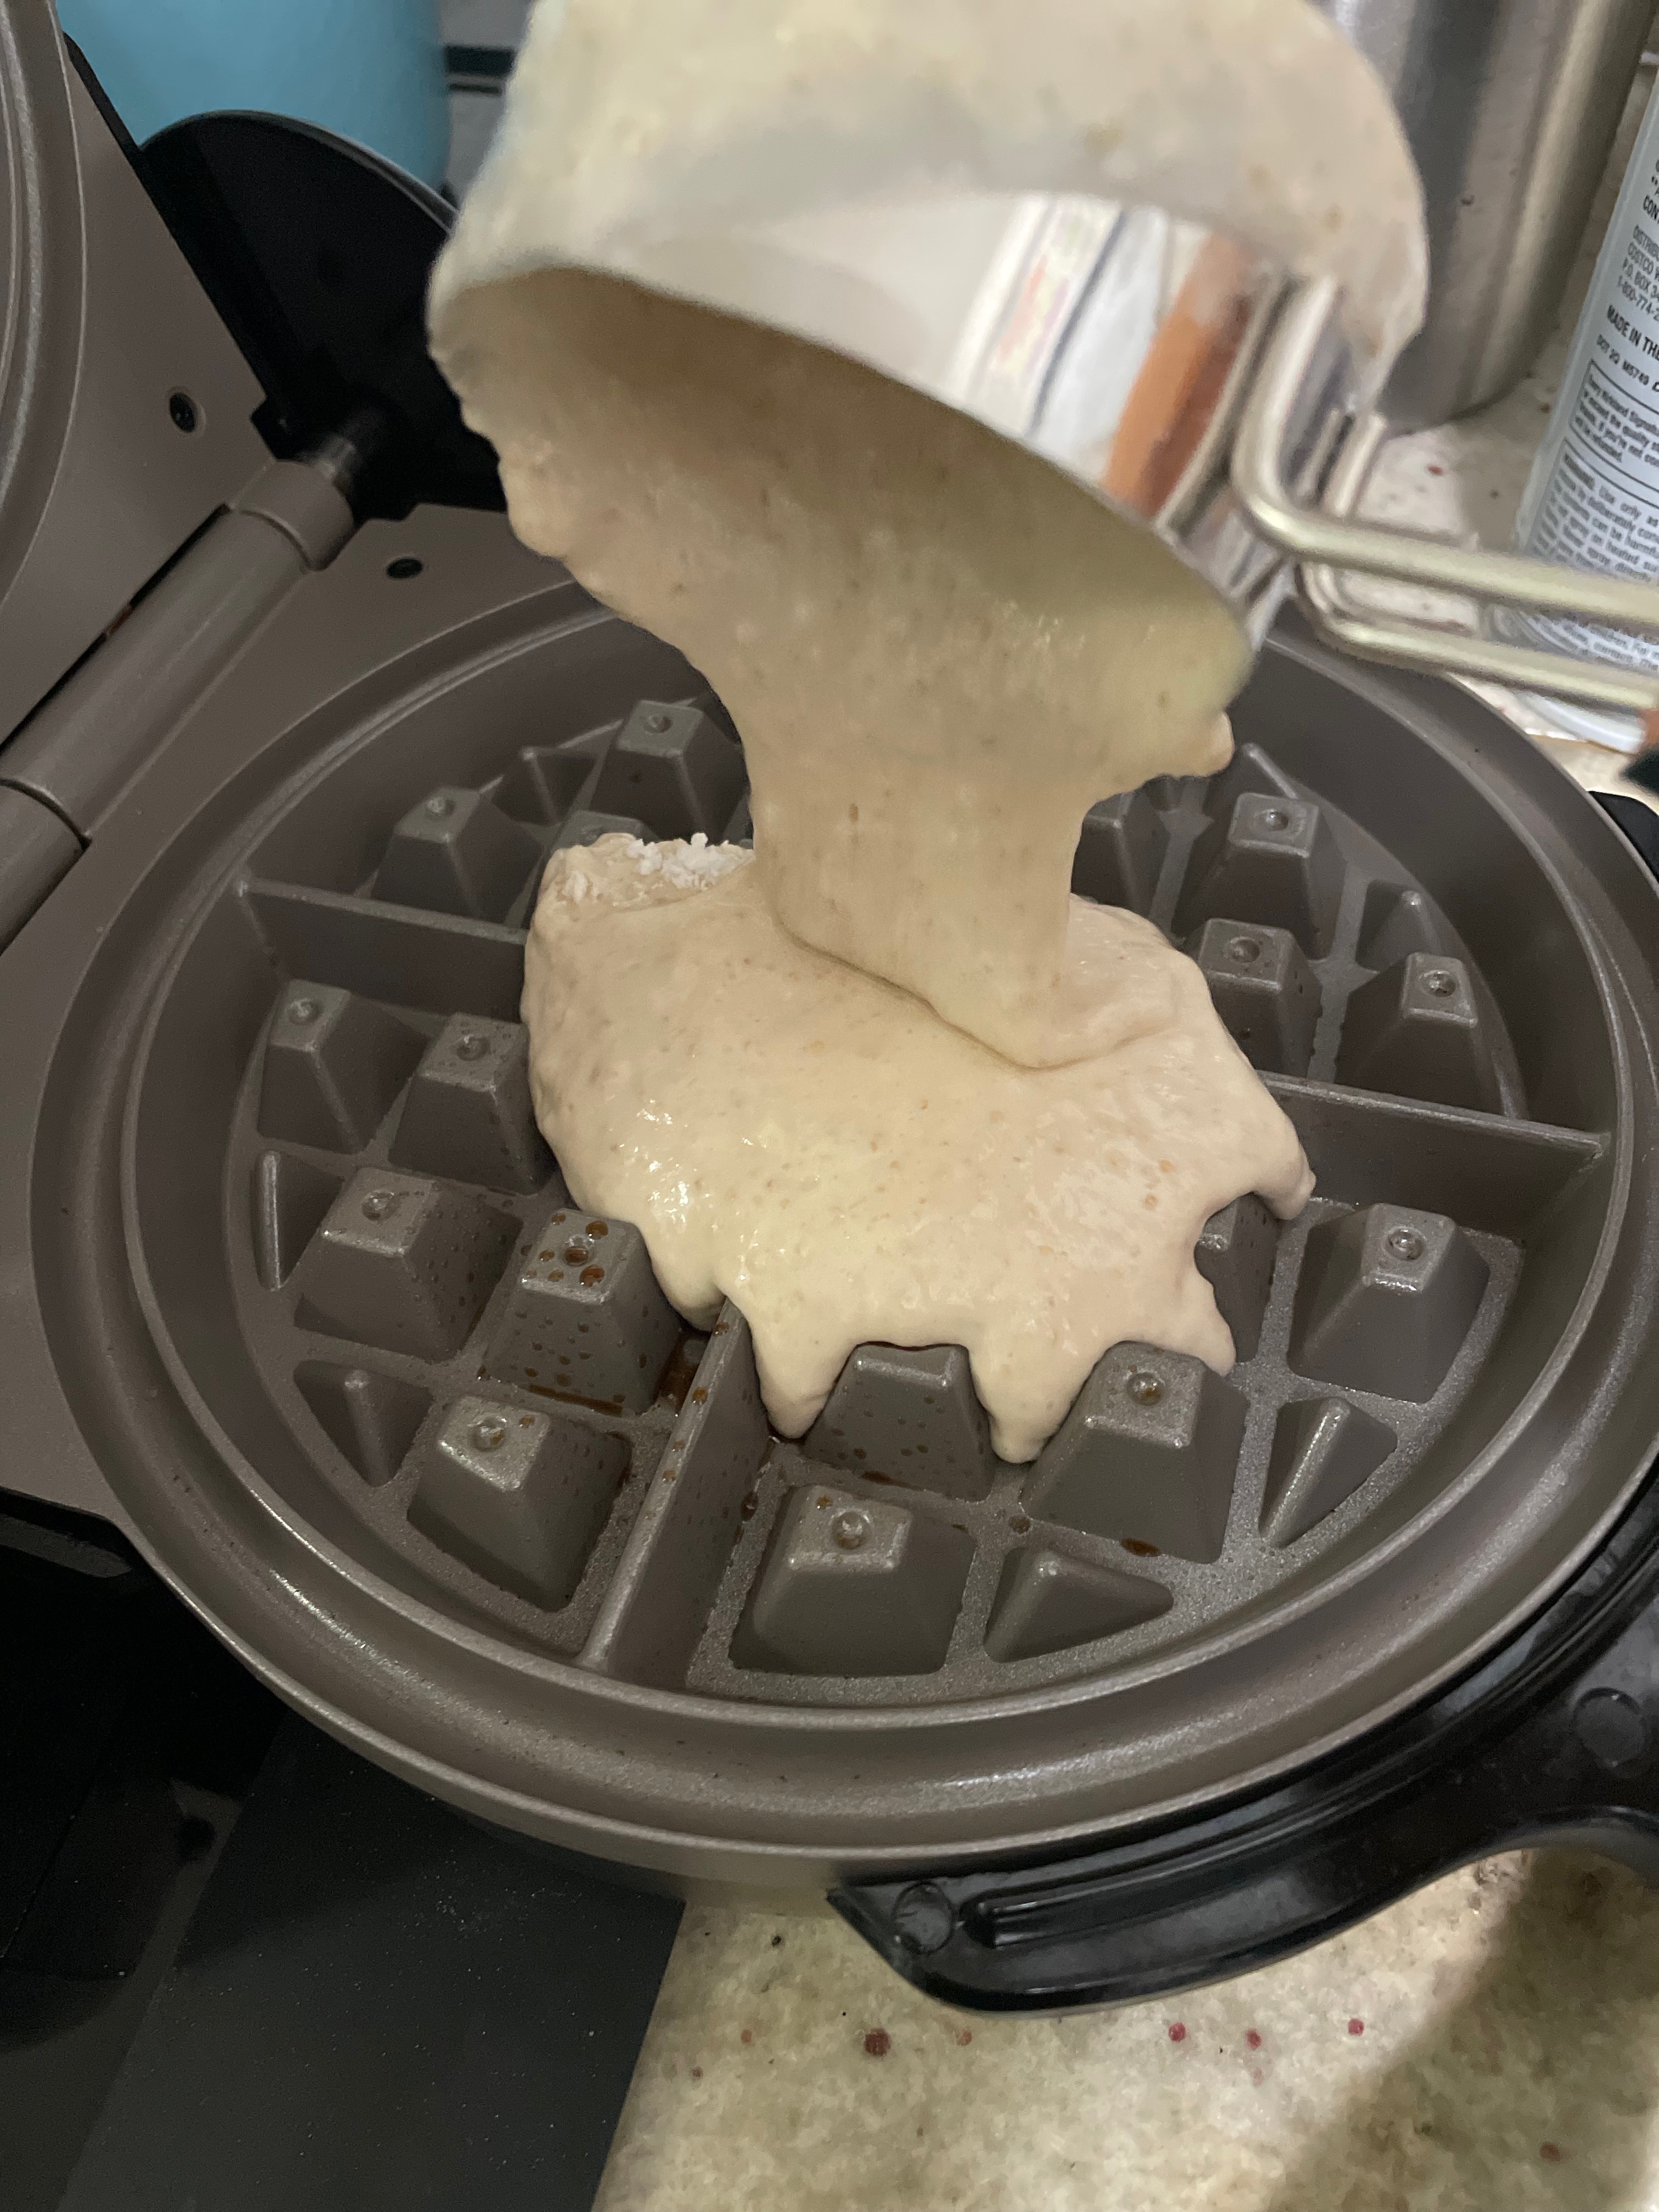
  • In a heated waffle iron, scoop 1/2 cup of the waffle batter mix in to the waffle iron.
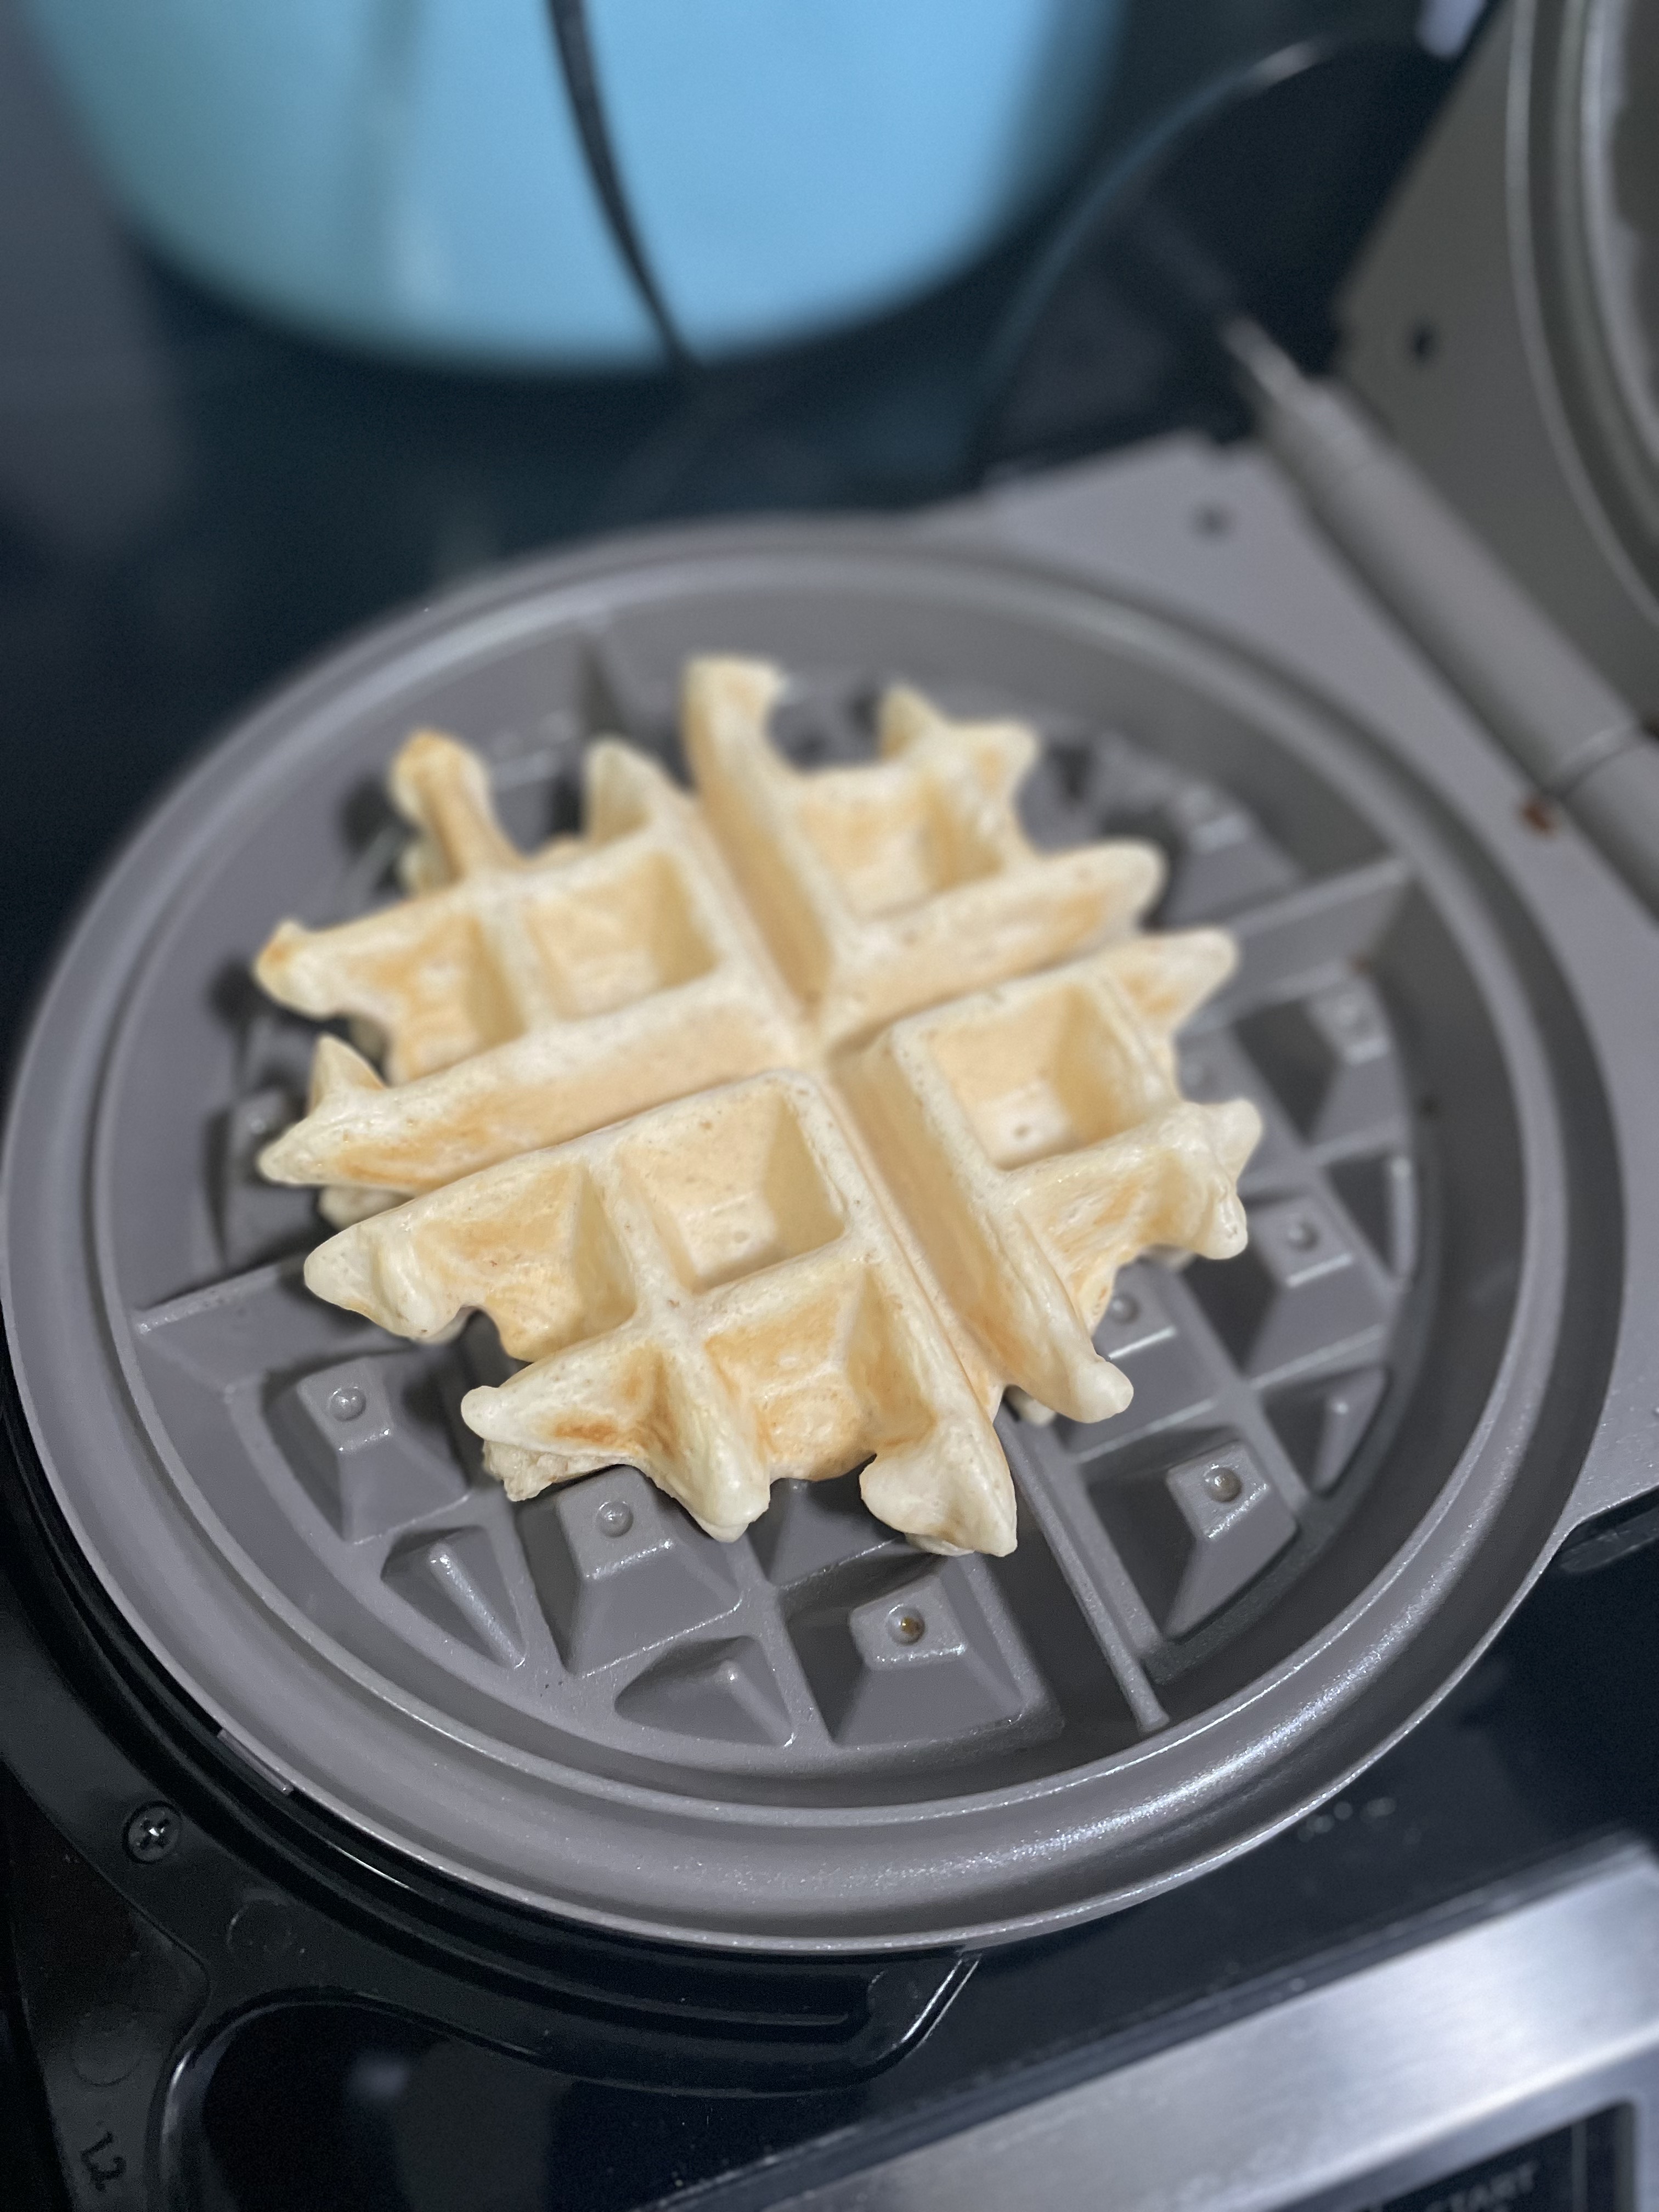
  • Cook for ~5 minutes until just light and crispy.

Want a different dessert-y breakfast? Try Pumpkin Pull Apart Bread or Banana Bread.

Need ideas for lunch? Try Pumpkin Panang Curry with Spinach and Paneer or Chicken & Cabbage Dumplings.